
This is a tool that has many uses. For the first time, the author of this homemade I saw such sticks when I watched his father engineer work on a roughboard and used a small version of such sticks to sharpen his pencils. Later, when he became a little older, and with his father built models of airplanes and boats, his father made several pieces to help finish the complex curves that the models had.
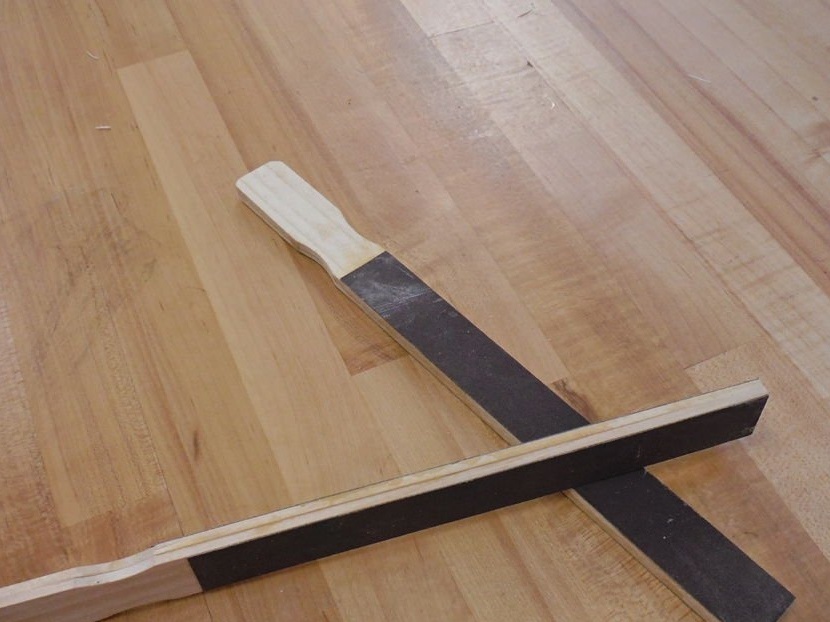
These sticks are pretty easy to make and almost free. Despite the fragile appearance, this tool is quite strong. It is made of two pieces of wood and serves for a long time, because this file has a solid support and emery paper wears out longer than when using sandpaper manually without support. There are no critical points to wear out prematurely ...
Grinding sticks are convenient and they can be made of almost any wood, plywood and take any necessary shape. As an emery paper can be any material, even on a paper basis, at least on a fabric. It can also have any necessary grain size.
Step 1: Materials Needed

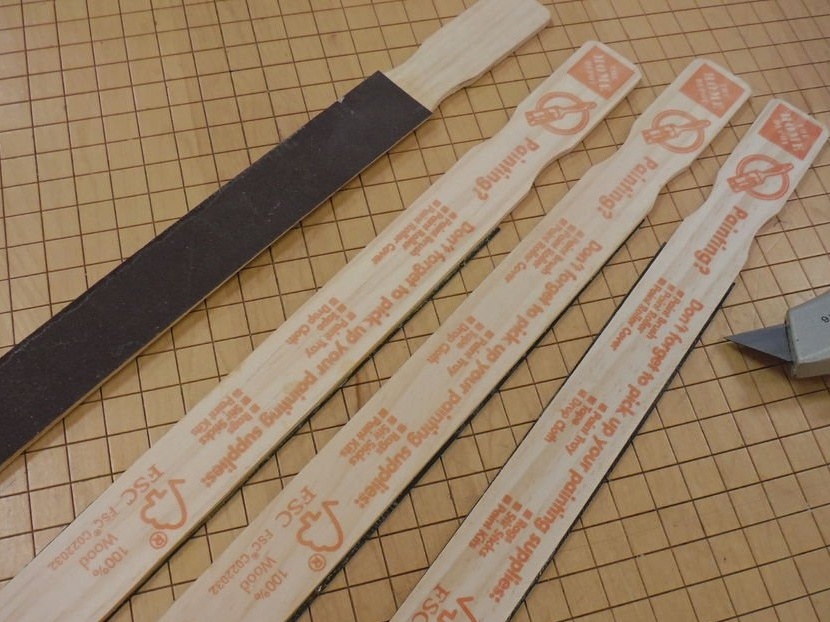
The materials are small paint sticks and sandpaper of your choice. The author used waterproof glue Titebond. You can use any other glue that can glue sandpaper to the tree.
Wooden paint mixers are sometimes free, at least where the author lives.
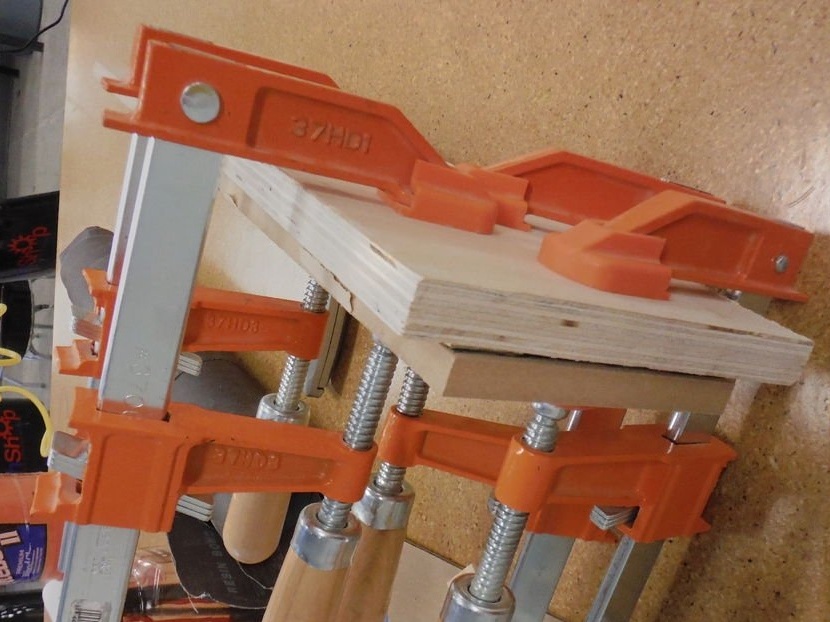
The author also uses clamps for better contact of sandpaper with a tree during gluing.
He also uses plywood trim for better sizing of the product.
An emery cloth can be bought in sheets, but the best price is at local woodworking stores. They sell leftovers from grinders per kilogram and usually have a hopper full of various fabric-based sandpaper.
Step 2: Preparing Materials
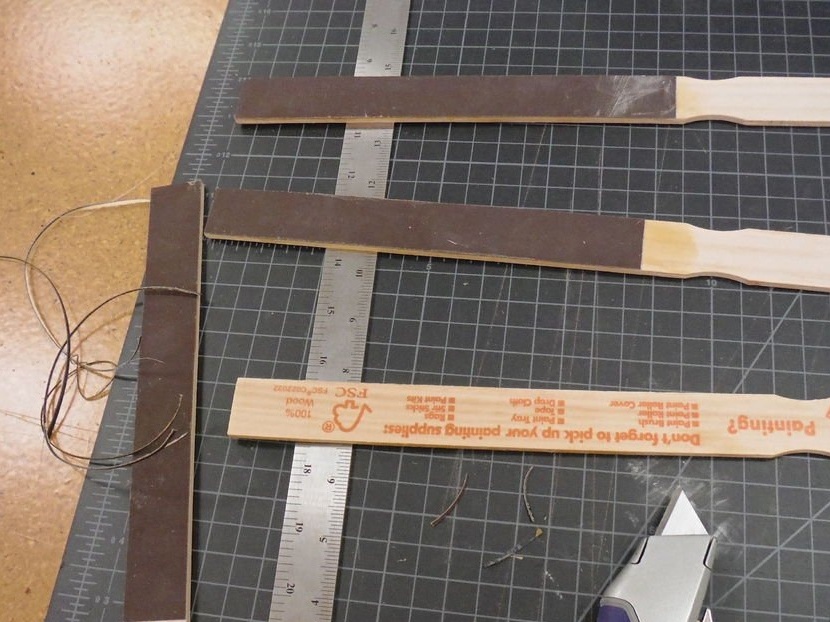
Place a straight metal ruler on the cutting mat while pressing the sandpaper. Using a new knife blade, cut the strips a little wider than the width of the stick. In this case, do not forget to put sandpaper with grain down. When cutting sandpaper with the face down, the blade is saved, and it will work longer than when cutting with grit up.
If you cut a little wider, the strips are easier to place when gluing, and when they dry, they can be easily cut to the actual width. Handles should not be covered with sandpaper.
Step 3: Adhesive Sandpaper
Apply a little glue to the sandpaper strips, not too much so that the glue does not drip and spoil the sandpaper grain. Put sandpaper strips on sticks on one side only. Use some wax paper when the product is under pressure from the clamp to prevent it from sticking.
Let the whole assembly dry. When done, disassemble the product into parts. If you were careful enough, they will simply come off with minimal effort and the grain will not be clogged with glue.
Lay them grit on the mat, face down, and use a knife to trim the edges evenly. Now they are ready for final gluing.
Step 4: Laminating the Sticks
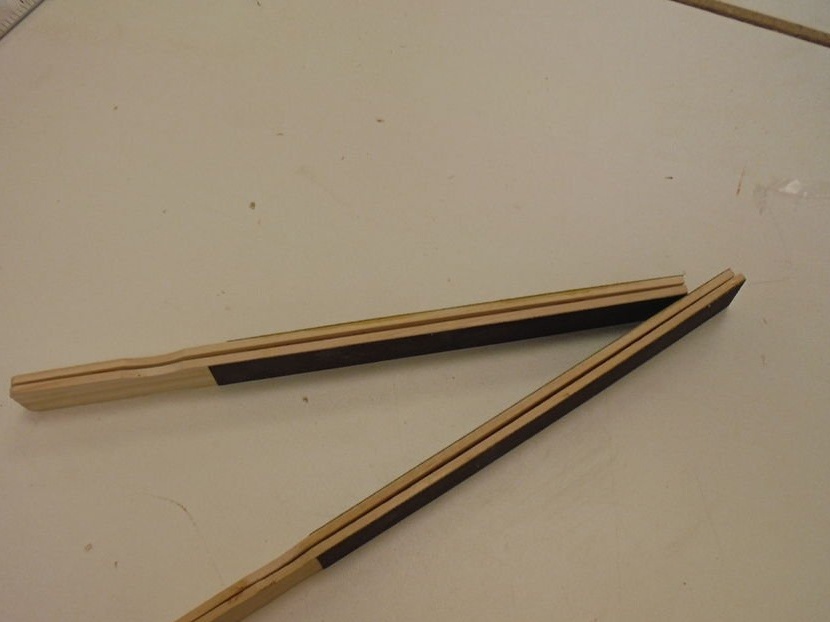
Now that the single-sided sticks are ready, you can glue them together to get the final product. The author of the homemade product used the same Titebond and carefully smeared only one side of the pair. They don’t need a lot of glue.
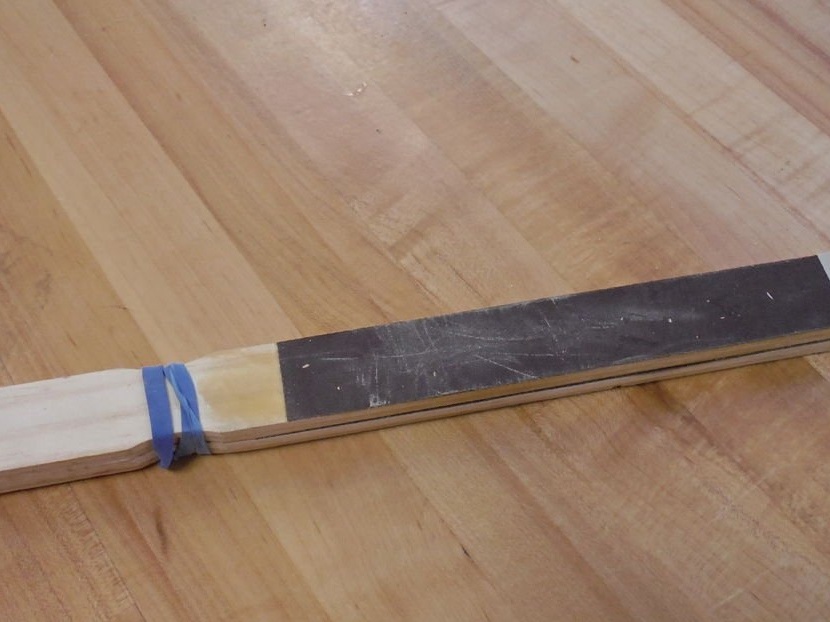
Wrap one end of the rubber band (handle) and wind a little paper tape on the other. This will prevent slipping and the sticks will dry evenly.
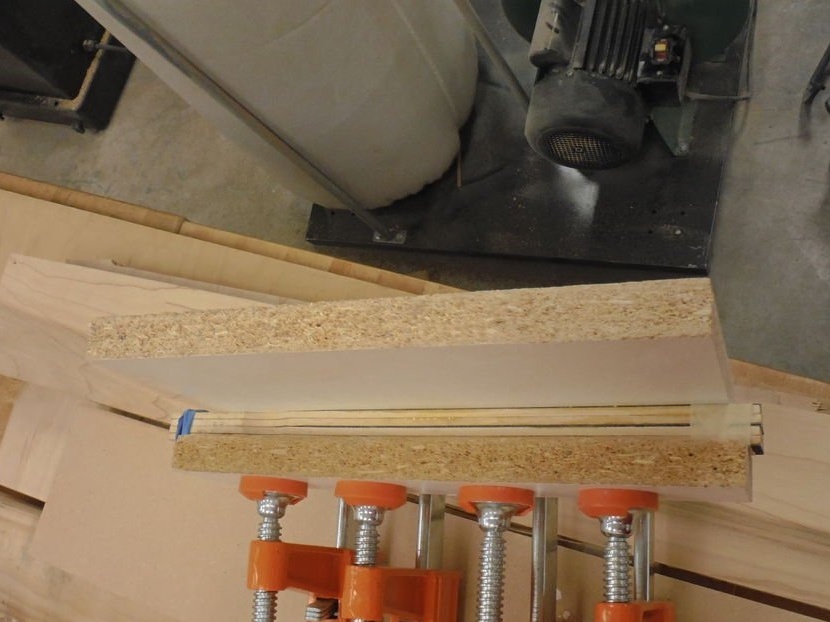
Clamp the entire installation again between the plywood scraps and tighten with a few clamps. The author made two full sticks, that is, put all four halves together. Obviously, you can stack quite a few sticks and get a whole bunch at the same time. Ultimately, you get a complete assortment of required grit in one shot.
Let the whole assembly dry again.
Step 5: Finishing the Stick Making Process
After the products have dried, remove them from the press, they should be quite rigid and ready to use. You can drill a hole in the handle and hang them. They should not be thrown into a heap in a drawer because, the cutting edges will become smooth from friction.
As an additional decoration, you can wrap the cord around the handle to provide a more comfortable grip.
It is best to make them in batches and cover a large range of grit with one glue. They are durable, especially on a fabric basis. They are not designed for wet sanding, so use them appropriately. They are great for all types of wood, foam, and metals, no matter what the sandpaper is for. They can also be made with a slight bend to work with a specific product profile.
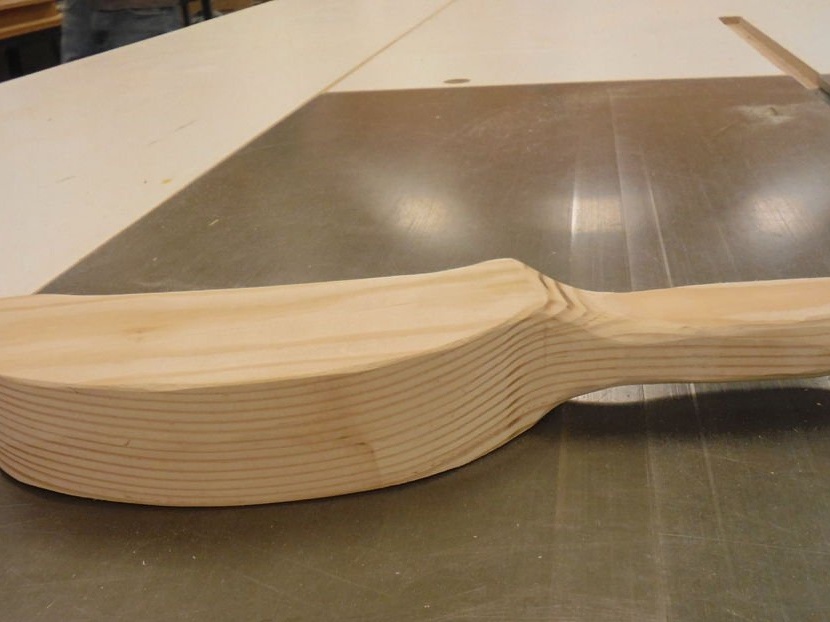
After the author made them, he used one of the grinding sticks to refine the rounding at the edges on a wooden hammer. This hammer is used for delicate work with the car body, where a metal or nylon hammer would be too coarse and also irregular in shape.
Step 6: Using Sanding Sticks

The author uses his grinding “sticks” in the same way as simple sheets of sandpaper. They work fine on a balsa tree (the lightest tree in Russia is not found), but are good for almost everything, including metal. They perfectly grind a sharp metal edge, and are also used for the manicure needs of the author :)