
In this article, the author of the Stroykhak YouTube channel will test for you various furniture suspensions.
Before reading this article, go to your kitchen and see what canopies you have on the upper cabinets. And all because the author will experience various fastenings for strength.
Materials
-
Instruments, used by the author.
- Screwdriver
- Crowns for wood
- chisel
-
- .
Manufacturing process.
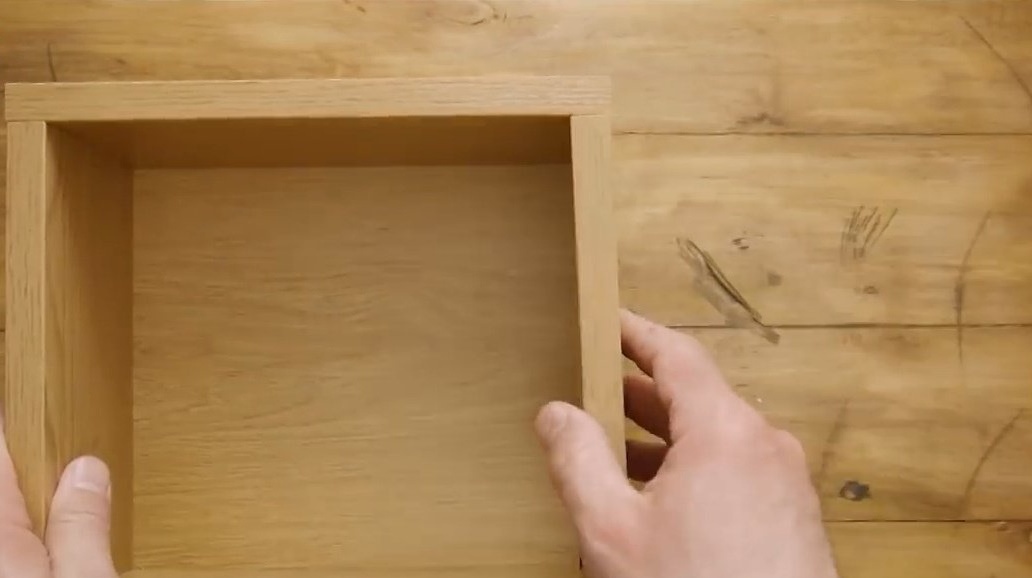
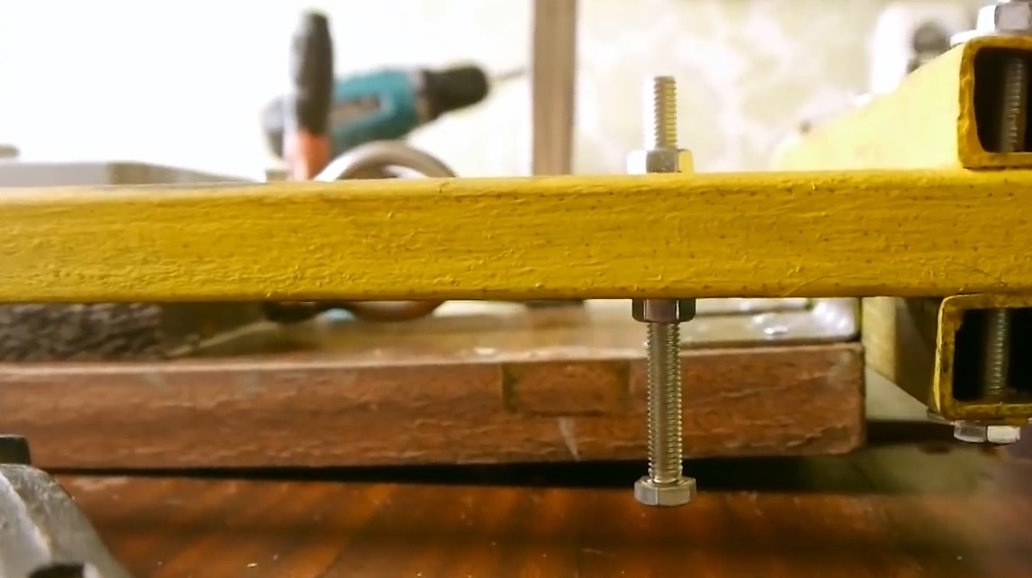
In order to recreate the process of breaking the mounts as accurately as possible, he assembled several sections, which he would test until they were completely destroyed.
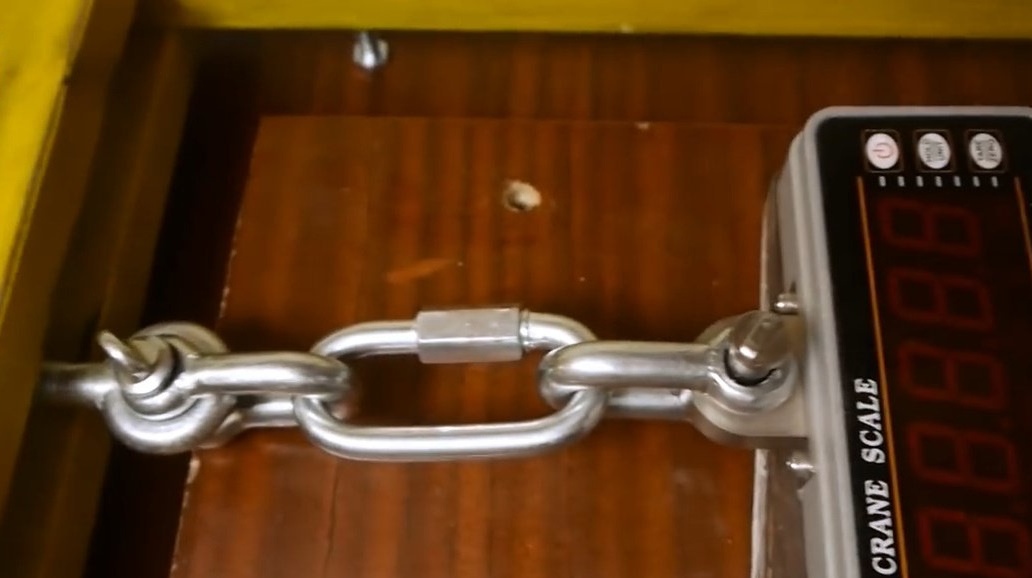
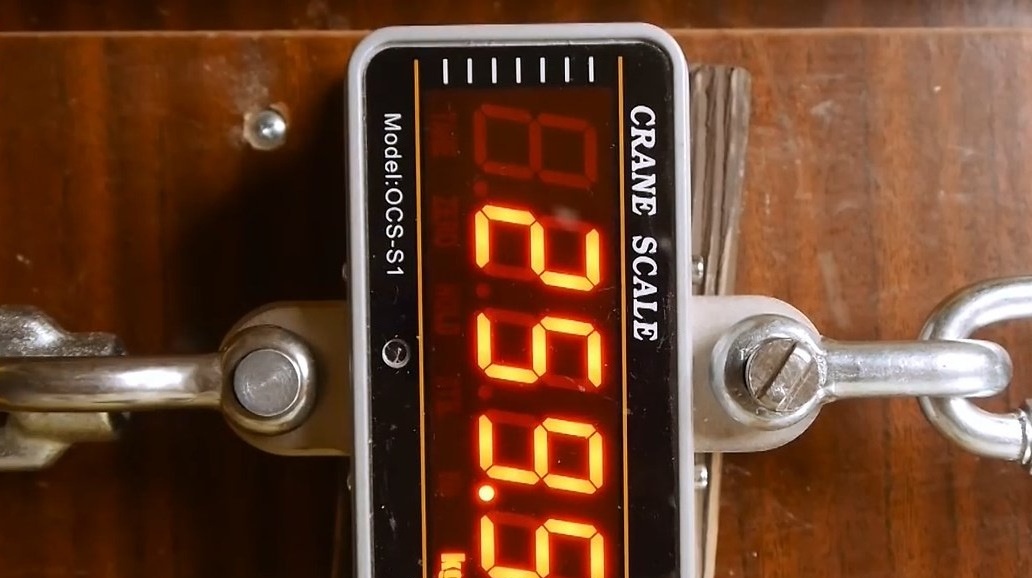
With the help of this machine, it simply pulls what is needed and fixes the readings. And the author does not have children’s, and can withstand a load of up to 1 ton.
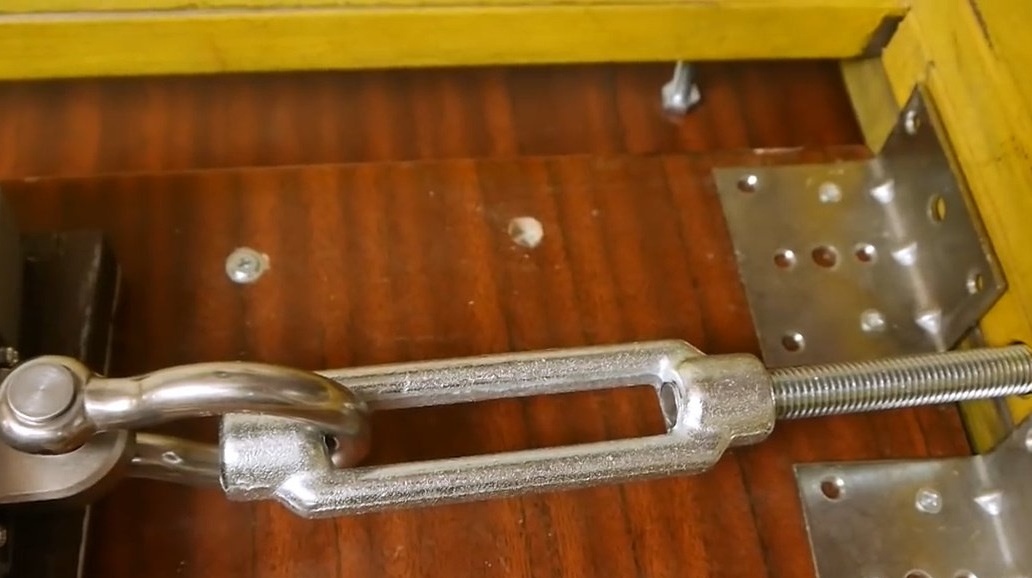

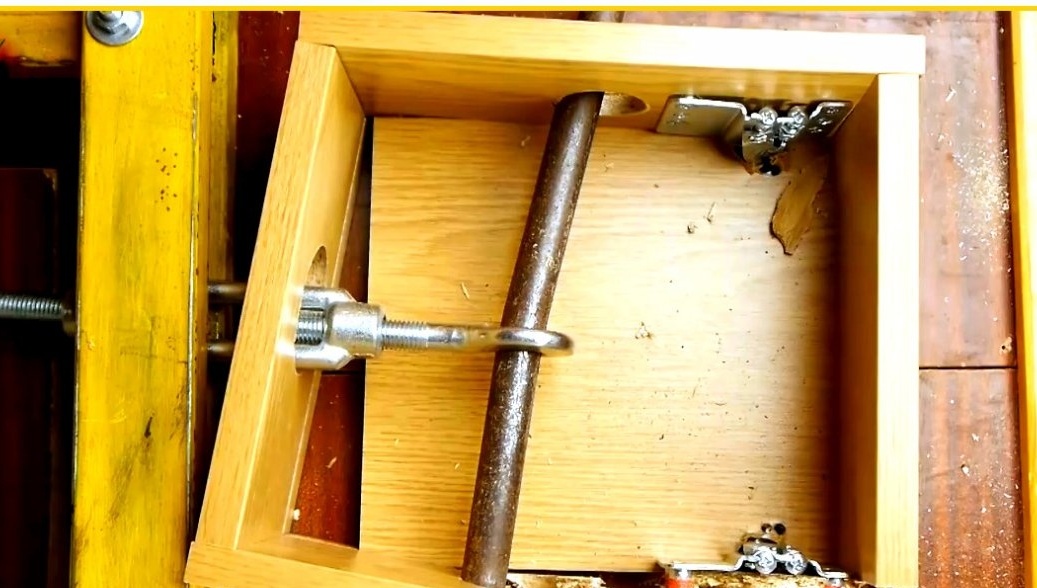
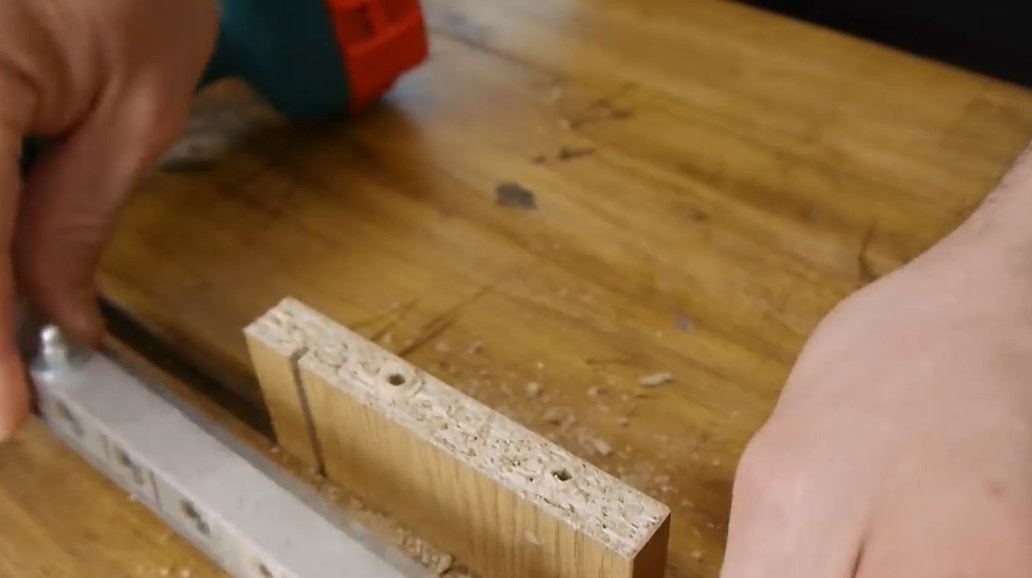
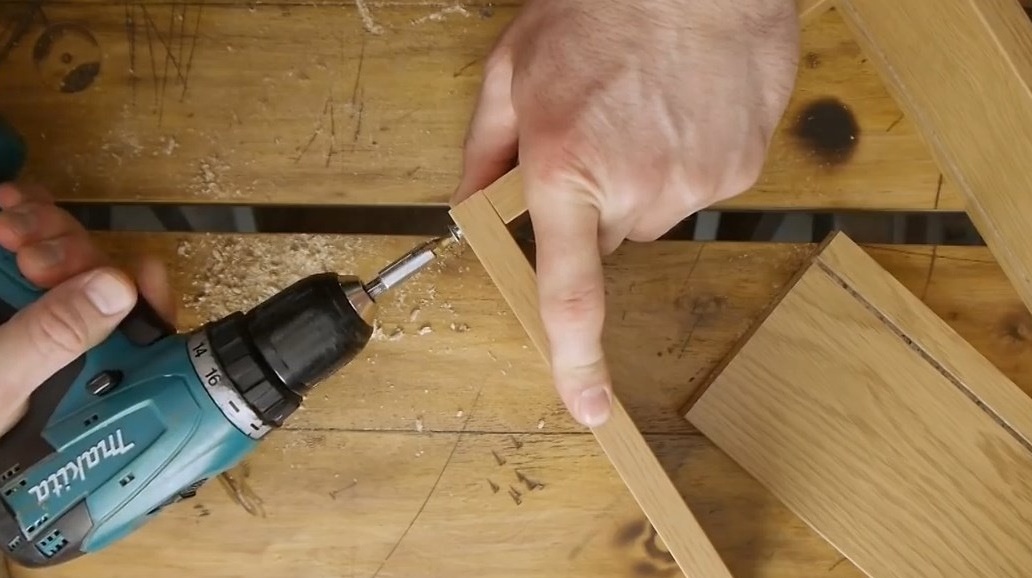
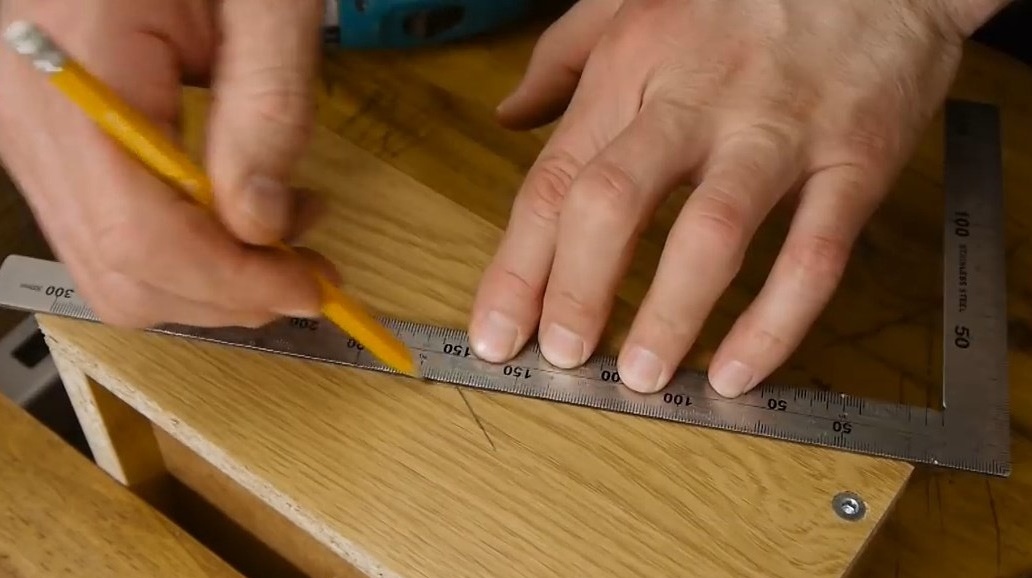
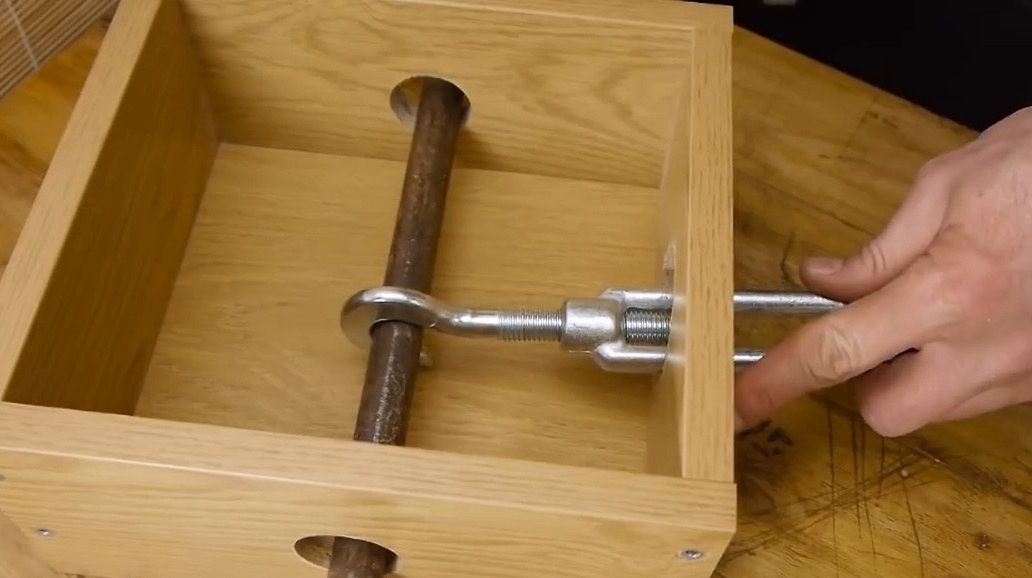
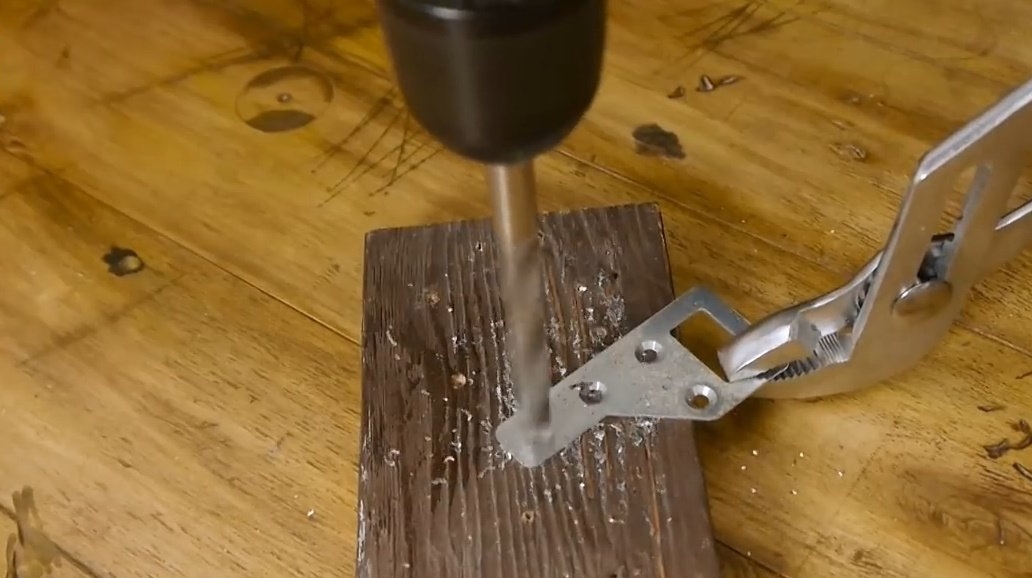
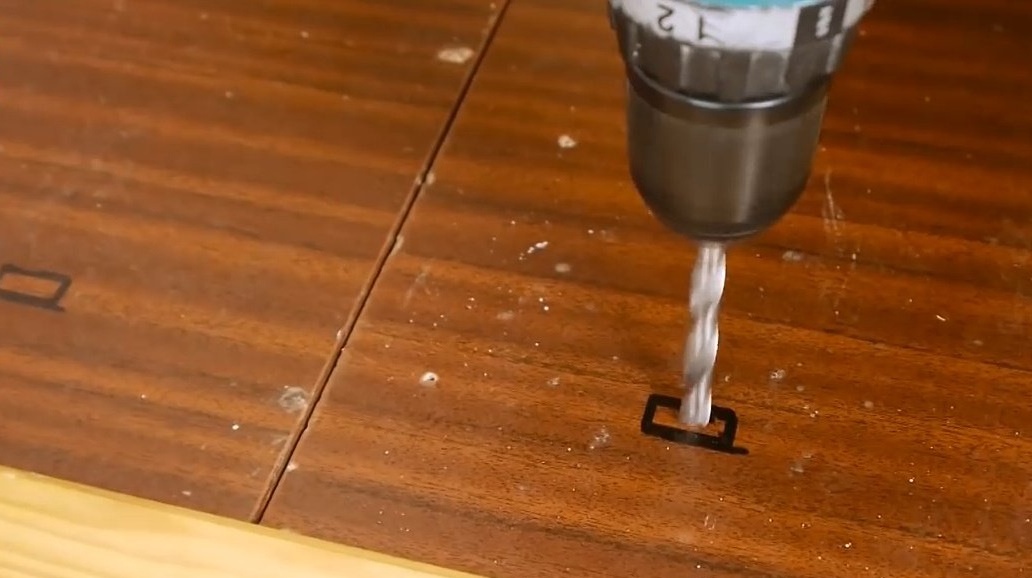
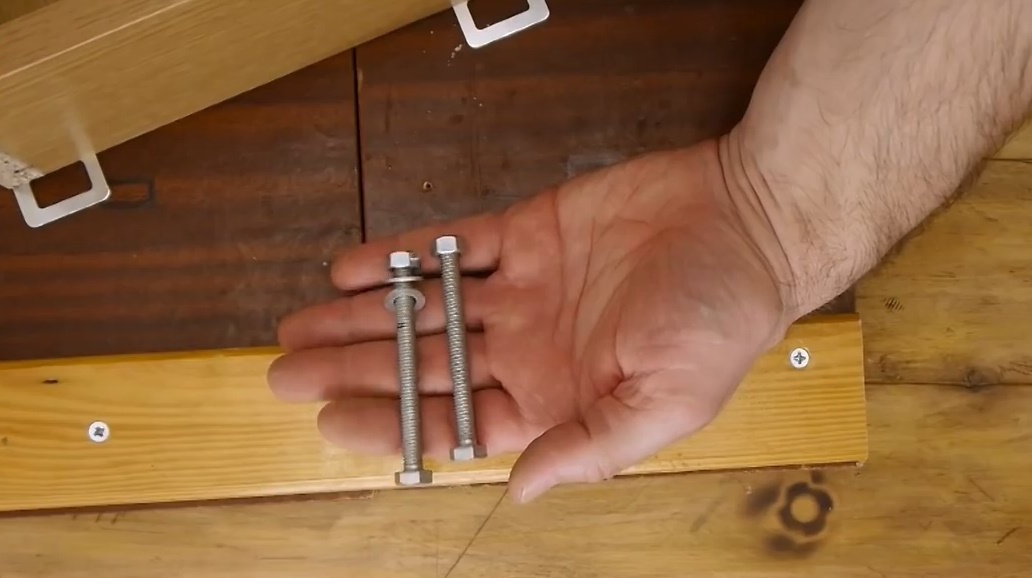
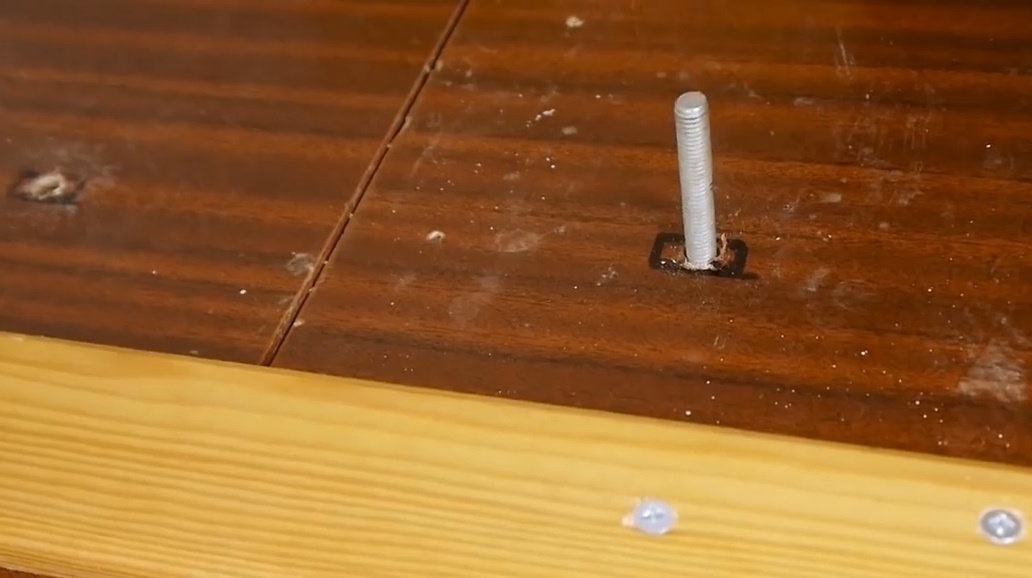
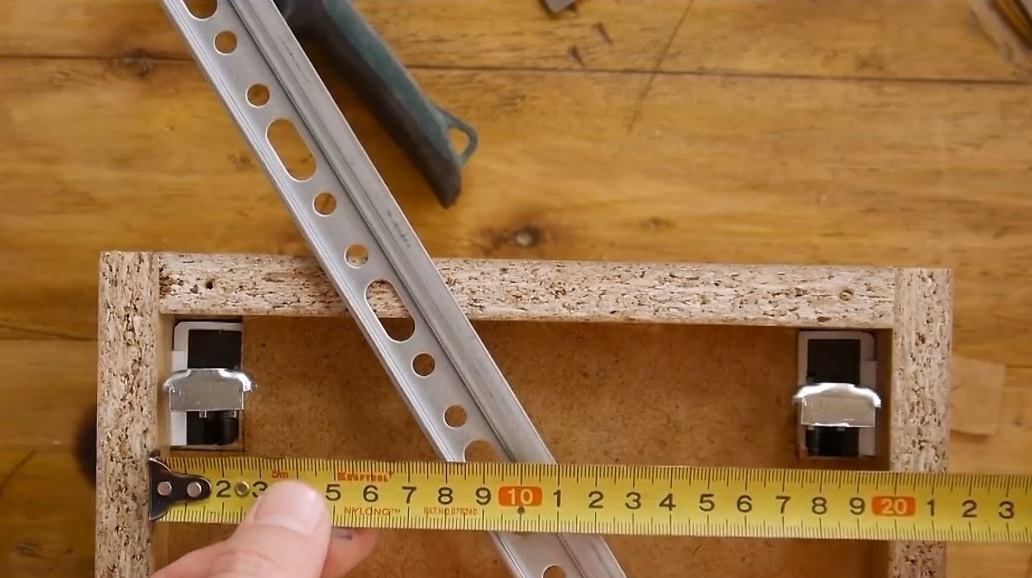
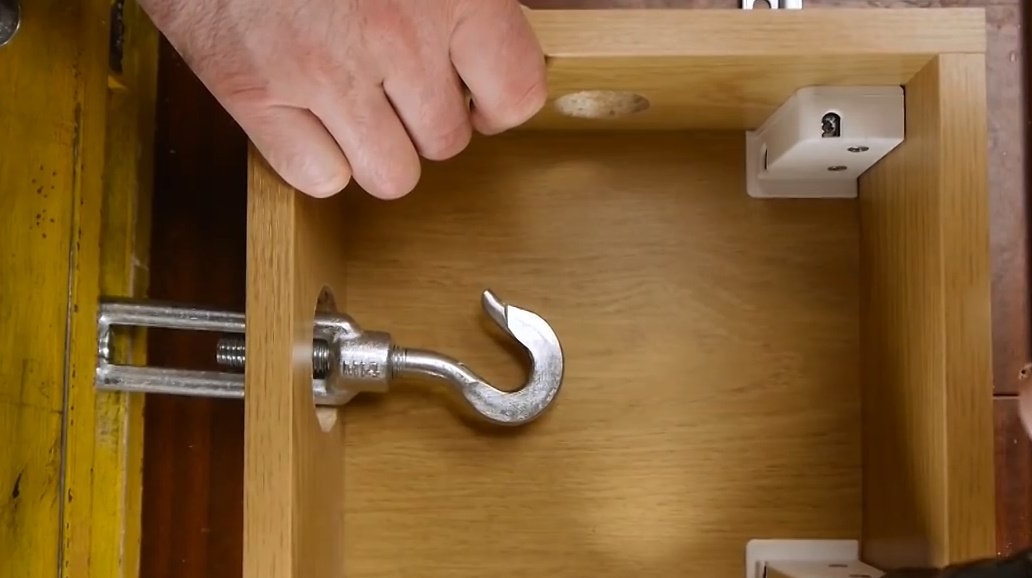
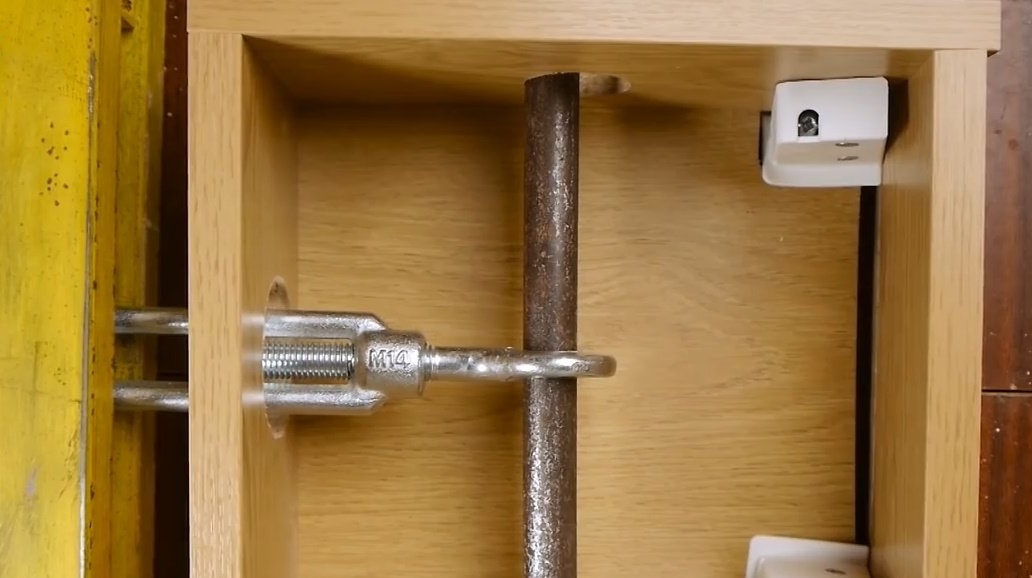
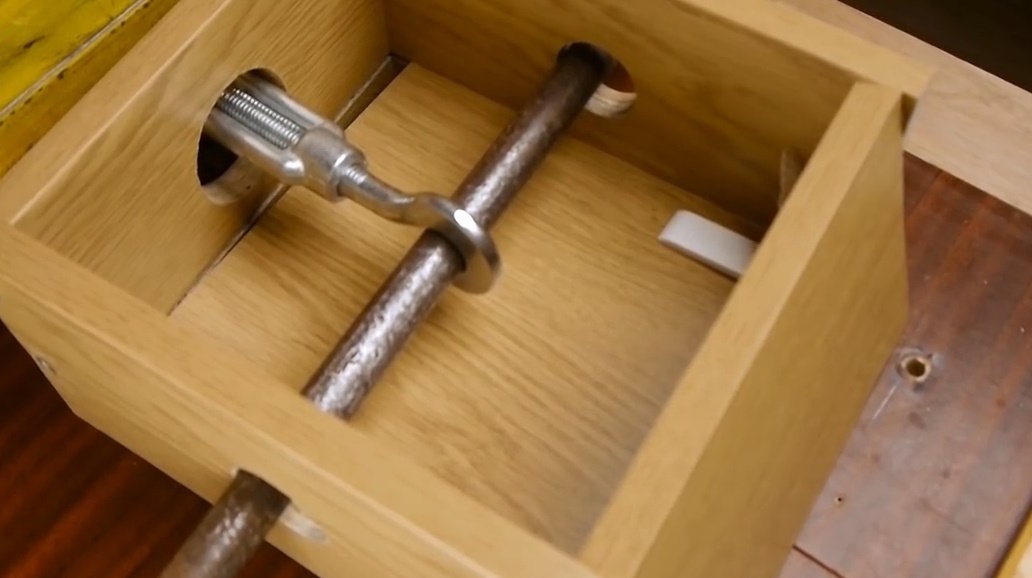
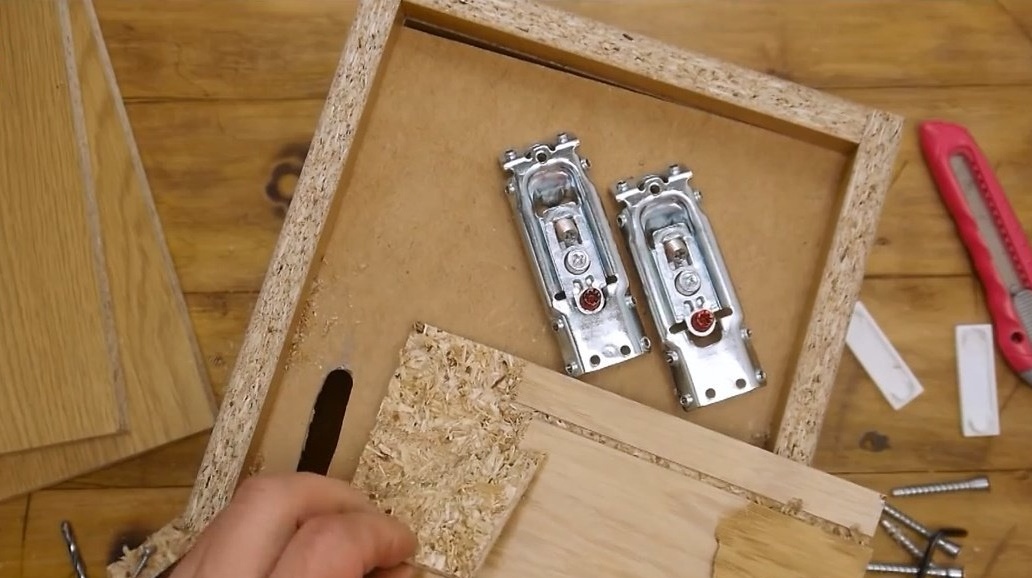
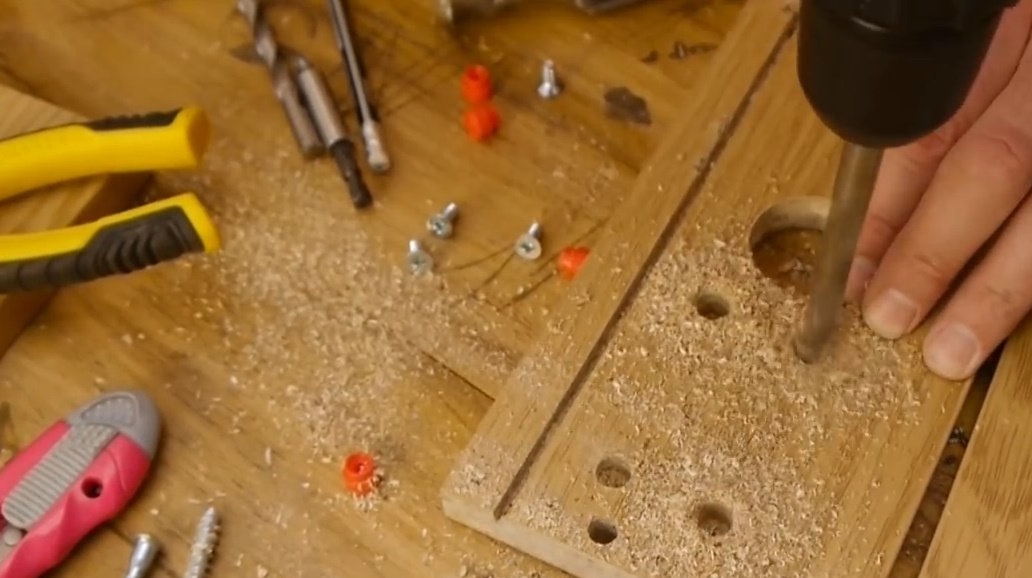
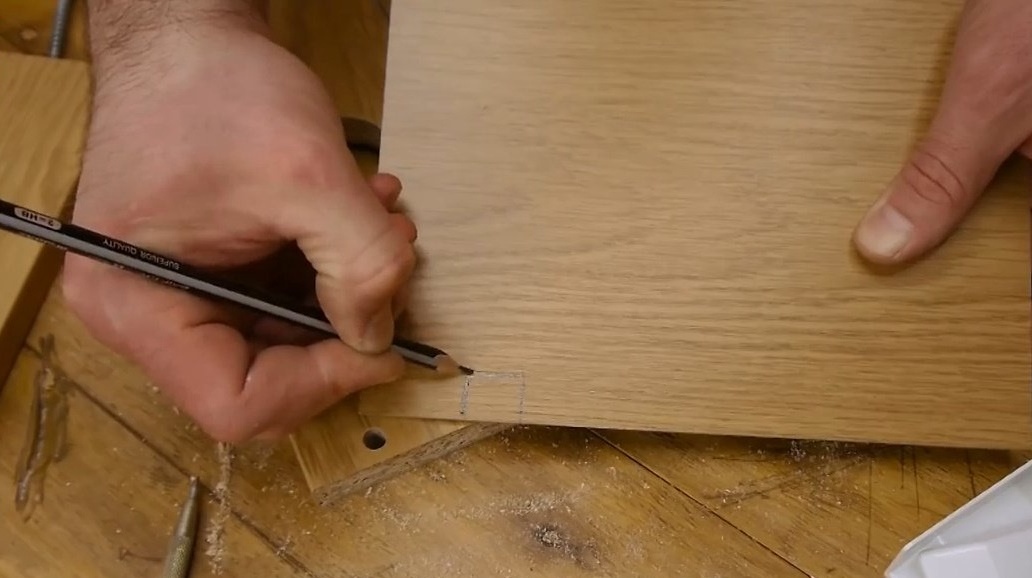
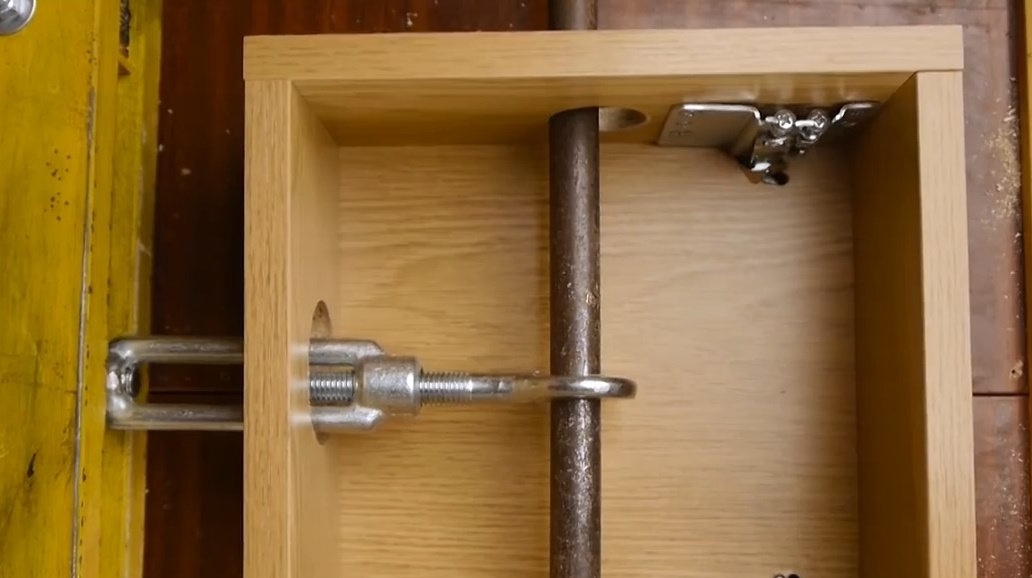
Since the weight of the kitchen section is distributed over all shelves, it makes no sense to pull only the bottom - because all the load falls on the side racks. Therefore, the author drilled holes in the racks for installing special traction.
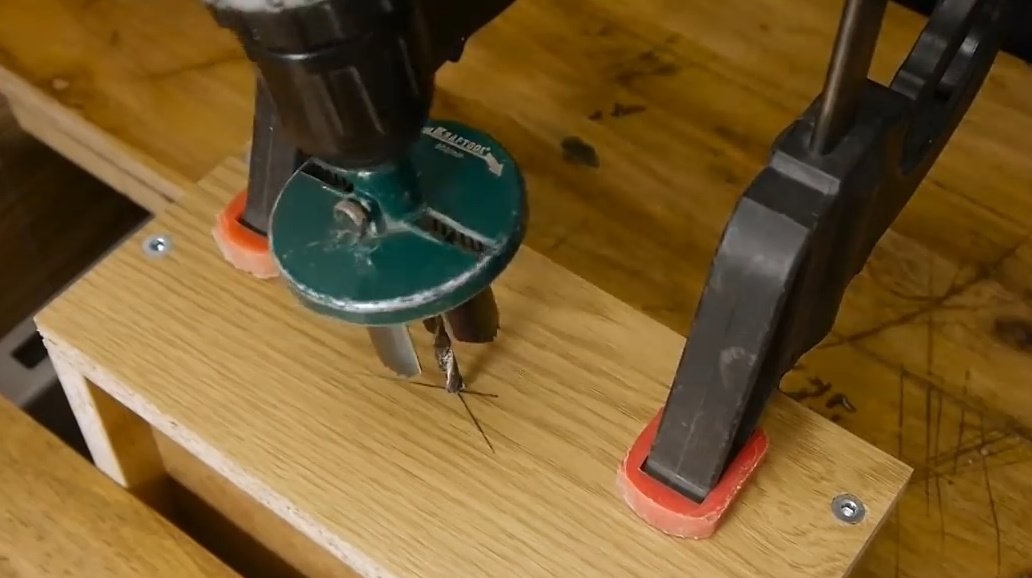
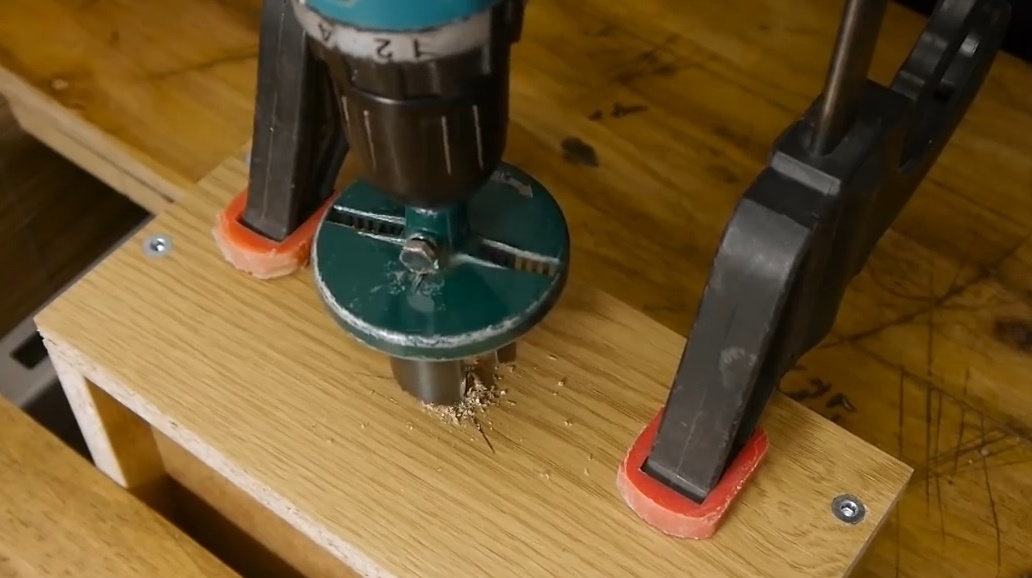
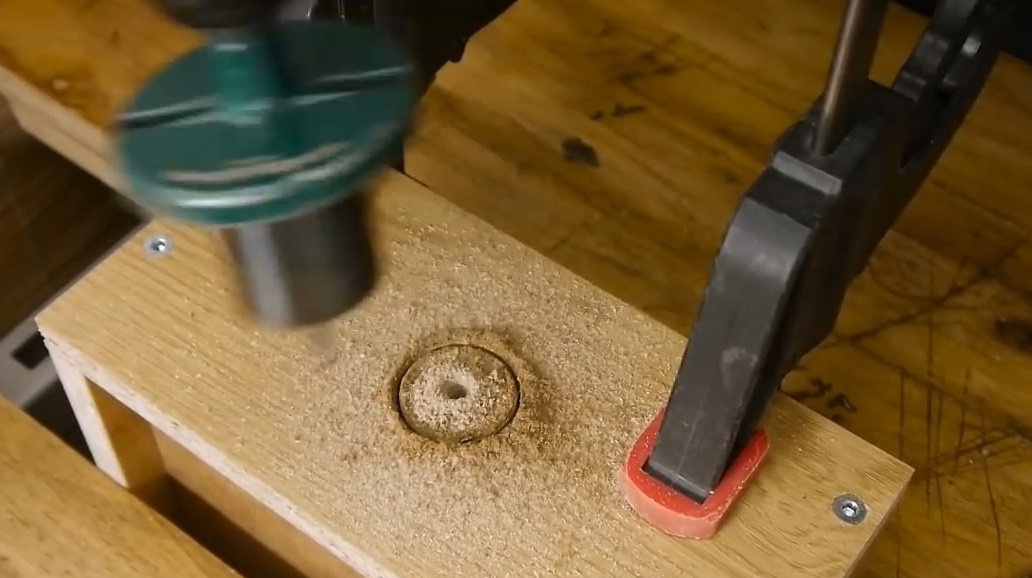
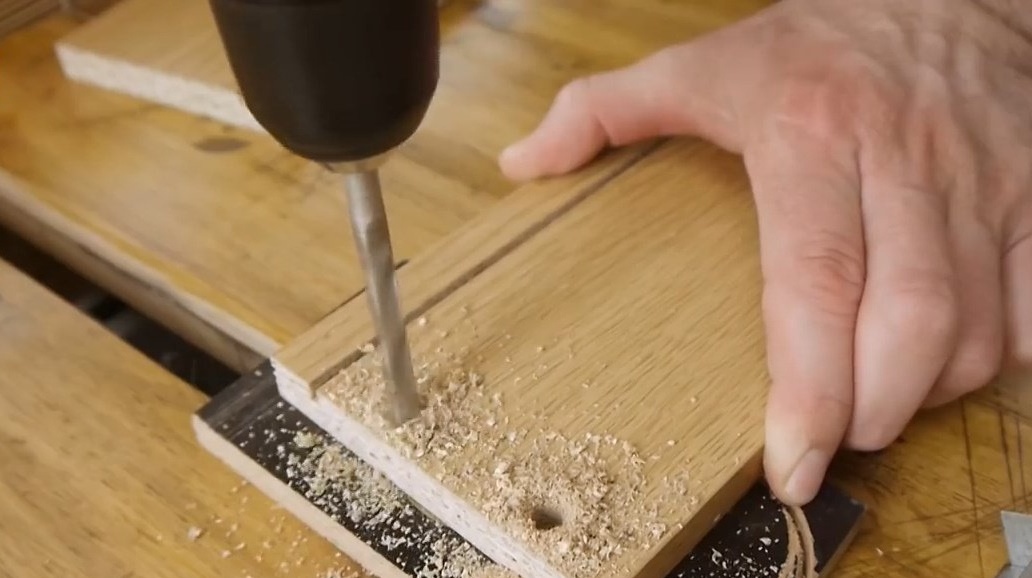
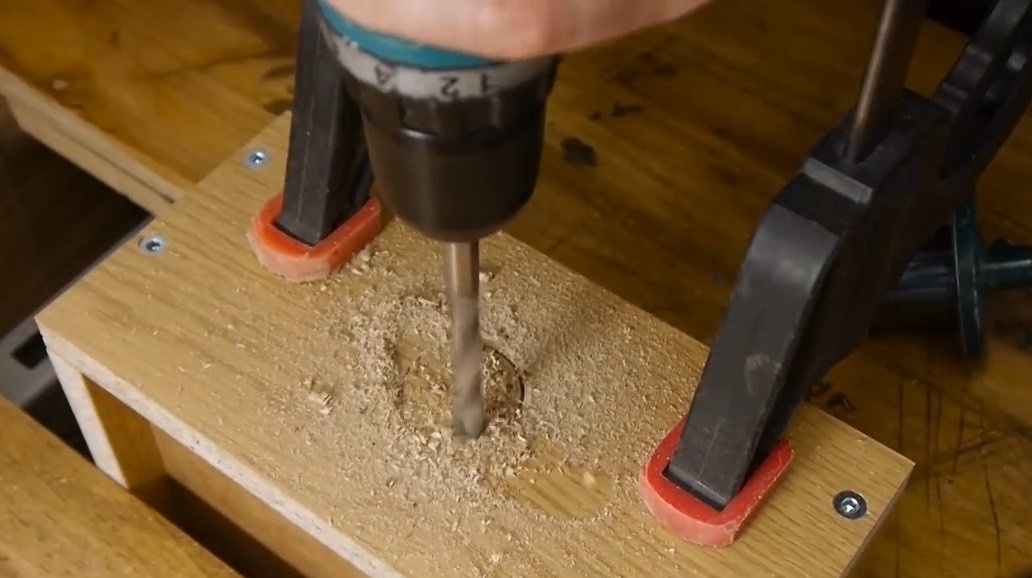
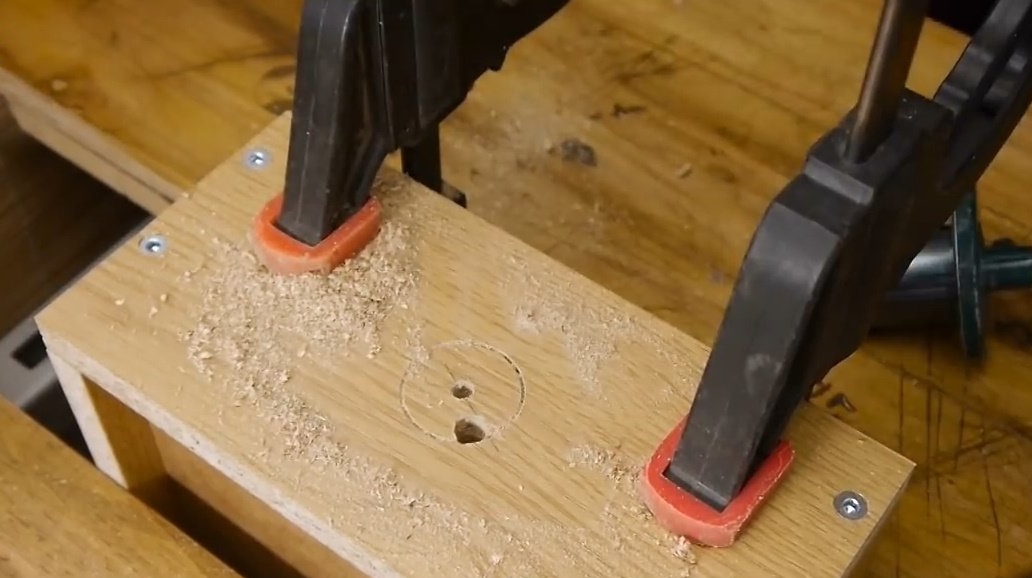
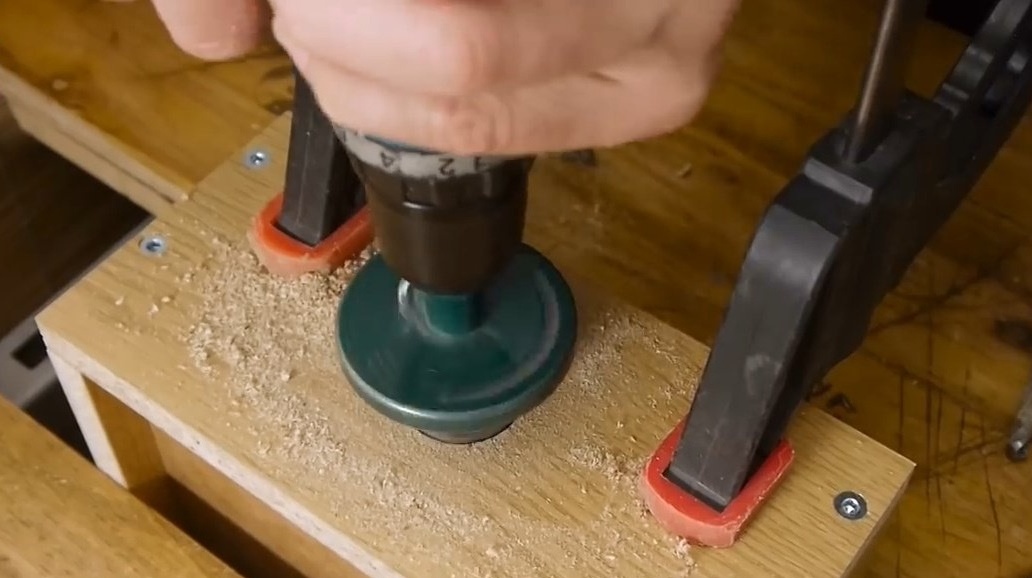
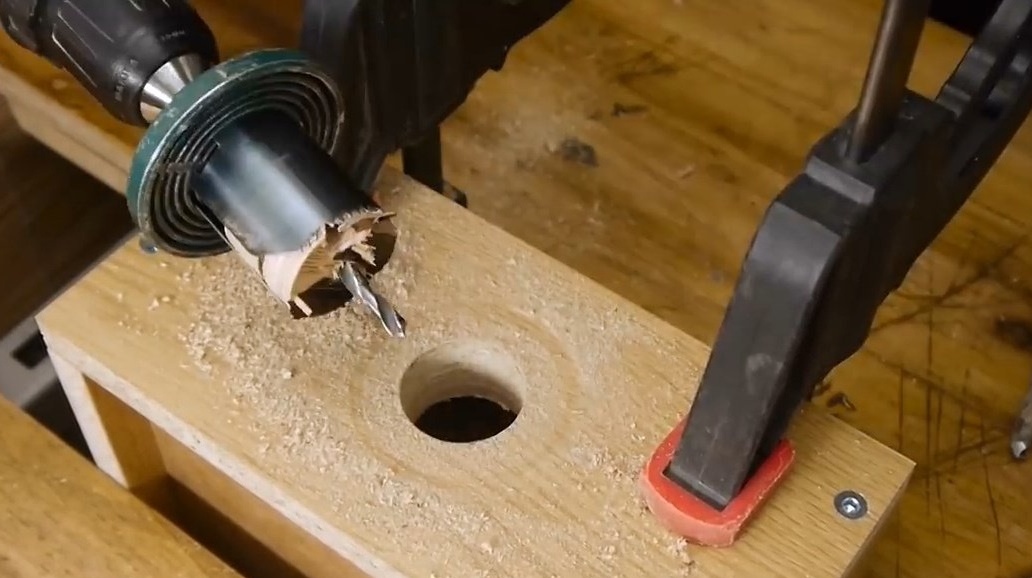
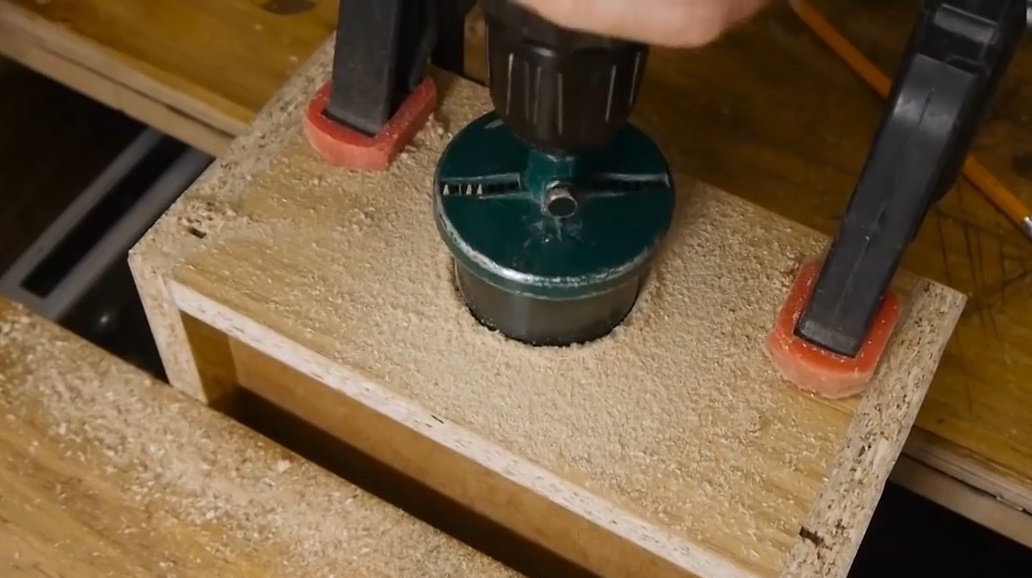
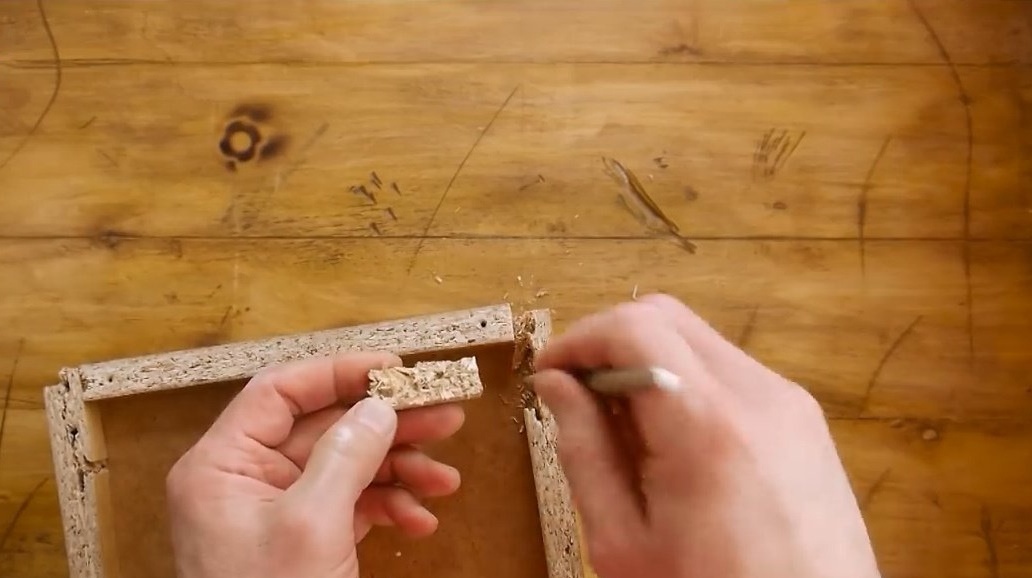
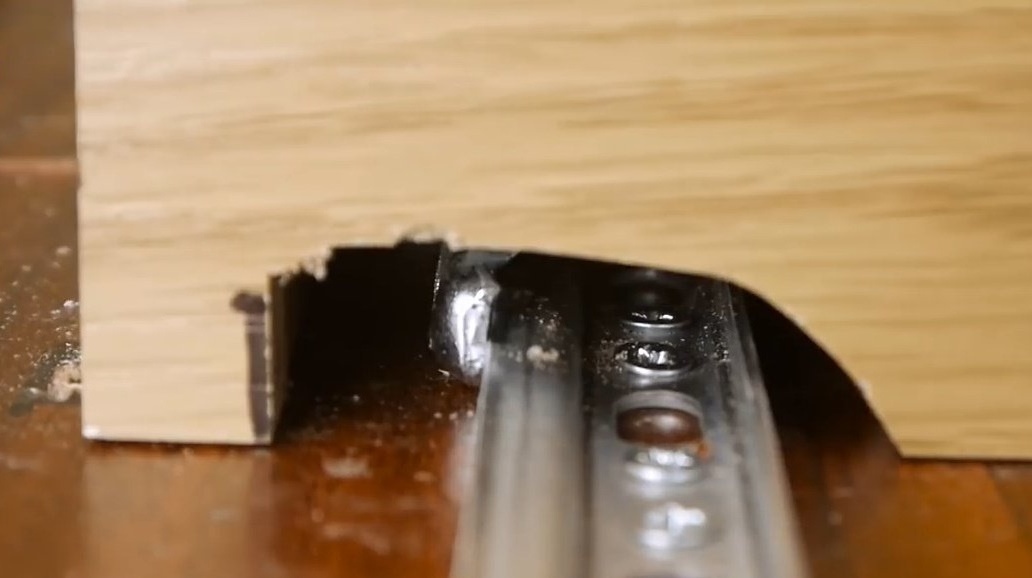
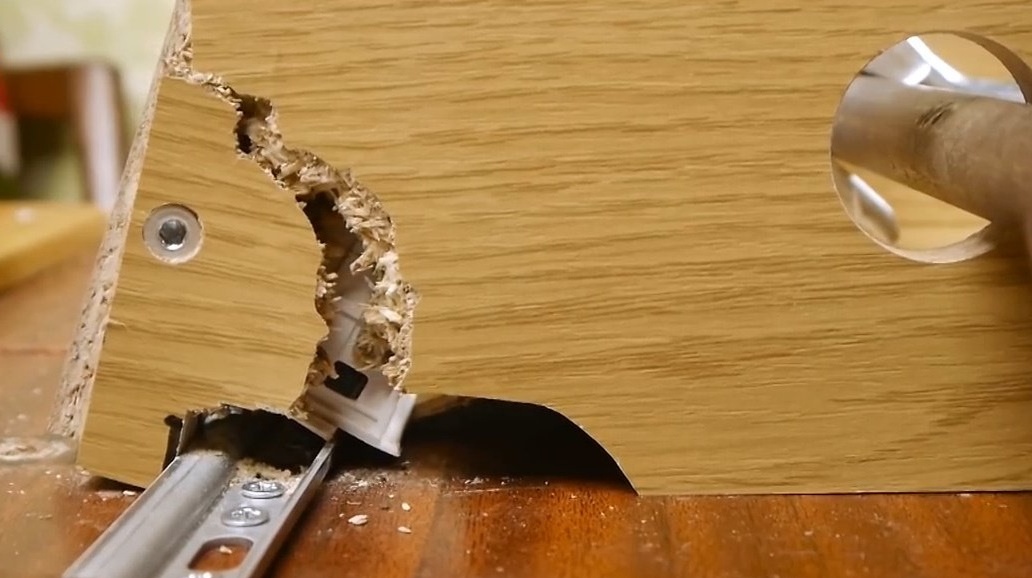
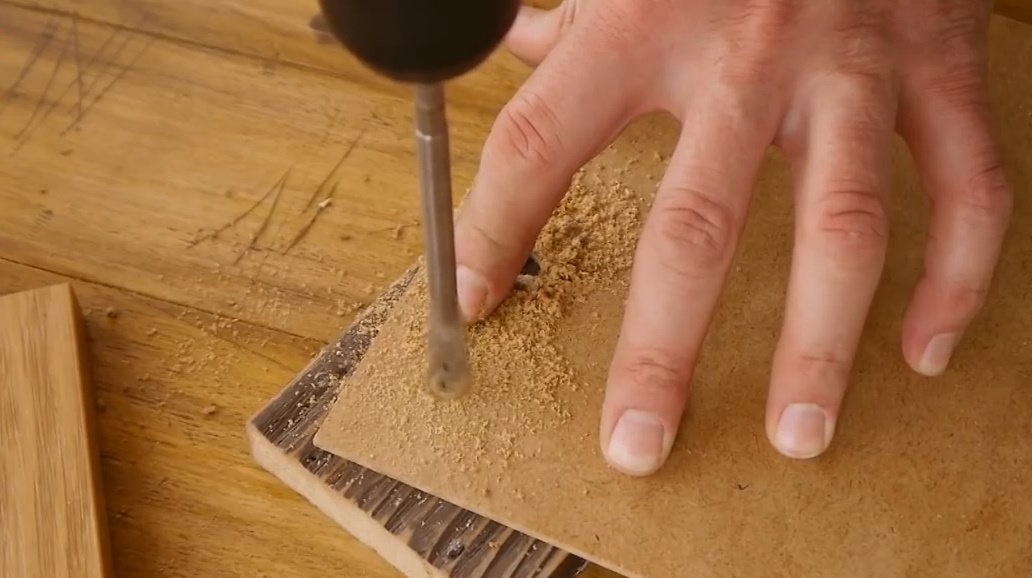
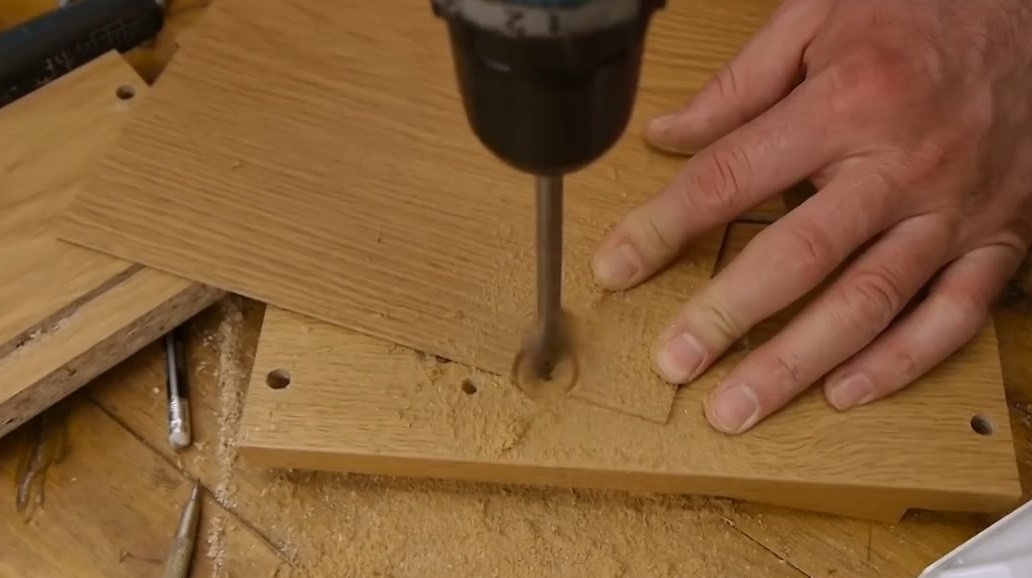
If you just cut the hole with a hole saw, then the chips get clogged and the saw experiences strong resistance. It starts to slow down and overheat. To prevent this from happening, before starting the cut, we drill a through hole. The spent shavings will be poured there.
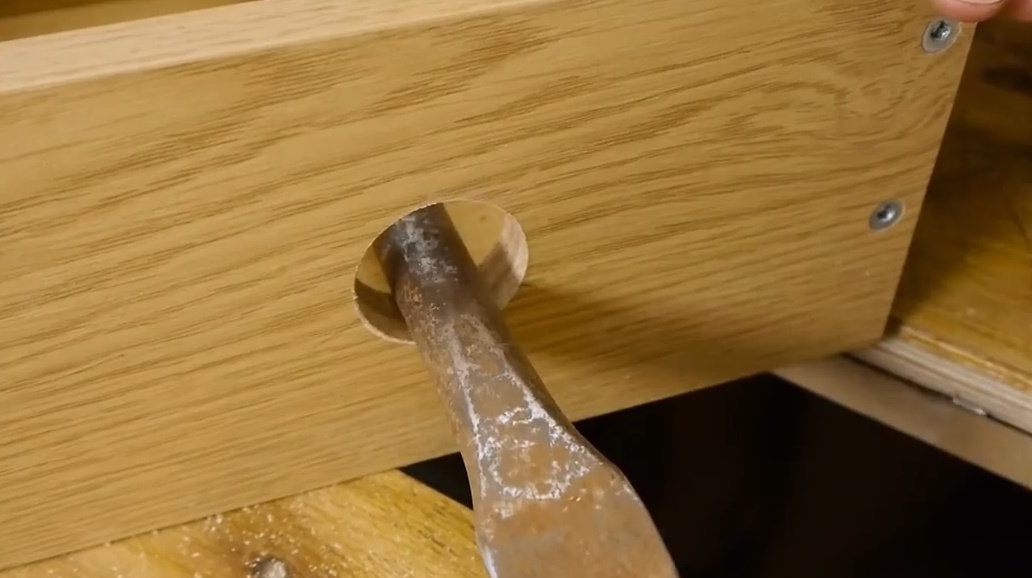
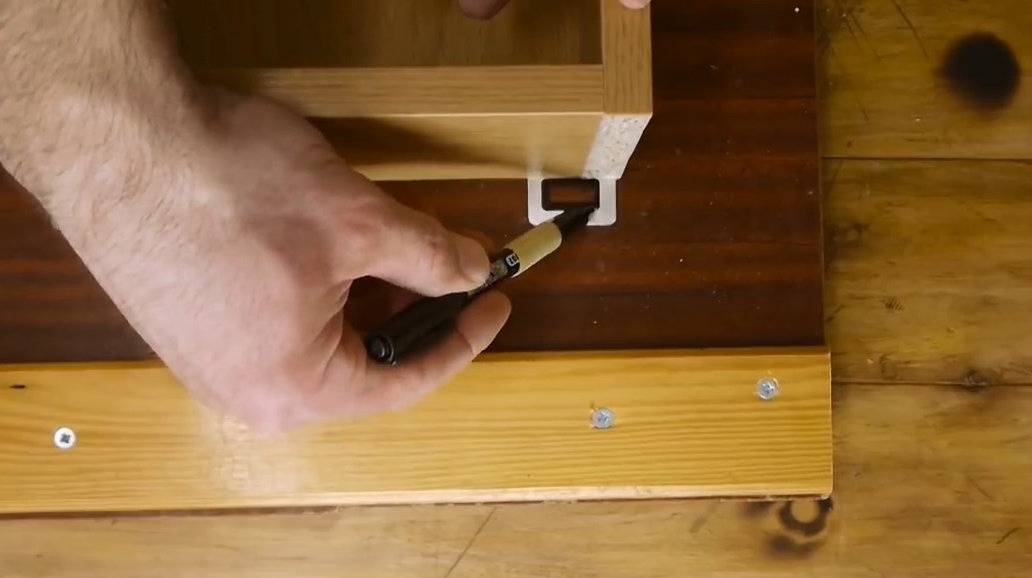
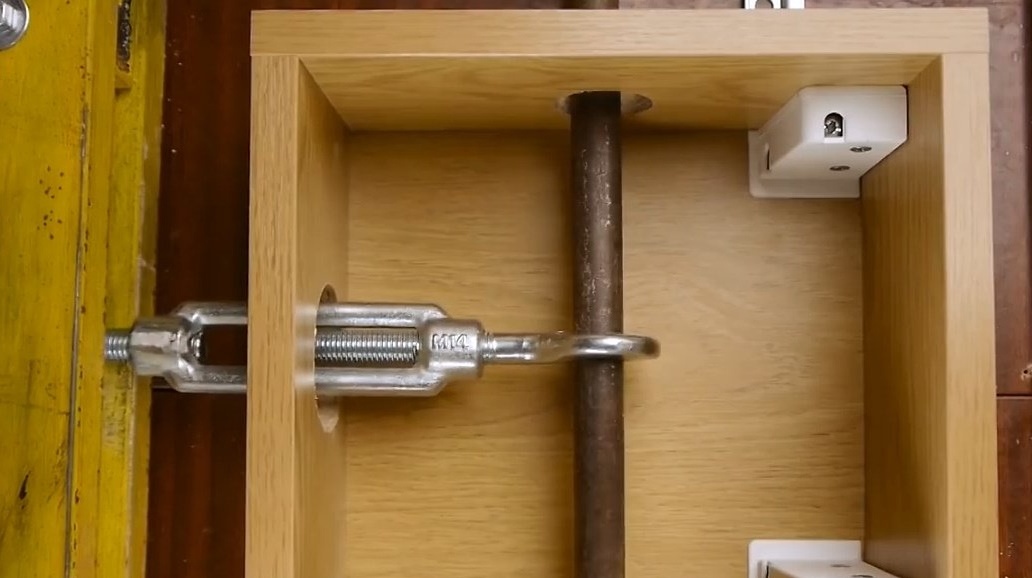
Still in the lower shelf drills a hole for traction. He takes a huge chisel.
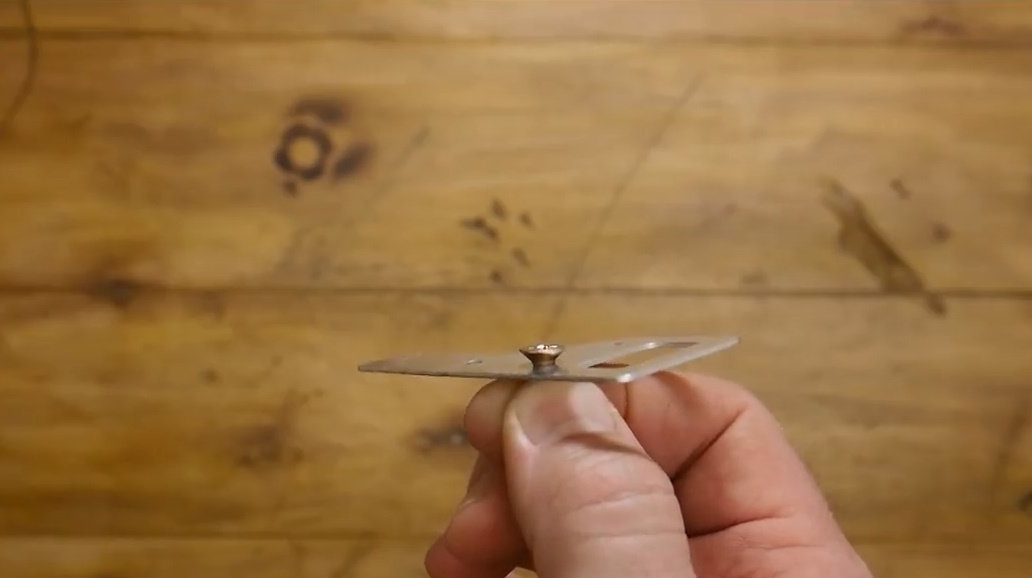
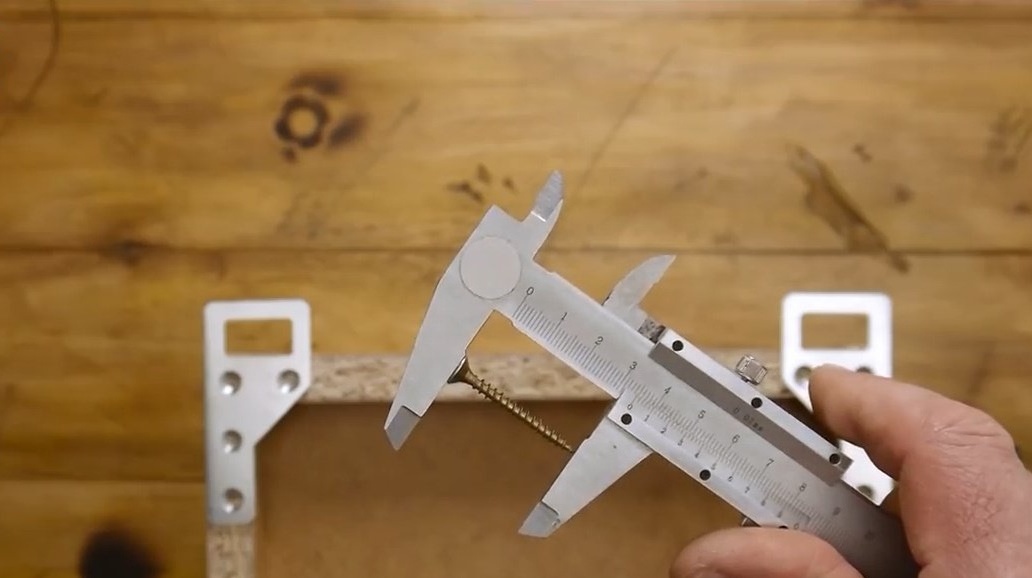
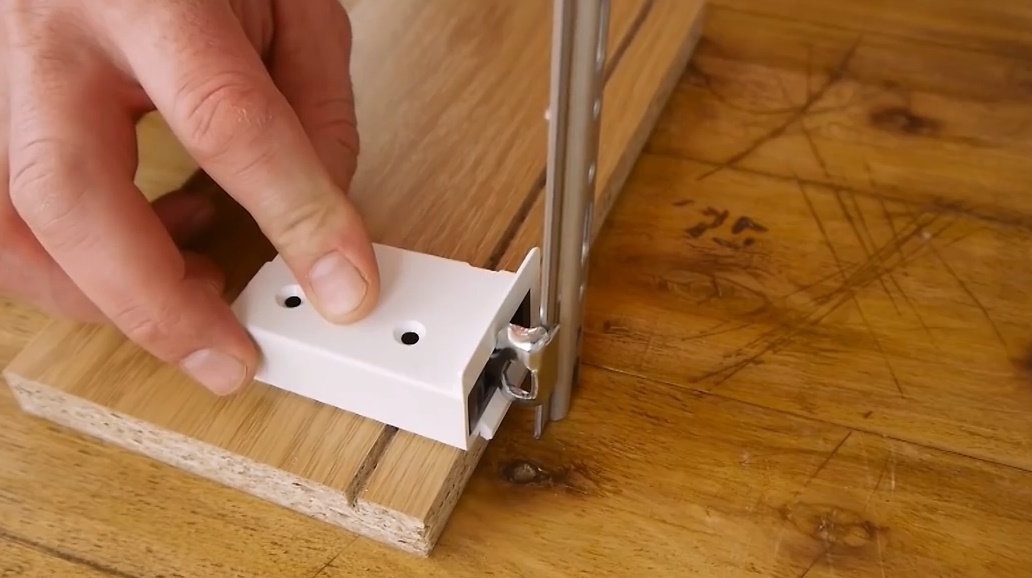
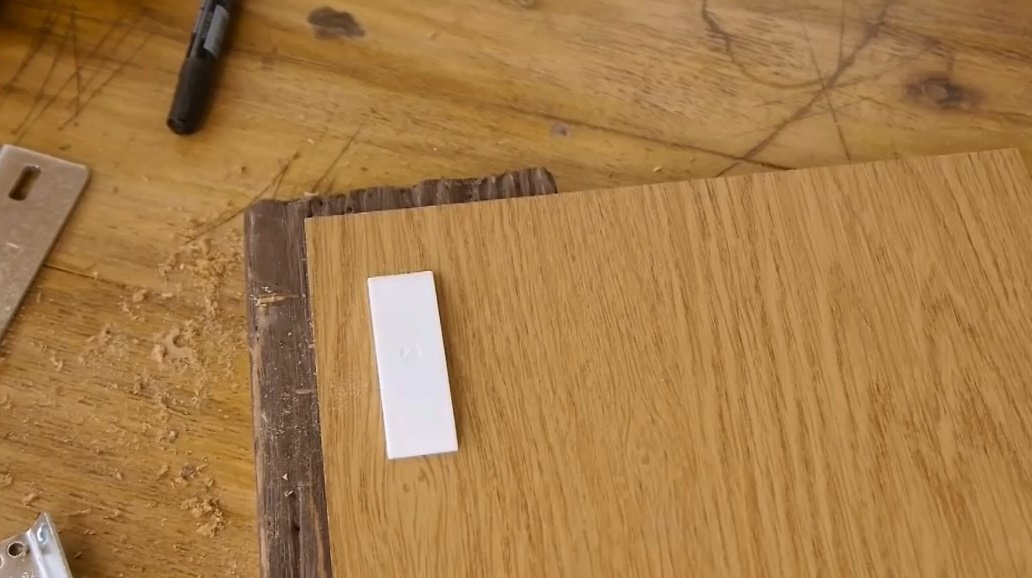
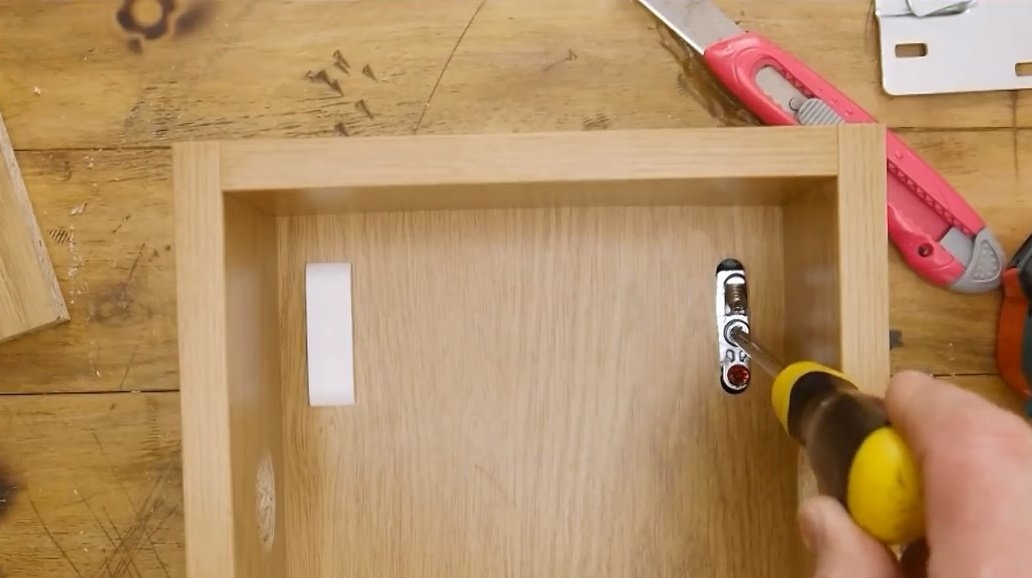
The first are the most unpretentious awnings, which are still used in budget kitchens because of their simplicity and cheapness. Here is such a suspension with an eye, and its modification is an eye with an expanded hole for adjusting the position of the cabinet.

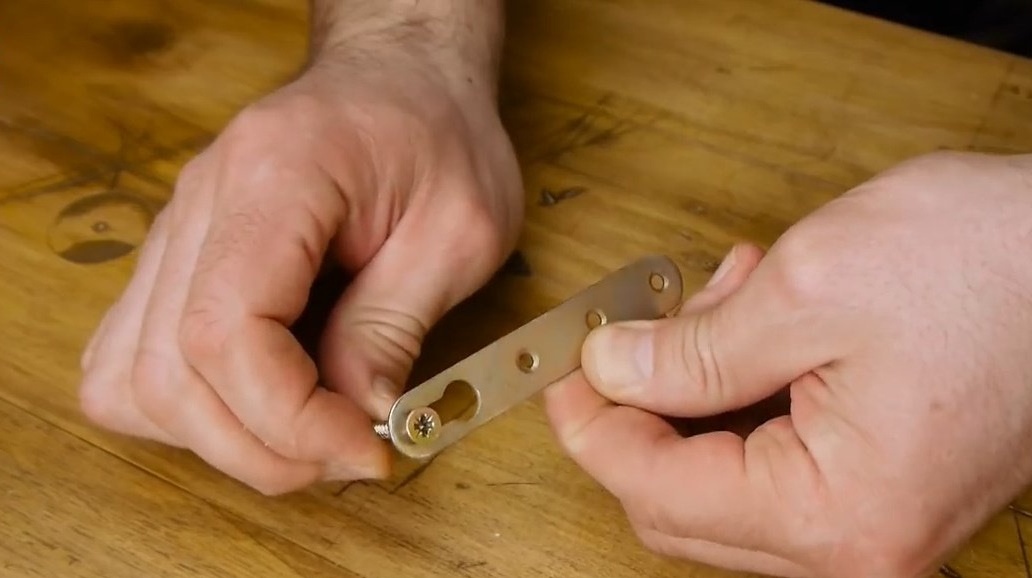
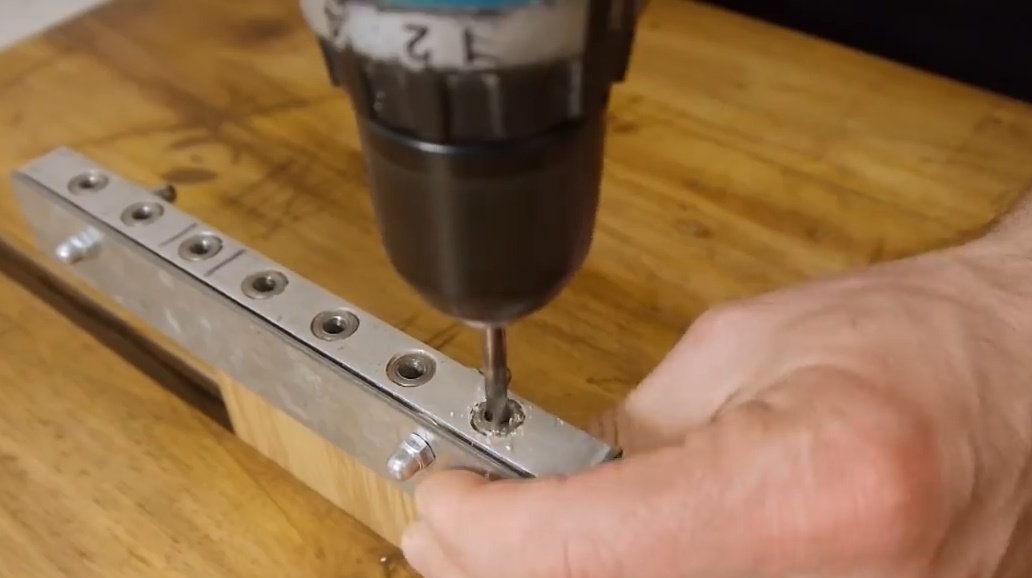
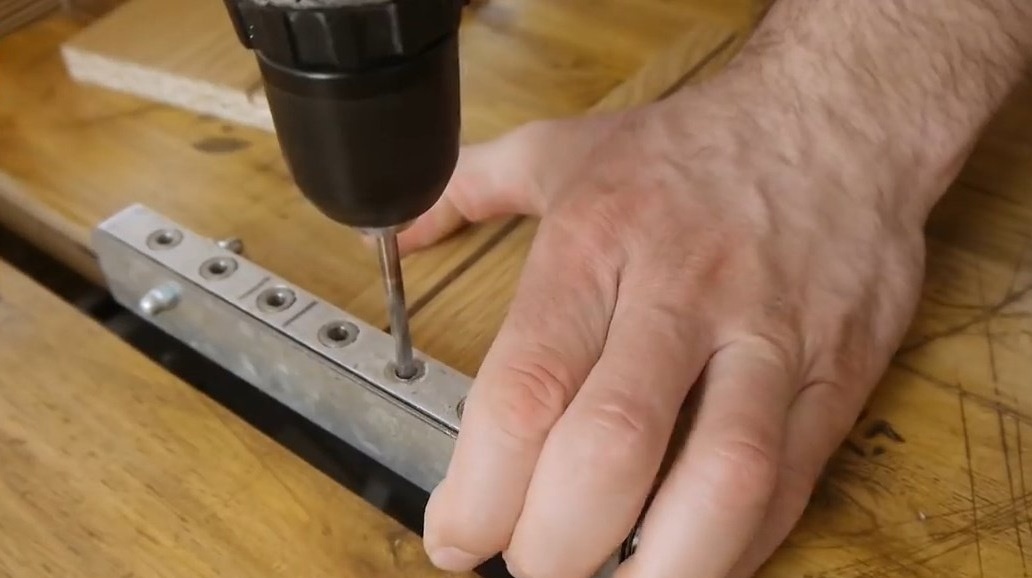
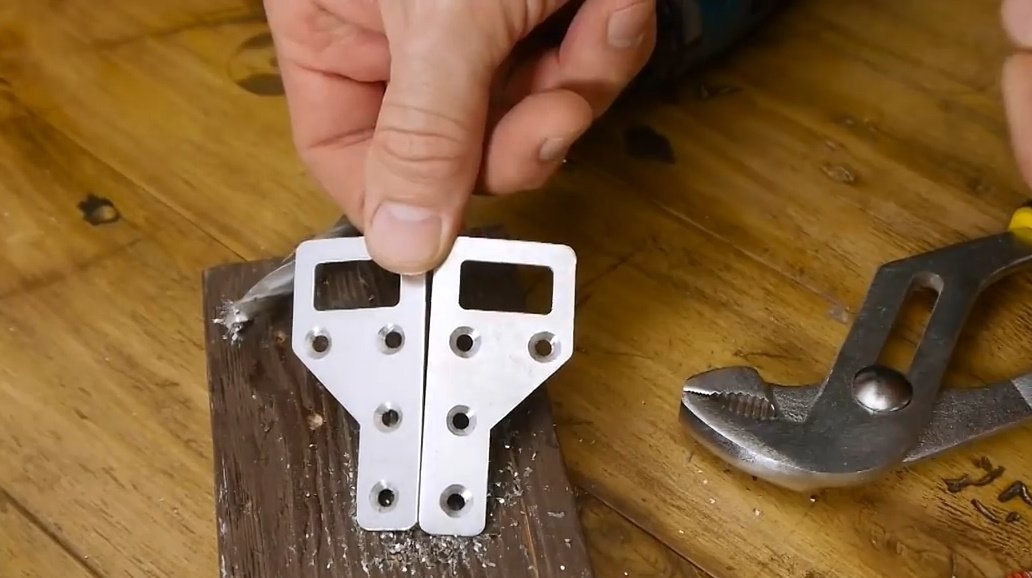
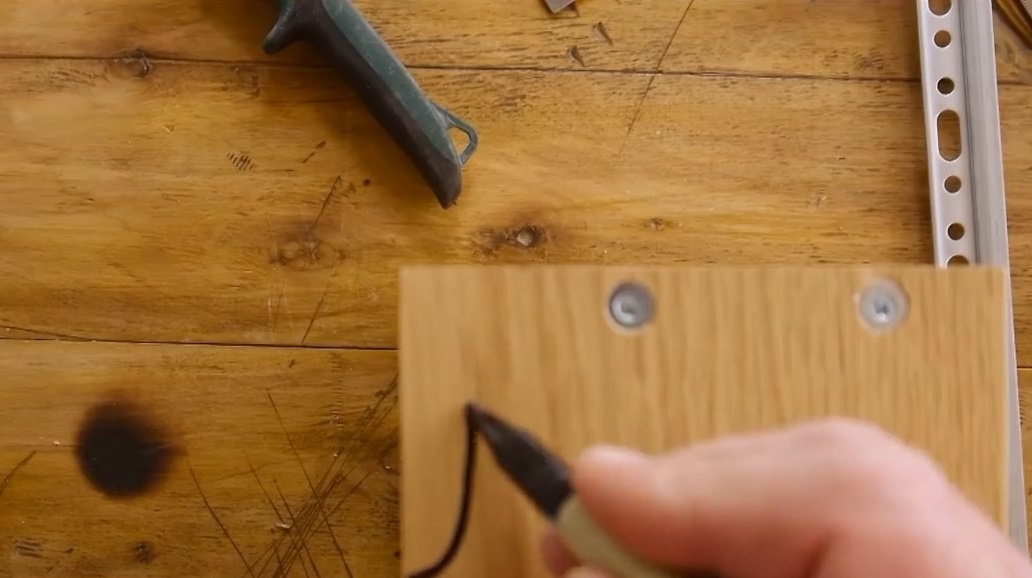
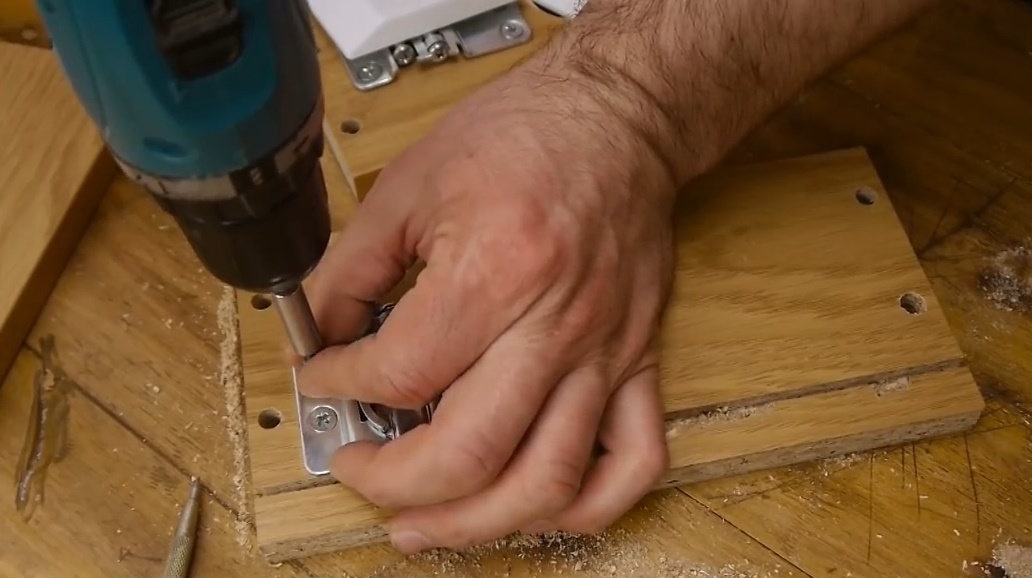
It is this canopy that will be the first to participate in the trials. Just to get started, let's put it in order, so that the caps of the self-tapping screws do not stick out the holes, you need to slightly countersink with a drill with a diameter of 10 mm.
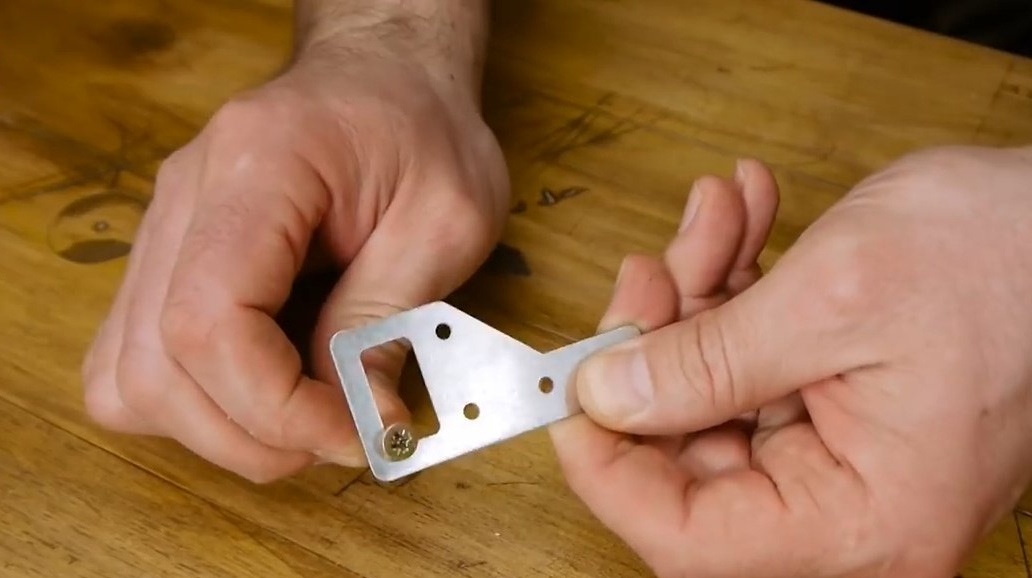
The author also countered the holes in the second canopy, placing it in a mirror.

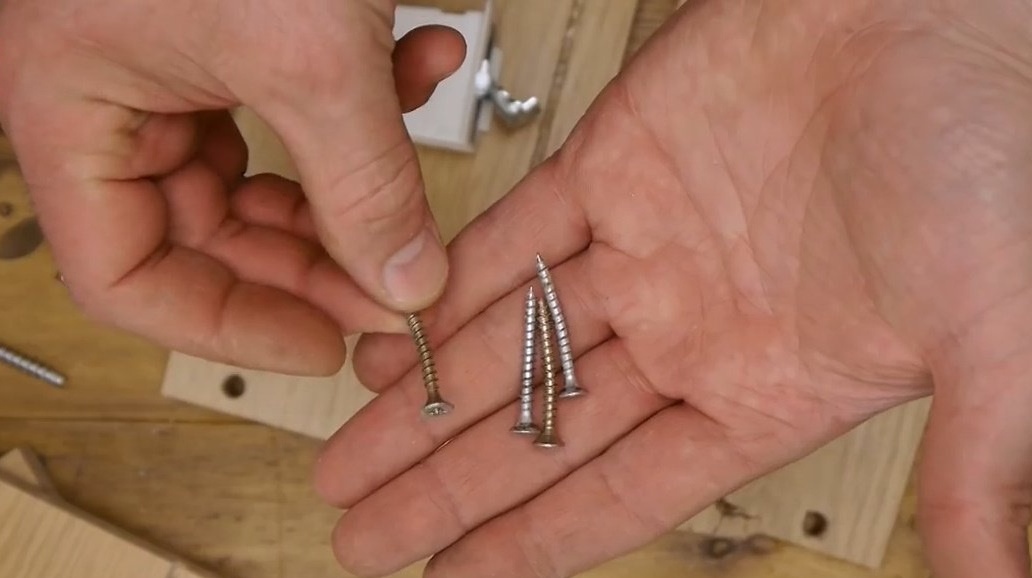
The canopies will be screwed on with 35 mm long self-tapping screws, universal or on wood. You can of course be more authentic, but there is a risk that they will come out from somewhere on the side.
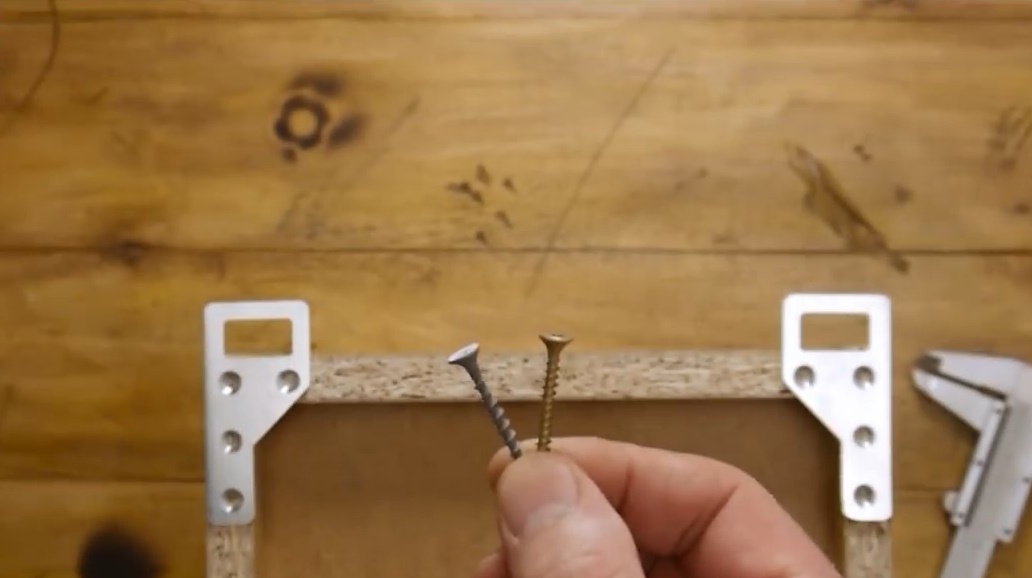
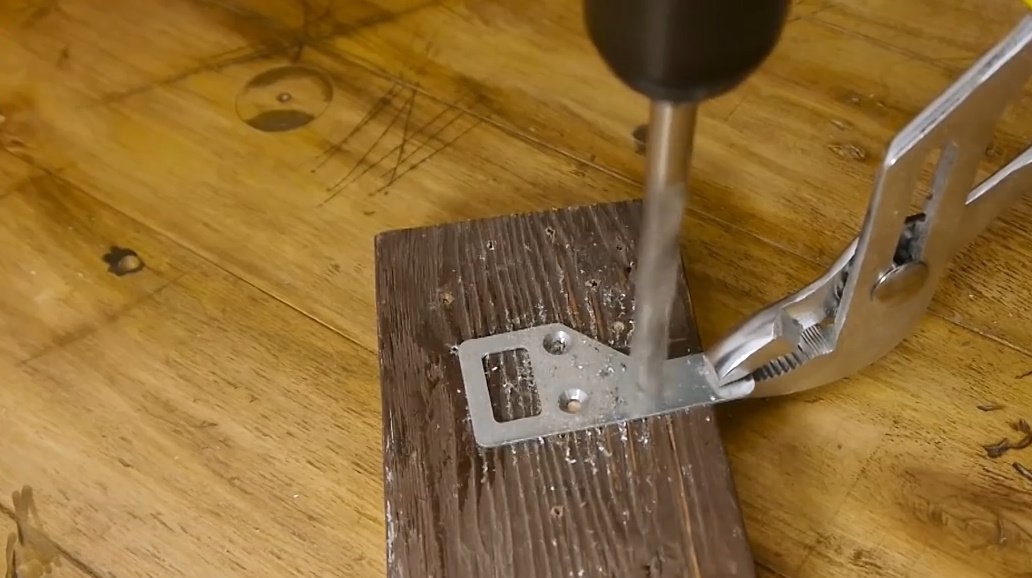
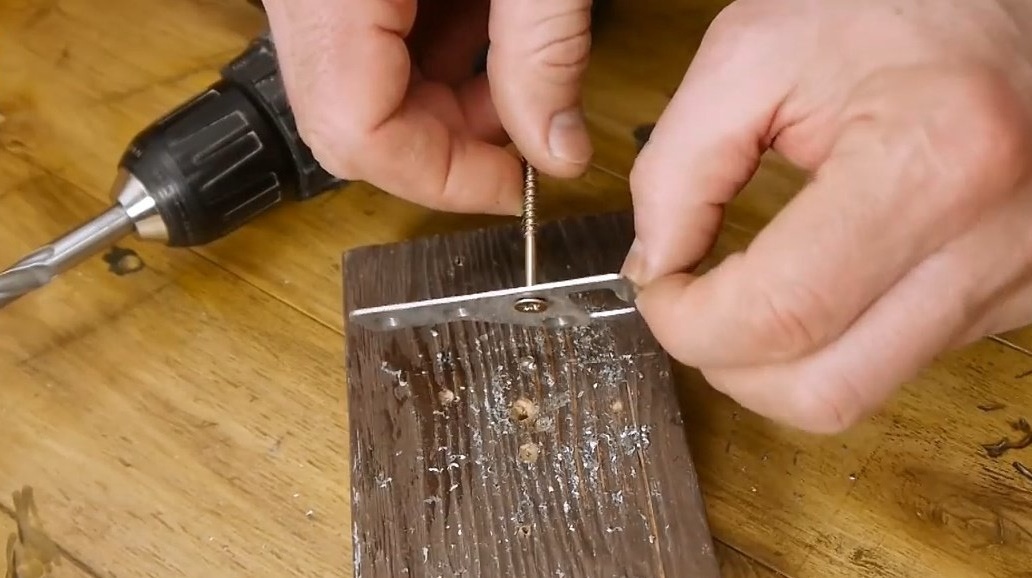
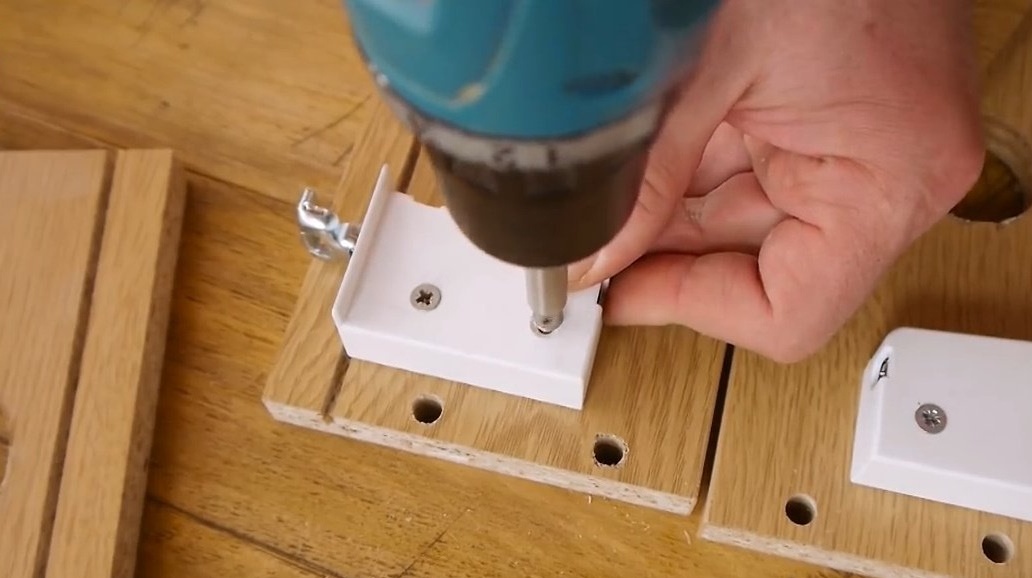
Before twisting, it pre-drills the holes with a drill with a diameter of 2.5 mm so as not to split the chipboard with screws.
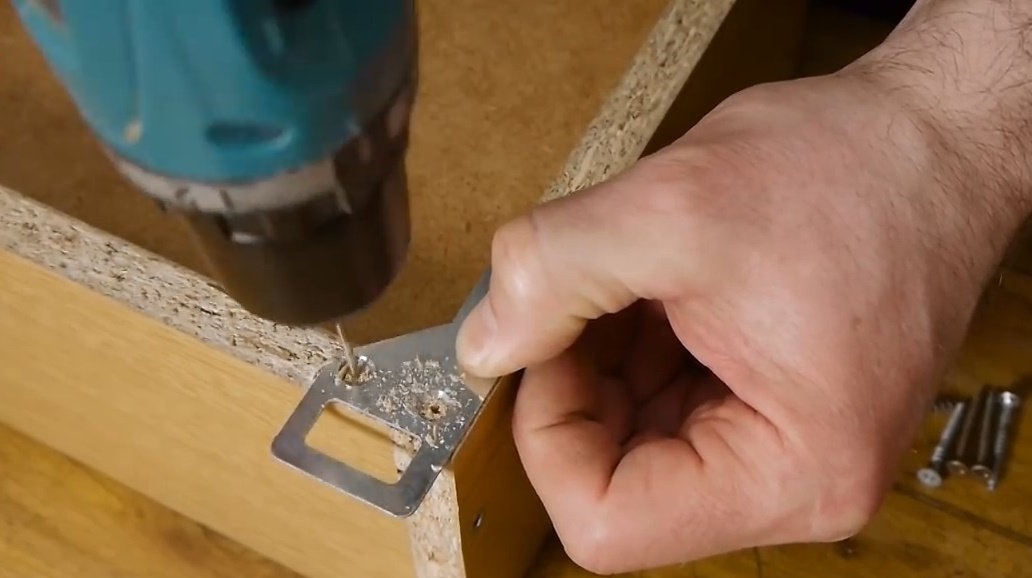
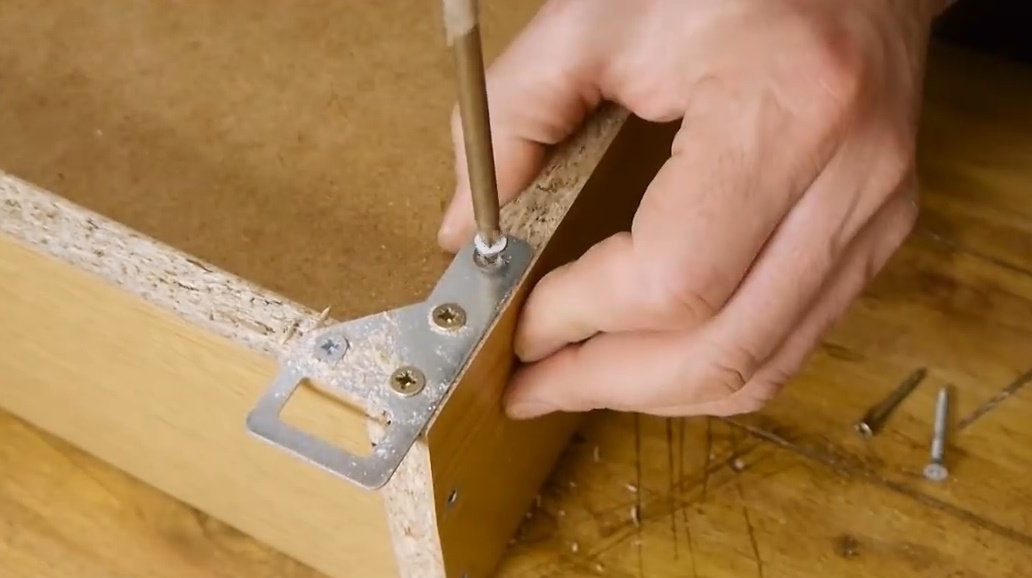
So that the canopies do not come off or fall off, screw them with two screws with a diameter of 8 mm.
The advantage of these ears is the ability to move the section to the right or left. Pulls the awnings to the stand, and begins the test.
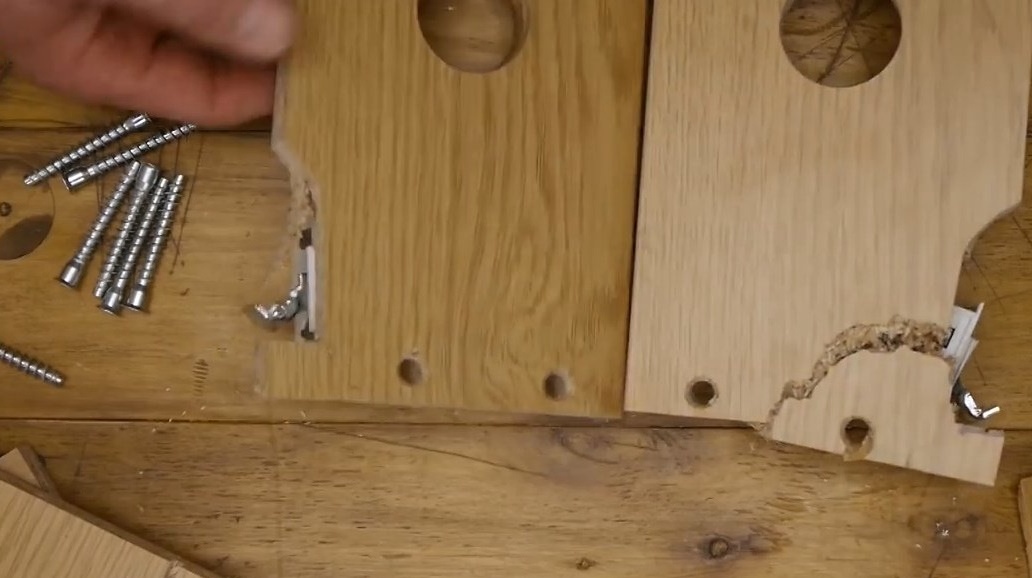
At a load of 211 kg, the awnings split the side rack of the section.Is 200 kg a lot or a little? We remove 50% of the margin of safety, there remains 100 kg. On average, a section weighs about 15 kg, that is, 85 kg can be safely put into it.
These canopies have many negative aspects - unpresentable appearance, inconvenient adjustment, and slow installation of sections. Because under each canopy you need to mark and drill individual holes.
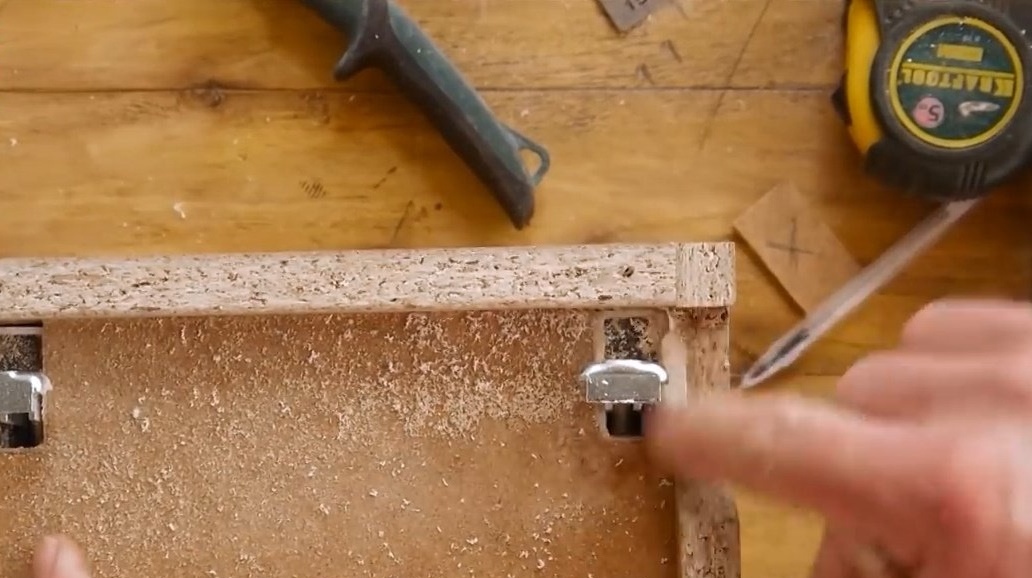
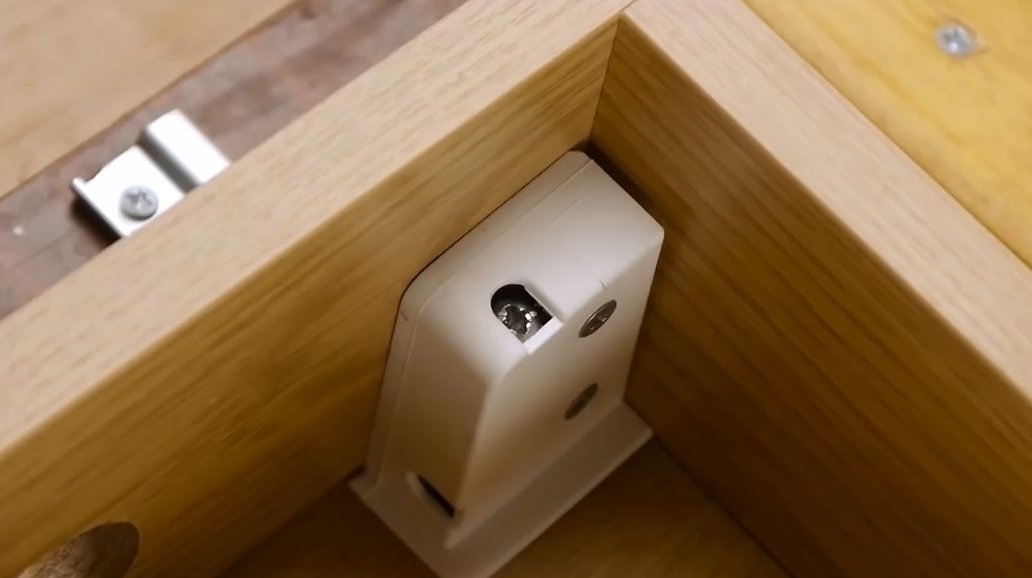
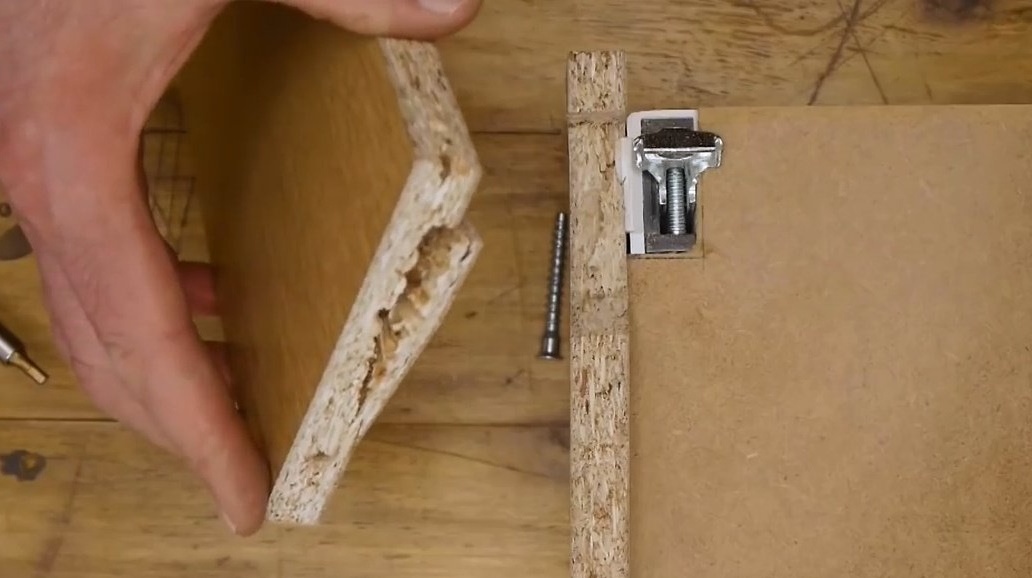
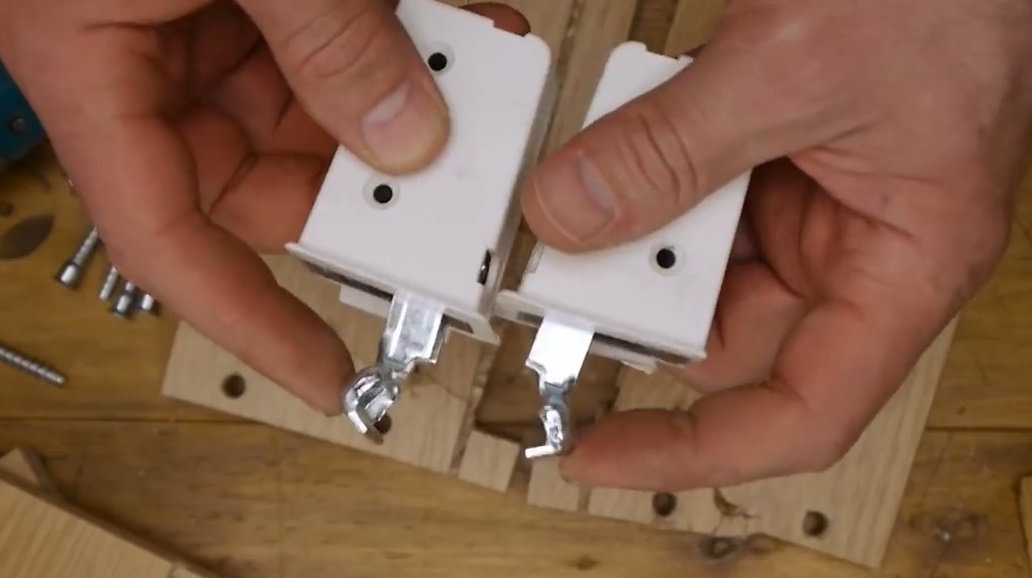
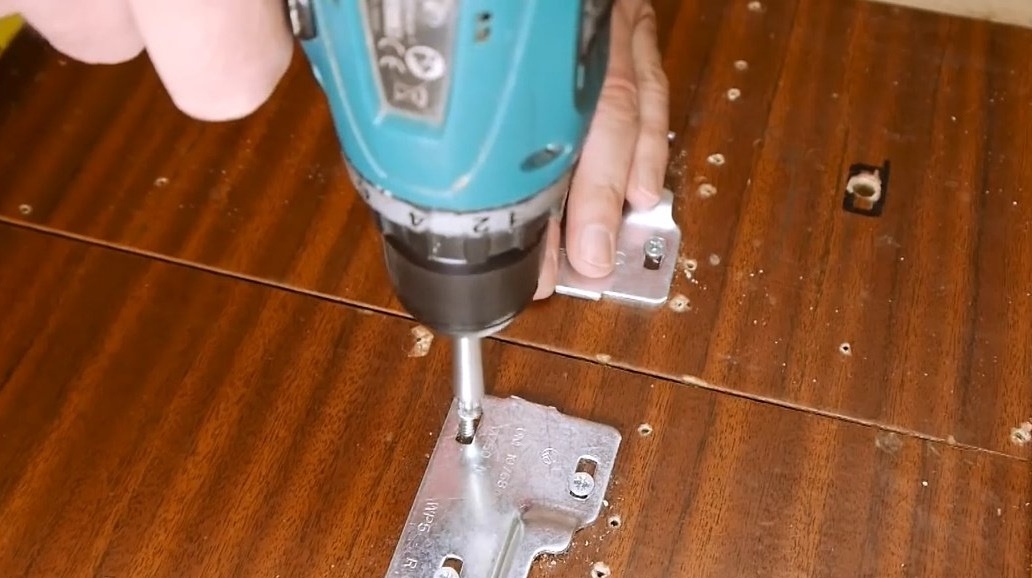
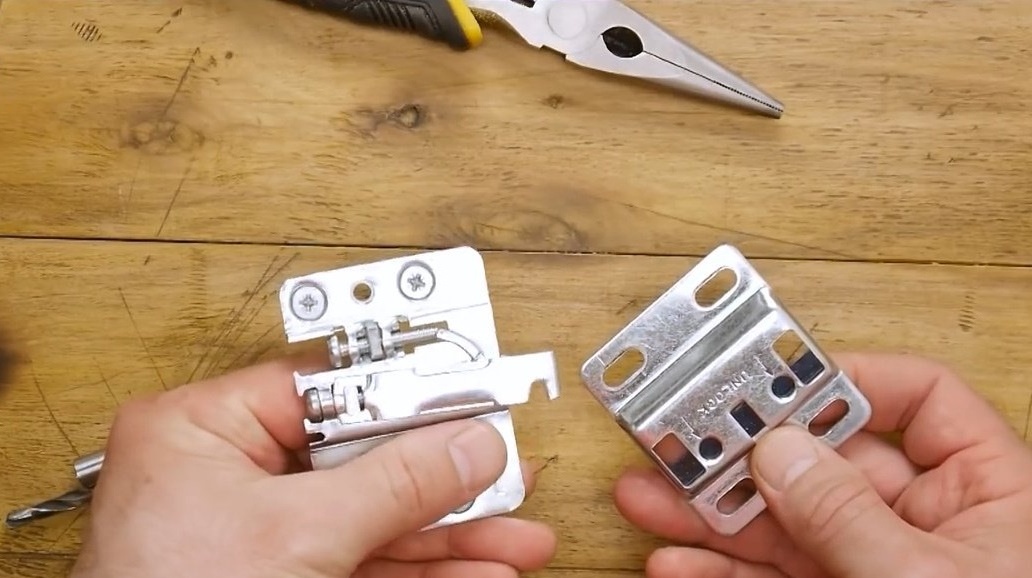
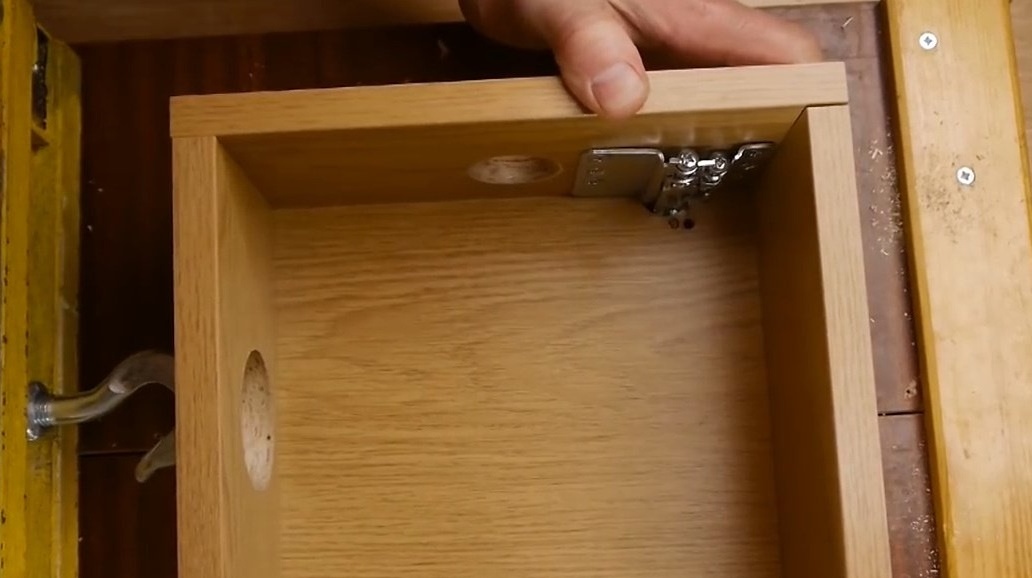
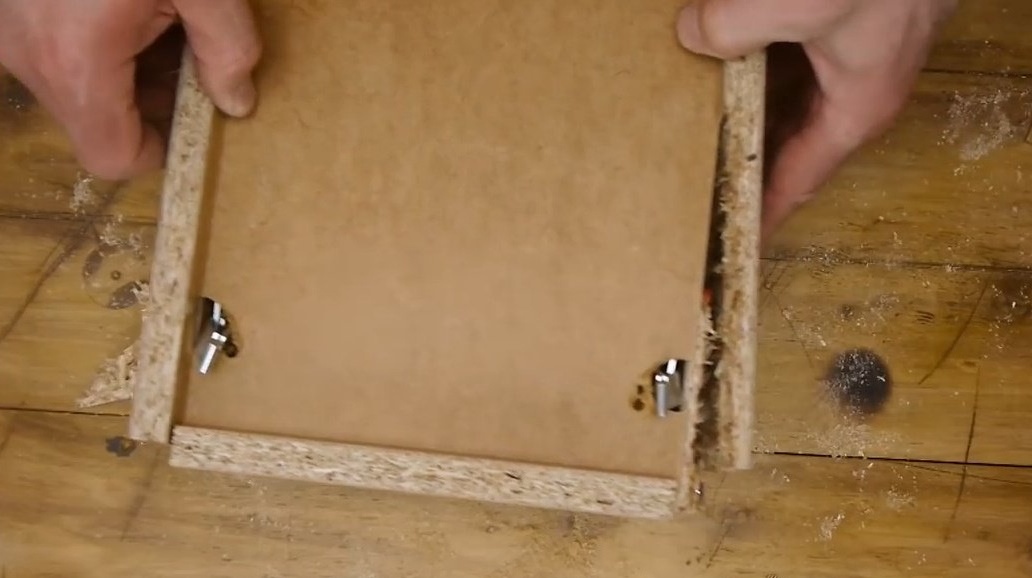
All these disadvantages disappear when using modern adjustable canopies, which are most widely used today. Now the mounting plate is screwed onto the wall, which forms a common base for all canopies. This greatly speeds up the process of installing the kitchen, plus convenient adjustment in three planes - right, left, up, down, forward and backward.
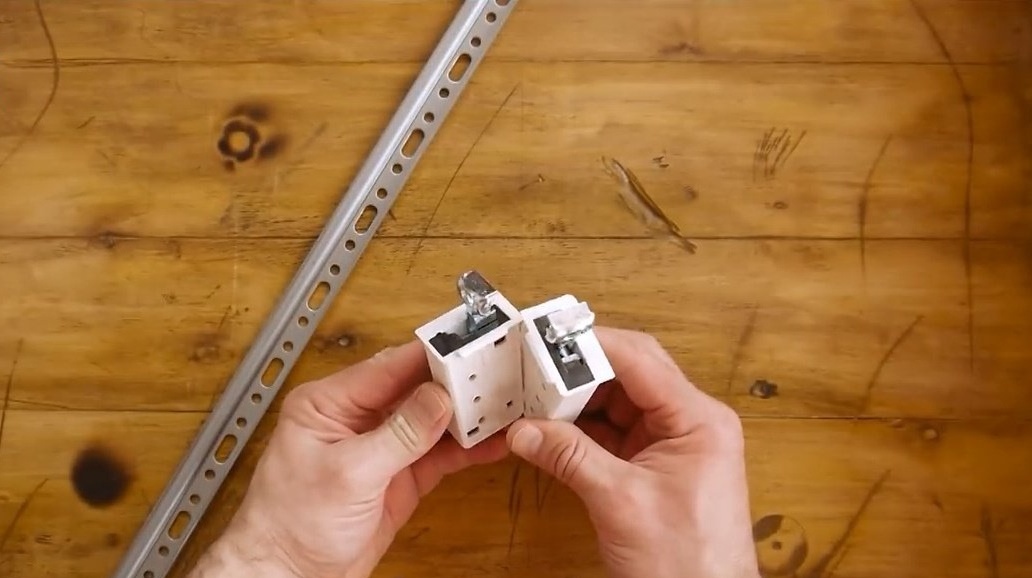
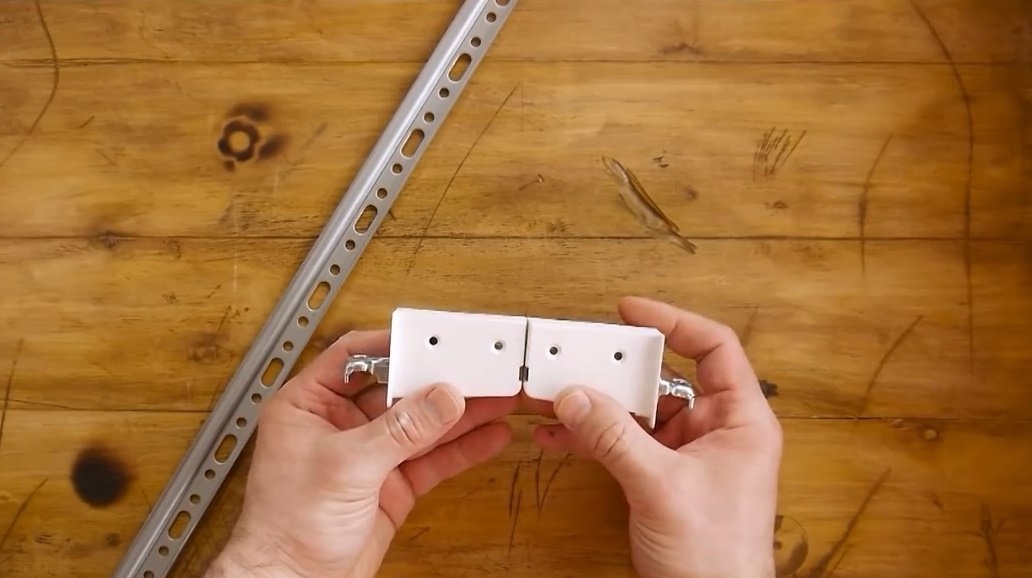
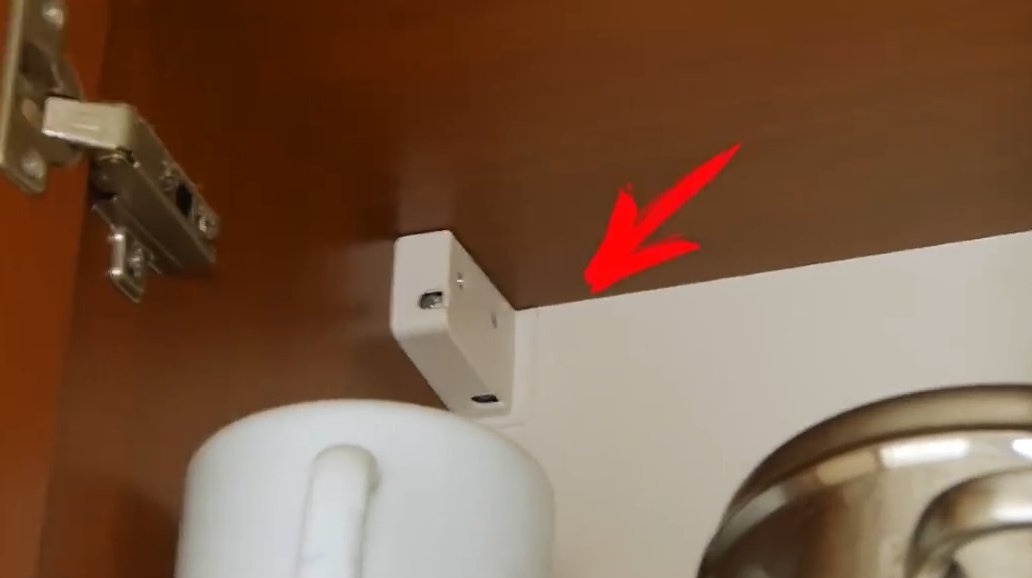
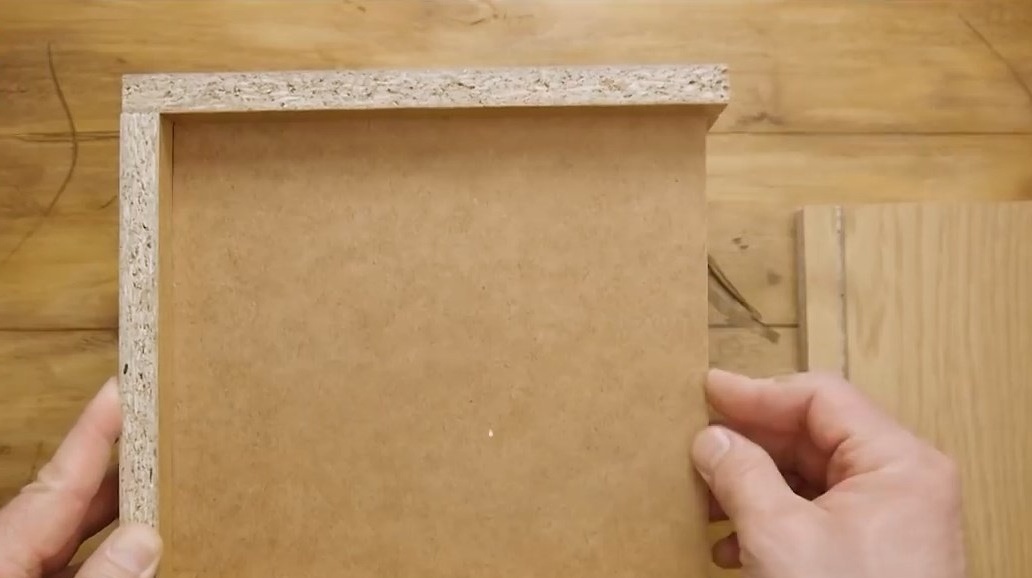
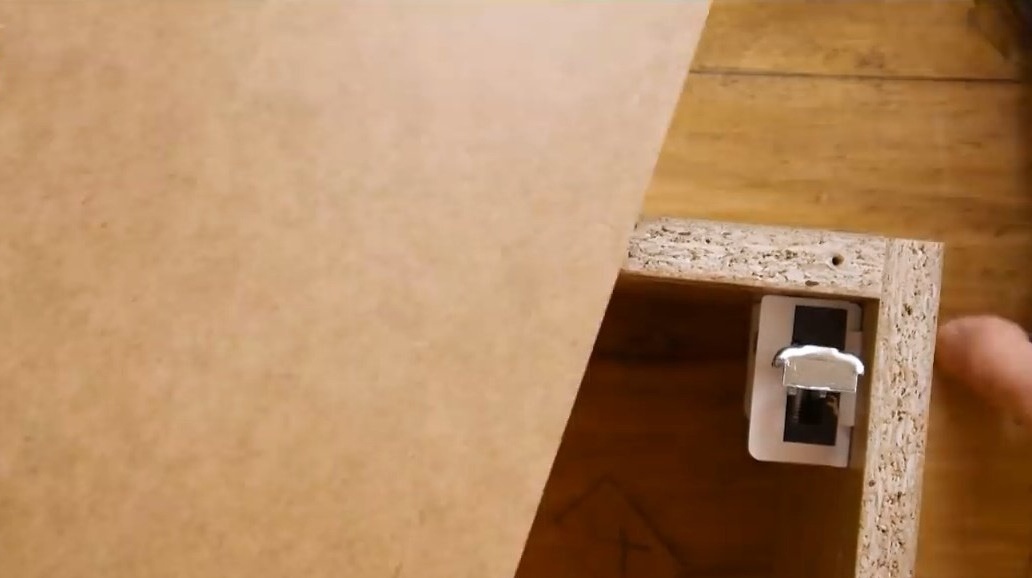
These canopies have their disadvantages. The first is the fastening of the canopy with just two self-tapping screws. A flimsy plastic case, and a complicated cabinet design. In order for the canopy to fully work, the back wall of the section needs to be drowned 16 mm deep into the cabinet.
Some novice collectors do not know this subtlety, and put up awnings as is, without sinking the back wall. As a result, the lockers are tilted, lagging behind the wall at the top. Check if you have such a problem?
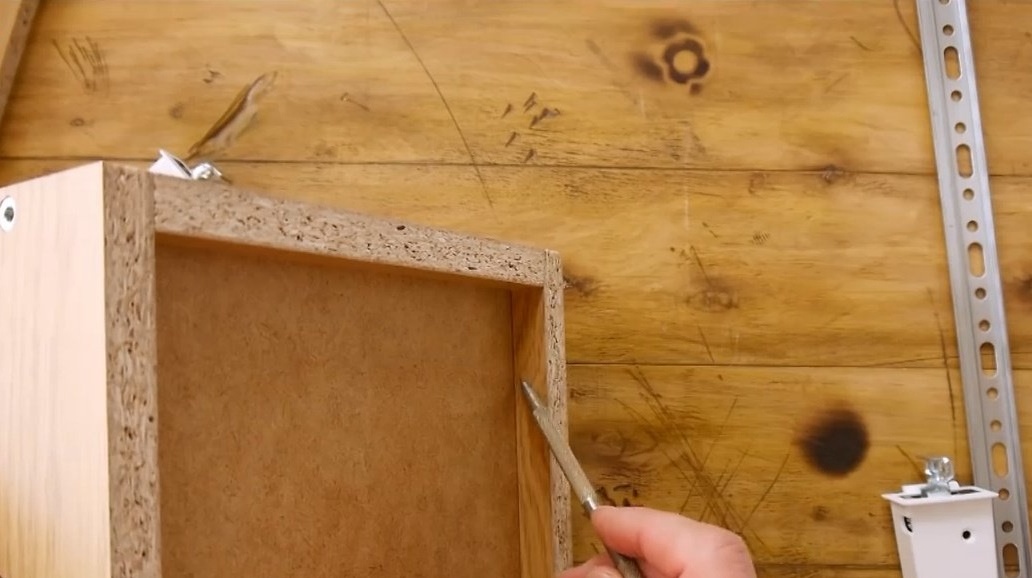
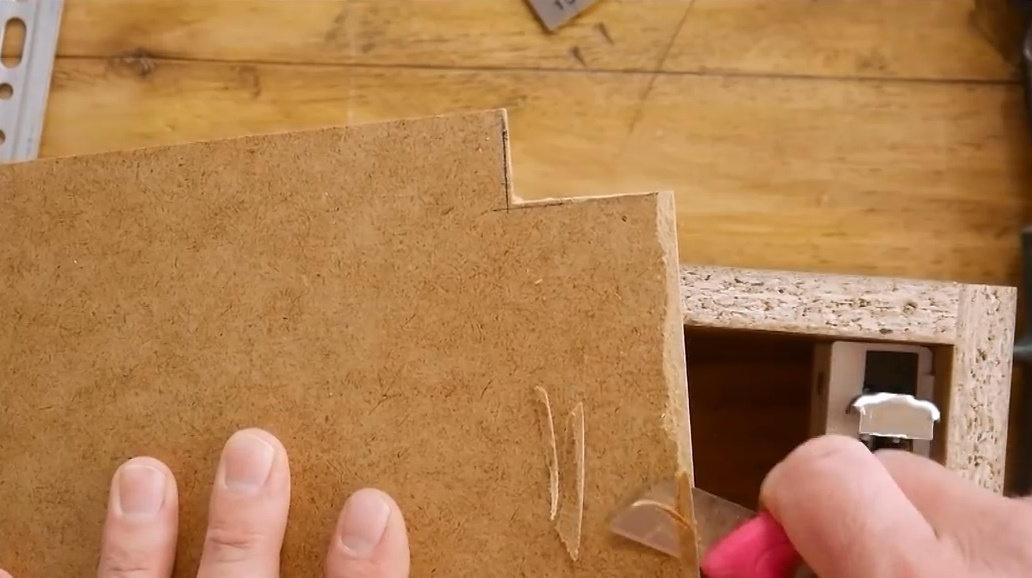
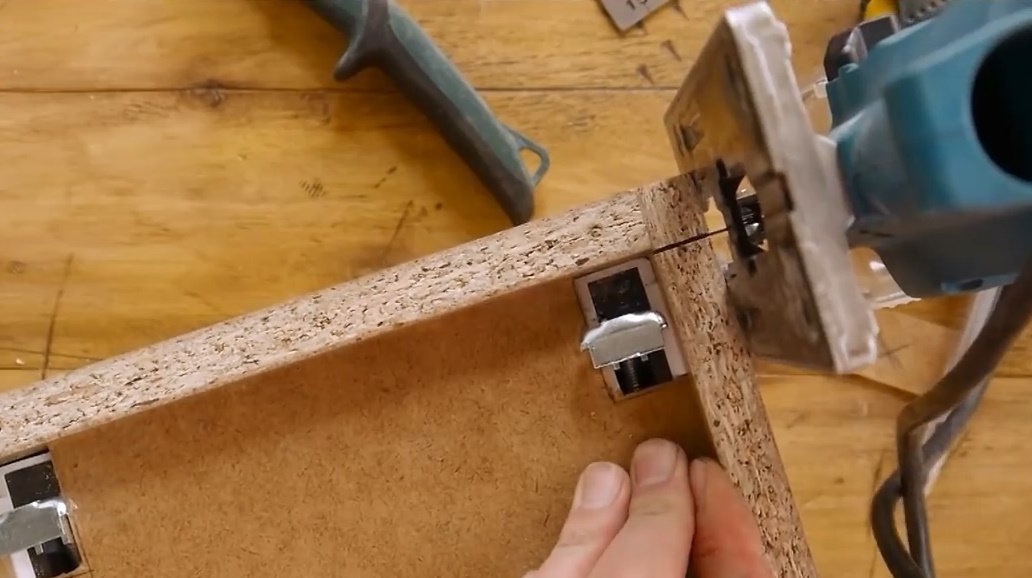
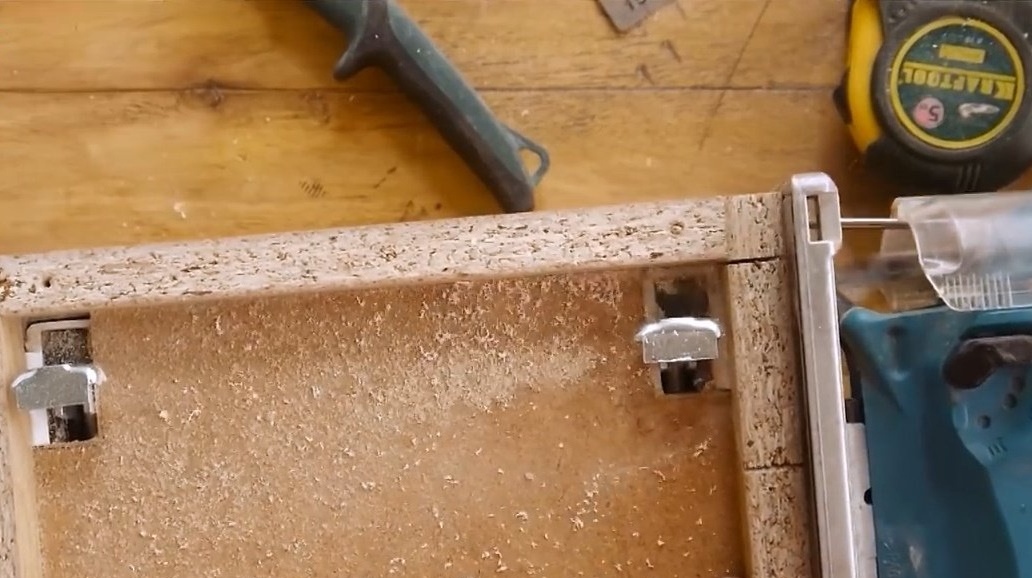
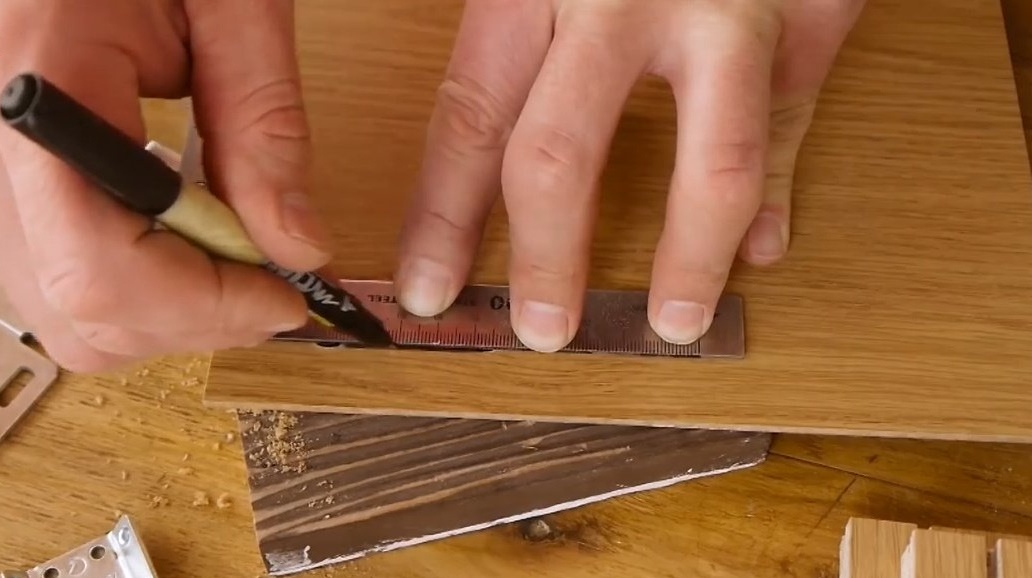
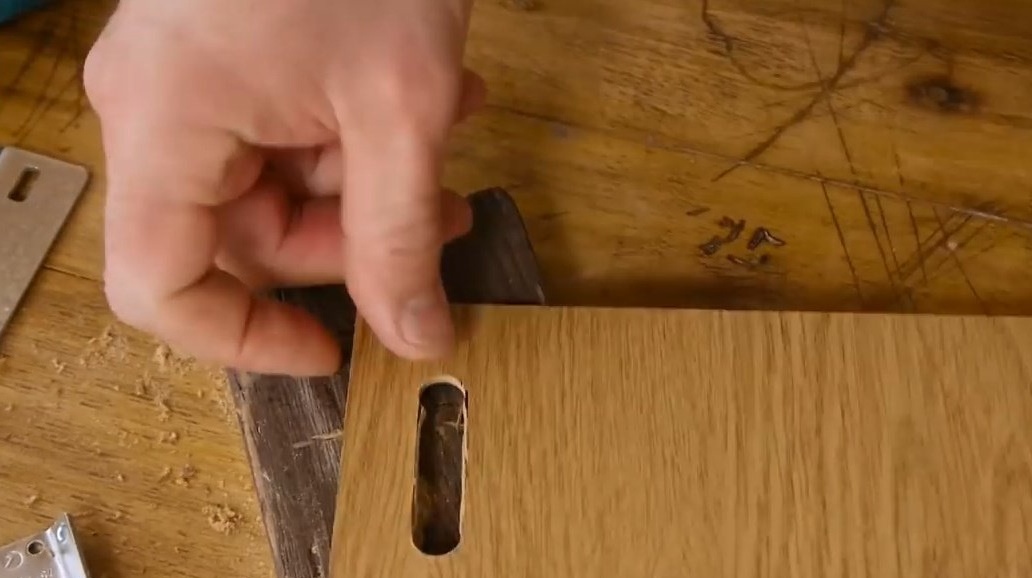
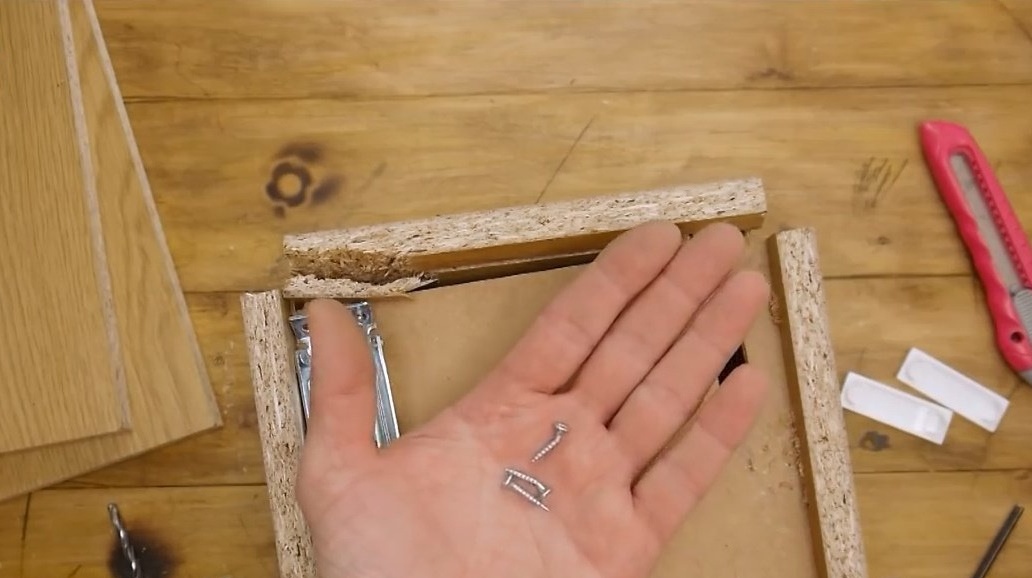
We will fasten the canopy with the same screws 35 mm long. Another inconvenience - under the canopy you need to cut through the back wall. This can be done with a jigsaw or scissors for metal.

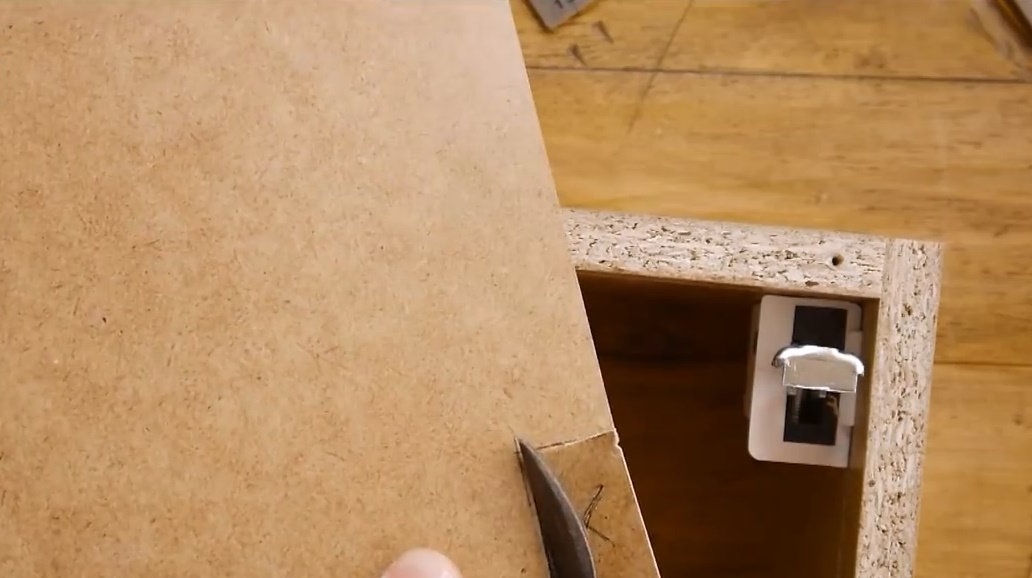
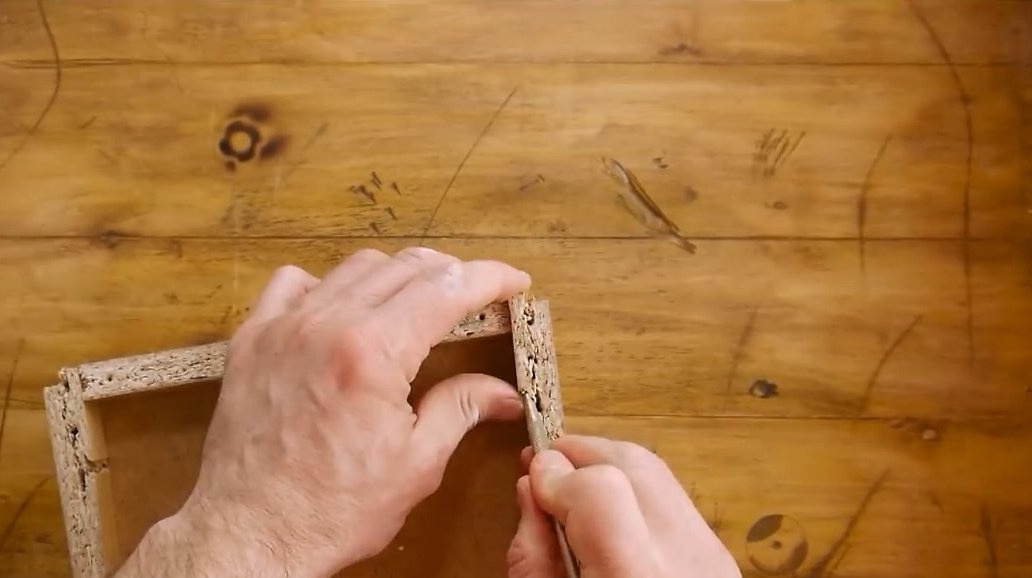
A little advice - if the fiberboard does not fit into the groove well - you can cut the chamfer on it.
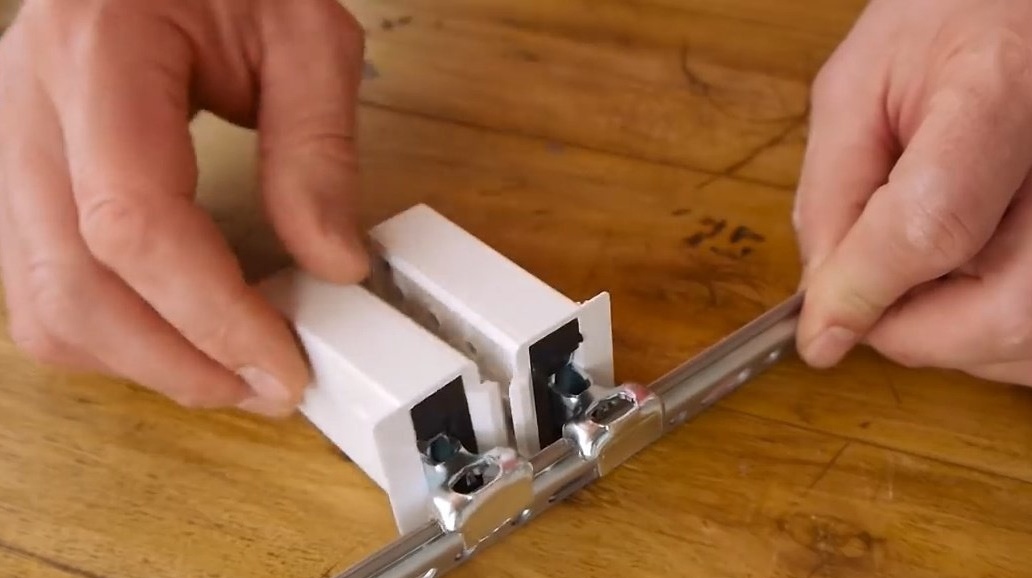
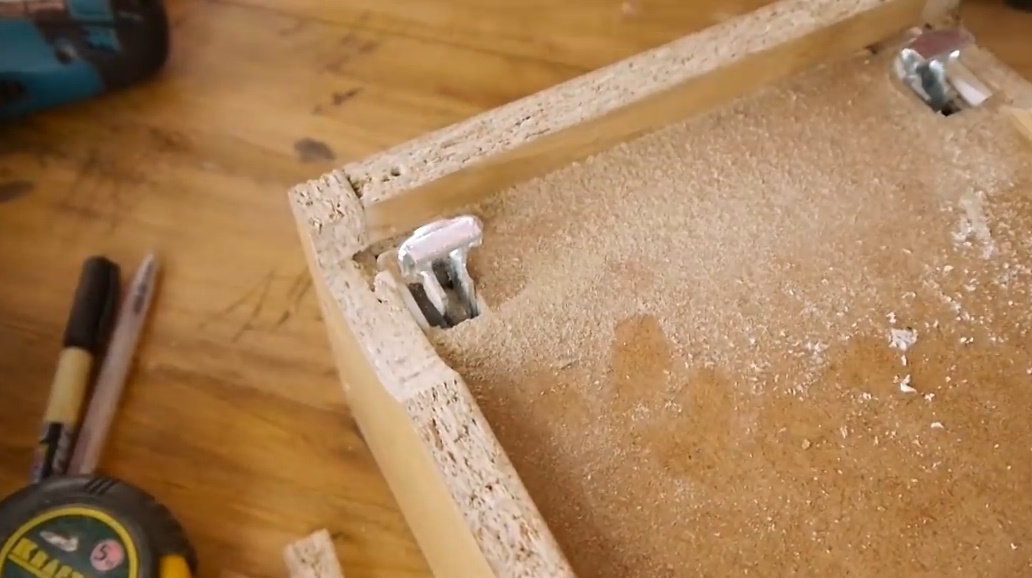
If the section is single, then the mounting plate is placed inside the section.
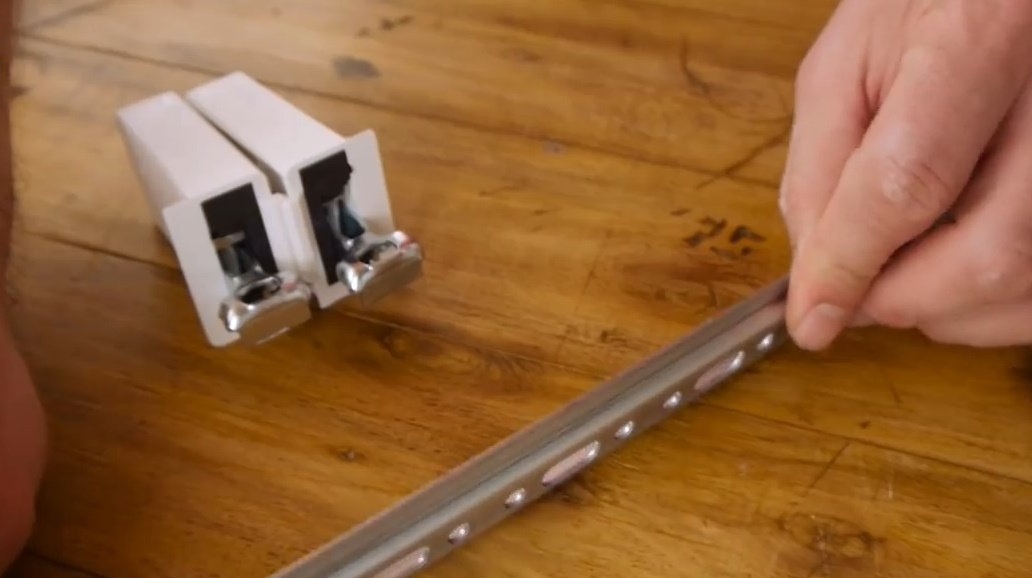
But if there are many sections, they need to be hung on one inextricable bar. In this case, you need to trim the side walls.


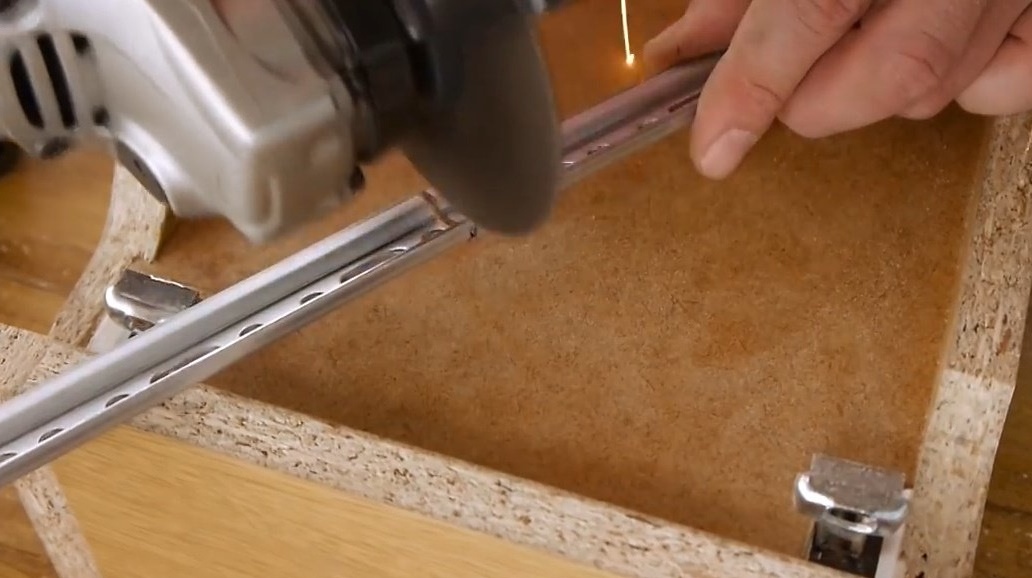
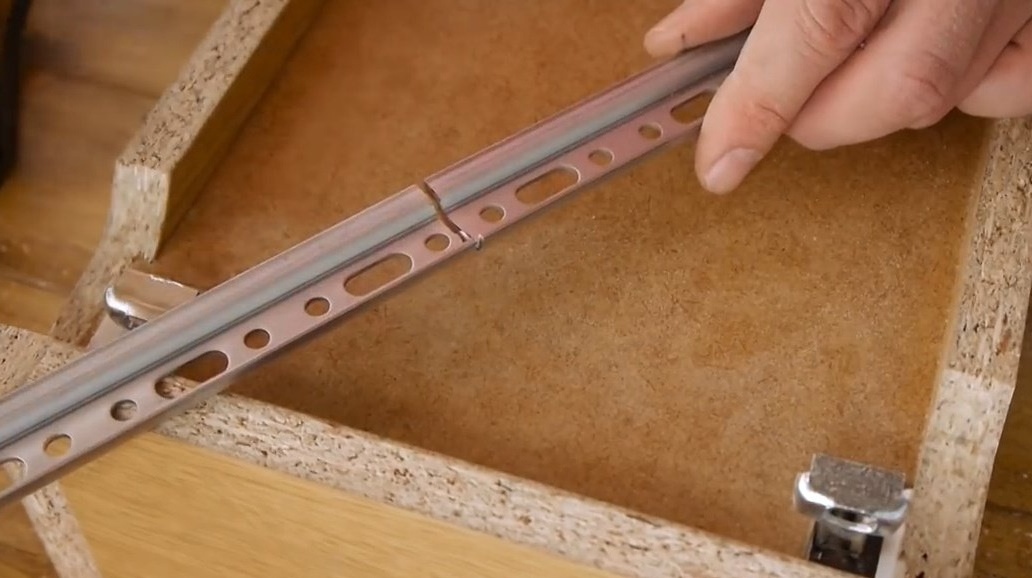
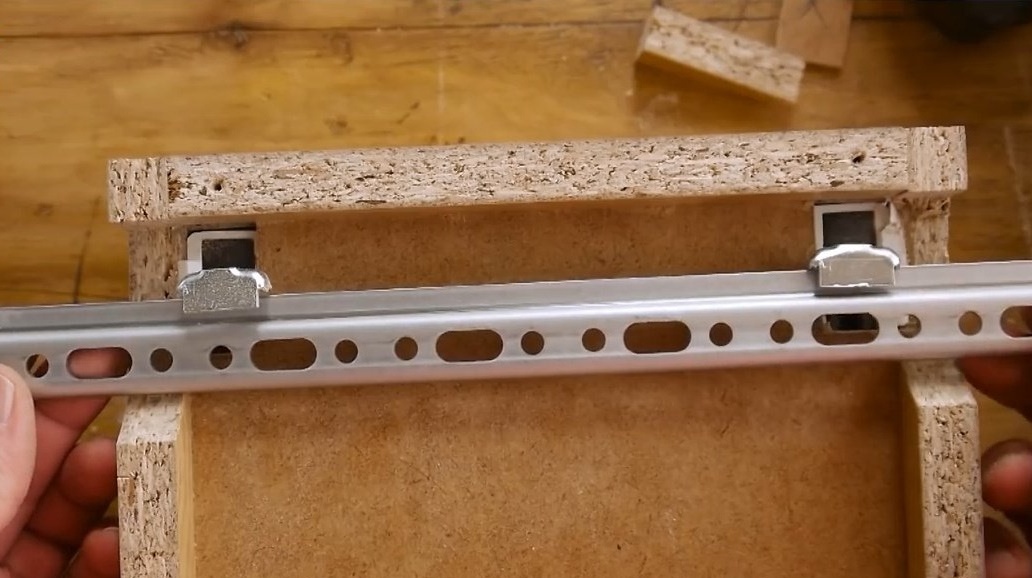
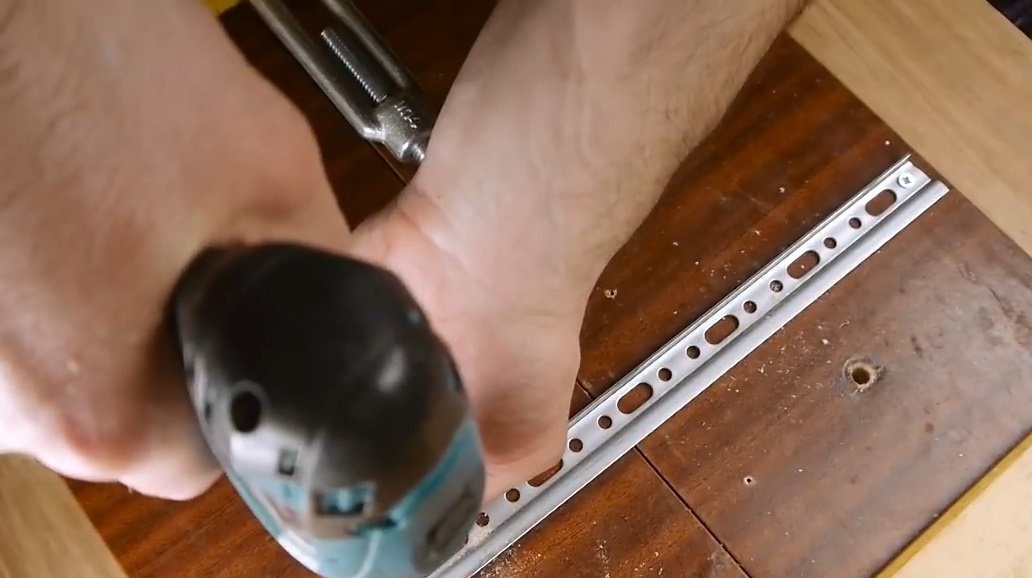
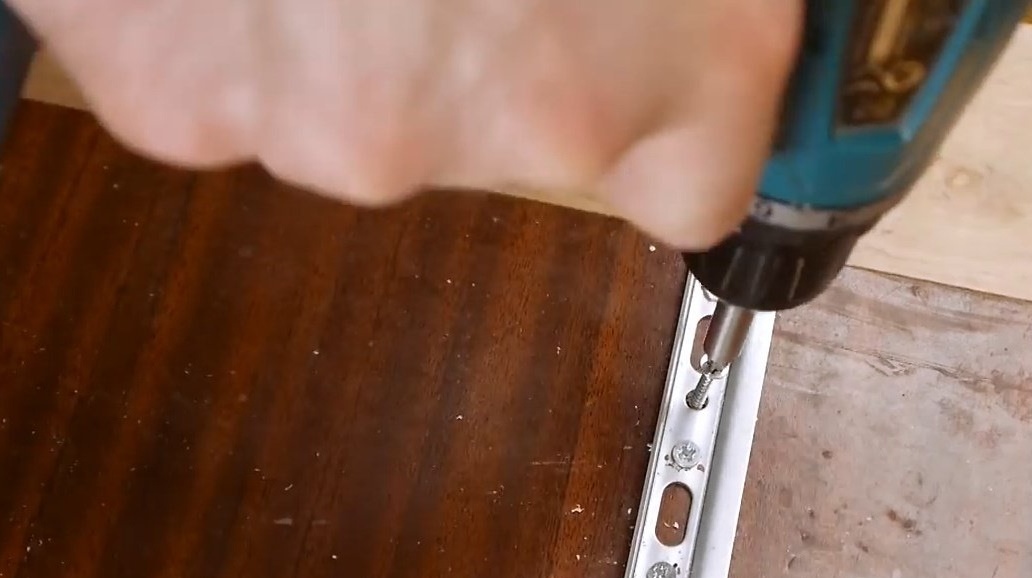
Goes to the test. Fastens the bar with screws and twists them as often as possible.
At a load of 259 kg, the section begins to fall apart, the chipboard splits. Even the screws bent, and the canopies themselves.

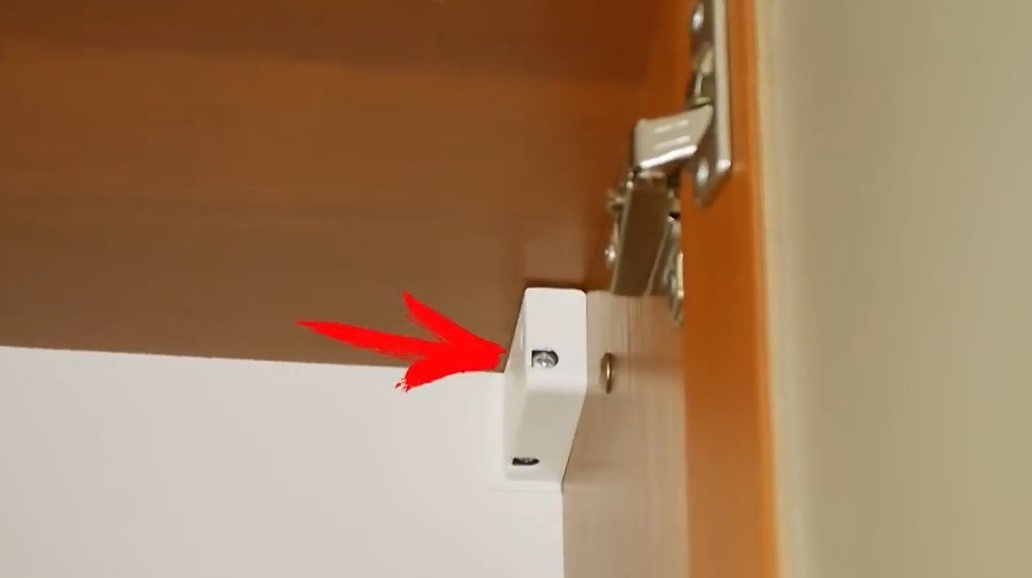
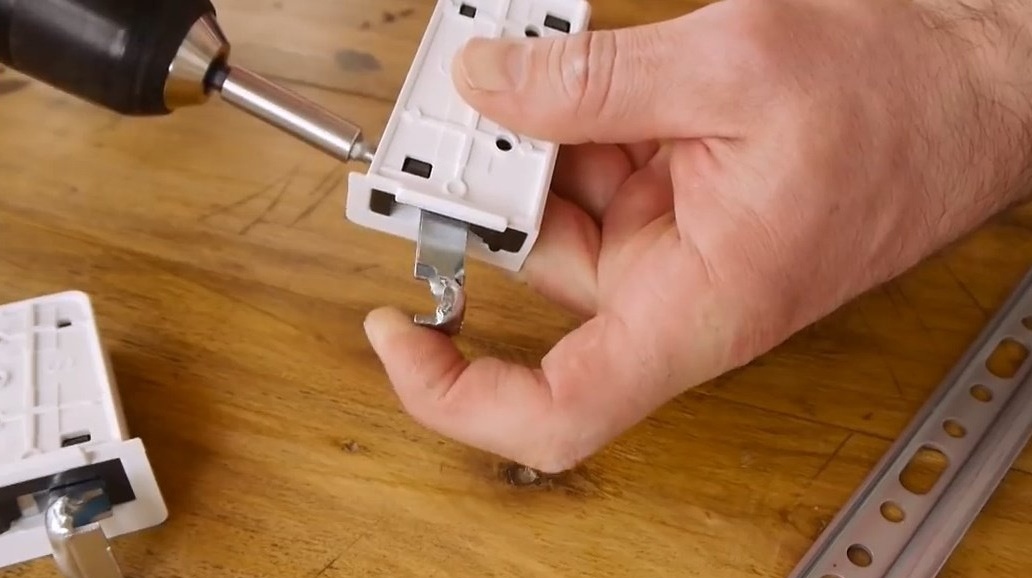
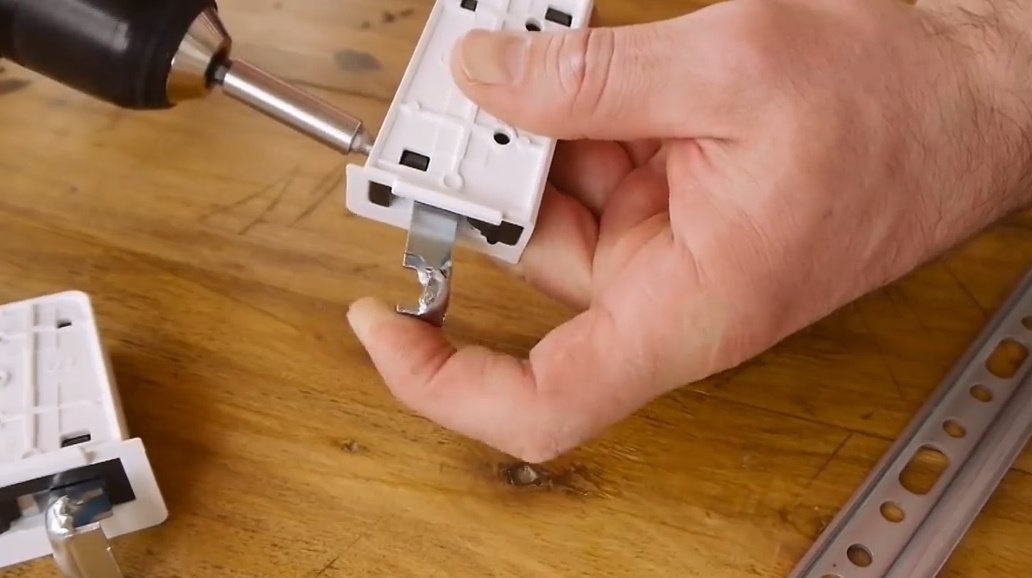
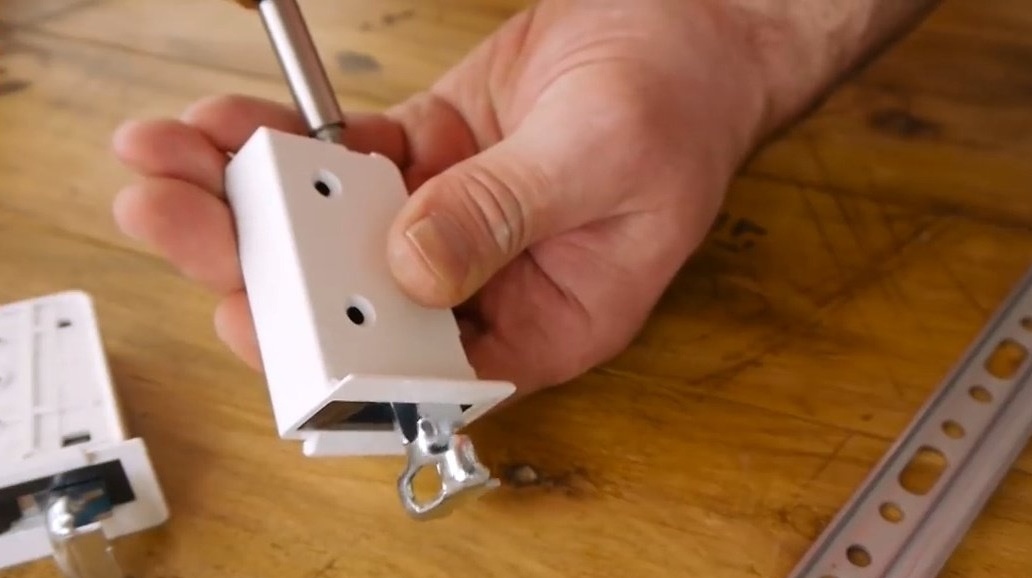
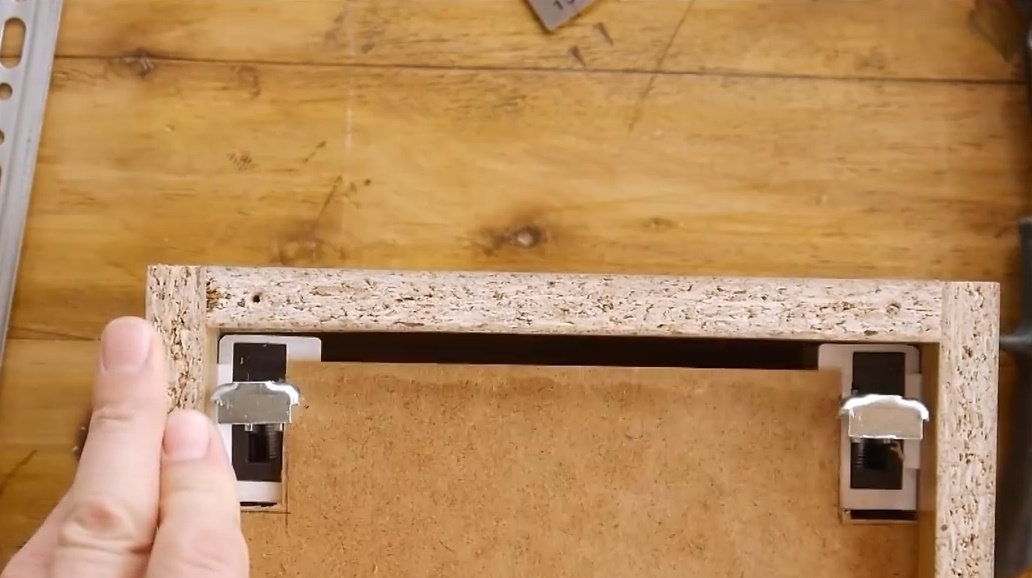
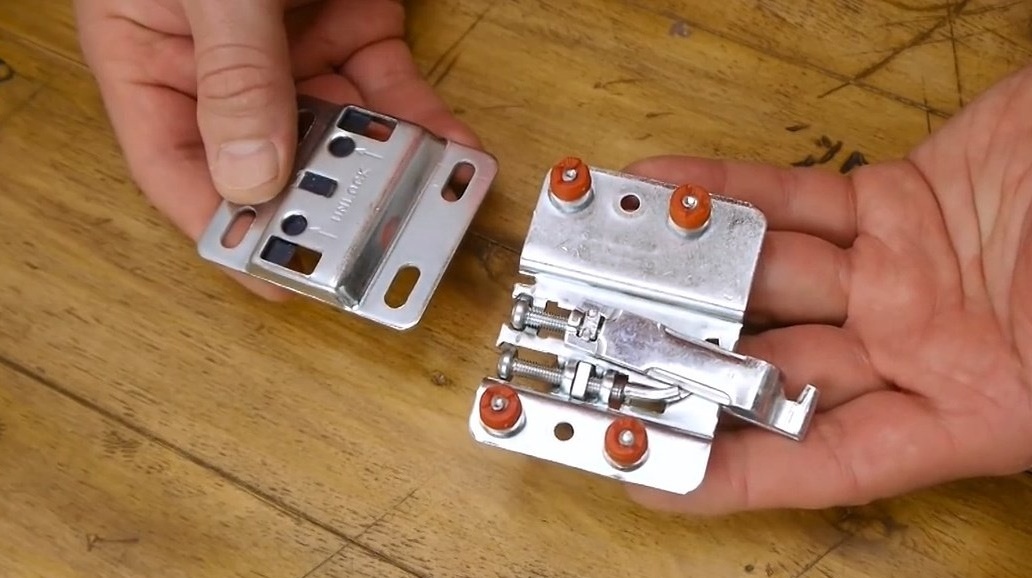
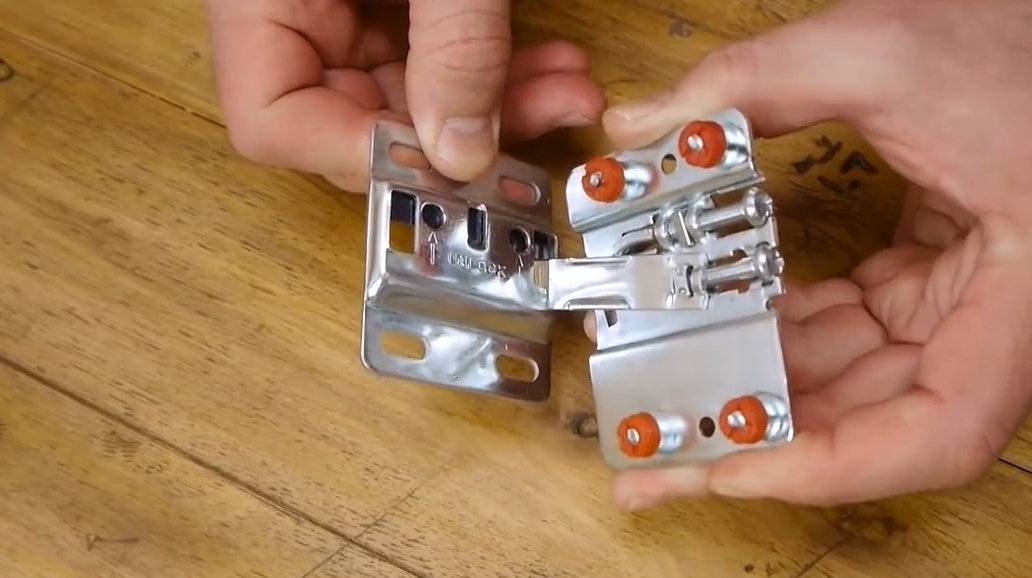
The Libra H1 from Italiano ferramenta with a declared load capacity of 75 kg is moving to a new type of canopies.
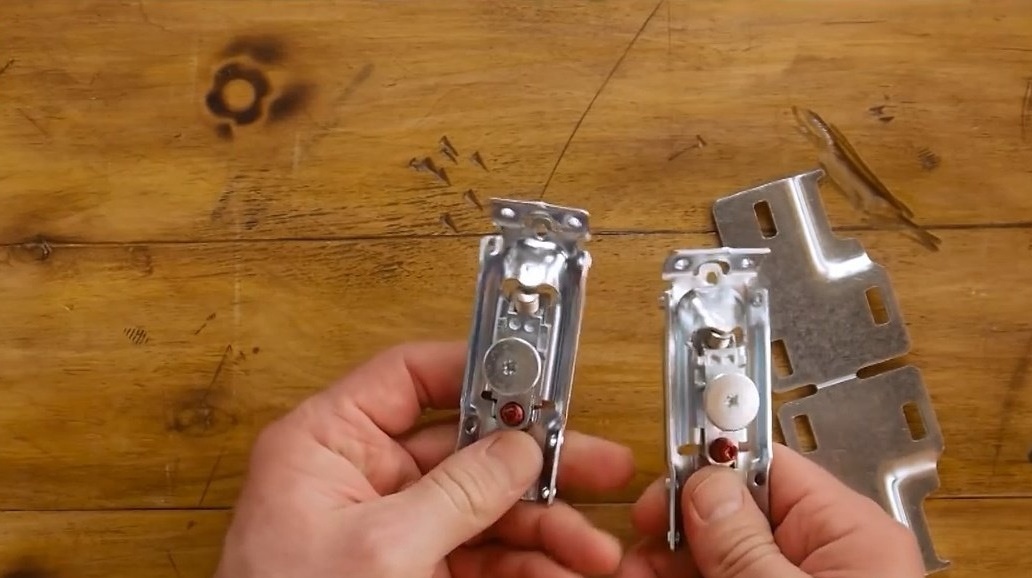
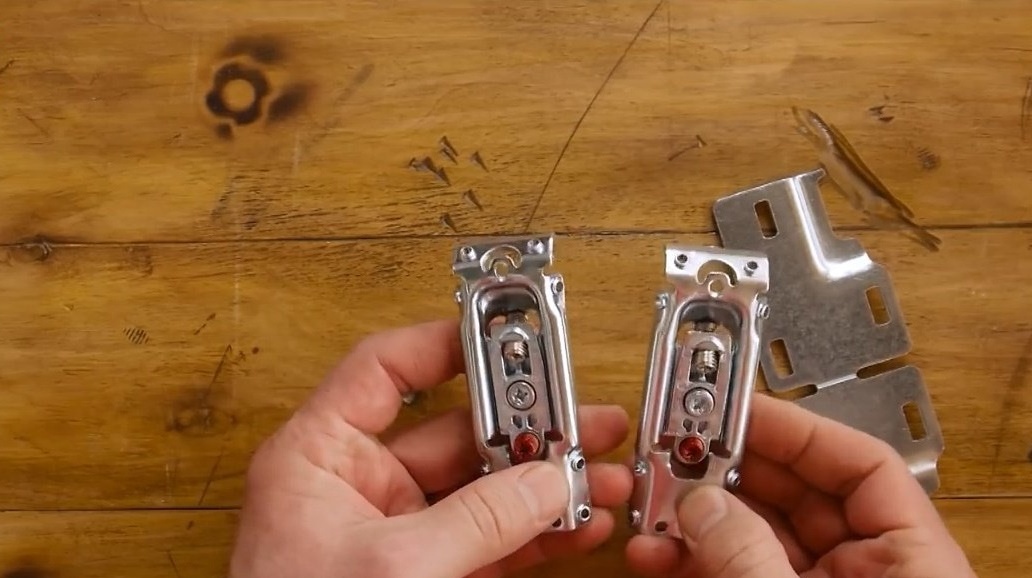
All-metal, they also have three degrees of adjustment from right to left up-down forward-backward.
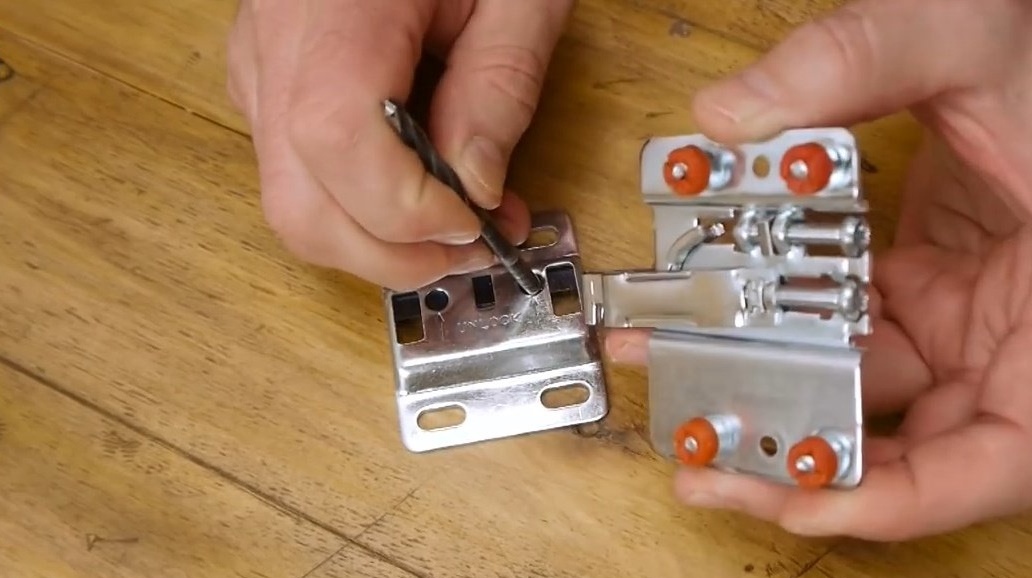
In addition, they have a special locking screw that prevents them from coming off at the top.

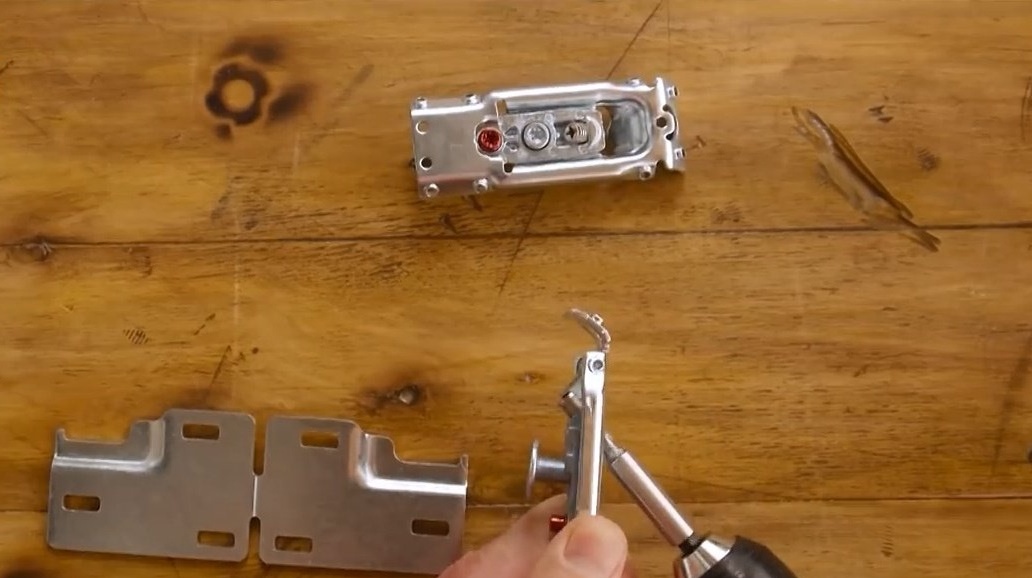
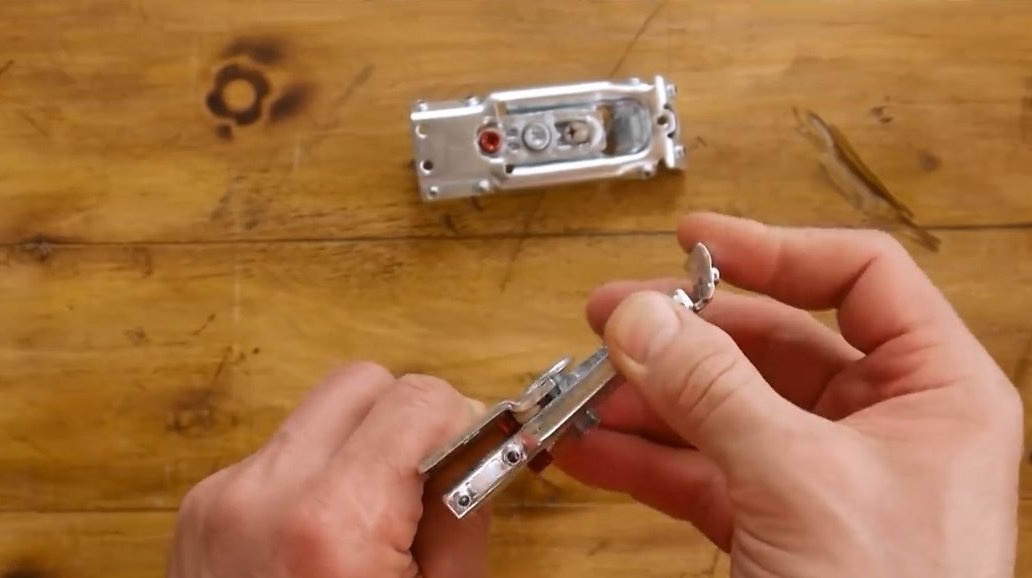
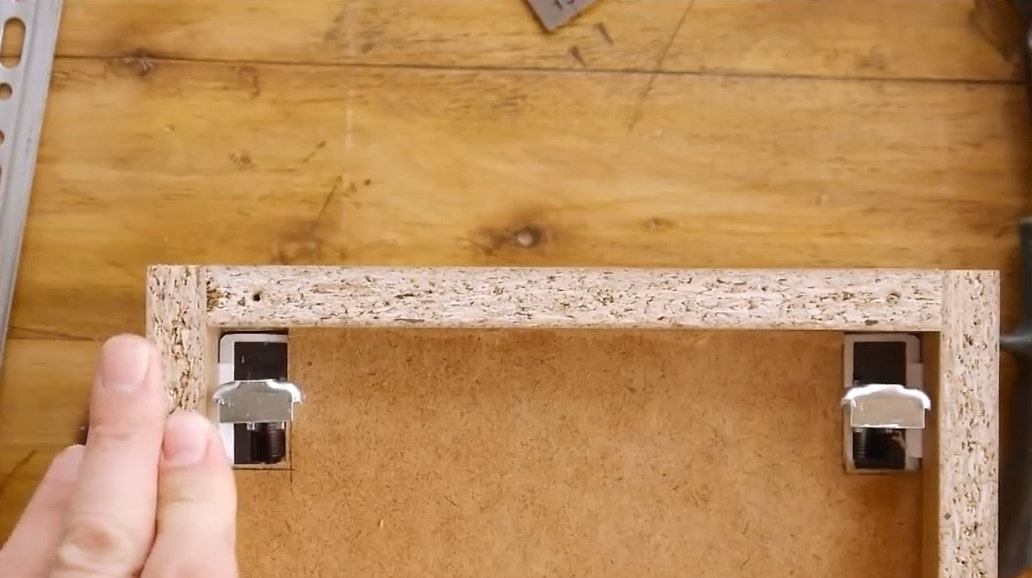
The openings for the awnings on the back wall are slightly smaller, but there is also a lot of fuss with them. The plugs are small and neat.
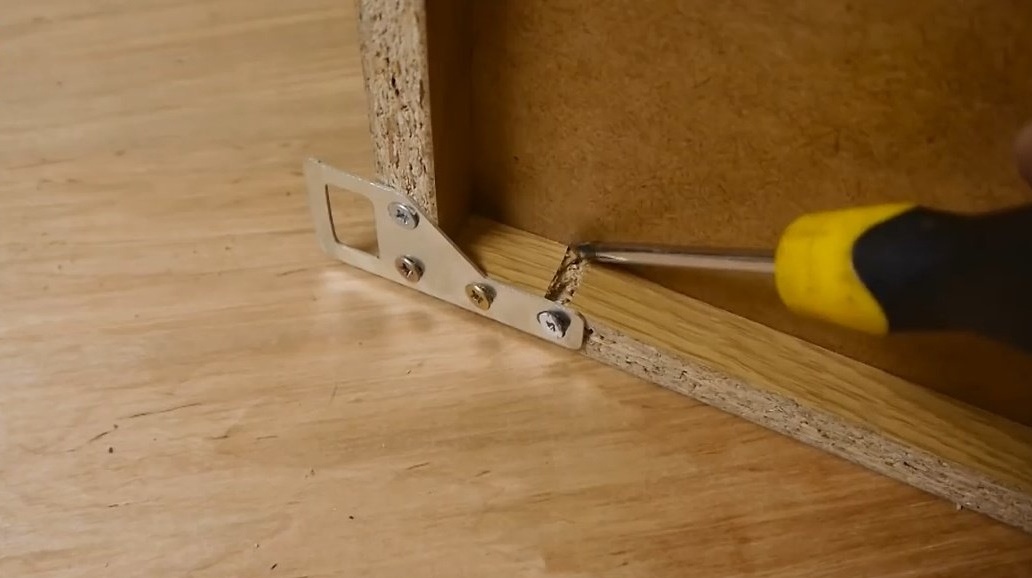
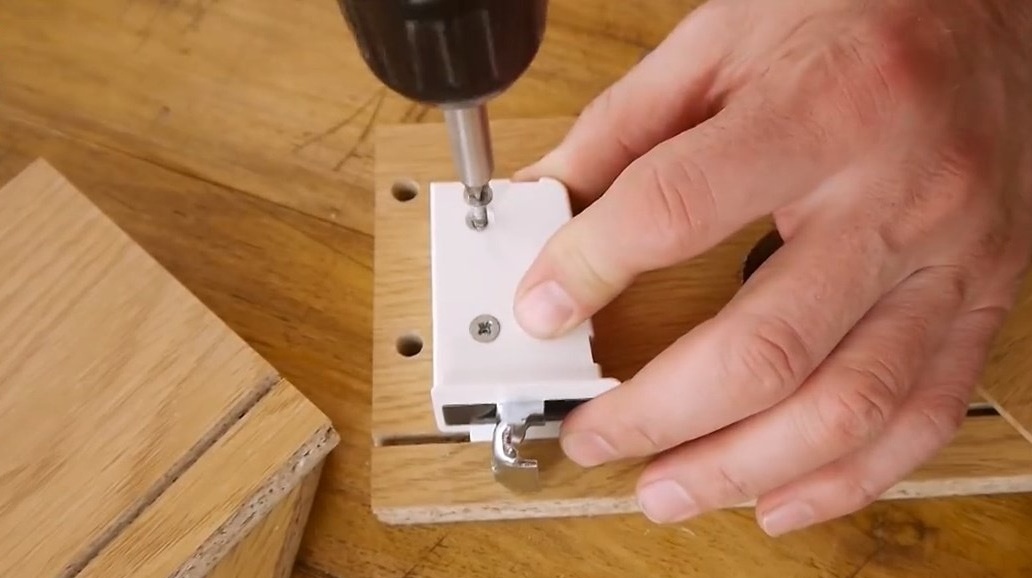
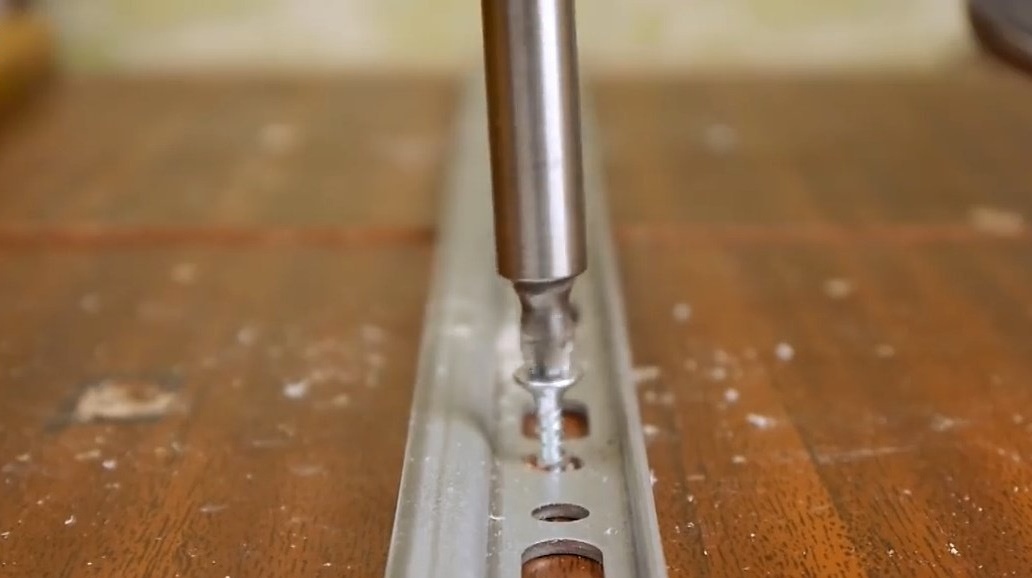
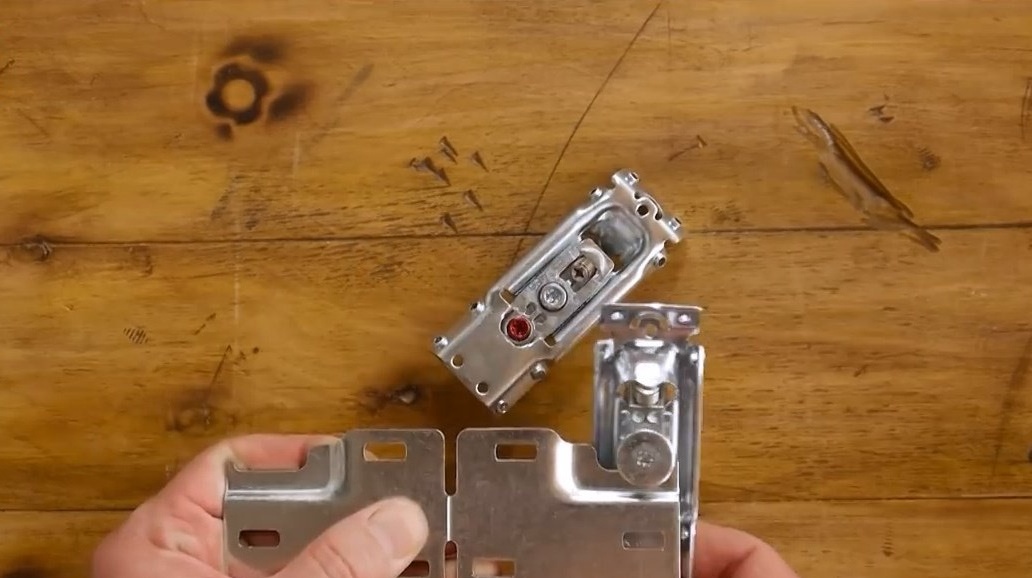
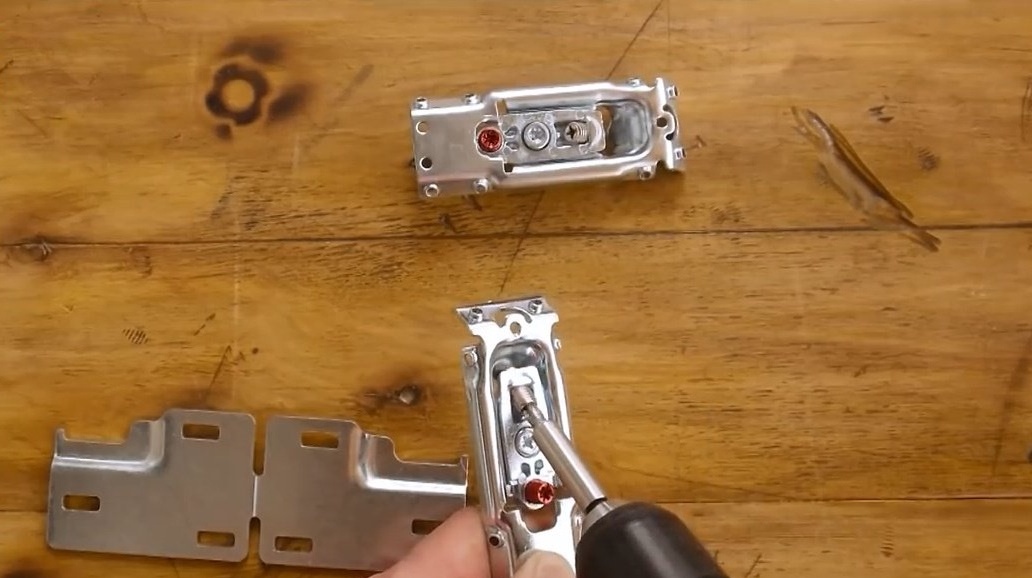
Fastens the canopy with twenties screws.
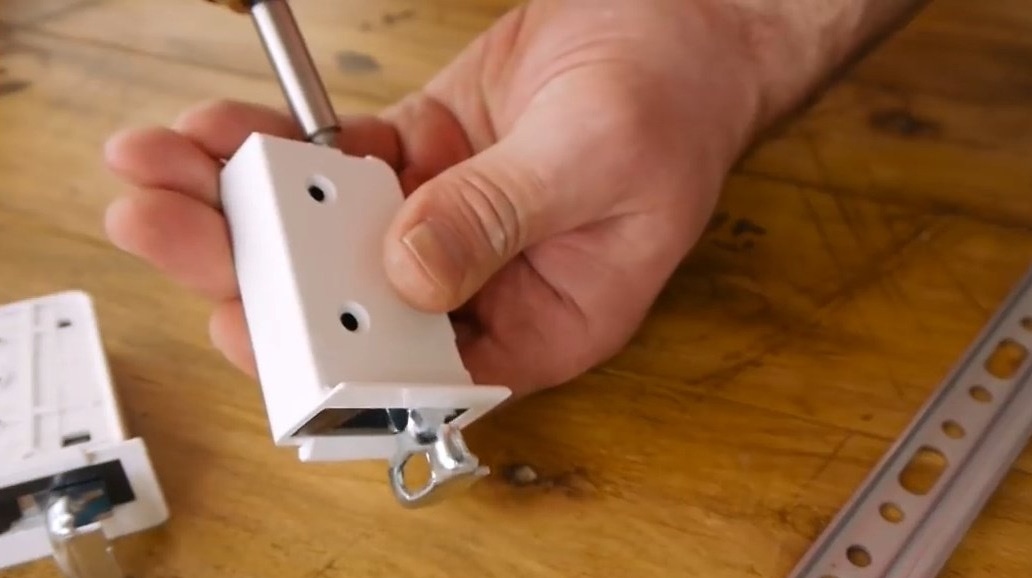
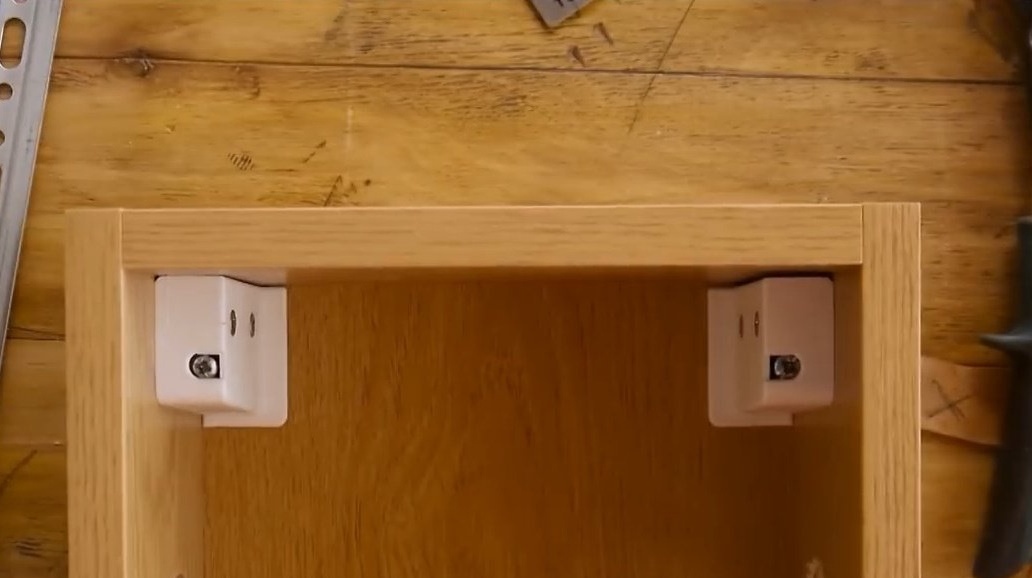
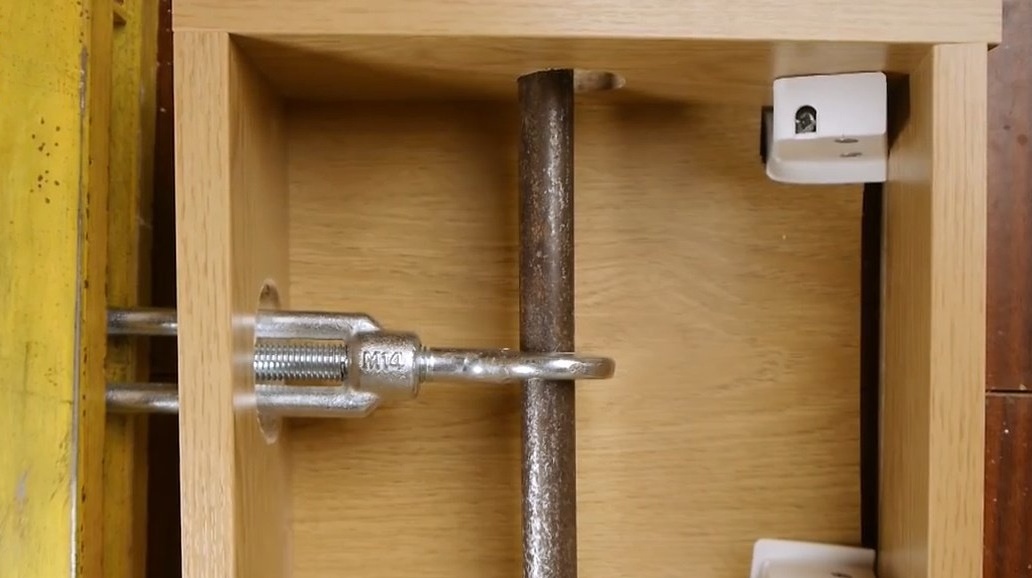
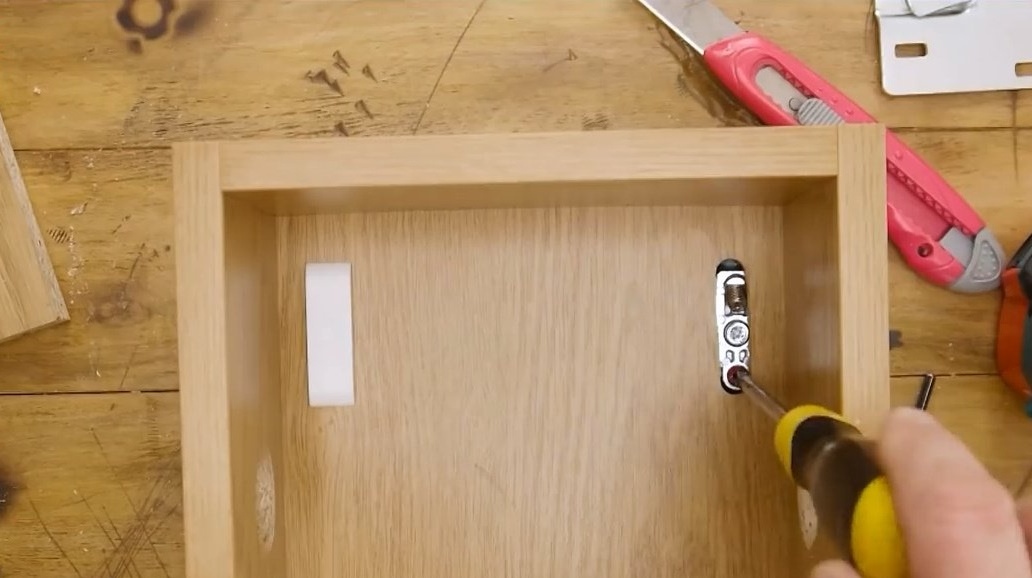
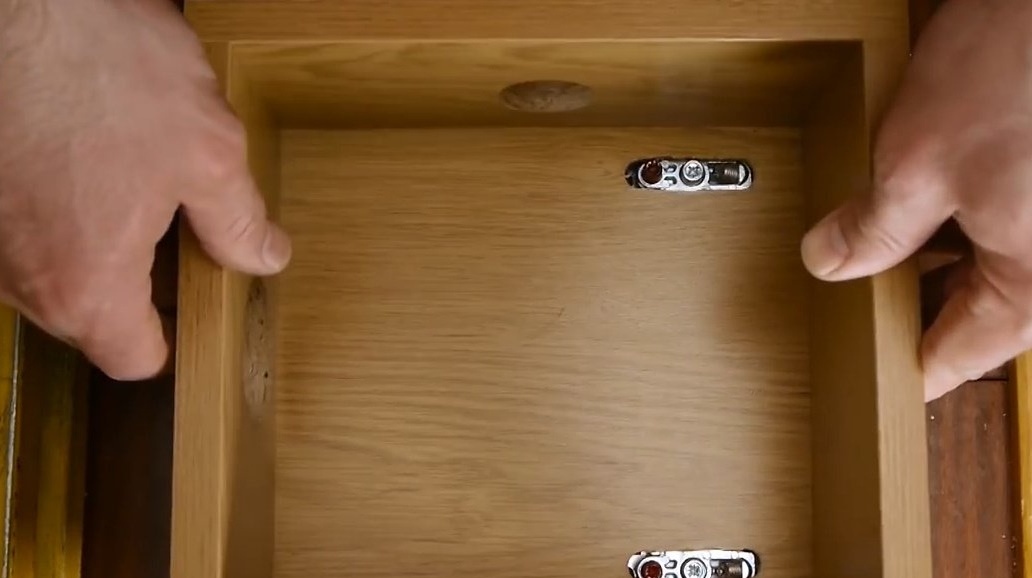
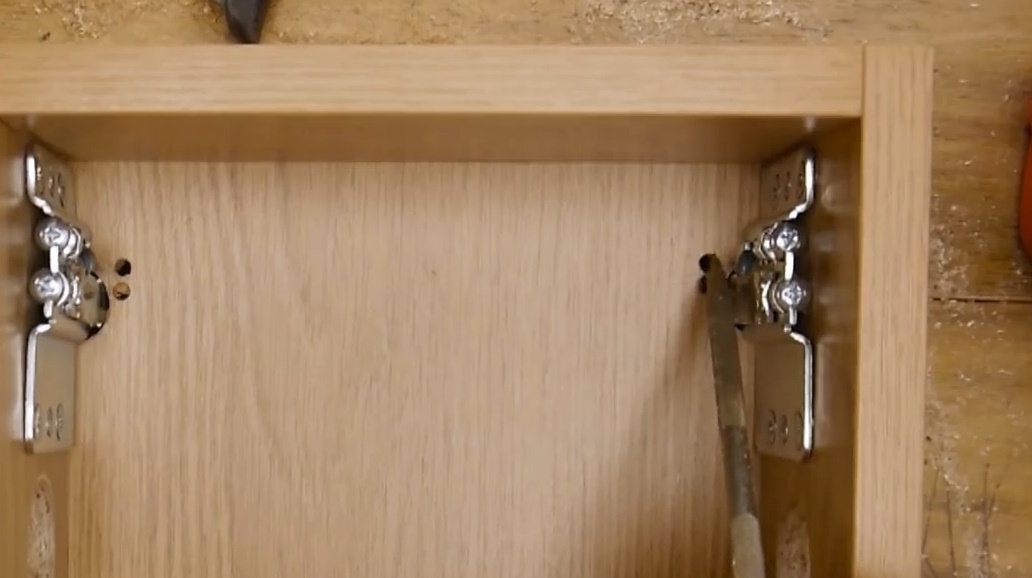
This is what the cabinet looks like inside. The adjustment is very convenient, and concentrated in one place.
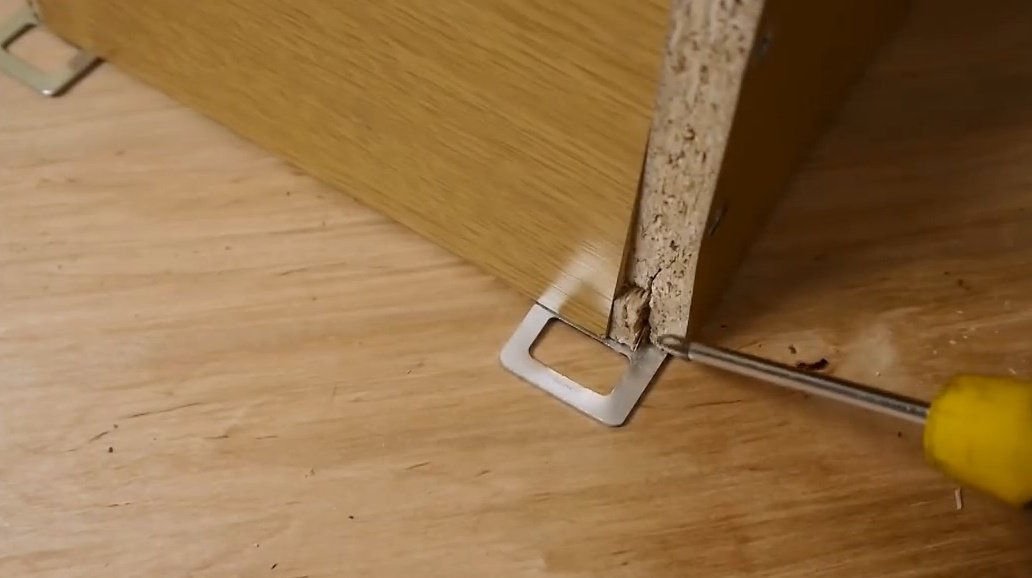
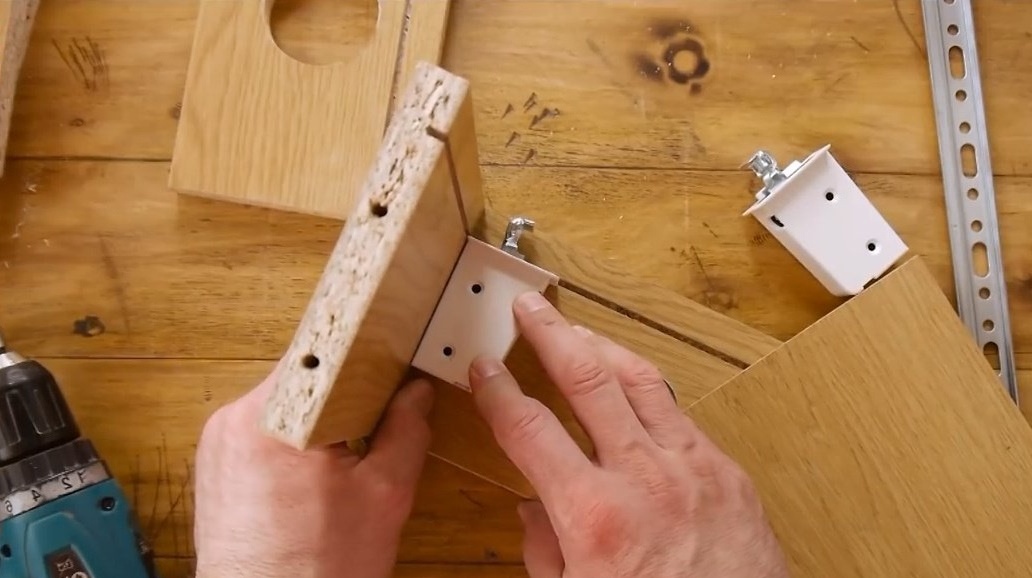
Fastens reciprocal levels, and begins test.
408 kg and the collapse of the section. The same bent screws, but 400 kg is already very, very good!

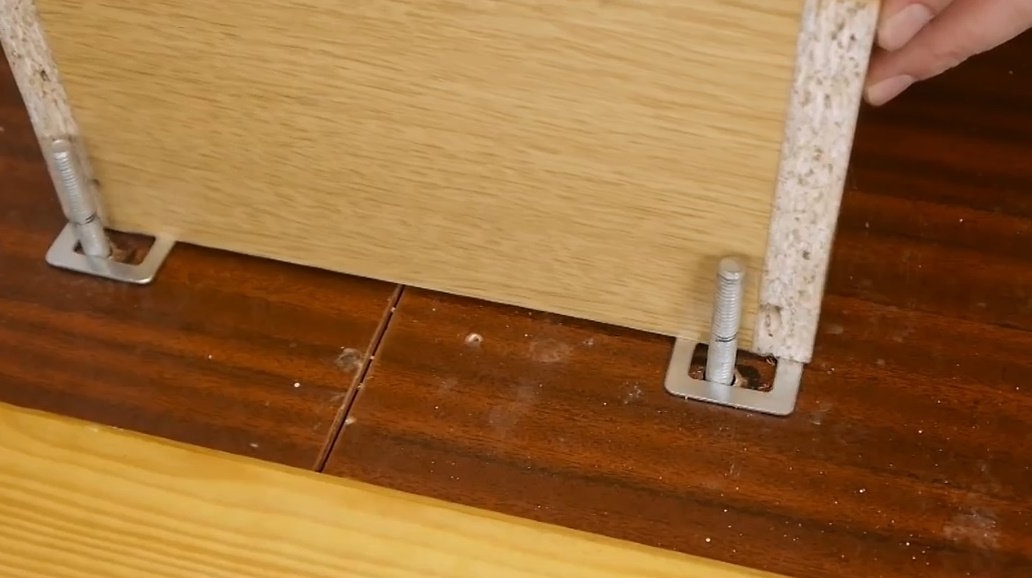
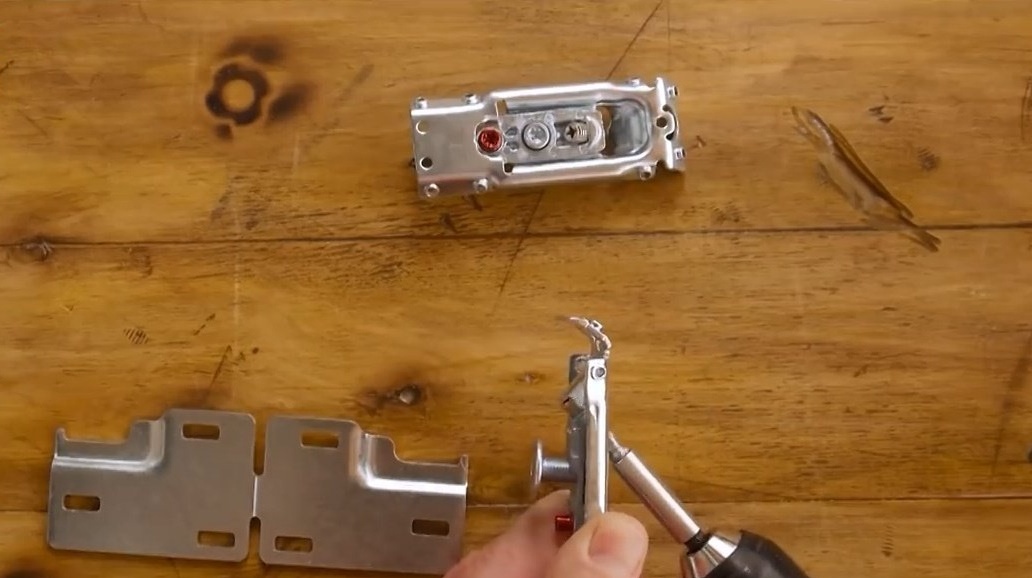
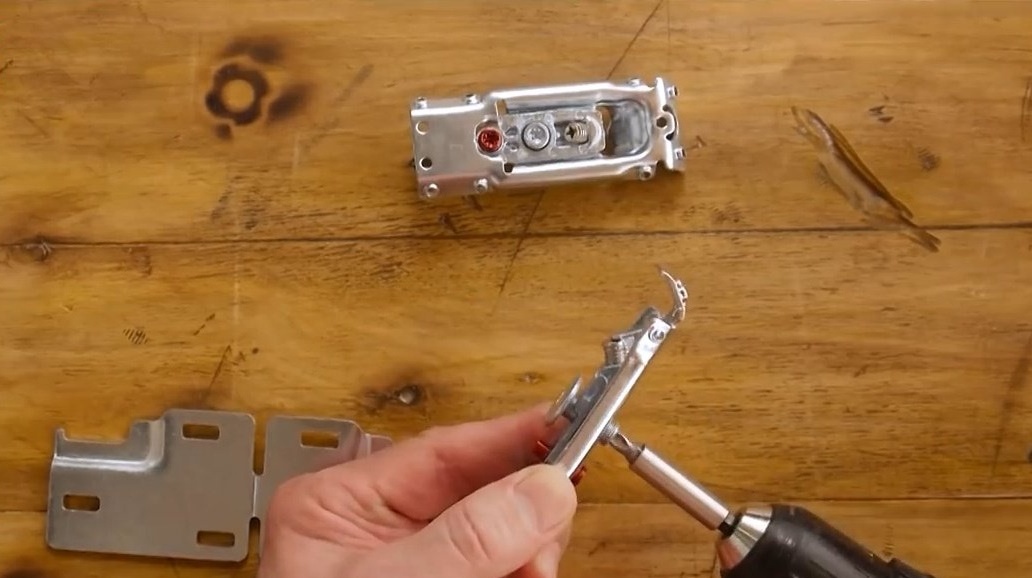
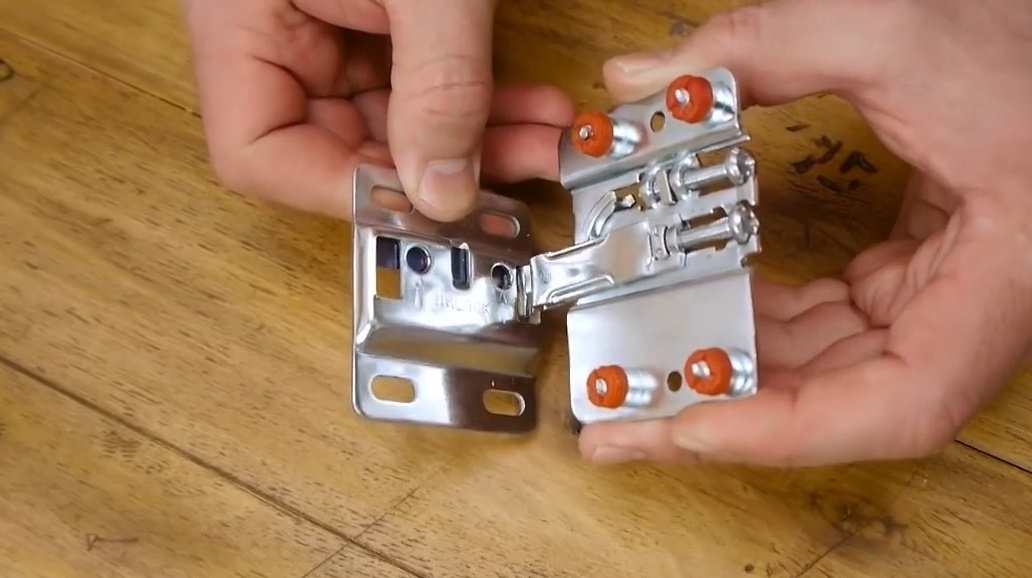
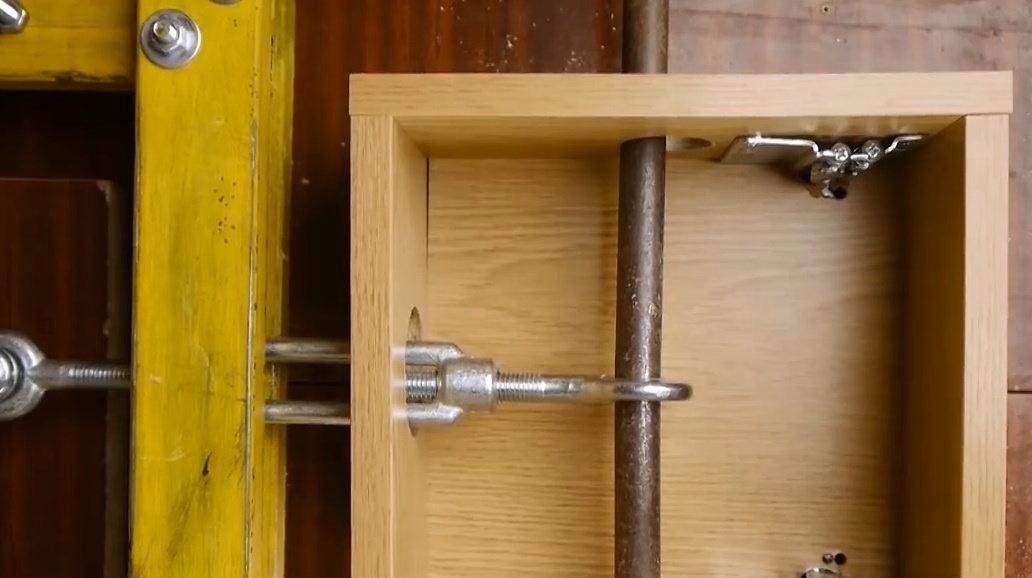
The next canopy, which the author will test, was developed by the Italian company Camar - canopy 807 for mounting with an anti-tipping system.
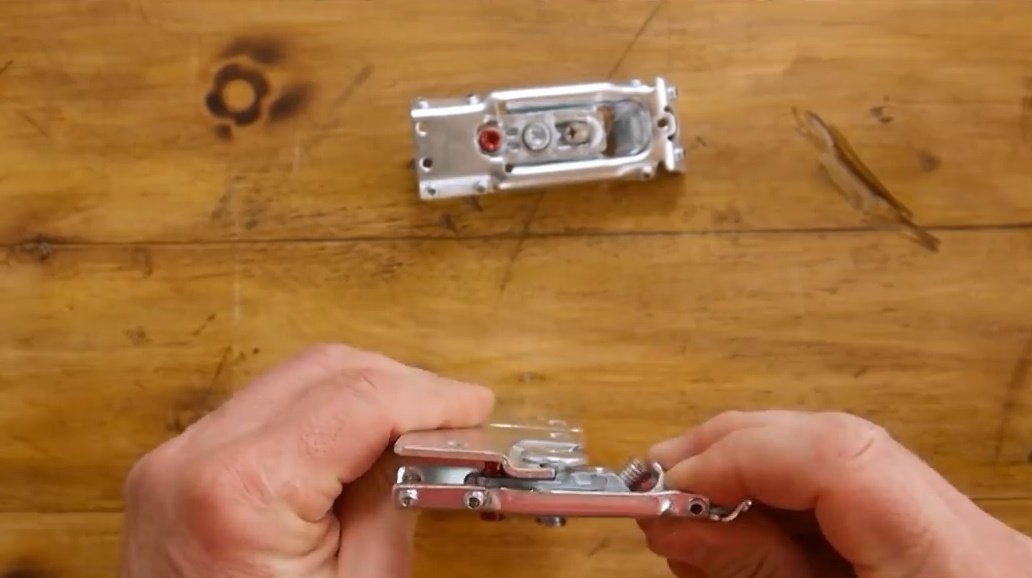
Like the 2 previous systems, it has three degrees of freedom. Plus, a patented latch that prevents jumping off.
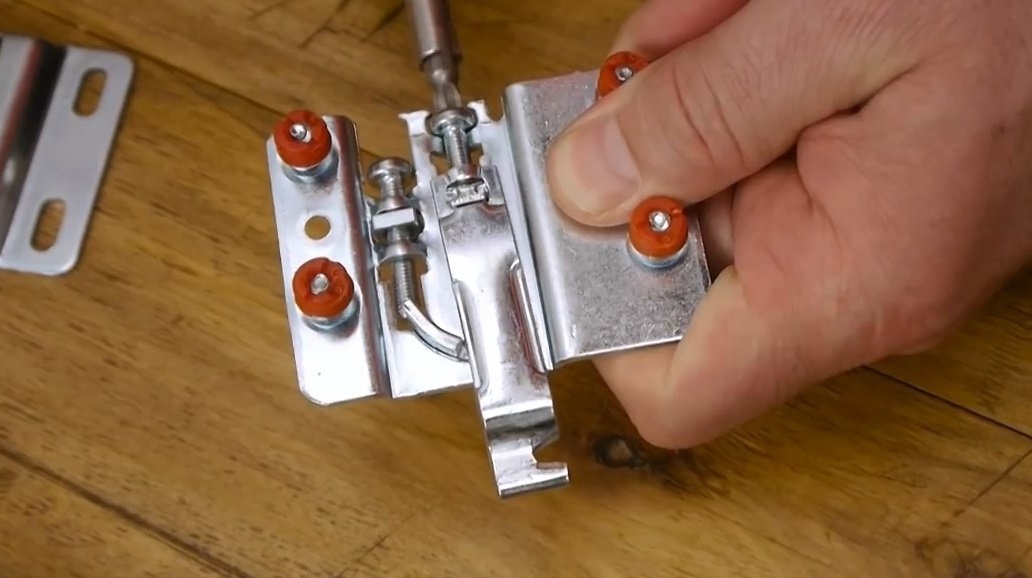
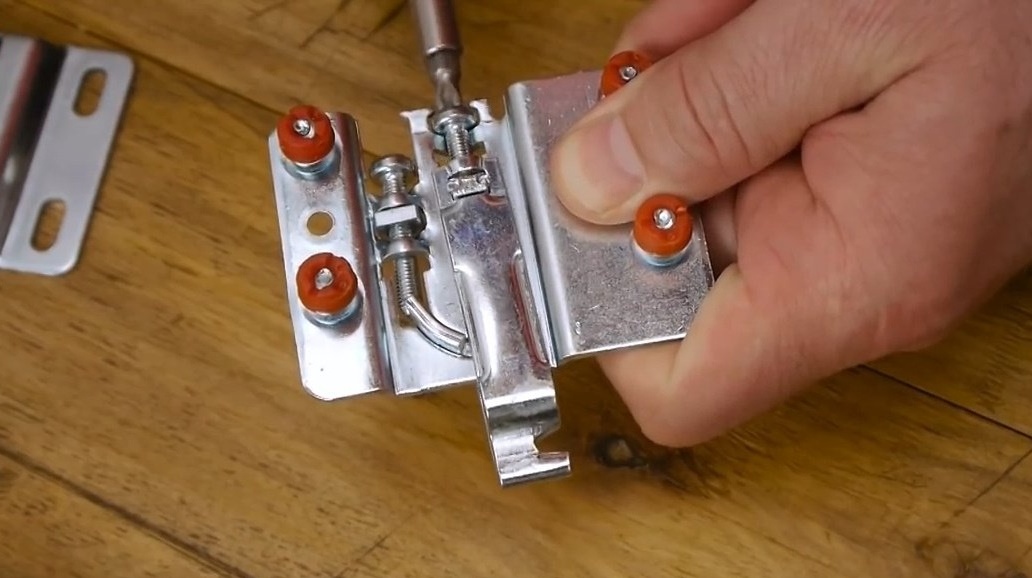
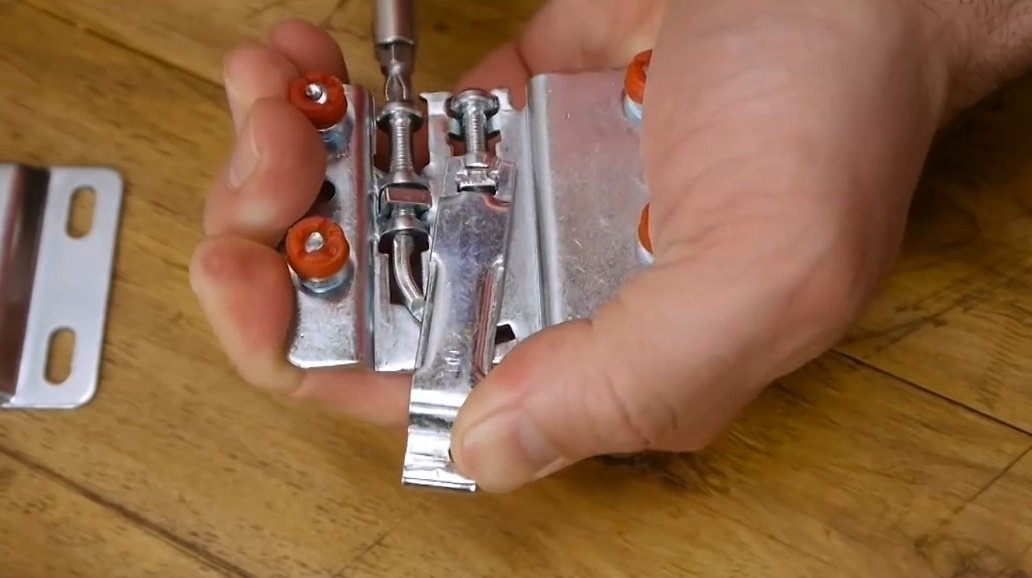
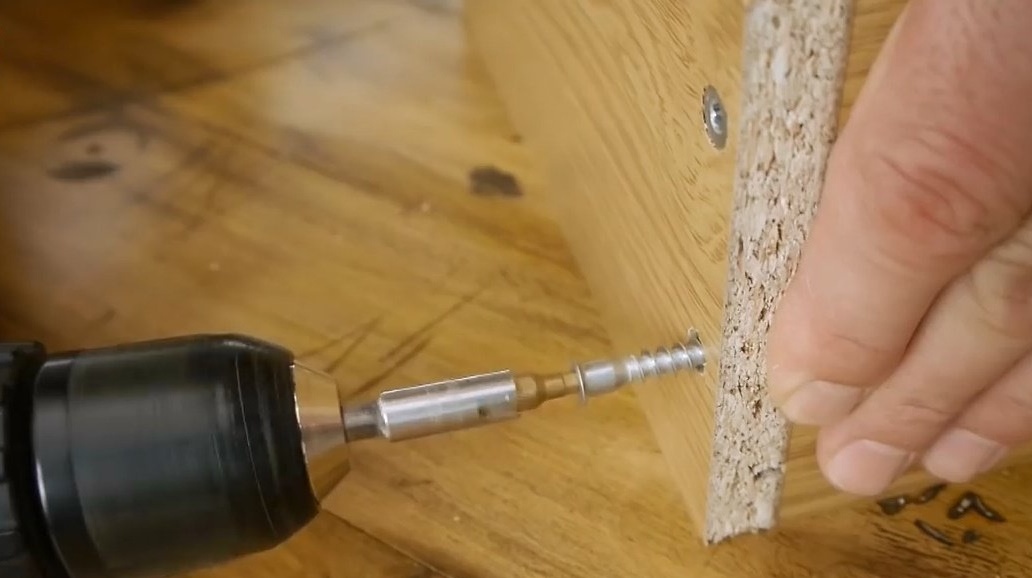
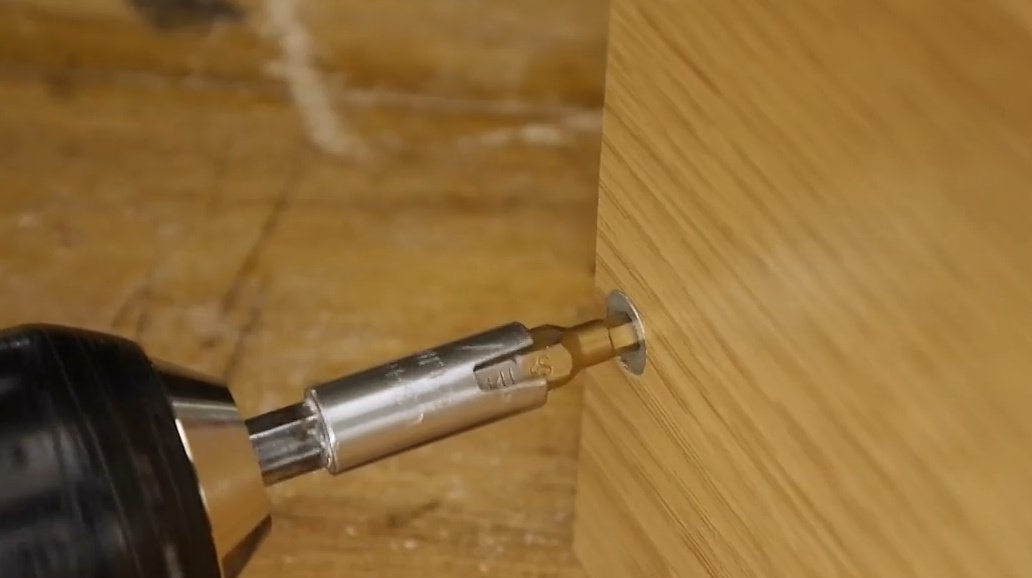
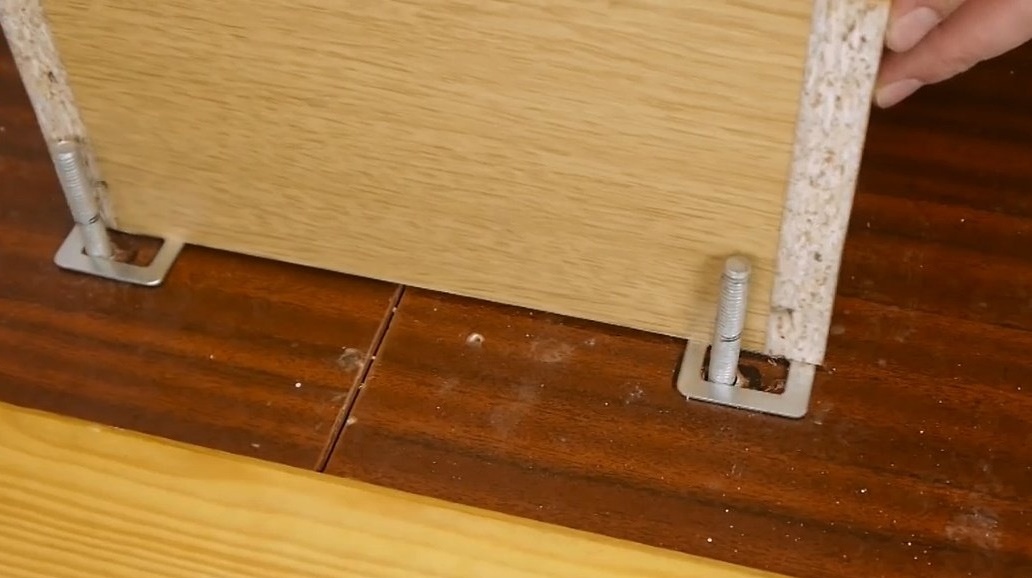
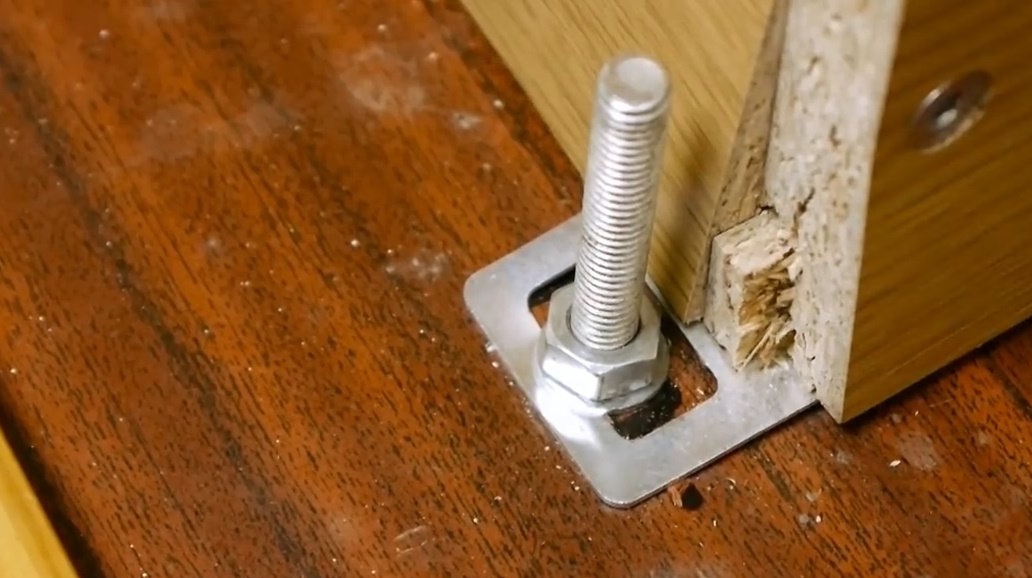
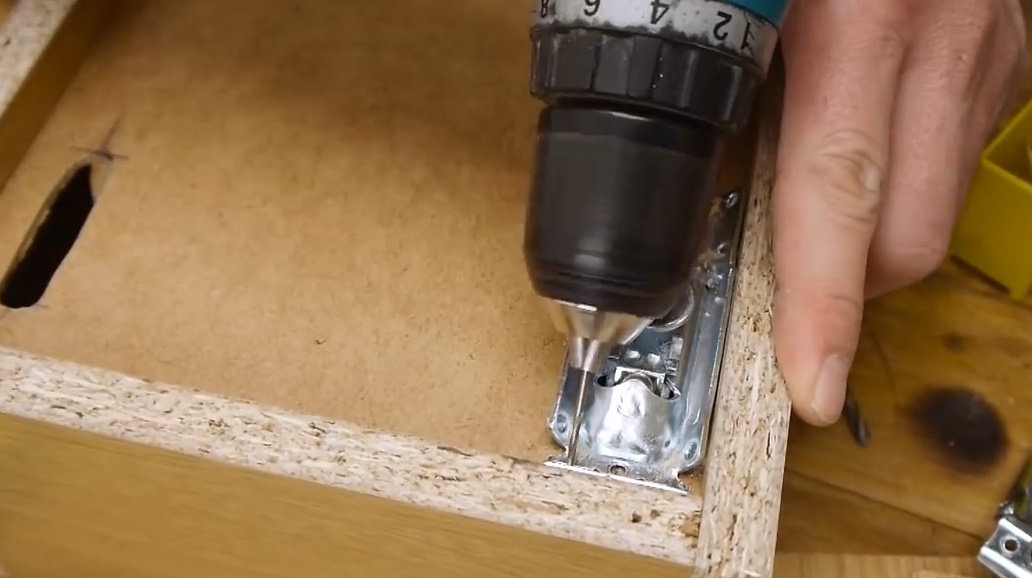
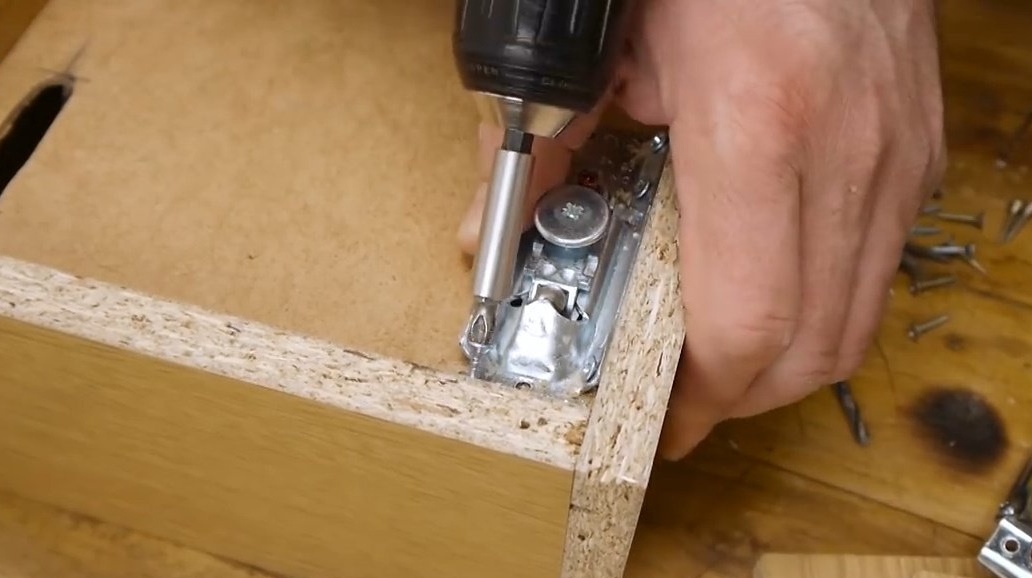
Drills landing holes with a diameter of 10 mm, and drives a canopy into them. Then fixes with screws.
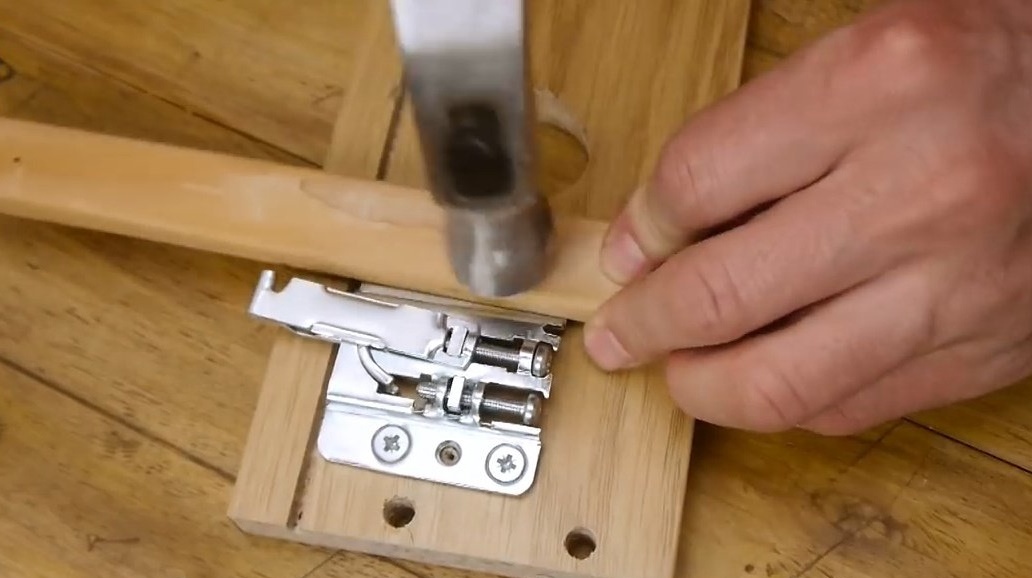
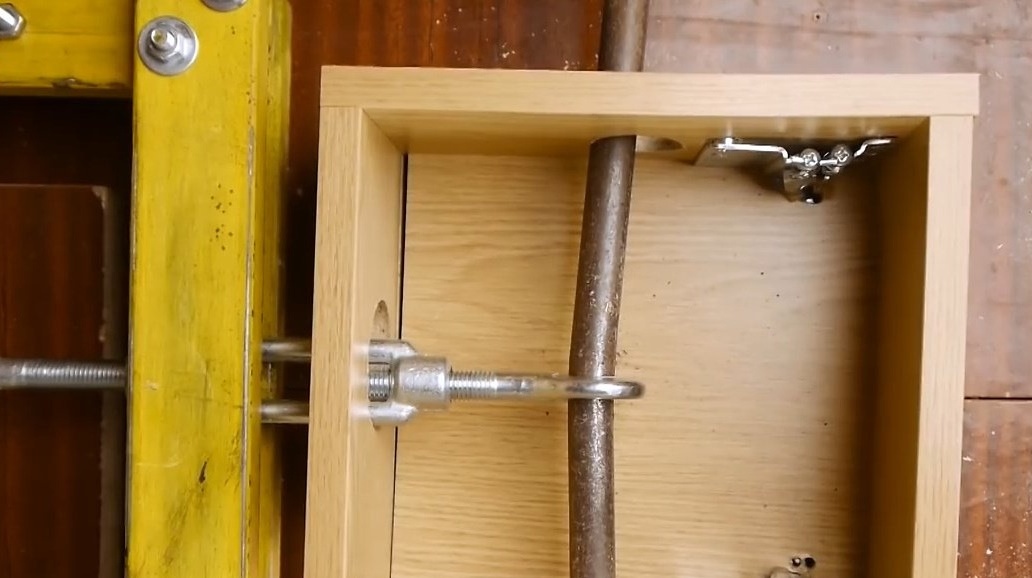
For this canopy you have to make only a small hole, and a couple to open the lock. Installs the canopy section, snaps into the lock, and begin the test.

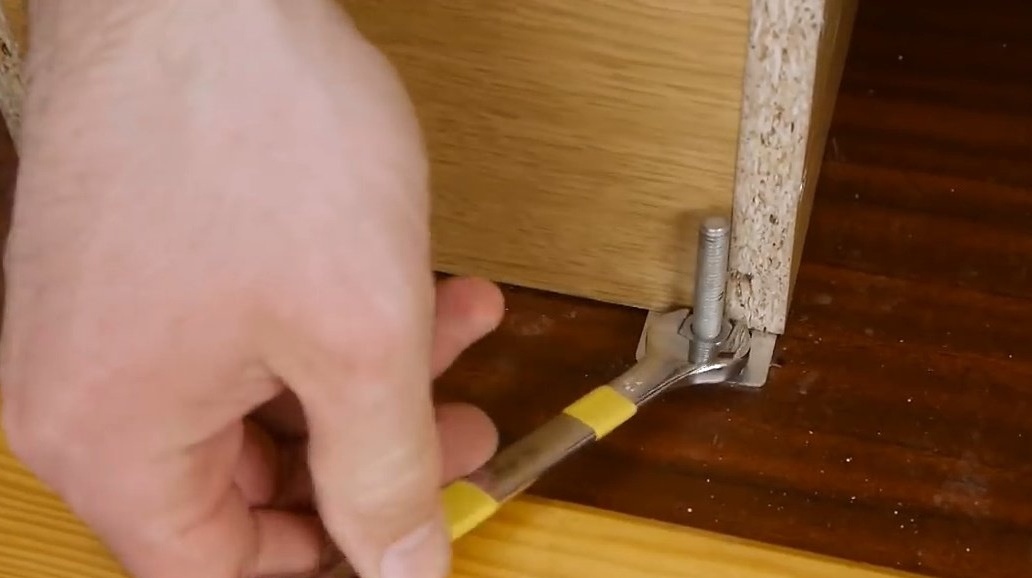
After reaching a load of 550 kg, the author began to worry about his stand. Its wooden part arched in an arc, and look what happened to the steel chisel! He just bent!
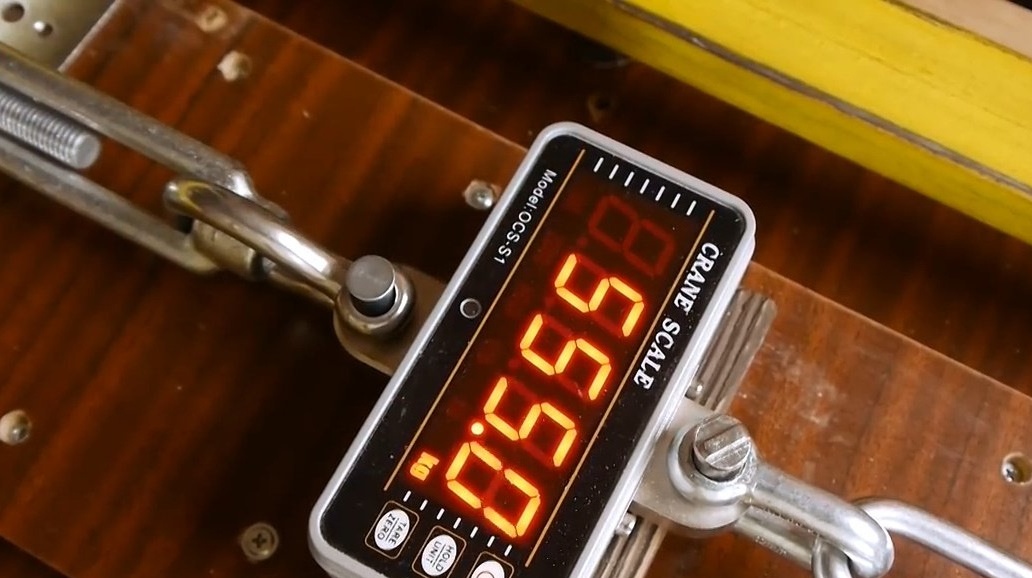
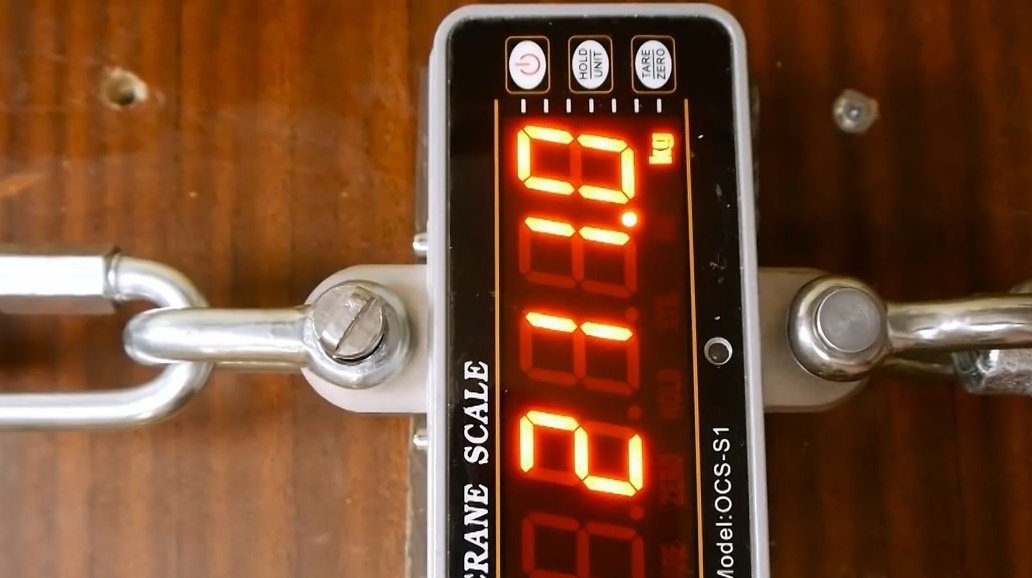
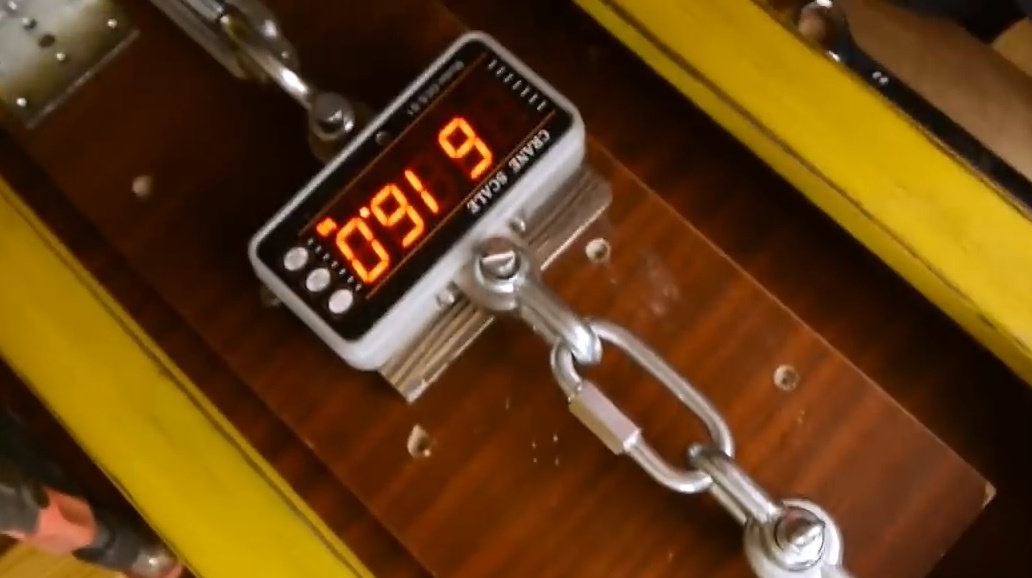
Everything is in an unrealistic tension, now something will burst and scatter in all directions. So, on the scales of 616 kg!
The section was simply torn into rubbish by such durable canopies.


Finally, the author would like to share with you one good piece of advice. To minimize the load on the upper sections - he installs them, if possible, on the kitchen apron. If the apron is made of tiles, chipboard or MDF, but not glass.
Thanks to the author for the tests and review of the mounts!
All good mood, good luck, and interesting ideas!