
Those who studied in the USSR must remember such mini-machines. Square wooden frame. A row of nails is packed on two opposite bars, so that the hats protrude slightly. In this article we will consider the manufacture of a manual weaving machine from a PVC pipe + several photos of the machine printed on a 3D printer.
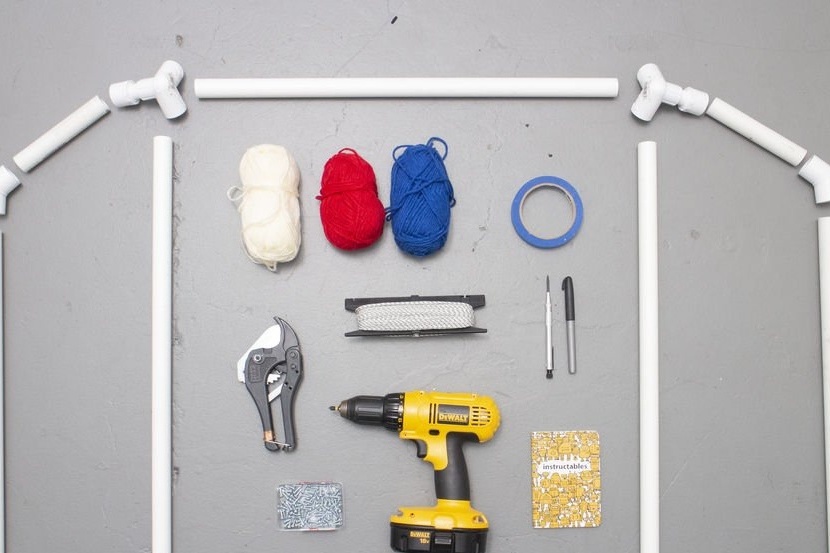
Tools and materials:
- Scissors for PVC pipes;
-Drill;
-Hammer;
-Punch;
- Clamps;
-Bits;
-Scissors;
Self-tapping screws;
-Cardboard;
-Yarn;
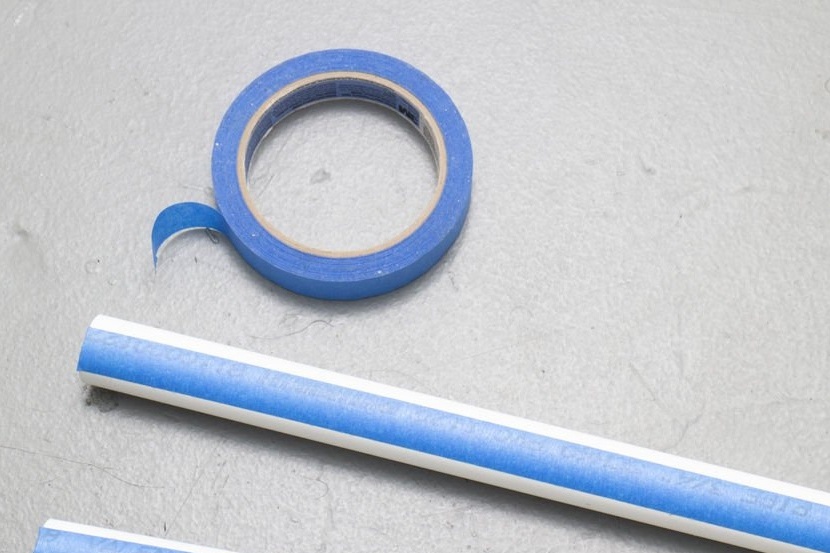
-Plastic pipes and joints;
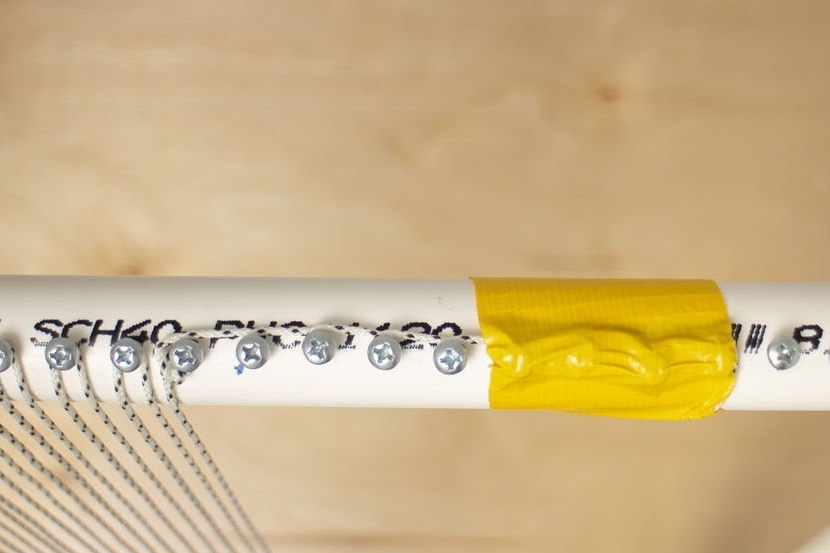
-Blue insulating tape;
-Pencil;
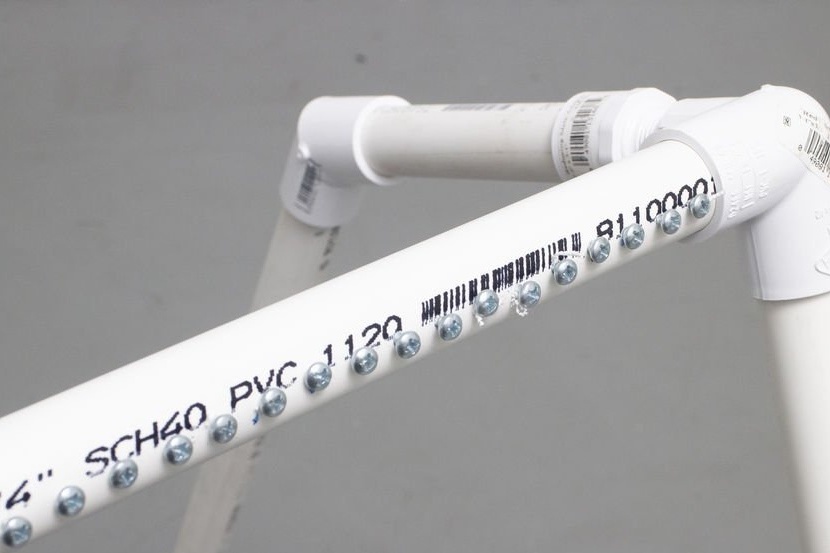
Step One: Labeling
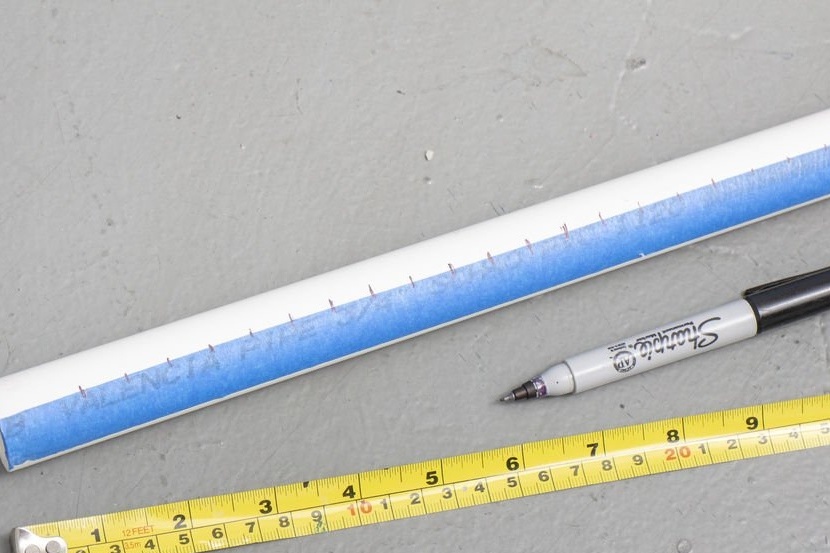
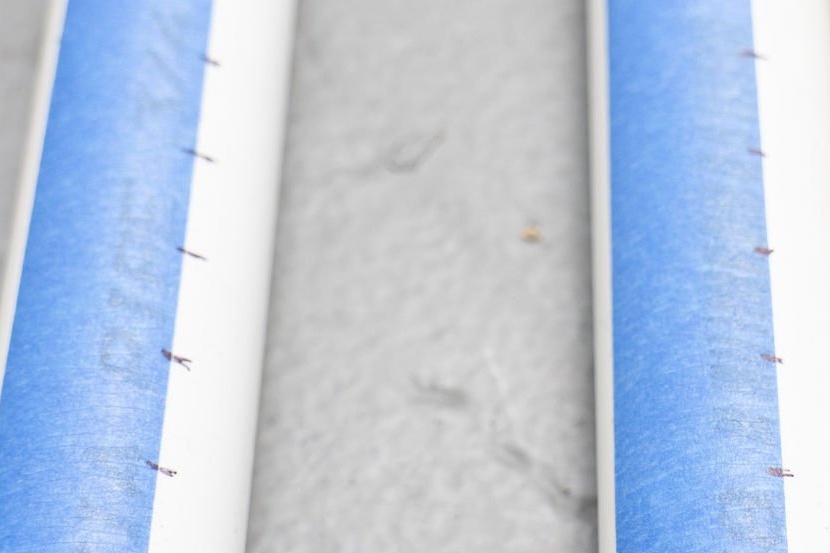
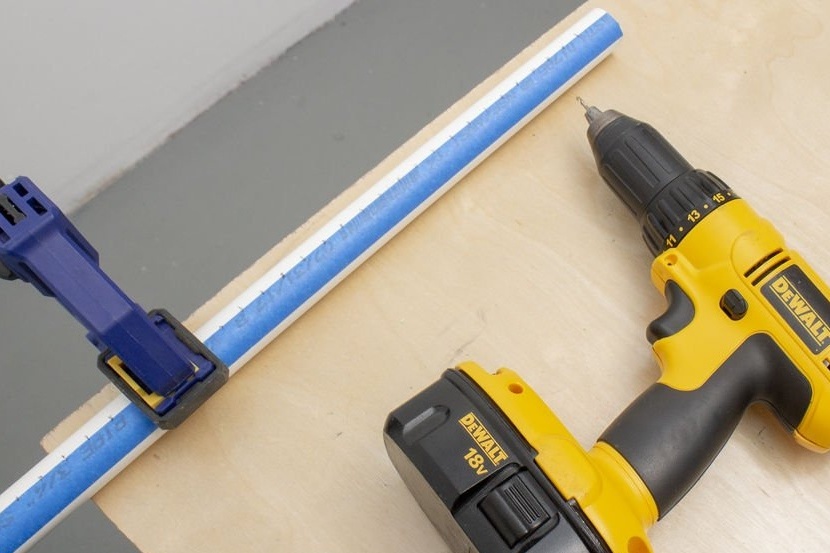
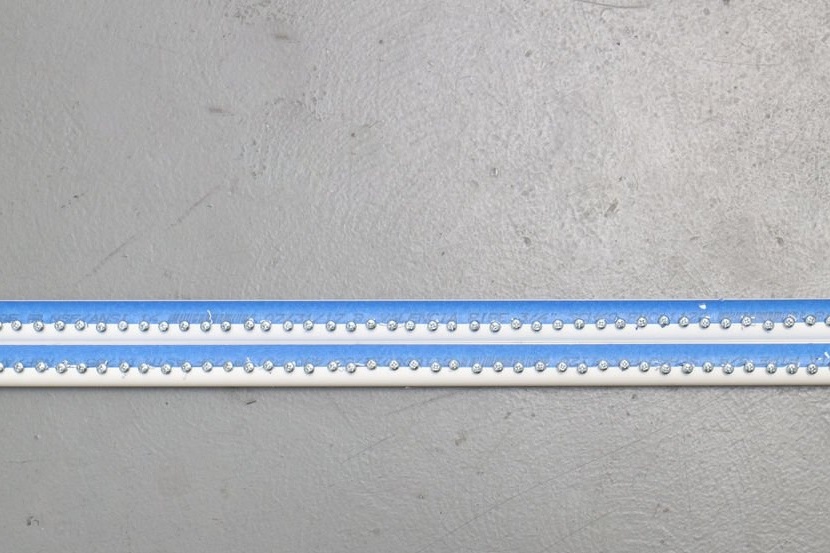
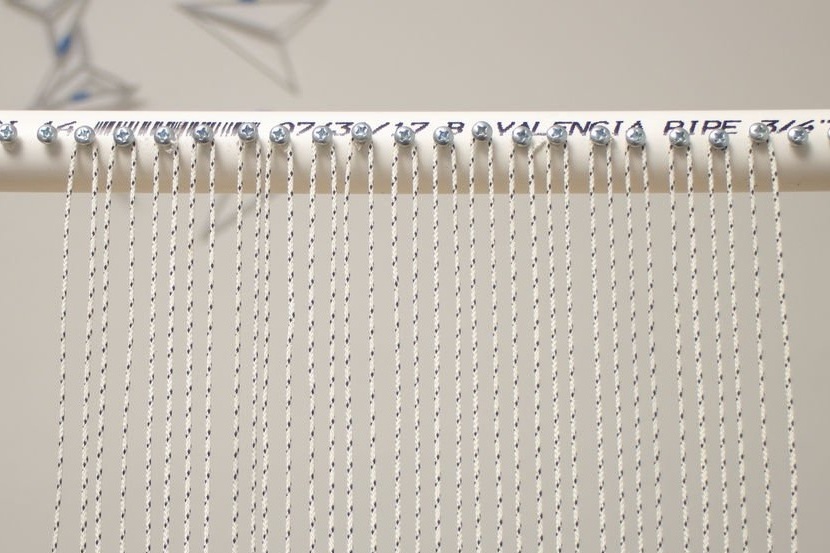
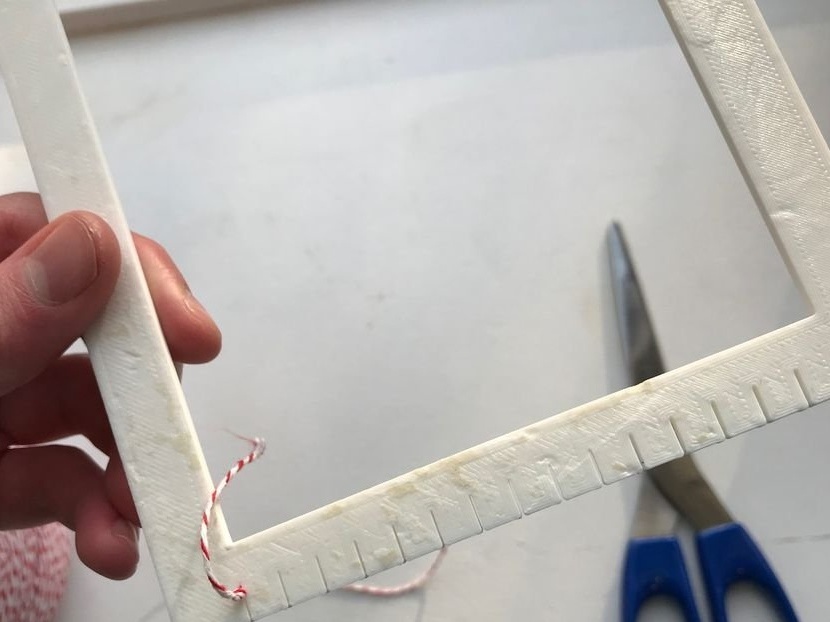
The frame of the machine is made of PVC pipes. On two pipes sticks an insulating tape, blue naturally, on the entire length of the pipes. This is for orientation. It retreats from the edge of 2.5 cm and puts a mark every 1.3 centimeters.
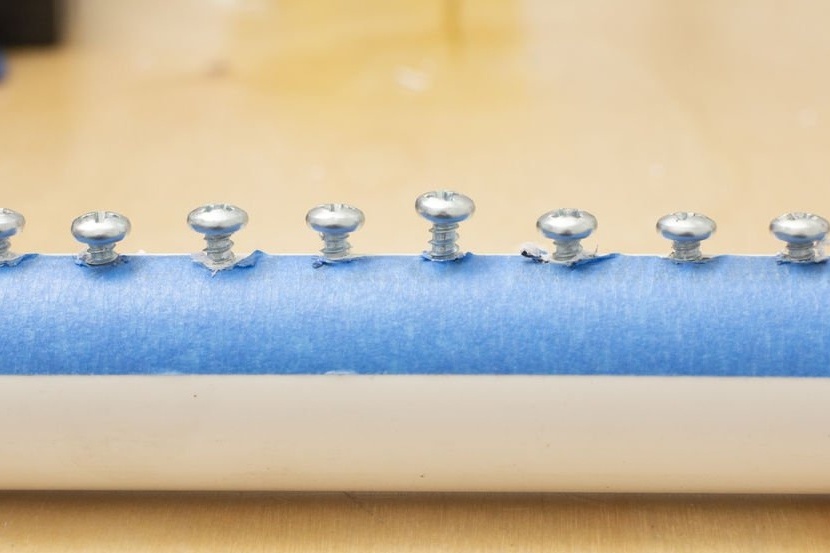
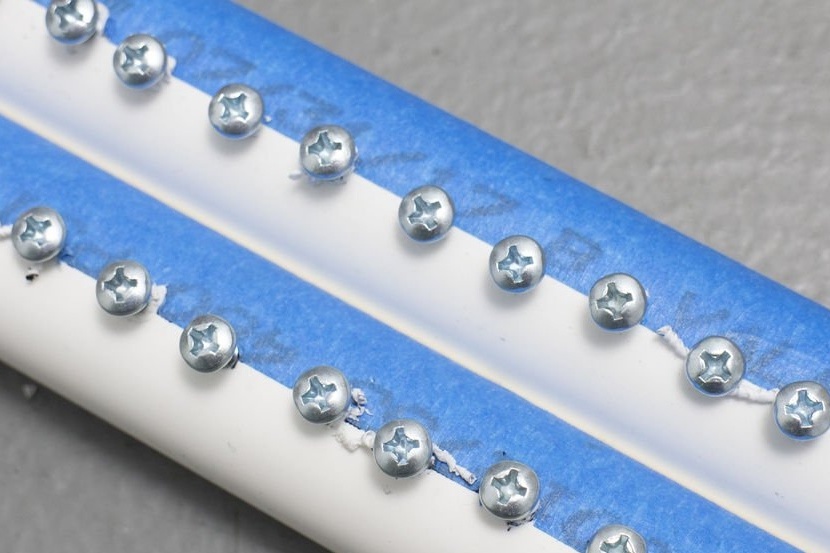
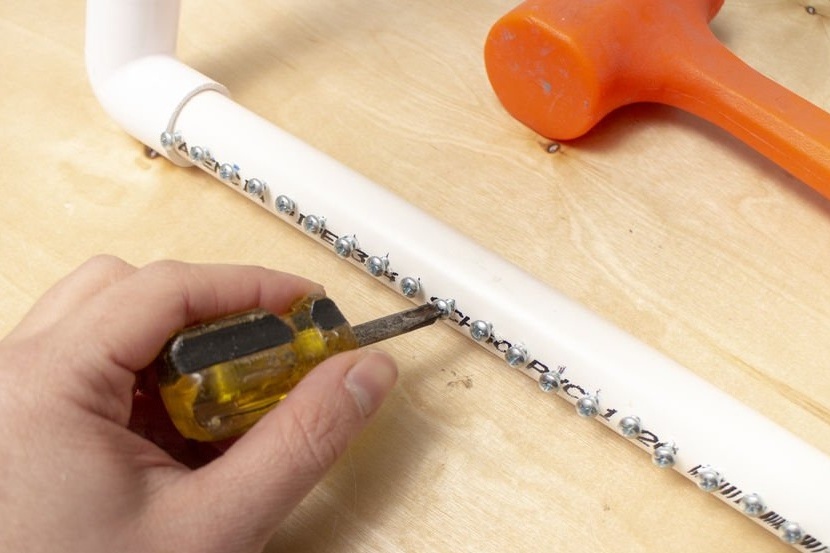
Step two: self-tapping screws
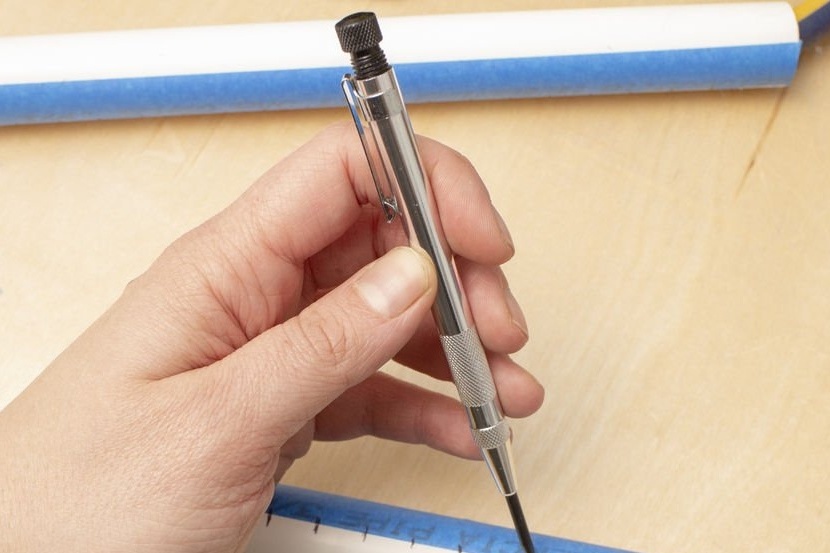
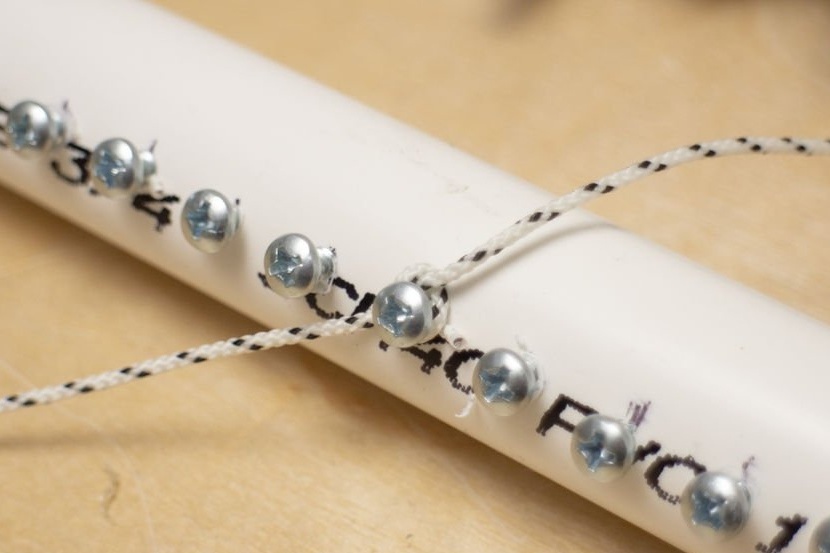
Punch marks the location of the screws. Then the screws are screwed, but not completely. By level. All self-tapping screws should protrude equally.

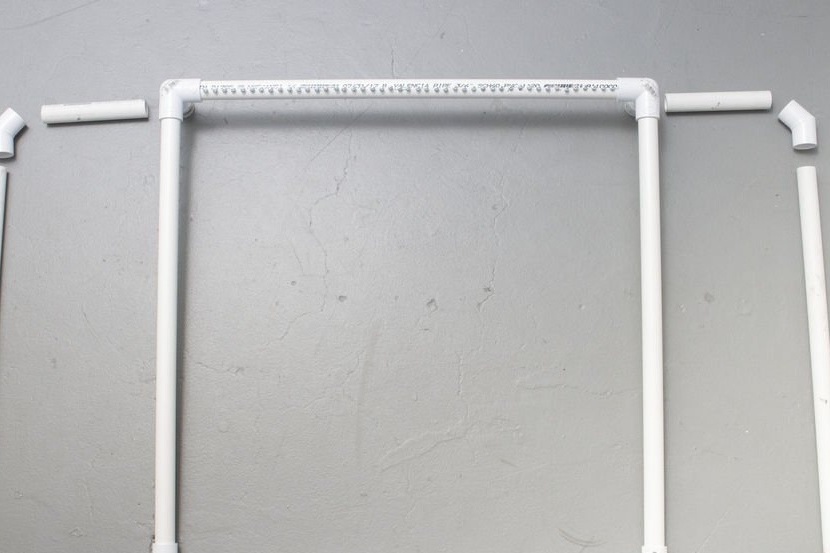
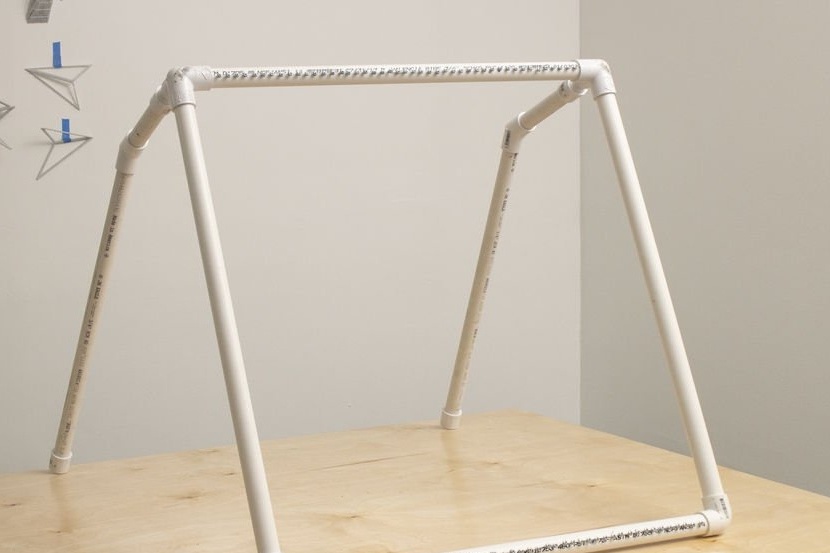
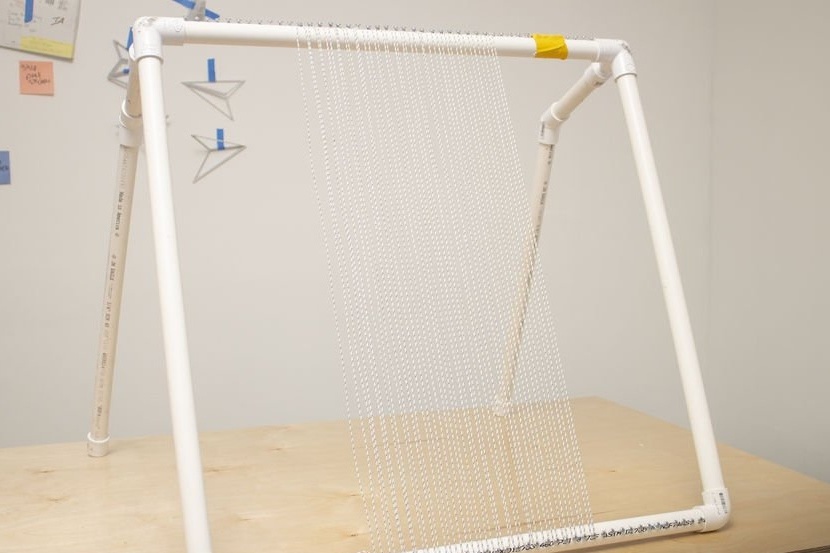
Step Three: Build
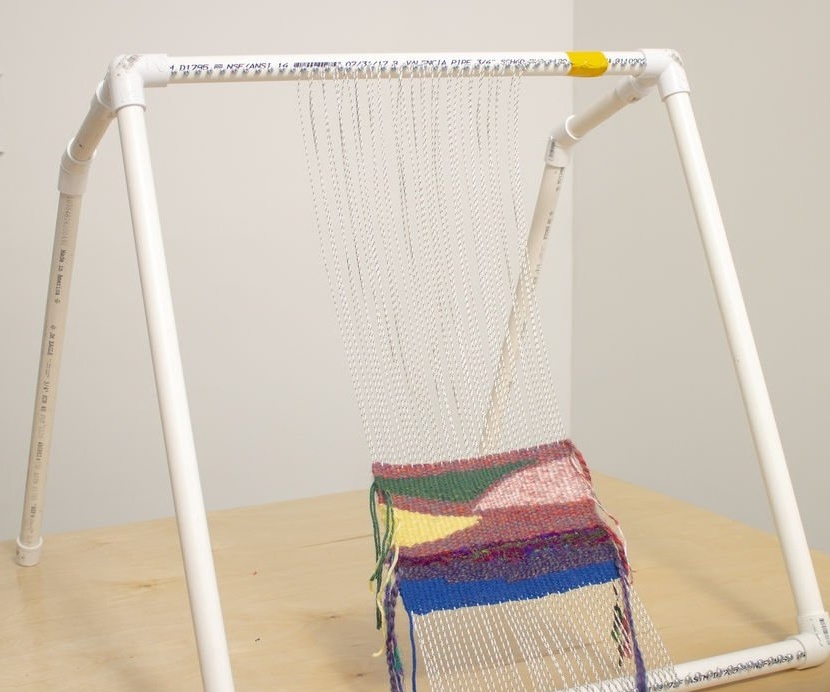
Then the master collects the machine as in the photo.
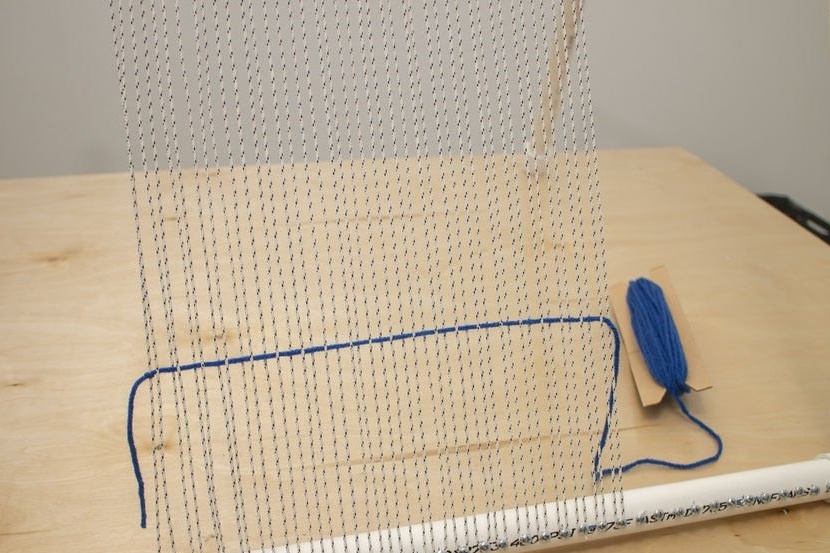
Step Four: The Basis
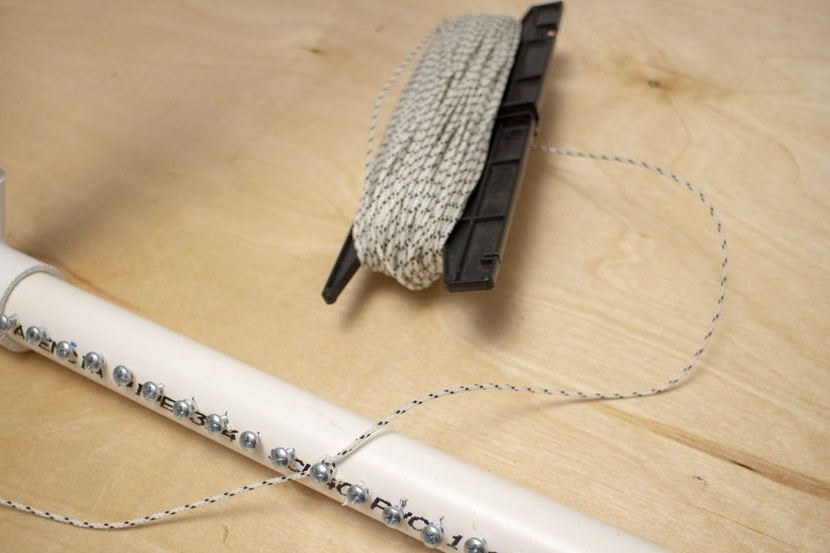
Depending on the width of your canvas, you need to fix the thread on the screw. The wider the fabric you are going to weave, the closer the thread is attached to the edges. Then the thread is wrapped around the upper self-tapping screw, and again around the lower, until it reaches the width you need. On the last self-tapping screw, the thread is fixed.
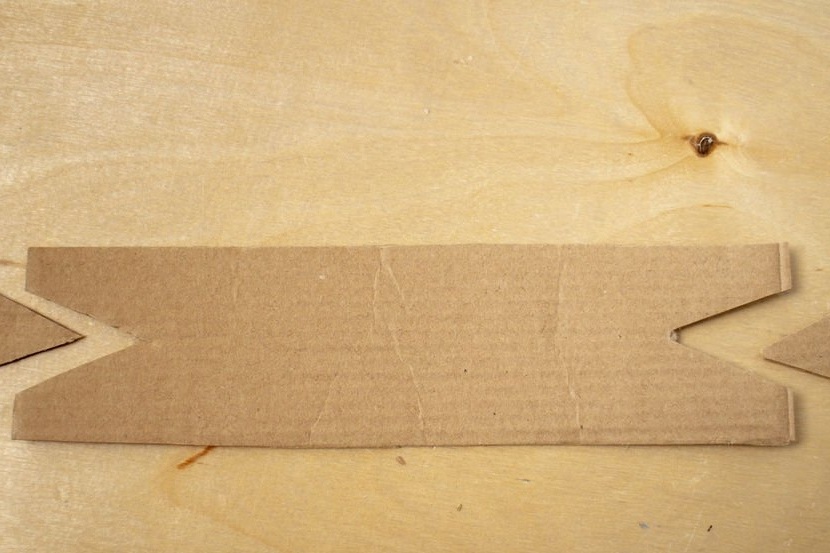
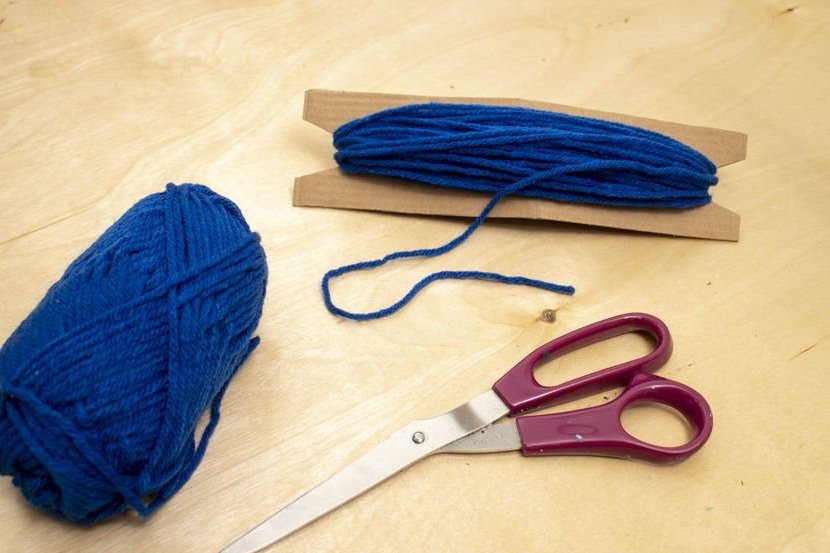
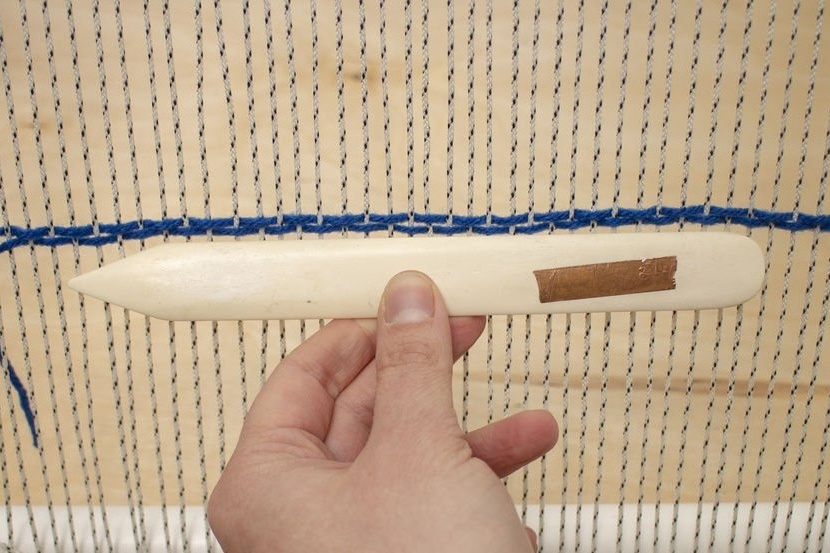
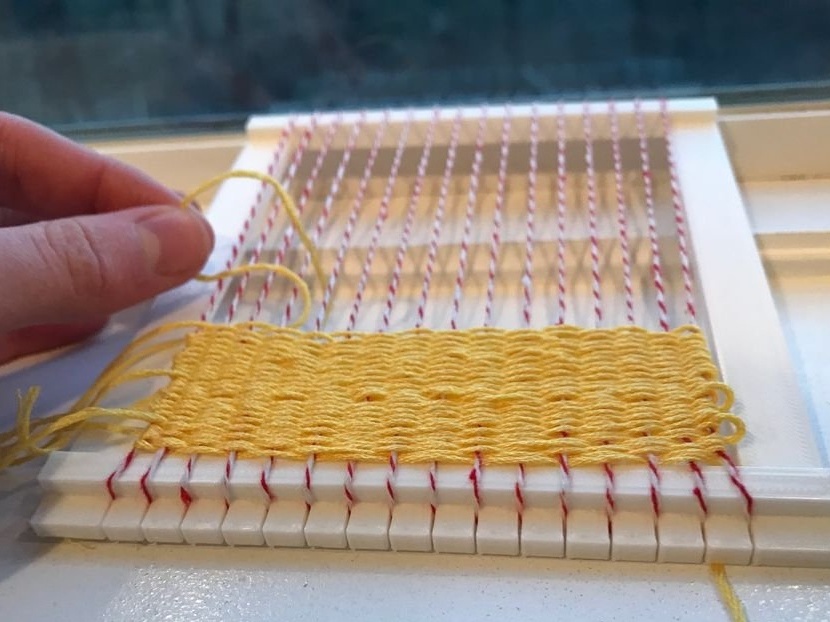
Step Five: Shuttle
Using the shuttle, transverse threads are pulled through the warp. Shuttle master made of ordinary cardboard. Cut and wound yarn on it.
Step Six: Work at the Machine
Work on the machine is not difficult, but requires patience. With the help of a shuttle, yarn is pulled through each thread with an overlap. Finished stitches are aligned and tucked together.
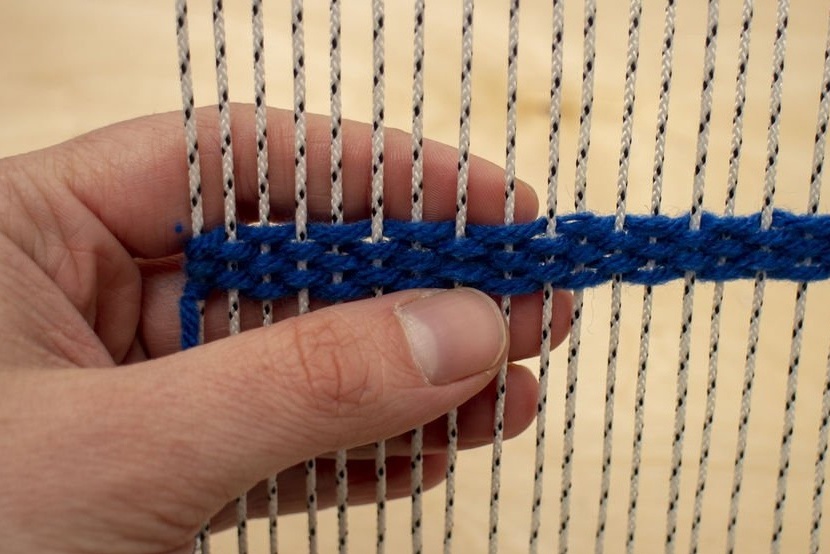
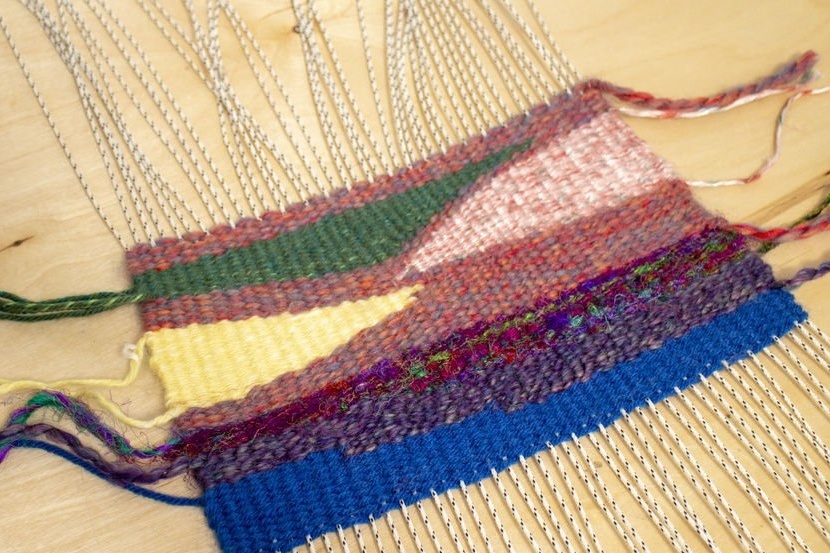
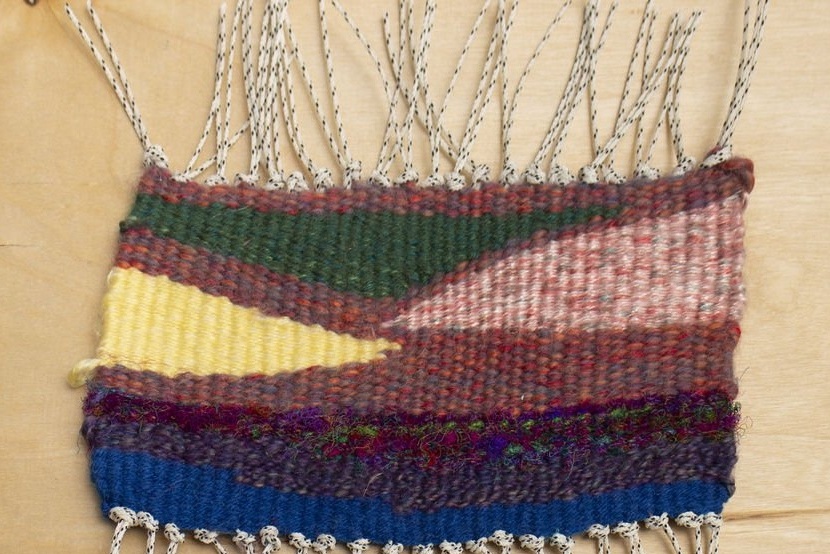
Alternating threads of different colors creates a picture.
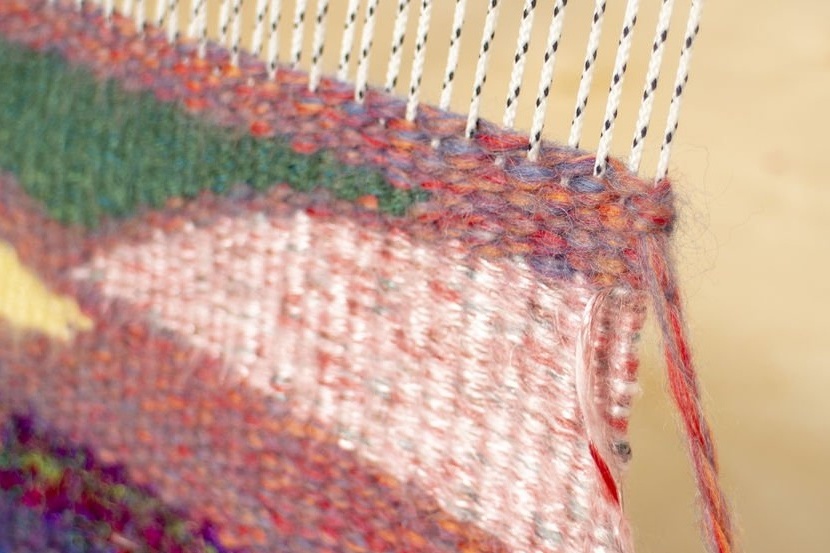
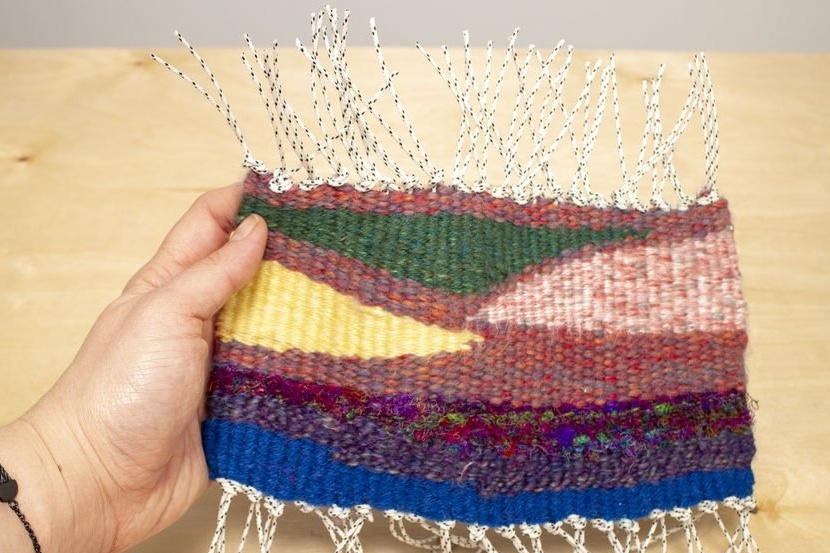
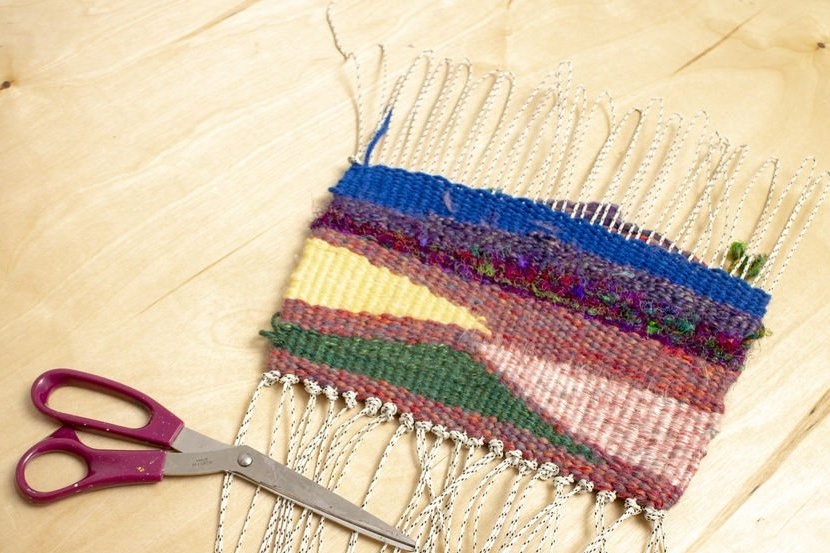
Next you need to remove the canvas. On this machine, it is enough to simply turn the tubes inward and the loops themselves will be removed. The ends of the warp threads are tied and trimmed to the desired length.
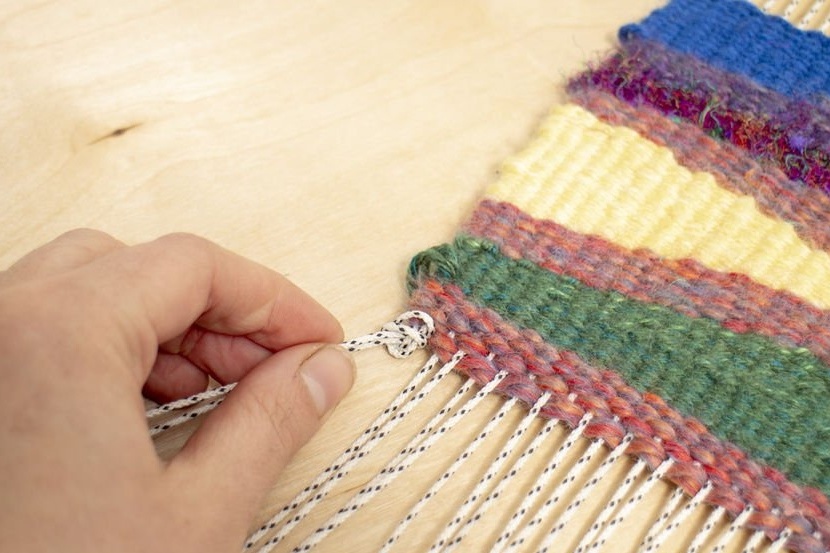
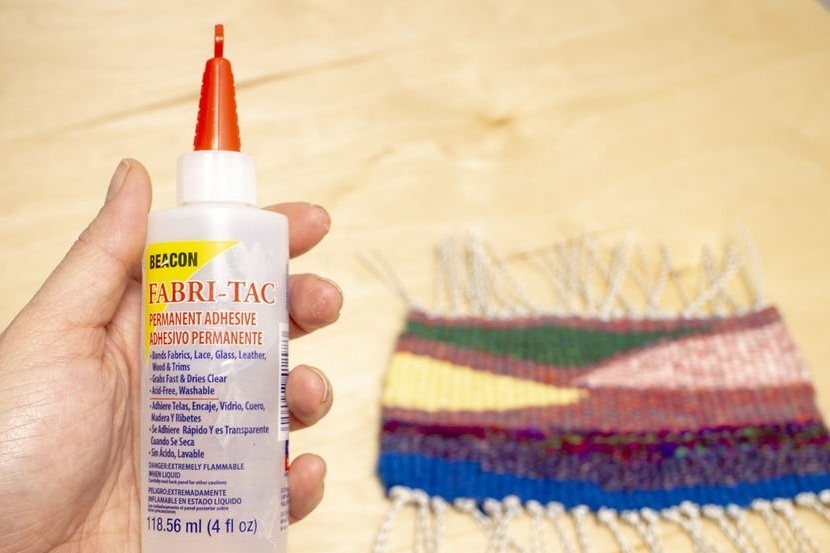
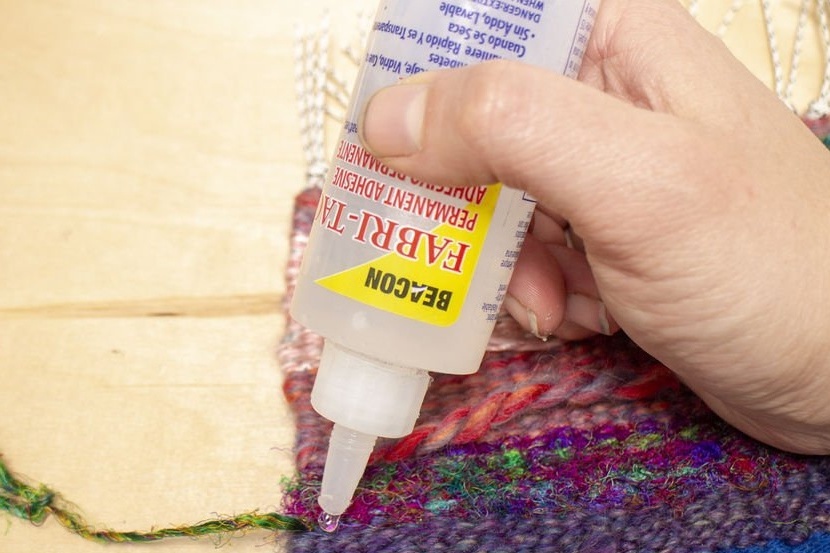
If suddenly, one of the threads has a free end, you need to put a drop of glue on the end and stick it to the product.
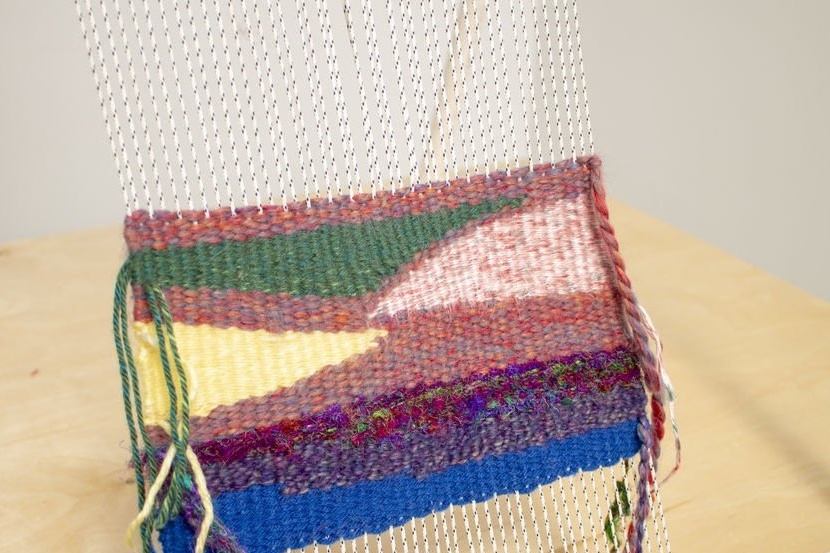
Here's a product from the master. Given that this is his first experience, not at all bad.

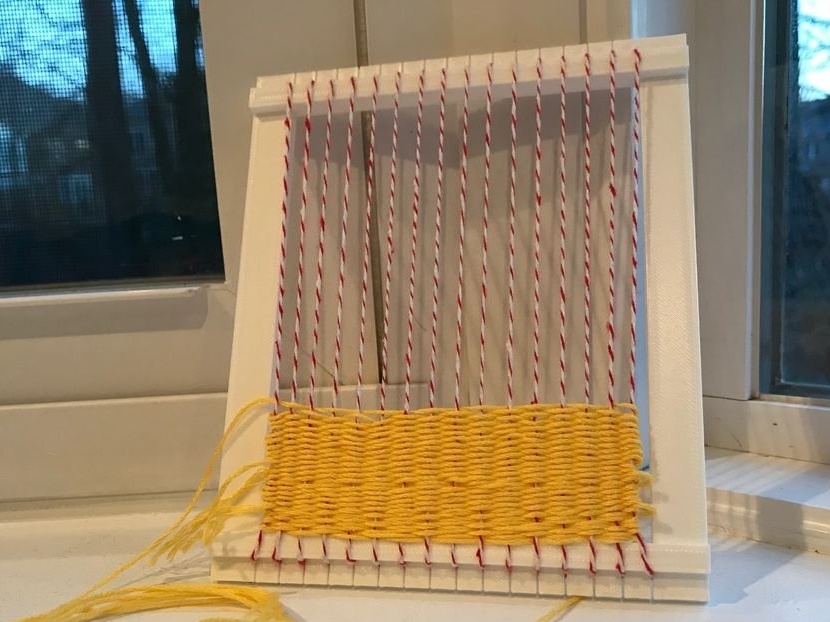
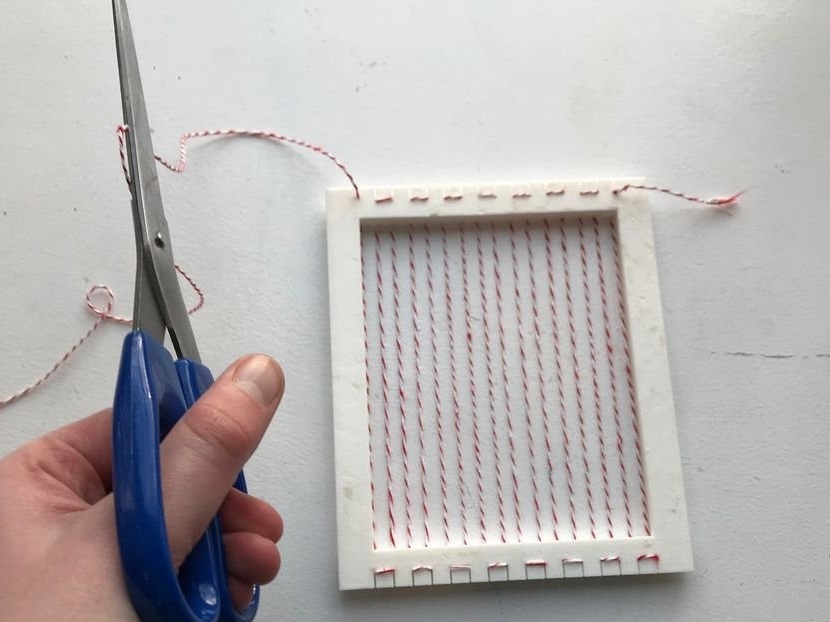
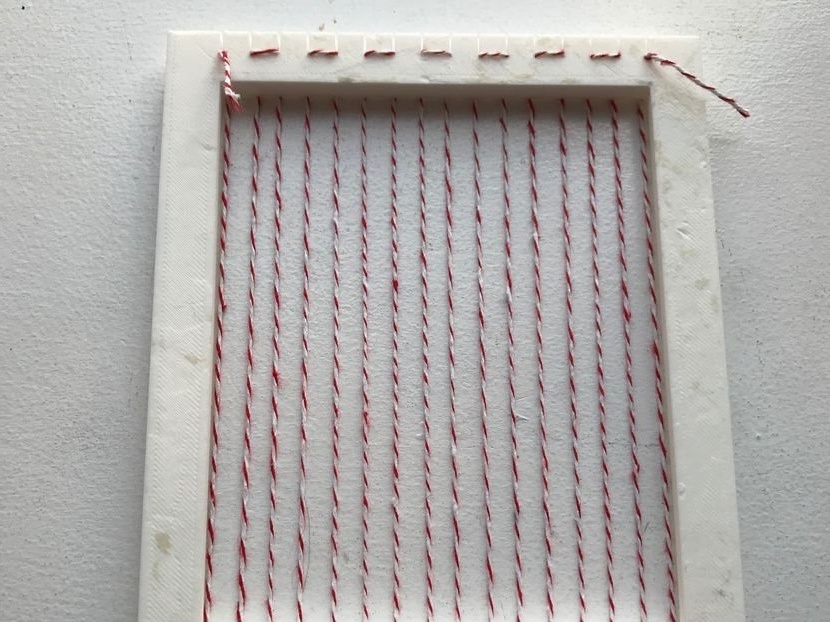
Now let's see some photos of the machine printed on a 3D printer.
This will help you navigate and choose the material from which you yourself can make a manual loom.
As you can see, there is nothing complicated in a manual loom and the principle is the same for everyone, whether it is a PVC pipe, a 3D printer, or wood.