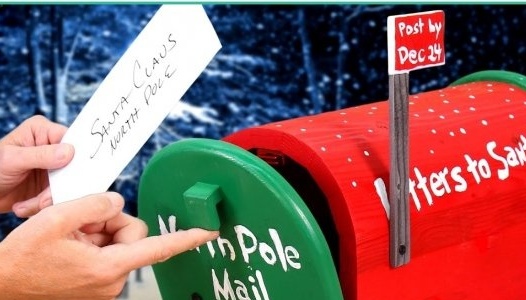
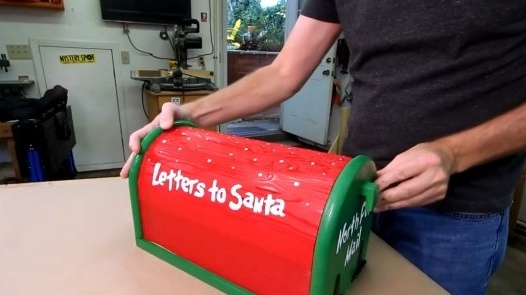
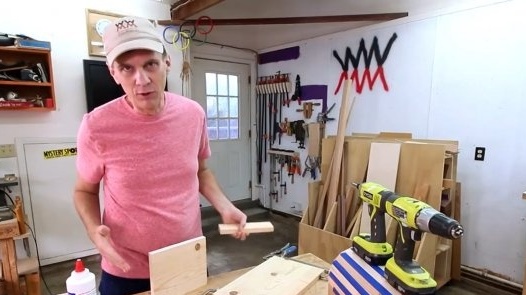
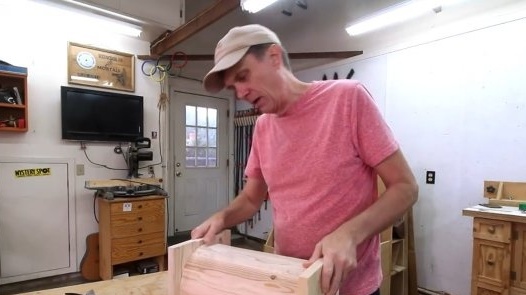
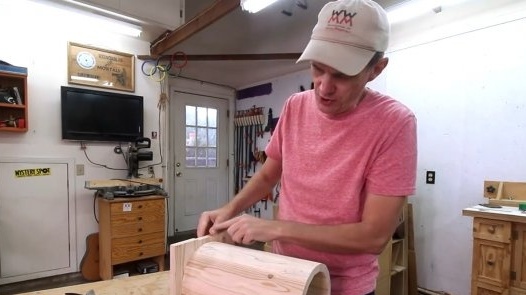
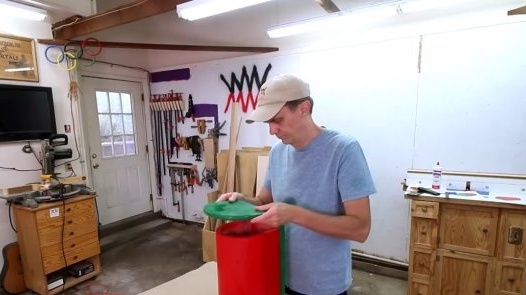
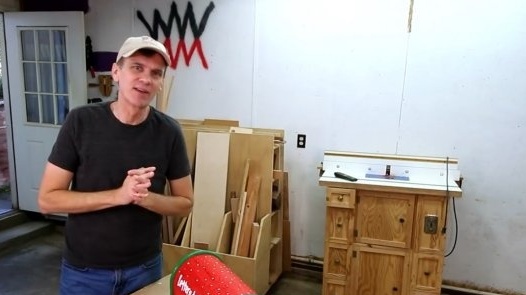
In this article, Steve, the author of YouTube channel "Steve Ramsey - Woodworking for Mere Mortals", will tell you how to make a holiday inbox for gifts for children.
In this version, this is Santa Claus mail. True, Christmas and New Year have long been behind and are completely irrelevant. But what prevents to give a different interpretation to such a useful thing, calling it a chest for Easter gifts? Perhaps you will have an Easter bunny who secretly will lay chocolate eggs there and read sweets, surprising and delighting children! Everything is your fantasy!
Materials
- Boards
- PVA glue
- masking tape
- Furniture hinges
- Paints
- Wood screws.
Instruments, used by the author.
- Goniometer
- Milling machine
- Orbital sander
- A circular saw
-
- clamps
- Screwdriver, screwdriver
- brushes
Manufacturing process.
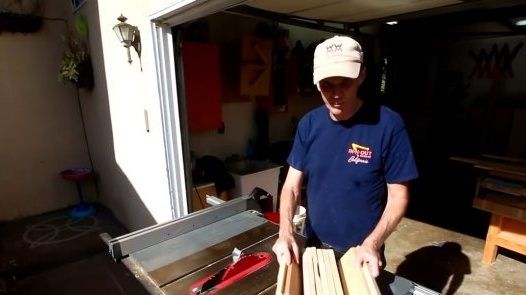
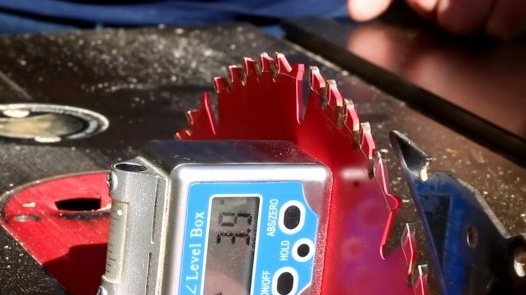
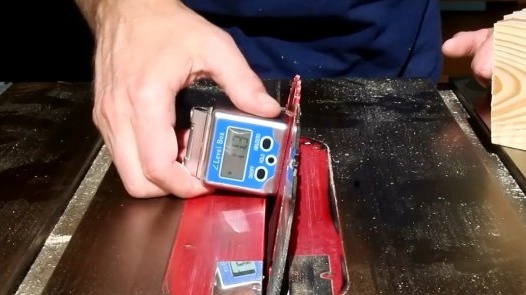
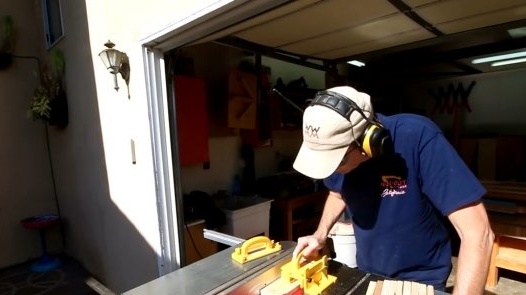
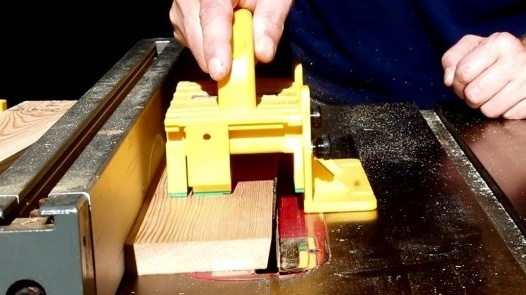
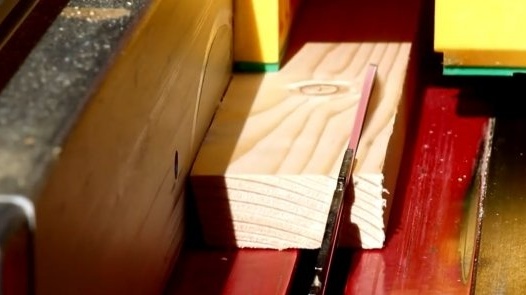
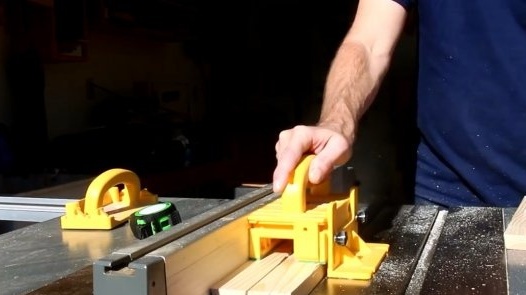
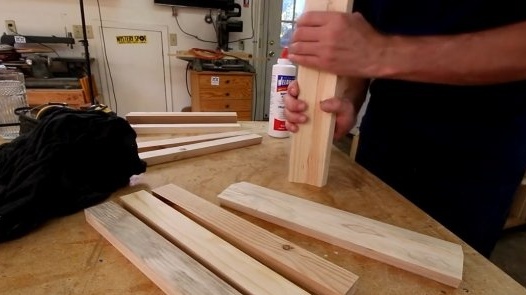
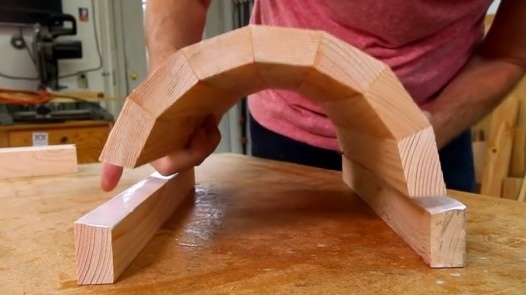
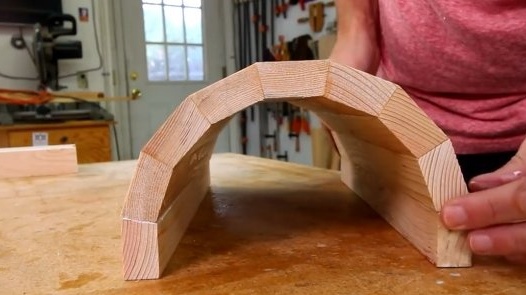
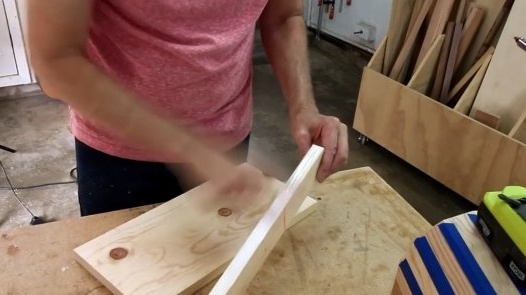
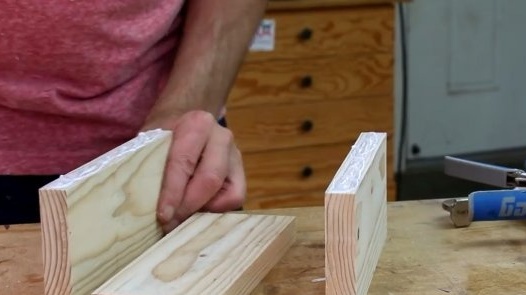
In anticipation of an interesting project, Steve got a whole bunch of scraps of boards, from which he will have to cut several wooden planks with bevels at 11.25 degrees on both sides. Sets the circular saw blade to the desired angle with. Then cuts the workpiece.
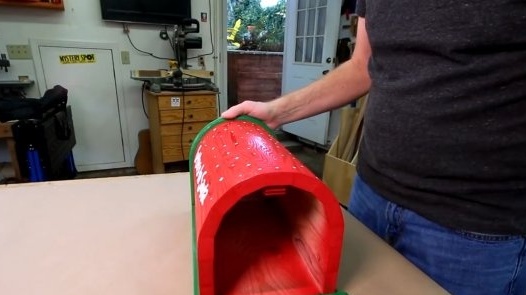
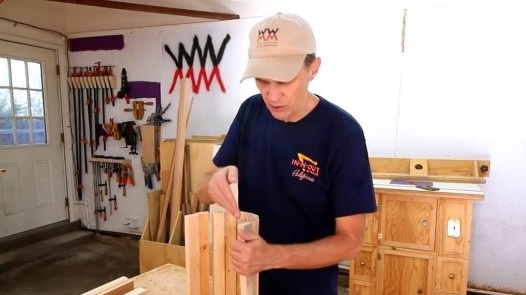
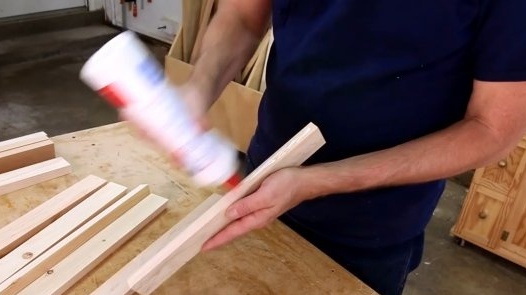
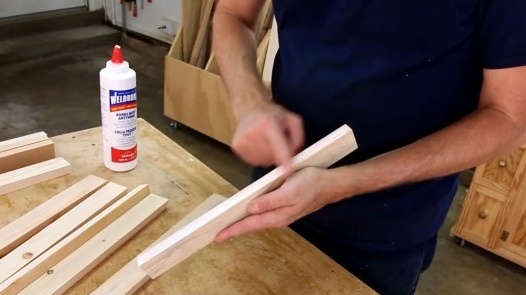
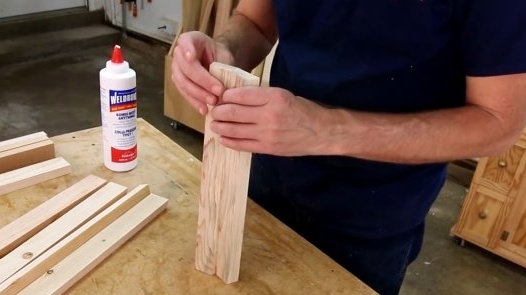
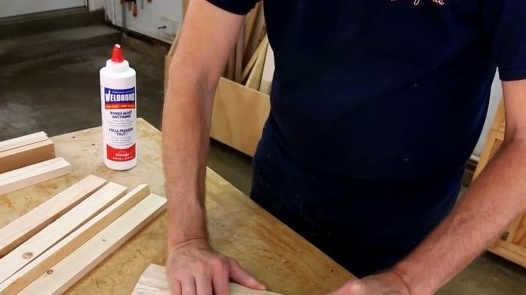
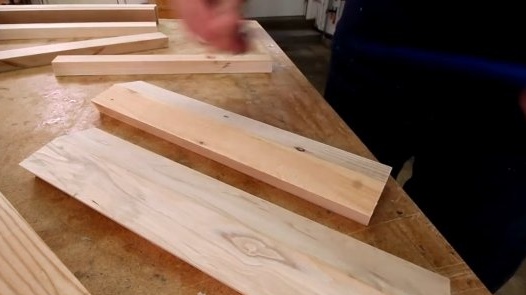
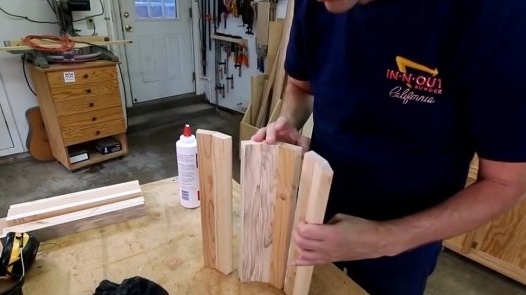
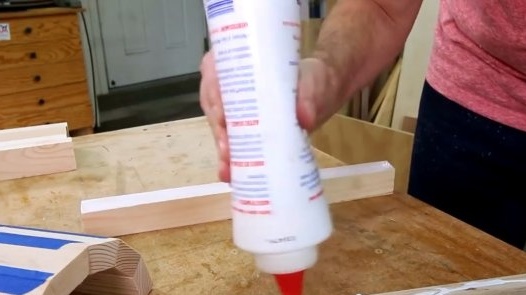
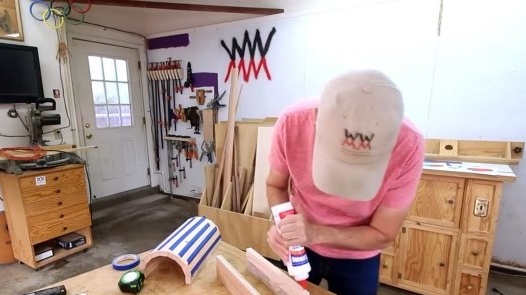
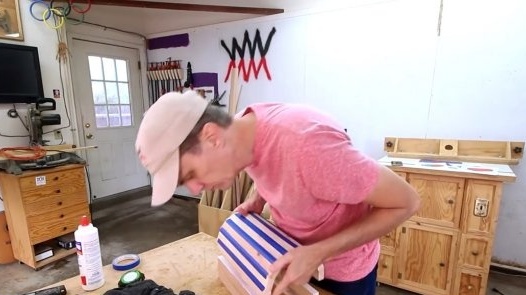
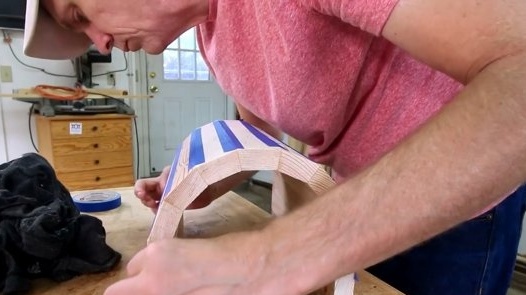
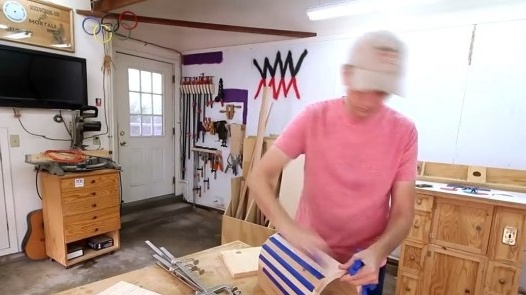
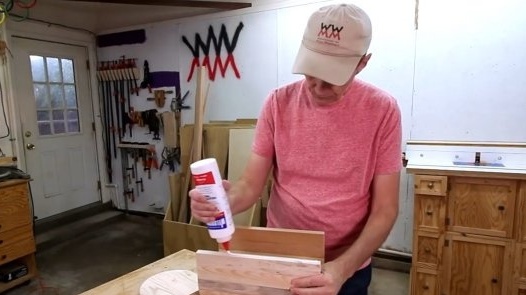
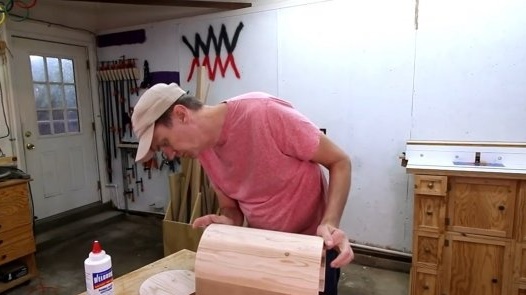
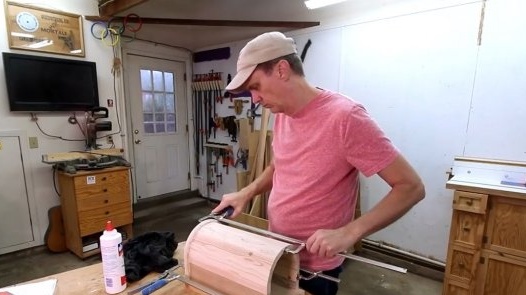
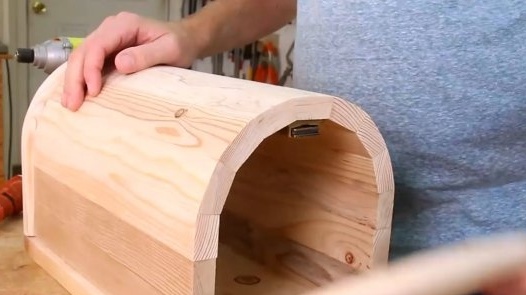
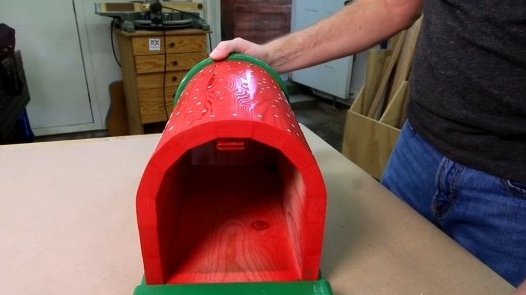
Now they will need to be glued to each other so that in the end a curved shape is obtained. This is a rather intricate task, but Steve seems to have found the key to success. He intends to glue two strips at once and only then connect the pairs together.
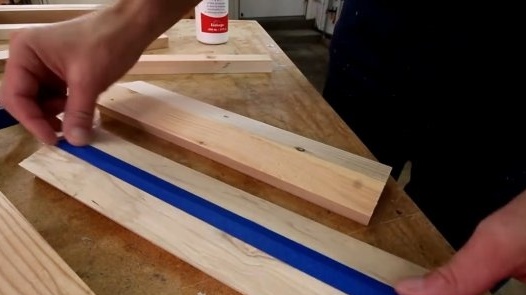
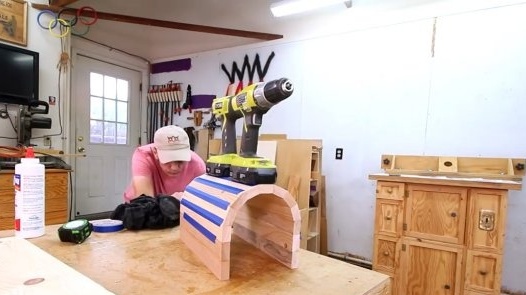
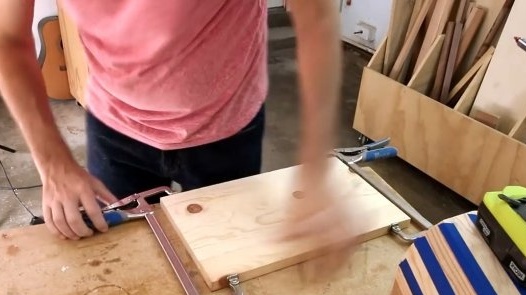
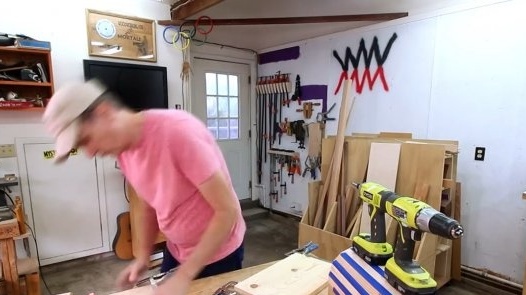
The master doubts that he can clamp this design in clamps. But he has an idea no worse: he glues all joints with adhesive tape, and instead of weighting agents he puts cordless screwdrivers on top.
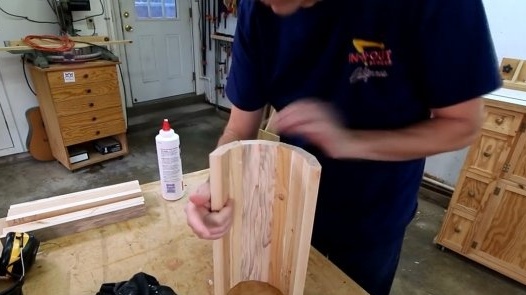
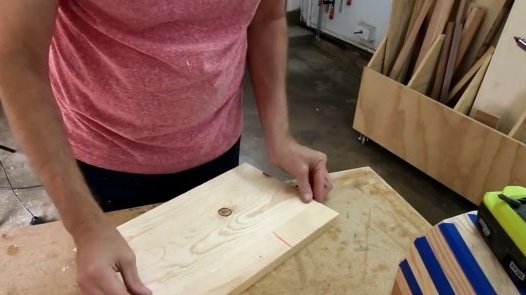
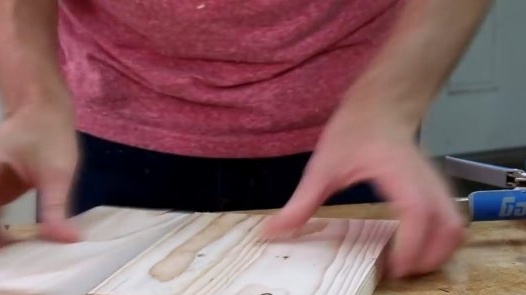
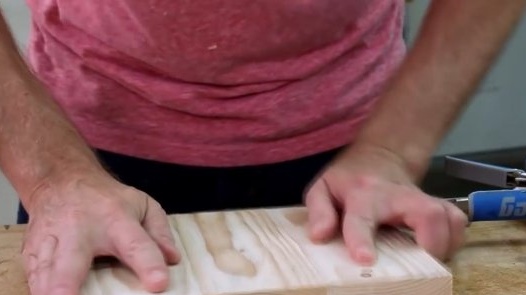
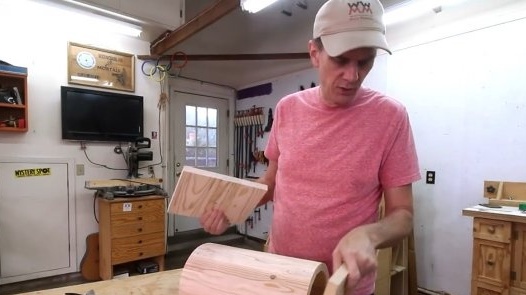
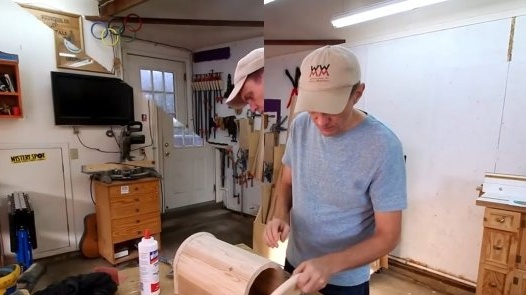
Now he has to glue a few more boards together to make a panel wide enough for the door and base of the drawer. Of course, the author admits, it would be possible to use plywood, and it would be an order of magnitude easier, but Steve wants to find application for these boards. This will be the door, and this board will be the back.
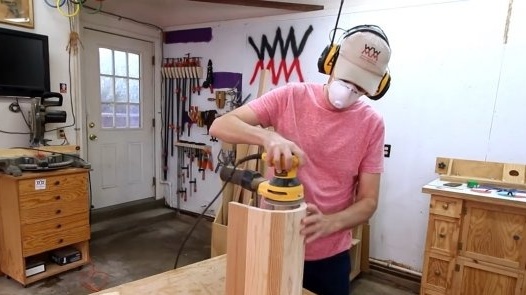
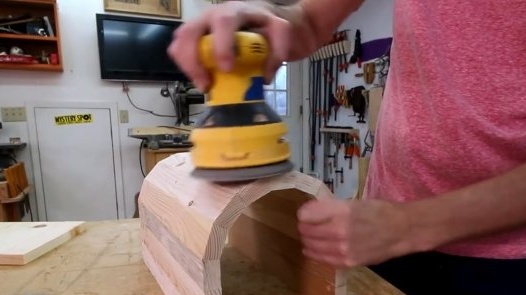
Then, after the glue dries, it polishes the surface.
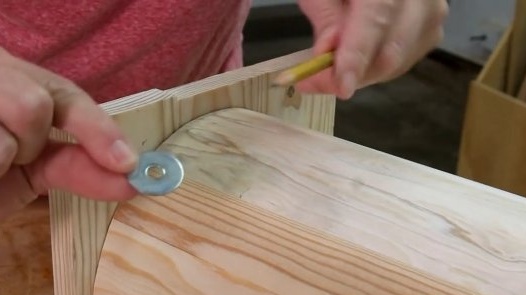
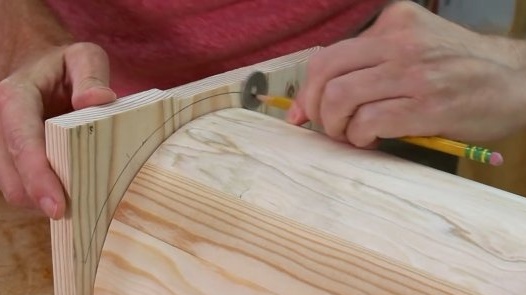
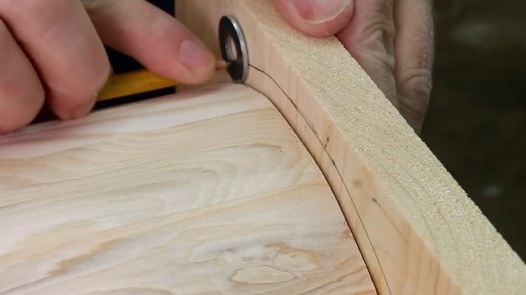
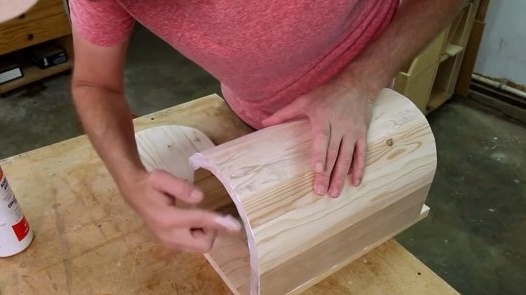
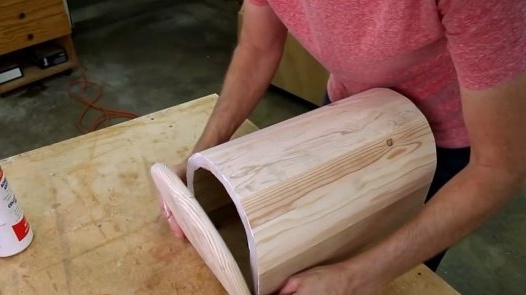
The author is going to cut both panels according to the shape of this rounding, but he would like to leave a low ledge around the edge, about 6 mm.
As a guide for the contour, the author uses an ordinary washer.
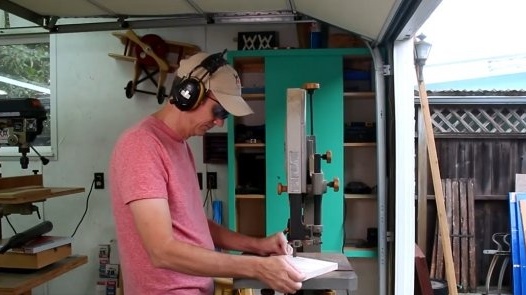
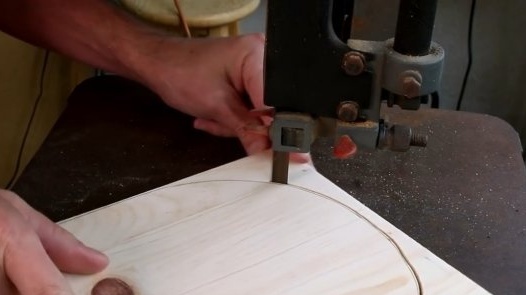
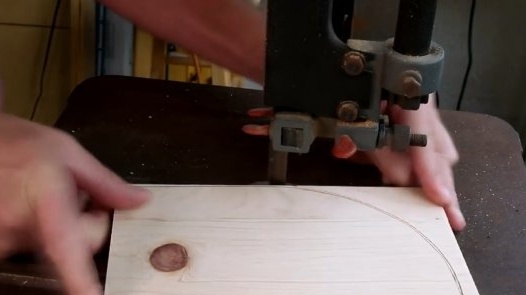
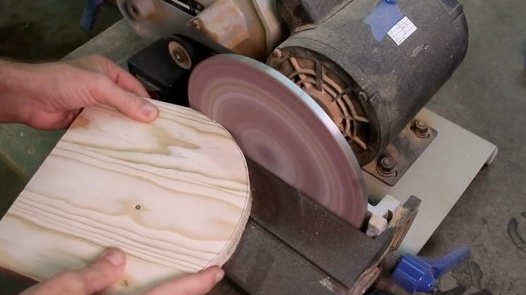
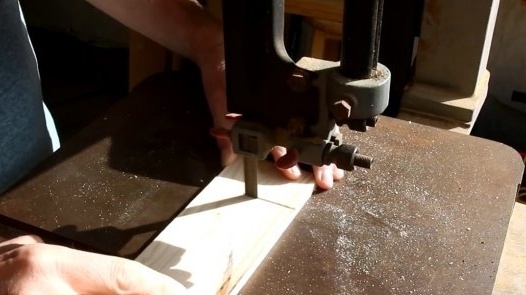
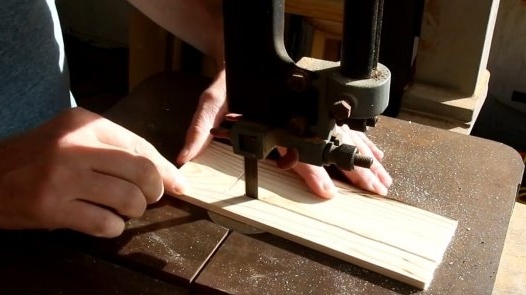
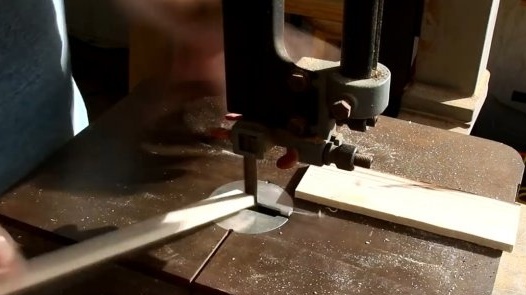
Both forms are sawn on a band saw and carefully sanded.
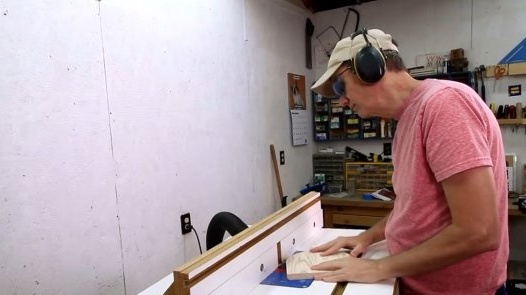
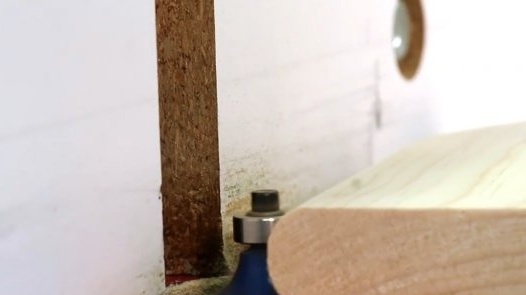
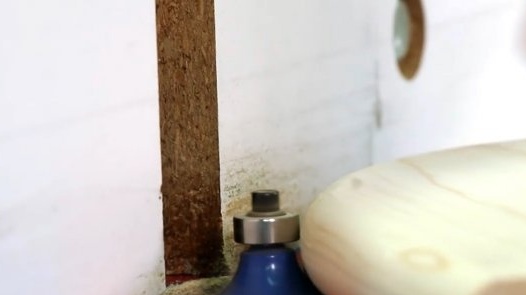
The edges of the door and rear wall are machined on a milling machine.
Now you can glue the bottom and back wall.
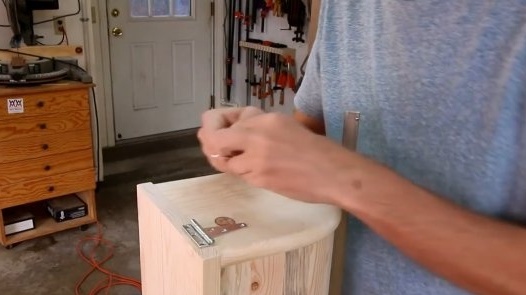
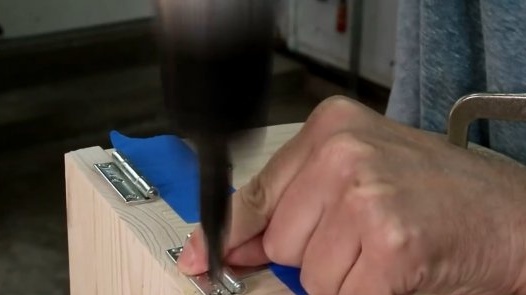
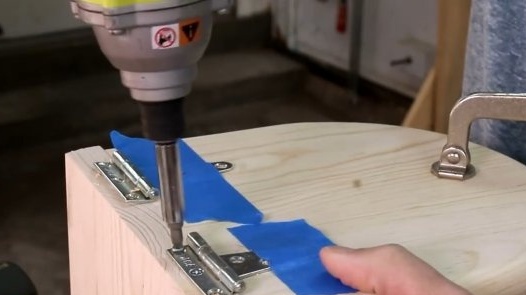
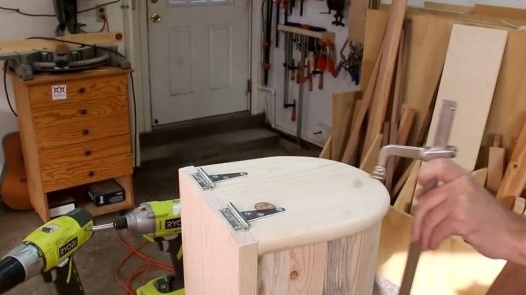
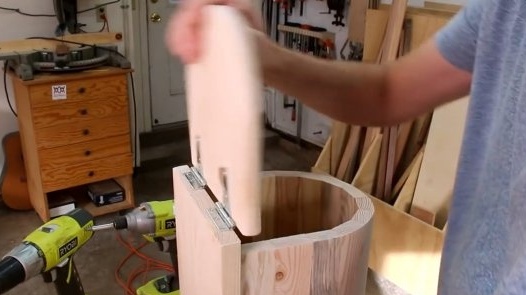
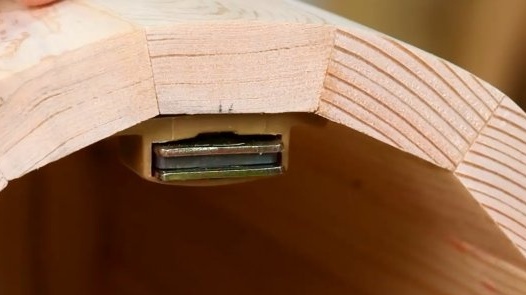
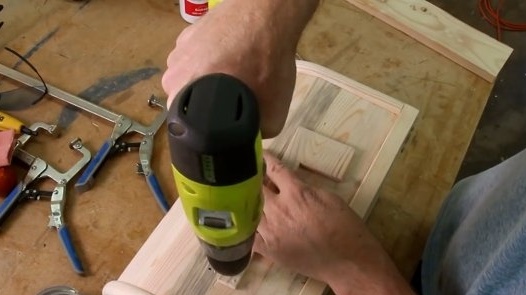
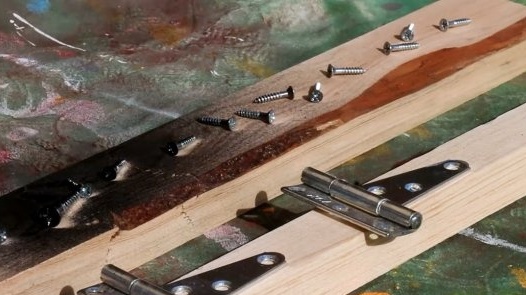
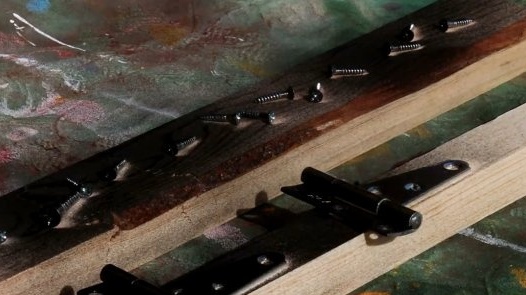
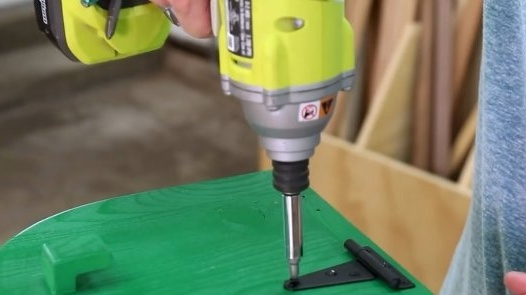
The author tightens the hinges and the magnetic lock so that the door can be easily opened and closed.
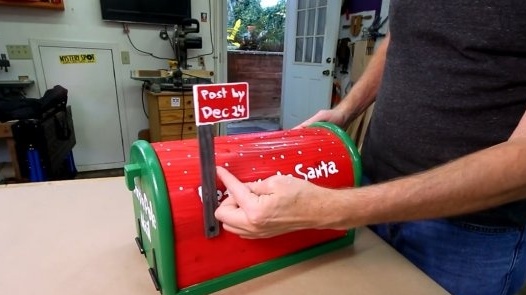
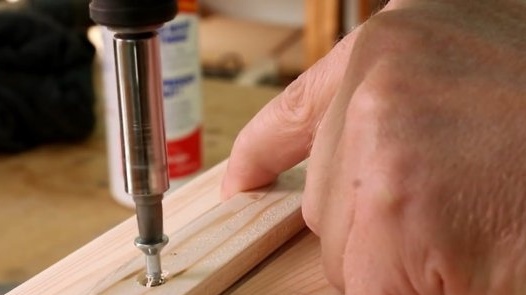
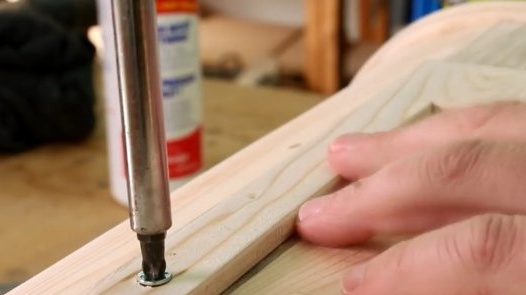
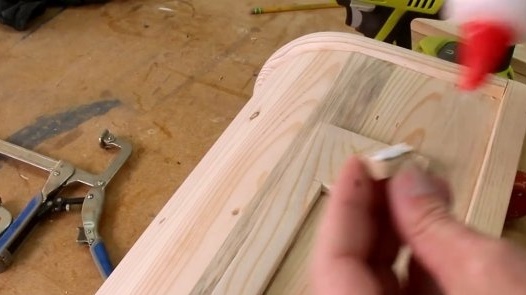
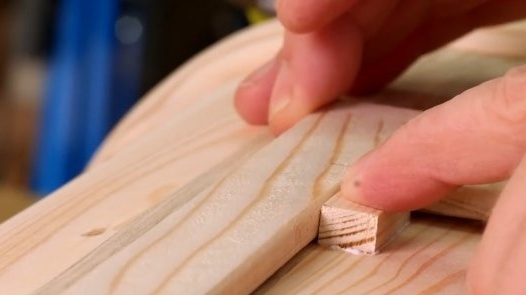
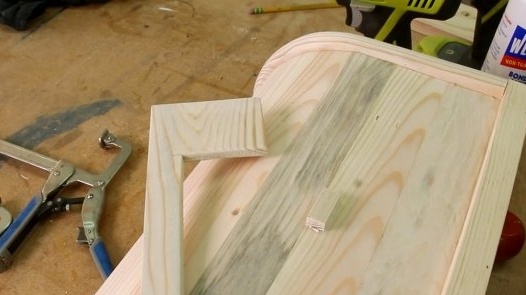
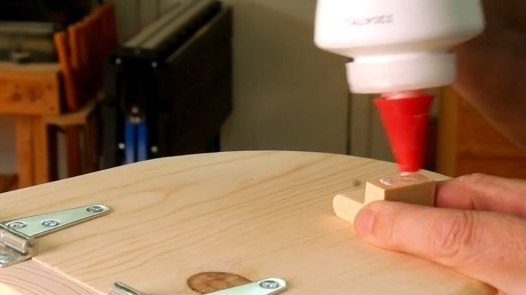
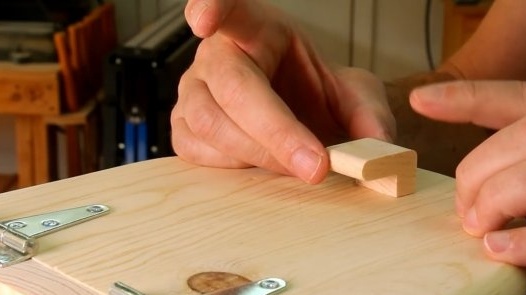
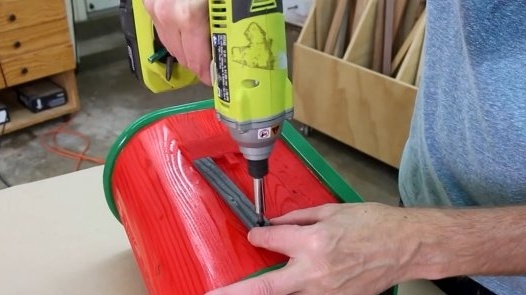
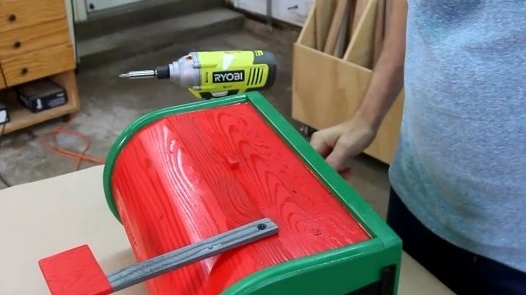
Now he cuts out the flag and screws it with a screw. Glues the stop.
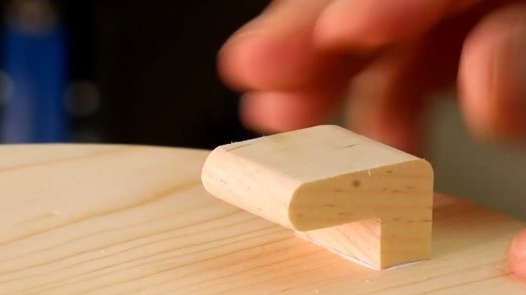
The handle also sticks to the door.
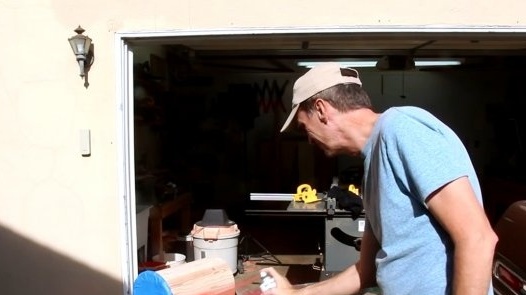
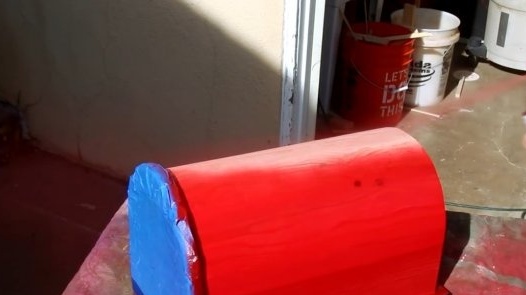
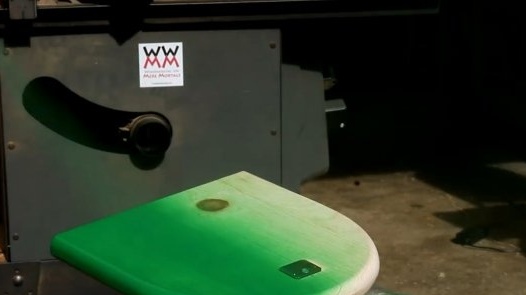
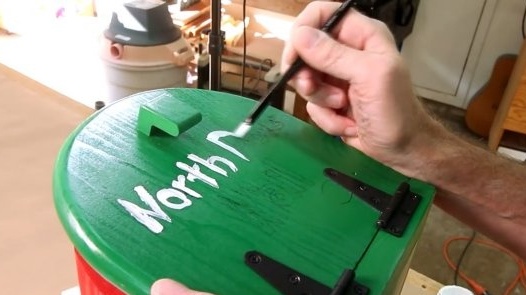
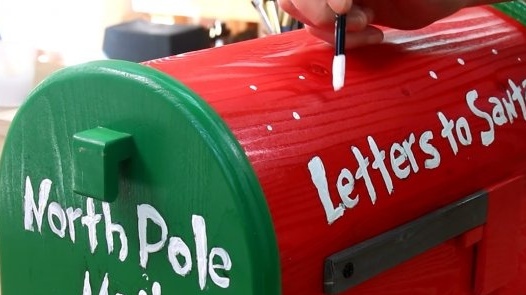
And now it remains only to paint different elements of the mailbox in different colors. Of course, these will be bright colors, because we are talking about a festive chest. Spray paints are perfect. They give a uniform coating, apply and dry very quickly.
Screws the door and flag into place.
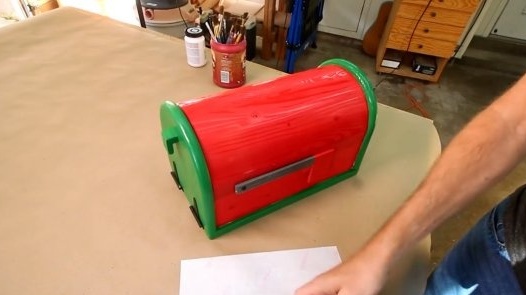
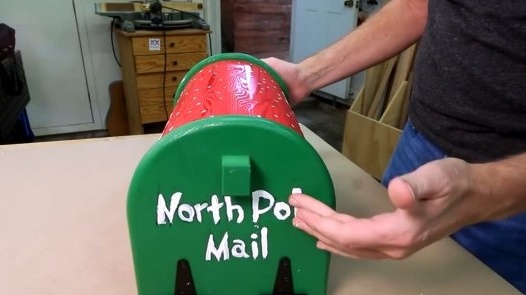
Here is such a nice box. You can color it in different ways, as long as you have enough imagination.
Children will be happy to play with such a chest, they can throw letters there at least every day and receive mail from fairy-tale and fictional characters, exchange messages with family and friends.
Treat yourself and your children!
Thanks to the author for a simple but interesting idea for children's games!
All good mood, good luck, and interesting ideas!

