
It is difficult to imagine our life without such a universally used product as bread. But such availability of this product was not always. There were times when bread was only on the tables of kings and very wealthy and wealthy people. And only with the passage of time, when bread became a generally available food product, the need arose for its long-term storage. It is from this moment that the history of the development of the breadbasket begins. Initially, the bread was stored in wicker baskets and canvas bags, which were hung in barns.
In Russia, in the Middle Ages, bread bins were made from birch bark and wood. To this day, wood is the most optimal material for making bread bins. This is an environmentally friendly material that perfectly regulates humidity and preserves the bakery products placed in it for a long time.
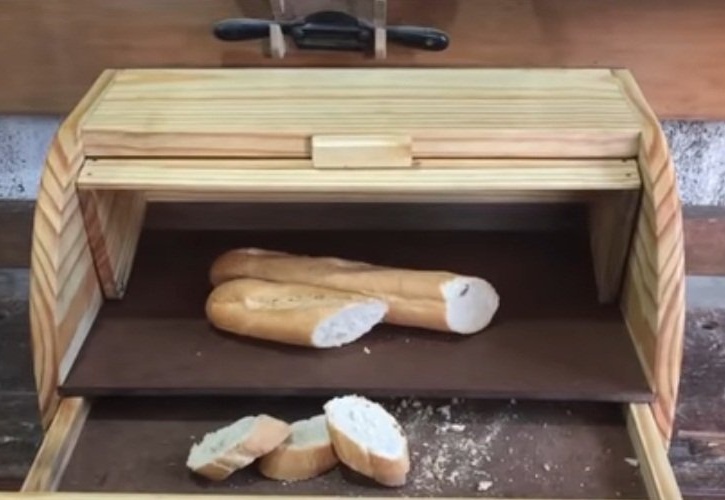
Today, by the example of the author, we will consider how to make do it yourself wooden bread box with a storage box for sliced bread.
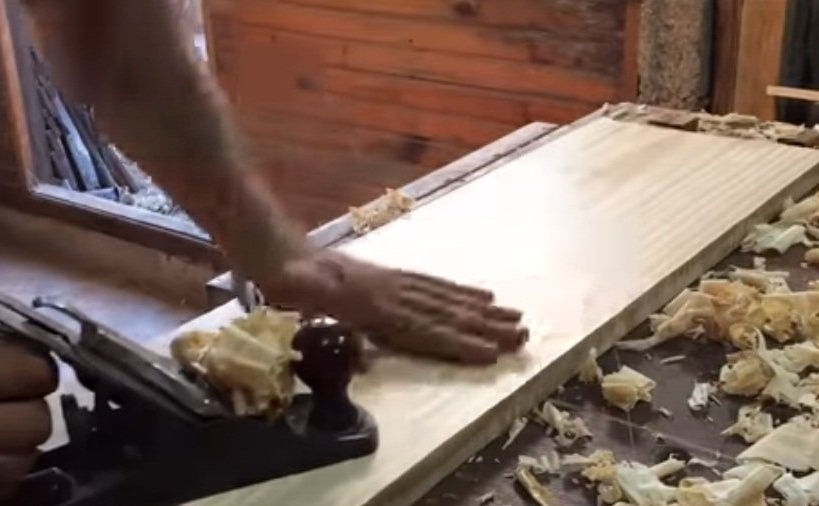
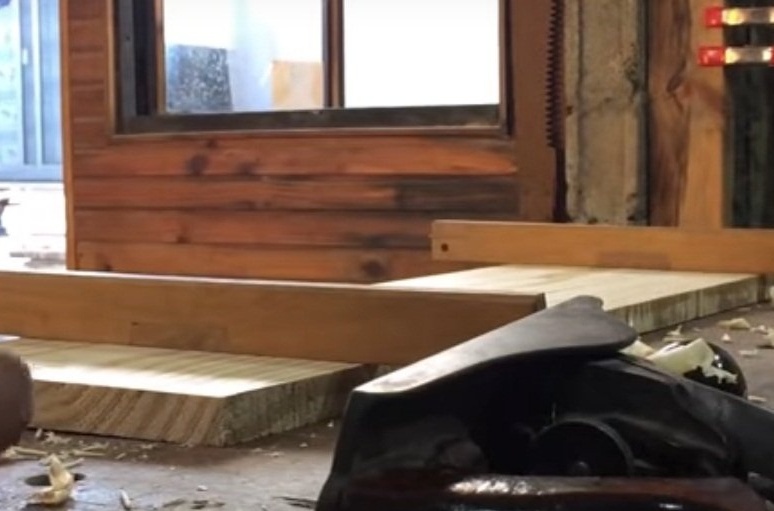
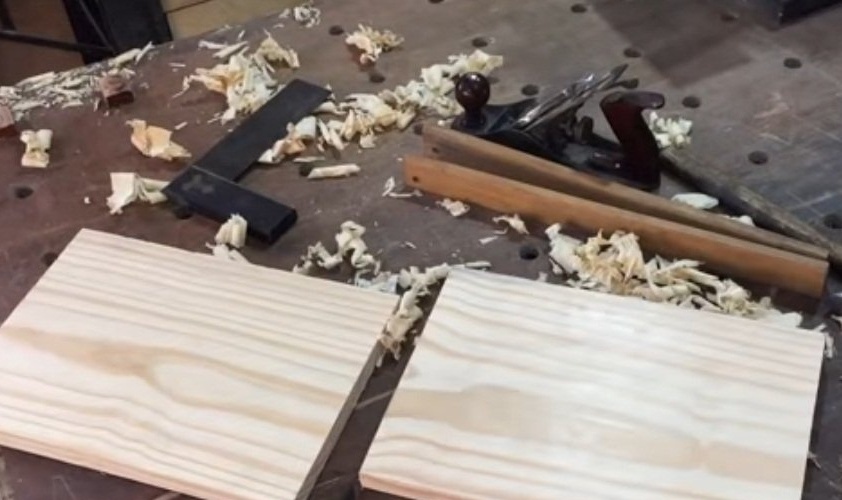
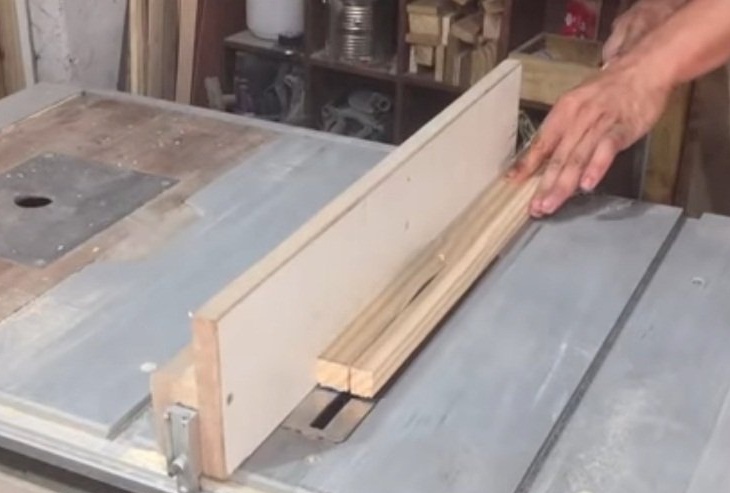
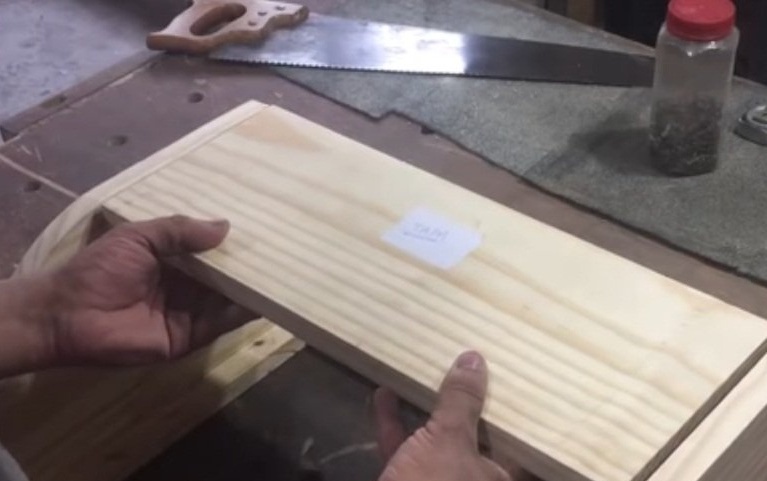
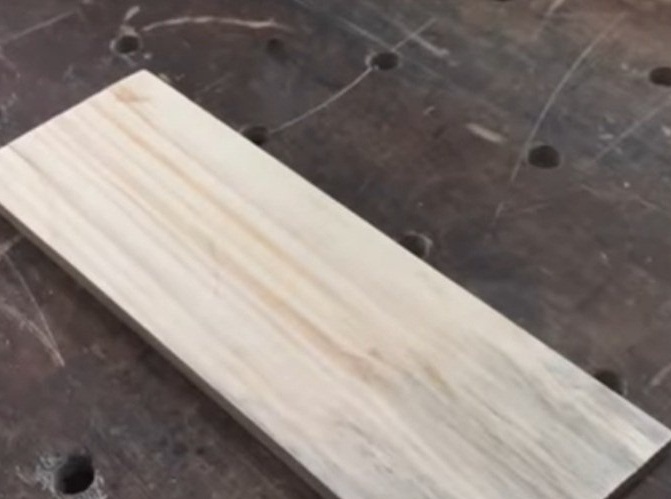
So, having decided on what the breadbox will be, the author proceeds to its production. A board is taken, sawn to the desired size. Further, by carefully scribbling it with a plane and using several even planks, the author checks whether the surface is flat at the workpiece. If necessary, plan where necessary.

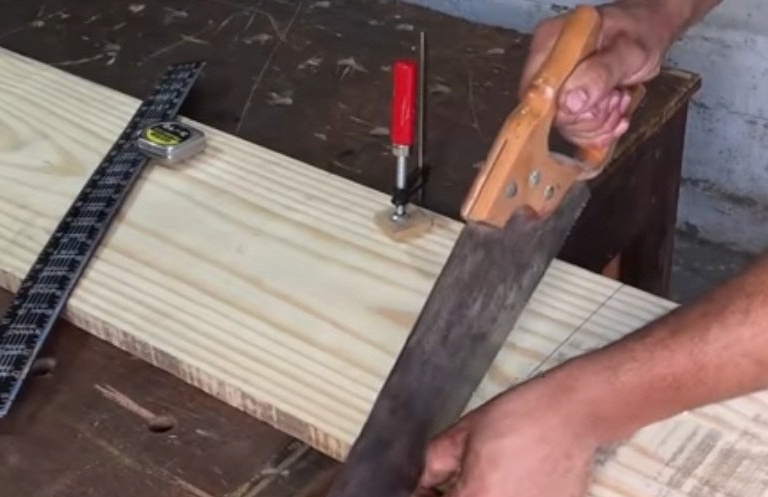
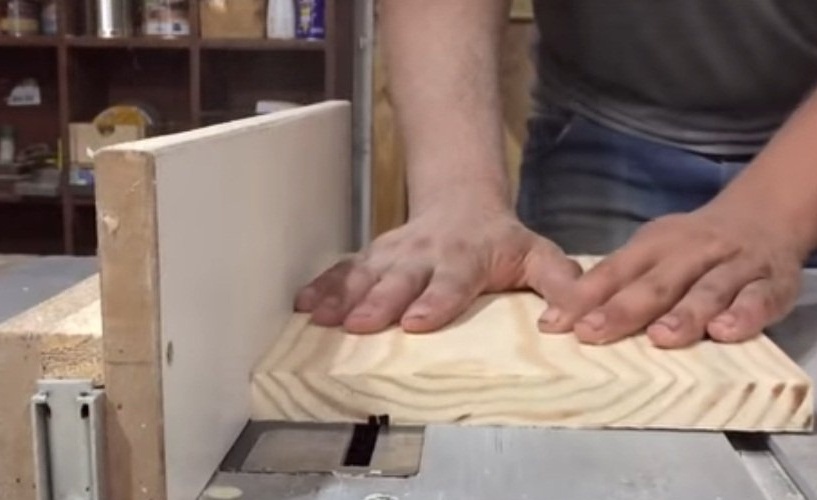
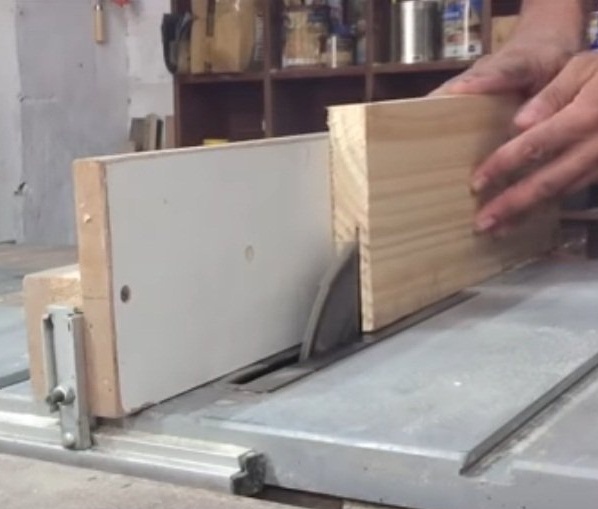
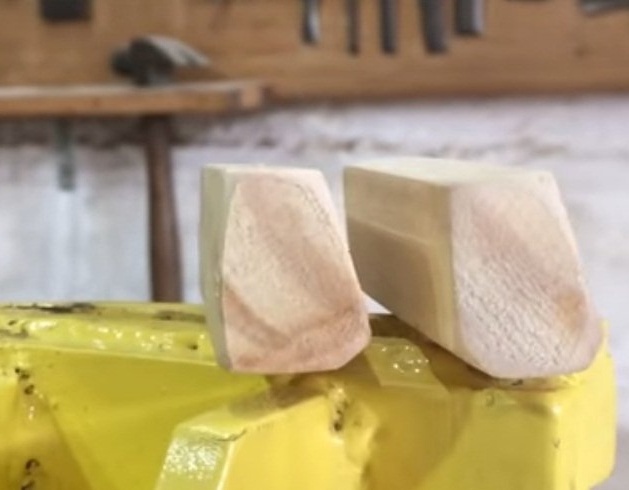
Saw off two workpieces of the same size, which will be used as the side walls of the bread box. In the lower parts of the sidewalls, circular cuts out the grooves into which the bottom will be inserted.
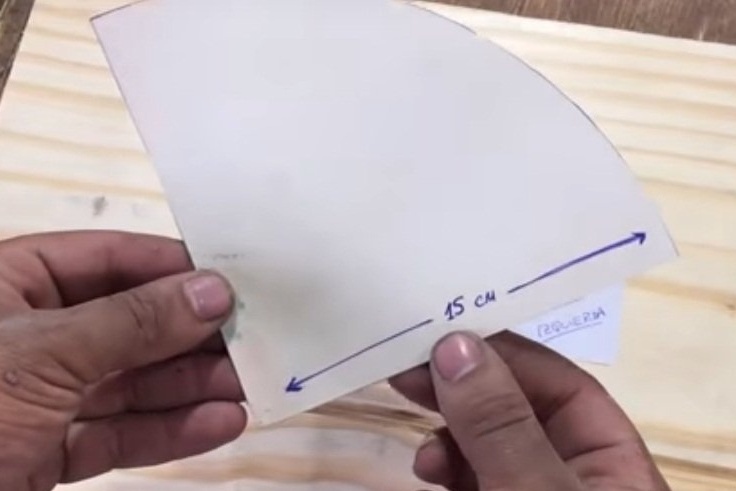
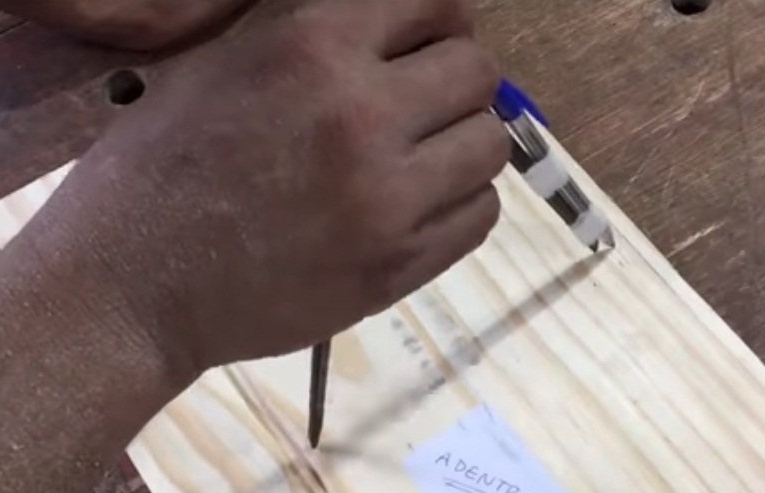
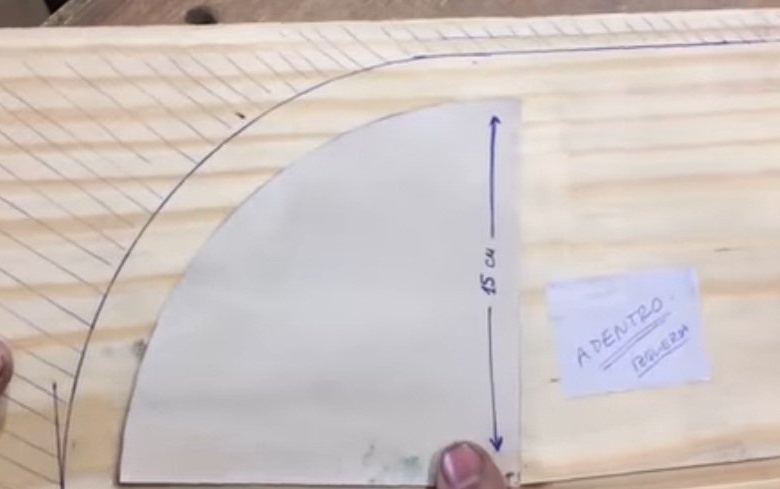
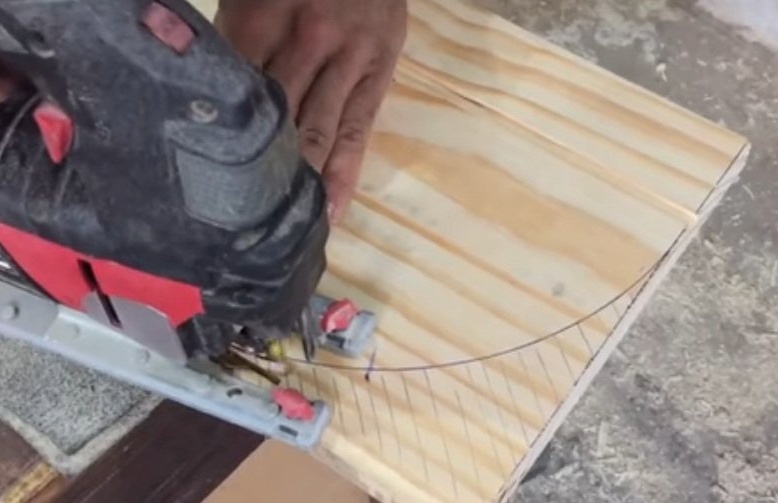
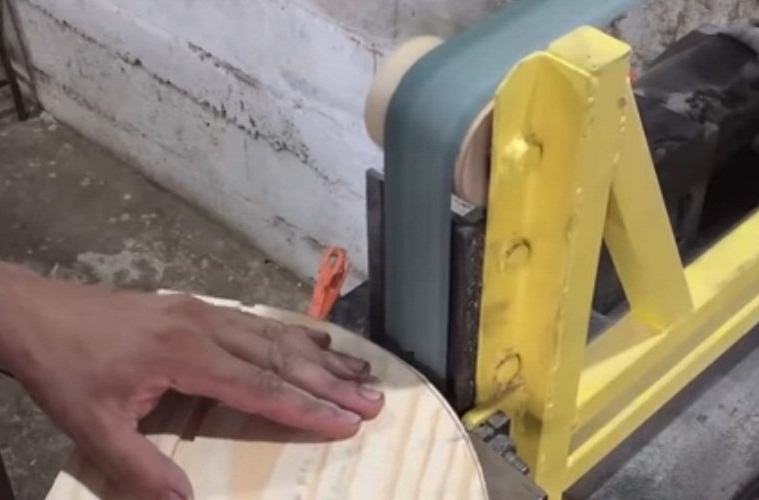
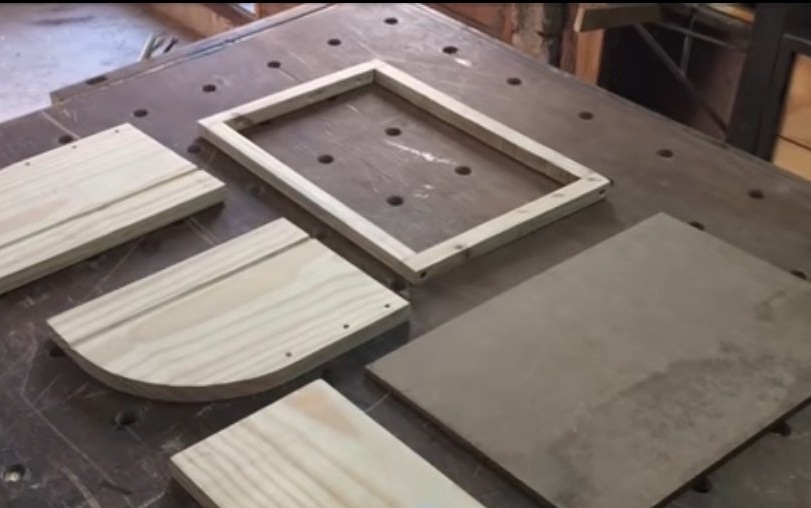
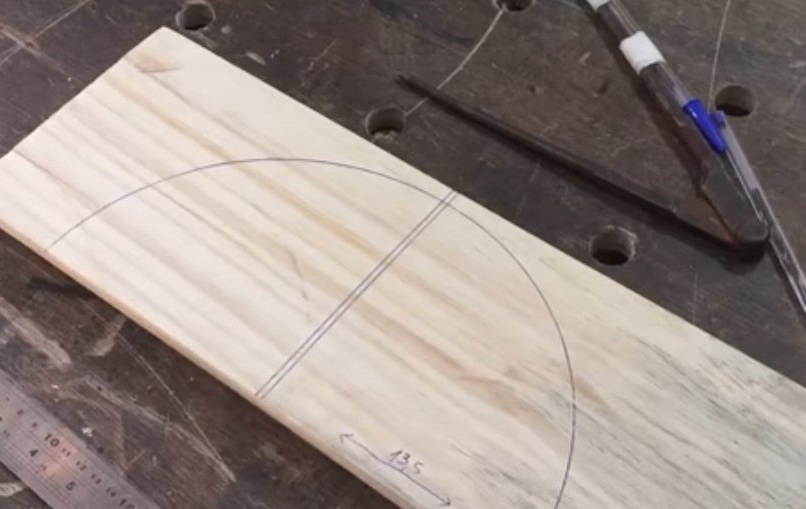
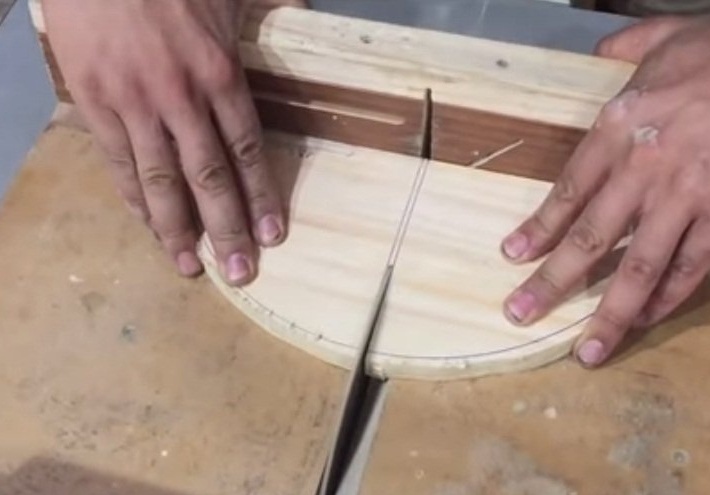
A paper template is cut out of the folding inner door. Applied to the side of the workpiece, a circle is drawn with a pair of compasses which is slightly larger than the template. This is done taking into account the thickness of the top cover. If you leave the size as on the template, the door will be very small, which will be very inconvenient during operation. An electric jigsaw, along the marked contour, all unnecessary is cut off. On a belt grinder, the edges of the workpiece are aligned to the desired size.

Finished parts are temporarily laid aside and the author proceeds to the next step.
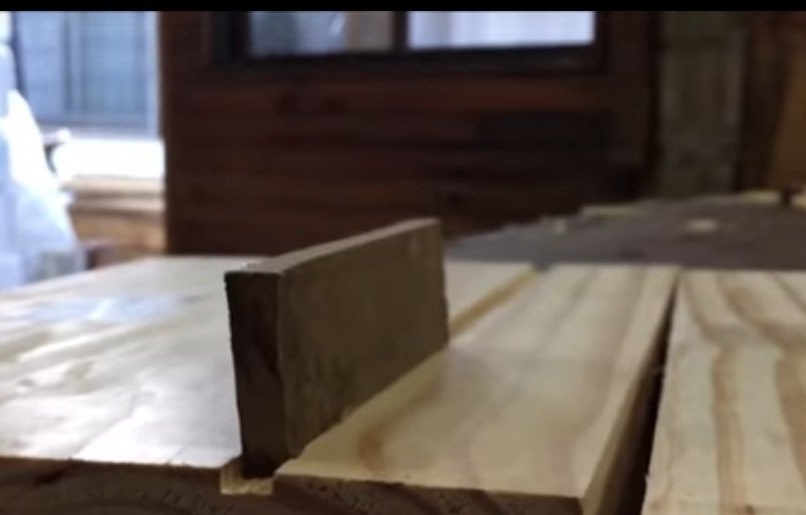
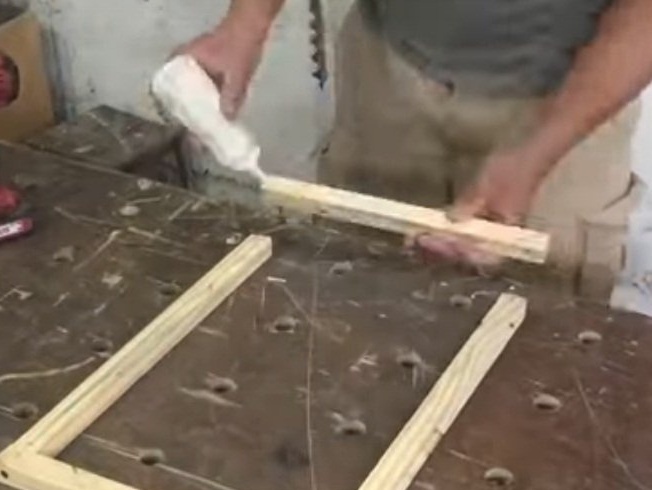
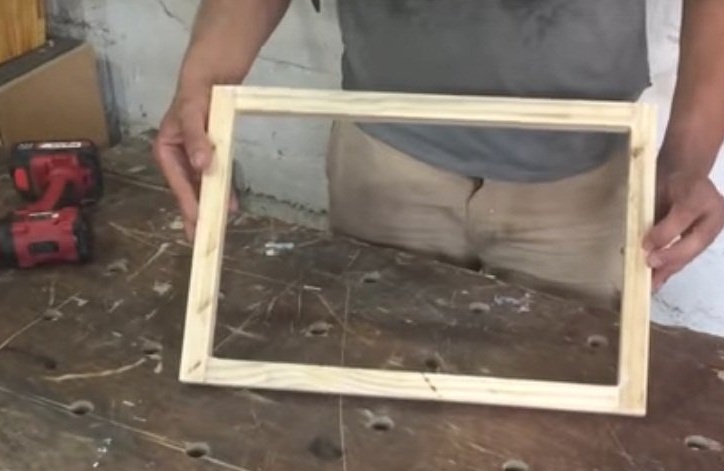
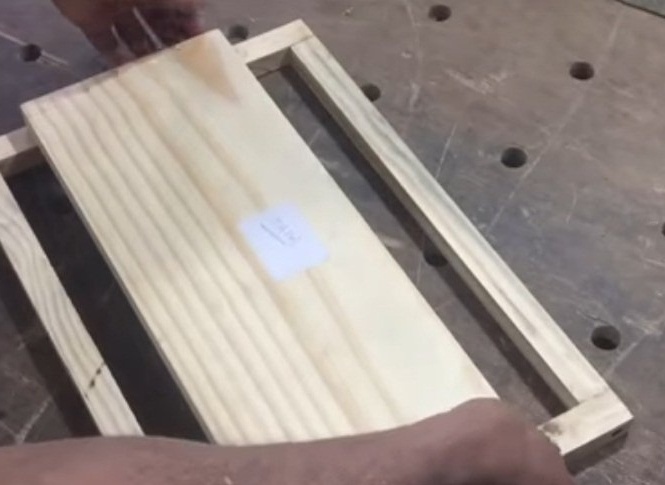
On a circular, a wooden block opens into several smaller pieces. From the obtained parts, a rectangle is assembled, which will be the basis of the entire fabricated structure. Details between themselves Elias Maximiliano fastens with self-tapping screws. Next, the upper part of the bread box is made. Its length should be equal to the length of the rectangular base.
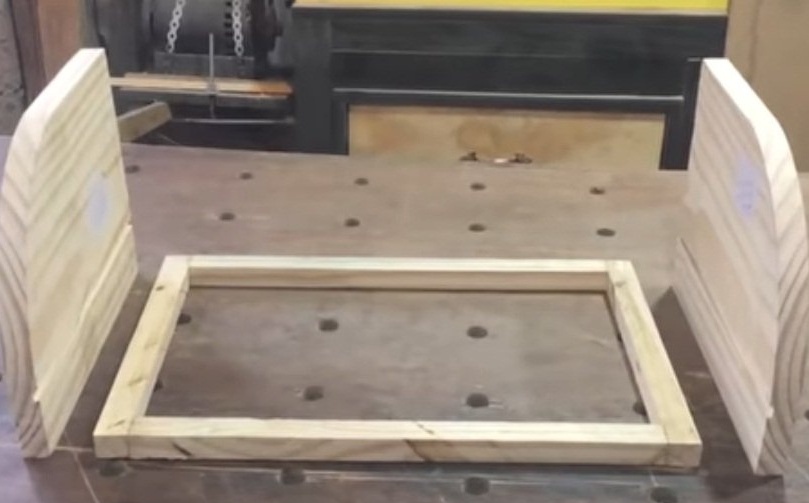
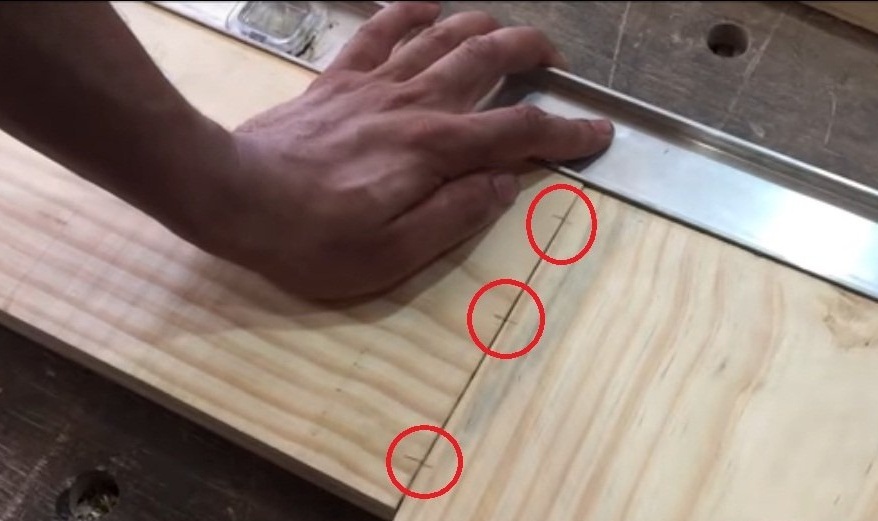
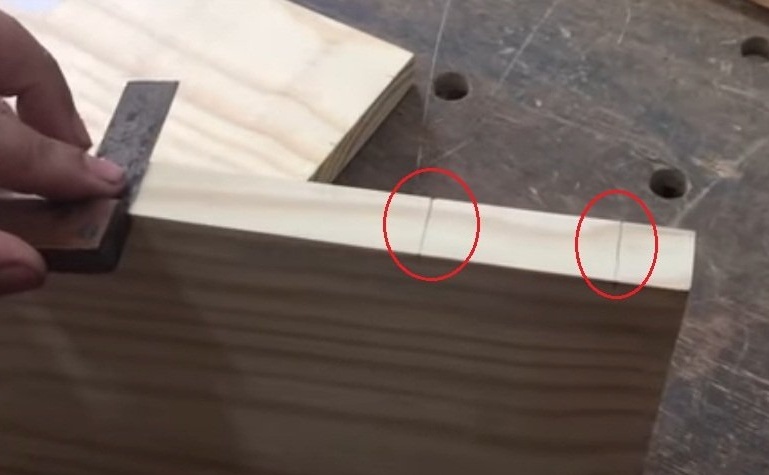
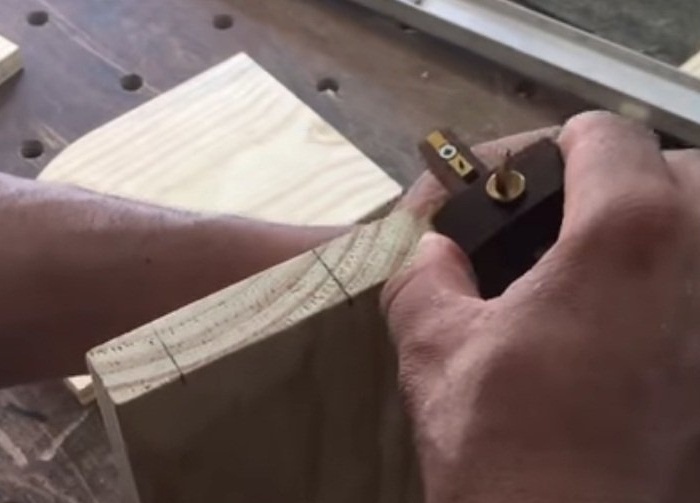
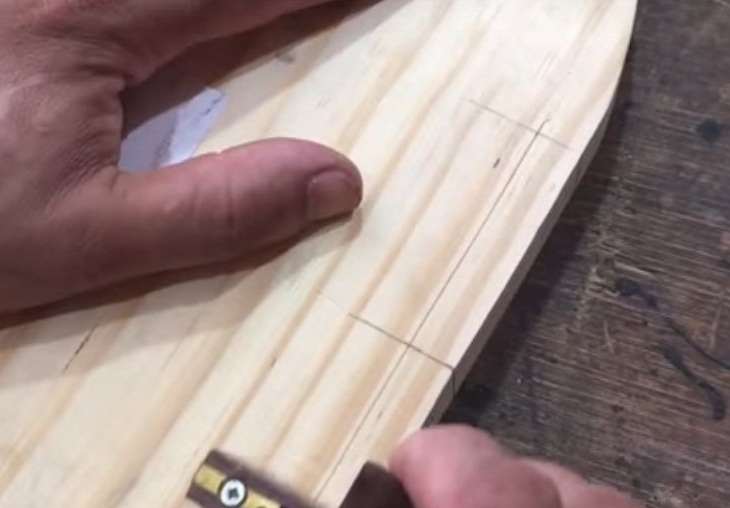
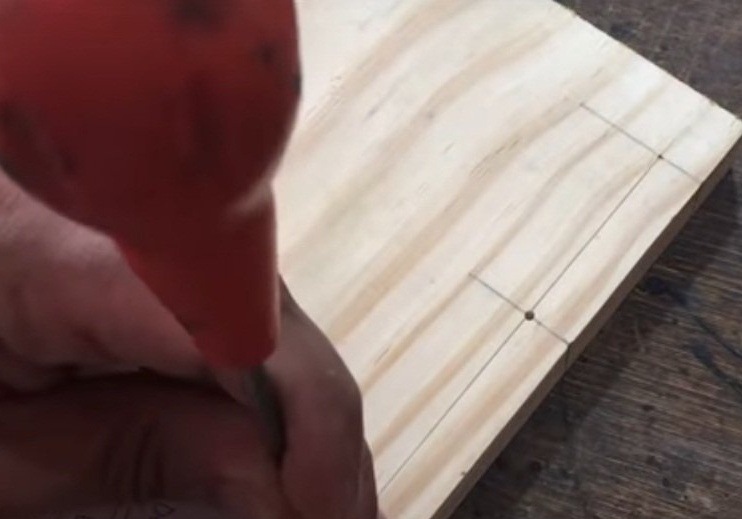
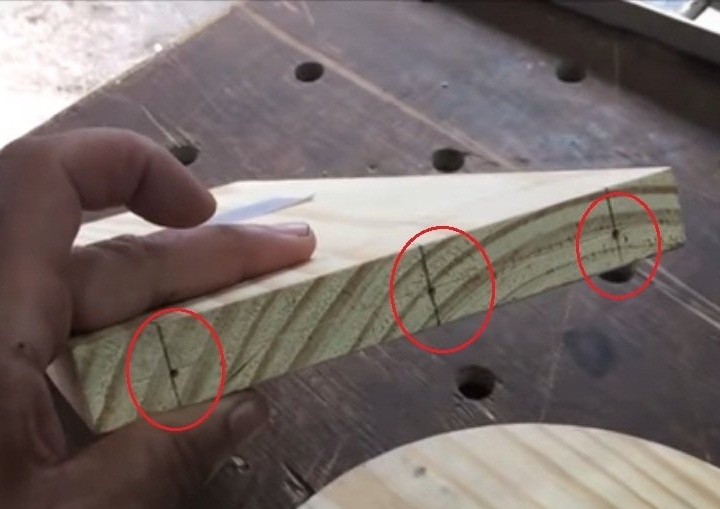
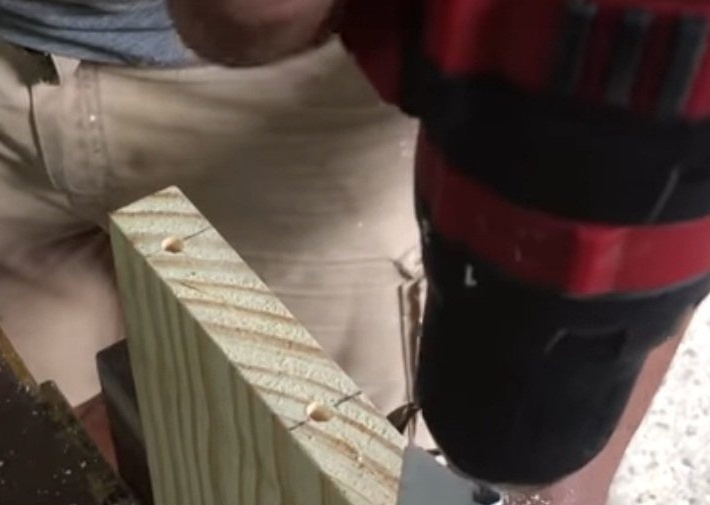
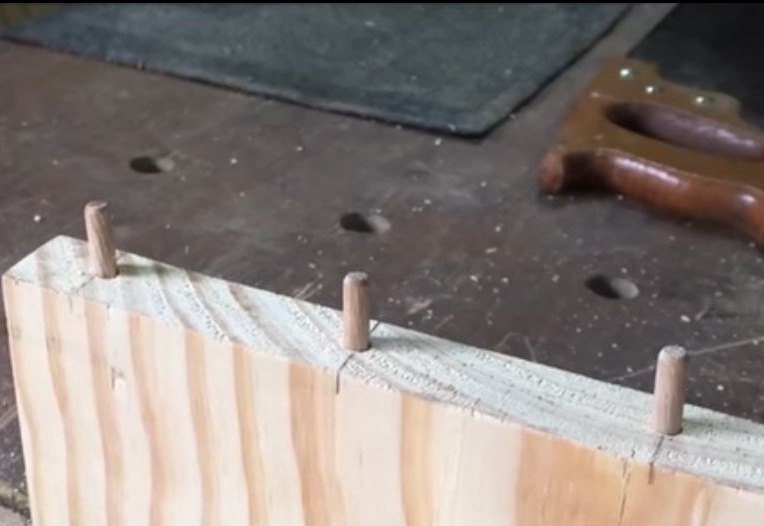
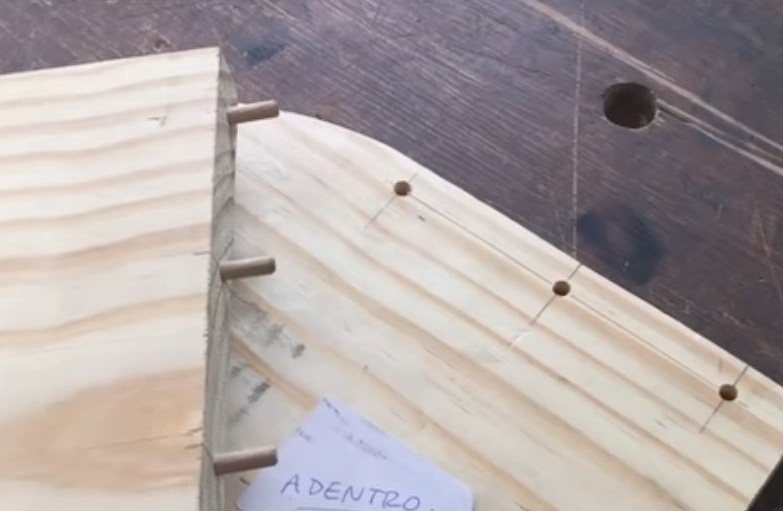
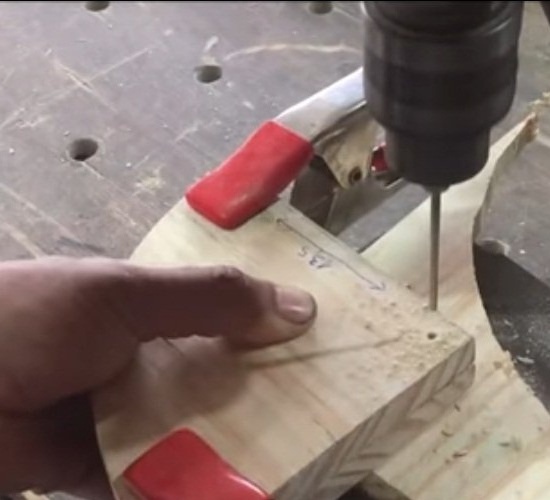
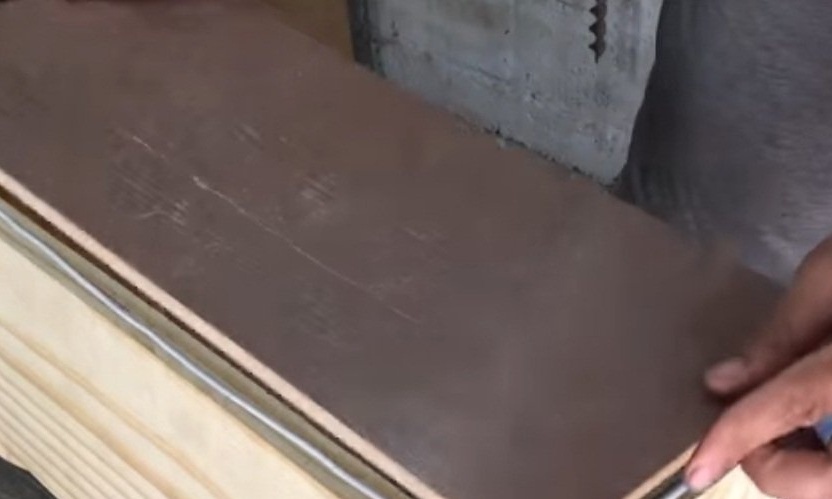
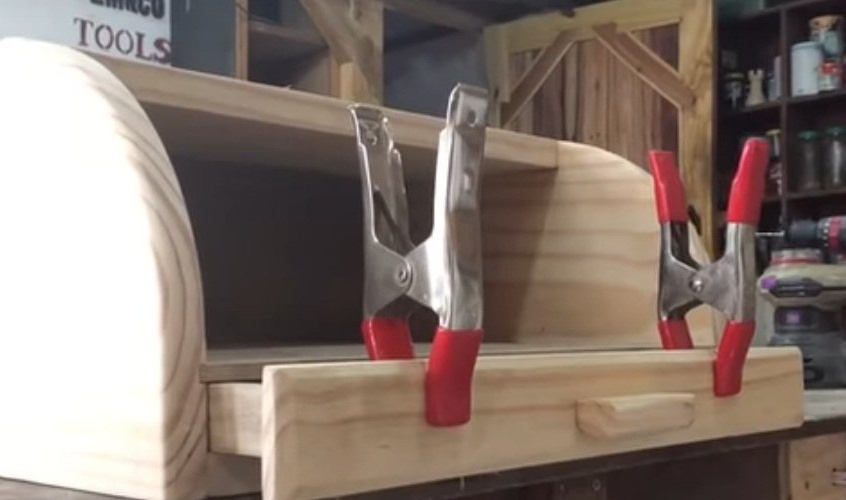
With a marking gage, the author draws straight lines on the sides of the workpiece, as well as on the ends of the top cover, which intersecting with the marking outlined on the workpieces, shows where the holes for the connecting dowels will be located. Having marked the desired depth on the drill, the holes themselves are drilled. As you can see, with the help of the markup, the author easily did all the necessary manipulations and the dowels were exactly opposite each other. Lubricating the side parts and holes with glue, all parts are connected. Clamps are used for more tight compression and, as a result, a stronger connection. This design should now be attached to a rectangular base. A plywood bottom is inserted into the grooves on the side walls.

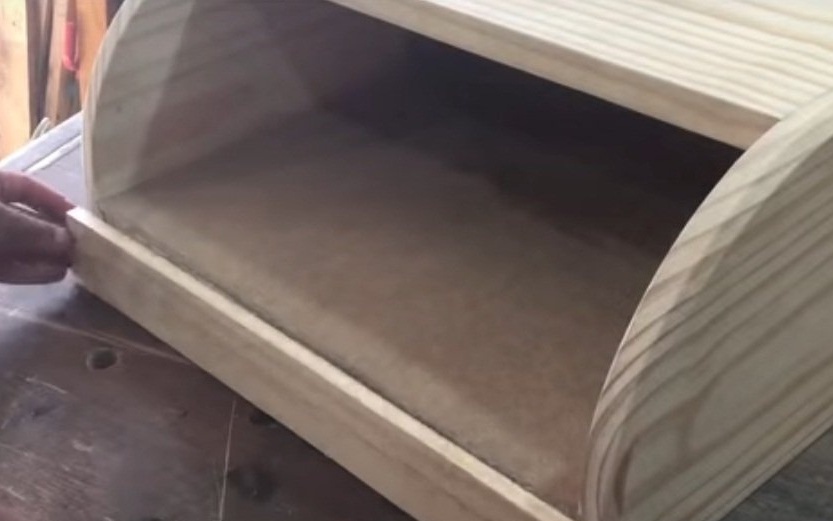
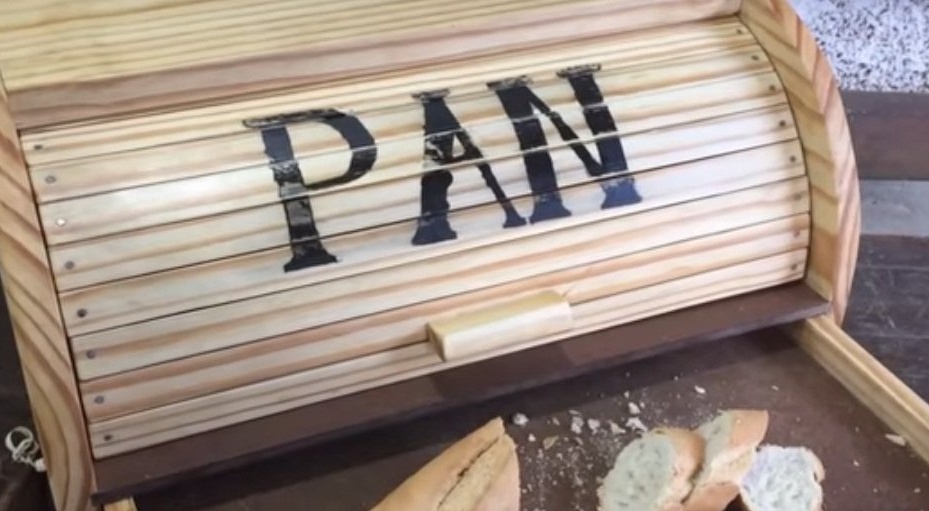
A hinged door is made. The board is cut along so that the door is thinner and not as massive as the main structure. Marking is applied to the workpiece and the author cuts out the side parts of the hinged door. For convenience and accuracy, sawing and grinding workpieces are fastened between double-sided tape. Through-holes are drilled in the corner parts, the coals are rounded off.
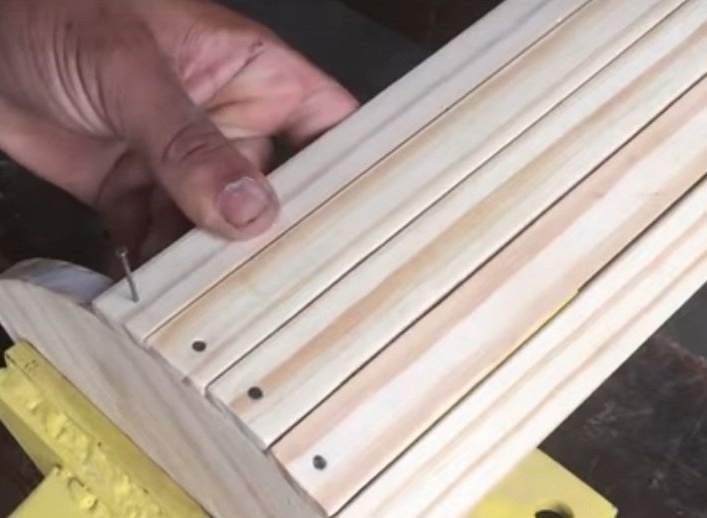
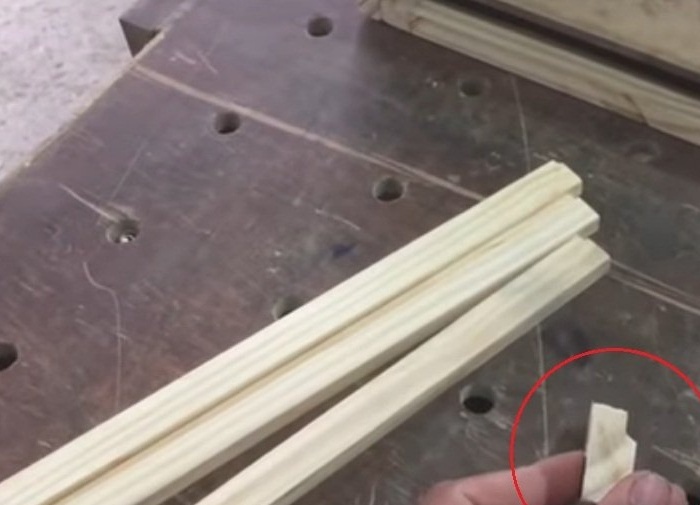
Lamellas are made, which are stuffed on the sidewalls to the door. Fastenings are made with glue and nails. Before fastening, holes are made on each plank at both ends so that when hammering, do not split them with nails.

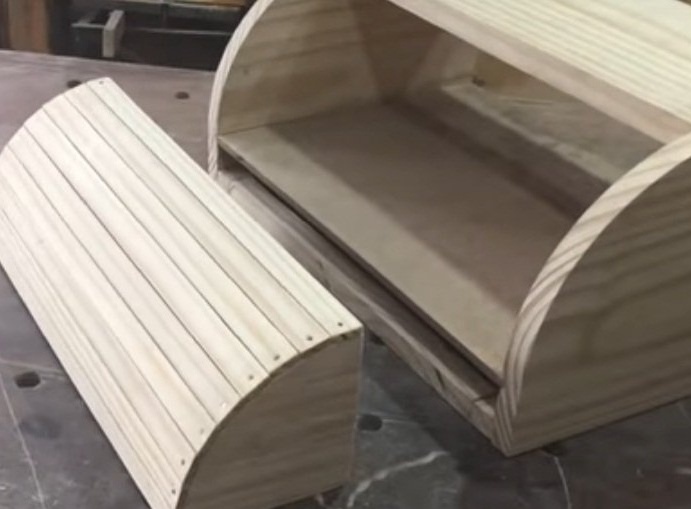
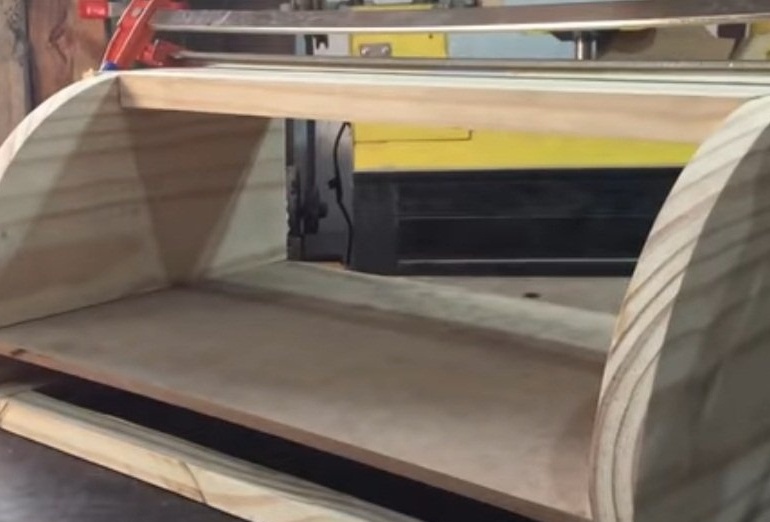
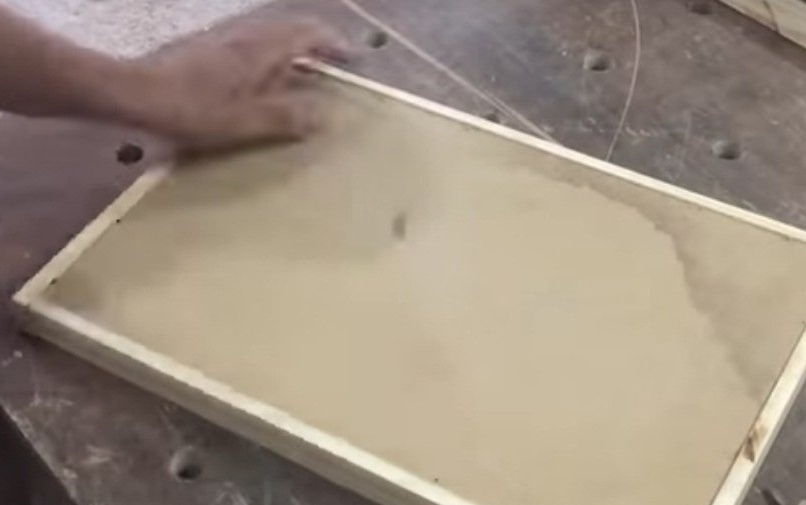
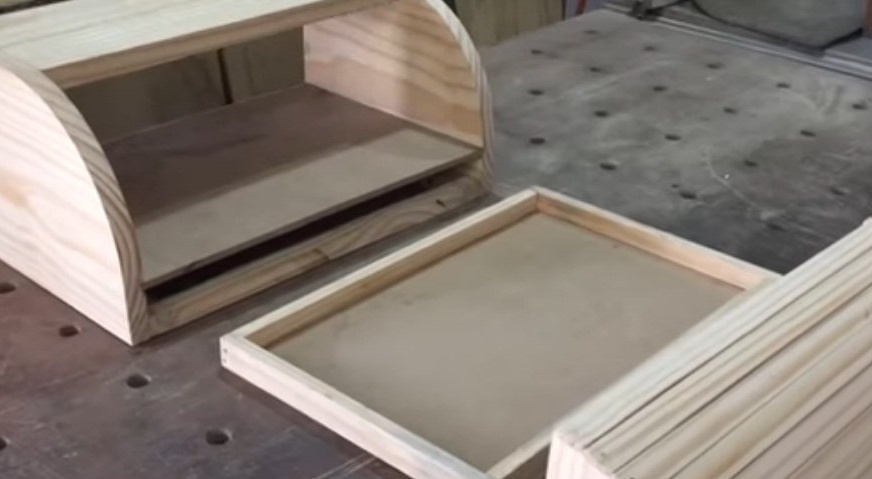
Now the box is made. It also consists of bars, but the grooves are selected in them to fix the plywood in them, which will be the bottom of the drawer. After that, the author fastens the back wall of the bread box. The plane removes all unnecessary and unnecessary. On the sides, it chamfers, rounding them all over the structure. The facade of the drawer and the handle to it and the hinged door are made. They are attached to the screws. The product is fully assembled and takes on a finished look. It is covered with oil. Varnishes cannot be covered, as this will ruin the product inside.
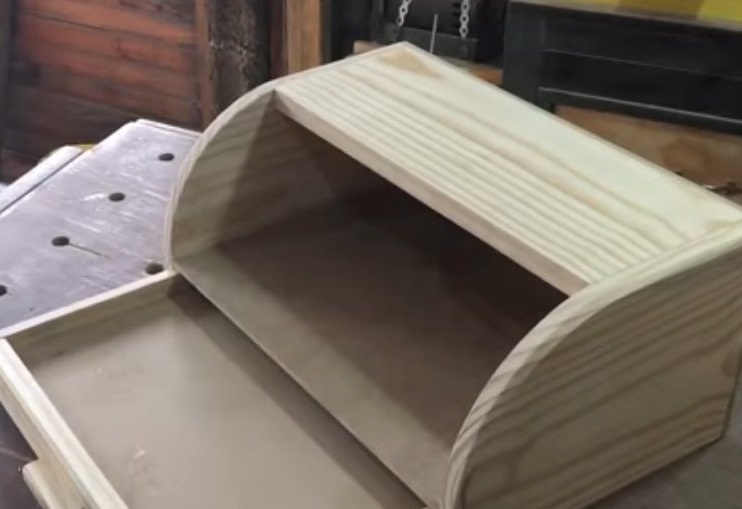

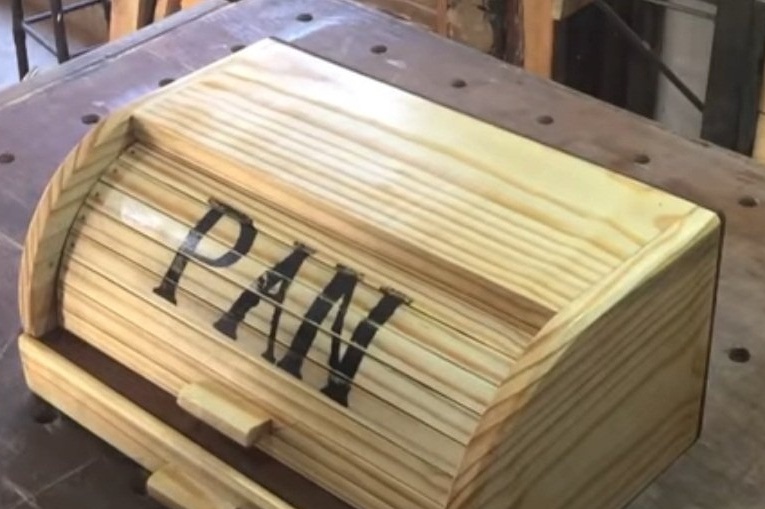
Here's a bread box.