
In this article, the author of the YouTube channel "Pask Makes" will tell you about the production of the next version of the marking planer.
A similar tool was described in this article.
Materials
- Boards
- PVA glue
- Grinding machine
- Cutting the hacksaw blade
- Steel bolt
- Two-component epoxy resin
- Metal ruler
- Acetone
- Flaxseed oil or wood impregnation.
Instruments, used by the author.
-
- Chisel, file, clamps
- Workbench
-
-
-
- Japanese saw
- Scissors for metal
- Miter saw
-
- Hacksaw
- Vise
- Drilling machine
-
- Square, pencil, pliers
- Grinding stones.
Manufacturing process.
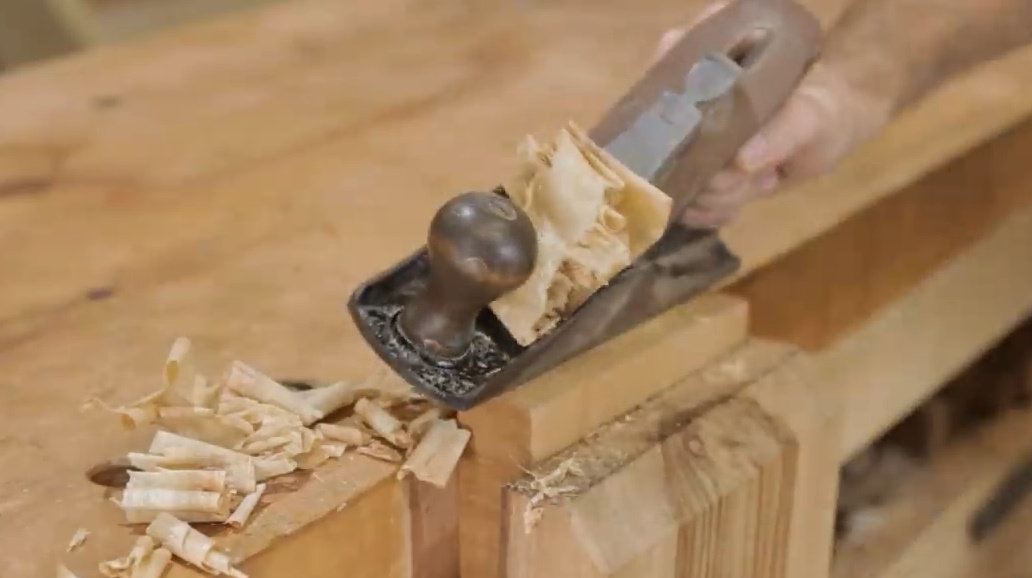
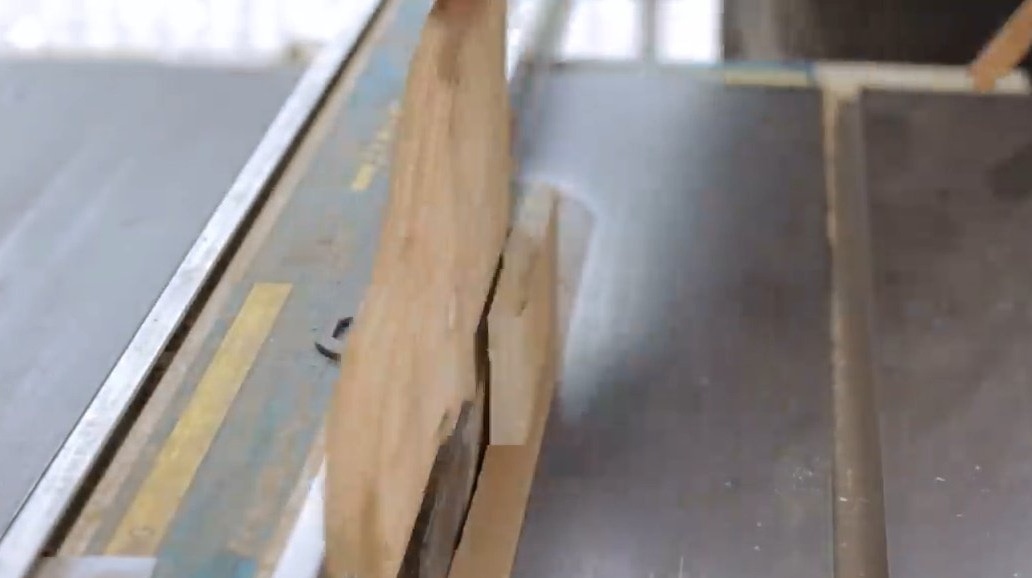
From suitable timber, the author cuts the blank for the base of a square shape, aligns it with a planer.
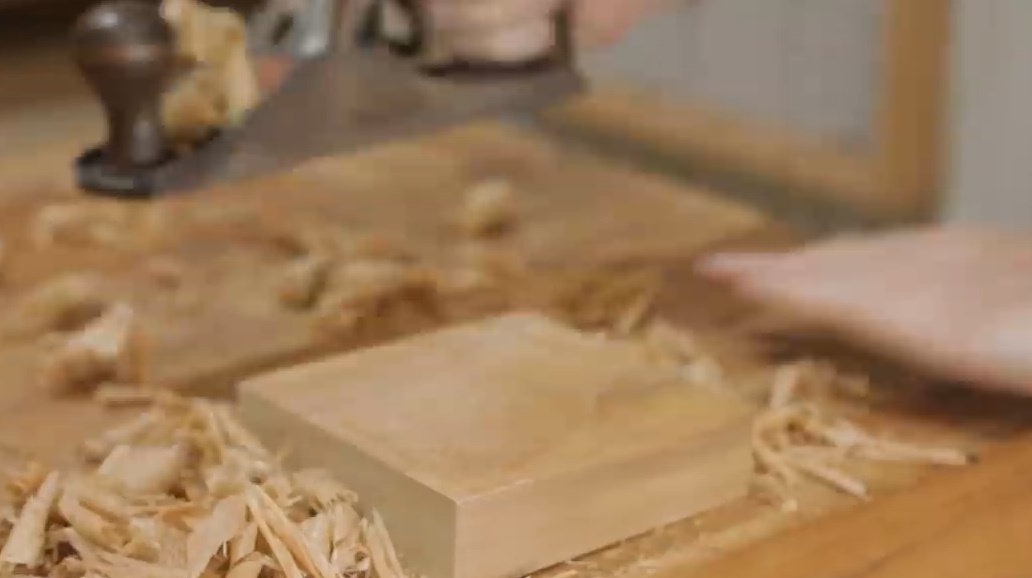
All materials for this project are taken from the scraps of this cutting board.
The author also carves a narrow strip of wood.
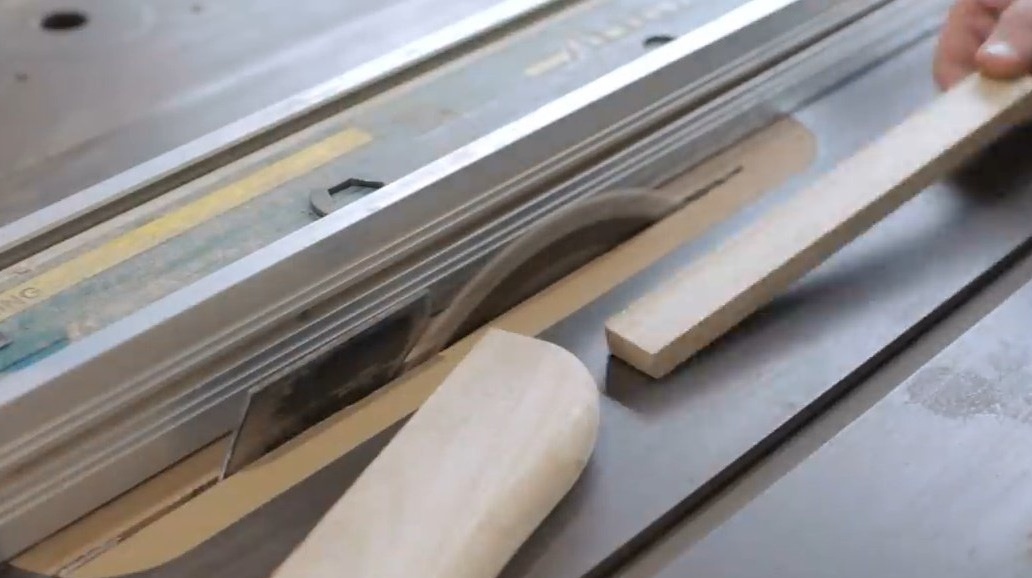
Then it deepens the circular disk, and makes a fairly wide groove on the underside of the square board, using only the stop (and no Dado disks!).
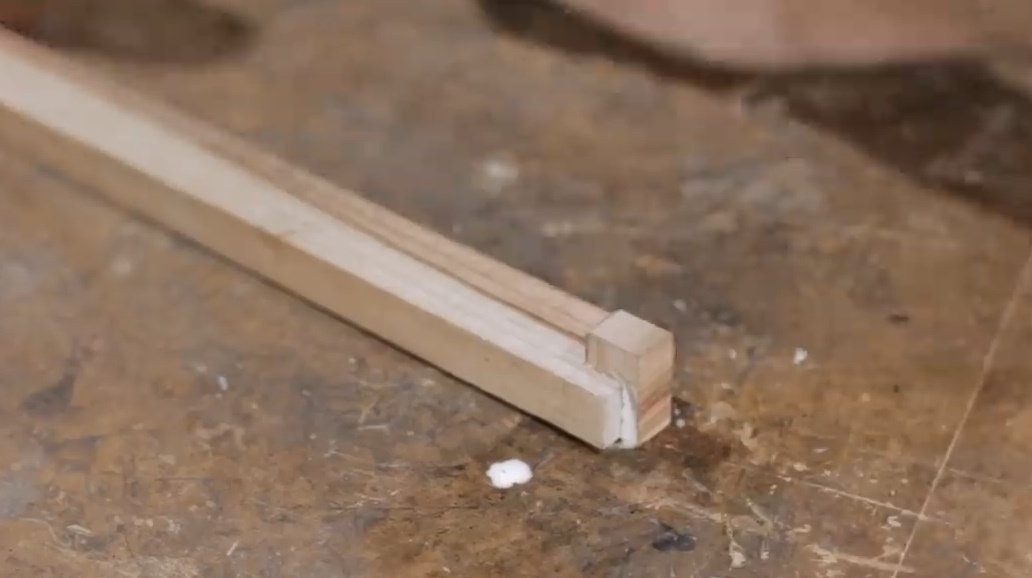
The long board fits snugly into the groove
Then he cuts the square board in half, and then cuts each half lengthwise, cutting off excess material. It removes approximately 7 mm from one part, and 1.5 mm from the second.
Both halves are smeared with glue on wood and pulled together with clamps.
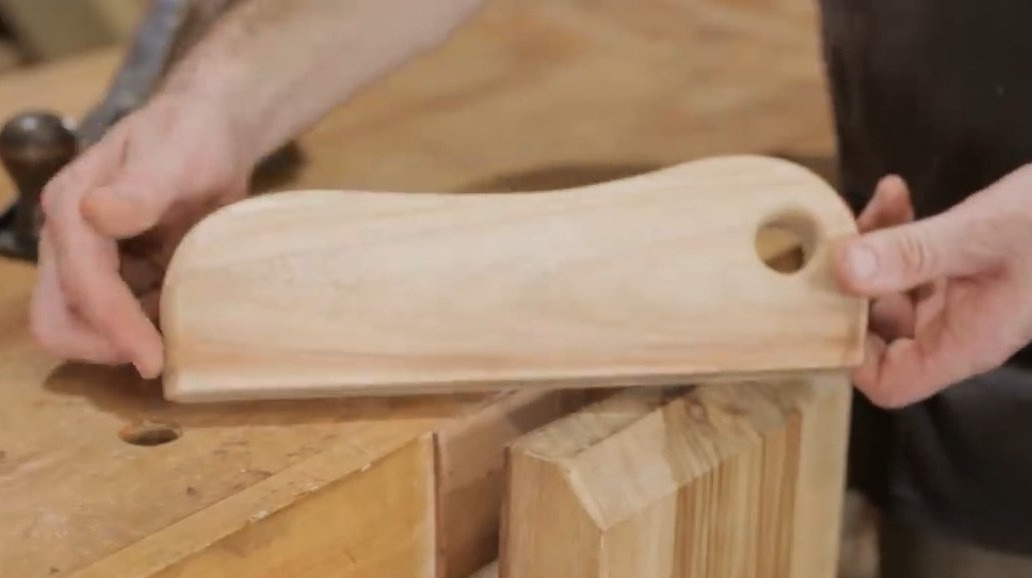
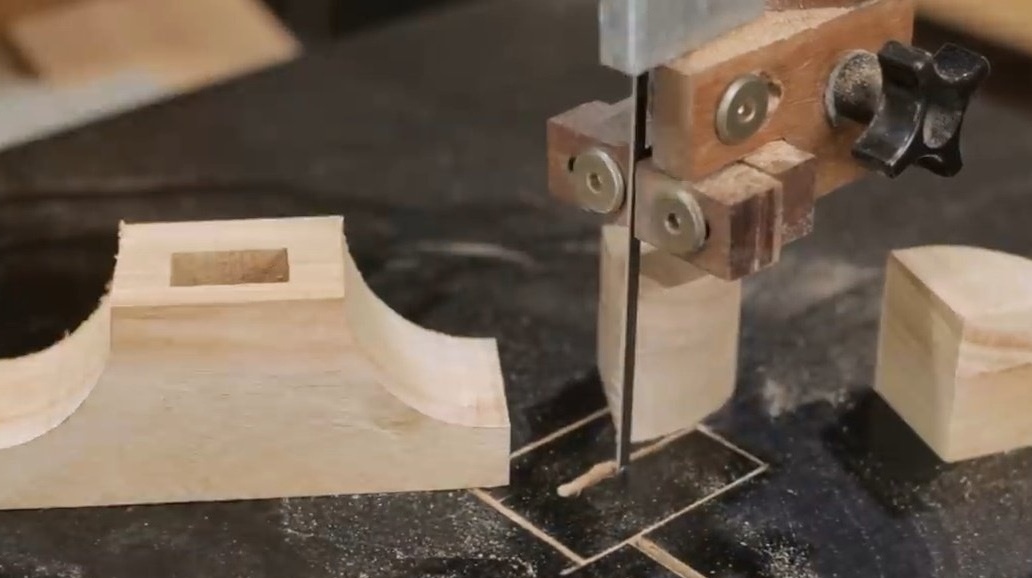
Putting the compass leg in each of the two opposite corners, the master marks out two semicircles, and cuts along the contour on the band saw.
The master intentionally made the back side deeper at the base than from above. But due to this, the product looks somewhat massive.

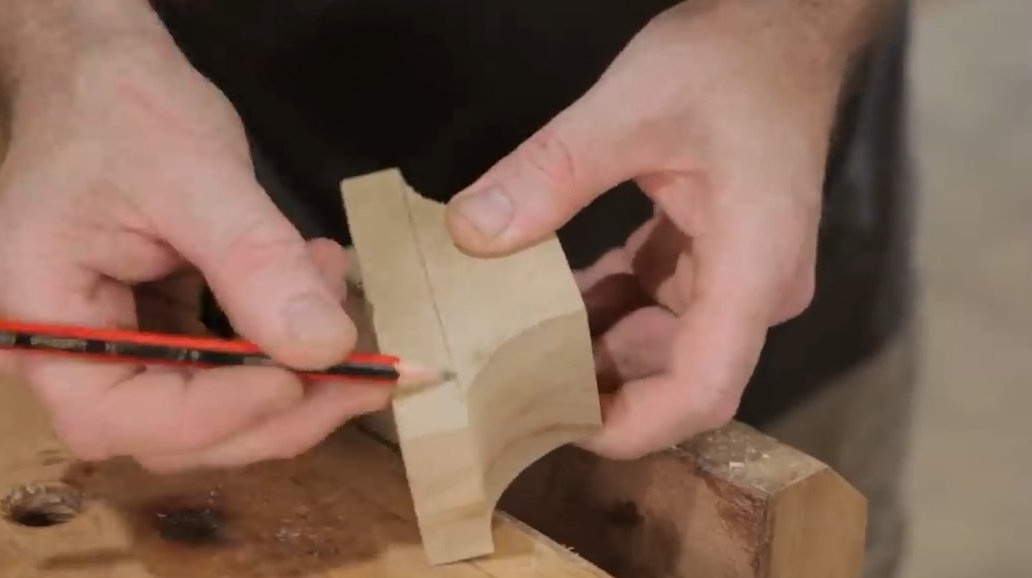
Therefore, the author removes this corner with a chisel.
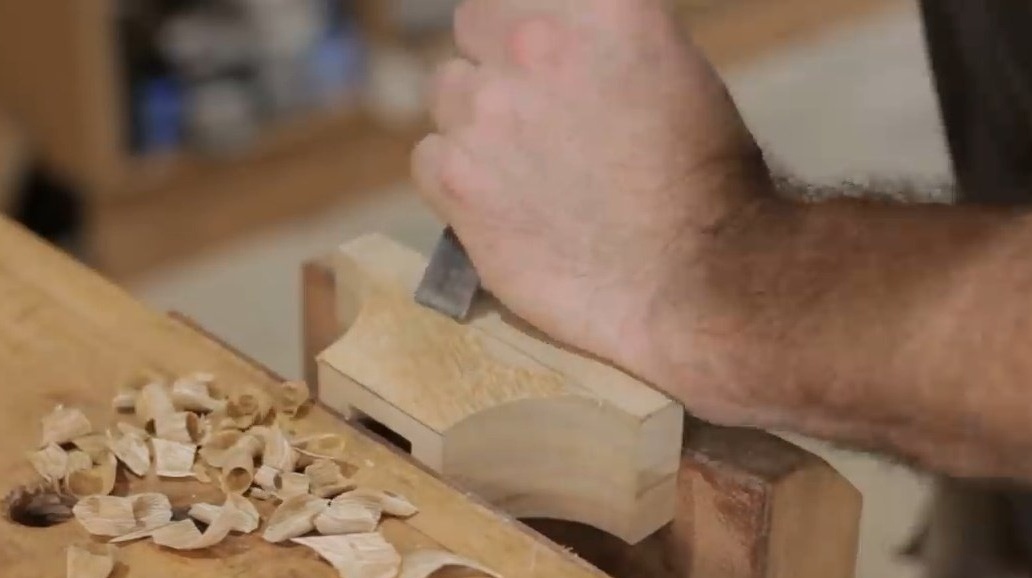
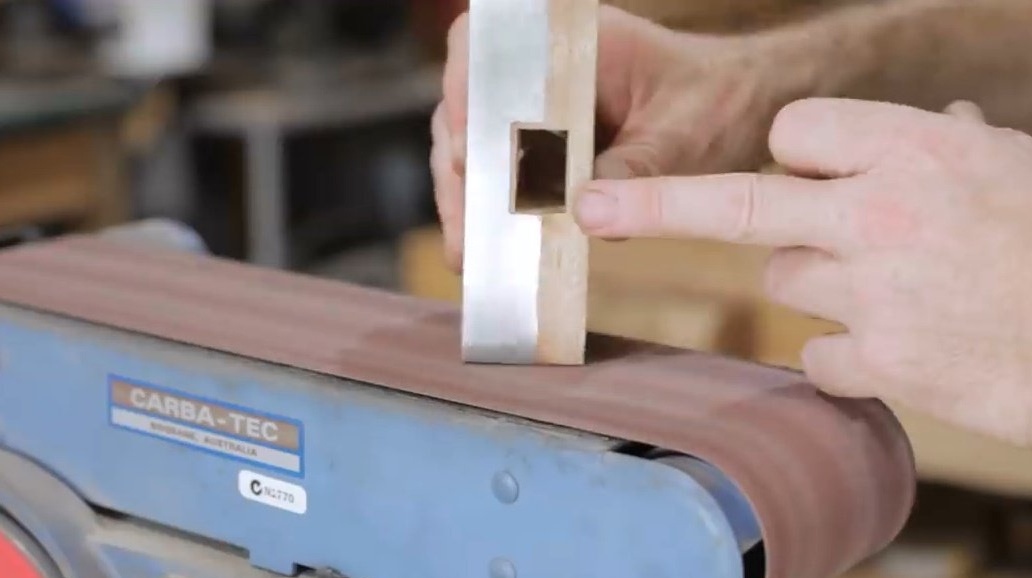
A little grinding on the machine.

Now you need to make a cutter and a clamping screw.
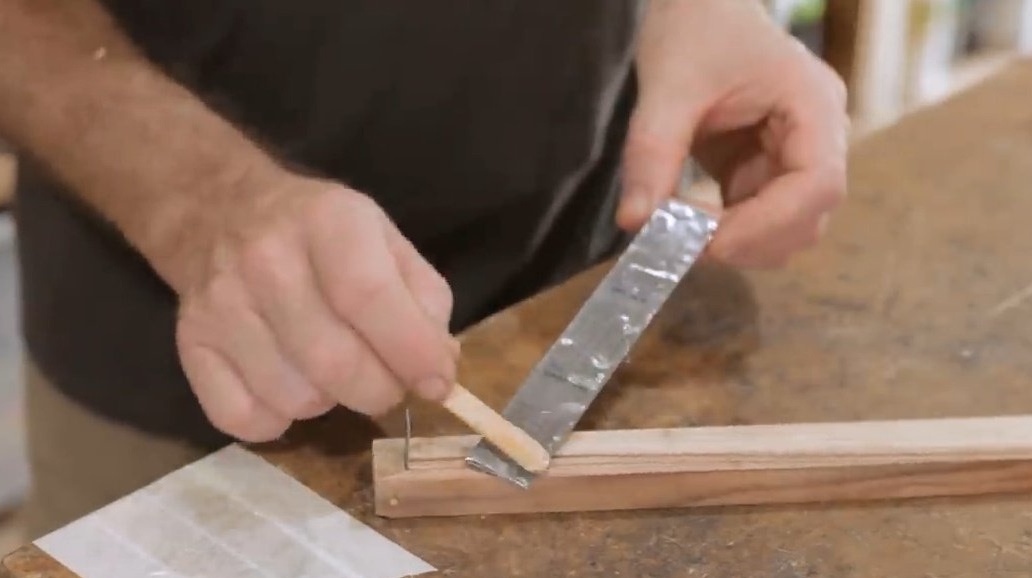
There are many ways to make a cutter. The blade from an old saw will also work for this purpose. That is all that is left of him. He made scrapers from the rest of the material.Earlier, with the help of angle grinders, the author made a light incision on the blade (it is important not to overdo it with angle grinders, since heating, which inevitably occurs during sawing, can change the properties of steel), and now it will be quite easy to cut the plate along this line with ordinary metal scissors.
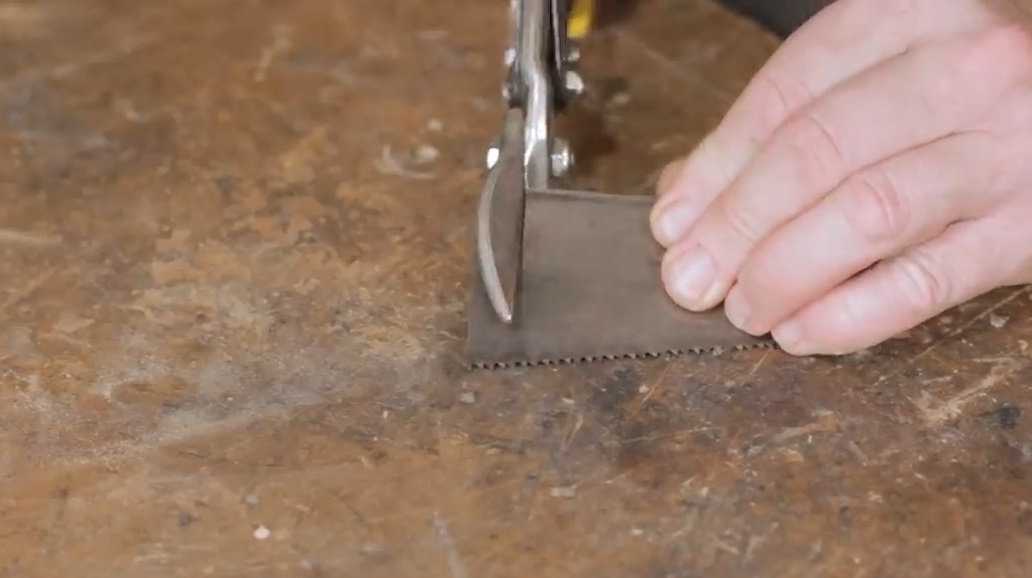
He clamps the resulting plate in a vice and cuts off the edges symmetrically.
Then he polishes and grinds the edges.

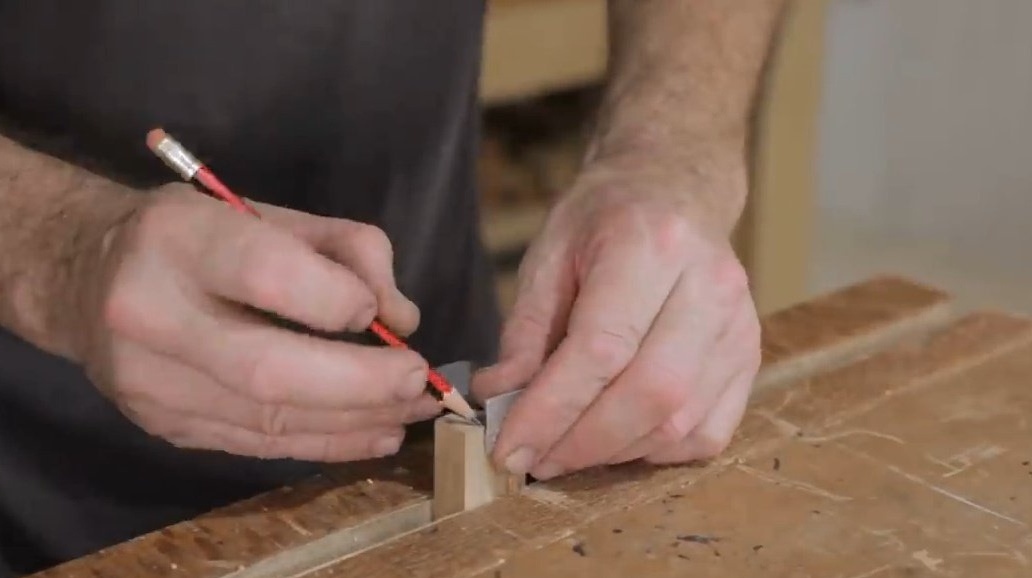
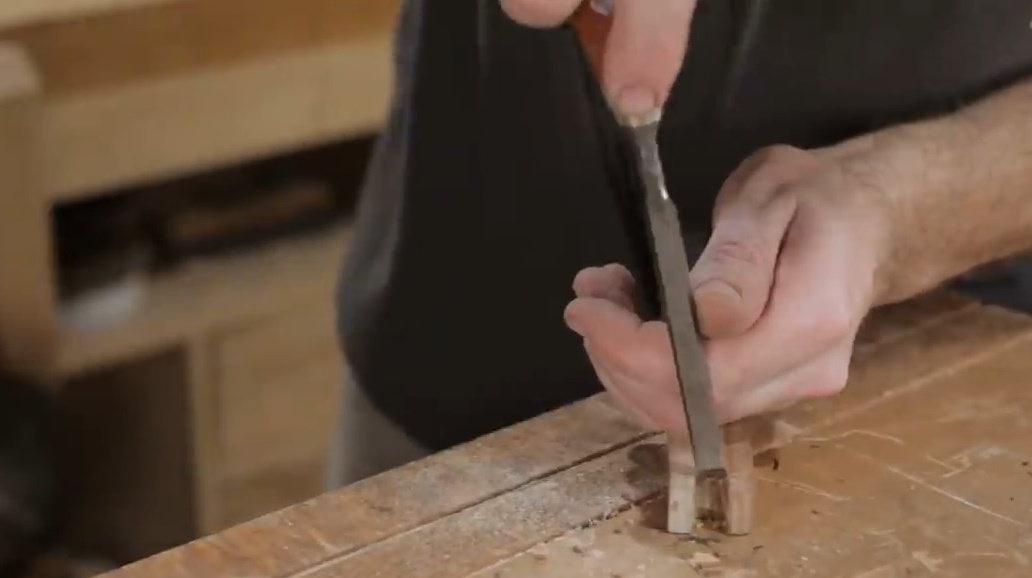
Now he clamps the handle, marks it and makes cuts with a Japanese saw, then hollows out the middle with a chisel.
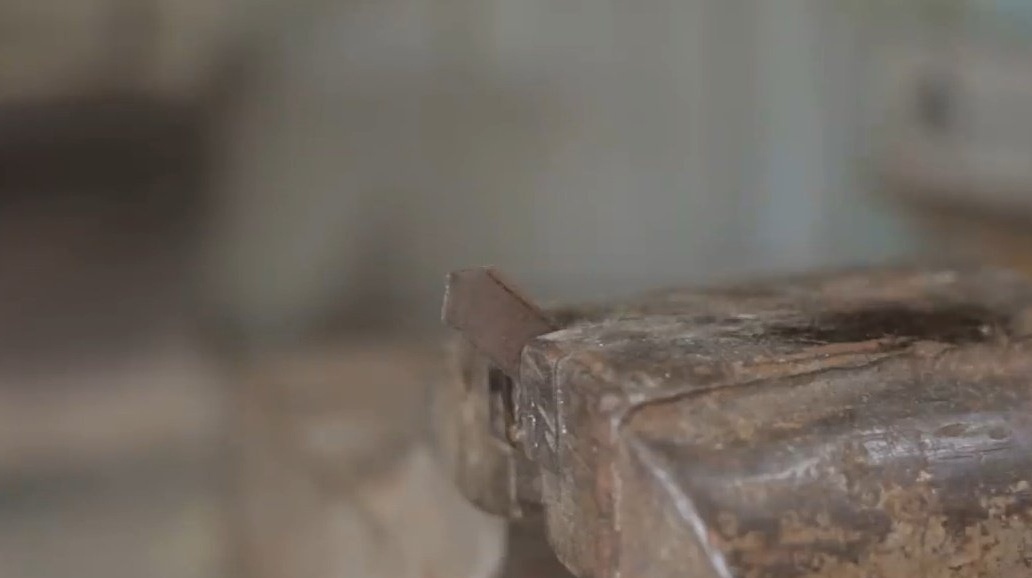
Now the blade will enter here.
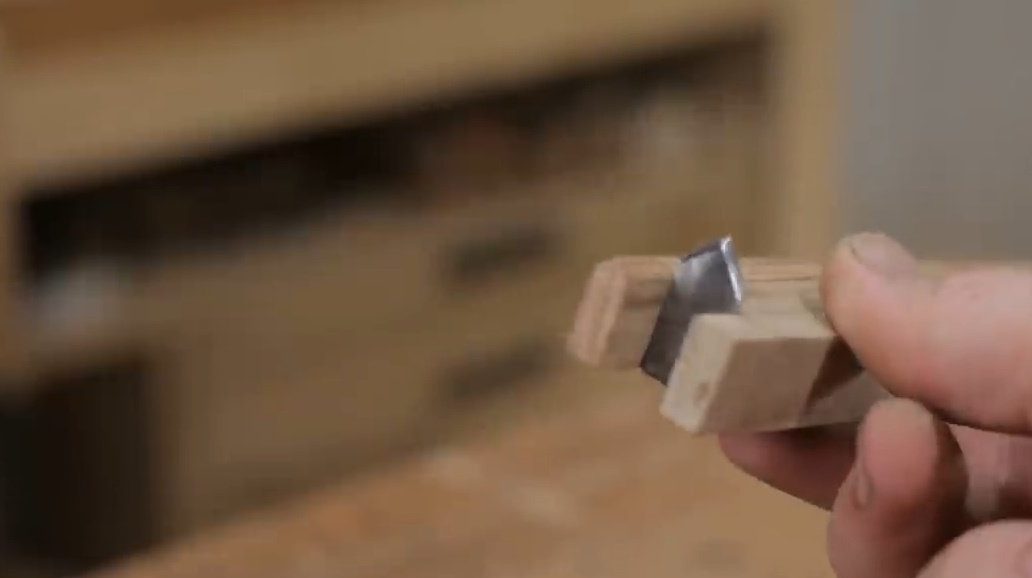
Next, the master cuts out a small block of the right size, lubricates it with glue and presses the blade with it. After fixing with a clamp, the blade is pulled out. Excess material is cut off.
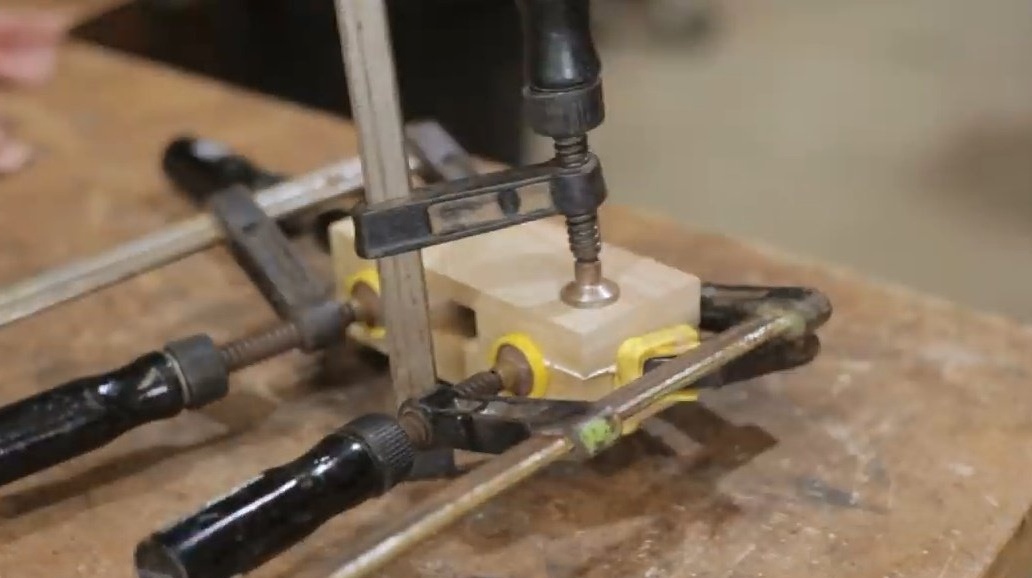
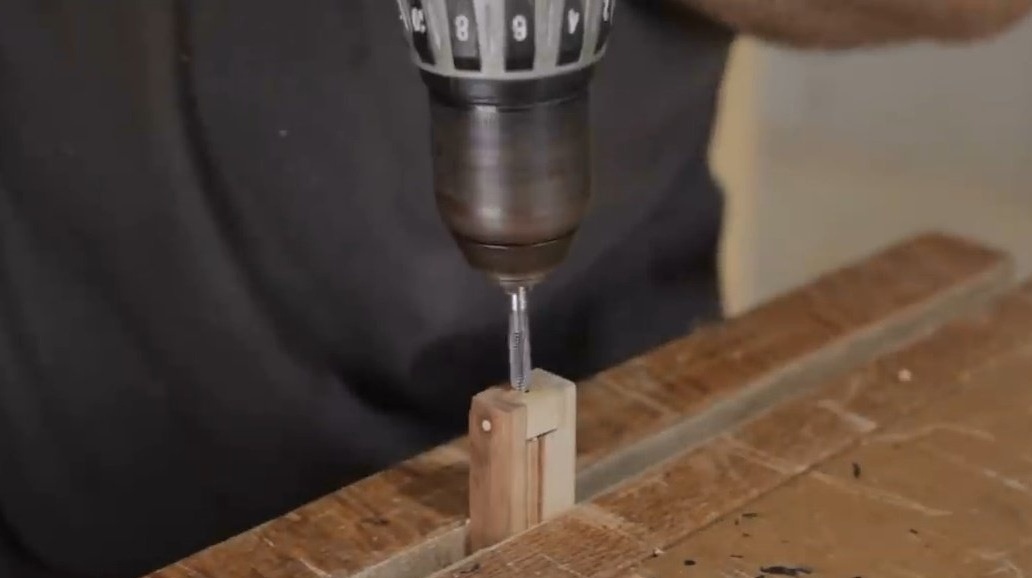
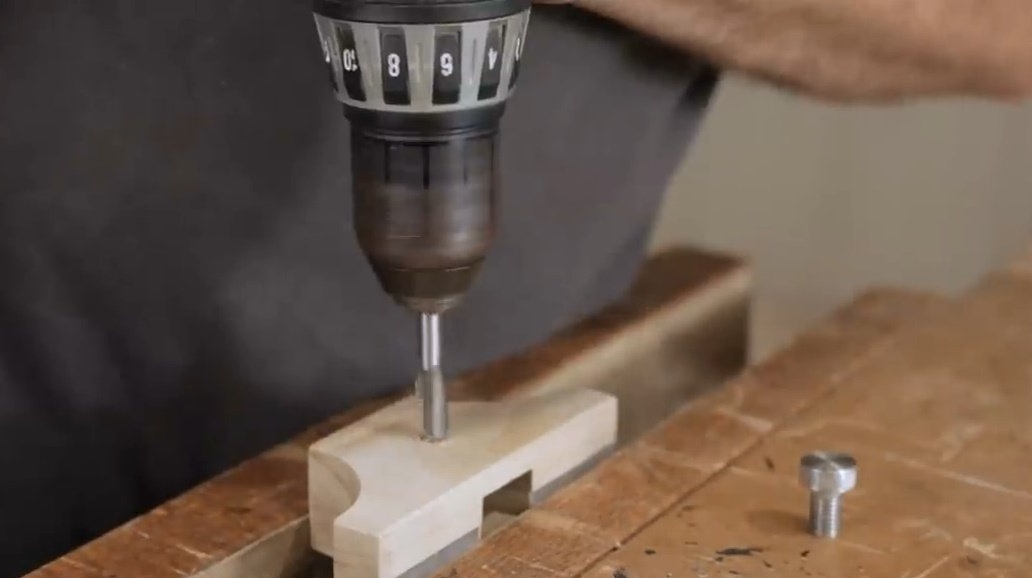
On a drilling machine, he makes a hole in the handle and inserts a toothpick there.

From the end of the handle, he also drills a hole and cuts a thread in it.
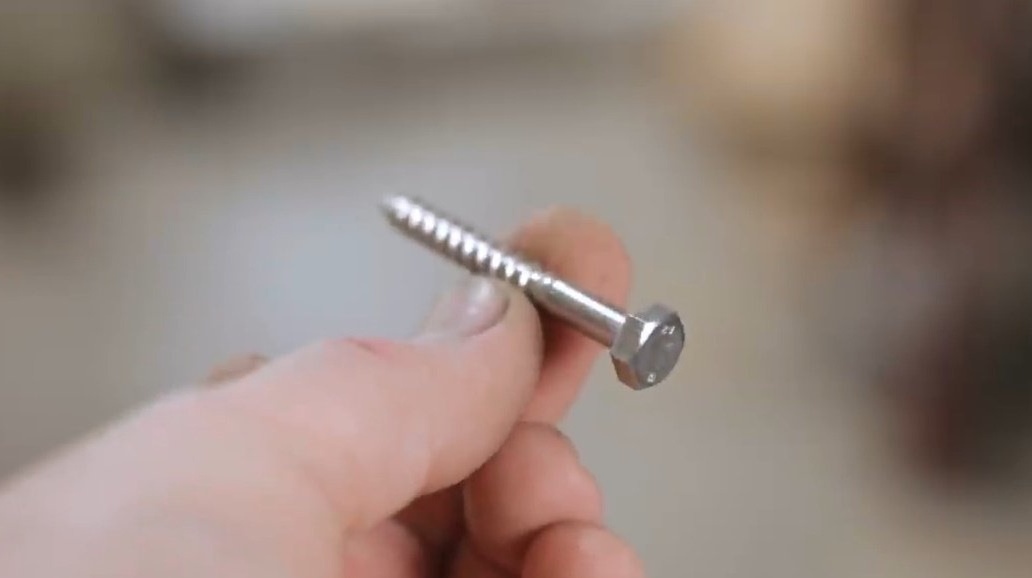
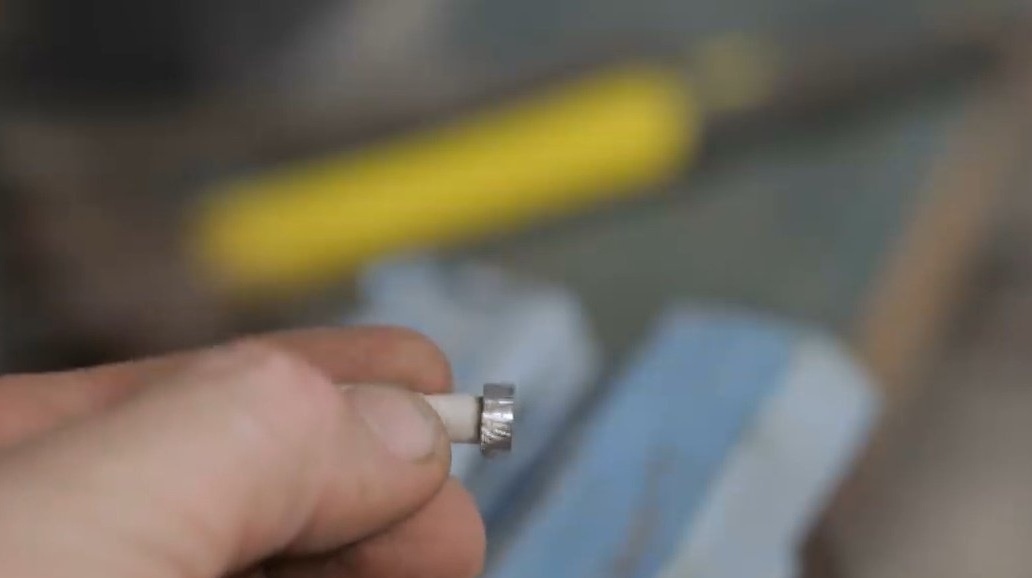
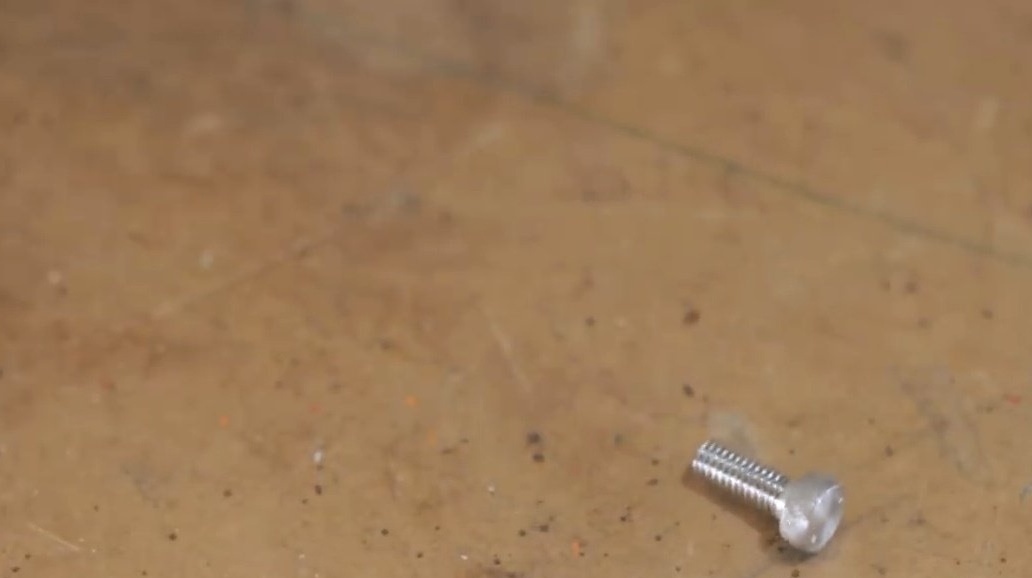
The master does not have a suitable stainless steel bolt. He intends to turn this one with the hex head into the right bolt. To do this, he cuts off the excess part and cuts the thread.
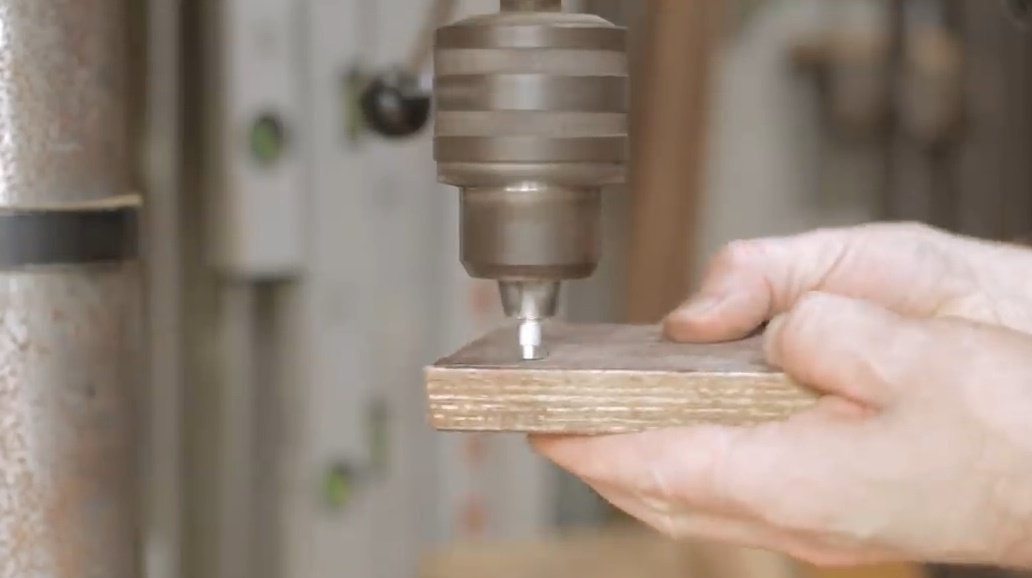
The bolt is wrapped with insulating tape and secured in a drilling machine. Now its head can be sanded with coarse emery. Of course, such a bolt can simply be ordered or bought, but the author just wants to quickly complete the project.
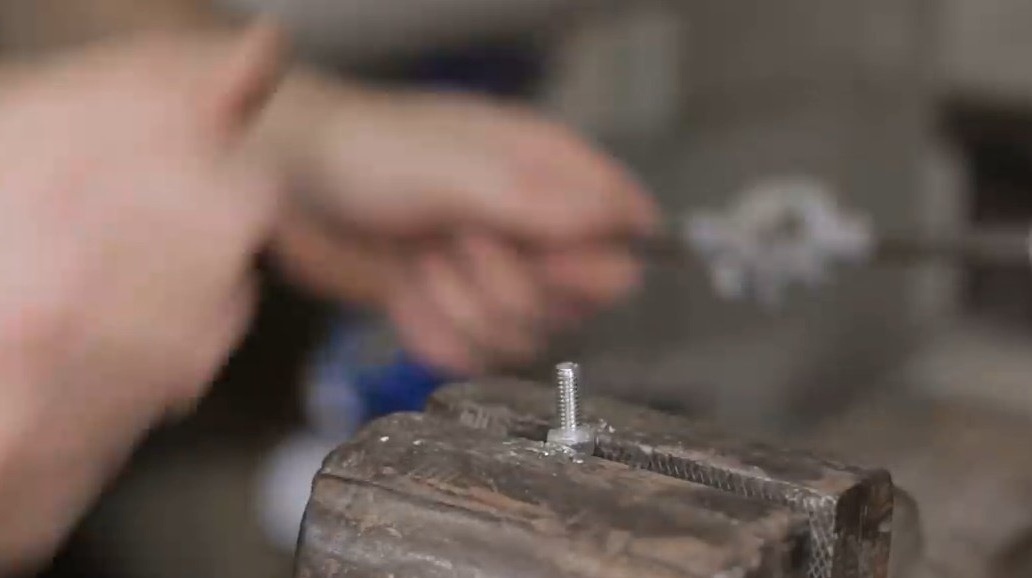
So, he clamps the bolt in a vice, preliminarily laying thin tin plates on both sides, so that the metal does not deform. And inserts the old file between the bolt and the lip of a vise. All that remains is tapping the file with a hammer to knurl the head of the bolt. Very tough method, I must say.

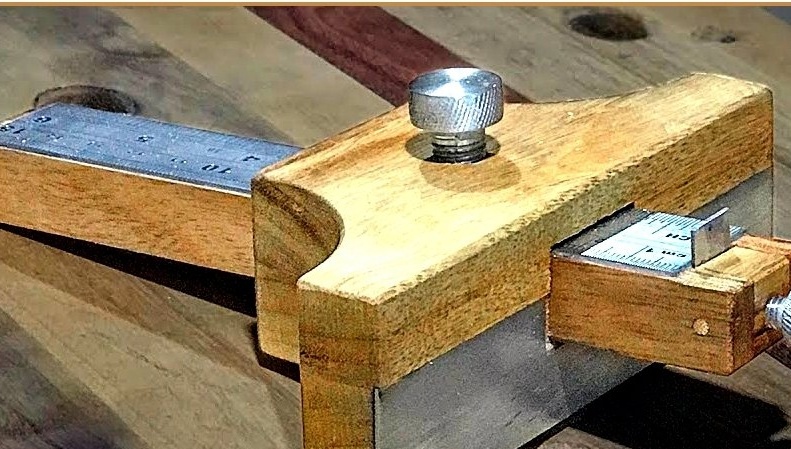
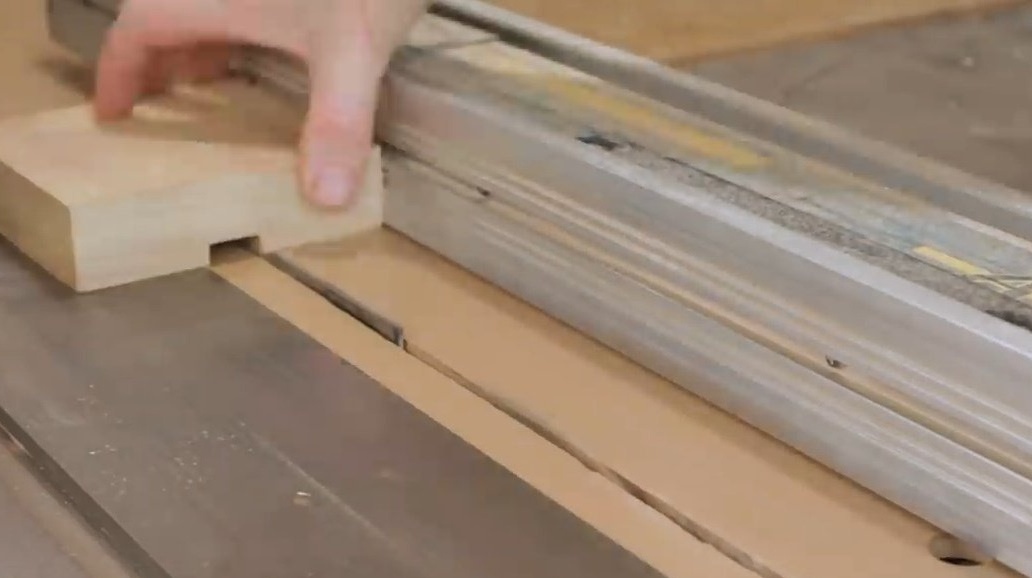
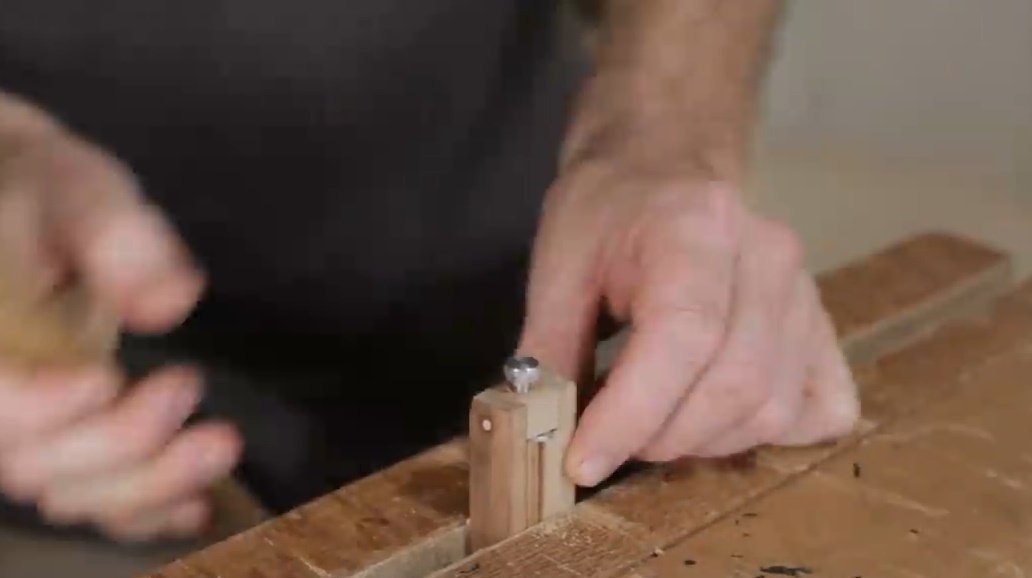
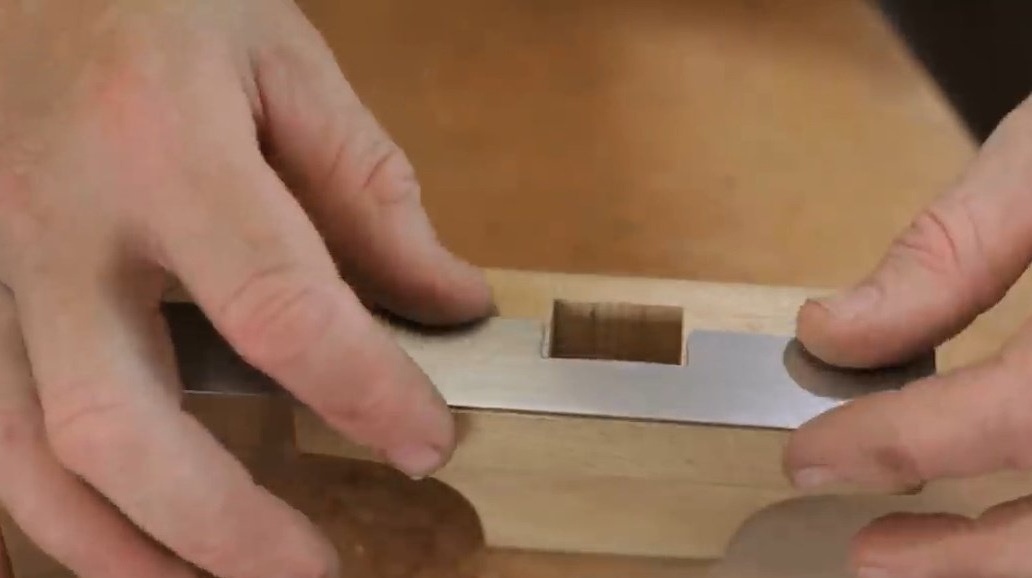
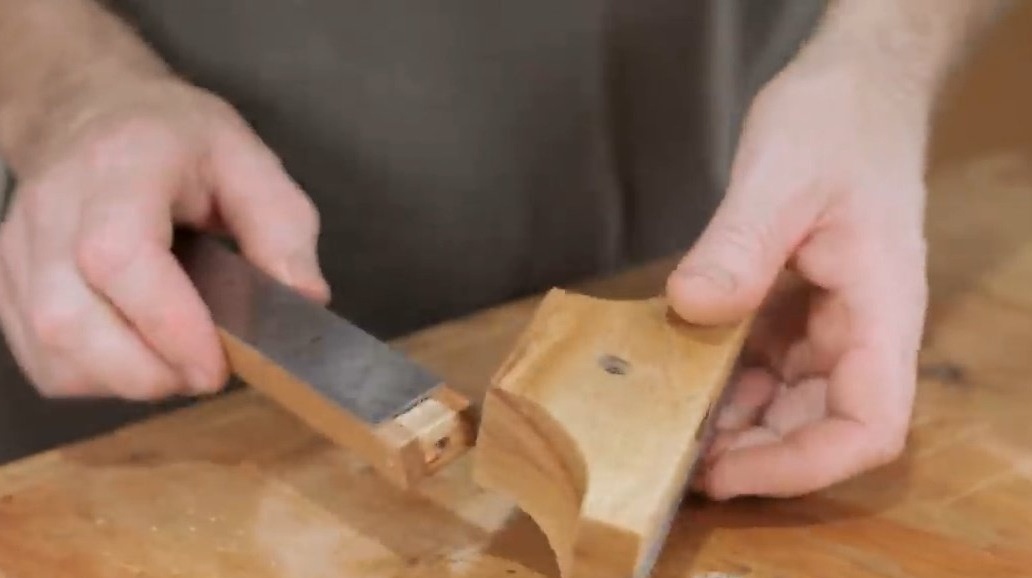
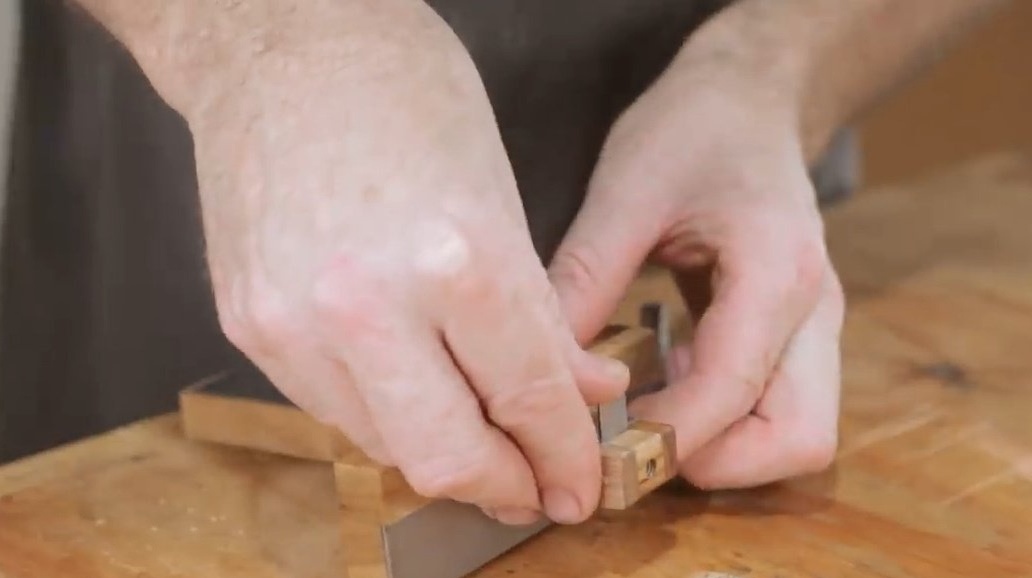
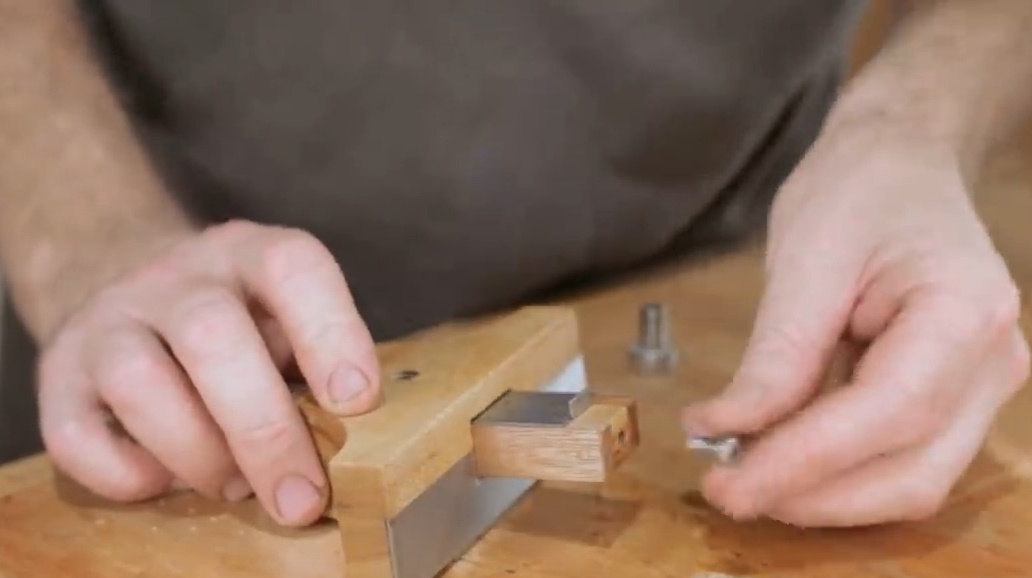
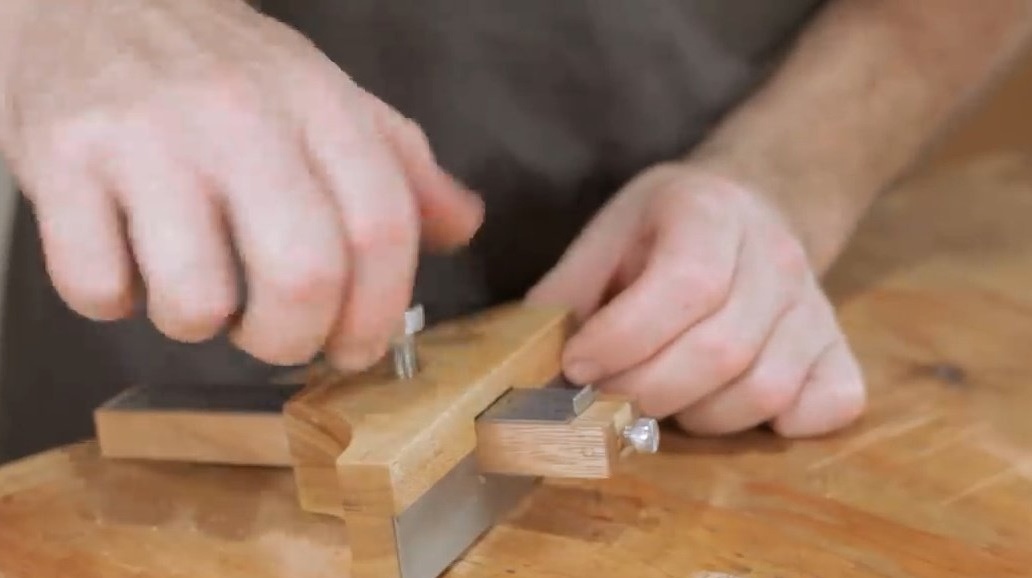
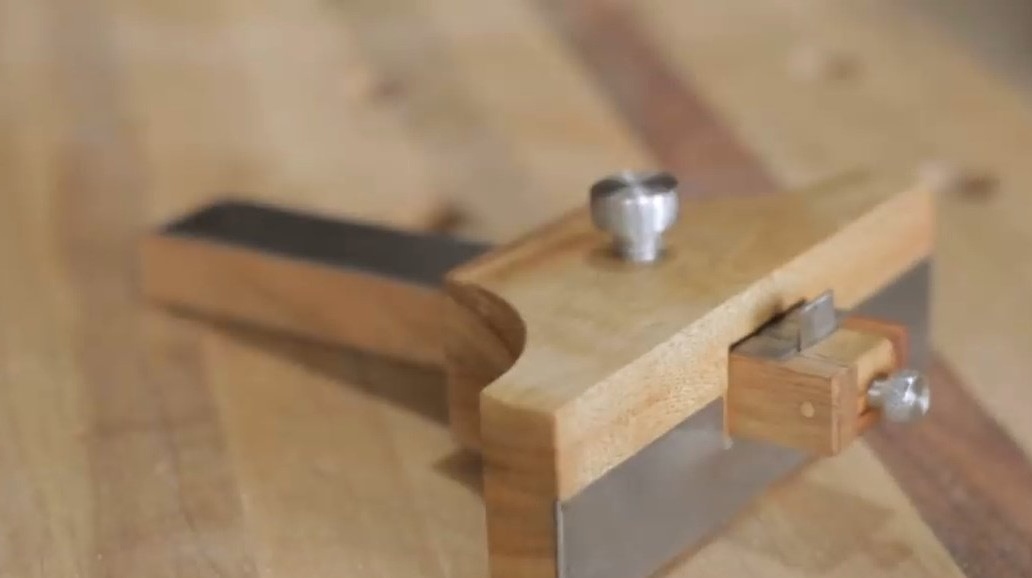
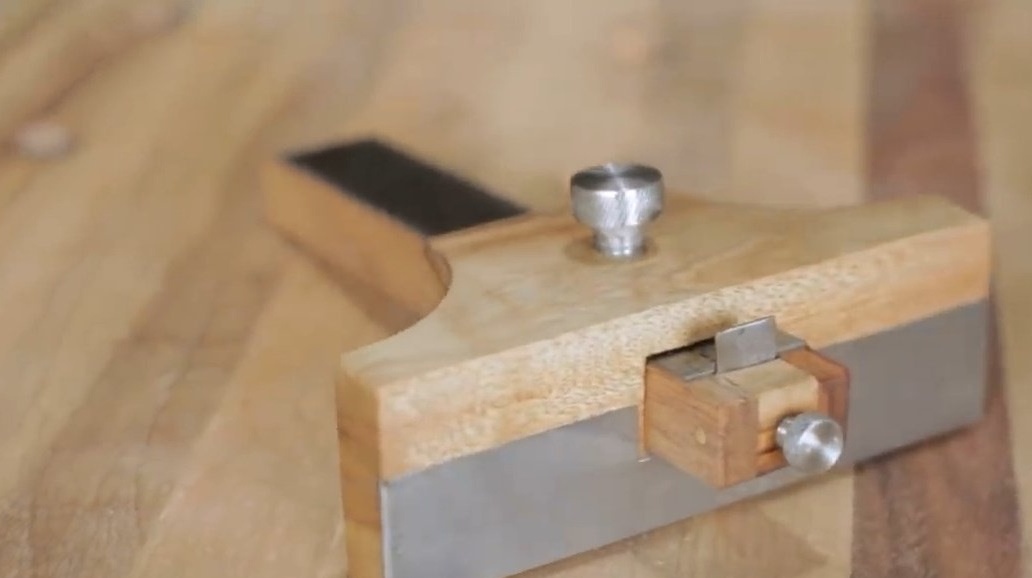
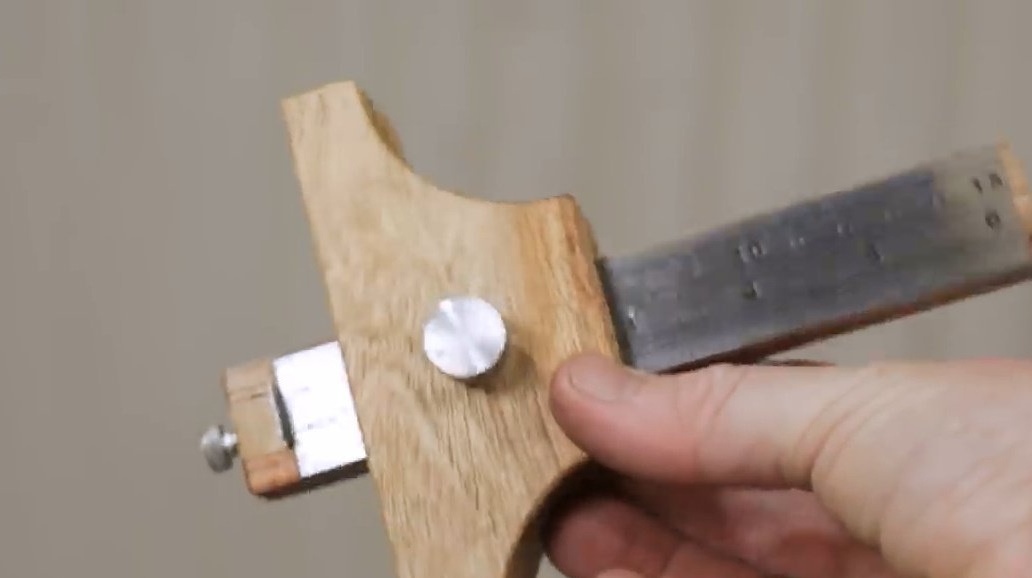
You can collect the marking part. The cutter is in place, the bolt too.
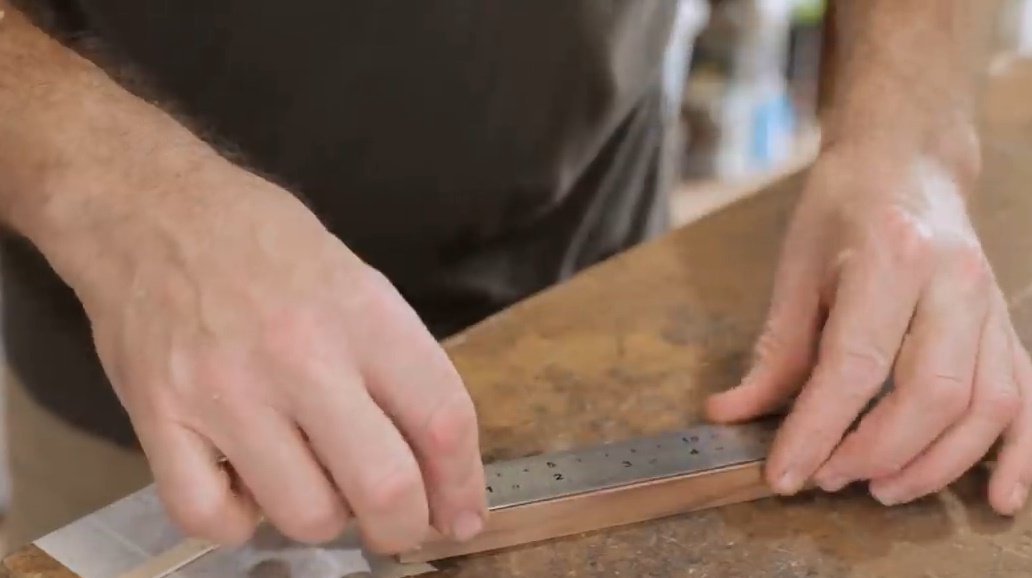
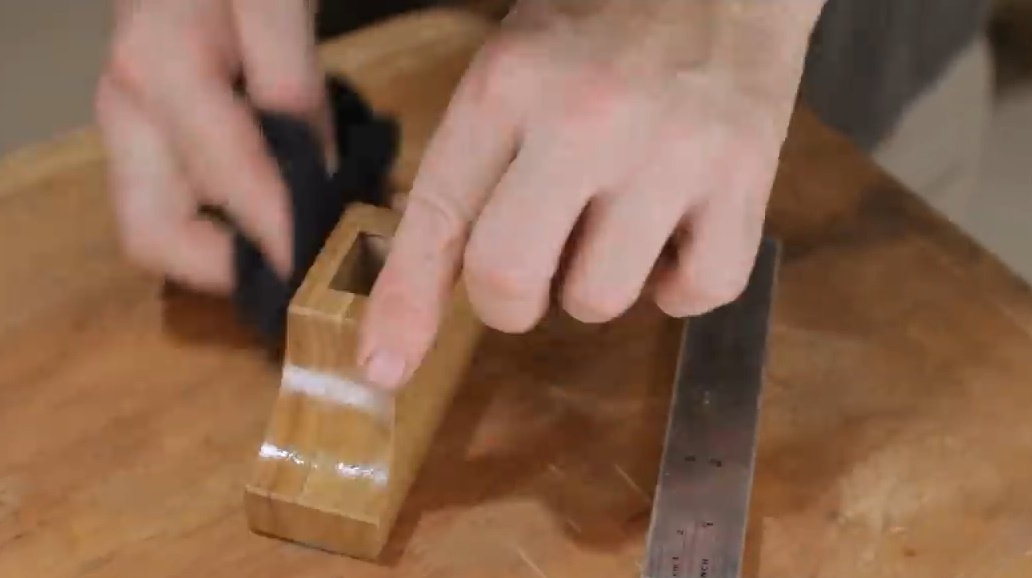
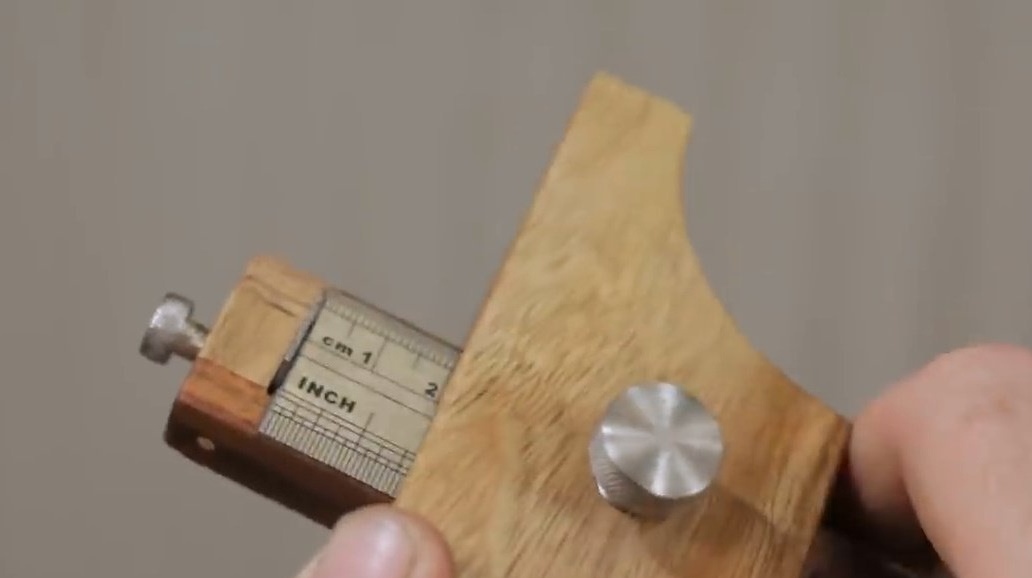
Probably the reader noticed a gap in the groove. The author in this case has a stainless steel ruler, he passes it through a thin slit and glues it to a two-component epoxy resin, having previously degreased the surfaces with acetone.
You can make the handle as long as you need. There is enough space for 25 cm, but the author still cuts the handle to 15 cm for compactness.
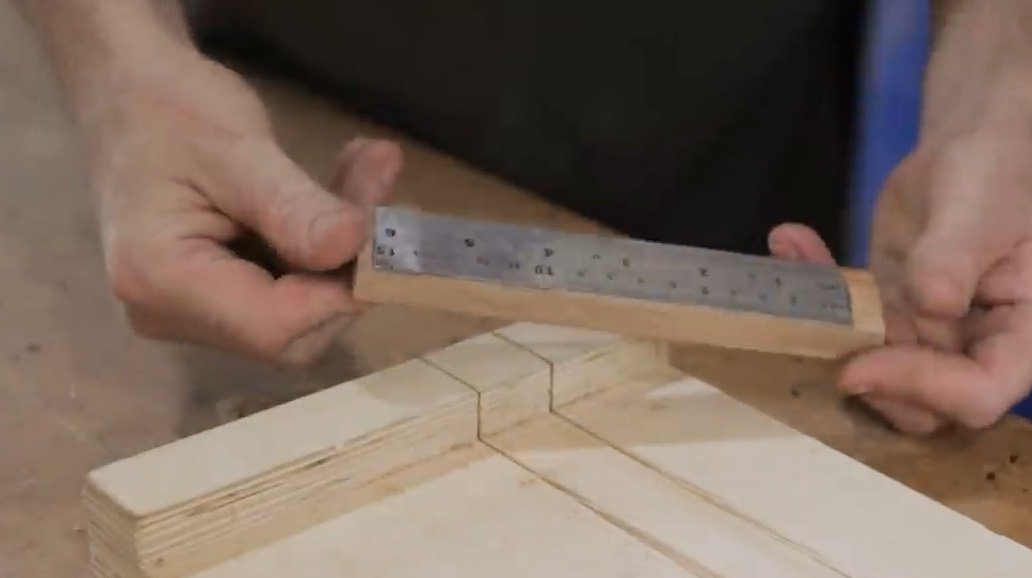
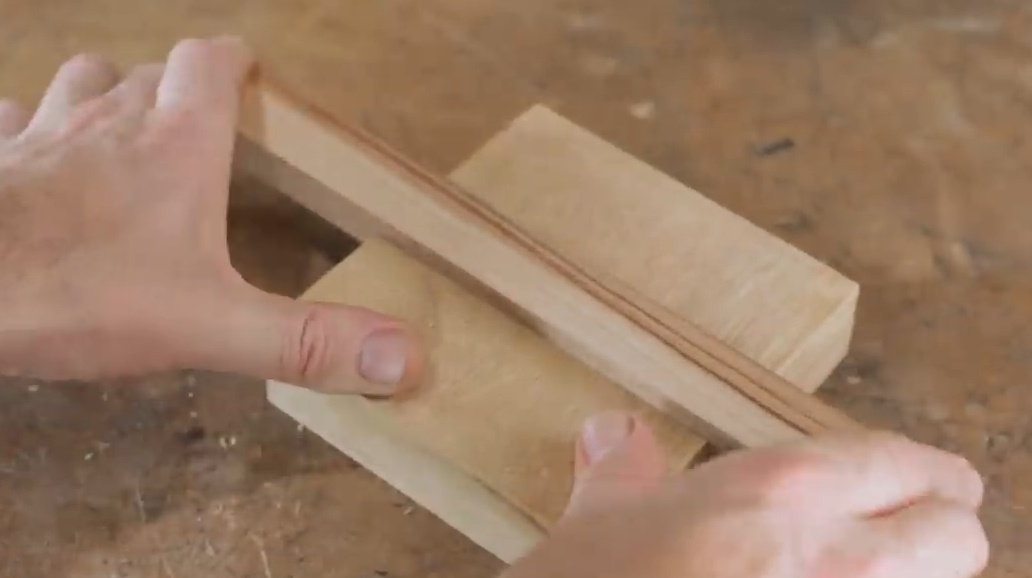
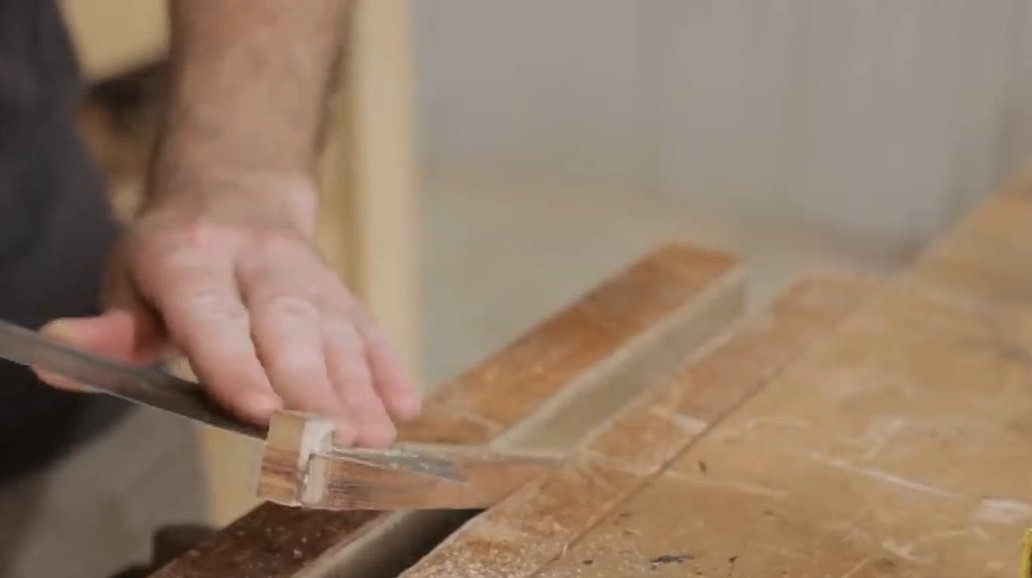
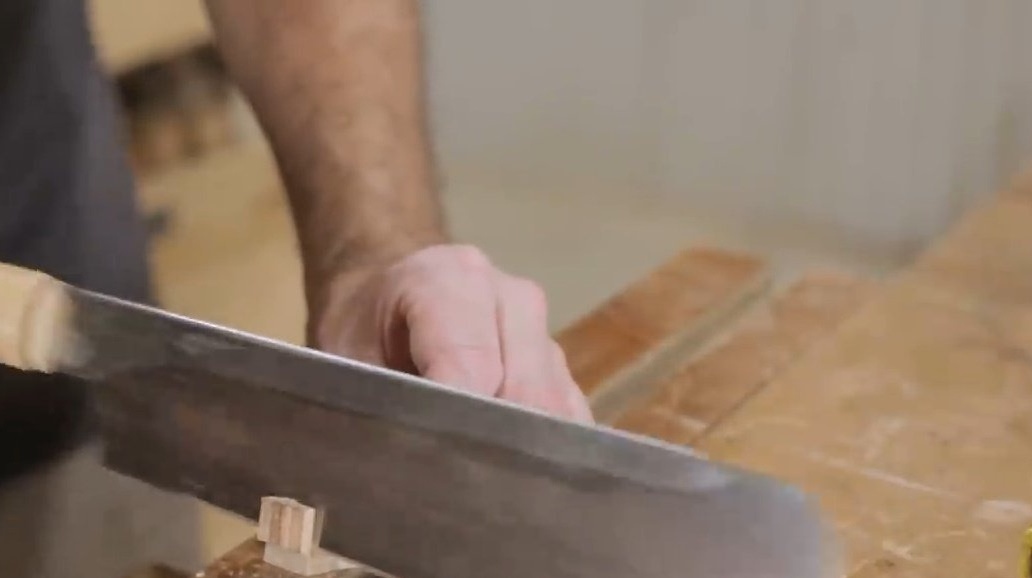
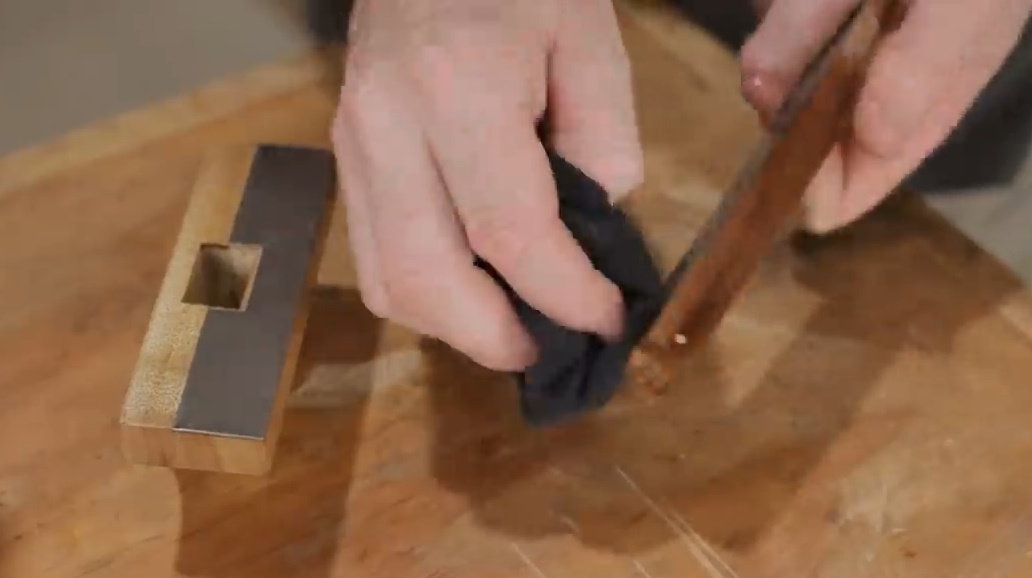
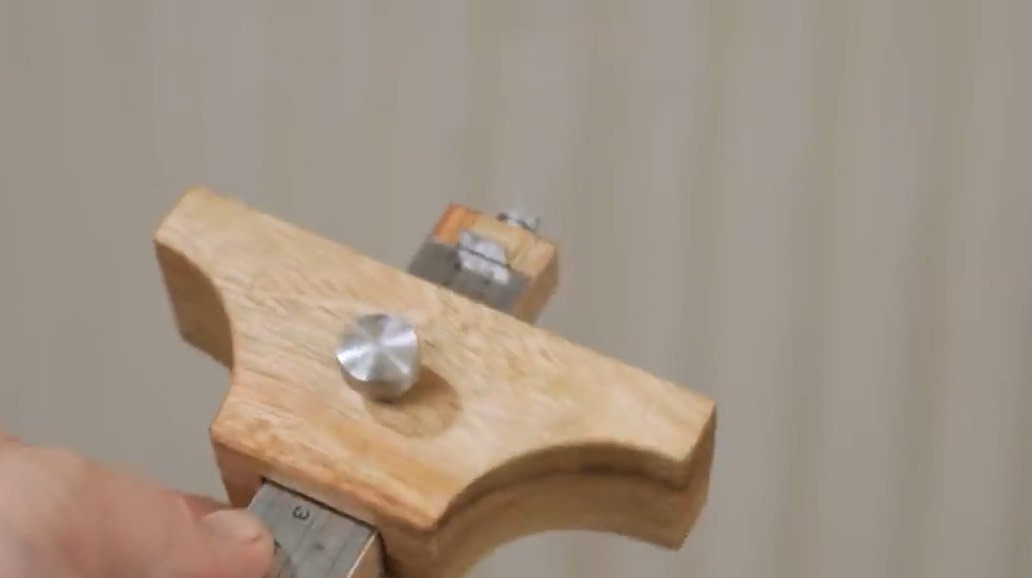
Since this is not a very strong breed of wood, and the trim line is also no longer what, the author decides to use it to strengthen the structure. He processes it and smoothes it to the front of the measuring device.
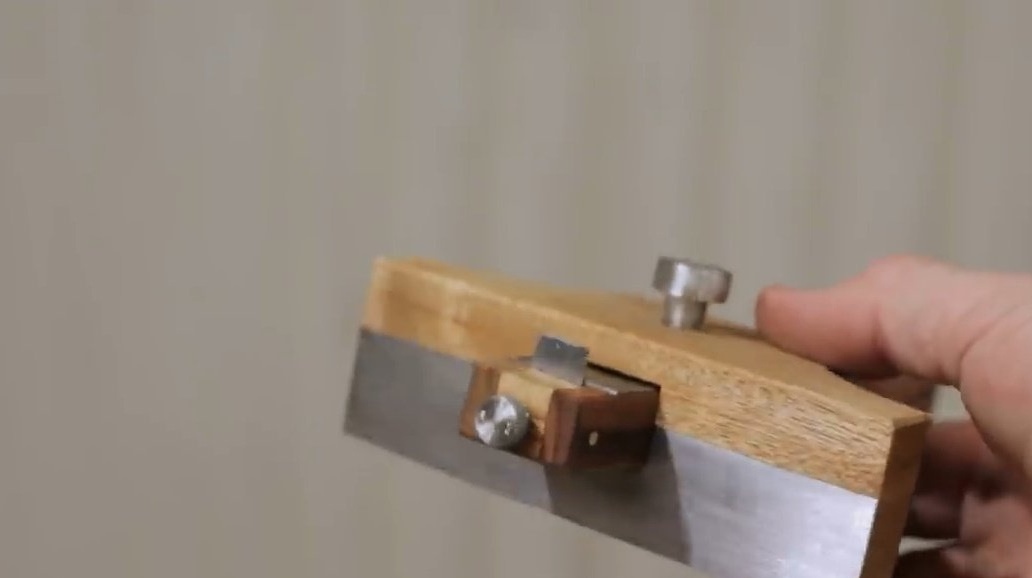
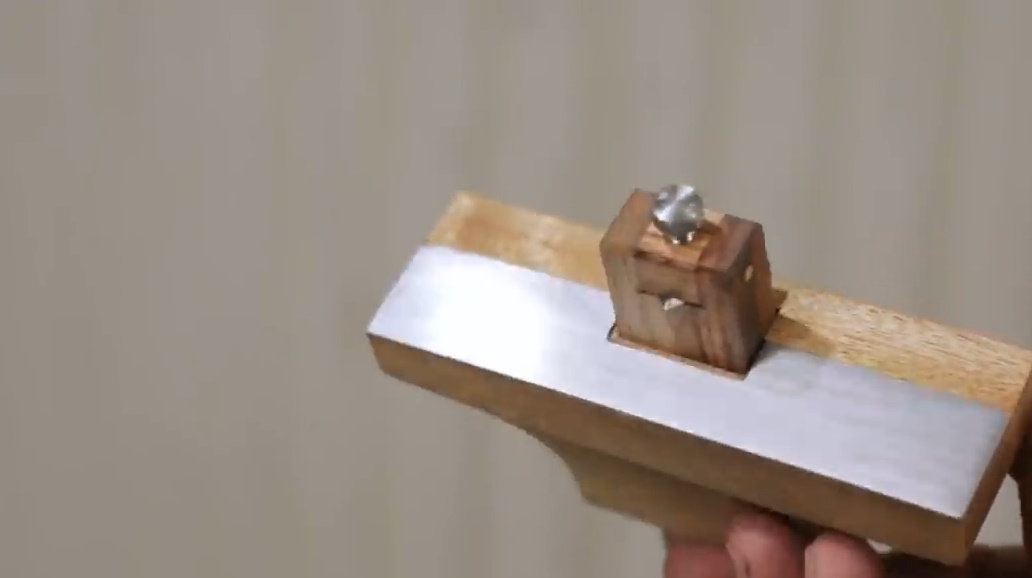
This bolt is made in the same way as the first. It will fix the position of the handle at the base.
All elements of the device are lubricated with linseed oil.
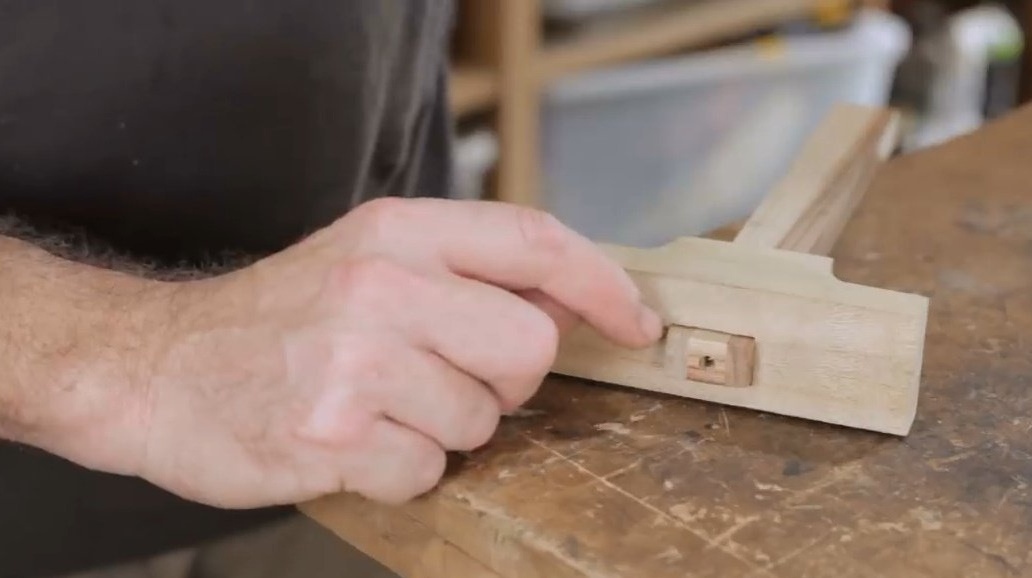
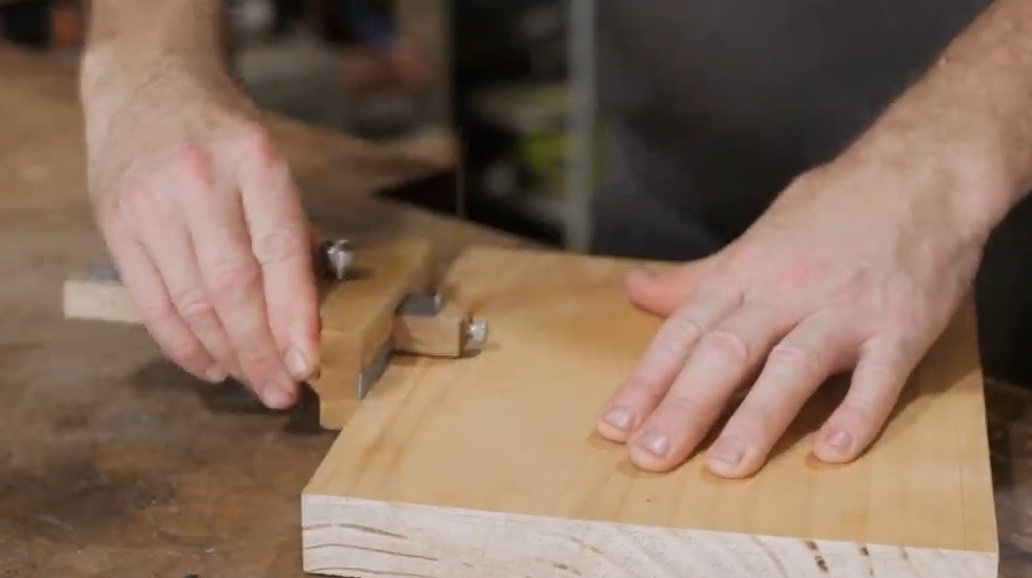
And that's how the marking planer is going.
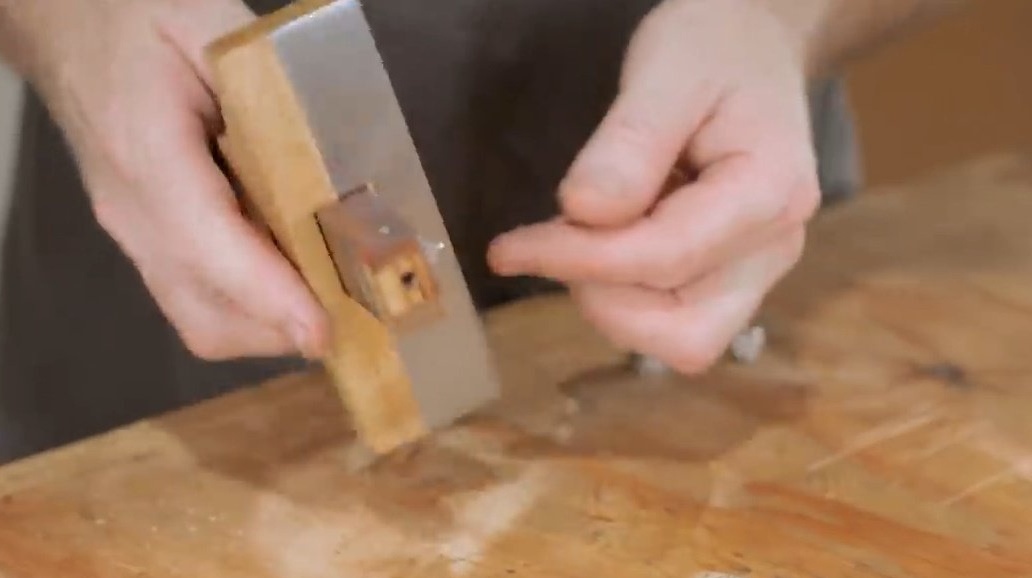
See it at work!
Thanks to the author for a simple but very important tool for the home and workshop!
All good mood, good luck, and interesting ideas!