
Good day to all dear friends! In today's article, I would like to show you a rather interesting idea homemade, which can be done by almost anyone who has done at least a little needlework and who knows a little about Arduino.
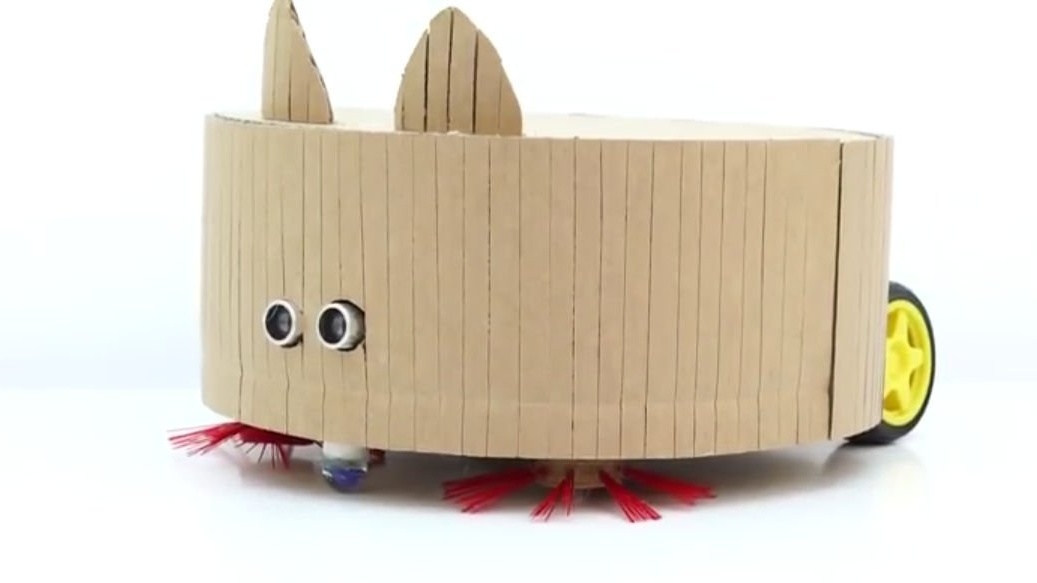
In general, today we will do simple robots cardboard vacuum cleaner do it yourself. But you tell me, because I already told you how to make a robot cleaner yourself, and you will be right, but this robot vacuum cleaner is much simpler, cheaper and more convenient than the previous one. Yes, and this model modified and looks better, and also has full automation on board. This craft, will not only help pass the time, but will also become an indispensable assistant in your home or workshop. In short, the thing is useful and not complicated.
Well then, enough of the long preface, let's go!
And so, for this homemade product we need:
corrugated cardboard (a lot of cardboard)
-
connecting wires
-
-
-Wheels for gear motors
-driver of drivers for Arduino (the author of the homemade product uses a model driver, which you just need to insert into the arduino to connect, but you can use a driver that’s convenient for you, the main thing is that the voltage matches the gear motors)
-
-plastic bottle caps
- bristles from a broom
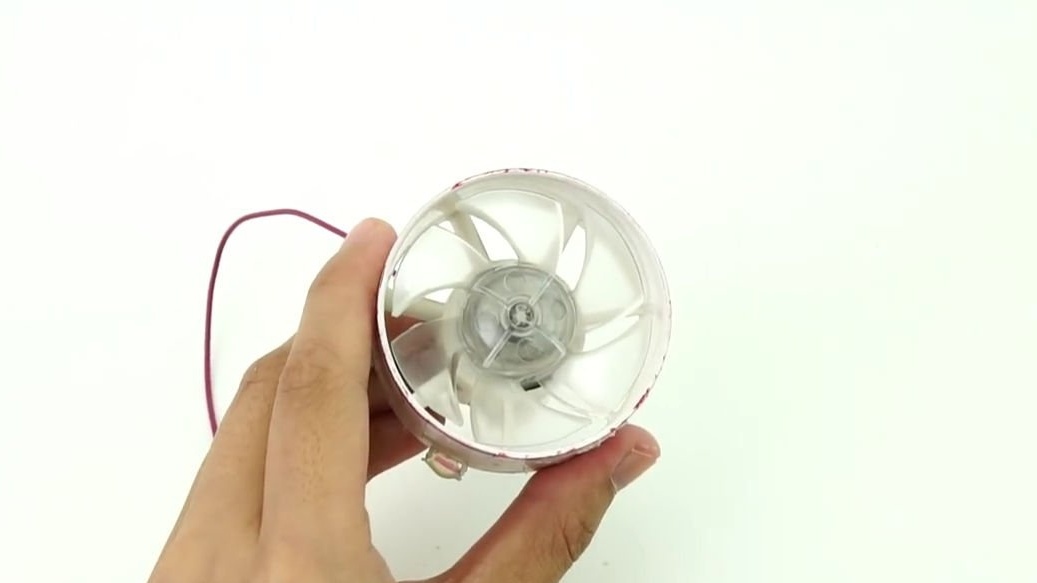
-motor with a turbine fan, in principle, you can do it yourself
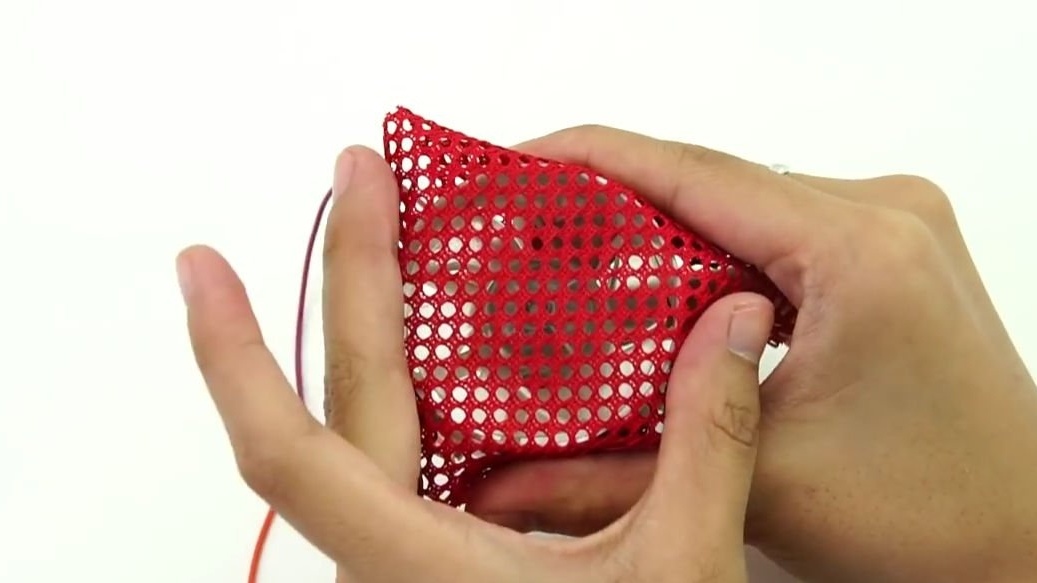
plastic mesh
- small container
box for two 18650 batteries
-
Of the tools we will also need:
soldering iron
glue gun
-stationery knife
line
- pencils or markers
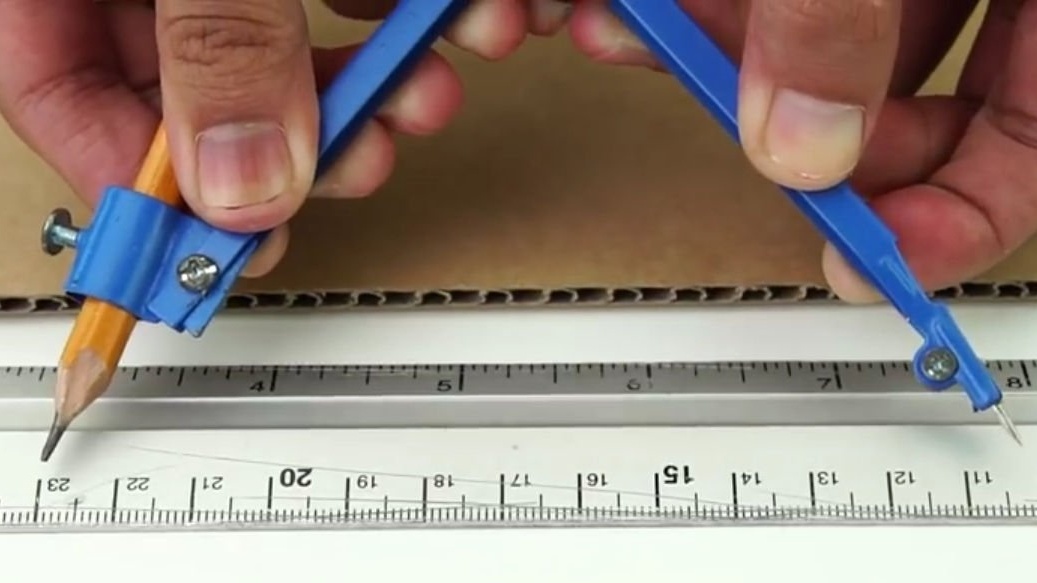
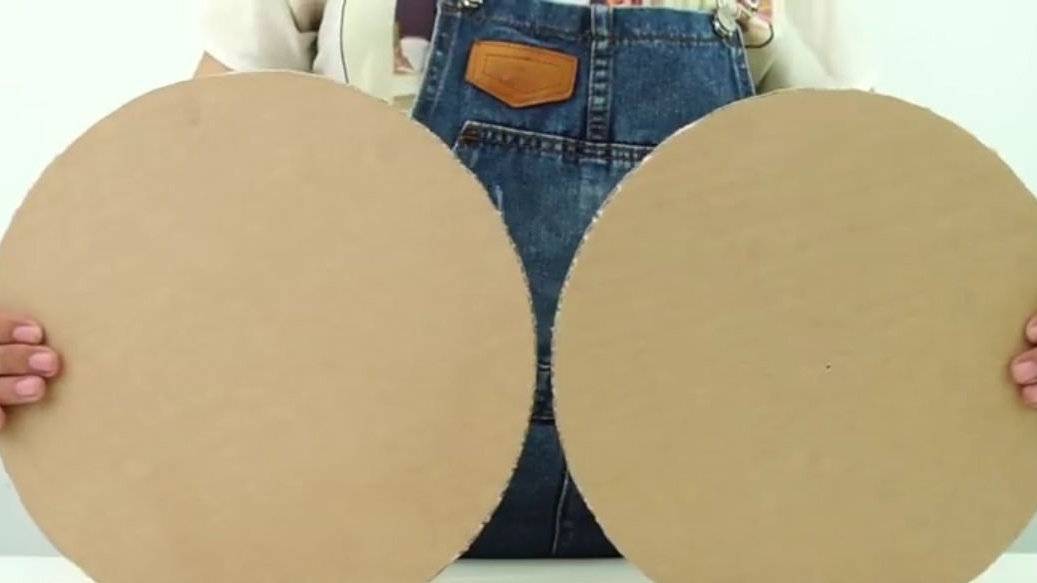
The first step is to take a large sheet of cardboard, a ruler and a compass. We measure 13 cm with a compass and draw a circle on cardboard, after which we cut it out, in total we need two such circles:

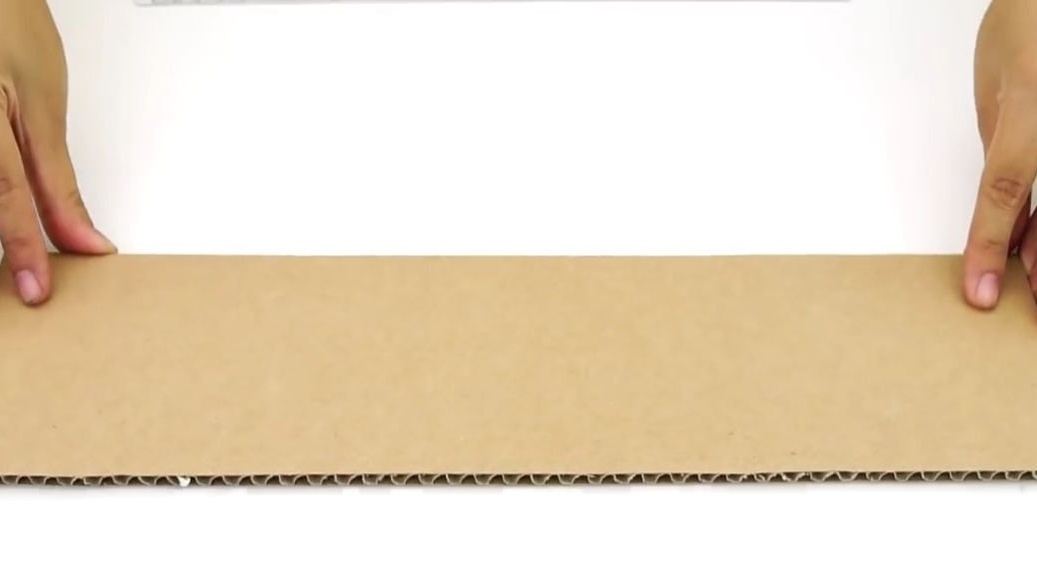
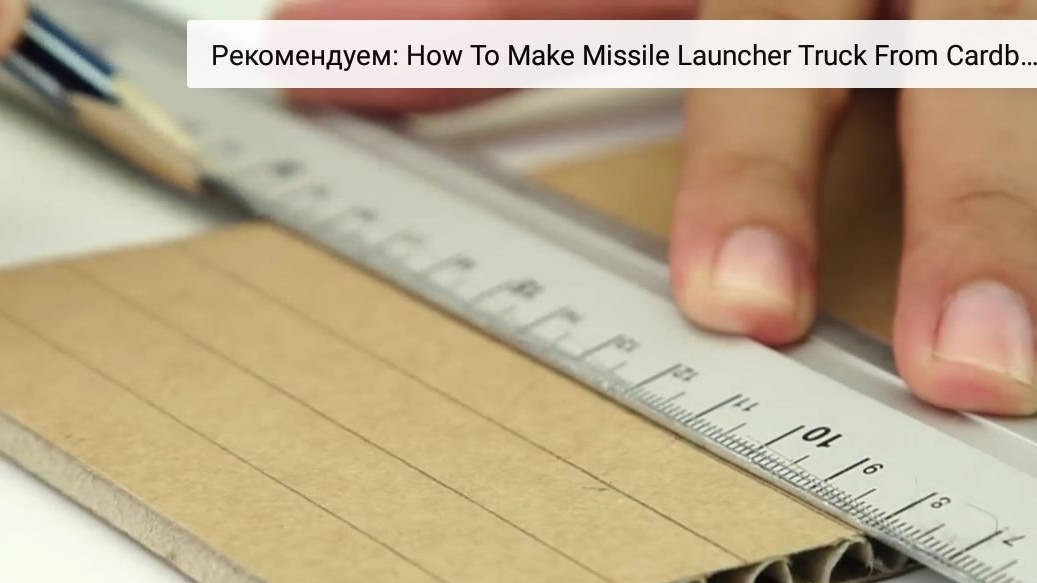
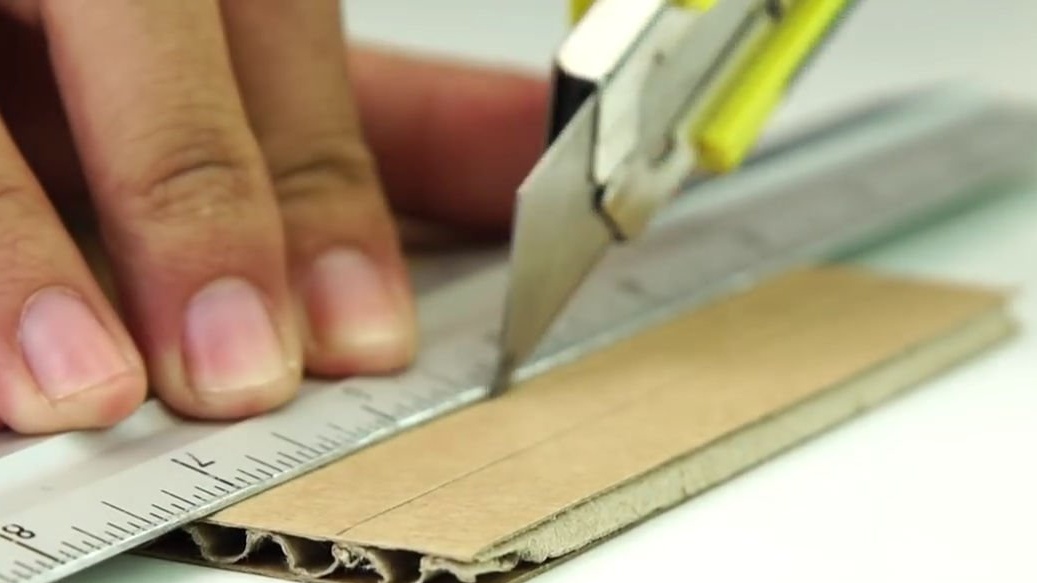
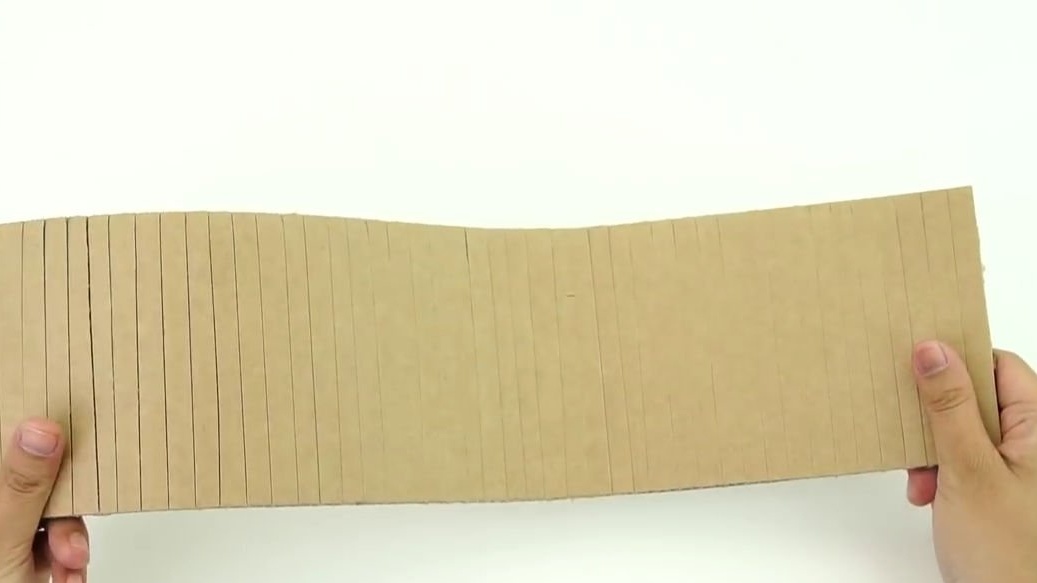
Then we cut out a rectangle of small size from the same cardboard. We take a ruler and a pencil, with a pencil we draw a cardboard with an interval of about 1 cm. After this procedure, we take a clerical knife and make small cuts of the top layer of cardboard, without touching the bottom. This is necessary so that the cardboard becomes more elastic:

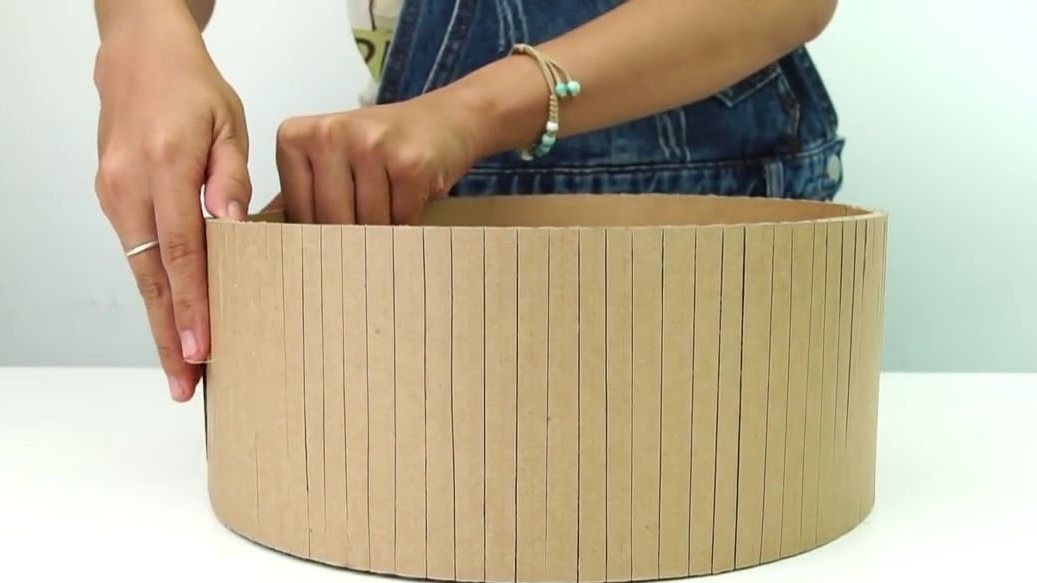
We twist the early workpiece made around one of the cardboard circles, and of course we glue it with hot glue:
Let's deal with electronics and the mechanical part.
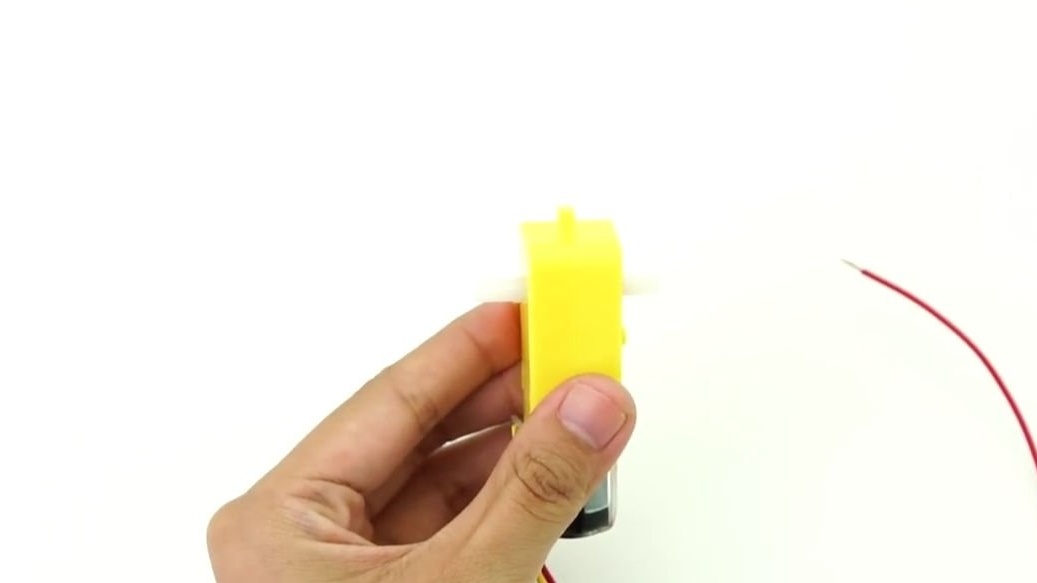
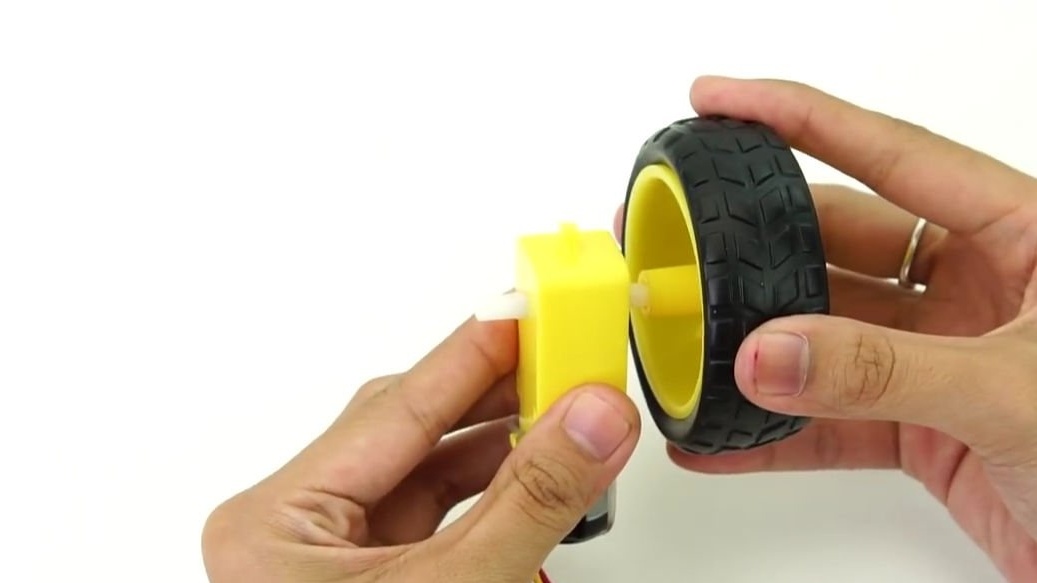
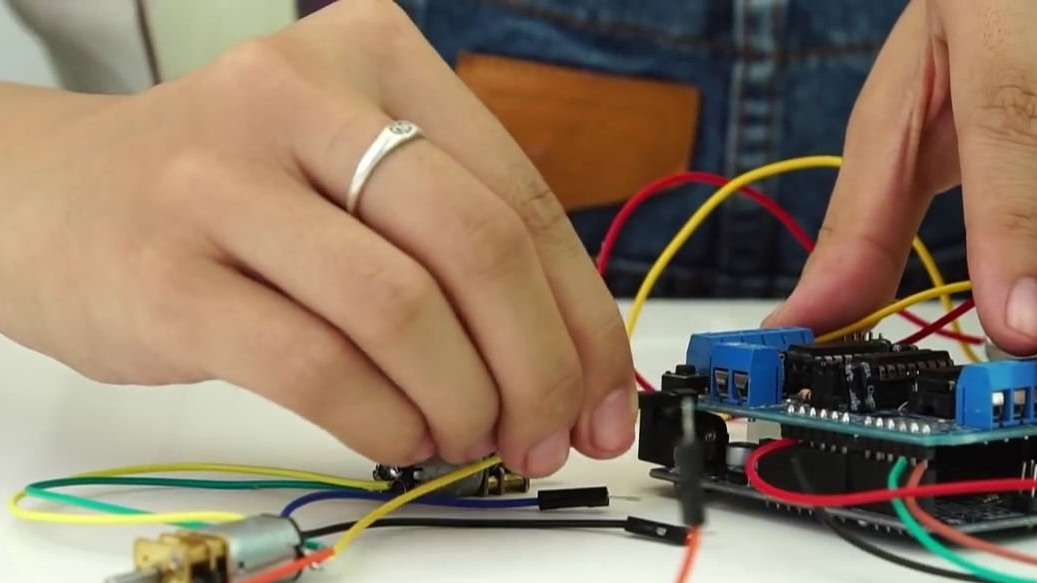
To get started, take the gear motor and put a wheel on it, we do the same with the second motor:
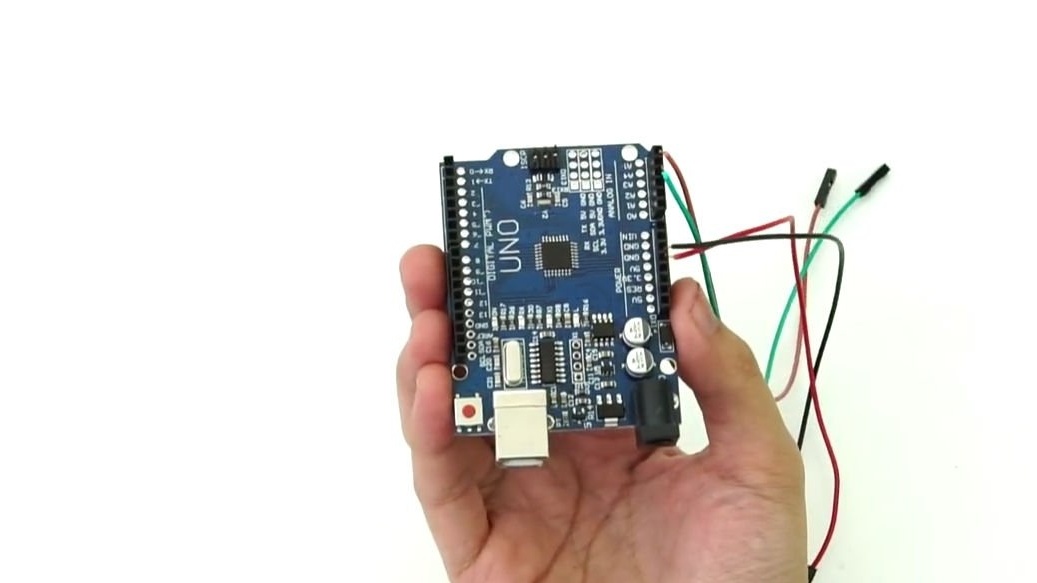
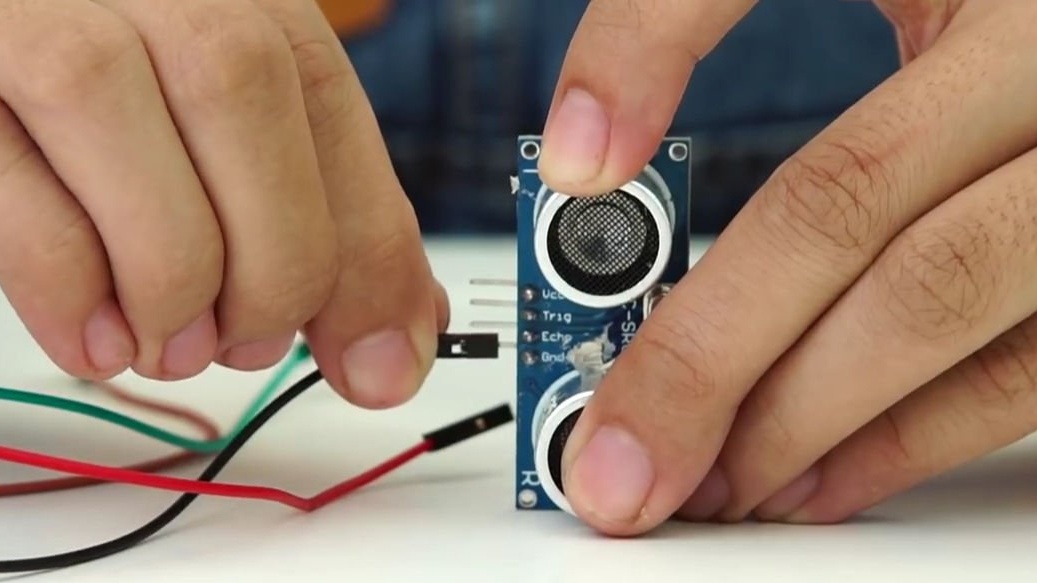
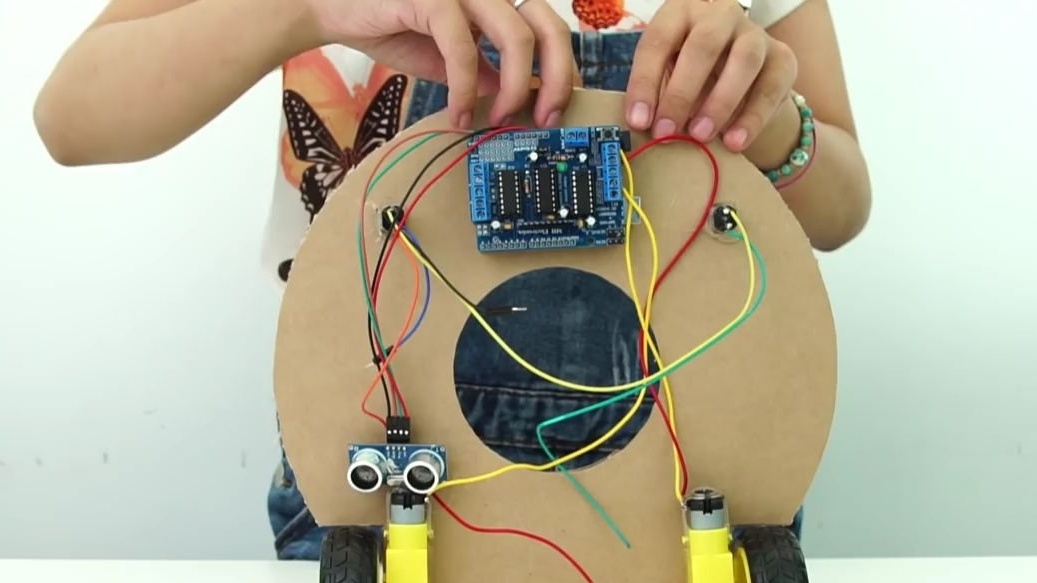
Then we take the Arduino Uno board and connecting wires, which in turn must be connected to certain pins (contacts) on the board. For convenience, we take different colors: we connect red to 5 volts, black to GND, and the other two to two different pins. Which pins to connect the wires to, you must immediately find out on the basis of the code, or write the pins to which your wires are connected. In general, there is nothing complicated here, we connect:
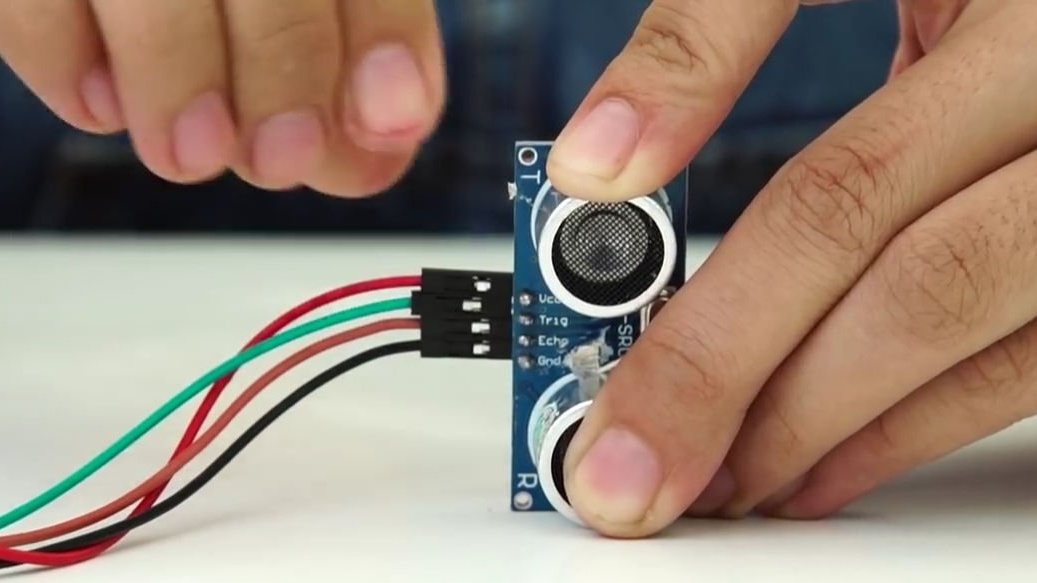
We connect the opposite side of the wires to the ultrasonic range finder as shown in the photo below, if it is not clear, you can watch the author’s video.
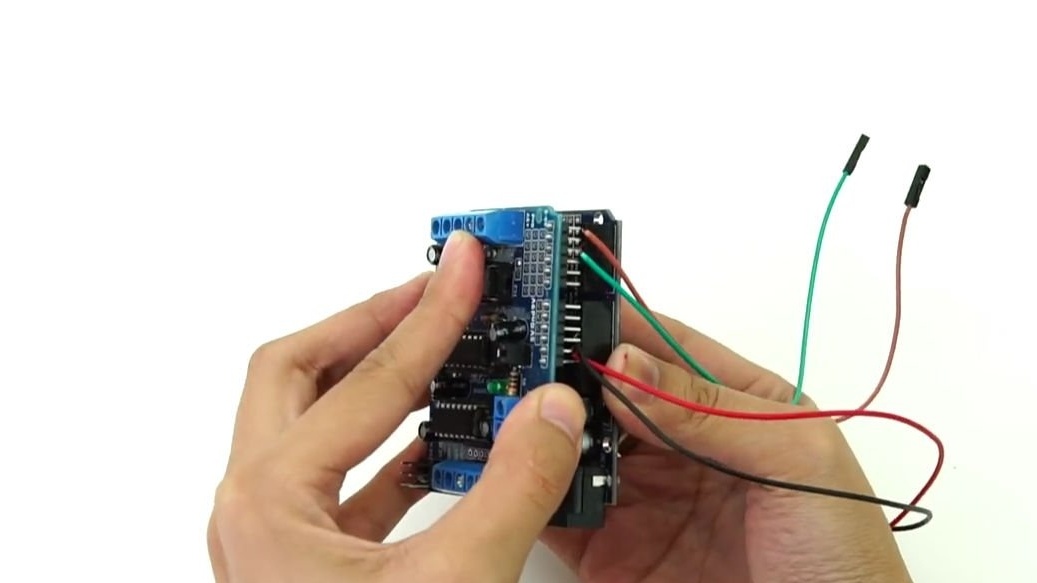
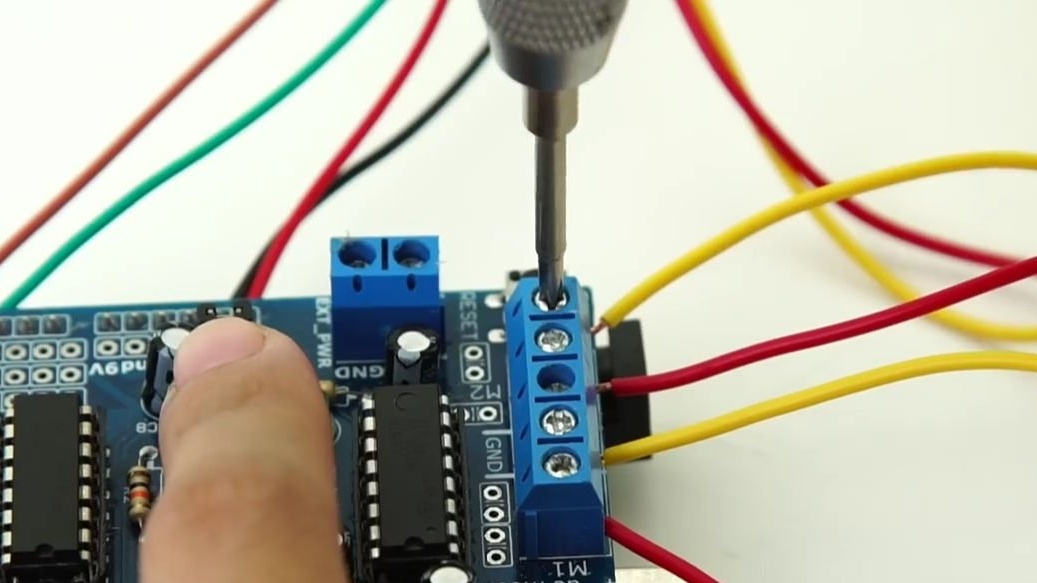
We connect the gear motors to the engine driver, you don’t even need to solder anything, just insert it into the clamps and that's it:
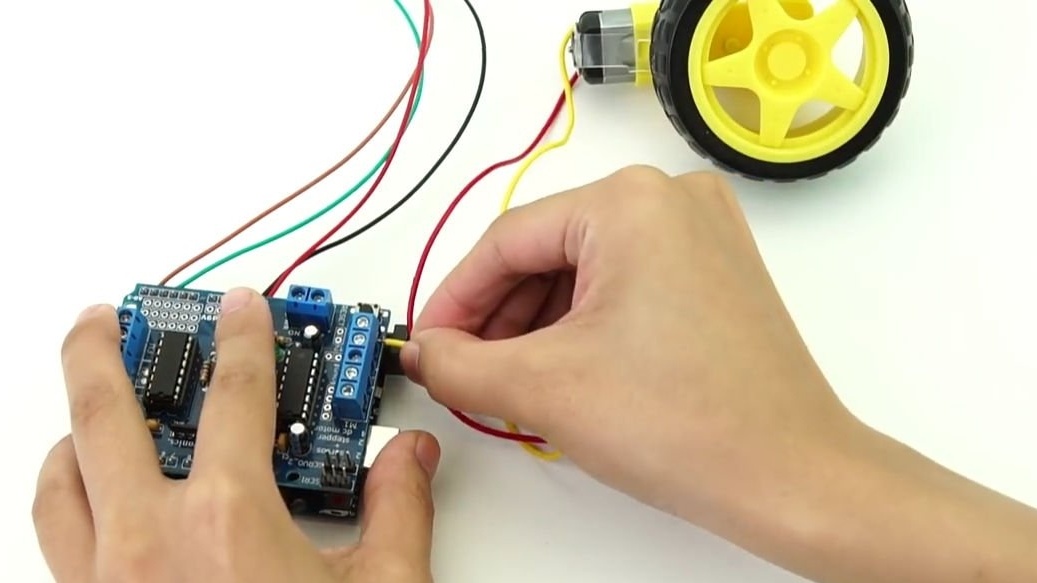
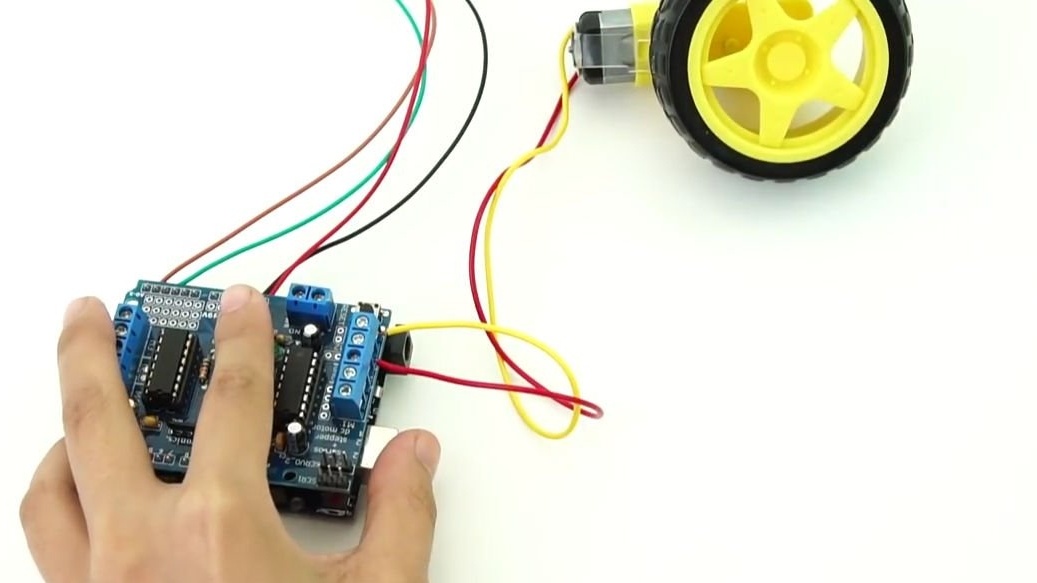
It is necessary to solder the connecting wires to the mini motors, with the help of which, we will connect these same motors to the engine driver. In general, we connect:
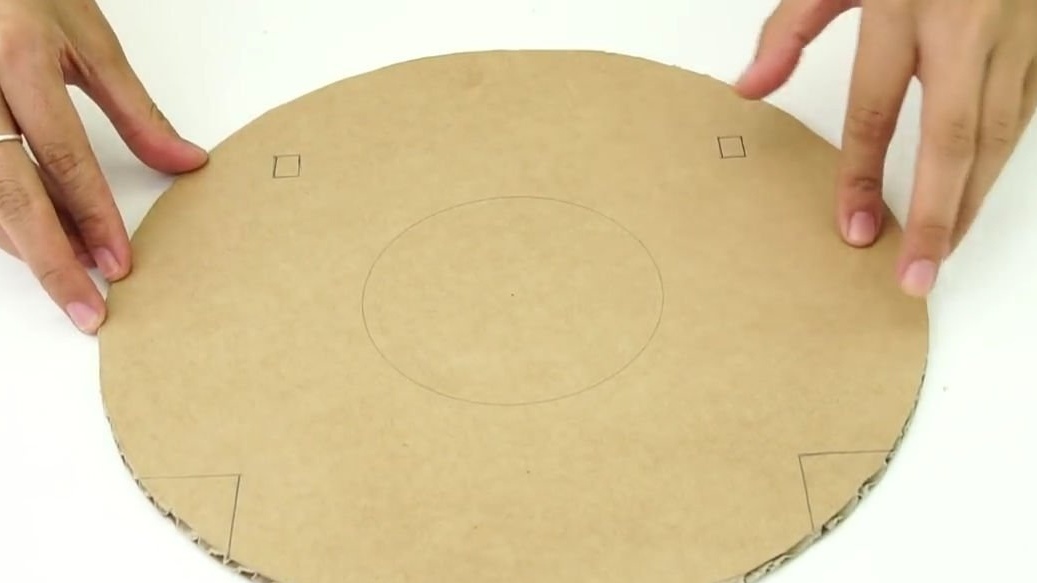
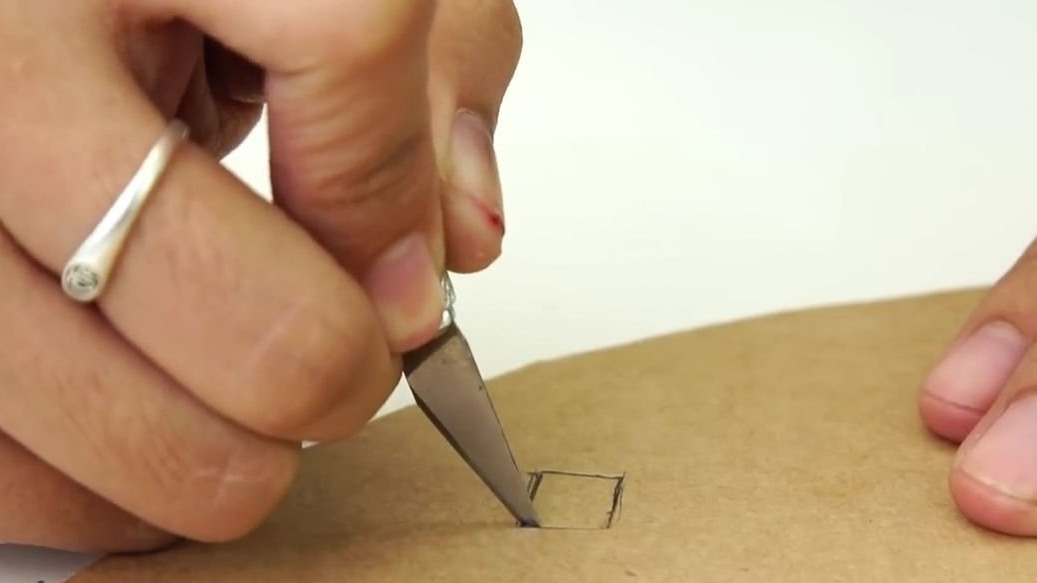
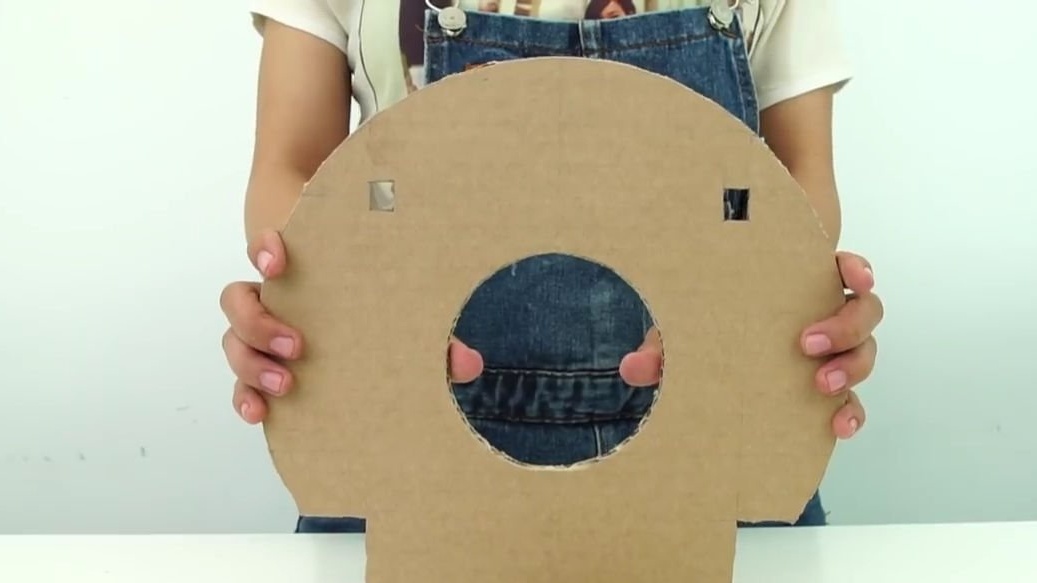
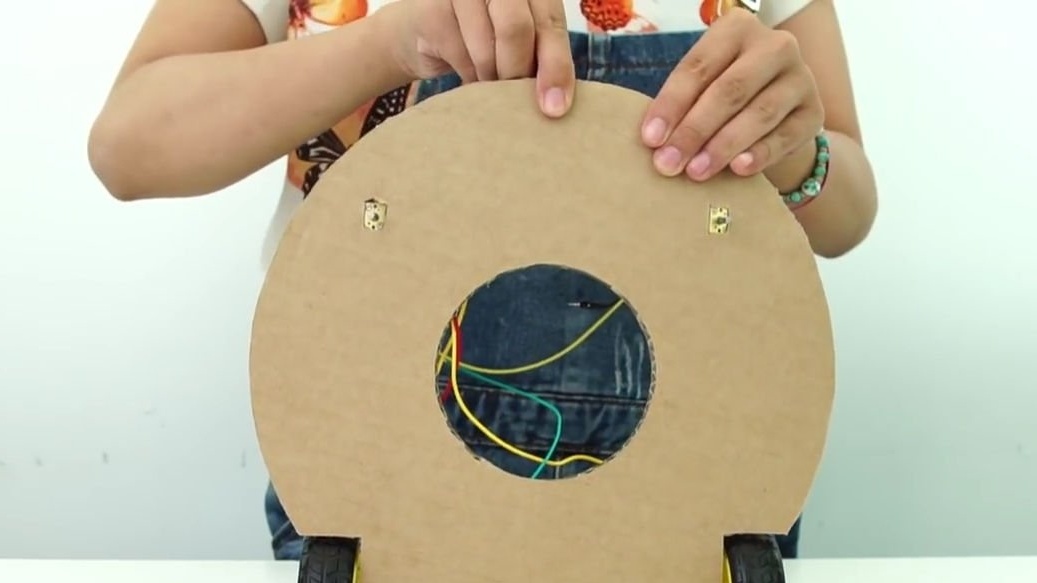
Now we take the remaining cardboard circle, which was made at the very beginning. On it, you need to draw another circle in the center and several rectangles. You can see all the markup in the photo below. Then we cut out the marked holes, it should turn out the same way as in the photo below:
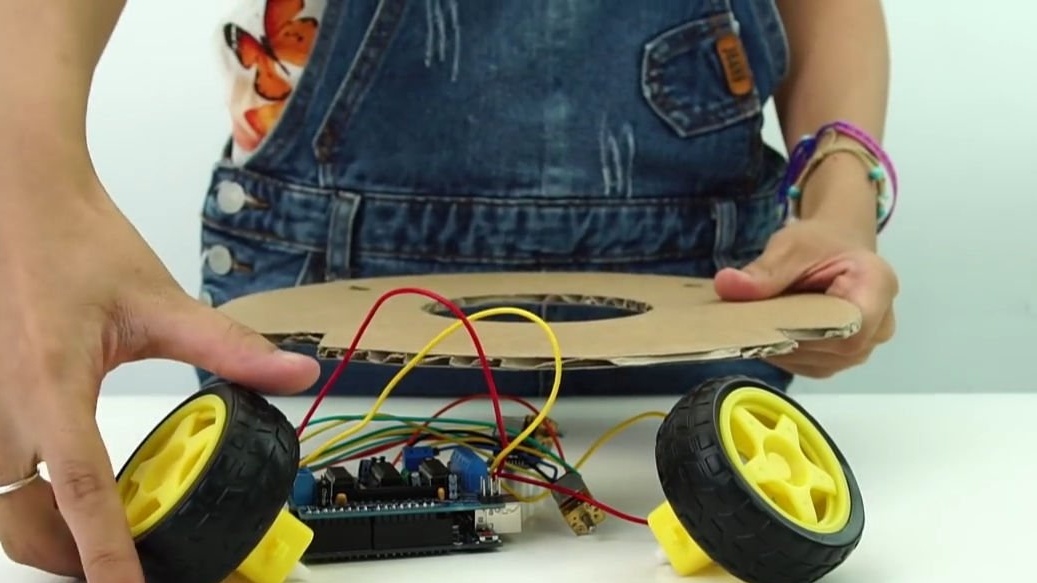
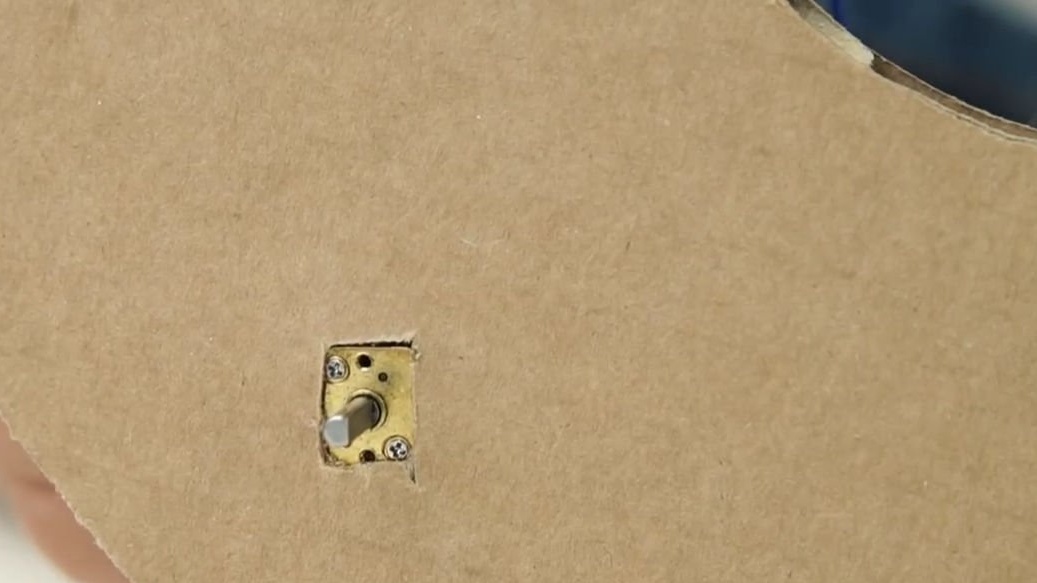
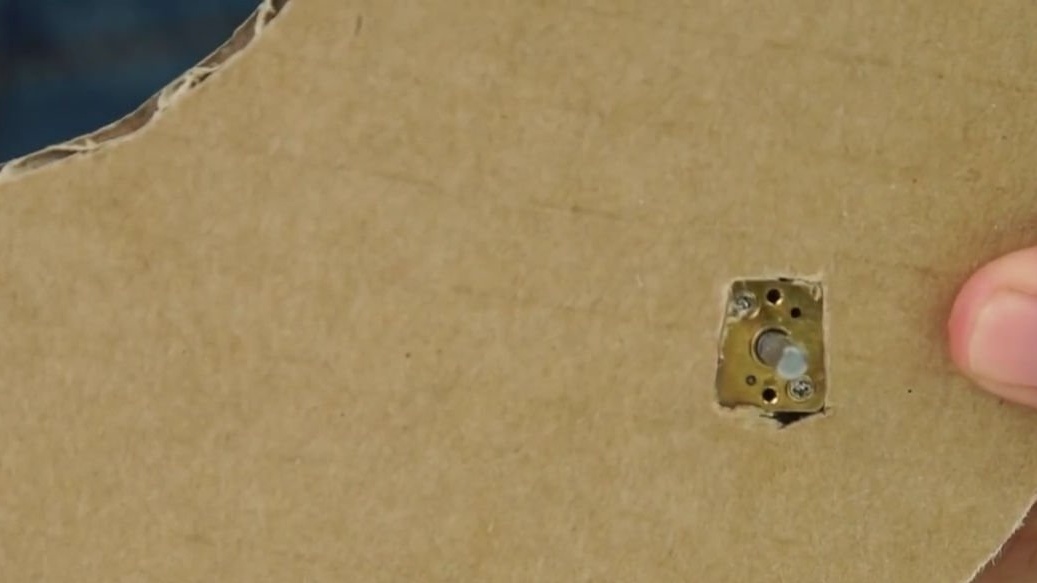
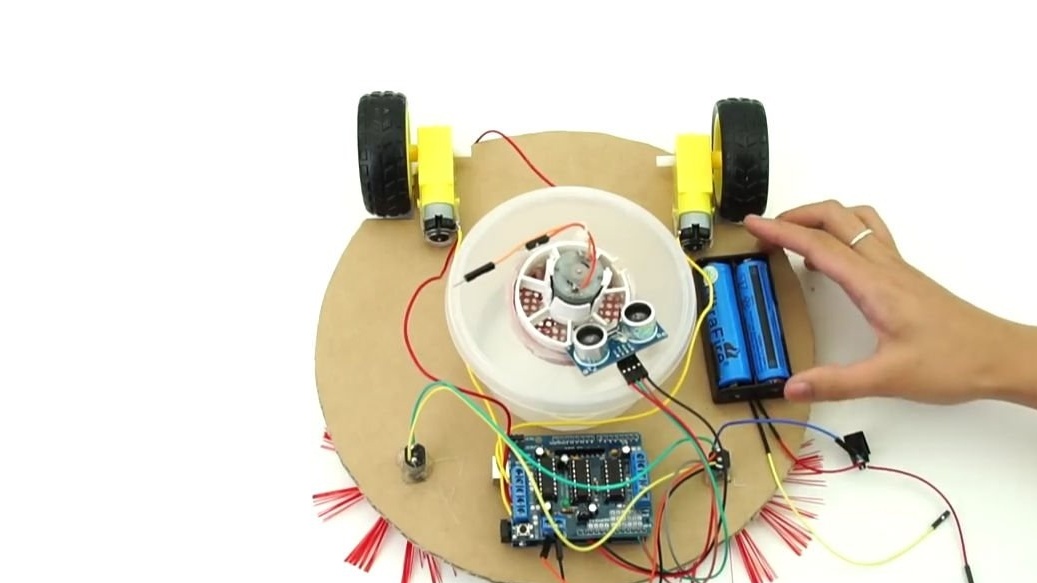
Take the whole electronics and place it on a previously made cardboard circle. We insert small motors into the slotted rectangular holes, and fasten the rest of the electronics to hot-melt adhesive, attach large gear motors in parallel to the rear, and do not touch the ultrasonic rangefinder:
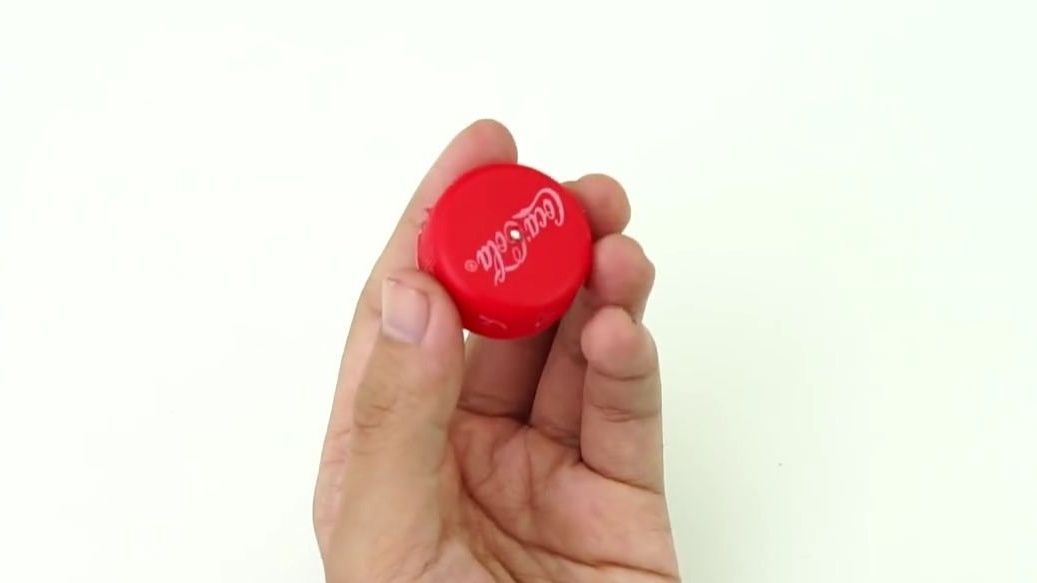
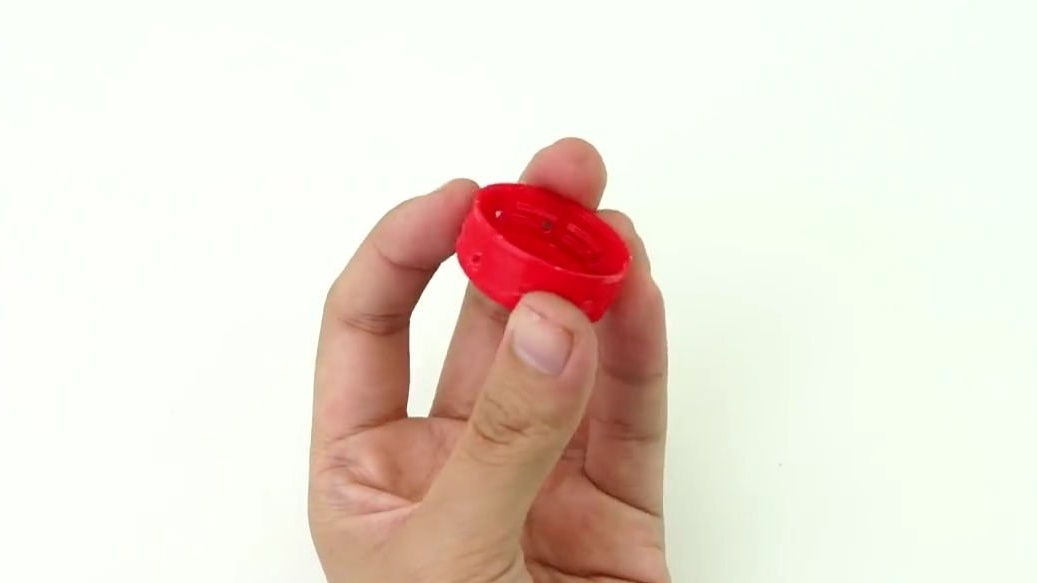
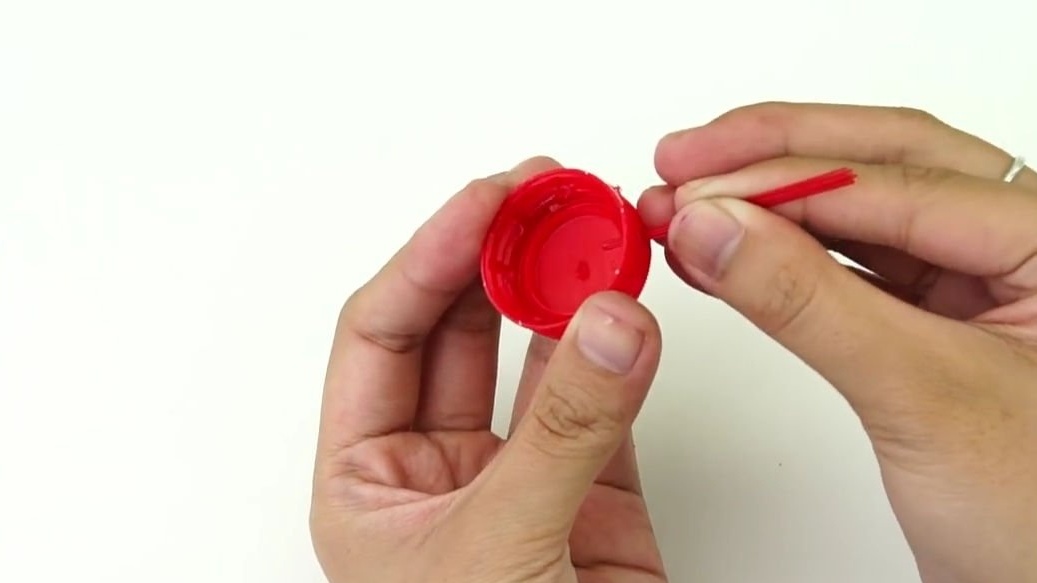
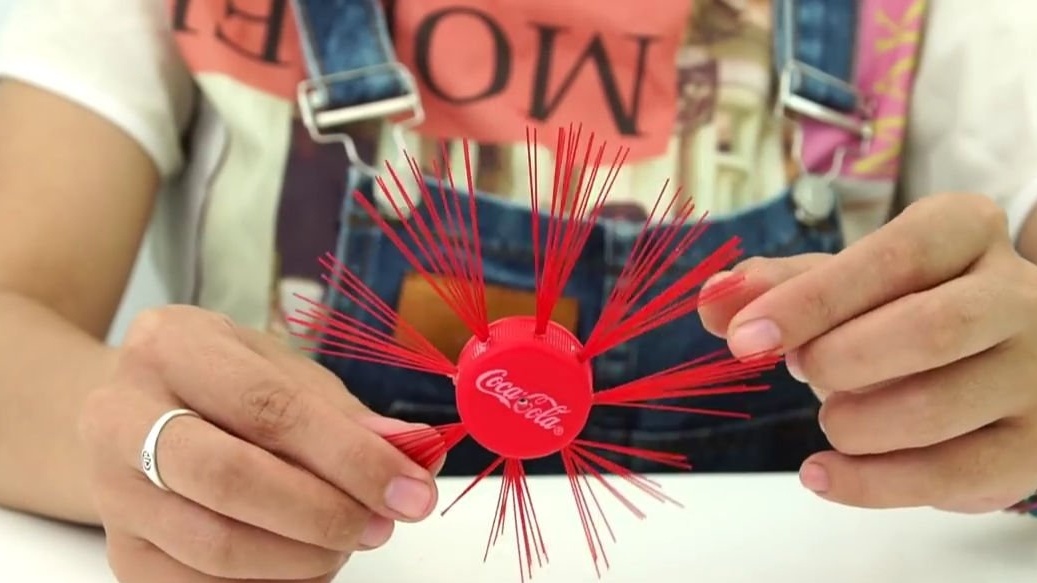
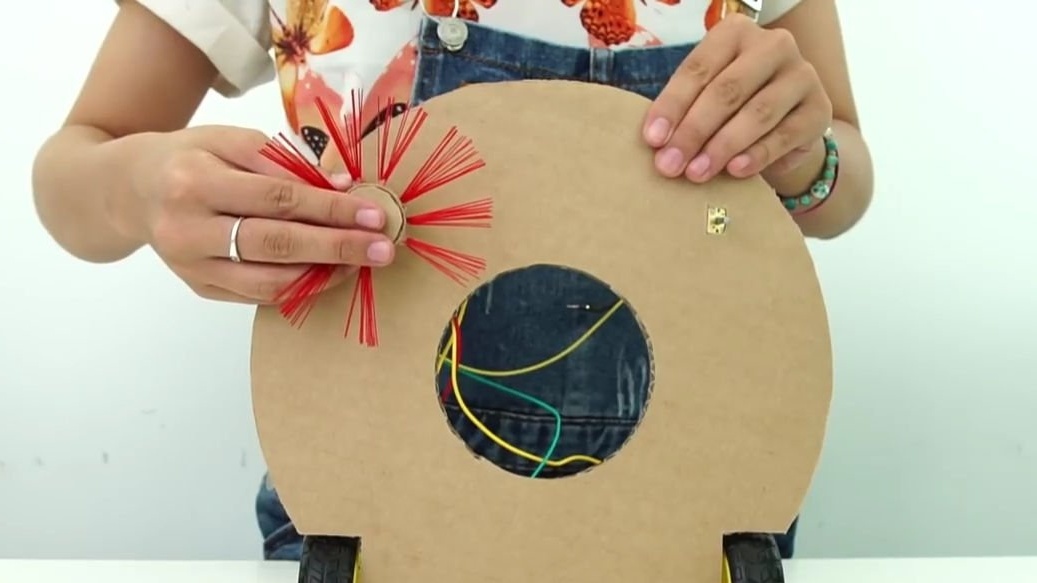
We remove the caps from the plastic bottles, we need only two pieces. Using a soldering iron, a hot nail or an awl, we make holes: one in the center of the lid, and the other on the sides with an indent of about 1 cm. In the holes made on the sides, we poke out the previously prepared bristles from the broom, they should be the same size. We fix these bristles with hot glue. In total, two such blanks must be made.
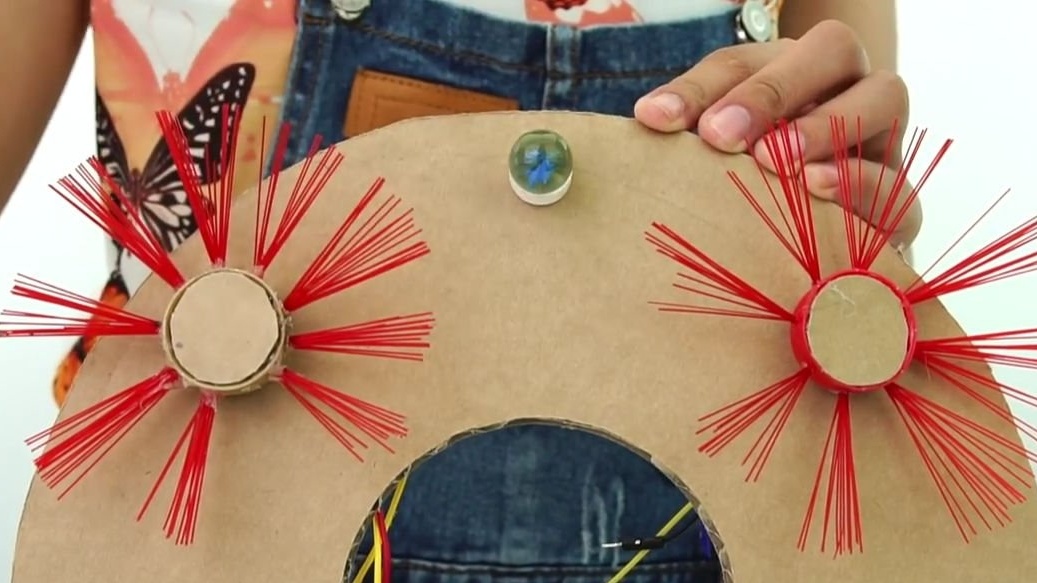
We glue them on the axis of small motors, which are located on a cardboard circle. We glue again with hot glue:

On the front, between two brushes, glue a small ball, or a small wheel that can rotate around its axis:
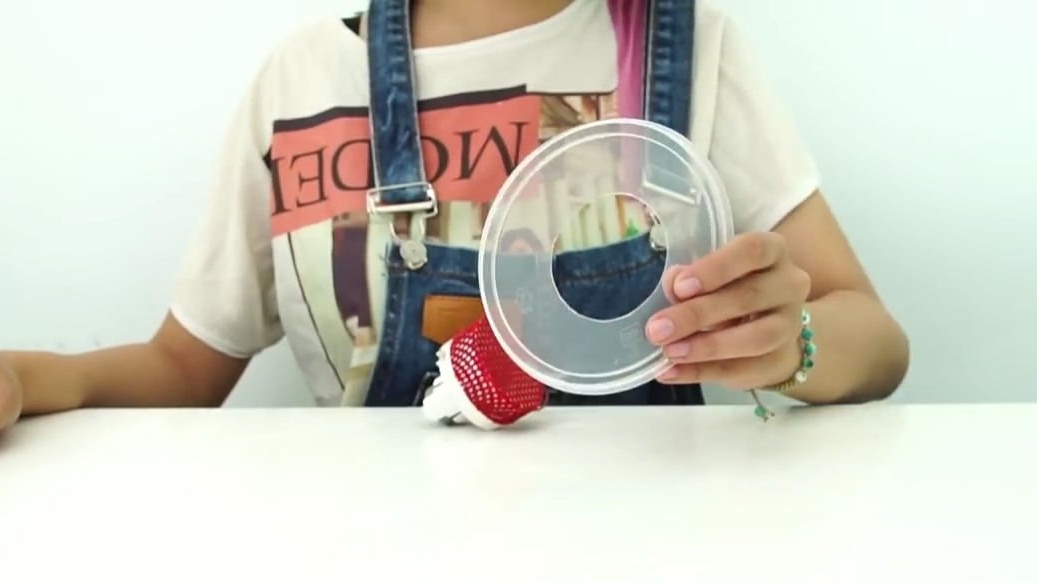
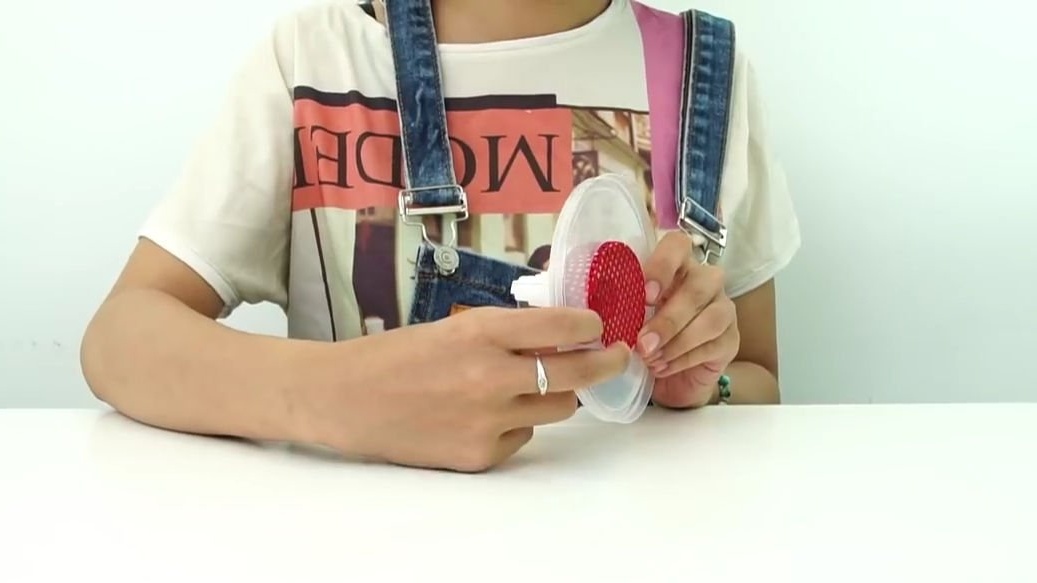
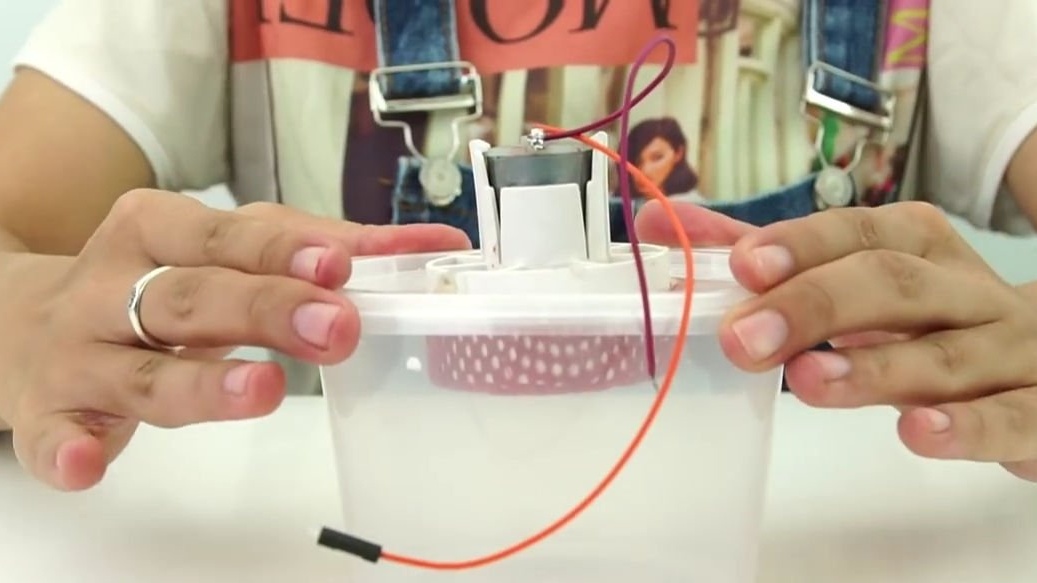
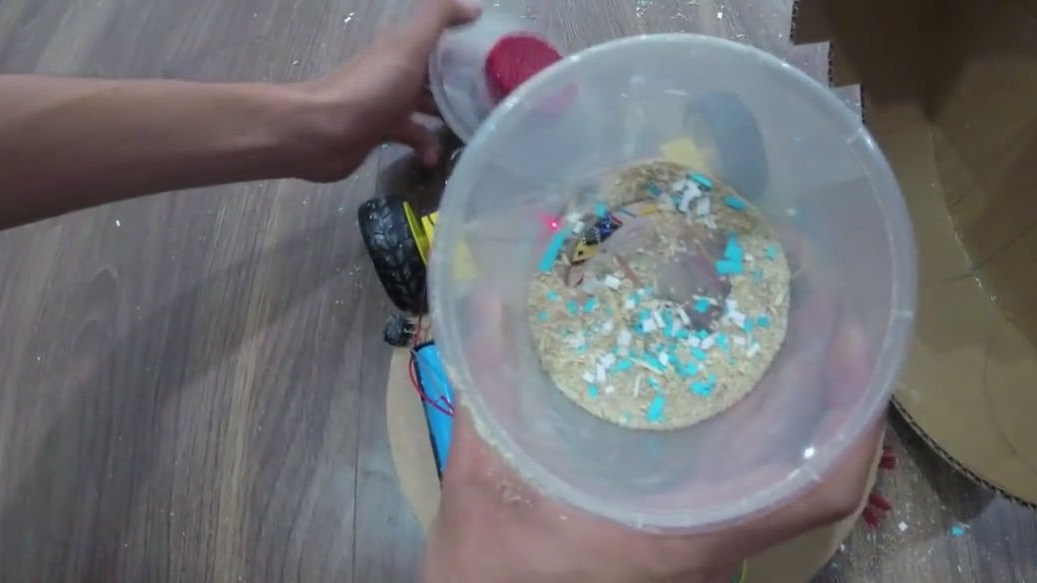
Now we need an electric motor with a turbine that can suck in air, and in general a very powerful cooler can come up. We put on and fix a plastic mesh on the front of the turbine, it is needed to protect the turbine, that is, to prevent large debris from entering and sifting out. Remove the lid from the plastic container. The container should preferably be round in shape. In the lid we make an even round hole in which you need to insert and glue the turbine with a mesh. In the container itself, we make a small rectangular hole with the edge. We put the lid with the turbine on the container and you're done. The suction part of the robot is finished. I want to remind you that everything must be done as shown in the photo below:

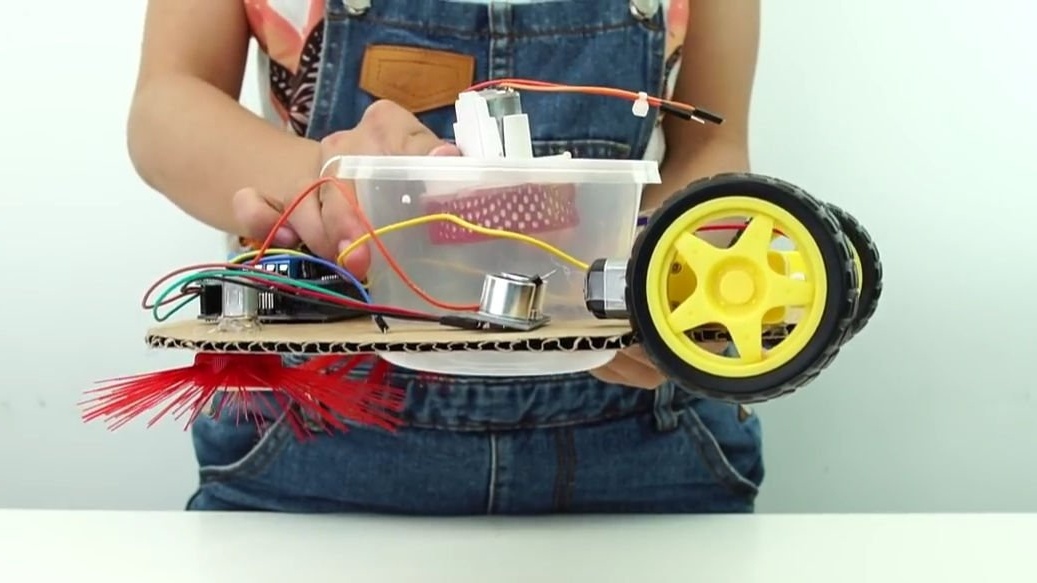
We take the base of the robot and install a container with a turbine in the central hole and glue everything firmly with hot glue. Then, on the side of the structure, we install a box with 18650 batteries and a switch connected to one of the wires coming from the box. We connect new wires for powering Arduino, we make final haircuts and we can continue.
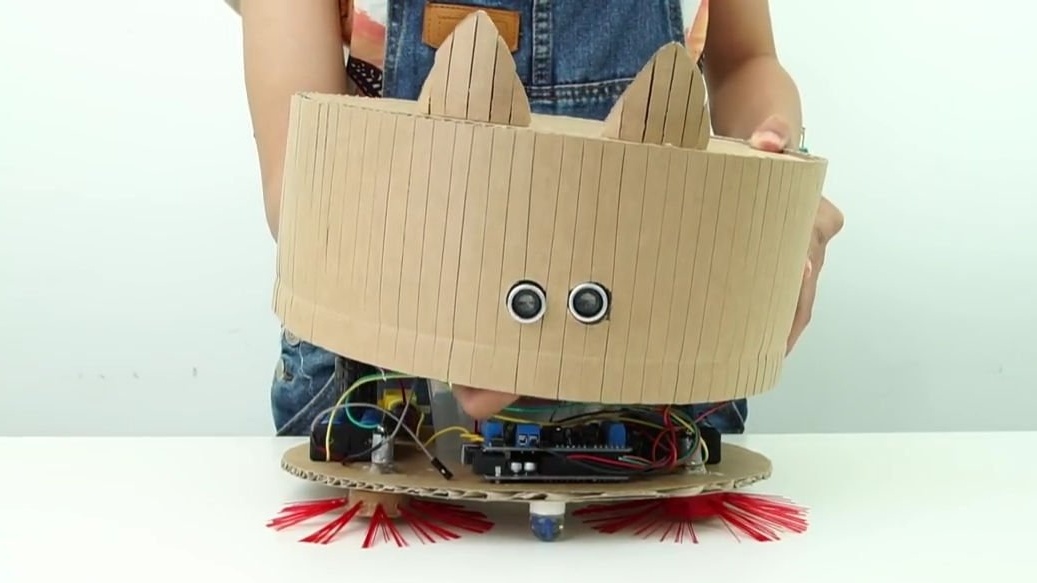
We insert the ultrasonic range finder into special holes that need to be done in advance in the robot body. This building, as you may remember, was made at the beginning. The author of the article also added decorative elements in the form of ears, and an ultrasonic rangefinder comes out instead of the eye, all this looks very good. We put the case over the base of the structure and fix it, but not very much, because in which case, you will need to get the batteries for charging.Of course, you can install a model for charging batteries directly into the robot, but it is unlikely to replace high-quality charging.
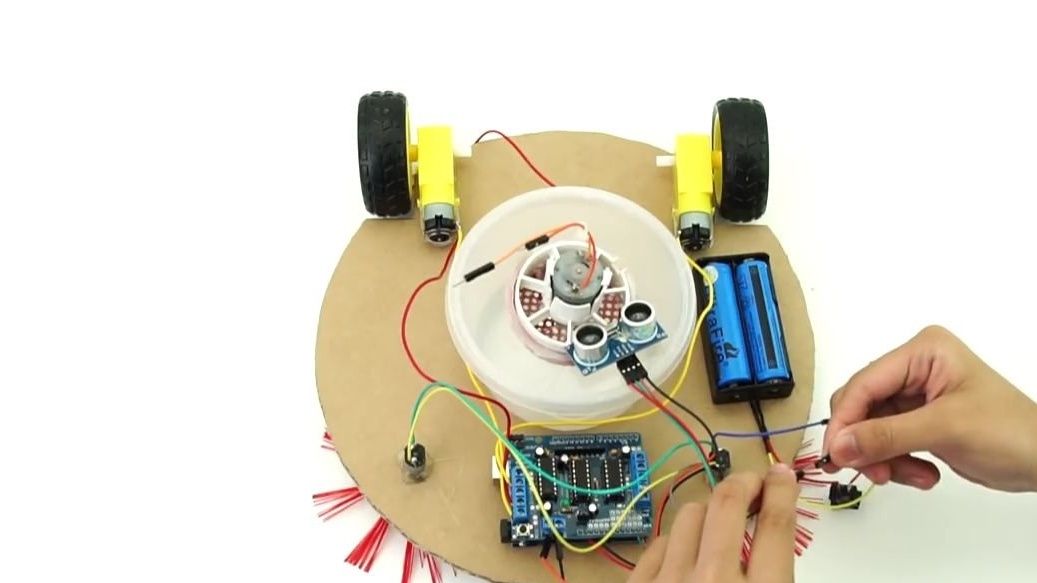

It remains only to upload the firmware to Arduino, in general, it is best to do this after connecting all electronic components to check the circuit and code, but you can do it later. It’s best to write a sketch for pouring on Arduino yourself, but you can simply find on the Internet a ready-made sketch for robots with one ultrasonic sensor that goes around an obstacle, the benefit of such sketches is now complete. But to avoid various pitfalls, \ it is better to write independently, for yourself.
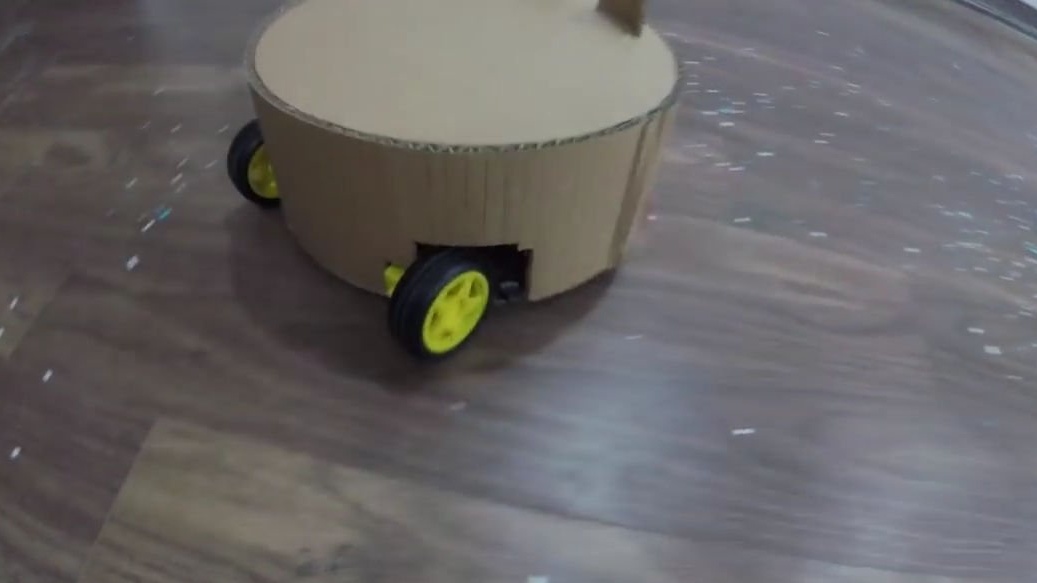
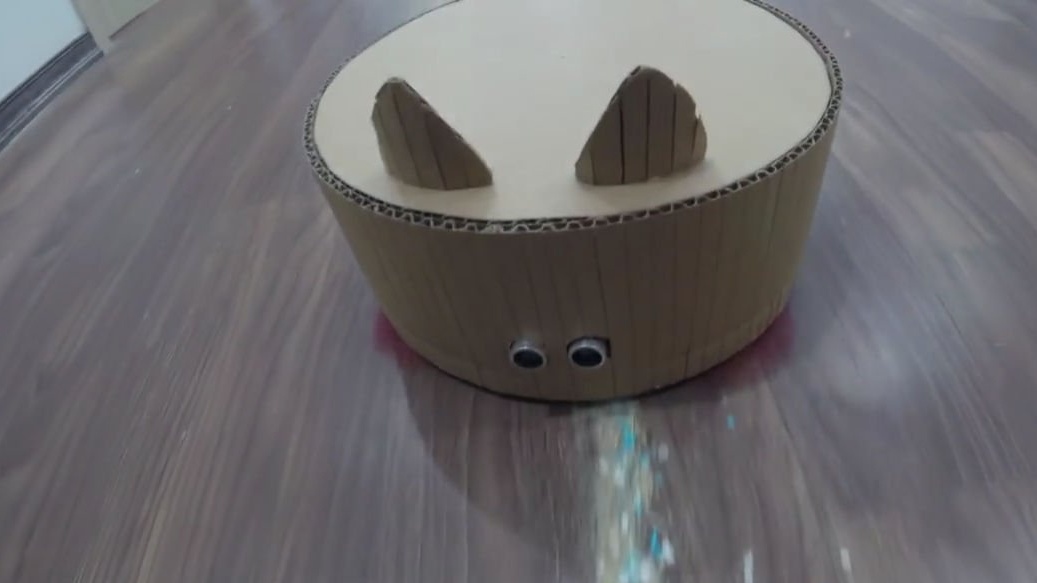
That's it! A simple and functional robot vacuum cleaner is ready and it remains only to test it! To do this, just turn it on and start to ride on the floor and vacuum all the garbage. The robot moves itself and turns when the obstacle approaches, and this is much more convenient than previous models.
Here is a video from the author with a detailed assembly and homemade tests:
You can also power this robot from a powerful bank, you can see my detailed review for a good one, of course, who will be interested in this:
Well, everyone good luck in future projects, friends!