
Hello everyone, I propose to consider the currently popular lamp made of epoxy resin and wood. This lamp combines natural materials and modern technology. The whole thing looks pretty pretty, but it’s going quite simply. The manufactured lamp is powered by a 220V network, an LED lamp is used here, so you do not need to constantly change the batteries. For assembly homemade the author used the most affordable materials and tools, everything was assembled literally on his knee. If the project interests you, I suggest that you familiarize yourself with the homemade product in more detail!
Materials and tools used by the author:
Material List:
- wooden block;
- epoxy resin for pouring;
- dye for epoxy;
- cable, switch,;
- fabric legs for the lamp;
- oil, varnish or wax for wood (optional).
Tool List:
- belt sander (or any other);
- drill and pen drill;
- A4 paper;
- adhesive tape;
- clamps;
- plasticine and other little things.
The manufacturing process of the lamp:
Step one. We work with wood
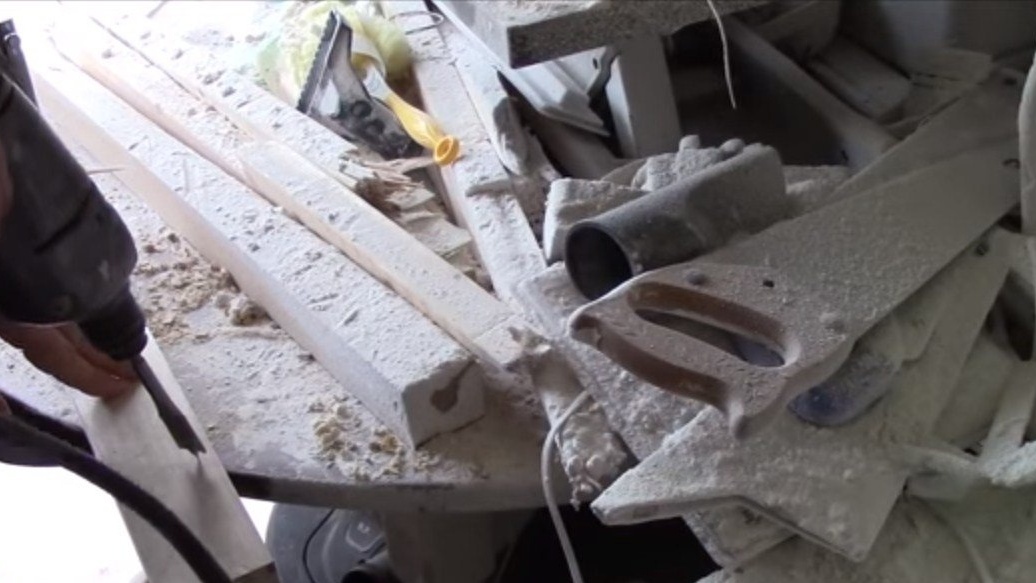
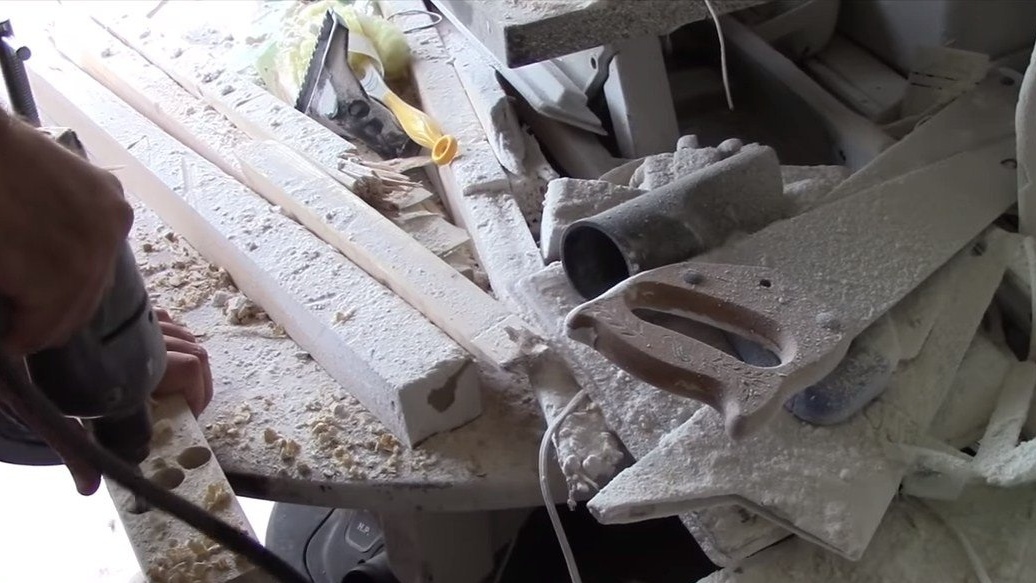
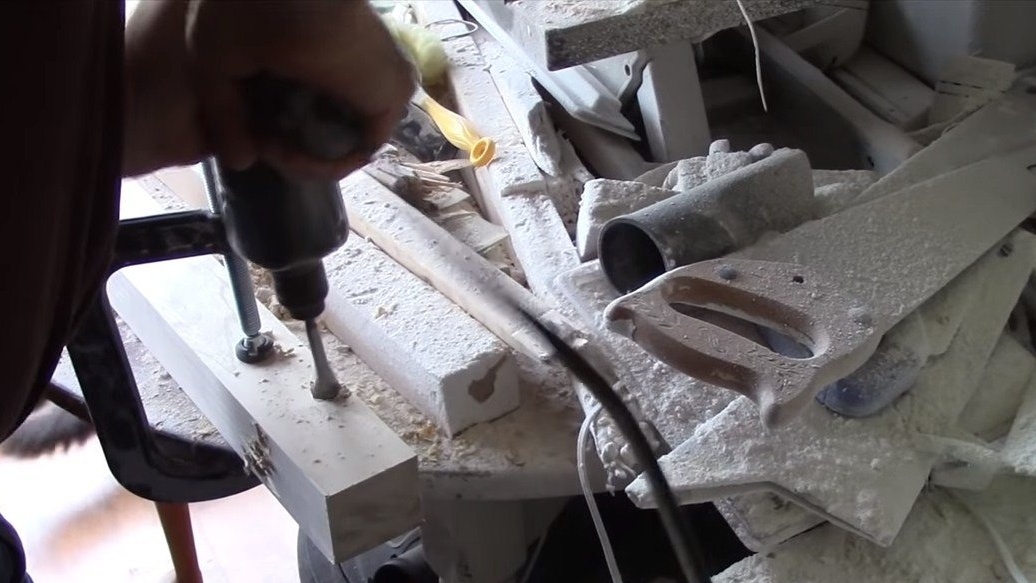
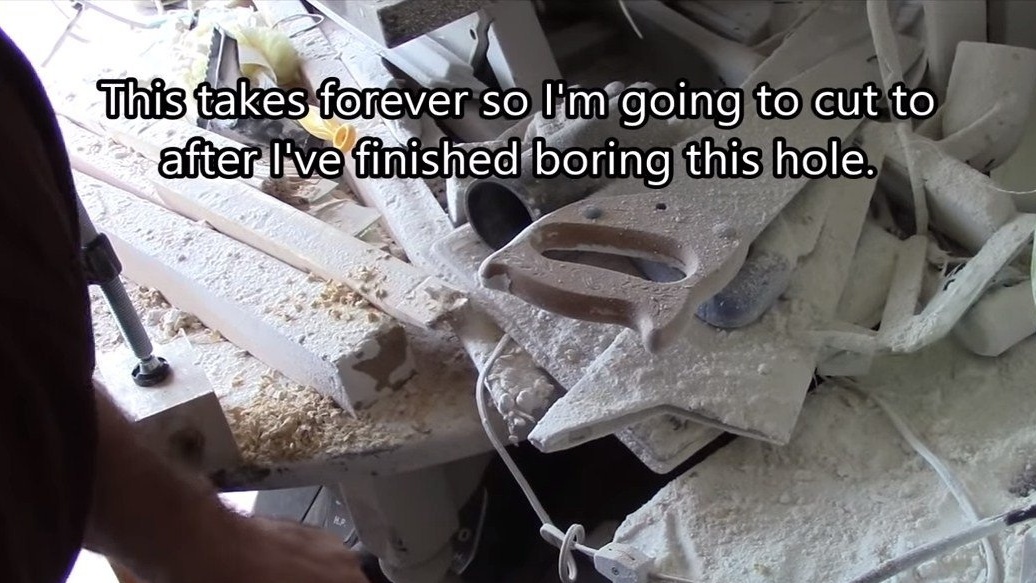
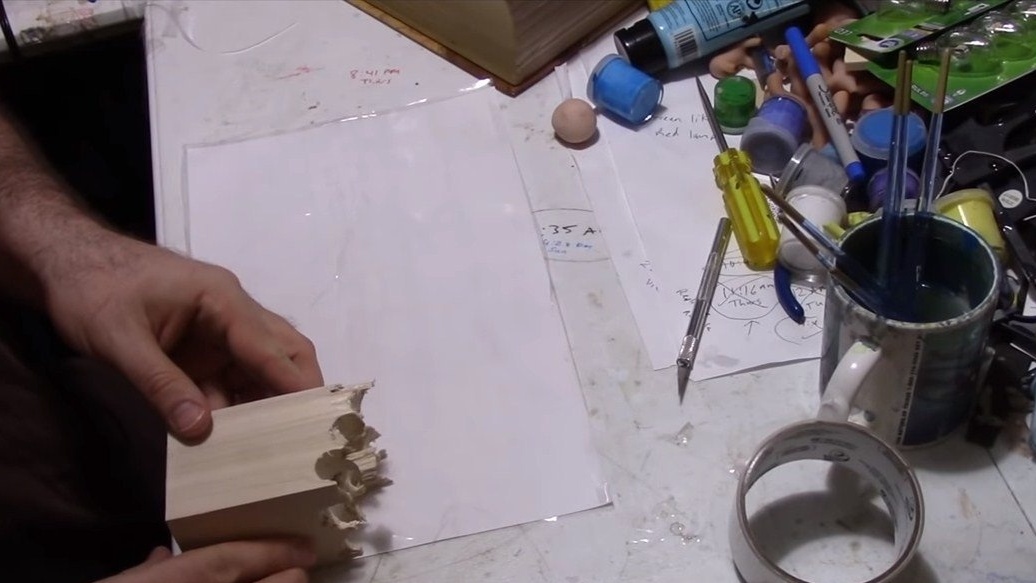
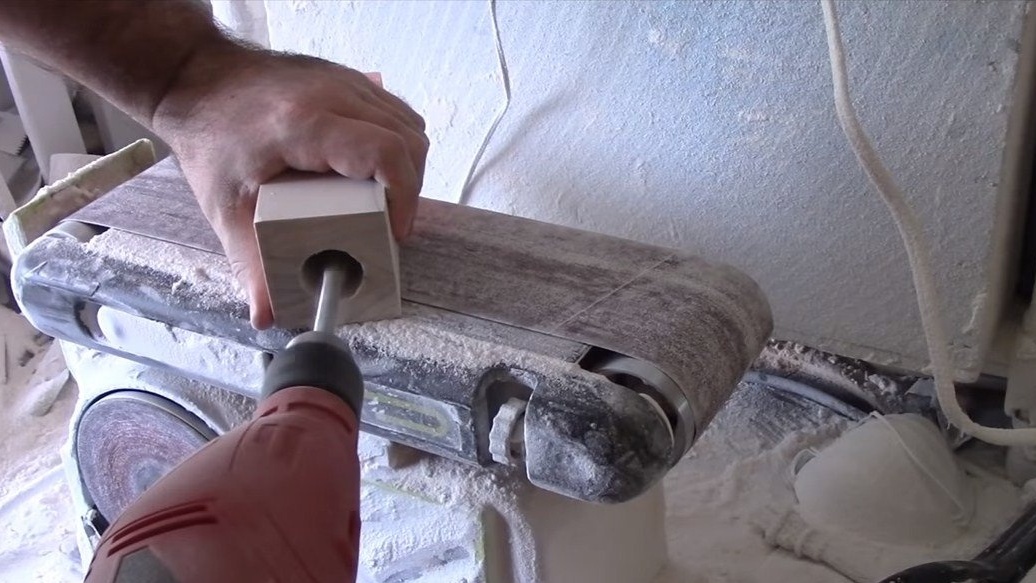
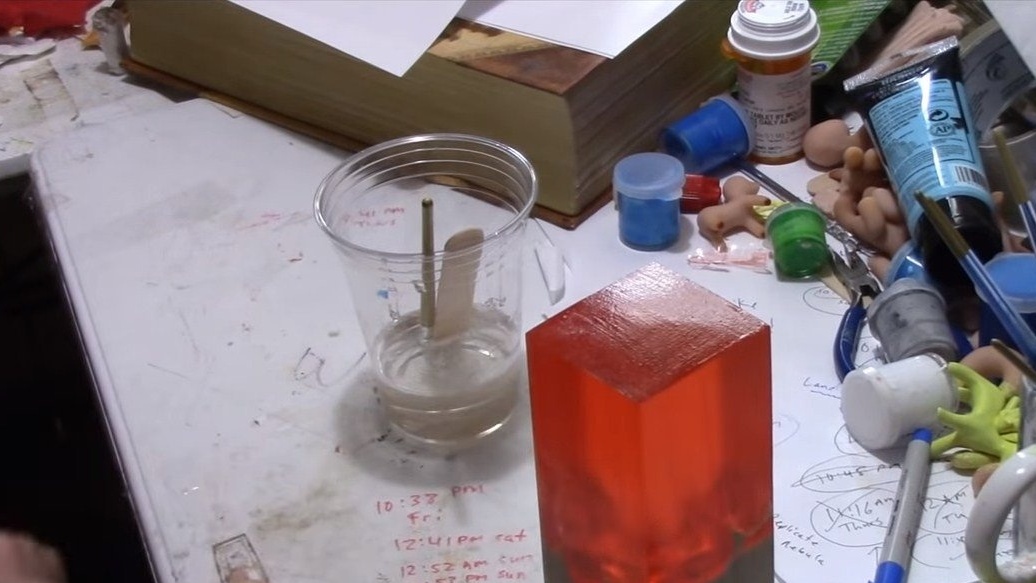
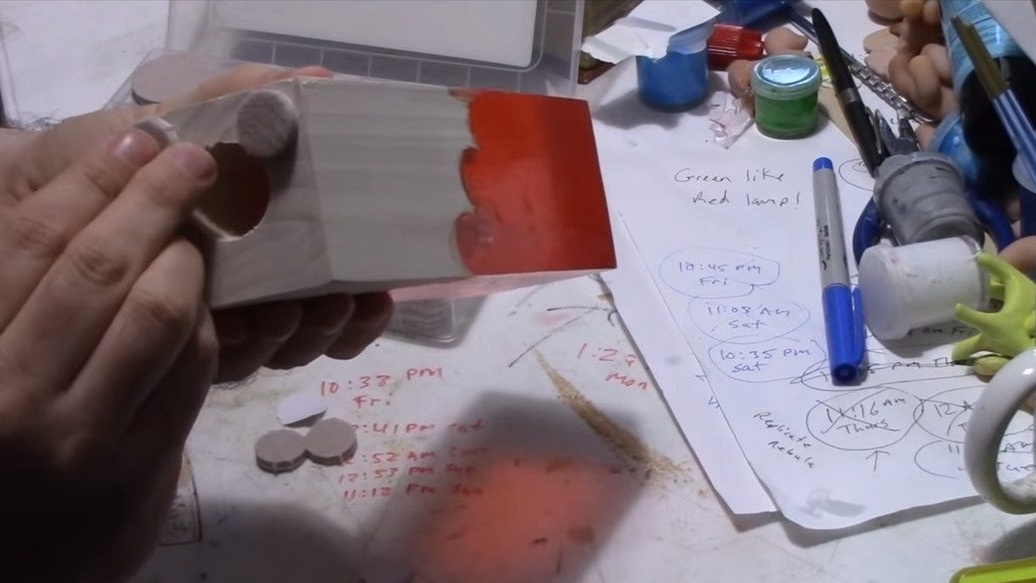
The lamp has a base in the form of a tree, it is a block that has been broken. An uneven side is poured with epoxy resin, which is “broken”, as a result we get a pretty beautiful effect. To break the bar, we need a drill and a feather drill, but a regular drill is also suitable, select a diameter to achieve the desired effect.
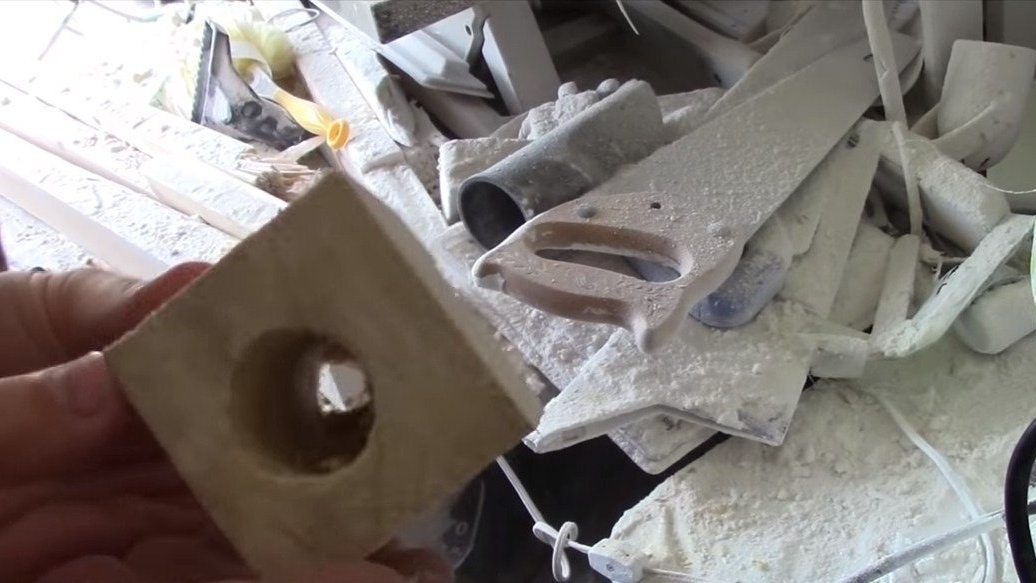
We drill rows of holes in the bar, and they need to be drilled from different sides. Well, then we will be able to break the bar with a light hit with its other side on a table or other object. As a result, you can get two blanks at once, since the upper part in our case is not made of wood.
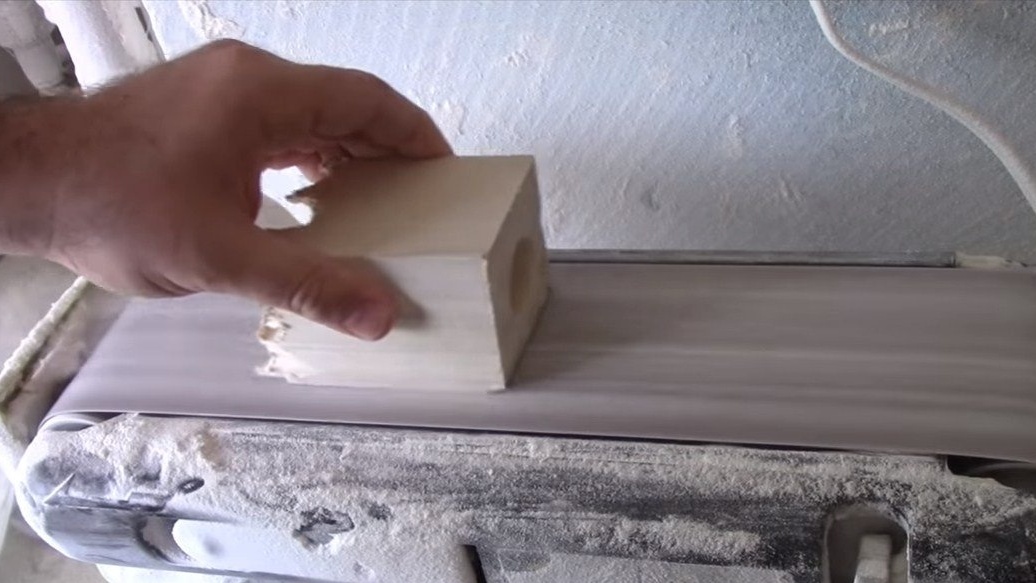
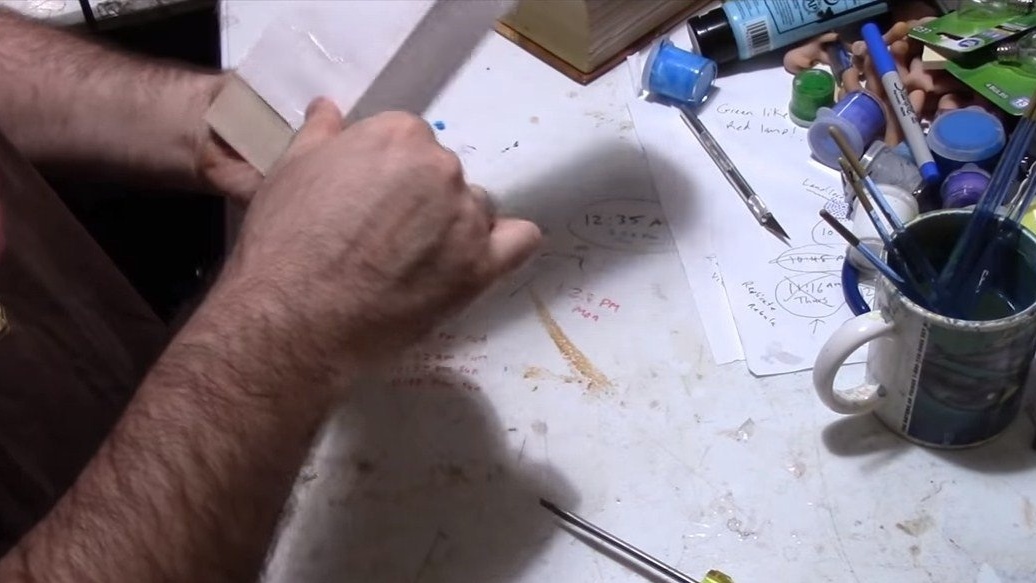
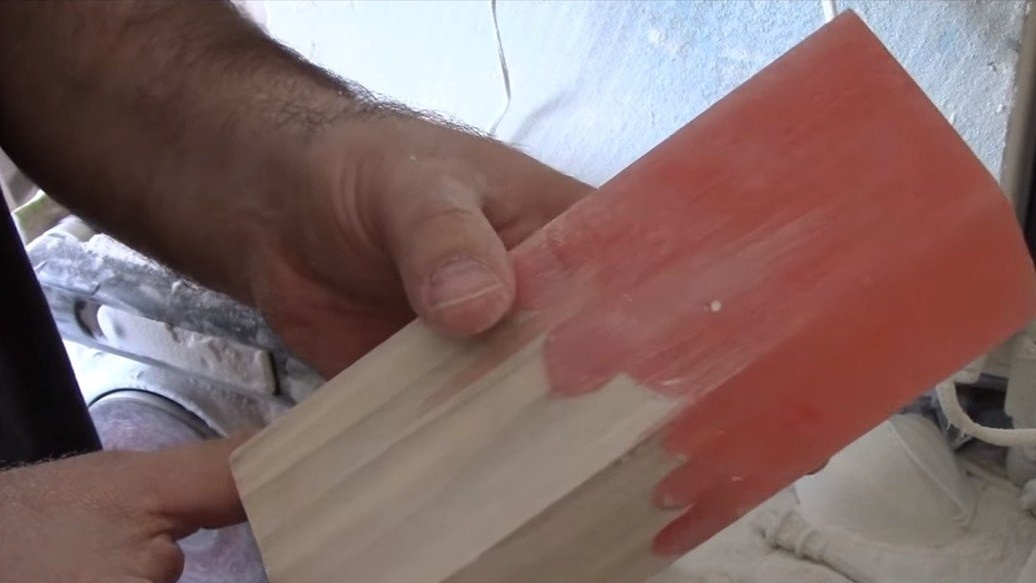
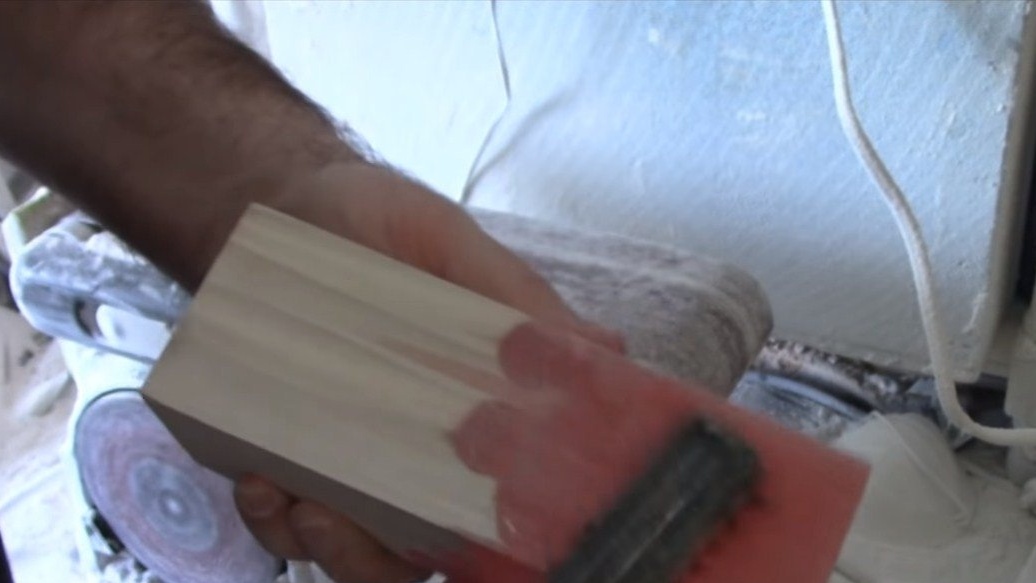
The workpiece is well grinded on a belt or other grinding machine, this is done so that the manufactured formwork fits snugly against the part.
Step Two Formwork
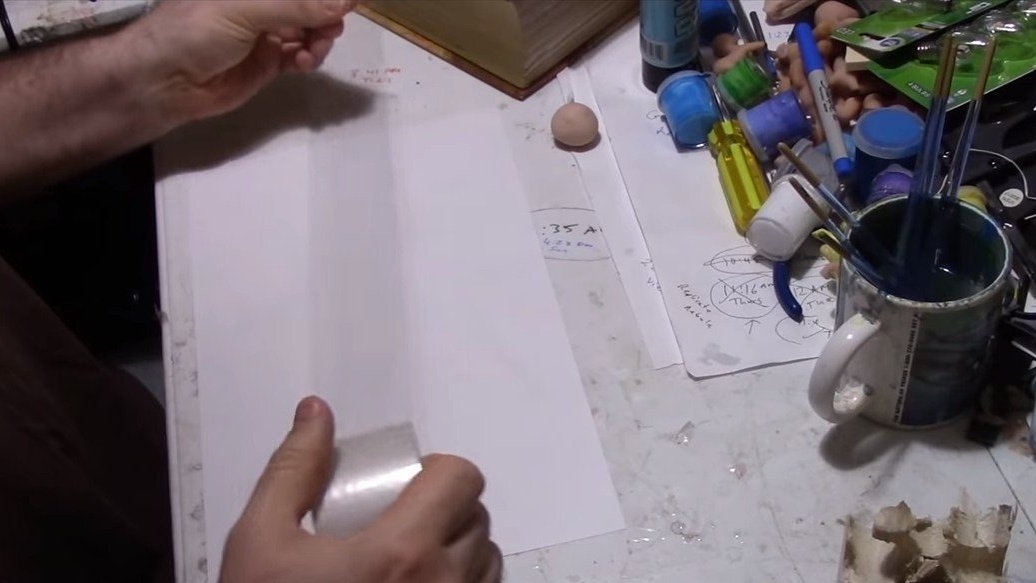
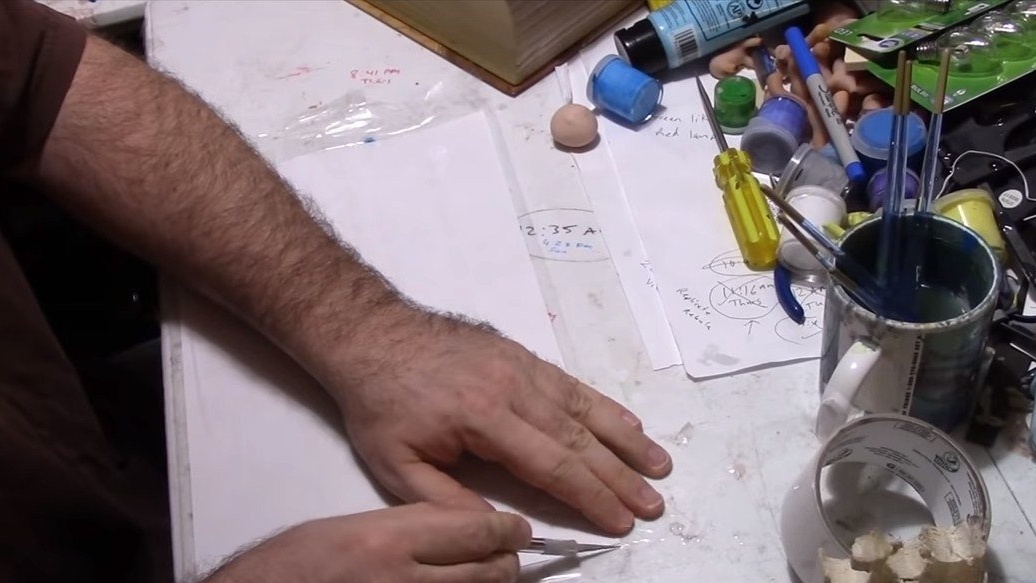
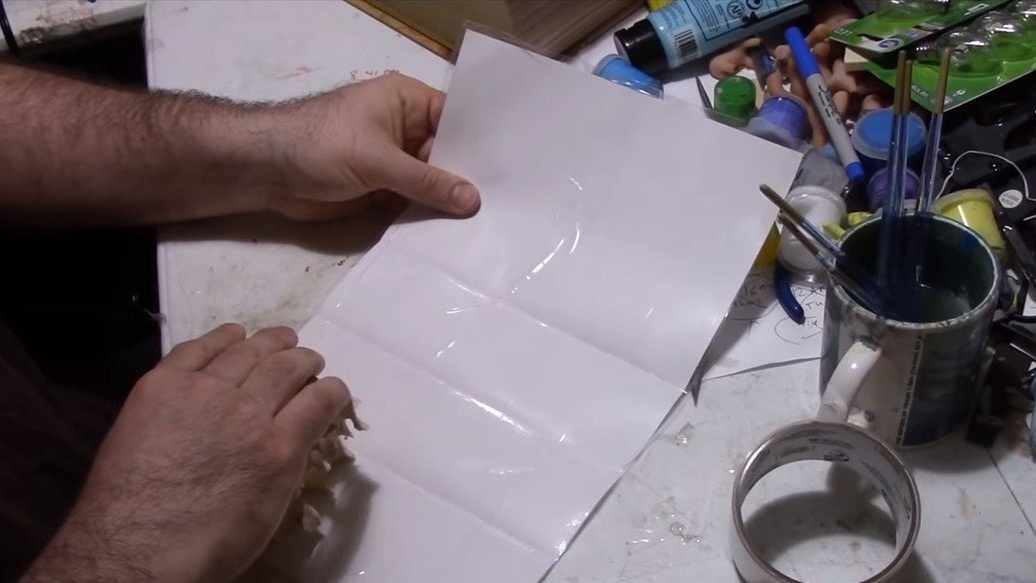
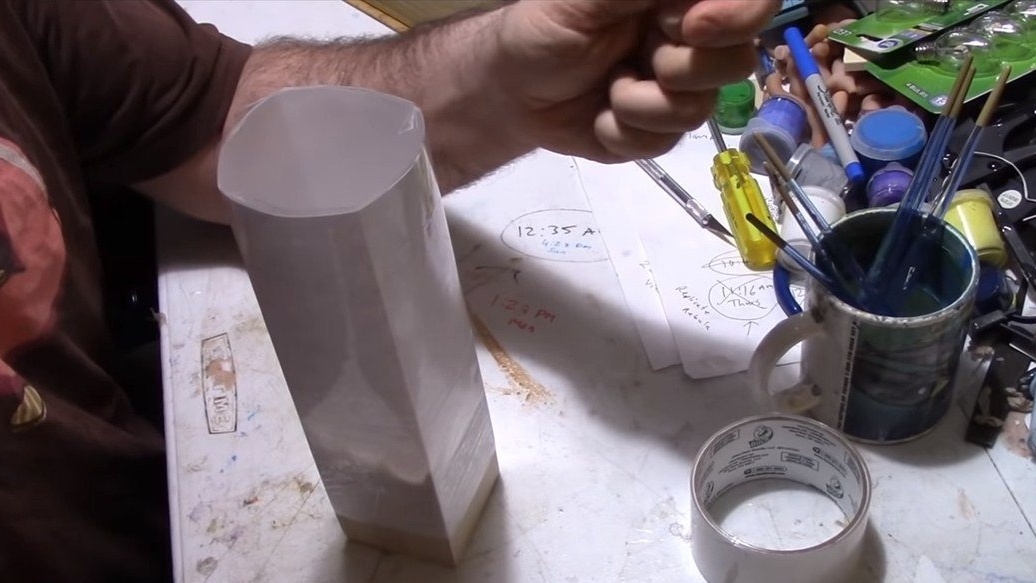
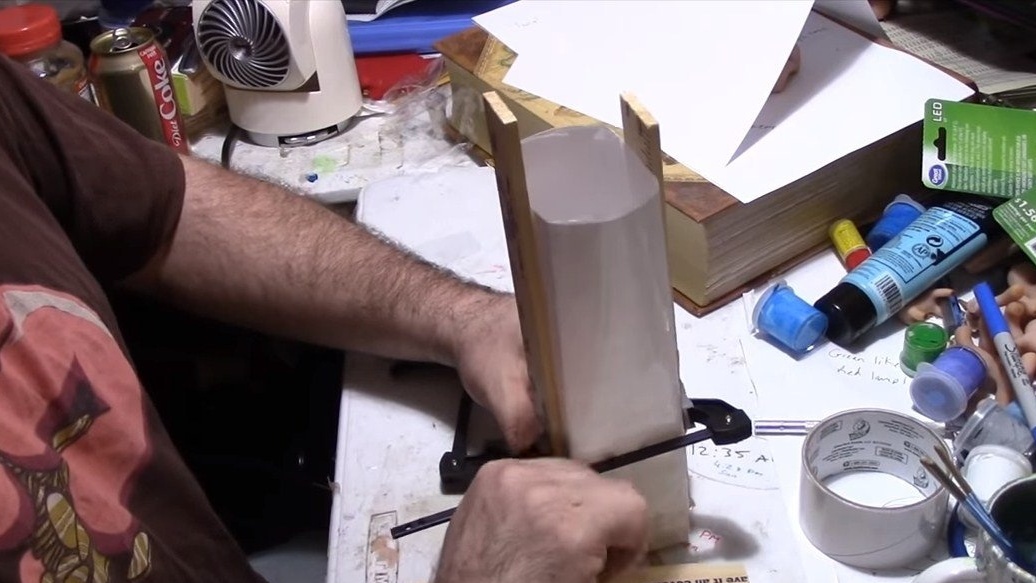
We make the formwork for pouring epoxy resin. It is literally made from improvised materials. For this, the author used a sheet of A4 paper, it needs to be glued with tape, such a coating will not stick to epoxy. As a result, we get sheet material, we will wrap the base with it, bend the paper to make a rectangle in the end. At the bottom, glue the formwork to the base with adhesive tape.It is very important that there are no gaps, otherwise the epoxy resin can easily leak out, it easily seeps through such gaps where even water hardly passes.
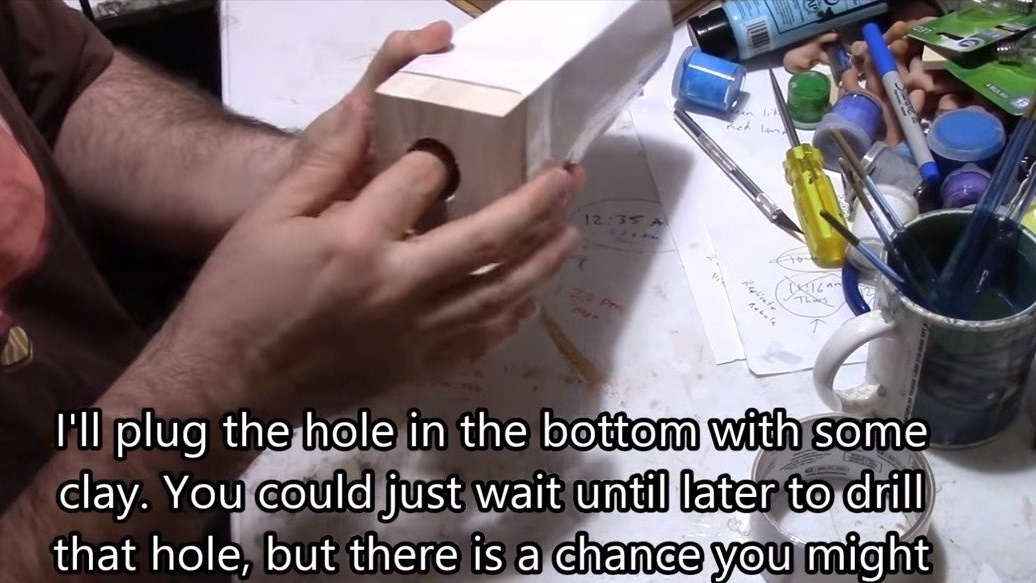
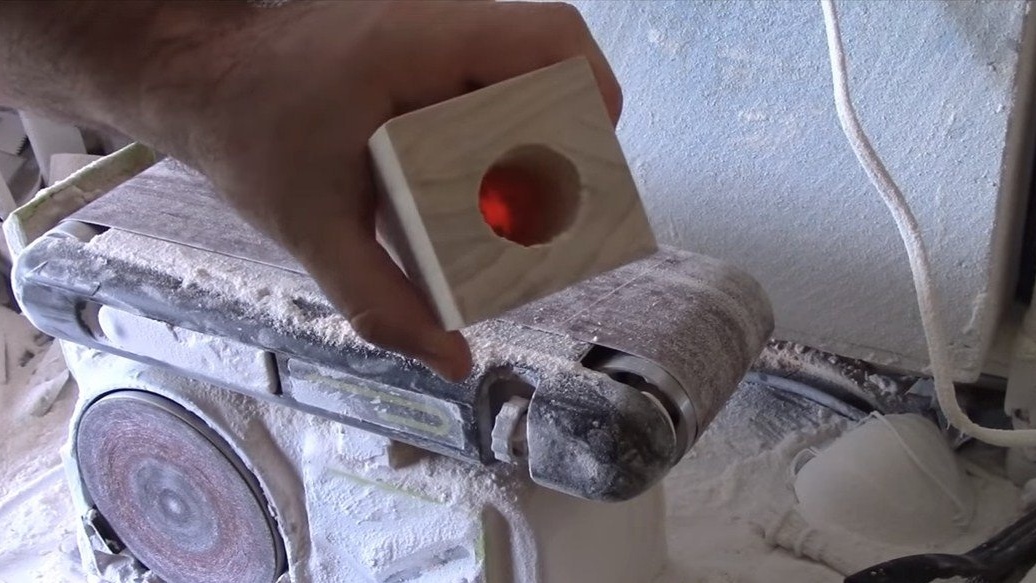
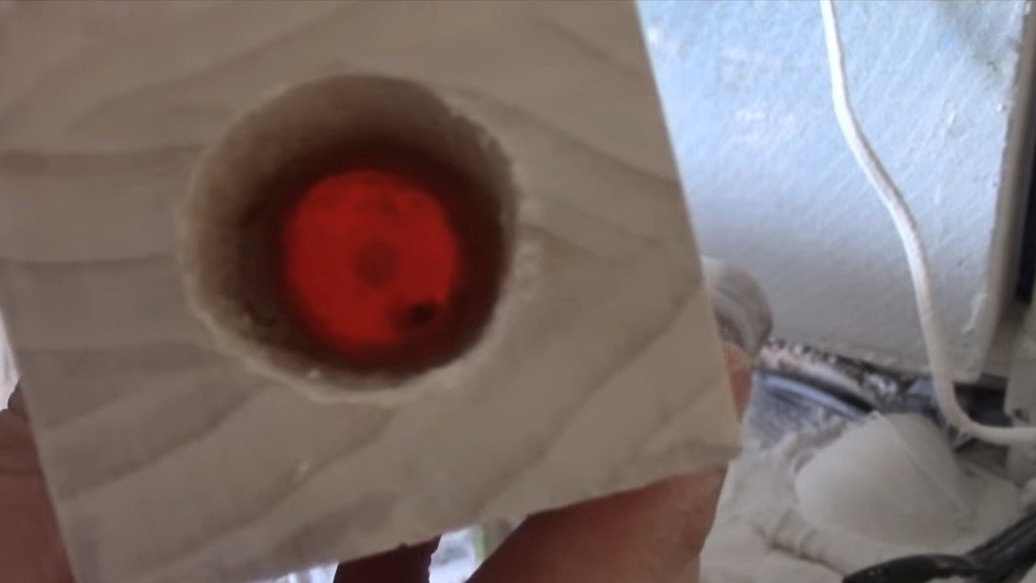
The author also pre-drilled a hole for the bulb, which is not necessary, what is better to drill at the very end of production. To prevent resin from leaking out of the hole, the author patched it with plasticine.
Step Three Pour resin
We reinforce the formwork so that it does not change shape under the weight of epoxy. To do this, the author installed in a circle the formwork of the ruler, pressing them with clamps.
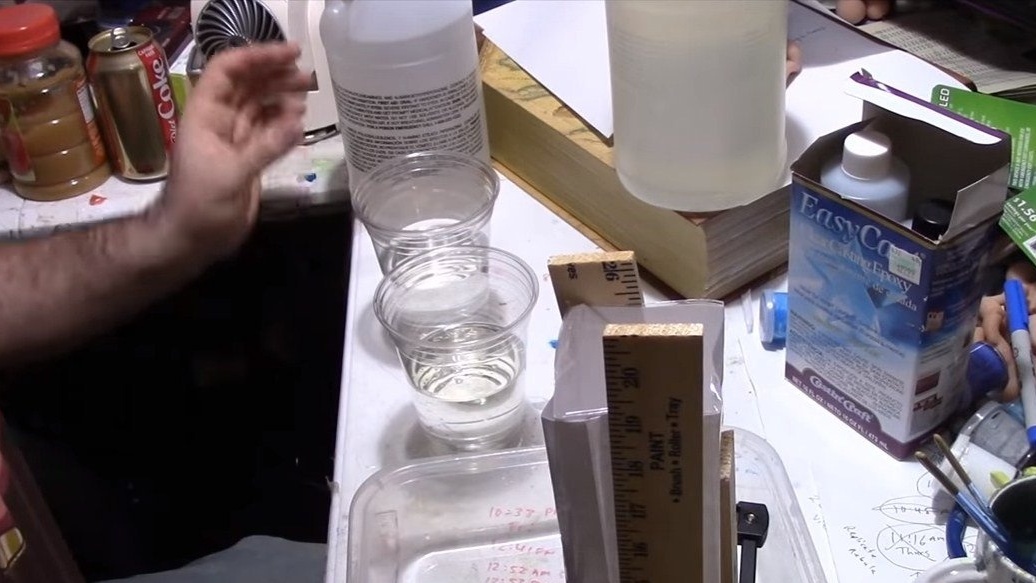
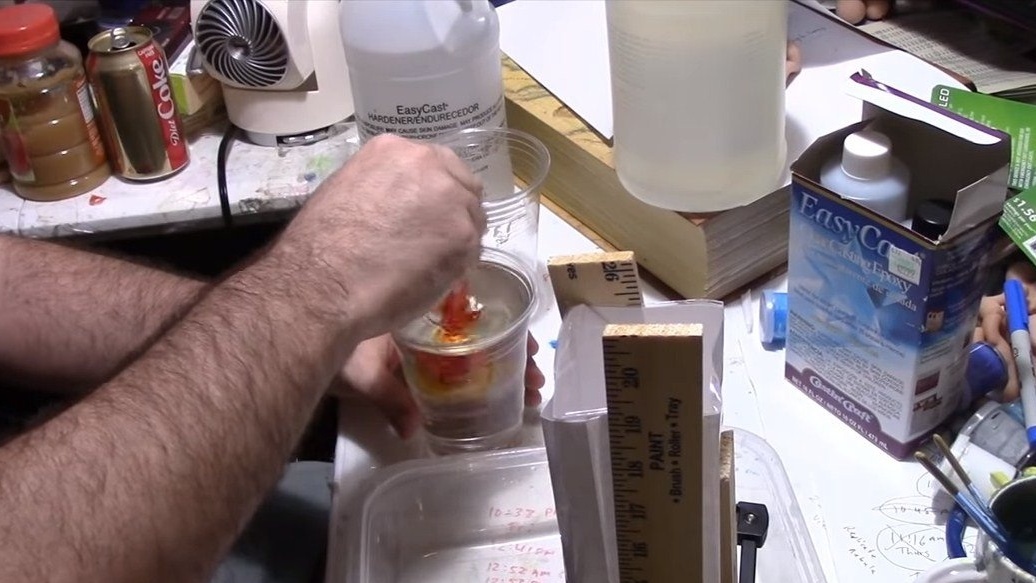
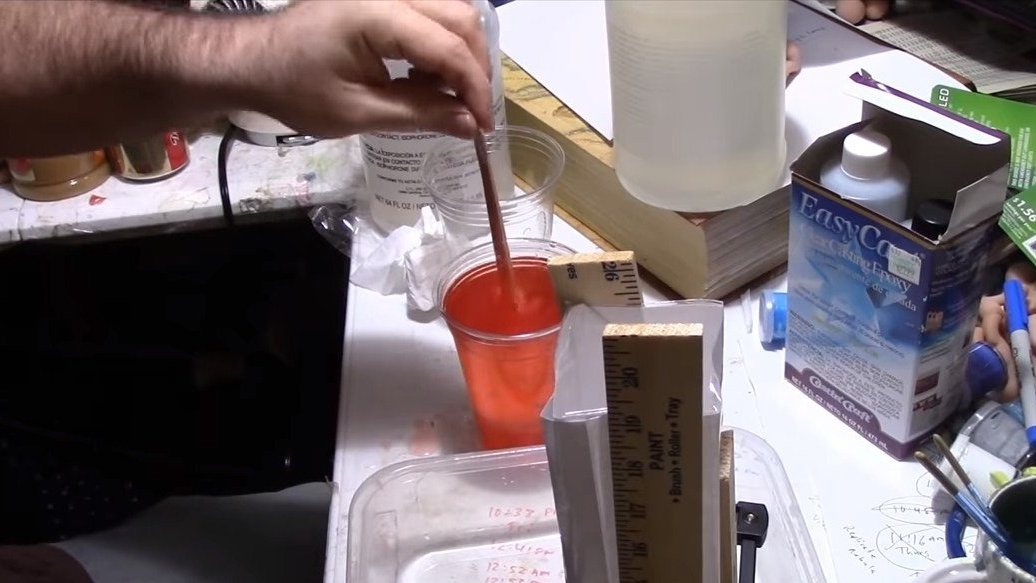
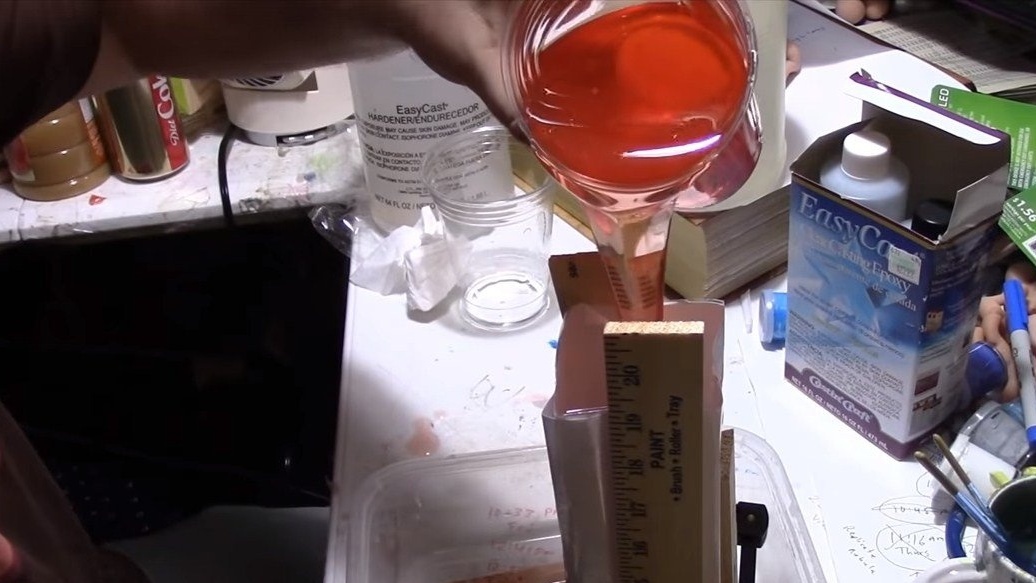
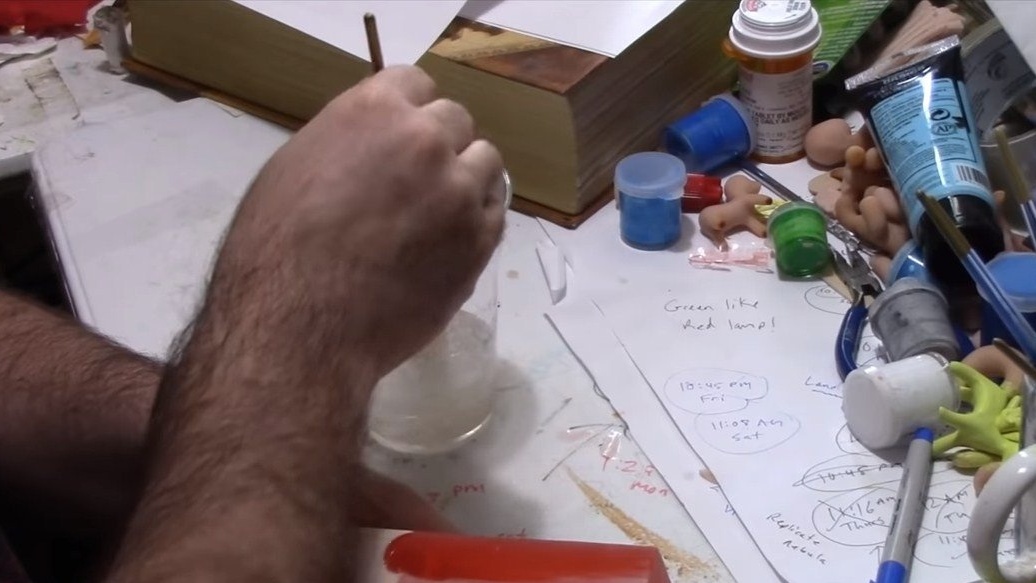
You can prepare the resin, add dye to it, for this you can use ink from the printer, suitable ink from both an inkjet printer and a laser. Well, then add the hardener and fill the resin. It is convenient to add the dye to the hardener, then it will be clearly visible whether the components are mixed.
We leave the resin to harden, this will take at least a day. Processing not fully hardened resin will be difficult, so you should not rush.
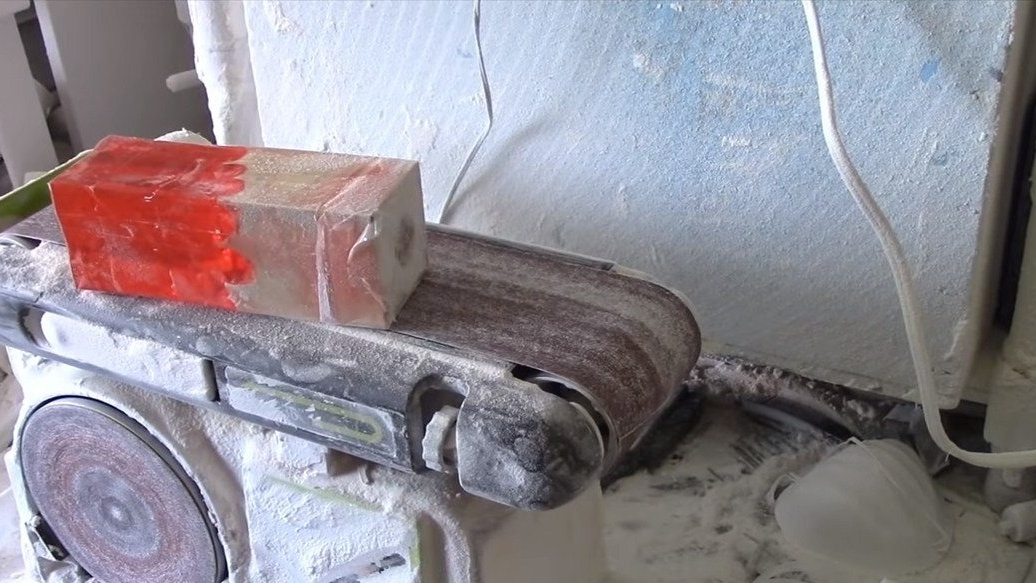
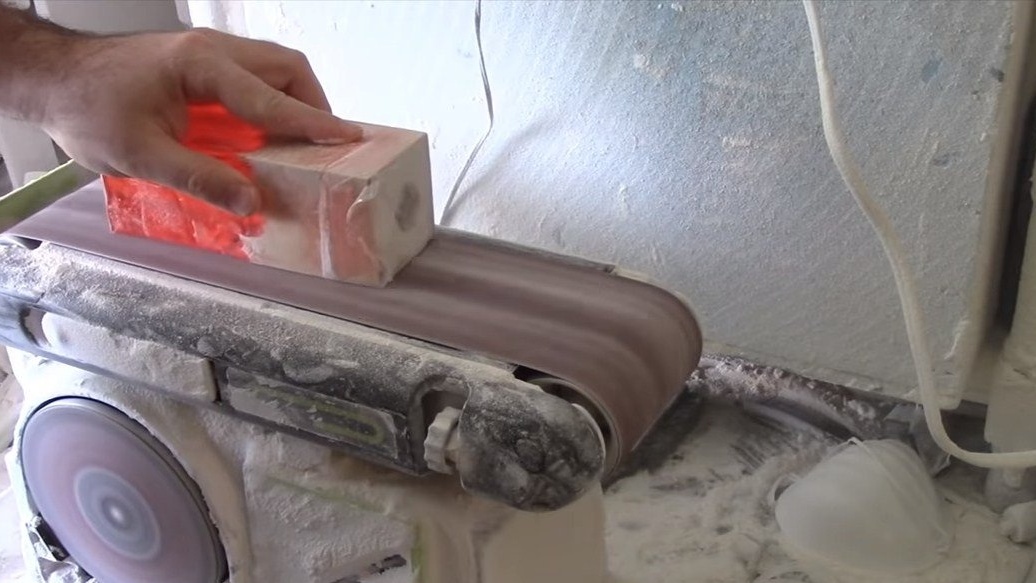
Step Four Grinding
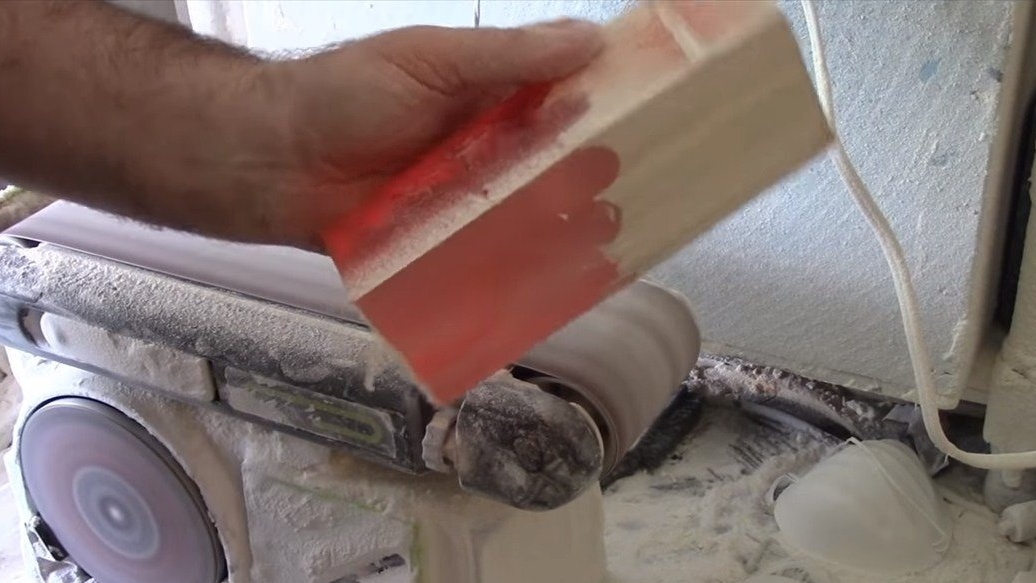
Finally, the resin has hardened, now we remove the formwork, this should not be a problem. Well, then we need to eliminate casting defects and level the plane, ahead of us will be grinding. The author works on a belt and orbital sander, and vibration is also suitable. Align the plane, the epoxy will then become dull. If the resin will unwind, as happens during heating, then it can then be cleaned with a wire brush.
We clean a hole for light bulbs from clay, the author uses a drill with a pen drill.
Step Five Transparency and legs
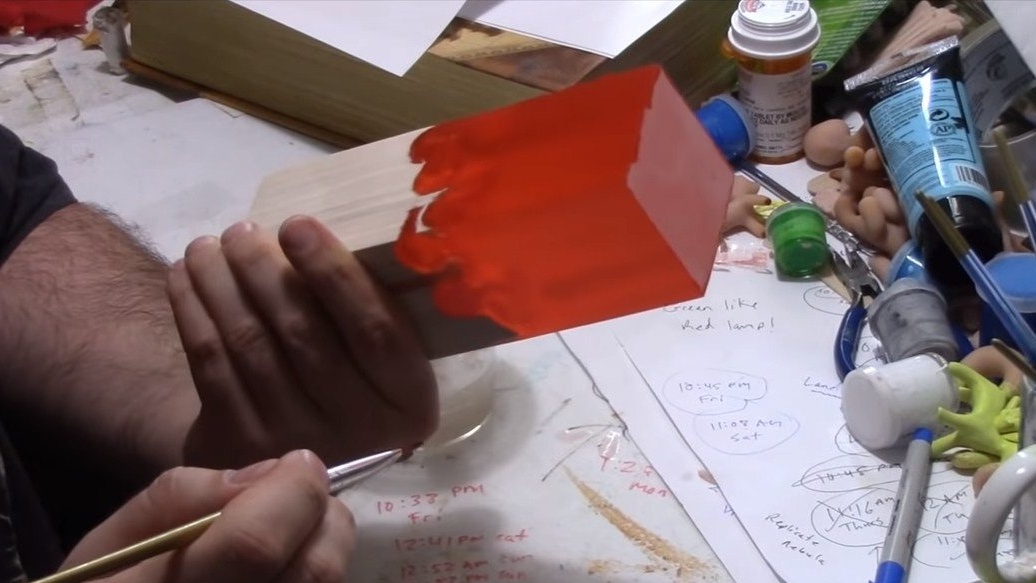
Returning the epoxy back to its former transparency, grinding and polishing it is a tedious and long task, so instead we cover the resin with a thin layer of epoxy or varnish. After this, the resin will again become transparent.
As for wood, it can also be covered with a thin layer of epoxy resin, or better yet, soak it with oil, wax or varnish.
The lamp is almost ready, we will make legs for it. You can install round fabric legs, such are in almost any hardware store, we install them on glue.
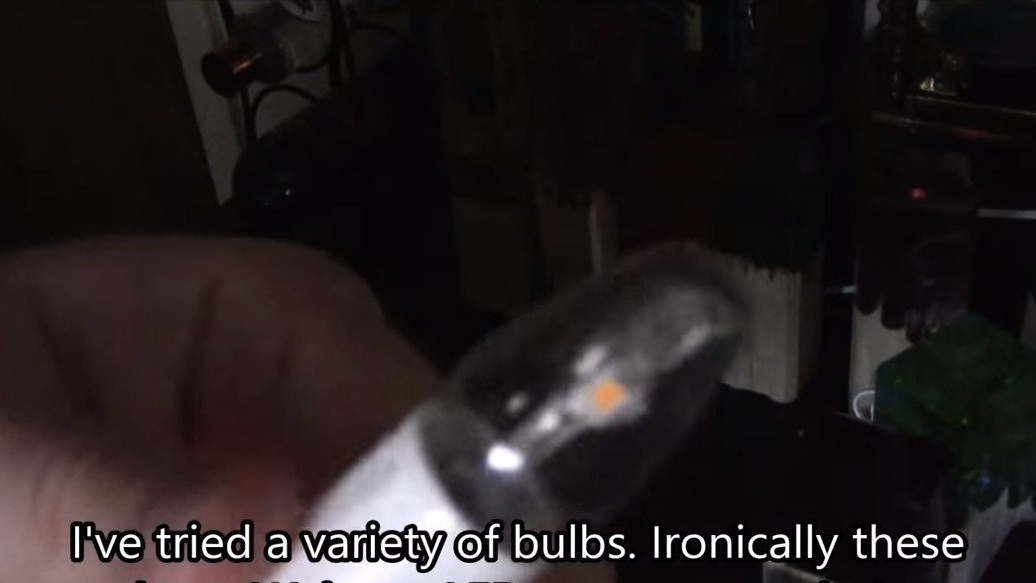
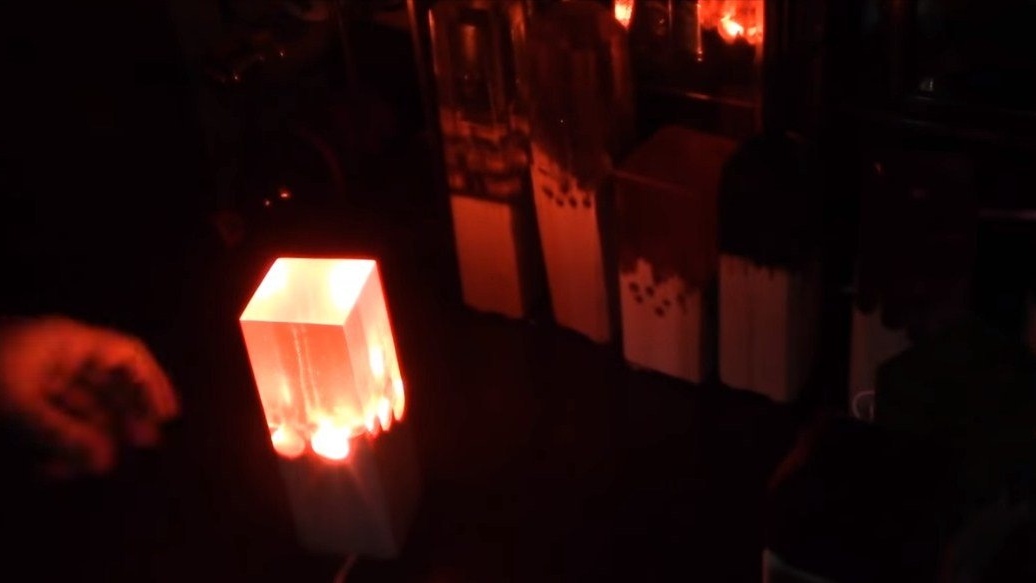
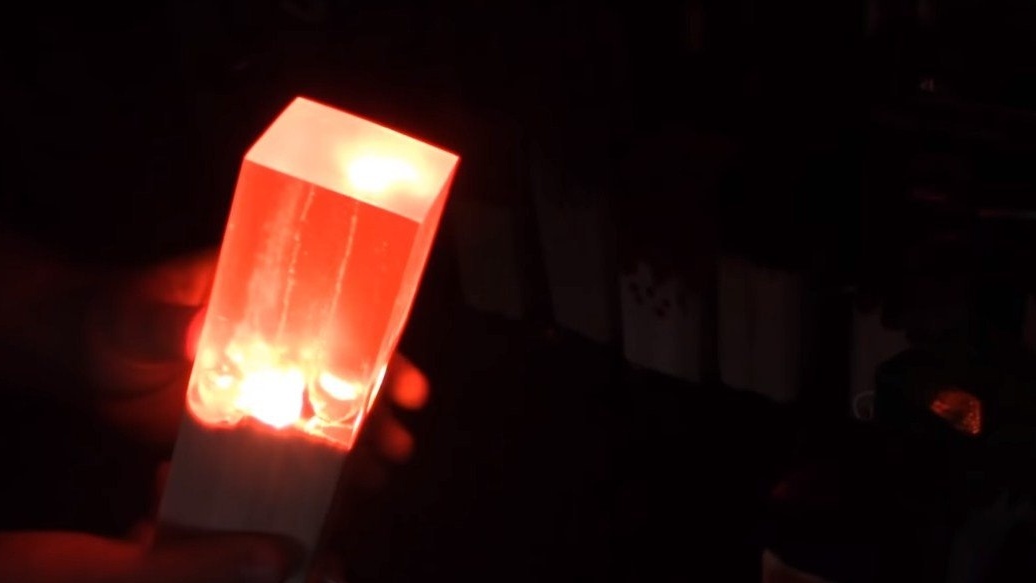
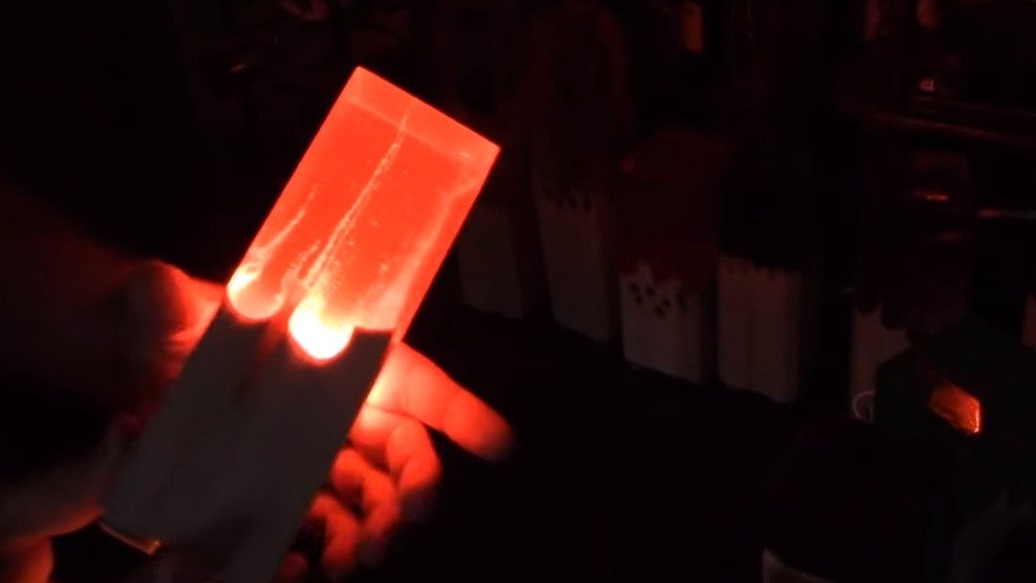
The lamp is ready, now you need to install a light source in it. The simplest option is a 220V lamp, but the lamp should not be heated, otherwise the homemade product will be fire hazard. The author’s bulb is LED, it emits little heat for ignition, consumes little energy, and it shines very brightly. Homemade looks great, if you use bright bulbs, near such a lamp you can easily read.
I hope you enjoyed the project, good luck and creative inspiration, if you decide to repeat this. Do not forget to share your ideas and homemade things with us!