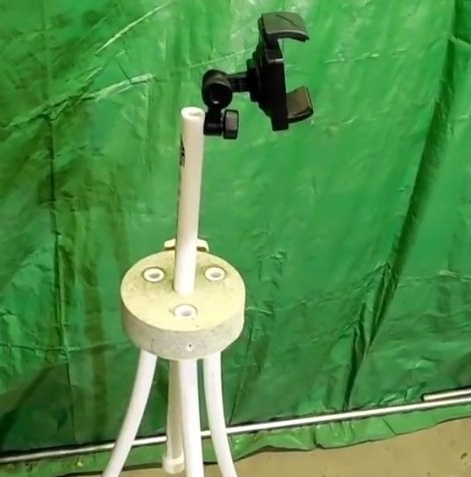
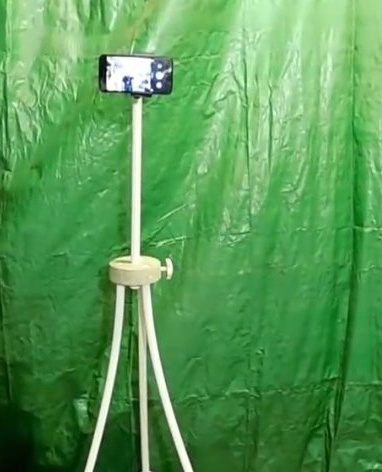
Friends are friends!
The author of the channel "avto class" presents his homemade from polypropylene pipes. Today it is a tripod made of scraps of polypropylene pipes. Let's go through all the stages of the construction of this homemade product together with the author.
For this we need:
Step One: Tools and Materials
Instruments:
- jigsaw;
- soldering iron for polypropylene pipes;
- drilling machine ;
- feather on wood 20 mm. ;
- drill with a diameter of 6 mm. ;
- drill with a diameter of 5 mm. ;
- drill or screwdriver;
Materials:
- chipboard trim 20 - 25 mm thick. ;
- polypropylene pipe with a diameter of 20 mm. ;
- wood screws;
- software corner 90 degrees - 3 pcs. ;
- caps for PP pipes with a diameter of 20 mm. - 4 things.;
Step Two: Making the Support Disc
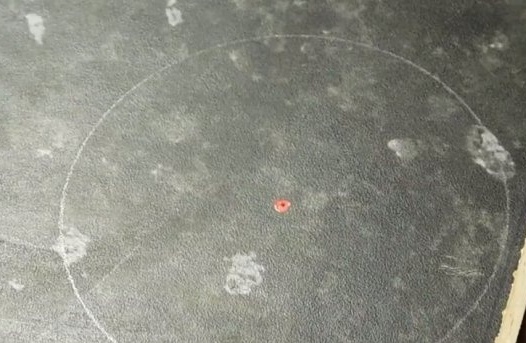
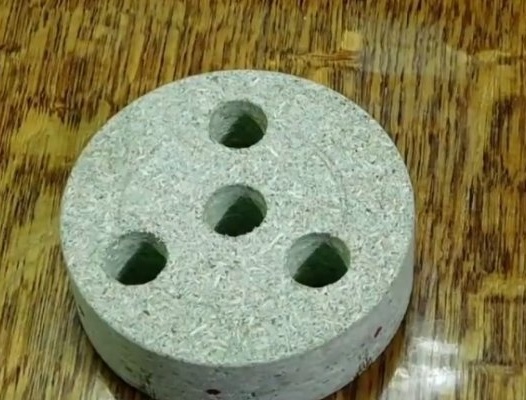
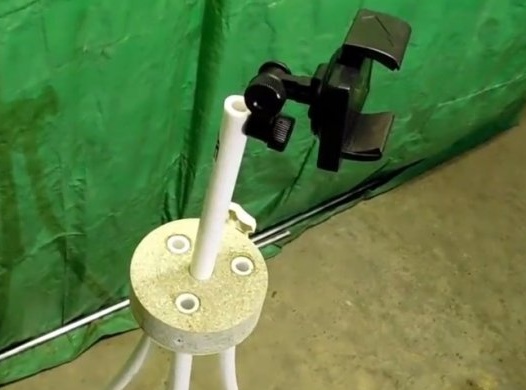
From the chipboard trim, it is necessary to cut a circle with a diameter of 35 mm. An electric jigsaw is suitable for this task.
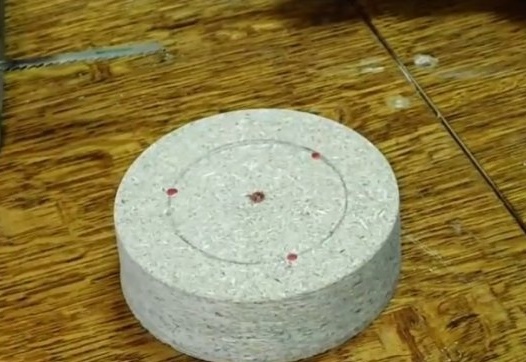
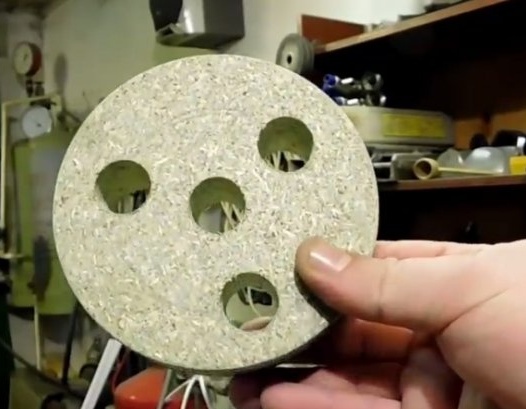
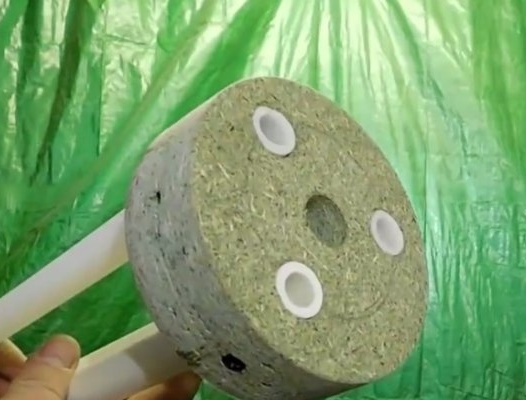
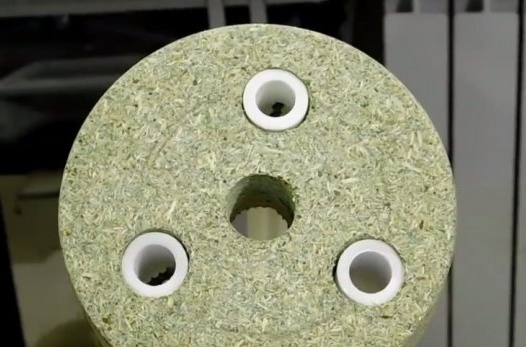
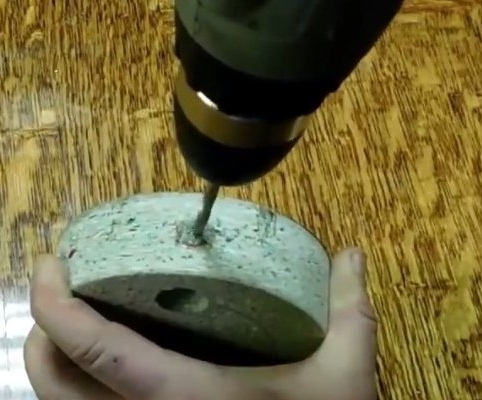
After cutting this part, it must be sanded with sandpaper to make the edges more rounded. Then, in this part, it is necessary to drill several holes, according to the marking.
The holes will have a diameter of 20 mm.
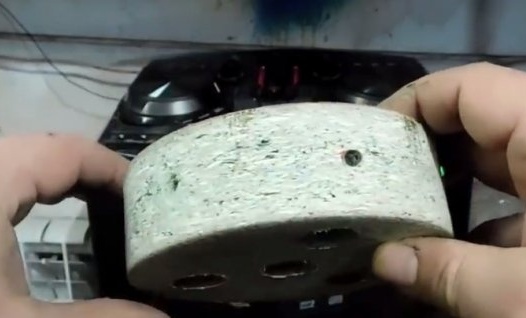
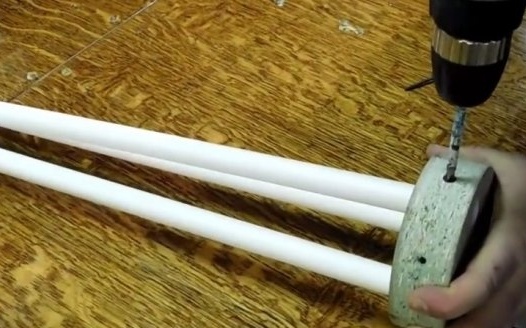
Then, from the end, opposite each hole, it is necessary to drill holes of a smaller diameter, with a diameter of 6 mm.
Step Three: Installing the legs of polypropylene pipes
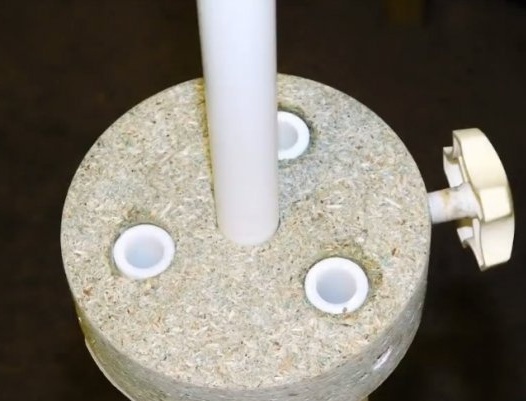
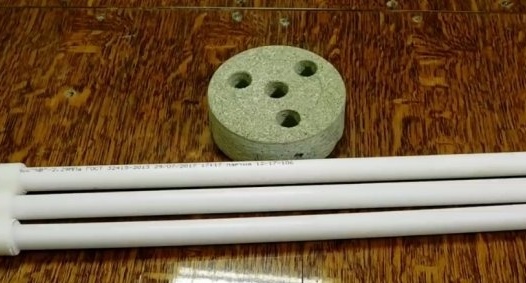
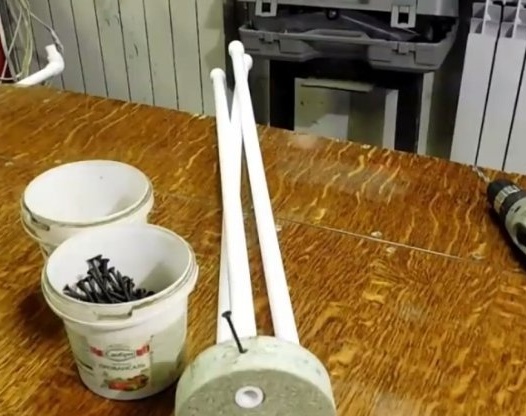
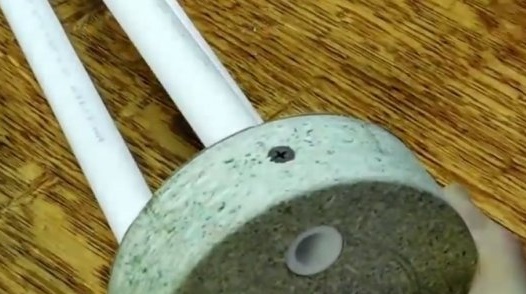
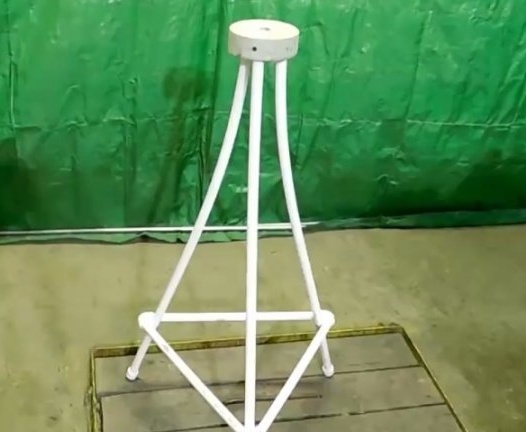
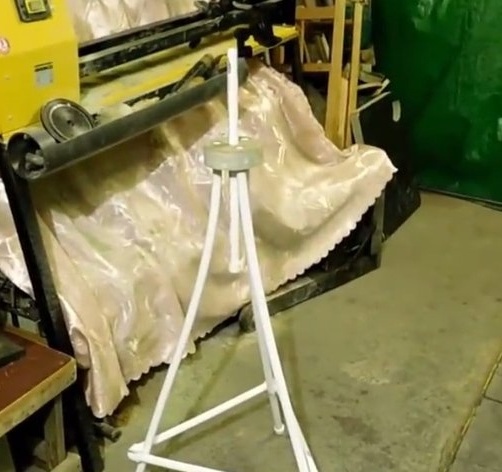
To make the legs, we need three pieces of polypropylene pipes. The length of the pipes directly depends on the desired tripod height. Plugs are pre-soldered to pipes on one side. These pipes are installed in holes in a circle from chipboard, which were made in the previous step.
After installation, the pipes are fixed from the end, using self-tapping screws on wood.
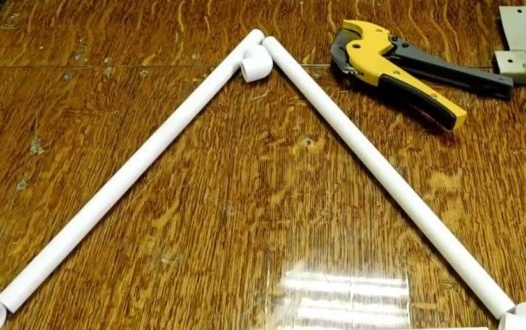
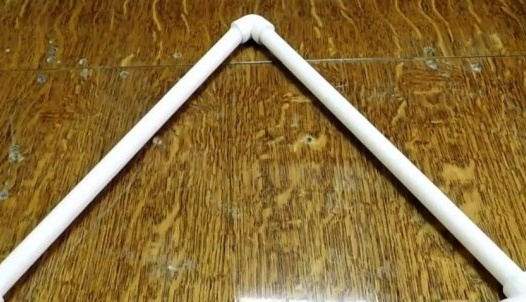
Fourth step: Making an isosceles triangle from PP pipes
The triangle will be soldered from three polypropylene corners of 90 degrees and three pipe sections. Since polypropylene corners are still plastic, they make it possible to bend them to the degree we need. We need a triangle to stiffen the legs, in this design.
Step Five: Fixing the legs with a stiff triangle
Using self-tapping screws, we fasten our triangle to the legs. The screws twist from the inside of the legs. We find the place of fastening of the triangle empirically and fix it in an optimal place for stability.
Step Six: Install the Movable Stand
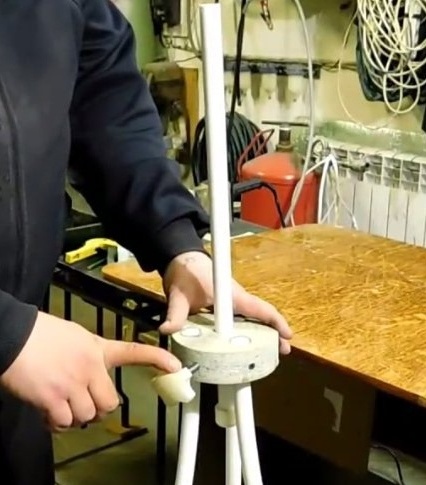
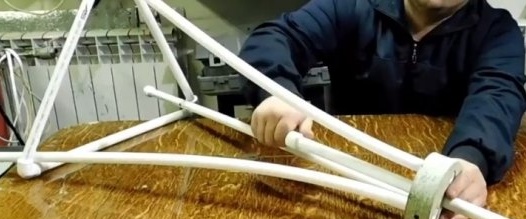
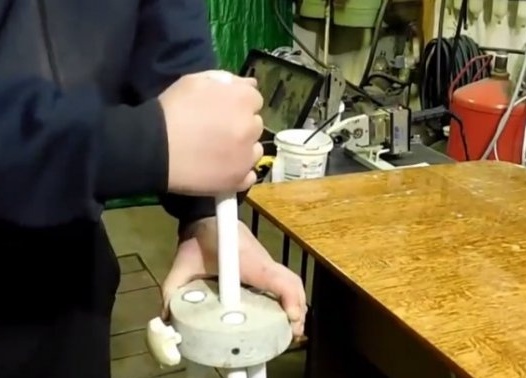
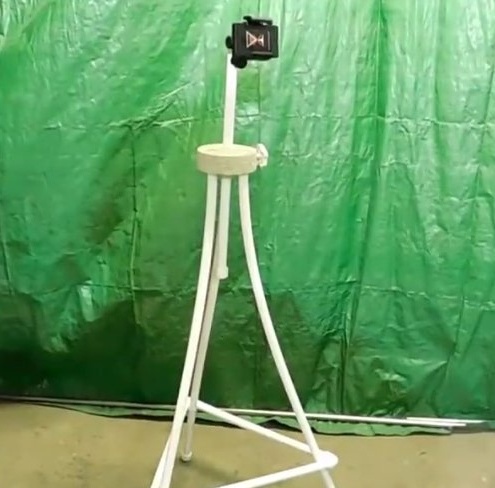
In a central hole in a circle of chipboard, we install a polypropylene pipe with a diameter of 20 mm. and 450 mm long. At the lower end of the pipe, the plug must be soldered in advance. We screw a lamb into the end hole, which will hold the pipe and thus be a height adjuster. This lamb is simply selected from the existing trash.
Seventh step: Install the phone holder
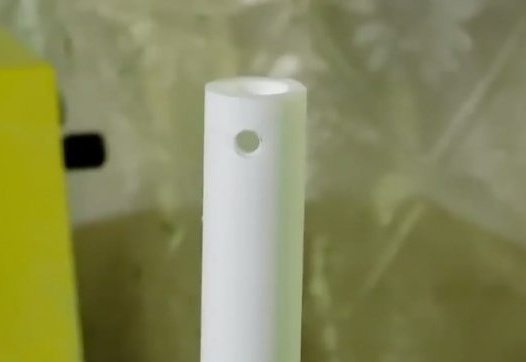
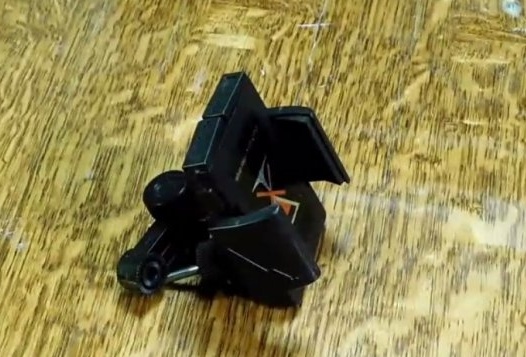
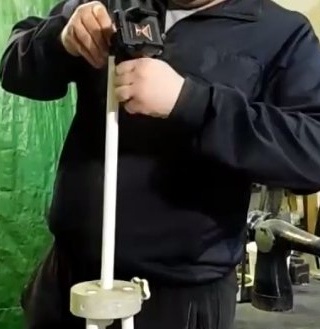
In the upper part of the drawer stand we drill a hole with a diameter of 5 mm. Take the car phone holder and screw it to the stand.
Step Eight: Summary and Comparison
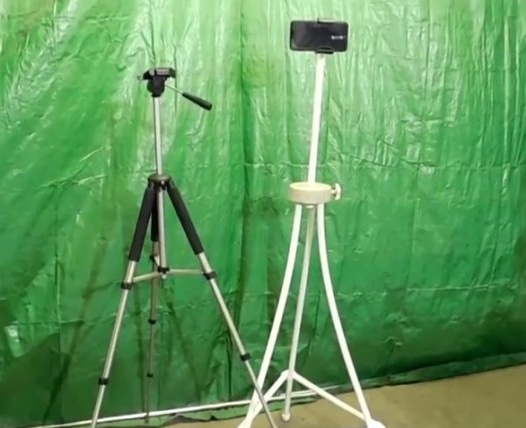
On the left in the photo is a purchased tripod. The author bought it in a store for 2500 rubles. And on the left is a home-made one, on which only time was spent for its manufacture. Since the cutoffs of polypropylene pipes the author already had in stock.

