

The master is interested in engraving and he had a need to make bits. There are various bits on sale, but the fact is that over time they become dull and it is problematic to sharpen a bit from the same angle. Then the master decided to make the bits by himself. Moreover, bits of various shapes. But before making bits, the master makes templates with which the tool will be sharpened.
Tools and materials:
-Acrylic;
-10 mm bolt with nut;
- A rod from mild steel with a diameter ¾ ";
-Bandsaw machine;
-Hacksaw;
-Drill;
-Tapers;
- Files;
-Drilling machine;
-USHM;
- Diamond coated files;
- Grinding discs with diamond coating;

Step One: Theory
For the manufacture of bits, the master advises the use of billets of high-speed steels or tungsten carbide. The difference in them is that tungsten carbide is more fragile, but also does not require sharpening longer.
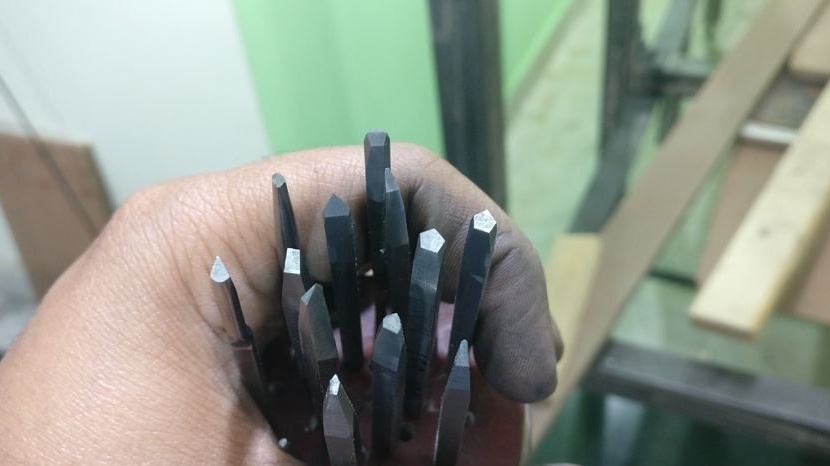
There are many different patterns of bits, different shapes and sharpening. The wizard parses the most popular.
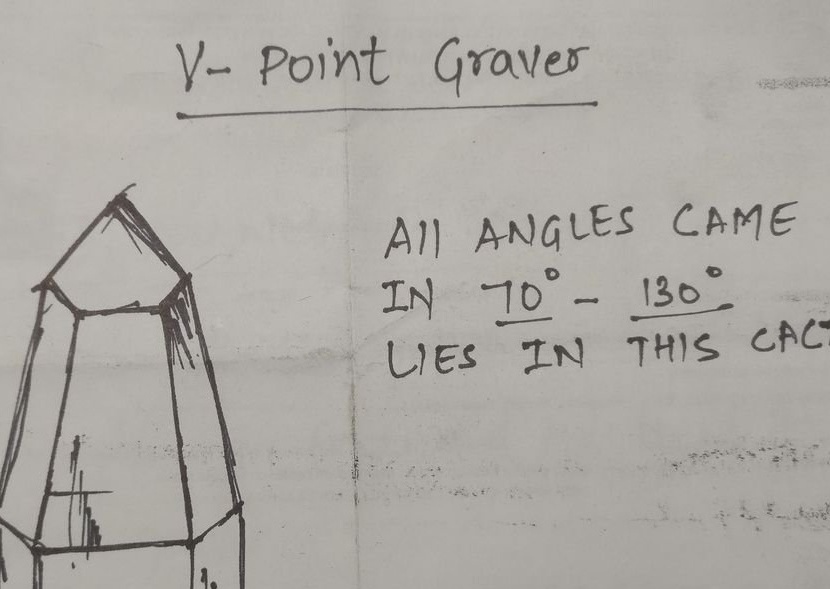
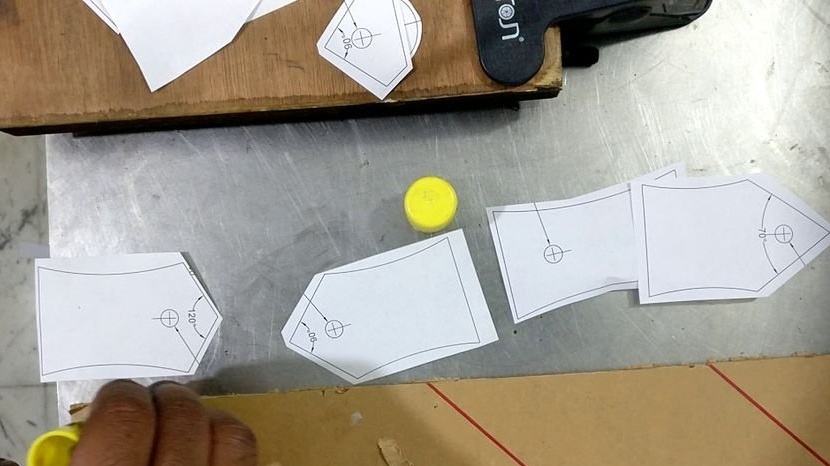
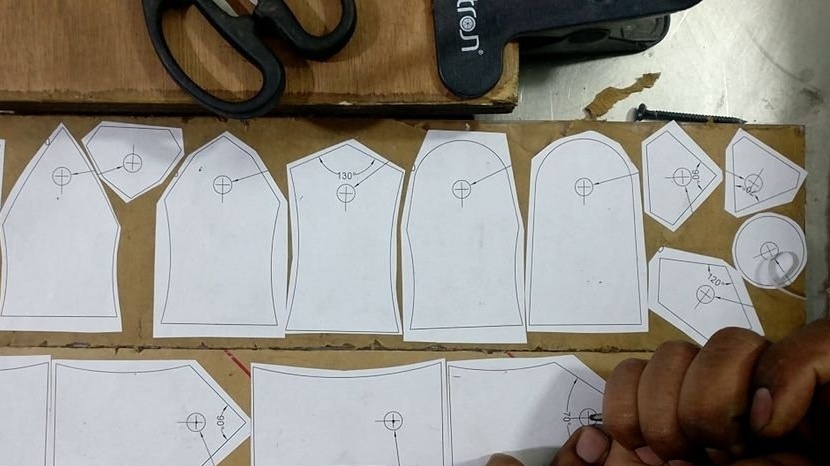
V-Point Engravers have a diamond-shaped surface, but with a sharper angle. They are used to remove background material, shading, cropping borders and shapes. Thus, all engravers, whose angles range from 70, 90, 96, 105, 110, 120 and 130 degrees, are included in v-point engravers. Each master prefers to work with different engravers, but according to the author, engravers with angles less than 90 degrees are more likely to break. You need to be a little careful with these bits.
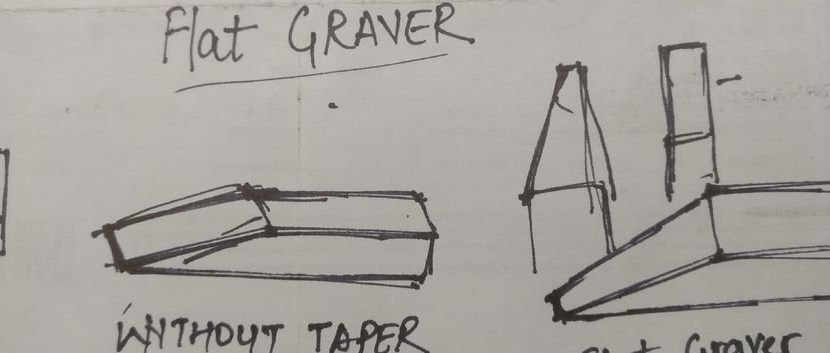
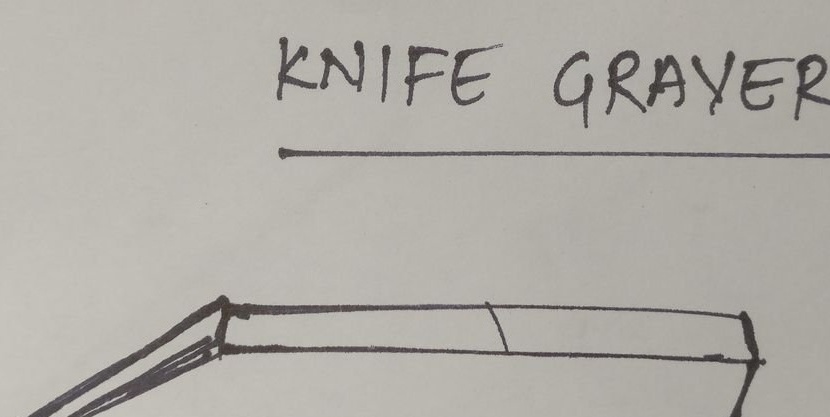
Flat engravers have a flat cutting edge with parallel or slightly conical sides. They are used for texturing the background, cutting inscriptions and cutting lines of the same width. Flat incisors with slightly pointed sides are also used for inlaying.
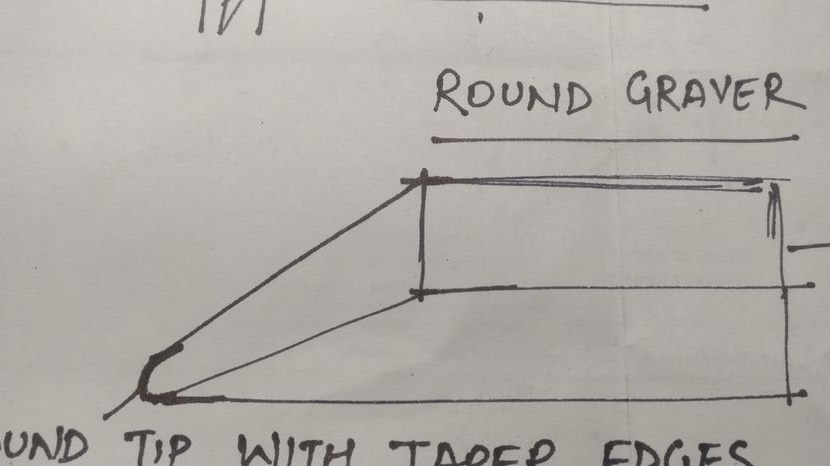
Round bits have a round cutting edge with parallel or slightly conical sides. They are mainly used for cutting smooth curves when engraving or chasing.
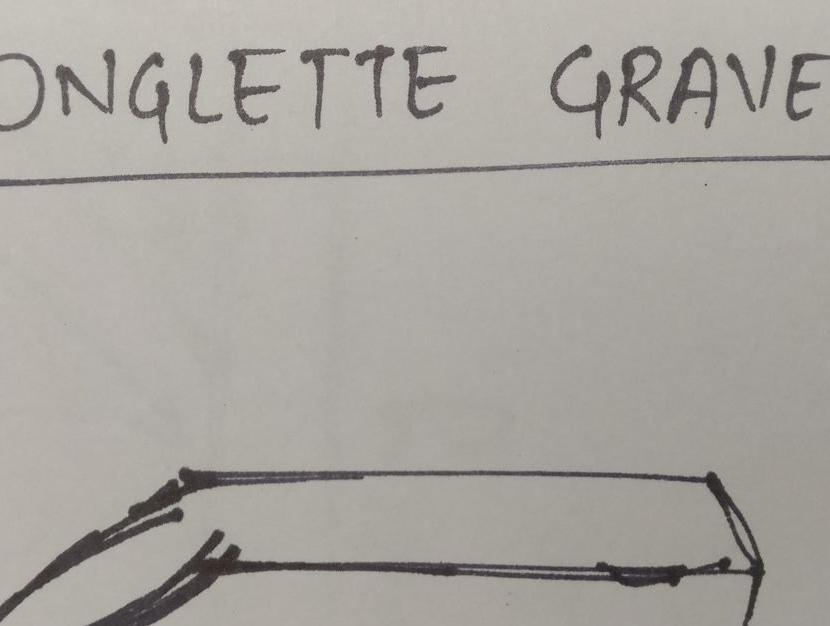
The Onglette bit has a cutting edge that fits thin points and curved sides.They are used for setting stone, engraving, lettering and inlay. Ideal for cutting smooth curves and fine lines.
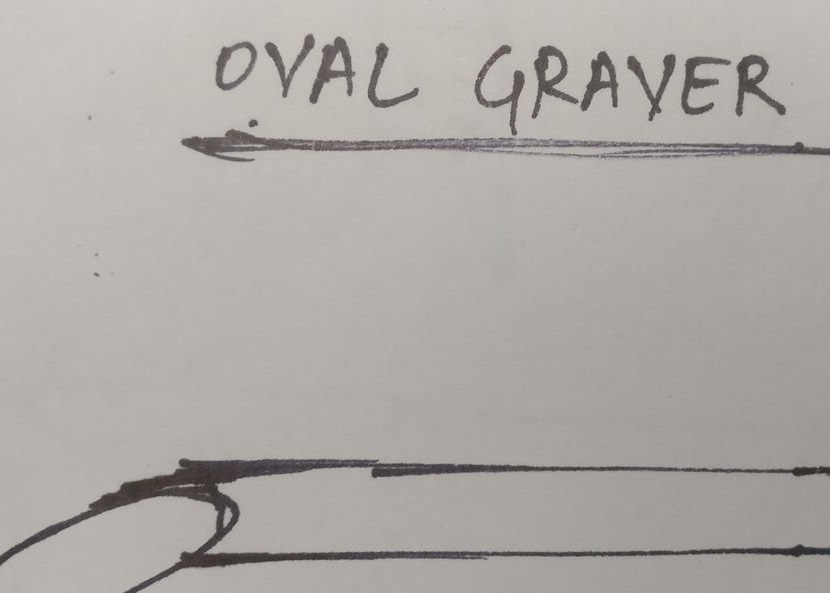
Oval engravers have an oval shape with a curved cutting edge. They are useful for shading curved surfaces, deep cutting, and for some lettering styles.
Triangular bits have straight sides that taper to a very sharp point. They produce deep, narrow cuts, making them ideal for engraving thin lines and for removing excess metal.
Engraving of metals is carried out manually, using a bat and a hammer, or using an engraver.
When choosing bits, the following parameters also matter.
The length of the engraver. For manual engraving, the bits should be long, taking into account the holding of the hand and the use of a hammer.
Sharpening angle usually 30-60 degrees (excluding V-Point bits).
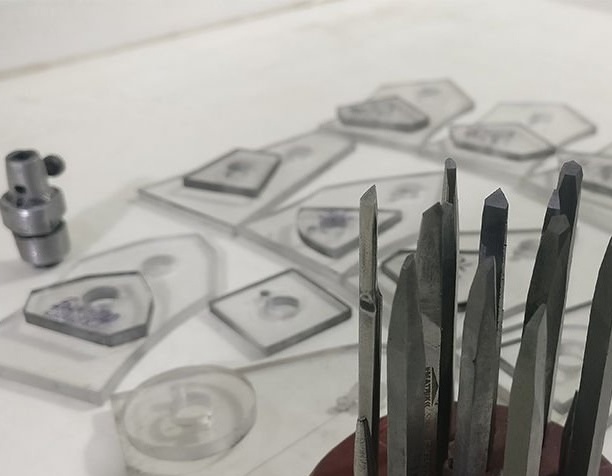
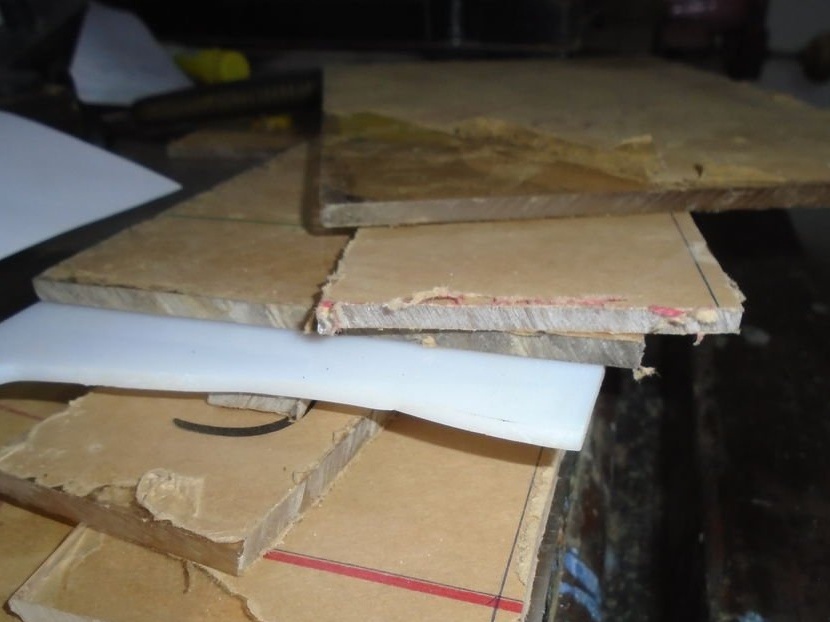
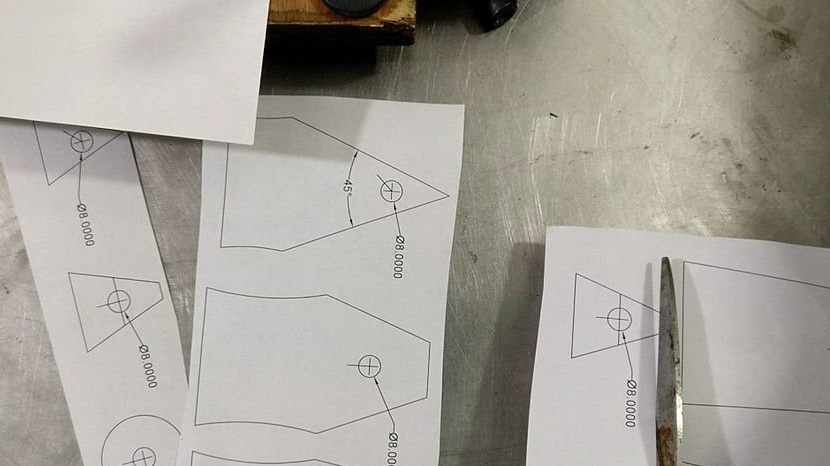
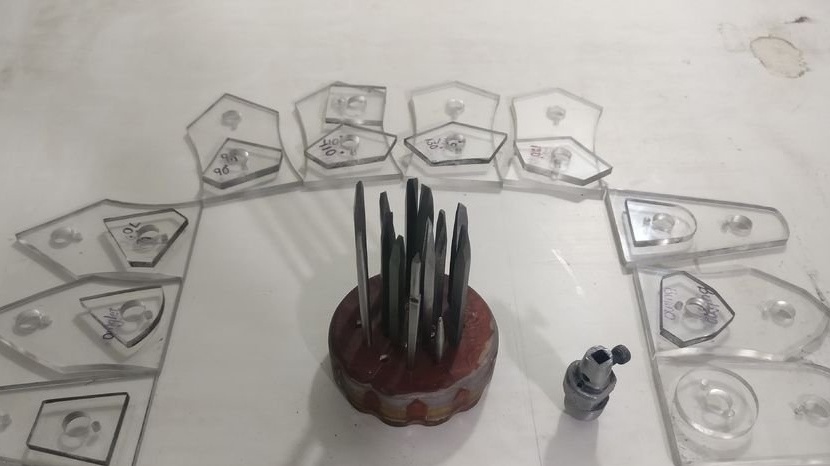
Step Two: Template
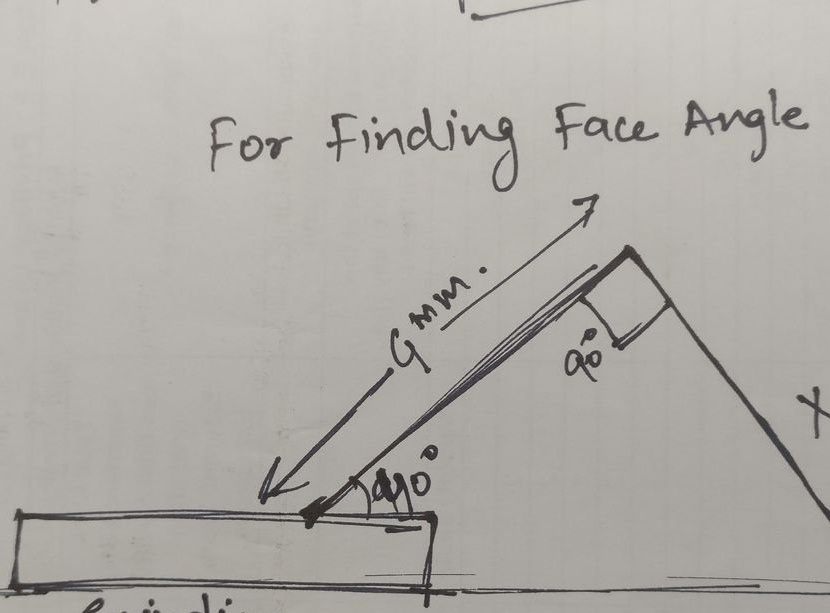
According to his needs, the master develops the templates he needs. Using templates, bits will be sharpened at a certain angle. When calculating the template angles, the thickness of the diamond-coated grinding plate must be taken into account.

Prints drawings of templates on paper and cuts out.
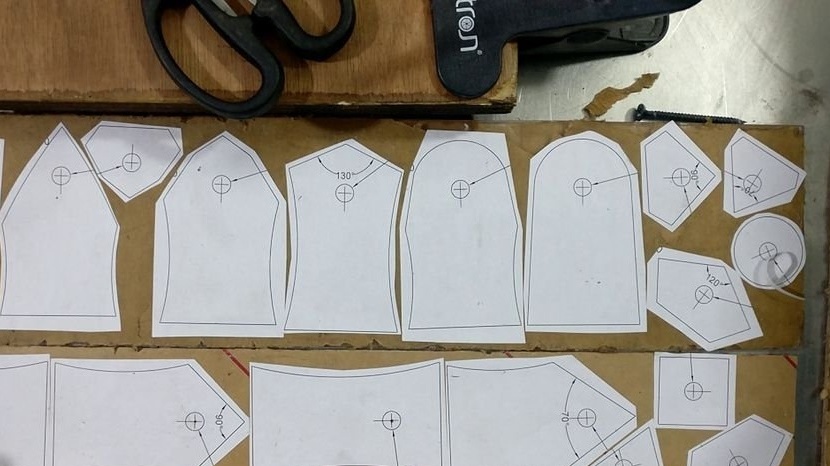
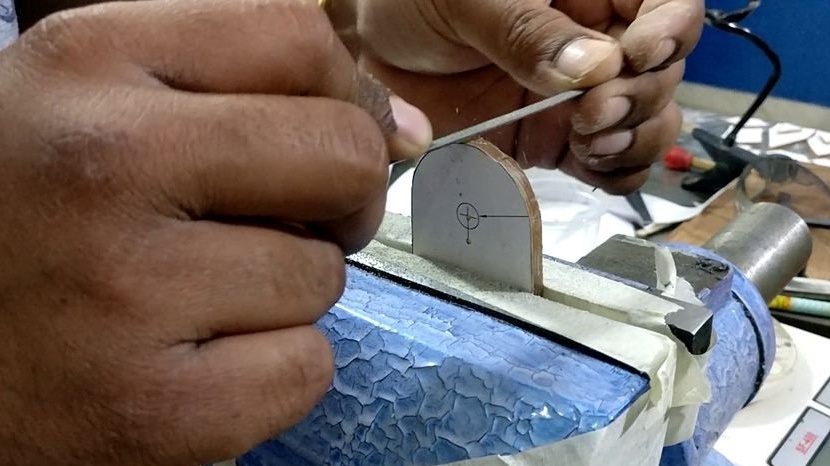
Sticks patterns on acrylic.
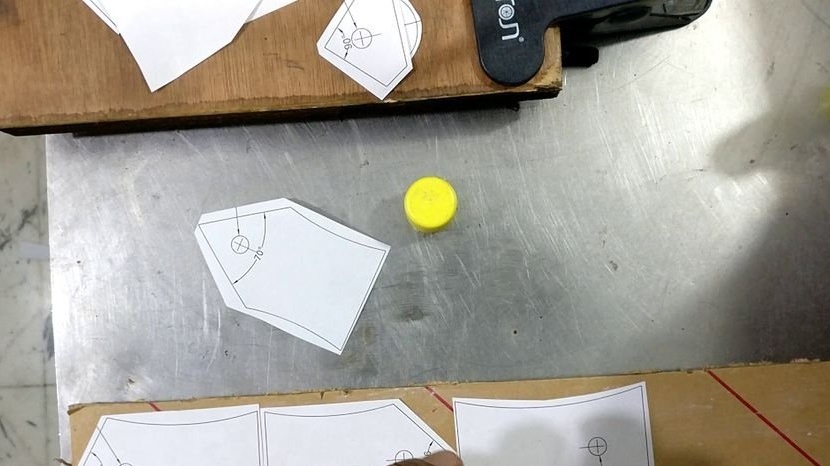

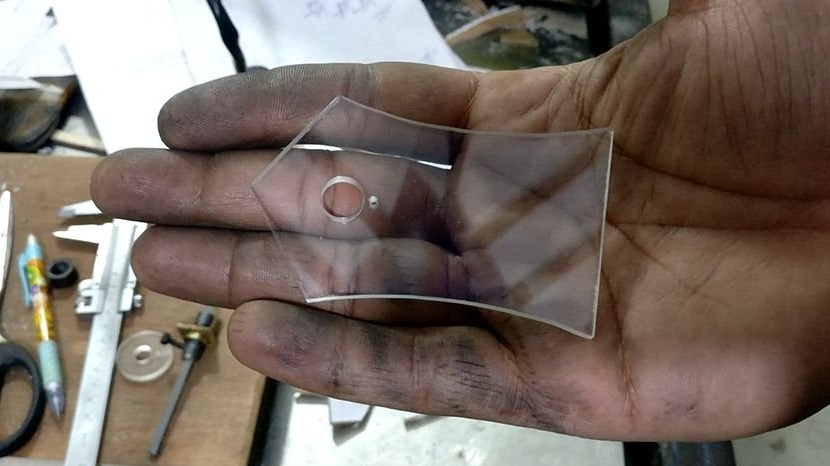
Cuts patterns, polishes ends.

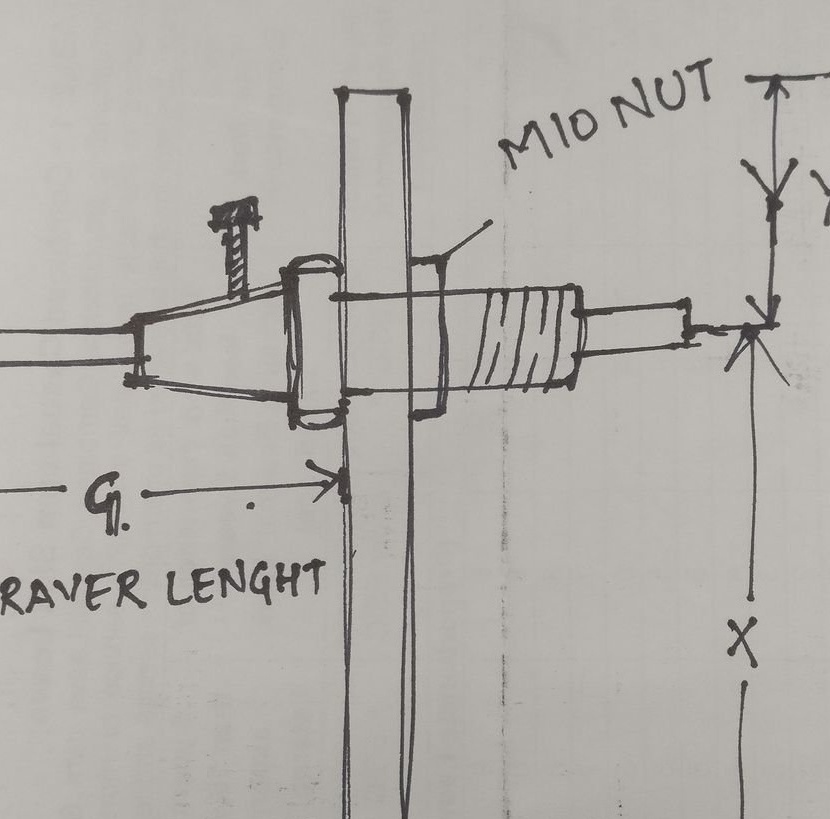
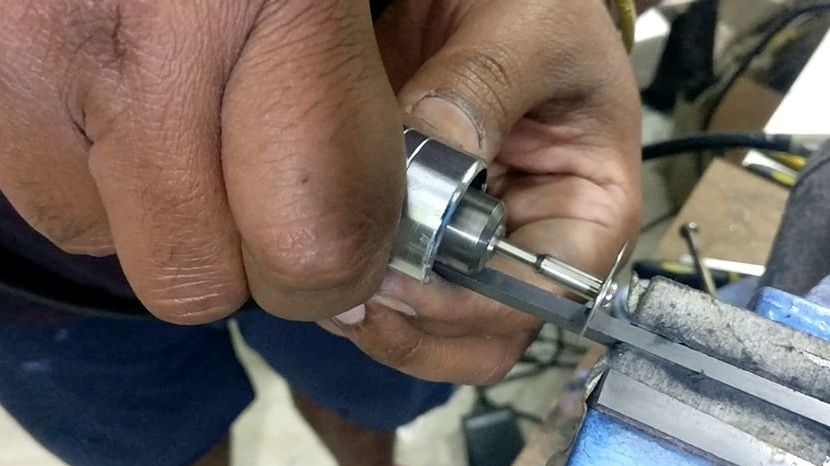
Step Three: Bit Holder
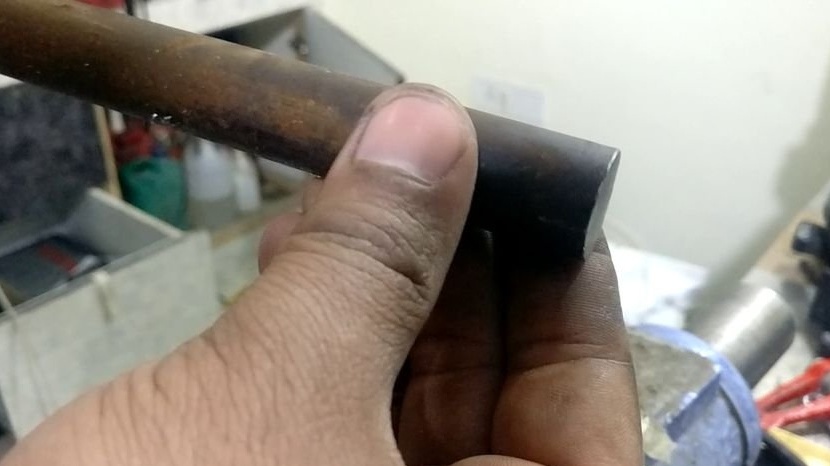
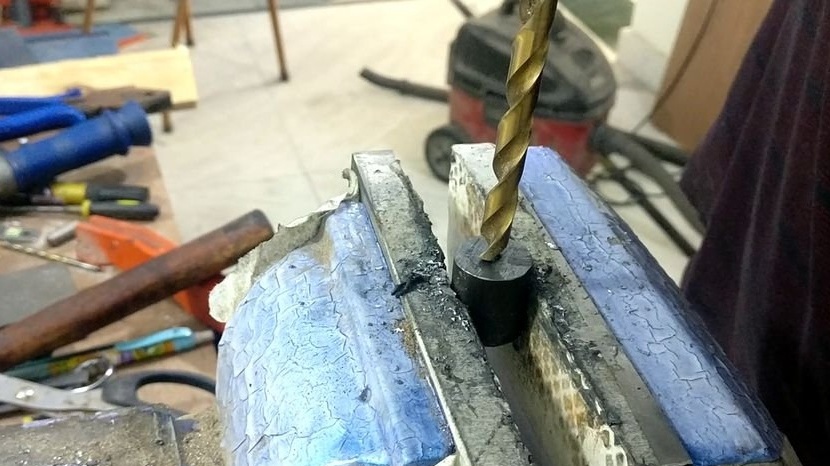
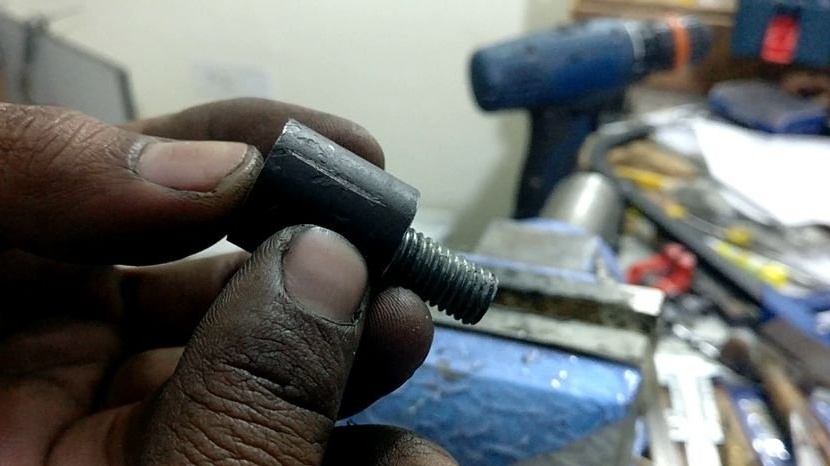
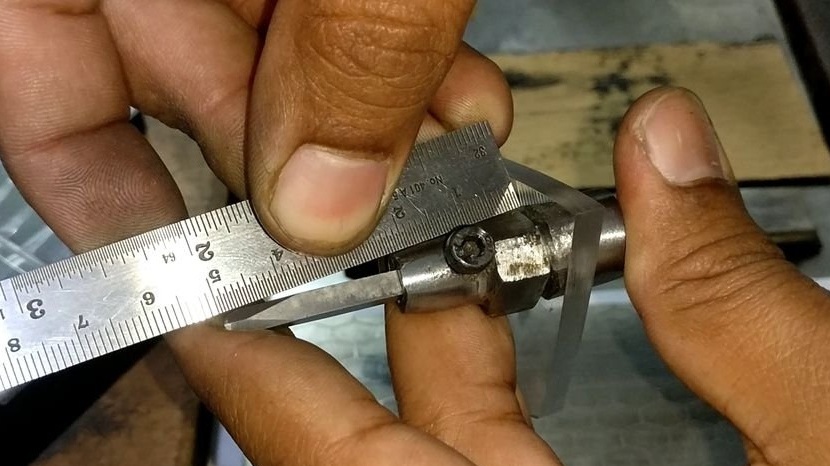
The master made the holder from a metal cylindrical blank. Cut to size.
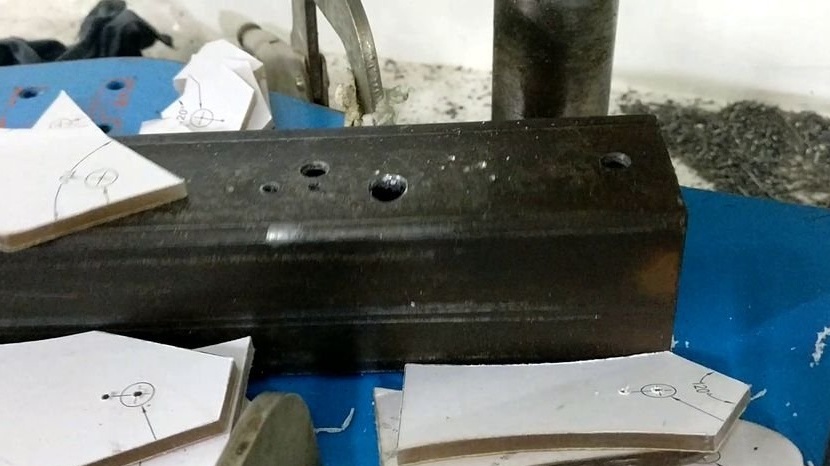
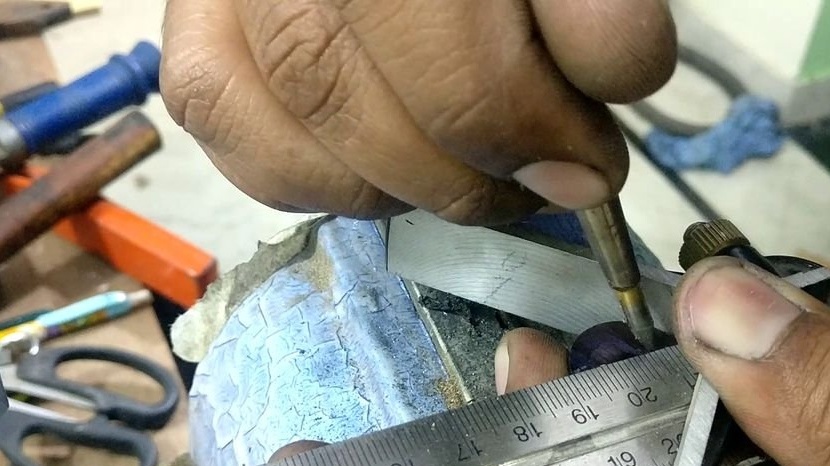
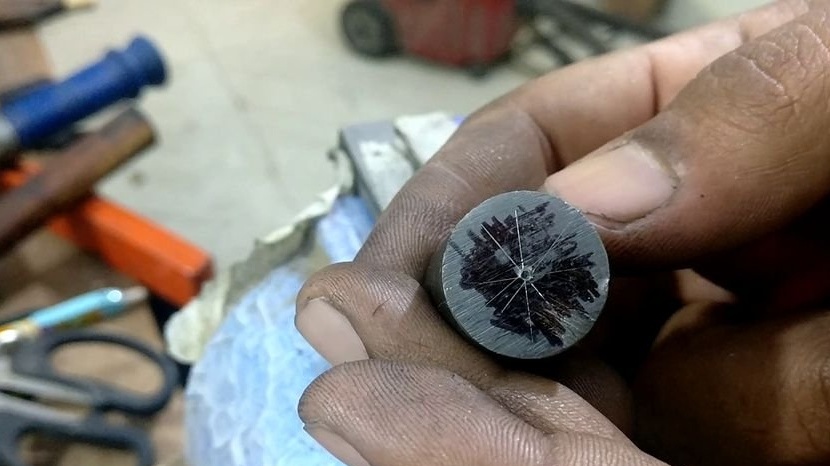
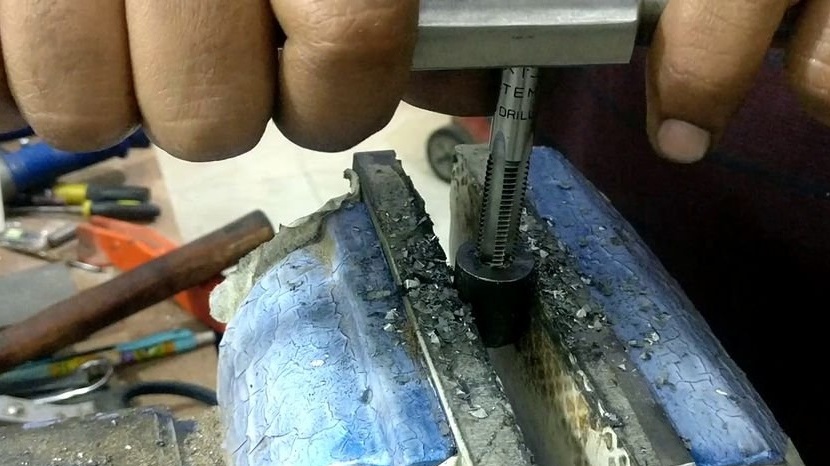
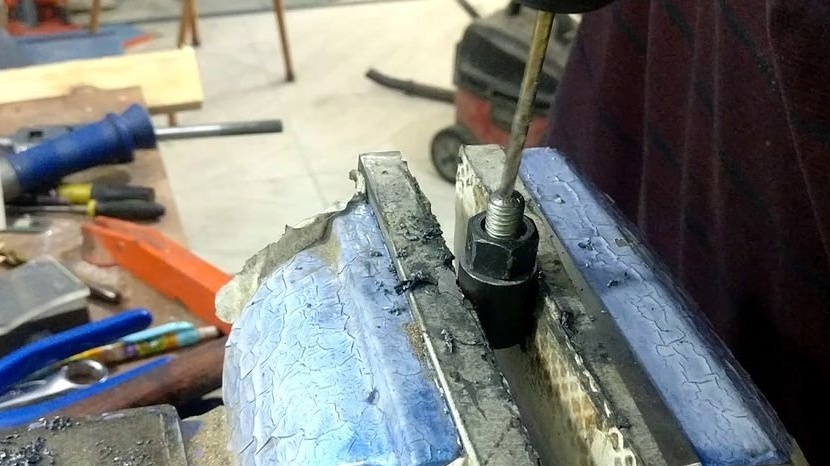
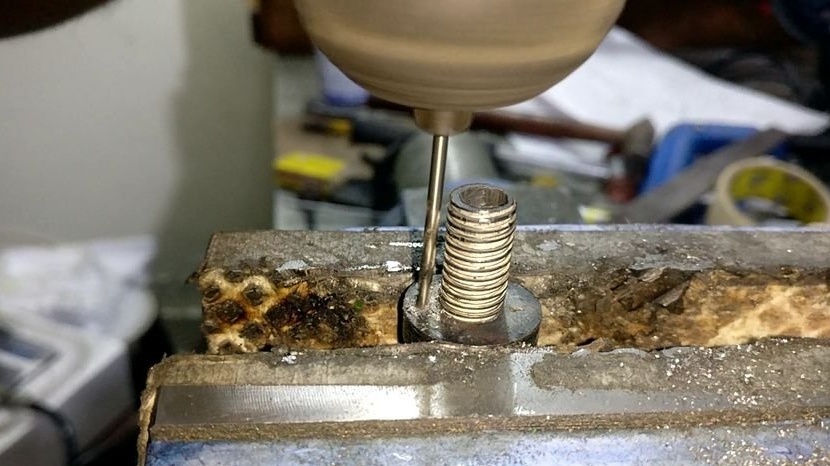
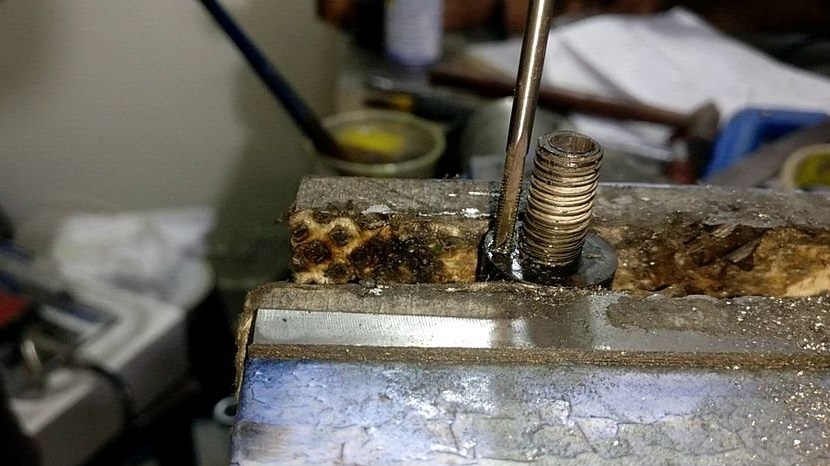
Marks and drills a hole in the center of the end part. Cuts the thread.
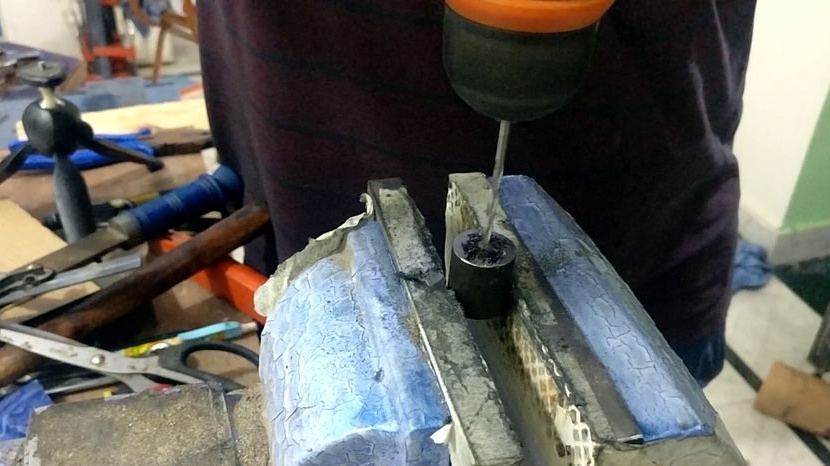

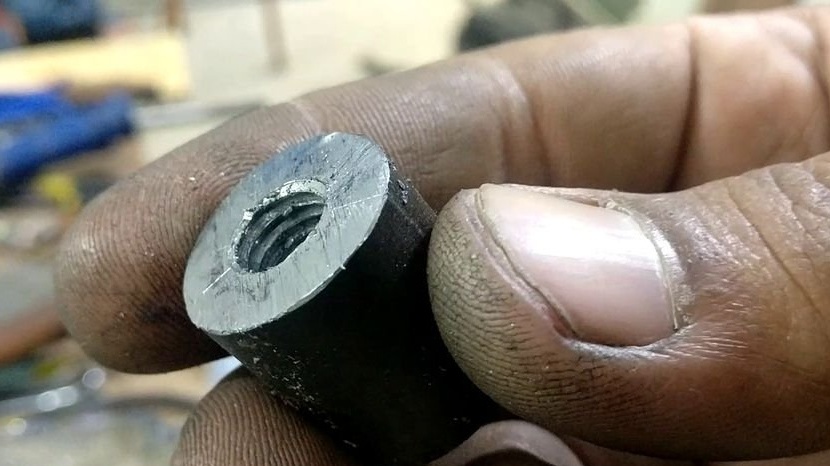
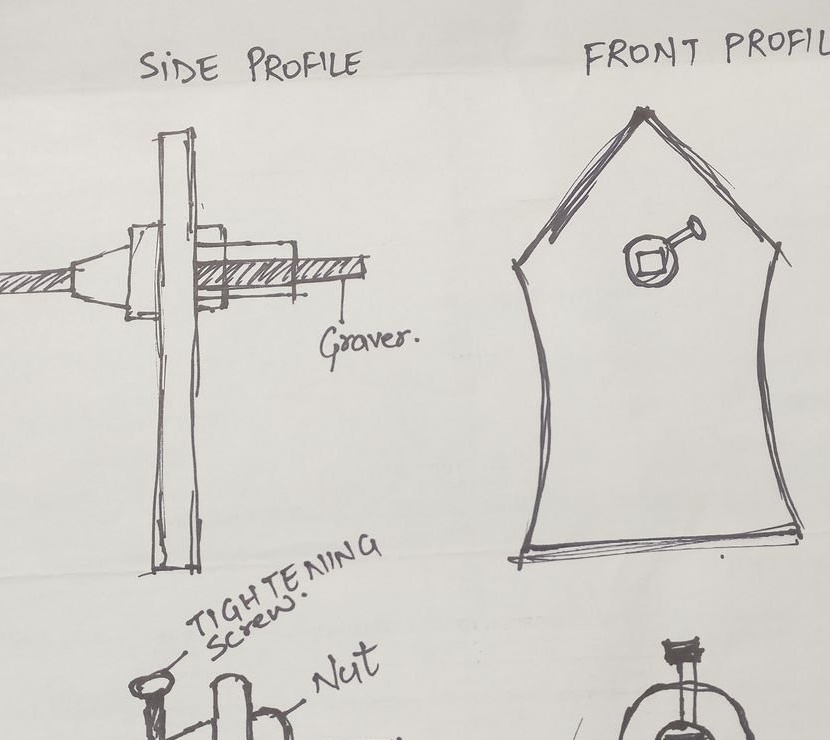
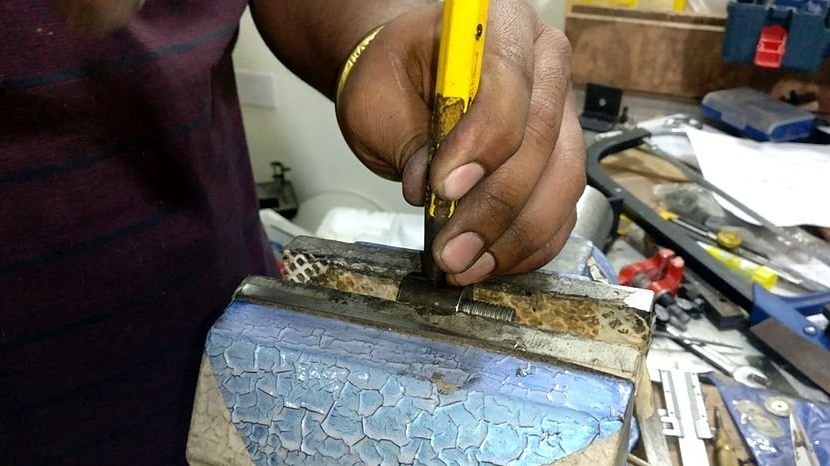
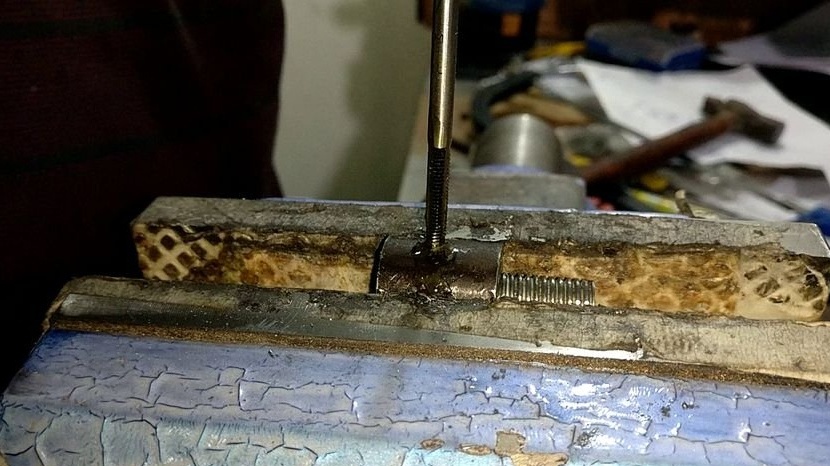
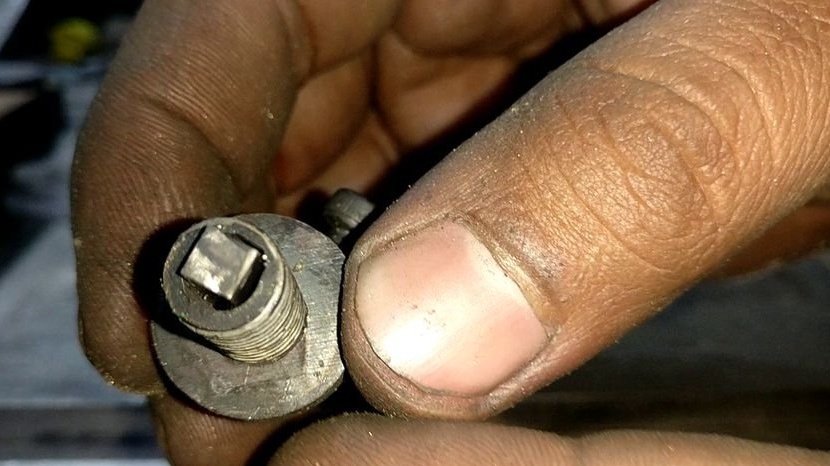
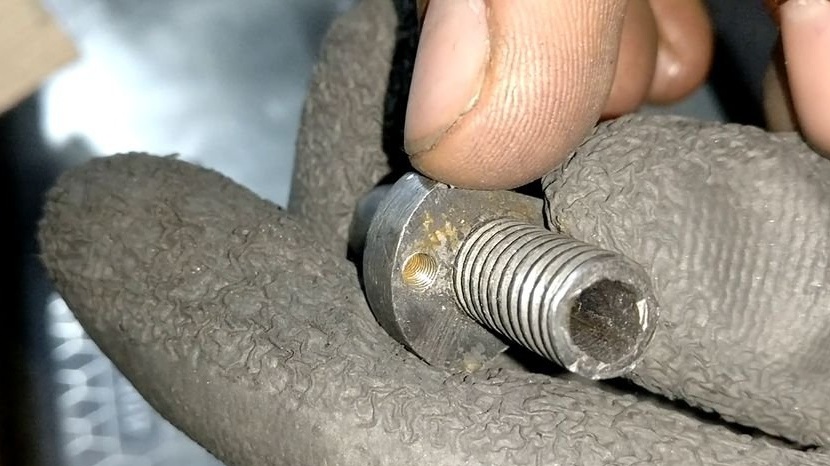
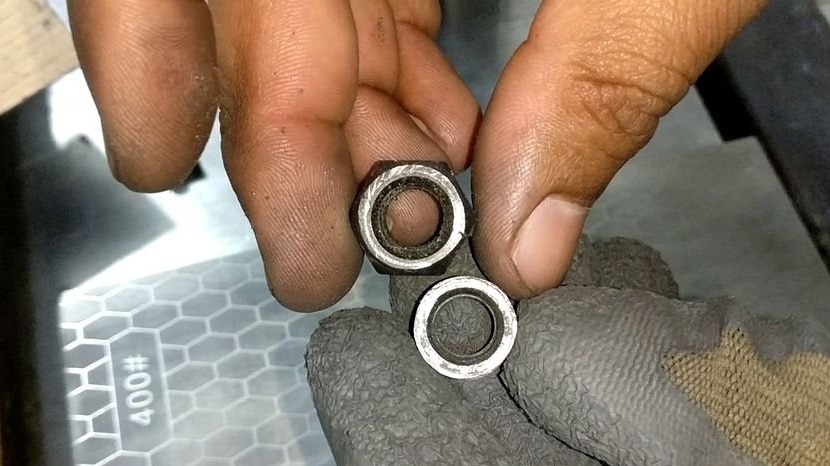
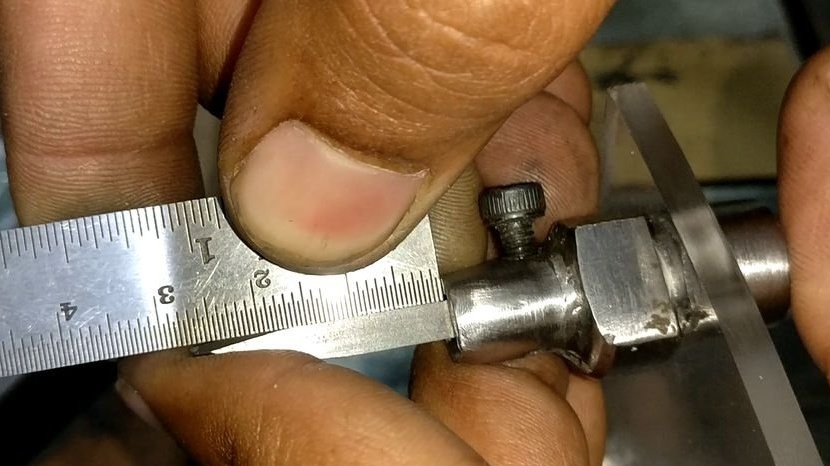
Tightens the bolt. A through hole is drilled in the center of the bolt. From the other end of the holder, the file makes a square hole from a round hole. On the side surface of the holder, drills through holes to the inner hole. Cuts the thread. A bit will be inserted into the hole from the end and fixed with a screw screwed on its side.
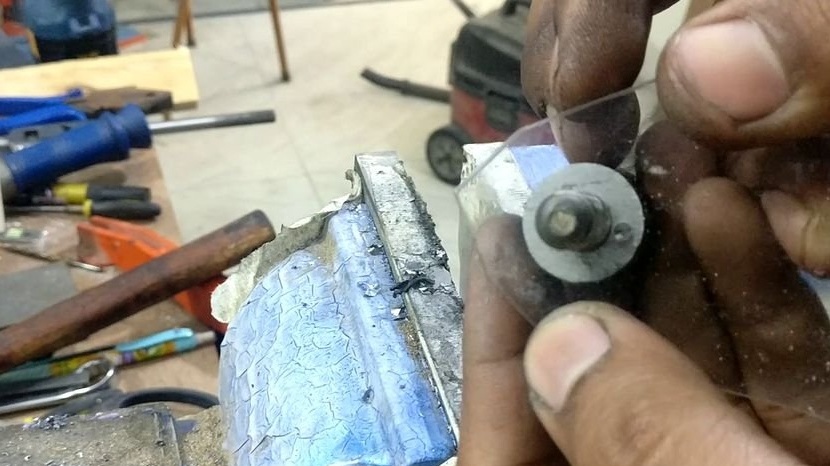

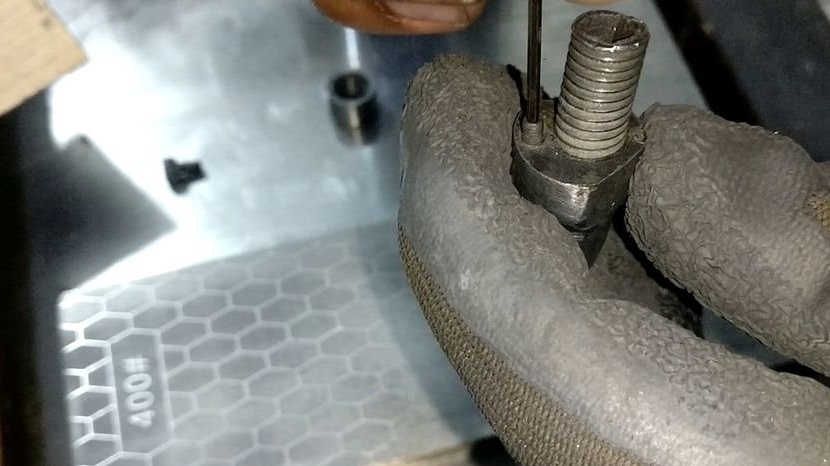
Then the master grinds the holder, reducing its size.
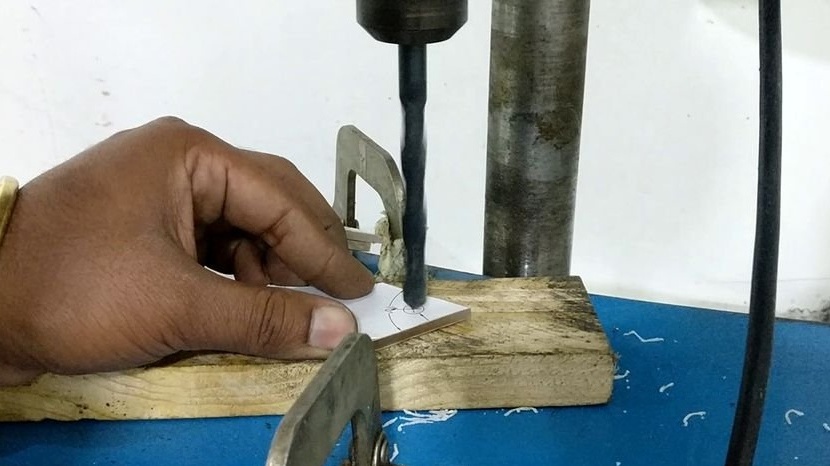
Each acrylic template has two holes. One hole for mounting the holder, the second for fixing the template on the holders. The master drills a hole on the holder and cuts the thread.
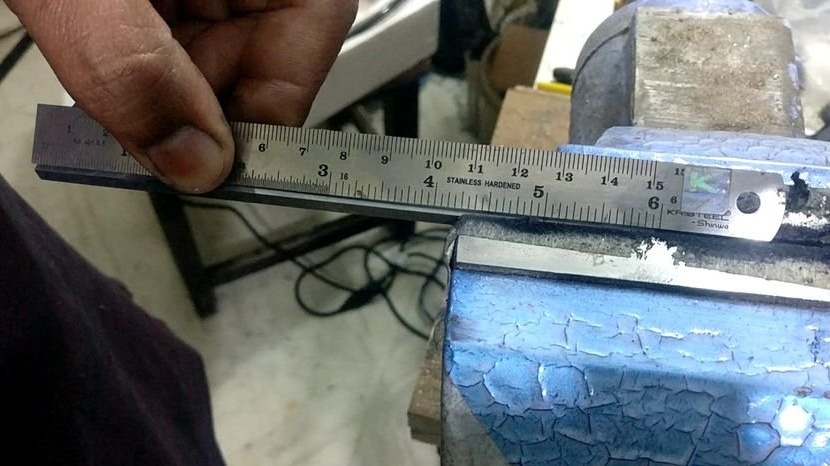
Step Four: Handset
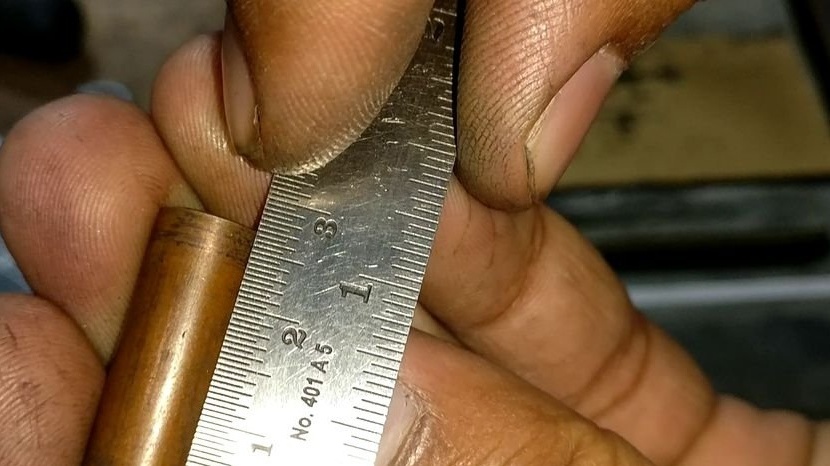
To maintain the angle during sharpening, the distance from the template to the edge of the bit should be 50 mm. In order not to use the ruler every time, the master cuts off a 5 cm long tube to measure.
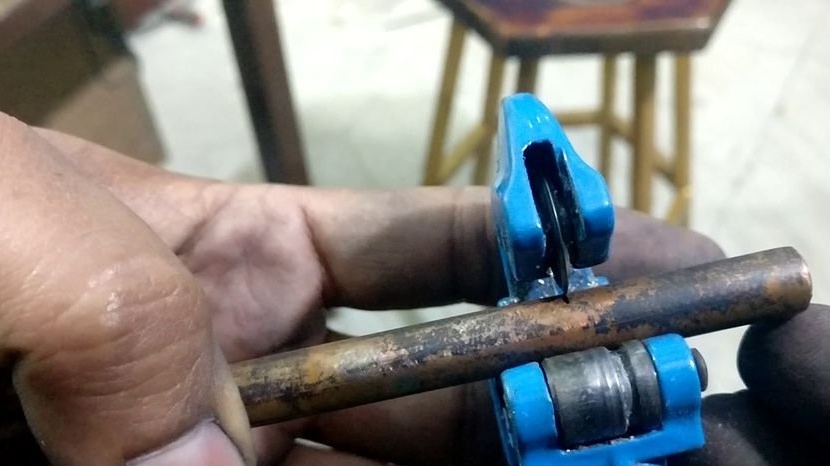
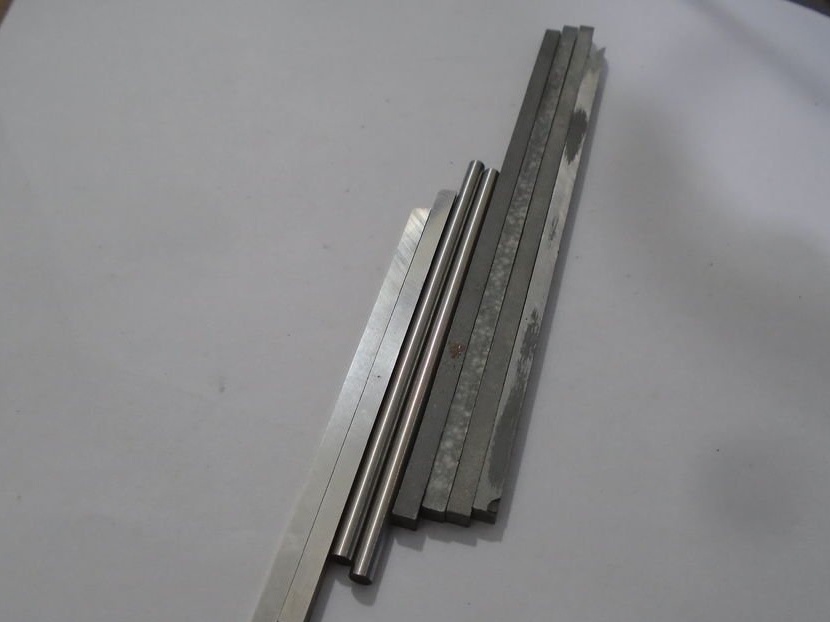
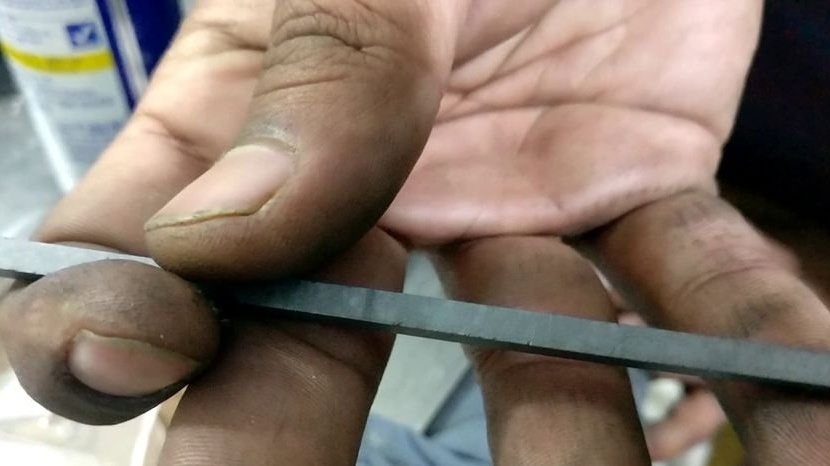
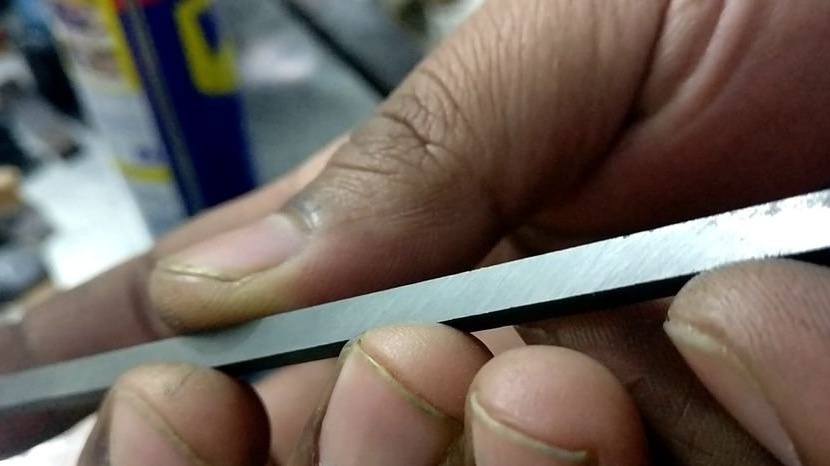
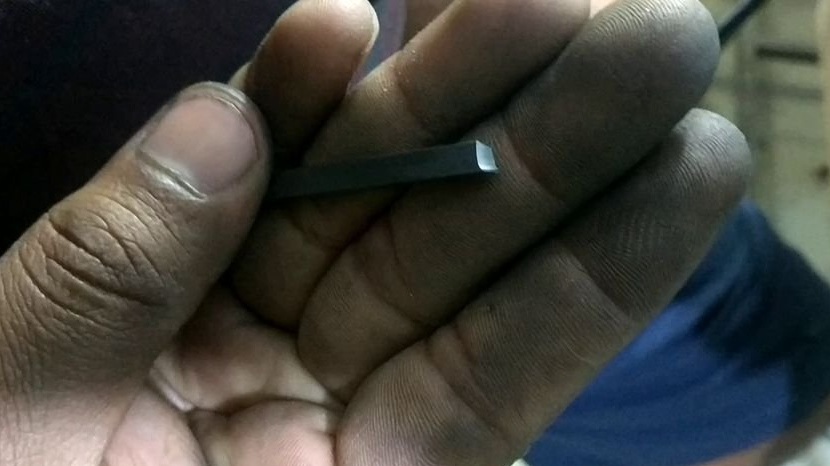
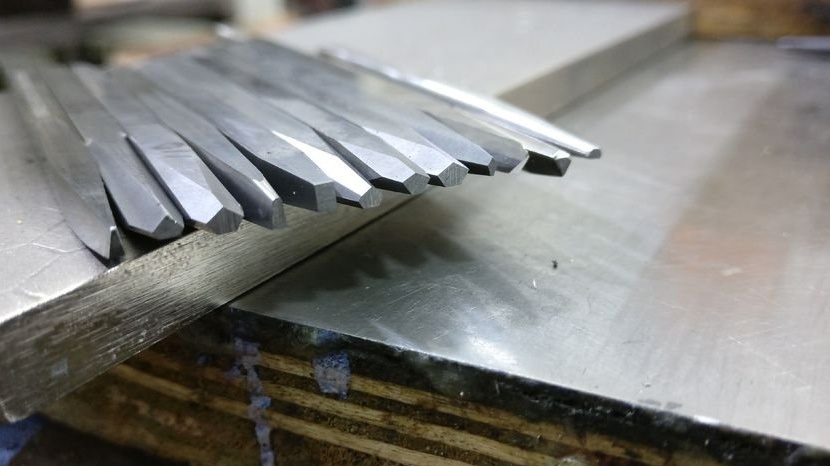
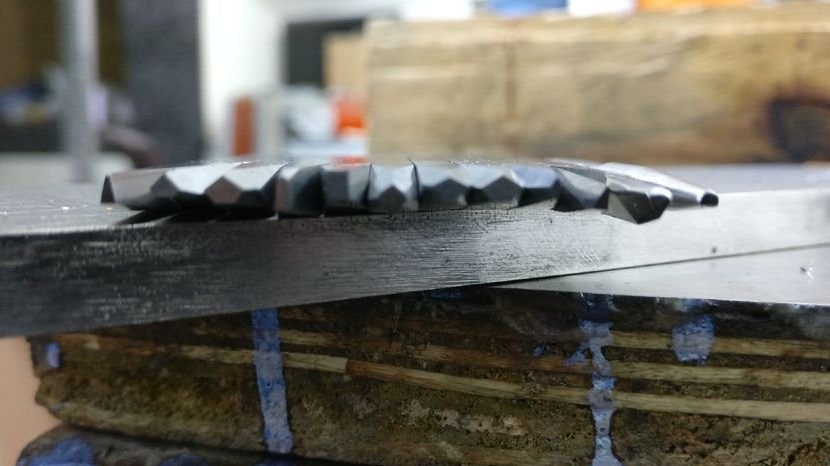
Step Five: blanks for bits
Slices workpiece bits to size. Grinds.
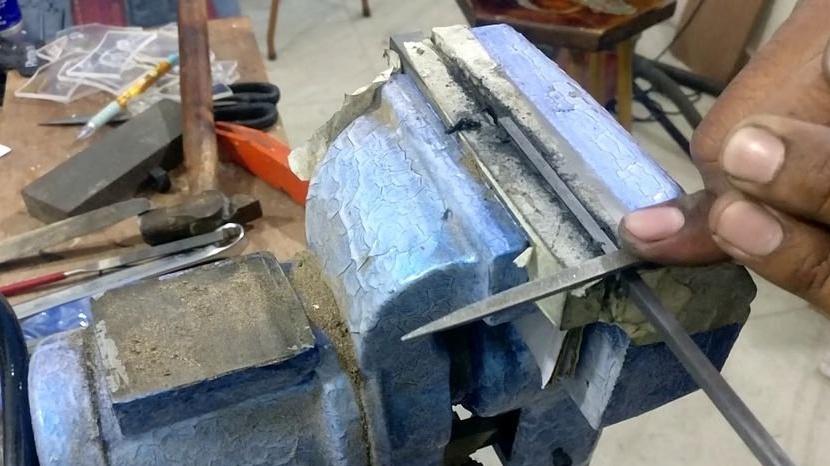
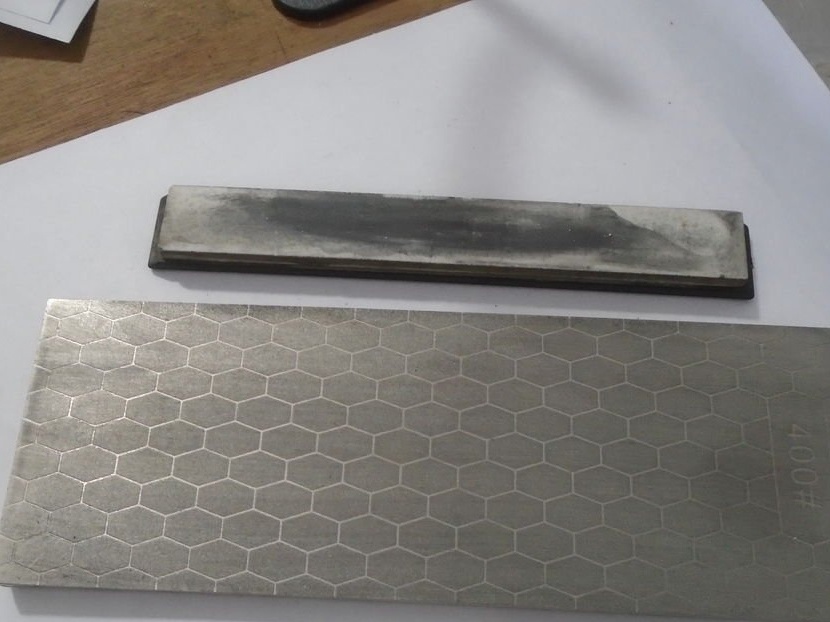
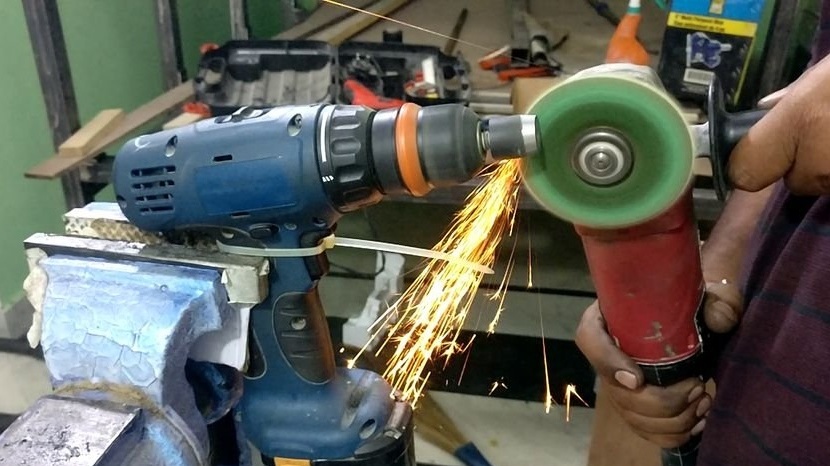
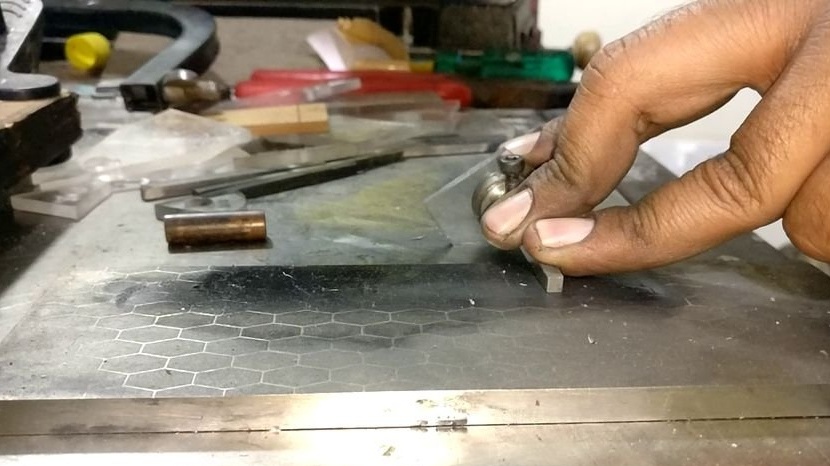
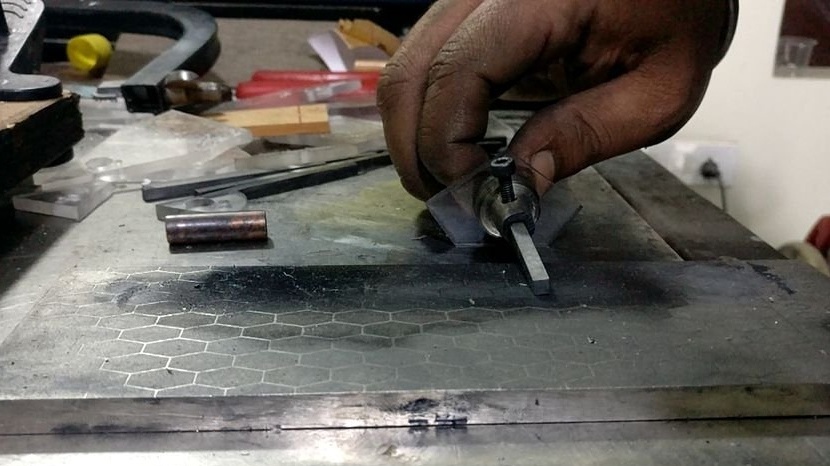
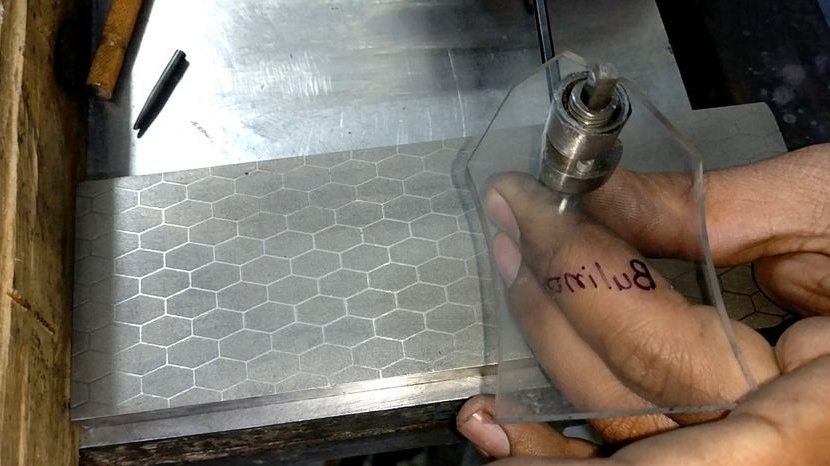
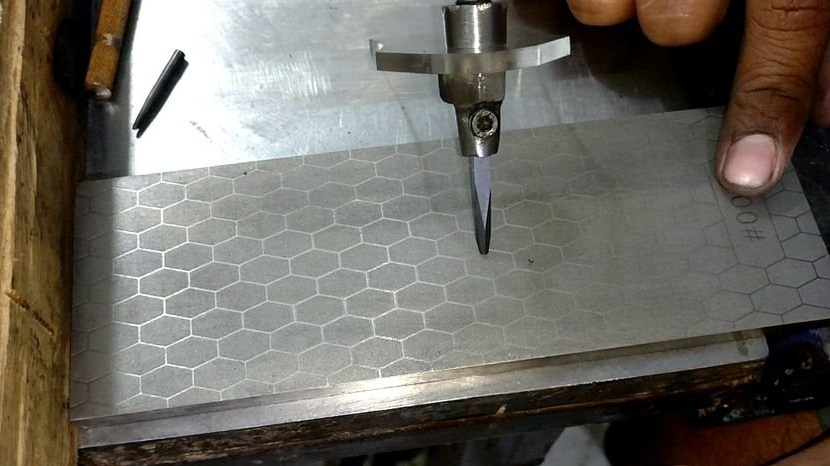
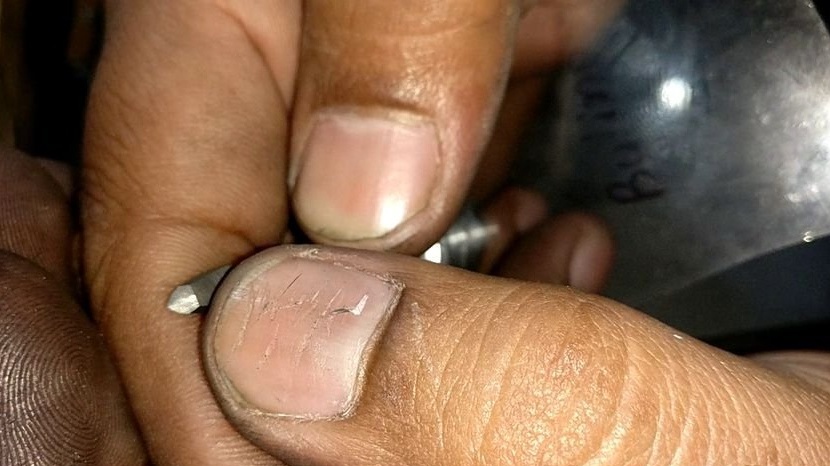
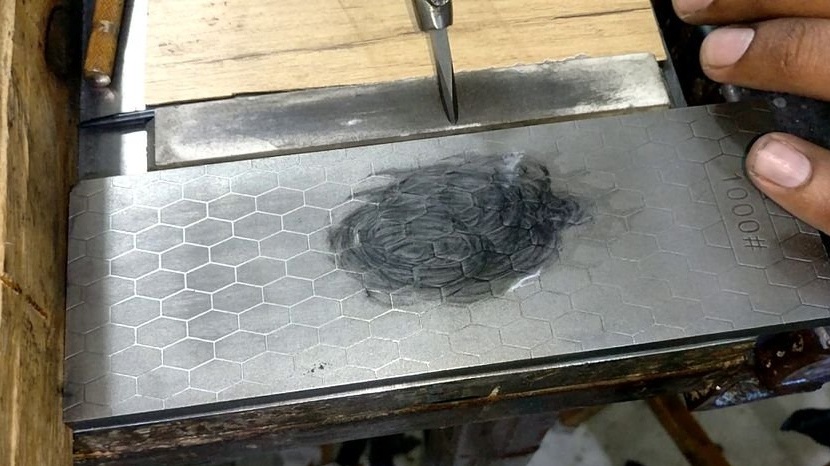
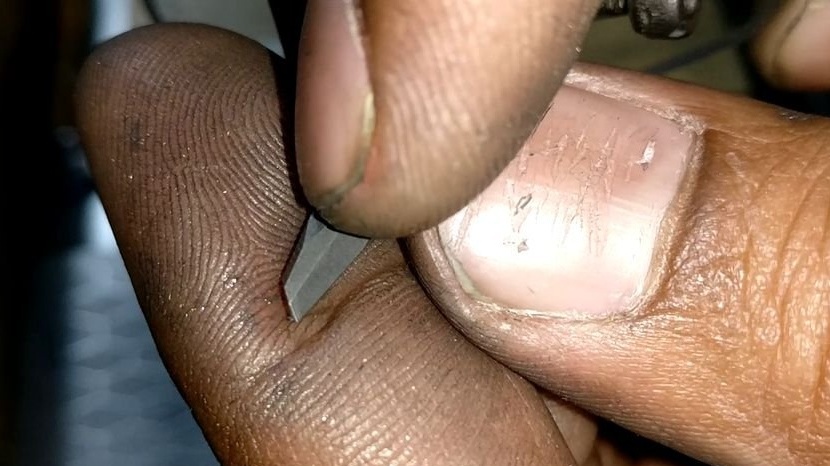
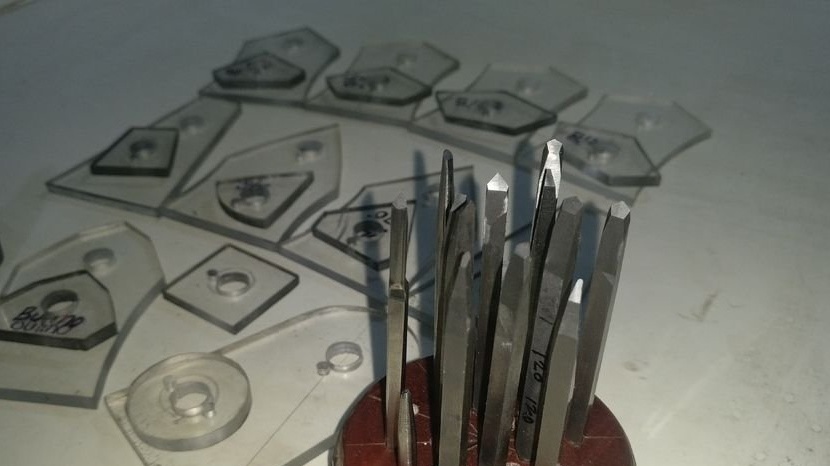
Step Six: Sharpen the Bits
For sharpening the bit is installed in the holder, a template is installed on the holder. Further, translating left and right, resting the face of the bit on the diamond plate, and the pattern on the table surface, the bit is sharpened.
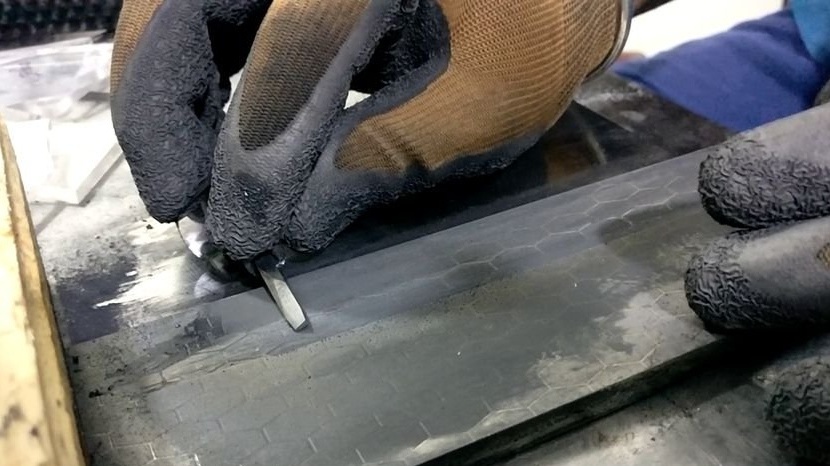
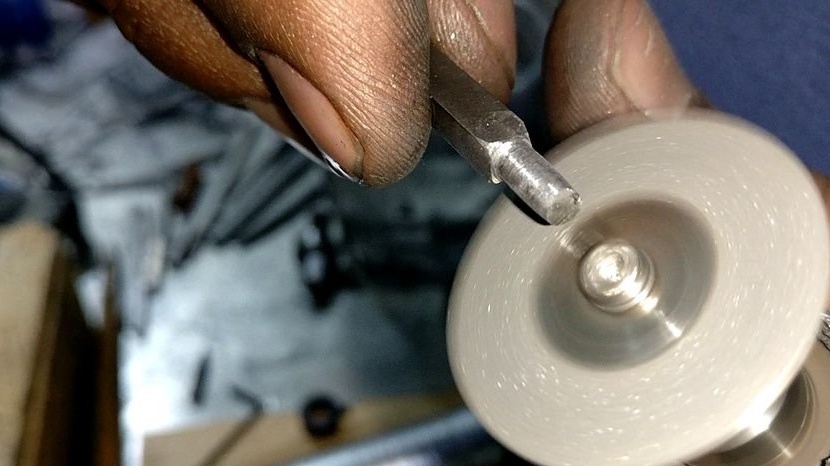
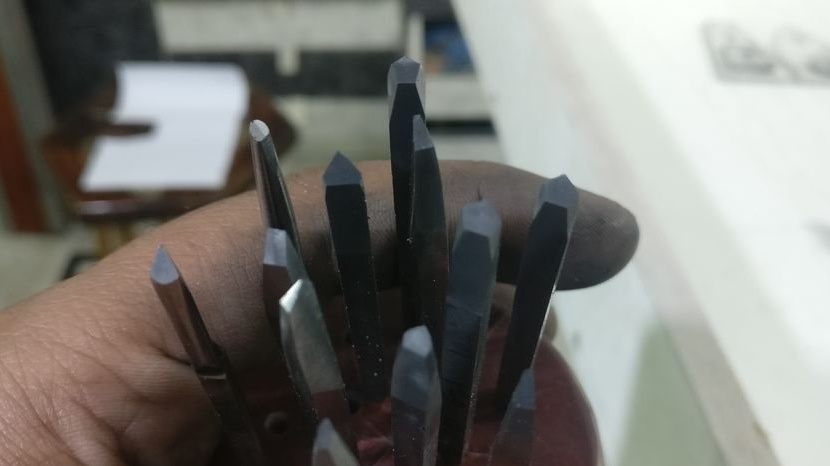
After forming the working part of the bit, the master polishes it.
Now it remains to shape the back of the bit and install it in the engraver's holder.
All is ready.


The whole process of making templates, holder and bit can be seen on the video.