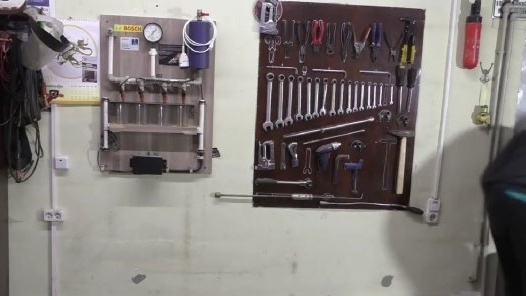
There are more and more tools and various tools in the workshop of the YouTube author TEXaS TV channel, but unfortunately there is no place to install all this. Today we will deal with this issue, make a workbench and install the tool that is most often needed on it.
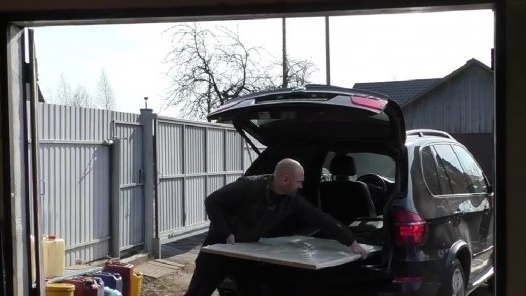
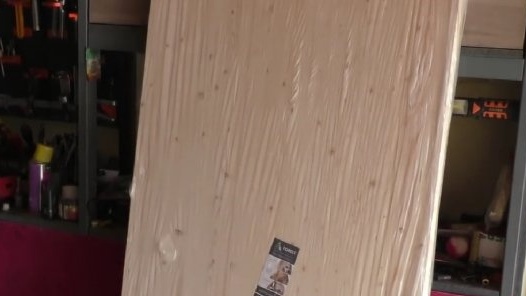
So, let's not drag out - let's go. In a hardware store, a furniture board was purchased with dimensions of 180 cm by 80 cm and a thickness of 30 mm.
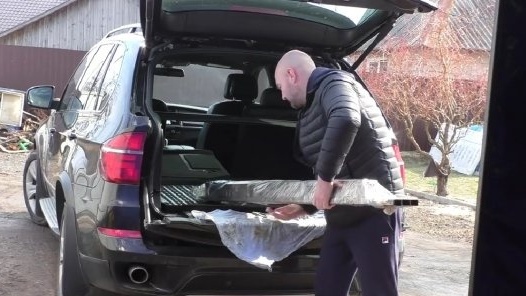
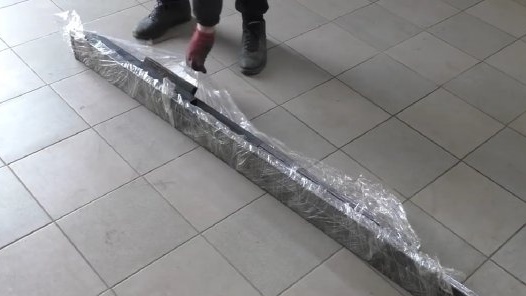
Also, at the metal depot, the author bought a profile pipe, there he cut it to size, since it is not expensive and significantly saves time, and as you know, time is priceless. By the way, the metal profile was also packed in film there, which is very nice, the machine no longer gets dirty. The author used a 40 by 25 profile and 40 by 40 legs, that’s enough.
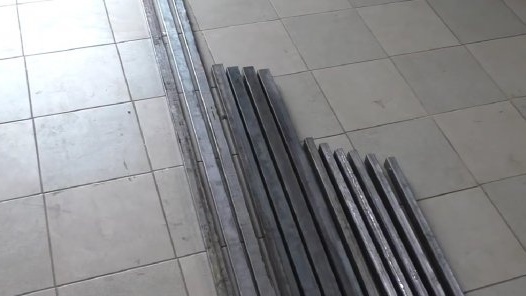
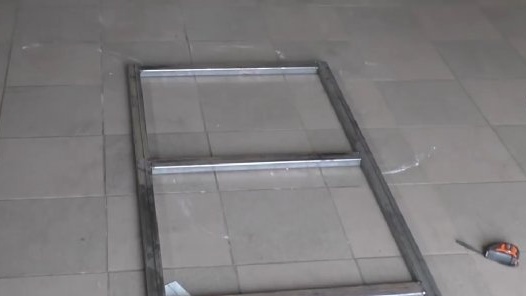
Here is the amount of profile we need in order to make a workbench.
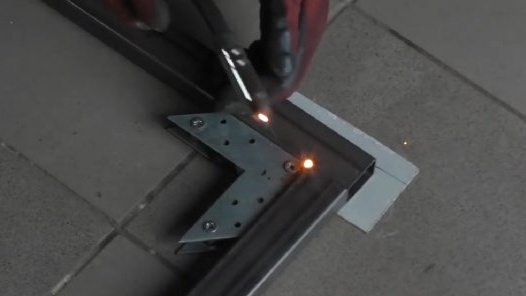
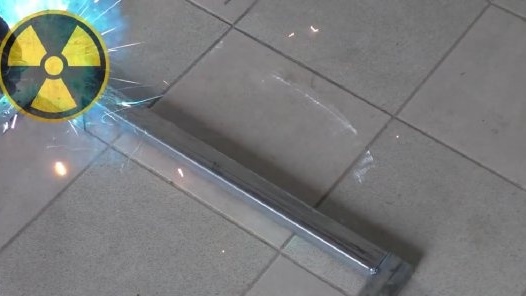
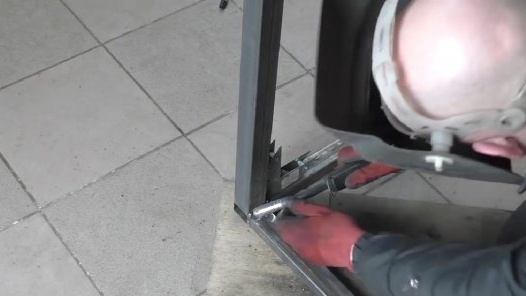
We lay out the blanks in their places and make potholders. The magnetic corner, which by the way the author made by himself, helps a lot in this.
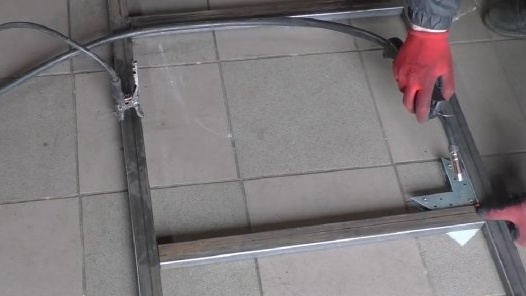
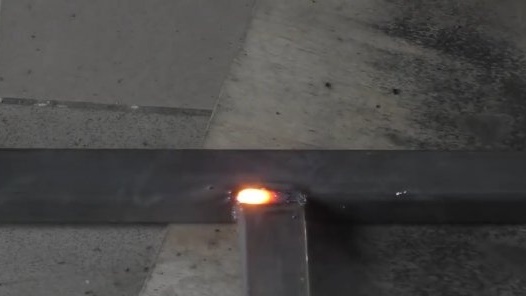
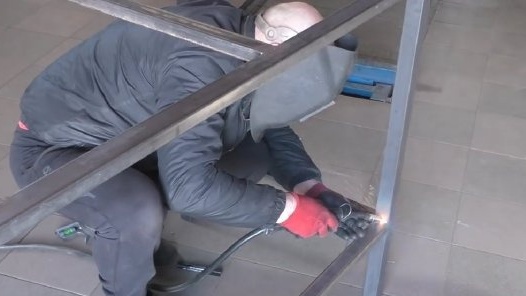
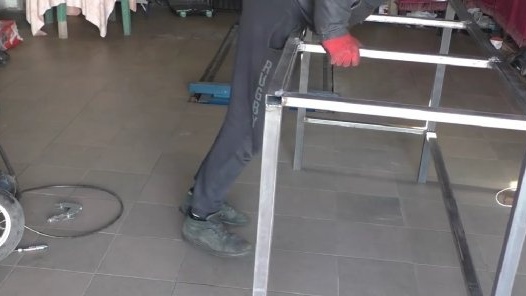
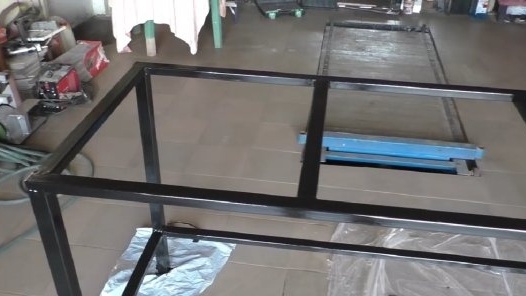
Potholders are made, everything is clearly sized, now you can finally scald the frame. The metal is thin and semiautomatic cooking is much easier.
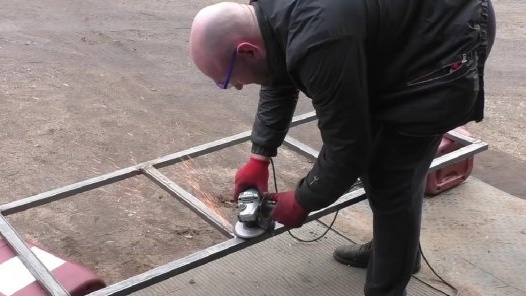
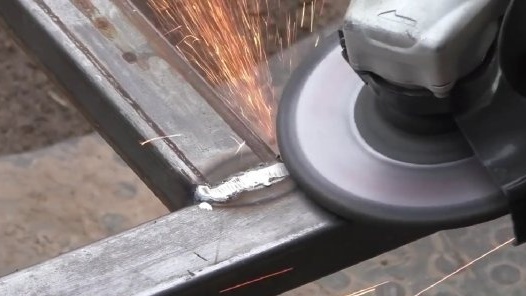
We clean the seams in those places where the countertop will be installed, and so as not to dust in the garage the master does it all on the street, the good weather allows you to do it.
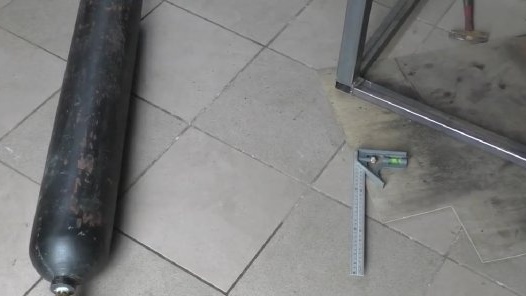
There is very little left: weld your legs and make a harness. But here, as always, something went wrong and carbon dioxide ended and now everything is transferred the next day.
The author filled the balloon and you can continue to cook the legs and the remaining strapping.
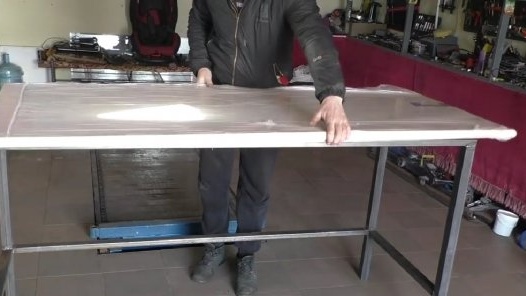
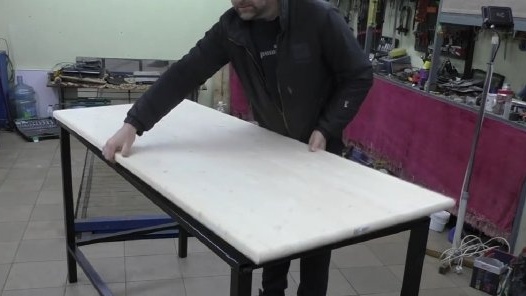
The frame is ready, we try on a countertop to it.
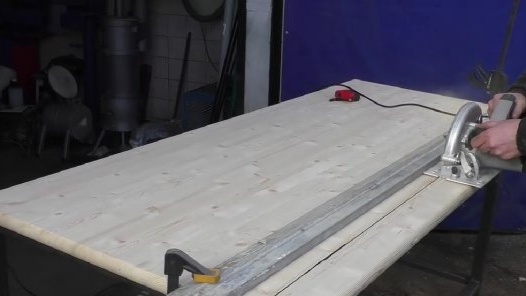
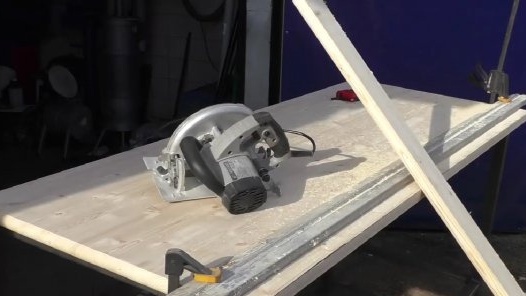
It’s a little in size, so you need to literally saw off 10 cm.
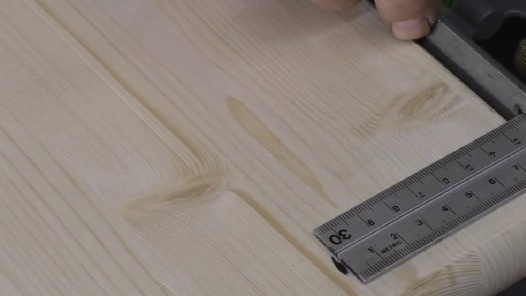
As a guide, the author uses the usual rule, fixed by clamps, so the cut will turn out as even as possible.
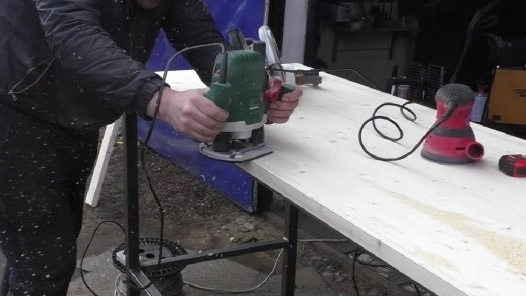
Well, so that everything was "feng shui", the master made a rounding with a milling cutter.
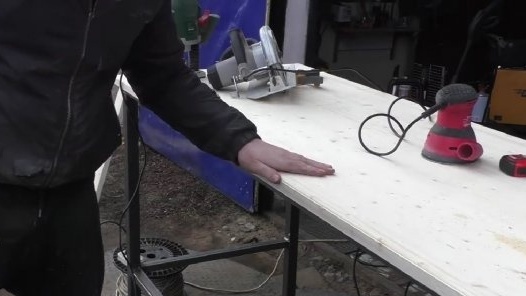
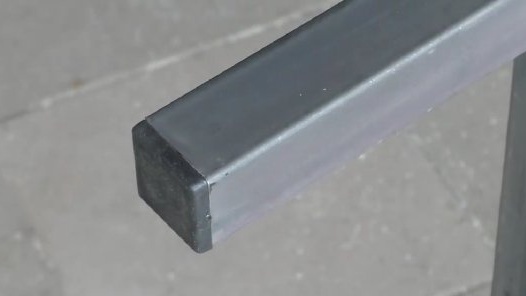
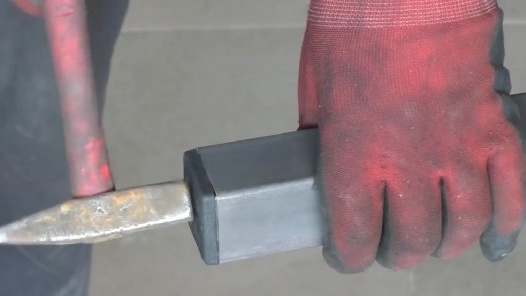
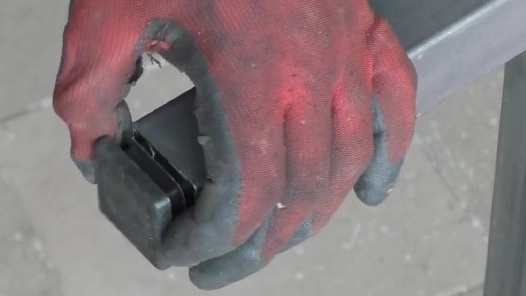
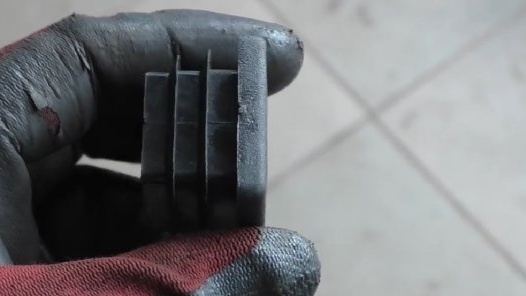
Everything, the countertop is ready, now we put the plugs (they will also act as legs).
Such plugs can be purchased in the same place where the profile is sold, or in a hardware store in the hardware department.
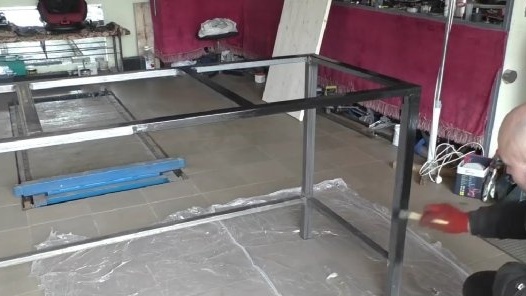
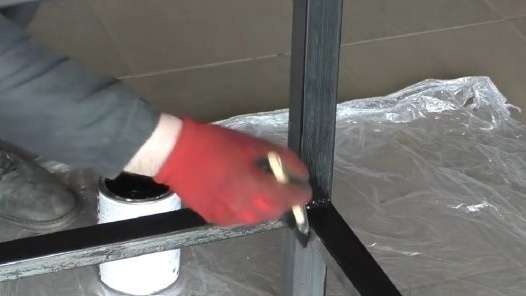
The next stage is painting.By the way, the author also bought paint at a metal depot. This is an enamel on rust; it does not require thorough preparation of the metal.
The frame is painted, leave it to dry overnight.
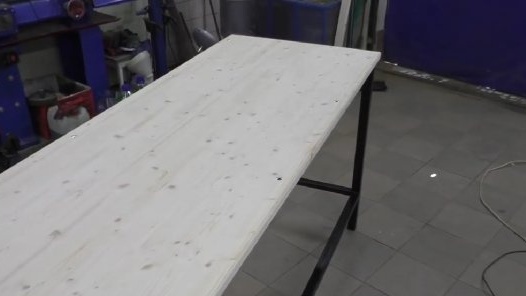
The base is completely dry, now you can install the countertop and finally fix it.
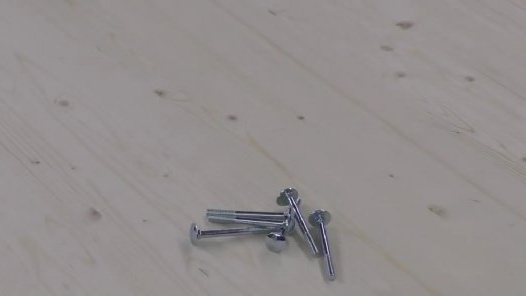
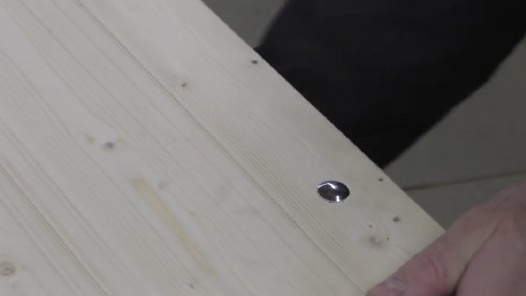
We will mount on the furniture bolts m6.
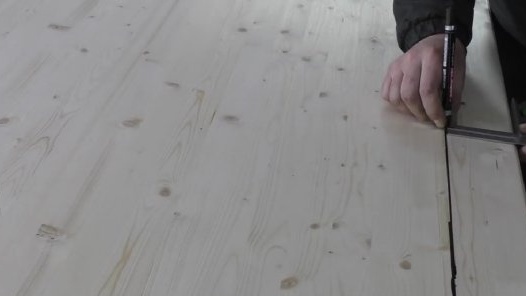
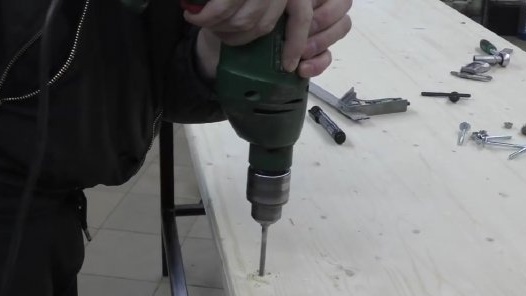
We do pre-marking for drilling, so as not to mess. Then the master drilled 8 holes and carefully pressed down the plate.
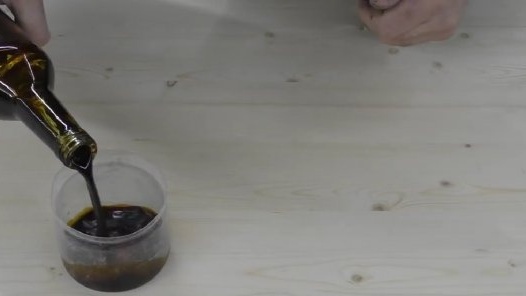
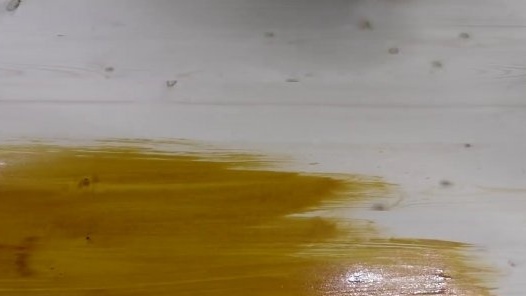
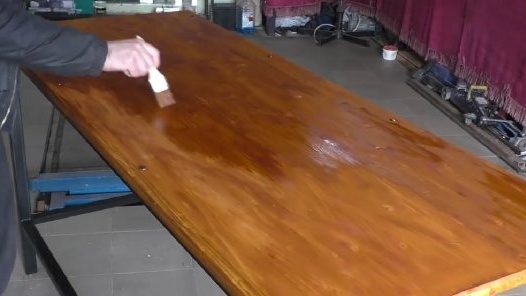
It remains to cover it with a marilka, or with impregnation, this is already as much as you like, and you can put it in its place.
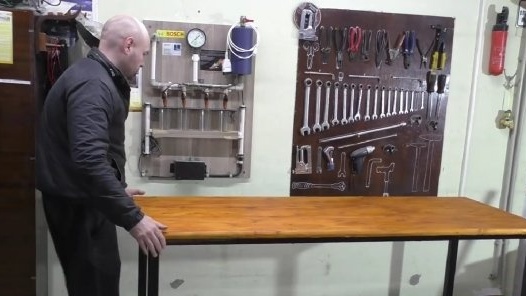
While the table dries, we will prepare the location. The author has so far taken everything aside and now you can put the table in its place.
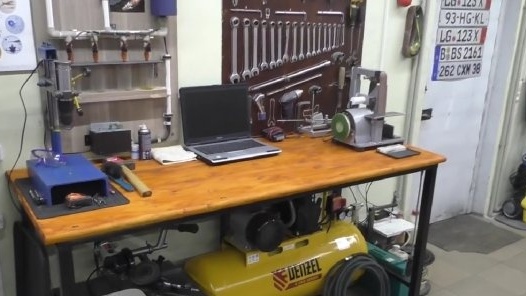
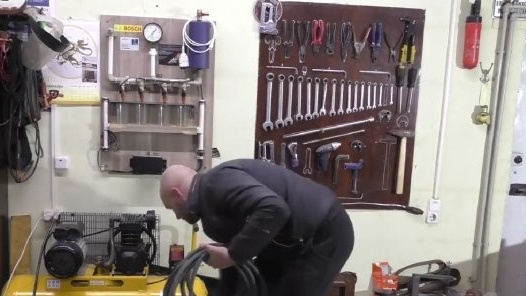
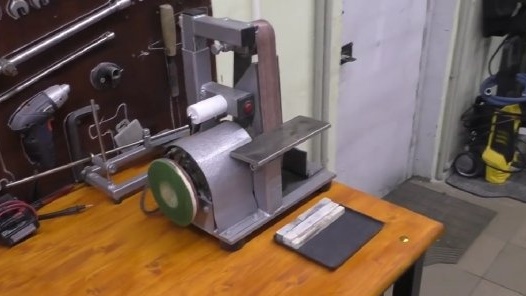
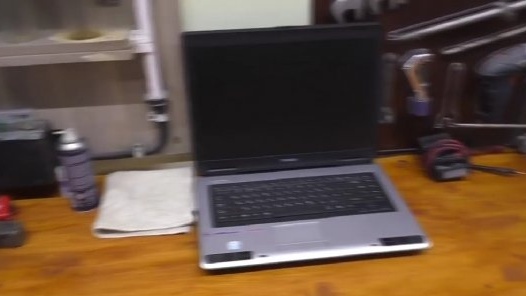
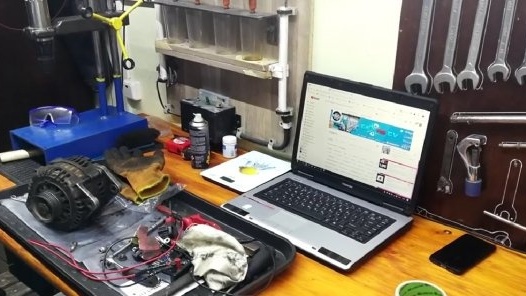
And so the workplace began to look a few minutes later:
Grinder found his permanent place, a comfortable place also appeared where you can sit at a computer, it remains only to make a comfortable chair for this, but this is the next time.
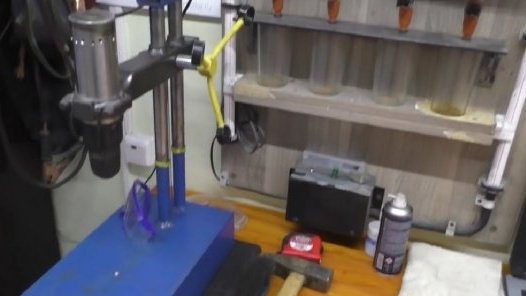
The drilling machine also fit well.
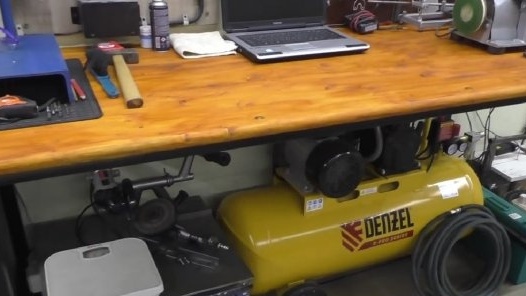
Under the workbench is a compressor and a cutting machine made of a bicycle frame.
Well, that's all for today. Good luck to all. Thank you for attention. See you soon!
Author's video:

