
Greetings the inhabitants of our site!
After the last project, the author of the TeraFox YouTube channel, while doing some cleaning work in the workshop and doing some minor things for himself, thought about what else could be done. I am engaged in the main work of time for homemade products sometimes very little, and without them it is somehow not at all interesting. And then just a friend asks him to help.
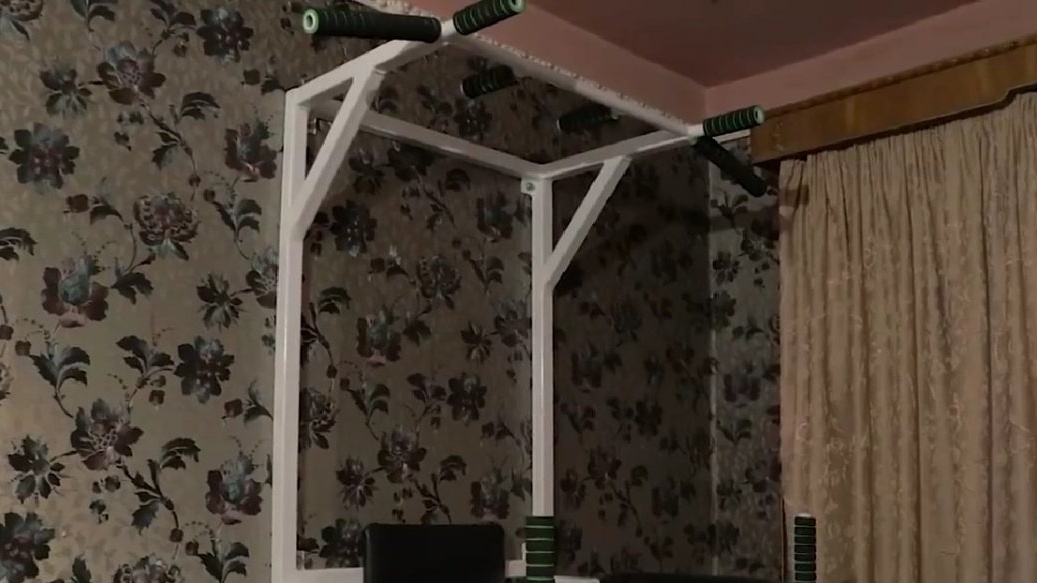
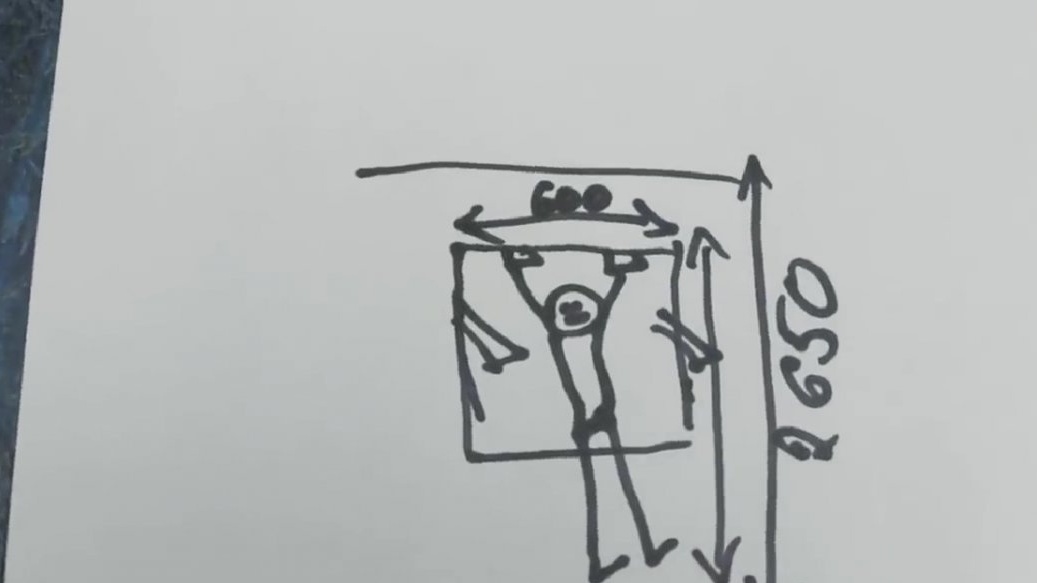
So, the task was as follows: to make a design taking into account the height of the ceiling, the width of the grip, and it was also important to take into account its height (190cm). And the main thing that the author also determined was that the horizontal bar was supposed to be compact, since there isn’t much space in an ordinary treshka.
All things aside, why not fulfill the request of the old sidekick. He promised not quickly, we will do the opposite.
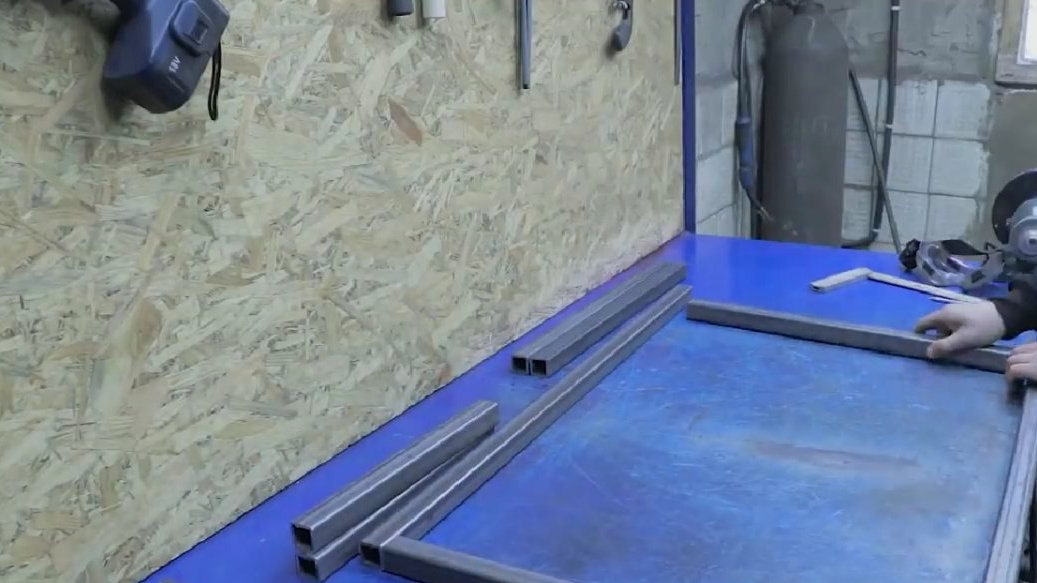
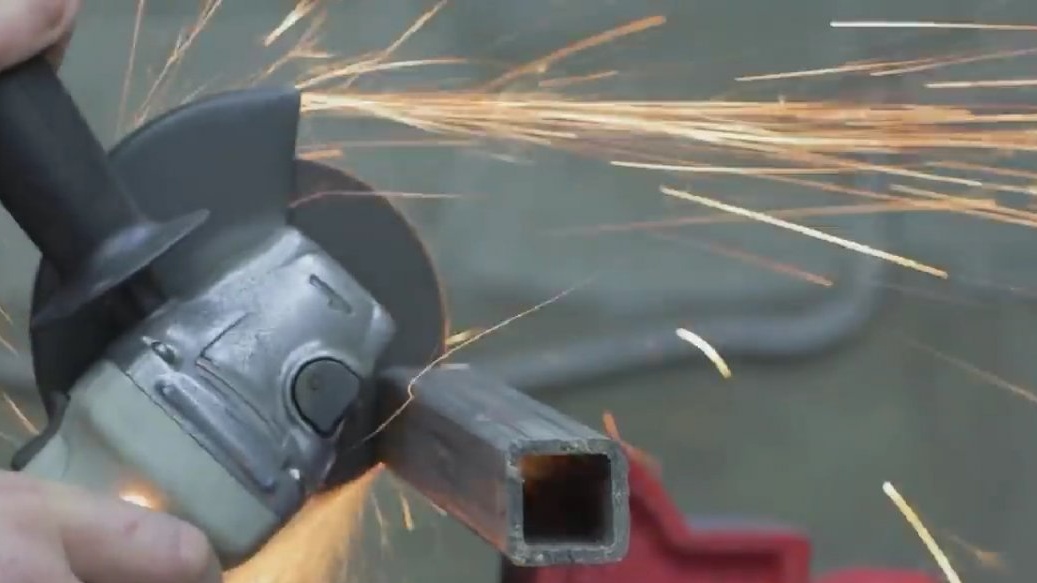
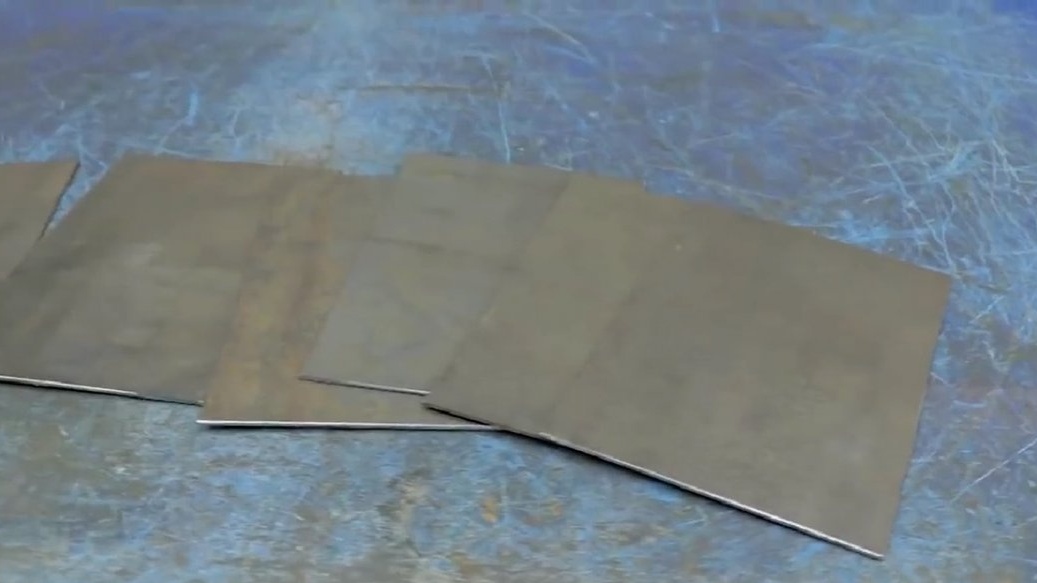
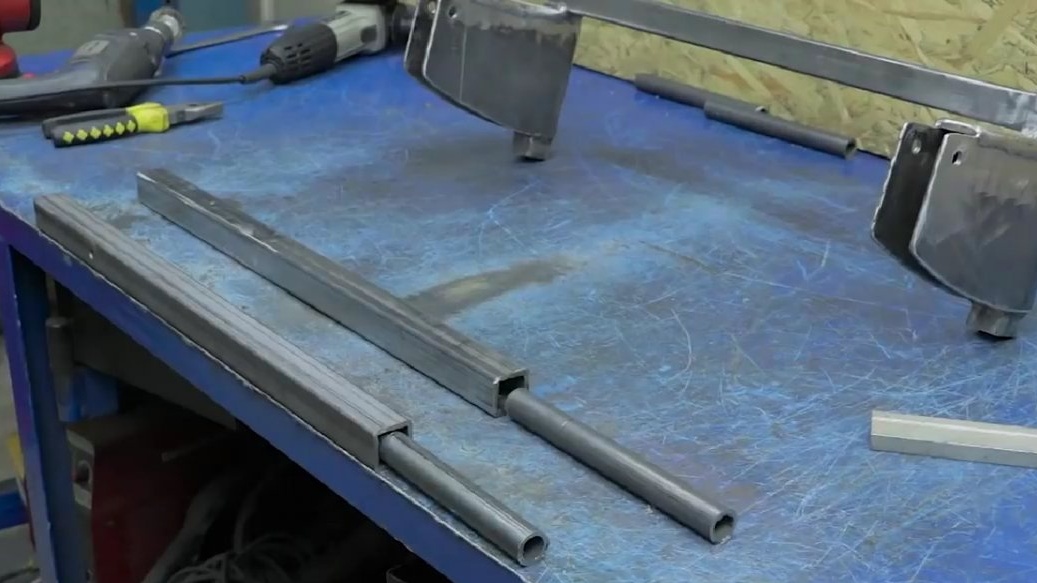
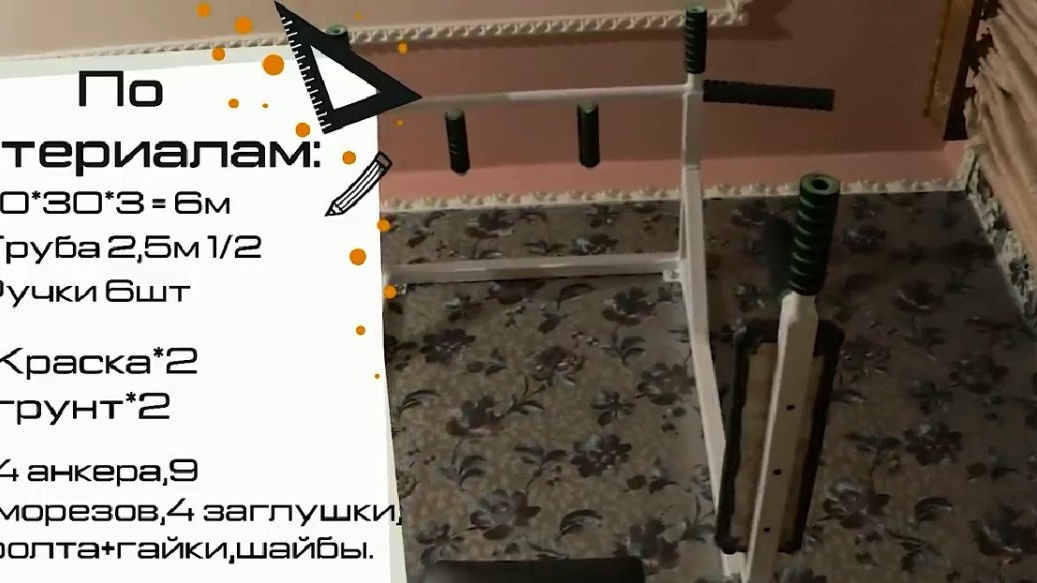
For this project, we need 6 meters of a square pipe 30 by 30 mm, a wall of 3 mm and 3 meters of a half-inch round.
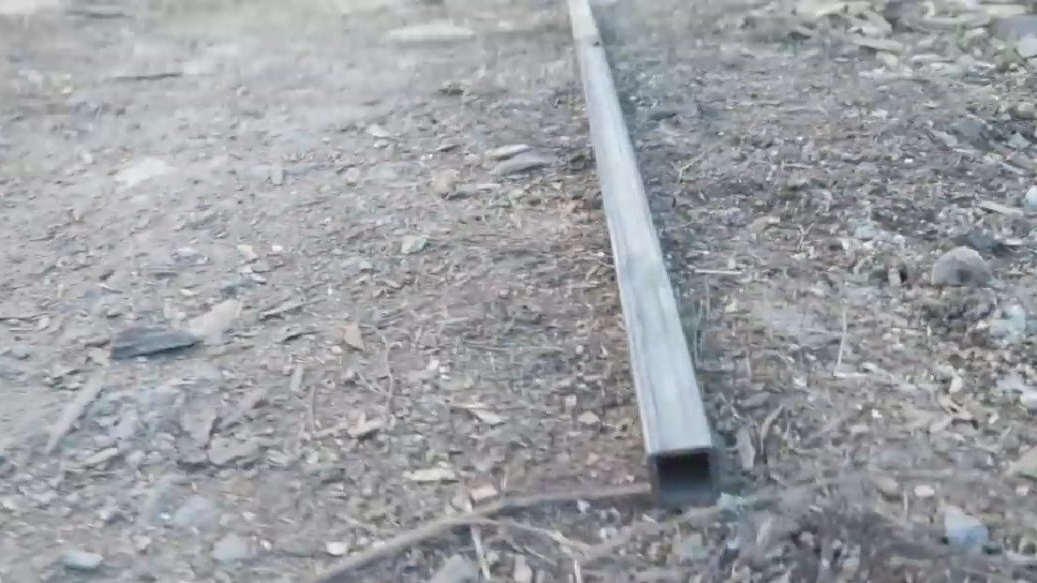
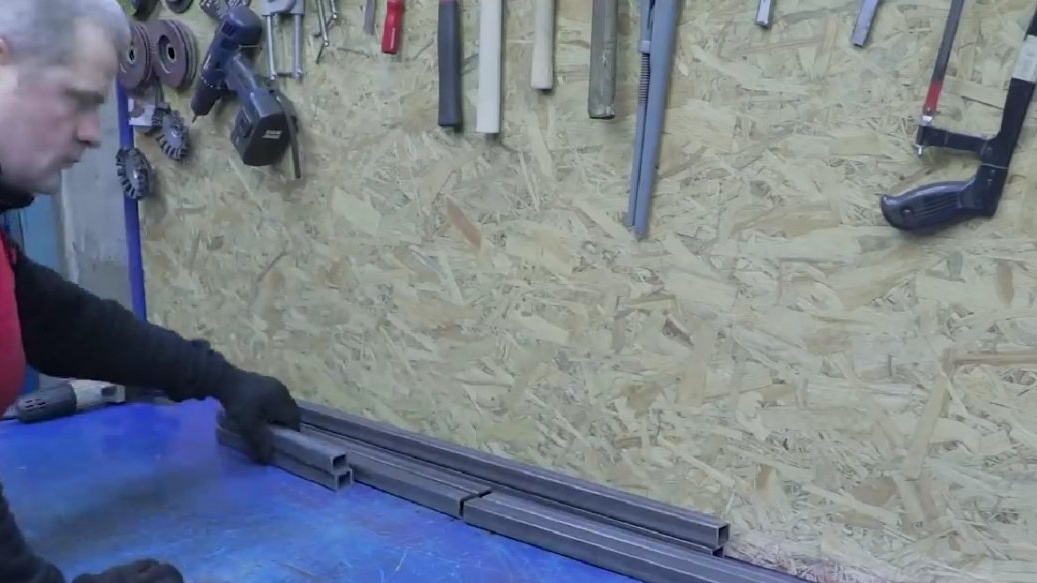
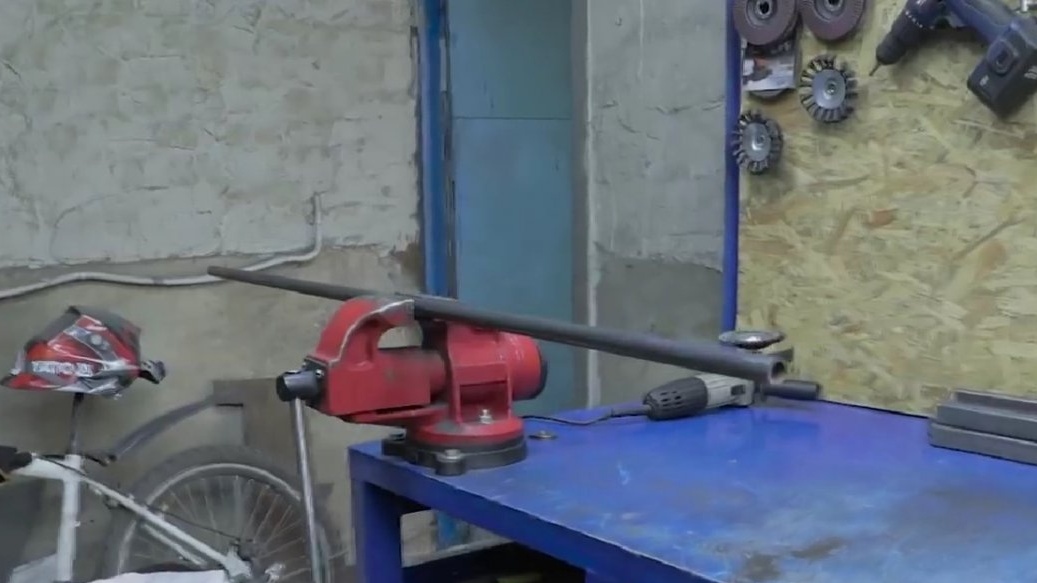
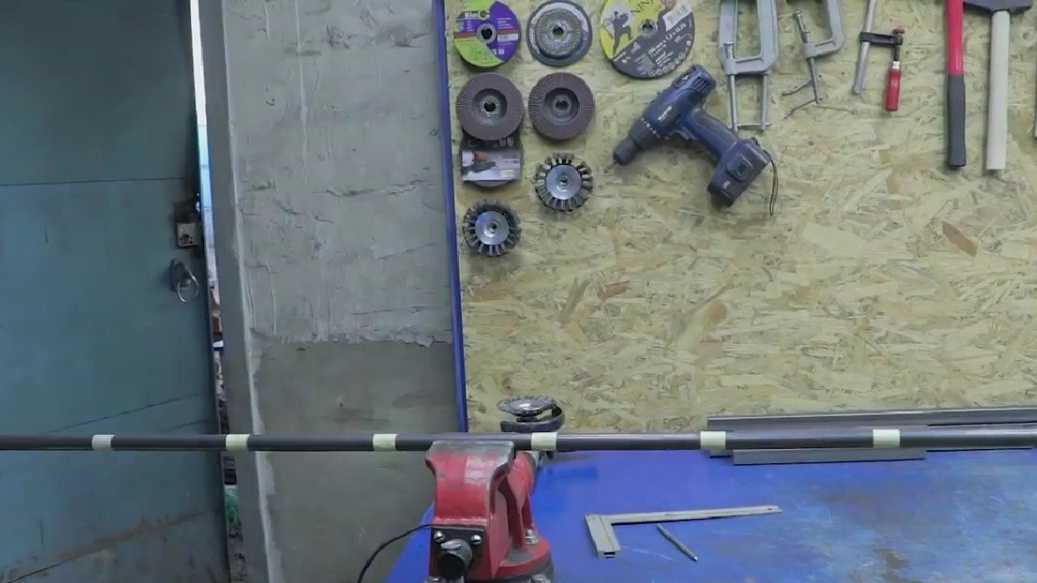
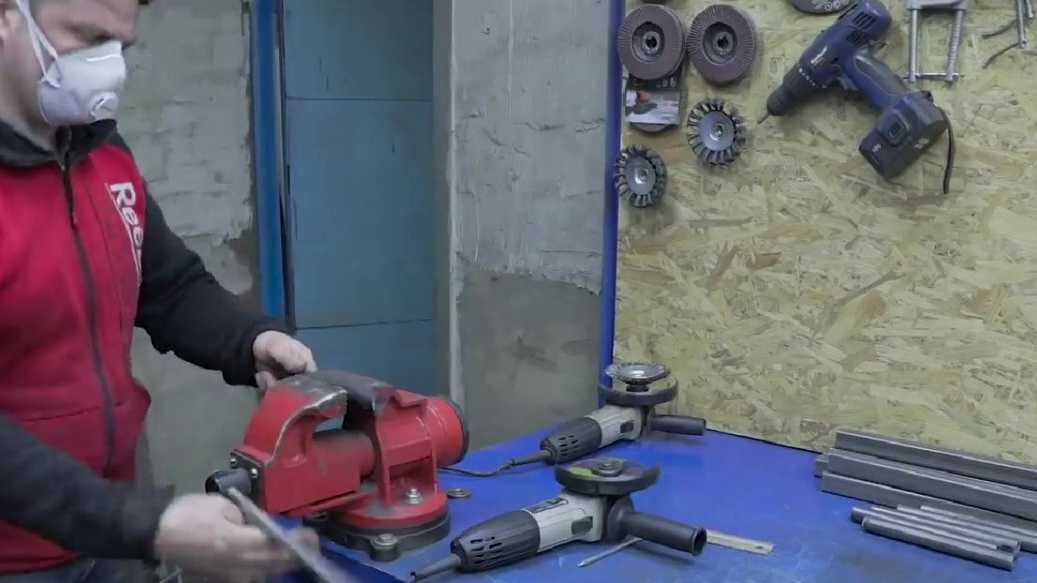
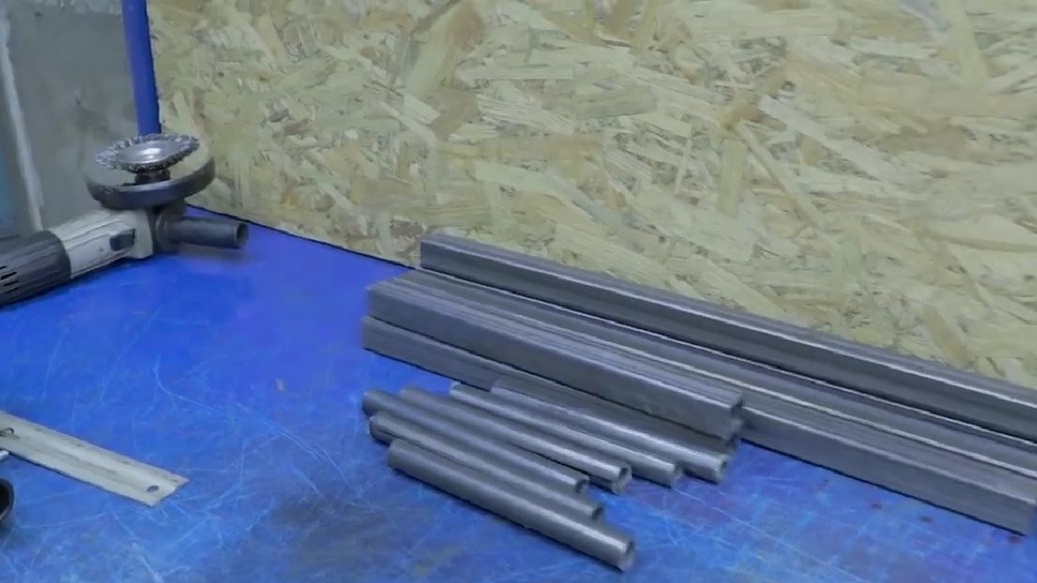
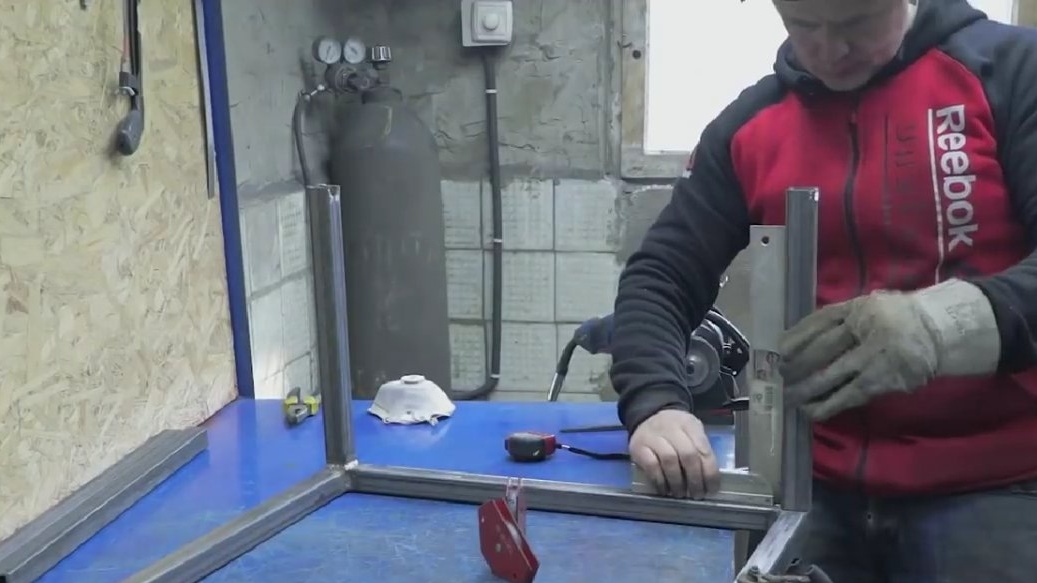
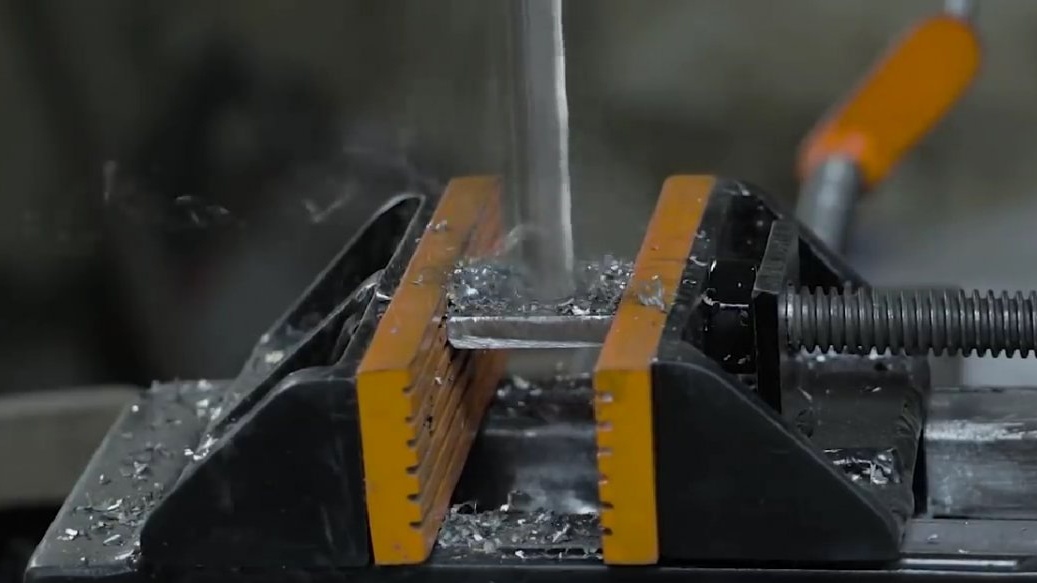
Better to take with a margin just in case. Further, the author began to cut blanks into necessary parts.
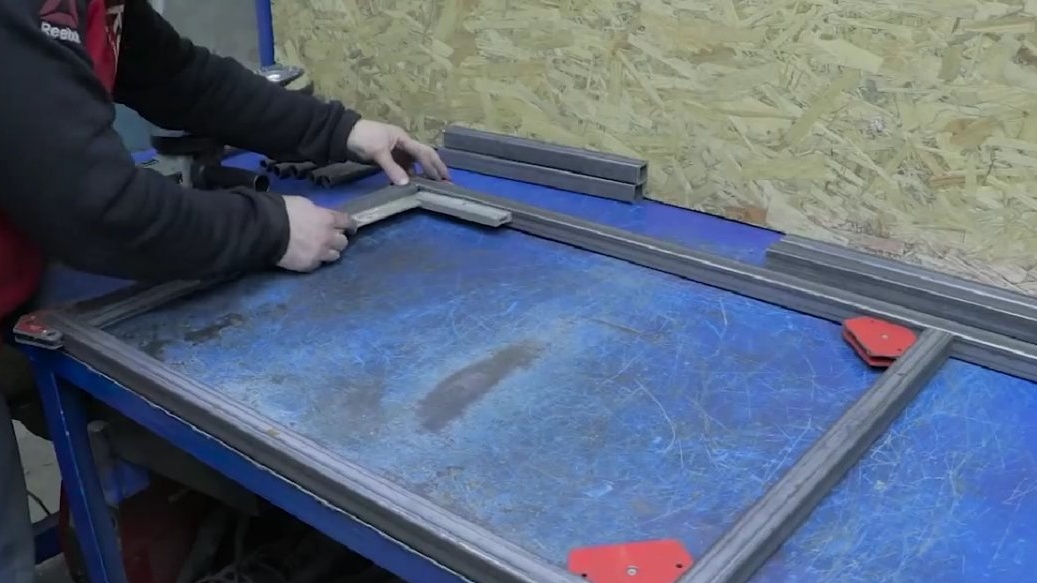
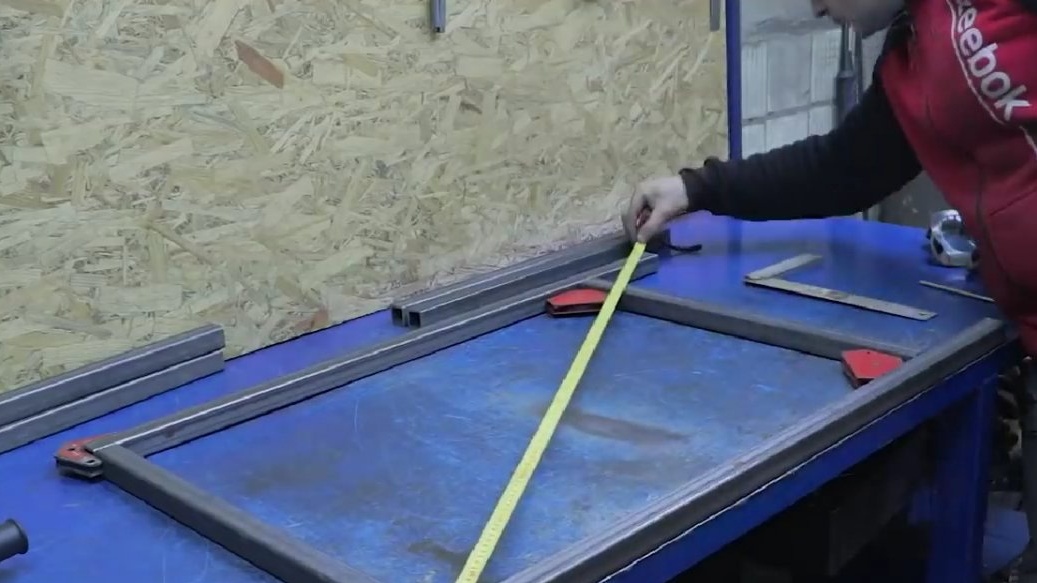
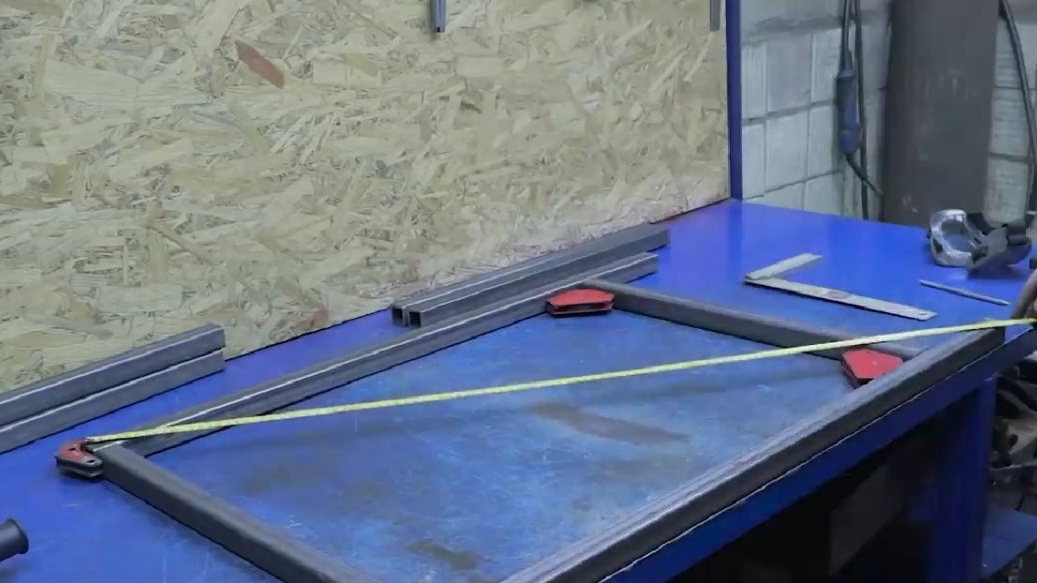
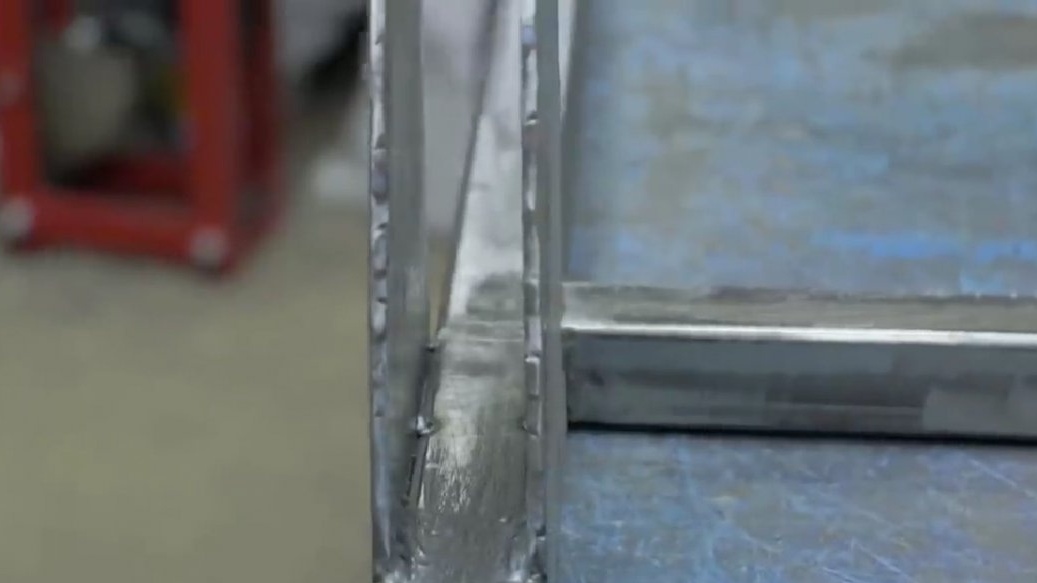
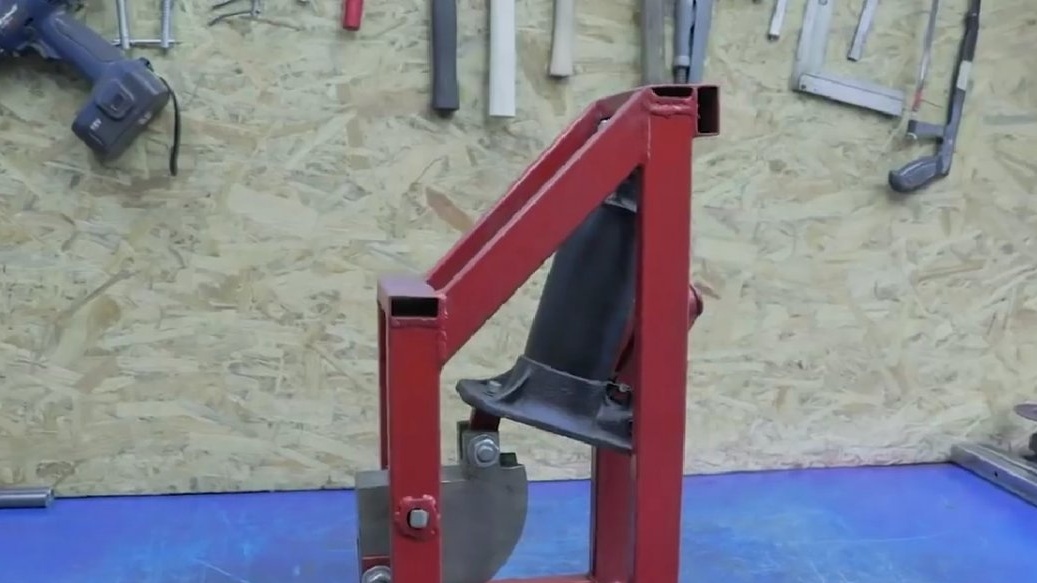
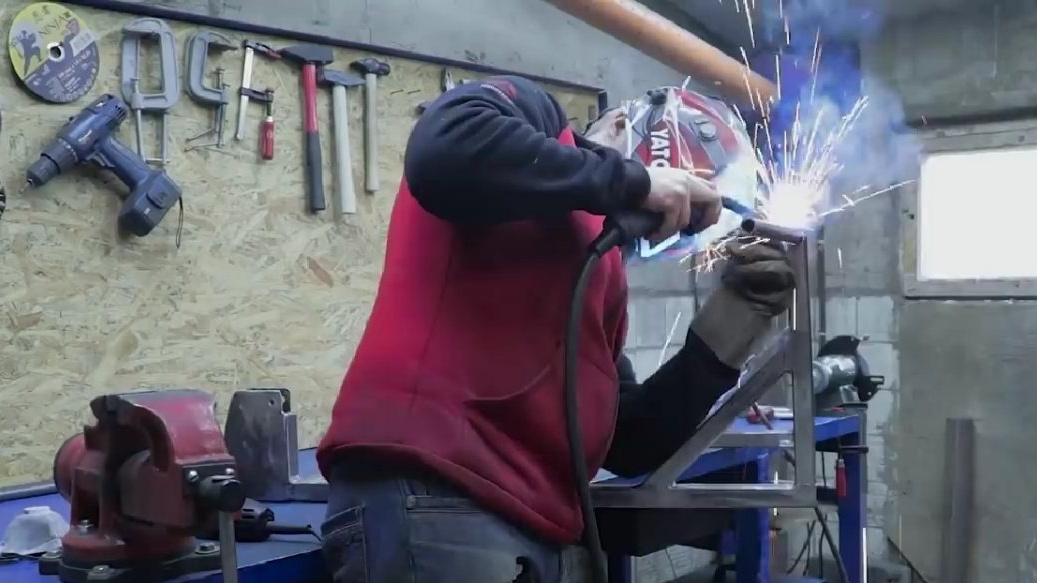
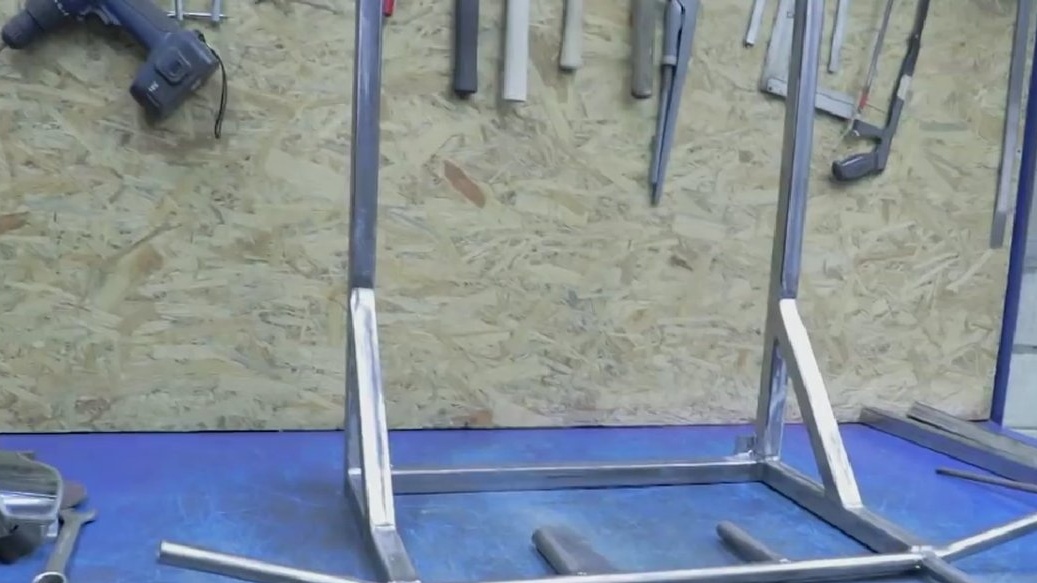
To begin with, it was necessary to weld the frame and use it already, as a basis, from which we will repel. In addition to angles, it is very important not to allow a shift along the diagonals, because nobody will like the distortions.
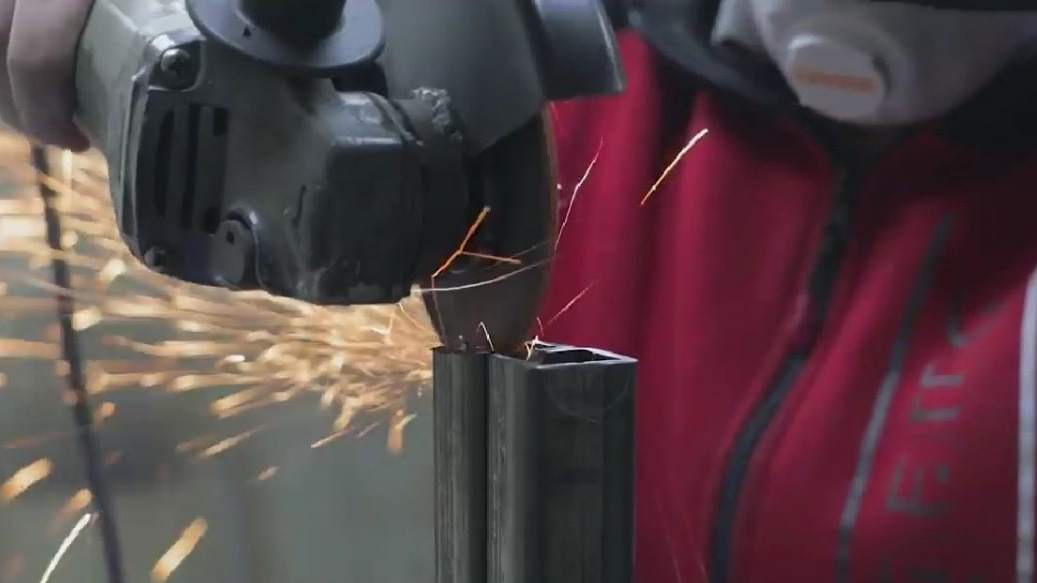
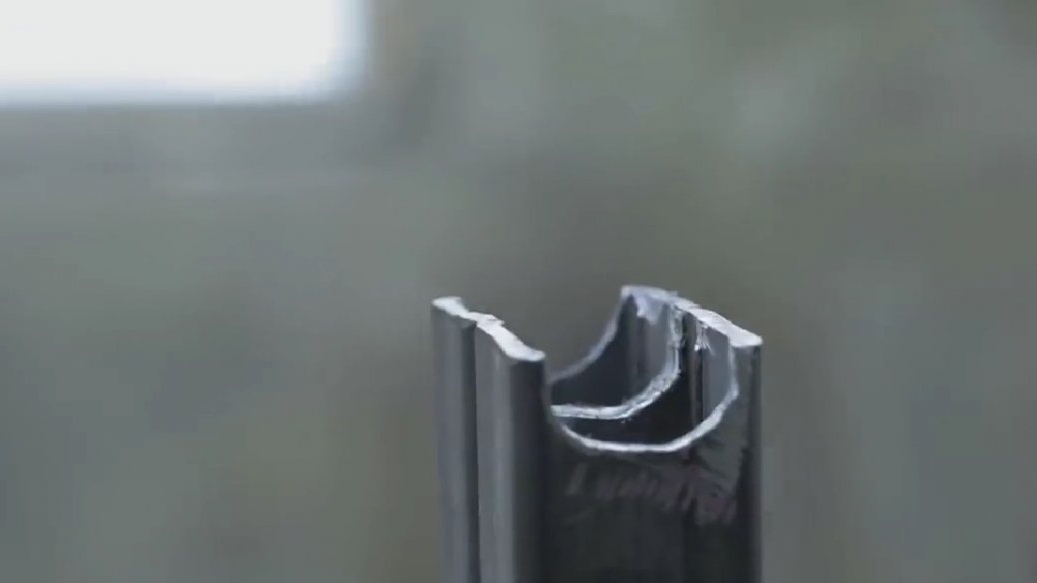
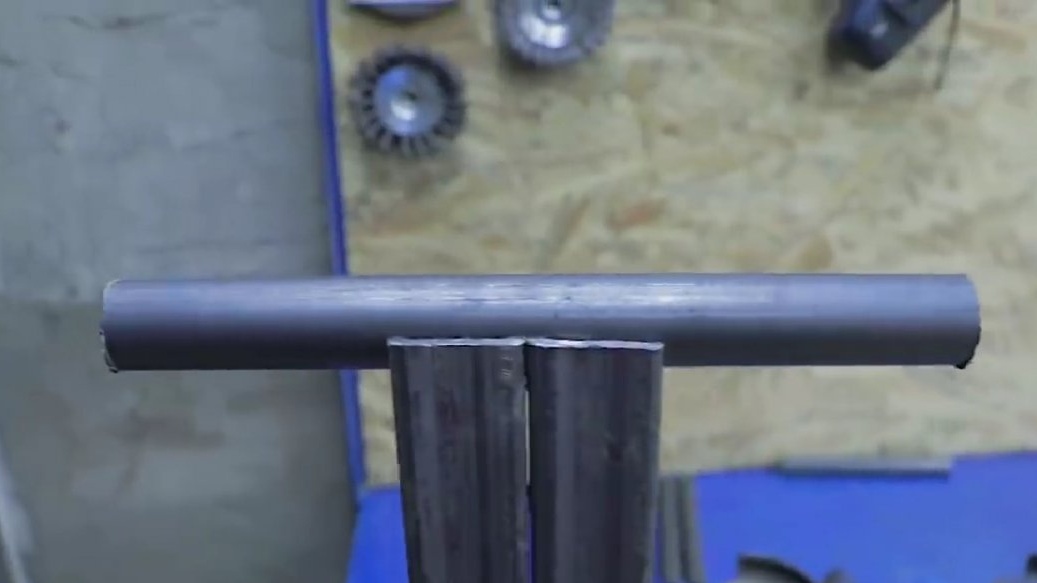
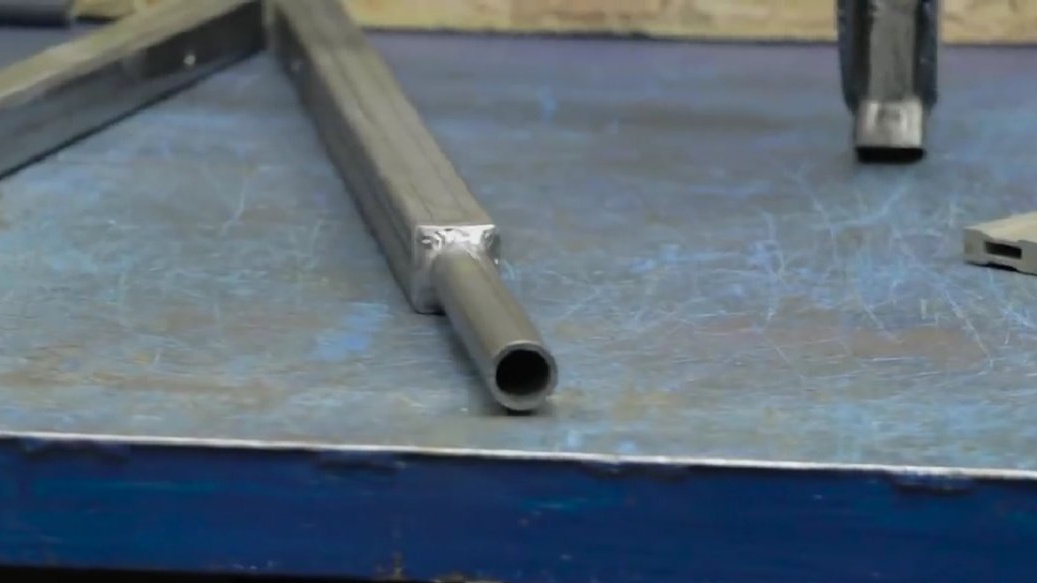
The master made a saddle from a square under a round with the help of a grinder and a cleaning circle. He did not have a crown of suitable diameter, however, the pipe sat perfectly and can be continued further.
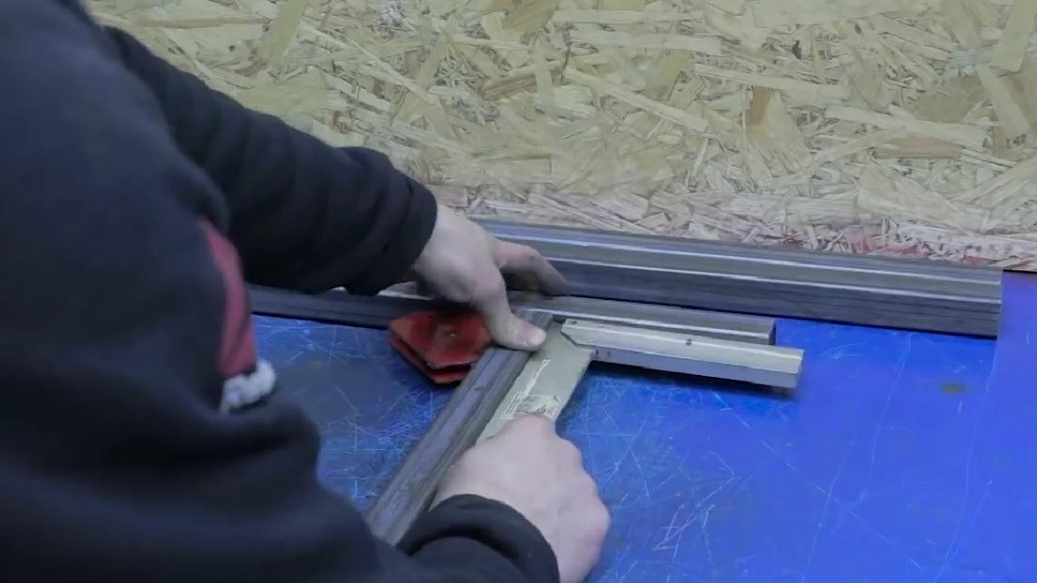
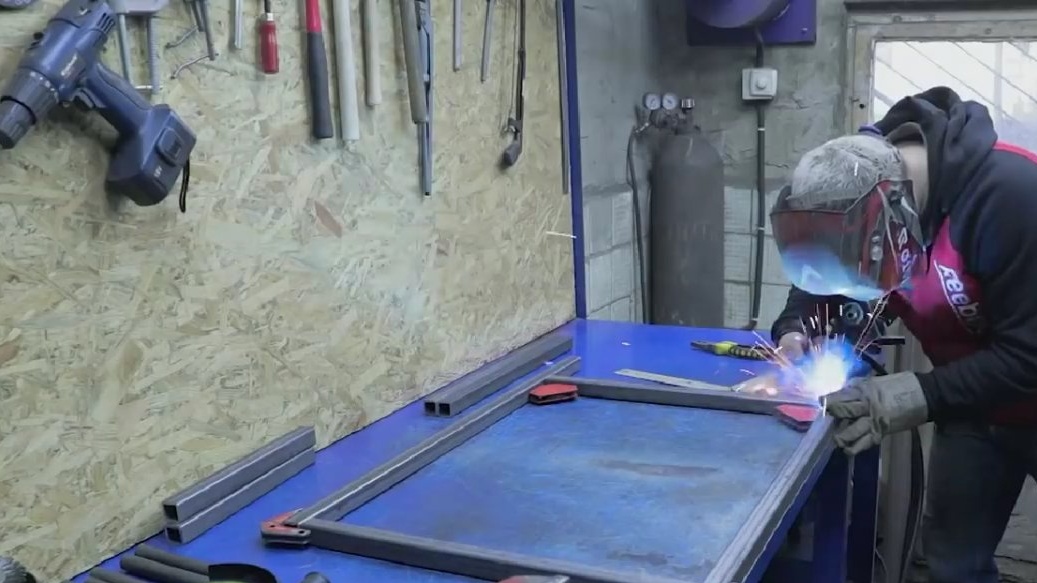
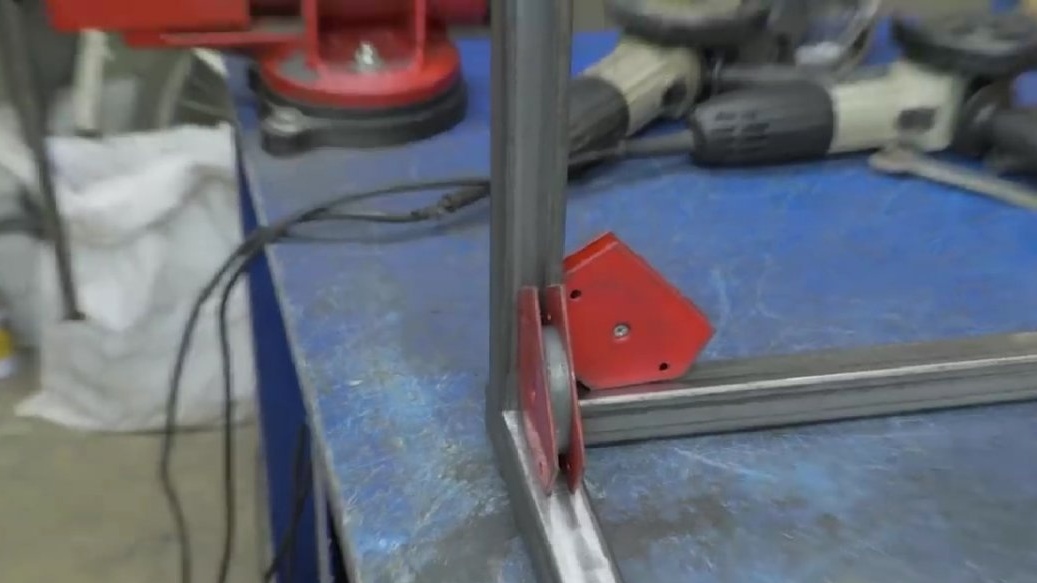
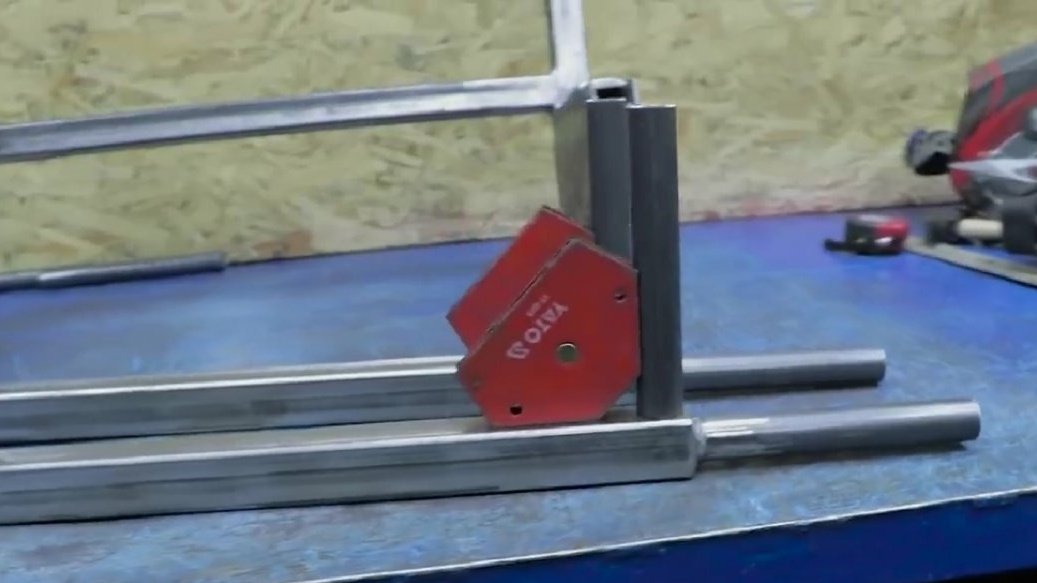
A pair of magnets, and yet an error is present, when welding it is necessary to hold with a square, only in this case a right angle is obtained.
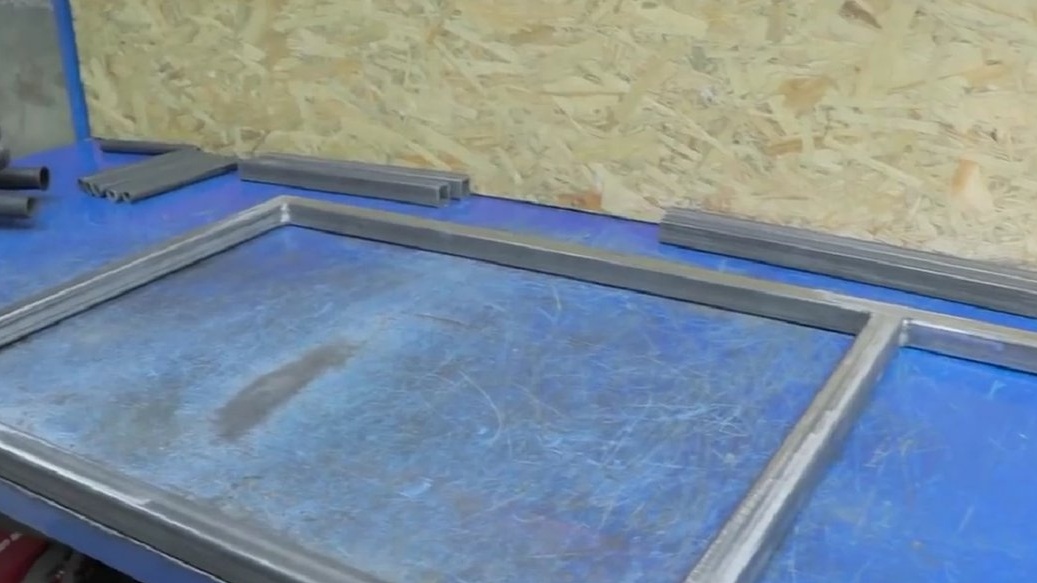
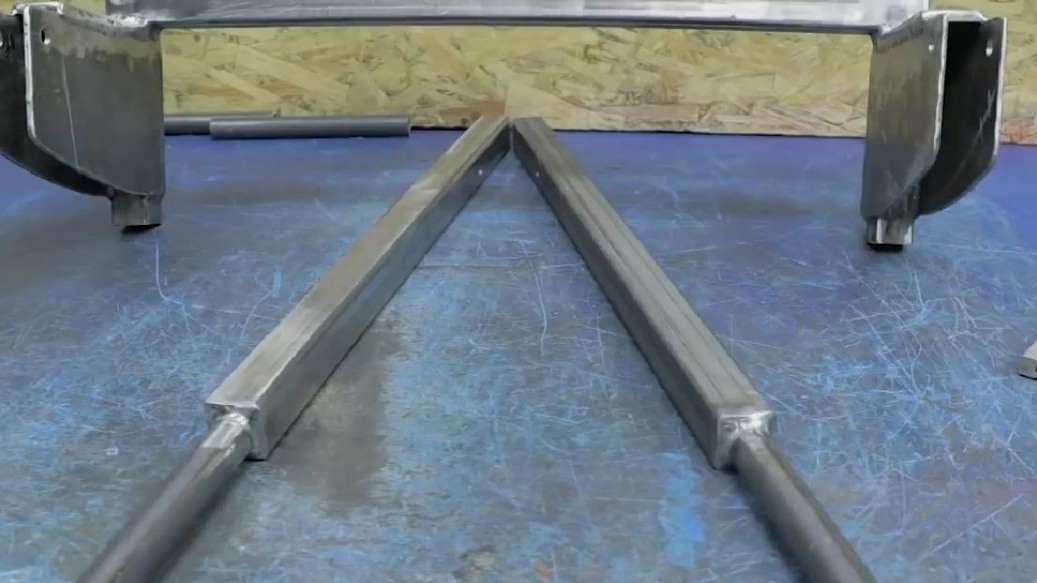
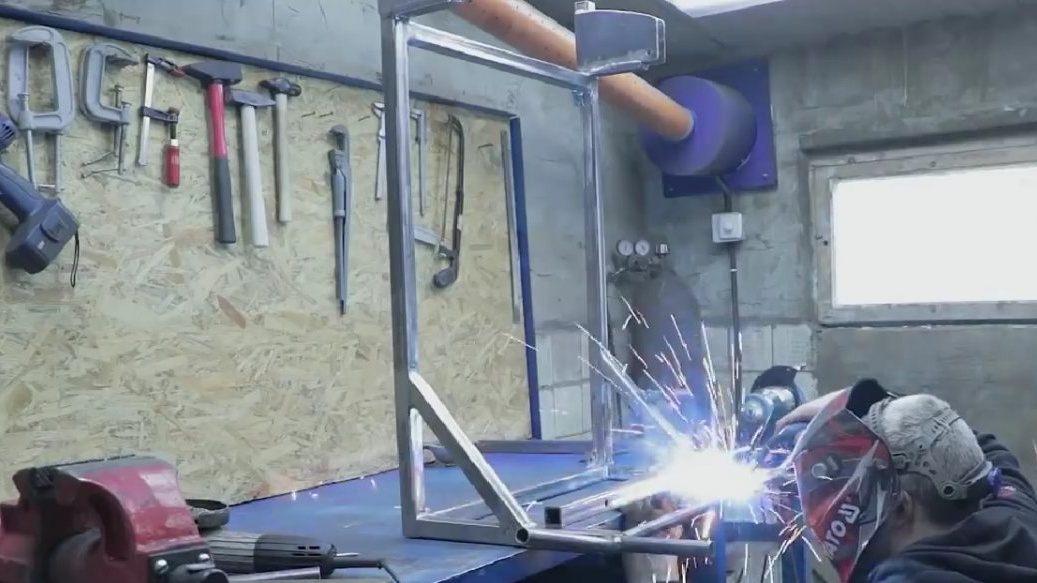
Then we additionally cut a couple of reproaches from a square pipe, ends at 45 degrees, weld into place.
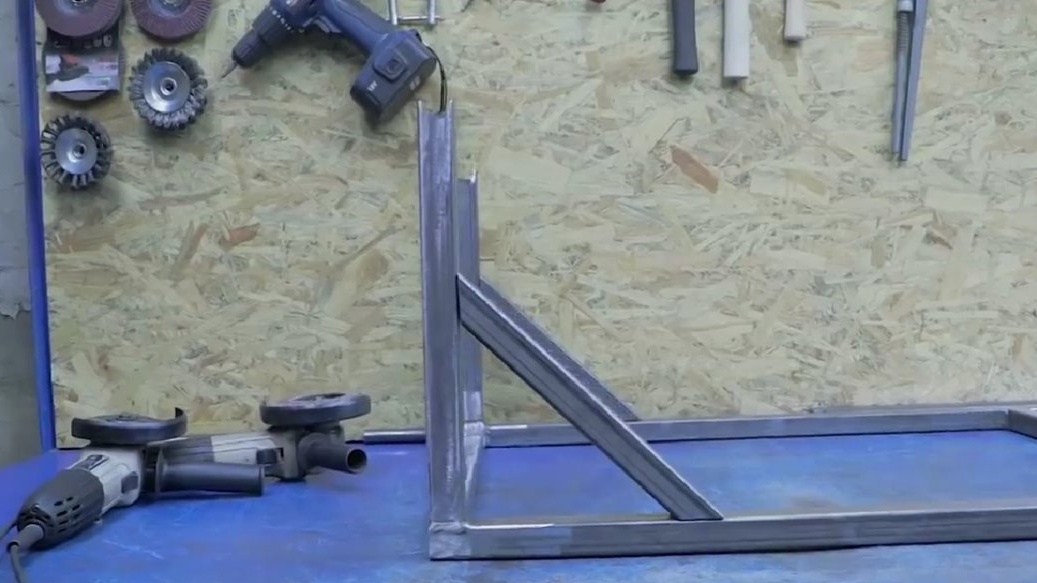
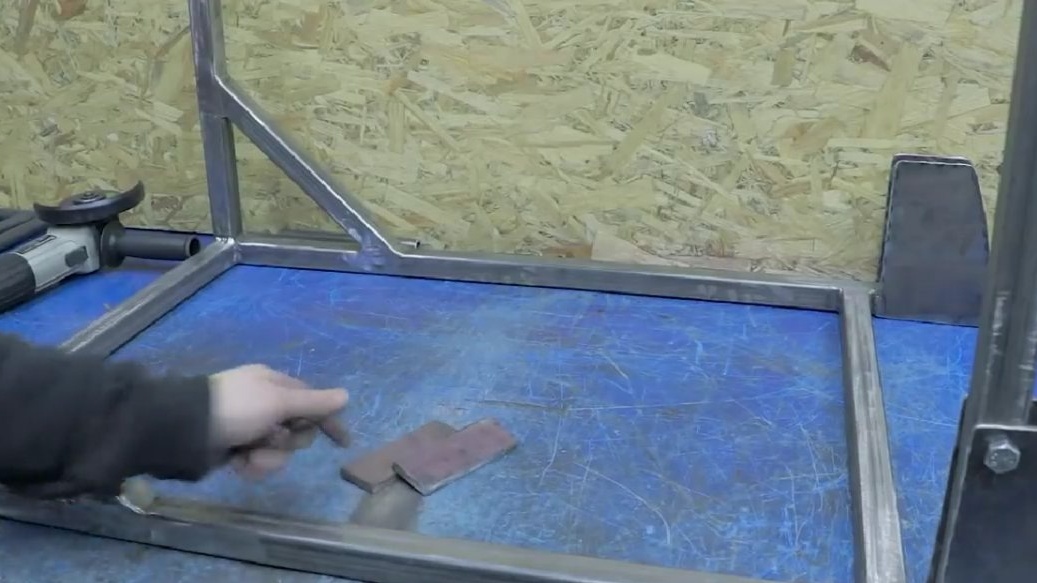
As you can see, something is already beginning to emerge, but this is not even half of everything. With the sheet metal of the author tight, he decided to duplicate the plates by welding them together. The option of electro-rivets was discarded immediately, since in this case it is useless.
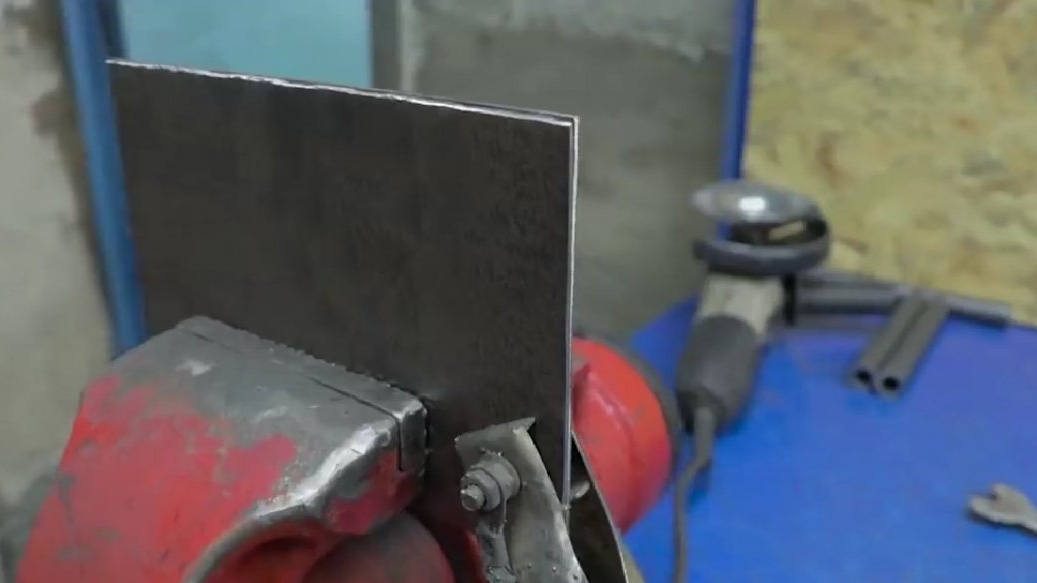
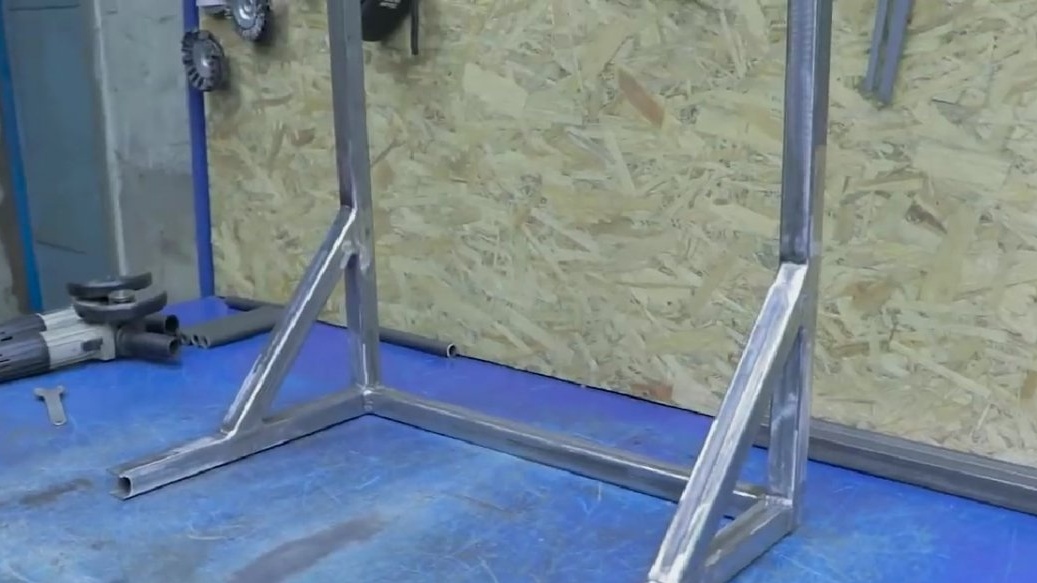
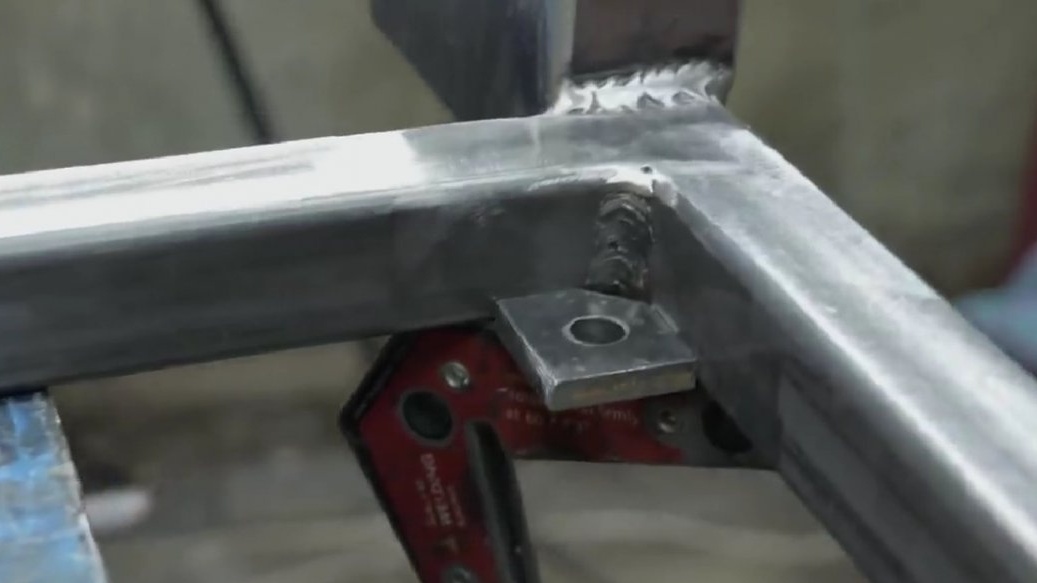
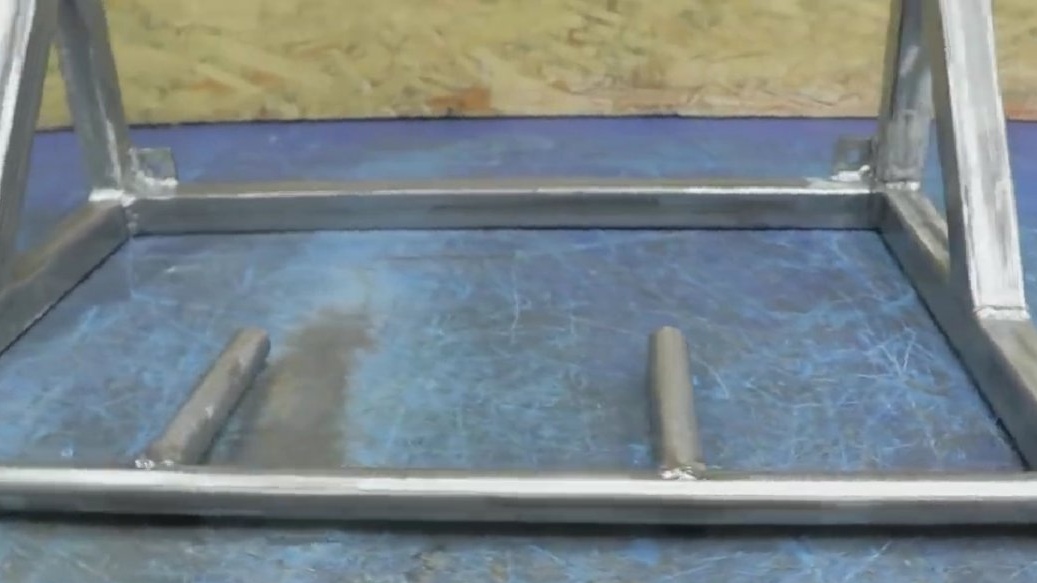
Having cut off the excess and set it in conjunction with the pipes, it is necessary to fix it with clamps and weld to the base in addition a pair of rectangular segments of eight, which will play the role of an emphasis and an amplifier in this part.
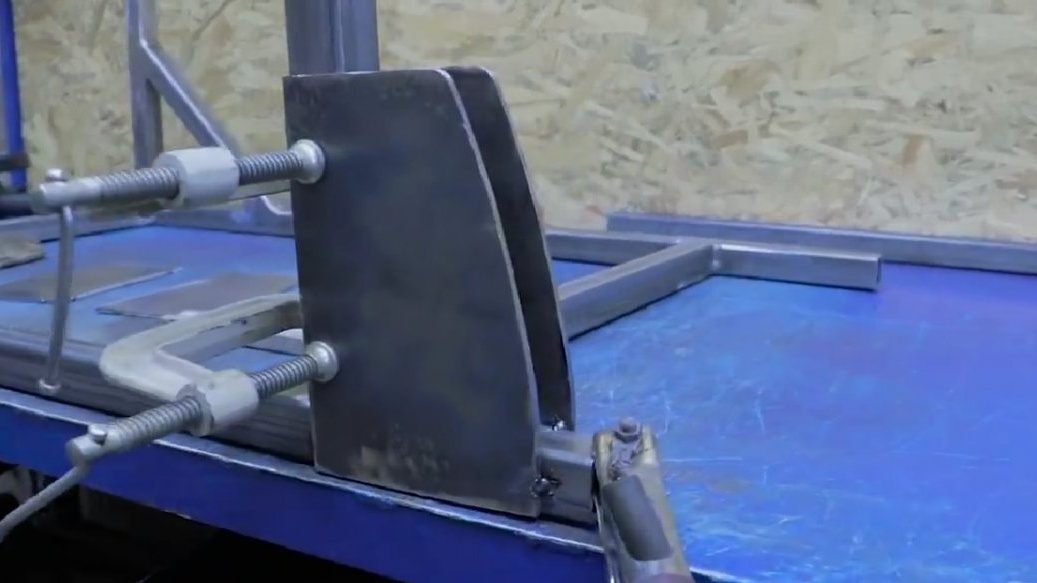
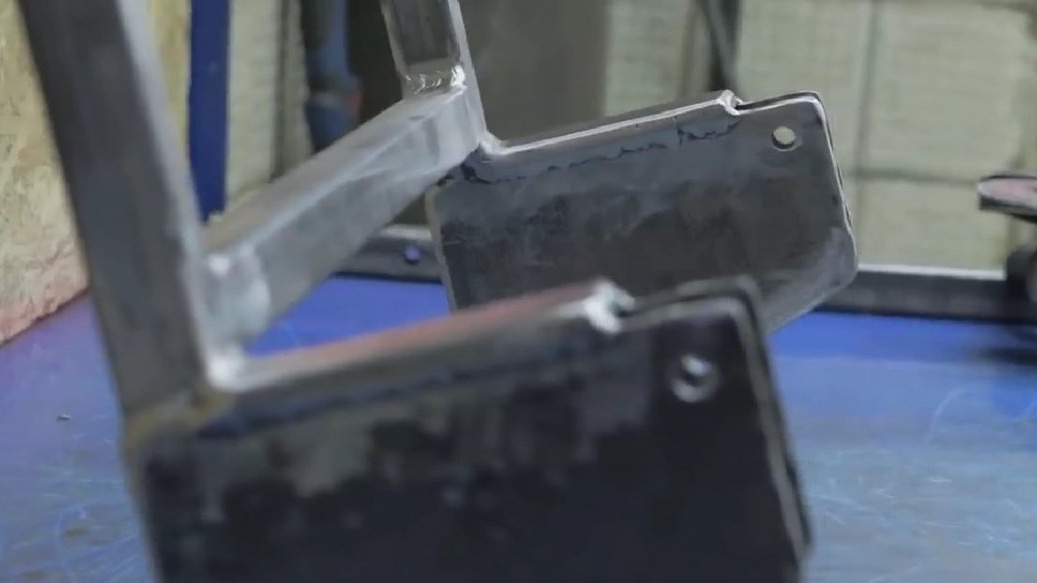
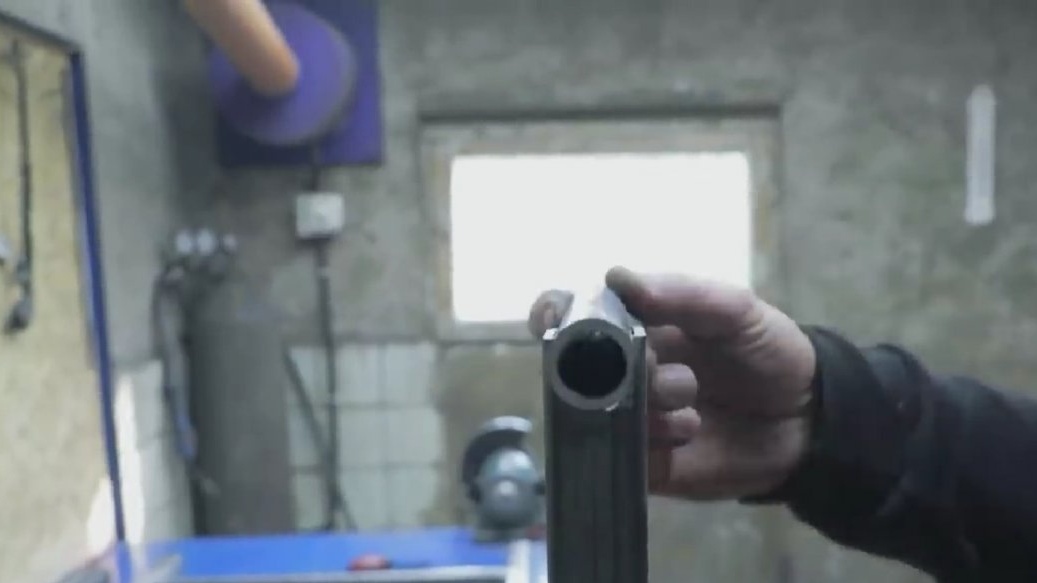
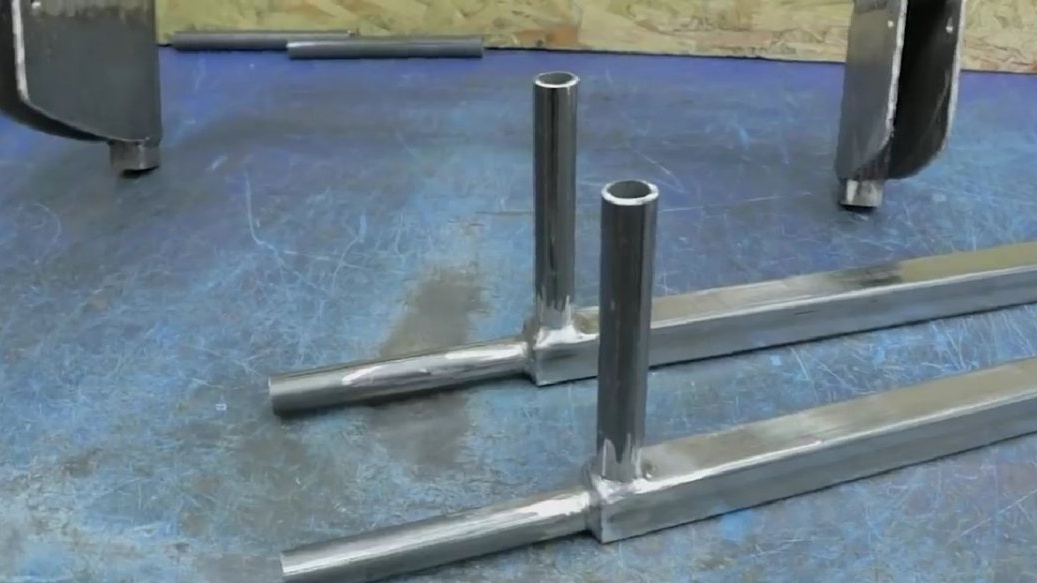
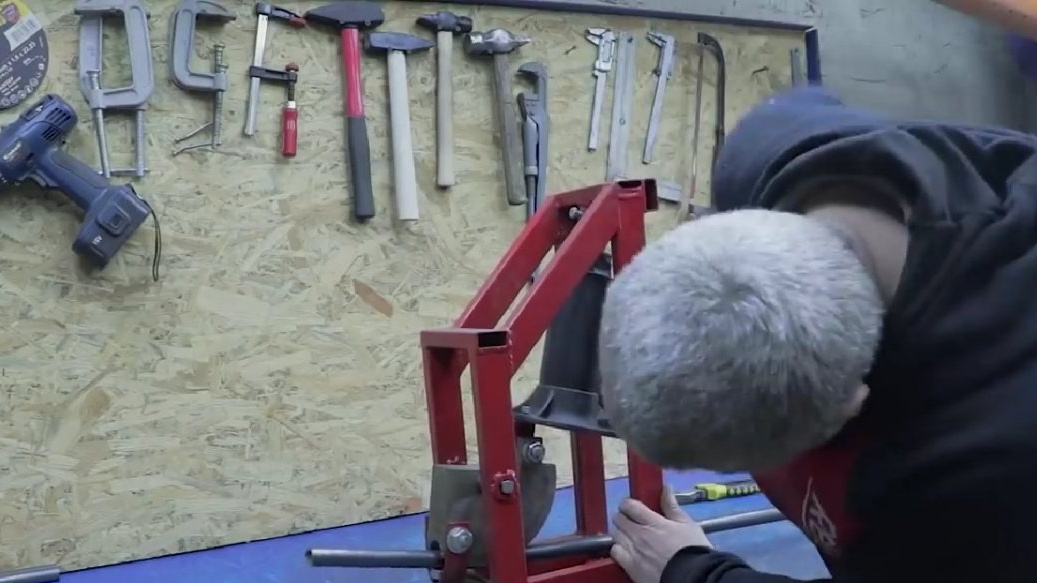
With a minimum clearance, a half-inch pipe is placed in a square, this is not a coincidence, because it was precisely for these parameters that it was chosen.
Handles must be properly welded, because the load in this part will be far from small.
That's not all, you also need a pair of pens at the top.
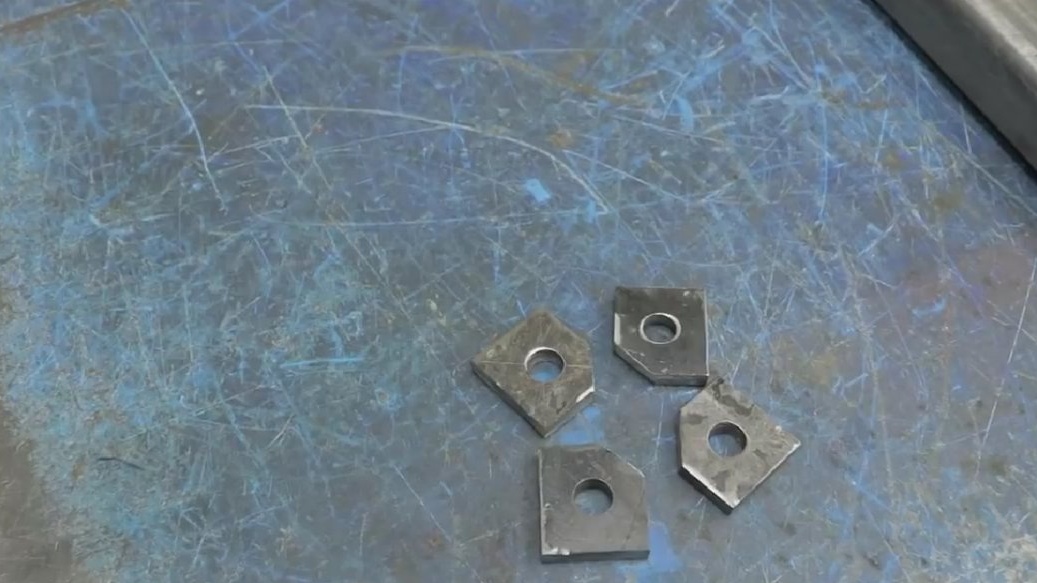
The author decided to make parts for fasteners from six, this will be enough.
Now it was necessary to make a crossbar. A homemade pipe bender (one of the author’s past projects) will help.

With a half-inch pipe, he copes without any effort. The only thing was that the fold had to be made the same on both sides, which actually did not turn out to be a big difficulty. Now also handles for longitudinal grip. Also cut out the saddle for a larger contact area.
The author uses the upper magnet to determine the uniformity of the gap. We also weld handles for a narrow longitudinal grip. In general, the author used the options that could be embodied in this horizontal bar.
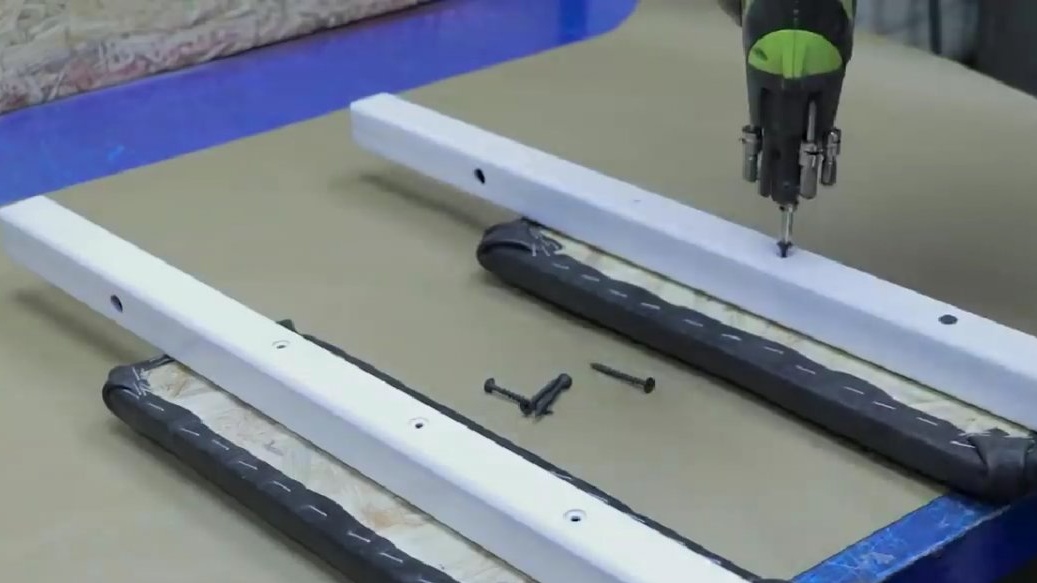
Next, drill holes for screws. For the entire area of the armrest, three will be enough.
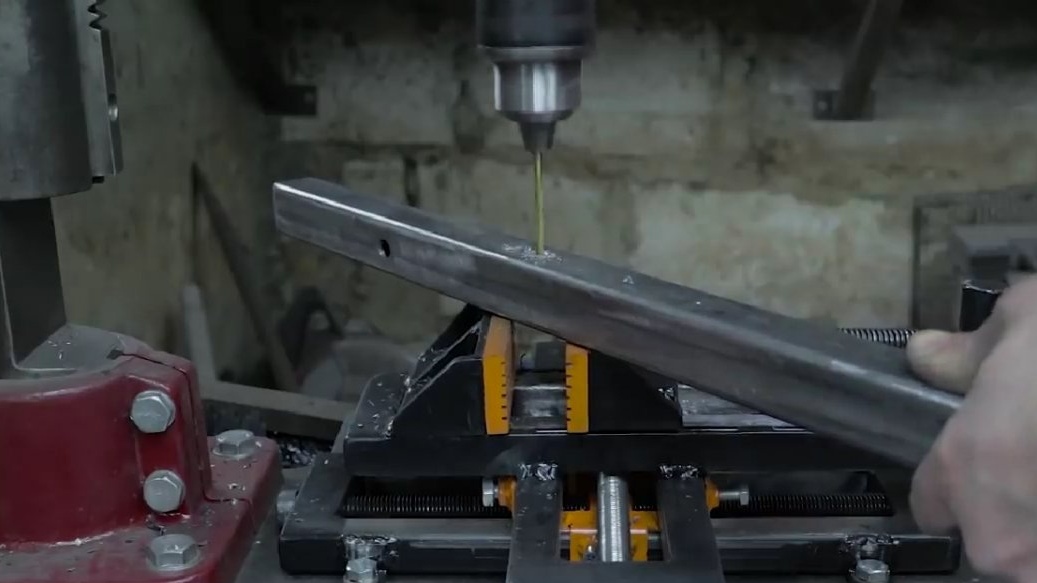
And in order for the design to look neater and the caps not stick out, the holes must be countered with a large diameter drill.
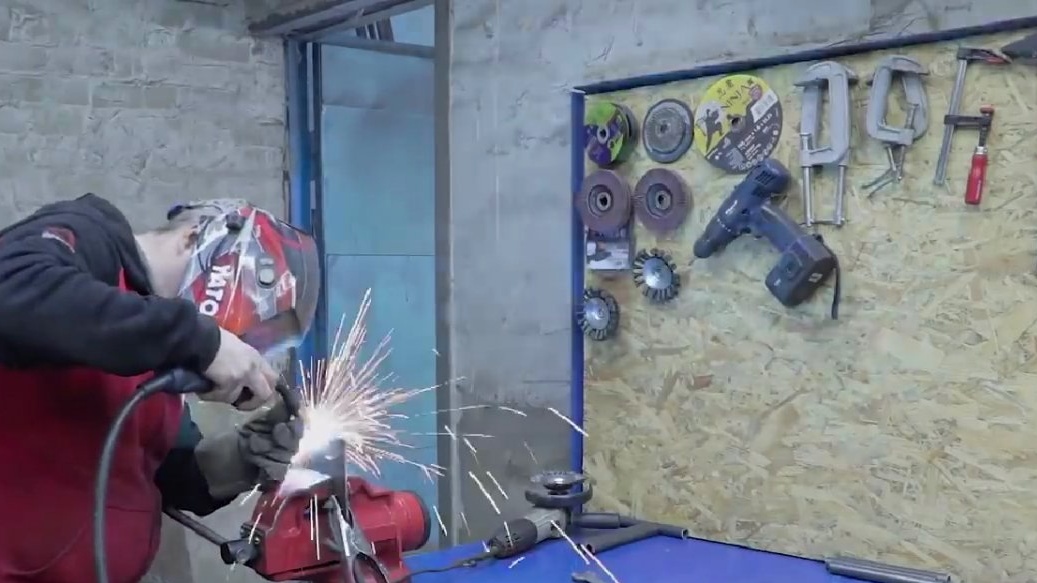
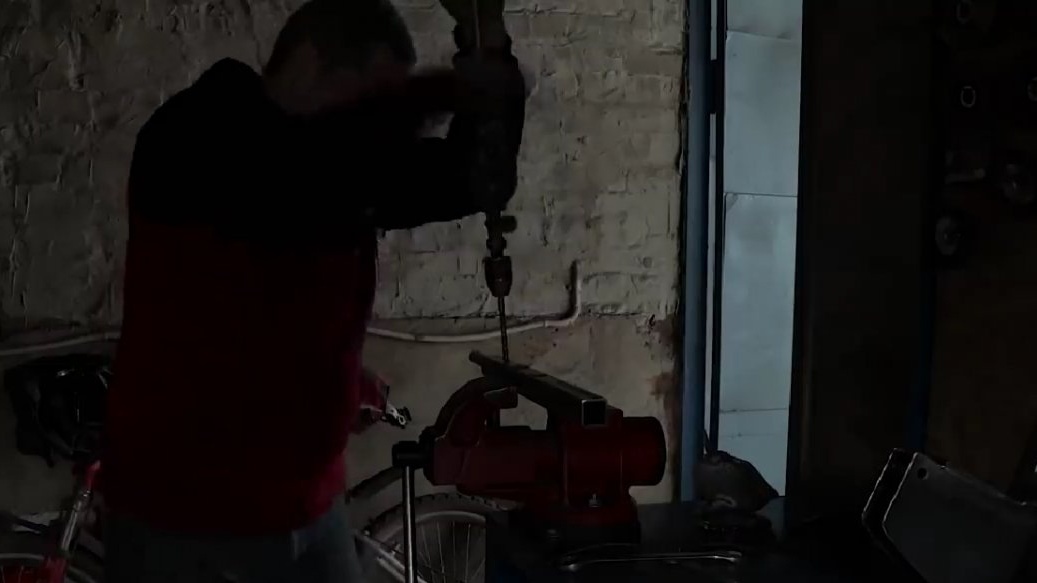
And then suddenly the lights went out, but there was very little left. The author found a long-abandoned hand drill under a workbench.
Then 2 layers of soil and 2 layers of paint, be sure to pre-degrease.
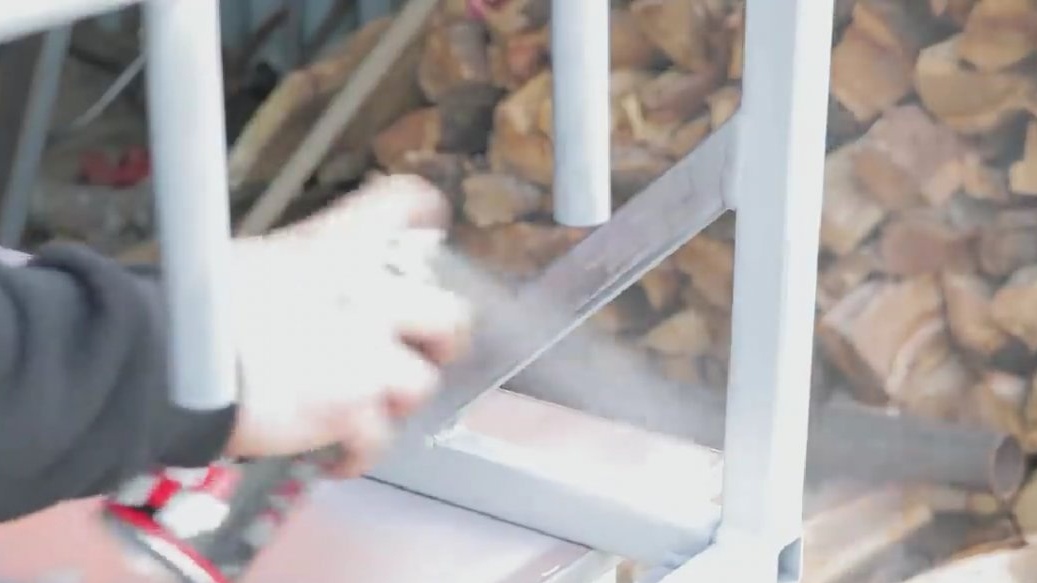
The horizontal bar in such conditions to arrange for painting was quite difficult. A solution was found, the author propped it up with a pipe.

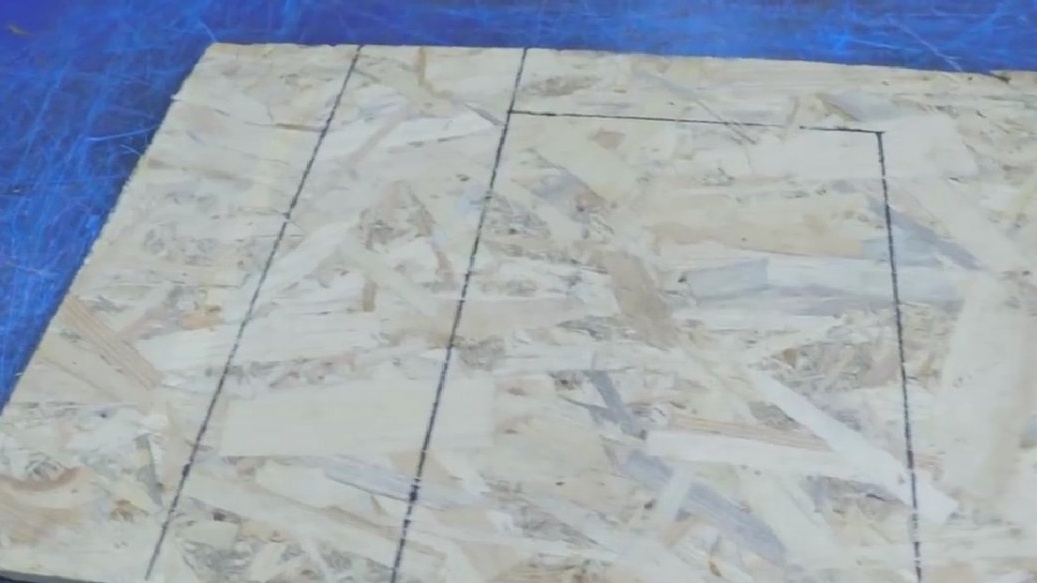
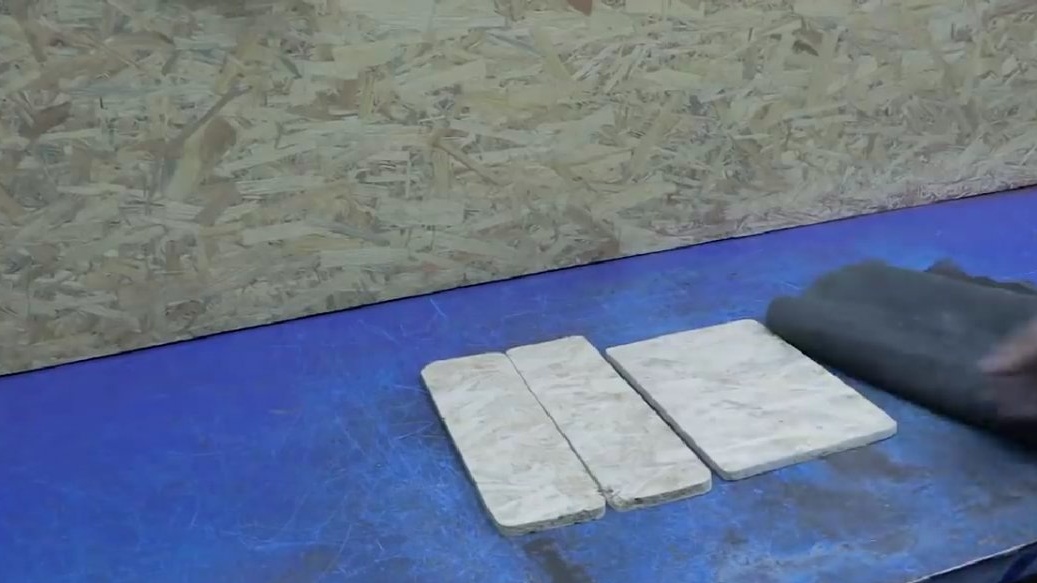
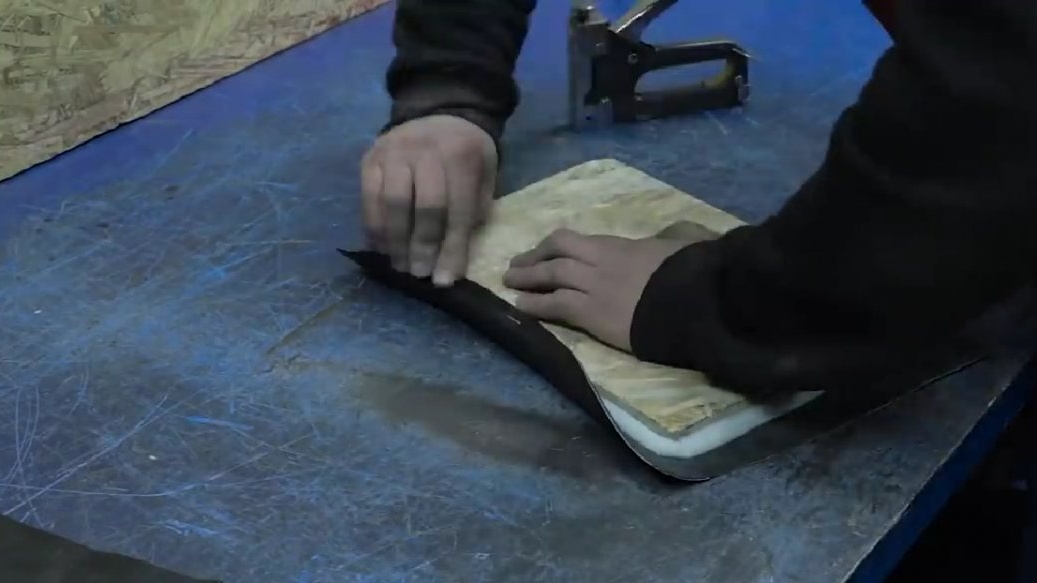
Now it was necessary to cut the armrests and emphasis under the lower back. As a basis of OSB "ten".

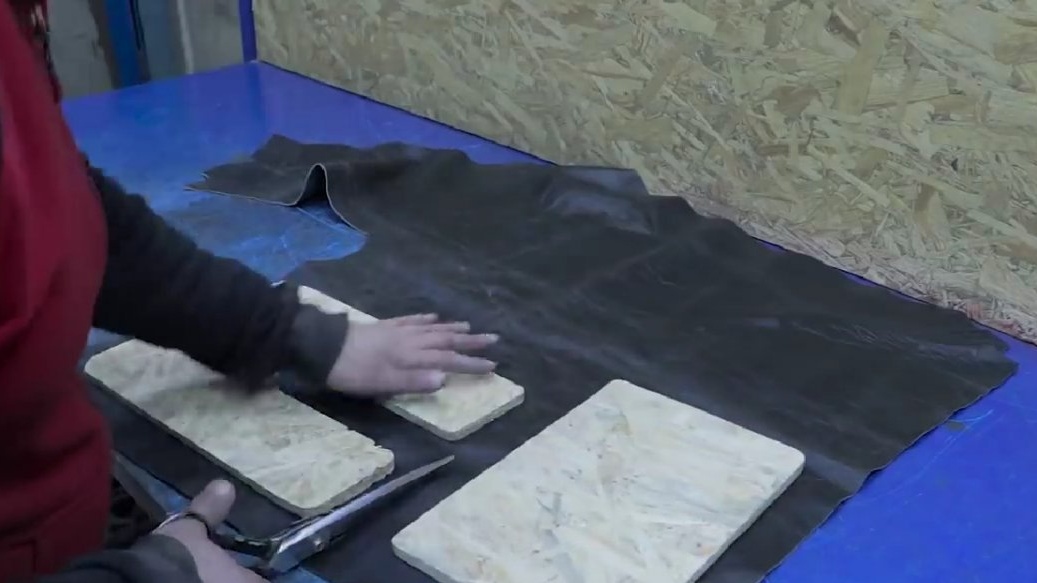
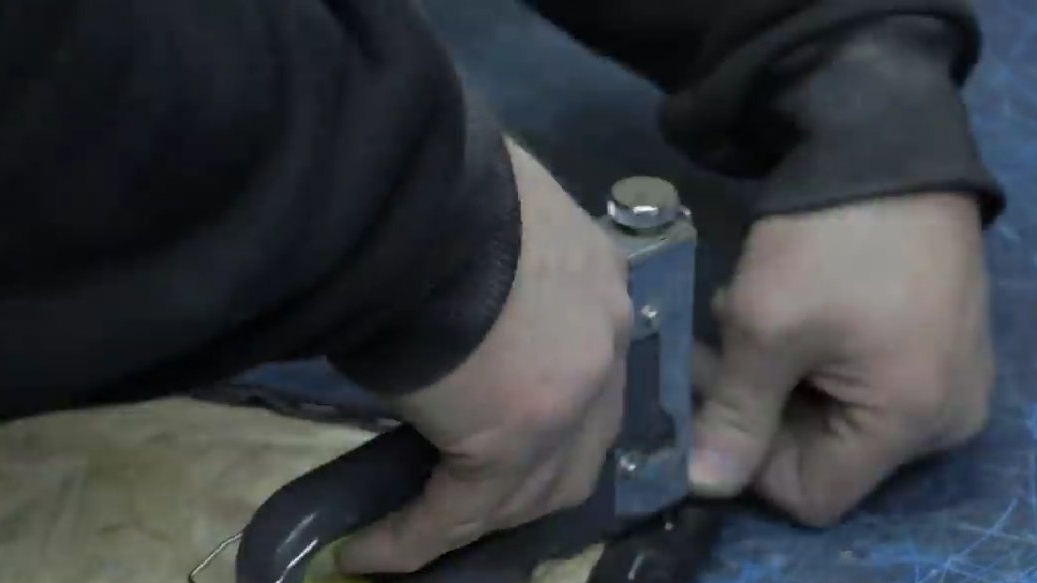
For upholstery, the master had only leather, good dense skin. We assume that the friend is doubly lucky, the leather interior for the horizontal bar is really cool and will not be demolished.
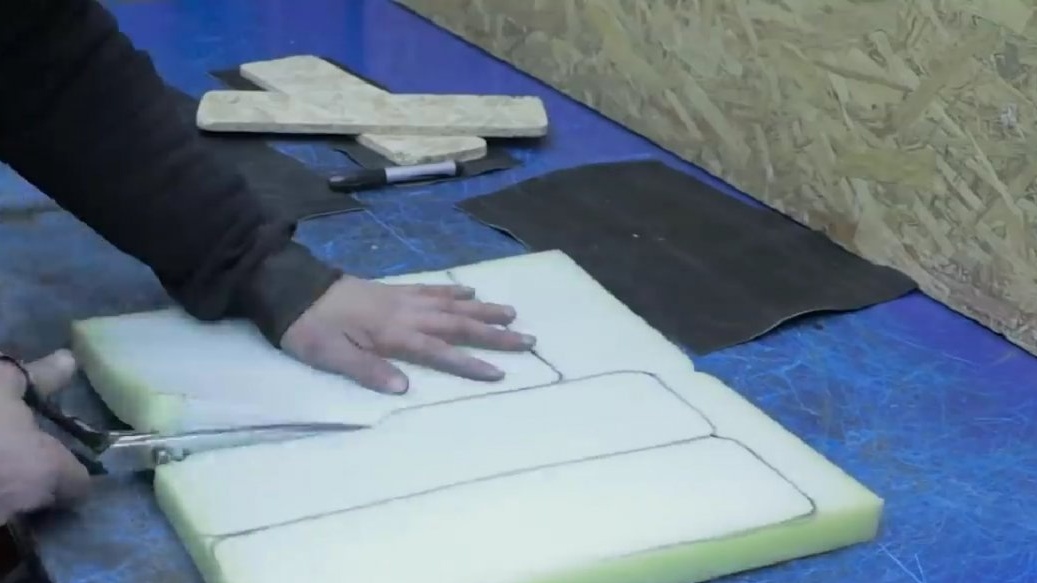
Foam rubber “three” at first seemed too thick, but having attached and pressed it turned out to be quite suitable.
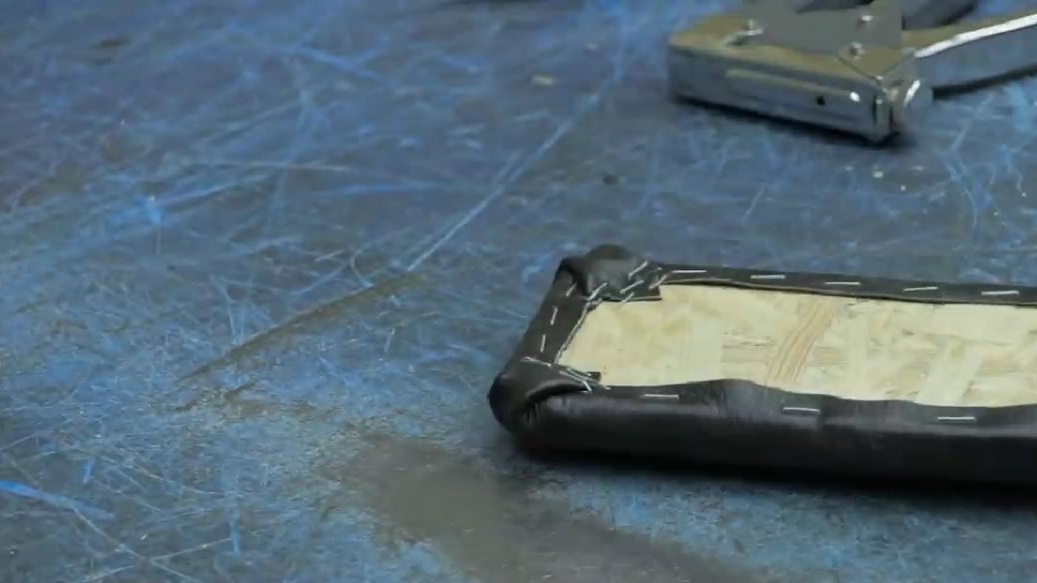
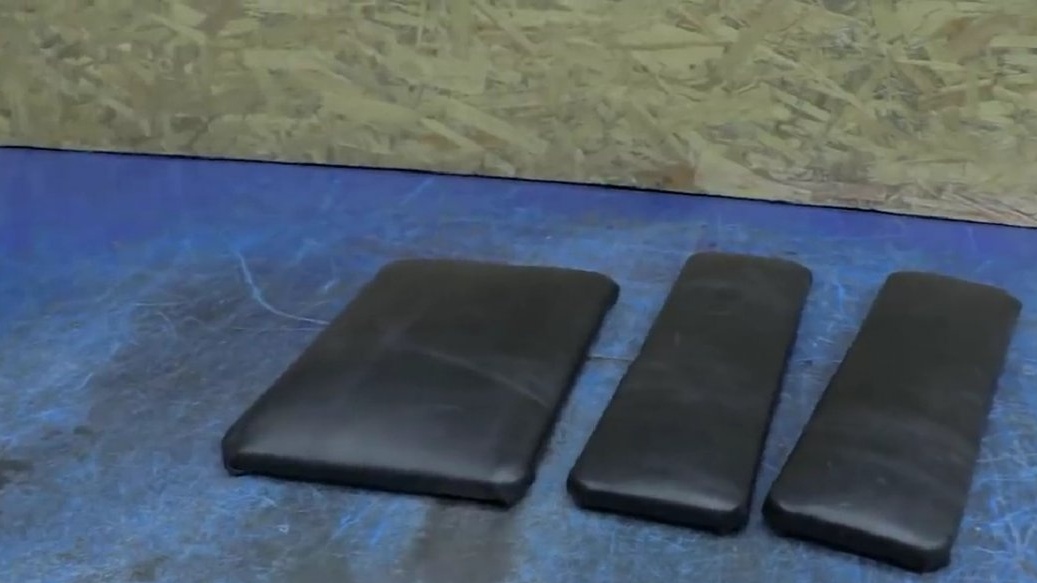
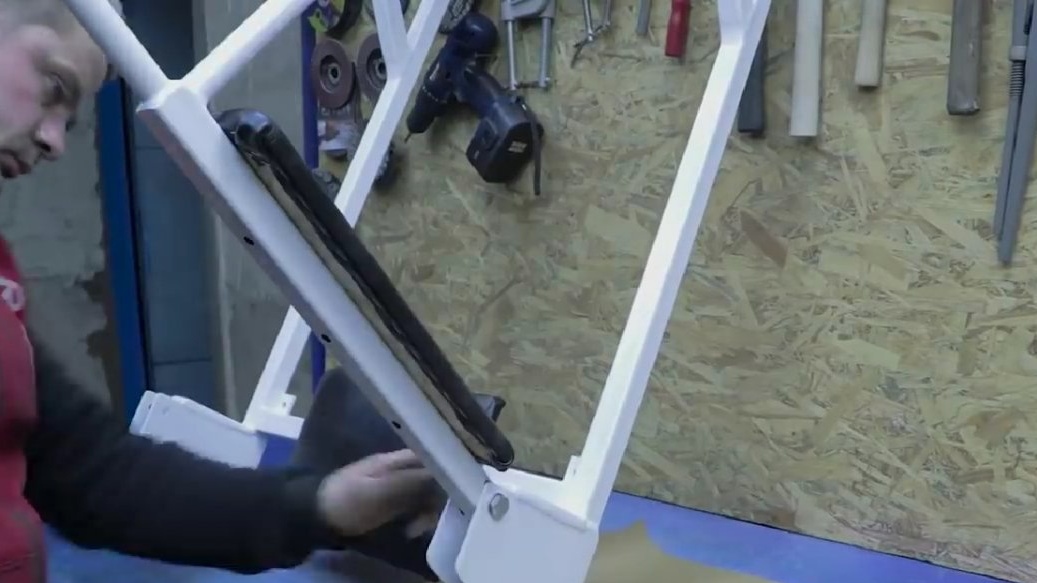
Now it remains only to fasten the newly made elements and you can put the bars in their place.
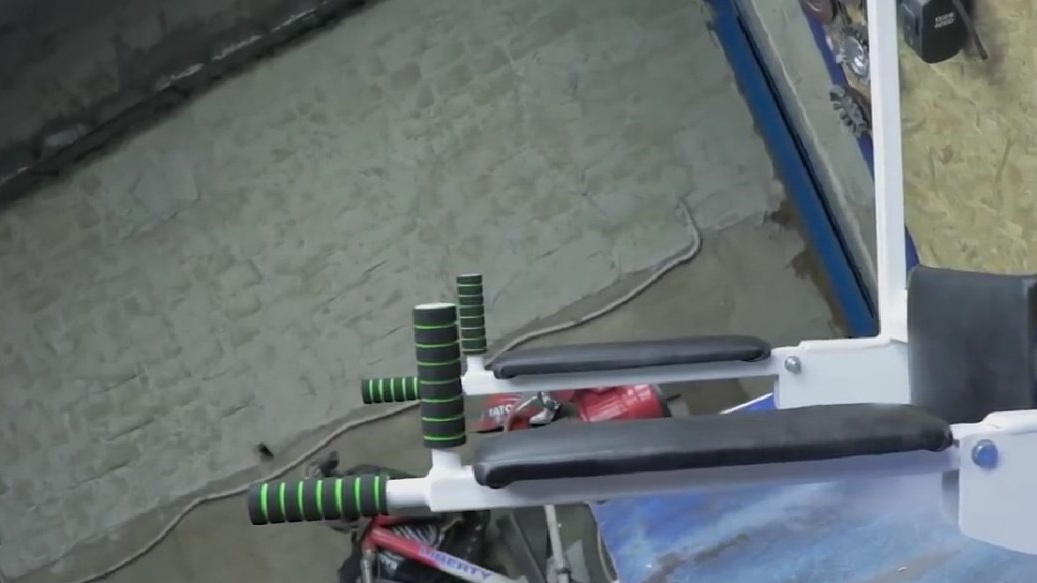
The author bought soft pens locally, also in the description under the video (link "Source") the author left a link to similar pens already half-way.
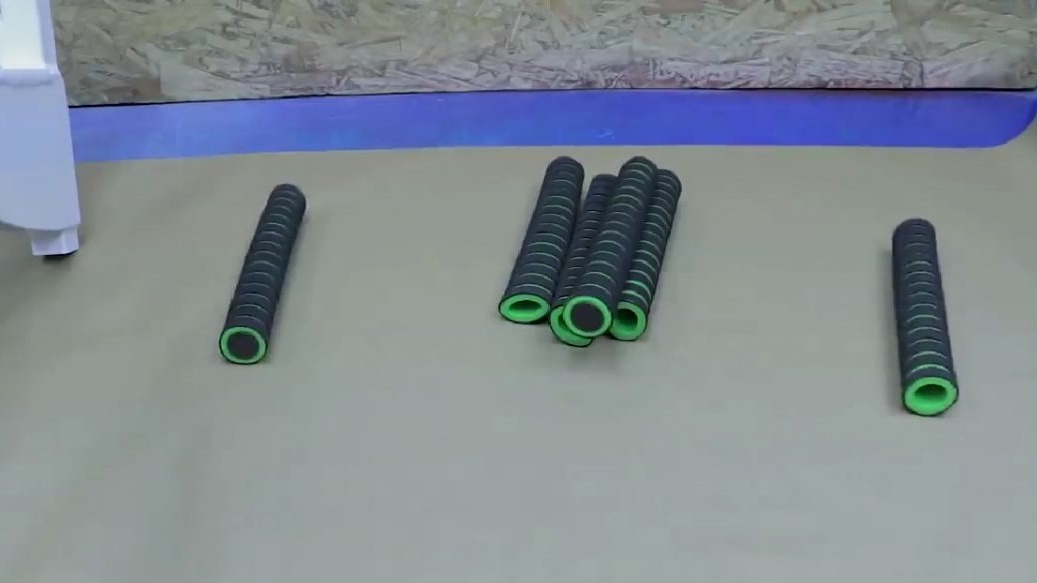

The handles are easily enough put on the tubes, the only thing is that the plugs did not fit in diameter.

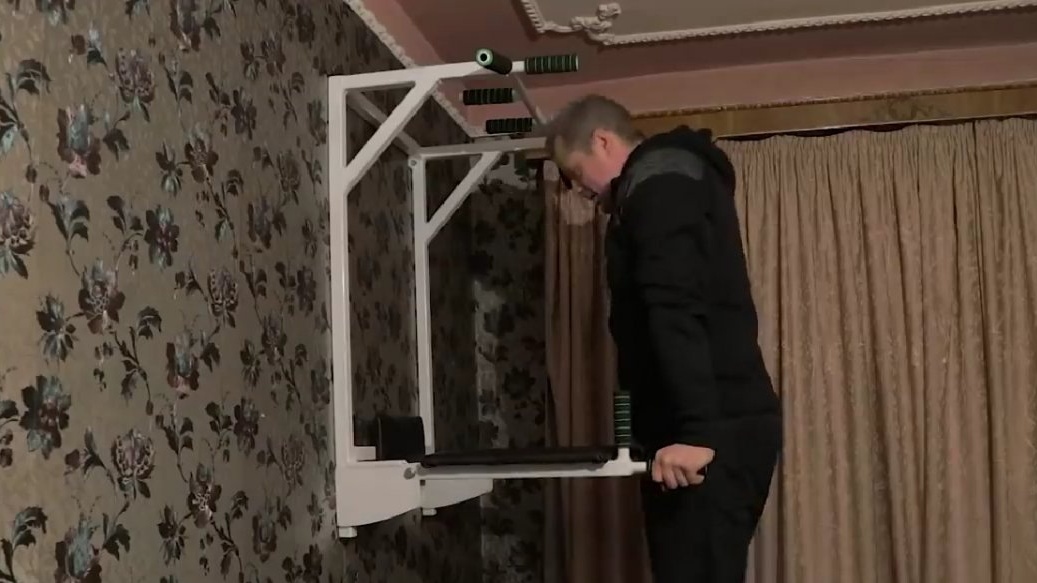
Actually, that’s the whole assembly. The horizontal bar-bars turned out not bad. But this is not the final, because it still had to be installed and tested on the spot, and after which it is already possible to draw any conclusions.
Typical courtyard of one of the sleeping areas of the city. The author brought a horizontal bar and waits until a friend comes down to help, because the horizontal bar turned out to be quite weighty.

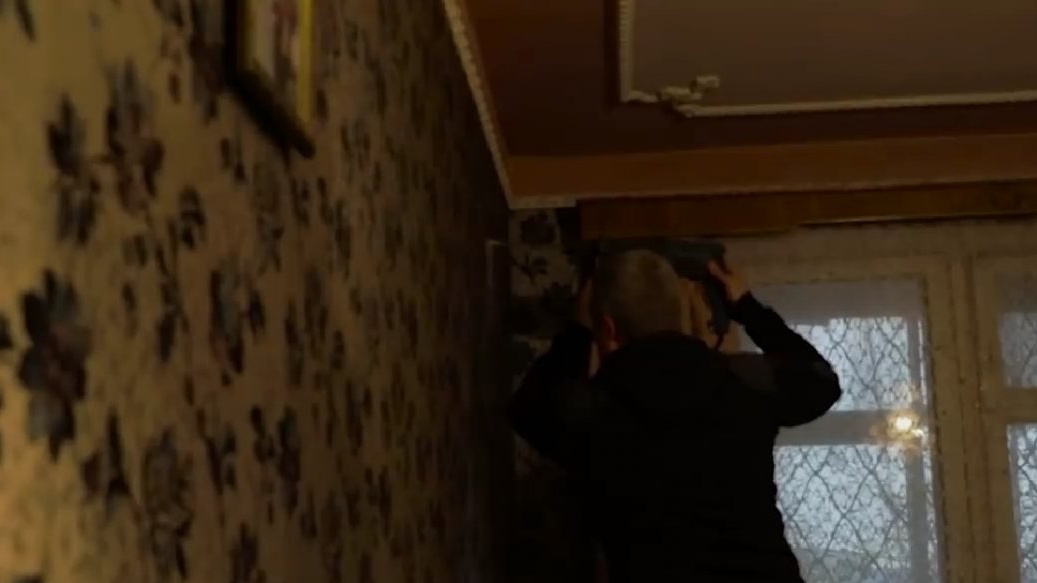
Four points of fastening, as a fastener - an anchor of "ten". Here you can hang together and the two will not budge. Literally 10 minutes and the horizontal bar quite fit into the wall of the new owner as a native.

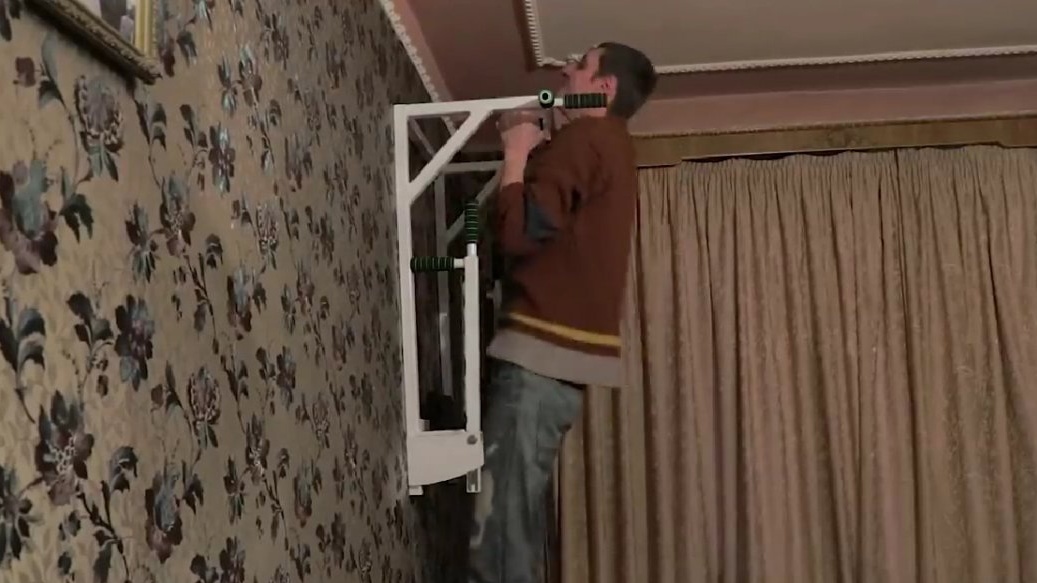
Without exaggeration, a friend is shocked by such a horizontal bar, which the master made taking into account his growth and space saving when the bars were folded. It is evident that he will certainly catch up, not doing earlier, but better late than never.

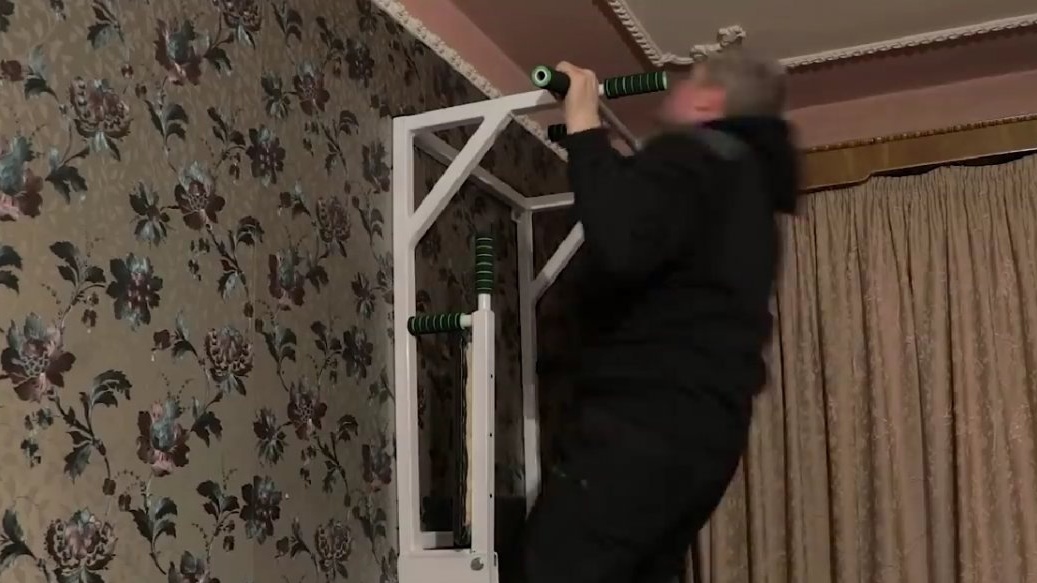
The author himself admits that he did not do much during the winter, so do not judge strictly about the pull-up technique, as he, like many others, waits until tomorrow, the day after tomorrow, it gets warmer, the wind stops blowing and so on, so it’s easy to deceive yourself.
Allocating 3 hours a week for training is easy.
According to the materials. About 6 m square pipe, 2.5 m half-inch, 6 elongated handles, 2 spray cans and 2 spray cans, 4 anchors, 10 self-tapping screws, 4 plugs, 2 bolts + nuts and washers, leather and OSB were available.
That's all. Thank you for attention. See you soon!
Author's video: