
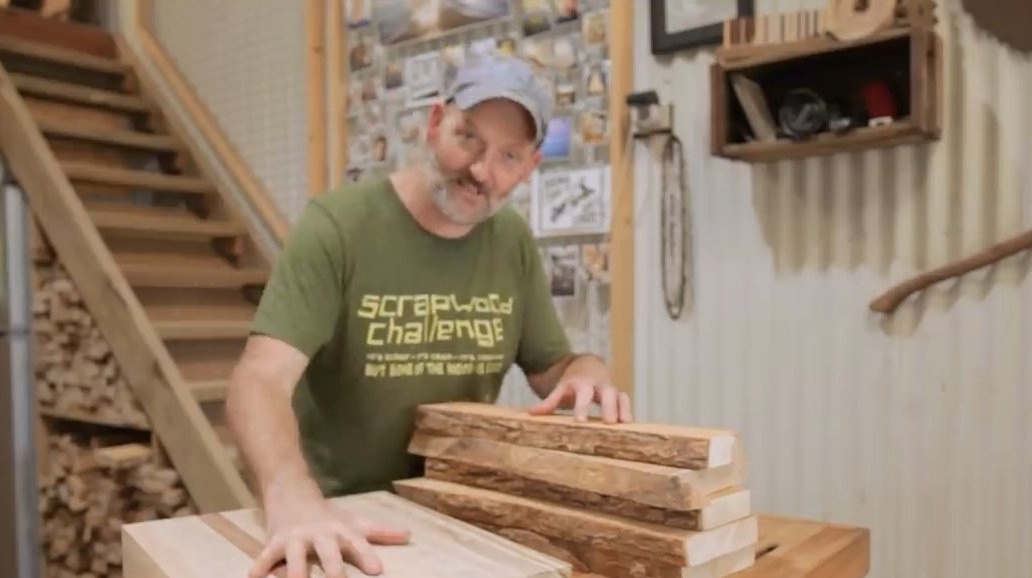
In this article, the author of the YouTube channel "Pask Makes" will tell an inquisitive audience how to make a mini workbench from scraps of timber.
Materials
- Boards
- PVA glue
- Flaxseed oil
- Steel profile pipe 25X25
- Hairpin M12.
Instruments, used by the author.
-
- Chisel, file, clamps
-
-
- Japanese saw
- Scissors for metal
- Miter saw
-
- Hacksaw
- Vise
- Jointer
- Reysmus
- Drilling machine
-
-
- Square, pencil, pliers.
Manufacturing process.
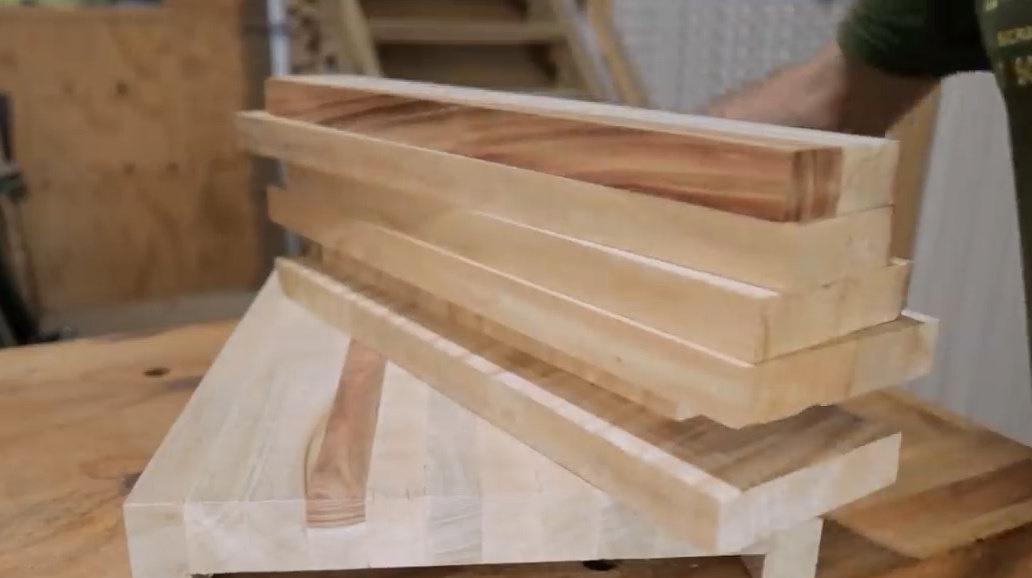
First, he cuts out straight, oblong bars.

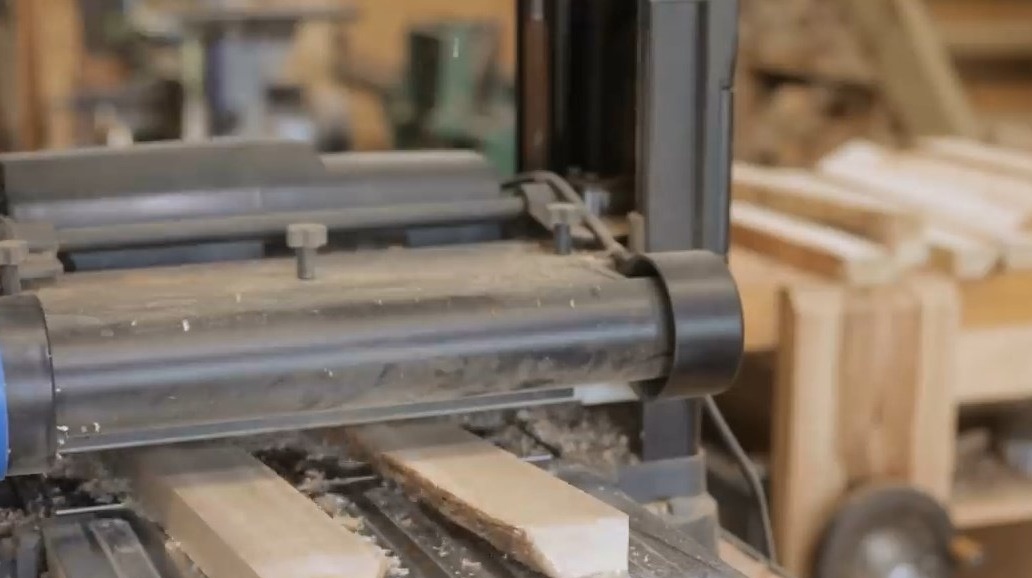
Passes them through the jointer, and then the thicknesser.

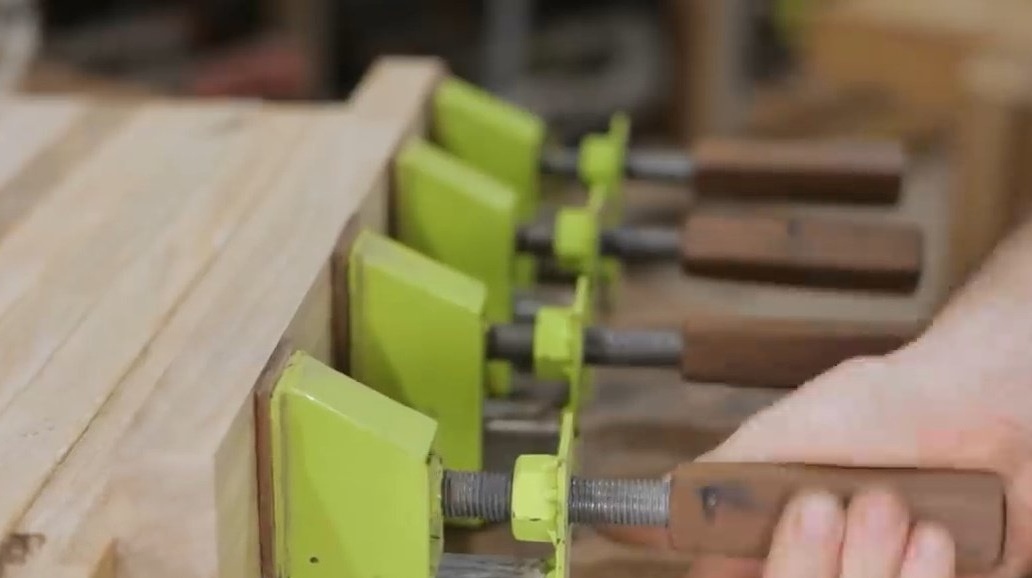
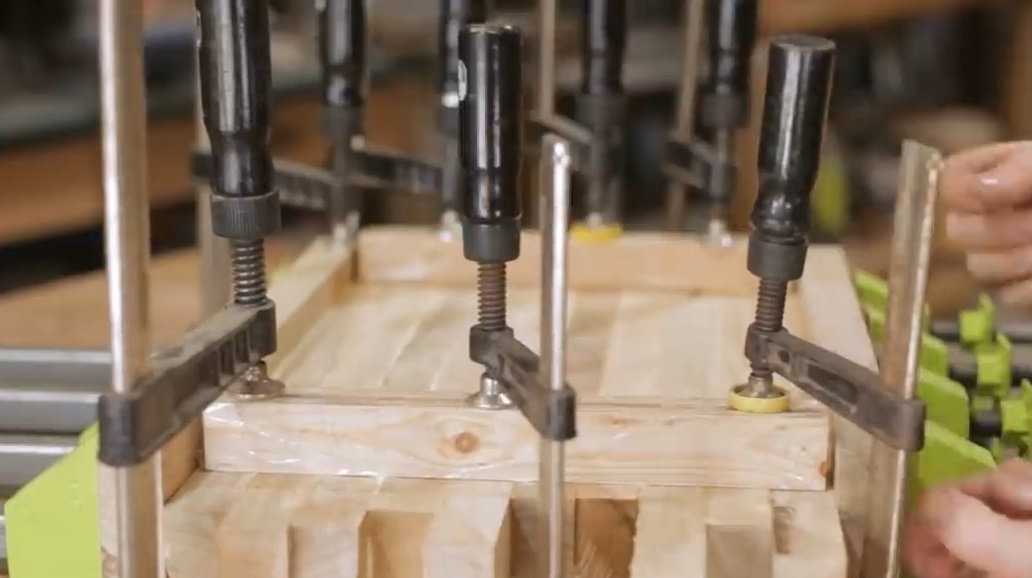
Then glues them together so that the extreme boards on both sides of the wooden platform are slightly higher than all the others.
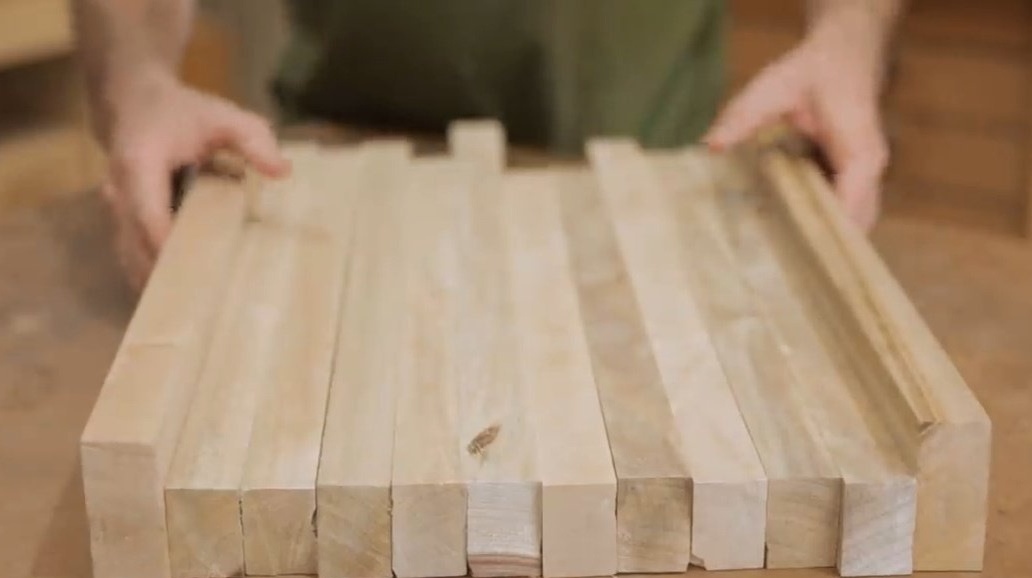
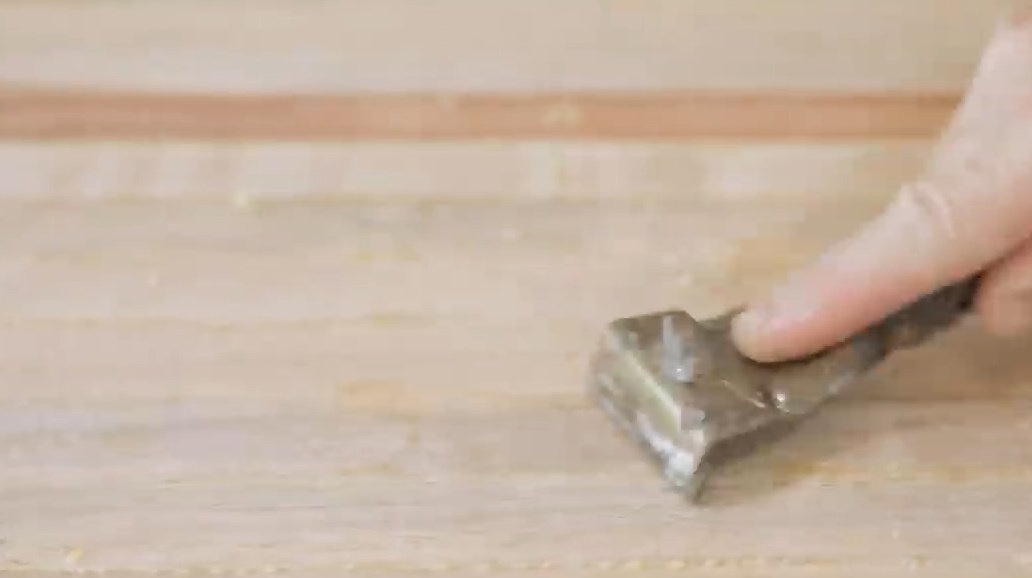
The scraper removes excess glue.
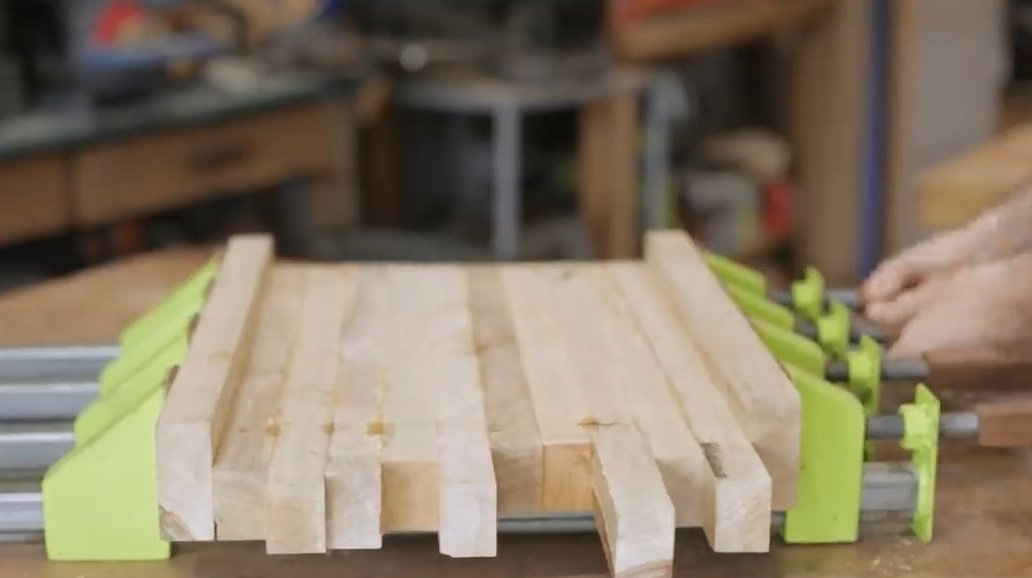
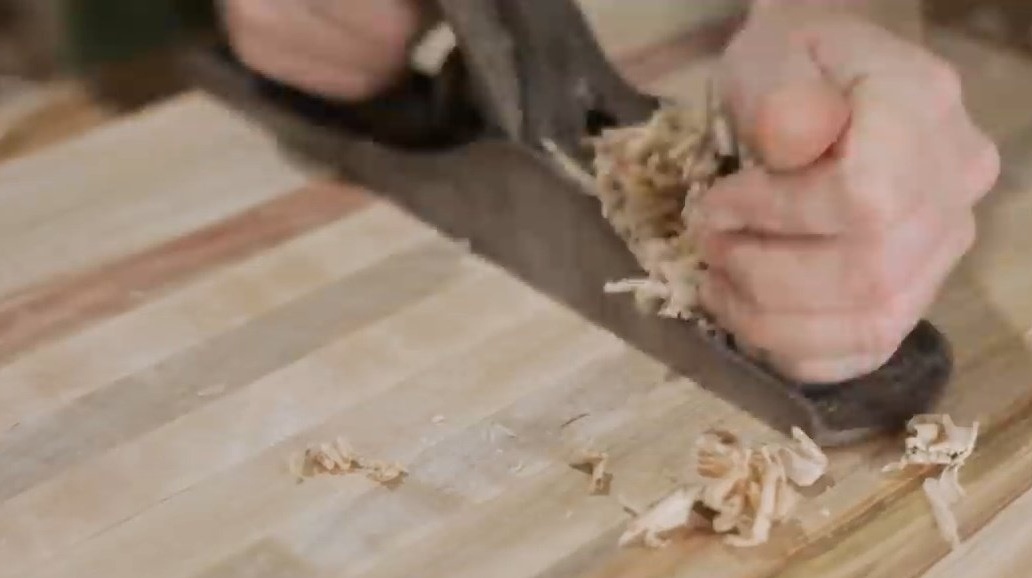
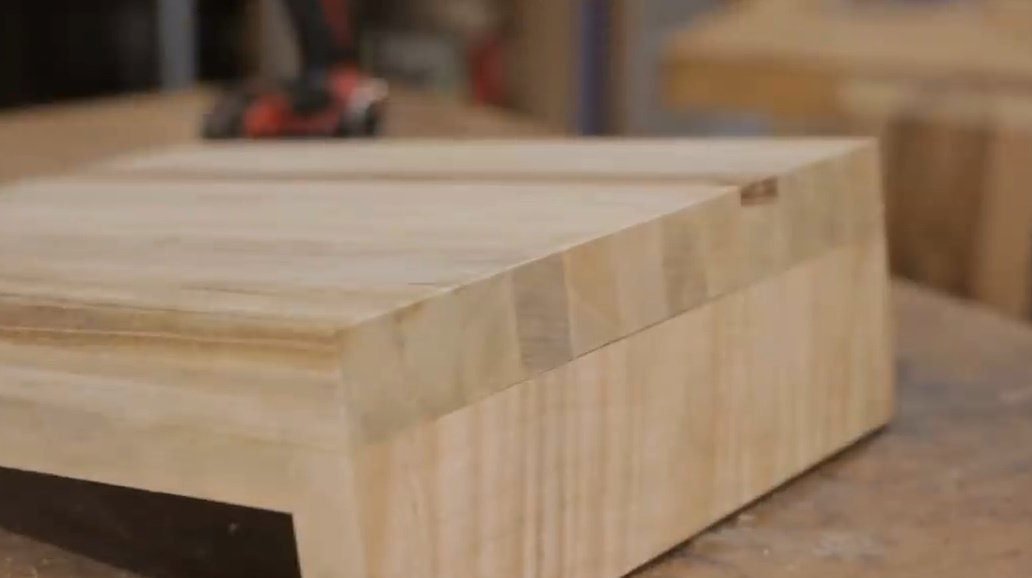
Levels the edges on a circular saw, and treats the surface with a planer.
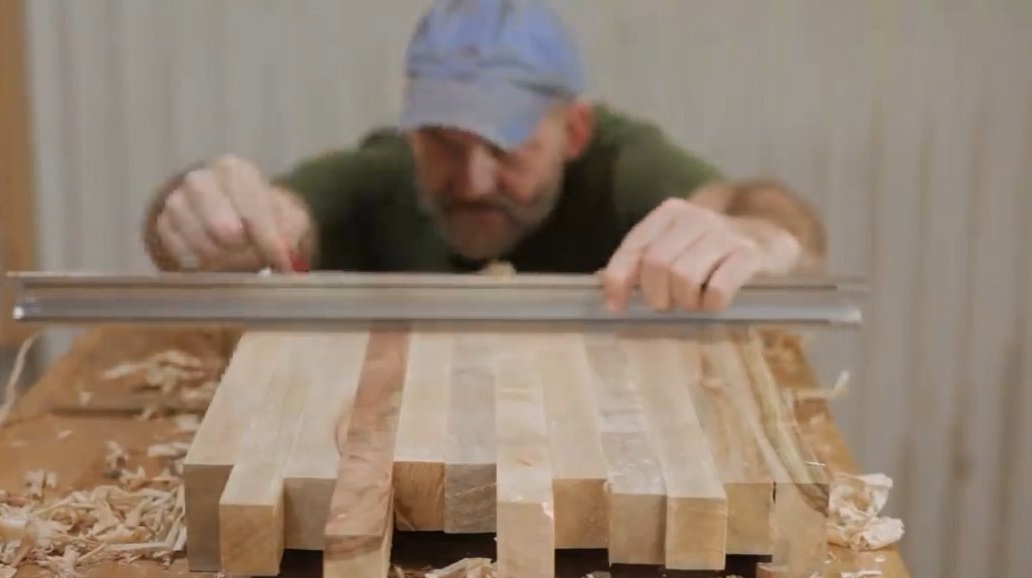
The main part of the workbench is ready. Now the author is preparing the next batch of material for the jaws of a vice and base.
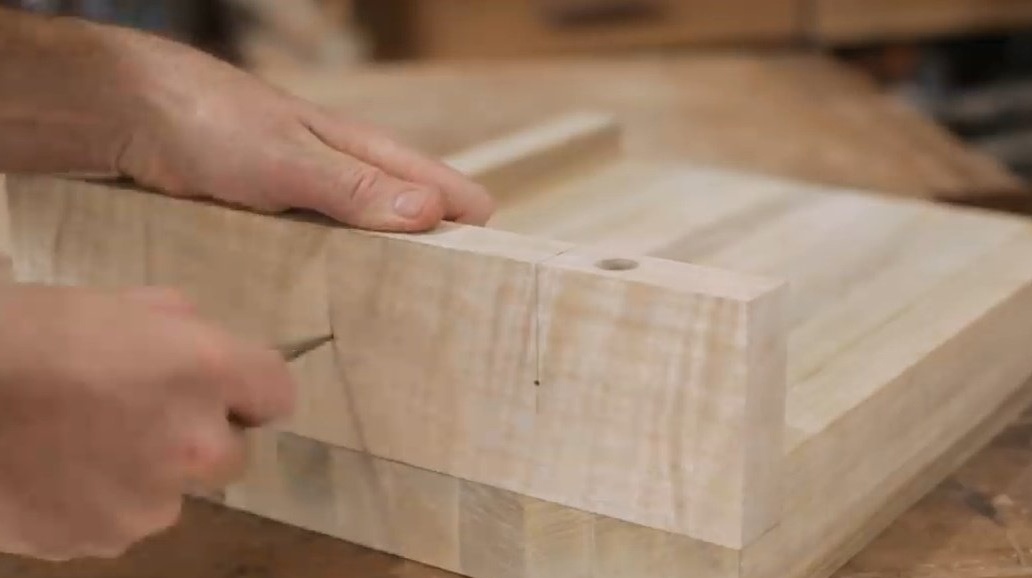
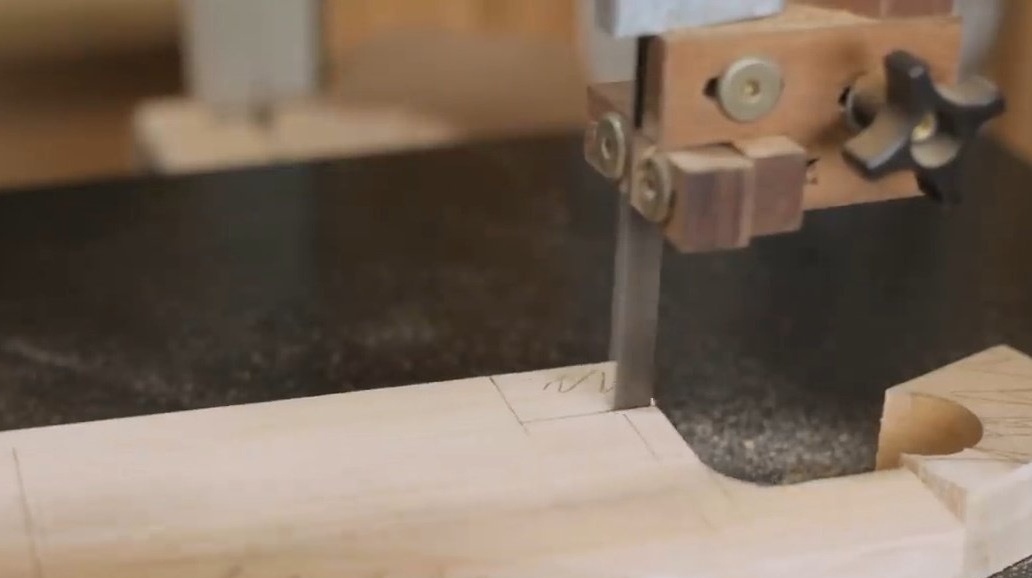
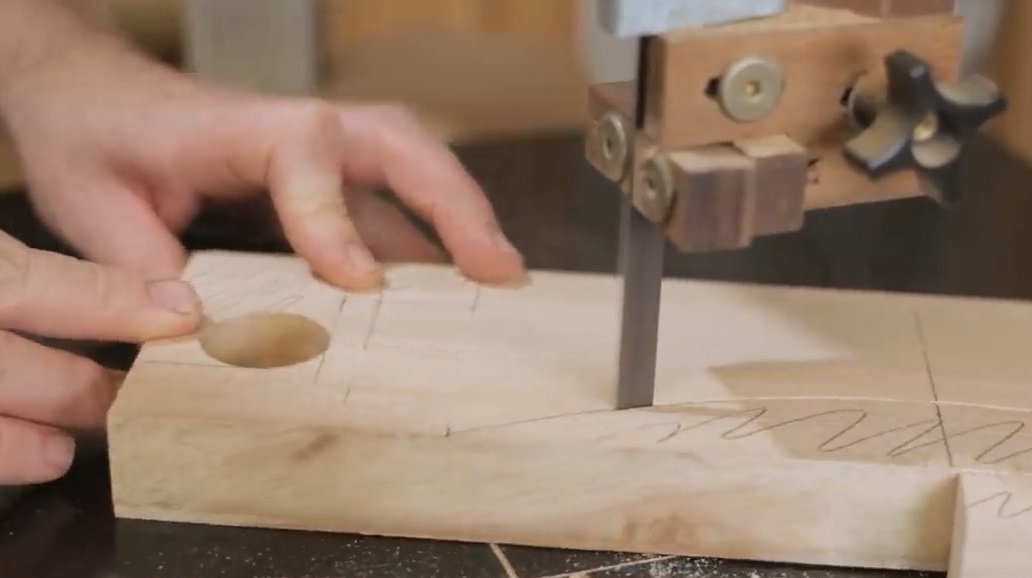
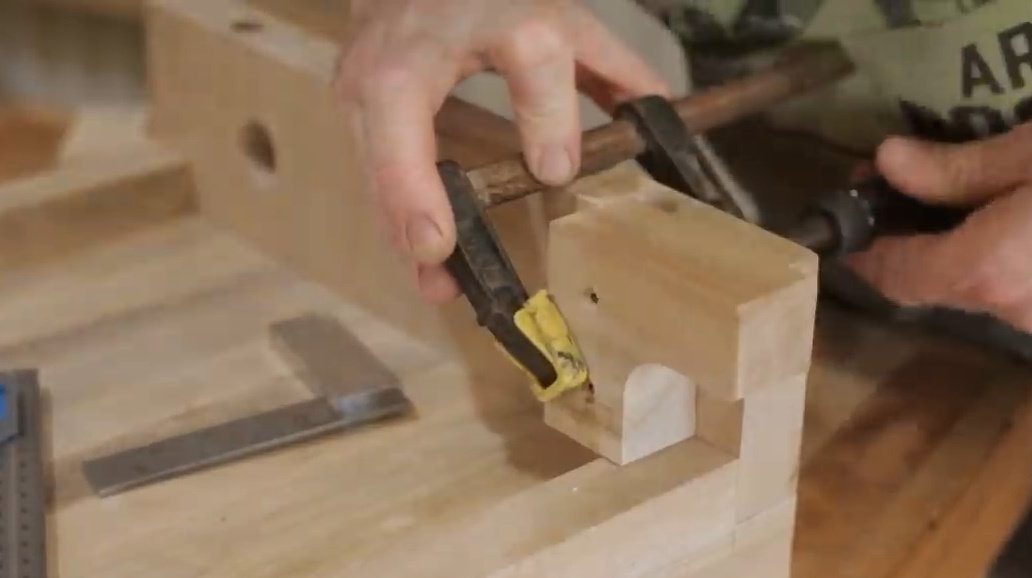
With a Japanese saw, he makes cutouts on the sides of the protrusions, in those places where the supports stand.

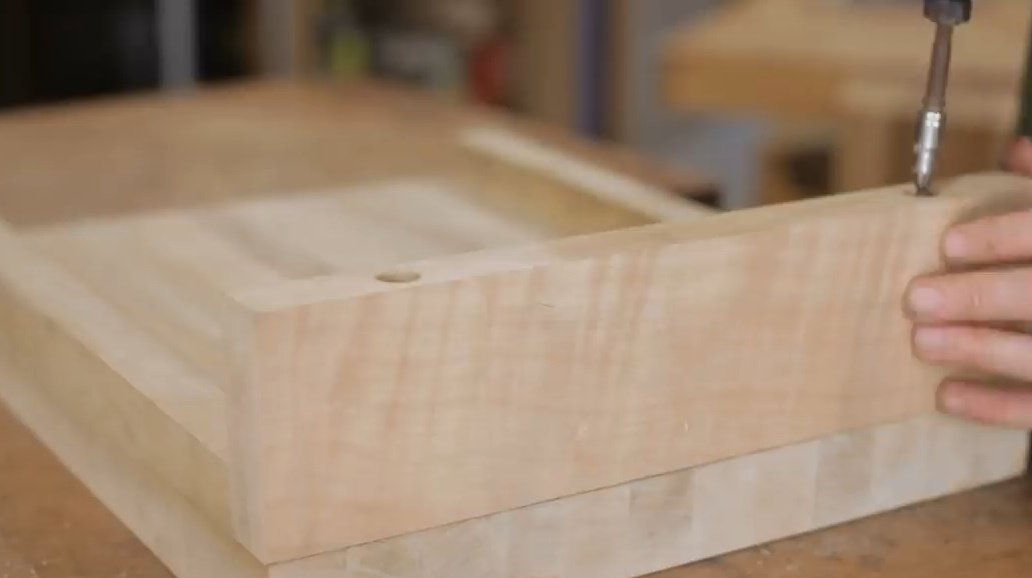
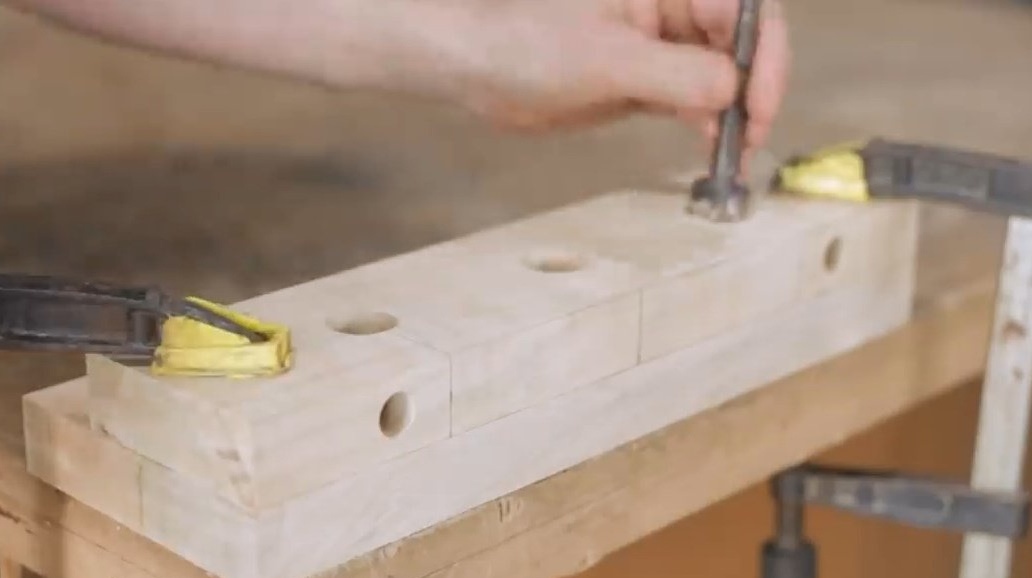
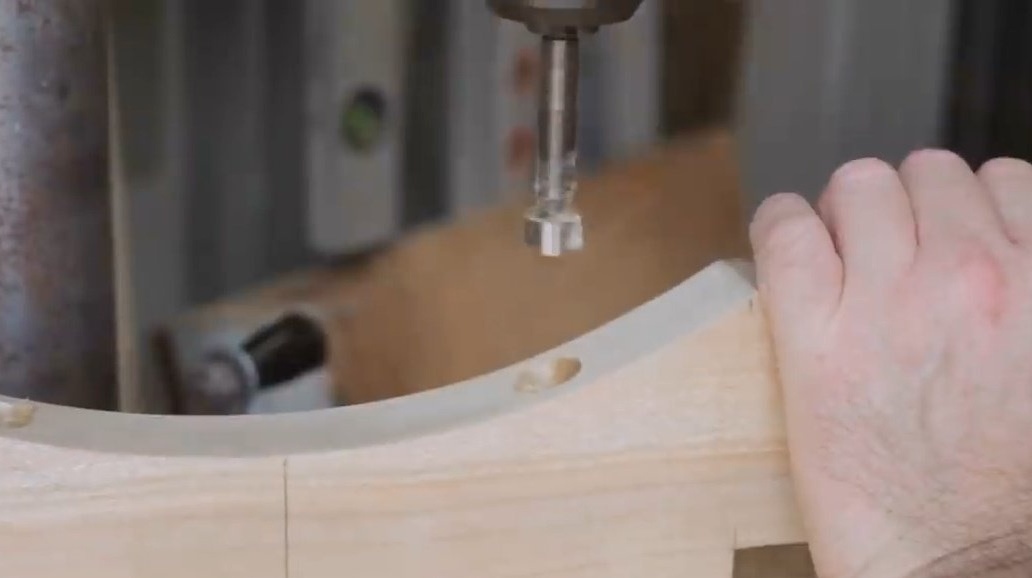
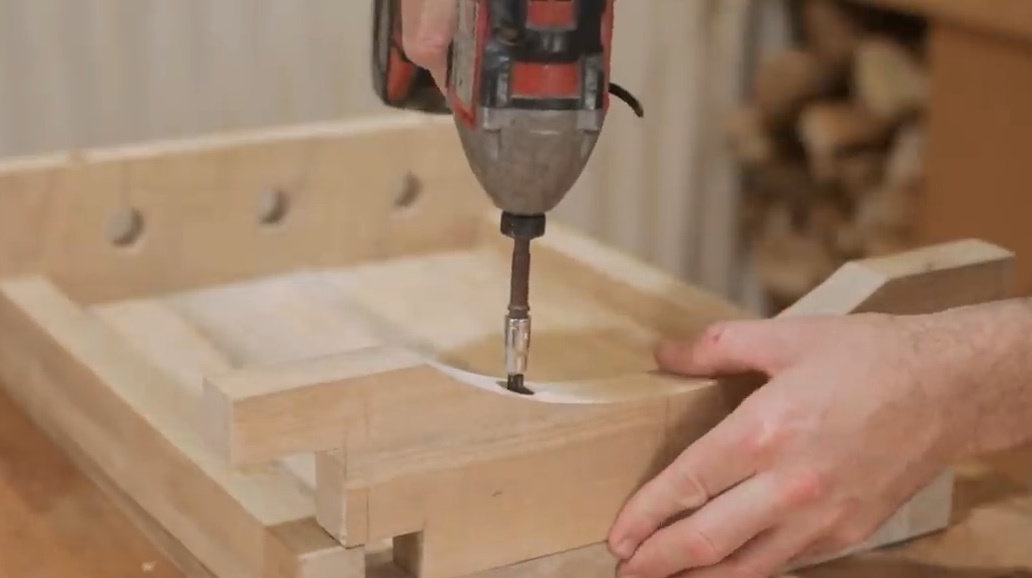
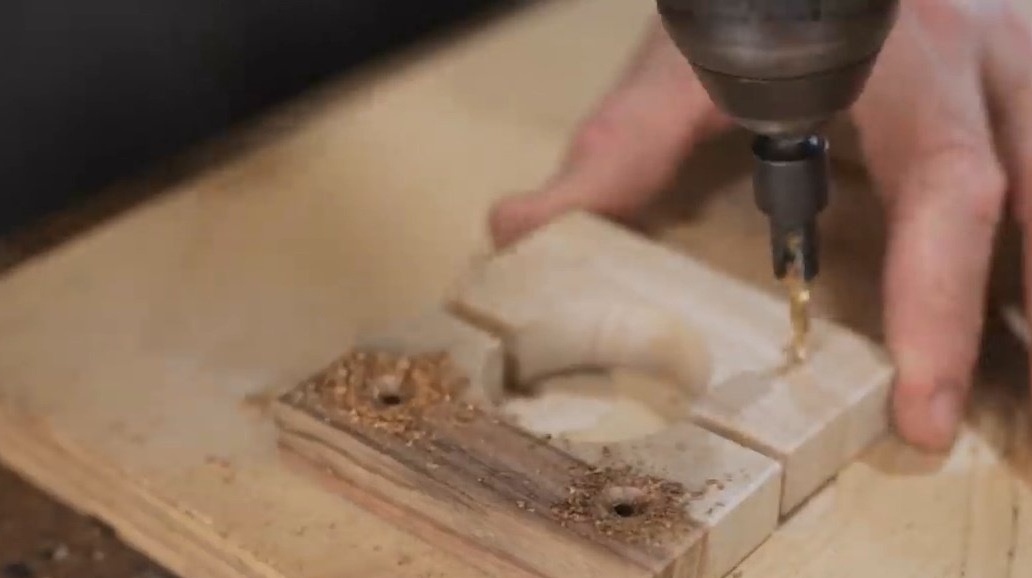
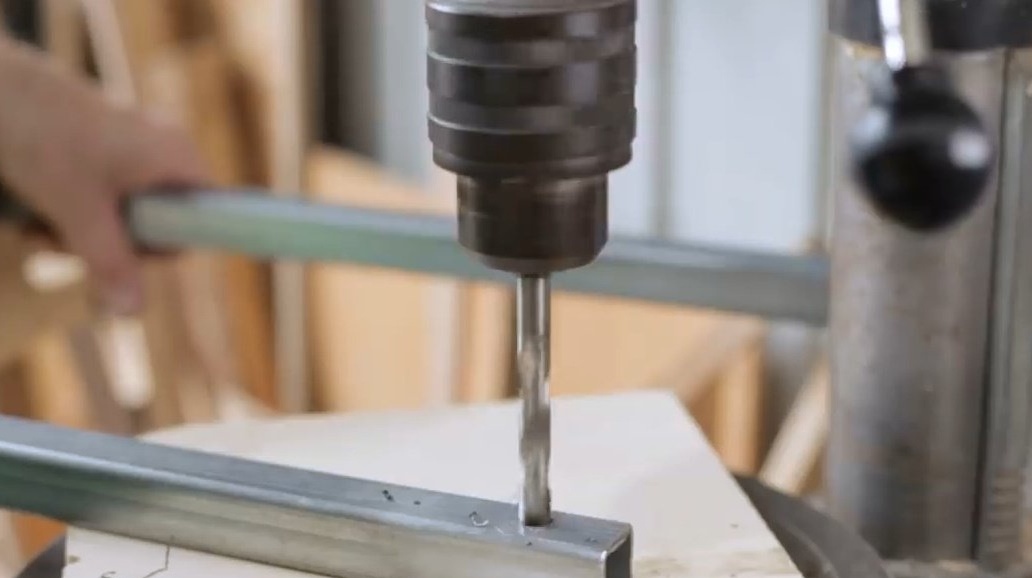
On a drilling machine, he drills holes for screws. By tilting the drill in one direction or the other, the master intentionally opens / drills several holes in case the table has to be disassembled.

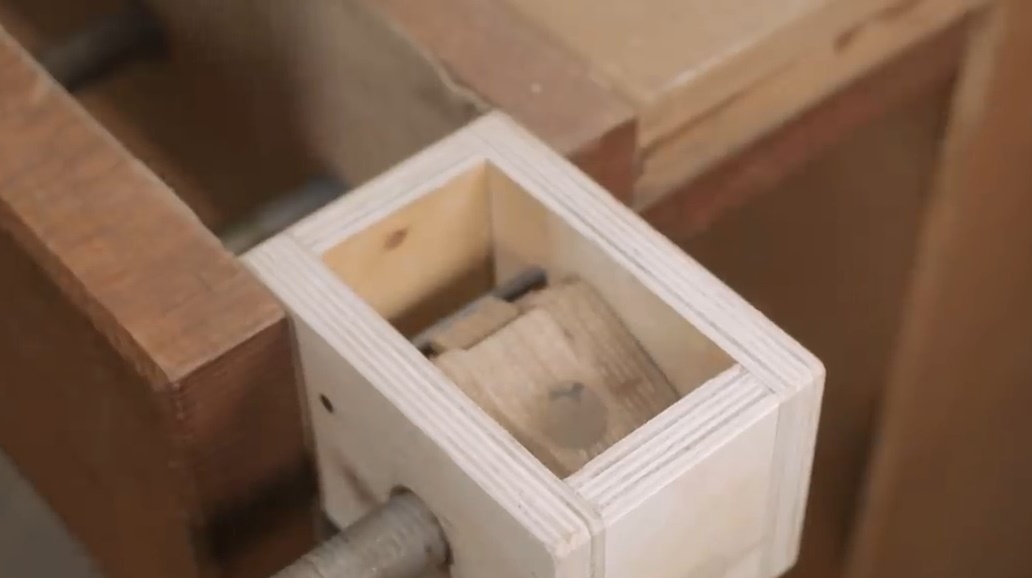
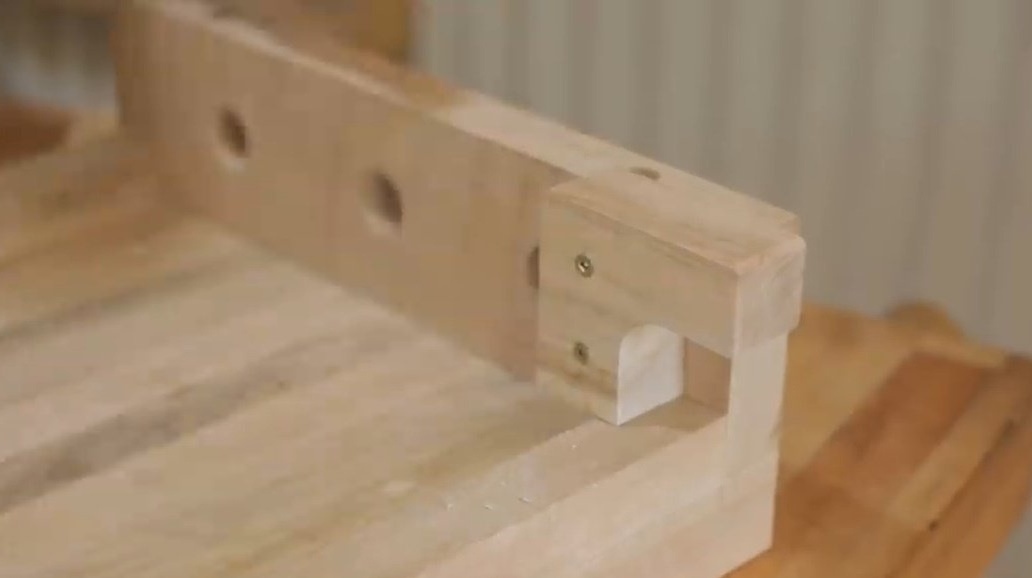
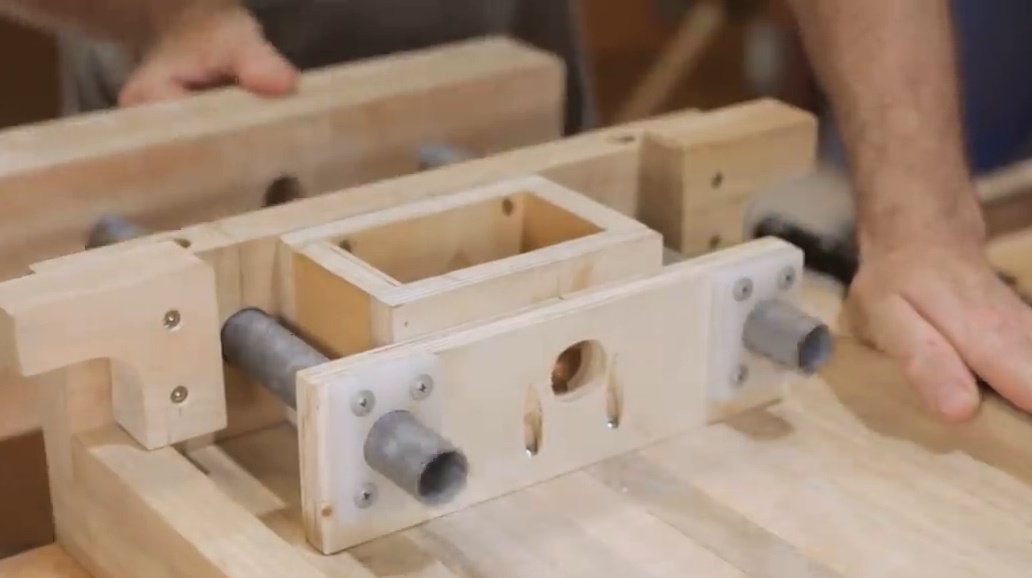
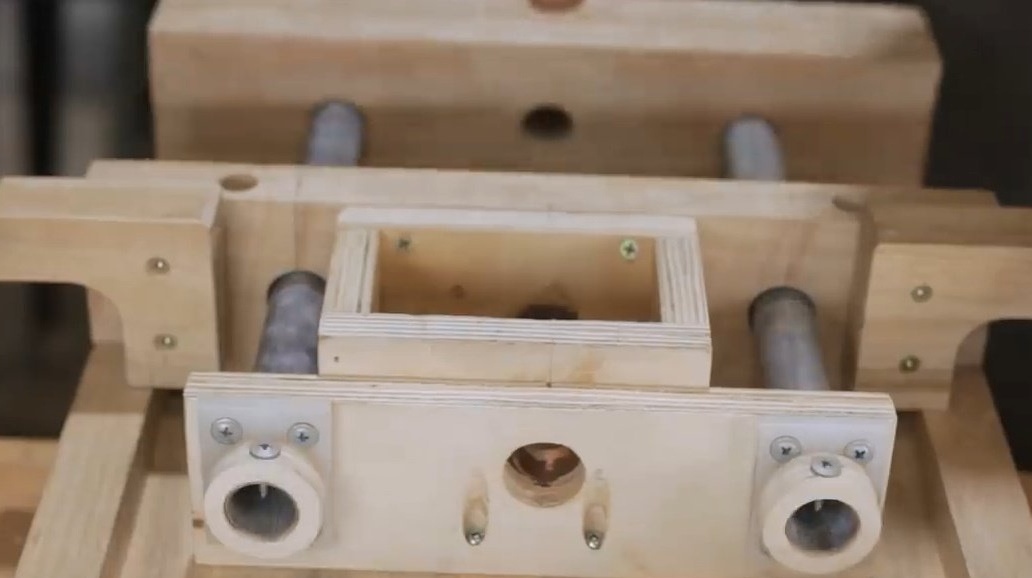
Before you is a quick release mechanism for raising the base. There is a separate video for its manufacture.
And this is the place where the author would like to install this mechanism on his workbench. The only innovation that the author introduced to this model vise compared to the original vise is a copper sleeve at the inlet.

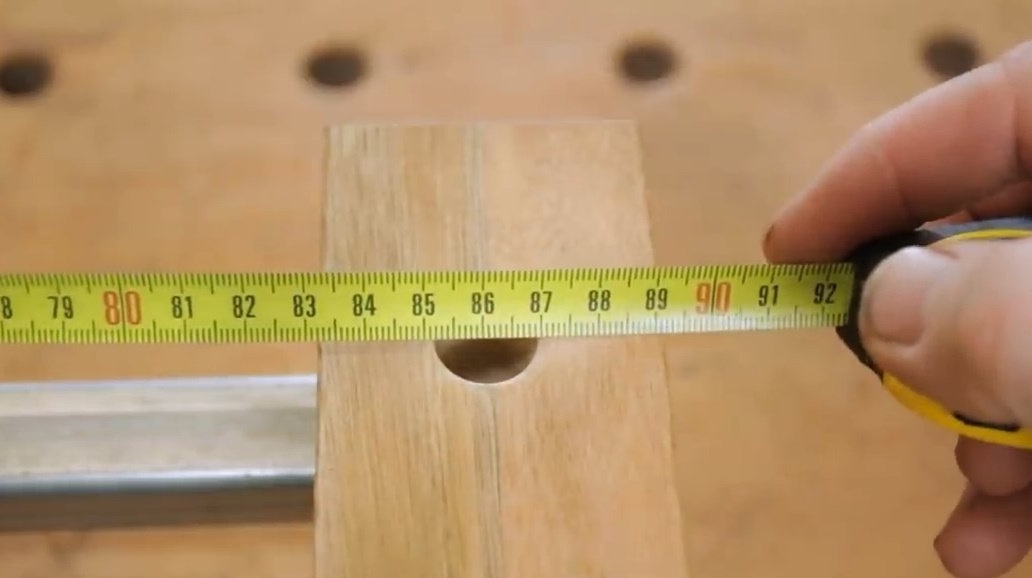
In the side rail, the master marks the holes, and makes them on a drilling machine. To make the holes on the second board symmetrical, the master makes nicks.
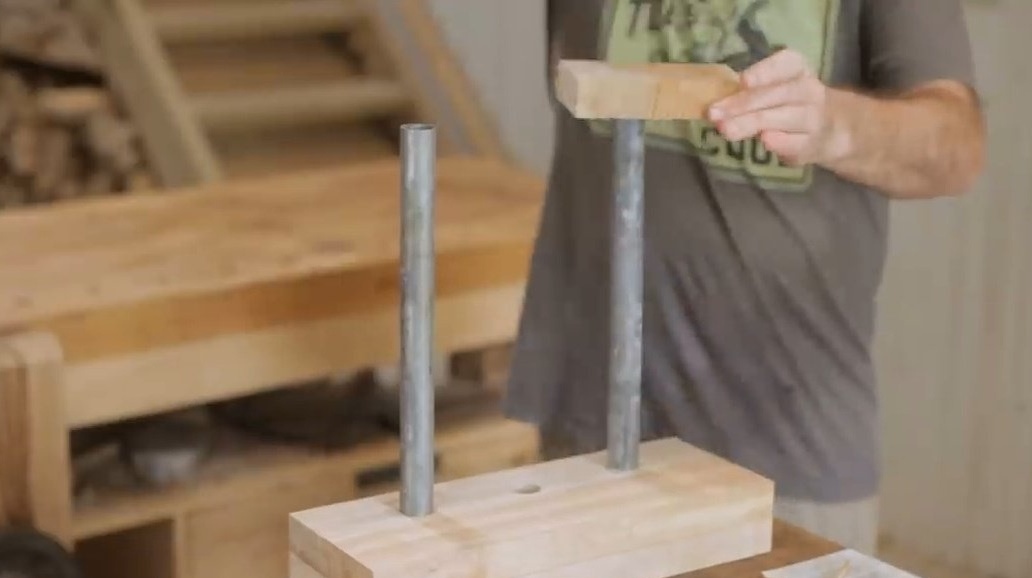
Then he takes a metal pipe, cuts it into sections and makes 4 cuts on each.
Tubes are driven into holes.

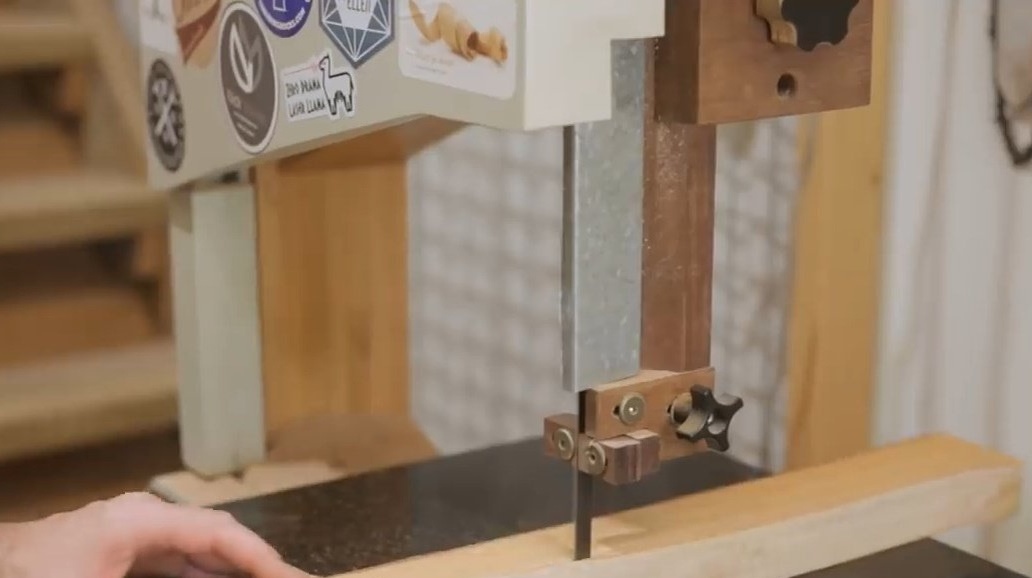
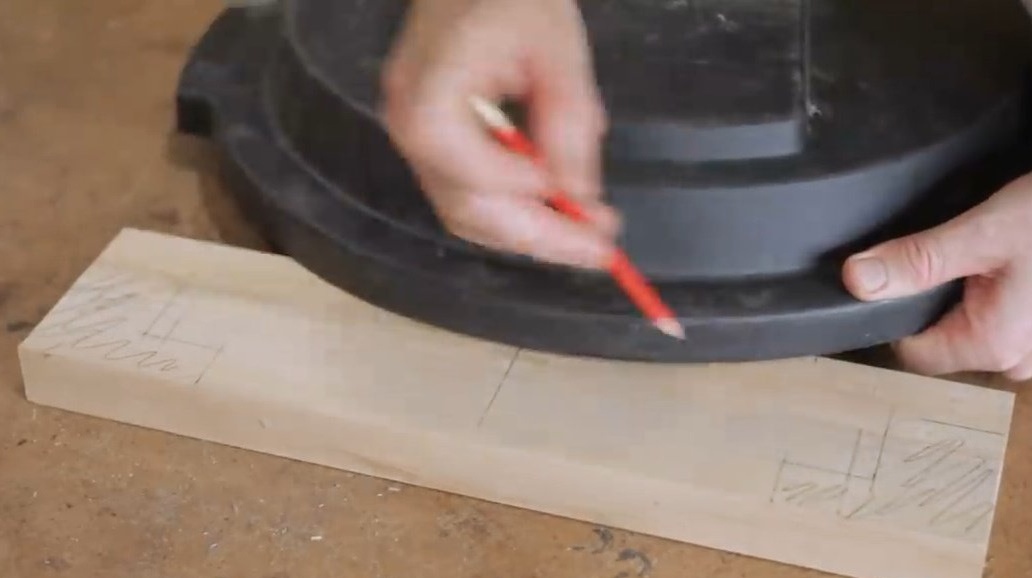
Now the author marks out the contours of the second stand of the workbench and cuts it out on a band saw.
Then he makes additional holes for the fasteners, while the fasteners themselves are completely the same as in the rear jaw of the vice.
These legs are screwed to a fixed jaw of a vice.
Under the base forms stops for guides.
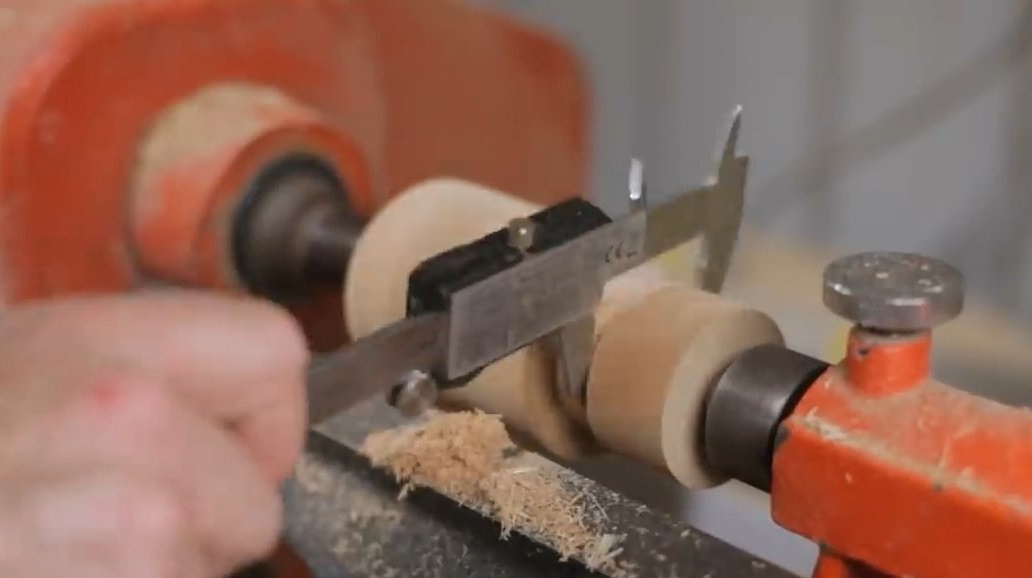
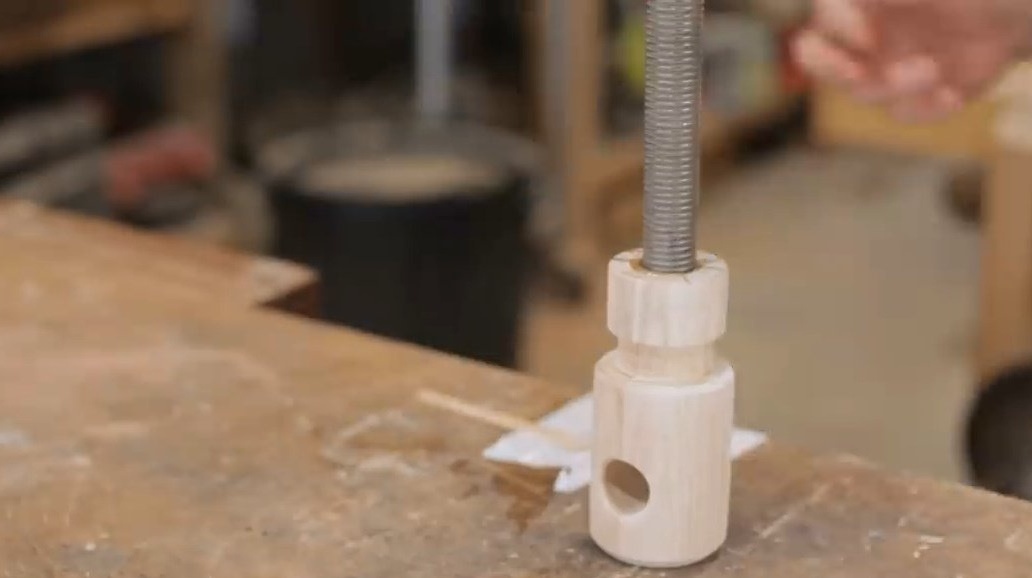
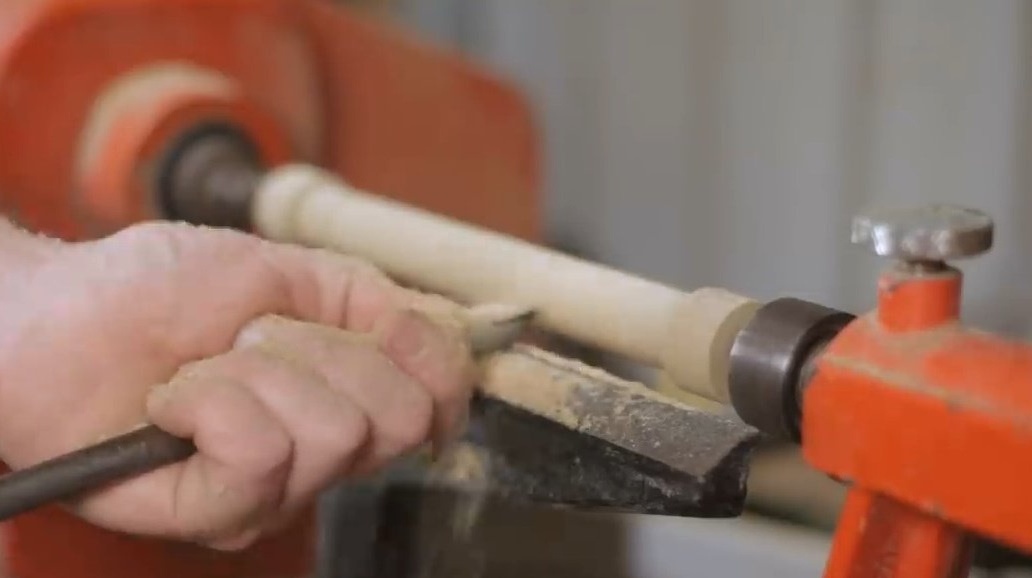
Now the author proceeds to the construction of the vise-gate. The first stage is a lathe.
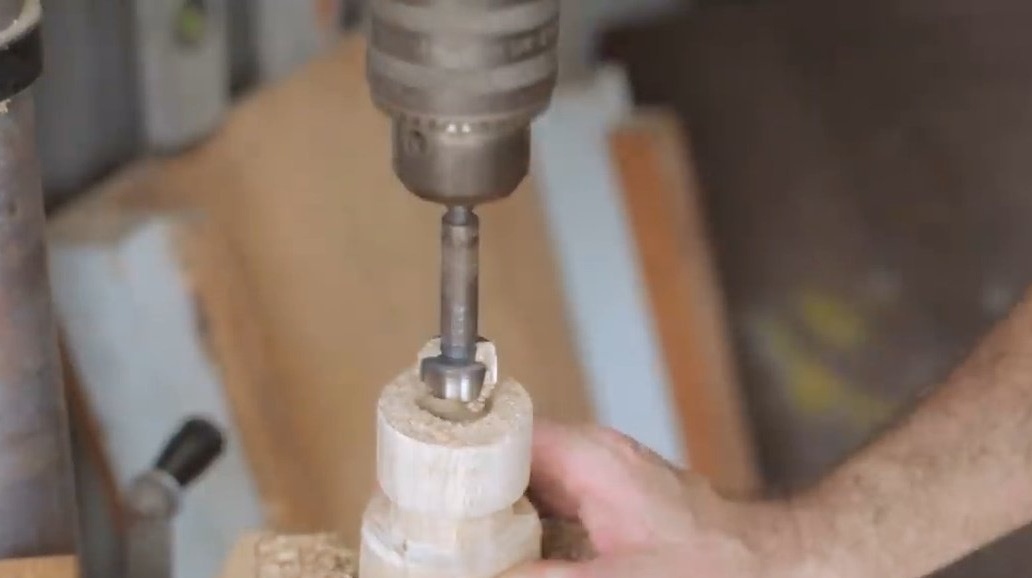
This part of the hub should be deepened in the front of the vise.This deepening should have been done in advance, the author corrects himself, before drilling this through hole. But if you apply the template, then the situation can be corrected.
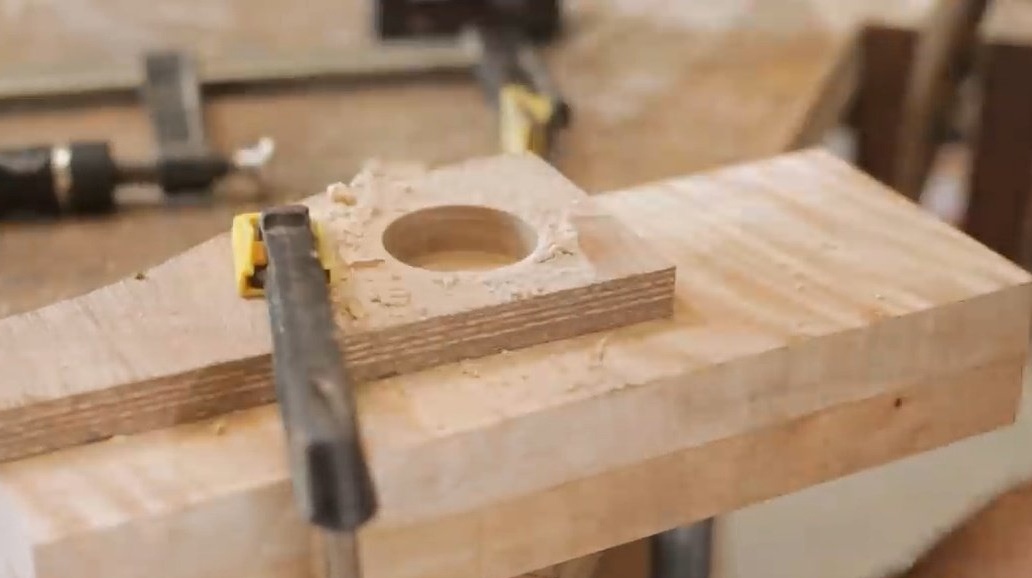
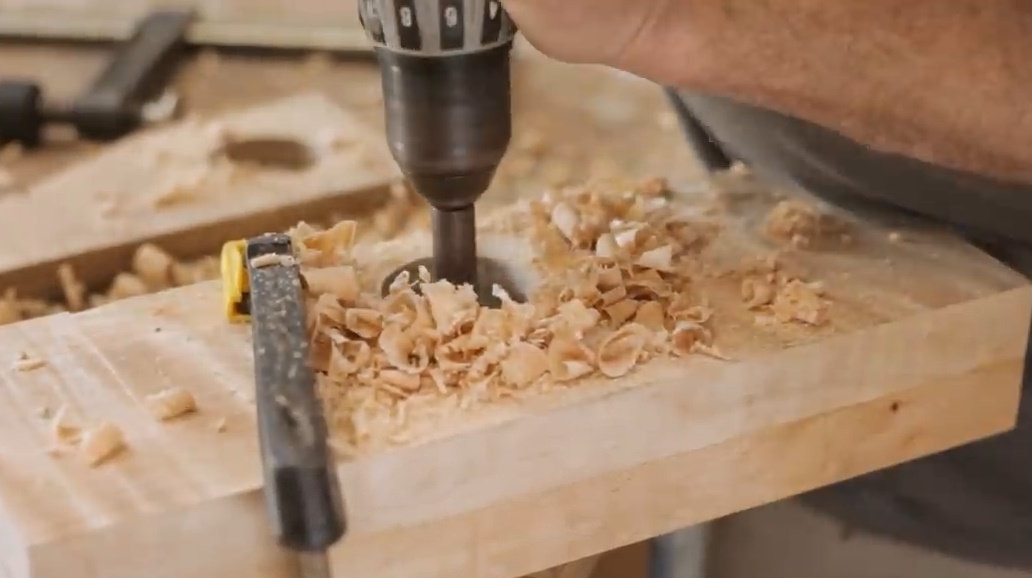
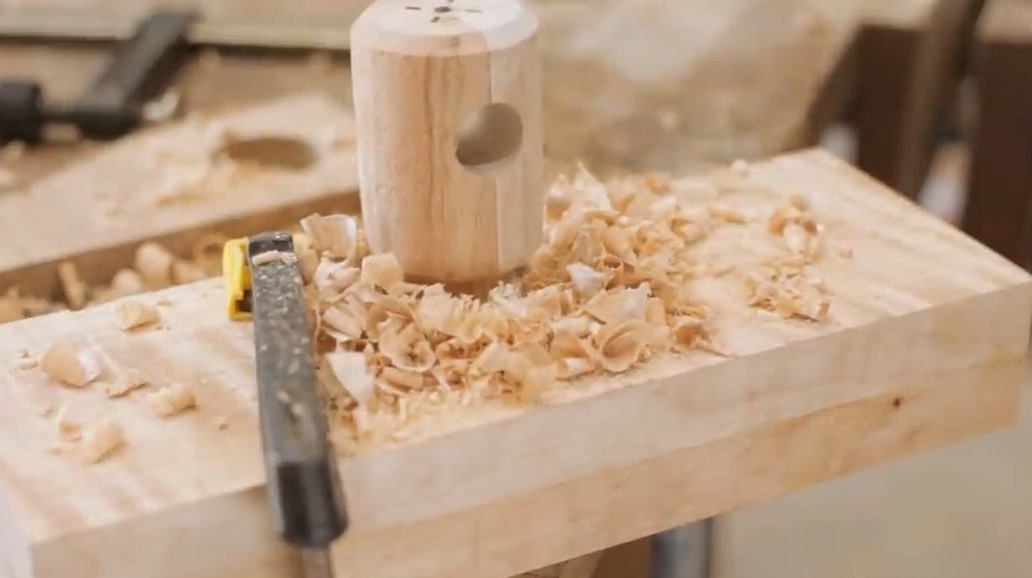
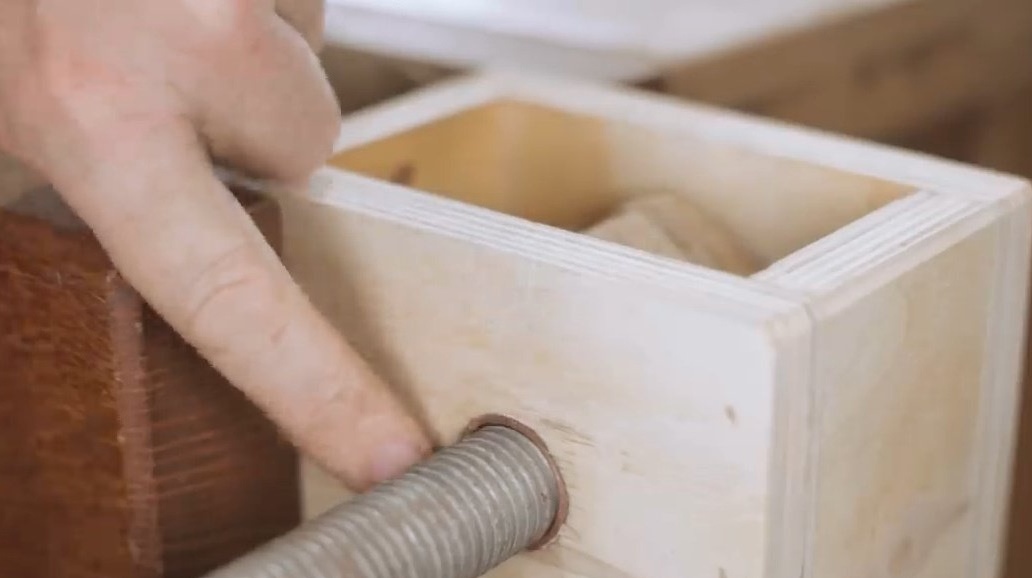
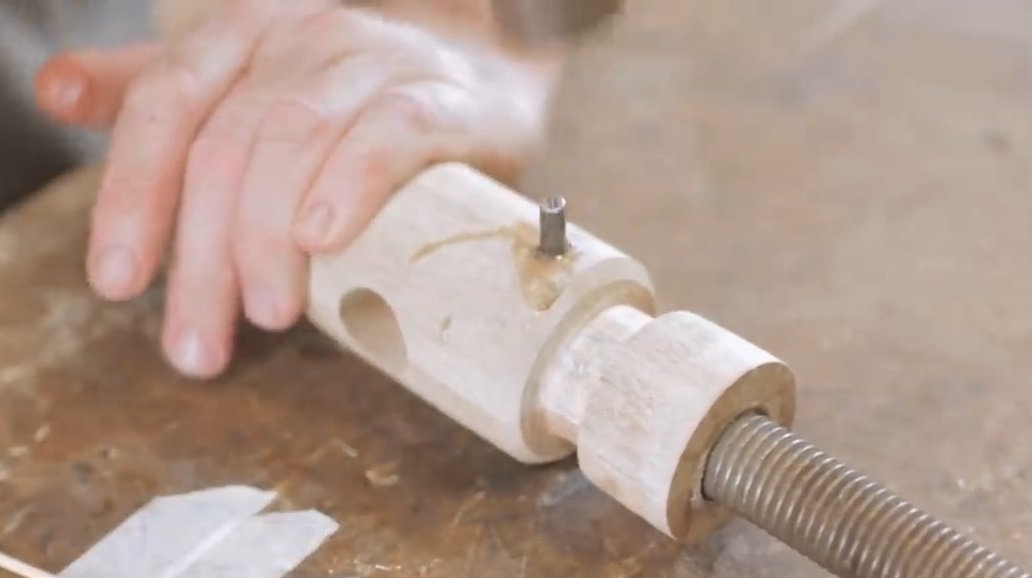
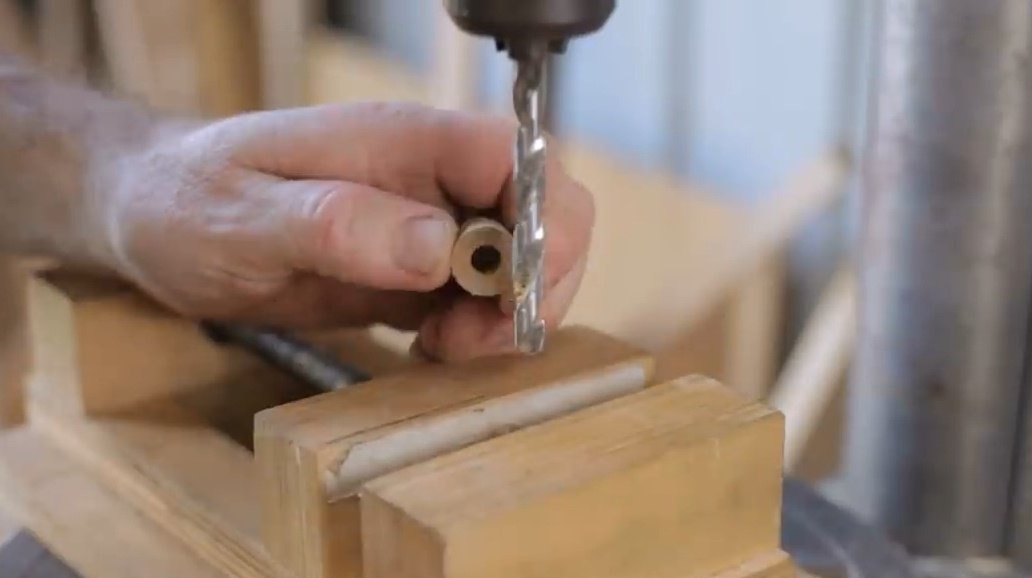
According to the master, he did about the same manipulation with the original vise. A metal stud will later fall into the hub. The author makes a through hole in the part.
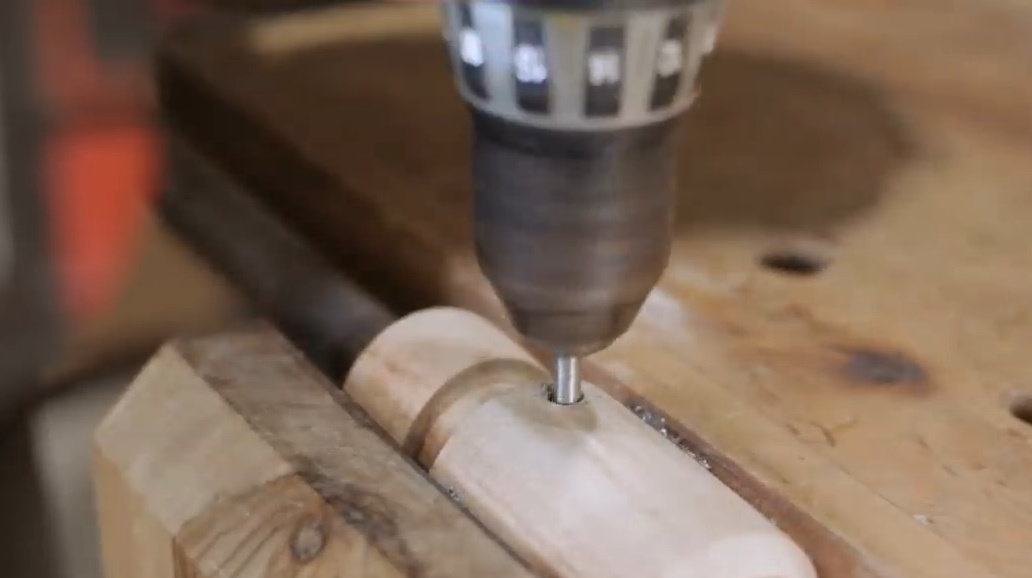
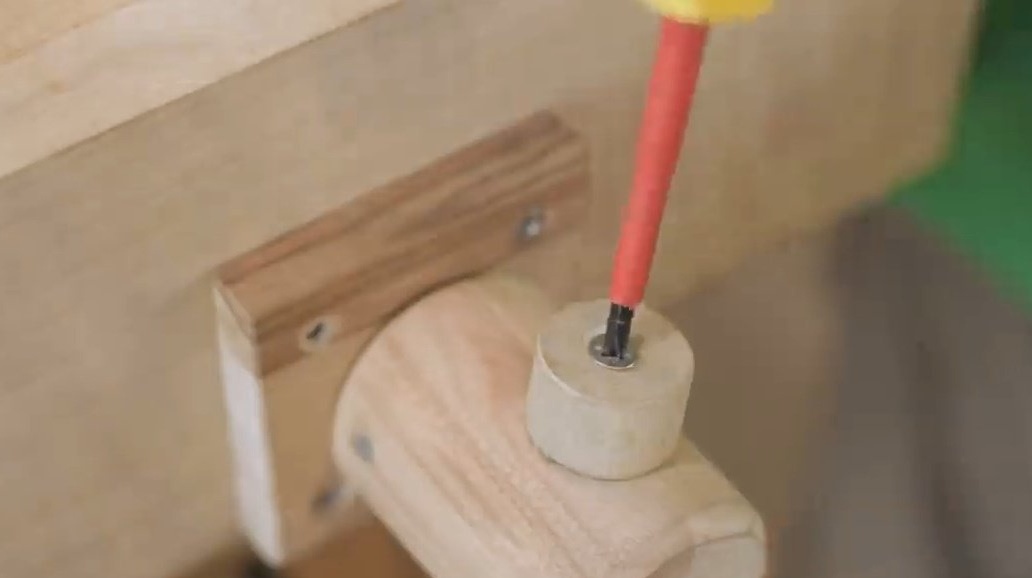
Coats the hairpin with epoxy, and inserts it into the hole.
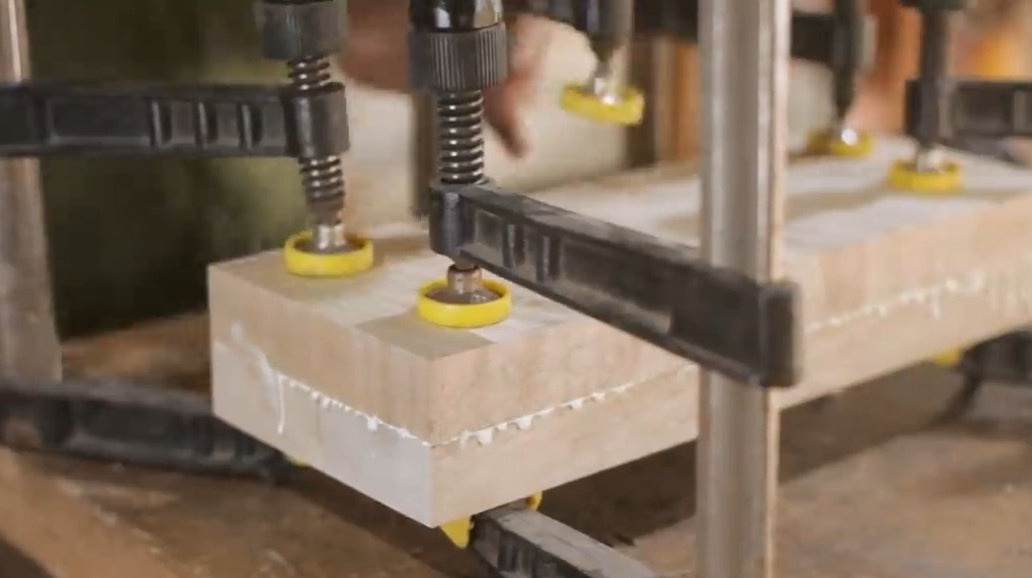
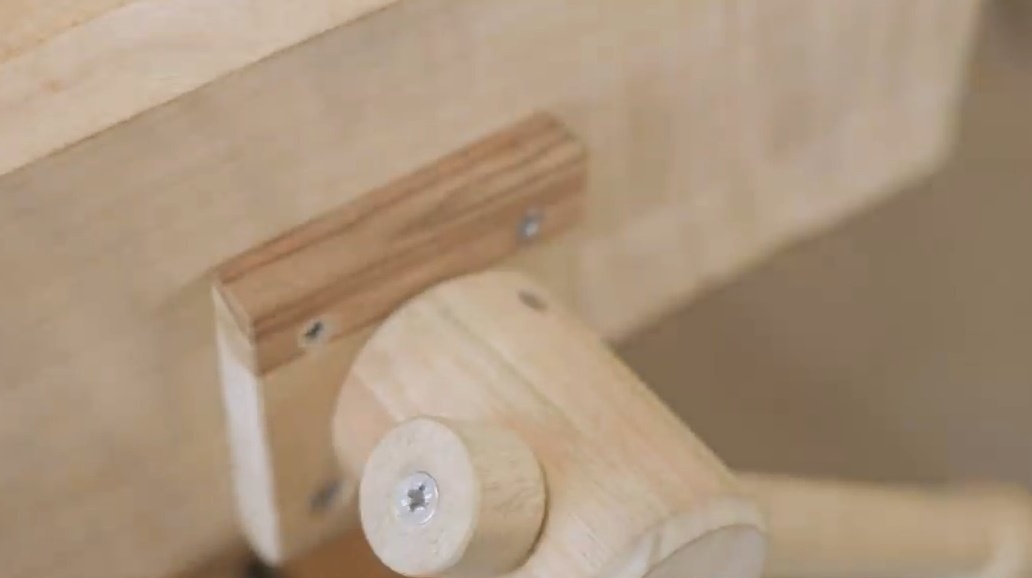
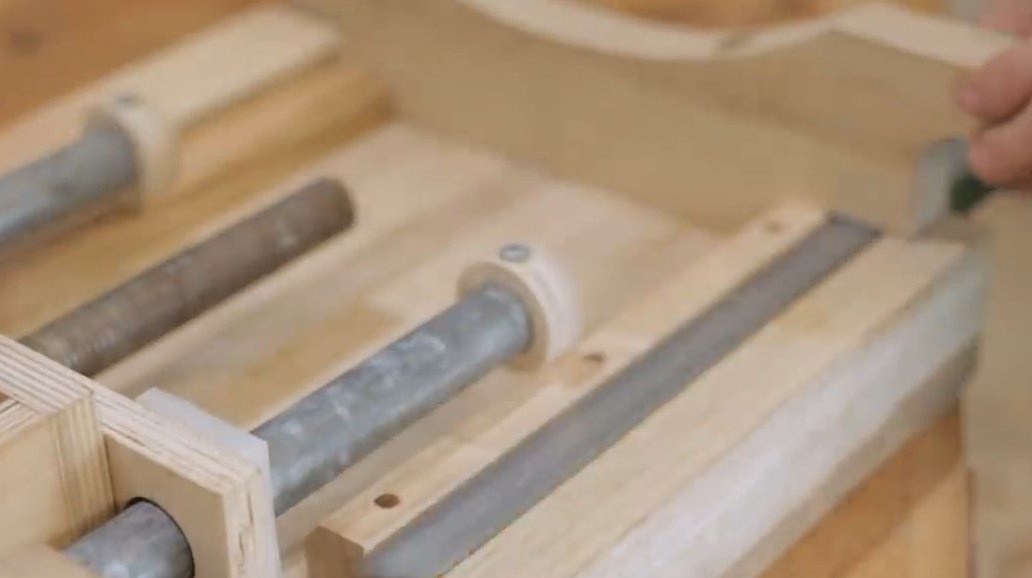
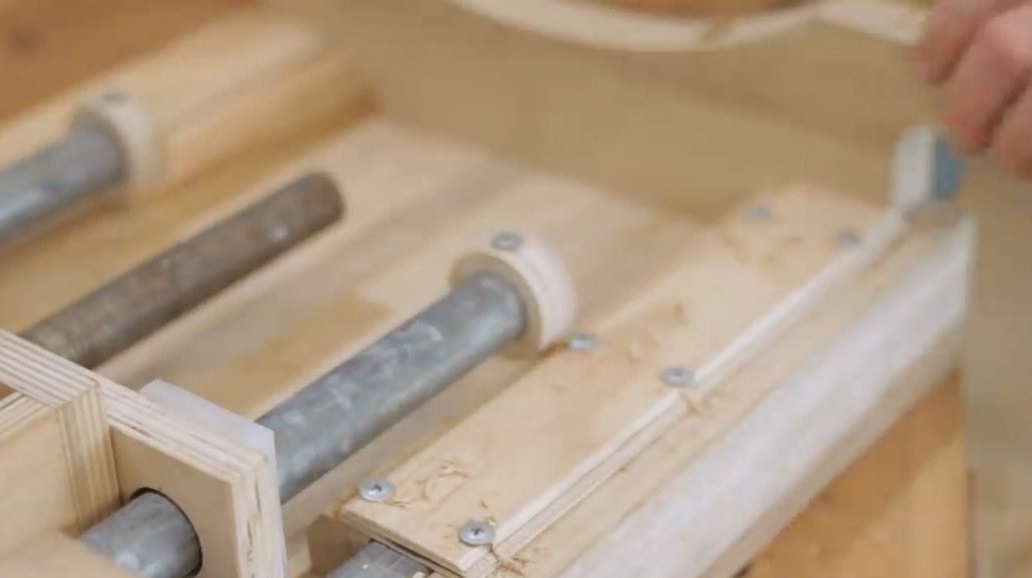
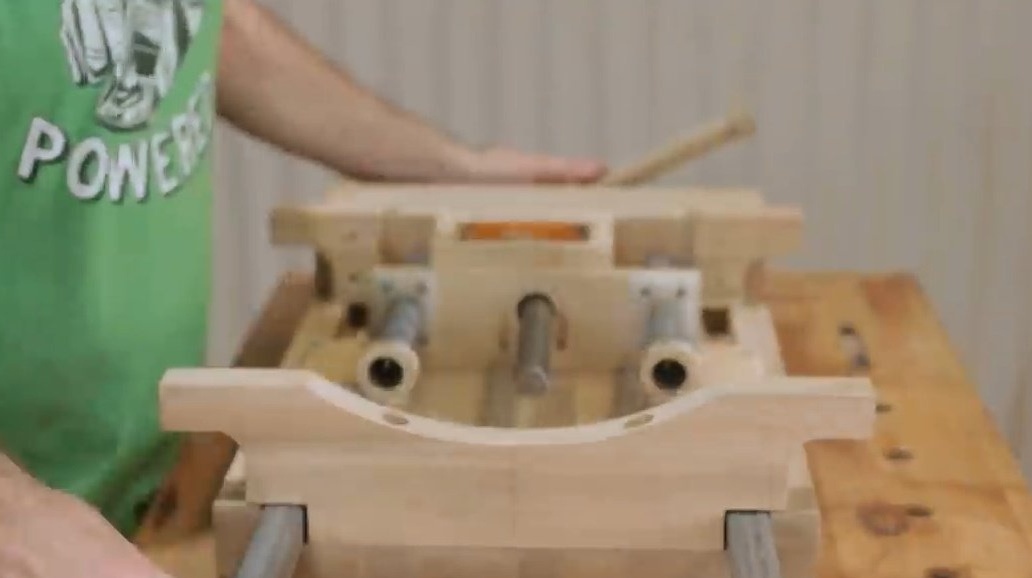
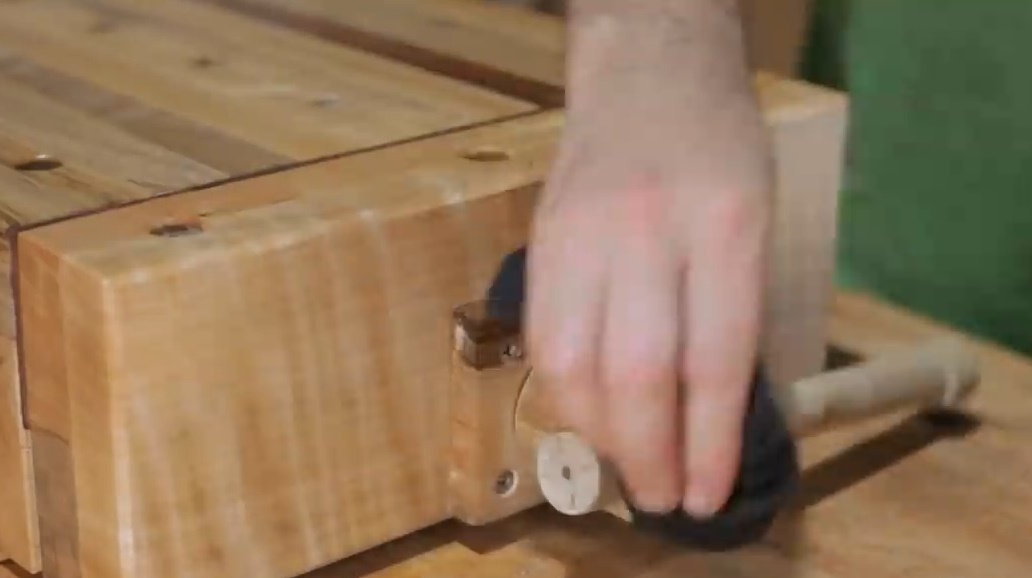
On metal tubes, he strung here such a design - a quick-release mechanism - and screwed it to the stand, while its central part was secured to an oblique screw.

The craftsman puts on wooden rings at the ends of the tubes and fixes them with screws.
This is how the design works.

Further, the author cuts out just such a detail, drills 4 holes for screws in it. And it fixes the hub.

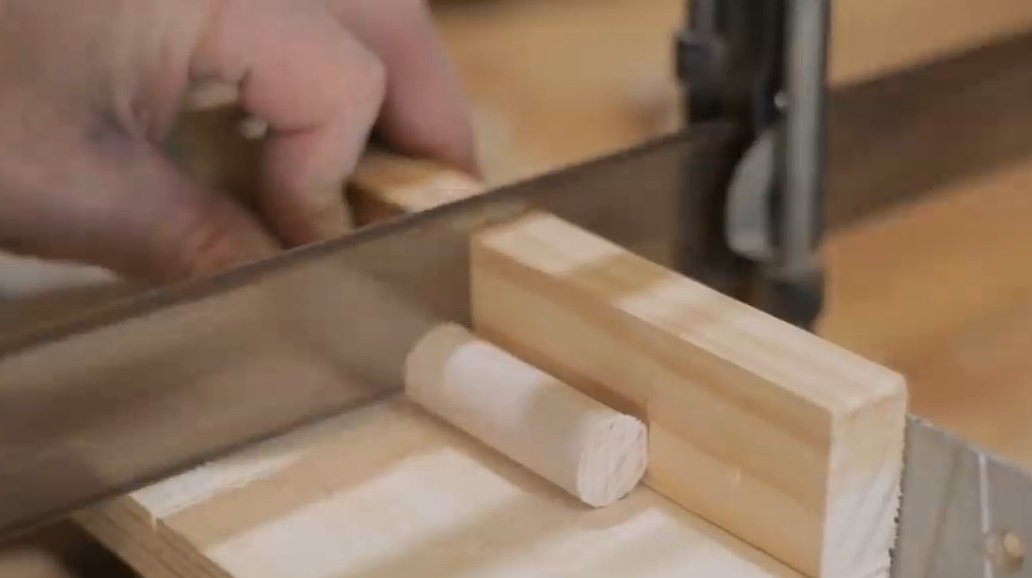
Now the vise handle is turned. The knob is cut off so that the handle can be threaded into the hub, and then fixed to the handle with a screw.
With a planer, the author removes sharp corners.
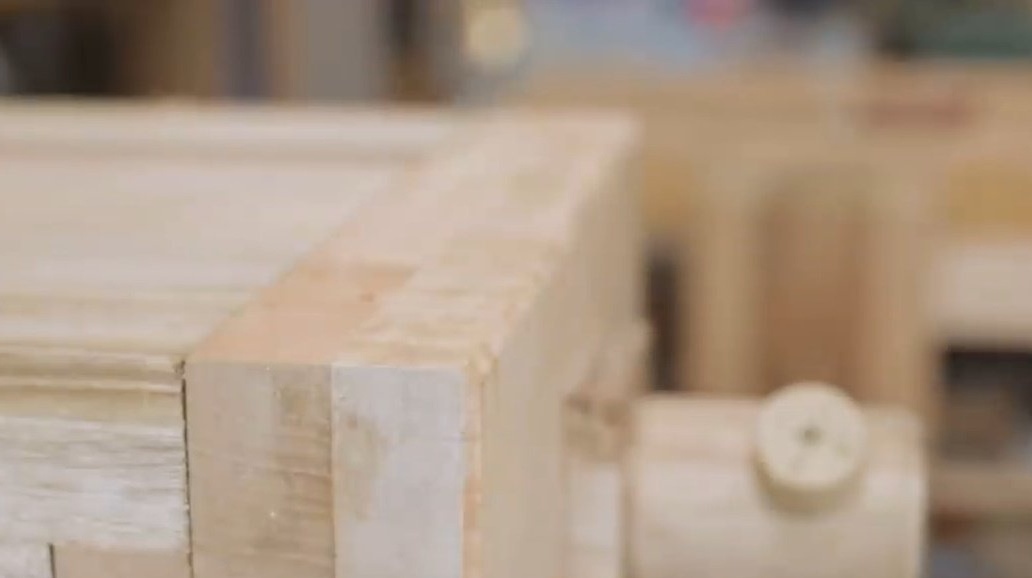
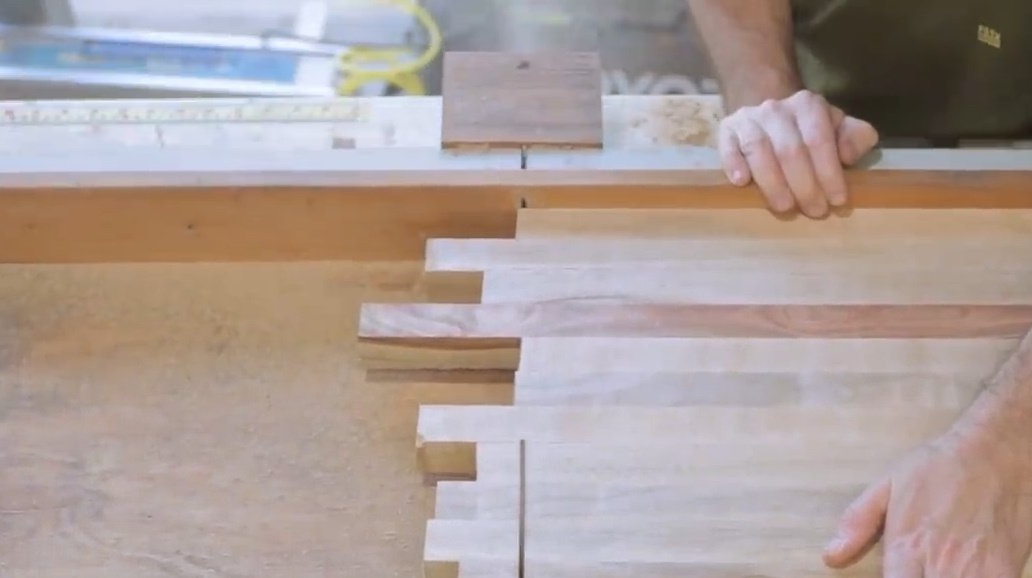
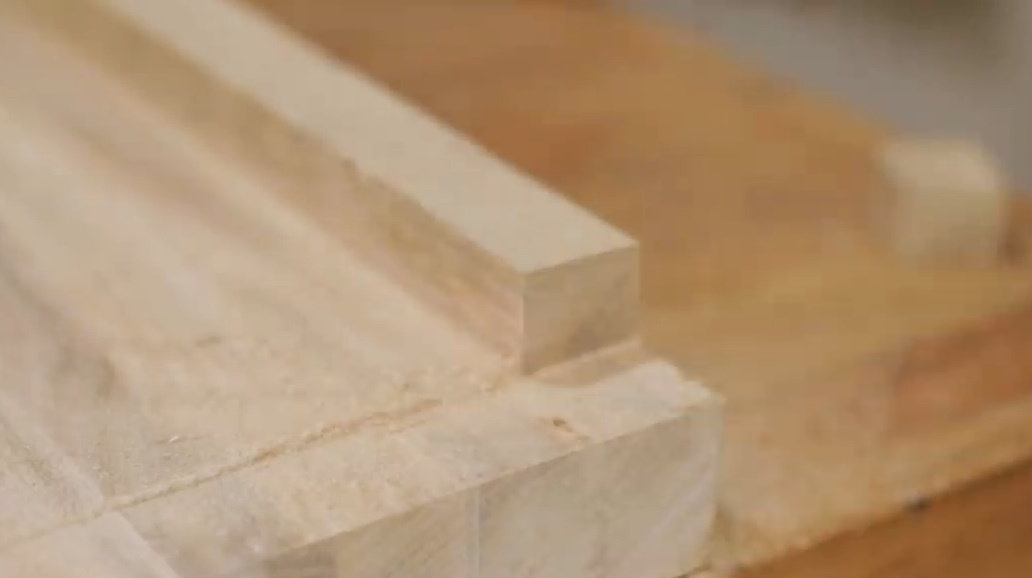
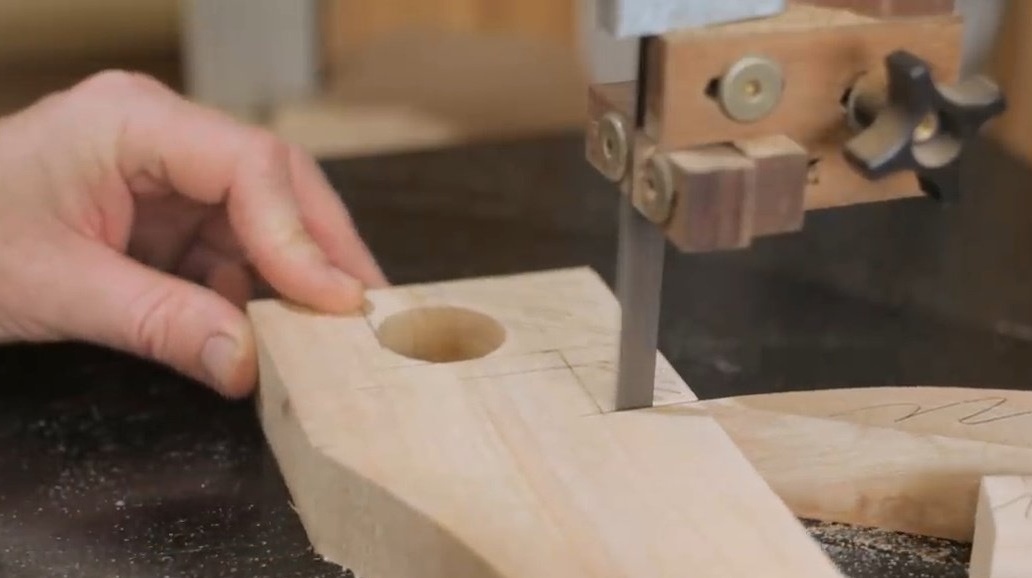
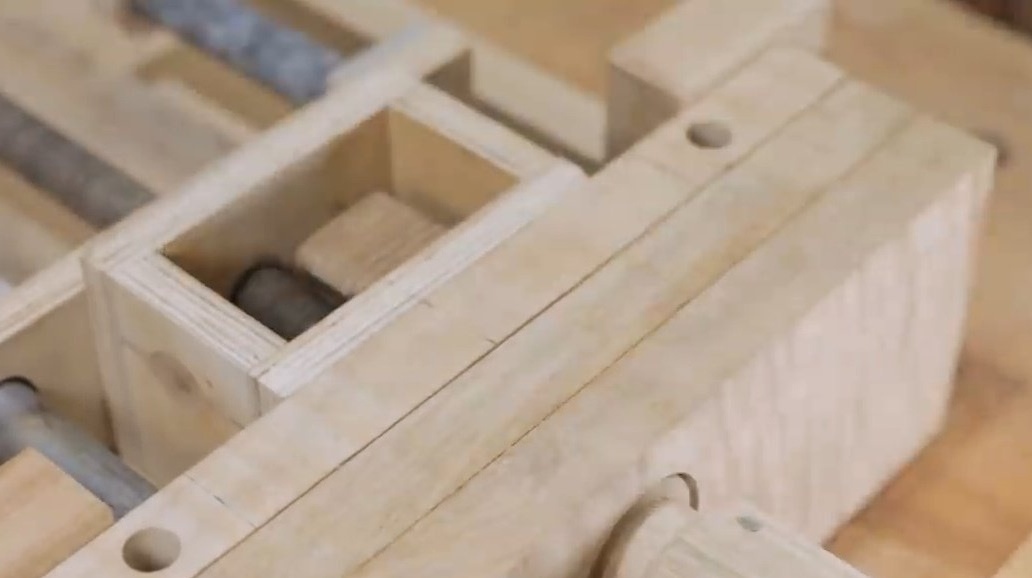
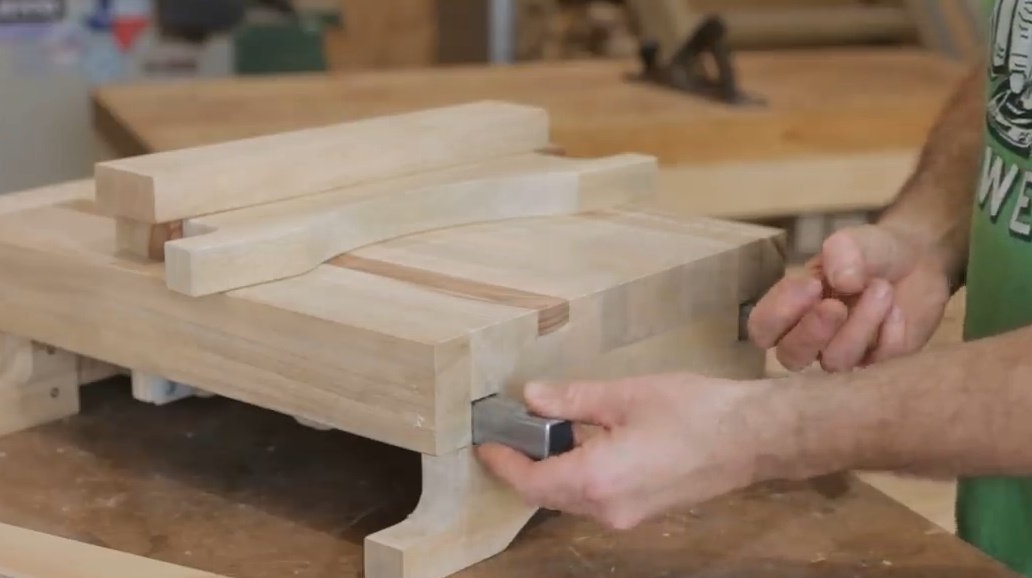
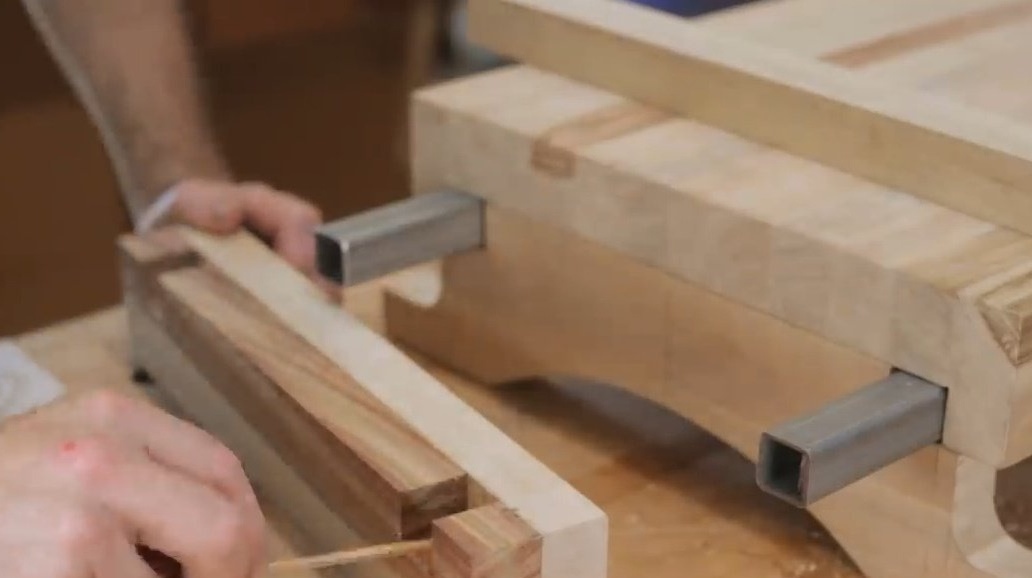
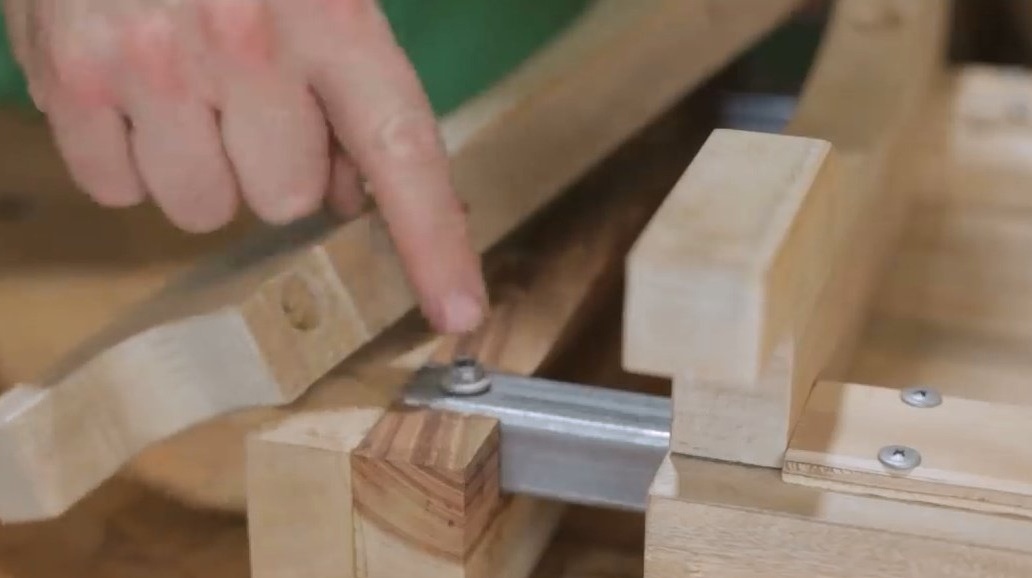
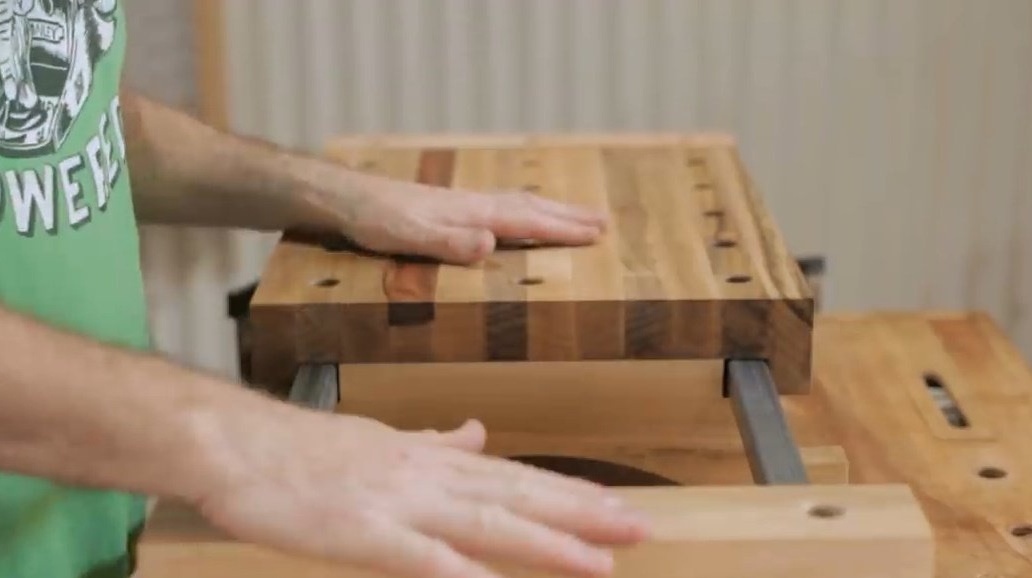
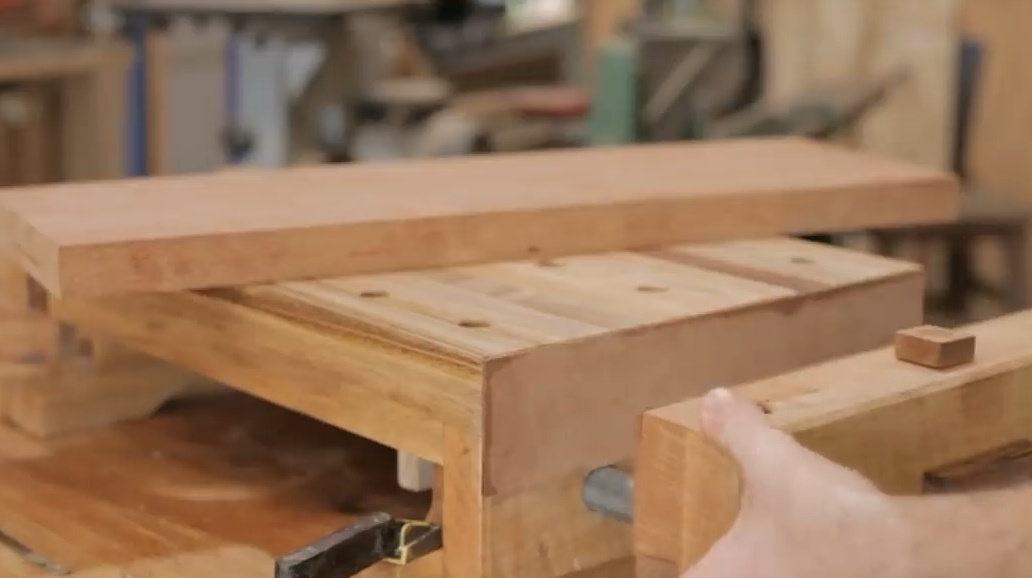
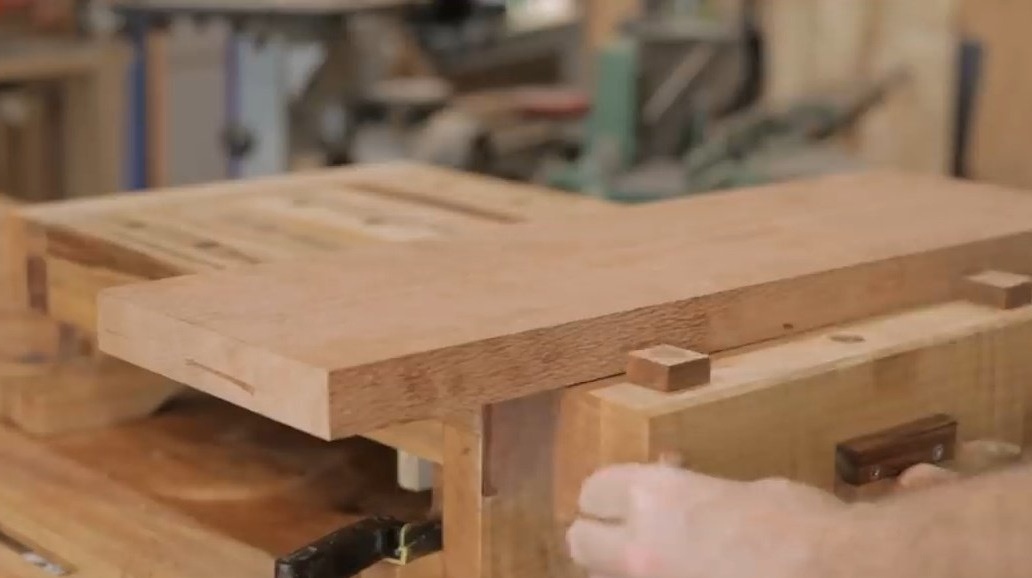
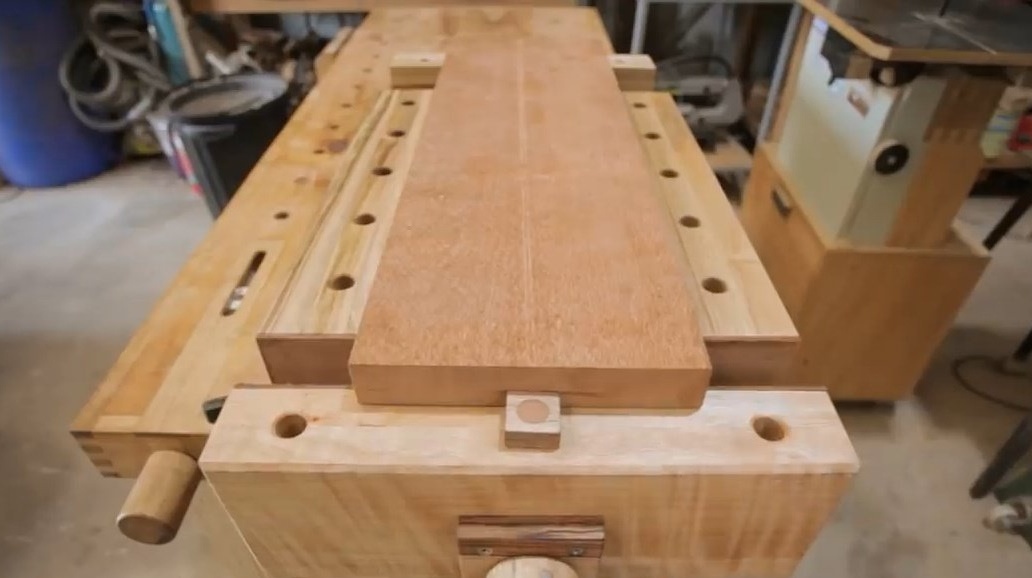
And now it becomes clear why these square holes were needed in the back of the workbench. They are under square rails. And those, in turn, serve to lay the workbench in length and make it at least a third longer.

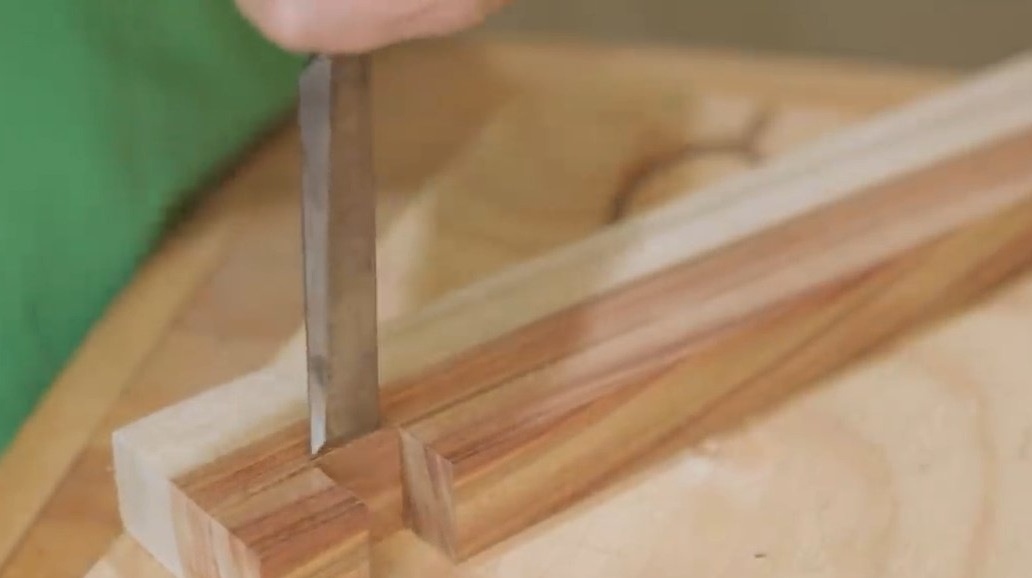
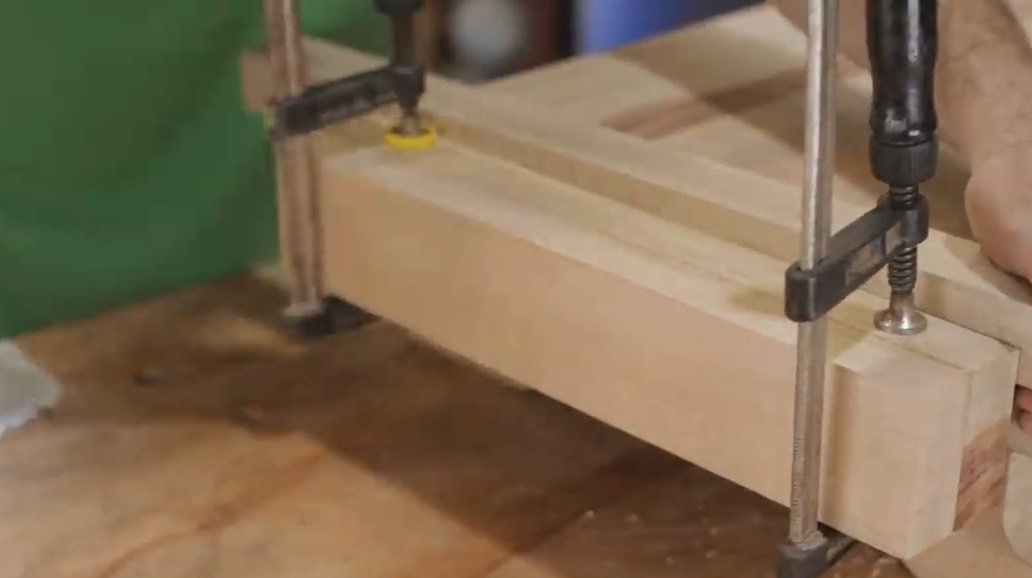
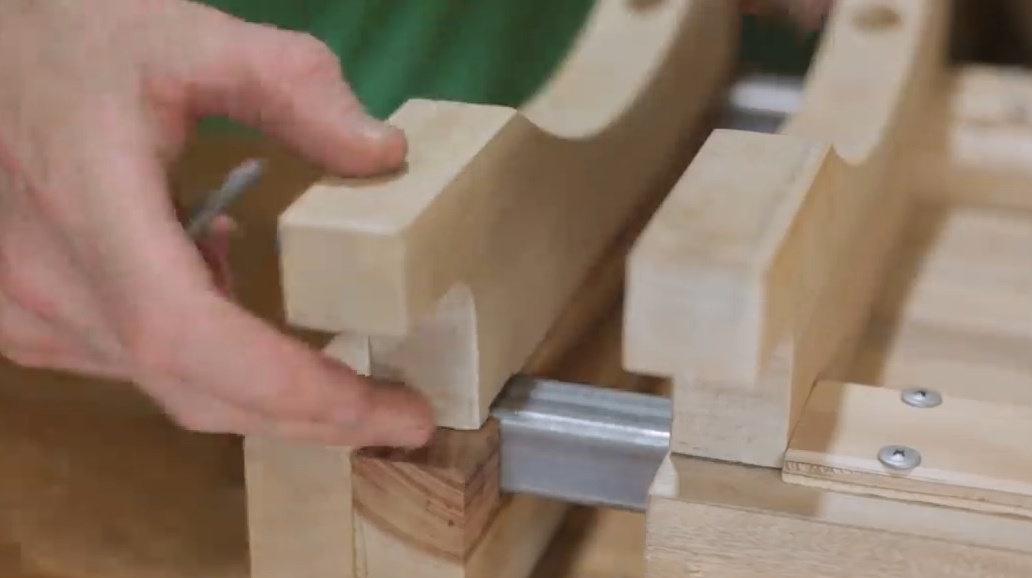
The author hollows out the grooves on the details, then glues the two boards together.
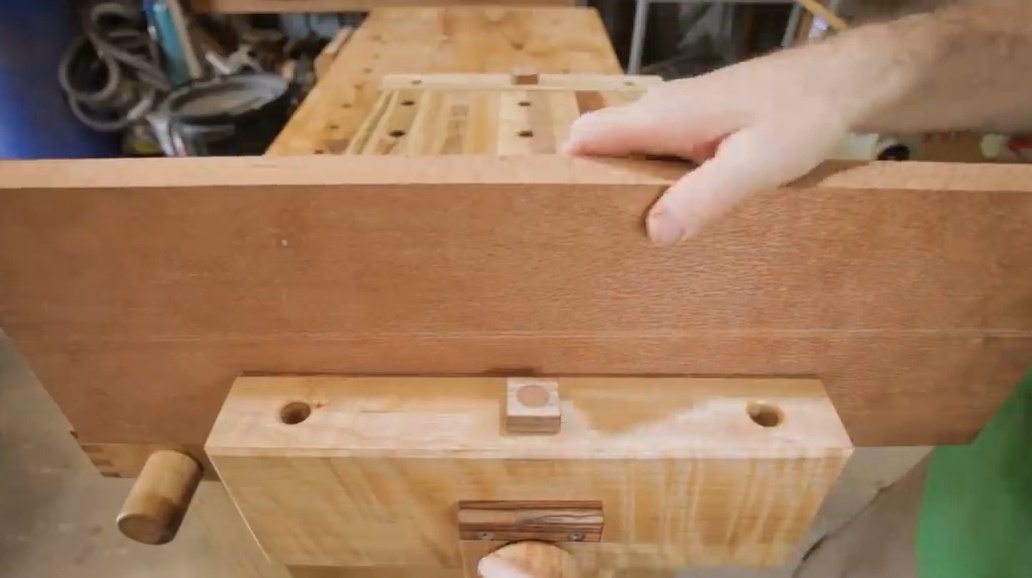
He raises the square rails with a side rail and closes one more board on top to fix the rail.
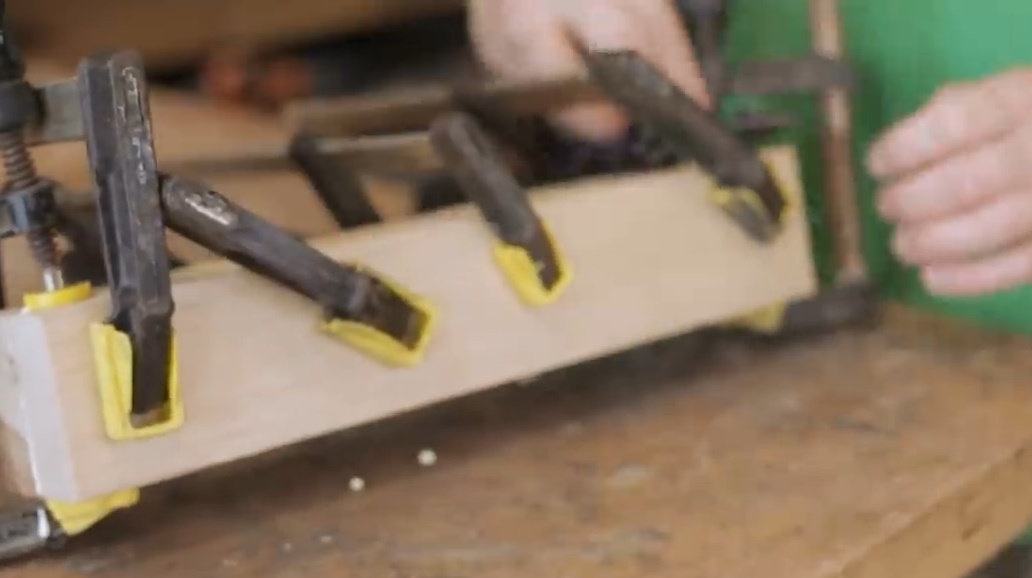
In the glued part, he smears the grooves with glue and “sits” the sponge on the rails, additionally fixing them with bolts.
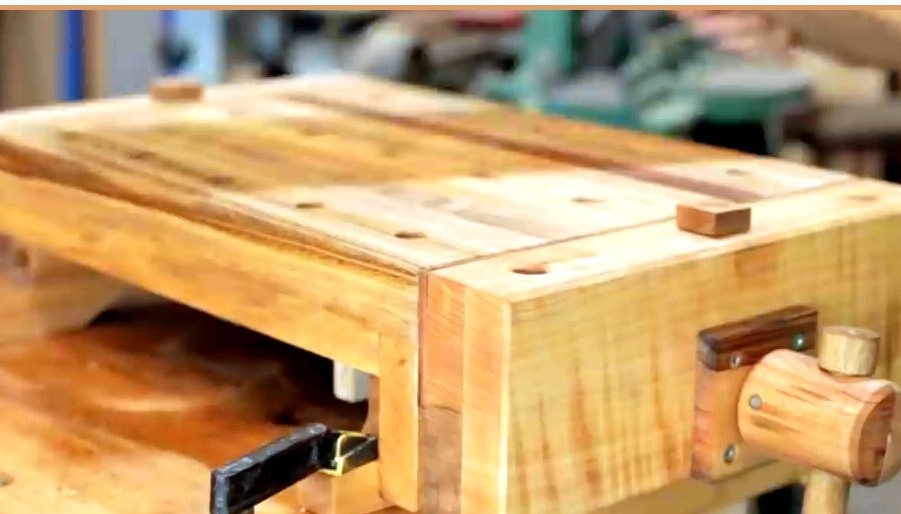
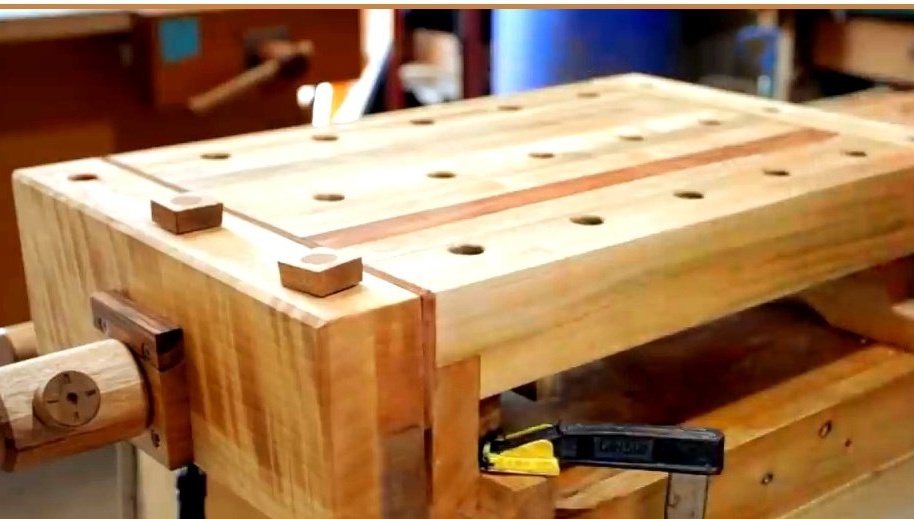
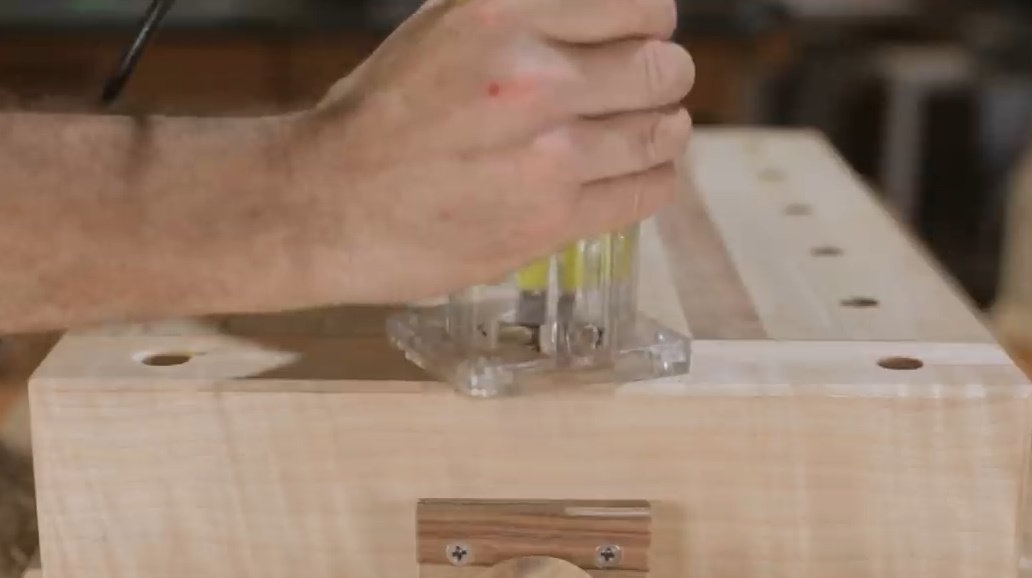
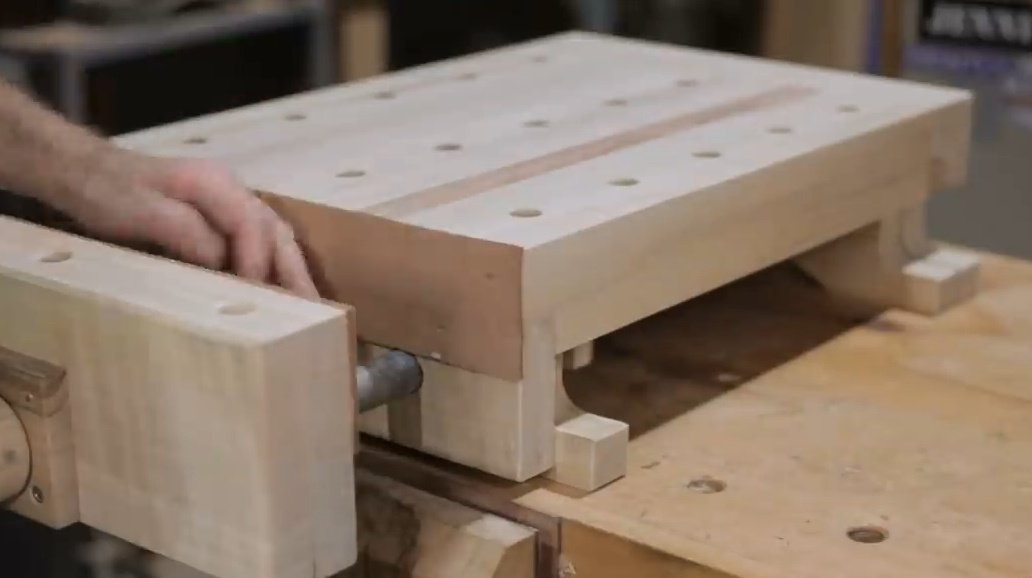
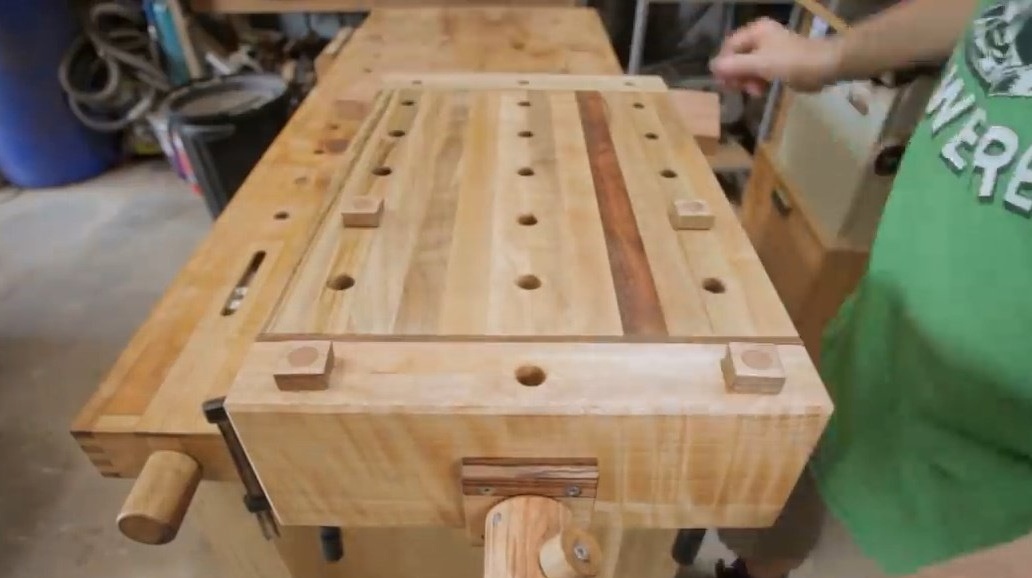
On the surface of a workbench, the author makes several parallel rows of holes with an ordinary screwdriver with a Forstner drill. Then it processes the edges with a manual milling cutter.
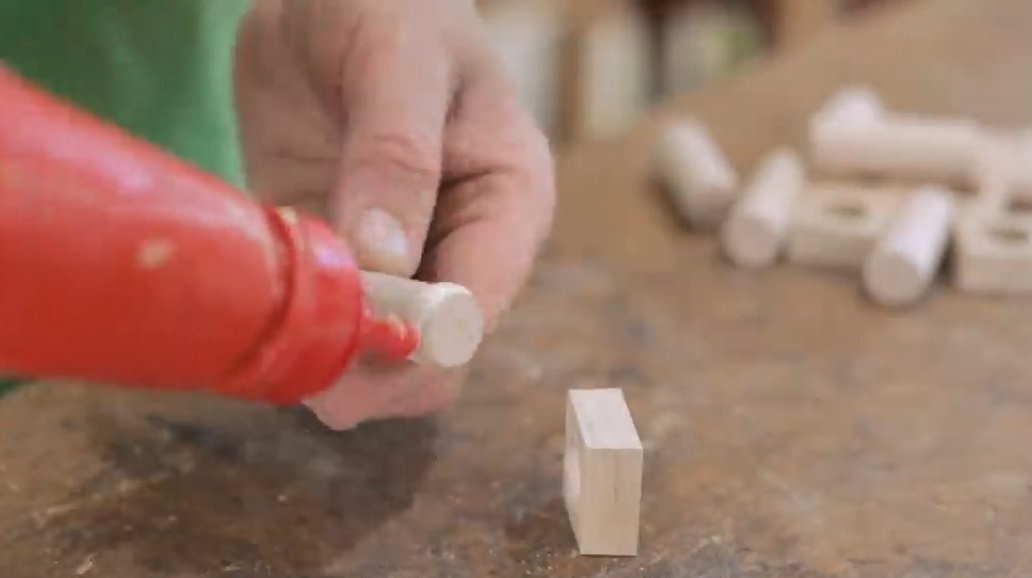
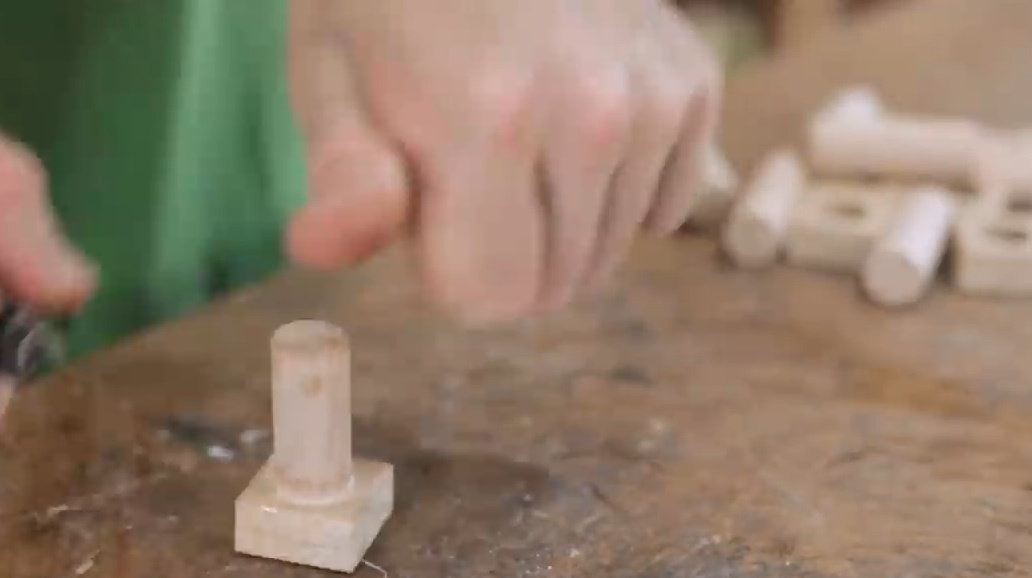
All that is needed now is a few stoppers, and they are done in an elementary way.
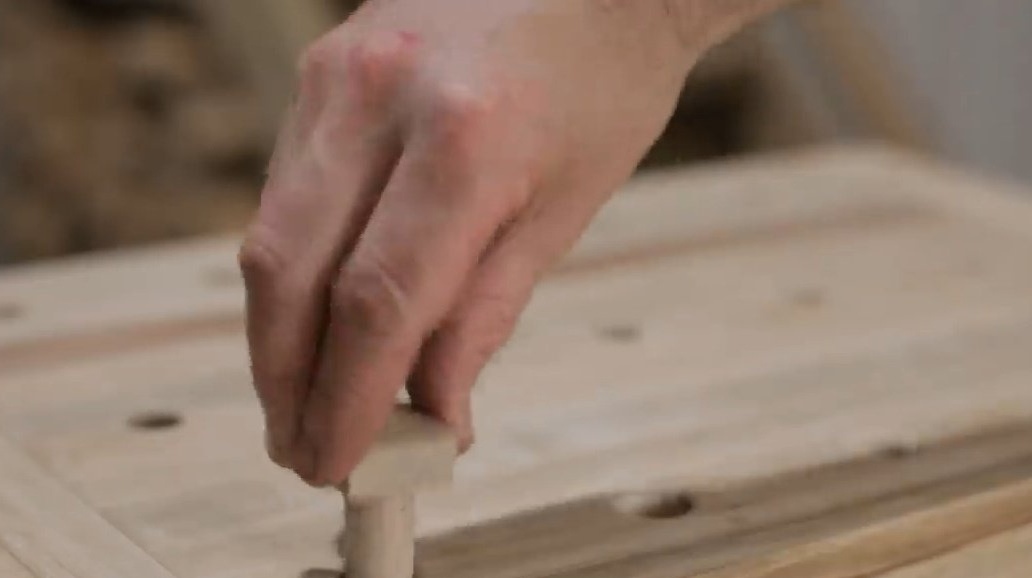
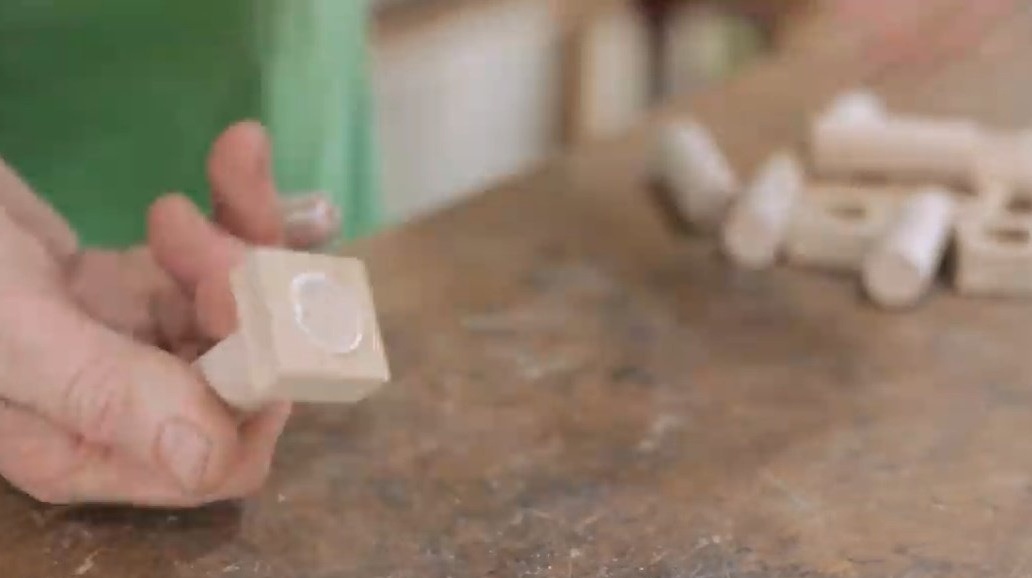
Now the hats and legs are glued together.
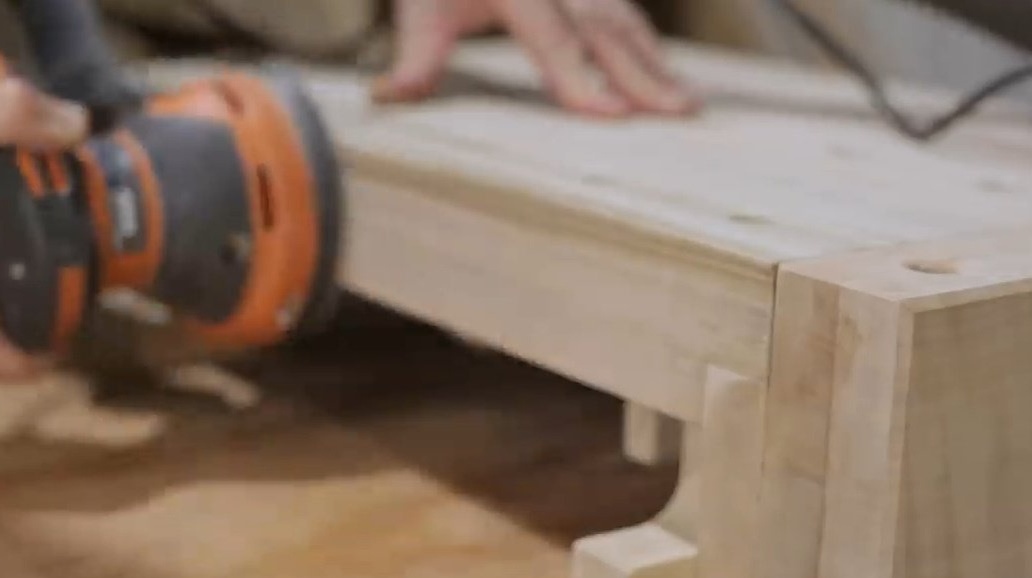
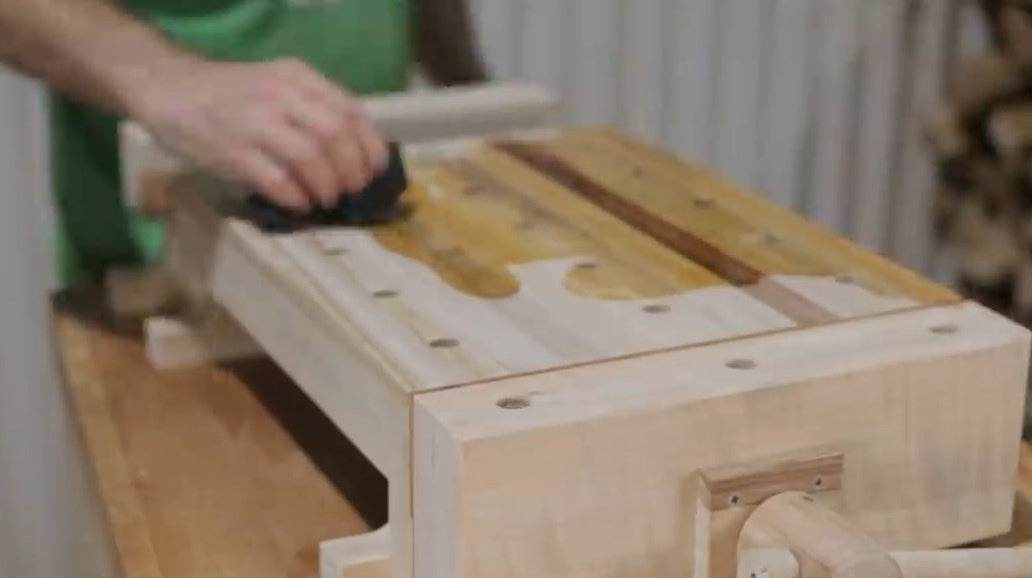
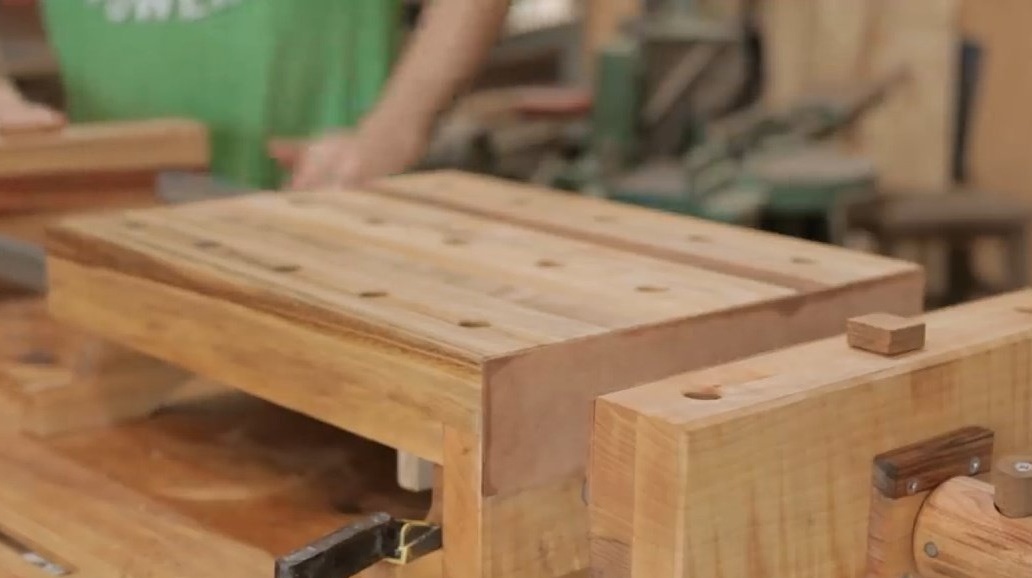
Grinds the surface of the workbench.
Felt or felt pads are glued onto the jaws of a vice to soften the pressure plane.
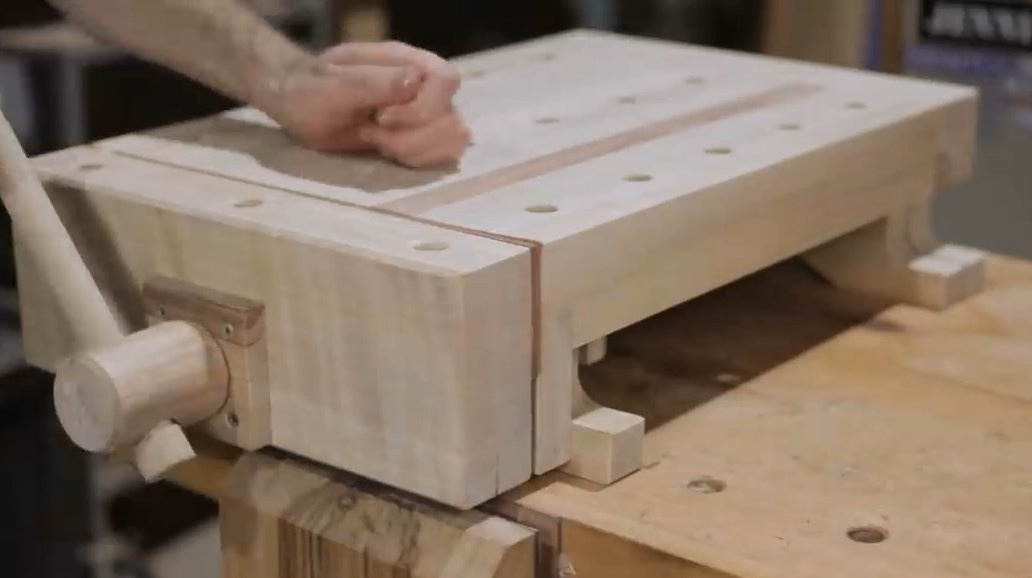
Now it should be impregnated with linseed oil.
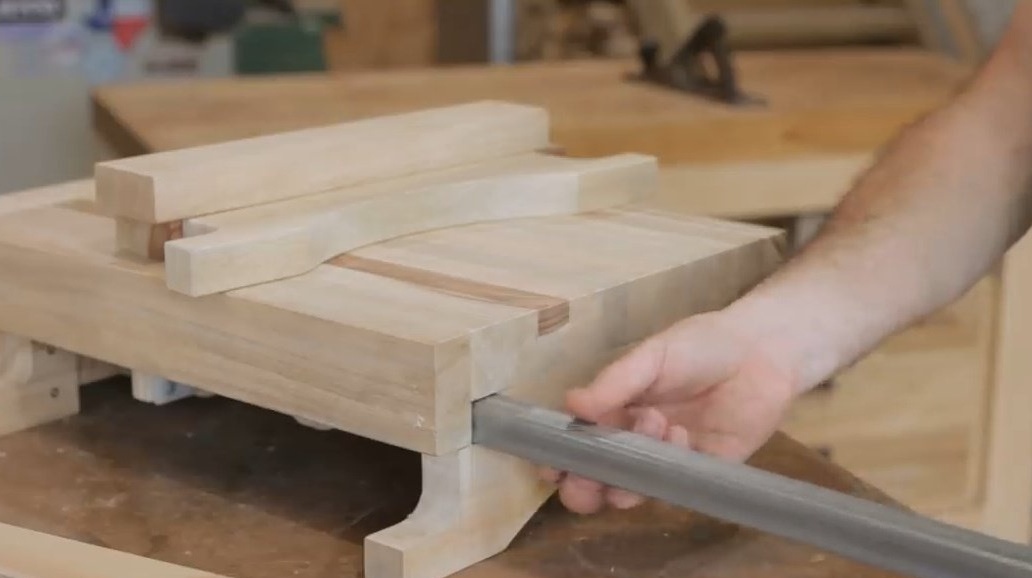
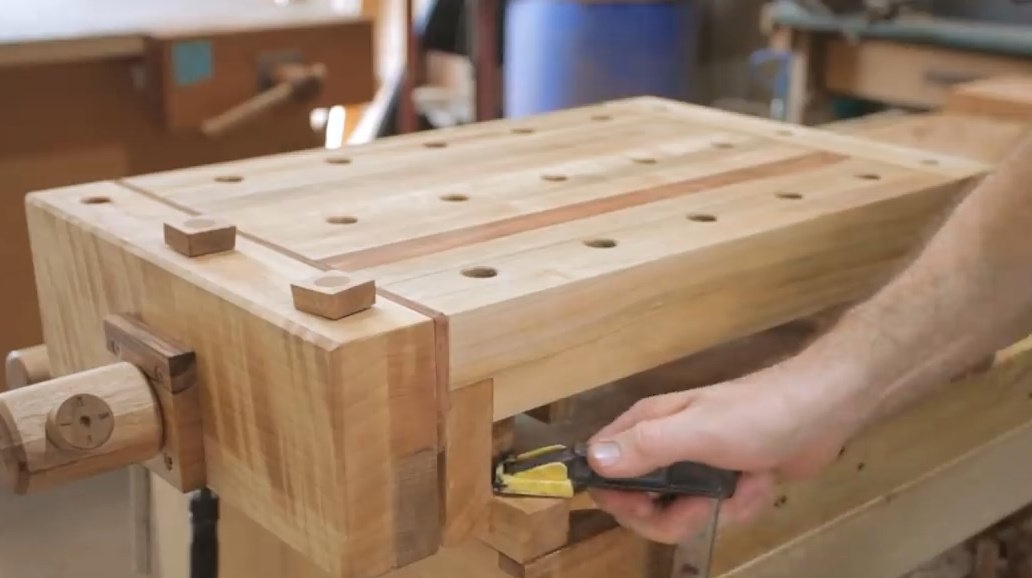
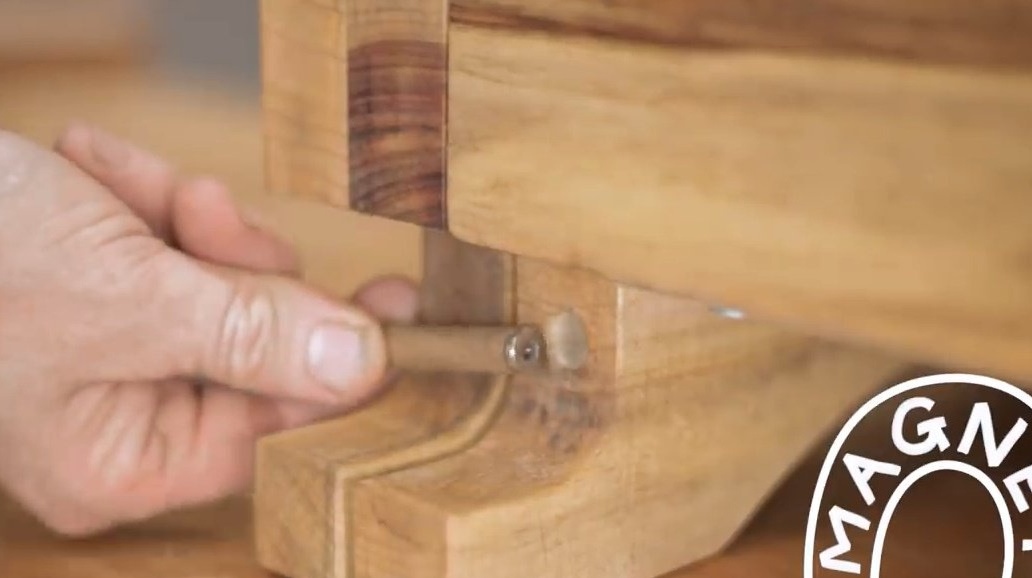
Guide rods can jam at the base of the workbench. To do this, the author has already made holes for the stops in the side stand.
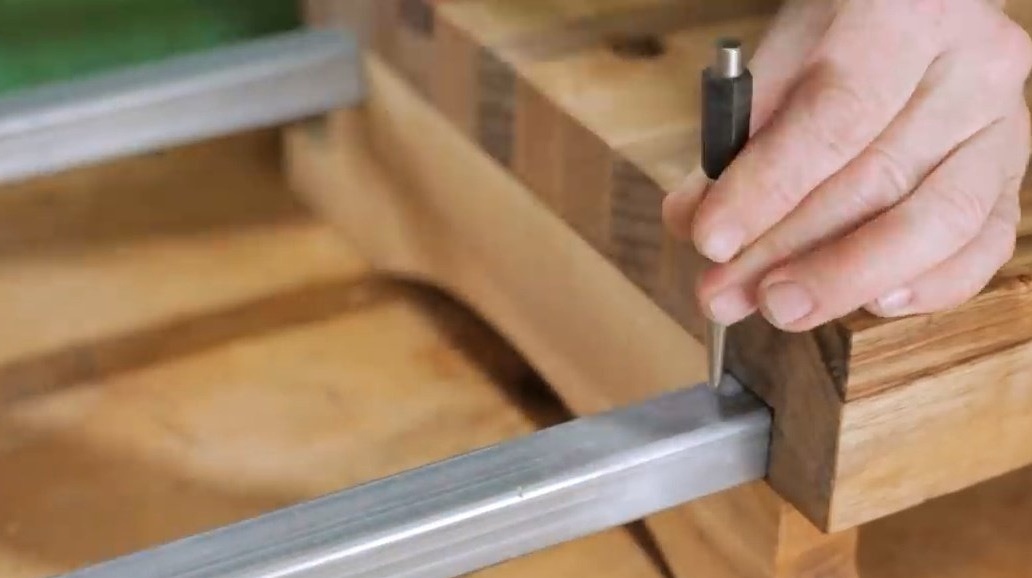
But these small bolts with wooden nozzles serve as locking devices when opening the workbench along the length.
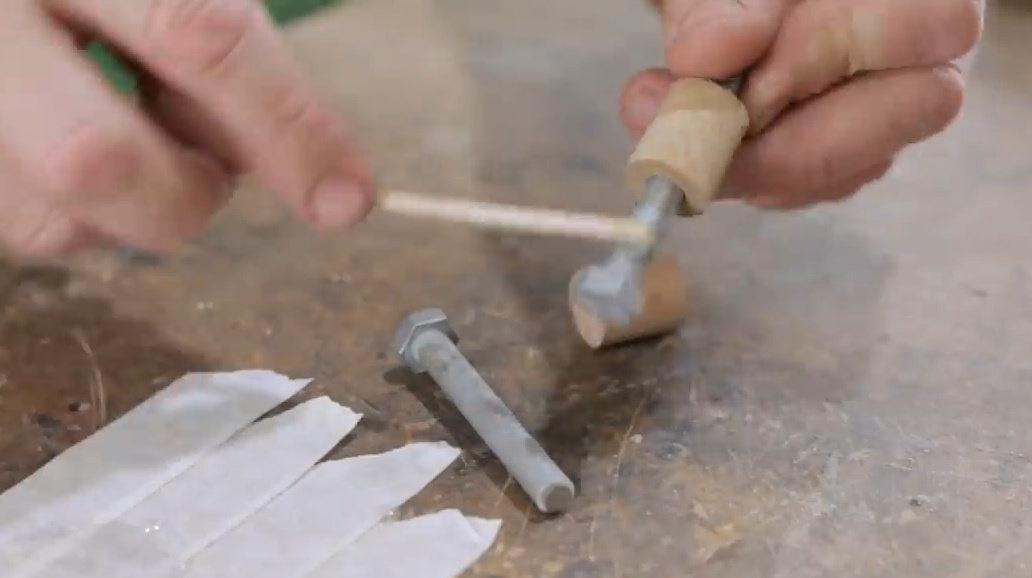
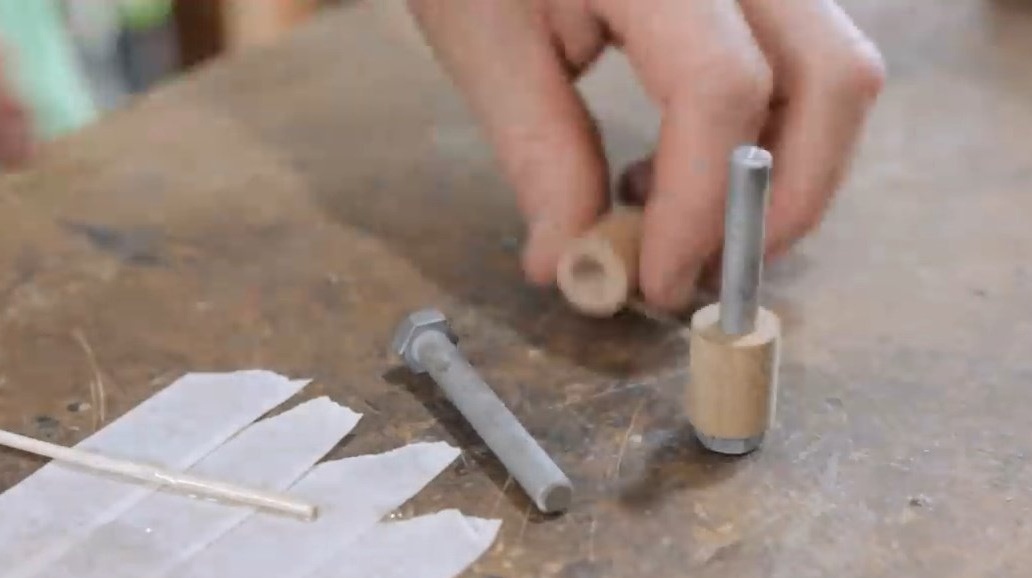
This is how it all works.
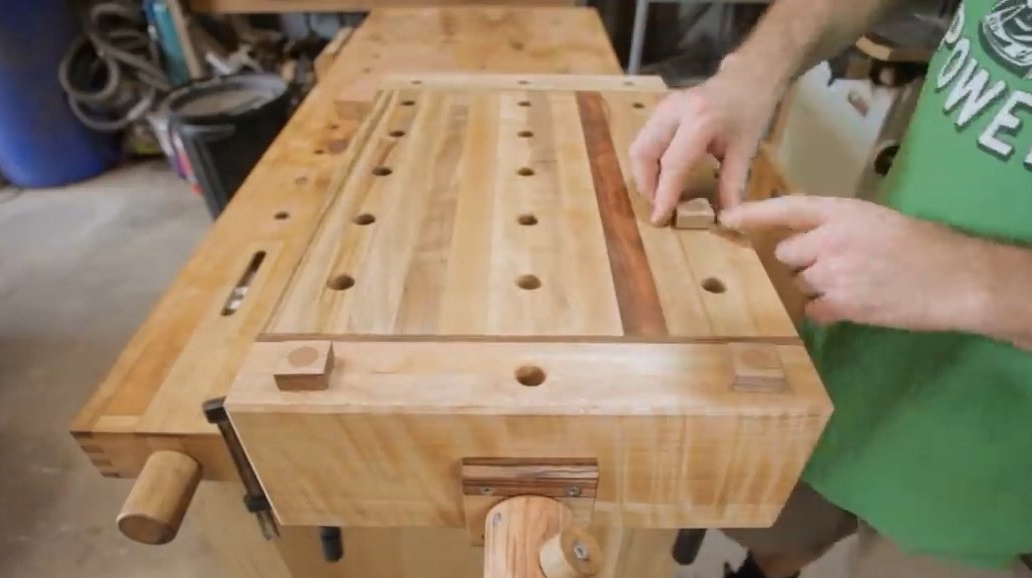


And here is the place for the magnet, which can conveniently get the stoppers.
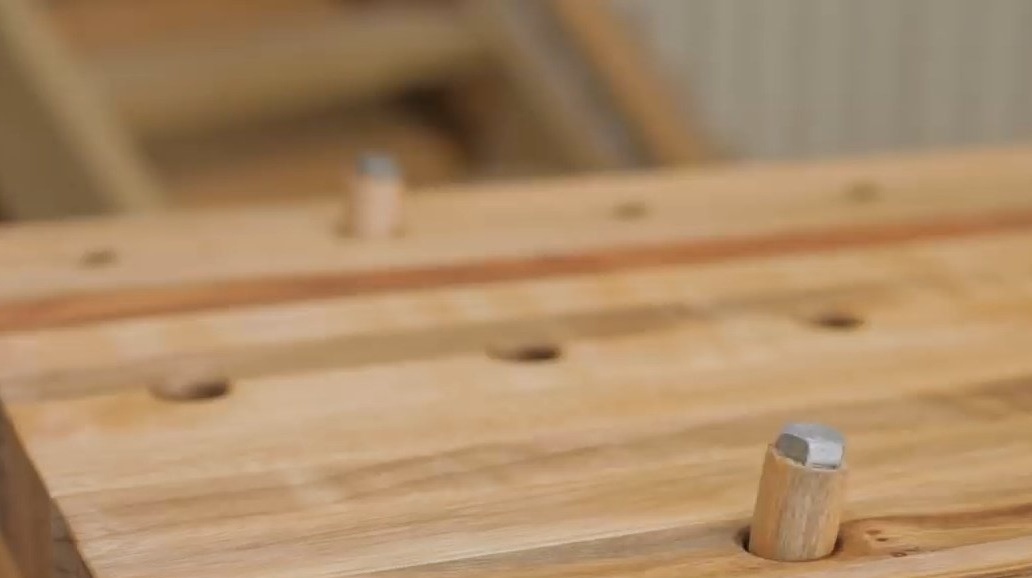
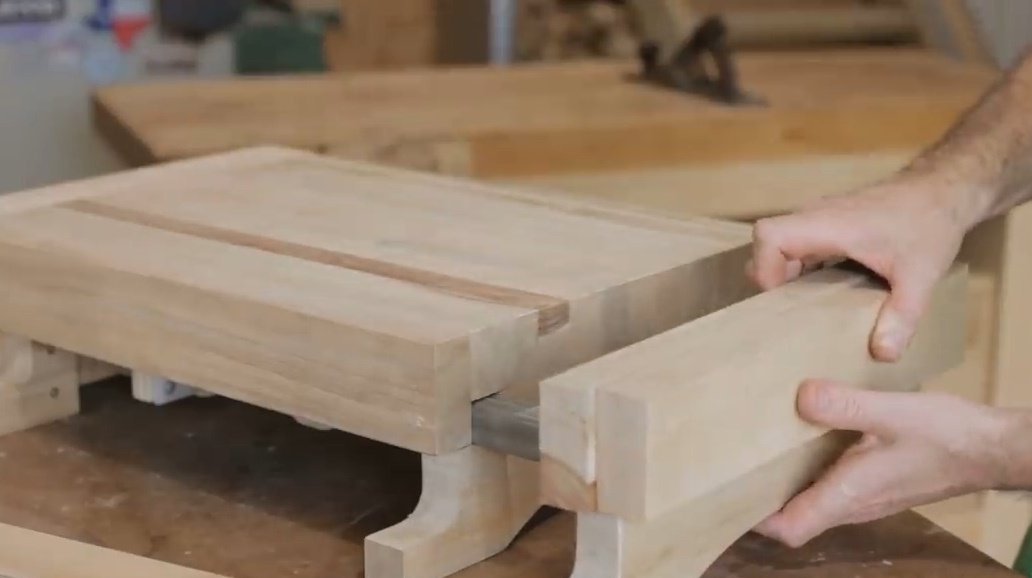
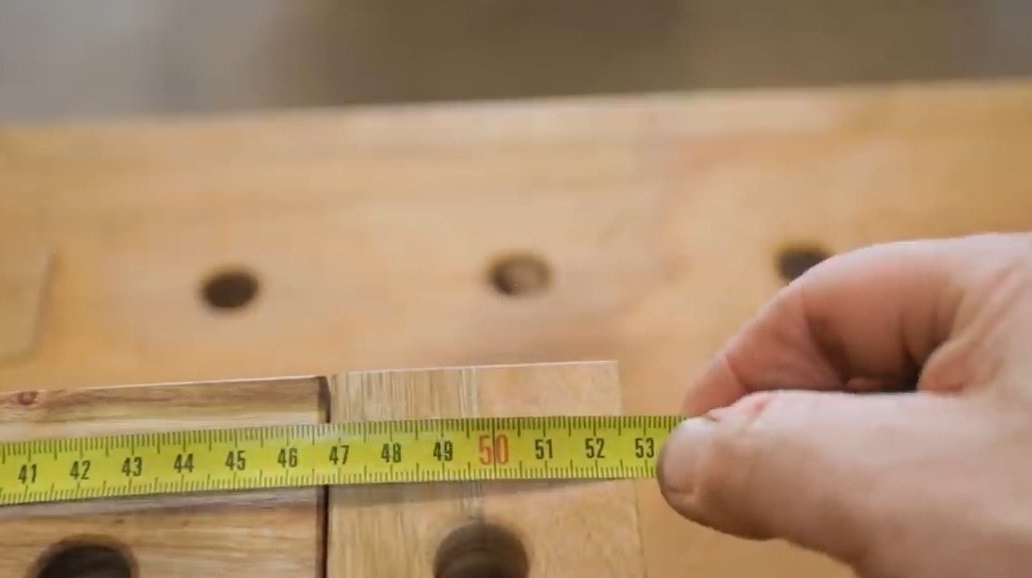
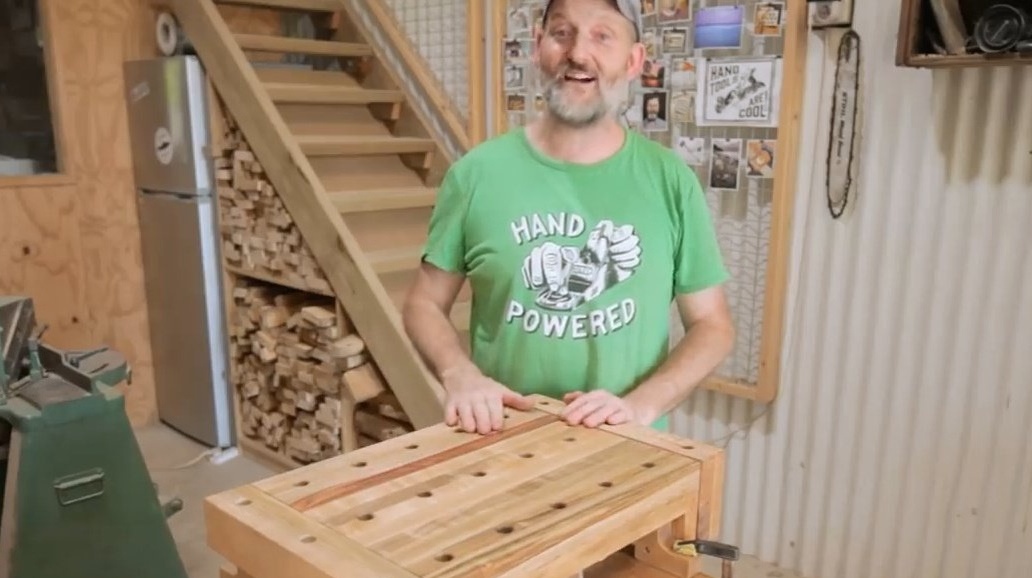
And so the workbench is revealed to its full length.

Try to build such a mini workbench yourself, and you will be satisfied with it!
Drawings are available on the author.
Thanks to the author for the simple but useful device for the workshop!
All good mood, good luck, and interesting ideas!