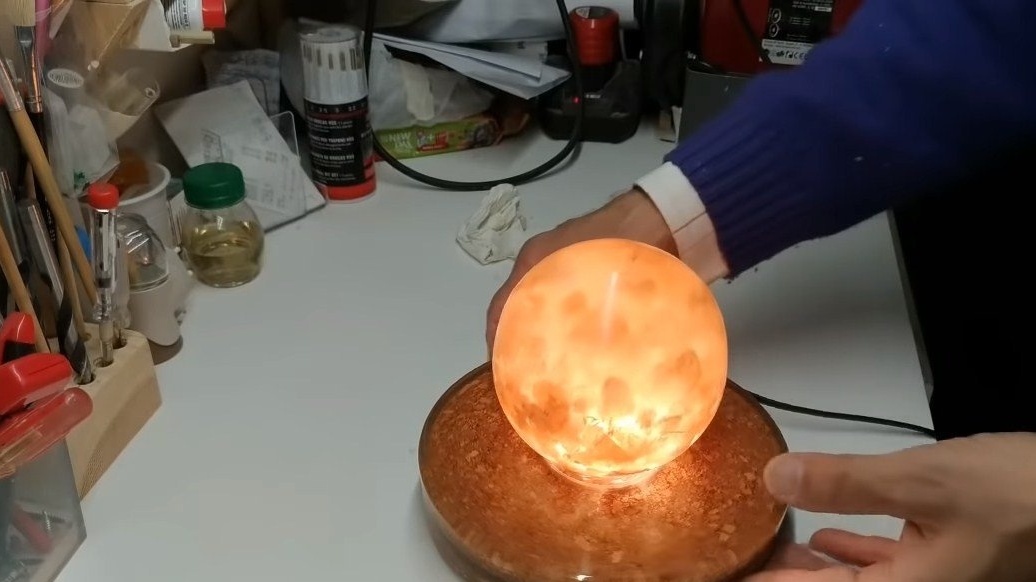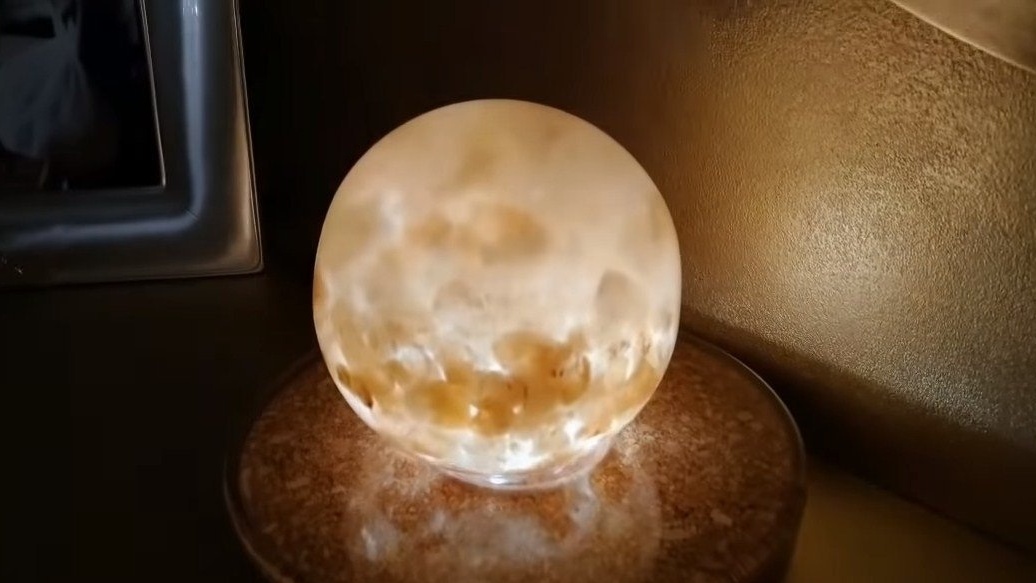
Hi to fans who love to craft, in this instruction we will discuss how to make an interesting lamp that mimics the sun, although the object looks more like the moon. Looks homemade very interesting, and made from accessible materials. The main material here is epoxy, and you will also need some wood, as well as other components. There are two operating modes in the luminaire; two bulbs are installed here. For night mode, there is a miniature incandescent lamp, and if you want the lamp to shine like a lamp, it turns on a powerful 220V LED lamp. If the project interests you, I propose to study it in more detail!
Materials and tools used by the author:
Material List:
- quartz or other stones that may be visible;
- epoxy resin for pouring;
- plastic bowls (for molds);
- cork disks (coasters);
- plywood or other sheet material;
- ;
- a small incandescent lamp at 220V;
- wires;
- switch;
- heat shrink;
- legs, cogs, etc.
Tool List:
- lathe;
- drill;
- glue gun;
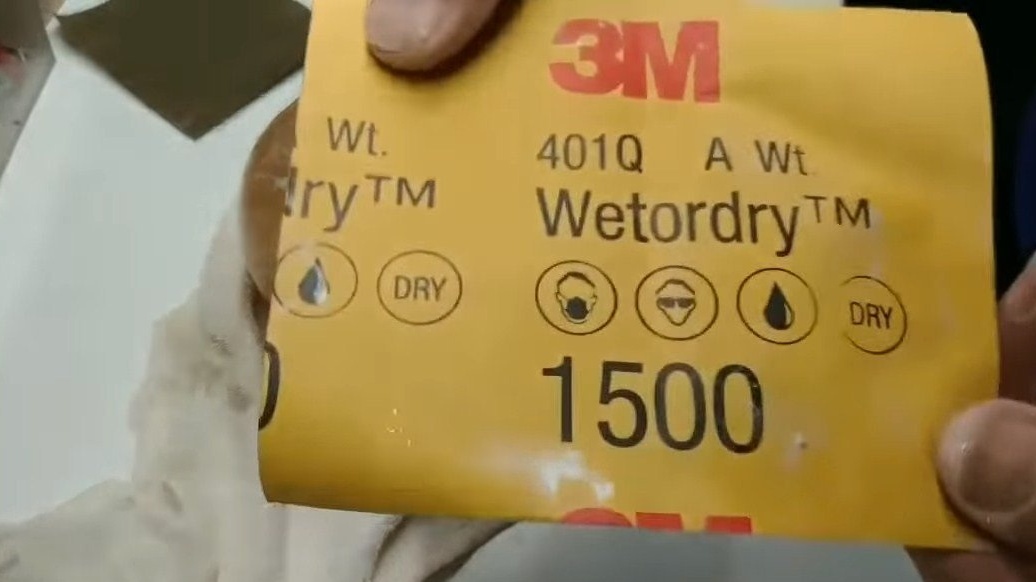
- polishing paste, sandpaper;
- tape cutting saw or jigsaw;
- soldering iron.
Homemade manufacturing process:
Step one. Source Search and Fill
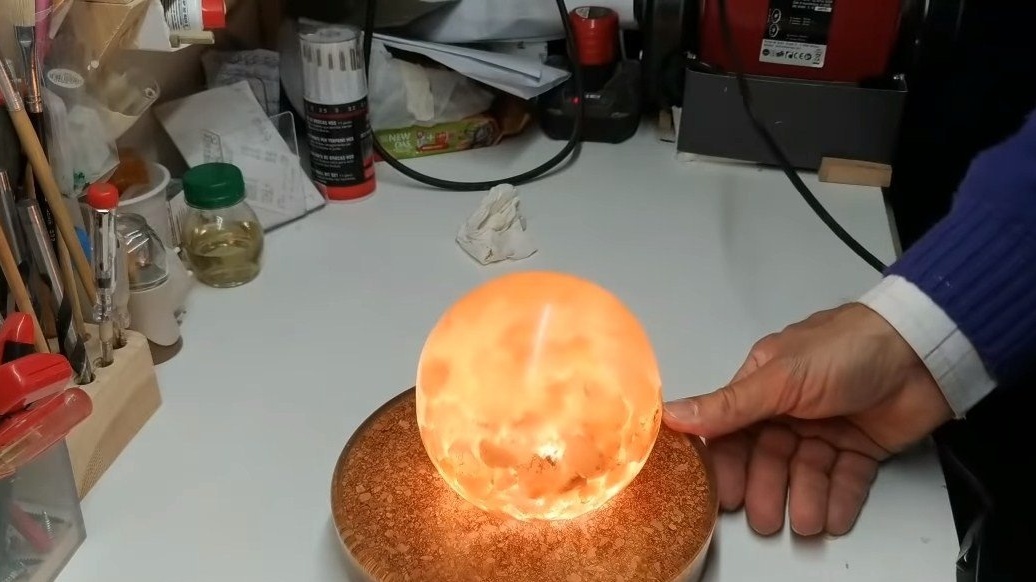
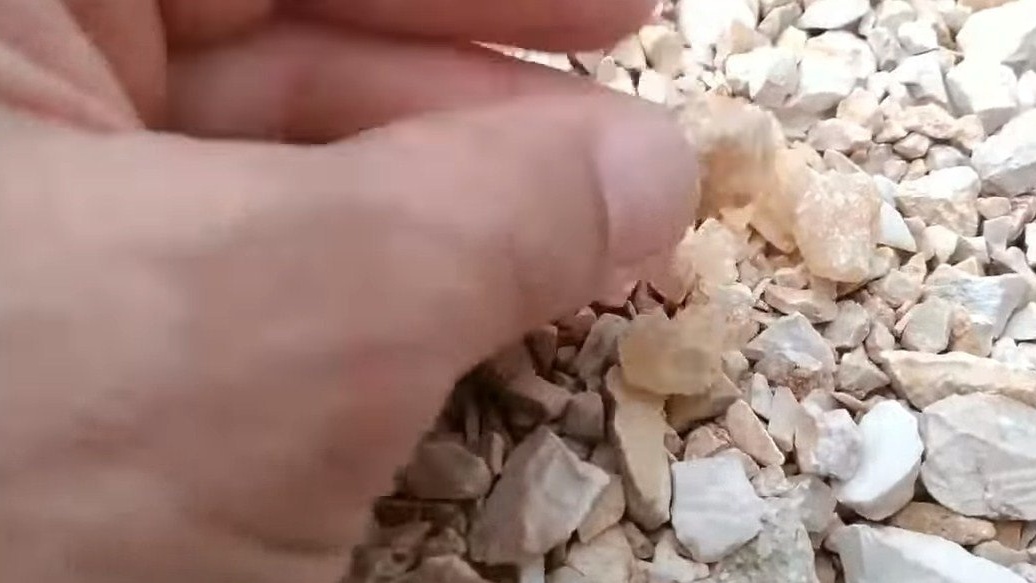
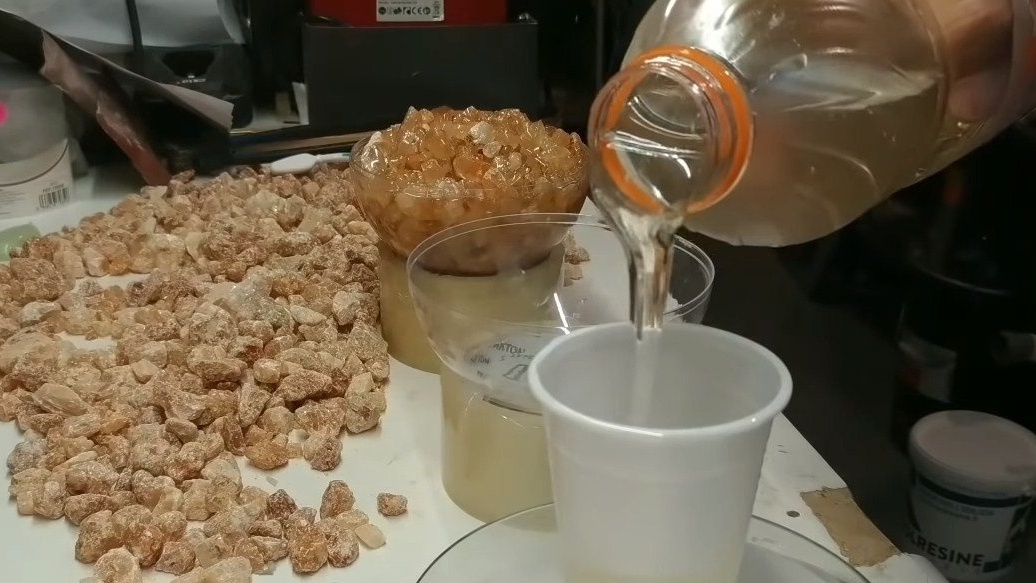
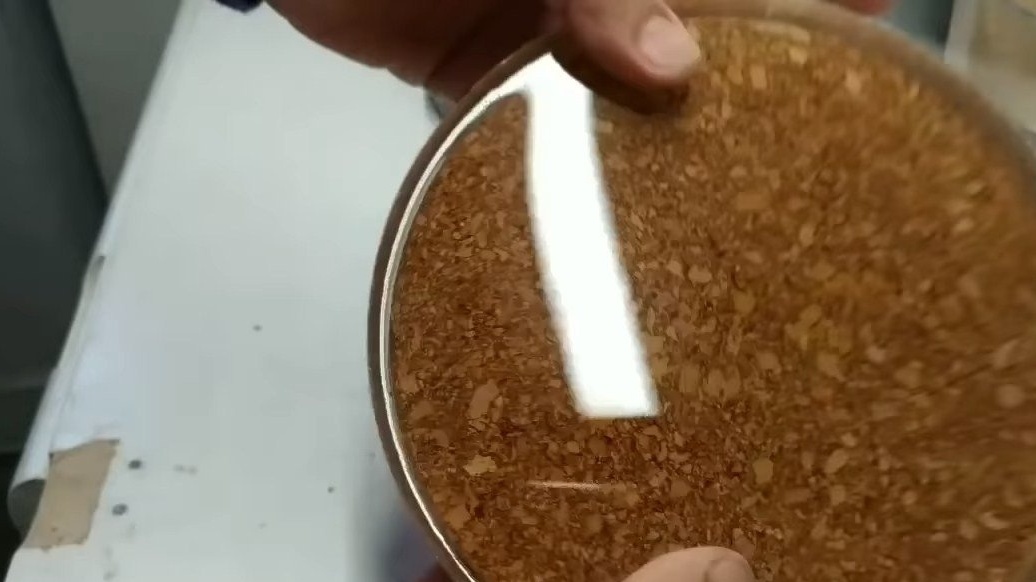
We are looking for the source material, we can find it literally on the street, on the road, we need light stones, it is better to use quartz or something like that. These stones will create spot effects on the sun or moon, as you wish.
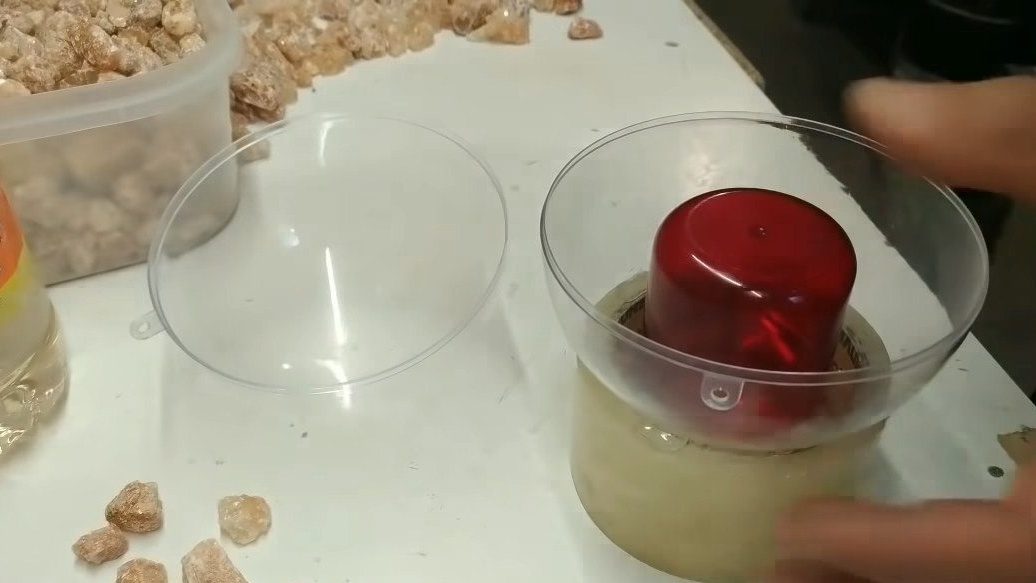
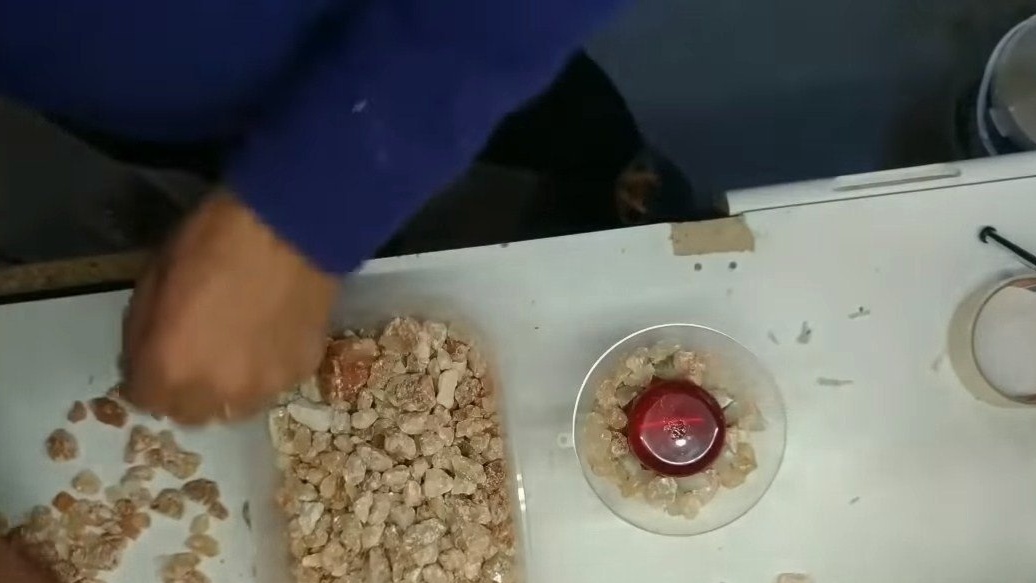
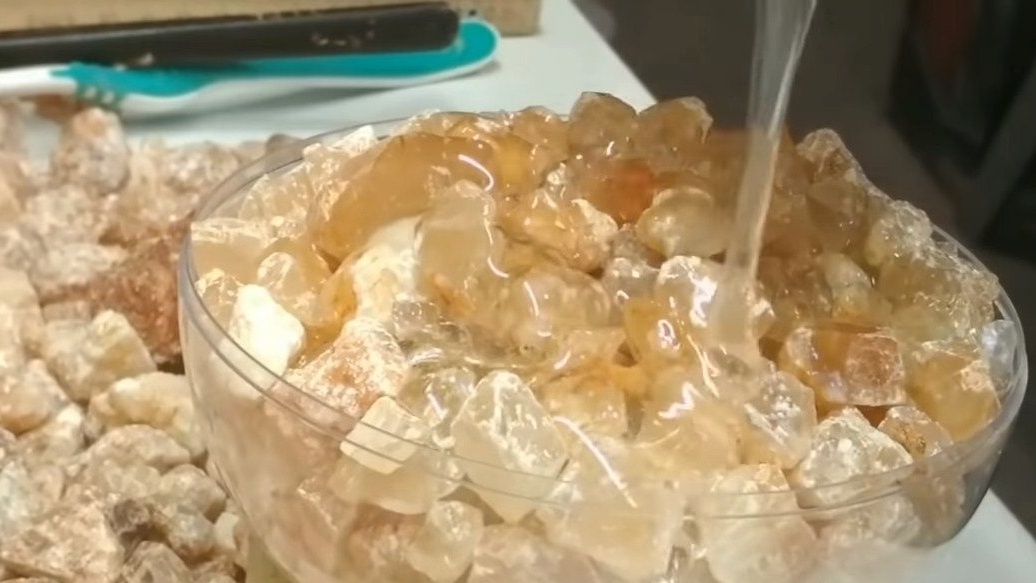
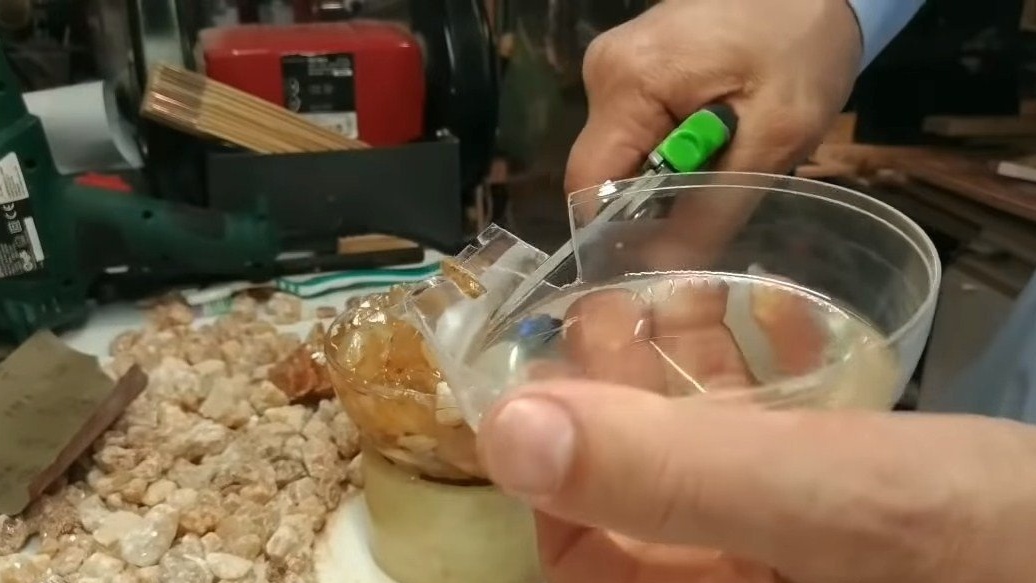
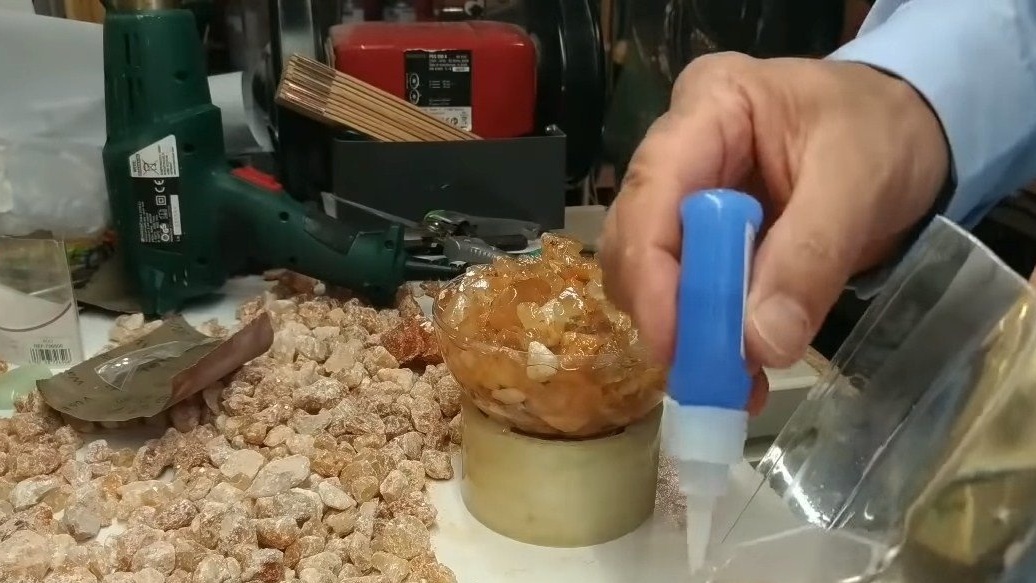
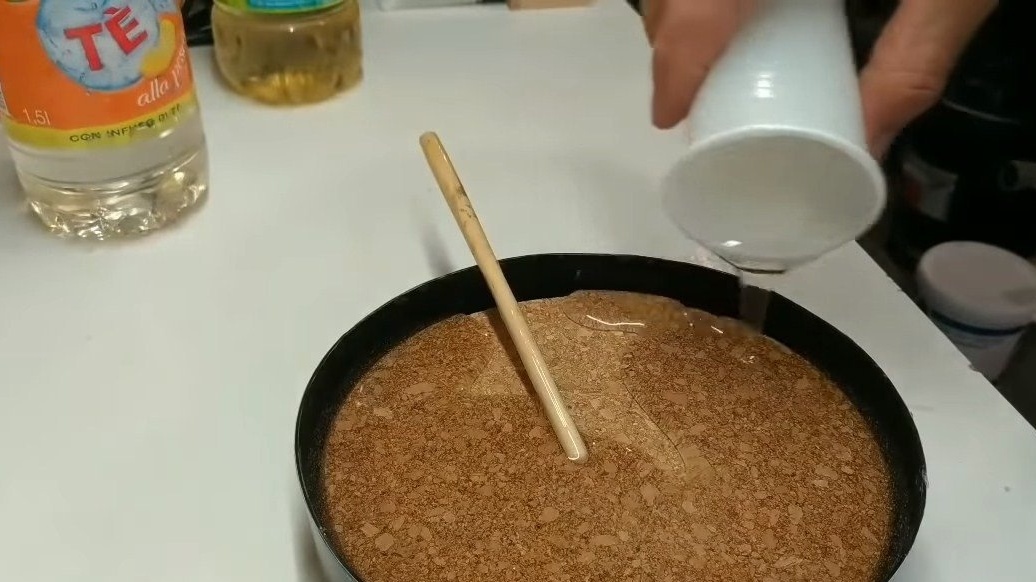
Found stones are well washed, dried and poured into a plastic bowl. The shape of the bowl should be such that when gluing two such bowls, a sphere is obtained. Before filling the stones at the bottom of the bowl, a cap from a red paint cylinder is installed, as a result, a niche will be obtained in the lamp in which we will install a light bulb. We fill the stones and fill the bowl with epoxy.
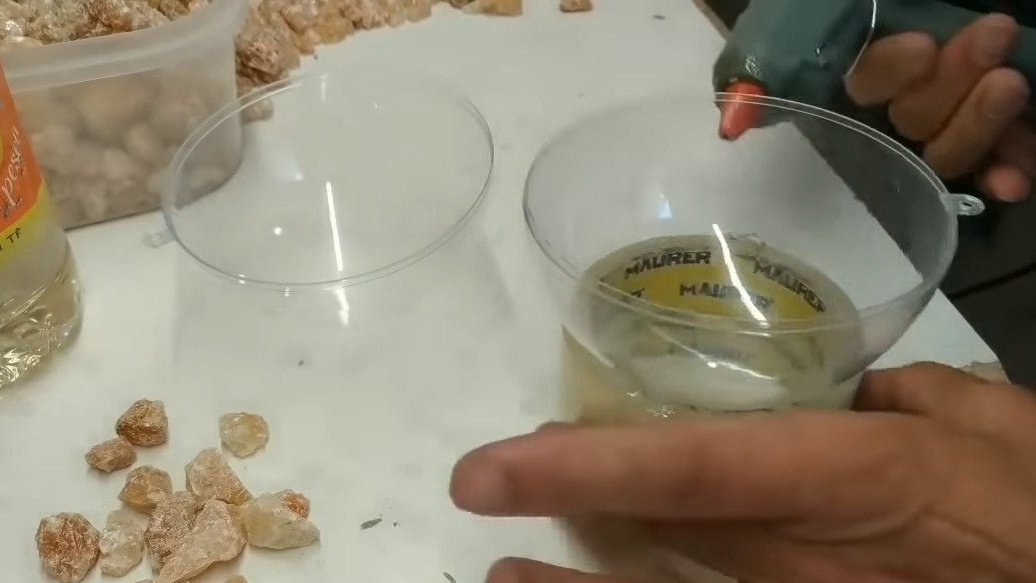
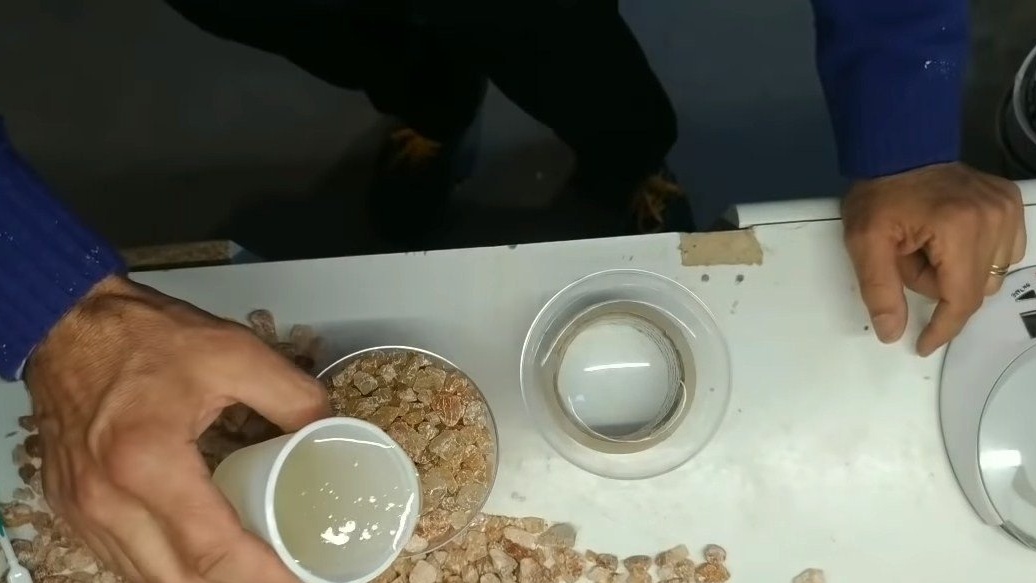
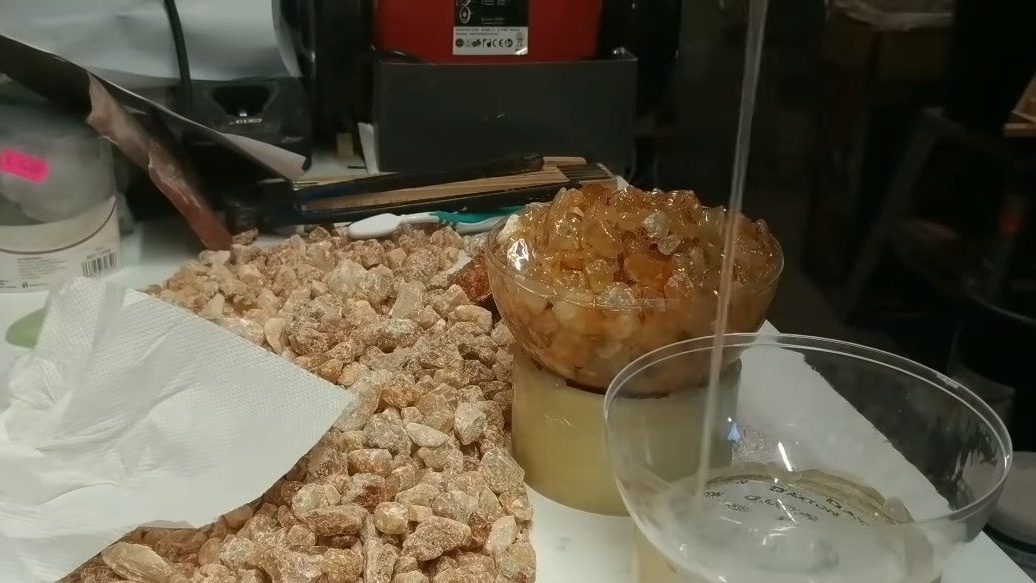
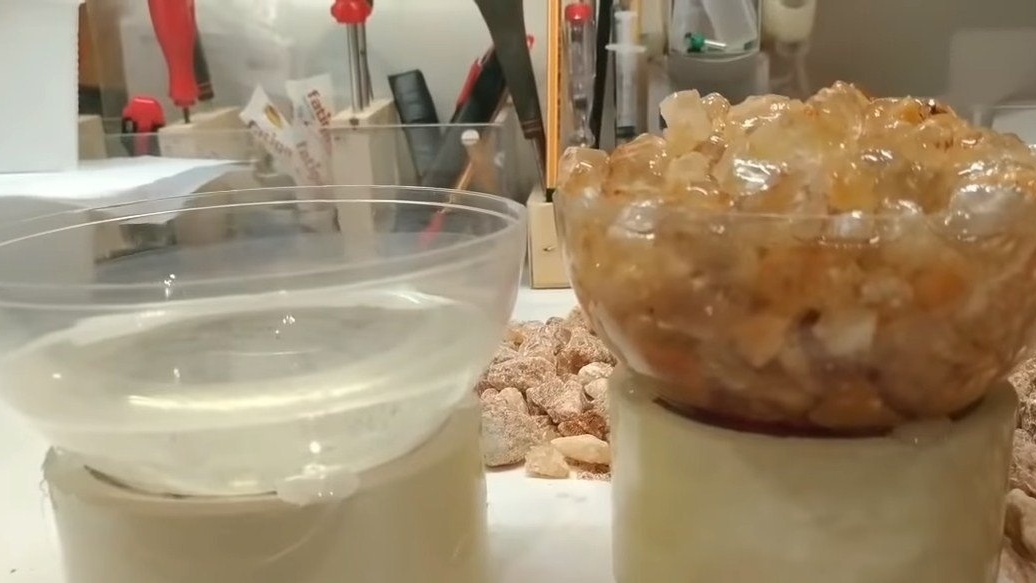
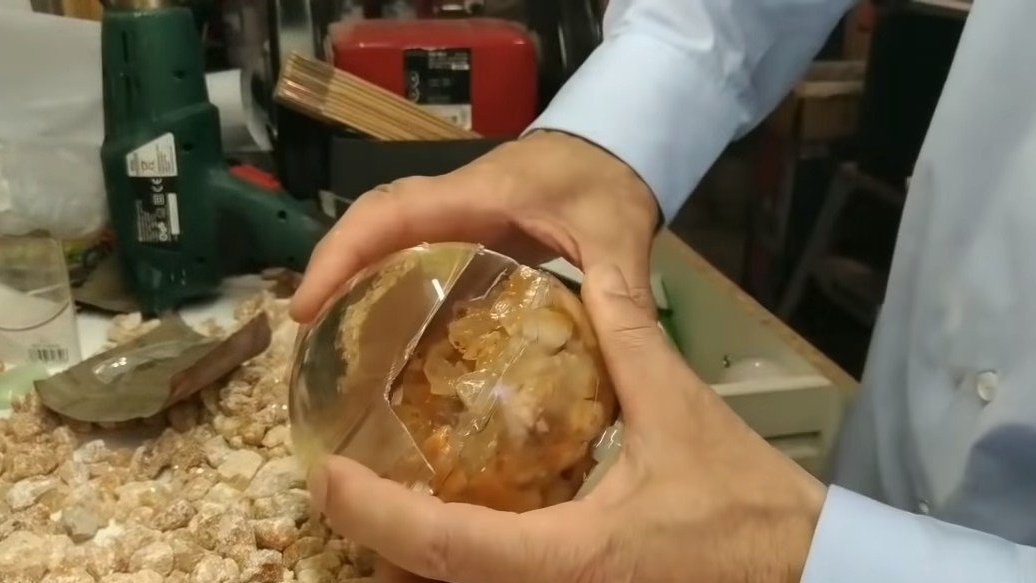
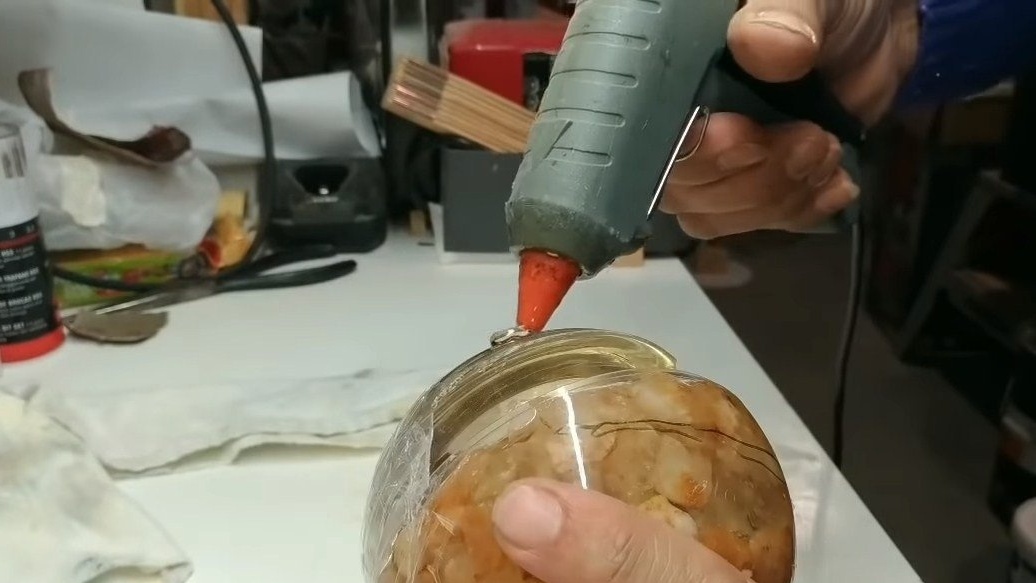
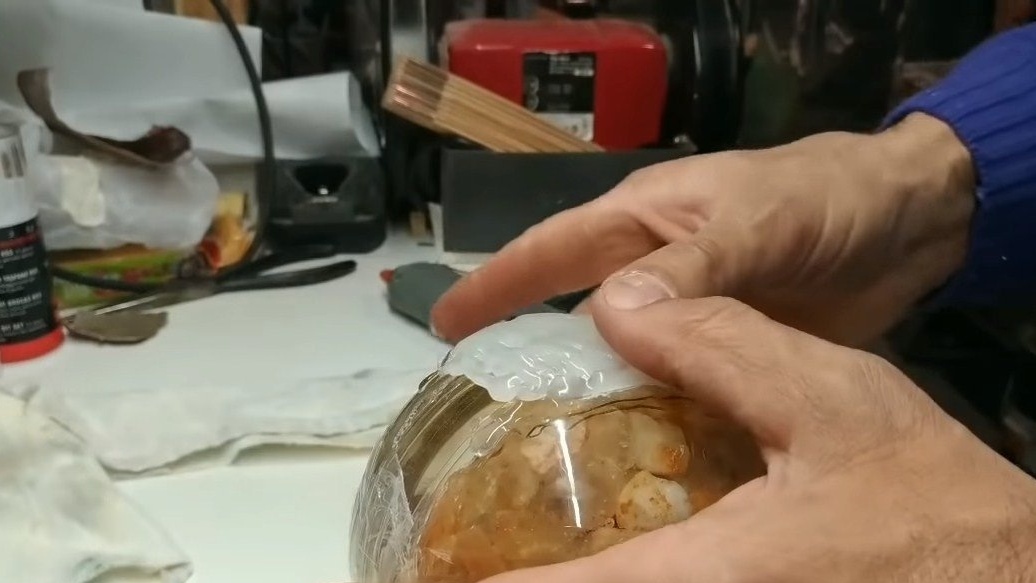
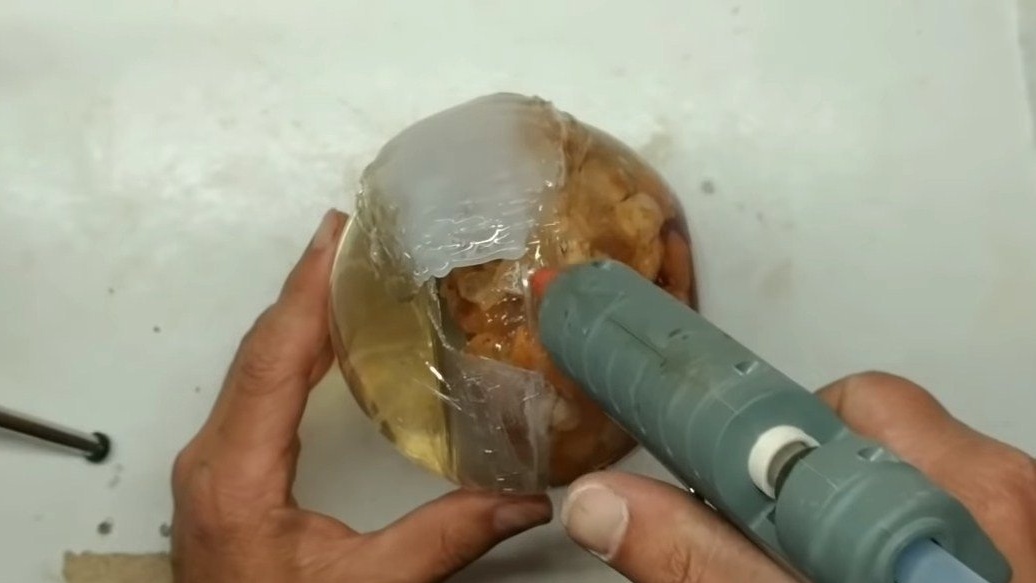
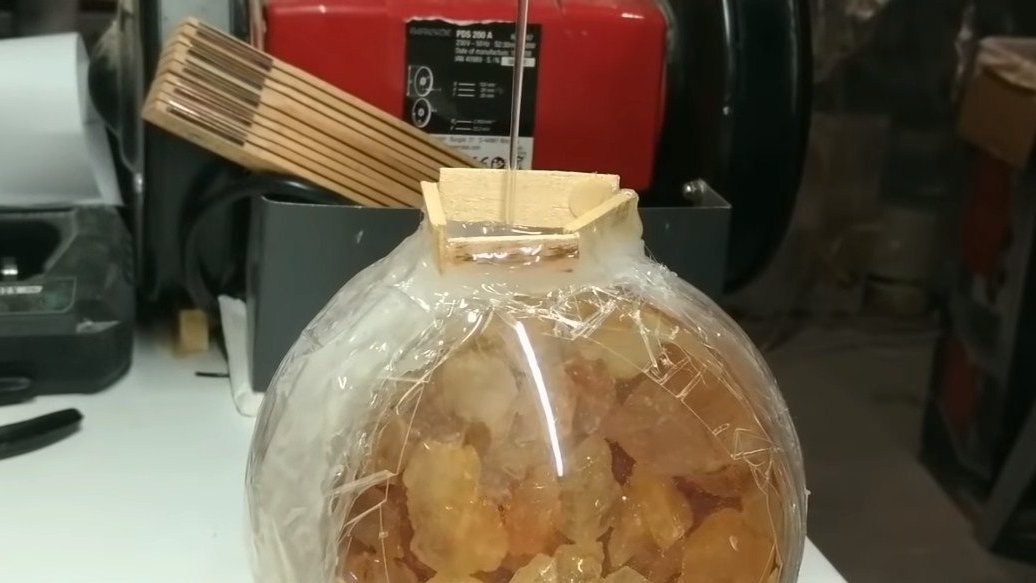
We also need to prepare the second part, that is, the hemisphere, here the stones are no longer needed, just pour the resin to half or such a volume so that a bowl with stones is obtained in the bowl. When the resin hardens, glue two spheres and make a hole for pouring into the sphere of epoxy resin. For gluing and sealing, hot glue is the best suited.
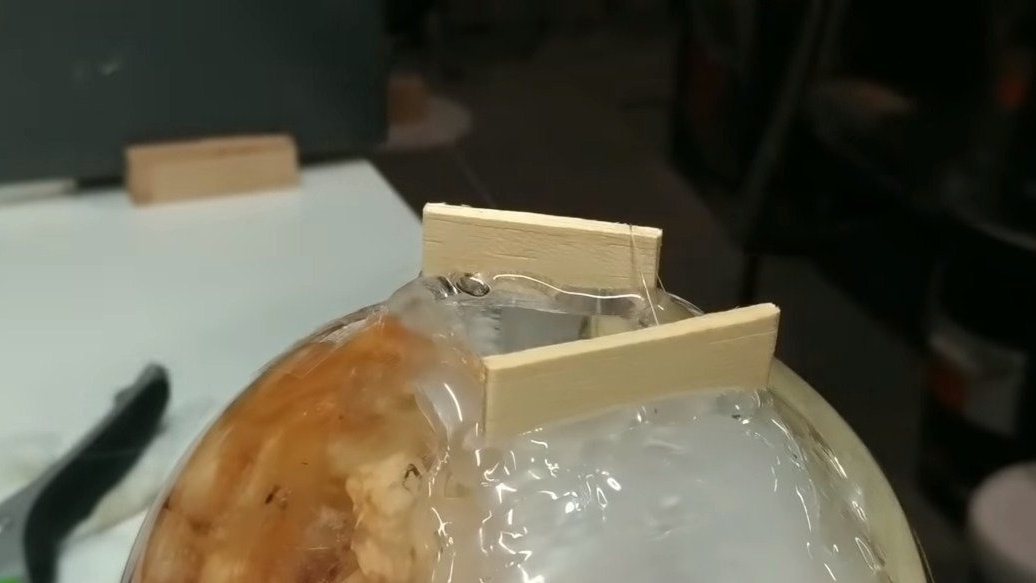
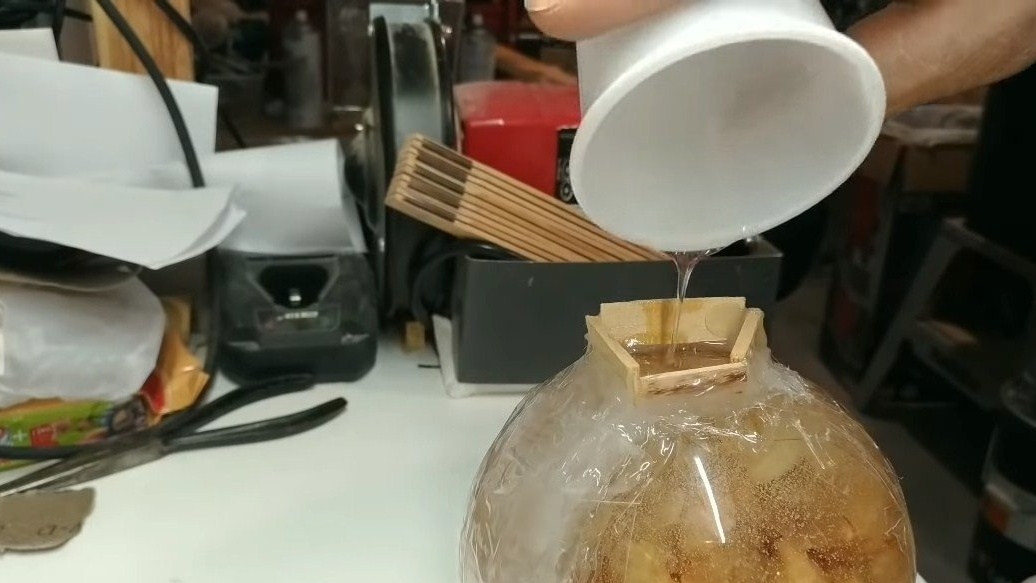
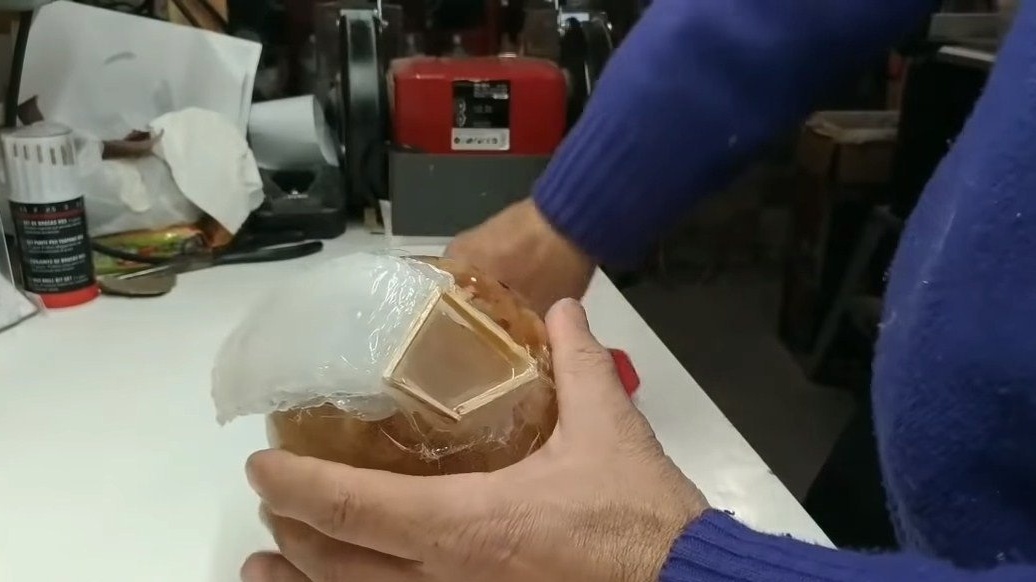
Pour the resin into the sphere, and to fill it to the edges, we make an additional formwork from thin boards and hot glue.
Step Two Base manufacture
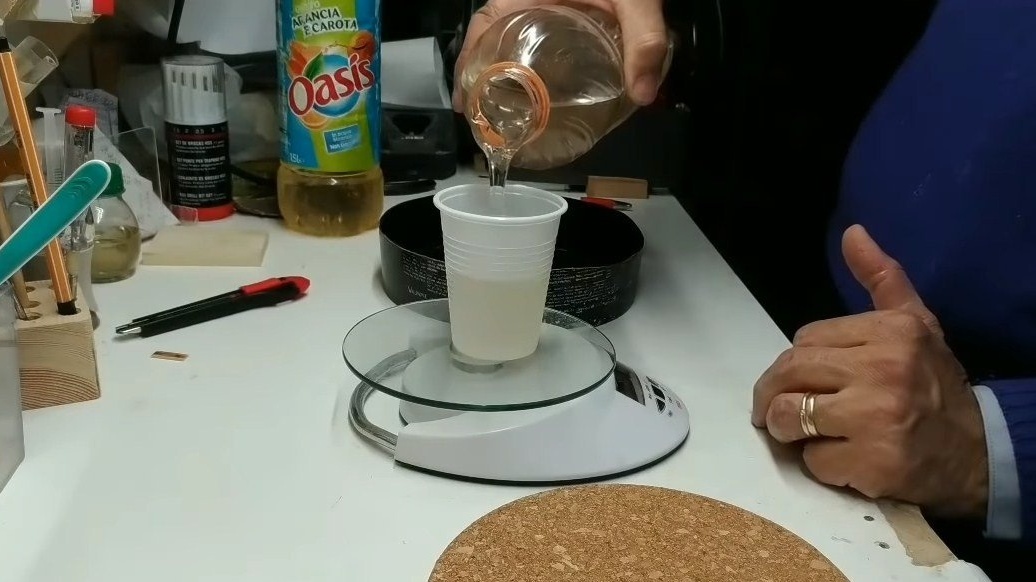
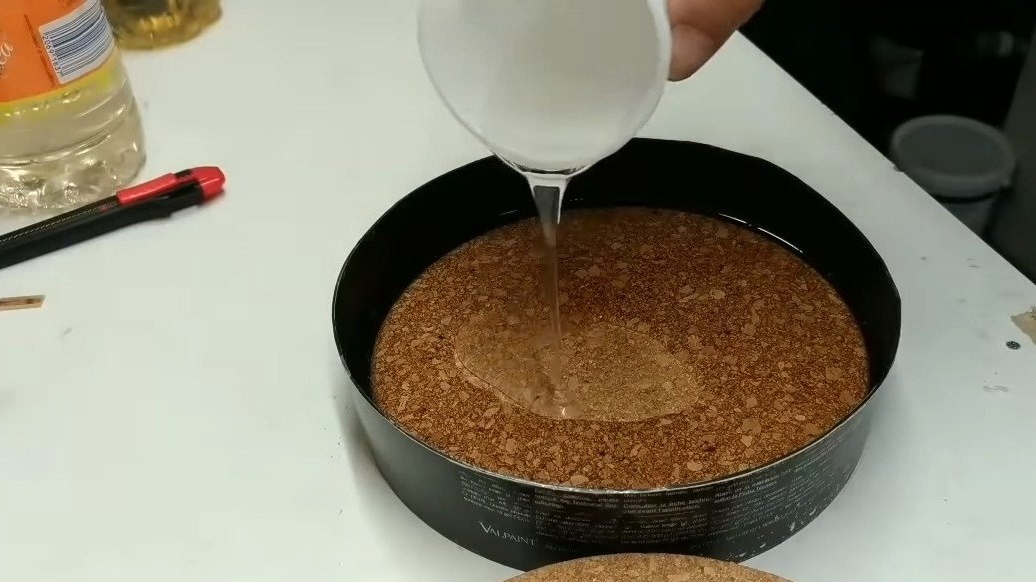
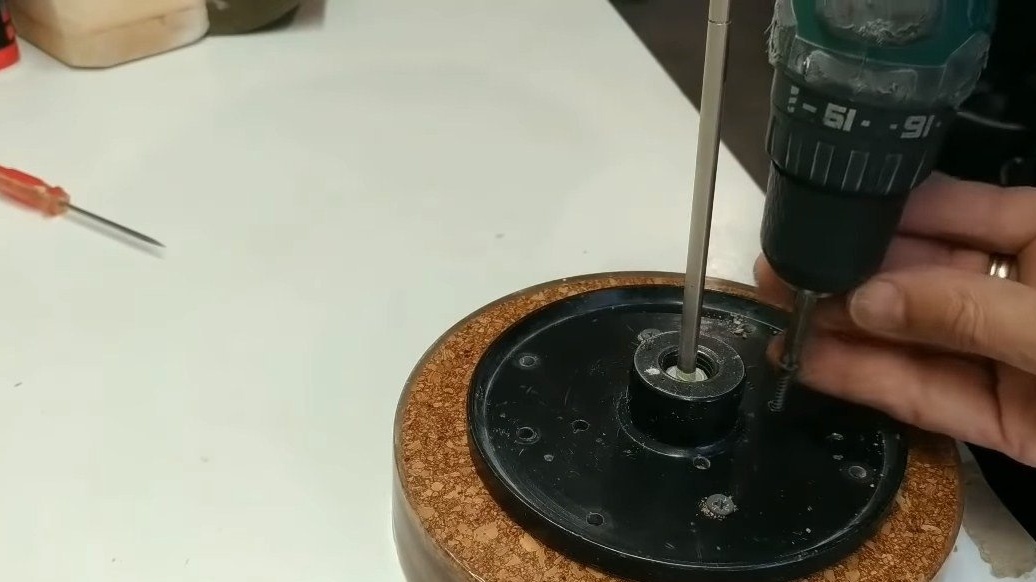
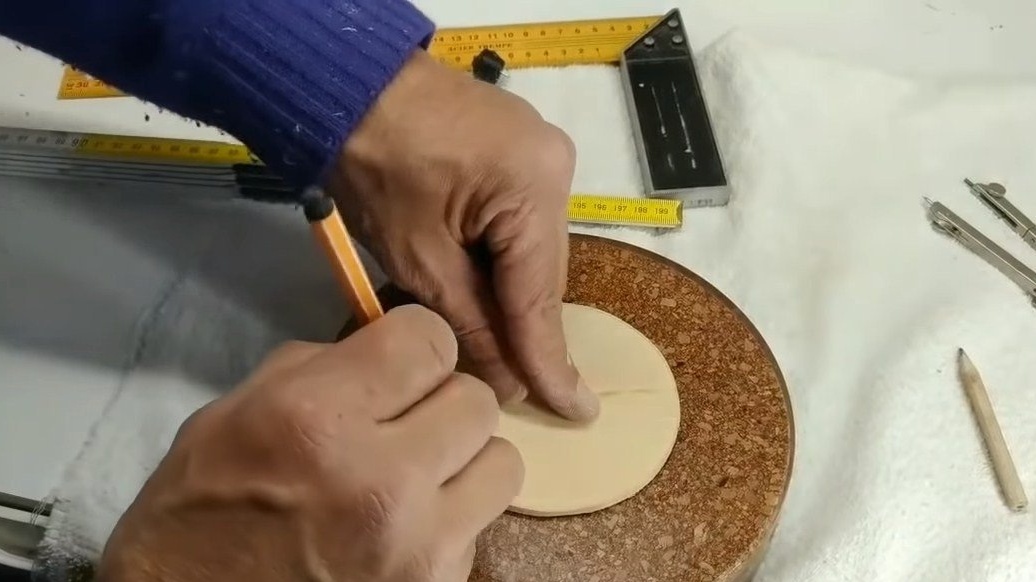
We will need two round cork coasters or other similar materials. We put the first sheet in a suitable container and fill it with resin, so that the sheet does not come up, the author presses it with a clamp. As soon as the resin hardens, pour on top of the second layer of resin and lay the second disk. Now finally fill the workpiece with resin.


Step Three Product Processing
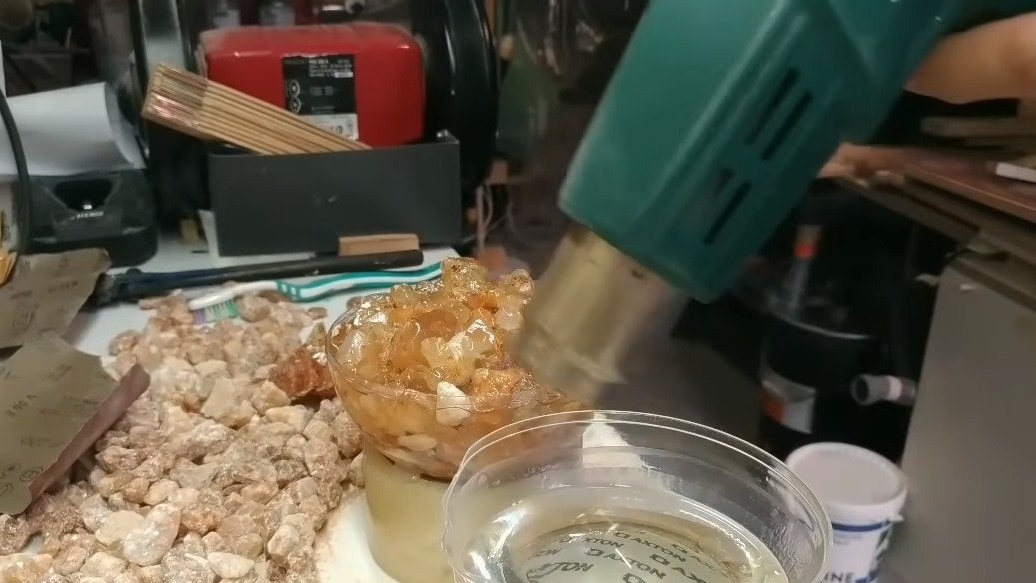
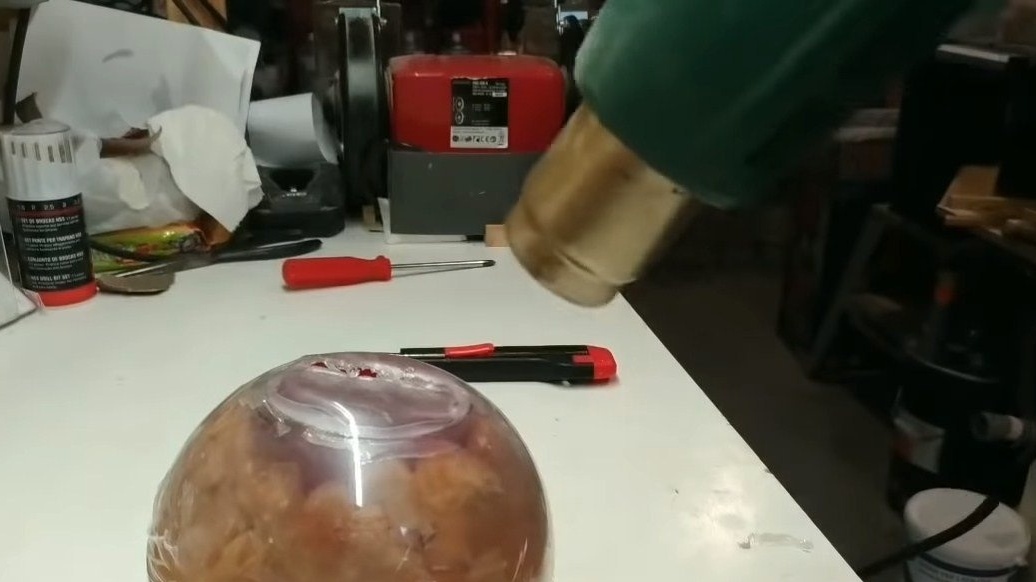
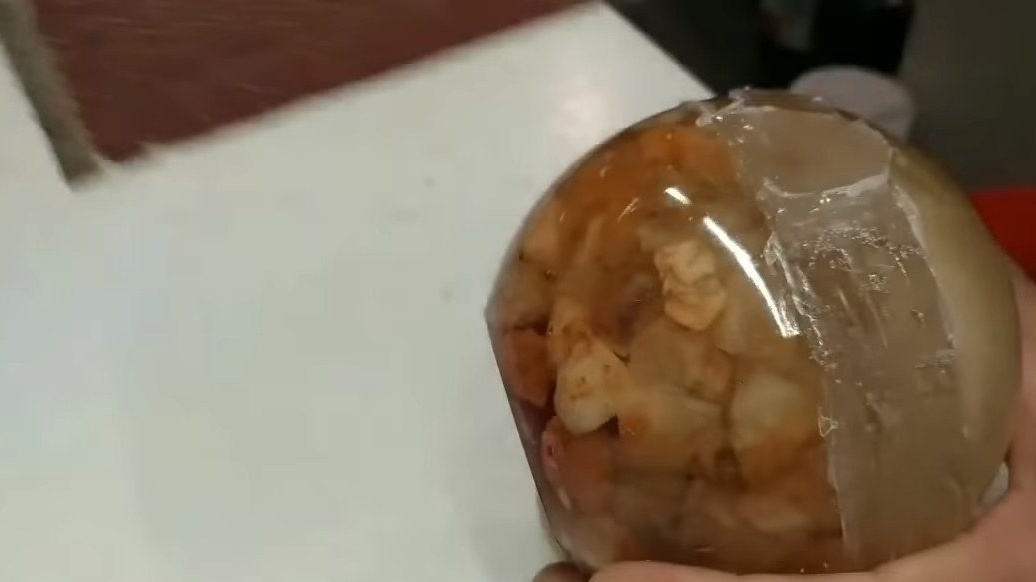
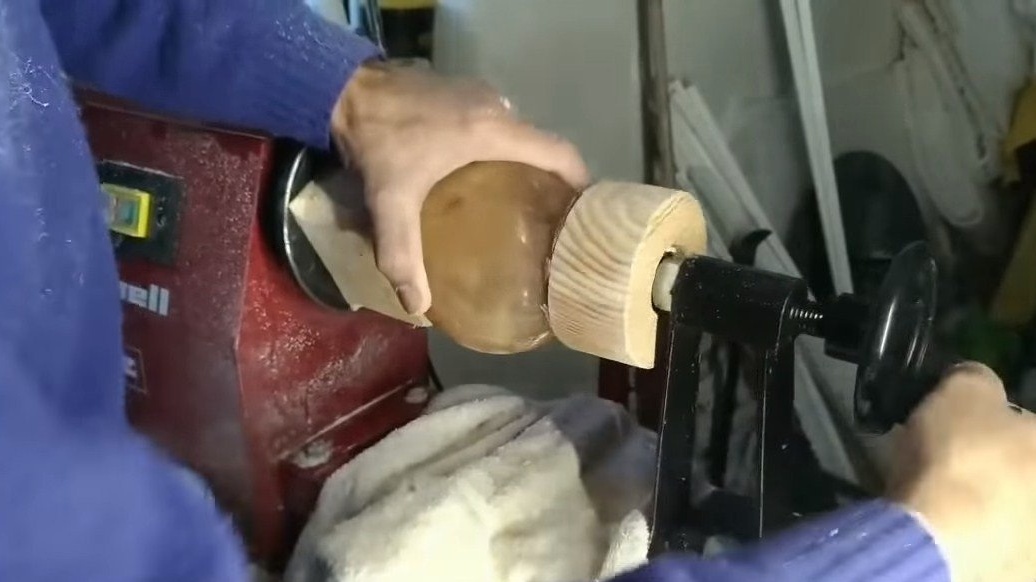
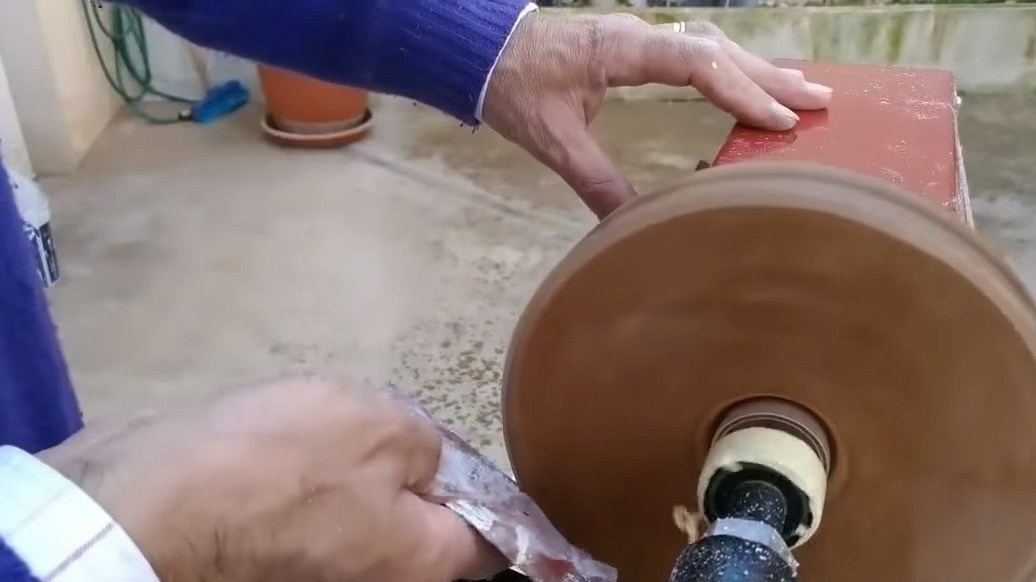
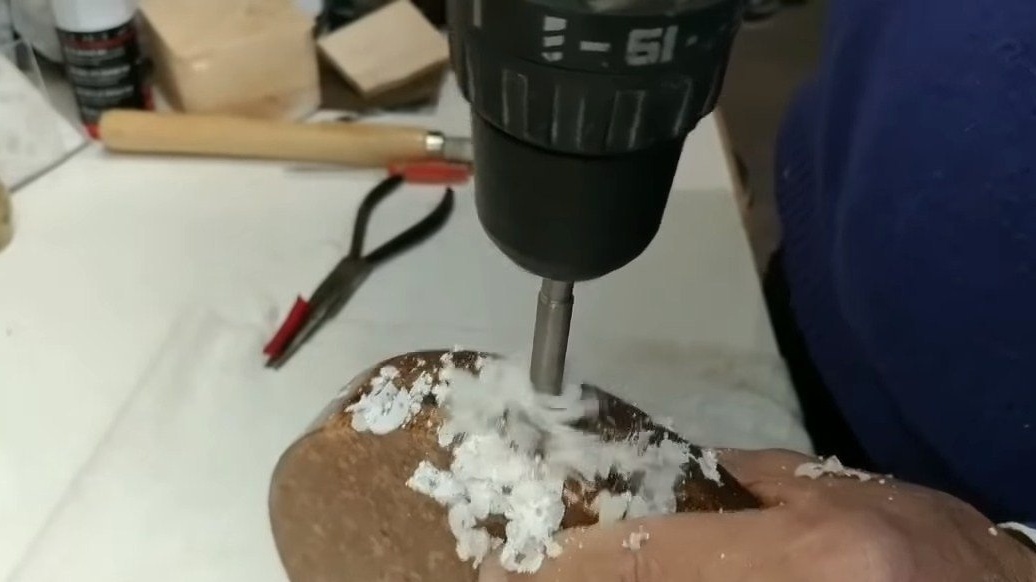
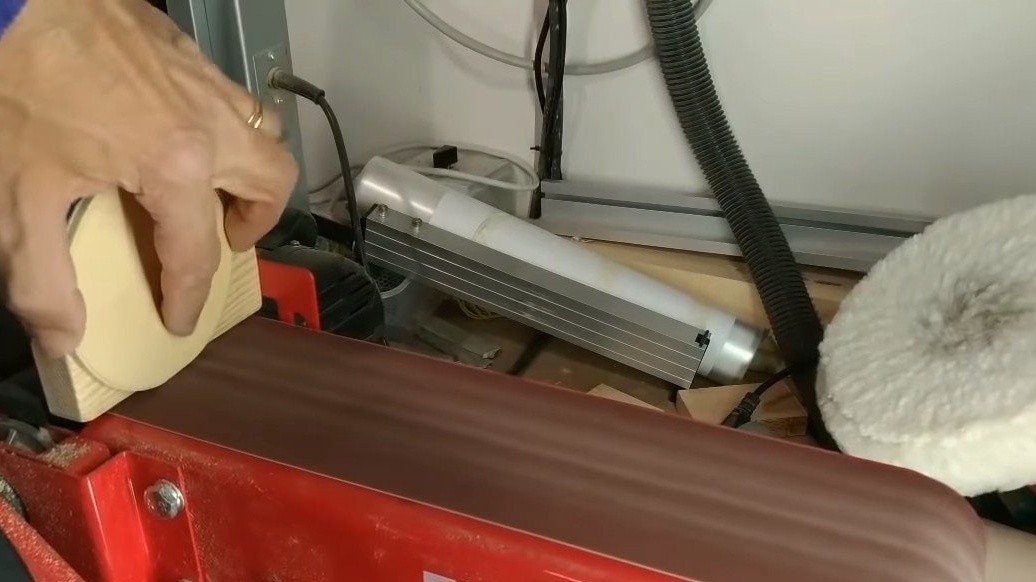
When the resin completely hardens, we disassemble the formwork, the plastic will lag better, heat it with a building hairdryer. We eliminate casting defects on the sphere, cut large pieces and grind by hand. Further, the author polishes the sphere on a lathe, at the same step it can be polished.
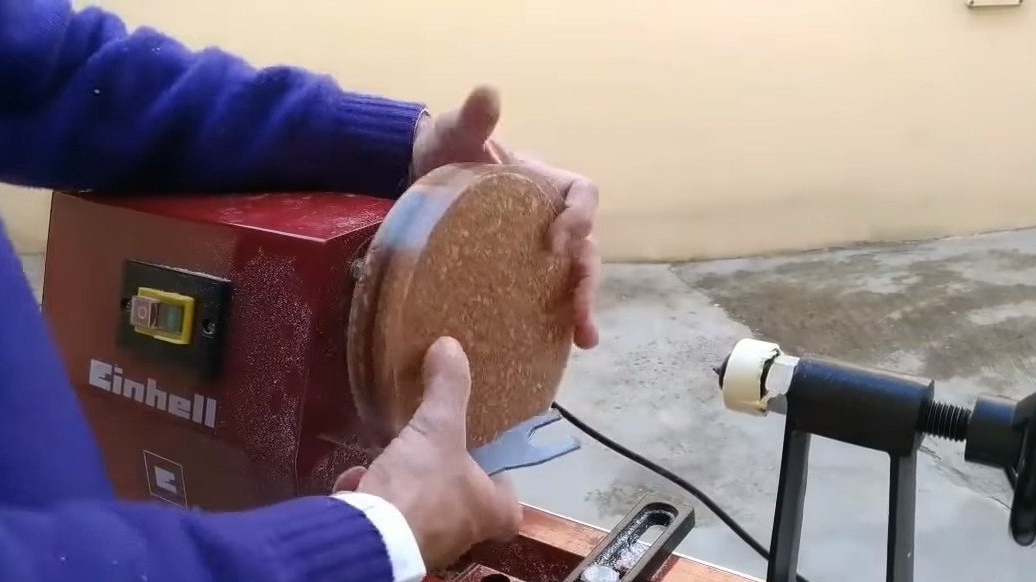
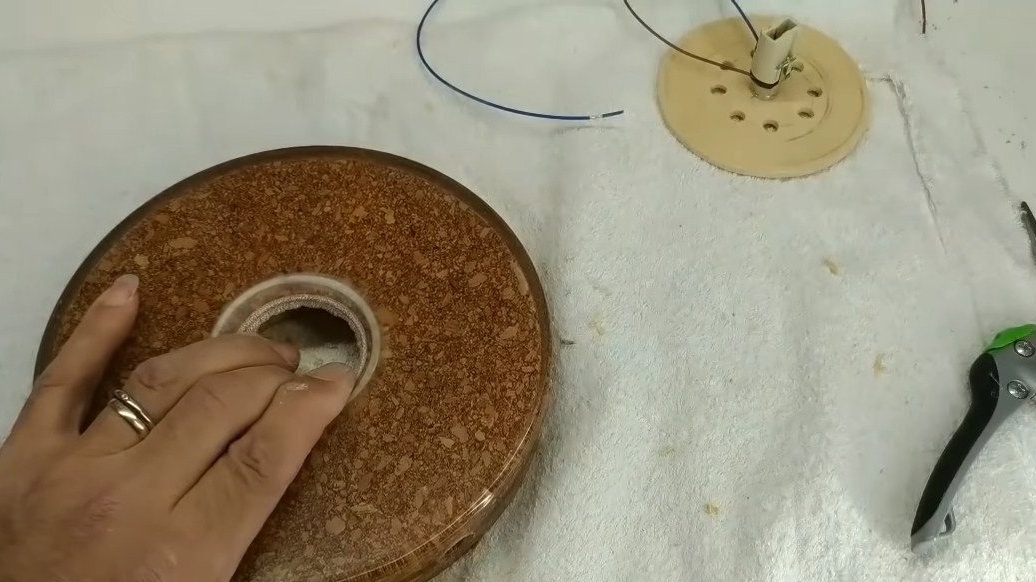
As for the stand, here we also need the help of a lathe, grind the workpiece, and cut a hole in the center for installing the lamp with a cartridge.


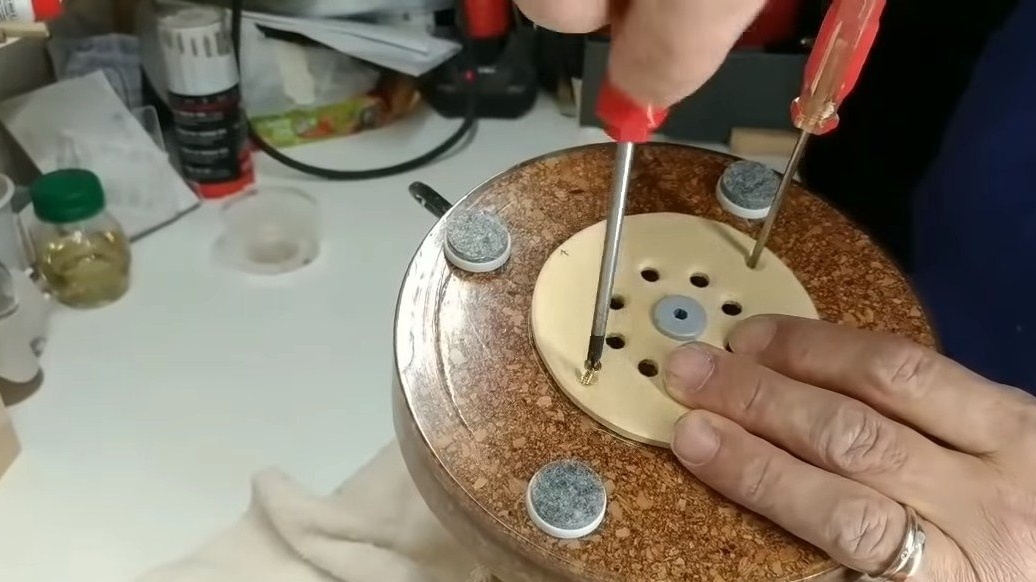
Step Four Light bulb installation
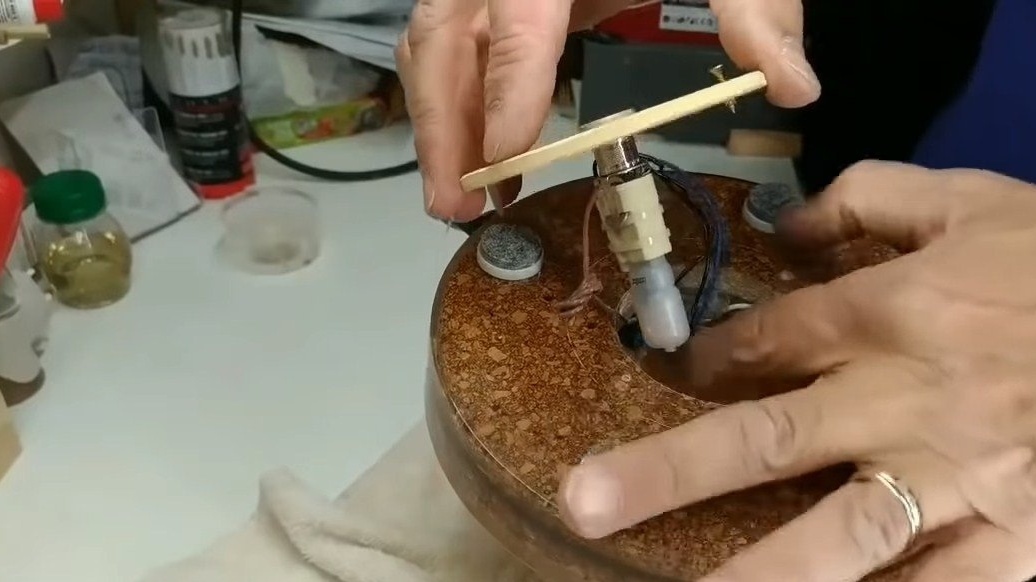
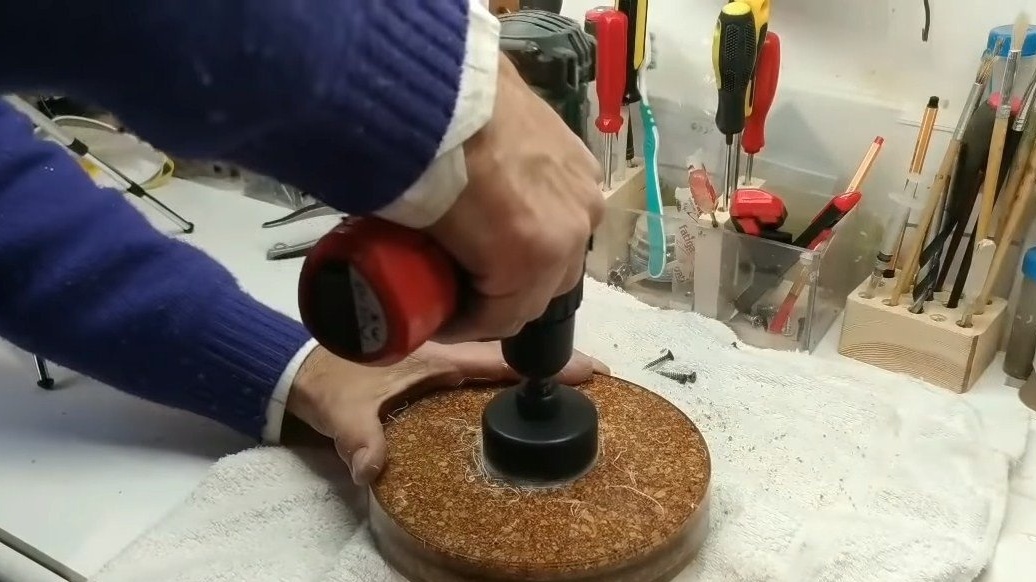
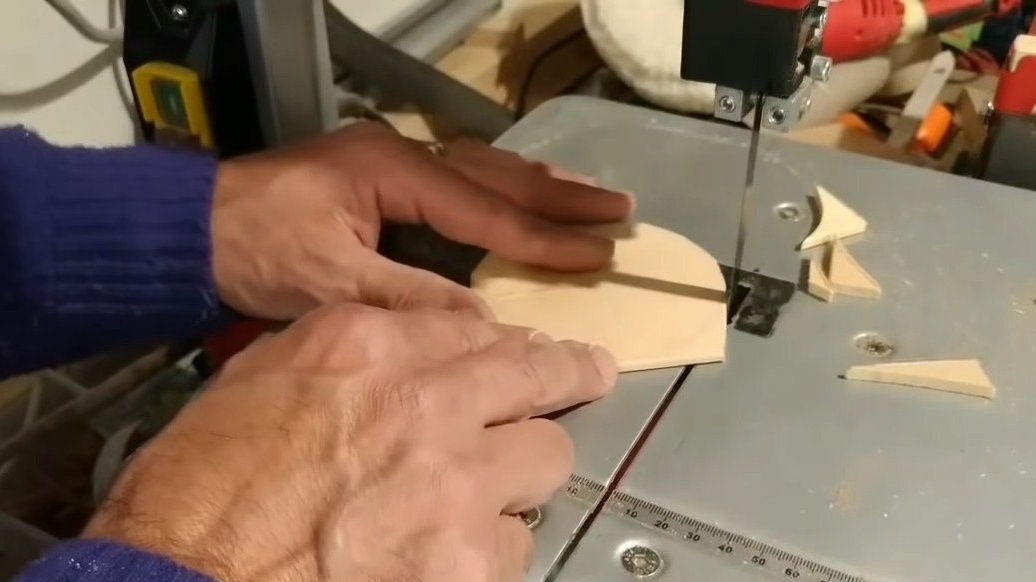
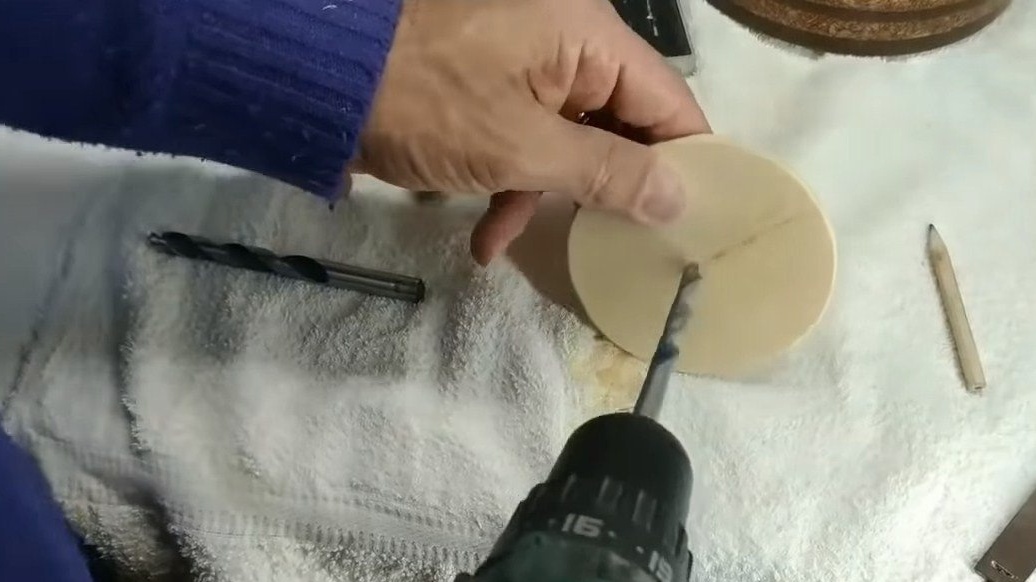
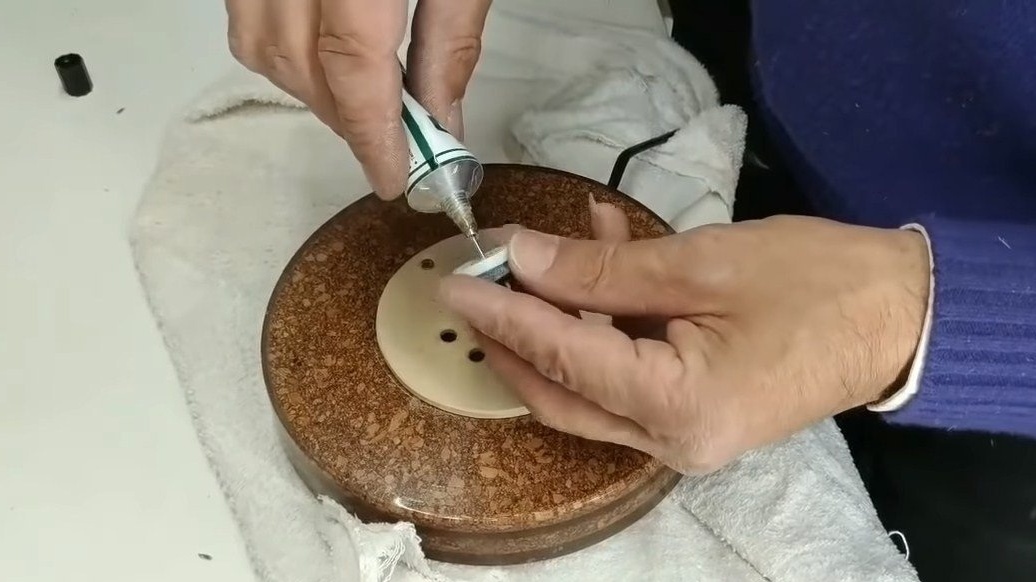
The lamp needs to be fixed securely, in addition, it should be possible to replace the lamp. We make the platform on which the lamp holder will be located. We cut a circle out of plywood or other similar material, drill ventilation holes in it. Although the LED lamp emits little heat, in a sealed enclosure this can lead to overheating.
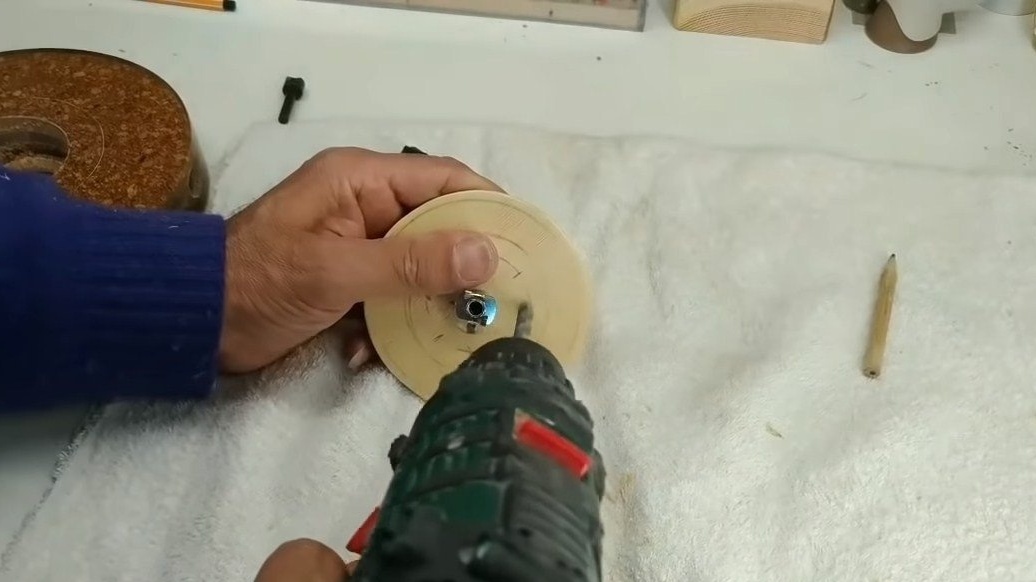

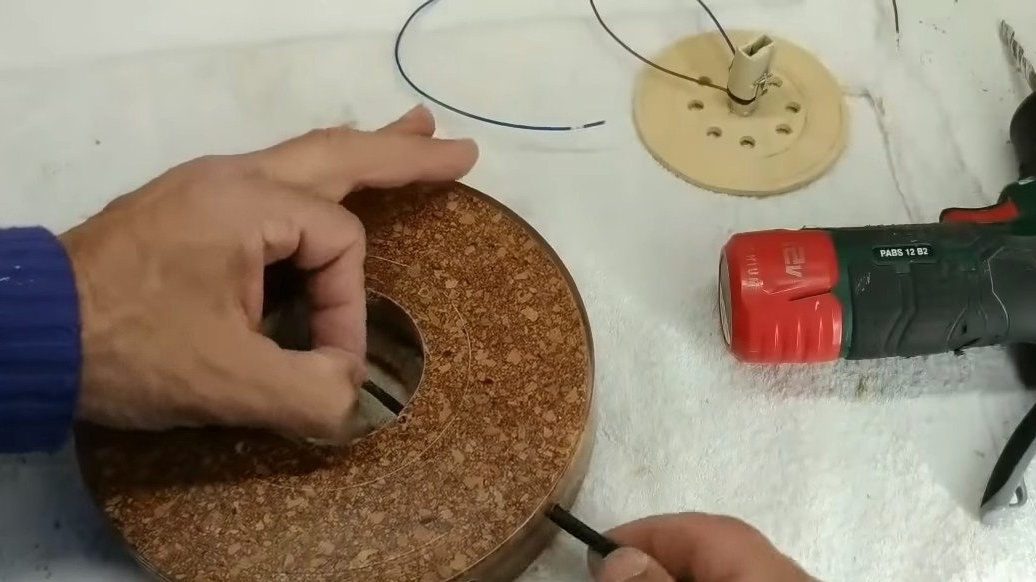
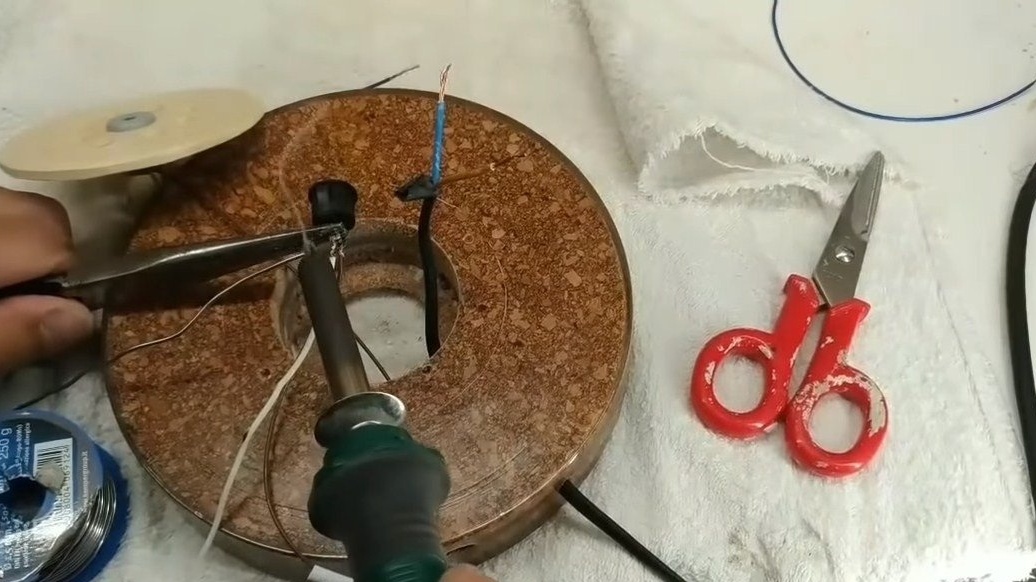
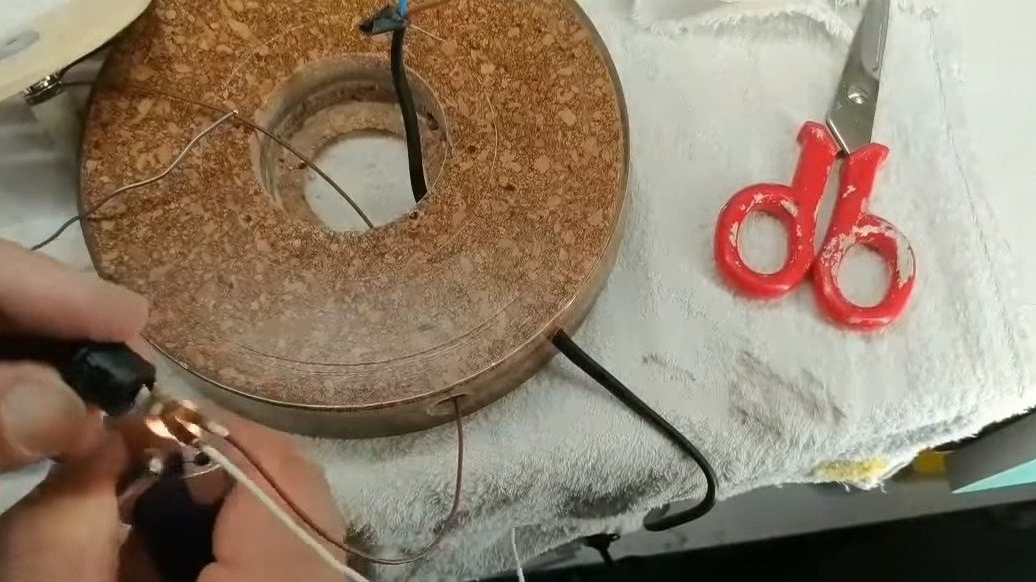
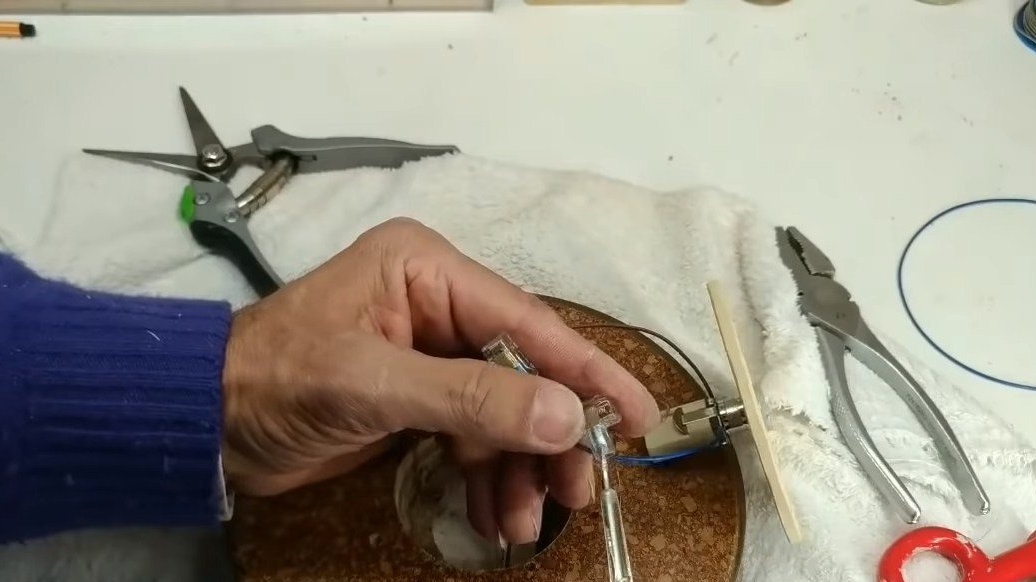
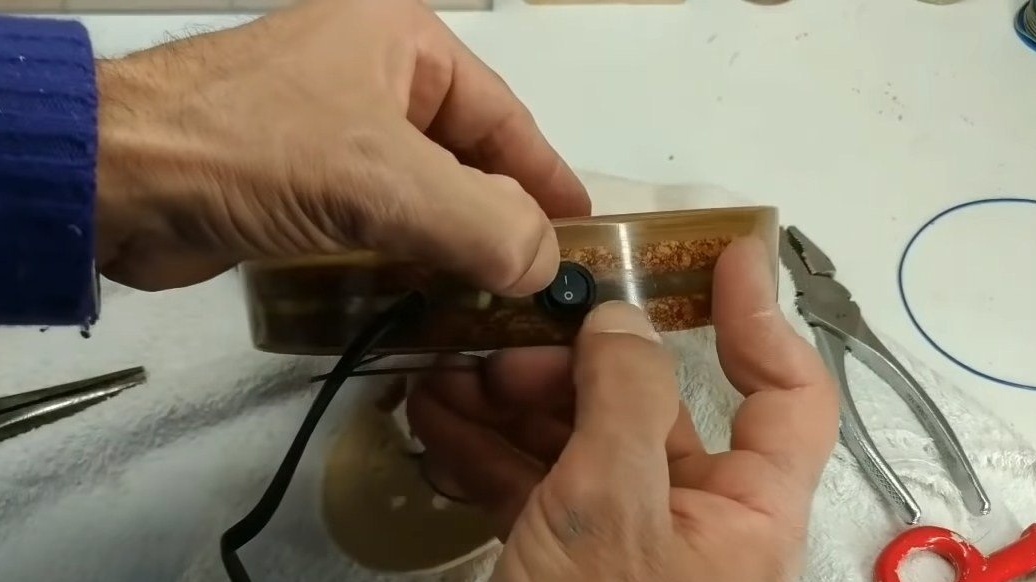
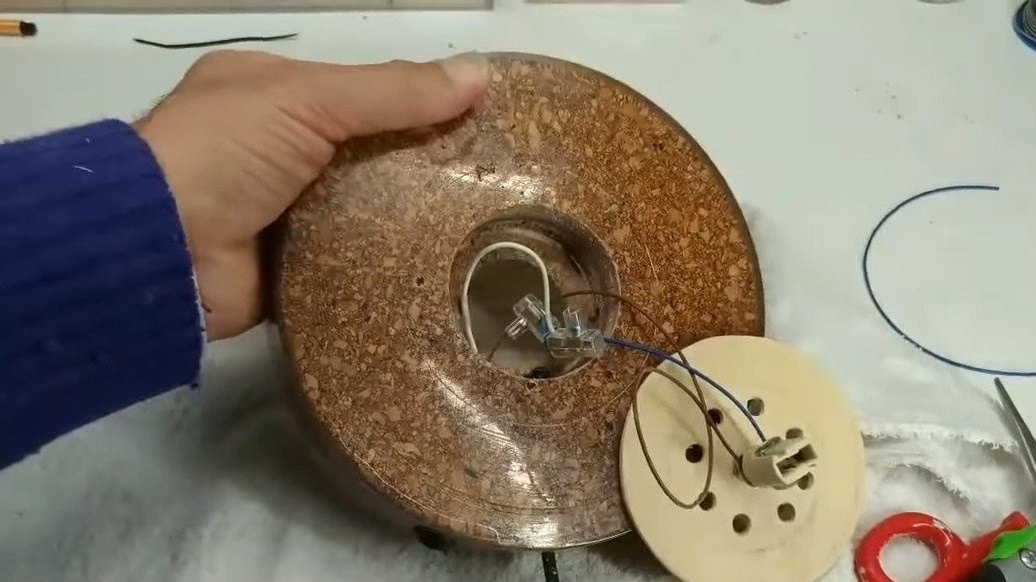
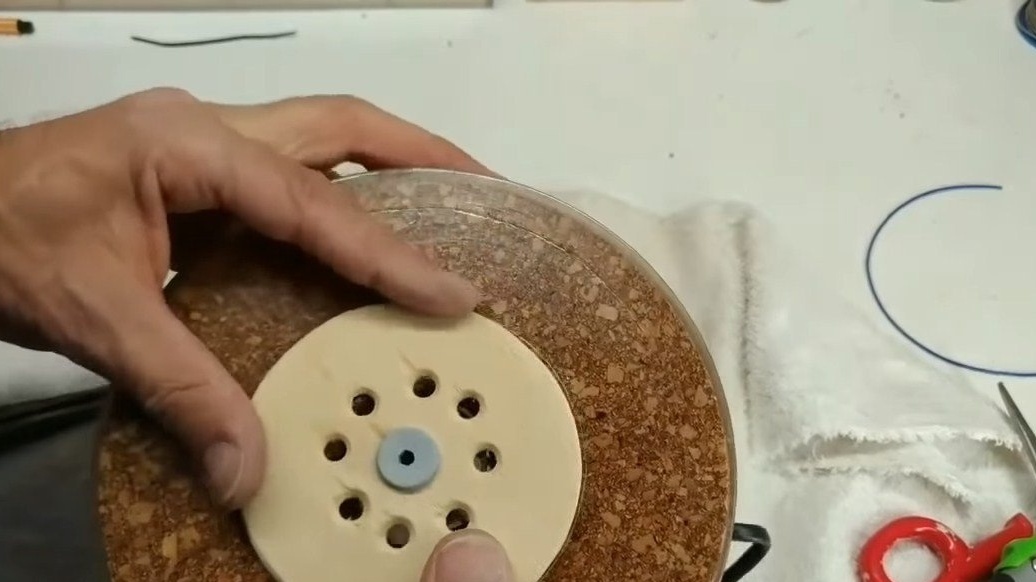
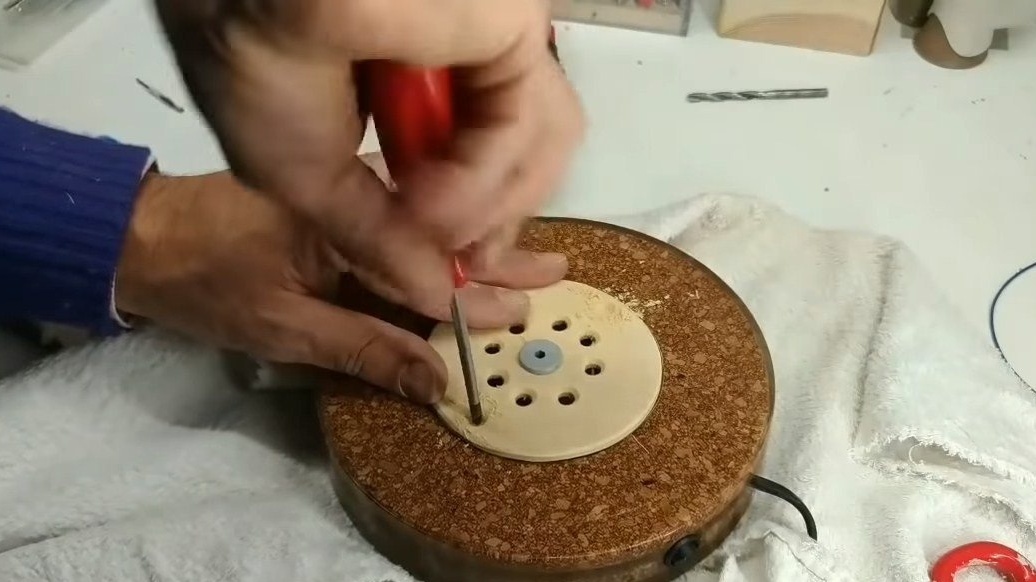
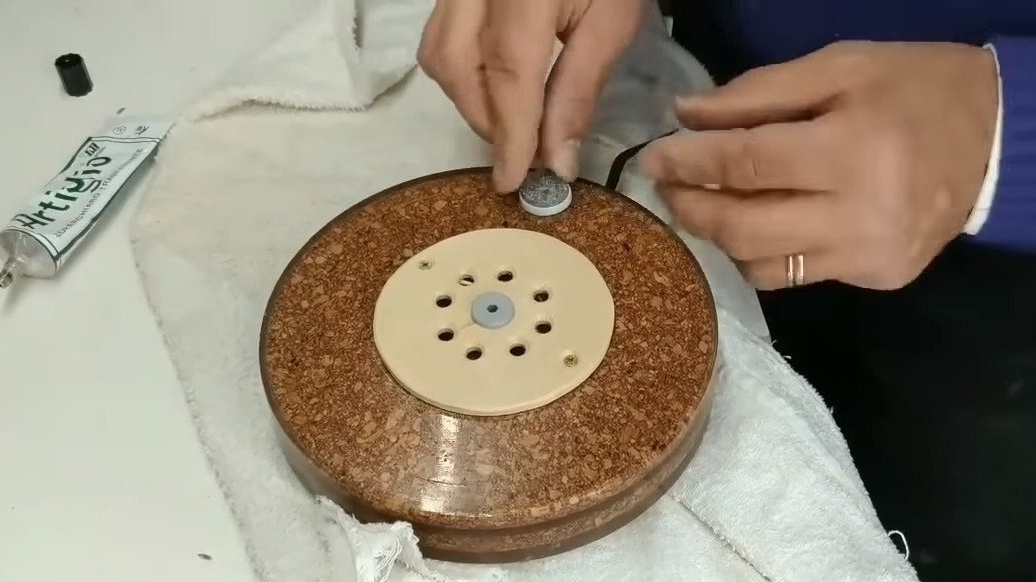
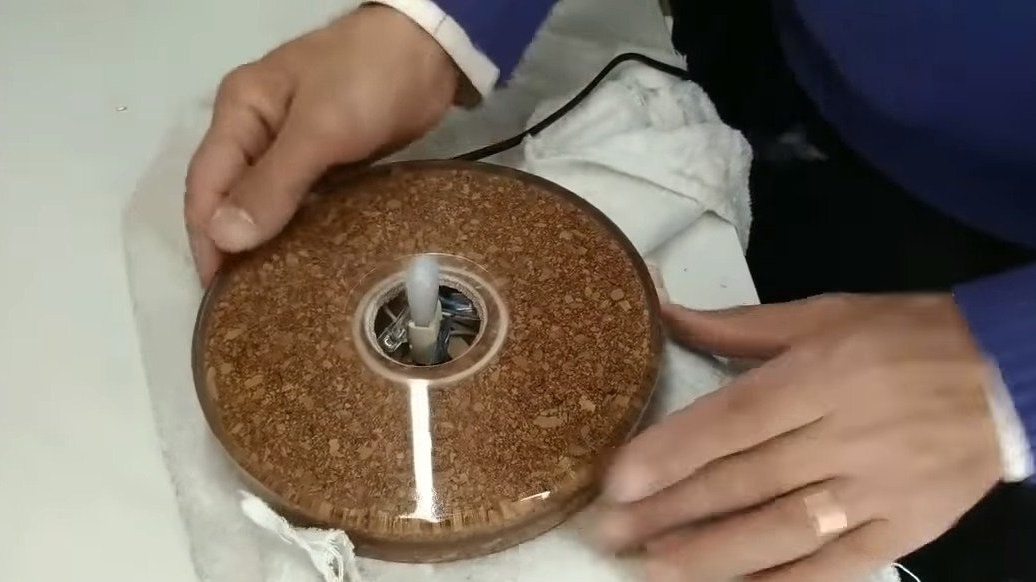
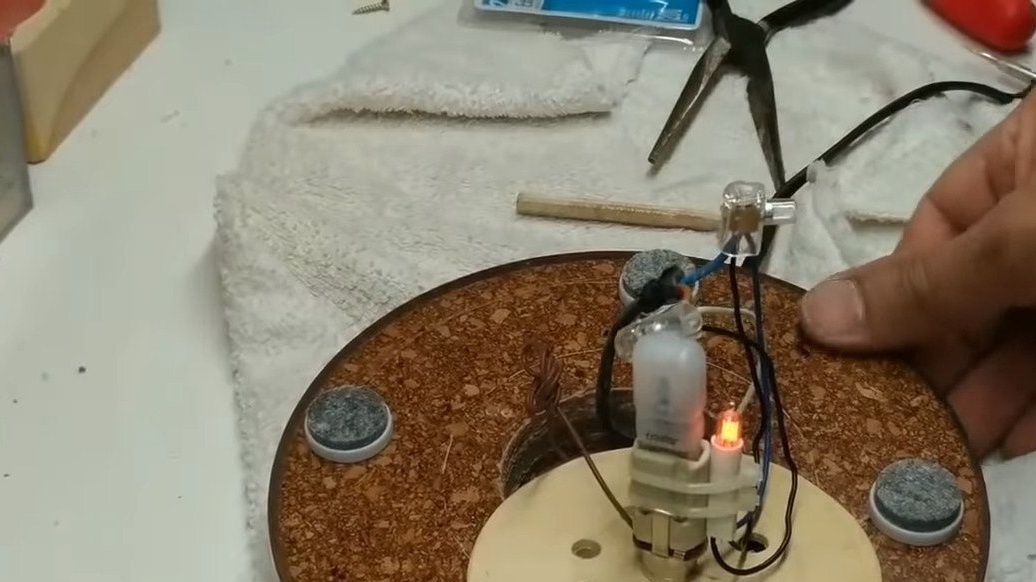
Next, you can install the cartridge, drill a hole in the center of the platform and install a furniture nut, well, we fasten the cartridge to it. At the end of the stand, we drill a hole and start the cable, at the end of the cable we must install a plastic screed or other stopper that will prevent the cable from protruding. We also need to drill a hole for the switch. We solder the wires and install the lamp, the author also installed an additional small lamp so that the lamp works like a night lamp. We fasten the platform to the base with self-tapping screws.
Step Five Final touches
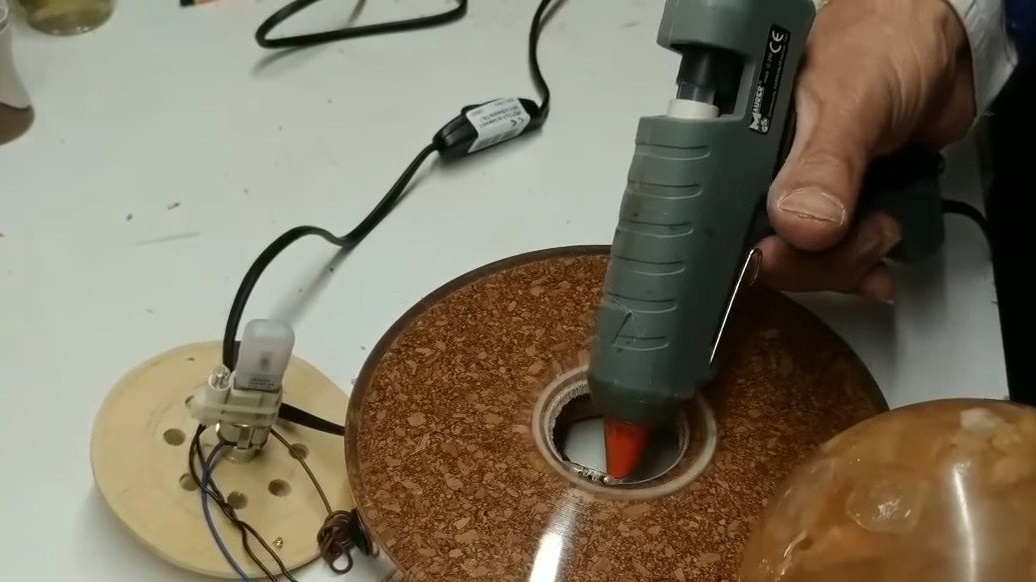
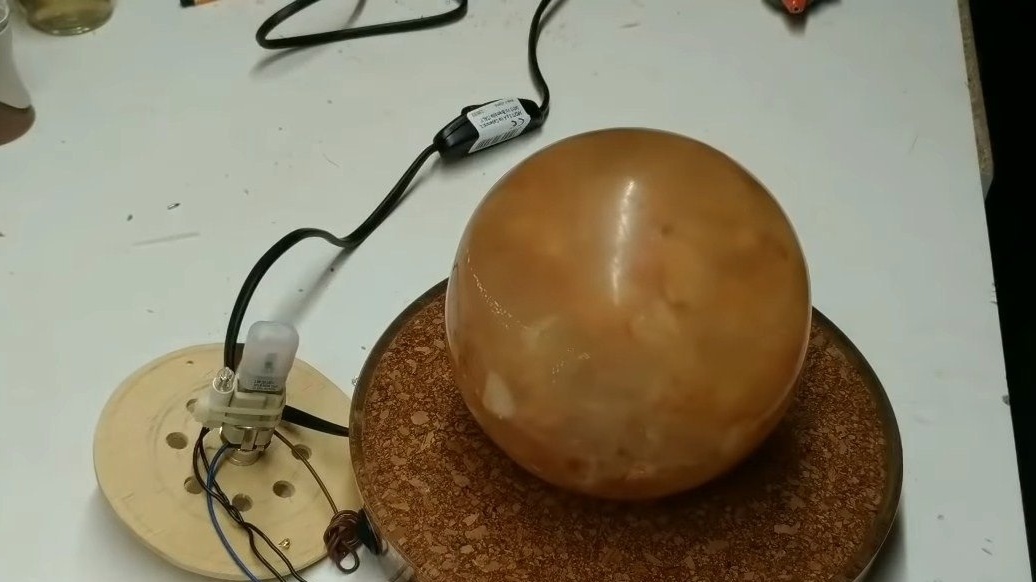
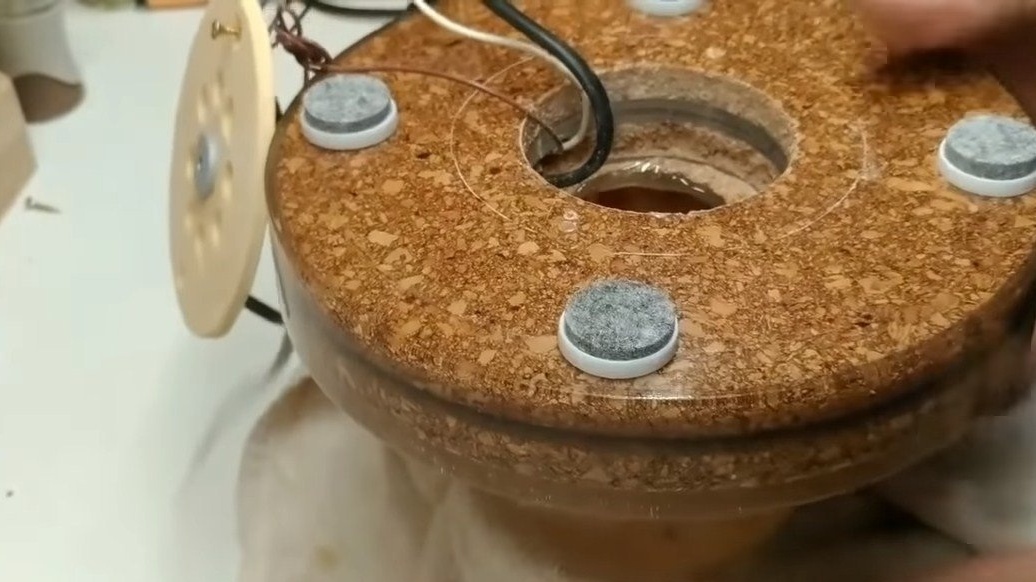
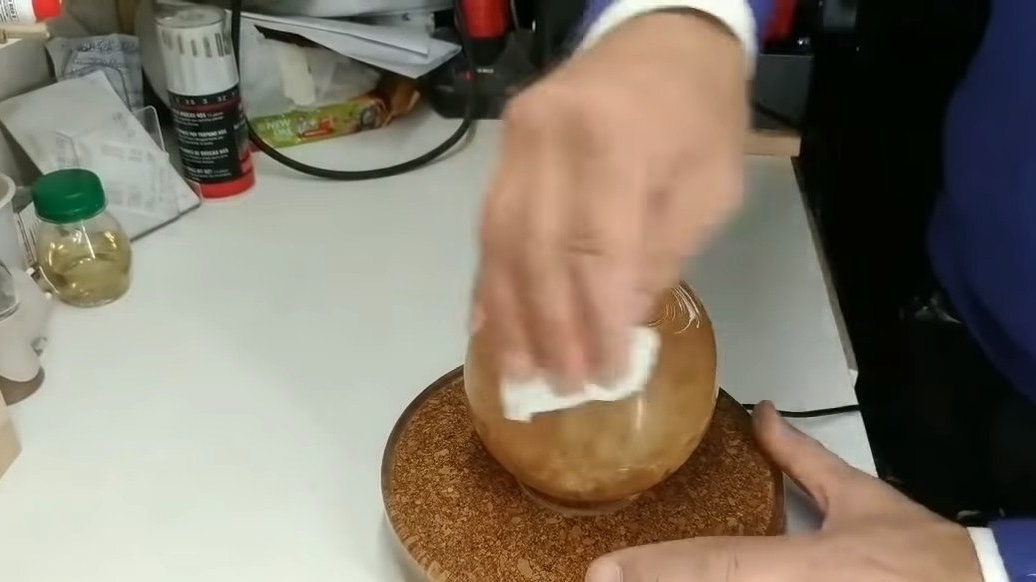
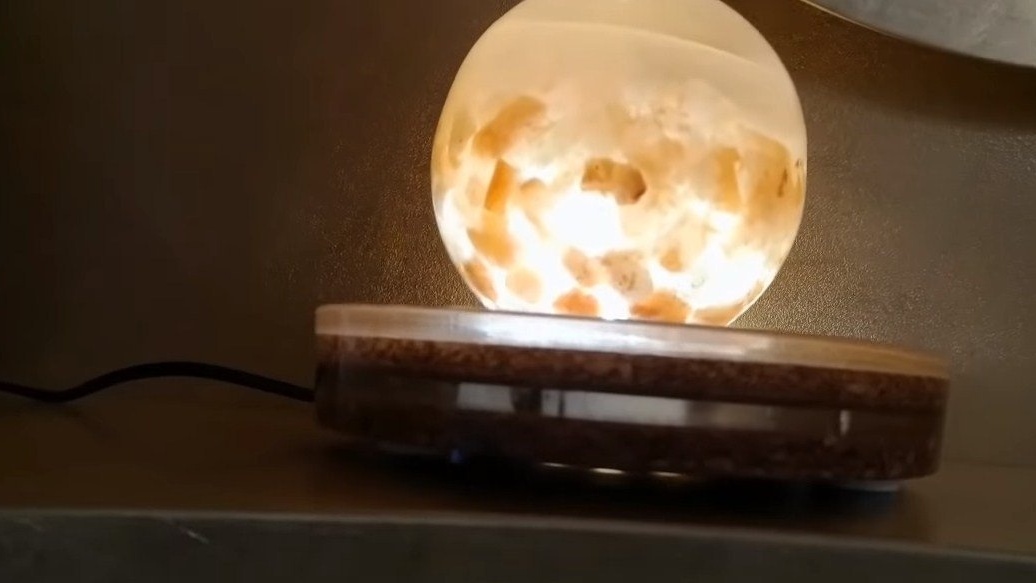
The homemade product is almost ready, now we glue the sphere to the stand, here the author uses hot glue. Be sure to install the legs on the stand, otherwise the ventilation holes will overlap.
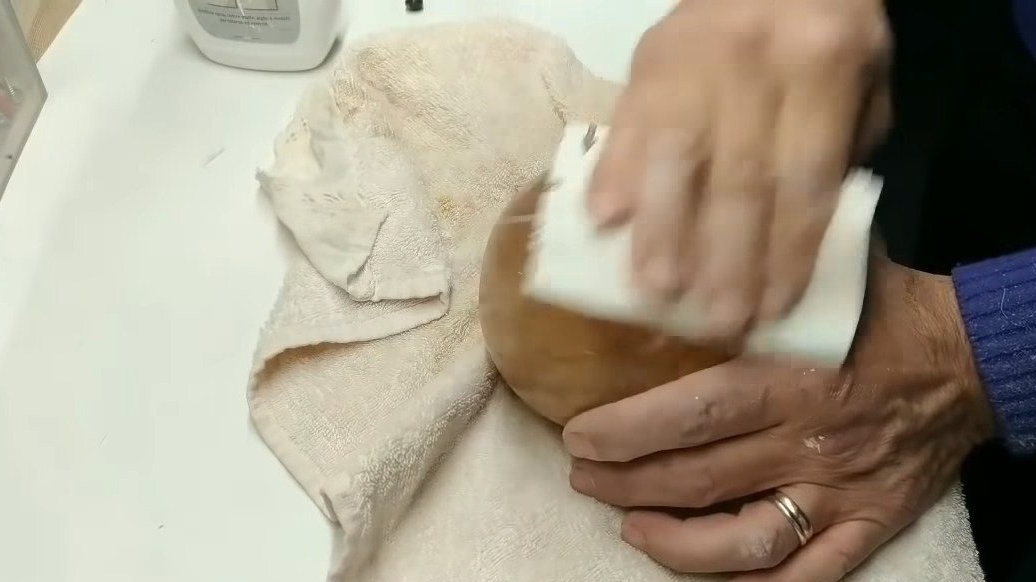
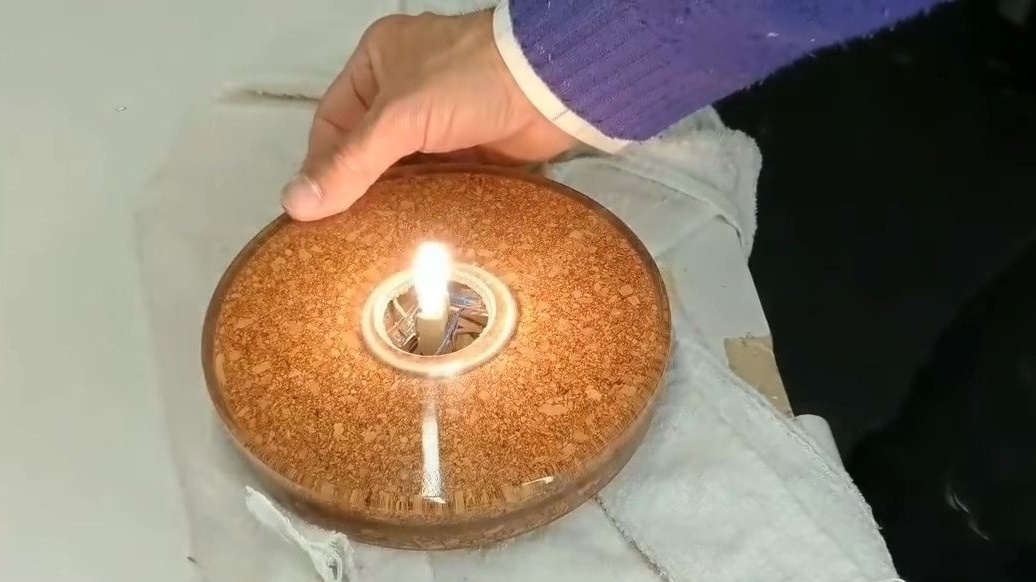
It remains to polish the sphere so that it becomes transparent. We turn off the light and turn on the lamp, it looks very interesting. I hope you enjoyed the project and found useful thoughts for yourself. Good luck and creative inspiration, if you decide to repeat this. Do not forget to share your ideas and homemade things with us!