
For any master, his instrument is his second hand. After all, even be a master a thousand times professional - without a tool, he will not be able to fully carry out his work and realize his plan. Therefore, when it becomes necessary to go somewhere else to another place of work, many craftsmen take their tools with them. Tool transportation plays a significant role in the life of a professional master. After all, it will be very inconvenient to transport the tool in a bag or, say, in a backpack. And for the safety of the instrument with this method of transportation there is nothing to say. Also, for the convenience of storage, a variety of tool boxes, a variety of cases and so on are bought. In this article, I will show you an example of the author how to solve the problem of storage and transportation of the instrument in a homemade case that the author made do it yourself for your jigsaw.
To work, the author needed the following tools and materials:
jigsaw
Ruler and pencil
sandpaper
riveting gun (riveter), riveting
saw for metal
adhesive tape instead of clamps
from materials:
plywood,
aluminum corner
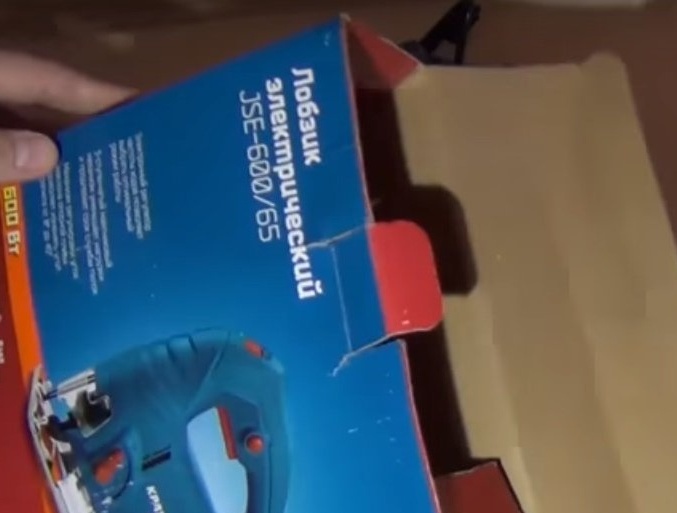
When buying an electric jigsaw for repair, the author thought about making a case for him, because it’s not very convenient to store the tool in a cardboard box. And this container is also short-lived.
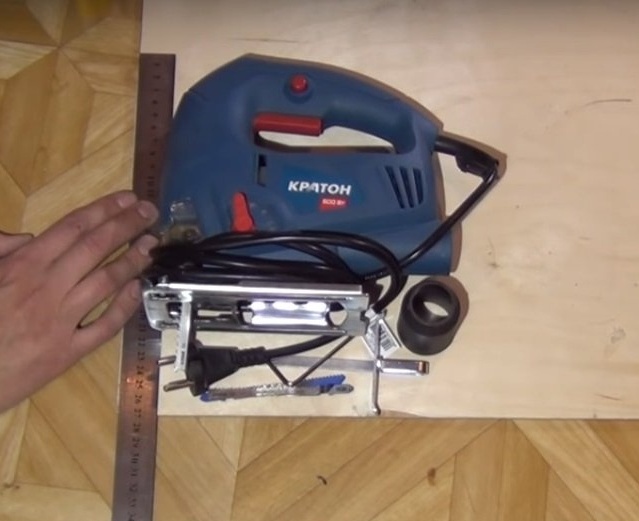
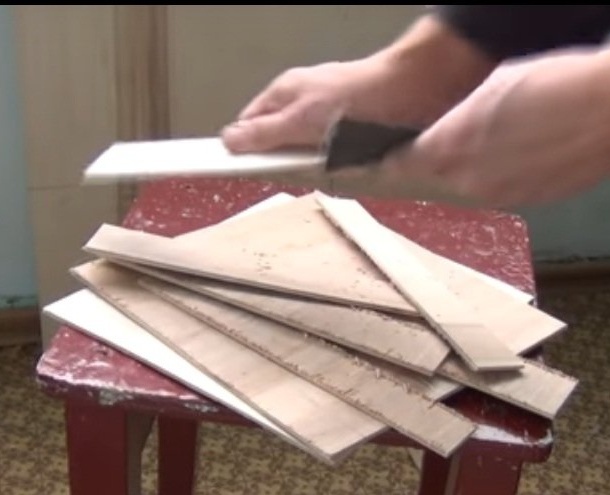
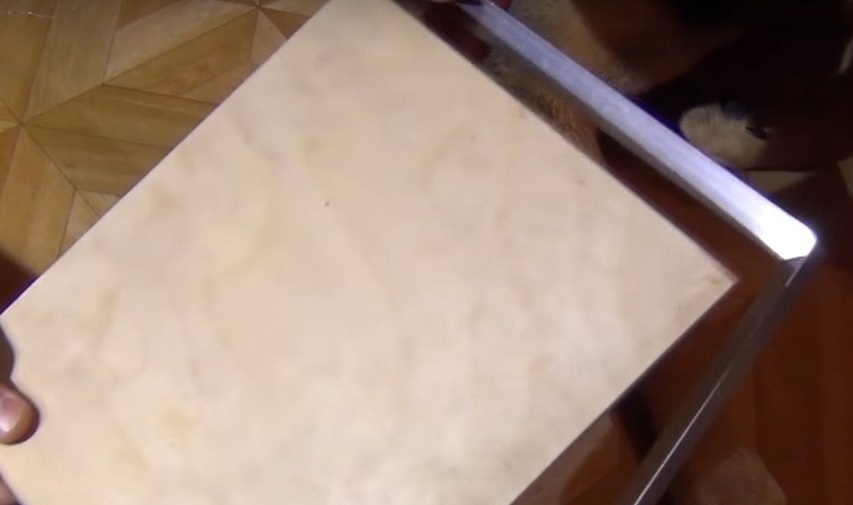
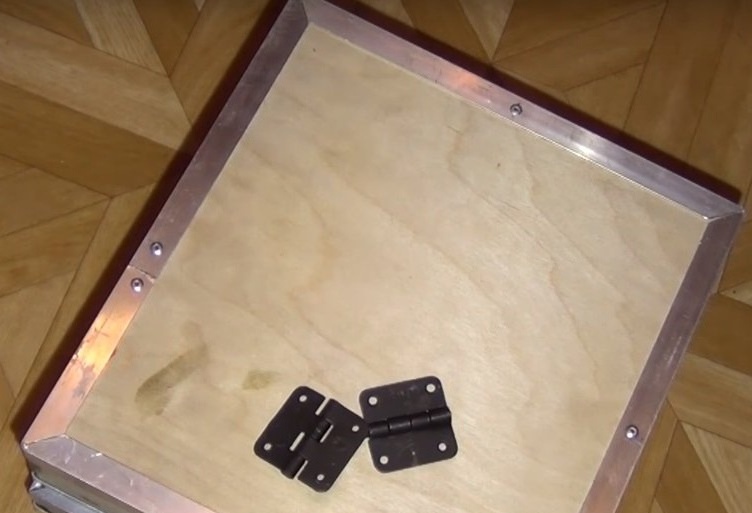
To begin with, the author takes plywood, which will be the main material in the manufacture of the tool box. Having decided on the size, simply applying the jigsaw to the plywood and marking the contour for cutting, the author set to work. Since the author takes the sizes based on the fact that the jigsaw will be constantly stored in a case with an inserted file, the sizes will be slightly larger. Having cut out the required number of plywood blanks, DV-Z carefully sanded the cut side with an emery cloth.

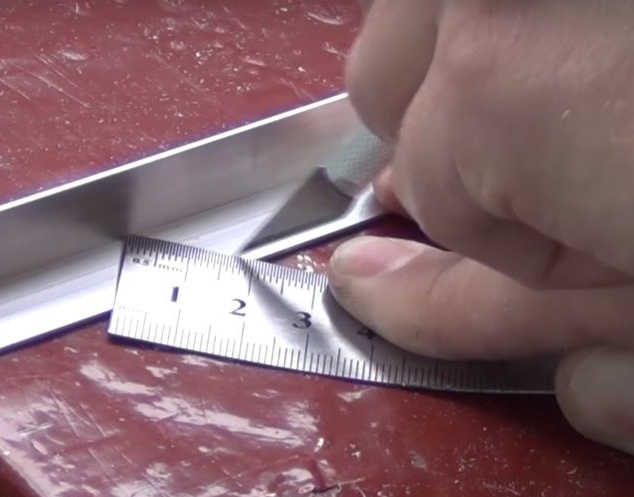
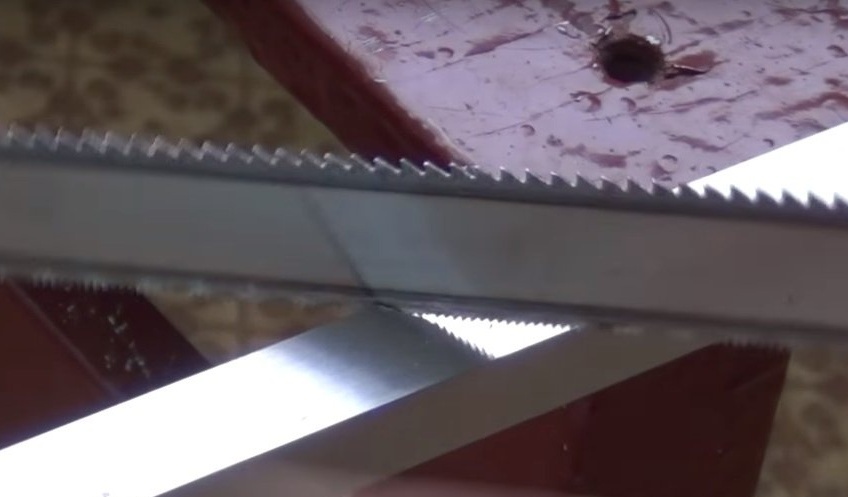
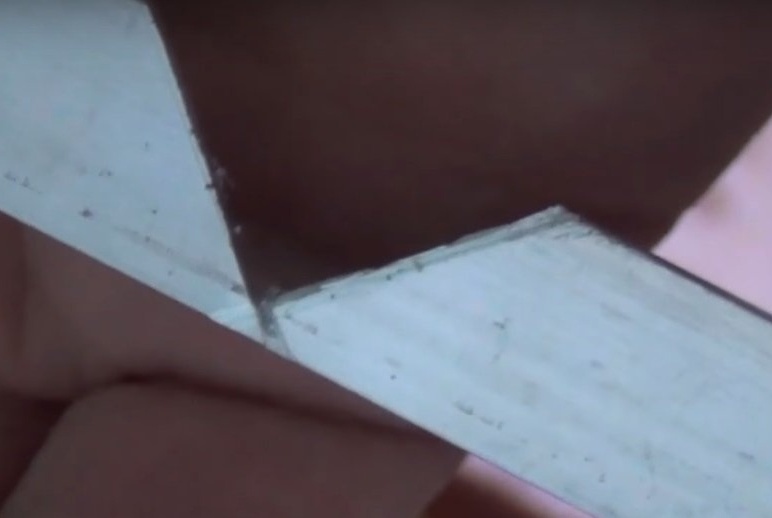
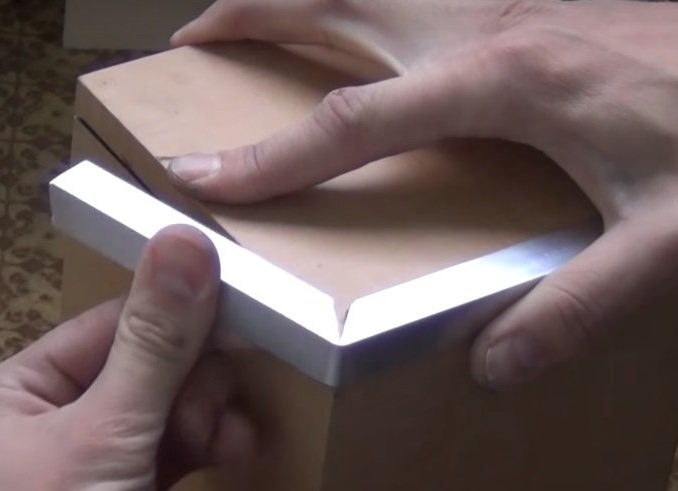
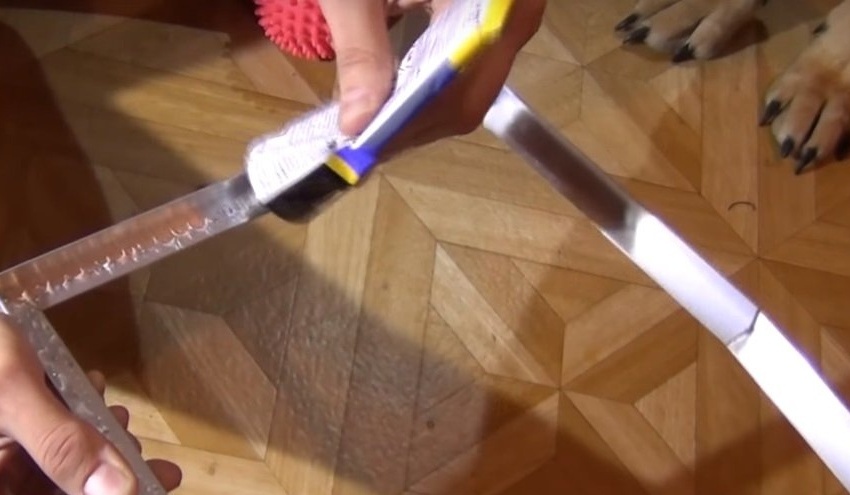
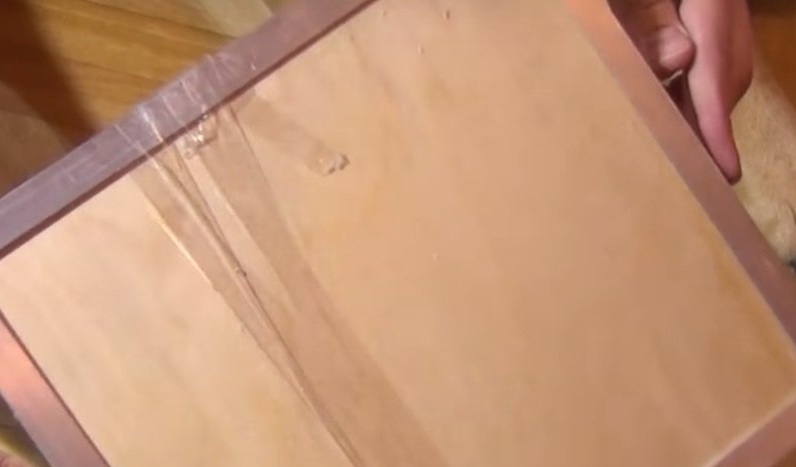
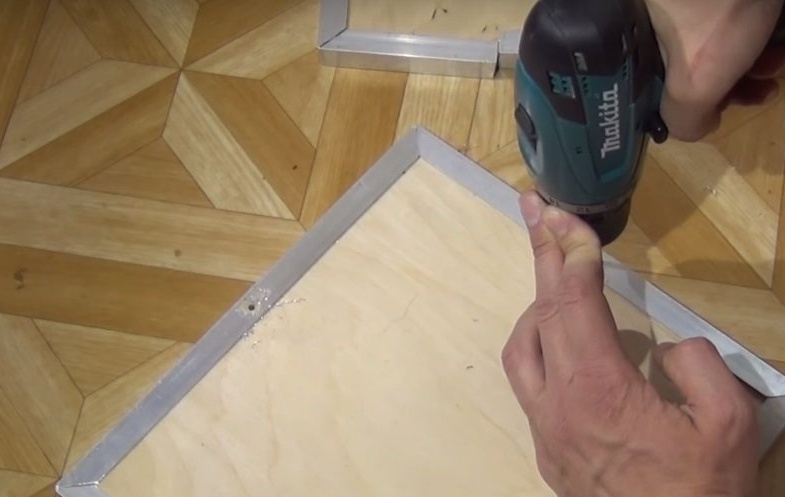
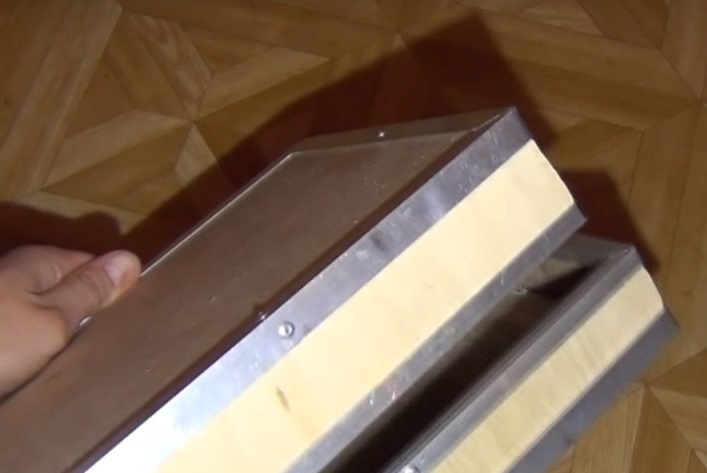
Then an aluminum corner is taken. It will surround the plywood box around the perimeter and serve as a frame on which the plywood sides will be mounted. In those places where the corner should be bent, cuts are made at angles of 45 degrees on one of the edges of the corner.The quality and appearance of the bend depends on the accuracy of the marking. For a more even and accurate bending, it is advisable to use some part that has hard right angles. The author has an old audio speaker. By bending the frame, the author tries it on to the plywood part - is everything as it should, after fixing it with tape, since there were no clamps. By degreasing the metal part, glue is applied to it. Glue is also applied to the edges of the plywood, which will be attached to the corner. Applies plywood to the corner and fixes. In a day, the details will be glued tightly. But even now, this part of the future case looks very cool. Thus, the upper and lower planes are made.

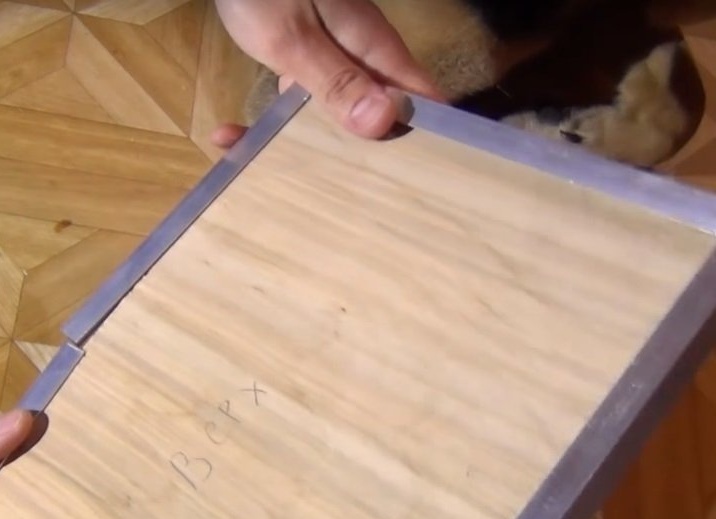
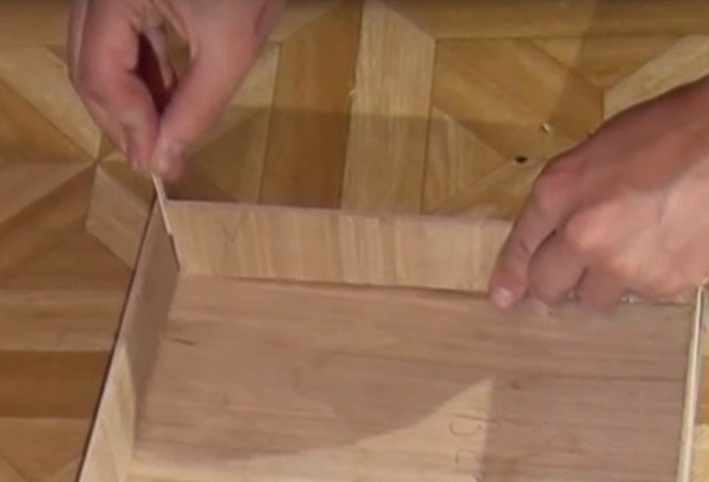
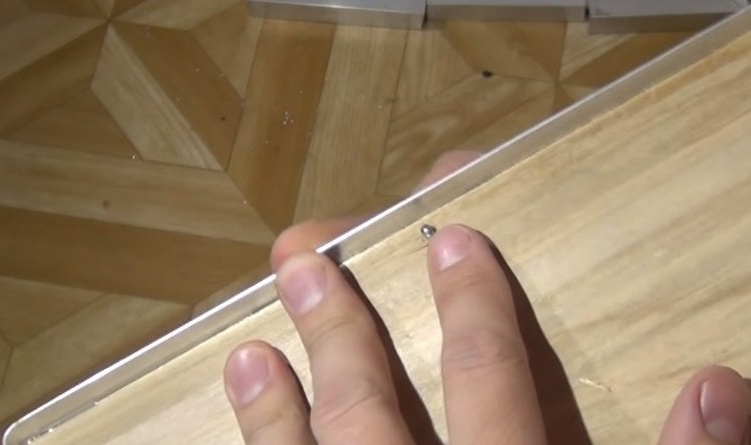
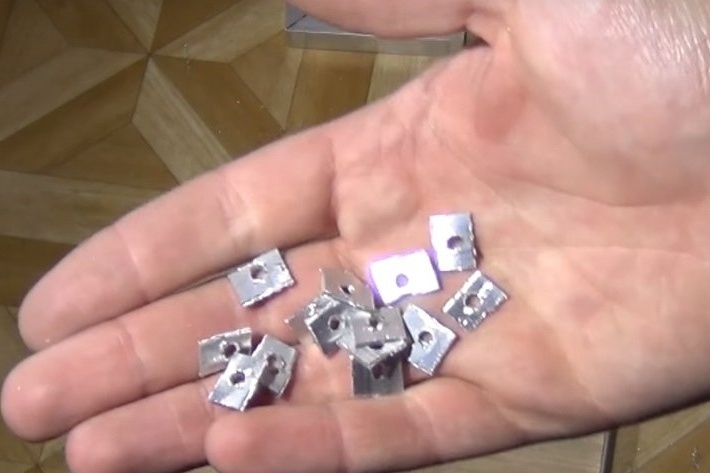
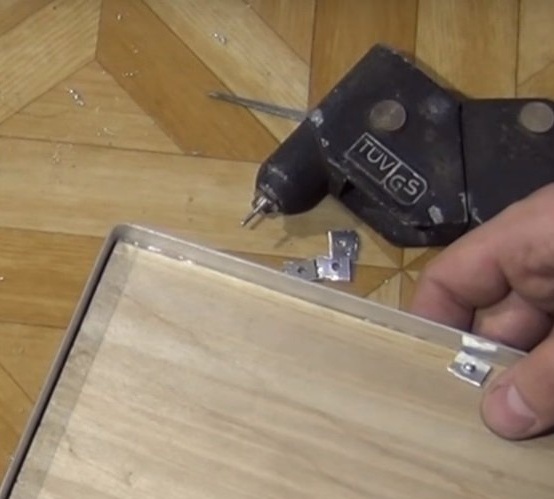
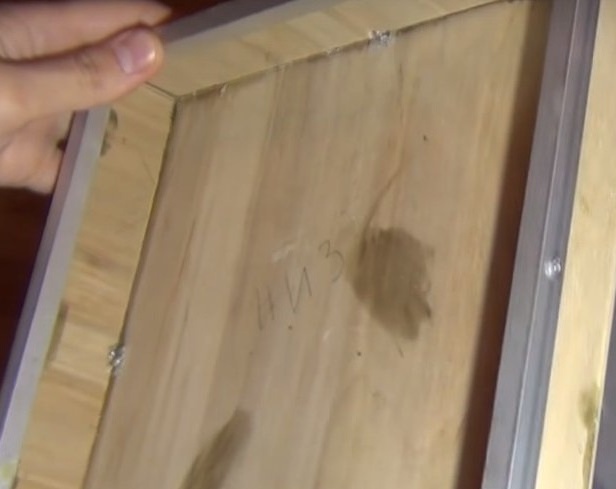
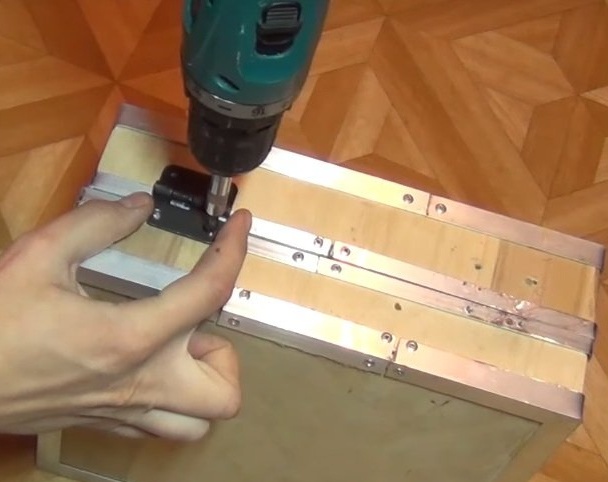
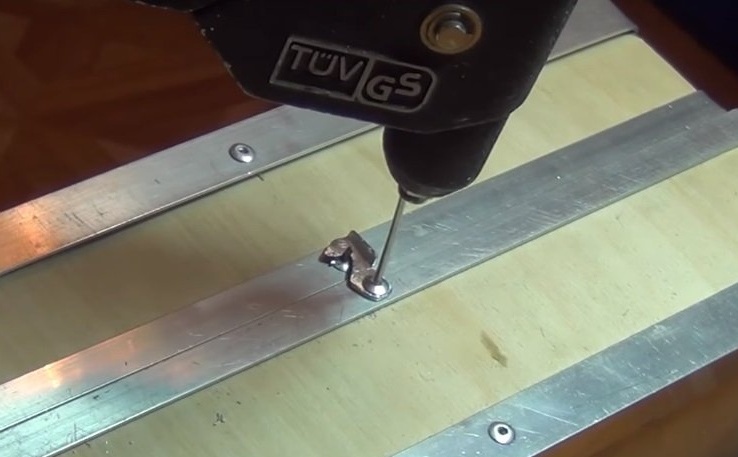
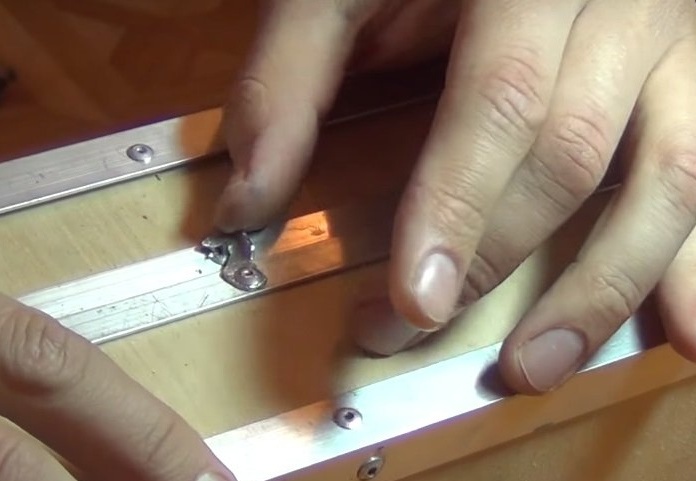
We pass to the side walls. To get started, they are simply inserted into the frame and fit. Further, with the help of carpentry glue, they are glued only among themselves, without gluing to the frame. After drying, the side walls are removed from the frame. Since the glue connection of plywood and aluminum may not be reliable enough, the author decides to strengthen them with rivets. Drills holes in the frame and plywood. Rivets need to be bonded to a soft material, i.e. plywood. But since it is located in the lower part of the manufactured product, the flattened part of the rivet will stick out on top of the case, which will negatively affect its appearance. If riveted through plywood, then it will crack and there will be no solid connection. The problem is solved with the help of washers that fit under the plywood and through them are already riveting quietly. The mount is reliable, and the appearance does not deteriorate.

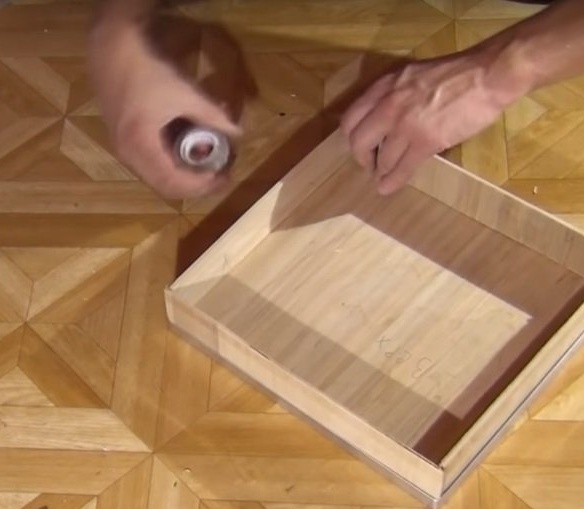
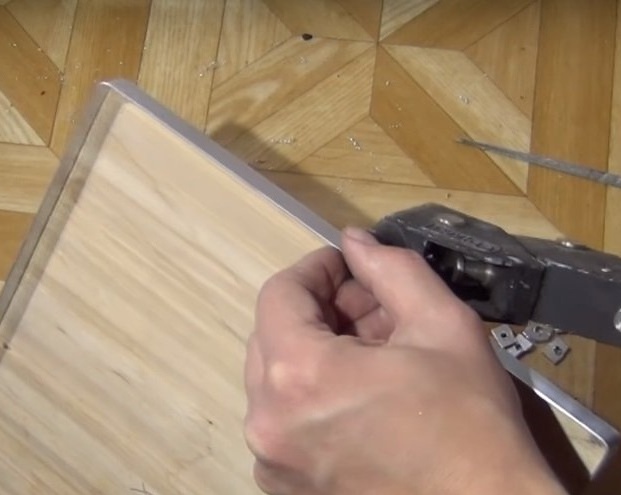
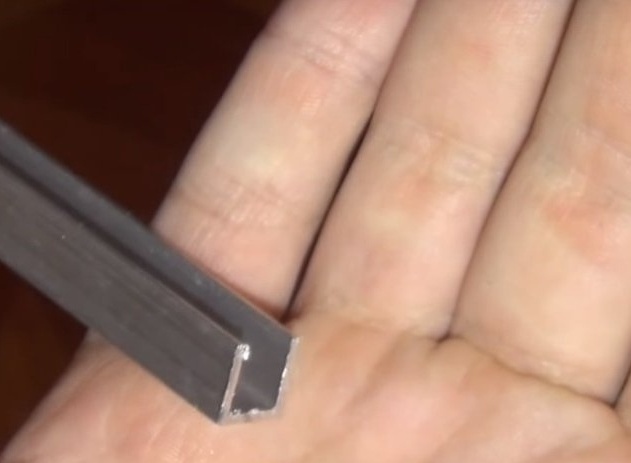
To make the edges of the walls, an aluminum channel is used. The fastening process is exactly the same as with the corner.
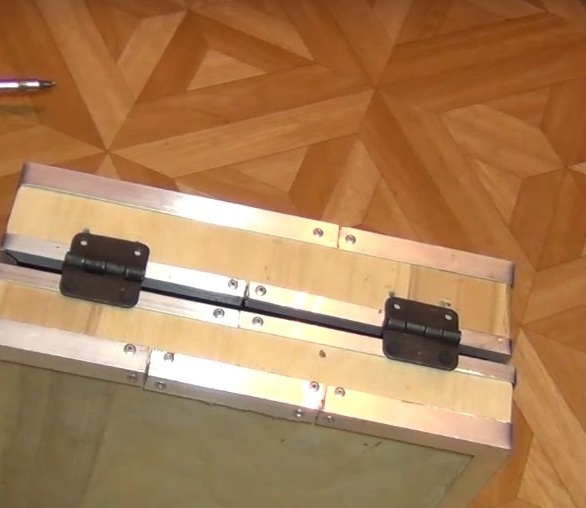
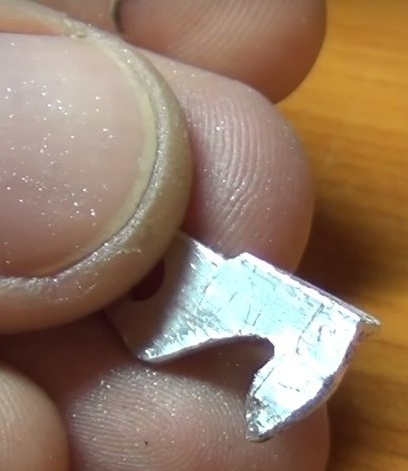
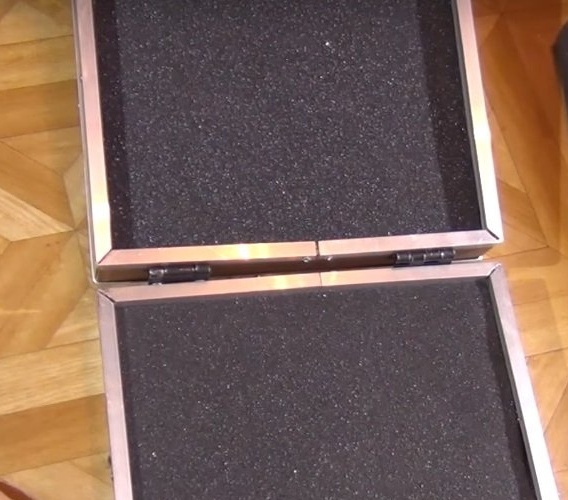
Both parts are ready. Now fasten to both halves of the loop. There are no problems with their installation. Unless under the plywood on one of the halves washers are added to reinforce the plywood. A hook is made from a corner. Fastens with a rivet. It turns out pretty tough, but the box will not open at the wrong time.
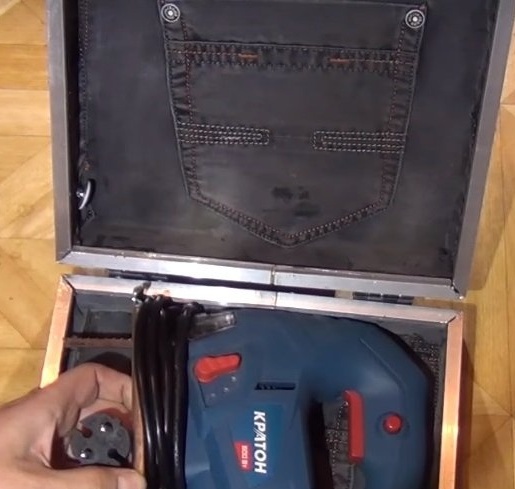
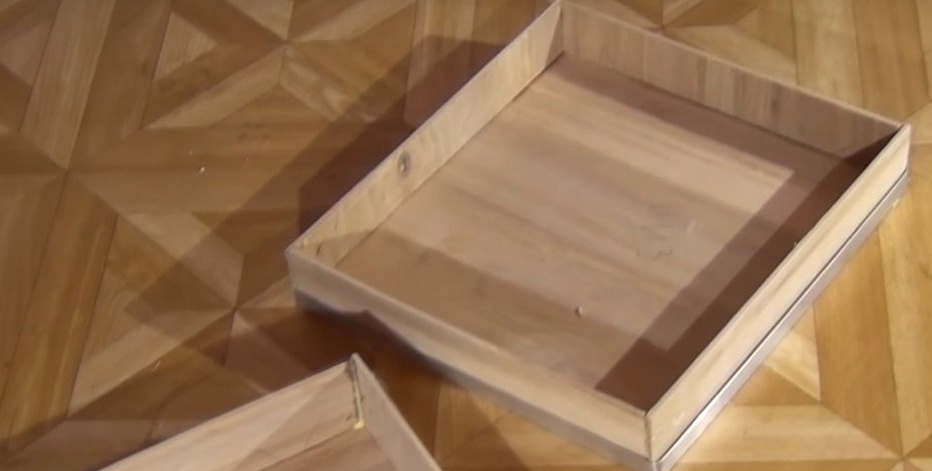
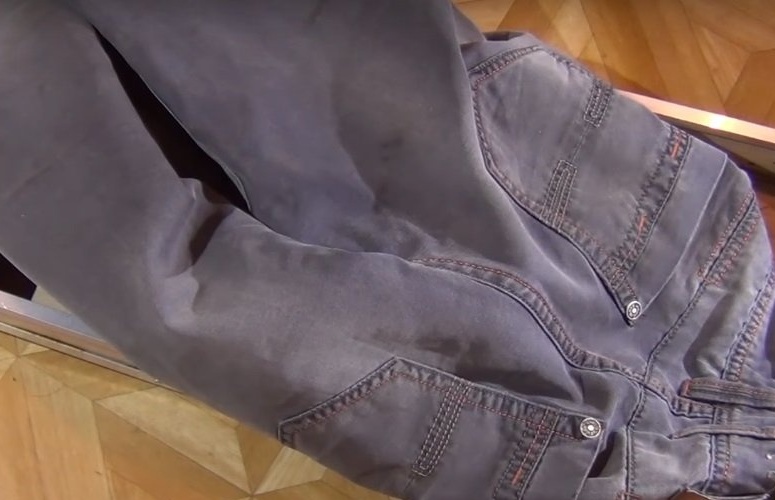
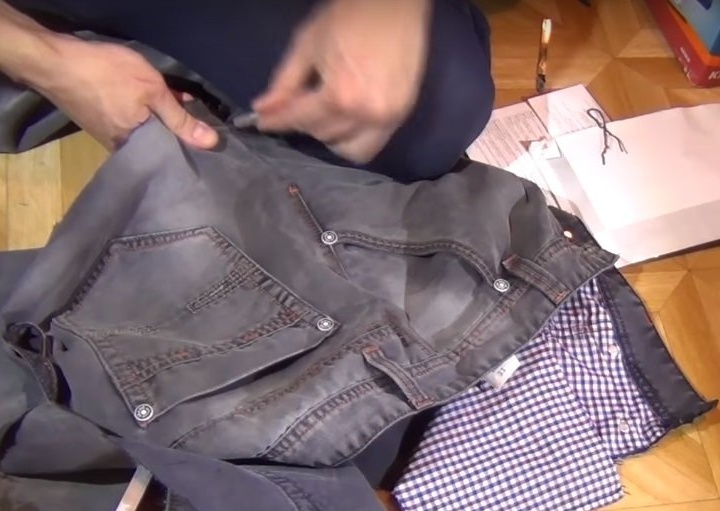
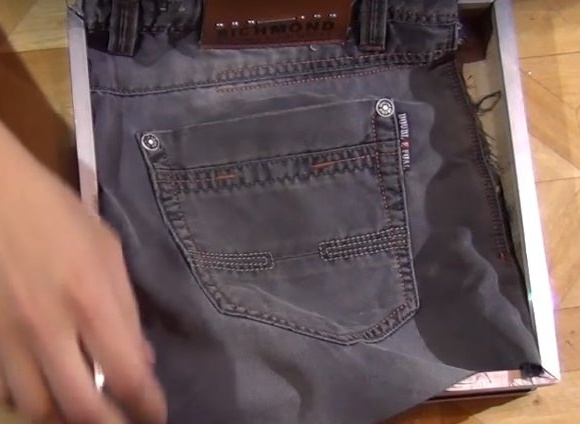
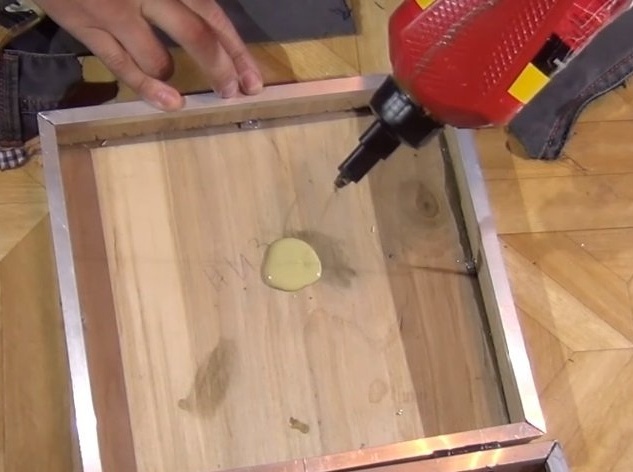
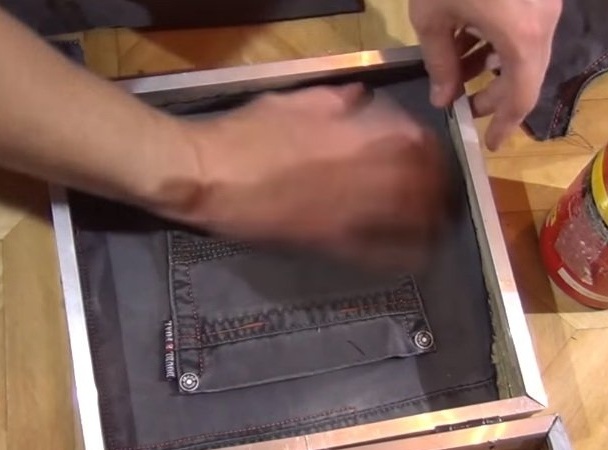
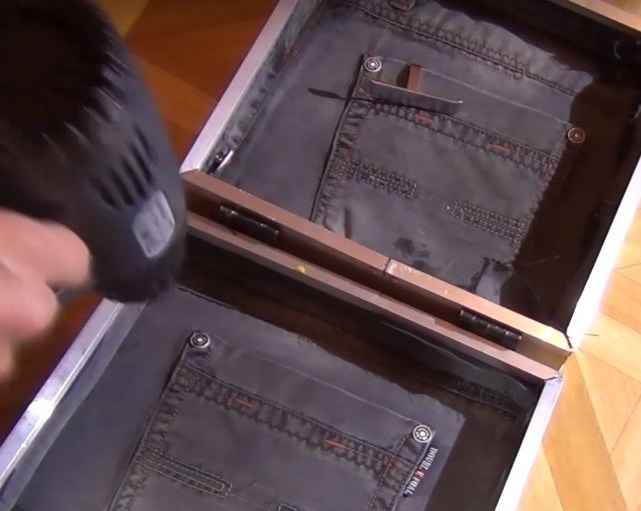
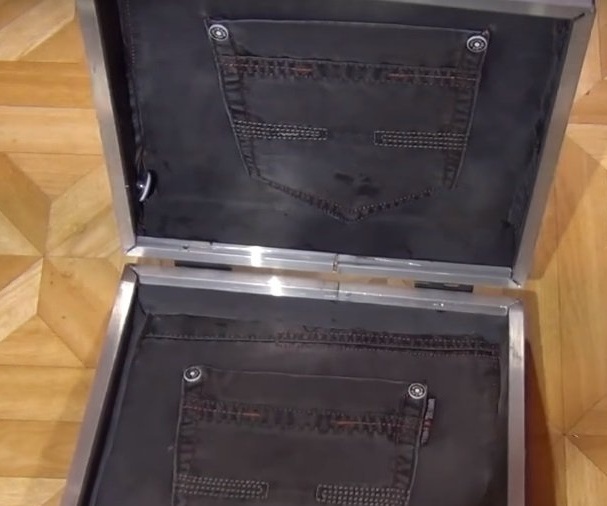
Now we finish the box from the inside. At first there was an idea to put foam polyethylene inside, but since the box is too small for him, I had to use jeans. A piece of fabric is cut to size comparable to the inner compartments of the drawer and glued. After drying, the box is ready for use. What is missing is just a carry handle. But since the author is not going to wear it, he does not need it. You, if you will make such a case, decide for yourself whether to do it or not.
As a result of low costs, we got a cool thing for storing jigsaw.


Thank you all for watching. I wish you a good mood and the implementation of creative ideas!