Hello everyone, today we will focus on the irreplaceable grinder device. Many who have a creative hobby are faced with the fact that something needs to be sanded, there are many devices for these purposes, but a grinder is the best option. And what to do if it is not there and as in my case, even there is no possibility and means, there is only one way out - to do it yourself.
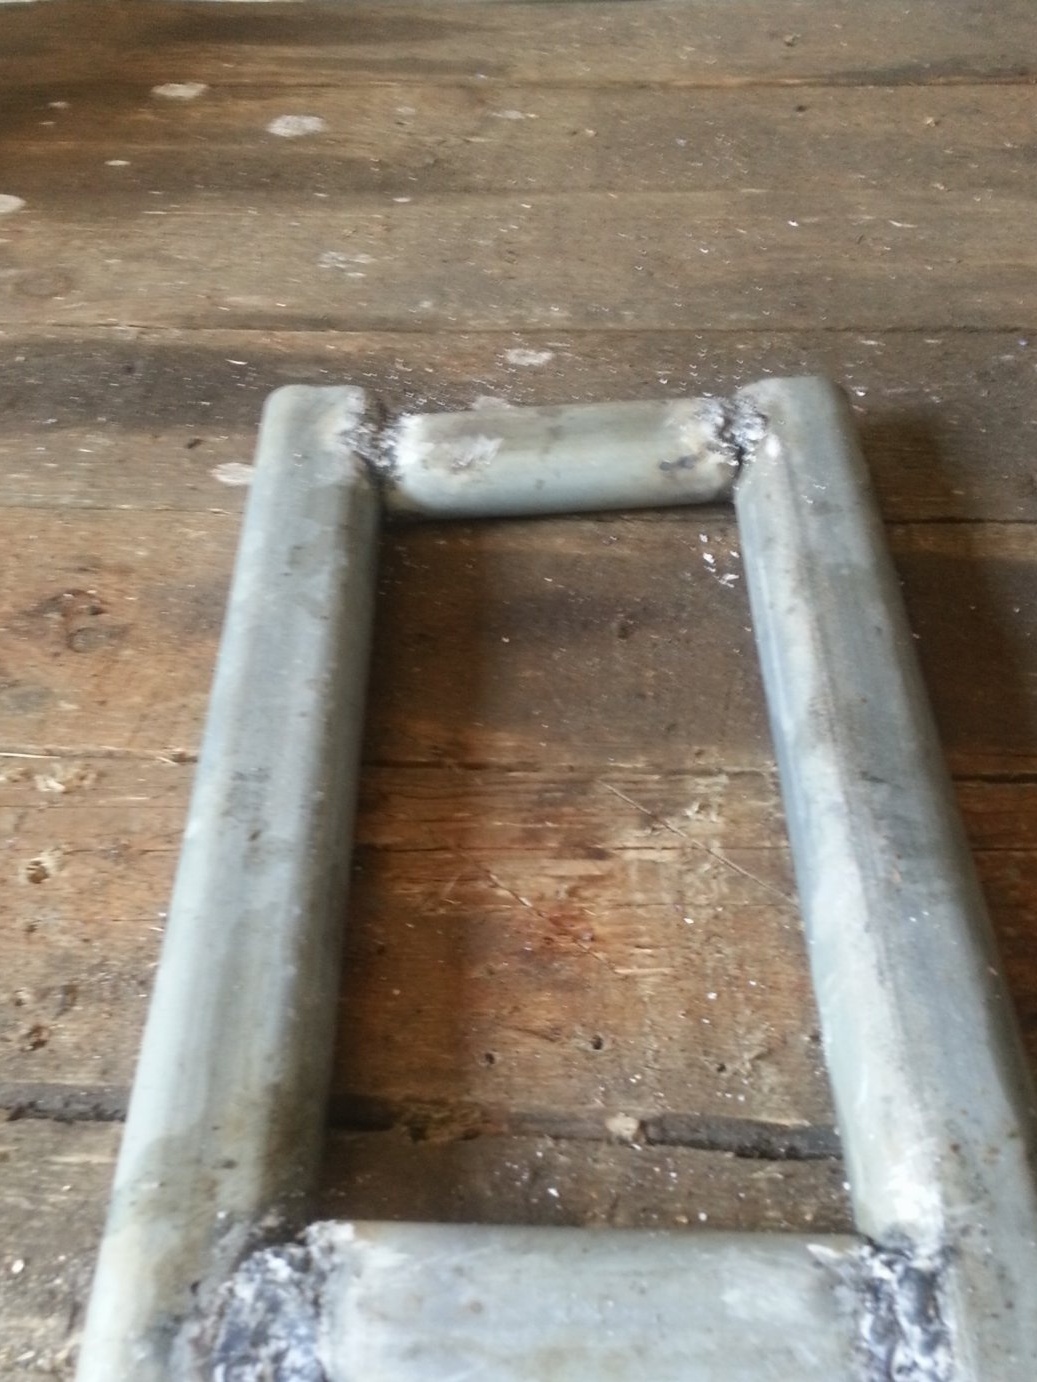
And so immediately I apologize for my welding skills, I do not really like to cook galvanizing, but I did what I have, without spending a penny from segments, I just spent a man hours. And so we need two pieces of tube in my case, an oval of 30cm
You can adjust all sizes for yourself, and you need two 10cm tubes

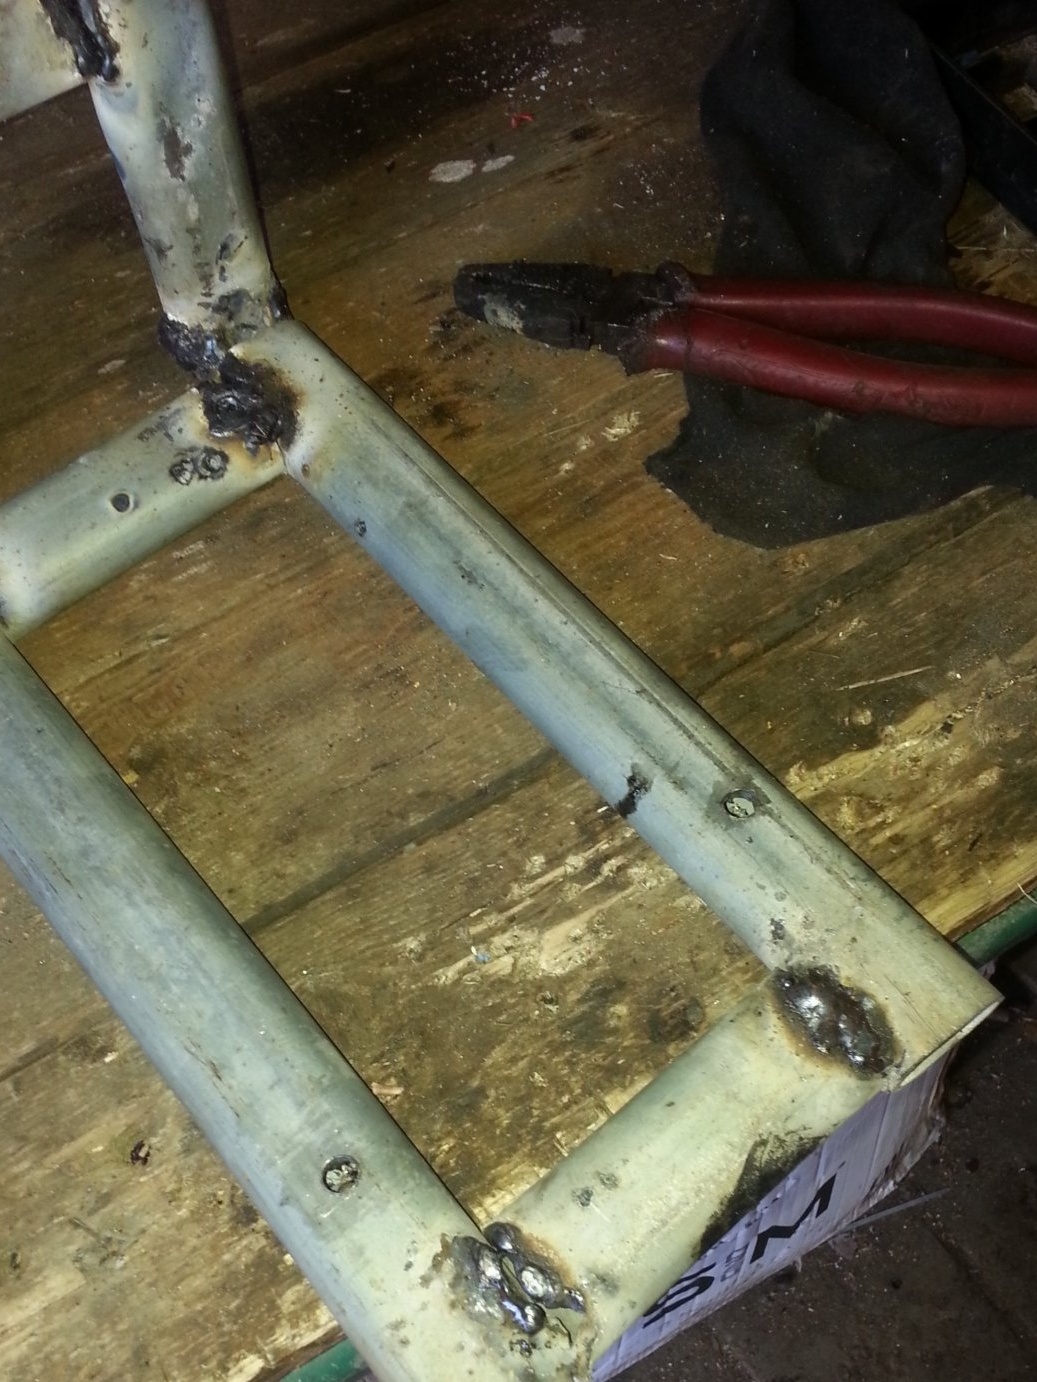
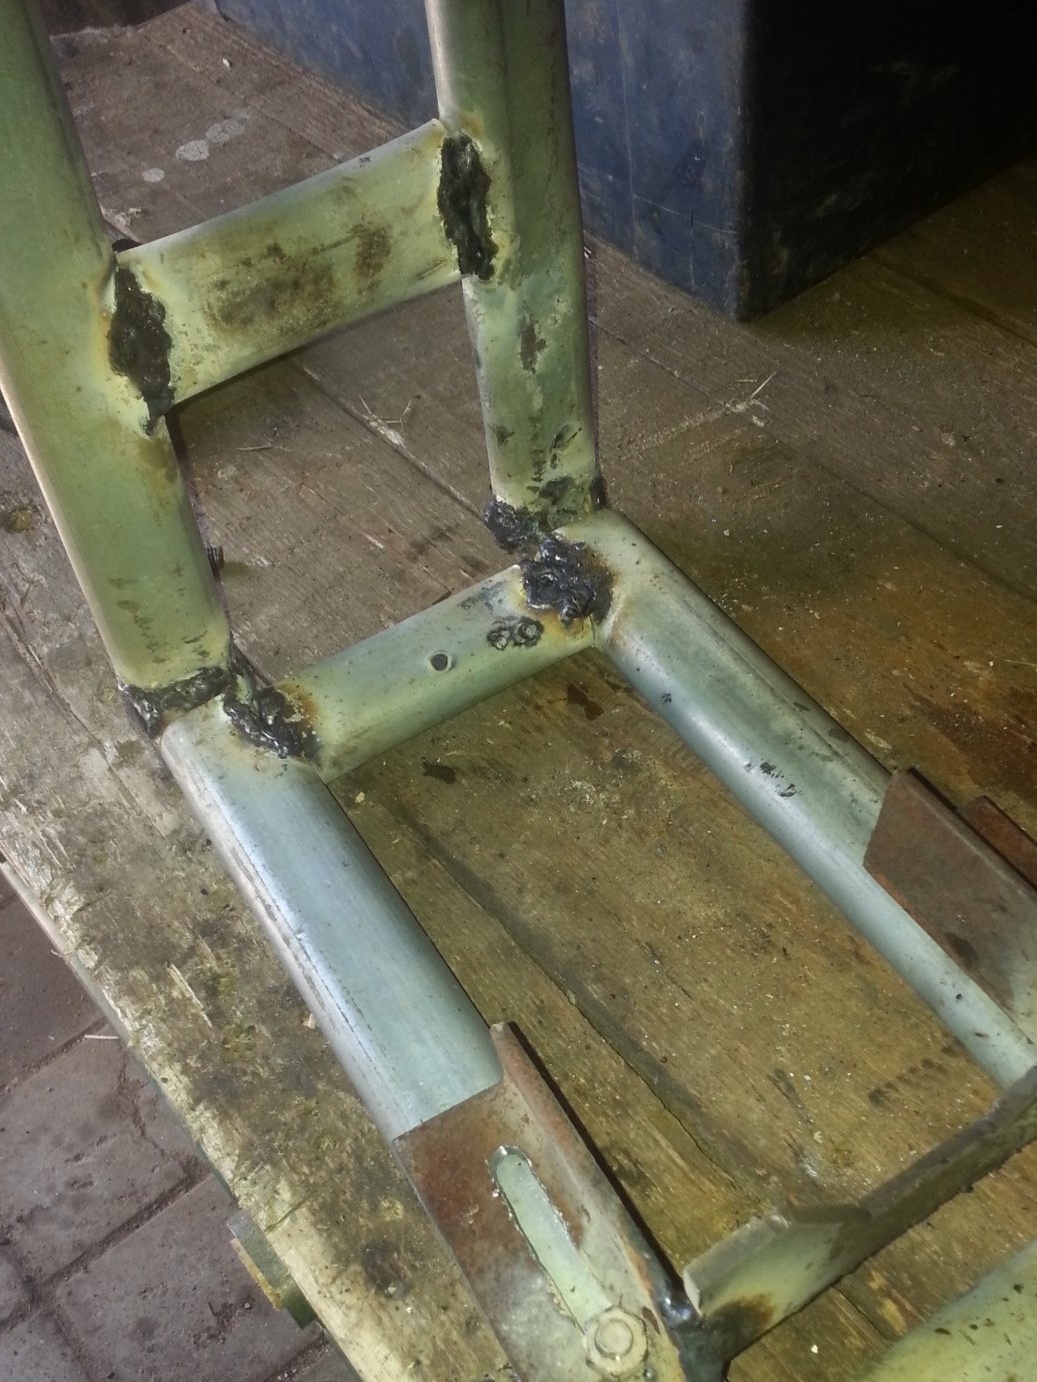
And so, from the tubes we collect a rectangular shape and weld at low currents due to the fineness of the material. The edges of the shortys I a little ivy for a more even fit
This is how I spit the edges of the little ones
Now I weld something like with a Russian mat
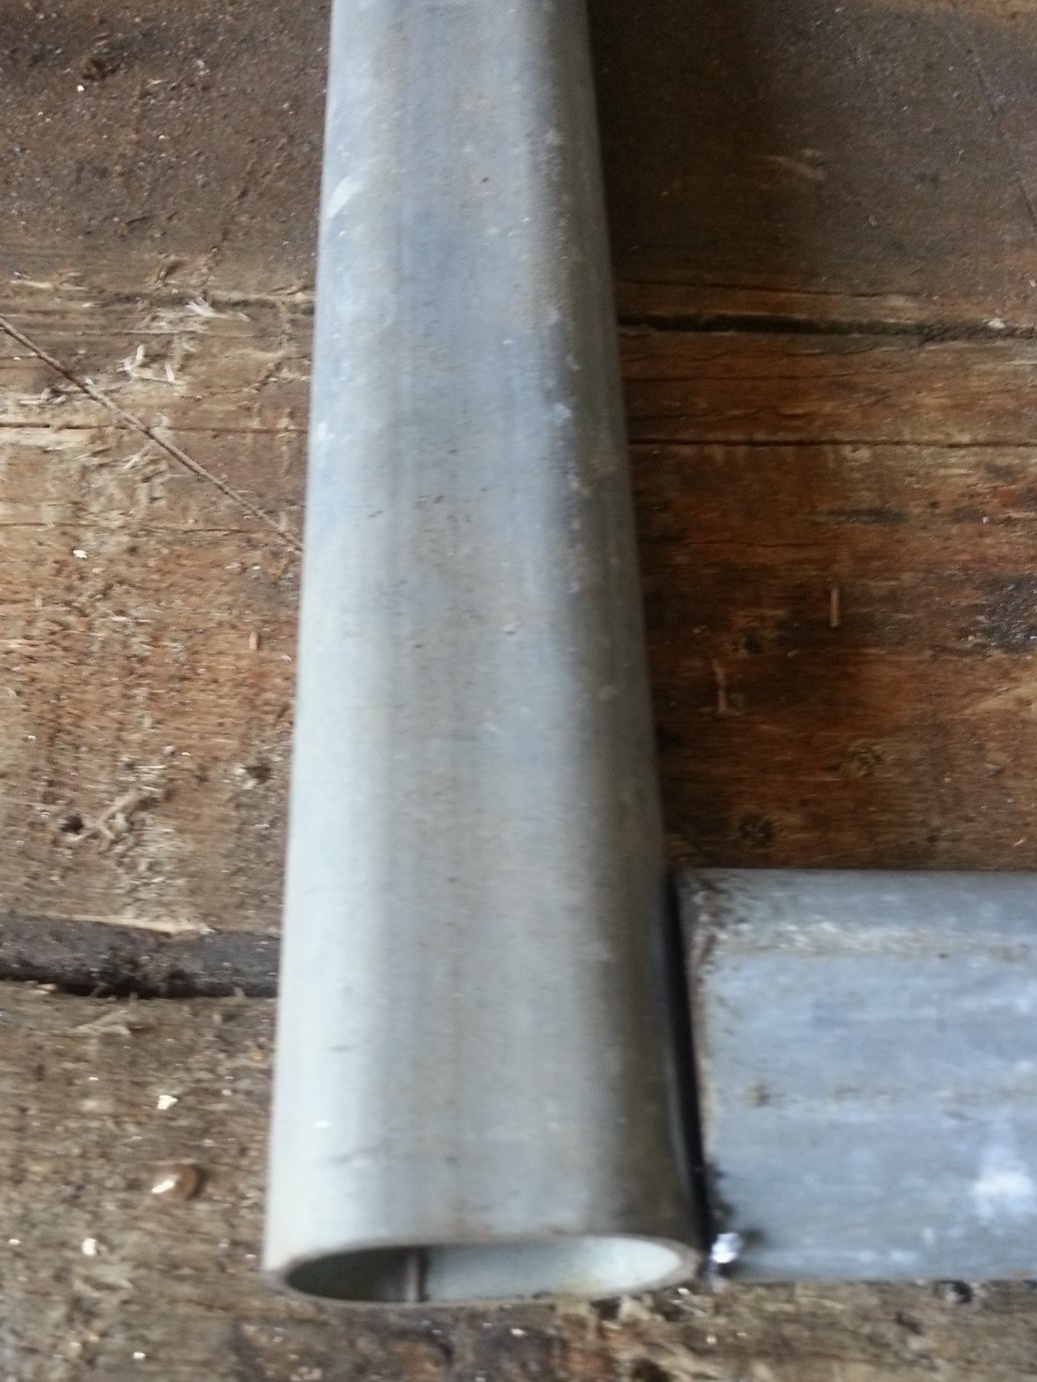
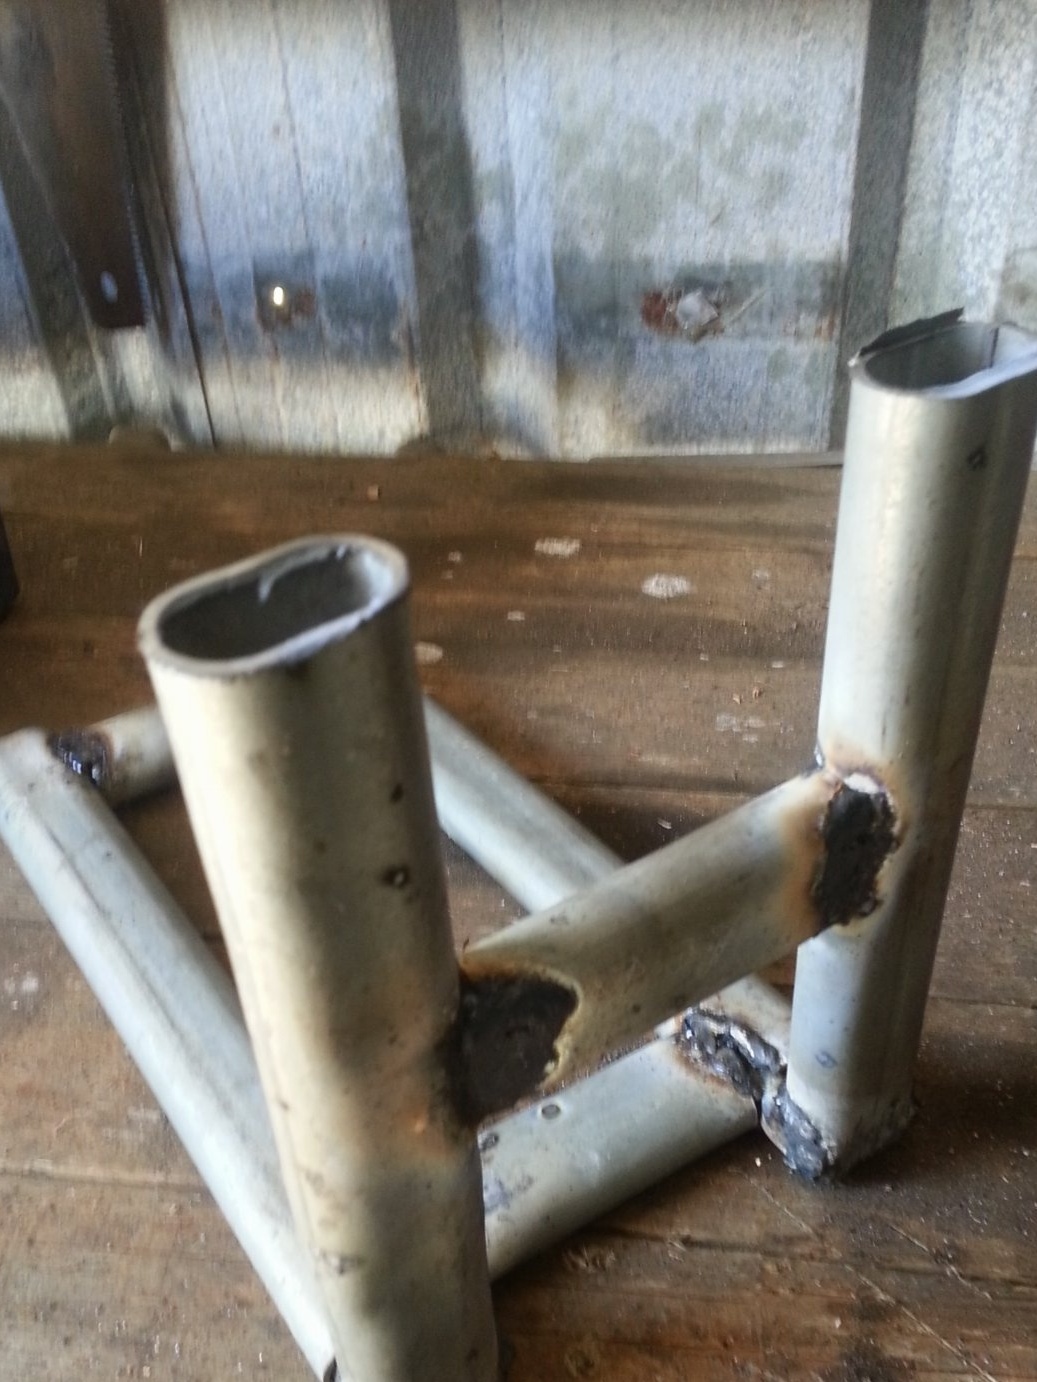
Everything, the frame is ready, now I proceed to the rack. For the rack, I took a 20cm oval, but with a male connector, for ease of disassembly
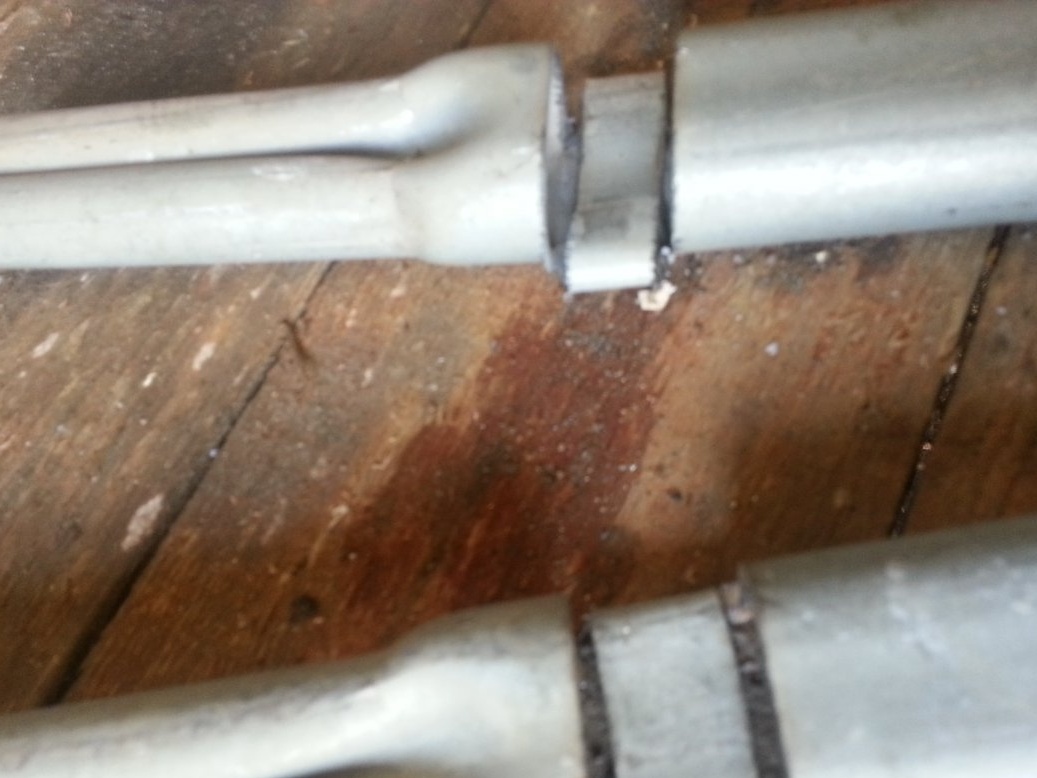
Then, stepping back from the edge, I make two cuts with an interval equal to the thickness of the tube
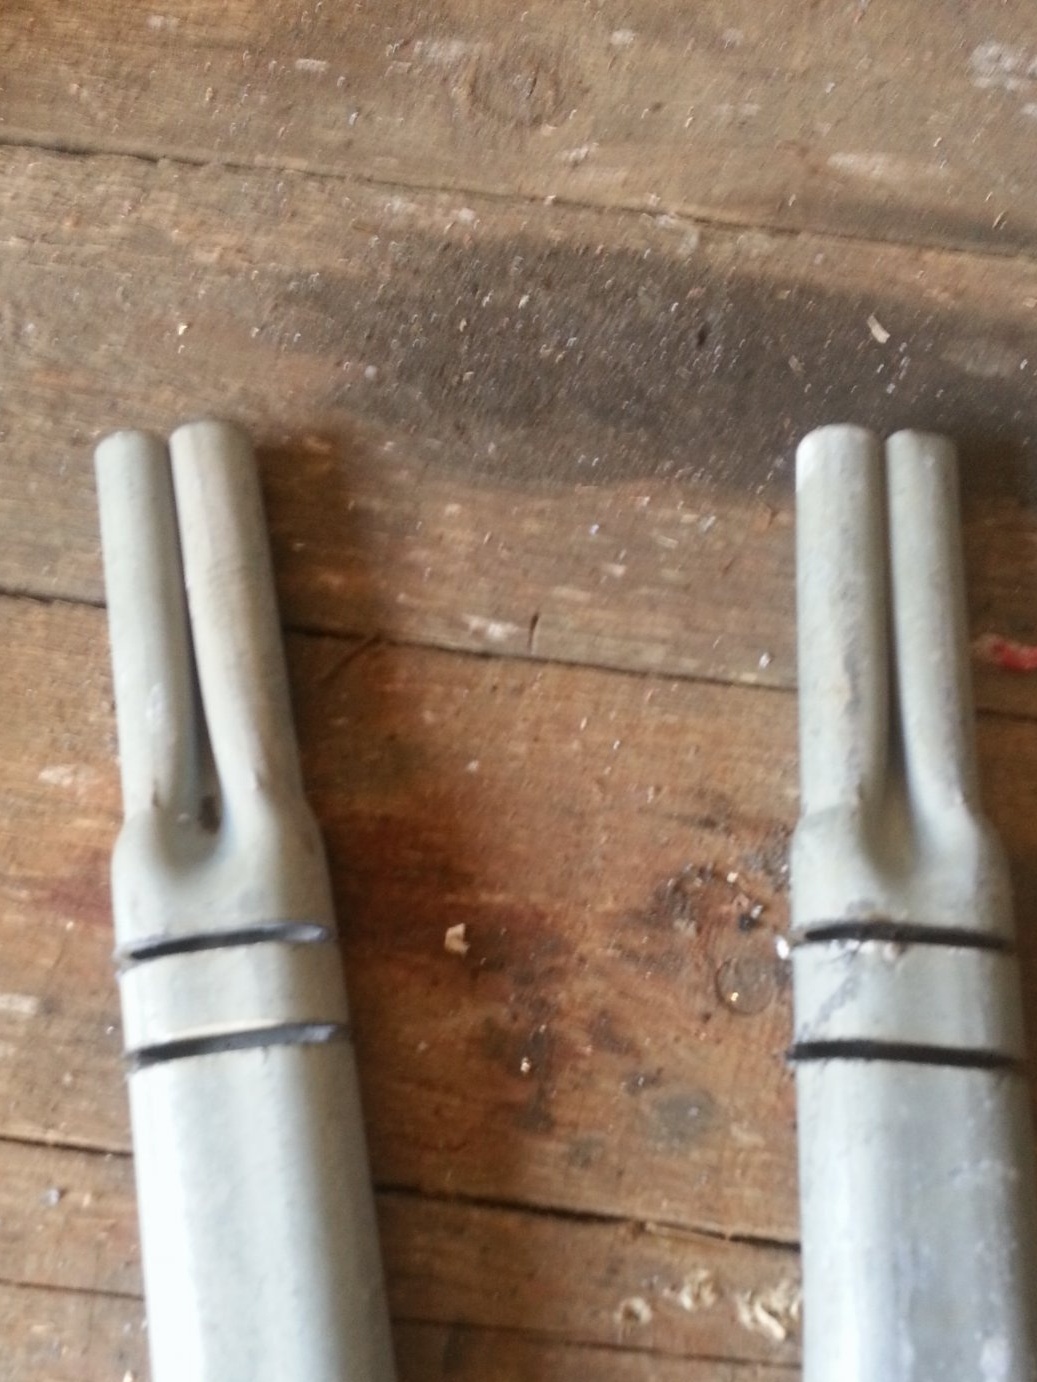
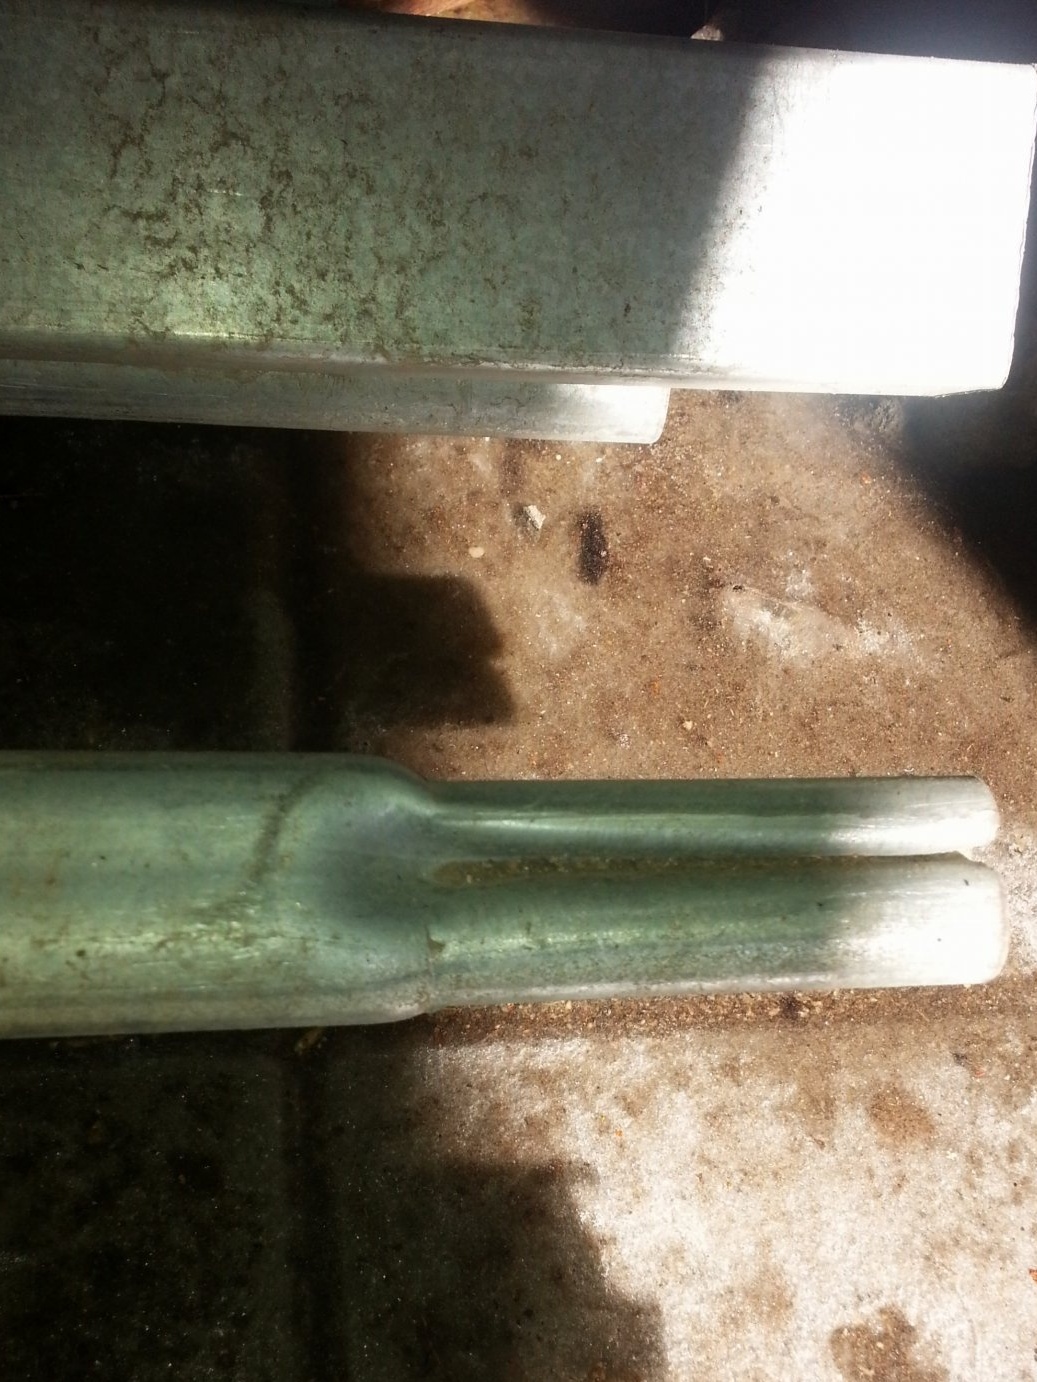
Now bend everything inwards
after bending, the metal goes beyond the edges of the tube, now it will be easier to cut off the excess. Cut off the sides of the metal
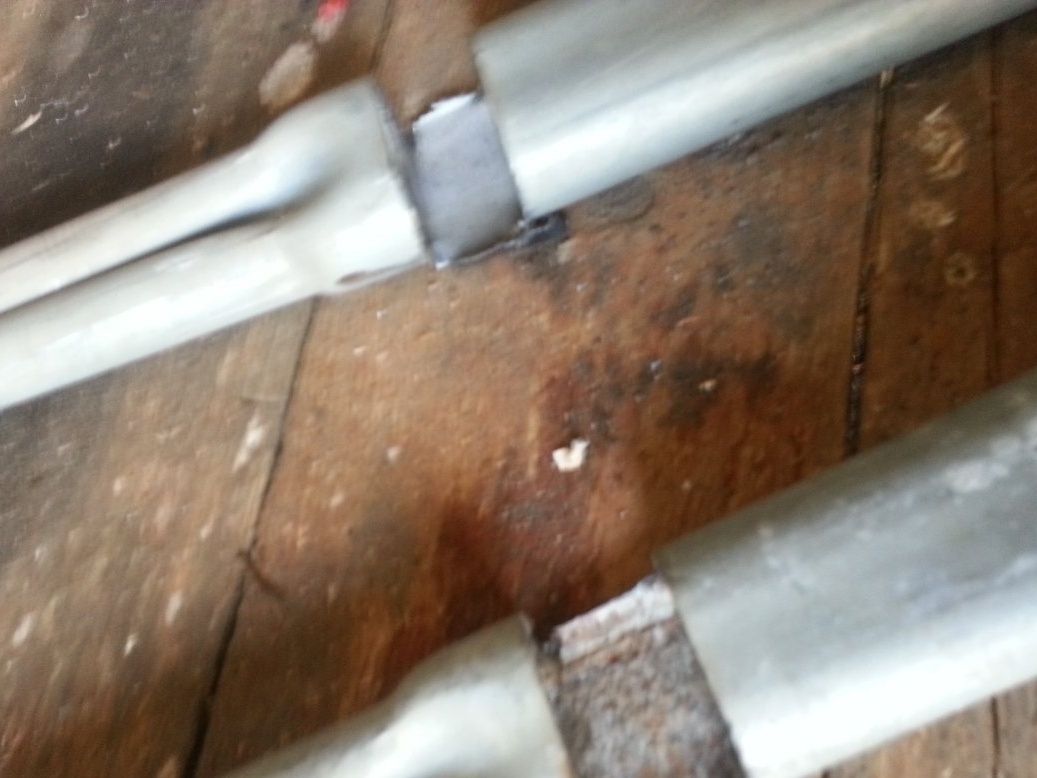
I bend the tubes at an angle, trim the angle so that there are no distortions

Something like this, now I thoroughly weld all the joints
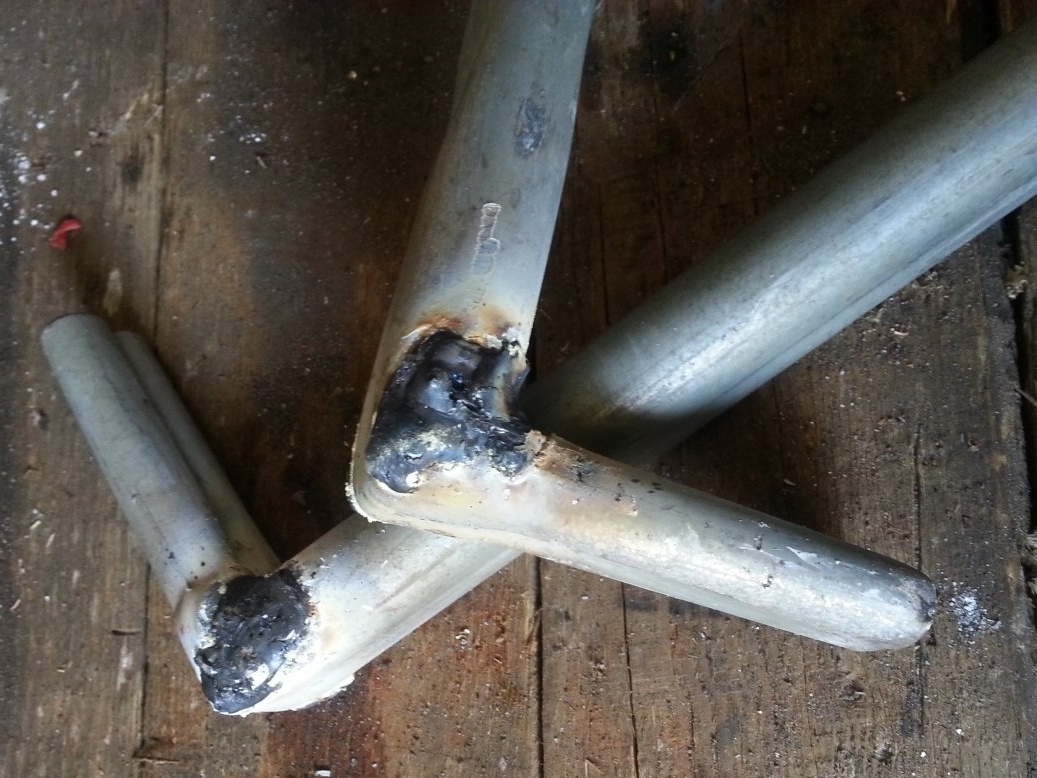
After welding I let myself and the metal cool down a bit
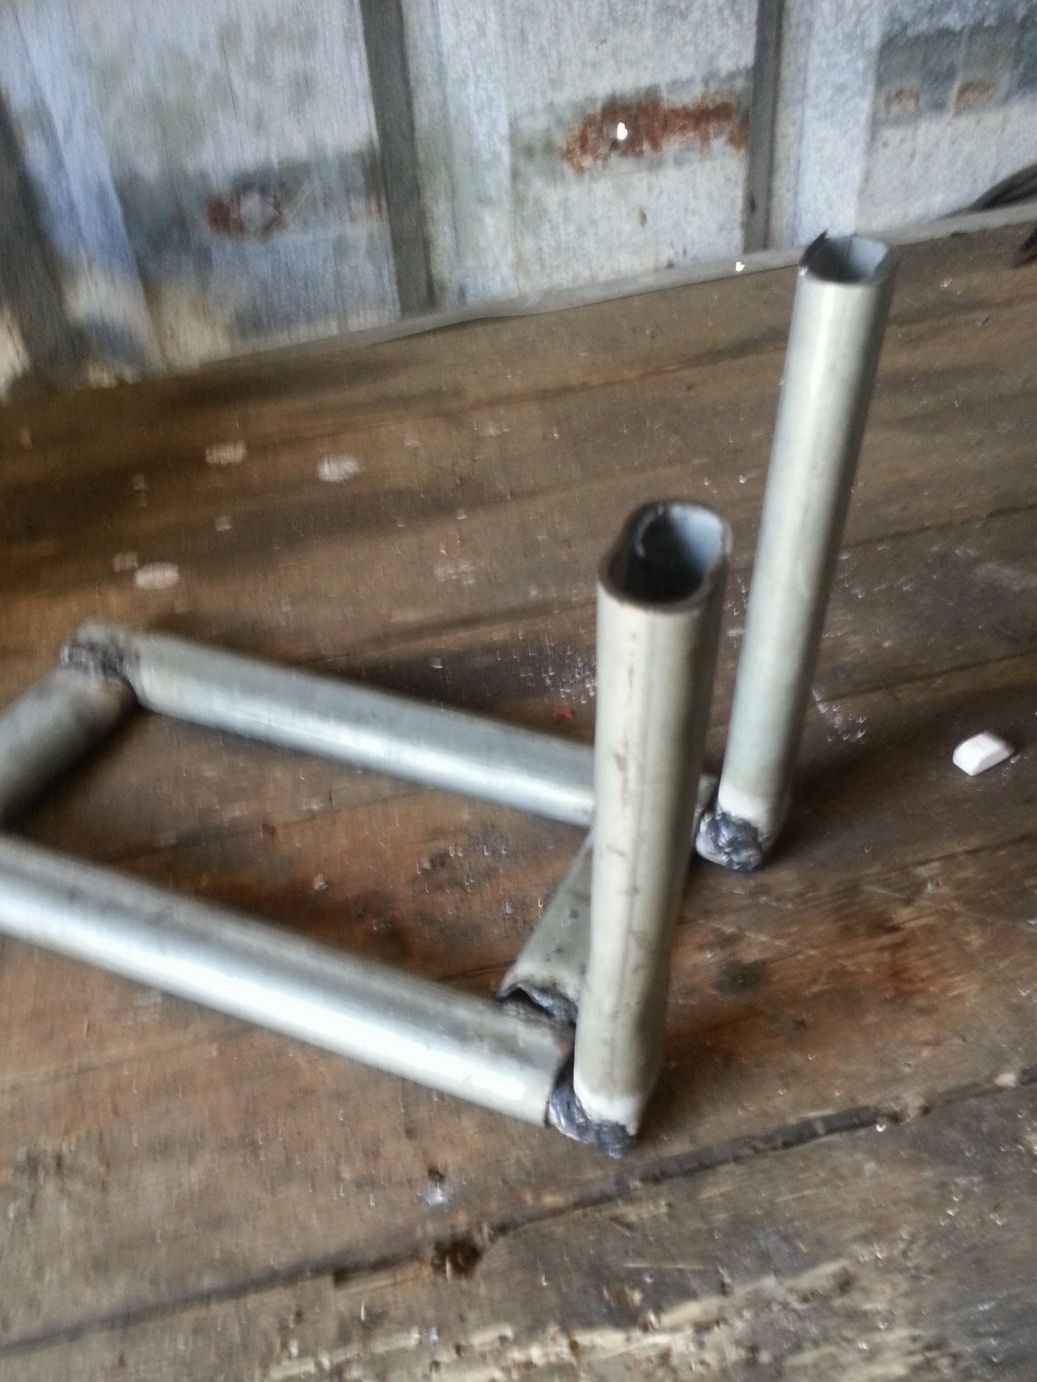
Trying everything in its place
General form
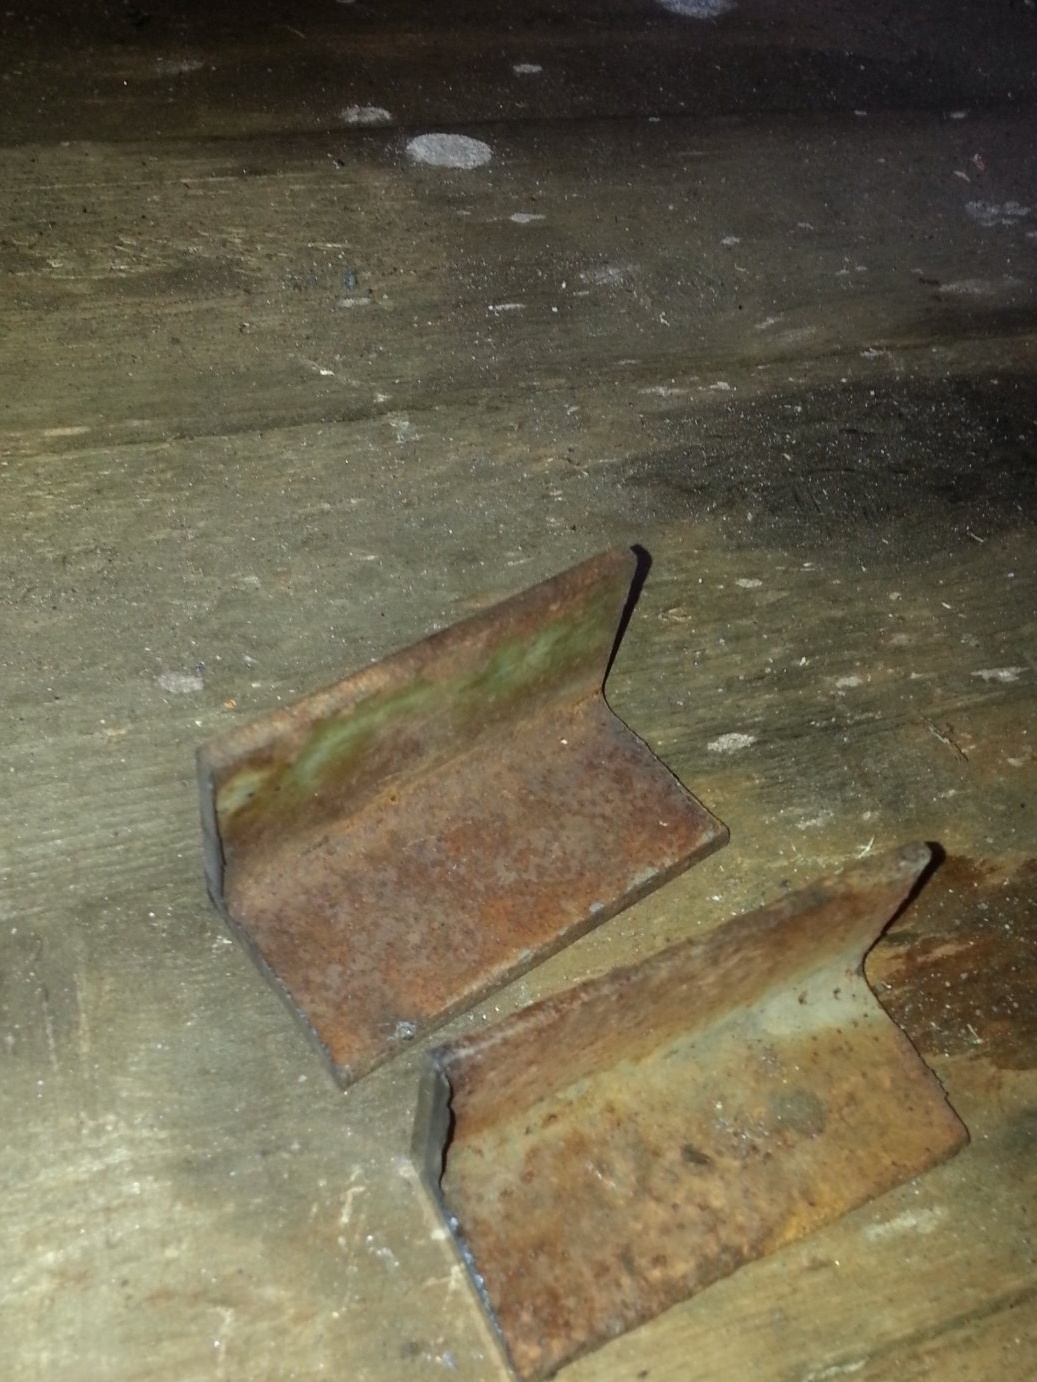
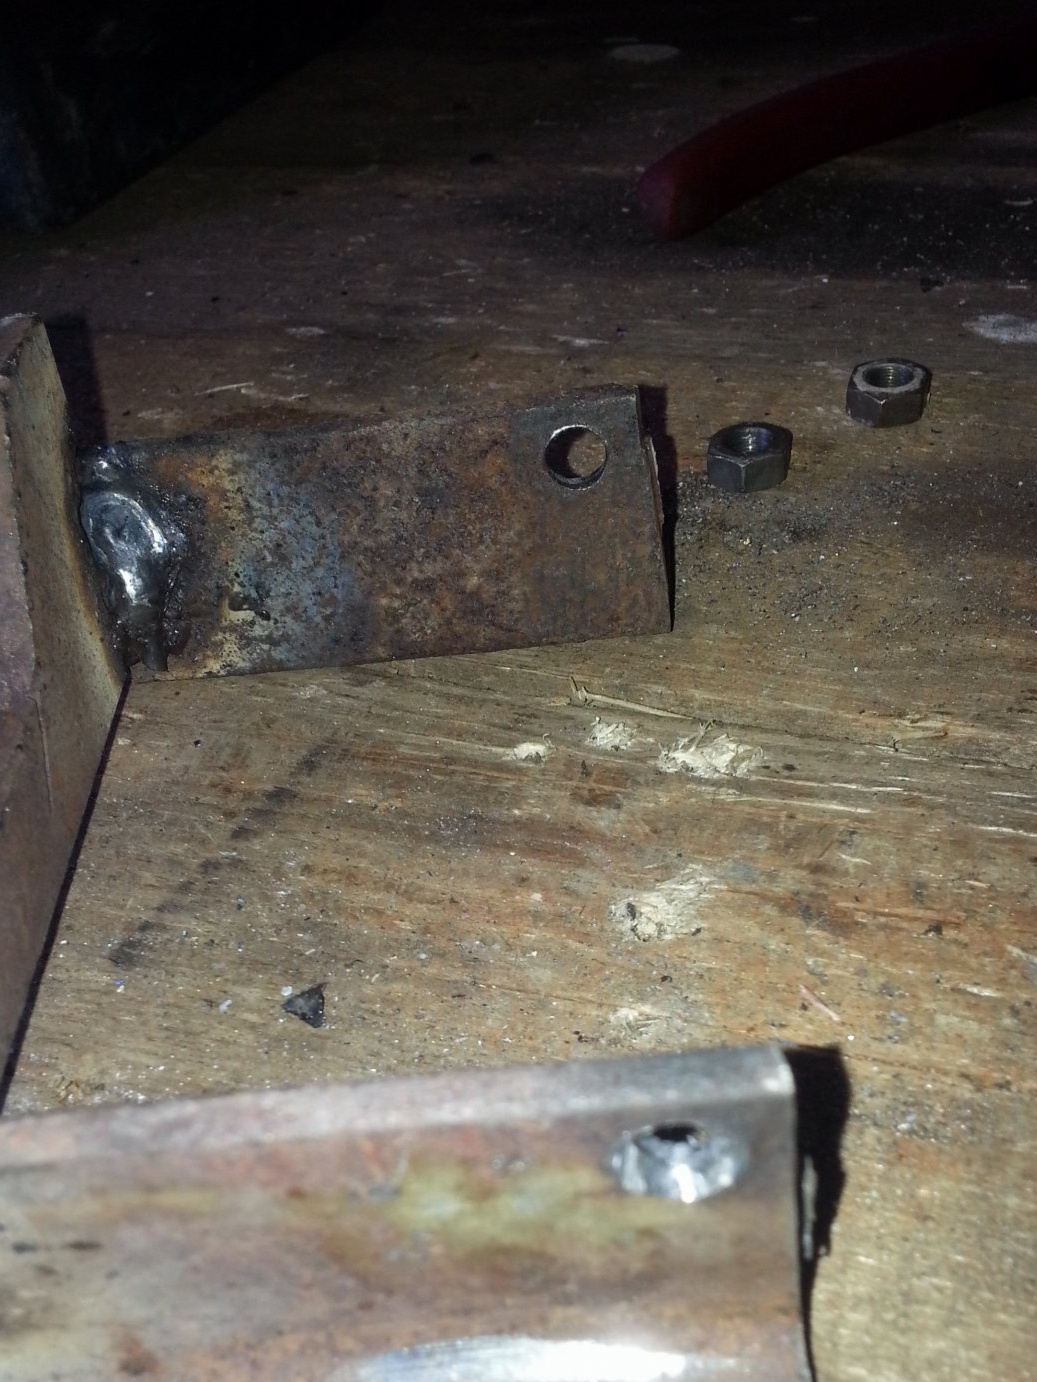
Now we proceed to mount the third roller. For the third roller, I take two corners of 10cm
To make it easier, I make cuts with a grinder and drill with an 8mm drill
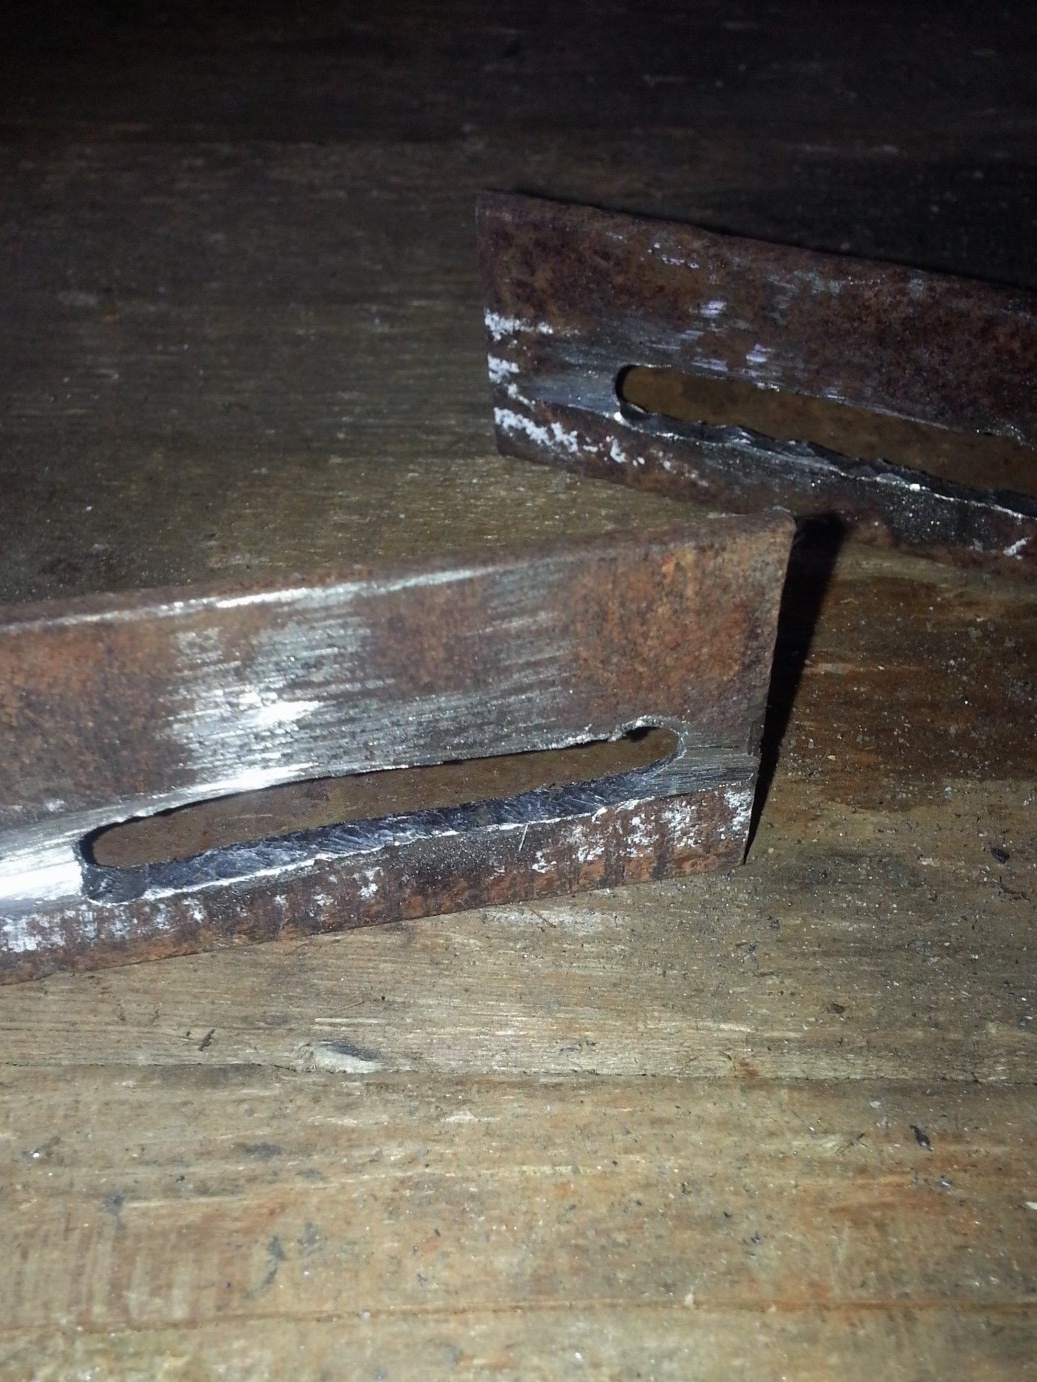
I cut through everything with a grinder and level the slot. In the photo before alignment
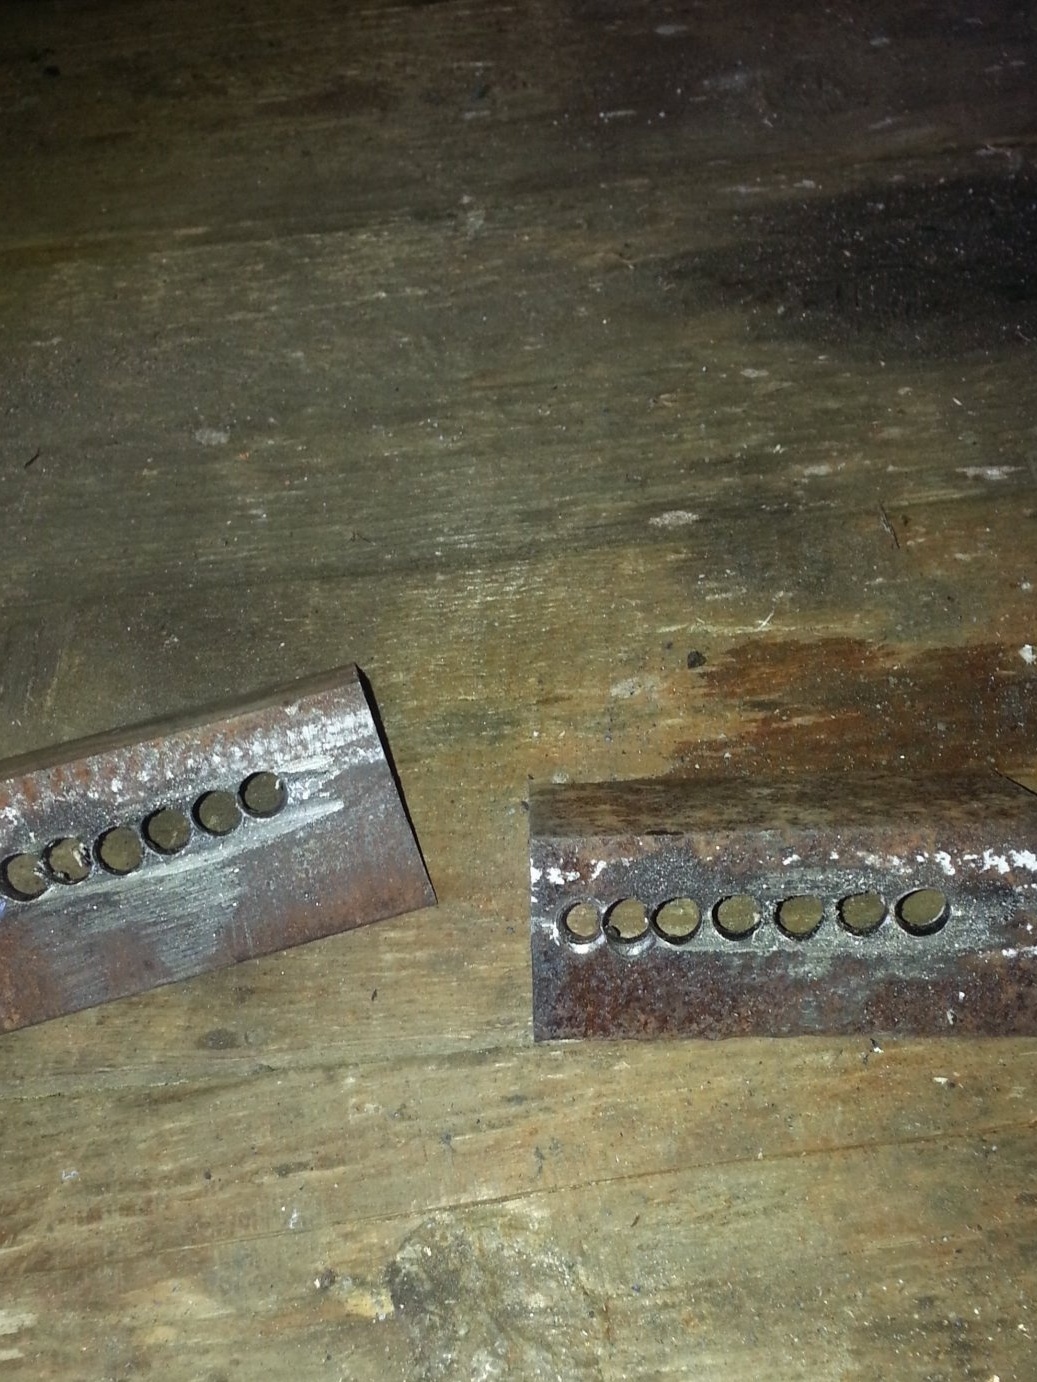
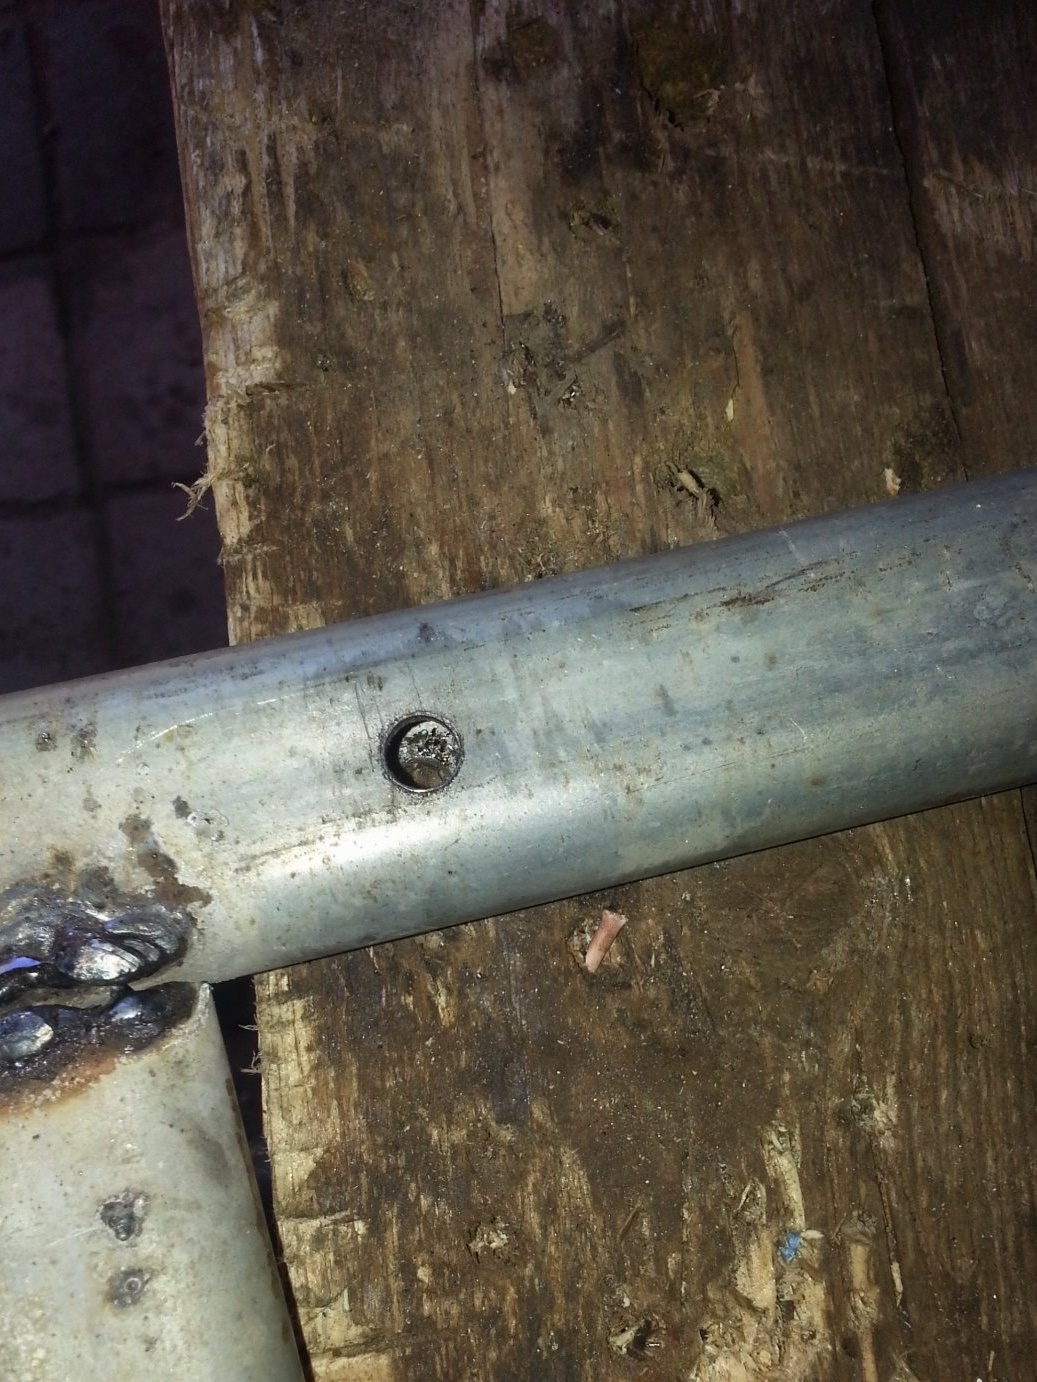
Drilling stepping back from the edge of 10cm
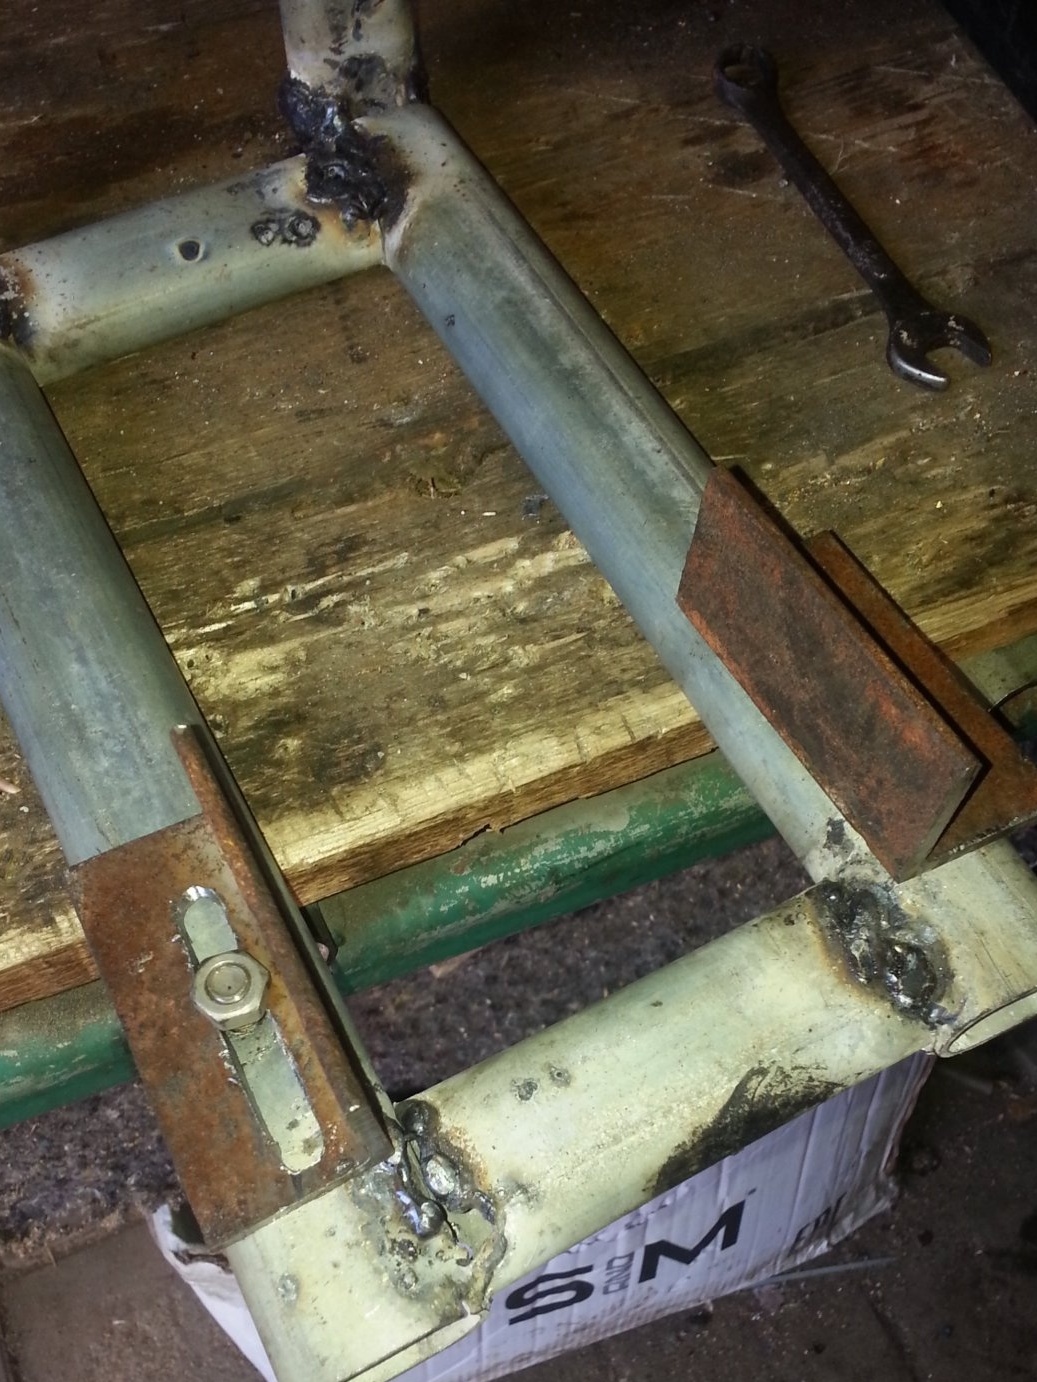
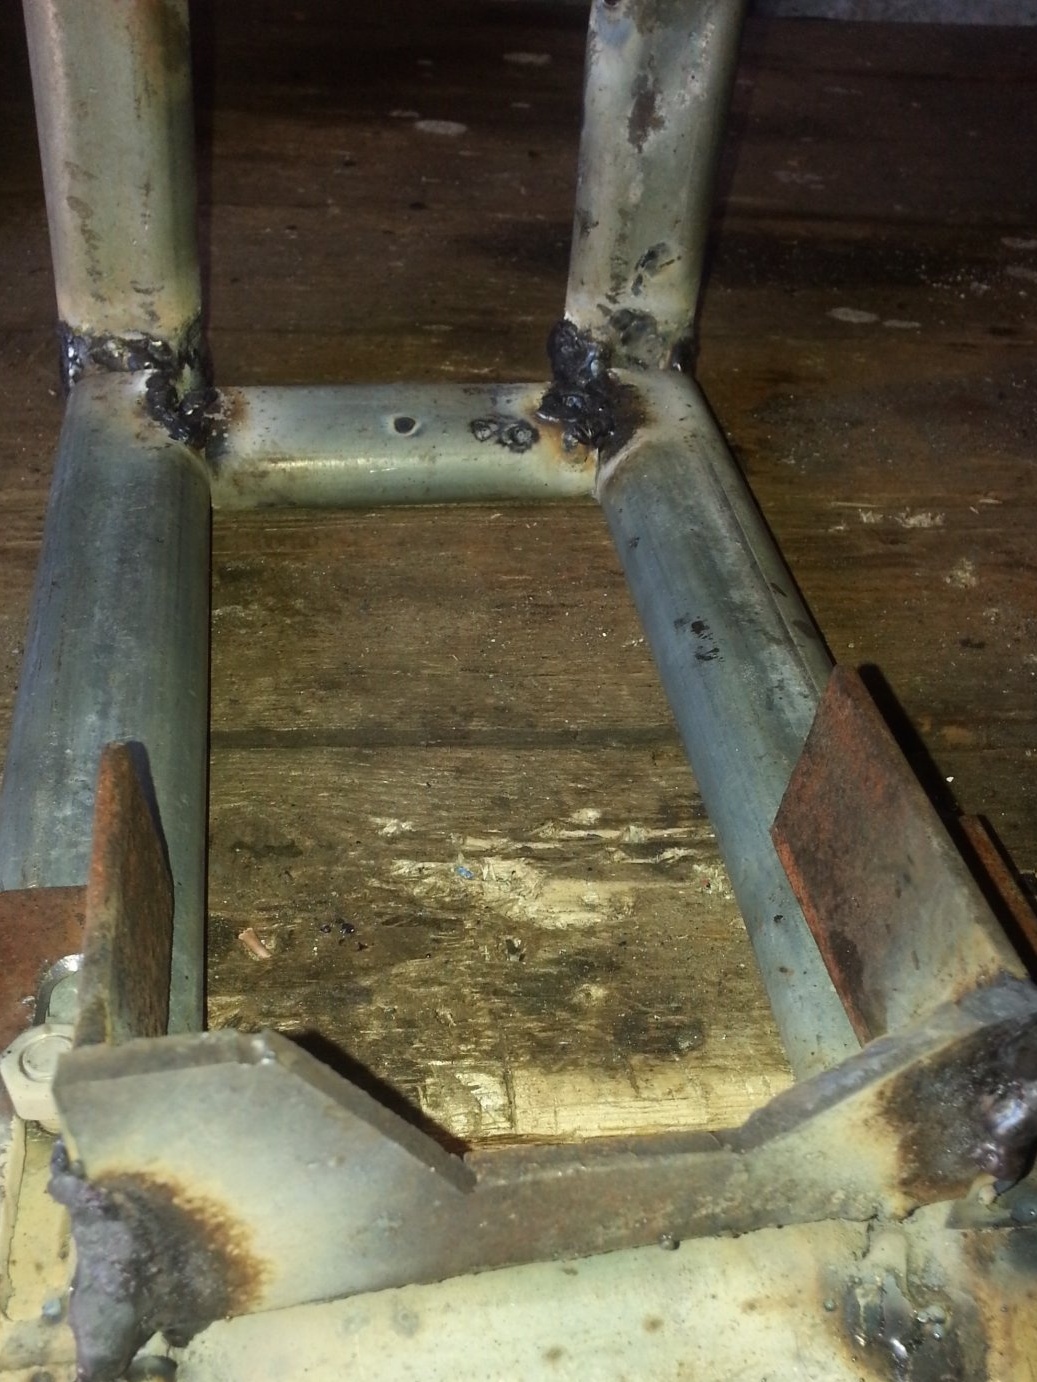
I put everything in place, I weld a jumper from a suitable piece of metal so that the corners do not warp
I put everything in place, I drill a hole for mounting the third roller
I weld another jumper and two bearings on the inside near the hole
Well, now I'm starting to make rollers.For them we need 6 bearings 20x6 mm and 3 tubes with an inner diameter of 20 mm
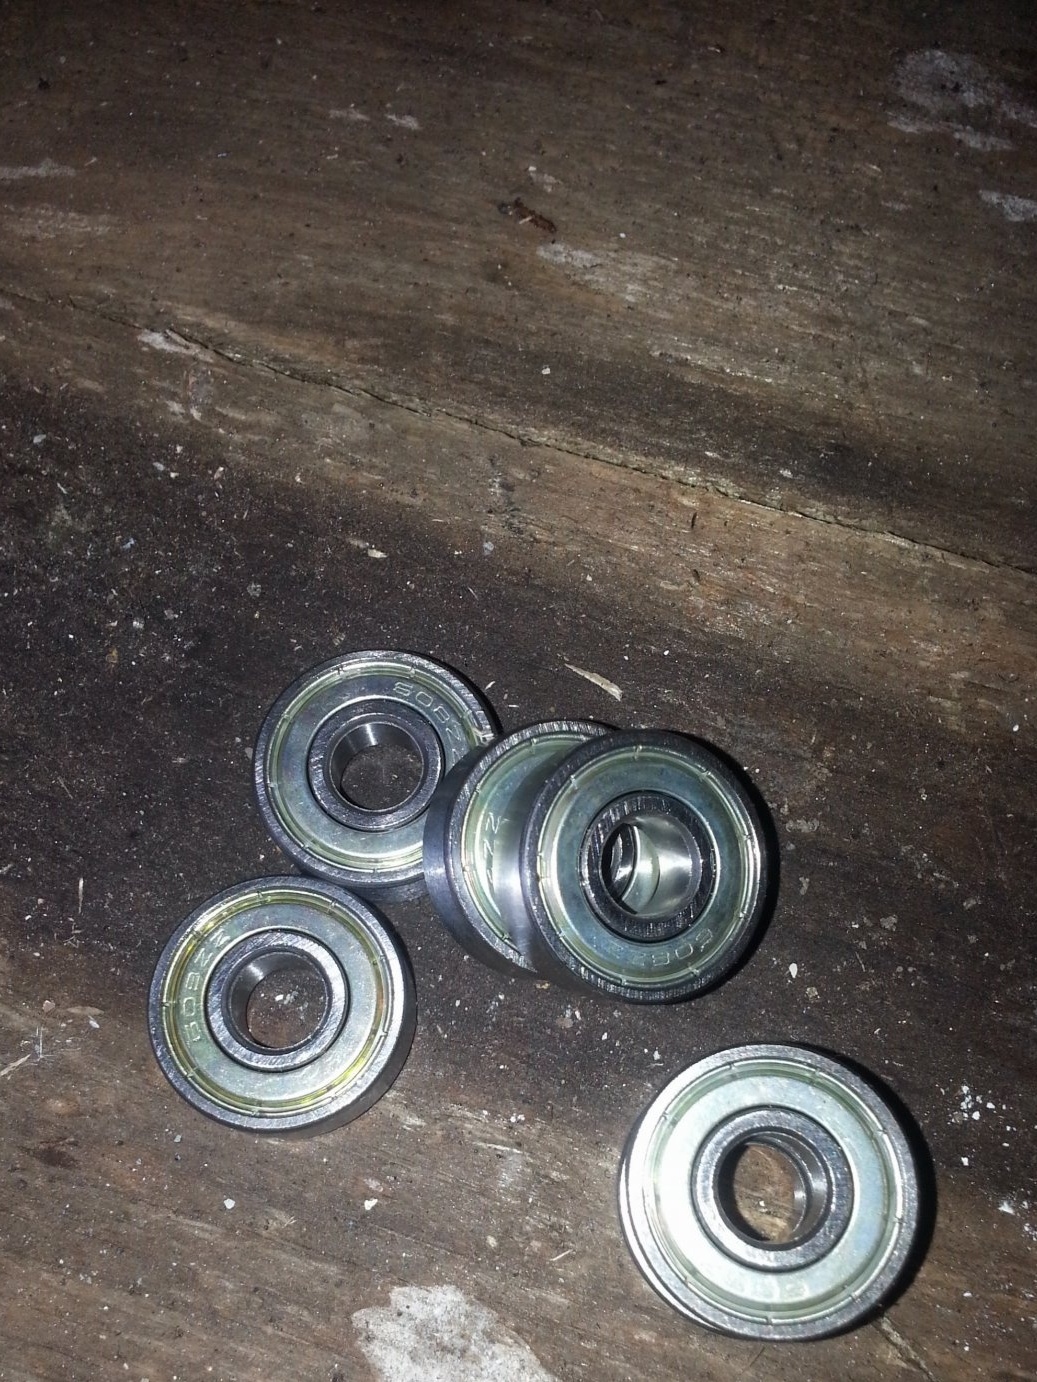
I press bearings into the tubes and wrap them with electrical tape, you can pull the hose. On the third roller, I weld the bearings from the inside so that it does not spin

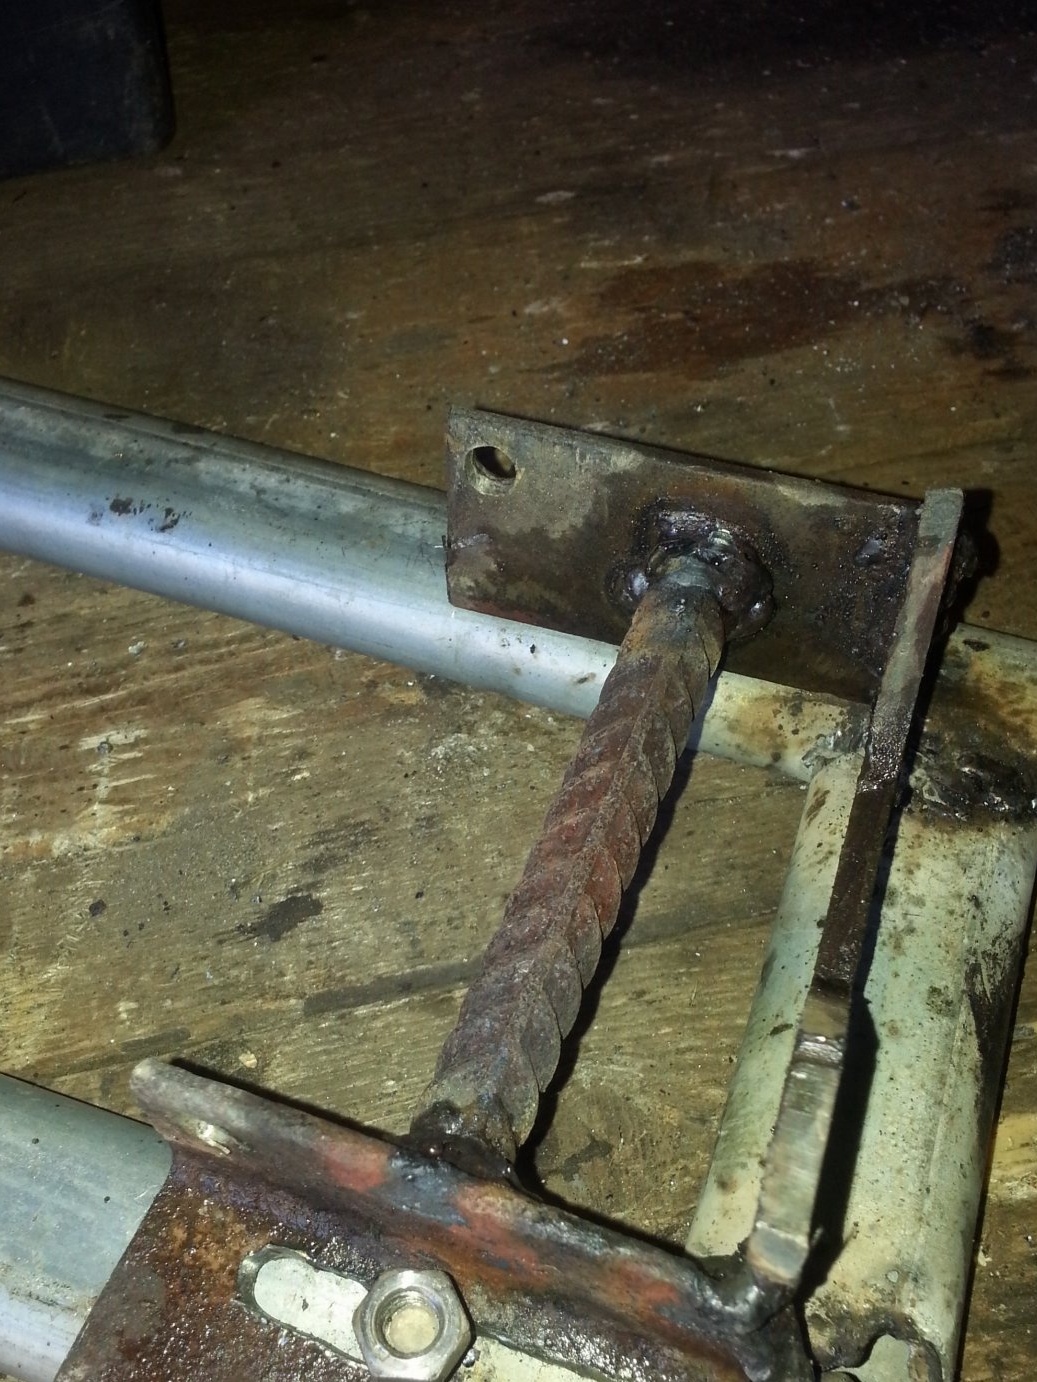
I drill all the holes for the rollers and set everything in place. I put the third roller in place, thread the pin and counter
Well, try on a drill in place
It remains to put the tape and work. Unfortunately, I do not have a tape, I had to chemize and put what I found. The first launch, there was a little beating, but there were no problems with adjusting the heels
That's all friends, do not judge strictly for welded skills and beauty. The main thing is that it works without investment funds.
Well, once again, from the trash we made a working assistant, good luck to everyone!