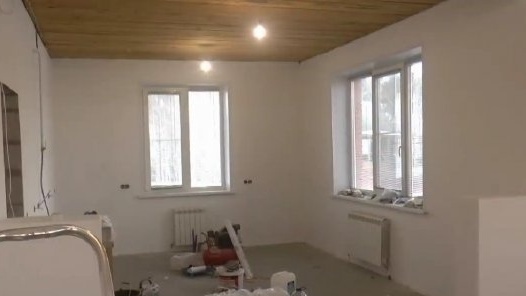
Maxim Kozlov (author of the YouTube channel Maxim Kozlov of the same name) will show how he made a living room and kitchen in his house, which are a single room, and the first couple of years of this house’s life, this same living room was the author’s first workshop.
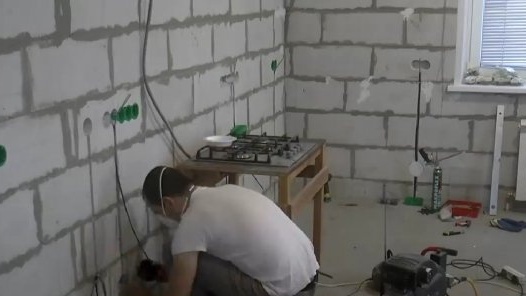
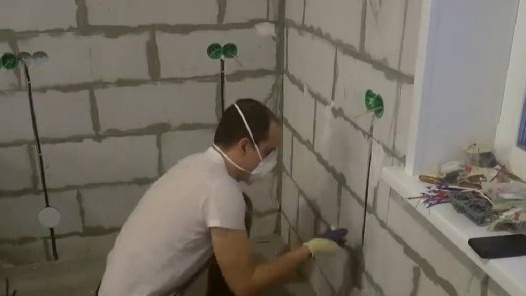
Well, finally, her time has come, so to speak. Accordingly, the author decided to show everything, starting from finishing work. As a matter of fact, he began by installing wires and installing sockets, under which he traditionally made crowns on wood.
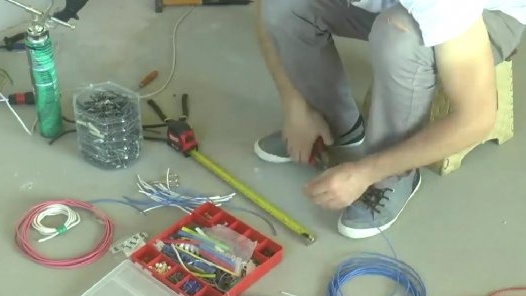
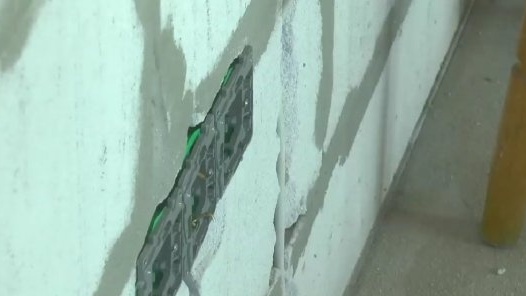
The author previously planted junction boxes and socket boxes on glue-foam, temporarily pressing everything with a piece of plywood to align it with the wall plane. As for the parallel connection of groups of outlets, the master decided to use a flexible cable with sleeves, with which the installation of socket outlets has become much easier.
The author admits that he was pretty tormented with installing the first group of three outlets with a hard lead-in cable and jumpers of 2.5 mm. It might be easier to put everything inside with deeper sockets, but standard ones for the whole house have already been bought.
Accordingly, with a flexible cable, everything is pushed in an order of magnitude easier and there is no danger of breaking the cable during installation. The main thing is not to forget about the sleeve tips. In blocks of three outlets, there was only one grounding, so the yellow wire was not wired, but only connected via the ground outlet terminal.
But this applies to sockets for audio-video equipment, in the kitchen blocks all sockets with grounding. Well, of course, before installing the aprons, the author did not install them, but only brought out the tails of the desired length.
Then he started plastering and first covered all the strobes with a rotbant, and in principle it could have been finished, since it was decided to make a loft with respect to the walls, but still the depth of the loft lies in a rather wide range, and for children protruding concrete parts and walls are strictly contraindicated. Therefore, the author nevertheless decided to maximize the walls to be painted.
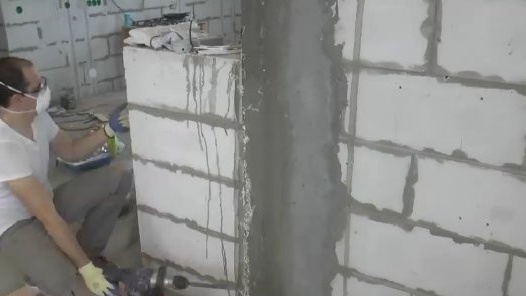
First of all, it was necessary to get rid of the protruding parts of the concrete columns, which did not coincide with the planes of the foam block.
A heavy hammer drill went into action and after a while all the excess was turned into dust.From the patches on the columns it is clear that the builders also once slammed something more protruding, apparently with a formwork for the columns there wasn’t done.
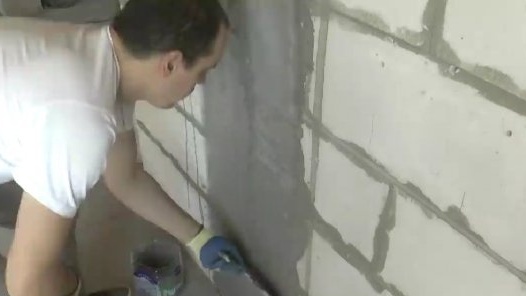
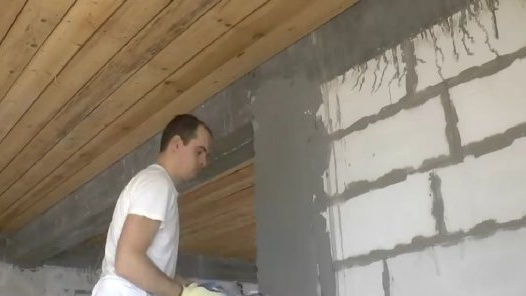
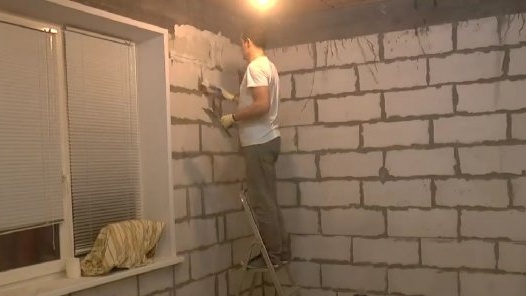
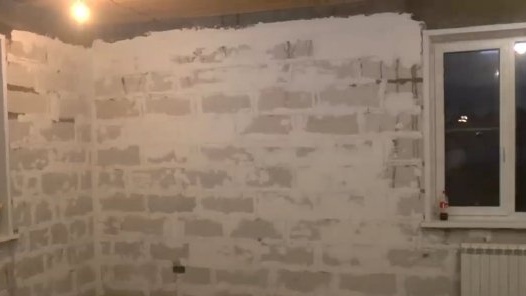
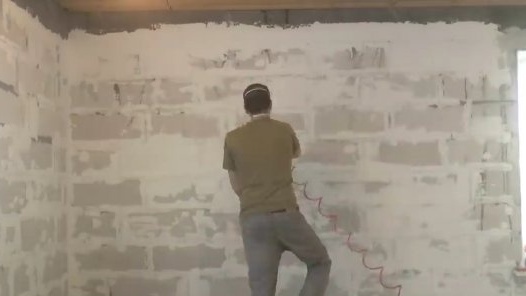
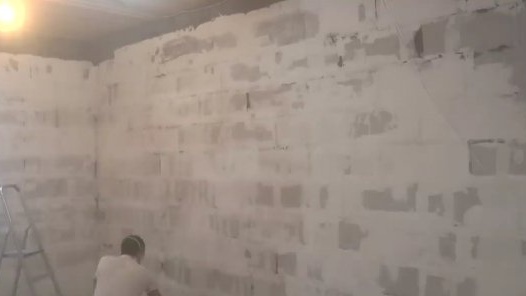
Further, kneading the plaster in parts, the master began to draw the walls. Of course, no beacons, since the task was only to bring out the plane along the masonry of the foam block. Somewhere it was necessary to smooth out the walking rows of blocks, somewhere to remove the transition from blocks to armopoyas, but looking ahead, it must be said that one incomplete bag of plaster, a couple of buckets of finished latex putty, which went on the coating of microcracks in the masonry, which were formed in the early years due to shrinkage of the house.
As it is known by technology, only a few can stack a foam block, so everything is compensated by the thickness of the seam, which is usually done almost by a centimeter. And these seams, especially vertical ones, very often are empty, through which, after shrinkage and the appearance of microcracks, it starts to pass through quite well. There are blocks with a lock, but they are much more expensive, therefore, especially to vertical seams, you need to be approached with special predilection. In short, the author was carried away in earnest and pretty decently brought out all the walls of this room, without using tons of plaster, as is customary.
The part that will be closed by the kitchen the furniture, of course, it was prepared more simply. Well, those parts that according to the plan will be constantly presented to the eye, respectively, with all accuracy.
On the other hand, even if you do not take into account the light loft, all these small shoals can be seen only while you are participating in them, after decoration and the appearance of furniture, all this will be only a background.
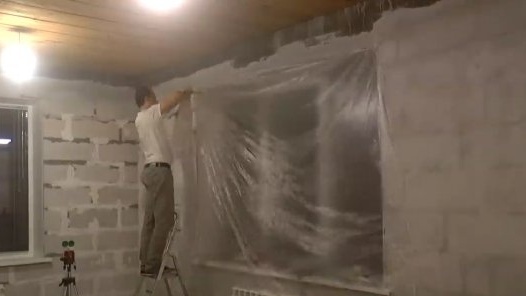
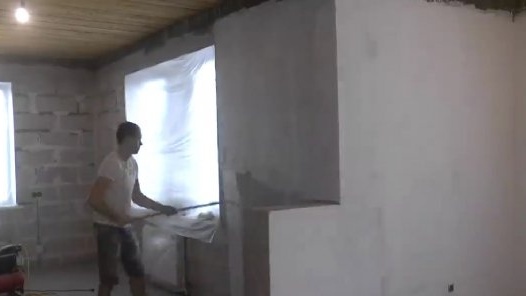
Further, the framing profile had to be removed from the window openings, and instead of it, using a spatula, poke the covering film to protect the windows from dust, primer and paint.
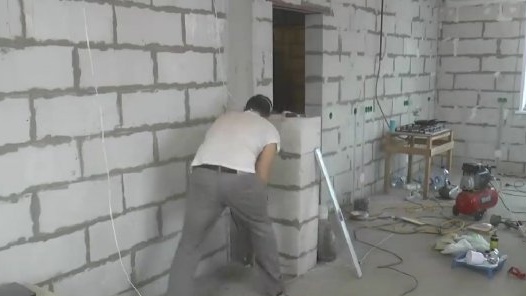
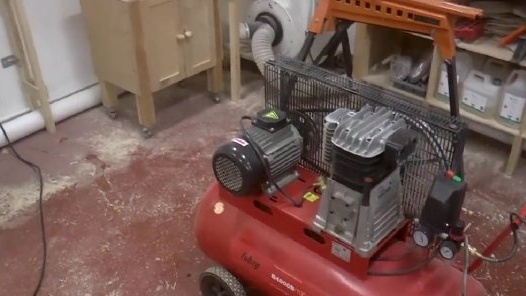
The compressor had to be rolled out from under the receiving table of the band saw and put in the middle of the workshop so that nothing would impede its cooling.
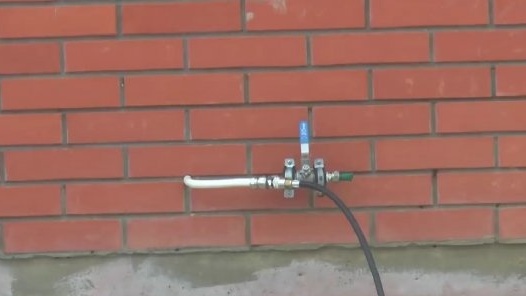
Having blown all the parts of the radiator and opening the window a bit, the author took the whole thing out into the air through the air preparation block, and using all his hoses that were just there, he brought the line straight to the house, drawing air through the summer outdoor water supply.
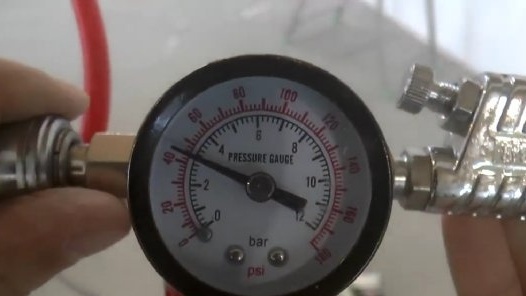
Well, in order not to run after adjusting the pressure, the master used his spray gun with a pressure reducer.
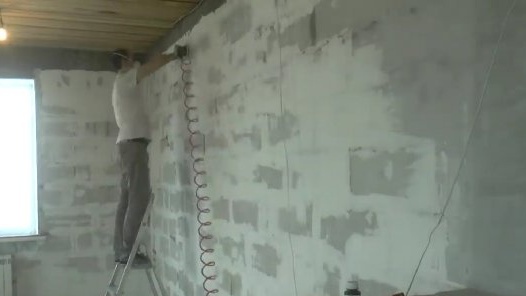
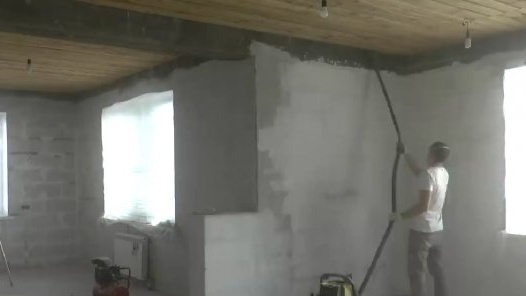
Accordingly, there were 6 atmospheres in the line for the tasks of the orbital sander, and the airbrush itself with its gearbox lowered, as was set. Thus, the author got rid of the wild roar of a three-phase compressor at home. He polished the walls with a pneumatic orbiter with the 40th grain, which, unlike the network one, does not heat up at all.
Surprisingly, this time there was an order of magnitude less dust than from polishing the walls in the workshop. After polishing, the author walked with a vacuum cleaner right on the walls that somehow magically kept all this dust on himself, well, actually went over to the priming of the walls, where the problem immediately got out.
The primer turned out to be only white and it was completely not clear for sure where the surface of the wall is already covered, and where not yet. For the most part, this putty was made by putty, which was also perfectly white.
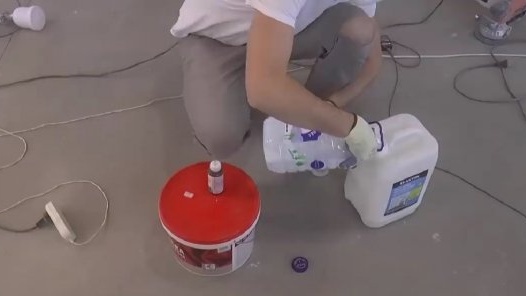
Realizing that with the subsequent painting it will be even more fun, the master decided to tint the primer a little with the first dark color that came across. This certainly improved the situation by giving the soil a pinkish color, but did not solve the problem to the end.
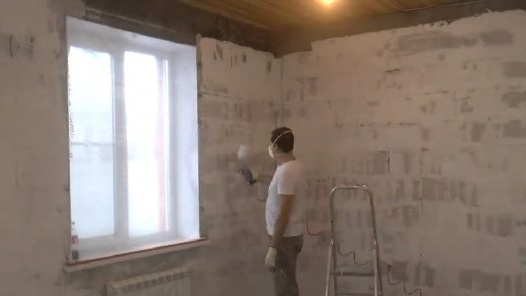
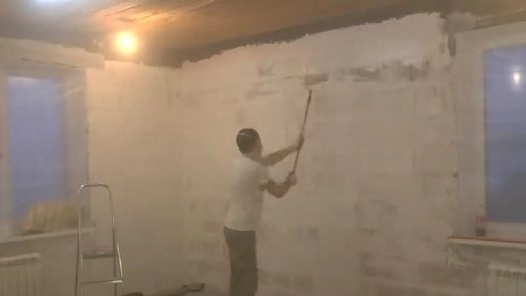
At the same time, it was very difficult to work with a spray gun in the gradually formed fog, so it was decided to switch to the good old roller, with which this is done faster and much more clearly how everything goes.
The author left to the airbrush only the tasks of crawling into hard-to-reach parts and highly porous surfaces, which were just the armo-belt and columns.
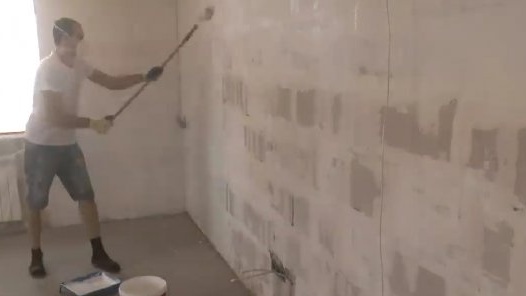
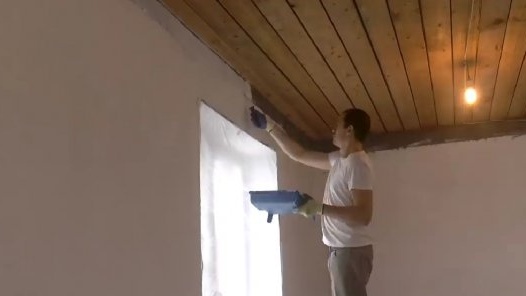
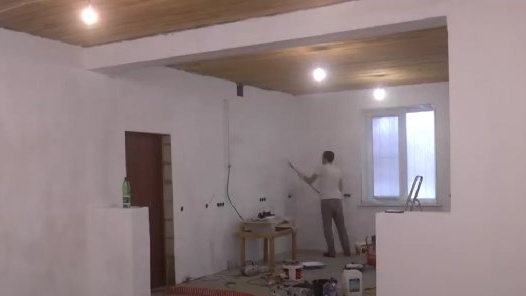
The next day, the master proceeded to paint work, which he also decided to produce with a roller.
He didn’t set any tones, because he really wanted a maximum of light, and the decor would dilute everything. Plus, the whole thing will be repeatedly drawn and scribbled by children, and here again, the lack of color makes it possible to quickly fix everything with white paint.
The paint, although cheap, but quite thick, from that in its pure form she did not want to go through the spray gun. The author didn’t want to dilute it anymore, smudges and all that, he decided that he still couldn’t handle it correctly, so the roller.
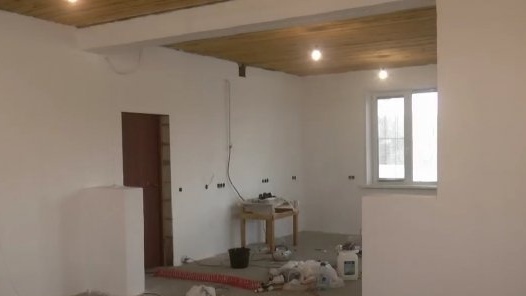
Of course, I had to put a lot of layers to hide all the adhesive joints and the color of concrete. Accordingly, where there will be kitchen furniture there did not stand out, but the rest is up to four layers. Everything is pretty fast. The only thing, despite the fact that the latex paint dries very quickly, the next layer should still be added after a few hours, so that wet transparency does not appear. The paint is completely cloudy only the next day and thus in 3 days it was possible to paint the walls tightly without any gaps.
Further, the author plans to do the ceilings. That's all for today. Thank you for attention. See you soon!

