
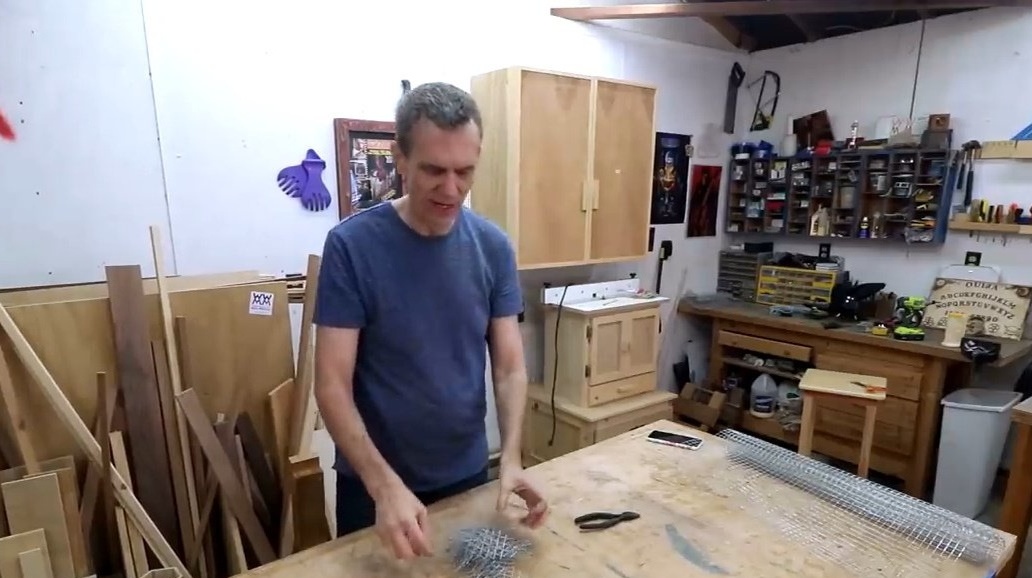
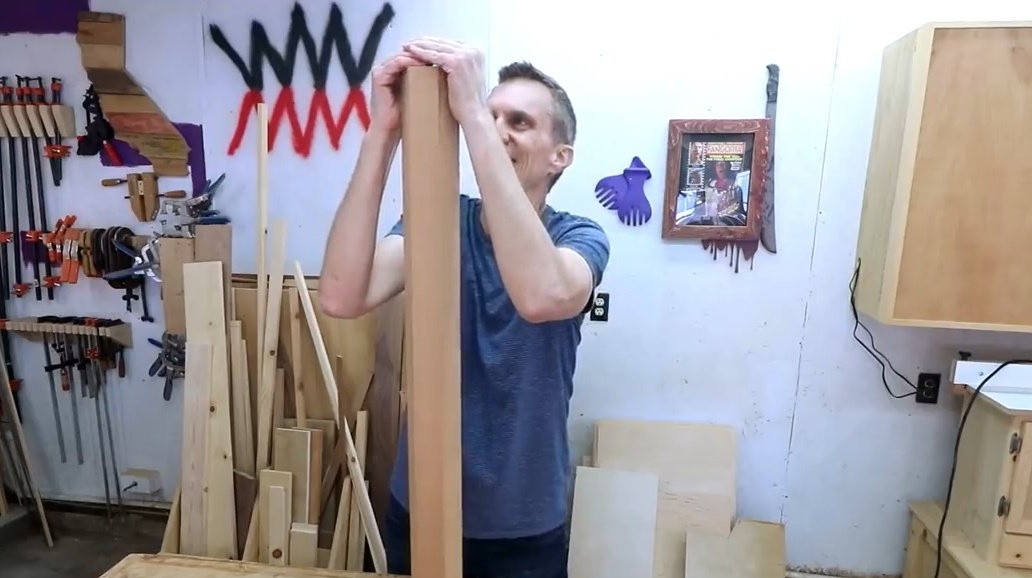
Steve, the author of the YouTube channel "Steve Ramsey - Woodworking for Mere Mortals", will tell you about a very interesting homemade product.
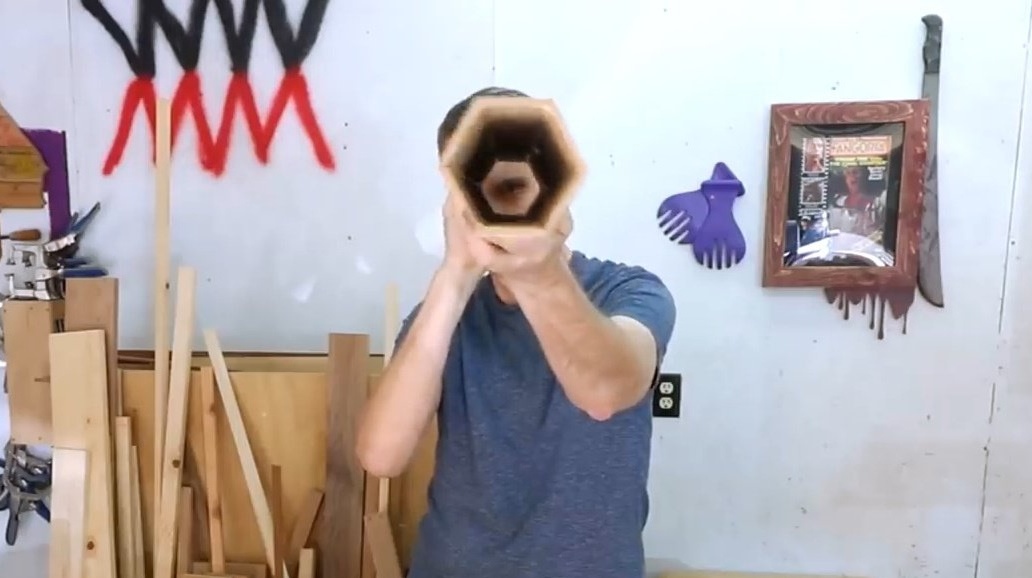
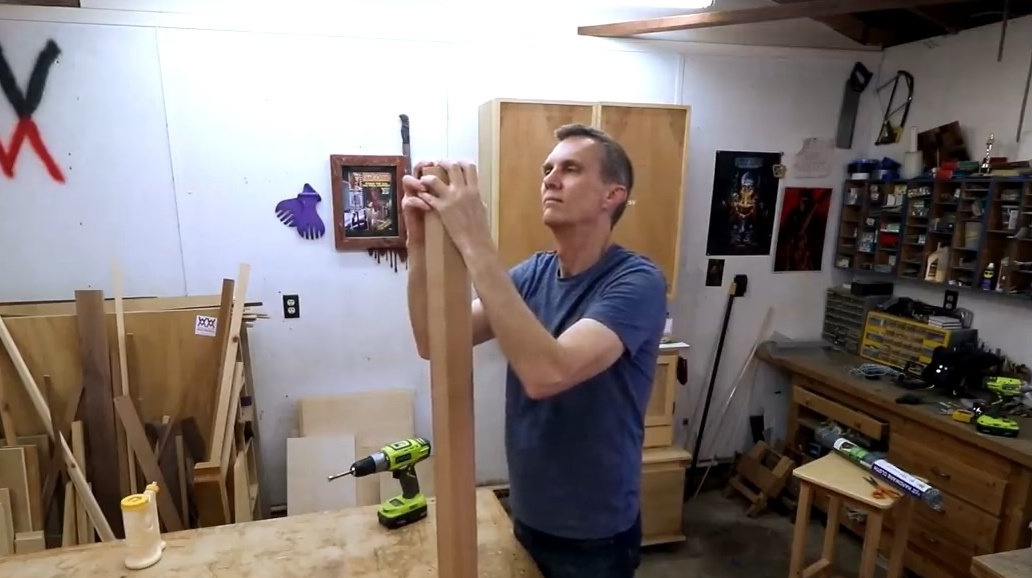
This article is devoted to the description of a somewhat mystical and at the same time amusing project called the Rod of Rain. The author put it together device in order to simulate the sound of rain. This sound occurs when the wand is turned over.
Materials
- Cherry leaf plywood 6 mm
- PVA glue
- masking tape
- Stationery erasers
- Impregnation for wood
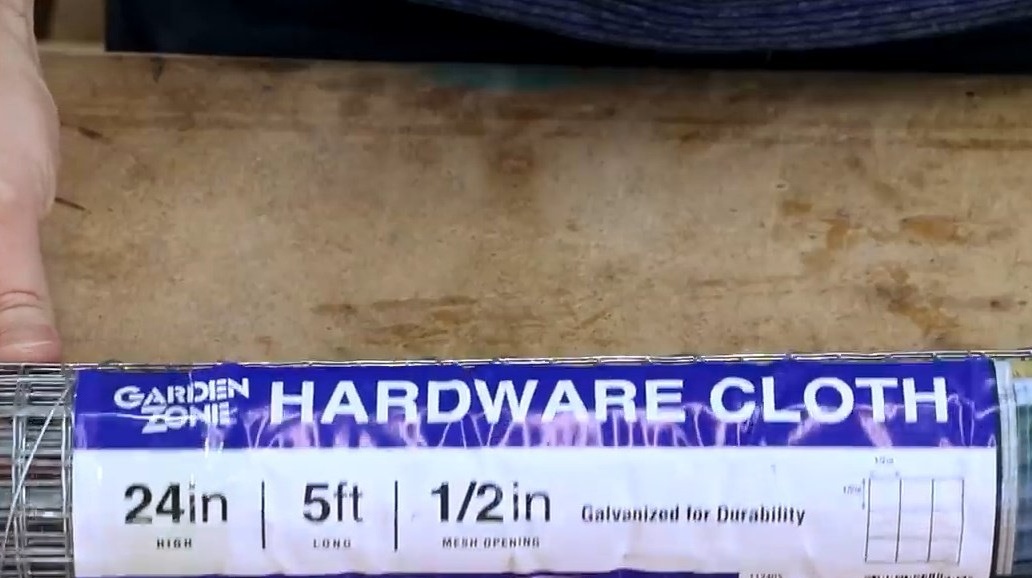
- Steel mesh
- Wooden bar 12 mm
- Fig.
Instruments, used by the author.
-
-
-
-
- Scissors for metal
-
- clamps
-
- Ruler, pencil.
Manufacturing process.
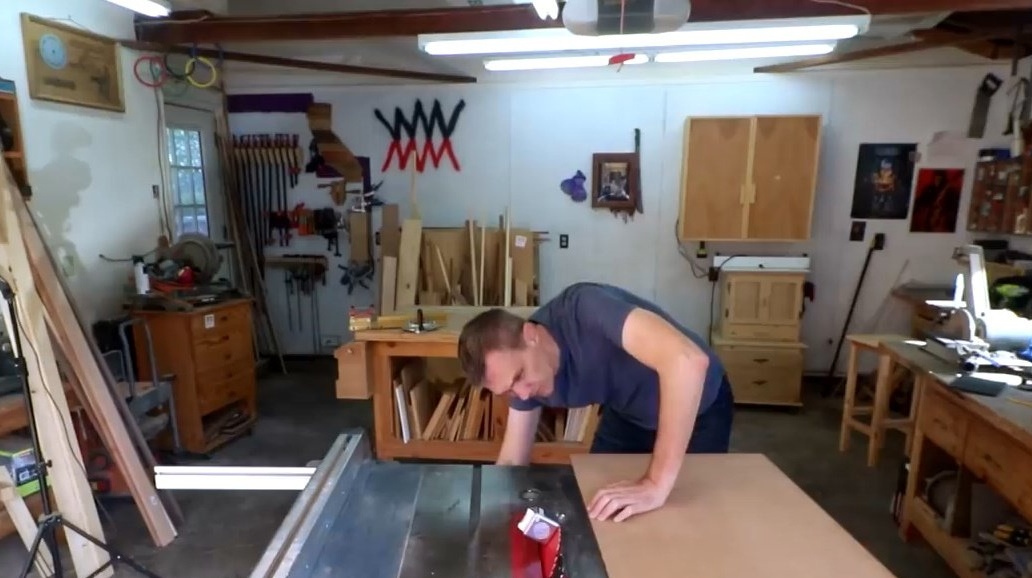
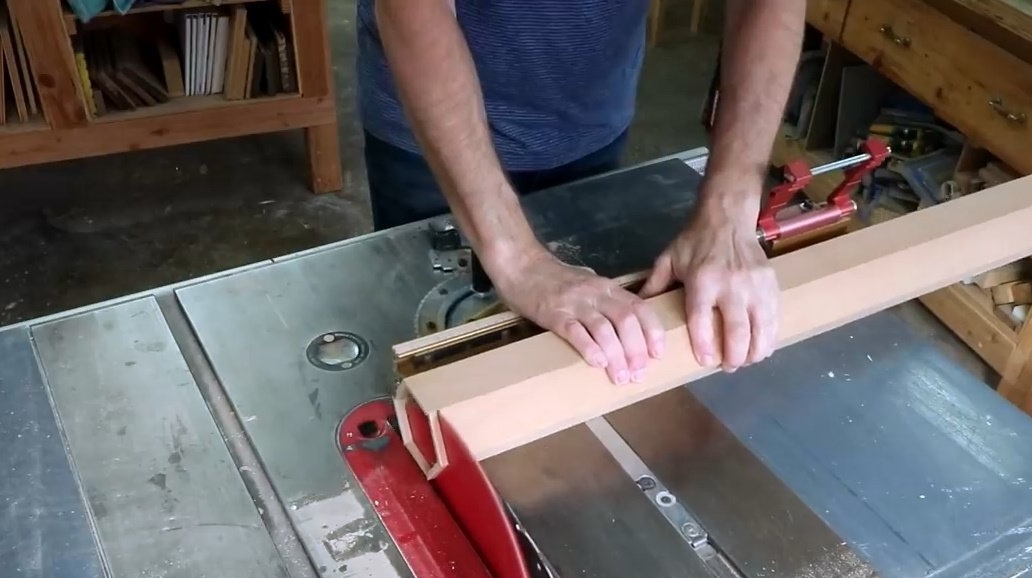
The whole structure will be created from 6 mm plywood. Steve tilts the circular saw blade 60 degrees. He uses an electronic angle meter.

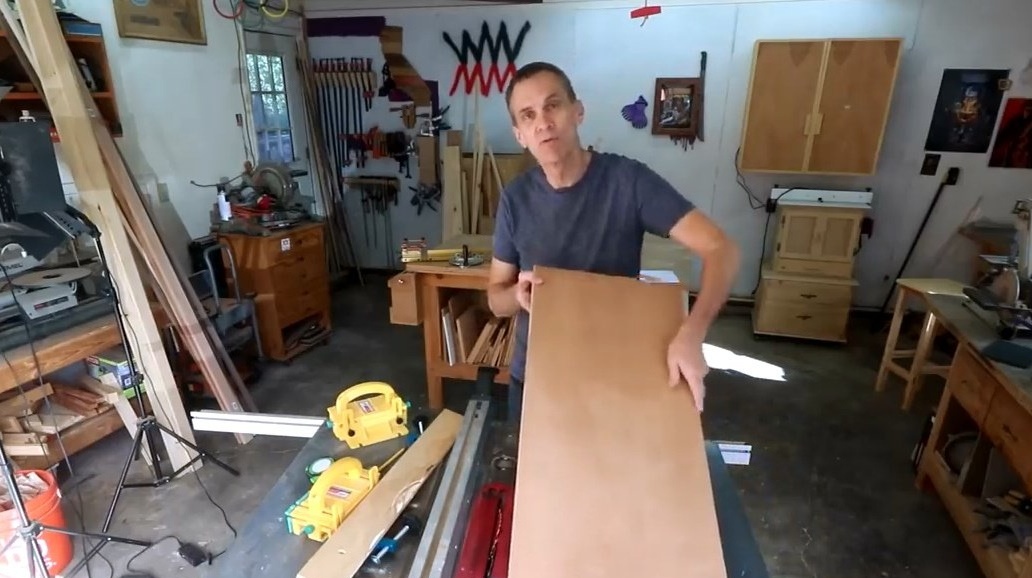
Here is a sheet of cherry plywood, one side of which is of better quality than the other. In the future, all elements cut from this sheet will be carefully combined. Therefore, if you have plywood that has both sides equally good, you will spend much less effort during cutting and assembling segments of the structure, as you can more easily turn over plywood, choosing a convenient and economical option for cutting parts.
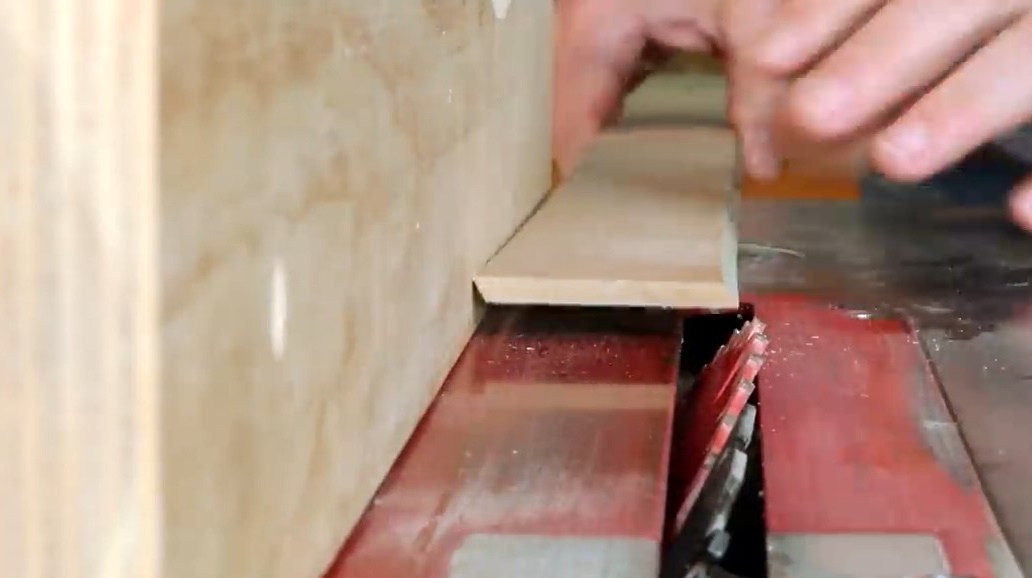
So, Steve cuts the plywood into strips and makes it so that both bevels are turned in one direction, a trapezoid with sides at 60 degrees. Which means that you need to cut the strip like this.
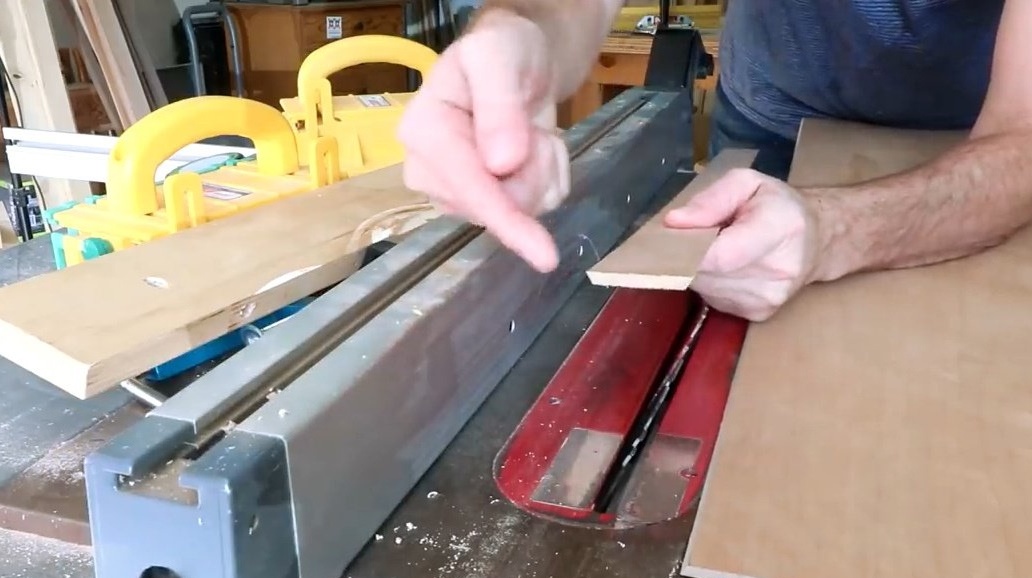
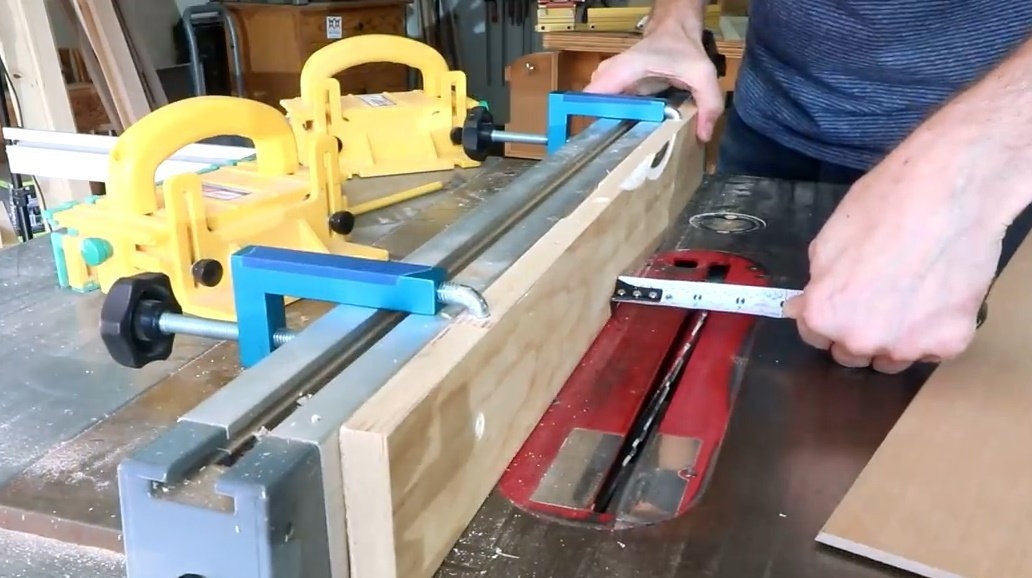
The author has a slight problem with emphasis: it has a small gap at the bottom, into which the plywood sheet can slip with its beveled, pointed side. The wizard solves this problem using the whiteboard. He pulls her clamps to the stop. He puts the emphasis at a distance a little more than the estimated dimensions of the part itself.
By cutting strips of plywood, the author at the same time constantly reminds himself that all the bevels should be directed inward, in relation to the back side.
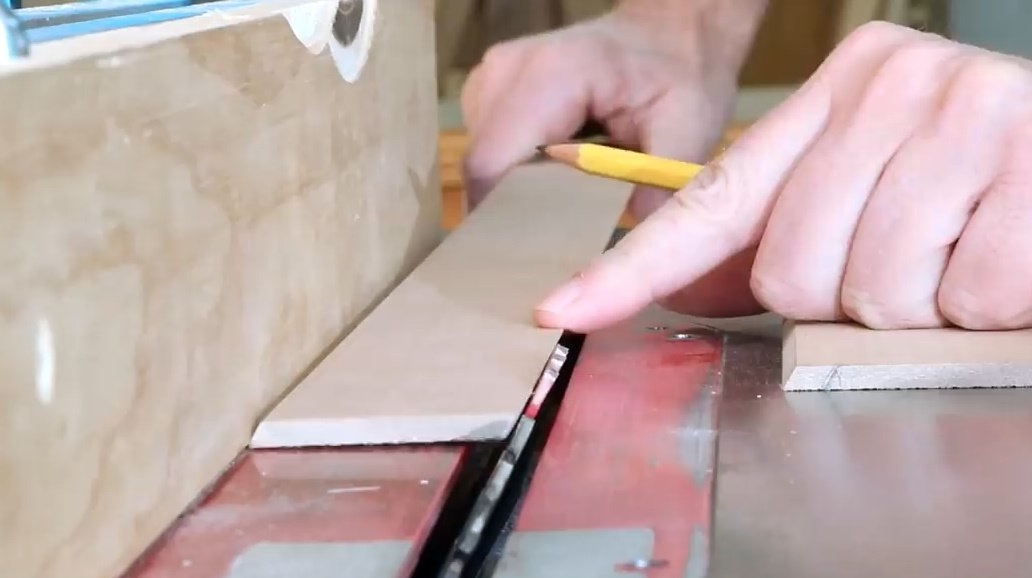
In this photo you can clearly see what is happening: this is just a cut off section of plywood. This is the front side, and the bottom is the reverse. And then the bevel goes towards the back.
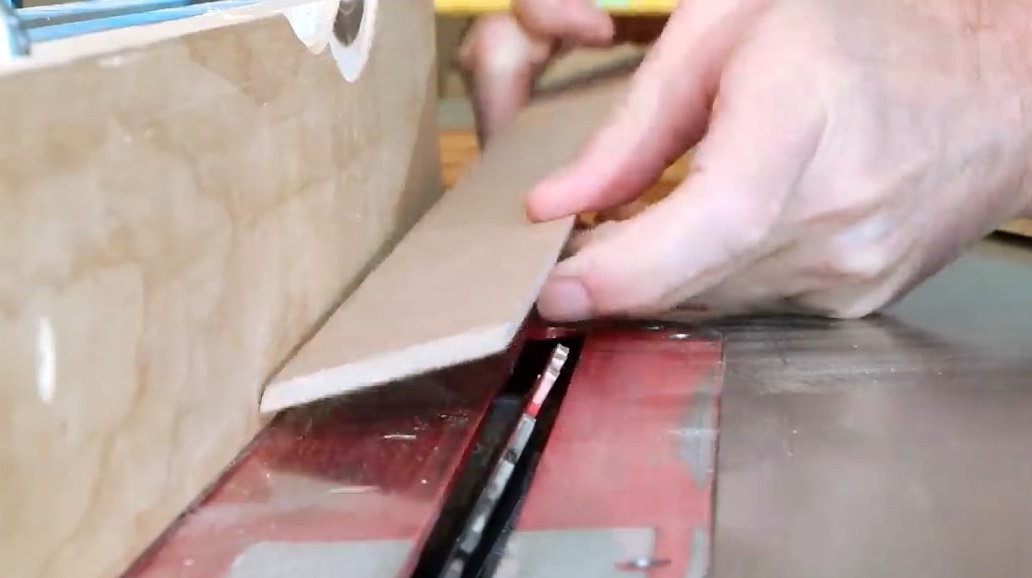
So, the author cuts all six stripes with some margin in width. And then it puts emphasis to the desired width, so that then, once it has been fixed, it will no longer be moved.Before you are six plywood strips with bevels going in the same direction. Now he flips the plank on the contrary, slightly moves the emphasis to the right, reducing the distance and again makes cuts. Of course, there are other ways to achieve what you want, but this, according to the author, is a fairly simple and “non-dusty” method.
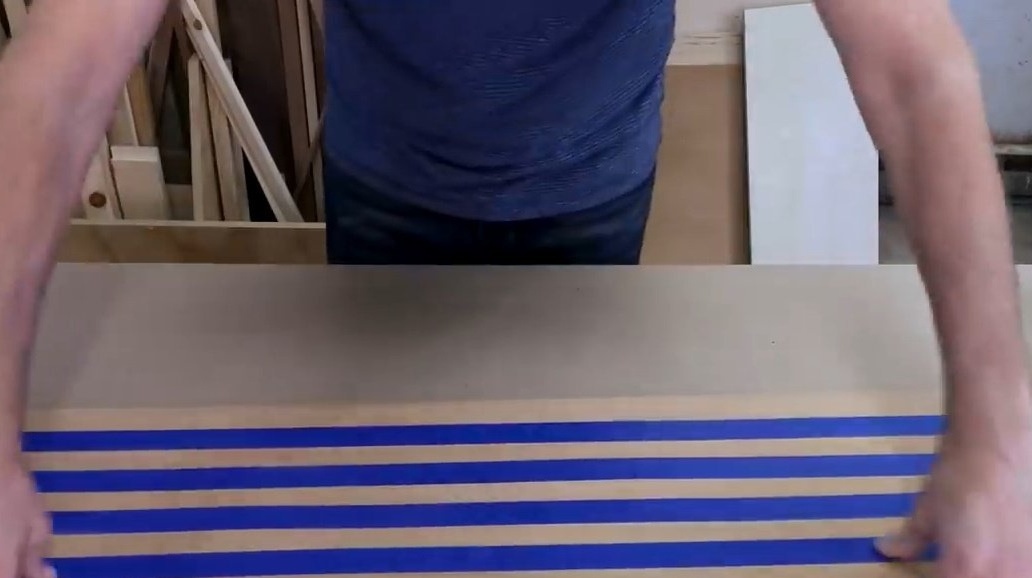
The next step, Steve glues all the boards with duct tape, and then greases the joints with glue on the wood. Tight Bond 2, in his opinion, the best choice.
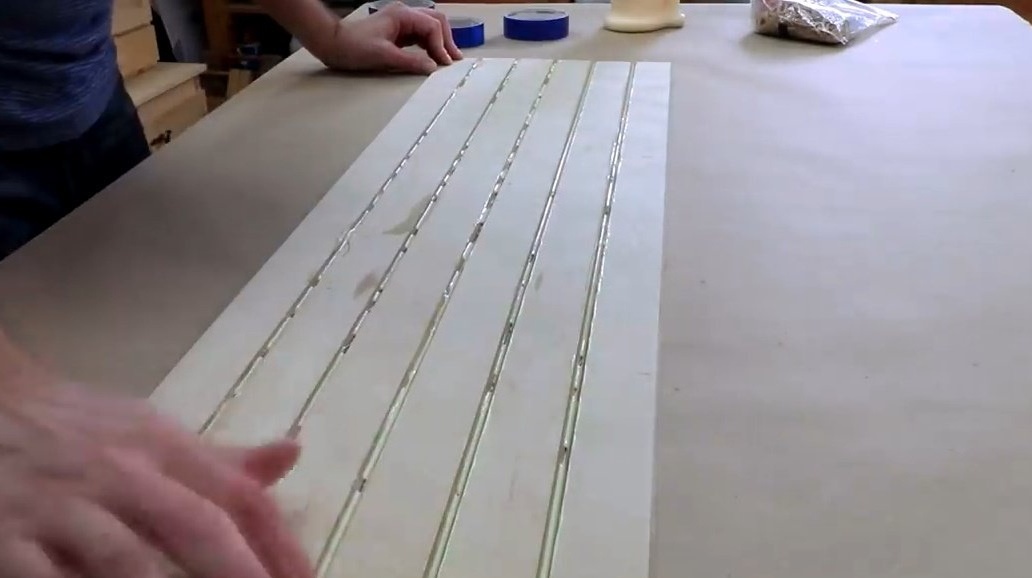
At the end, he smears the last joint with glue.

Now all this can be rolled into a hexagonal cylinder. To press the boards better against each other and not leave gaps, Steve pulls the usual rubber bands along the entire length of the cylinder. For reliability, it also wraps the entire structure with duct tape.
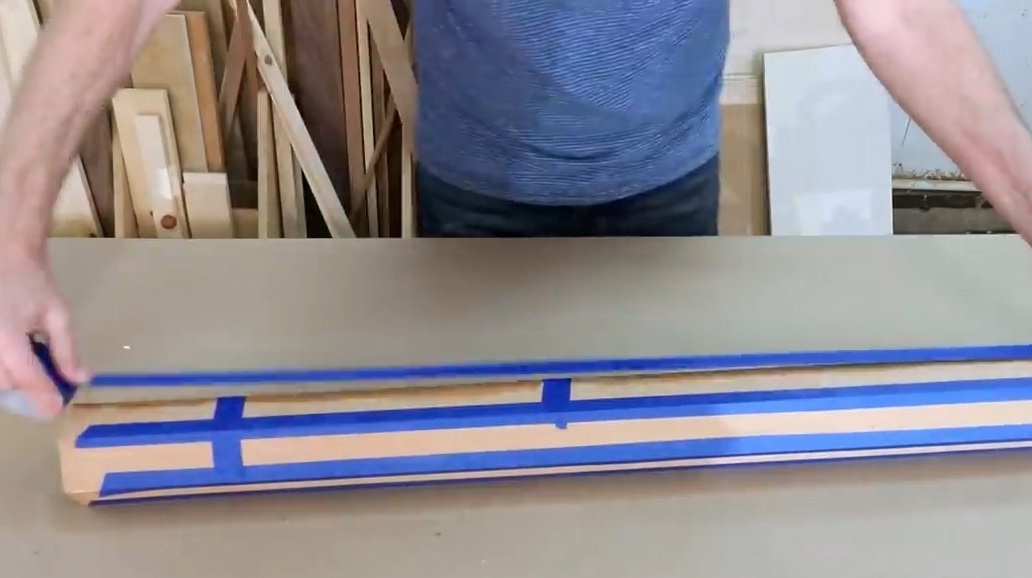
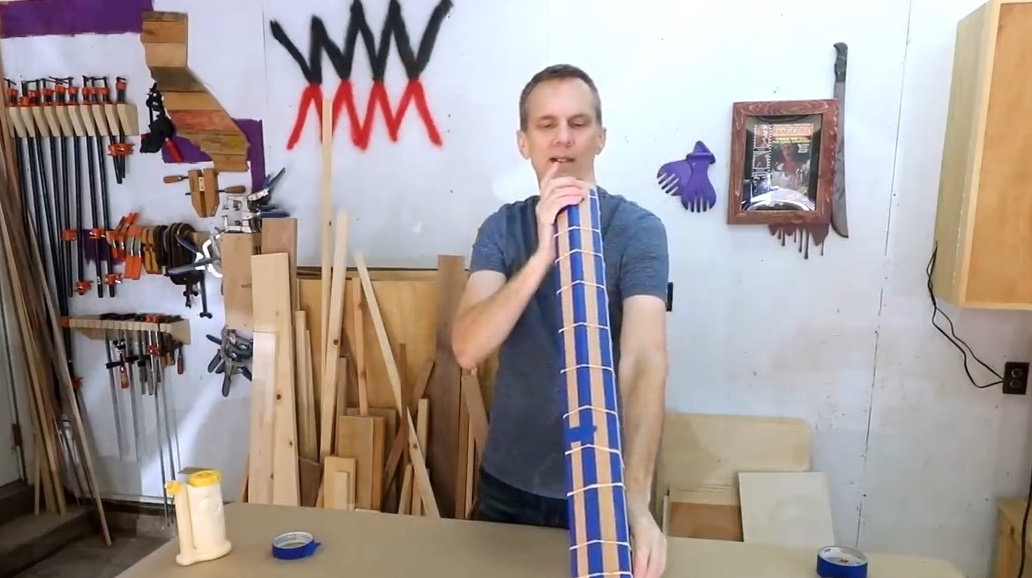
The internal and external faces and joints turned out to be smooth, and without gaps. Can be unpacked.
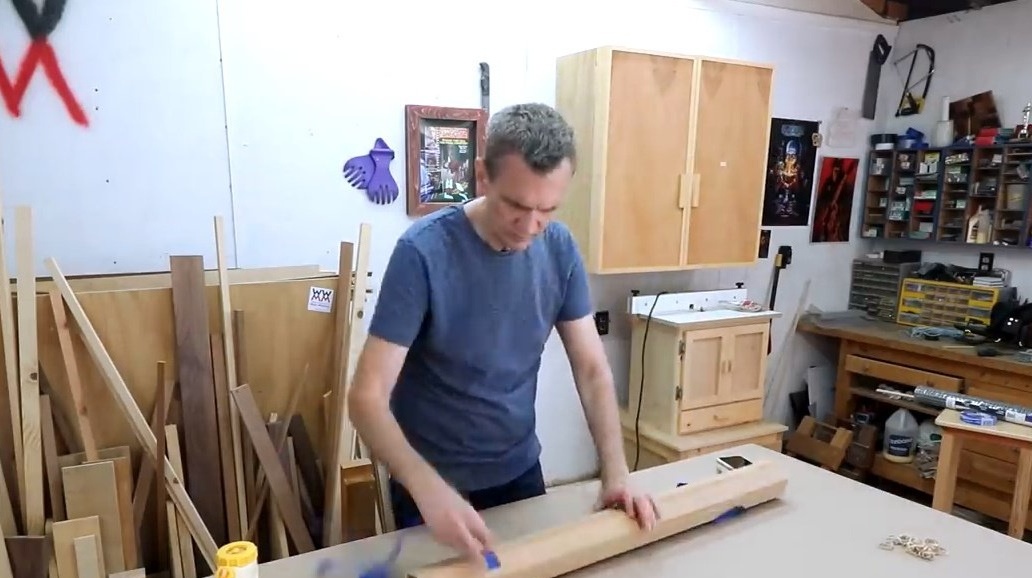
When everything is dry, you can trim the end sides.
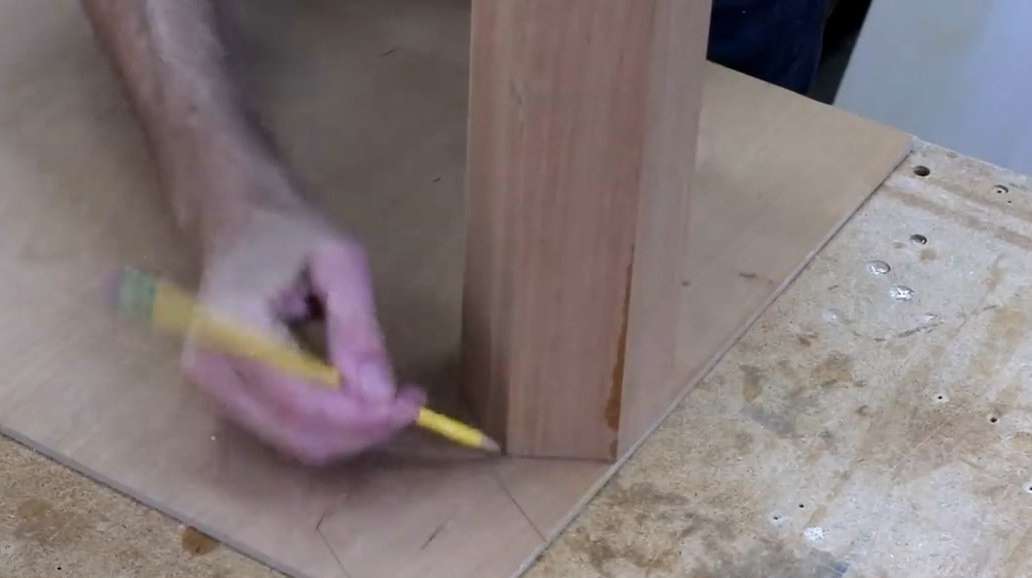
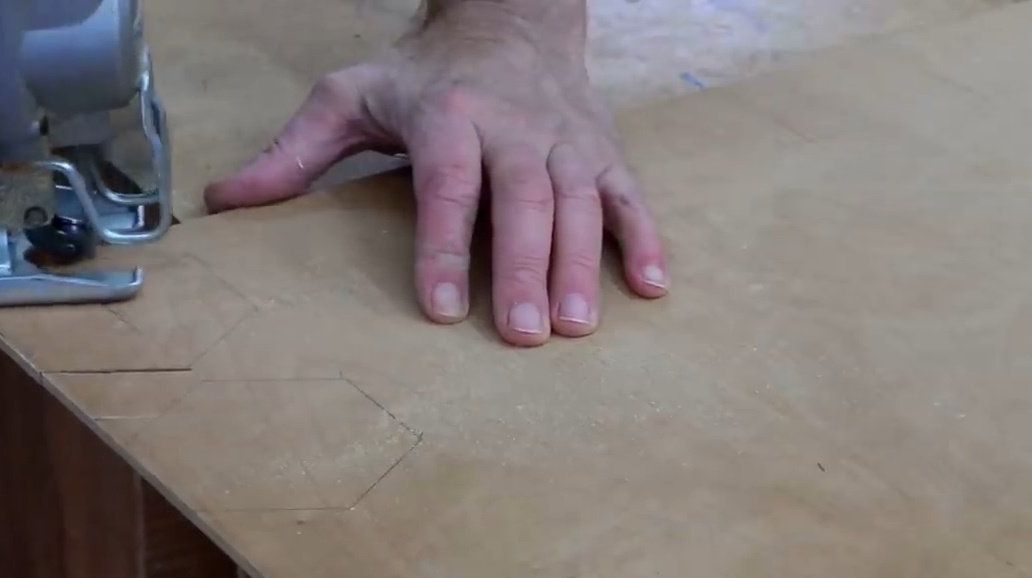
Steve makes a quick outline with a pencil and cuts out two hexagonal figures with a jigsaw.
It doesn’t matter if they are somewhat inaccurate, the author will later fit them in size on a grinder.
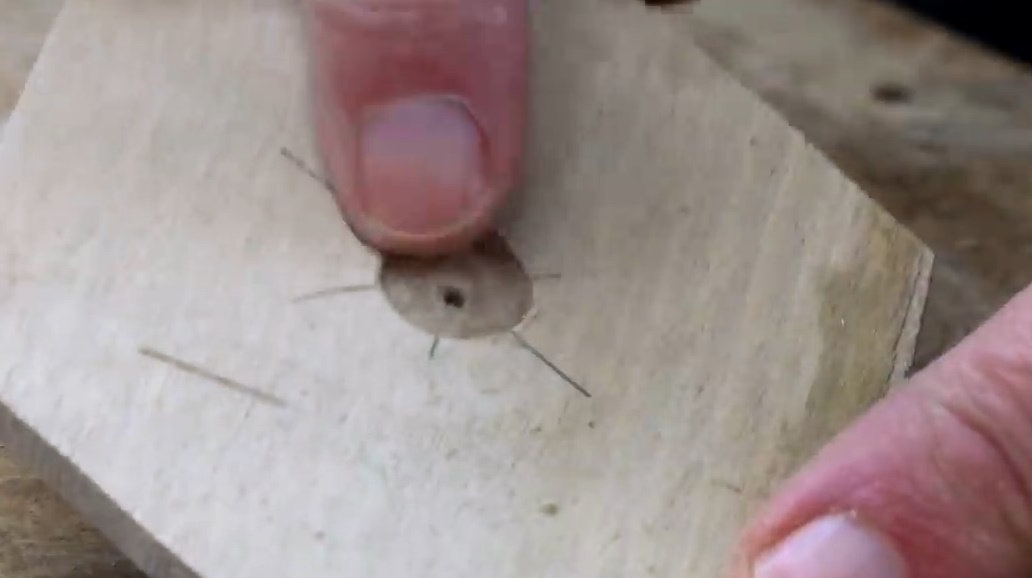
Then he drills a shallow hole with a diameter of 12 mm from the back of the plywood, trying not to go through the front side. Forstern drill suitable for this. It gives a beautiful depression with a flat bottom. But you can also use a conventional drill.
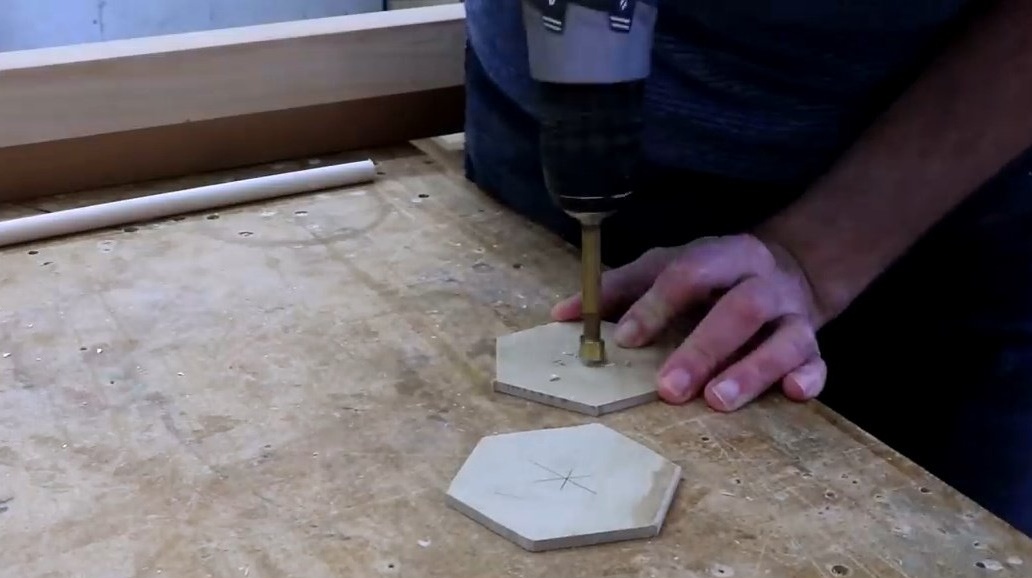
These small recesses will serve as guides for this 12 mm pin. He will enter into them as in the grooves, and, thus, will be centered relative to the inside of the cylinder. A tight fit is not required here.
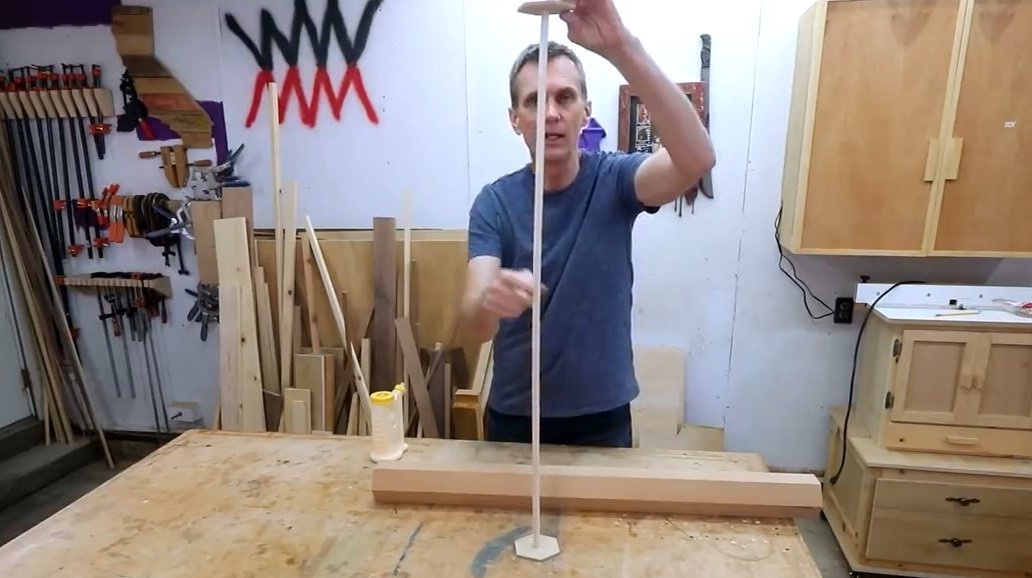
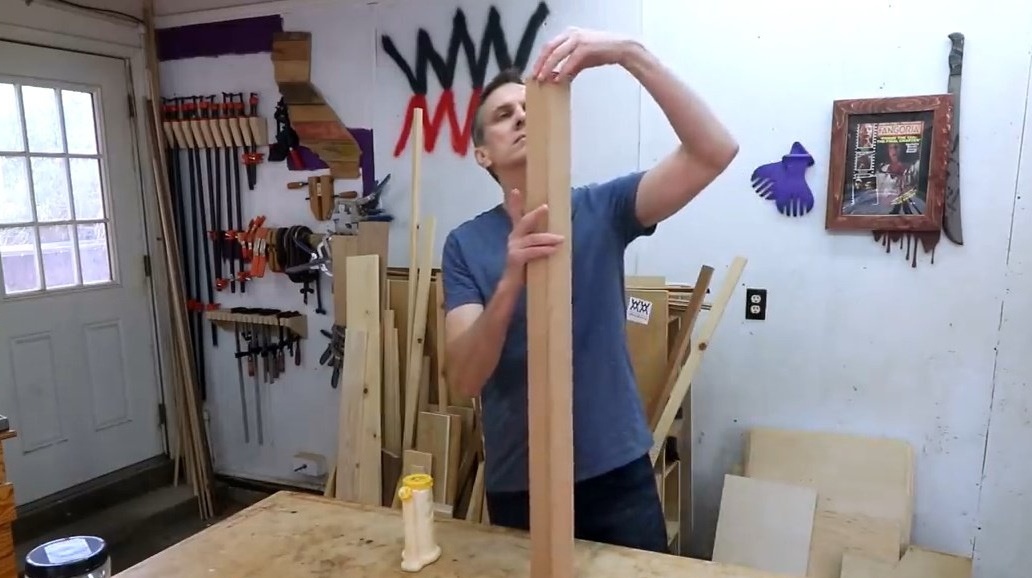
The author cuts the pin to the desired length. To do this, he installs the pin in the right place, and puts the cylinder on top.
Now it is obvious that you need to cut no more than 5-6 mm.
Steve got an iron net for interior work. You can, of course, dispense with other materials (since they need very little), which would give the same effect.
Steve cuts such a grid into squares of about the same size as the internal size of the main structure.
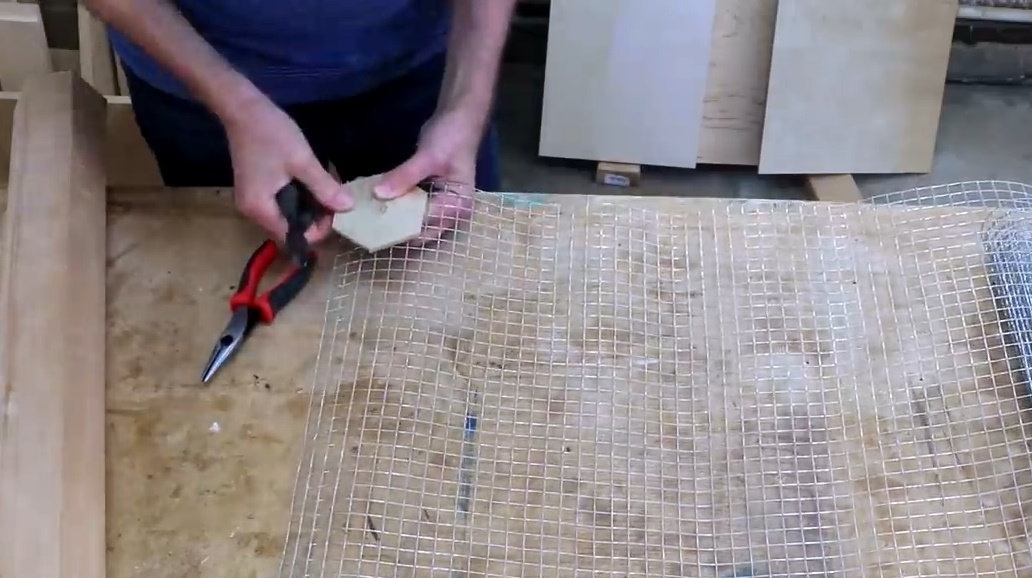
They need quite a lot, and the author took about an hour to do this work.
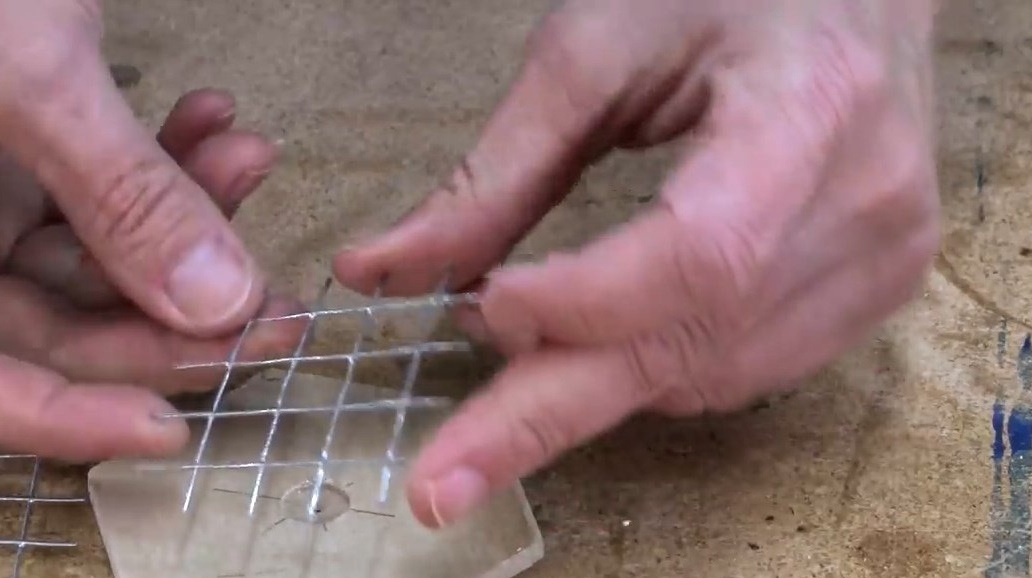
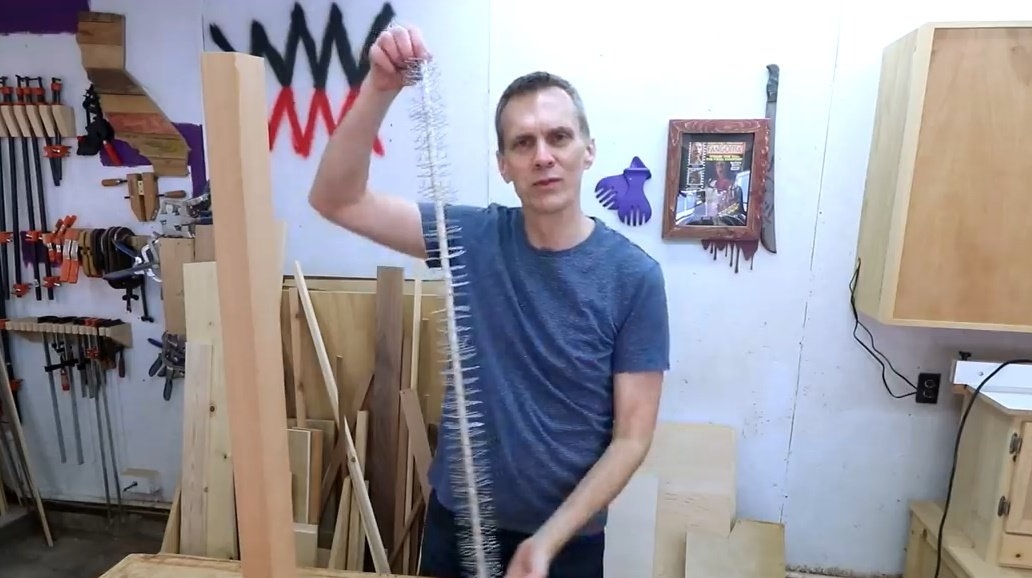
Then he puts these nets on the pin, and with a small distance between them. They sit quite tight.
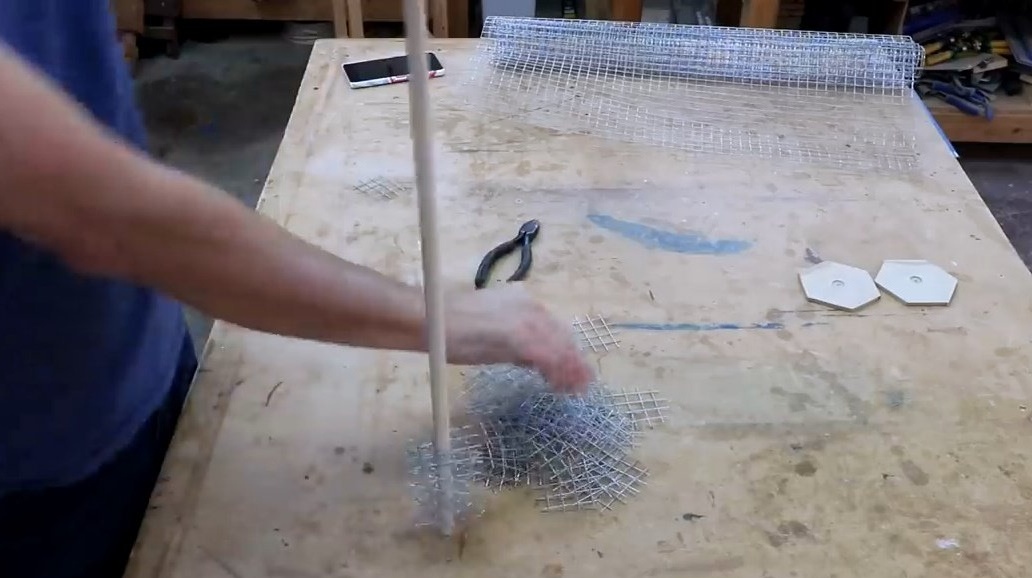
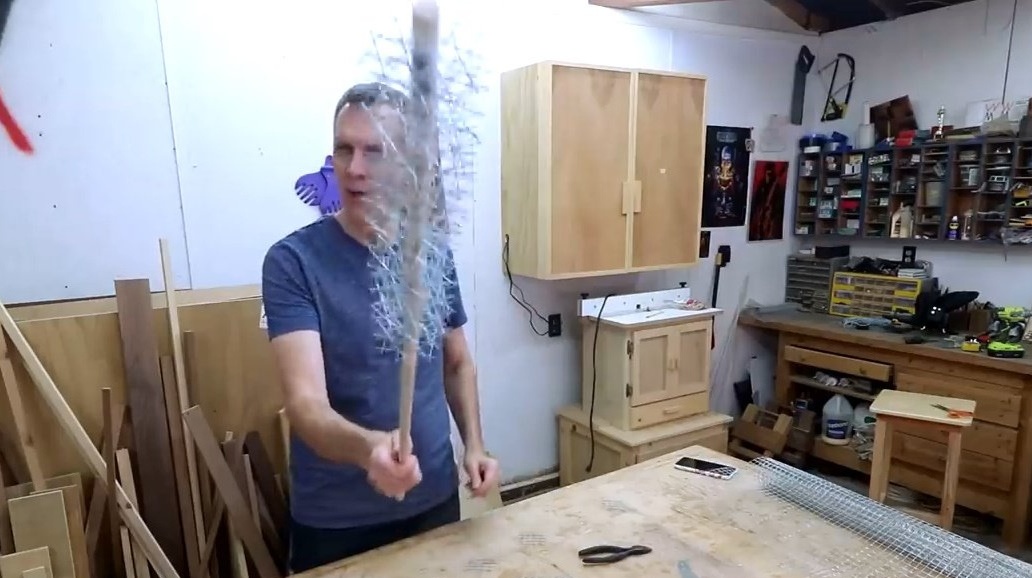
Something like weapons, such a prickly baseball bat!
Here you can experiment with materials. By tradition, such wands of rain were made of bamboo, inside of which something was placed, like spikes, thorns. It could be cactus needles or porcupine needles.
So, the cut nets turned out to be just enough to fill them with the entire length of the pin.
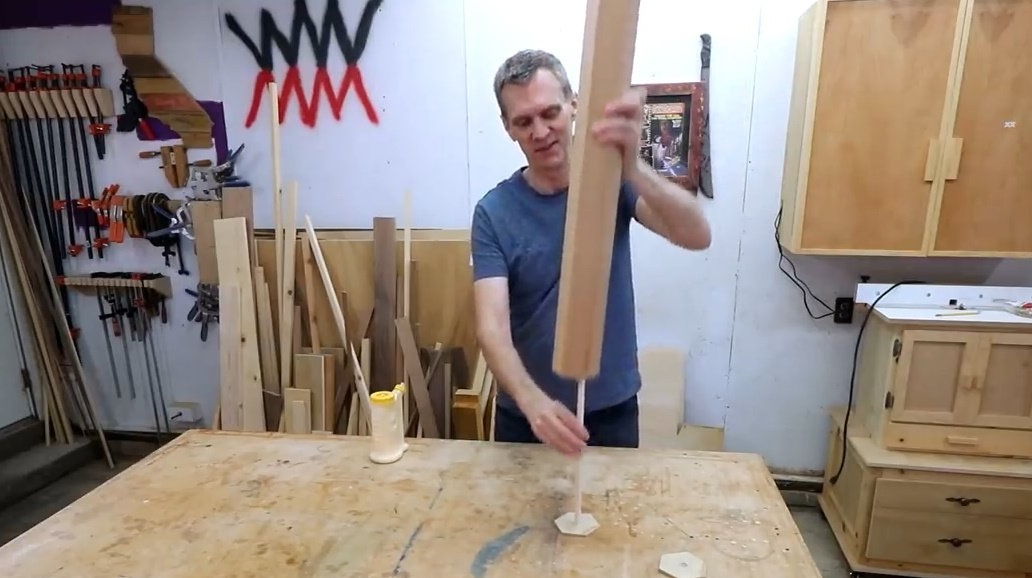
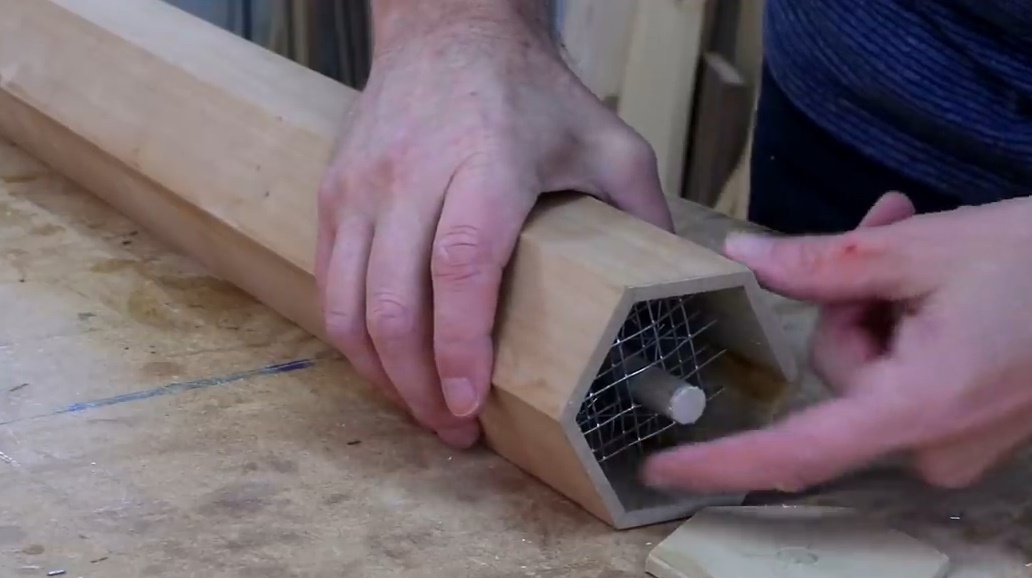
Now he puts this iron broom in the cylinder.
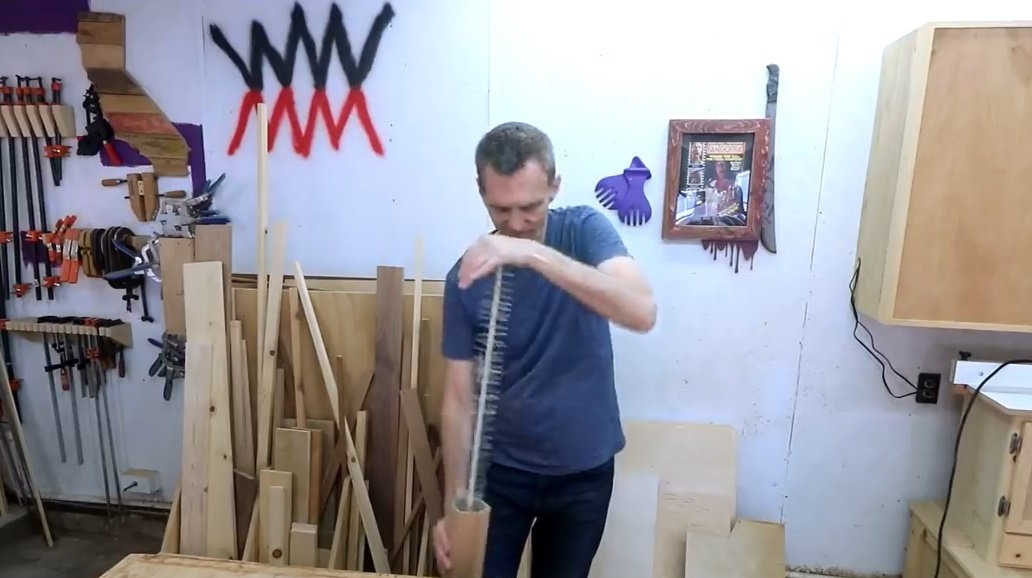
And he sits down there very tightly, so in the end this guide hole turned out to be unnecessary.
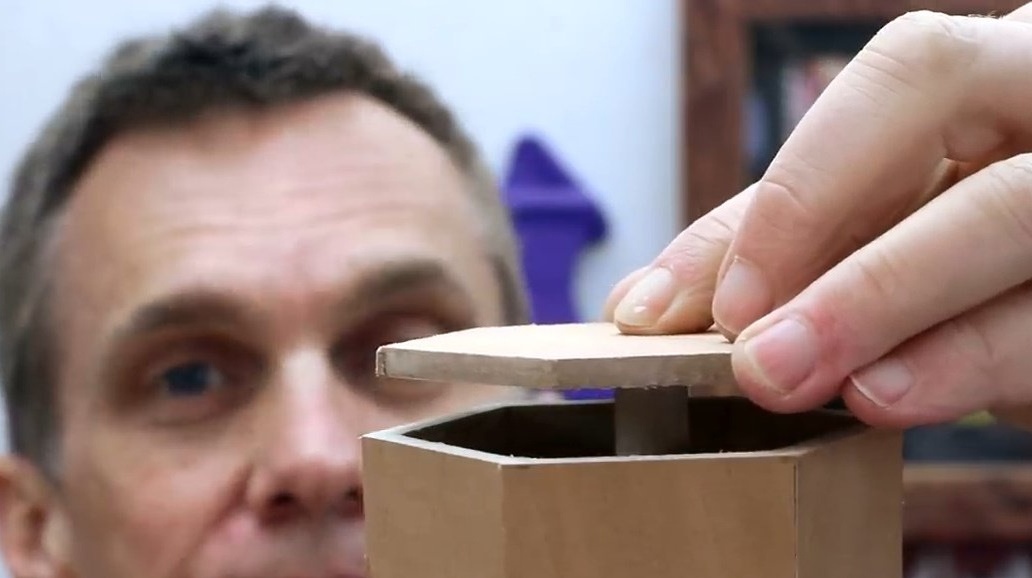
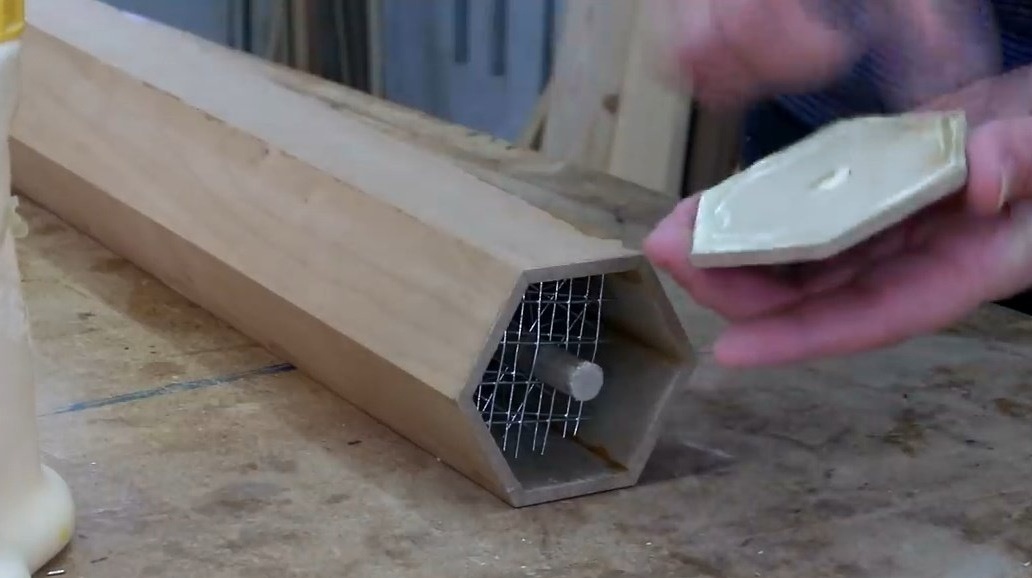
Steve sticks the lid. Then puts the cover on the back side to provide support to the clamps.
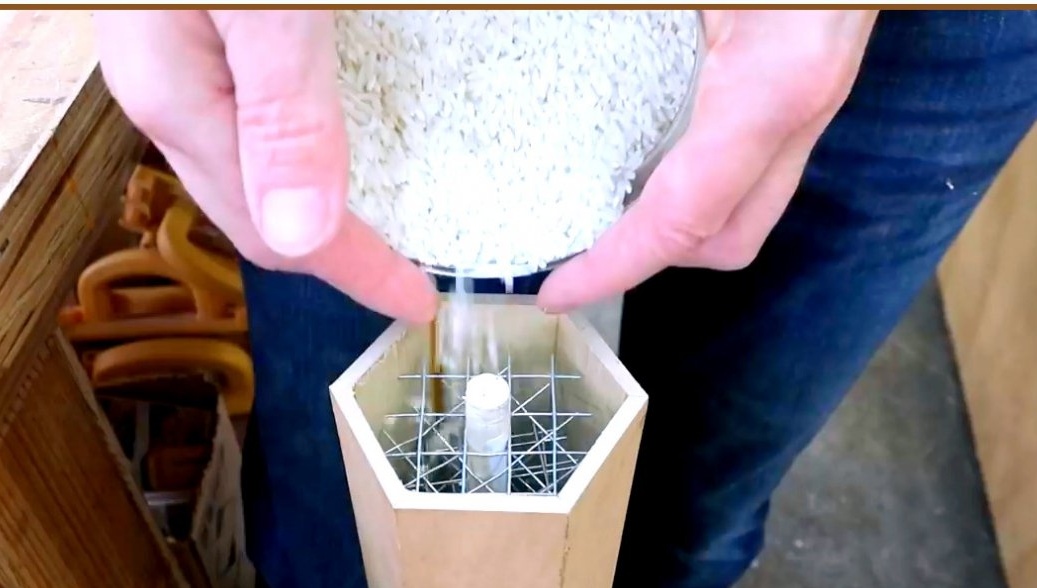
And here comes the entertaining part of the project - to fill this cylinder with “rain”. Small metal balls would be the best solution. Unfortunately, Steve does not have such. He decides to use plain rice.

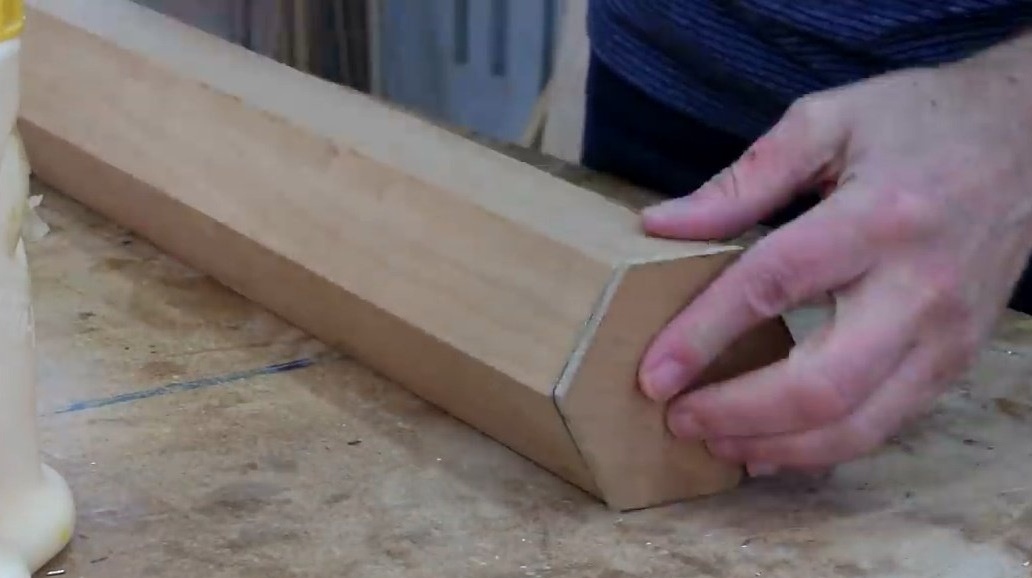
Then glues the last cover.
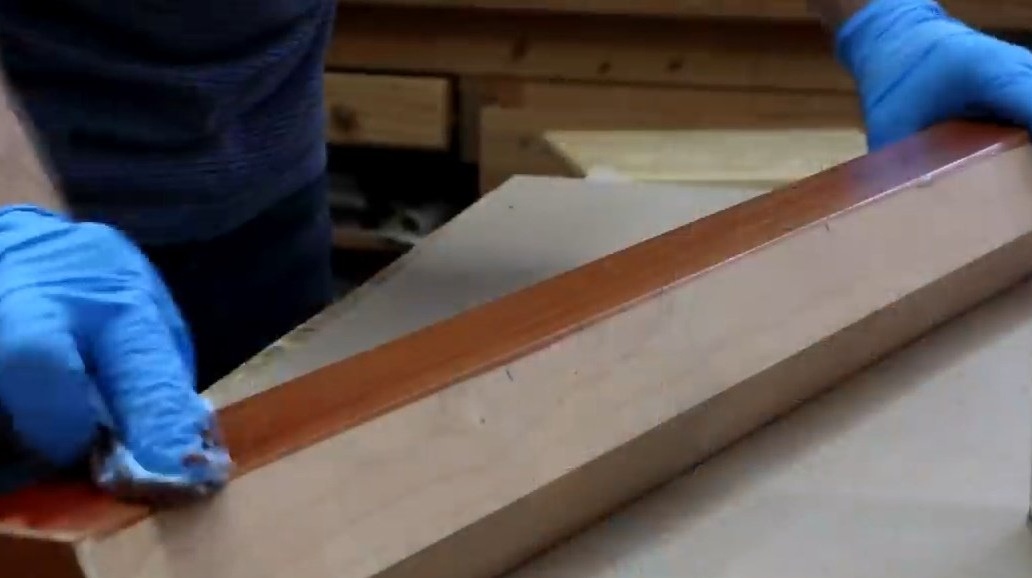
After the glue dries, it polishes the edges of the covers.

Finally, Steve opens the rod with Danish oil.
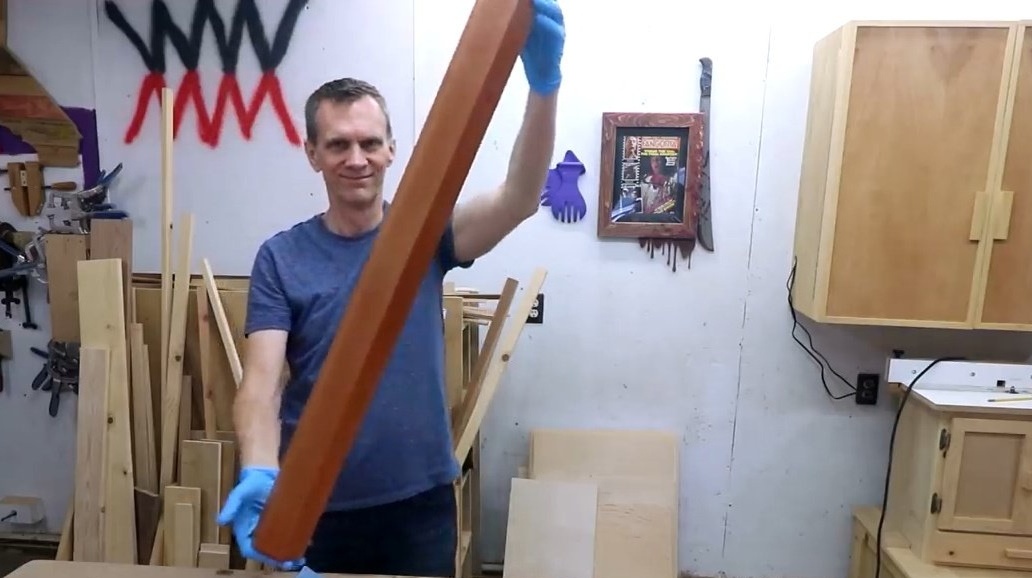
Thanks to the author for a simple but interesting item for home decor and entertainment!
All good mood, good luck, and interesting ideas!