
In this article, YouTube's author of The Wood Whisperer will tell you how to optimize the space in a regular drawer.
How often, when opening furniture drawers, did you notice how much space you just “walked” at the top? The author of this article challenges the usual design of the box, trying to use the vertical space.
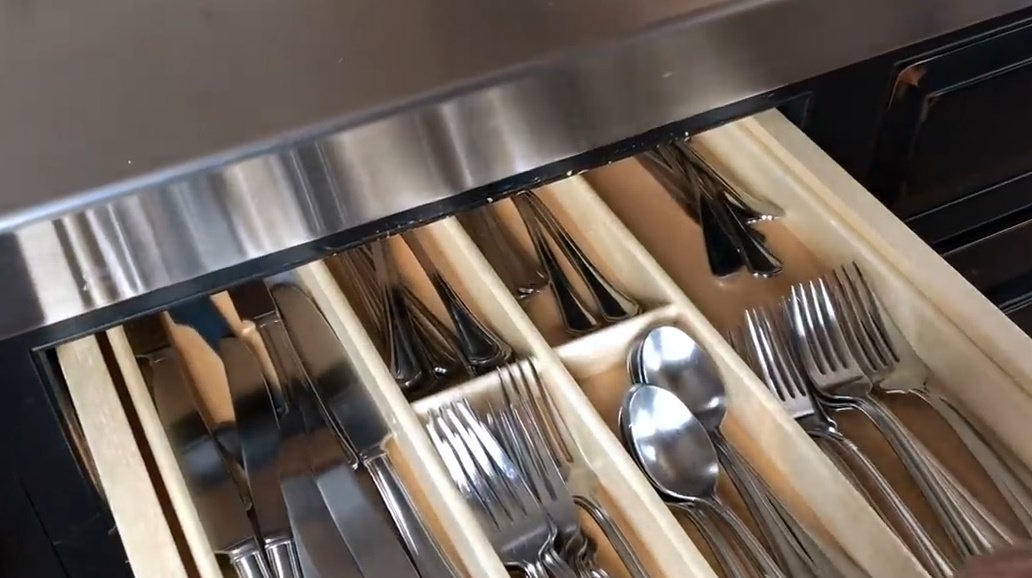
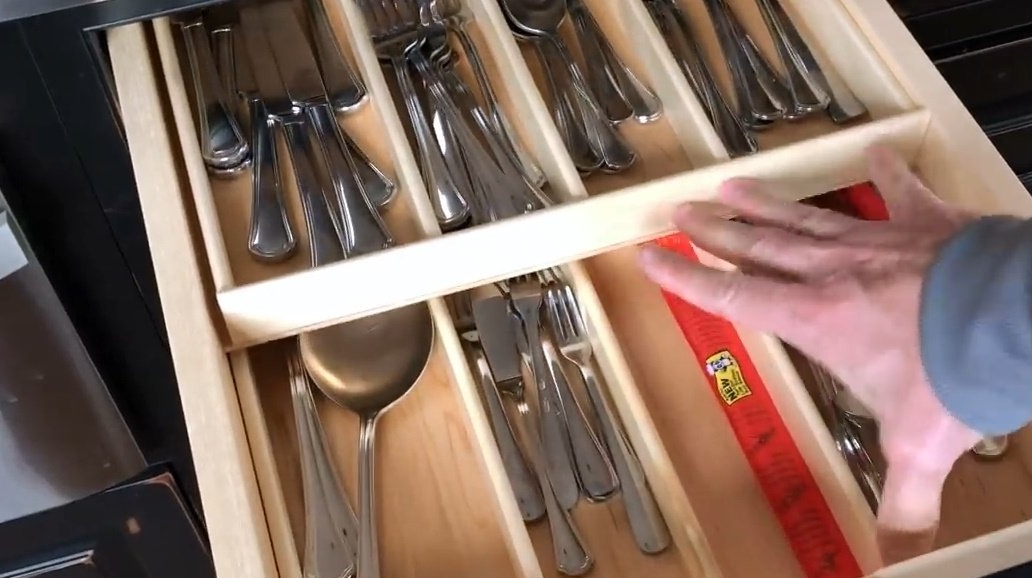
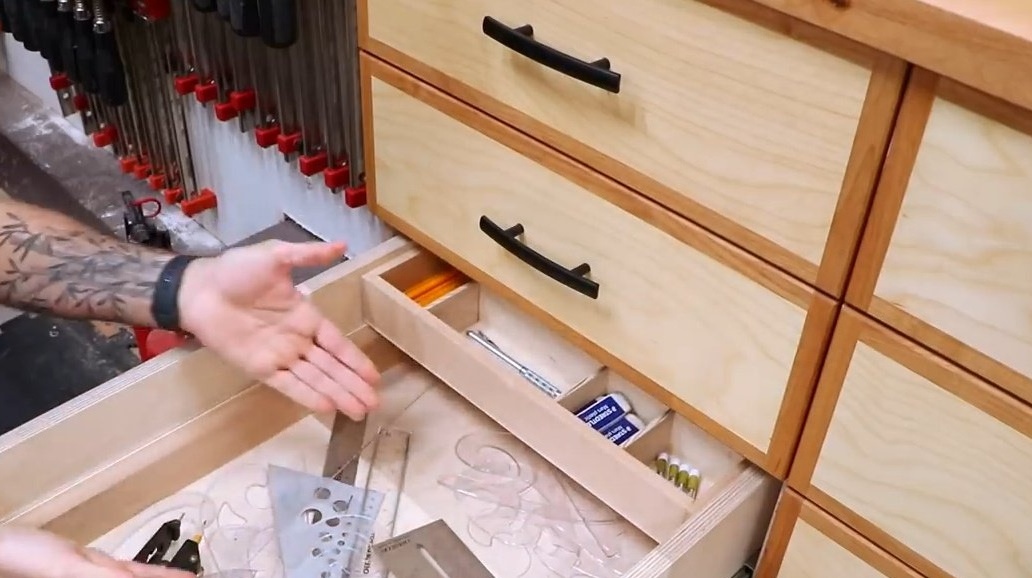
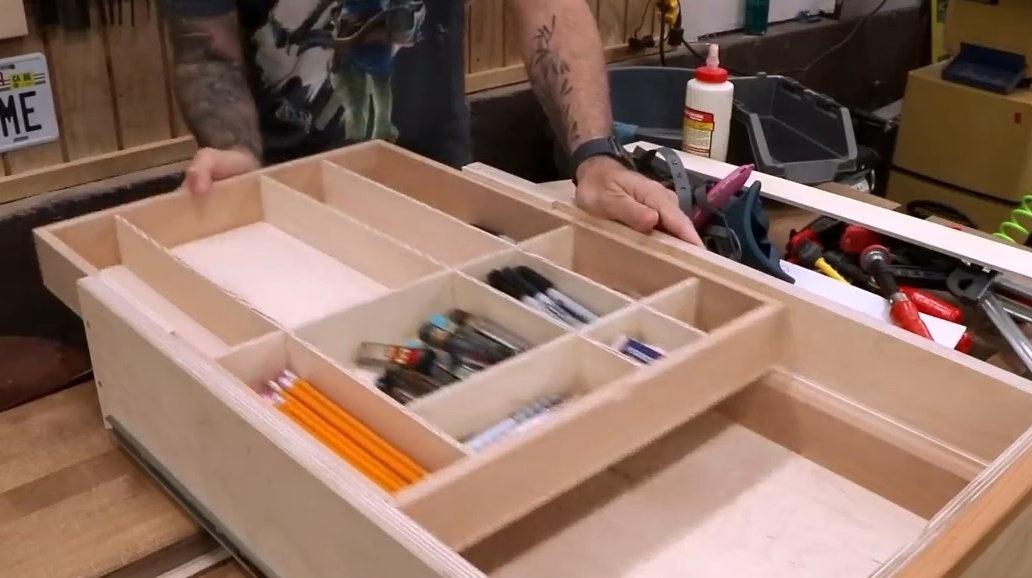
The right idea was prompted by a pair of organizers in the kitchen table, arranged in tiers. When the upper tier moves, another section is found below. In fact, these are built-in trays.
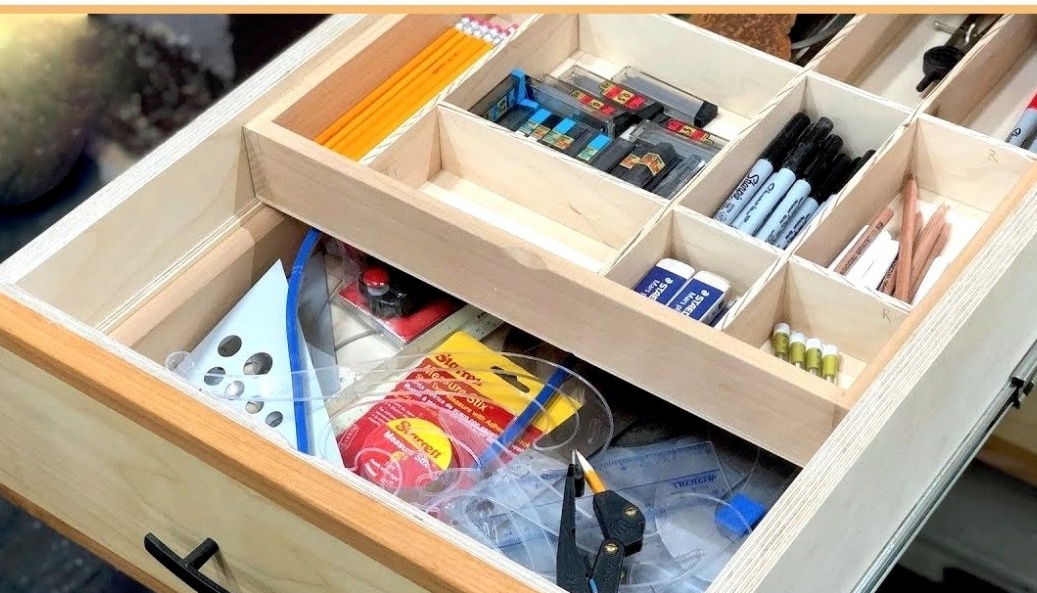
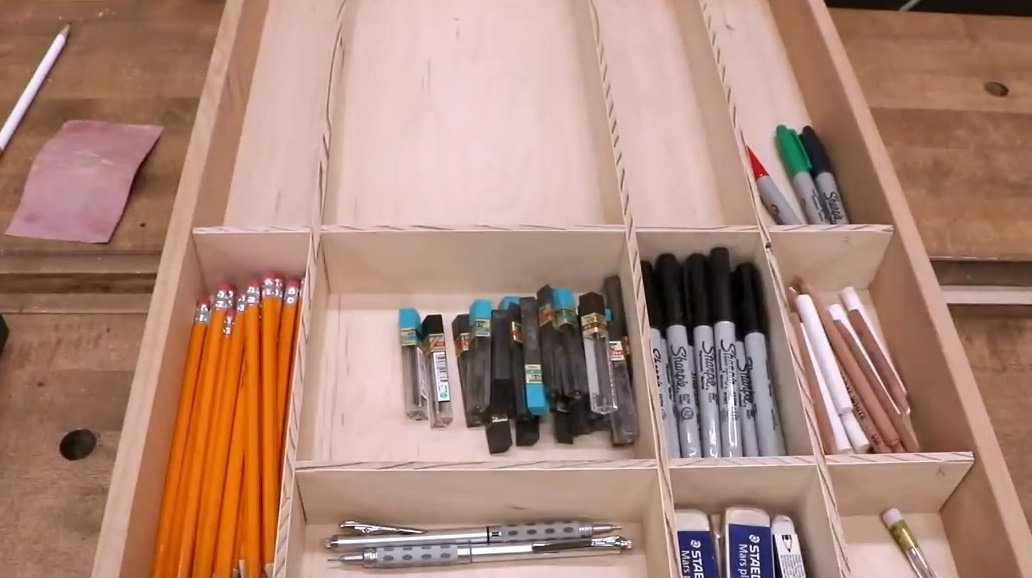
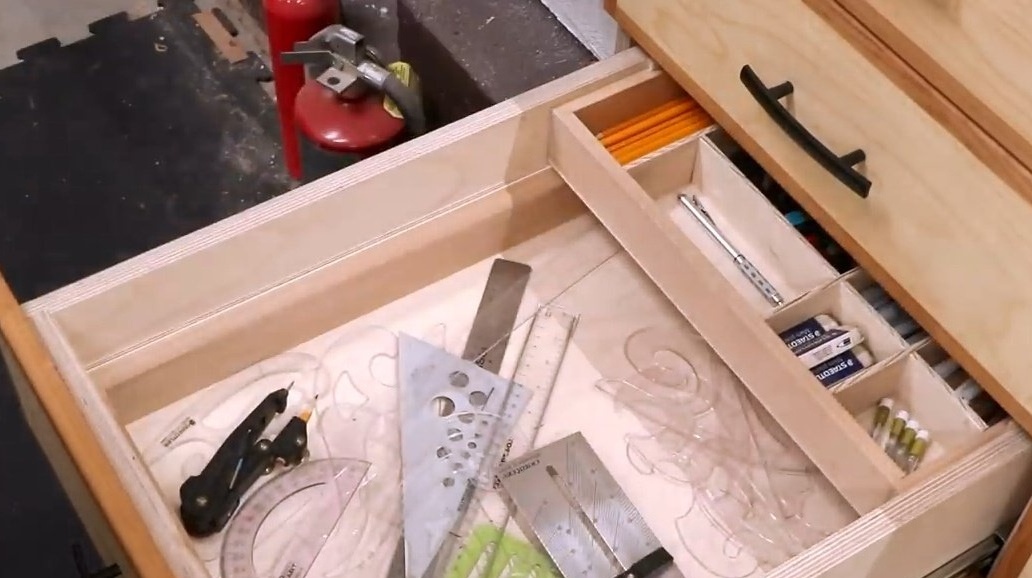
But this can also be done inside the household table! So, on top of the drawer can be stationery, and in the lower part of it - all kinds of rulers, protractors, templates and other similar things. After all, such items are usually stored nearby. If all this is simply dumped into one compartment, there will be unimaginable chaos in which there is hardly any necessary thing. Again, this technology will help to hide valuable things.
Materials
- Sheet plywood 6 mm
- cherry boards
- PVA glue.
Instruments, used by the author.
- Japanese saw
- Hacksaw
-
-
- Neiler
- clamps
-
-
- Rounded file
- Square, tape measure, pencil.
Manufacturing process.
To make the necessary changes, you will have to betray the already existing box to surgical intervention. But you can also assemble the box from scratch.
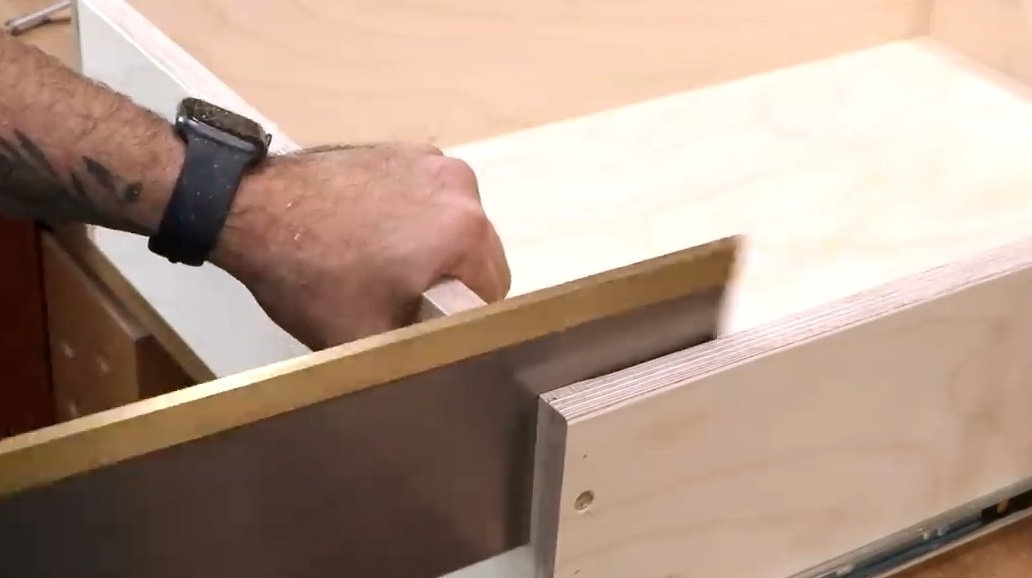
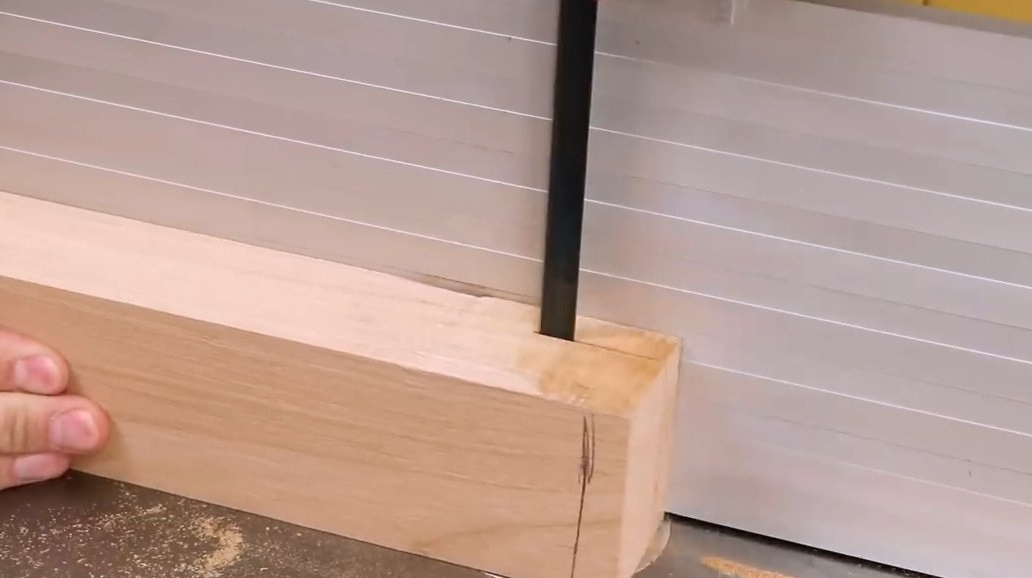
For starters, with a conventional saw or hacksaw, if there is a parquet nail inside, the master makes cuts in the back of the box, about half its height.
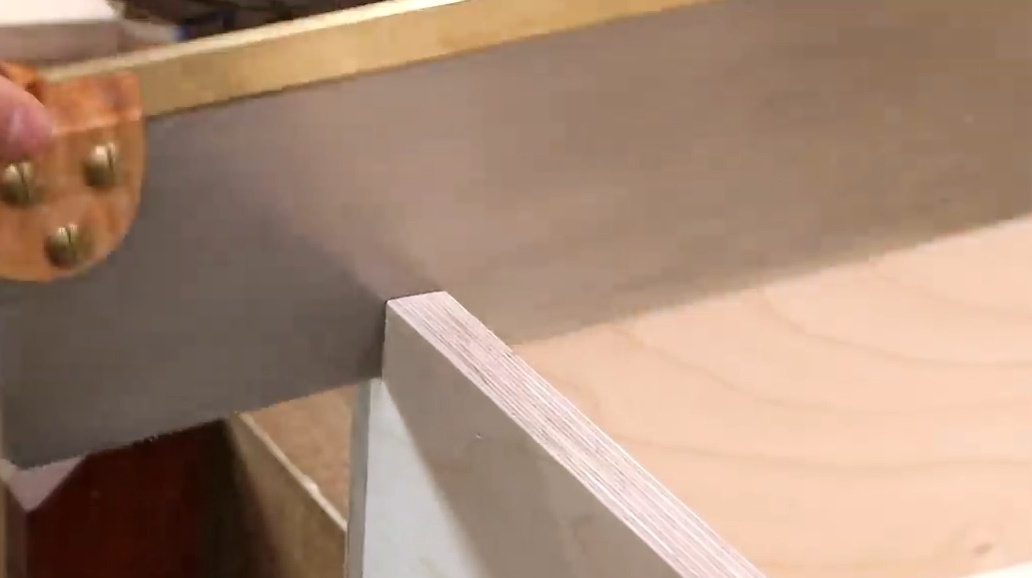
Depending on what materials and in what way the box is made, other difficulties may arise at this stage. Make sure that after this operation the box will not lose its structural integrity. For example, you need to unscrew the confirm.
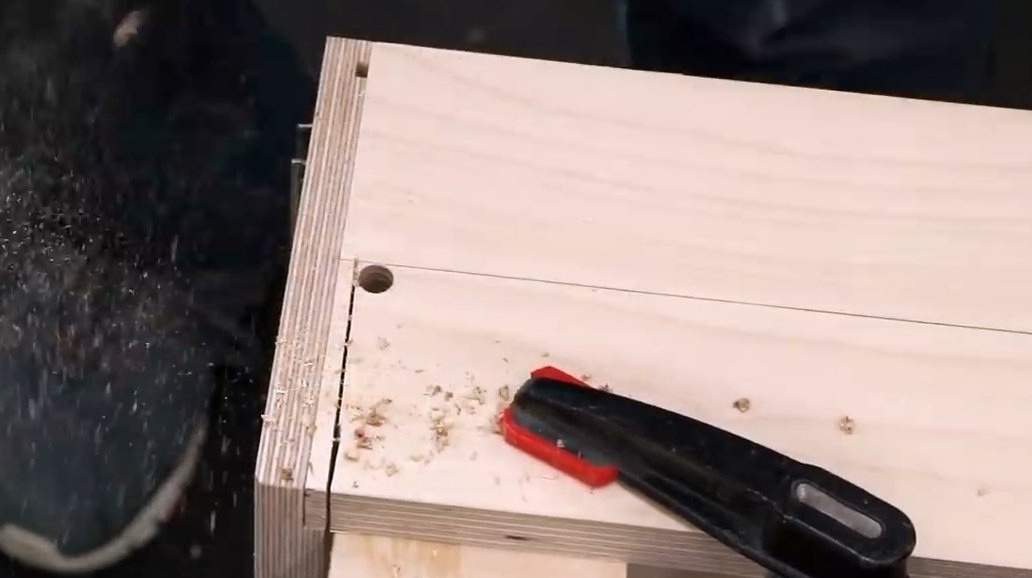
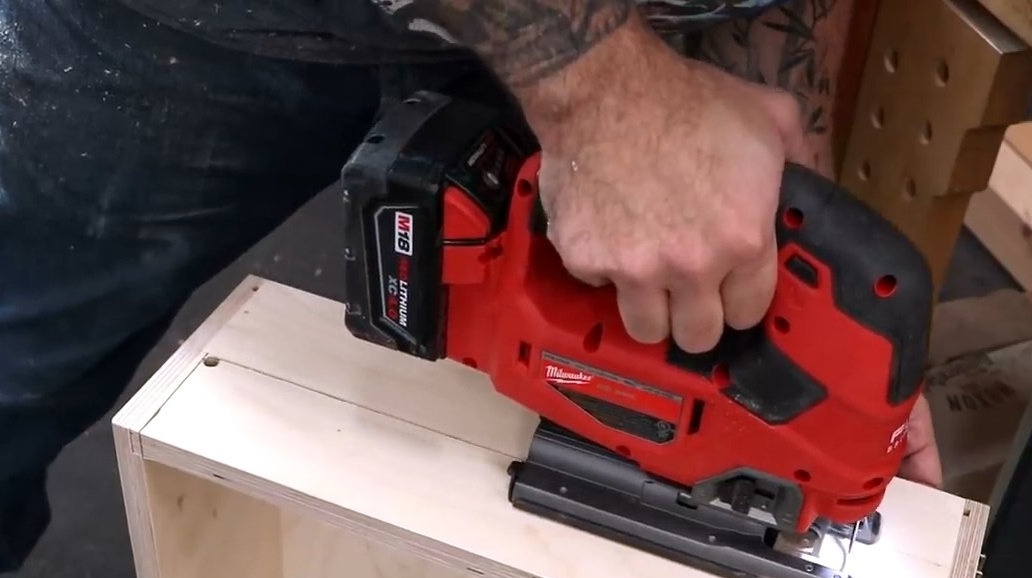
At the bottom of the slot, the author makes several holes - these are the starting points for the electric jigsaw, and then cuts the upper part of the back wall with it.A piece of wood helps prevent chipping while the drill passes through the tree. Before that, the master equipped his car with the thinnest blade that was in his arsenal, a blade with small teeth. This blade will not allow chips to form on the material.
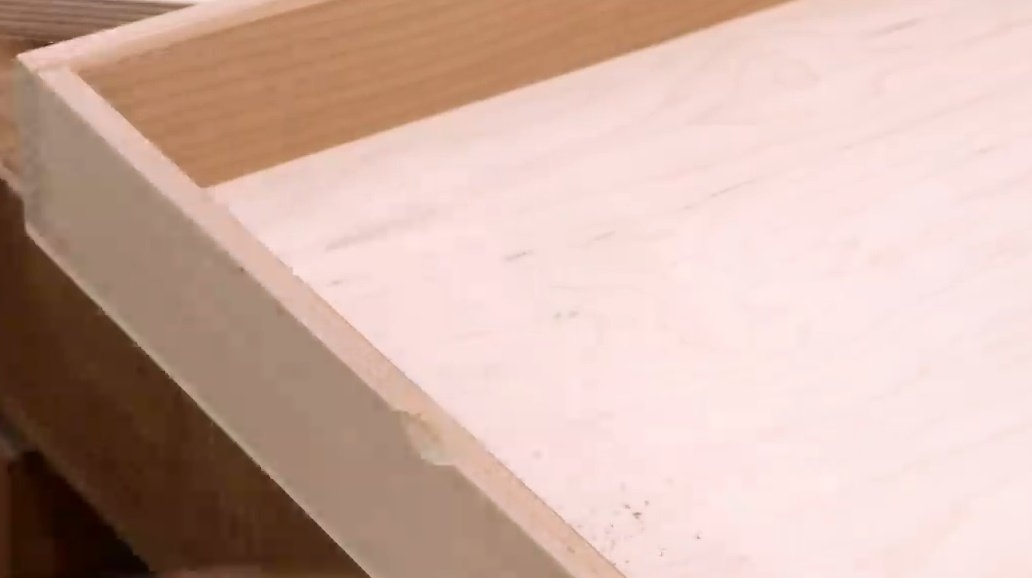
Now he smoothes and polishes all corners and sections.
Next, the master cuts several strips of 6 mm plywood for side supports and crossbars. Side supports should be slightly higher than the rest. This will allow the tray to slide freely.
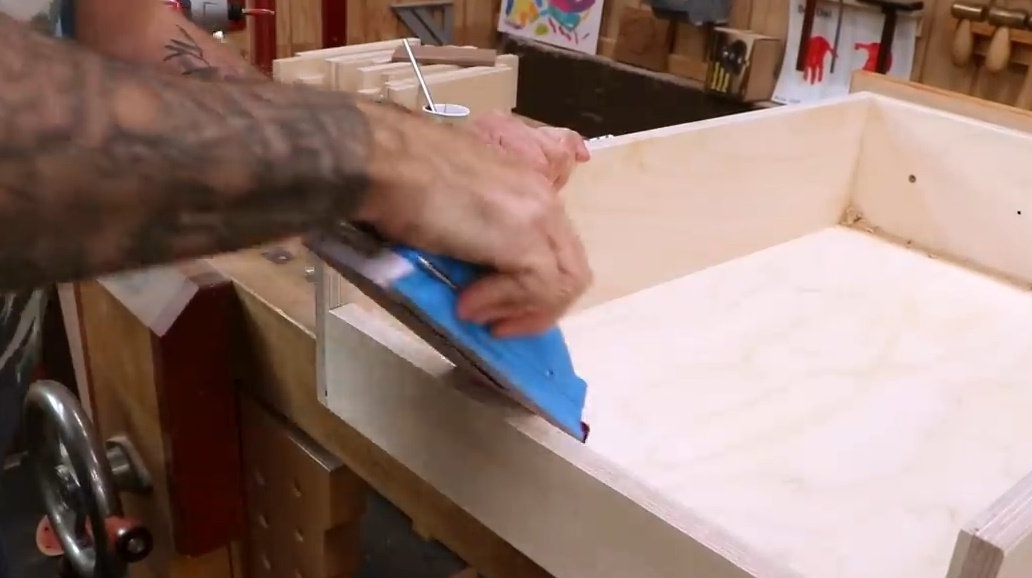
The supports are trimmed in length and adhered to the inside of the sides.
The trays themselves are quite simple to make. The author takes the trimmings of the cherry tree and cuts them to a thickness of 13 mm. for front and sides.
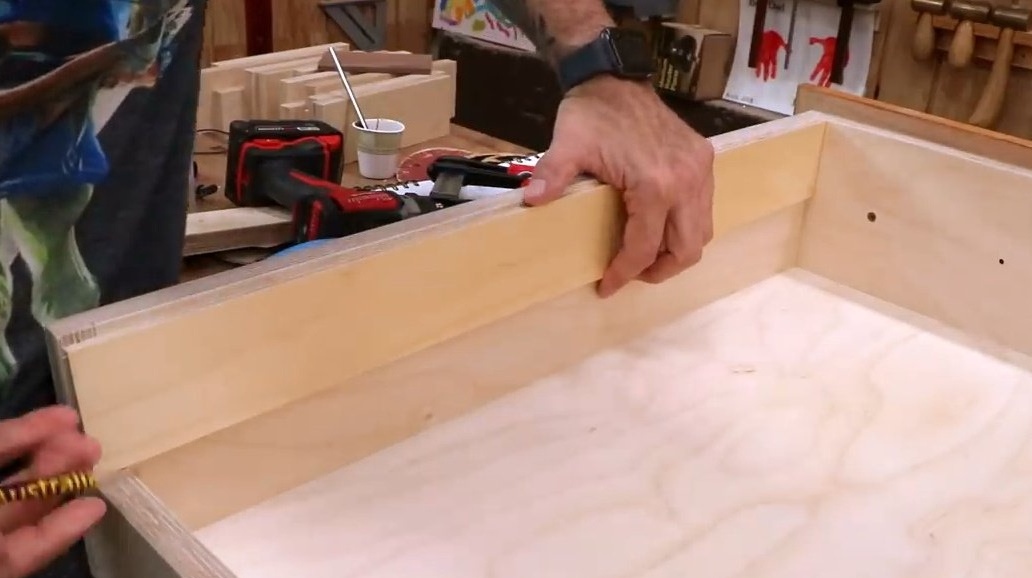
Then, the bottom is cut out in size. It is measured along the long sides.
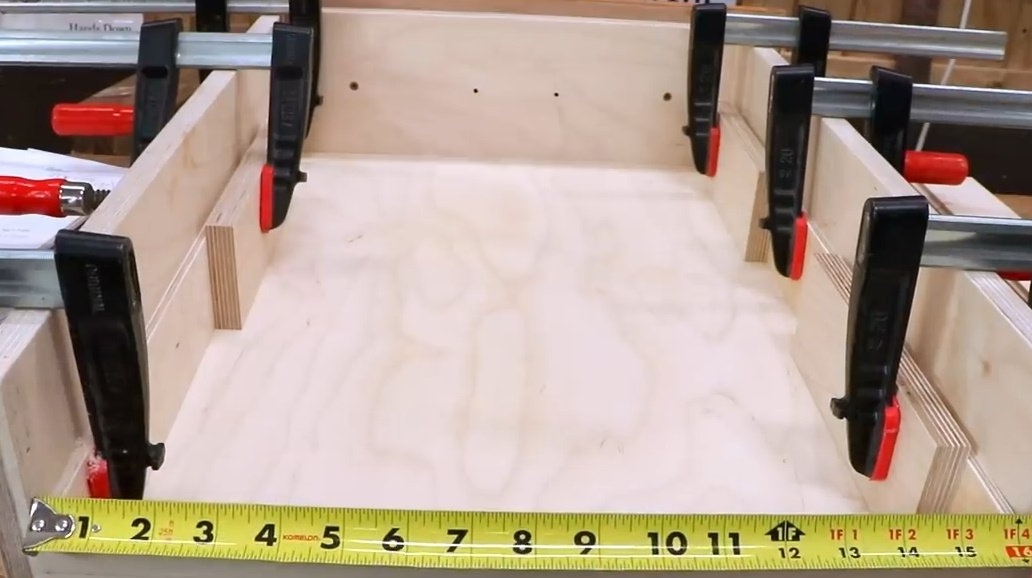
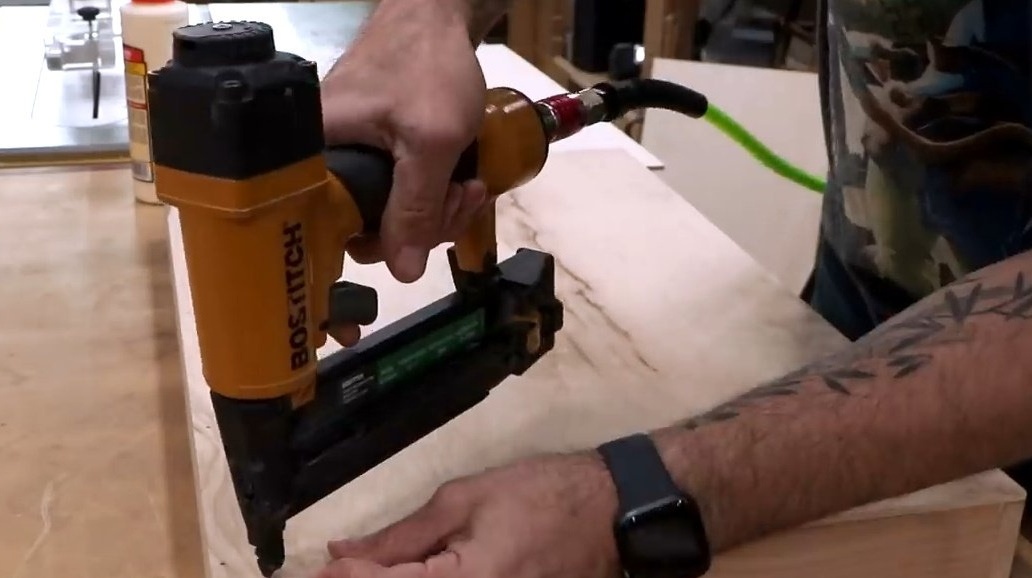
The latter are attached to the bottom with glue and a neiler.
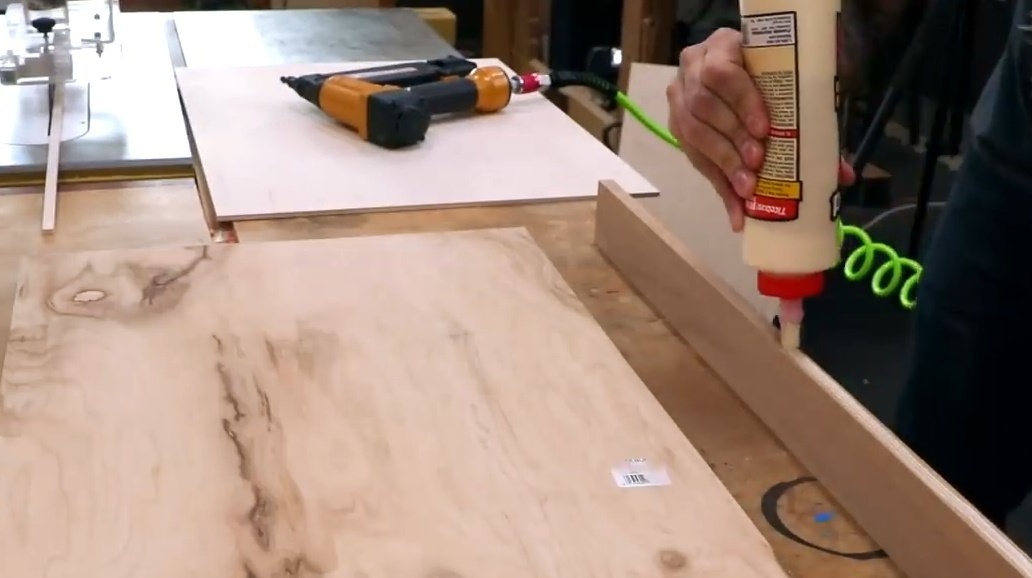

The front and back sides are attached to the base in the same way.

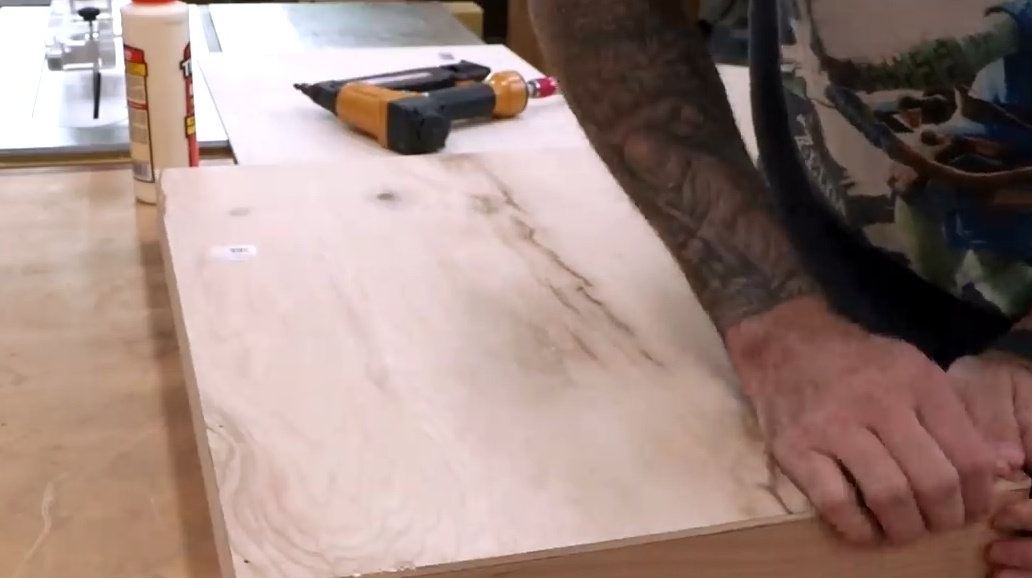
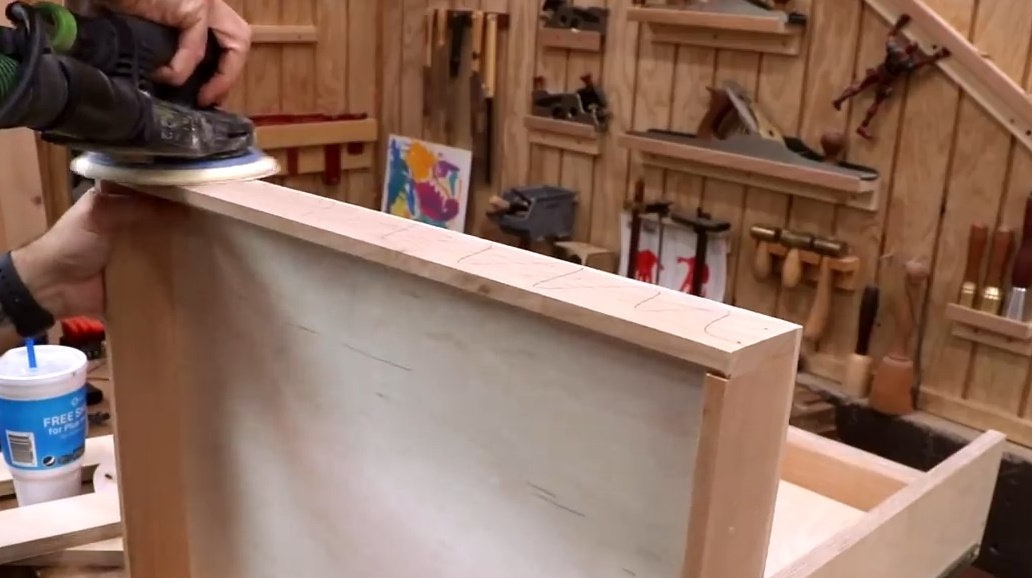
The inner corners are slightly rounded on the milling machine, then each tray is cleaned and ground.
The lower tray is not really necessary. Although this will expand the functionality of the box - if necessary, you can get it in its entirety.
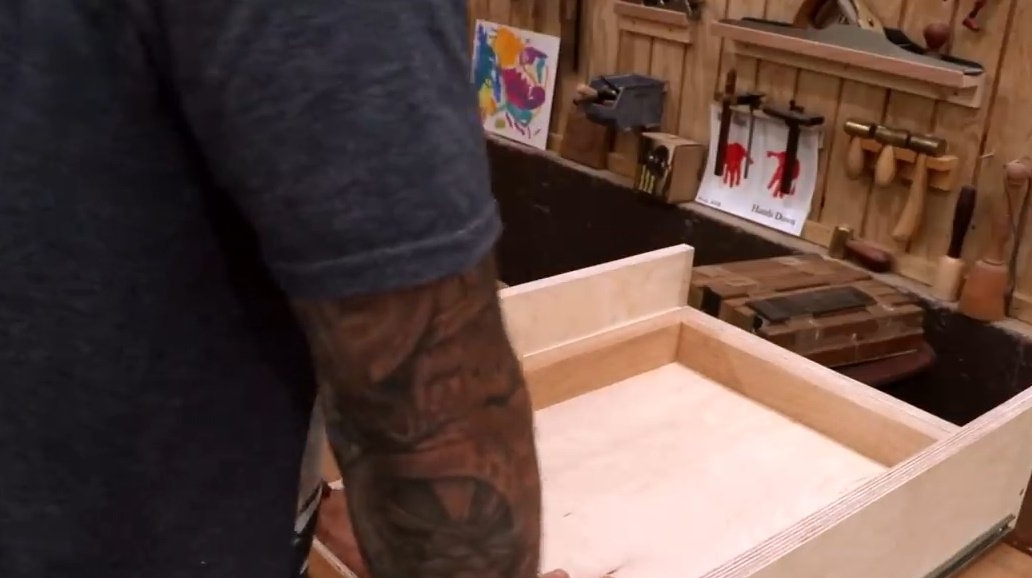
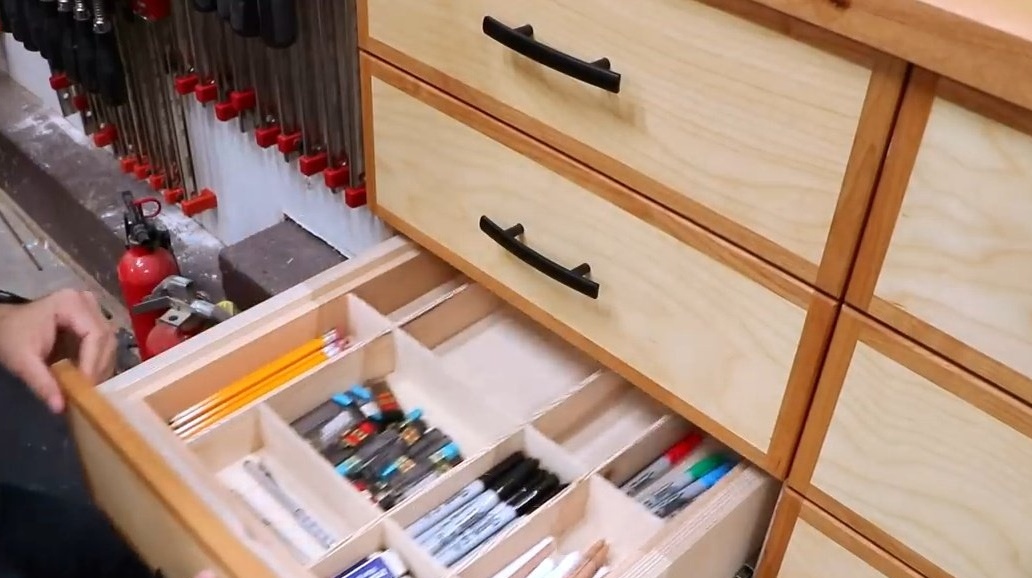
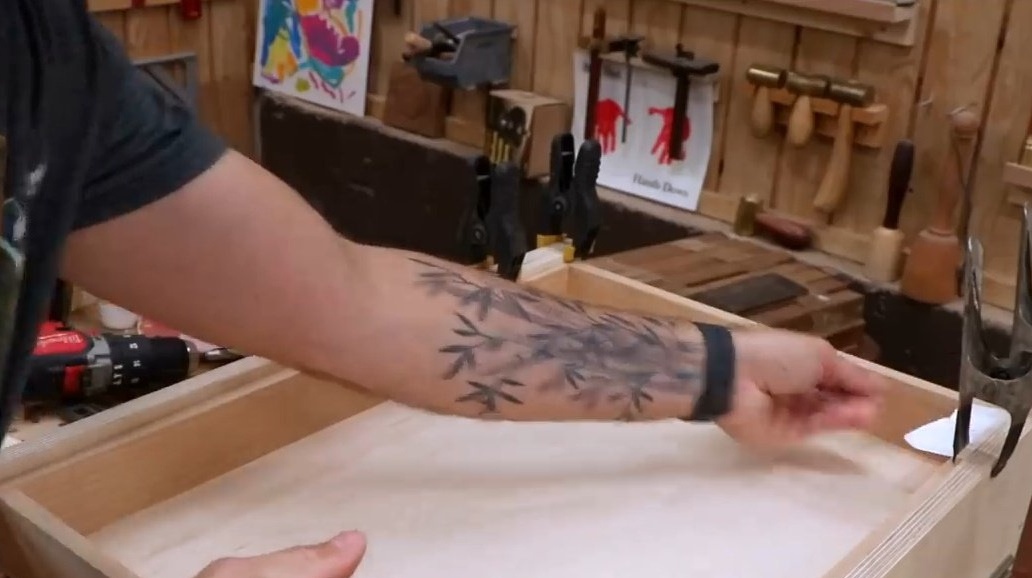
Now you can put the top tray.
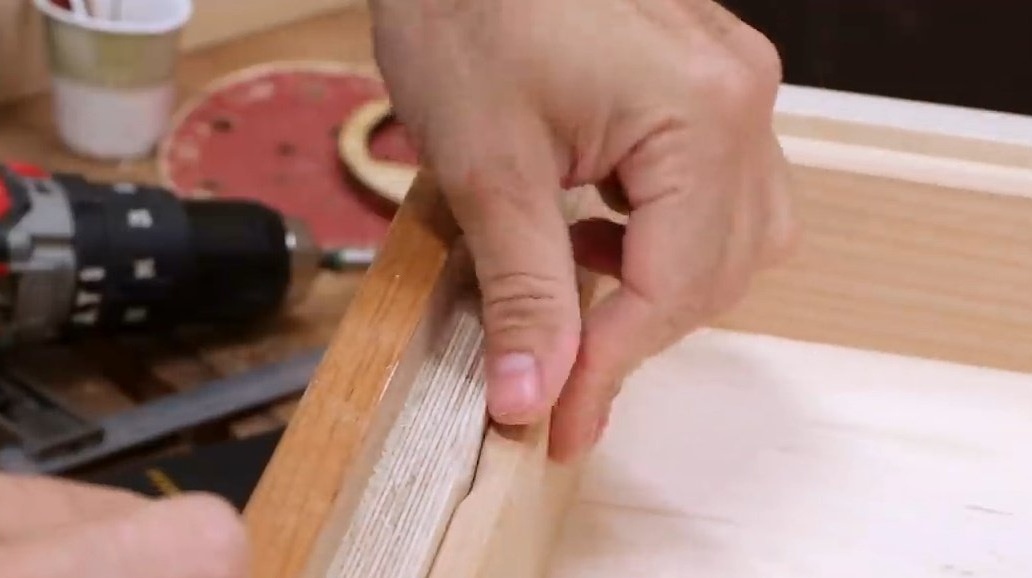
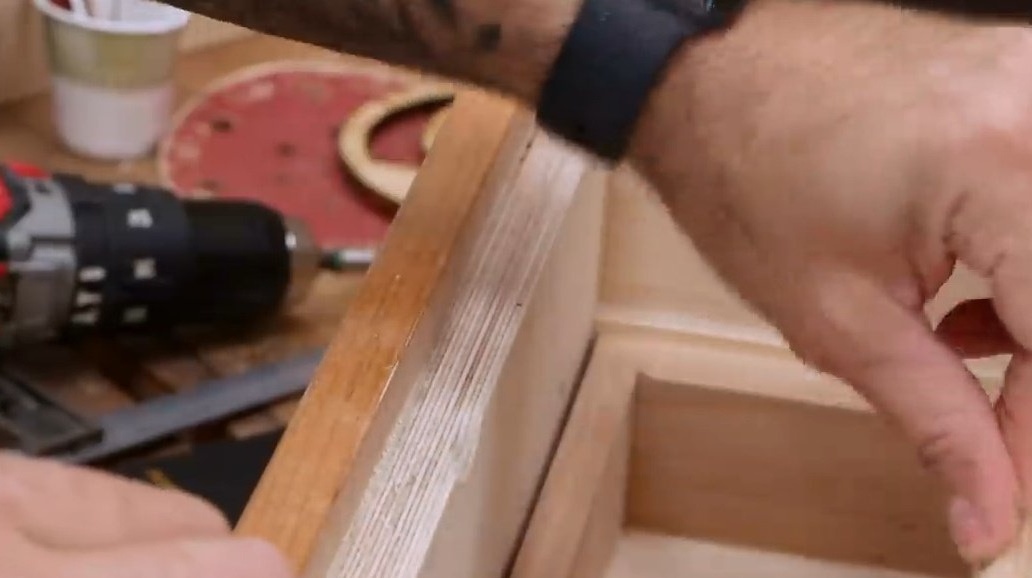
To make the upper tray easier to pull out, the author cut a small recess for the fingers on it with the usual file.

The author also took into account that if the drawer is extended more than half its length, it can tip back.
In order to prevent this from happening, the master glues two strips on both sides. When gluing the strips, he puts thick paper between them and the tray, this will provide a small gap.
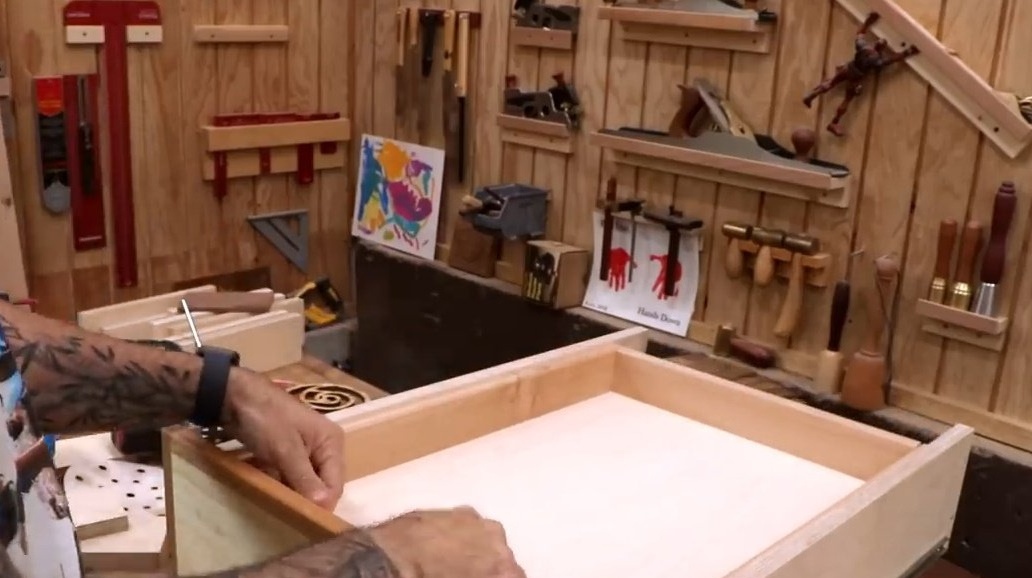
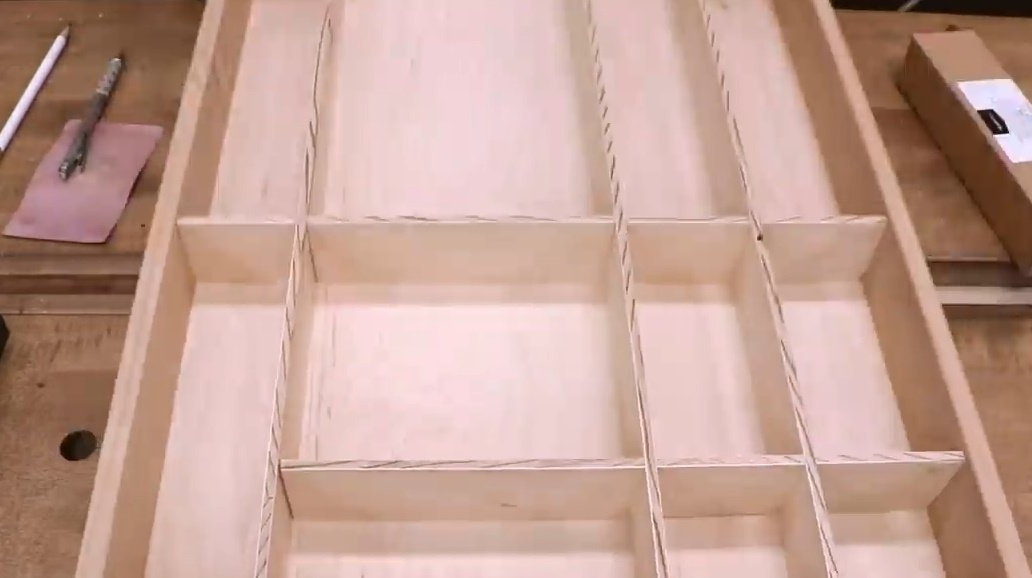
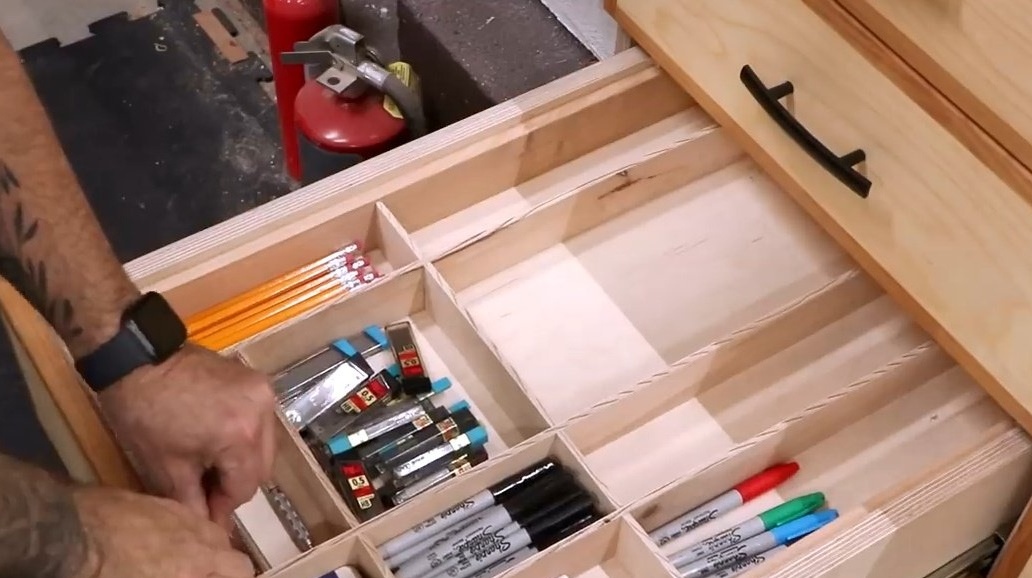
The internal markup of the box depends entirely on what will be stored in it. The master makes marking with a pencil.
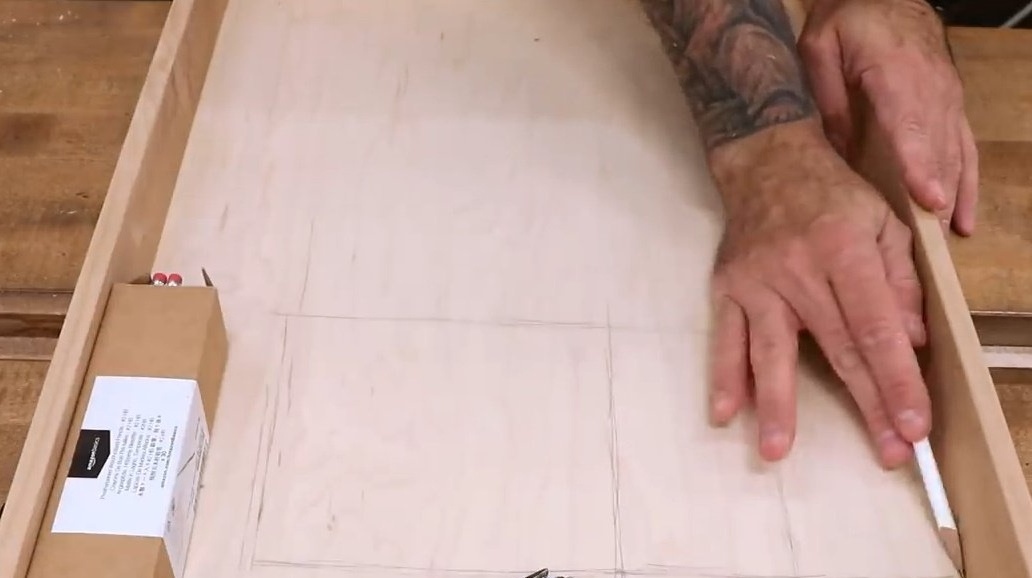
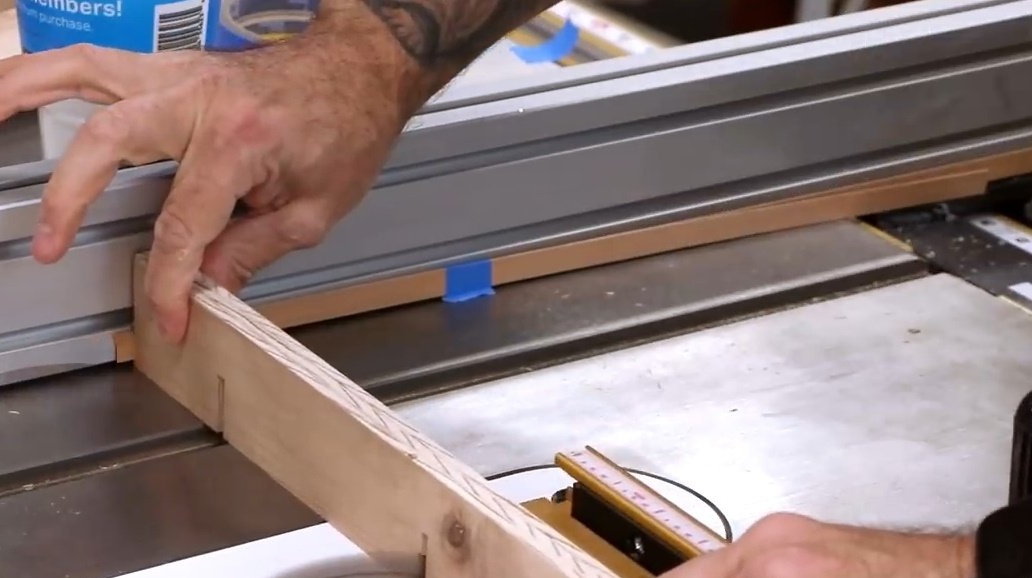
The dividers are also made of 6 mm plywood and contain additional slots in those areas where they intersect with each other. Future intersections are also marked.
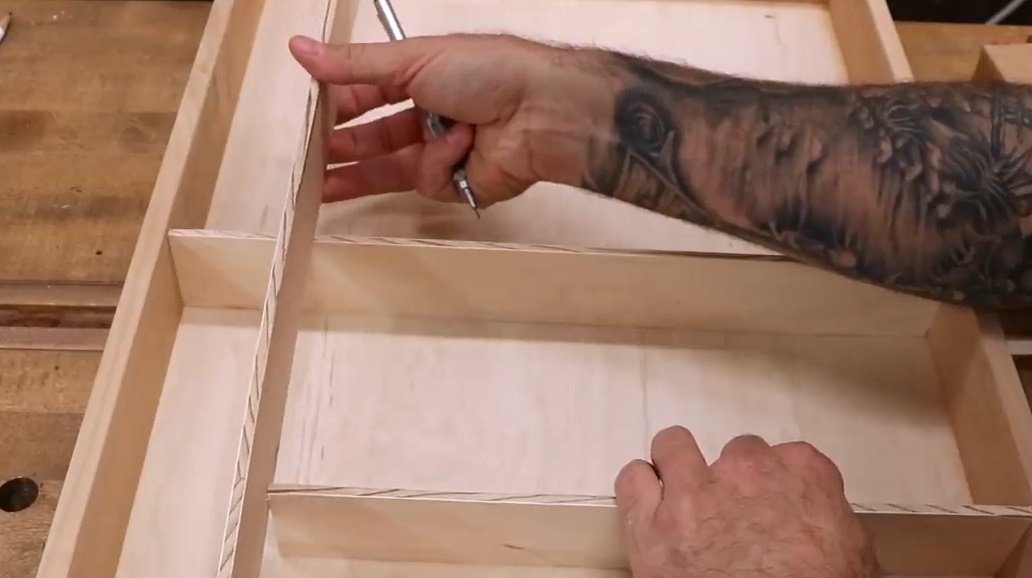
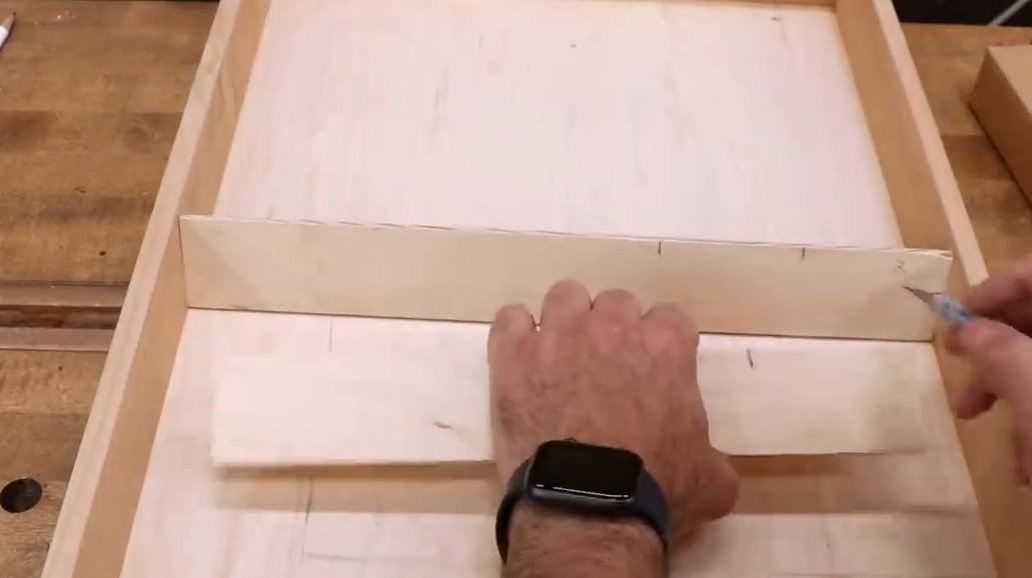
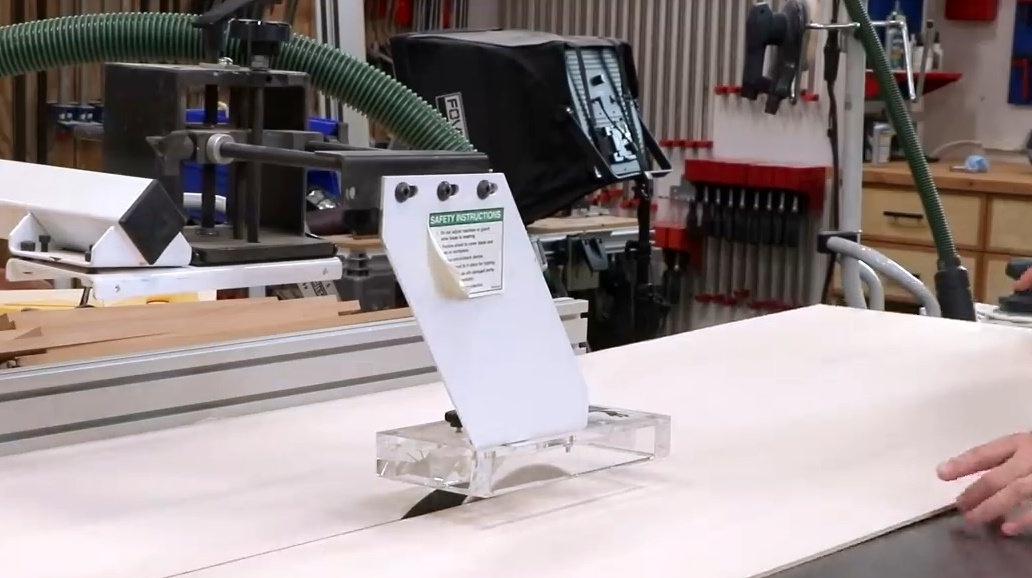
He sets the saw blade a little over half the height of the dividing bars to cut through the grooves. The cuts are made in two steps, the blade thickness is slightly less than the thickness of the plywood. To simplify the re-slot, he uses a lining between the bar and the stop.
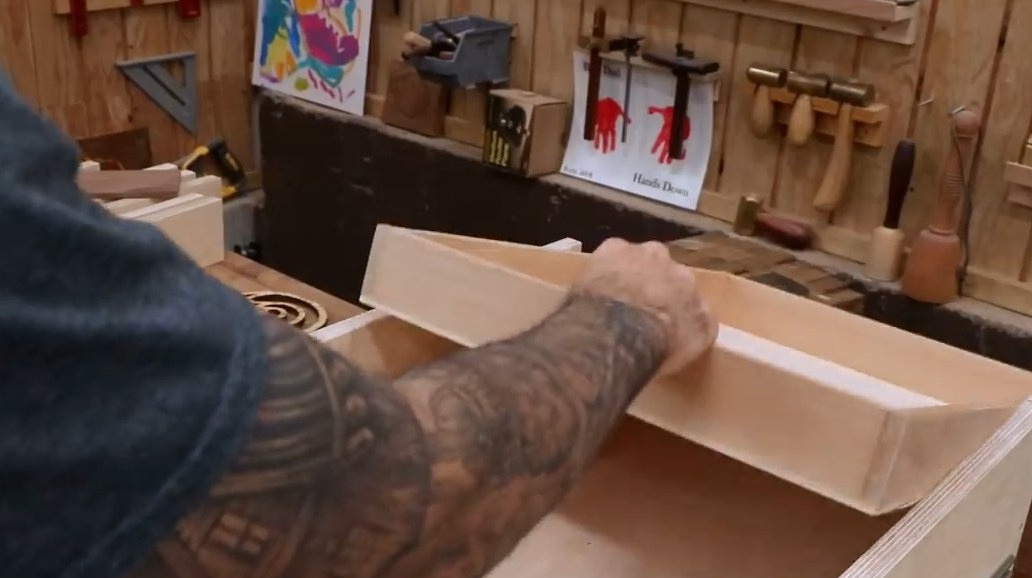
Then all the trims are fastened to each other inside the tray. There is no need for glue. Everything is supported by friction.
It remains only to decompose things, and put the box in place.
Thanks to the author for the simple but useful idea of improving an ordinary furniture drawer!
All good mood, good luck, and interesting ideas!