To do this, you will need:
1. ceiling tile
2. A wooden ruler or rail at 40-50 cm.
3. a piece of plastic 4 mm. thickness
4. a piece of tin from a can of Nescafe coffee
5. fishing gum
6. Titanium glue
7. mounting knife
8. wire from the welding machine or any steel wire
9. Glue Cosmofen CA 12. Cosmo-500.200
10. Baking soda
11. self-adhesive film in dark blue
12. 280 sandpaper stretched on a wooden block
13. 50 cm metal ruler.
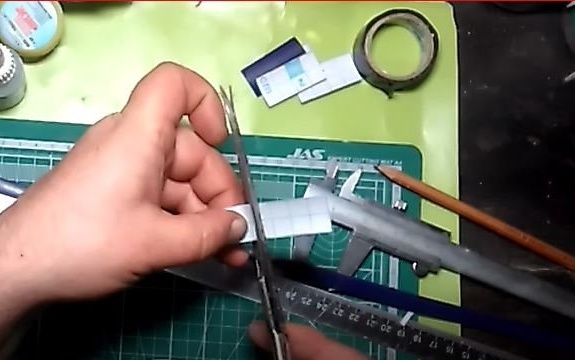
And so, let's start by making a rowing screw from a tin from a can, take a pair of compasses and draw a 4 cm circle on the tin.
Cut with scissors
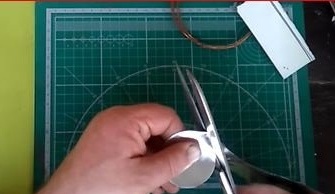
Then we draw it into four parts
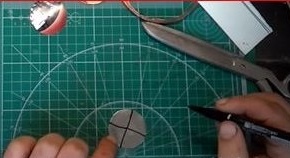
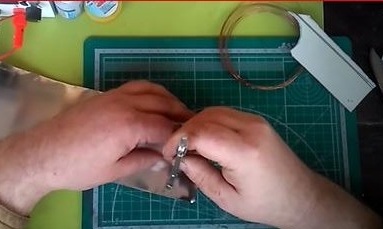
We drill two holes 0.6mm one in the center, the second 3-4 mm from the center in the middle of one blade.
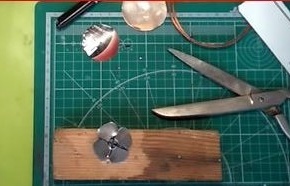
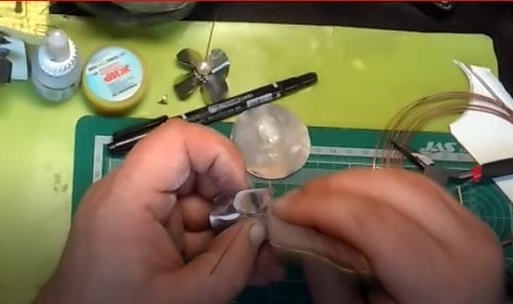
Cuts the blades and give them the desired shape. We take the wire and at the end we make a loop with a diameter of 4-5 mm, twist it by 1-2 turns and cut 5cm with a loop.
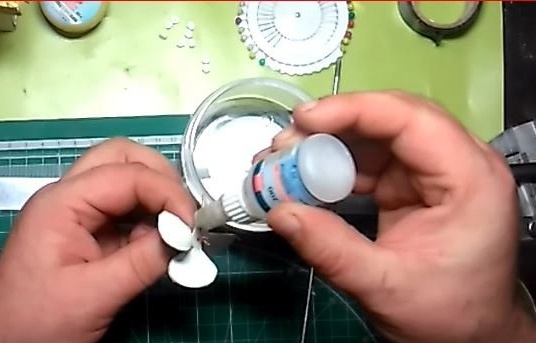
Cut another piece of 3-4cm wire for making a hook. Now we insert a long piece of wire with a loop into the center of the screw, and insert the short end of the loop into another hole so that the wire in the screw does not scroll. Now we take Cosmofen CA 12 glue. Cosmo-500.200 and baking soda, we drip one two drops
Glue on the screw with wire and sprinkle with soda, after another two drops of glue and sprinkle with soda and repeat these procedures on the other side of the screw. After drying, we give the blades a bend of 35-45 degrees and we process the blades with sandpaper, grind the burrs so as not to cut ourselves.
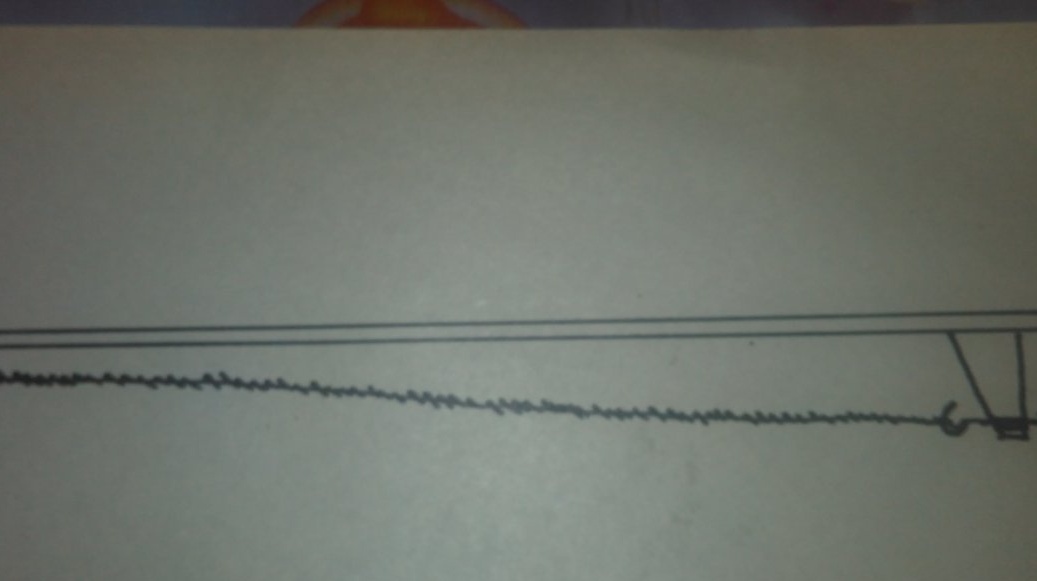
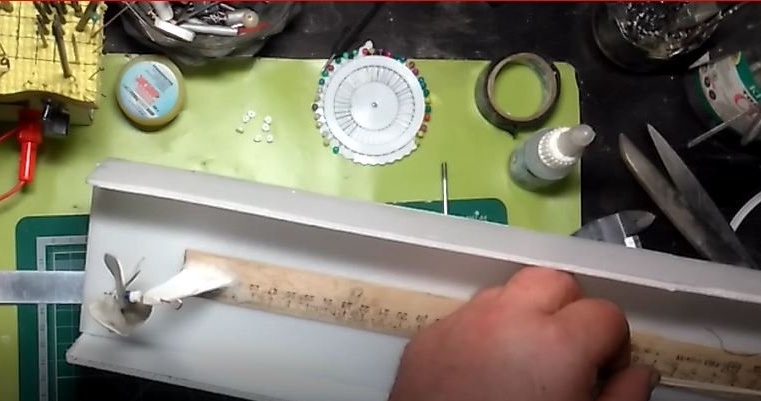
From a piece of plastic we cut a keel in the form of a triangle, drill a hole of 0.7 mm at 35 mm from the upper side, this will be a hole for the screw shaft. Now we take a ruler or rail and glue the plastic with the right side to the edge of the rail or ruler Glue Cosmofen CA 12. Cosmo-500.200, dig at the seams and sprinkle soda on both sides. On the other side of the rail or ruler, we wind the second piece of wire with threads, so to make a hook from the wire, we dig the threads with Glue Cosmofen CA 12. Cosmo-500.200 see the diagram:
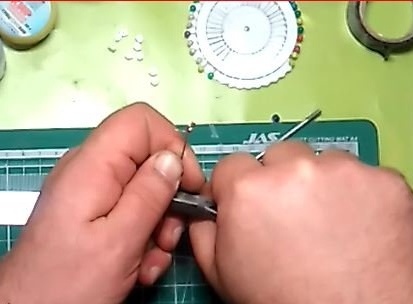
We take a fluoroplastic gasket
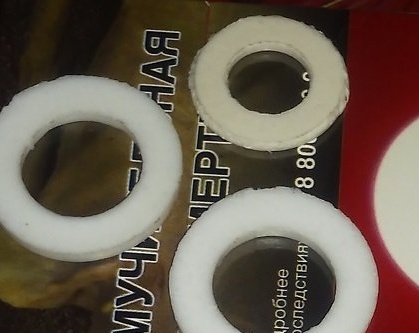
Bought in a hardware store and drill 0.7mm, drill in the middle of the gasket ring holes at a distance of 5-6mm from each other in a circle.After the installation knife we cut the pieces so that the hole is in the center of the piece, give the pieces a rounded shape and get sliding bearings. We take 4-5 pieces of fluoroplastic, put it on the screw shaft and put the shaft into the keel and bend the end in the form of a hook.
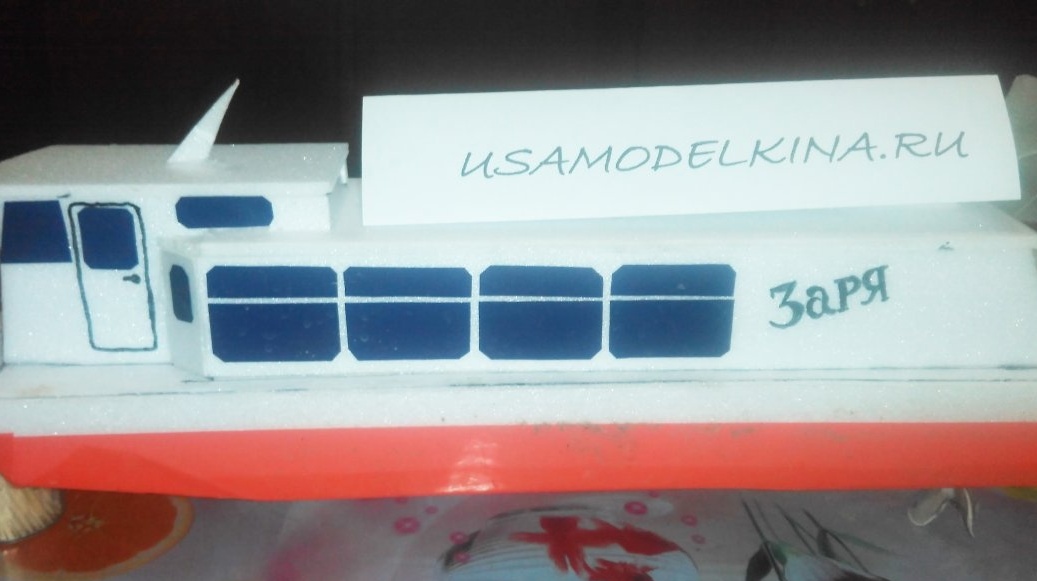
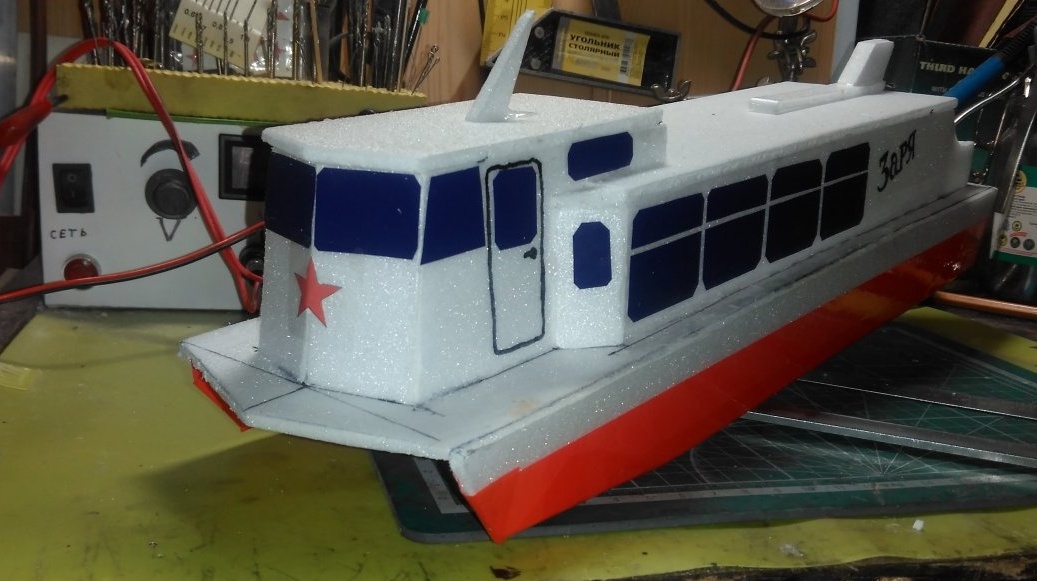
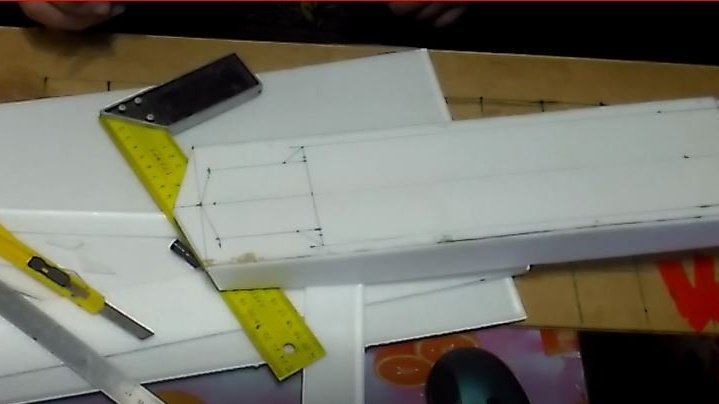
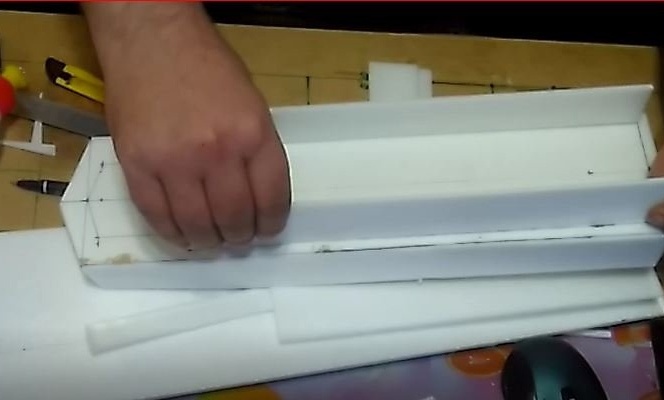
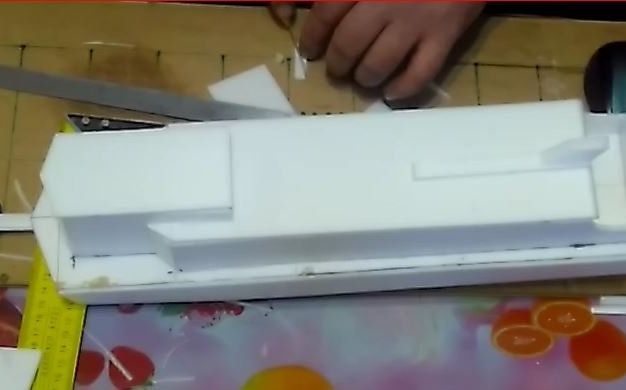
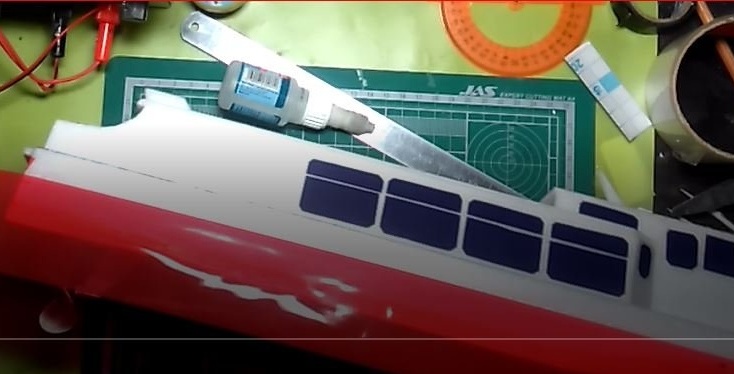
After manufacturing the power rubber-motor installation, we proceed to the manufacture of the hull of the boat. From the ceiling tile we cut a strip 10 cm wide and the length of your power plant, it will be a deck, also cut two strips 4 cm wide and glue these stripes perpendicular to the deck, these will be the catamaran floats, the hull of our model.
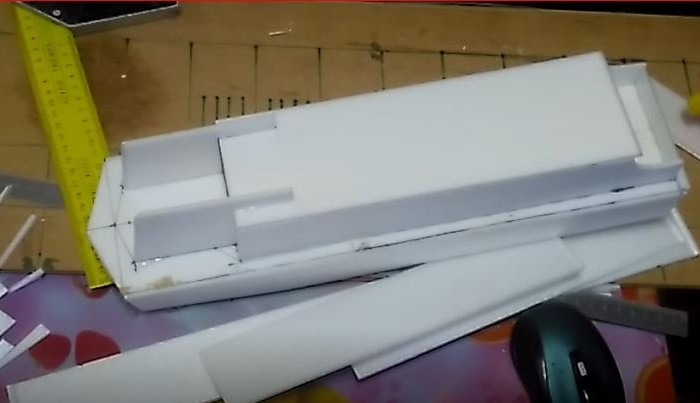
After we do the marking on the deck for the wheelhouse and passenger compartment.
Next, we cut the blanks for the cabin and the wheelhouse and begin to assemble the structure.
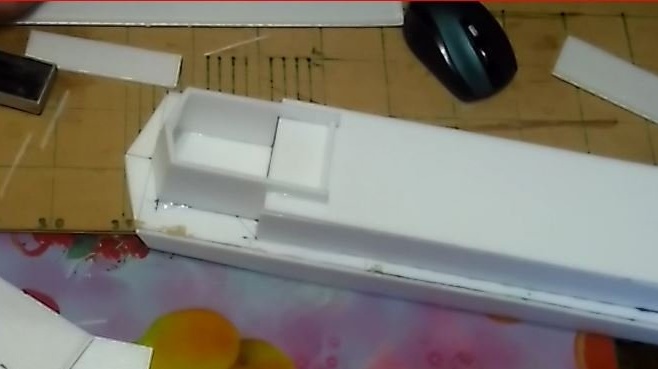
Glue the walls of the cabin and the tailgate.
Glue the roof of the cabin and begin to collect the wheelhouse ...
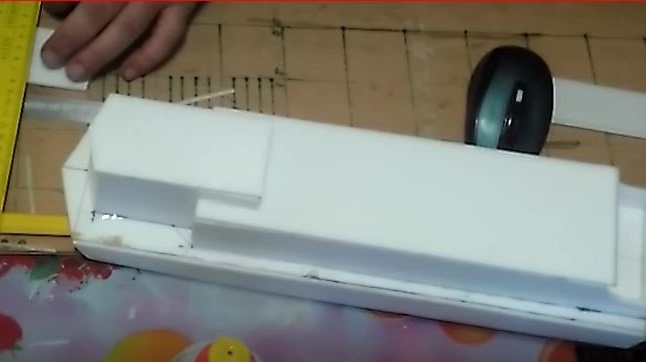
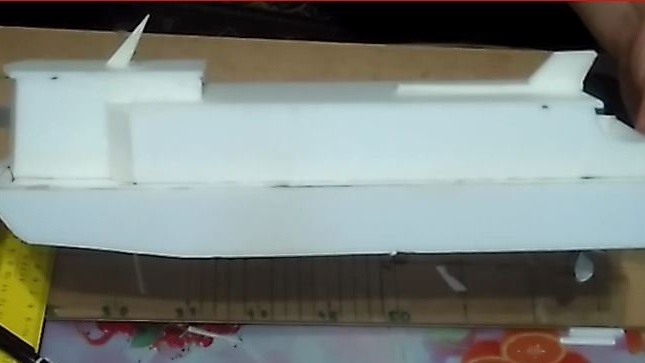
After collecting all the details, we process it with emery on a block, trim it and grind it, give it the correct shape.
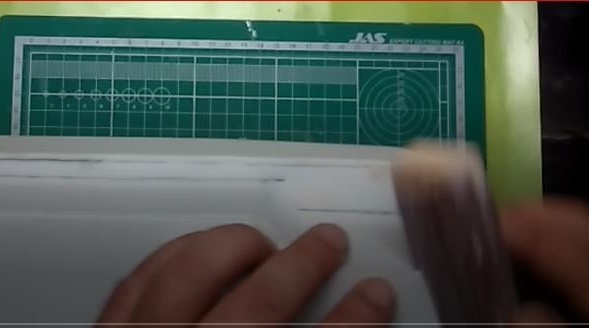
After processing, we take a dark blue self-adhesive film and cut off strips of 2 cm and 1 cm, cut them into 4 cm, these will be the interior windows like this.
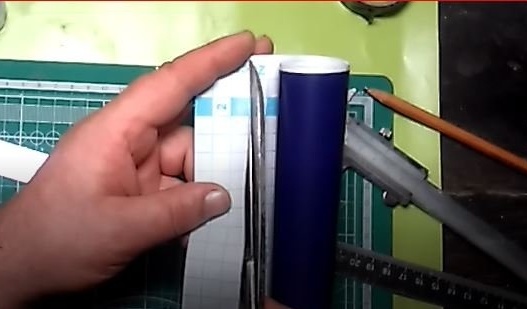
Next, we cut the windows of the wheelhouse and paste them, begin to glue the floats of our case with colored tape on red tape, iron the tape with an iron with such heating that the tape stretches, but does not burn.
Marker draw the door and the name of our ship- ZARYA.
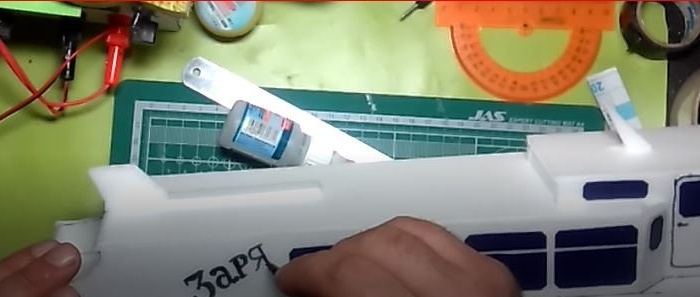
After decorating the model, glue the power plant from the bottom of the deck in the center, waiting for drying. We take fishing gum we measure out so much that there are 2-3 full rings of rubber. We knit the two ends of the elastic and put it on the hooks, so that the binding unit was on the front hook.
Next, we put the battery on charge from a screwdriver and from a 2mm wire do device for twisting the rubber motor in the form of a hook.
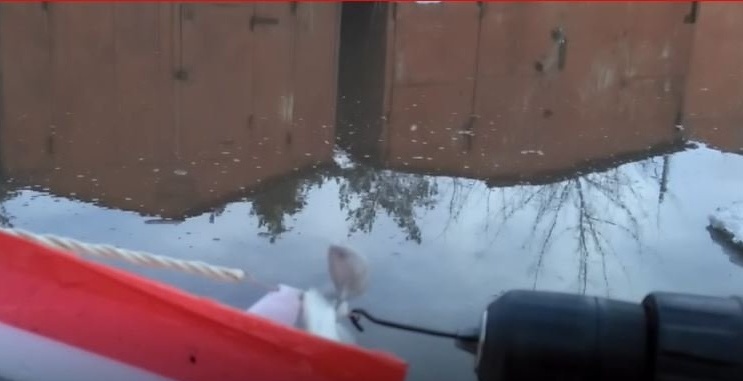
Further, after charging the battery, we take model and a screwdriver and go to the pond for a lot of pleasure. You can arrange competitions whose model will float further, and whose model is faster and more accurate.
Video with tests and detailed manufacturing
[media = https: //youtu.be/eMv-WQHRwsE]
My model turned out:
410mm length
Width 108mm
Height 105mm
20 meters