

1st step. Acquaintance.
I saw this stanochka on the Internet under, let’s say so grandiloquent, the name "Dream Modeler." So, I think I would like that. Many questions on the manufacture of various parts would disappear.
In life, it is marked - Mini cutter table cutting mini saw.
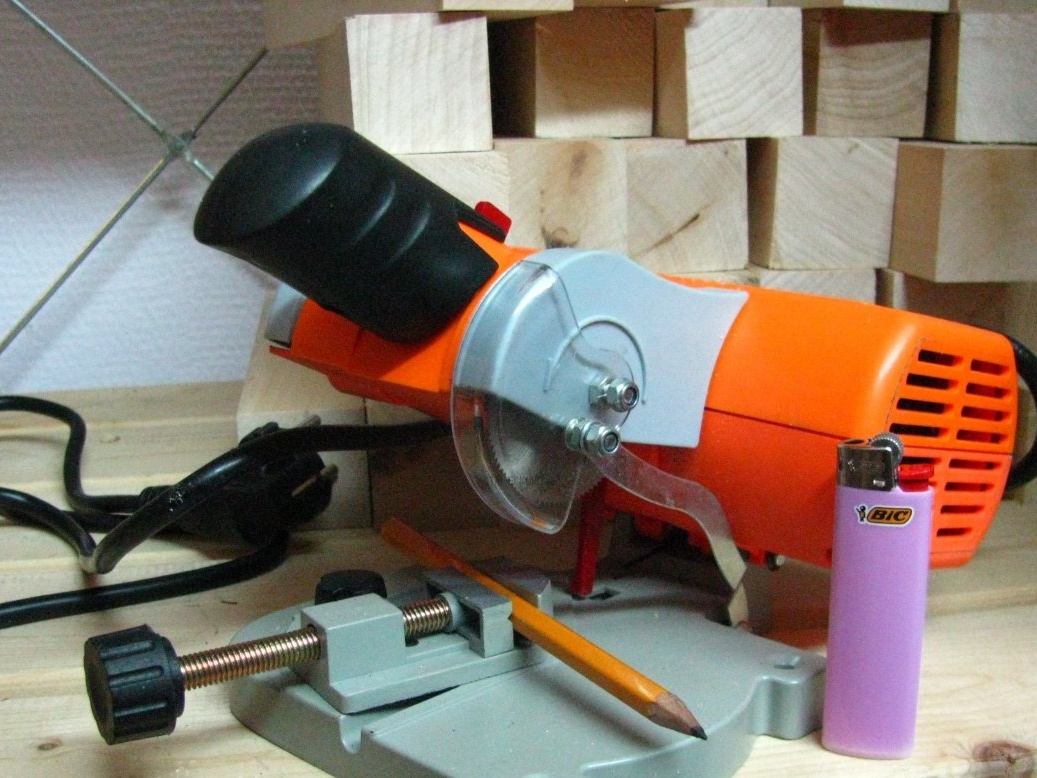
He immediately liked me at once with his miniature size, engine power, turntable, cutting depth of 20 mm - also normal.
Then I saw him already alive in our city in the shop "Crazy hands". He sunk into my soul, and the price is almost acceptable. Now I don’t remember exactly, somewhere within 2500 rubles. I bought it.
Then, very soon, I had to make a frame from a baguette for a showcase of my Magnitogorsk, I brought it here in models. And what was my disappointment when I tried to fix a baguette with a height of 20 mm, which would be sawed off at an angle of 45 degrees.
The baguette did not pass; I had to saw it in the miter box, as before.
I then used it several times, and everything was idle, because he could only cut it off. And, let’s say, it’s not possible to dissolve something into the slats
And then one day, I thought - Ah, why don't I make a normal sawmill out of it?
2nd step. Restyling
In the beginning, I wanted to disassemble everything and make my own design, but then I thought what could be done with minimal alterations. I drew a sketch for clarity of thought, everything turns out. Well, he set to work.
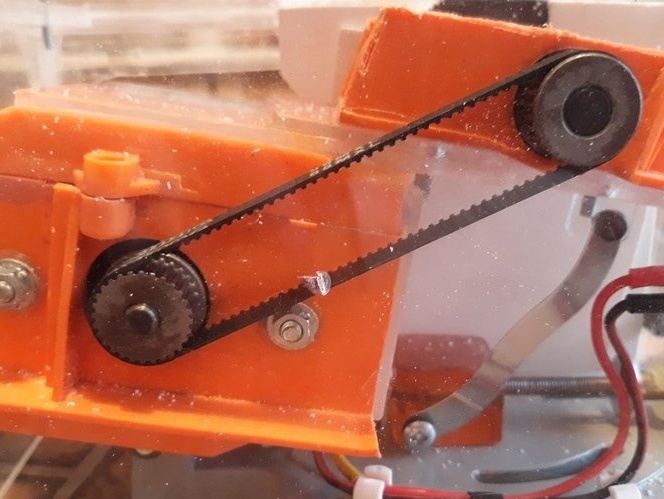
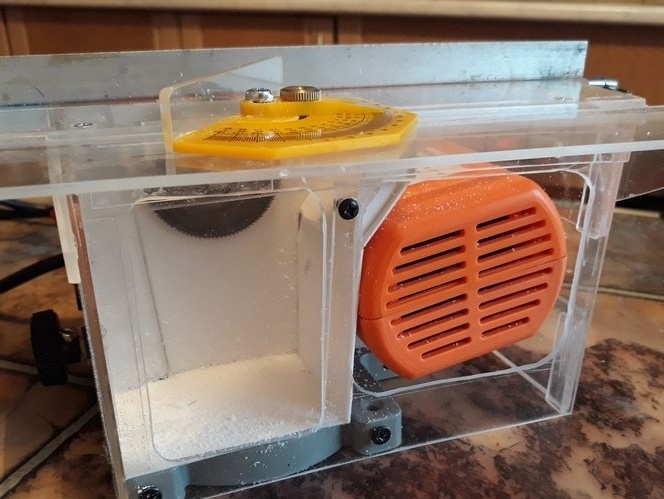
He removed the casing covering the belt and disc. He took off the handle with a safety stop and yew. He removed the belt too.
Sawed off part of the rocker arm with the cutter shaft and bearings. Marked and sawed grooves for belt tension adjusting screws. Slightly removed in height the excess material of a sawn off piece of the rocker arm, so that the table would lie as close to the bearing assembly as possible.
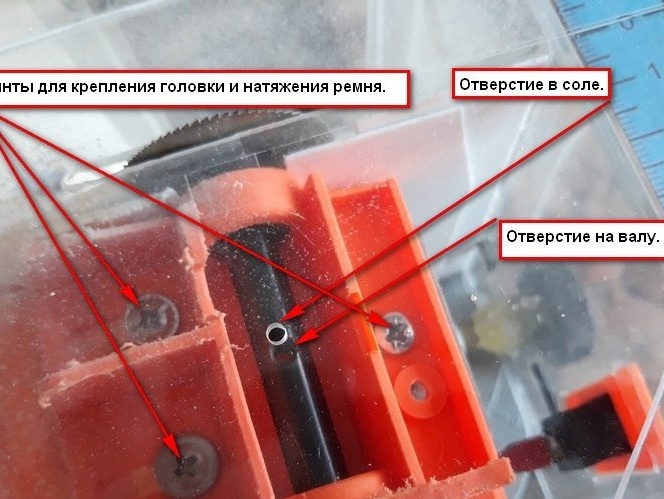
In the remaining beam, I drilled holes in the adjustment grooves of the sawn part of the beam. In other words, turned 180 degrees and secured. Like this.
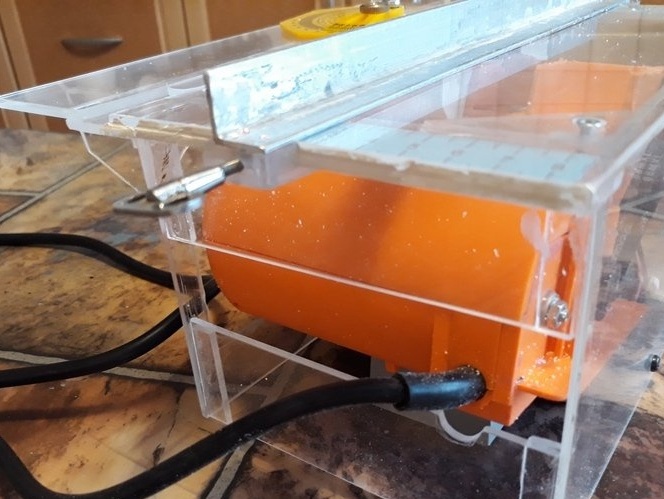
Then, according to the sketch, I cut the front wall of the sawmill and attached it directly to the bed of the “Model’s Dreams”.
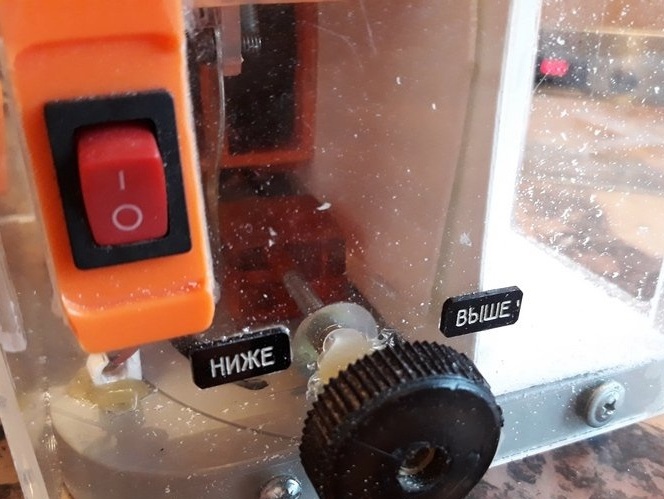
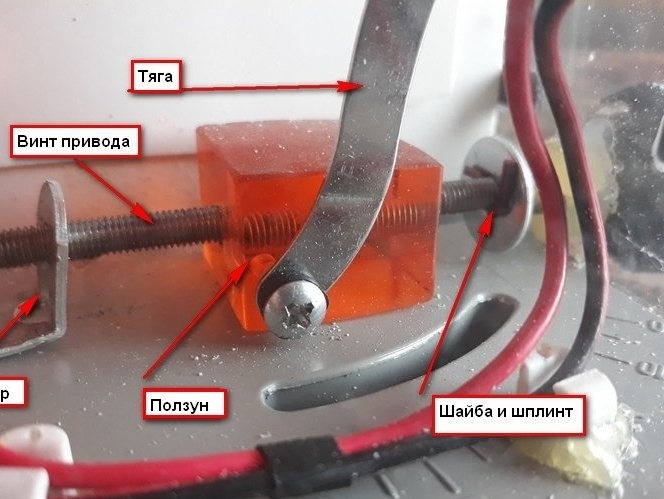
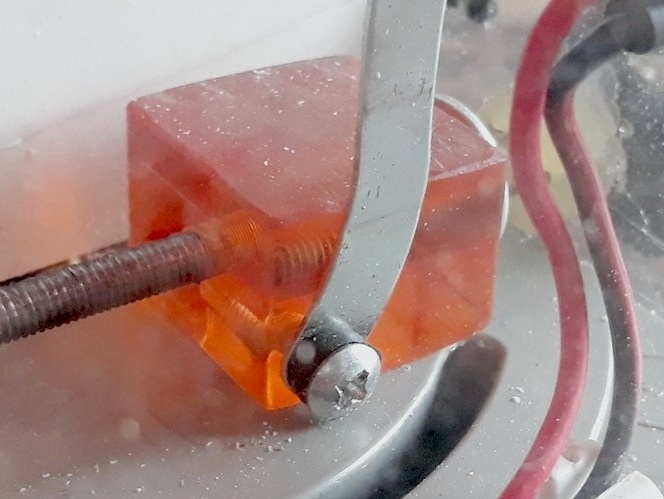
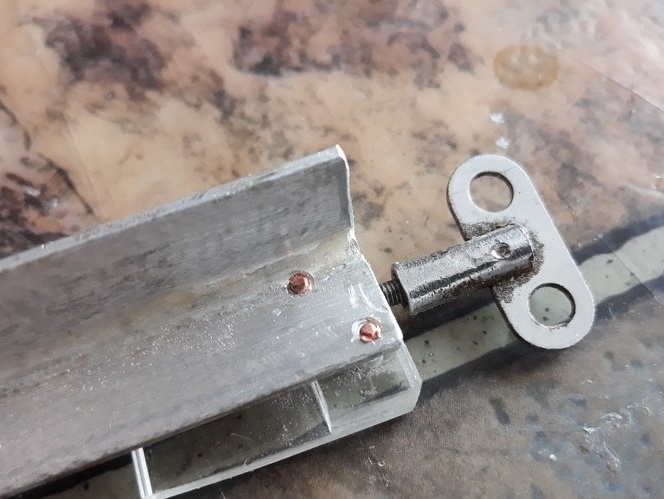
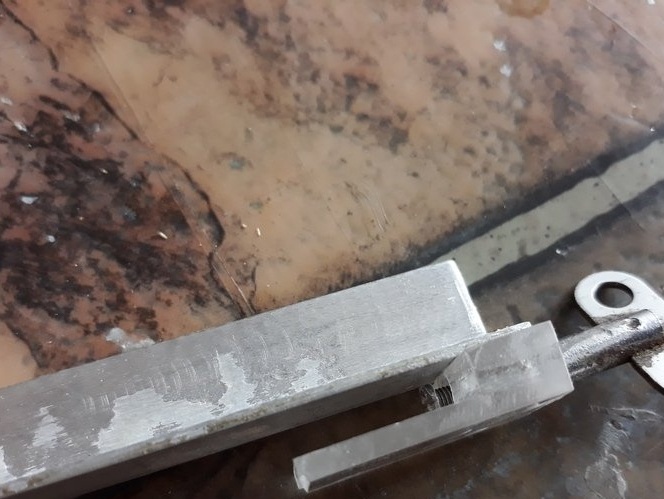
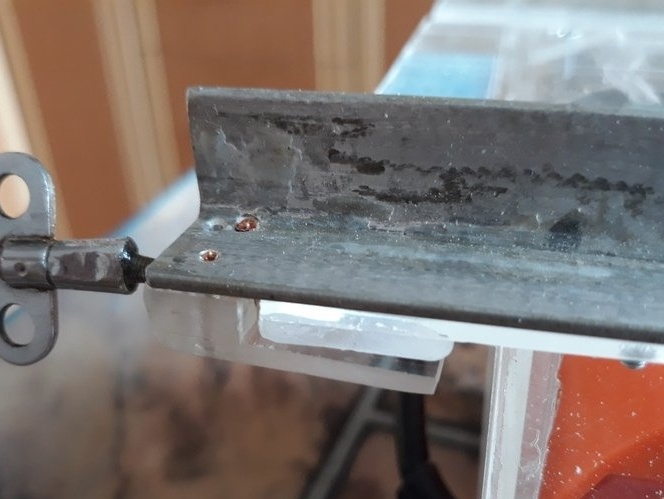
Having brought the standard switch on it, as well as the handle for controlling the raising of the cutter. When the handle is rotated left or right, the saw blade rises or lowers. The handle itself is mounted on a threaded rod that passes through a sleeve mounted on the front wall. From axial movement, the pin is fixed on one side by a handle on the inside with a support washer and a cotter pin. A slider (a cube with a thread) is screwed on the stud, a rod is screwed to it, which raises and lowers the saw blade shaft.The end of the stud is locked. All this can be seen in the photo below.
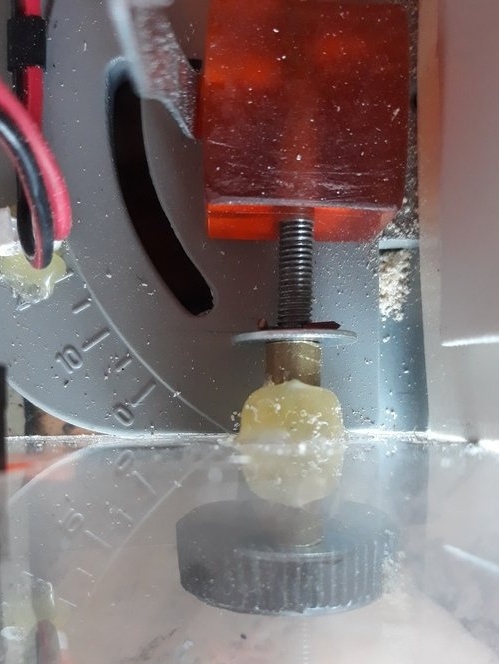
Raising the saw blade to the upper position is also facilitated by the spring, which stood on the cutting saw before restyling, I left it.
The choice of the position of the saw blade allows you to make blind cuts in the workpiece, as well as to make quarter sampling on the workpiece.
The side stacks of the sawmill are also screwed to the base and rigidly connected to the back wall, which consists of two parts, the upper and lower.
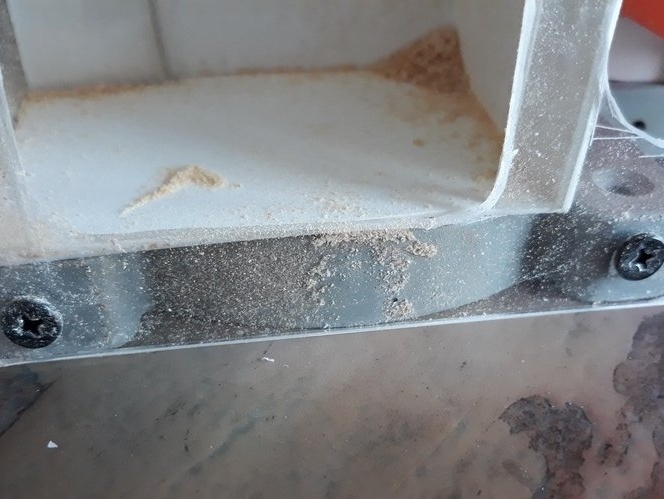
The right side wall has two hatches. One is provided for air access to the engine for cooling. The second is designed to accumulate sawdust from the sawdust collection chamber.
The chamber for collecting sawdust is fenced off from the inside of the sawmill.
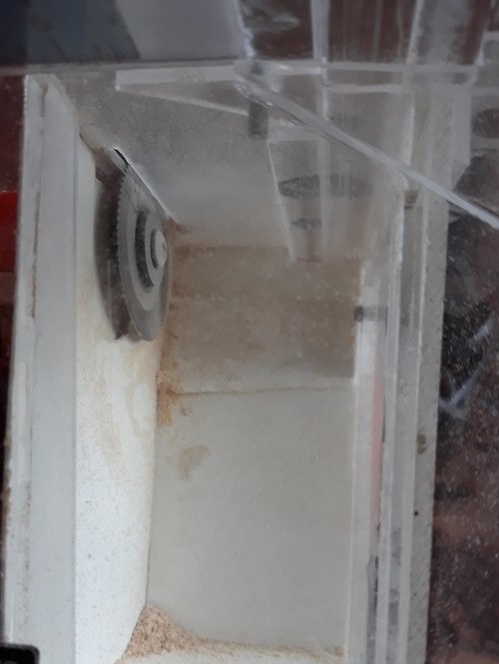
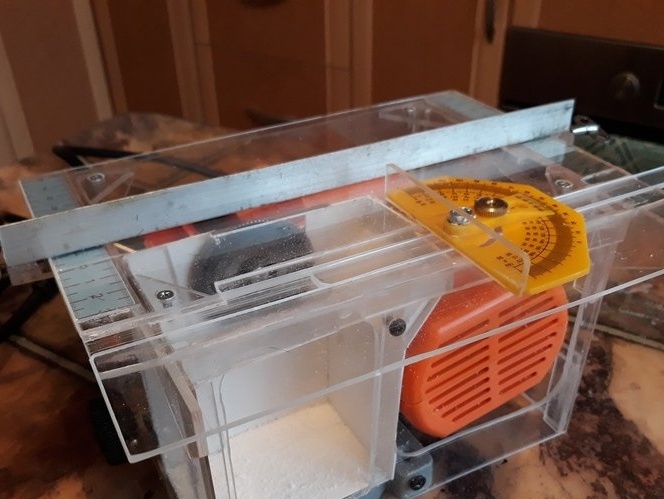
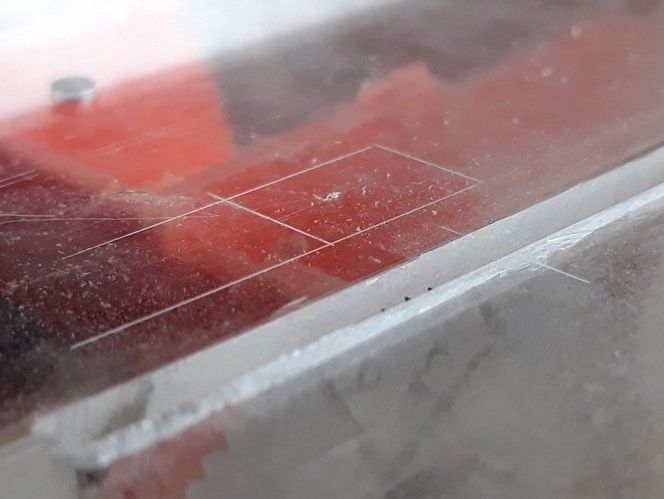
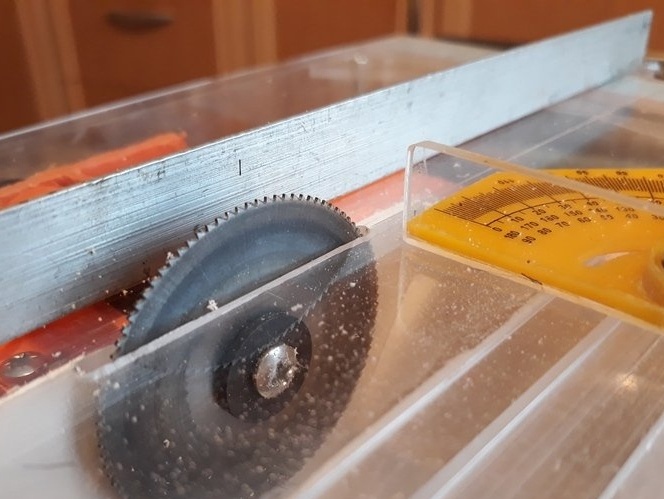
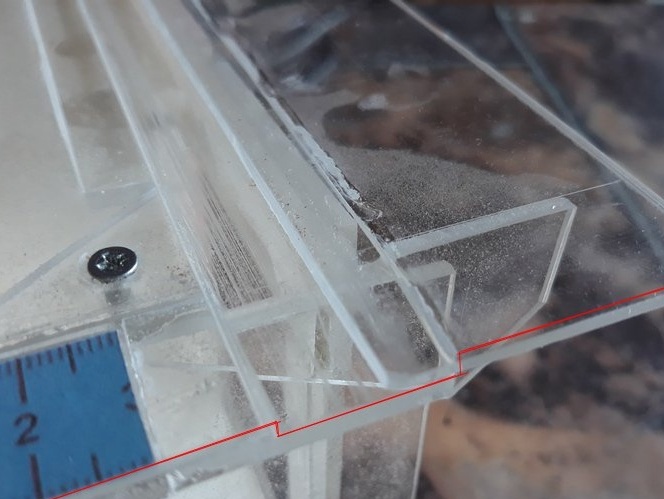
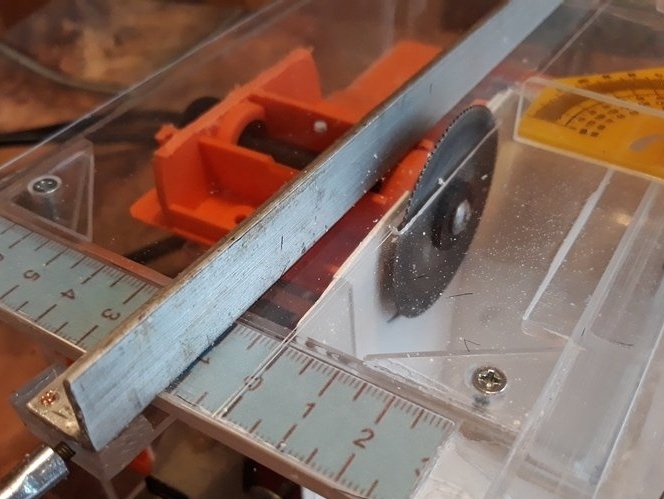
The sawmill table is made of plexiglass, is attached to the tides of the side walls with screws and has a ruler at the edges.
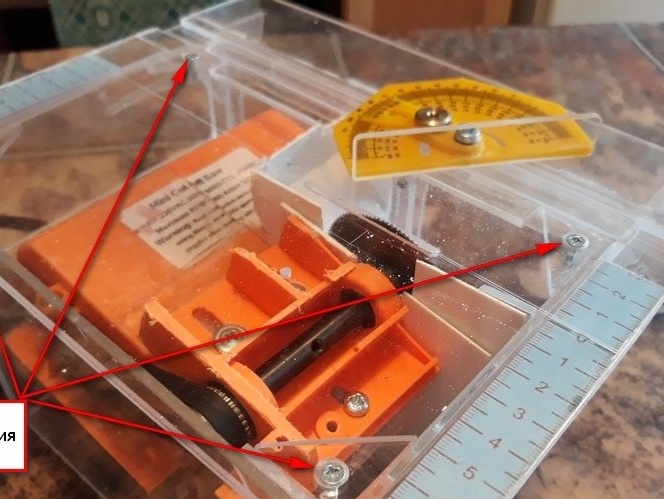
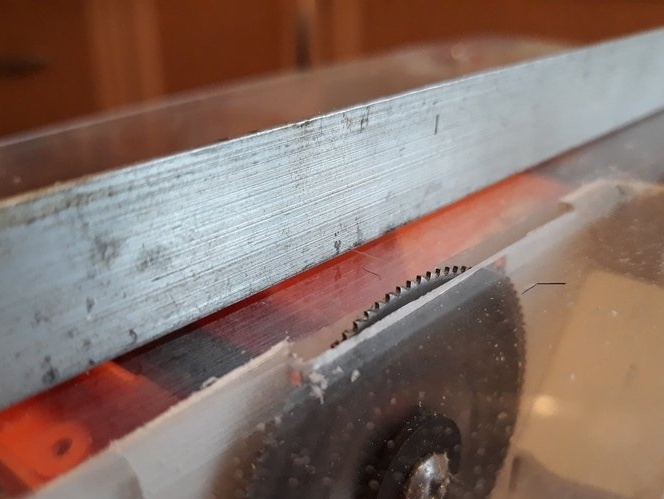
On the right side of the saw blade has a groove for the movable stop.

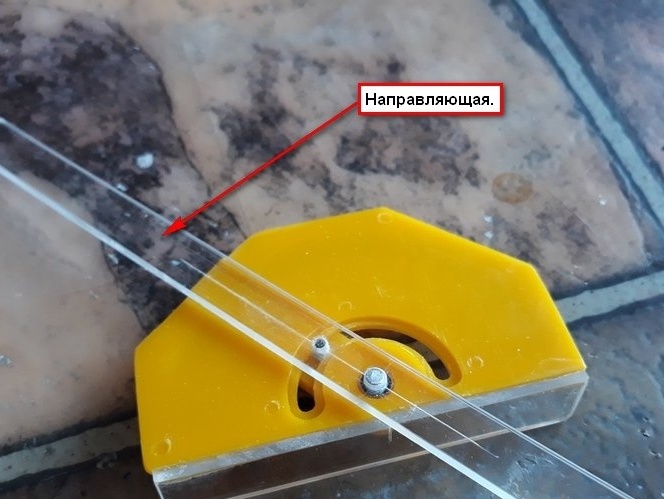
The movable stop consists of a guide, which moves along the groove of the table in the direction parallel to the cut. The movable stop also has a protractor, which in turn allows you to set the cutting angle of the part.
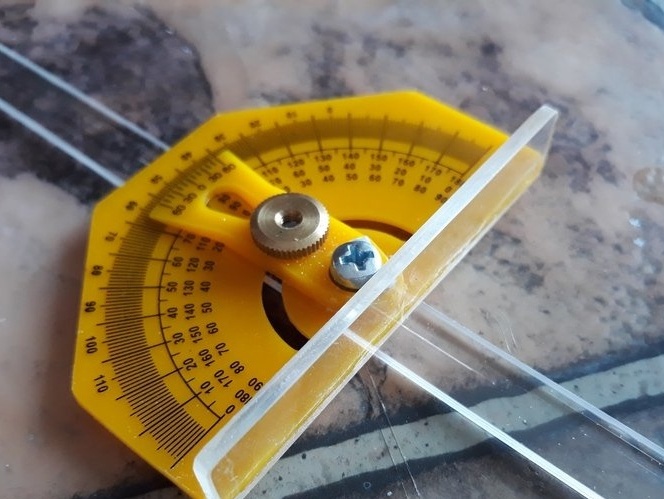
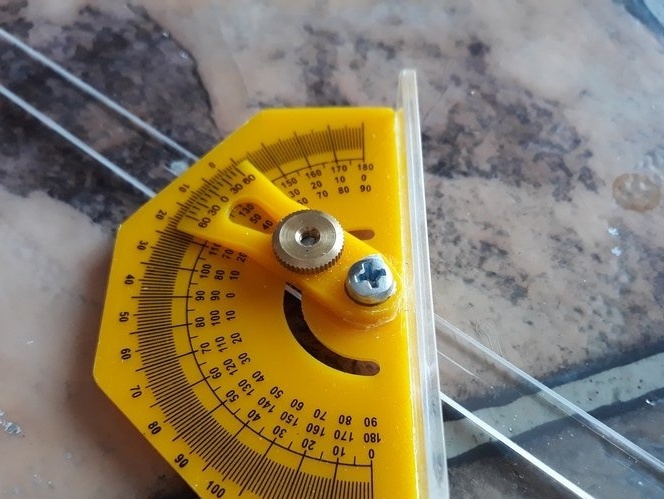
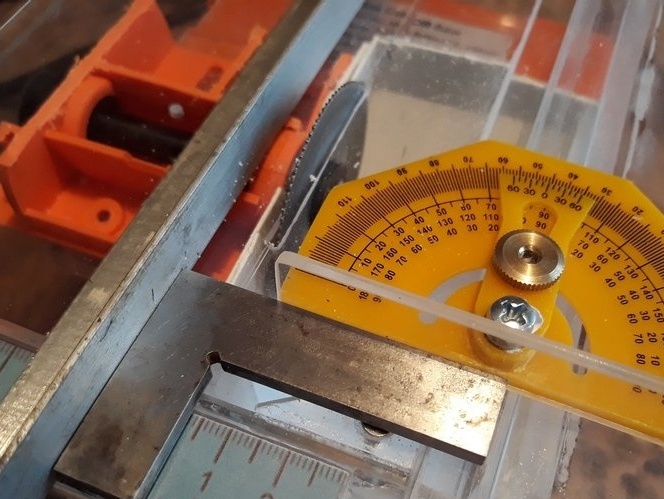
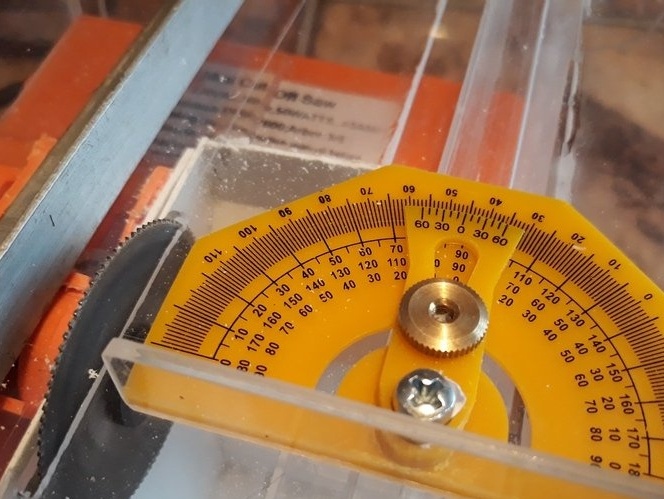
On the table, sawmills are provided, rulers and emphasis for dimensional sawing of workpieces.
I admit that fixing the emphasis on size, that is, the clamp on the table is not entirely good. It is simply difficult to set the size, as it shifts when it is fixed. I will redo it, but for now.
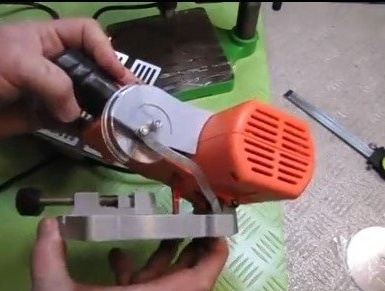
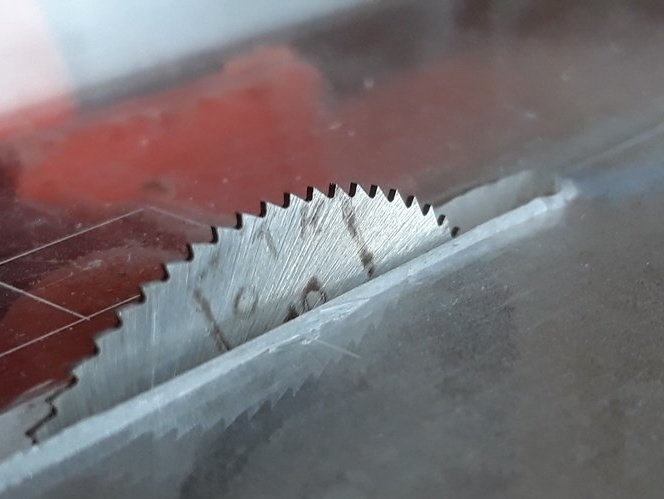
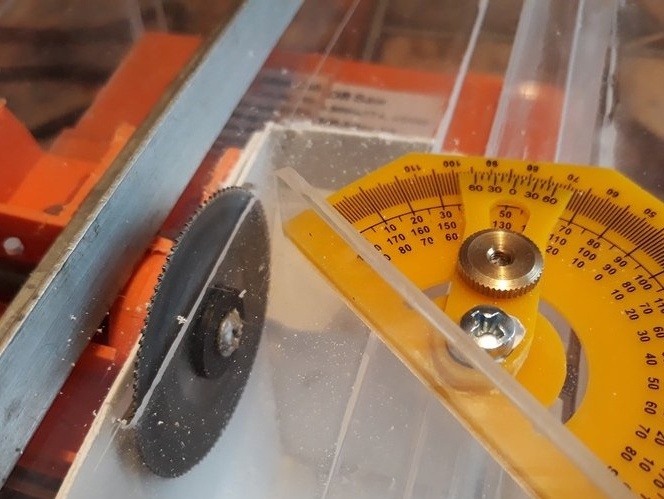
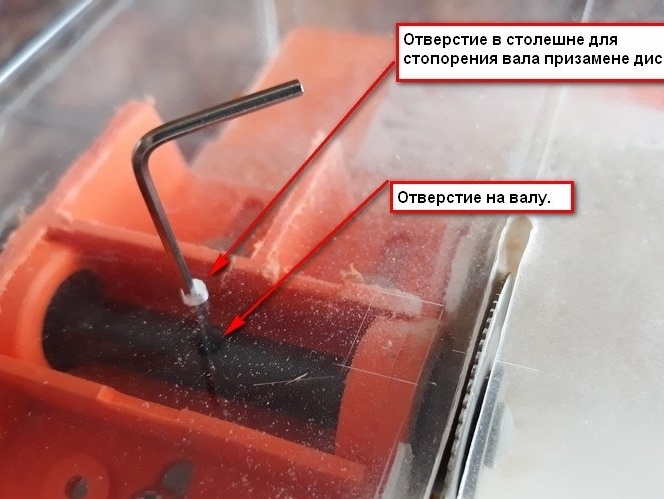
To replace the saw blade is necessary. Align the hole on the shaft with the hole on the table. Insert the key, thereby locking the shaft.
Next, insert a screwdriver through the hole above the chip discharge window and loosen the screw that secures the saw blade. Replace saw blade.
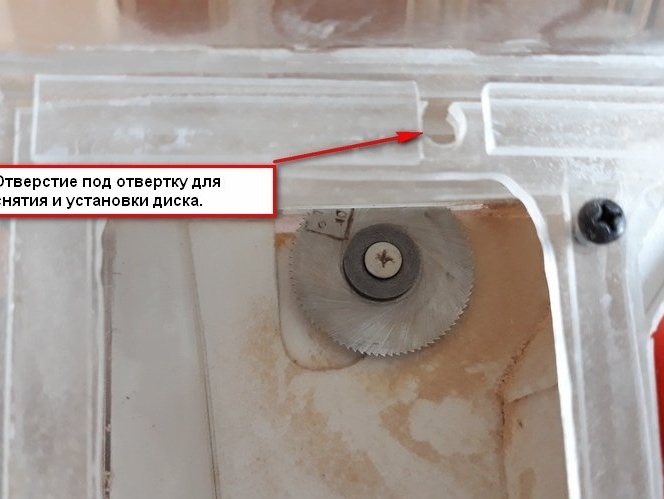
I also agree that it is not very convenient. But, on the other hand, it is not so often necessary to change it.
3rd step. Total.
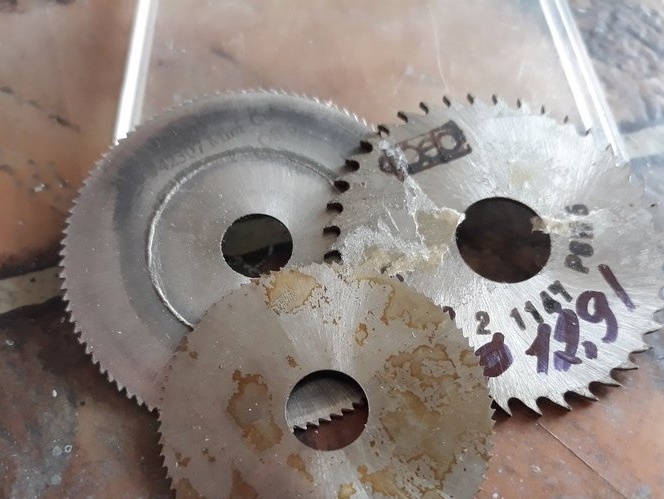
In the course of describing restyling, I have already talked about the advantages obtained by the opportunity to make blind cuts and select a quarter in the workpiece. The initial version involved the use of a saw blade of 50 mm, my option makes it possible to work with saw blades up to 4 ”(100 mm). Which significantly increases the possibilities of a restyled sawmill. Also, it became possible to cut sheet material, which the source could not afford at all model.
I want to note that restyling was carried out to obtain the above capabilities when working with details of ship models. That is, the loads are not large.
Therefore, organic glass was chosen, which allowed it to be done in home conditions.
The machine has greatly expanded its and my capabilities. I am glad about this alteration.
That's it.
See, criticize, advise, ask.
Regards, Starp