

Hello dear friends and guests of the site!
Since I am engaged in rabbit breeding, from time to time I need to either make new ones or restore old grain feeders. I make them from galvanized steel. Although I assembled the machine, with the help of which I give the desired bending angle to the workpiece, but still sometimes it needs to be knocked here and there. Spring is in the yard, so soon I will have a full inventory of the property. Something worn out over the winter, something generally needs replacing.
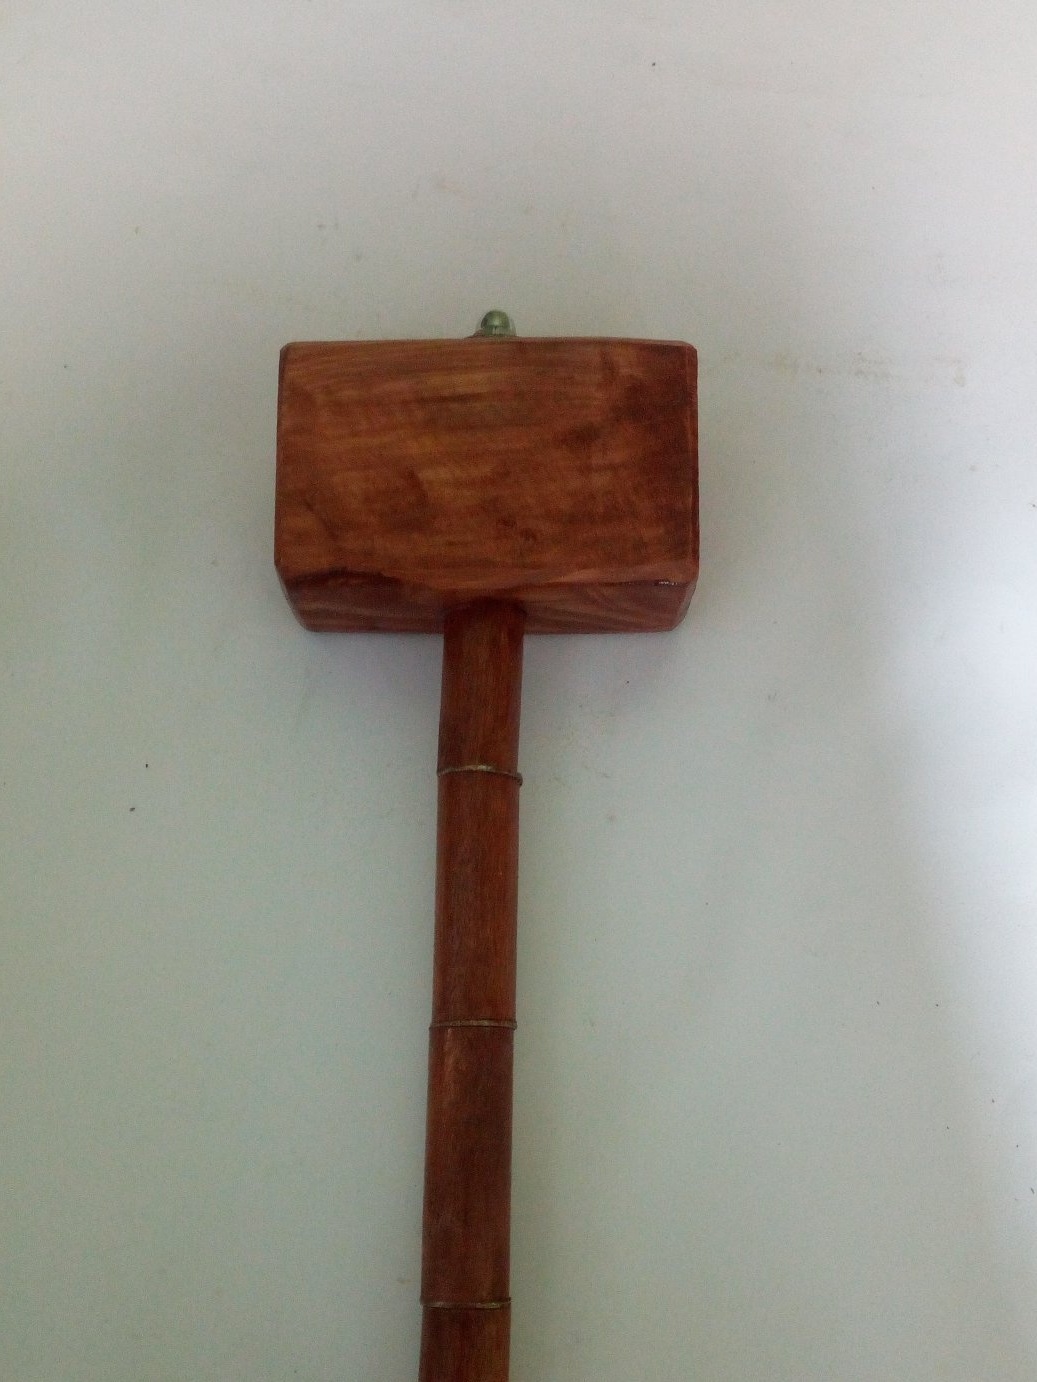
It was for restoration purposes that I needed a tool like a mallet. I can damage either the cages or the feeders with an ordinary hammer, but with a mallet I calmly and accurately do what is difficult to do with an ordinary hammer. The option that I present to your attention is quite simple to manufacture, does not require almost any costs during assembly. I once saw an idea on the Internet, and when I had a need for such an instrument, it surfaced in my head. Sin is not a good idea. It remains only to realize it!
To work, you will need tools such as:
Jigsaw or conventional wood saw,
A grinder or a saw for metal,
a few wrenches, or a drill,
wood drills of different diameters.
screwdriver
sandpaper,
corner.
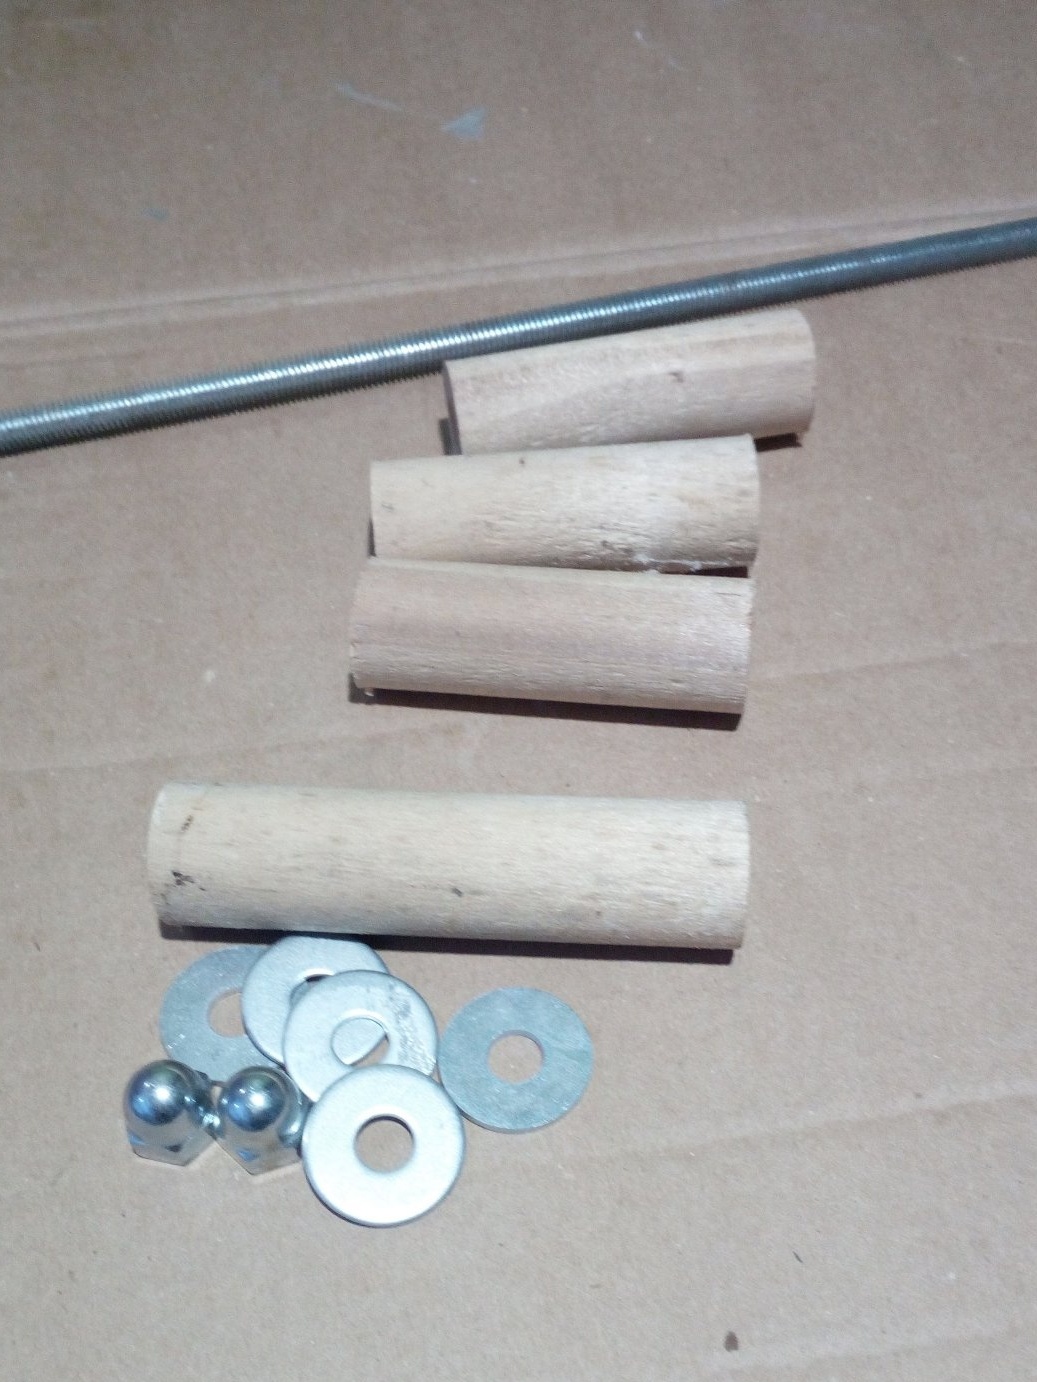
From the materials I used a mop handle,
wooden beams, M8 threaded rods, washers bod the size of the handle, and cap nuts.
So, let's begin.
Step 1.
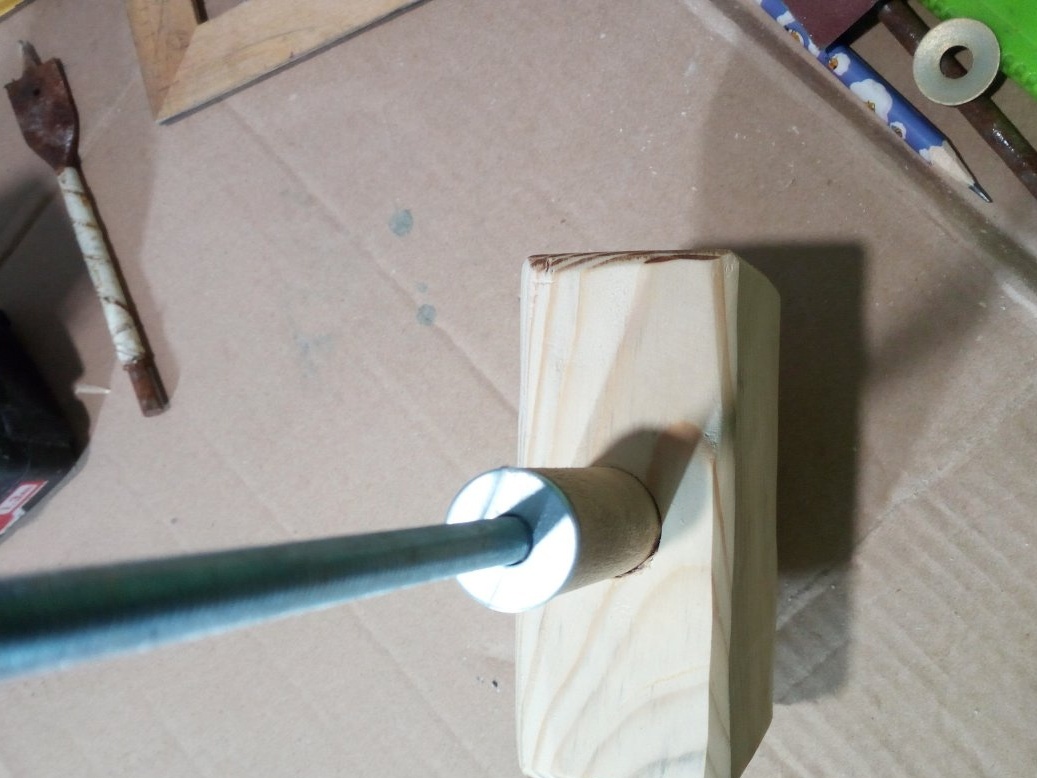
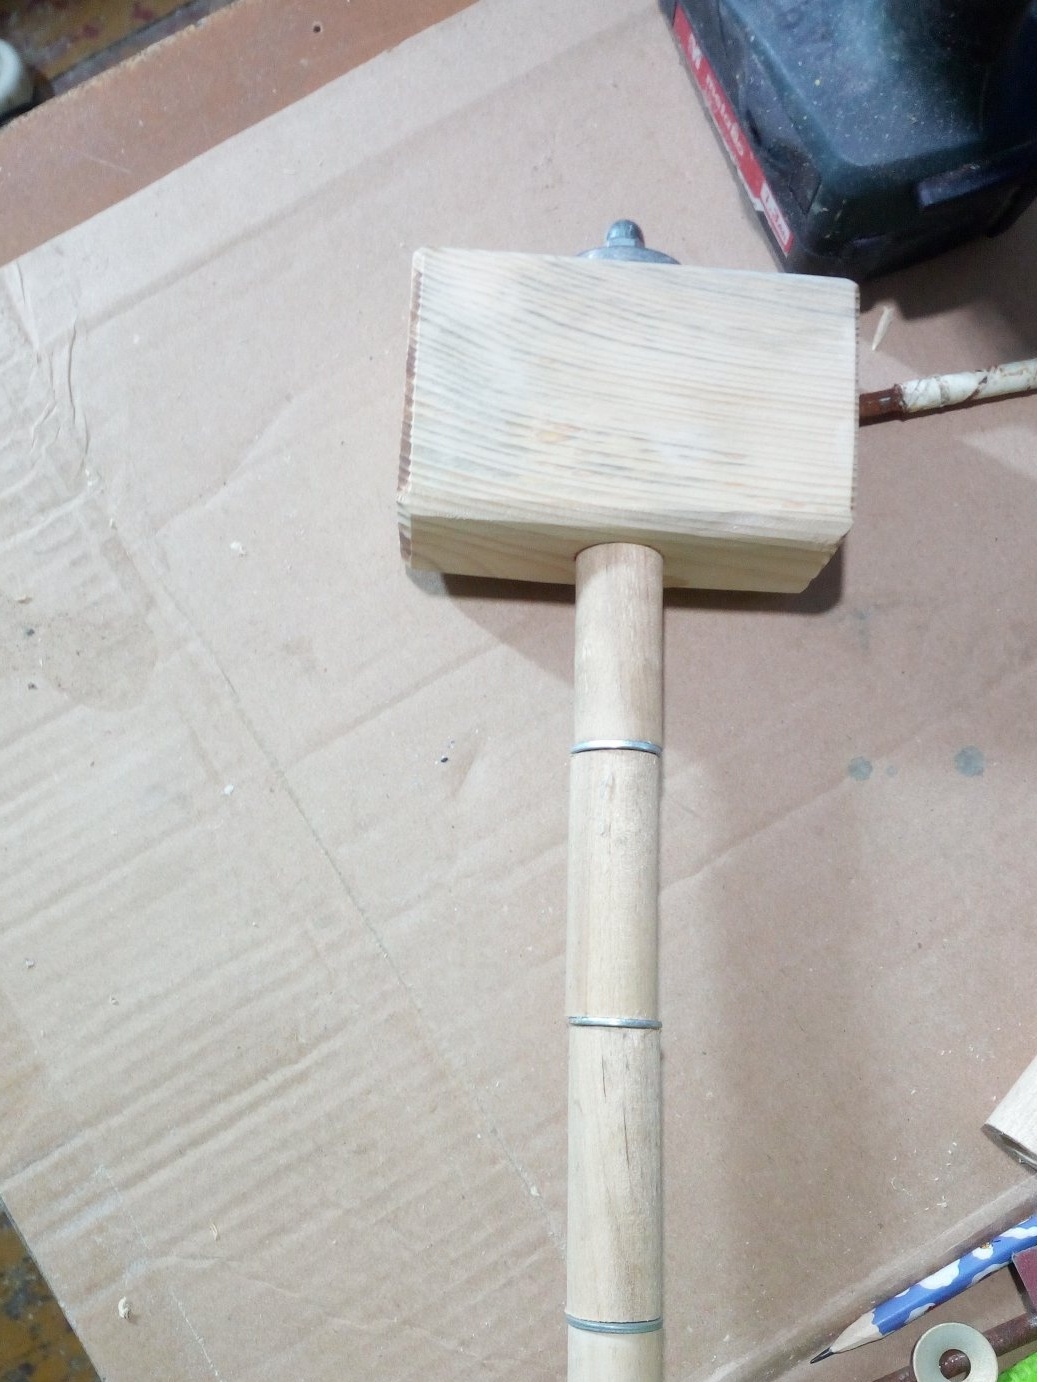
To get started, I took an ordinary stalk and cut it into several parts so that each of them fits comfortably in my hand. Only one, which will be attached directly to the shock part, I cut off a little longer than the rest.
Inside each of the blanks, I drilled a through hole for the stud. For this purpose, it is better to have a drilling machine or drill stand to fix the drill evenly. I do not have this, so I had to drill by eye. This of course affected the quality of the hole. When the drill exited from the opposite side, several parts of the handle had holes that were not centered. Then, with an emery cloth, I clean all the flaws that arose during sawing and drilling.
A hairpin that will pass through the entire handle and the upper part of the mallet will be an additional reinforcing element of the entire structure.
Step 2
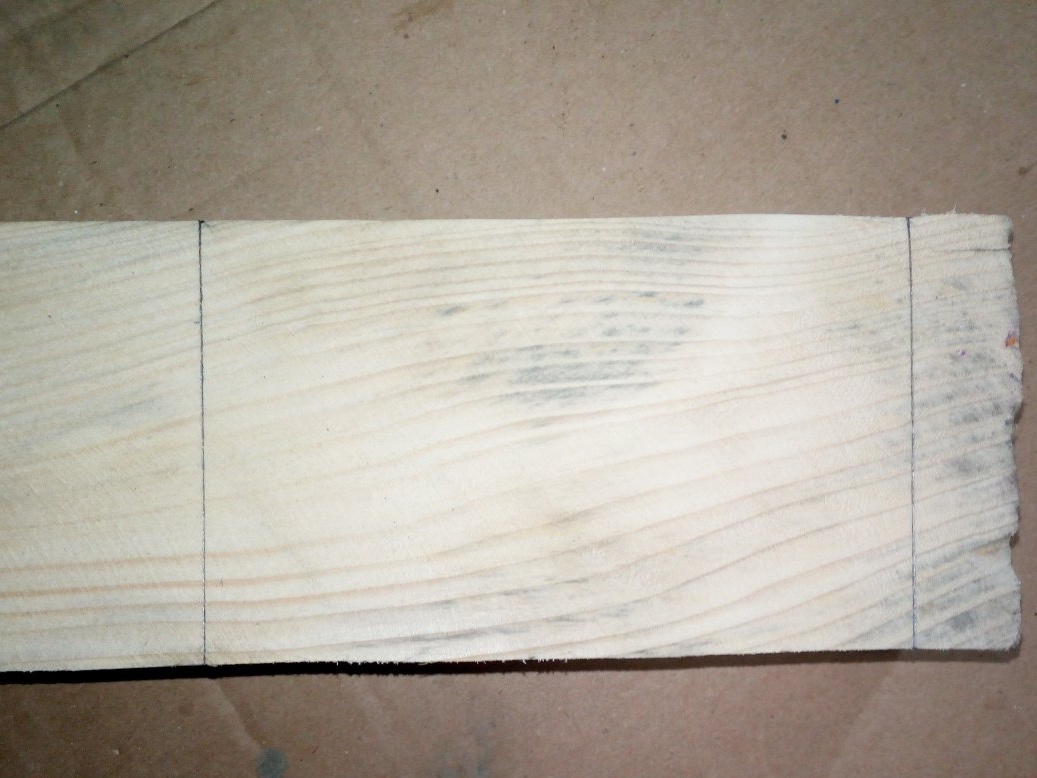
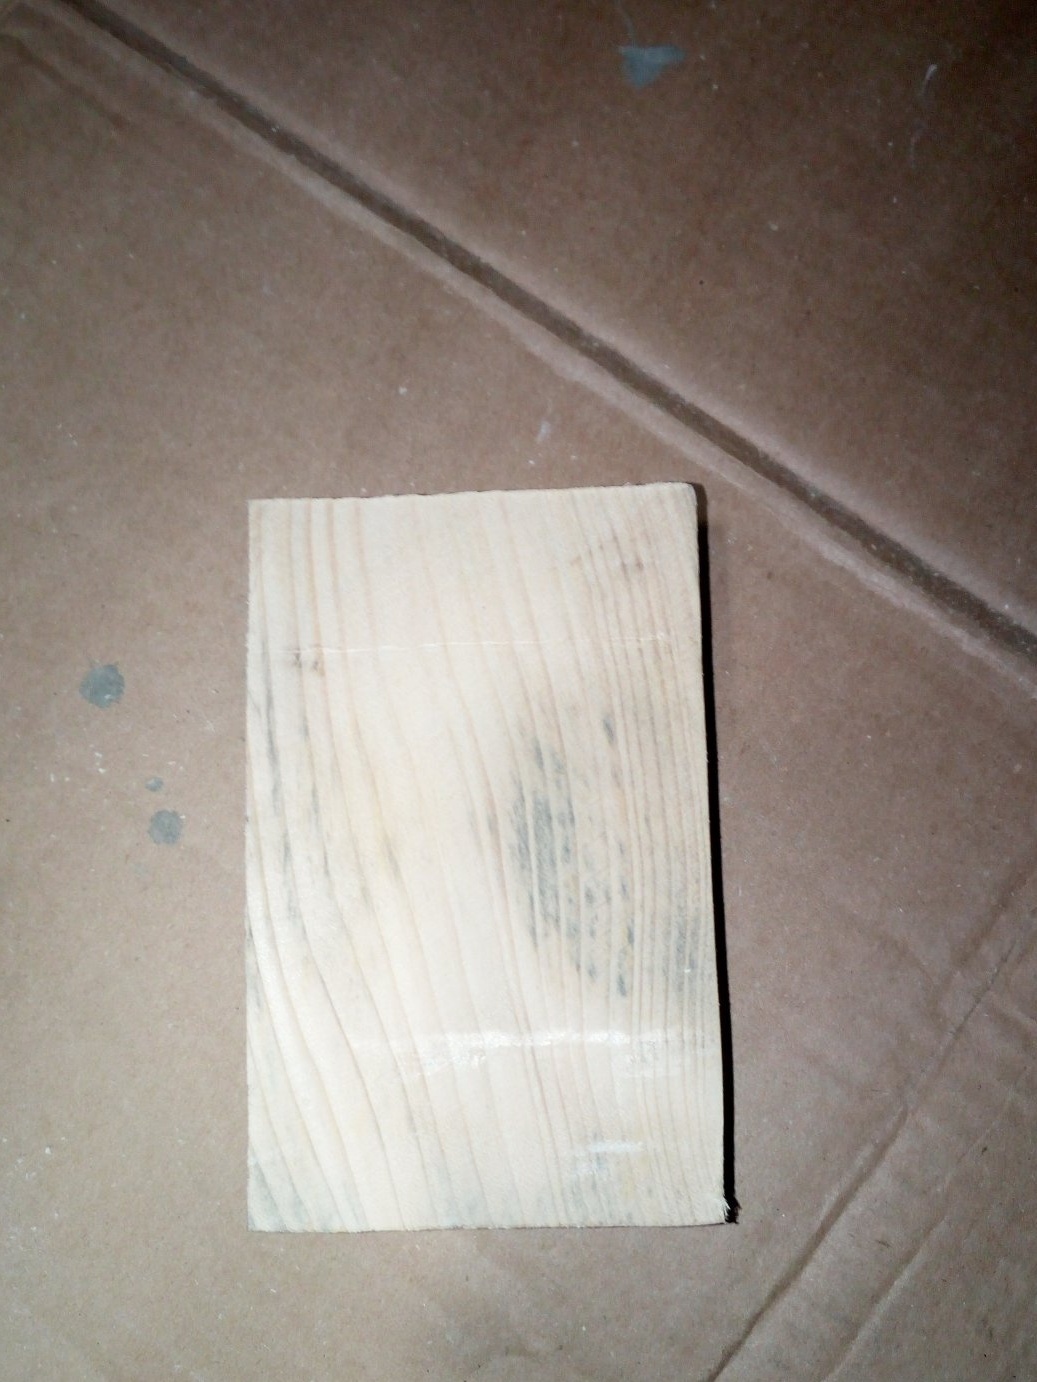
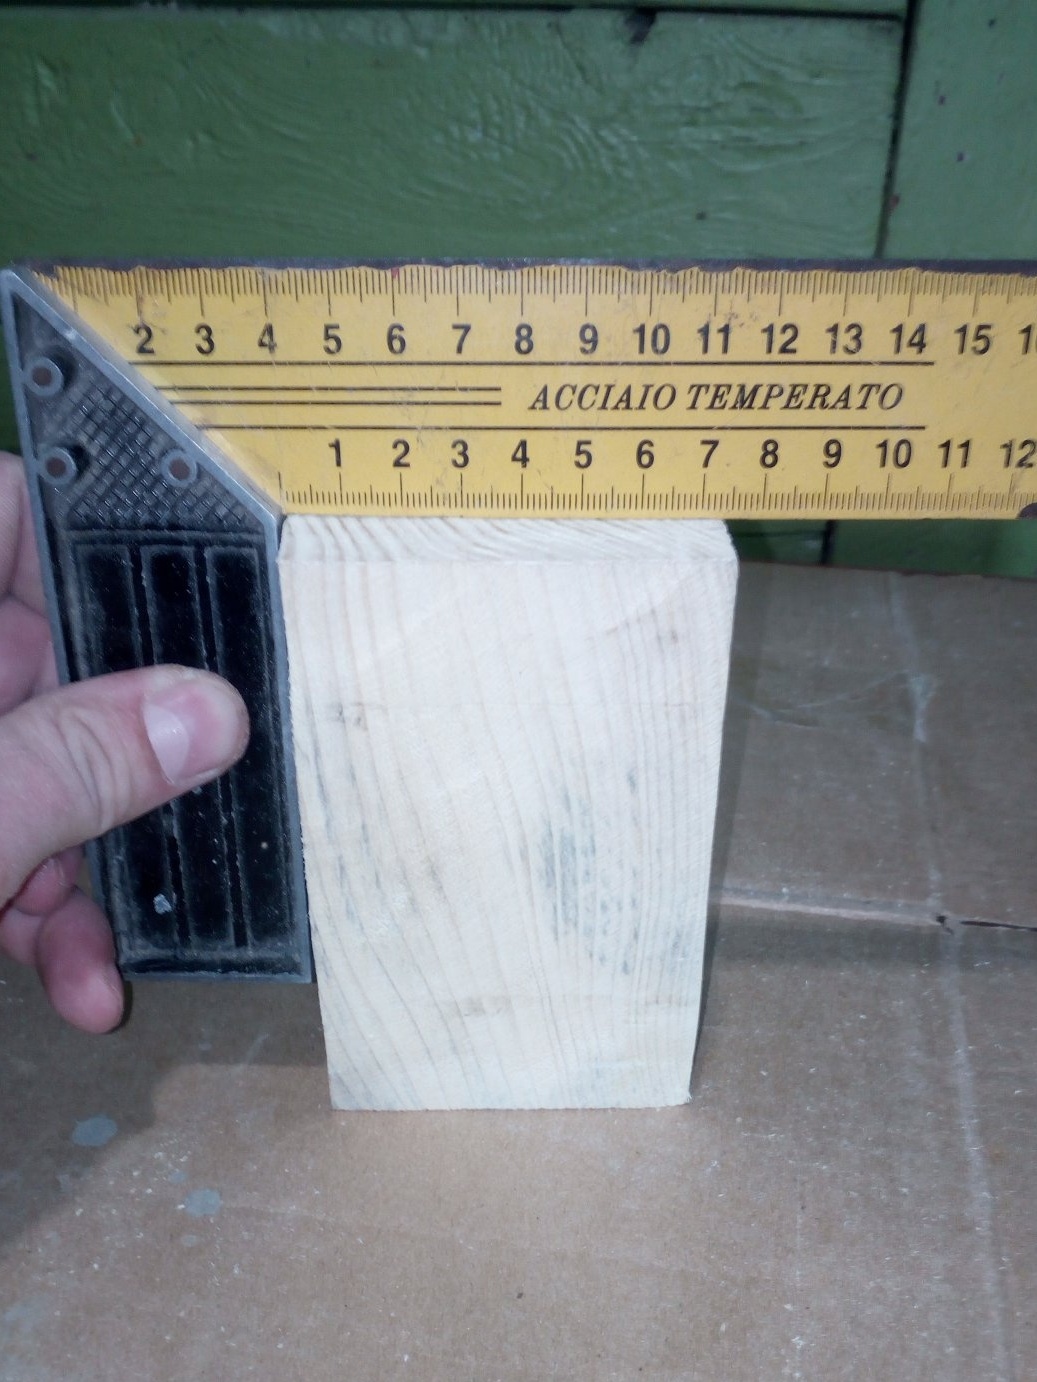
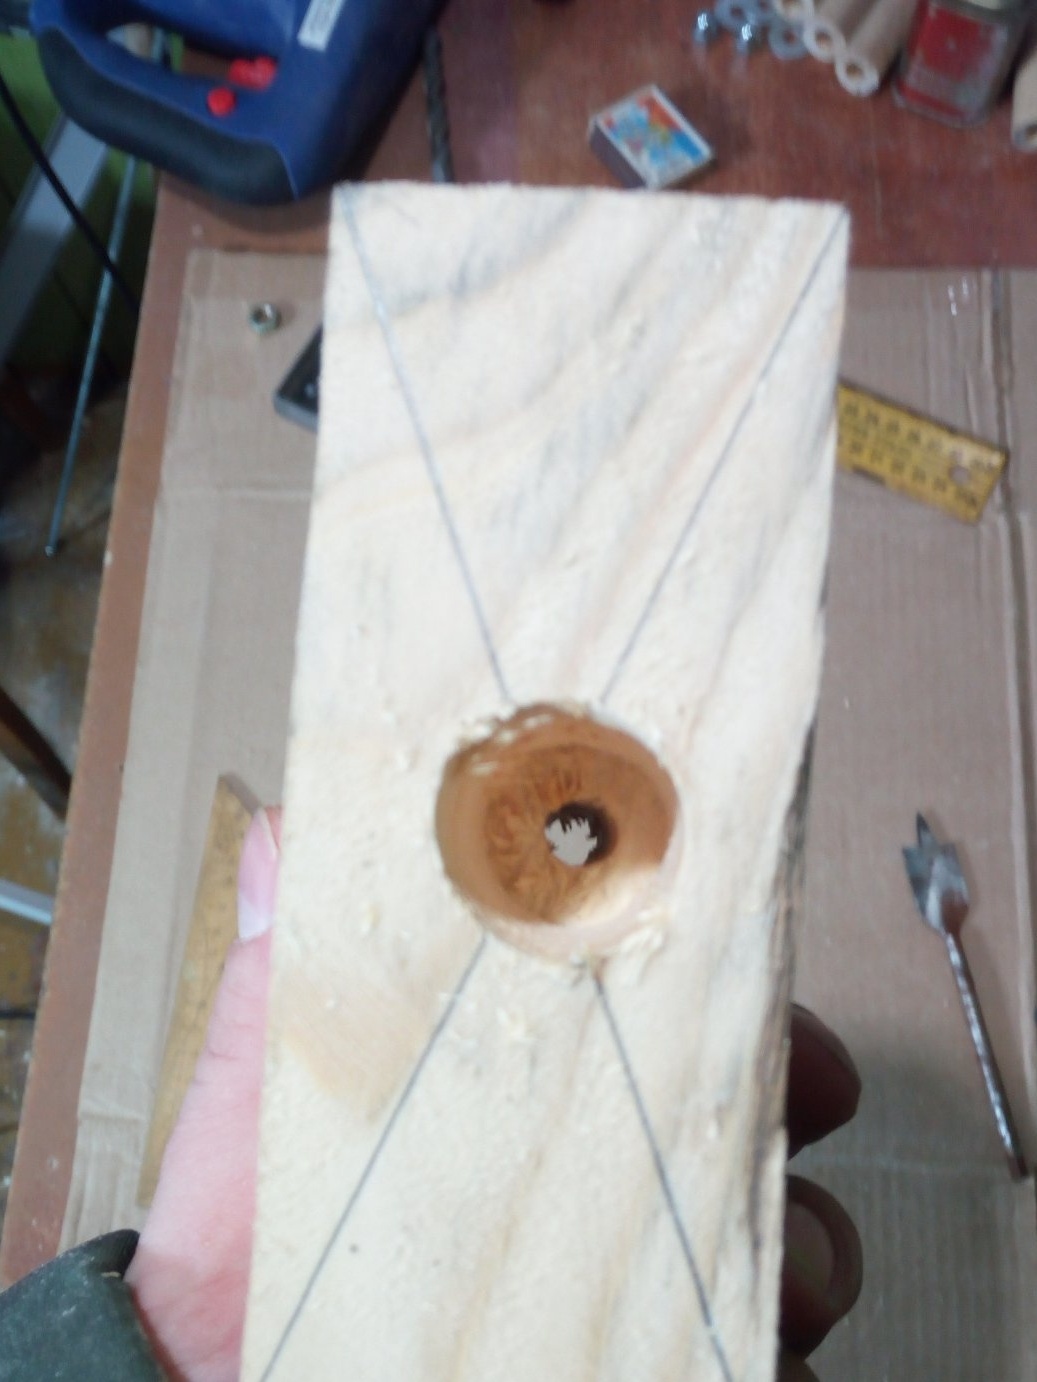
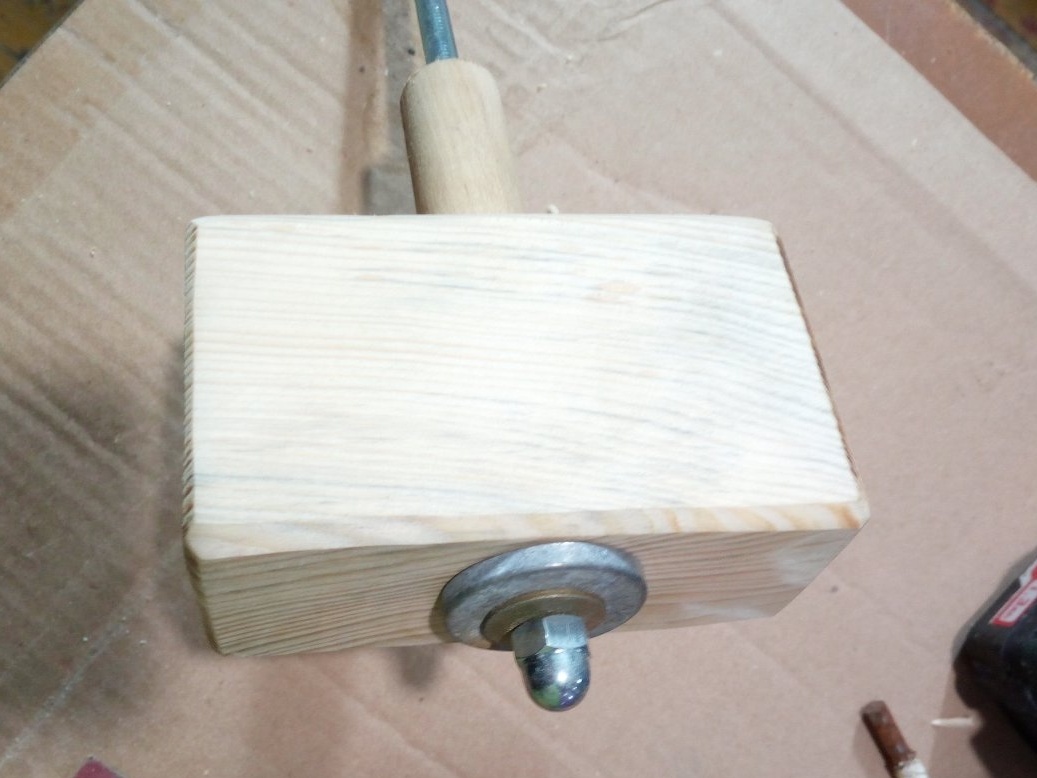
Now I need to make the impact part of the mallet. For this, I used a block from my stock, which remained from the manufacture of a cage frame for rabbits.I could not determine what kind of wood it was, but it is quite heavy and strong. Sawed it with a jigsaw and still quickly failed. There was a feeling that the file stuck in the wood. While sawed off even tired hand holding a jigsaw. Having estimated what size will be convenient for me, I noted and sawed it off with a jigsaw. I checked with a corner whether the cut was even. Slightly corrected the flap disc.
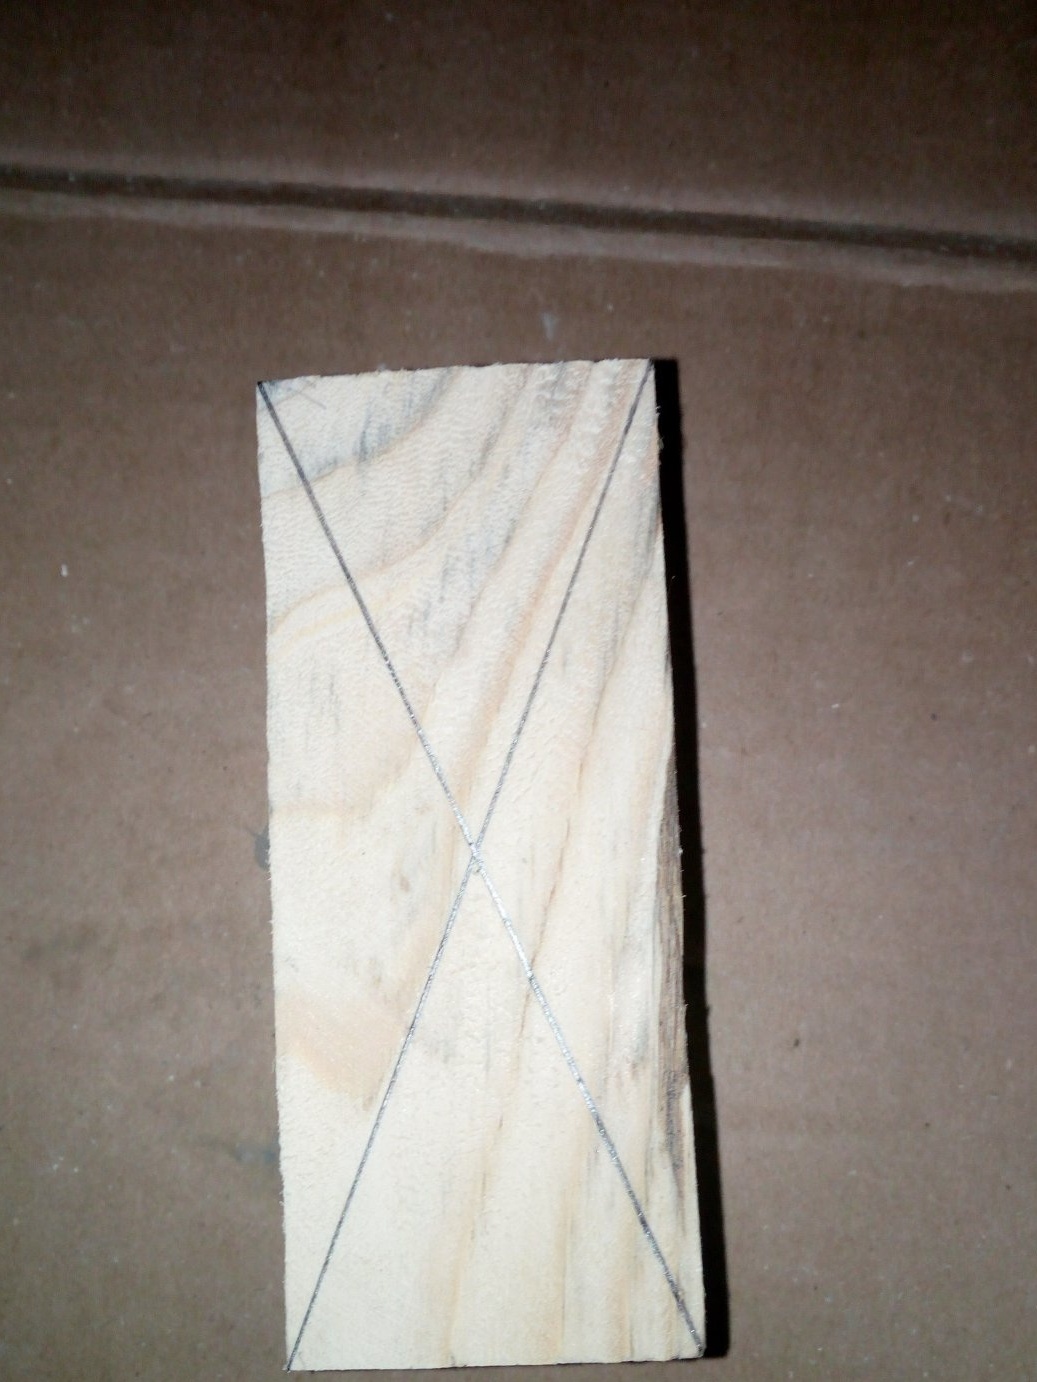
You need to find the center of this workpiece. To do this, from the angle of one side we draw a diagonal line to the other. The intersection of these lines is the center of our detail.
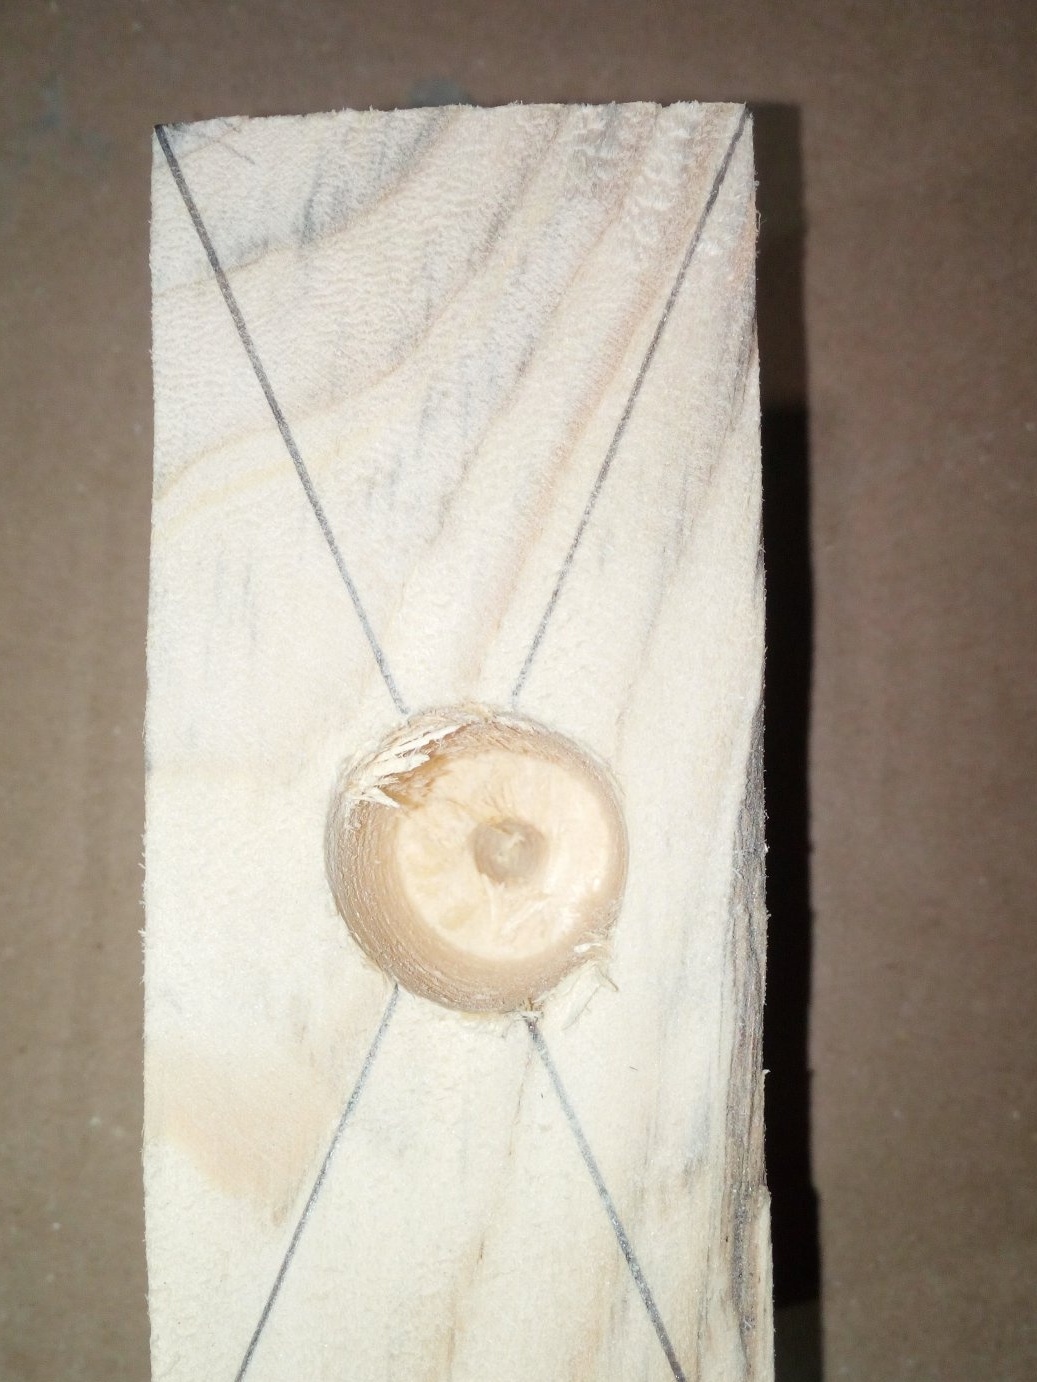
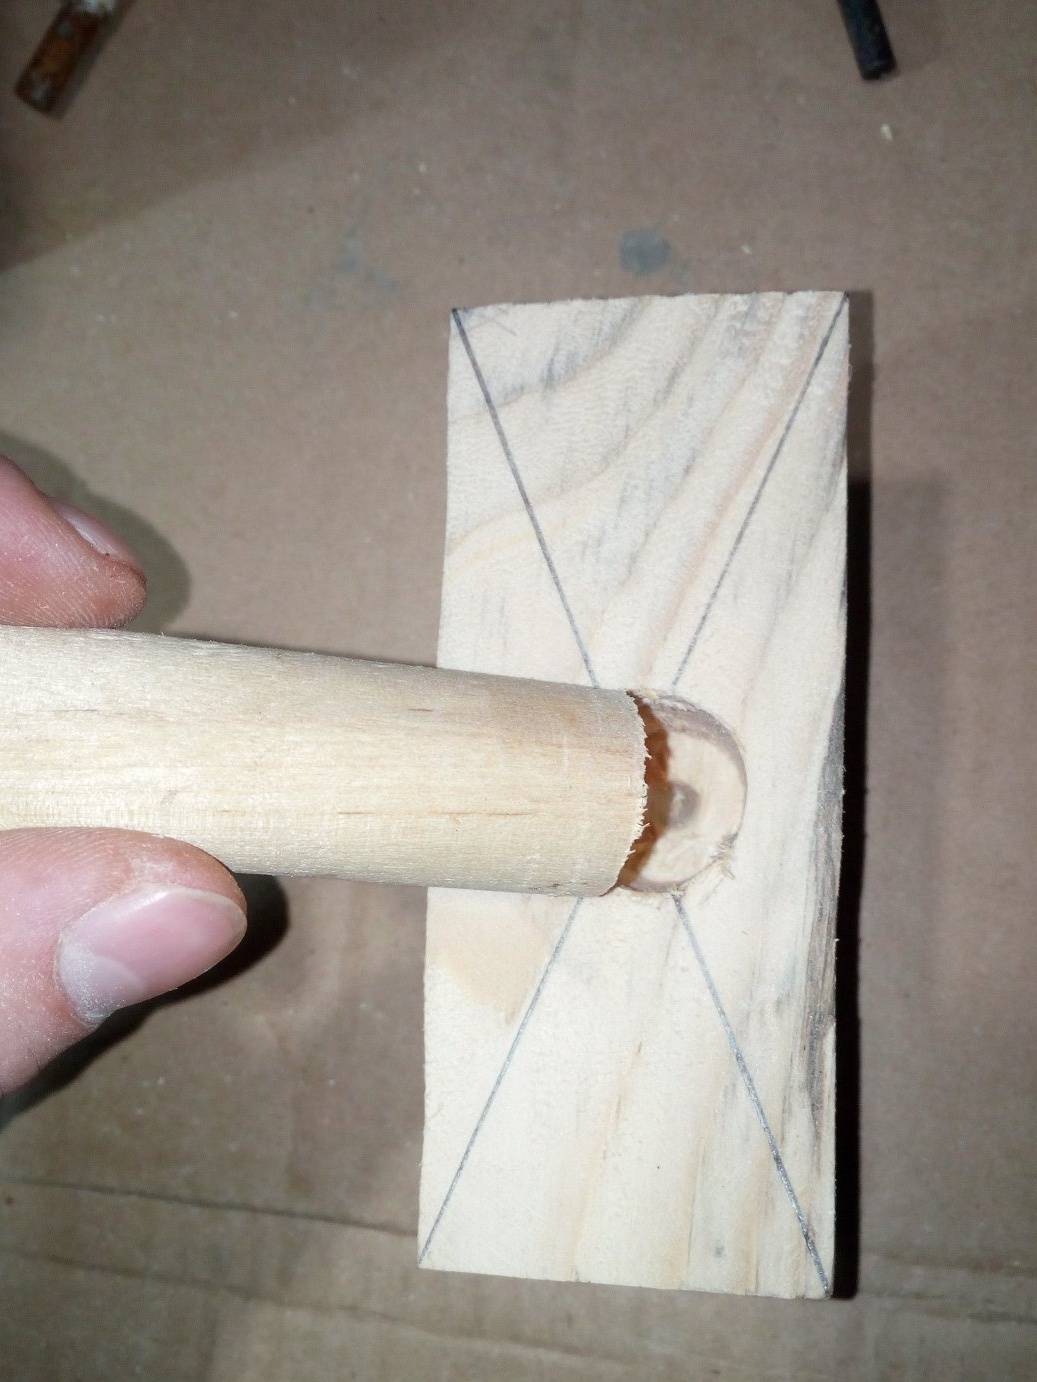
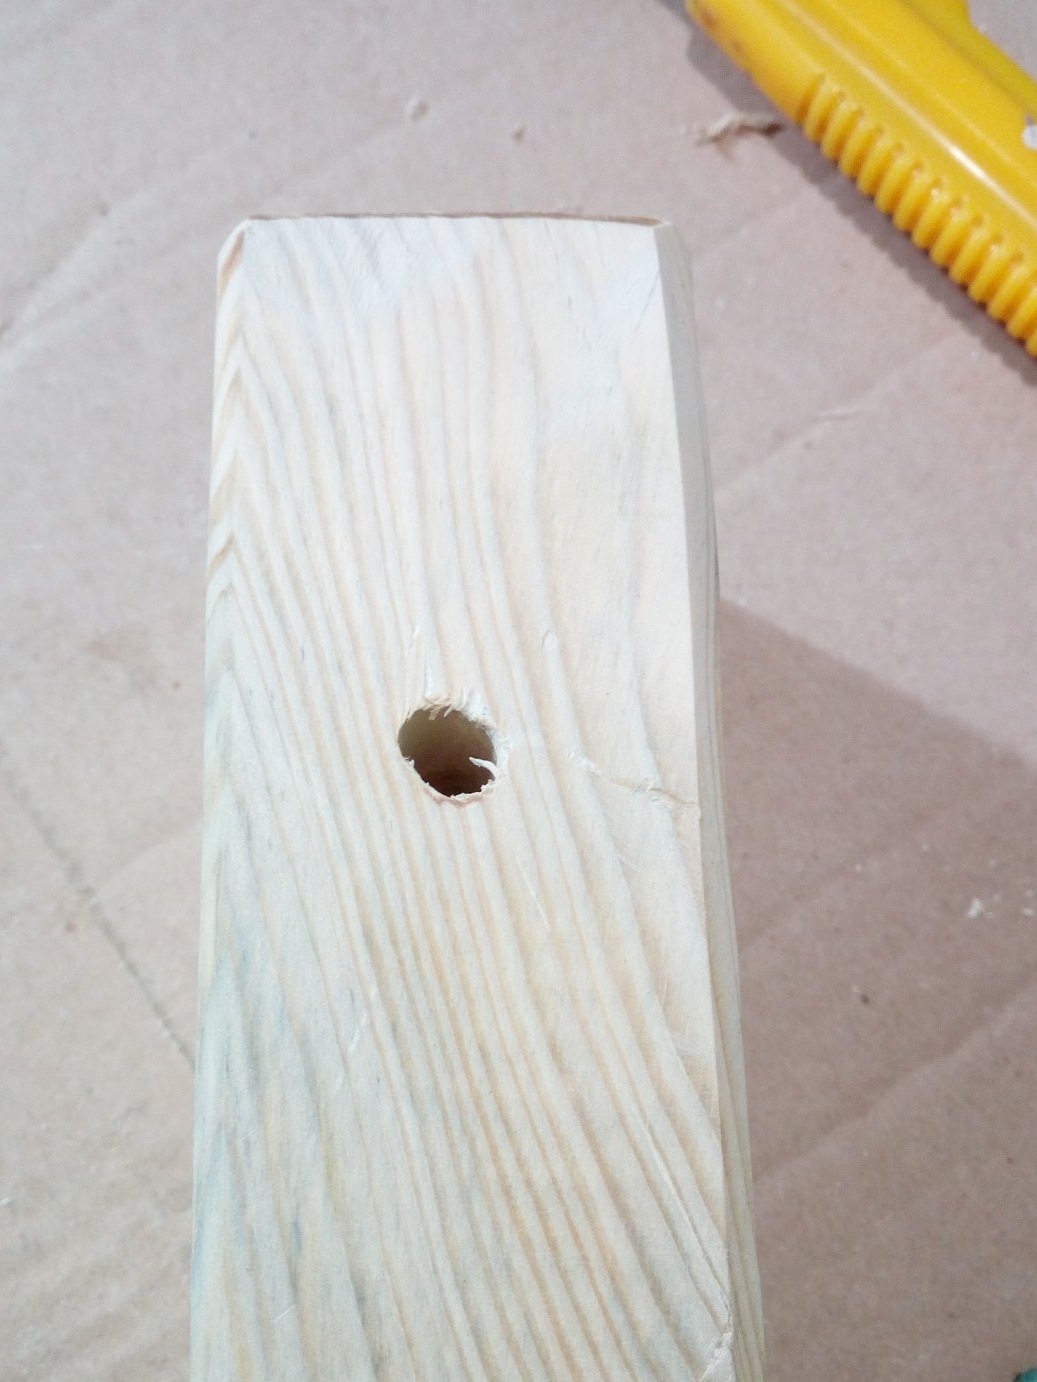
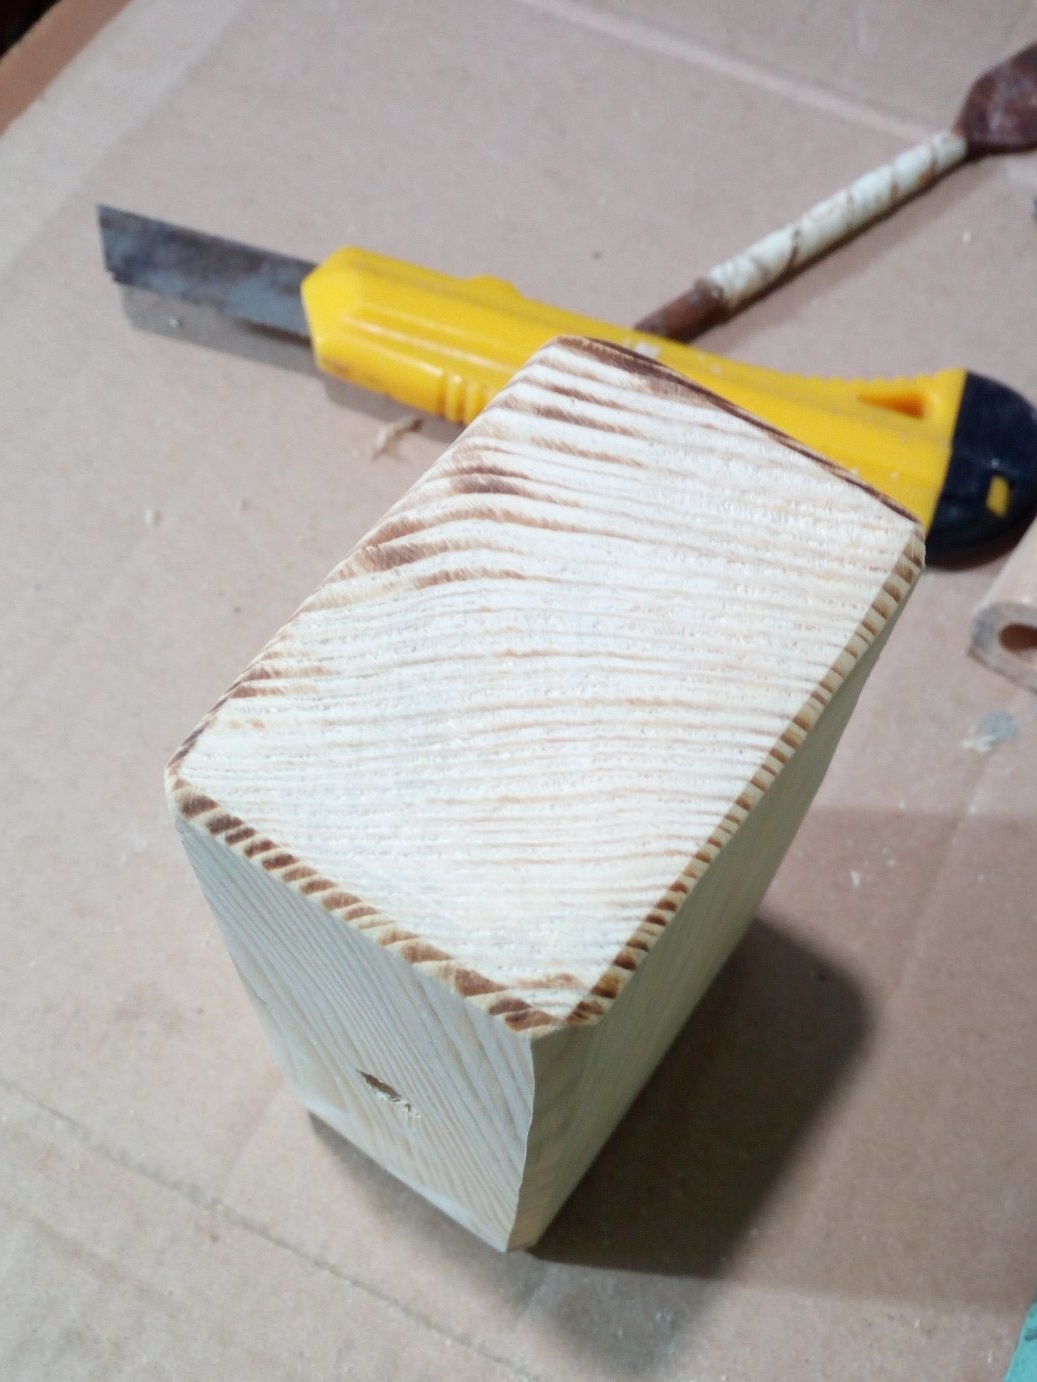
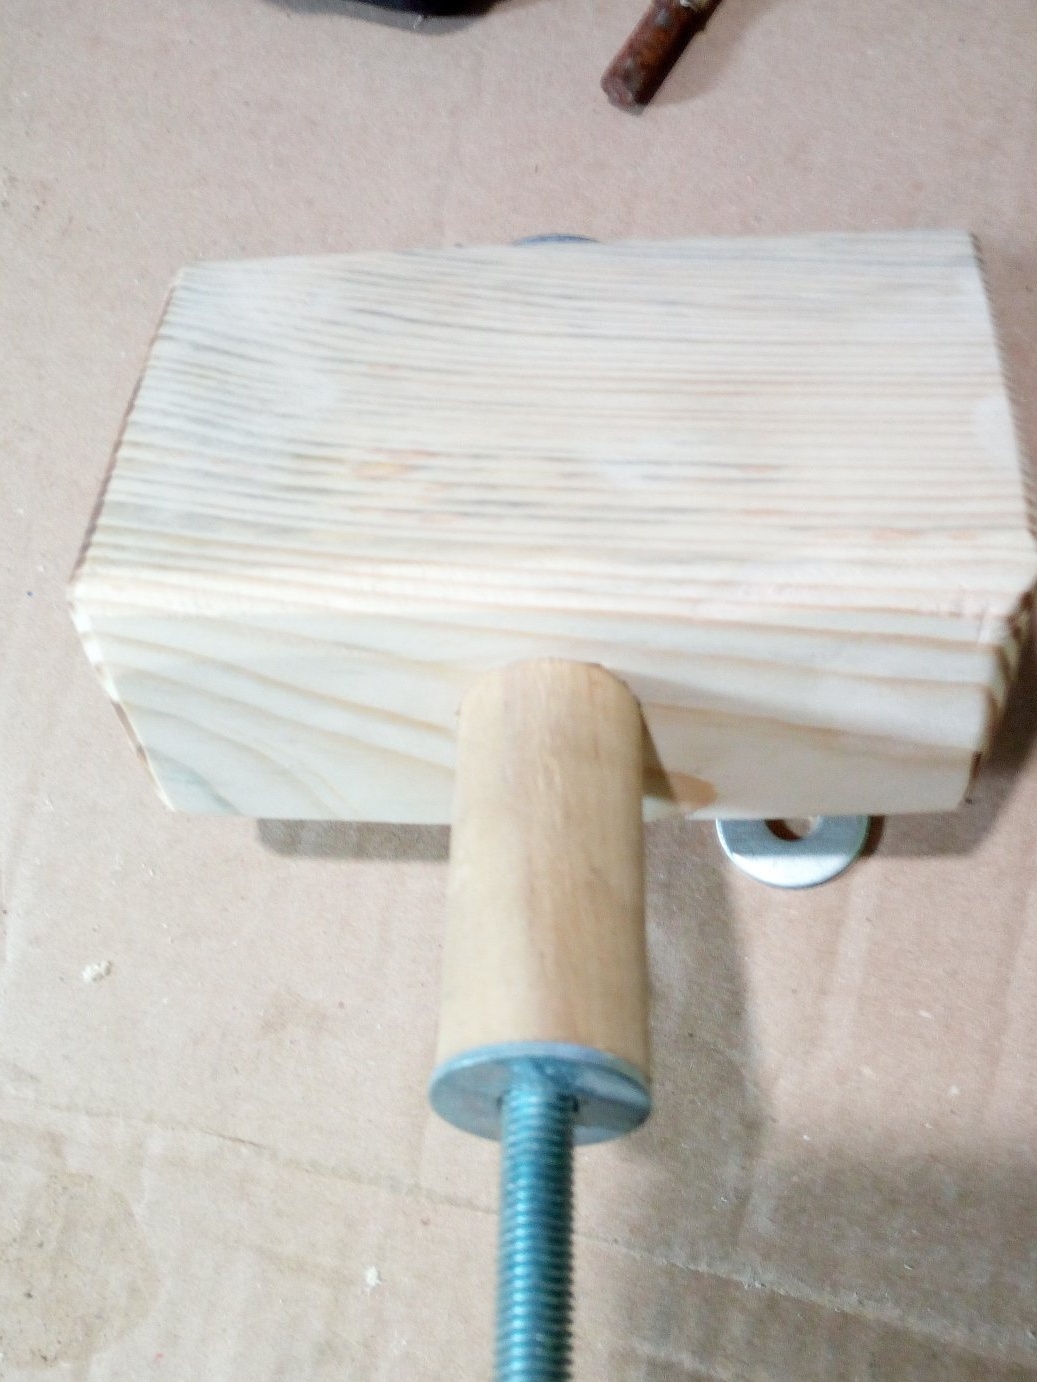
Then I drilled a hole in the hammer part at 22, with a depth of about 1/3 of the thickness of the workpiece. A stalk comes into this hole with little difficulty, I did not even have to glue it. After that, a through hole for the stud is drilled. Smooth all edges with a grinder.
Step 3
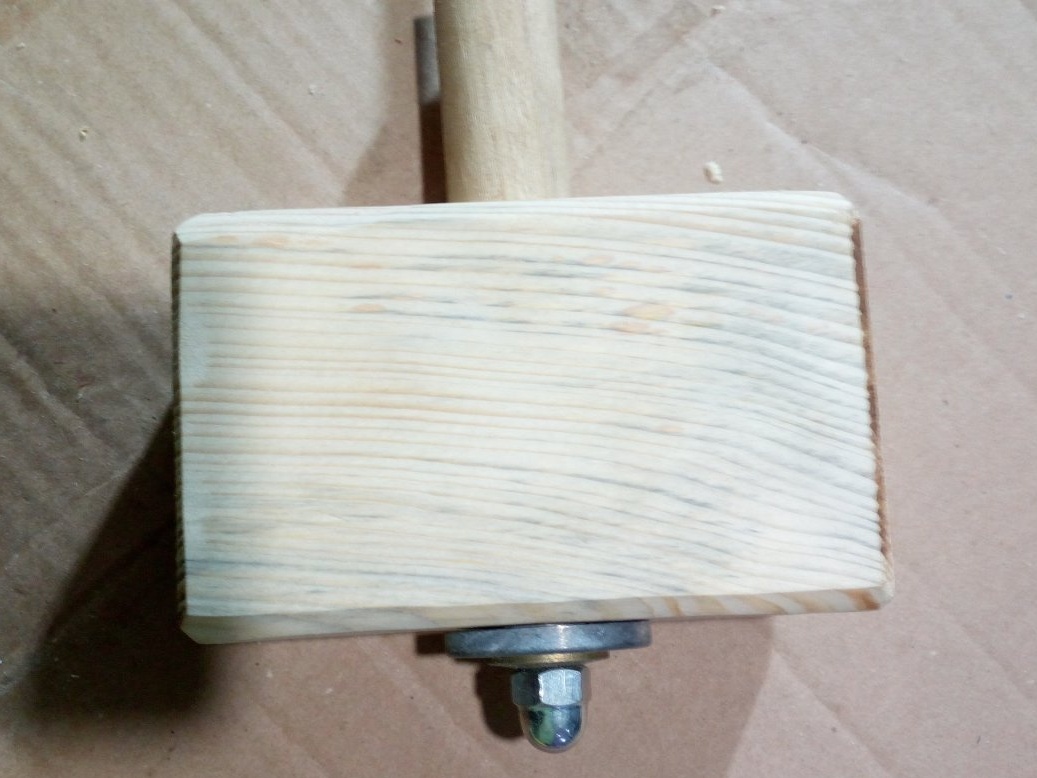
In the shock base I insert the part of the handle that was originally longer. With the help of a bar and a hammer, I hammer it inward until it stops. I saw off the hairpin, leaving such a margin at each end that it was enough to put washers on it and tighten the nuts. I fasten the hairpin by tightening the cap nut in the upper shock part, having previously placed the washers under it.
Step 4
I begin to collect the handle completely, pushing the handle blanks onto the hairpin, putting on the nut spacers between each. And so on until the end. In principle, they do not carry any payload, it’s just so much more interesting to get a finished tool. The handle can generally be made from a solid handle, if you have a long drill to make a through hole and a drilling machine.
As I said above, not all holes in the parts of the handle turned out exactly in the center. Therefore, I had to turn them on a hairpin and look for a more or less normal level position. Looking ahead, I’ll say that this state of affairs did not affect the functionality of the tool. The only thing that needs to be improved is to put counter washers in the upper and lower parts of the stud to avoid unwinding during operation. What happened to me when I planted a galvanized sheet.
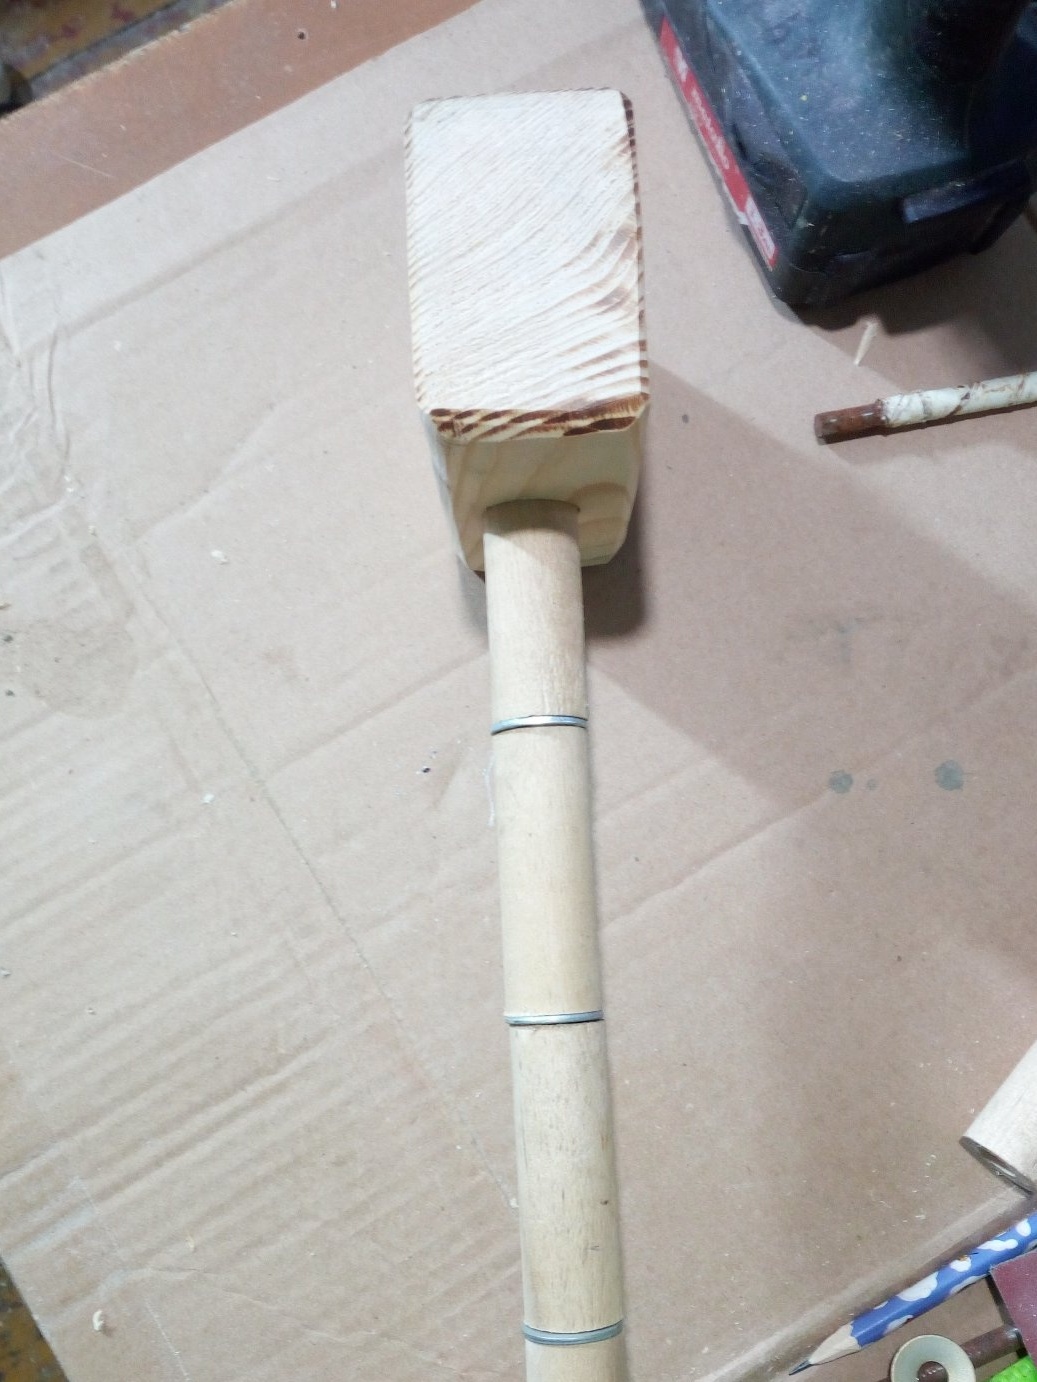
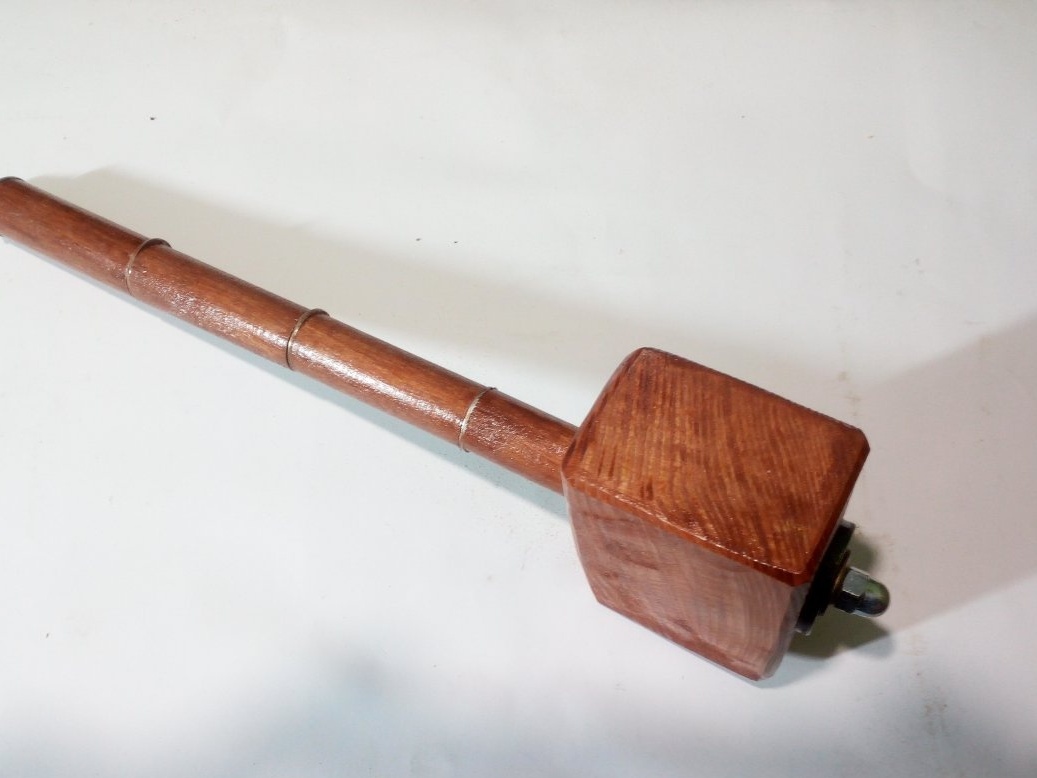
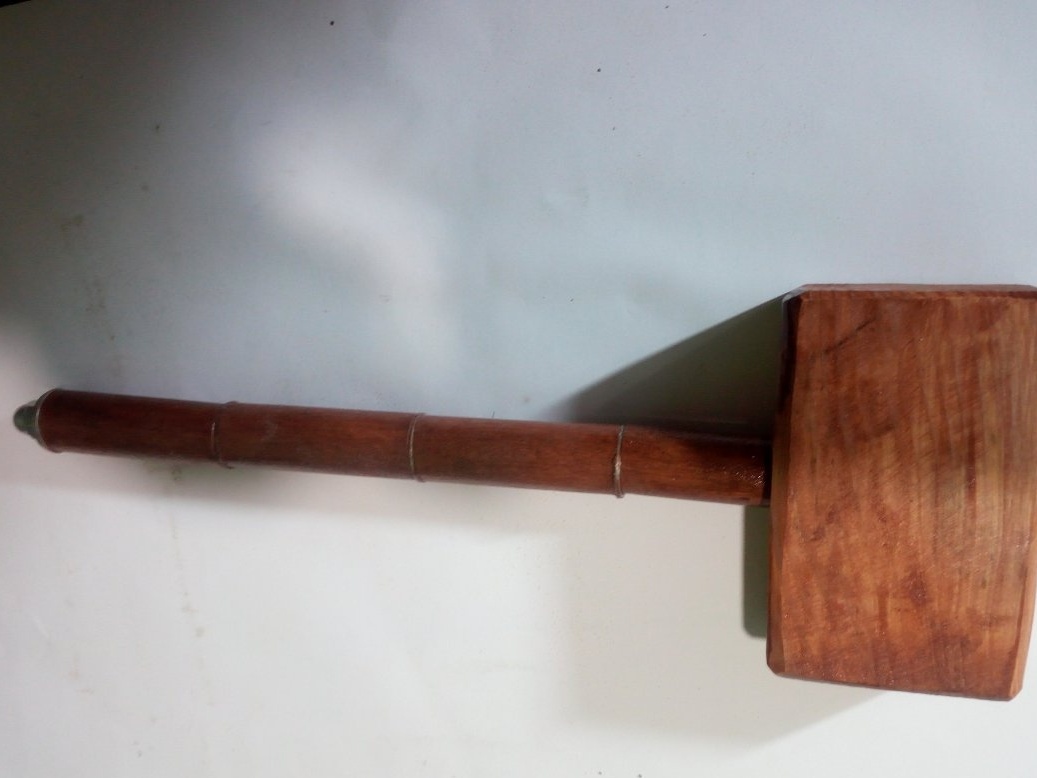
I finished the finished product with waterproof acrylic varnish in two layers. In the end, I got such a tool I needed.
Thank you all for your attention. I wish you creative ideas and success in their implementation!