
Today we will make magical, magical, fantastic crystals. This is how they look:

Yes, the topic is not new, has already traveled along and across. Probably crystals were already making all the configurations, all stripes, all areas, but the creator of the YouTube channel “AquaMan-Aquarium” wondered what it would be like to be the creator and owners of your own crystal, so we’ll see what happens.
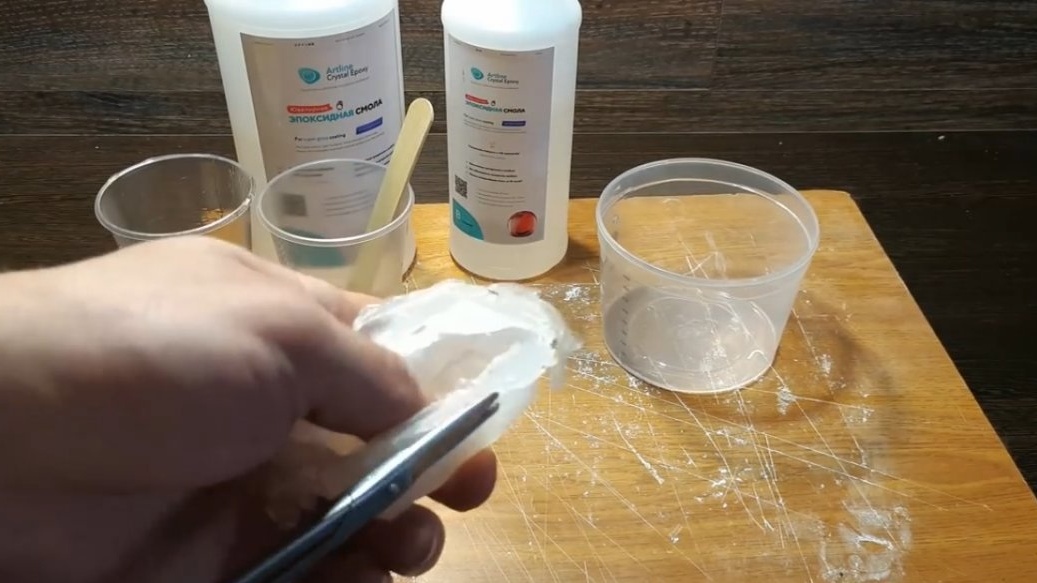
In the meantime, on the screen, we can see a terrible picture of silicone coating a foam blank.

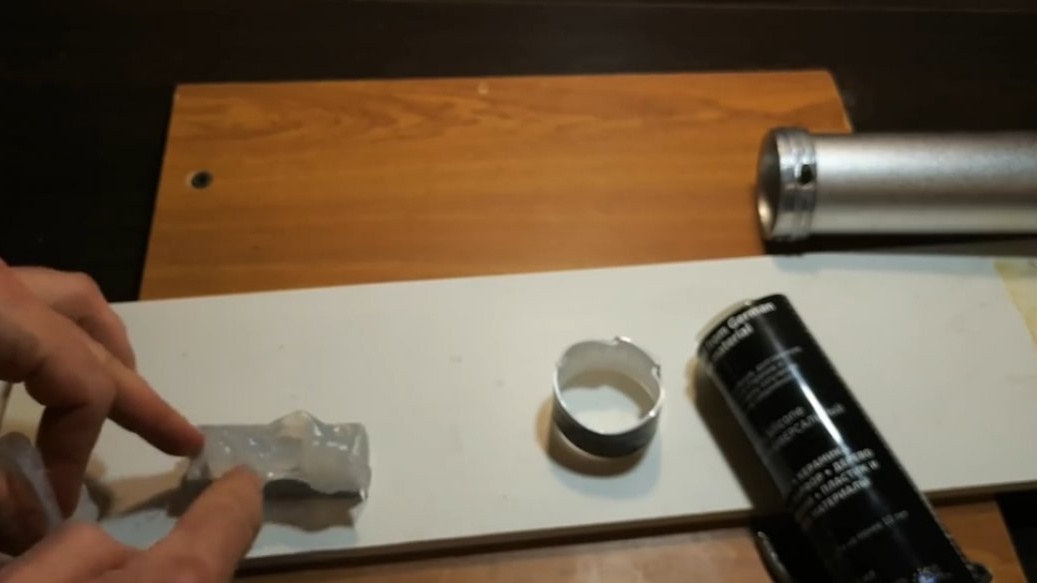
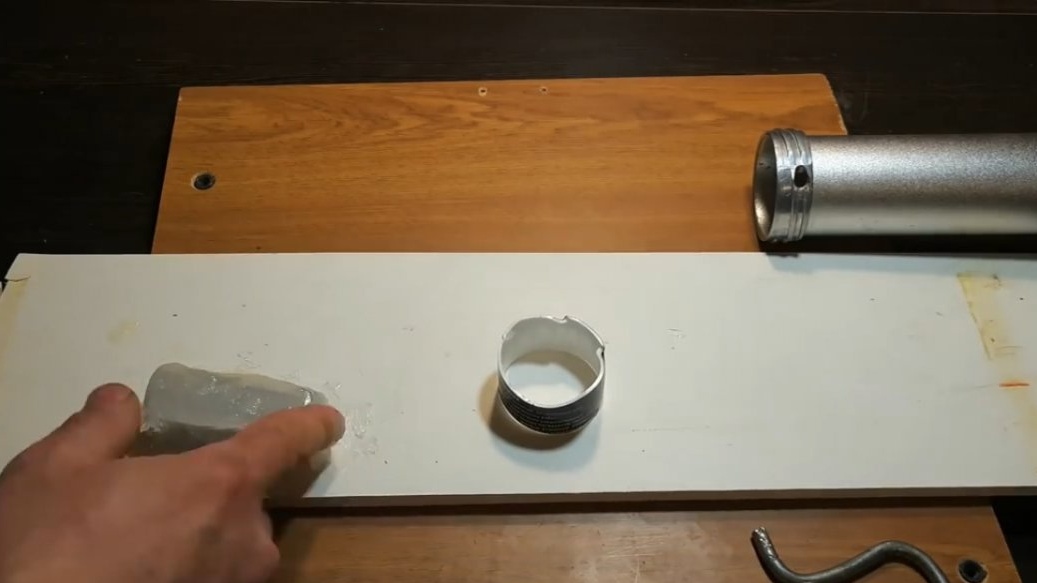
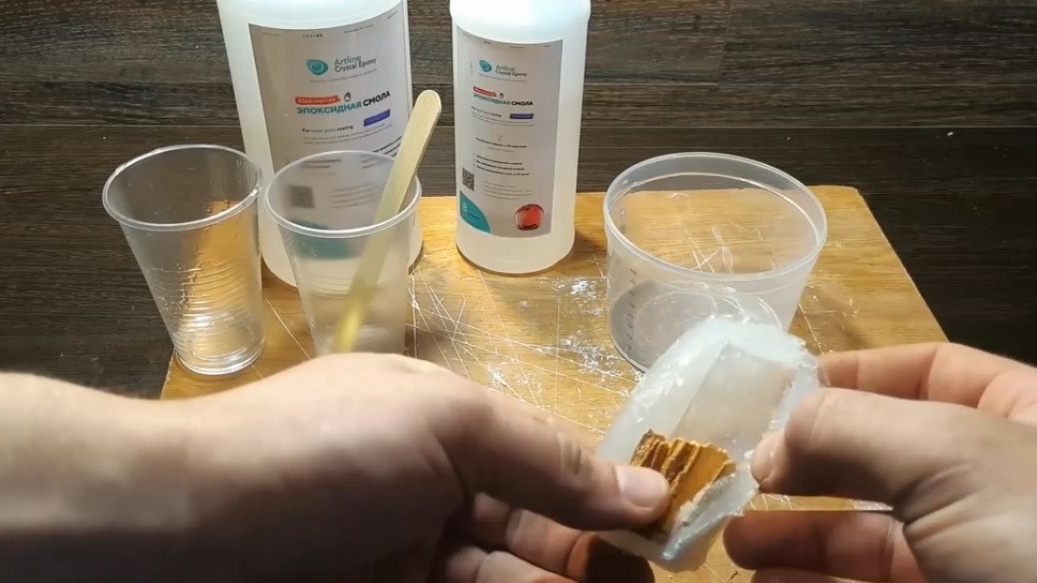
Now the author is trying to make a form into which he will subsequently fill the epoxy. Any sanitary or aquarium silicone is suitable here, in principle, but ideally, of course, it should be cast silicone.
The author does not have injection silicone, so he uses the most common silicone; by the way, it is already expired. And yes, unlike injection molded silicone, this silicone is harder and thicker. That is, some small parts with the help of this silicone will be problematic to pour, pour, how then to form. But we have a simple ordinary rectangular blank, so it's okay, we use such silicone.
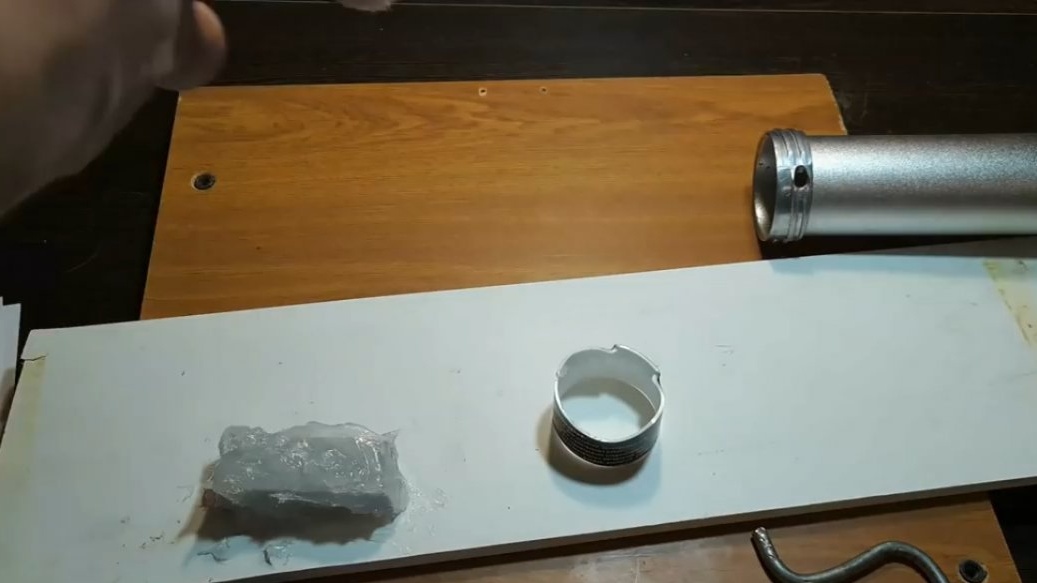
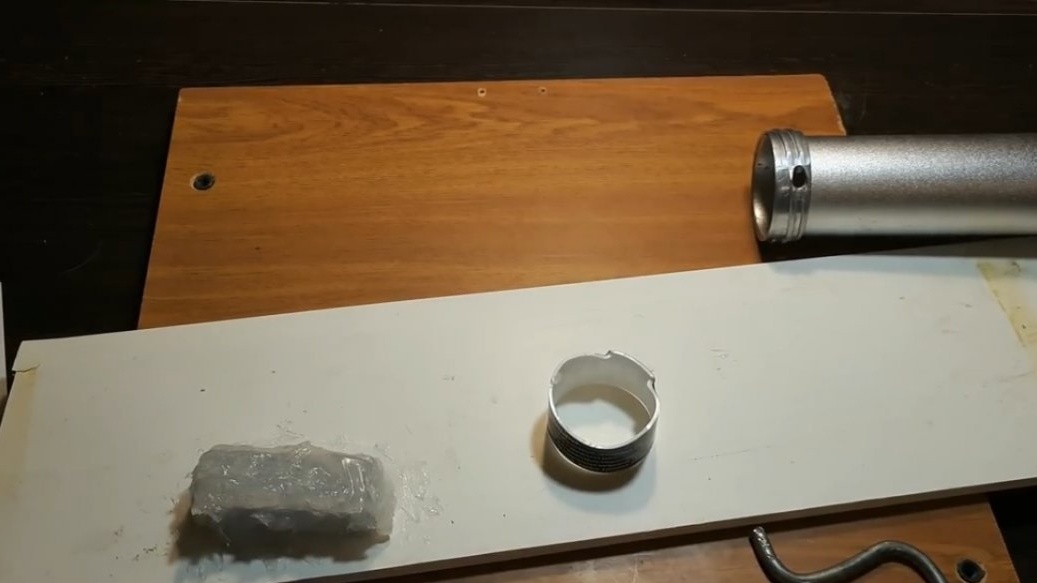
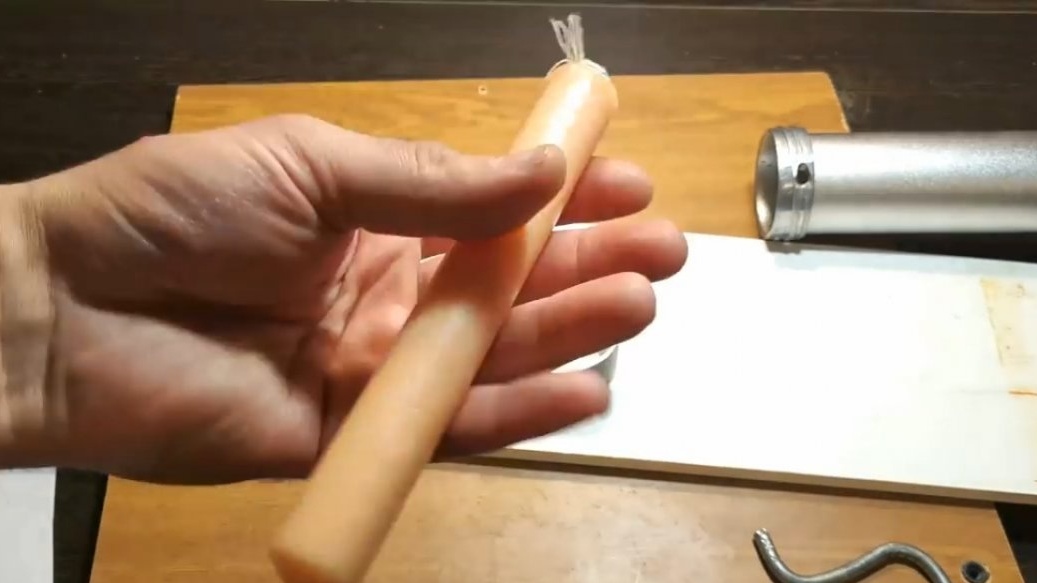
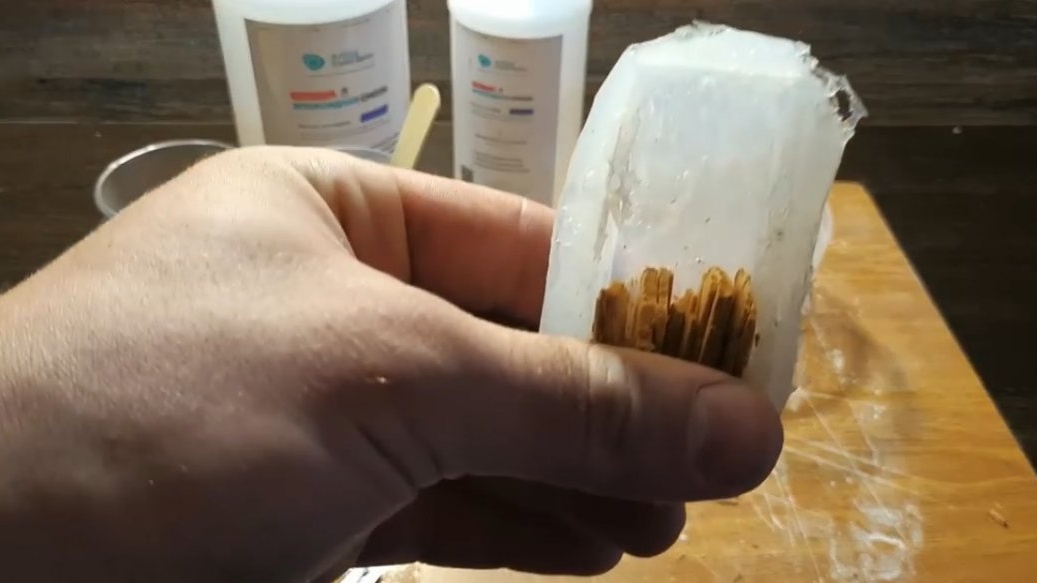
After our form has dried up for a day, we remove all sorts of twists, remove any burrs and patch holes that have arisen during the coating process.
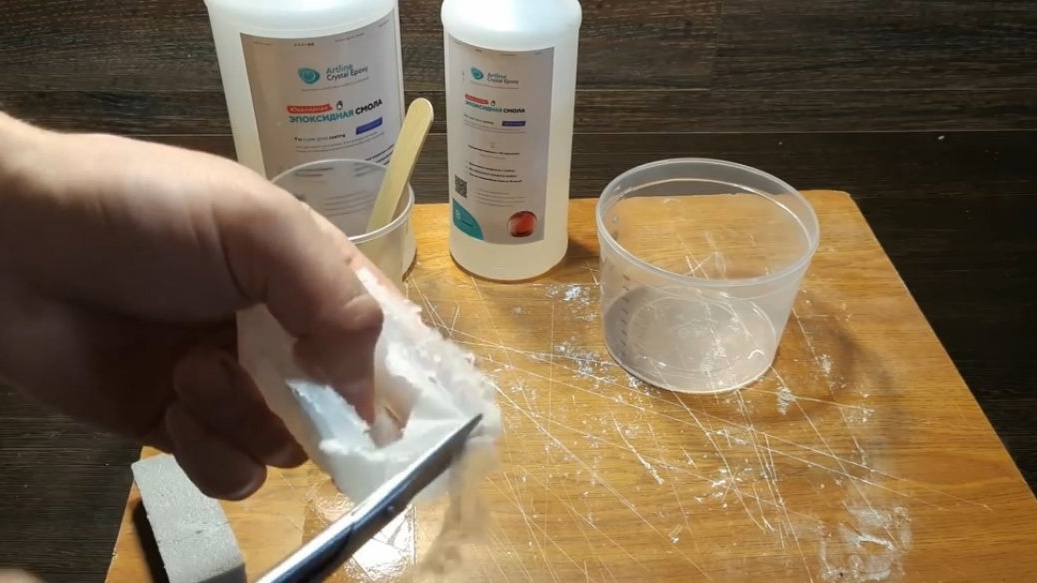
By the way, in order for silicone to not wildly stick to your fingers, in order to smooth out its surface a little, the author used liquid soap, because silicone does not stick to liquid soap.
And now a little about what it’s sticking to. Silicone foam does not stick to silicone, and plastic does not stick to silicone. Well, liquid soap does not stick to silicone. But silicone does not stick to the epoxy and wax and paraffin do not stick to the epoxy, so you can make mold blanks from wax or paraffin and fill it with epoxy. You can also use some kind of grease with a coating containing wax or paraffin and coat some toys, for example.
About the silicone. Here you can take some kind of toy you already have, it can be some kind of toy from the surprise kinder or some keychain, smear it with something bold, hand cream for example, and roll it into silicone. As a result, get a reusable wonderful form pleasing you.
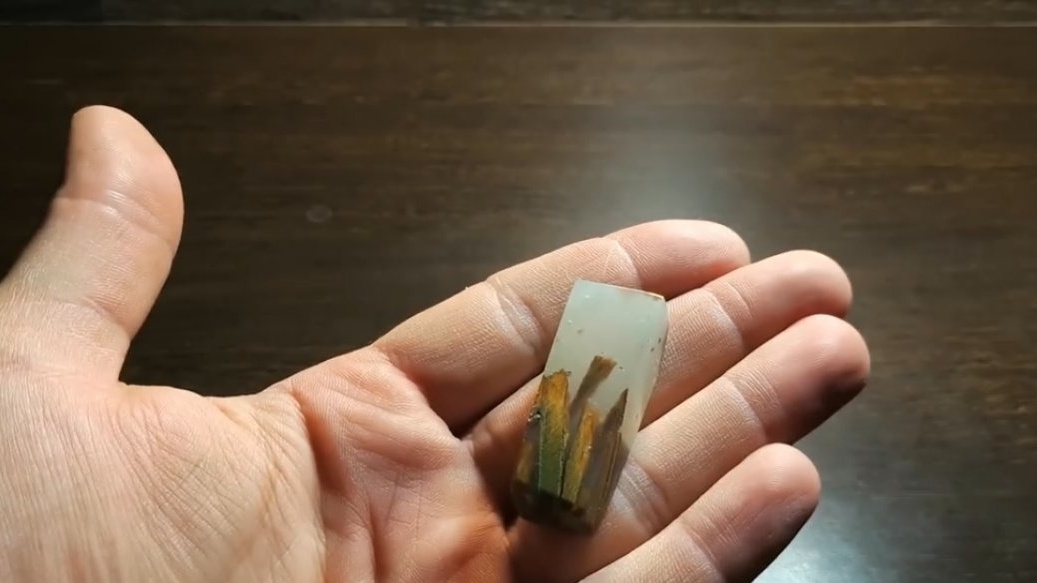
Meanwhile, the author decided to follow the well-worn technology. In order for the crystal texture to be interesting, the master decided to take a piece of wood and split it.
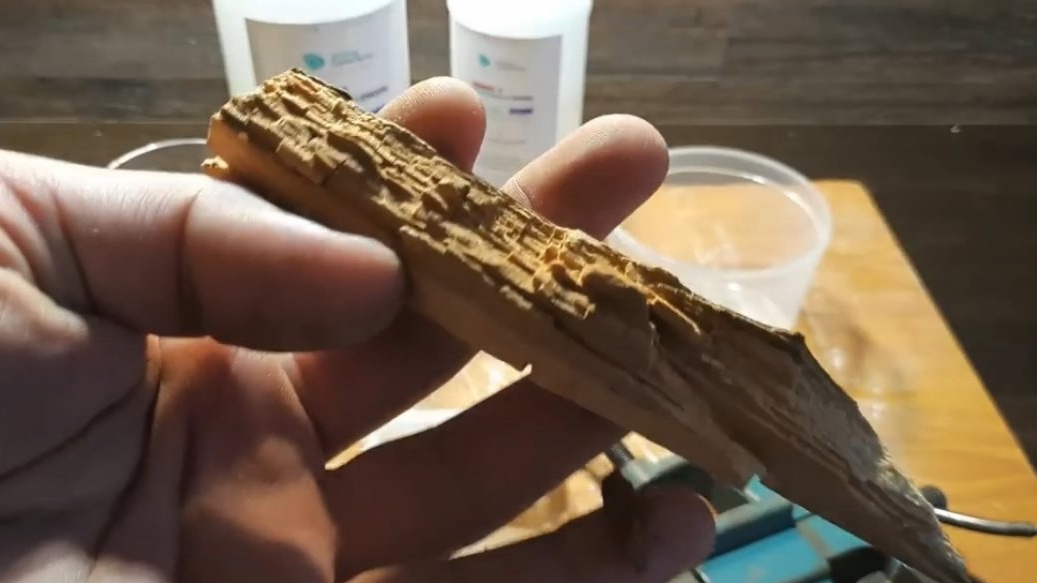
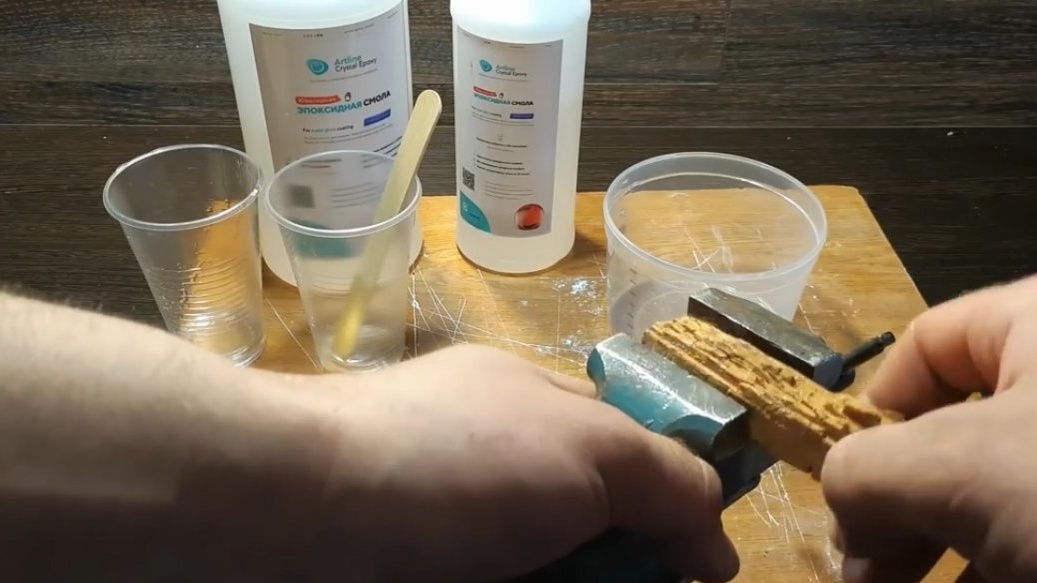
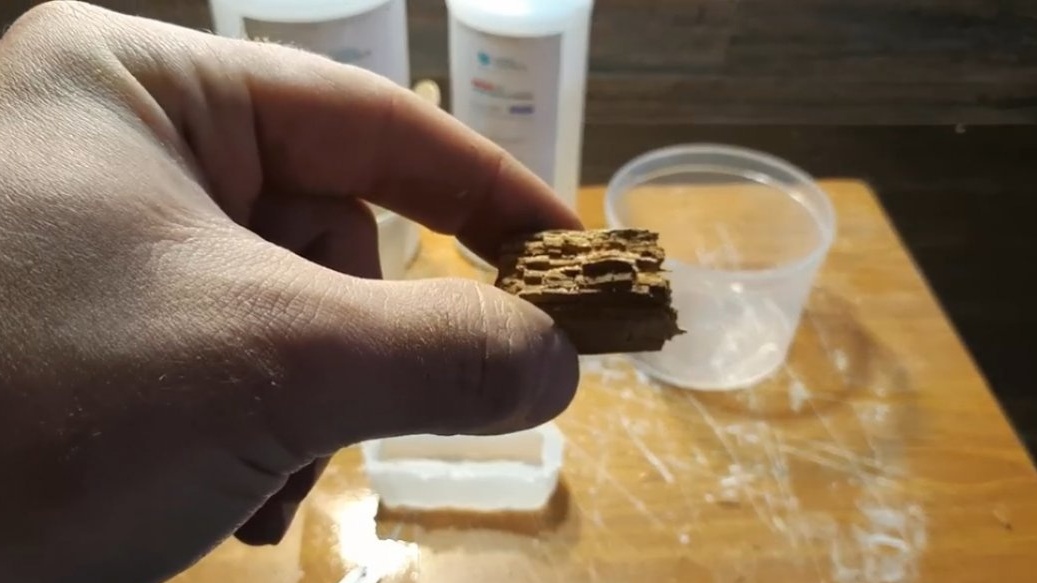
Why? Because the tree has its own interesting unique texture, and it is very interesting to see in the crystal itself.
About where all this can be used at all. For example, analogs of crystal can be made of this. From epoxy, any, absolutely any boldest decisions can be embodied, different configurations, absolutely any fillers can be made.
Epoxy will absorb everything, whether it be some dried flowers, teeth, someone even managed to fill nails with epoxy. Here, in general, fantasy can rejoice without problems. And yes, what’s more interesting here is this technology. No, well, the technology itself, here the most important thing is to stop in time. For example, the author made 1 crystal, then he wanted 2 more, made 3 already, and now the fourth, and according to him - he will do it again, because again technology, it shines with its diversity. You can fill in layers, you can fill in by mixing, all kinds of swirls, various color variations and combinations. Everything will absolutely fit here because then you will receive your unique, most interesting, most beloved crystal. And the most interesting thing is that you can find out how the crystal will turn out only at the very end. It’s just like a lottery. When you sand it, polish it, and only then you can see what you got.
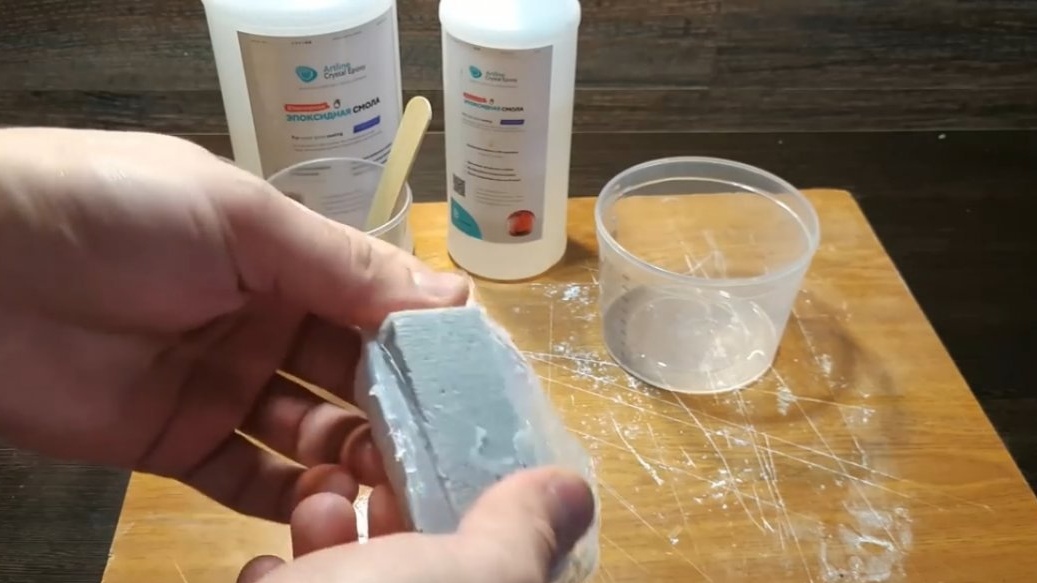
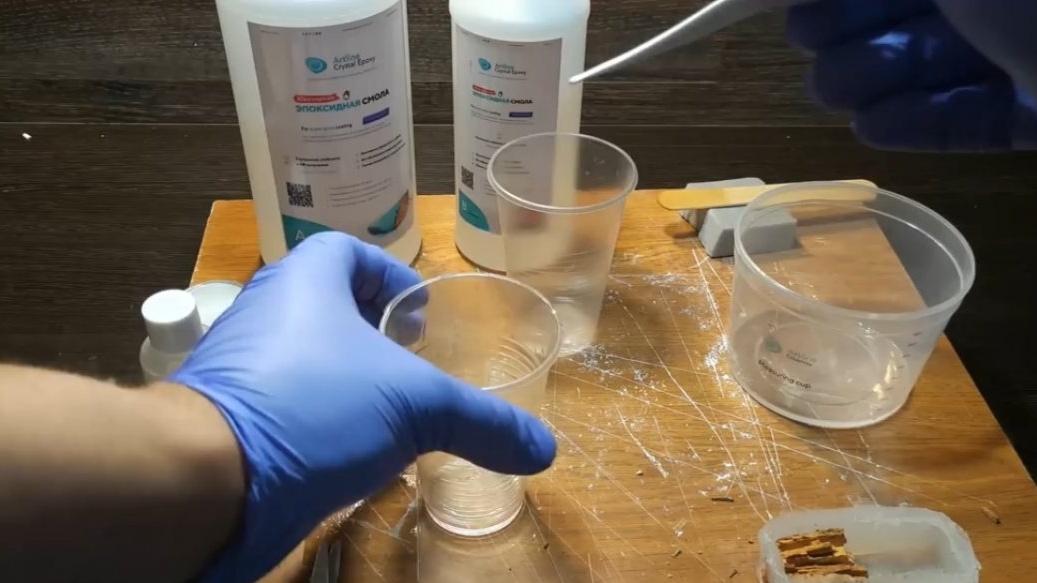
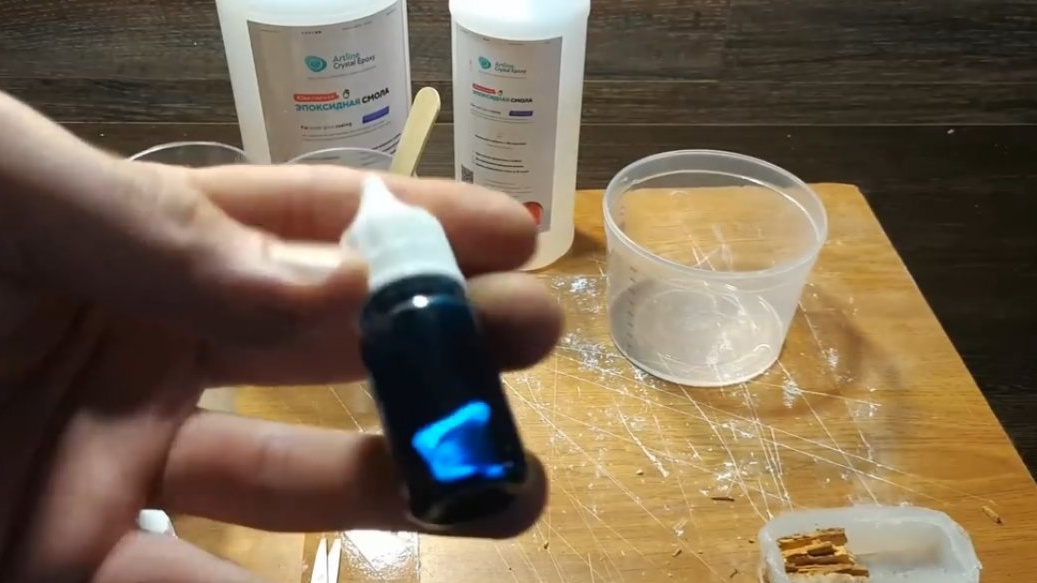
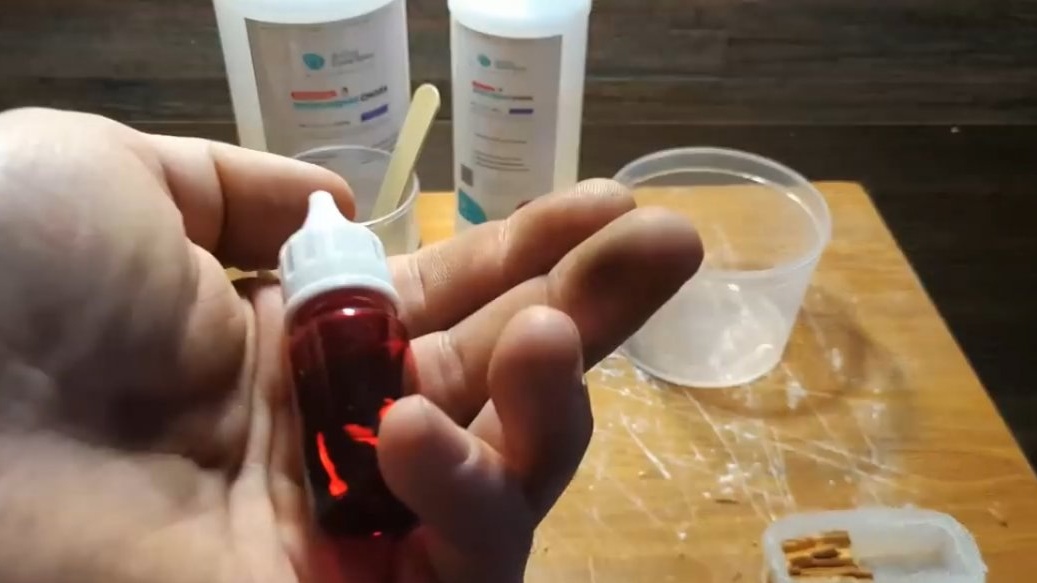
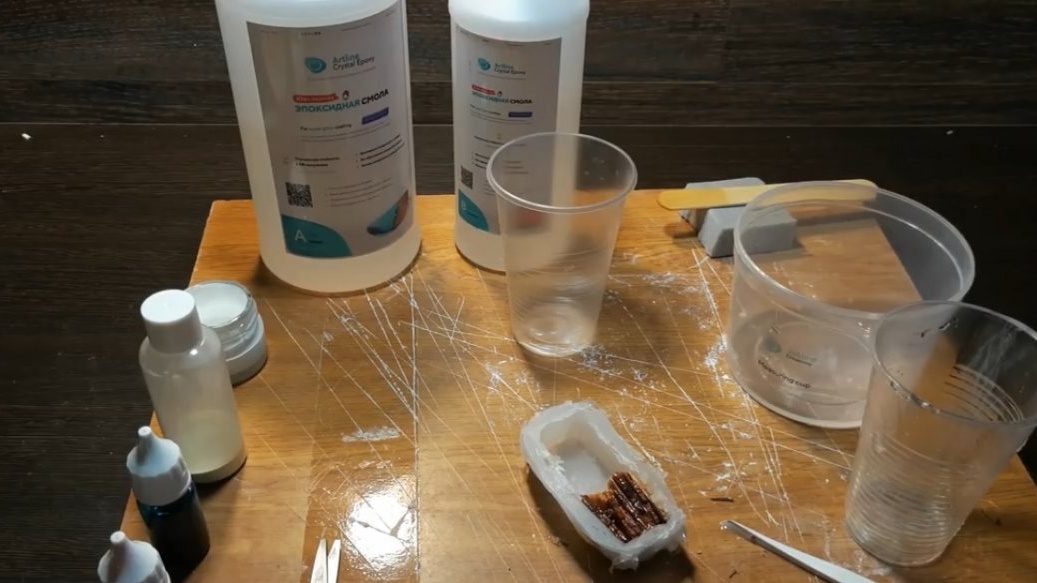
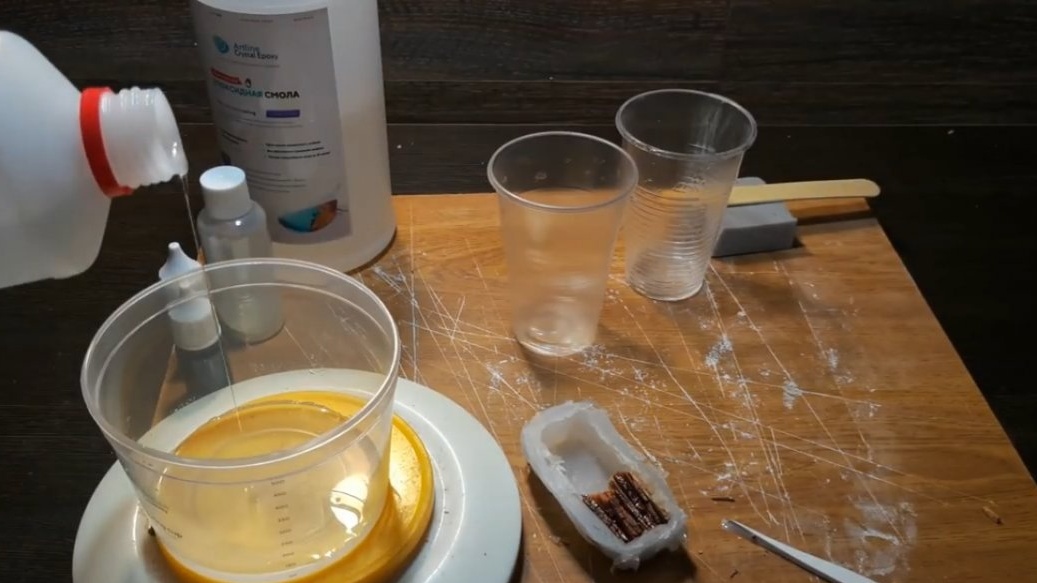
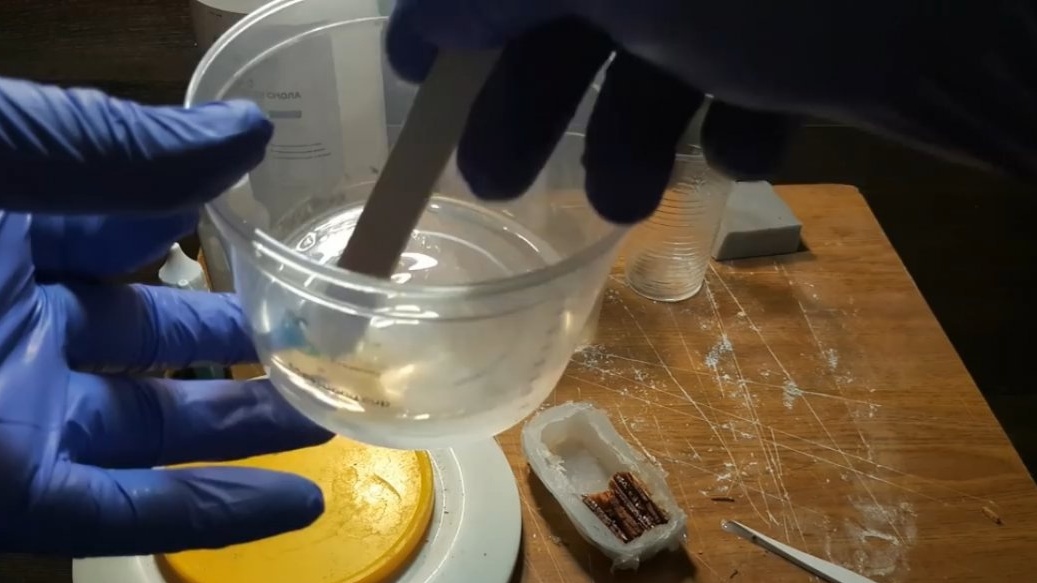
This epoxy is crystal clear. The author will use here dyes, colors and phosphor.
The phosphor makes the crystal clear base a little cloudy, but in contrast, we get a wonderful glow in the dark. The resin is comfortable, the resin is again perfectly transparent, jewelry. Instructions are attached on how to work with it. You will find links to the necessary components in the description under the original video of the author (the SOURCE link at the end of the article).
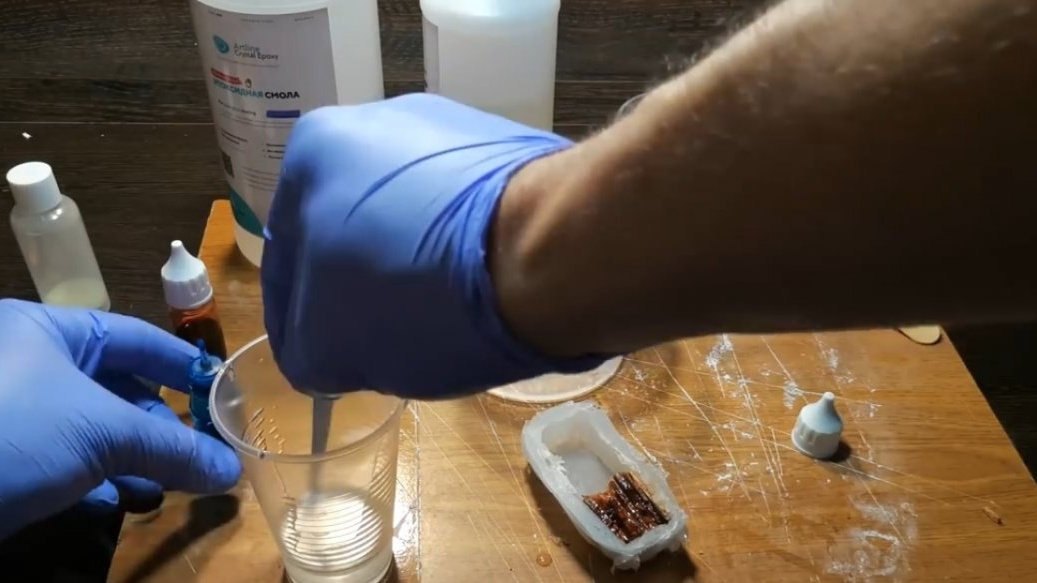
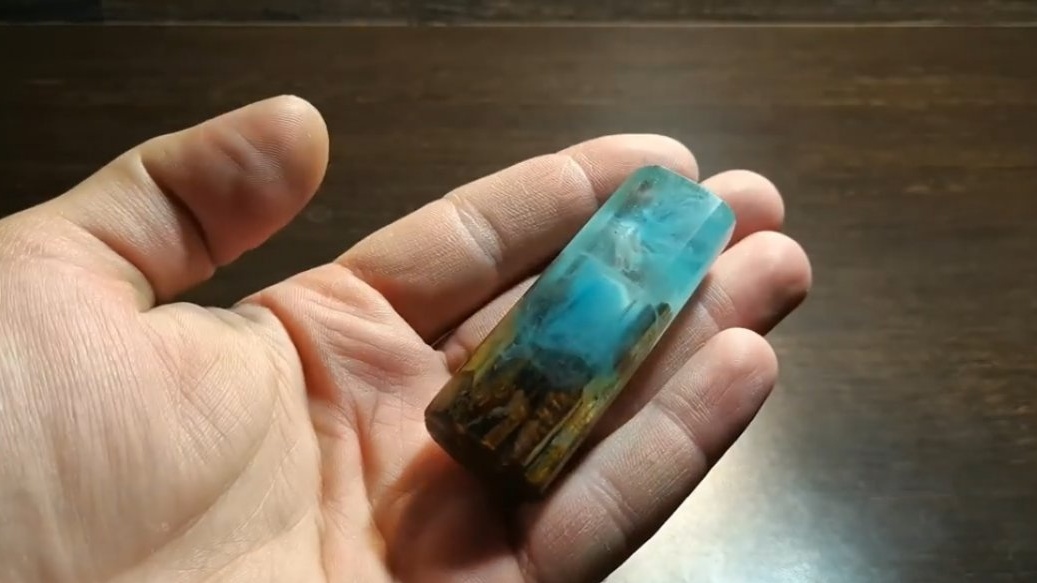
The author wanted to make some mysterious, strange, muddy crystal, filled with deep meaning, and therefore decided to lighten it a little. To do this, he used the blue and red tint, but mixing them, it turned out some very dirty purple color. And it’s even better that it turned out like this because it will add even more mystery to our crystal.
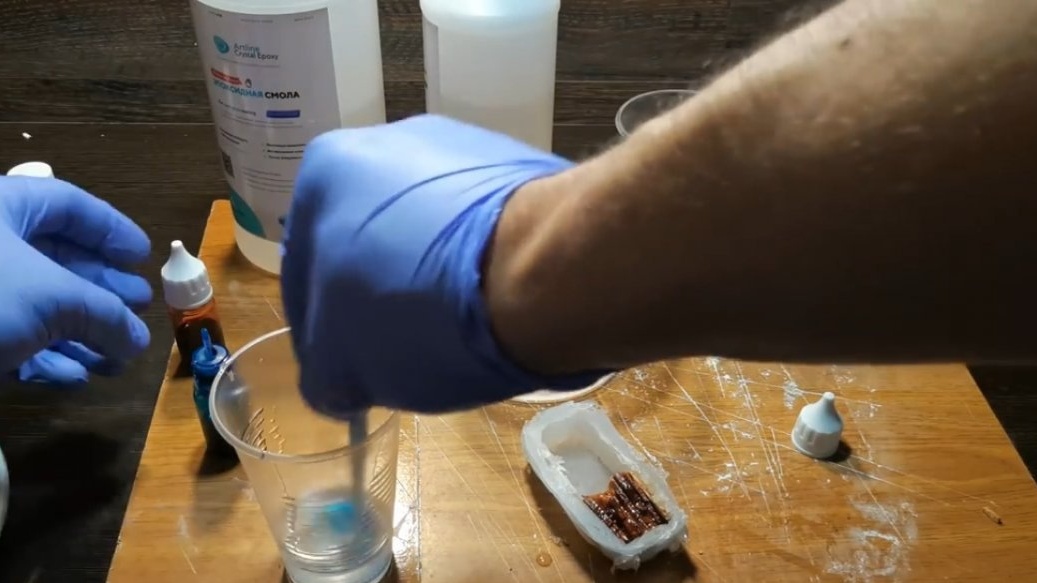


If you want to make such a light, airy crystal straight, you first fill in the transparent resin, and then pour some color additives there with a thin stream and gently with a brush, or a needle, or do any other patterns and swirls with something else.
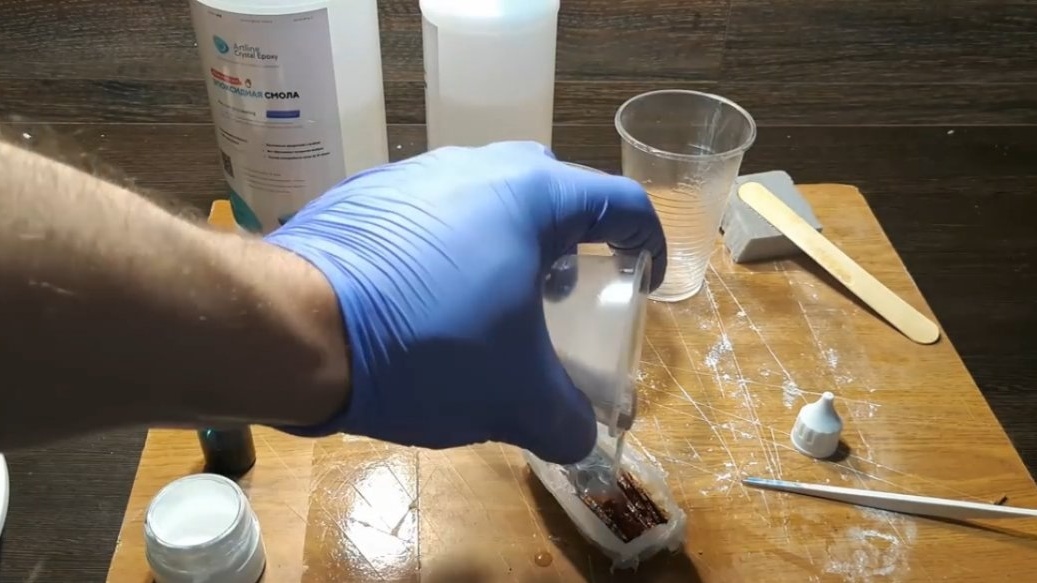
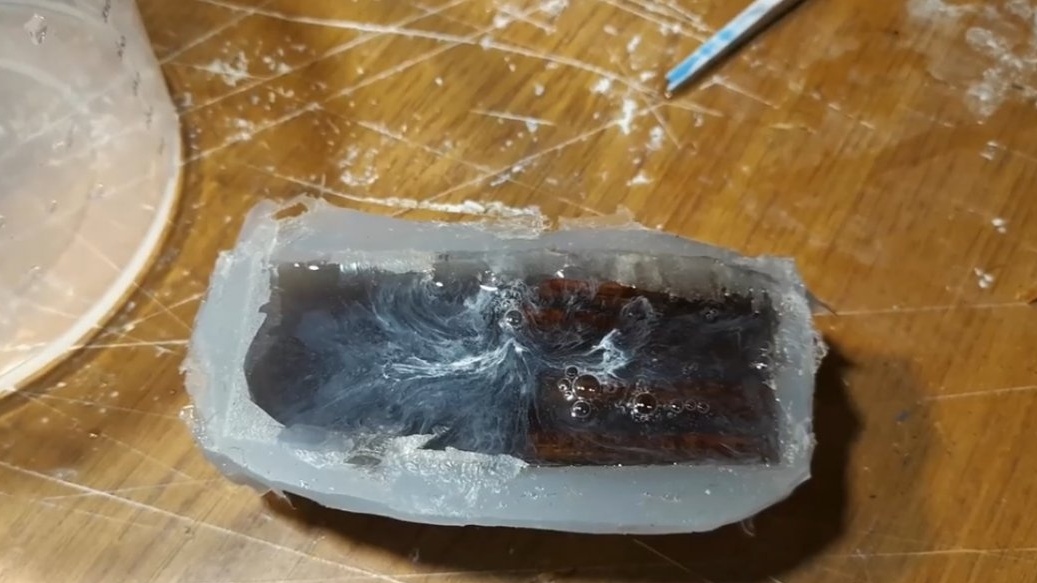
Now we see that all this has flooded. There was some kind of magically magical mother-of-pearl, which the author did not expect what happened. As a result, we got a very smoky crystal.
Note that the piece of wood immediately dyed a different color, and now we see the bubbles coming out.
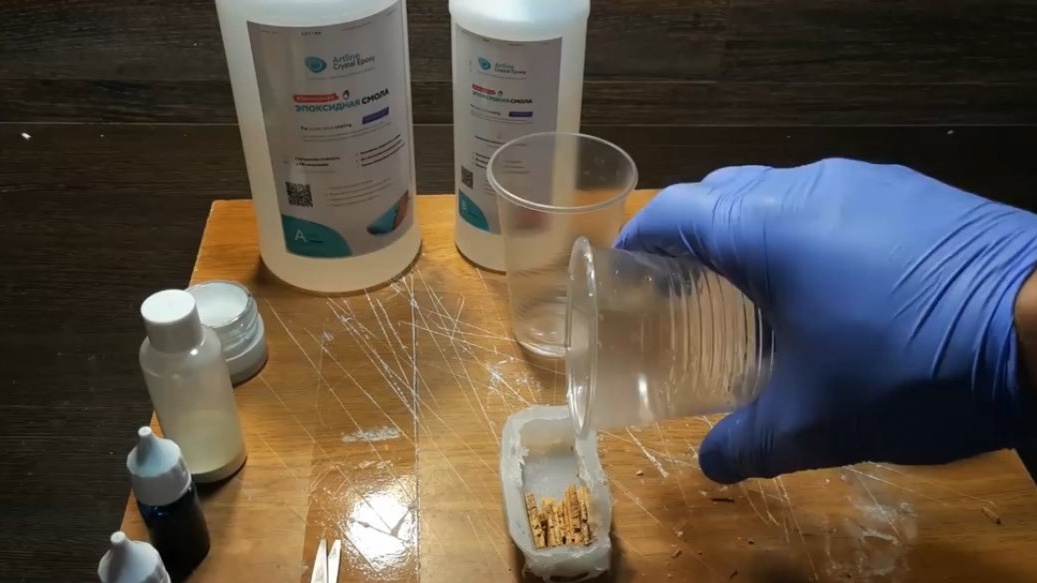
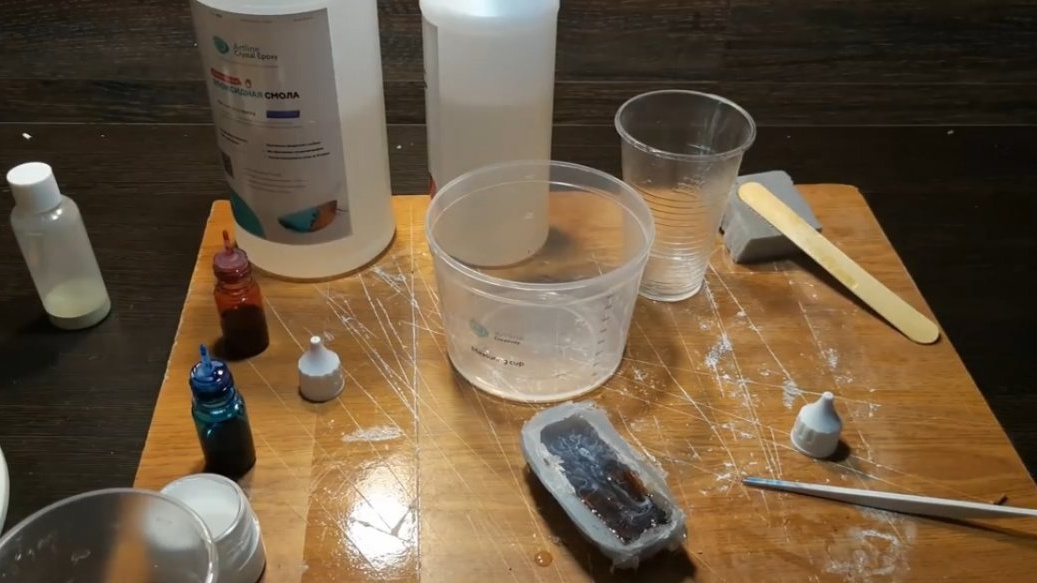
A day has passed and let's get our blank.
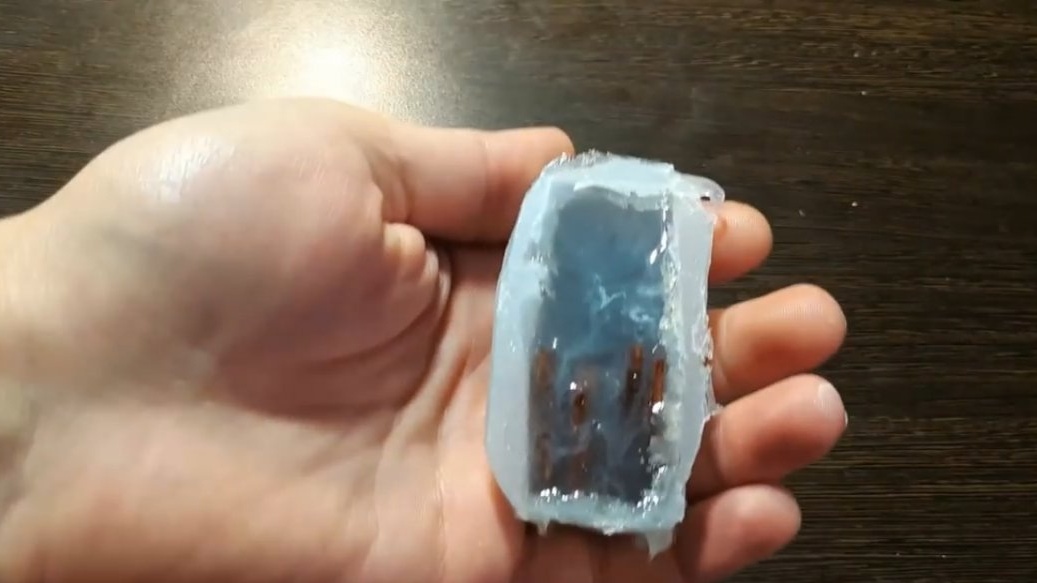
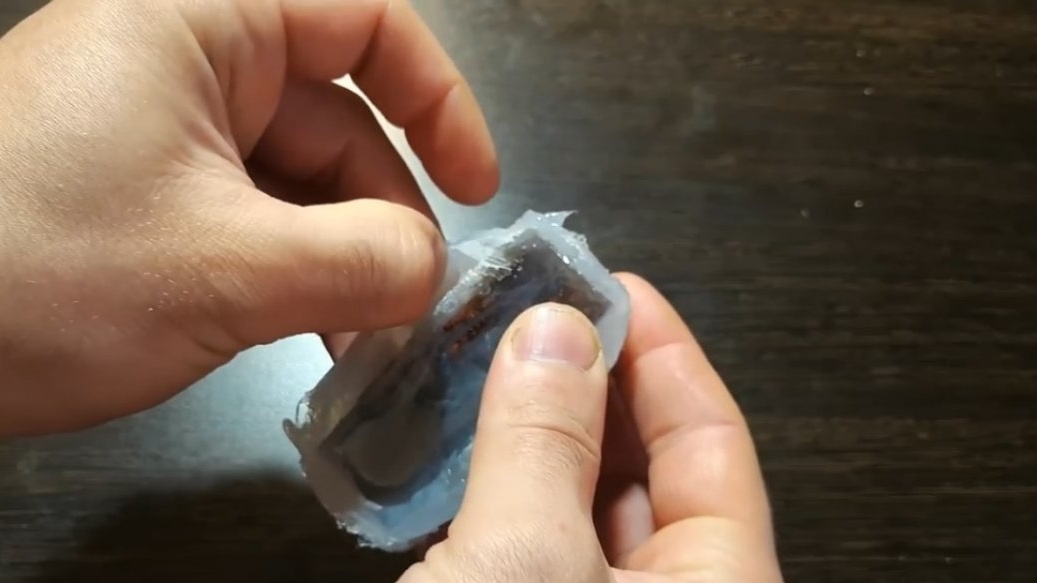
After a day, not all blanks were strong. Some blanks had to be dried for 2-3 days, because initially they were still slightly elastic. Perhaps here you need to play with the amount of ingredients from bottle "A" and bottle "B". Here we have such a blank, which will now need to be curbed in layers with all rigidity and aggression.
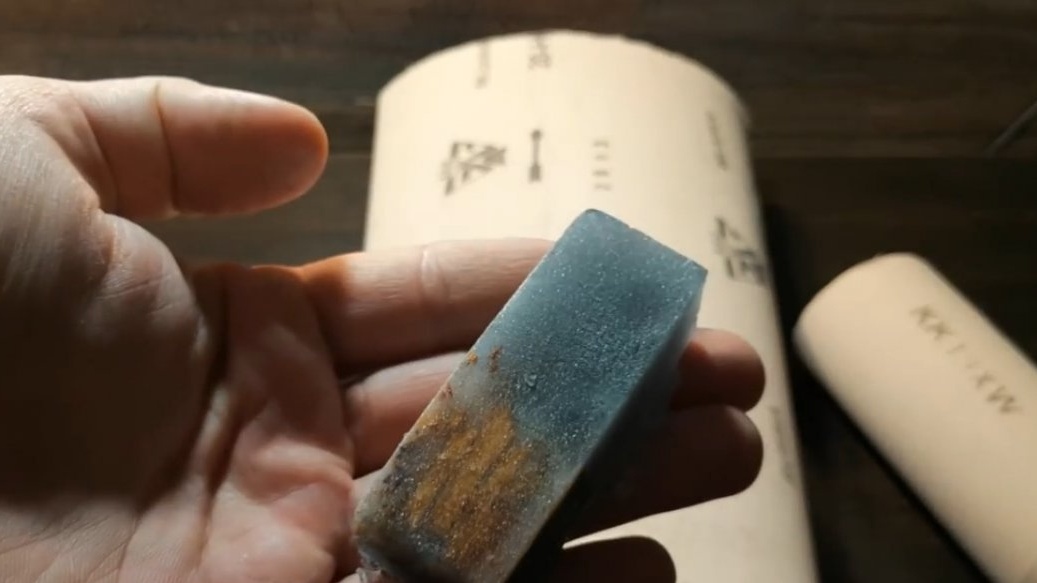
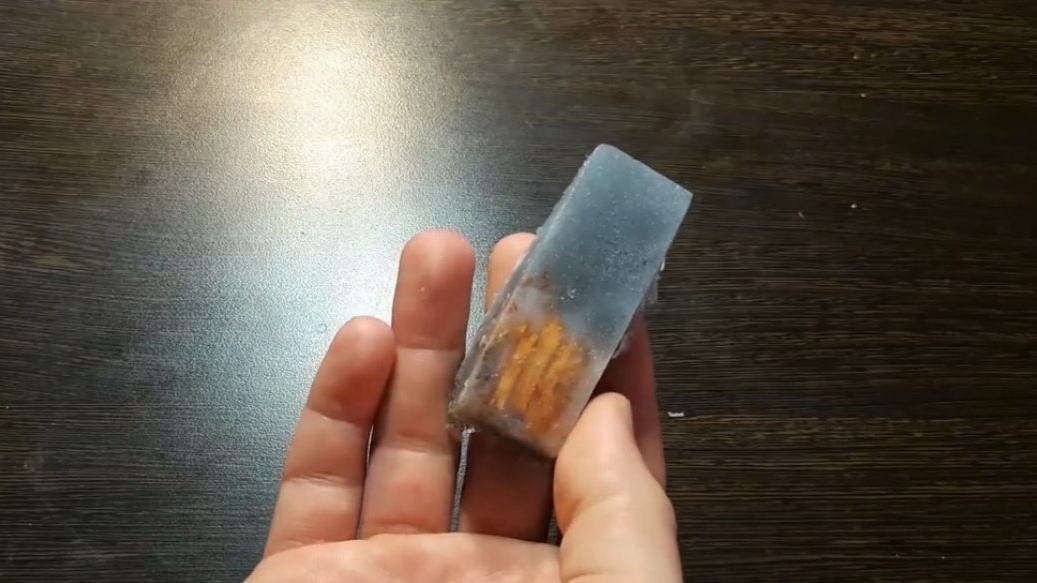
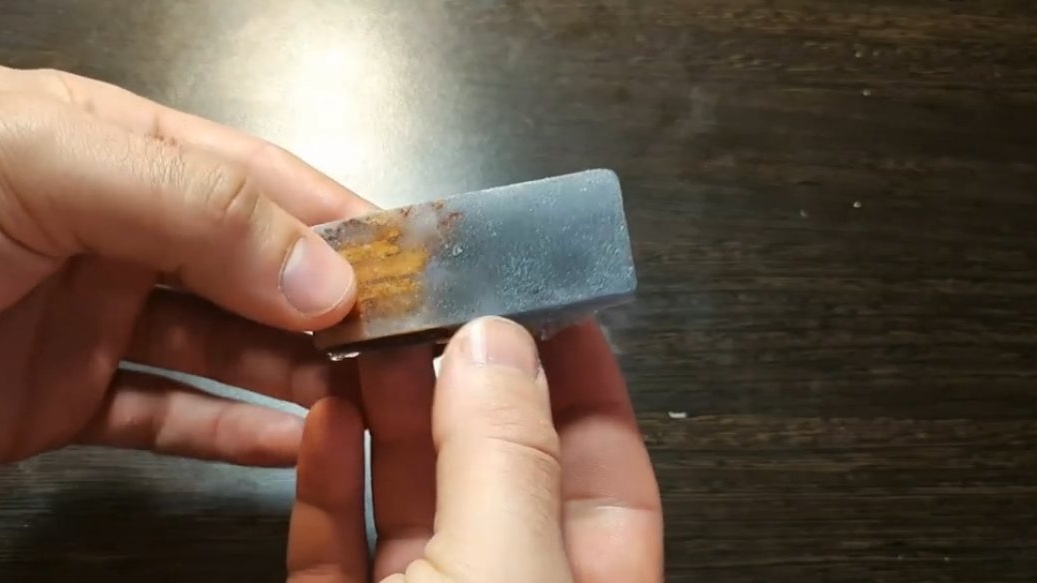
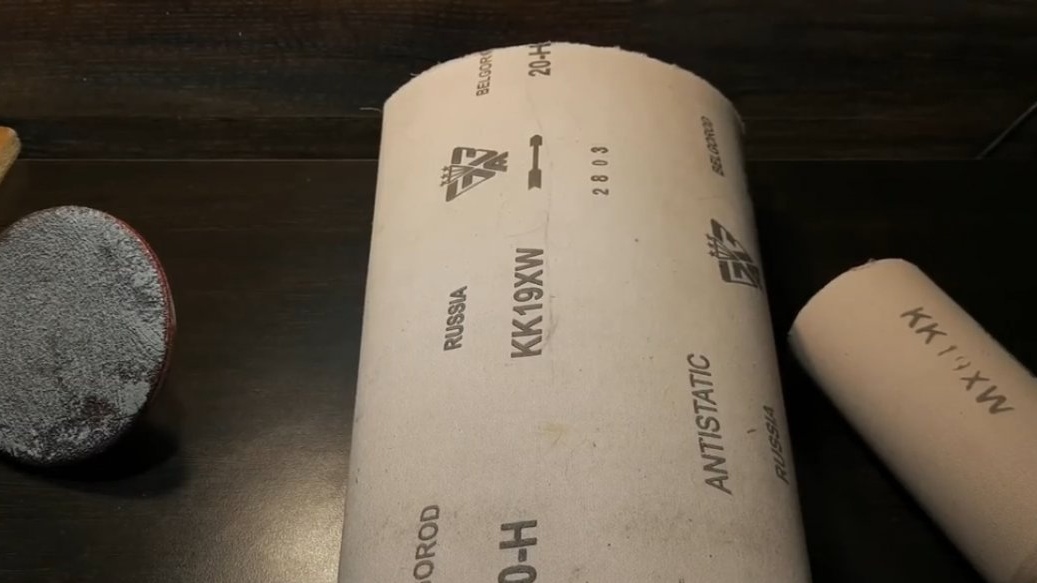
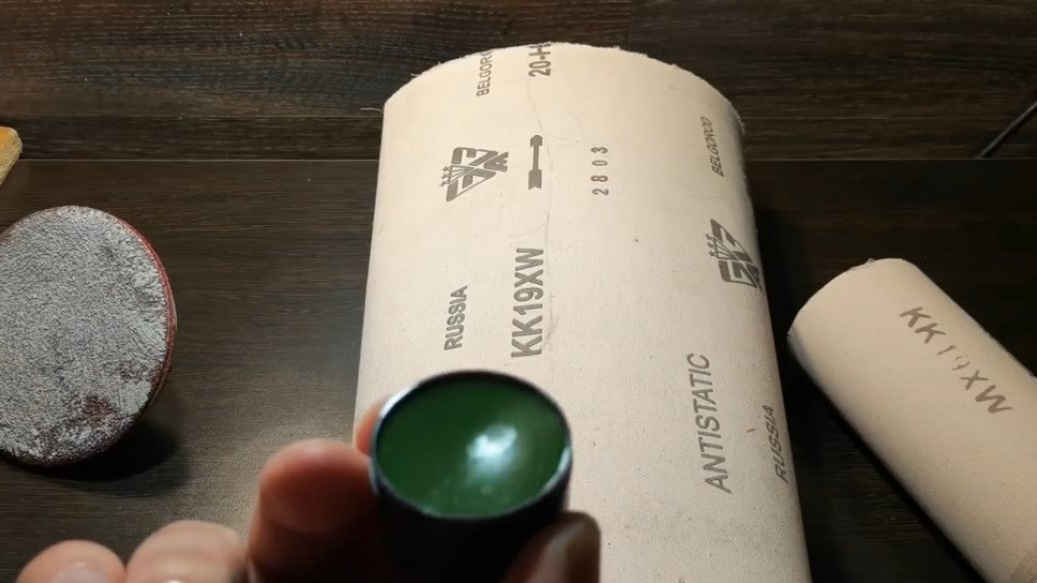
To do this, we use ordinary sandpaper, starting with the most fine-grained and ending with 1000-1200. Ideally, do it all under water, since this prevents the sanding from clogging quickly.
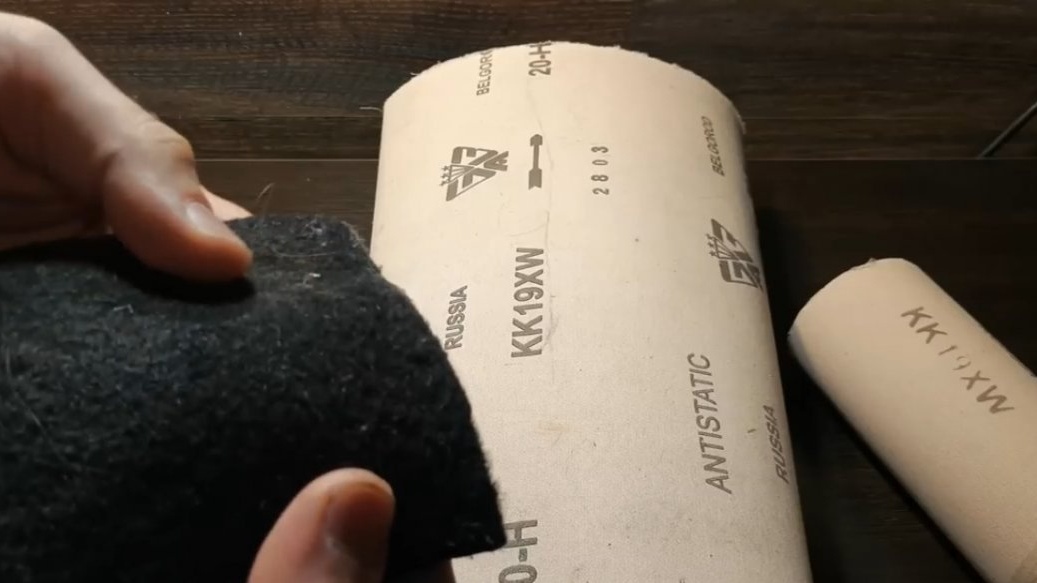
Here again, you can give absolutely any shape to your crystal. And the final step will be polishing. And in order to polish this whole thing, the author will use a piece of felt and a standard, most ordinary GOI paste.
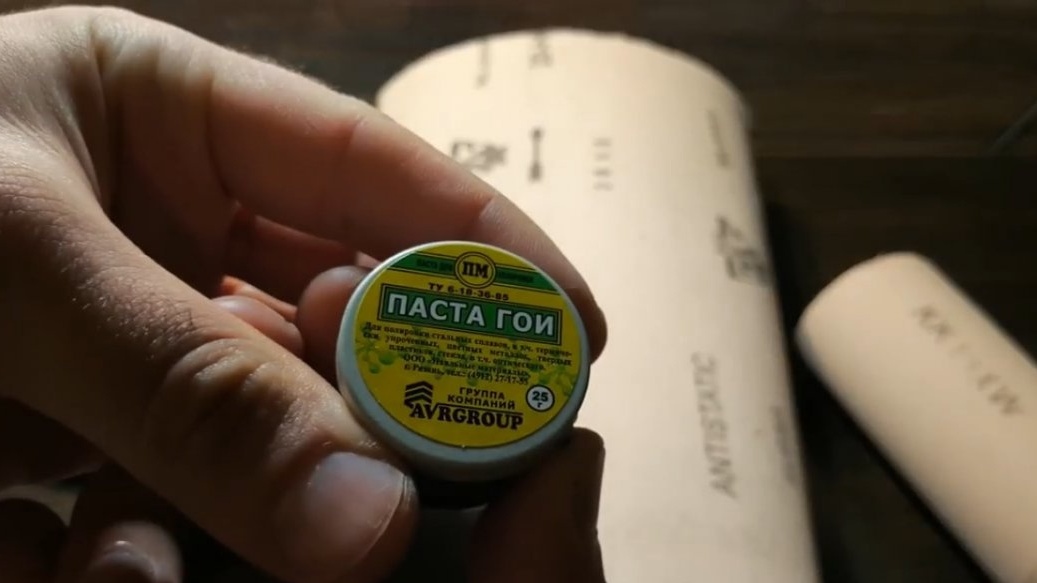
All sorts of polishes for the machine in the form of various sprays are also excellent here. But in principle, GOI paste can also be shone, right to the gloss, wonderful to bring the final product.
And if you want the perfect gloss right, then you can cover the whole thing with acrylic varnish. The only negative is that the blank will dry for at least two days.
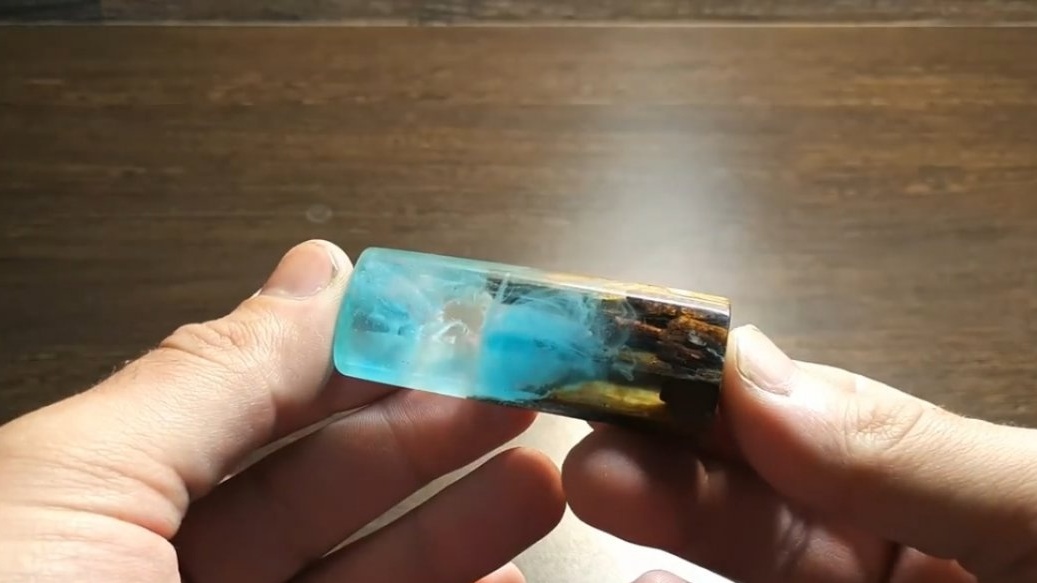
In fact, this is a very interesting activity, because you can create absolutely any configuration of the workpiece, absolutely any, for example, charms, decorative stones in an aquarium or in a fountain. Here is such a crystal in the end:
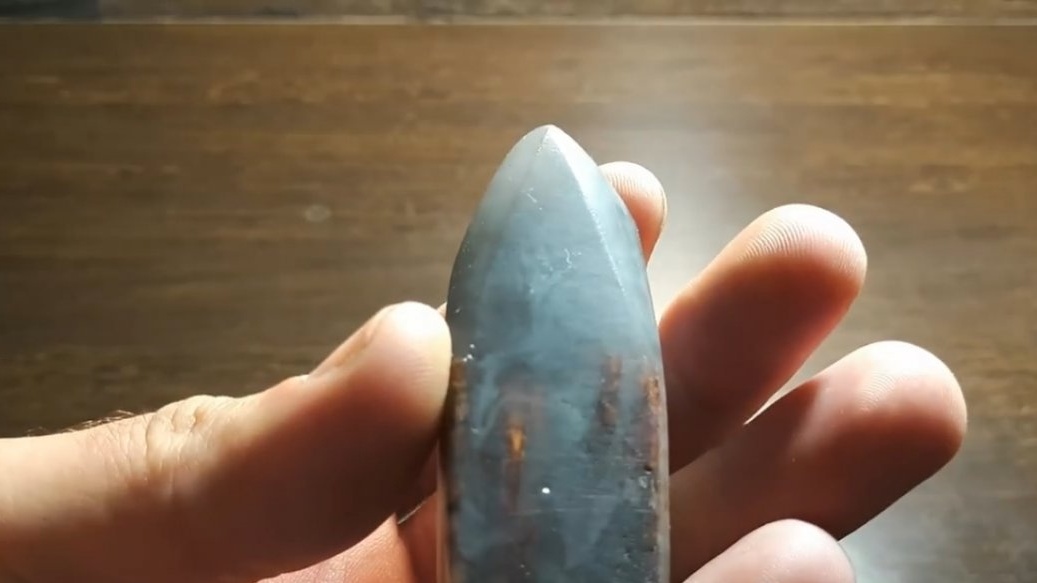
This is the author’s first crystal. It reminds me of the tip of an ancient man’s spear. Yes, there are traces of sandpaper here, but on the whole the surface turned out to be glossy, and in principle, this entire workpiece turned out to be transparent.
Well, that’s all. Thank you for your attention. See you soon!
Video: