
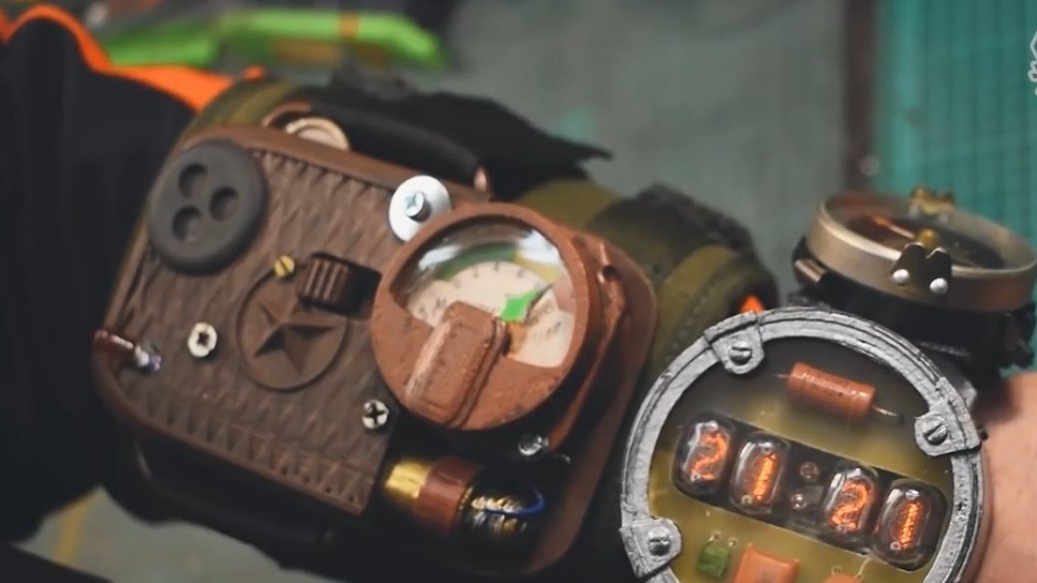
Now the author of the YouTube channel "DreadCraftStation" will show how to make a wristband and a gas discharge watch from Metro Exodus.
Let's start with the wristband first. For a wristband you will need:
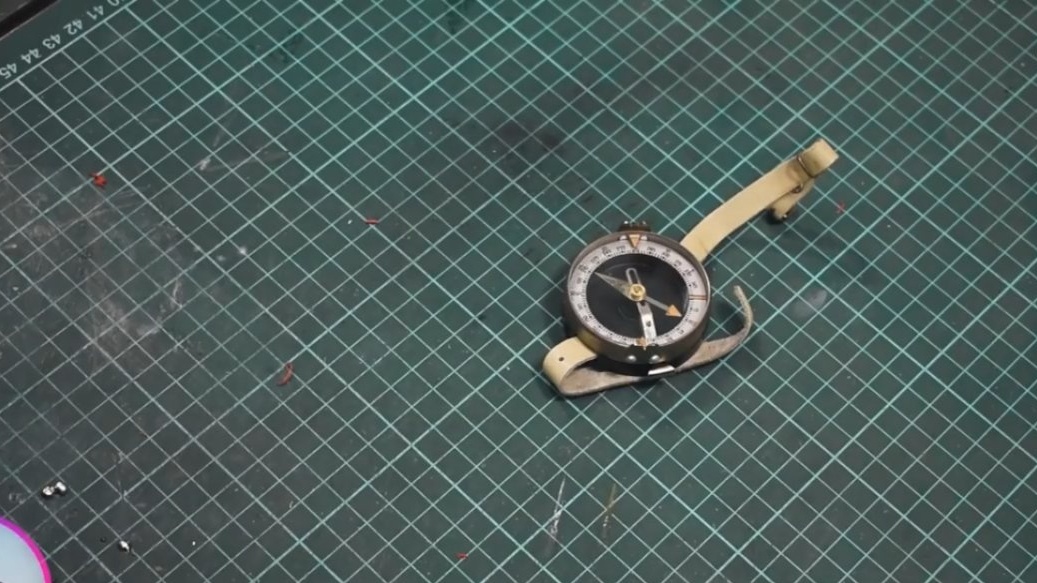
- Adrianov’s compass, this is the one used in the game;
- a servo machine for a Geiger counter indicator;
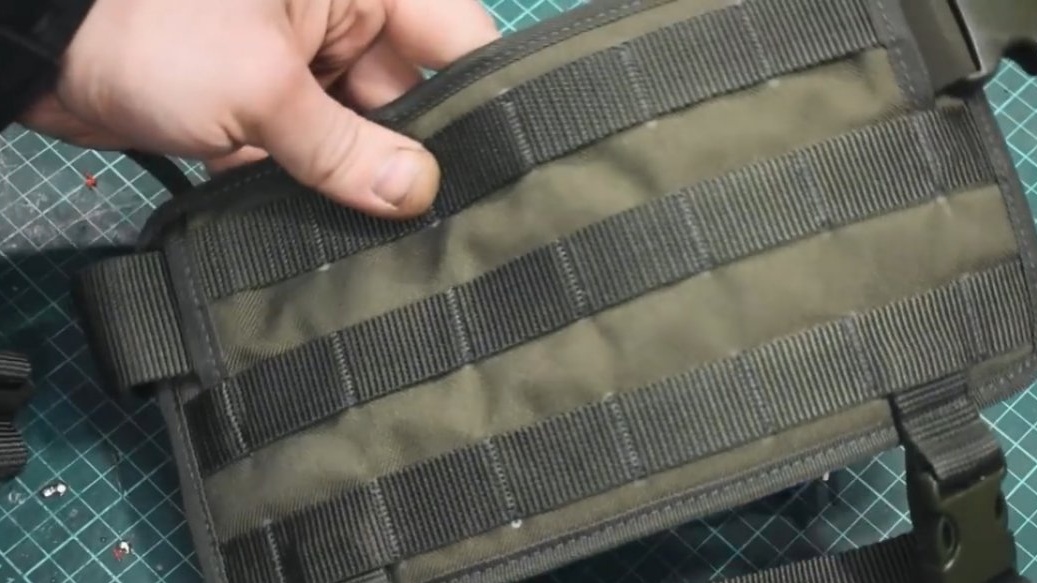
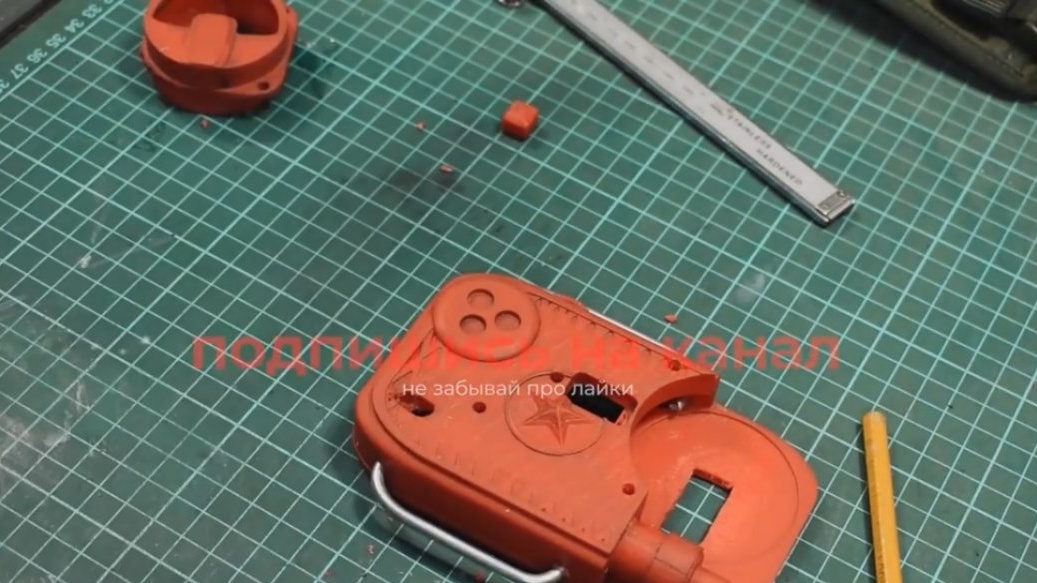
- And here is such a loophole airsoft platform, which we will redo later.
The Geiger counter case was designed as always in Tinkercad and printed on a 3D printer.
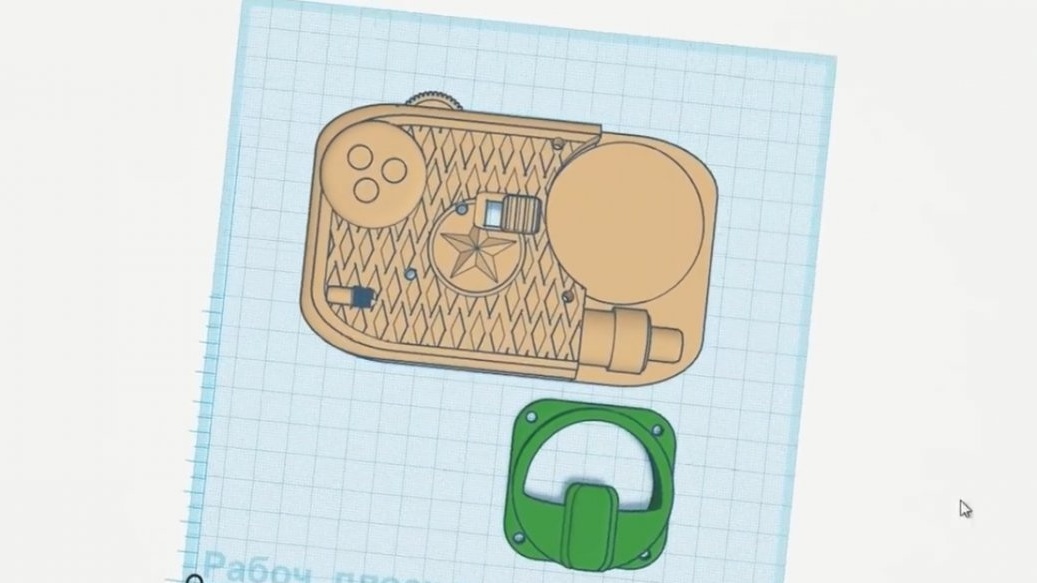
The author printed two details, since the first was with jambs, but the second went well.
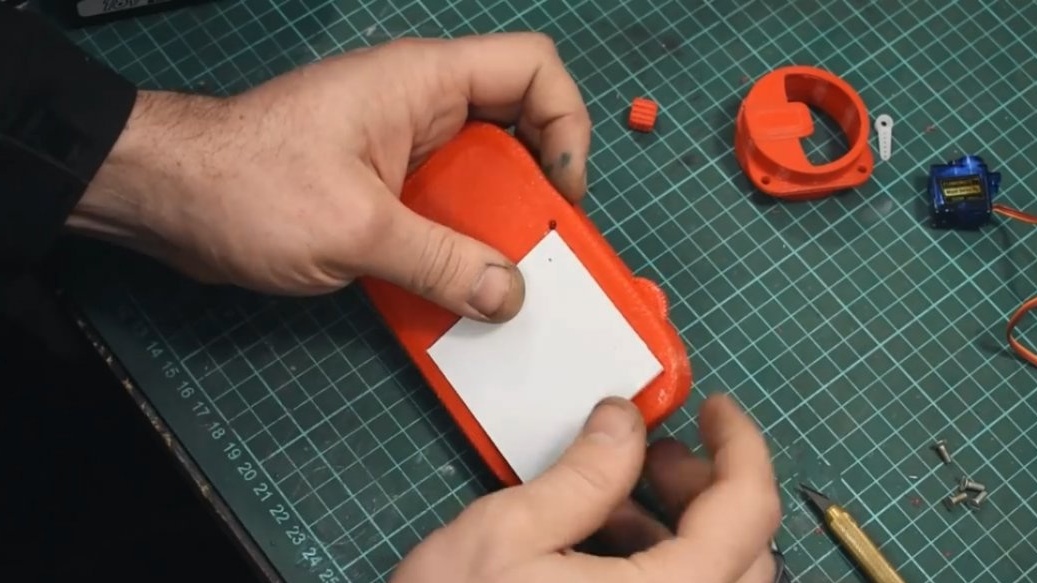
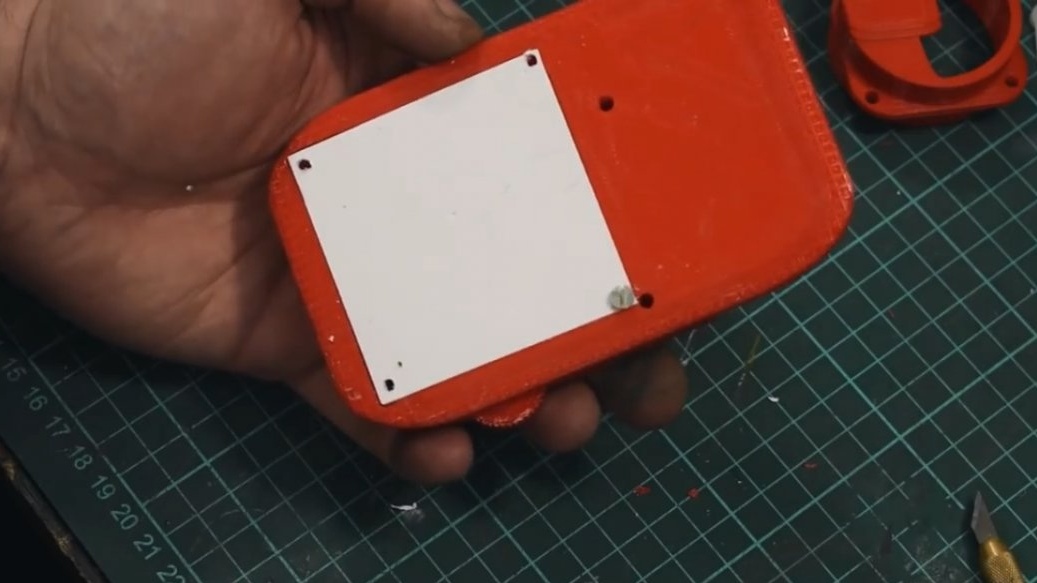
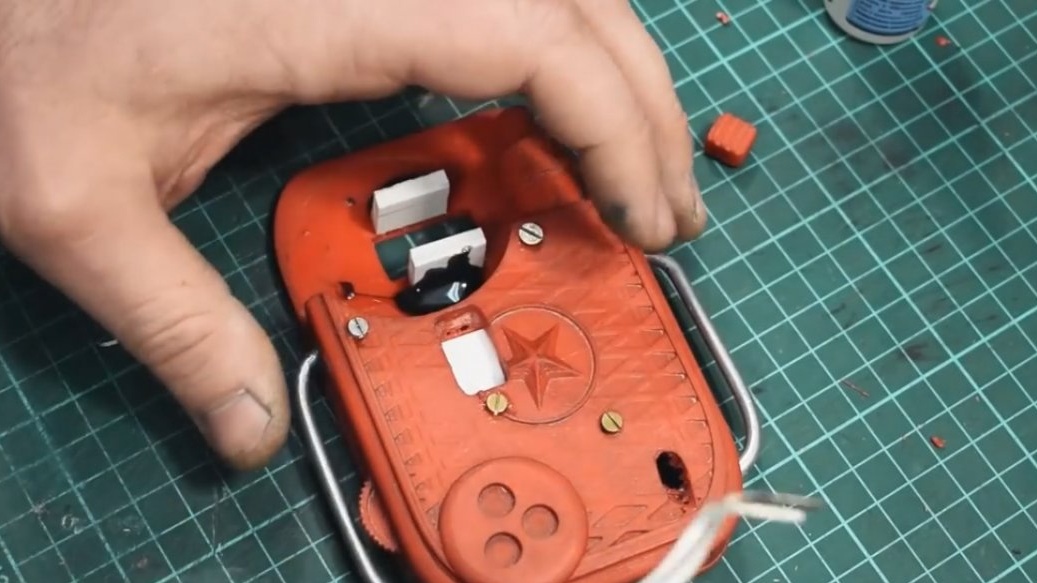
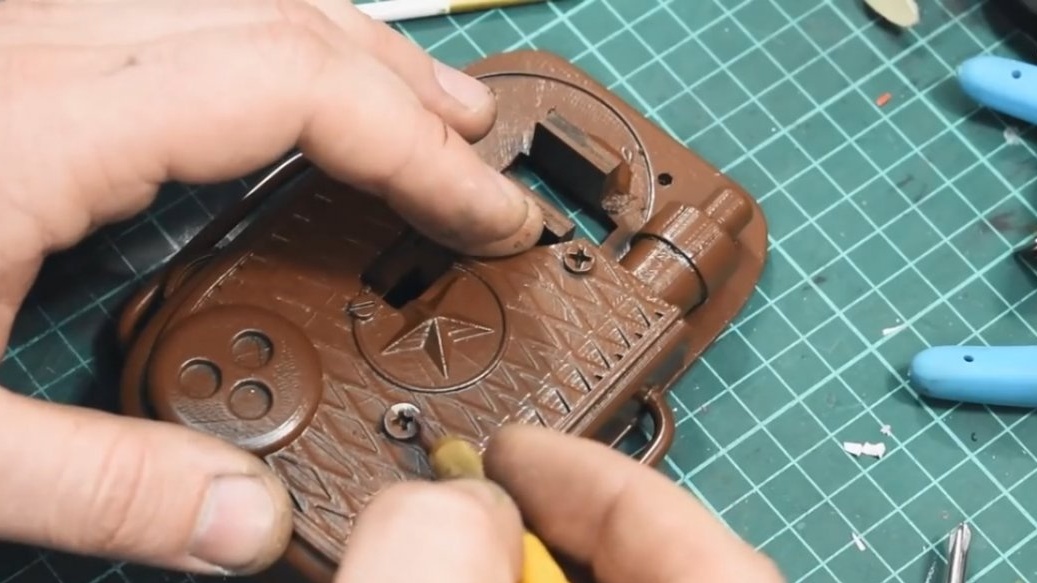
The author did not print the cover on the case, but simply cut it out of PVC plastic and fixed it to the m3 bolts.
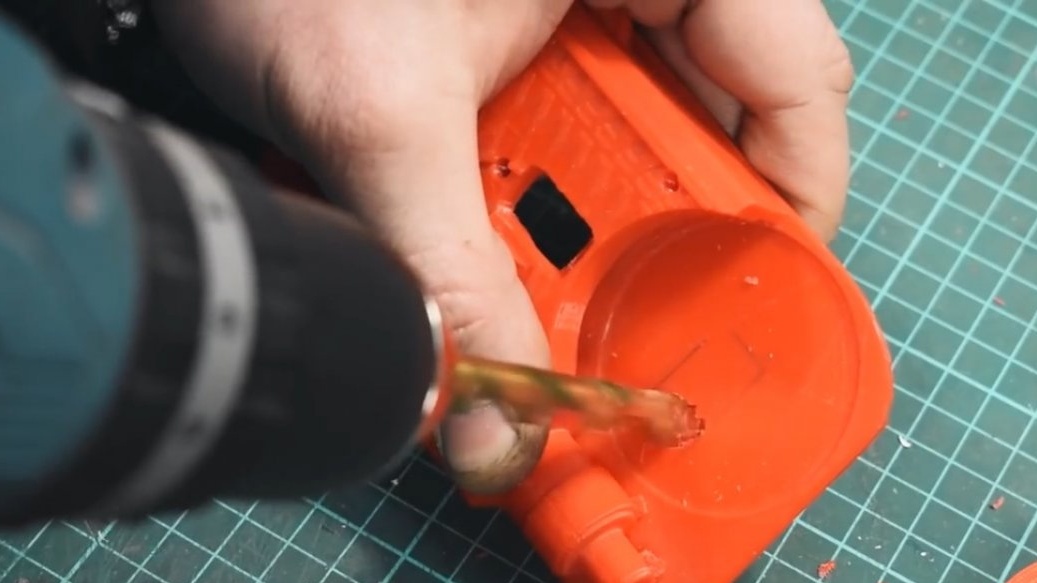
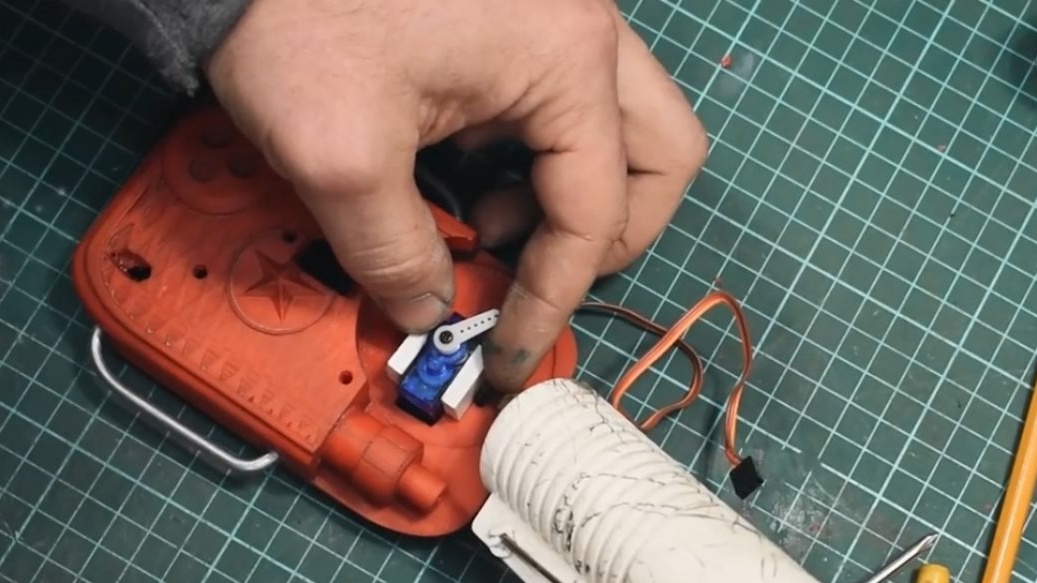
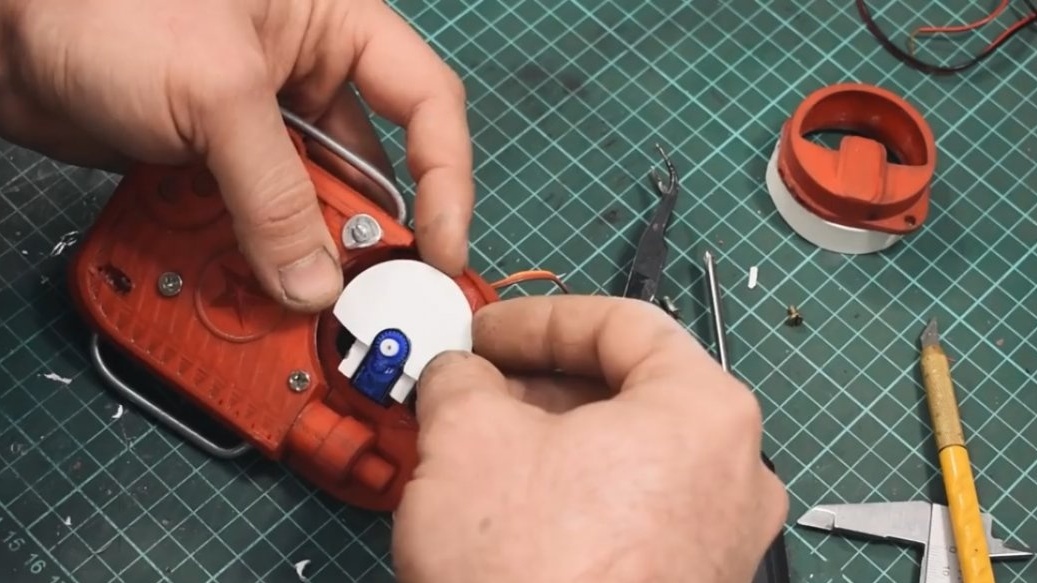
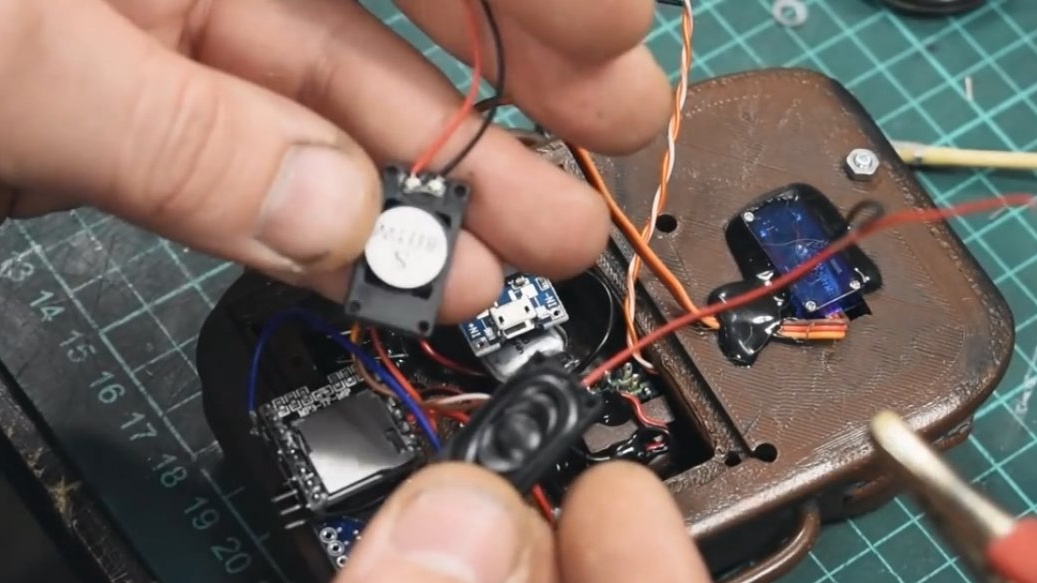
To move the arrow on the indicator, we’ll use such a 9-gram servo.
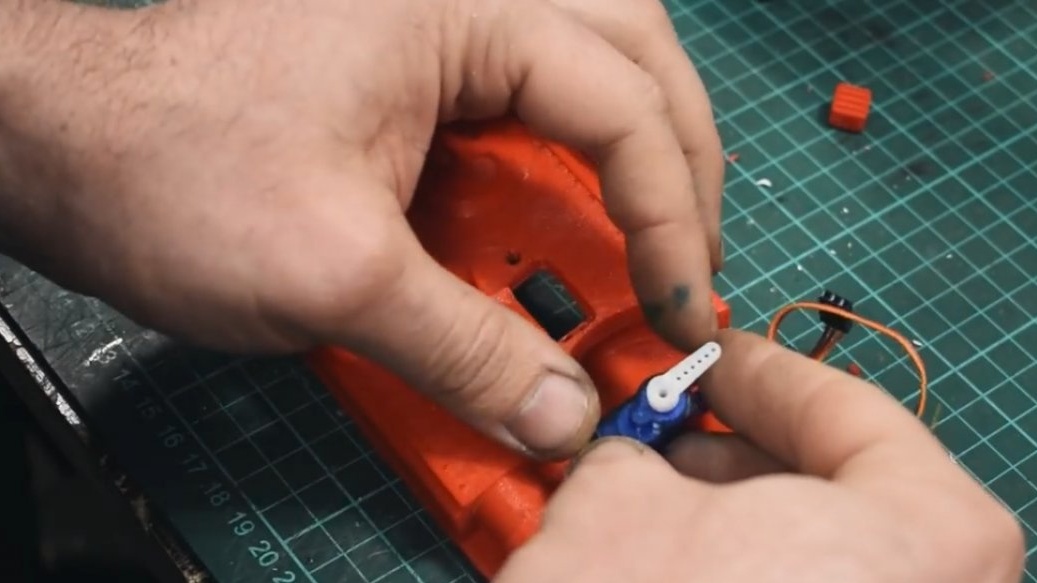
The author did not have another, but wait a long time from China. The servo will have to be drowned a little in the case and for this it is necessary to make a rectangular hole in this very case.
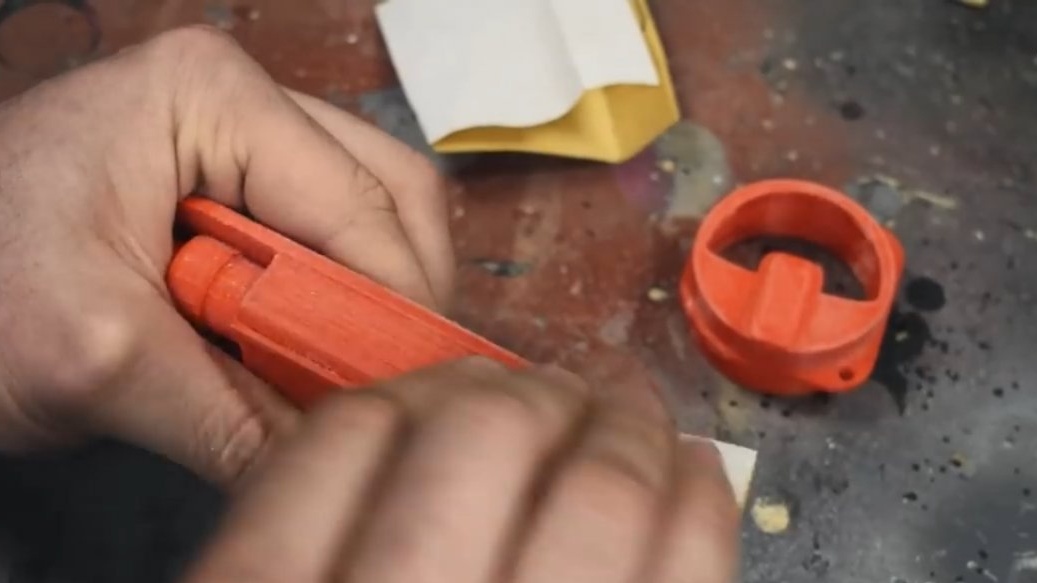
Having adjusted all the details, you can now do post-processing. Details can be sanded first, and then walk with acetone or solvent to remove all visible steps that remain when printing on a 3D printer.
To fasten the case to the wristband, we will make a pair of staples from aluminum wire through which we will pass the belt.
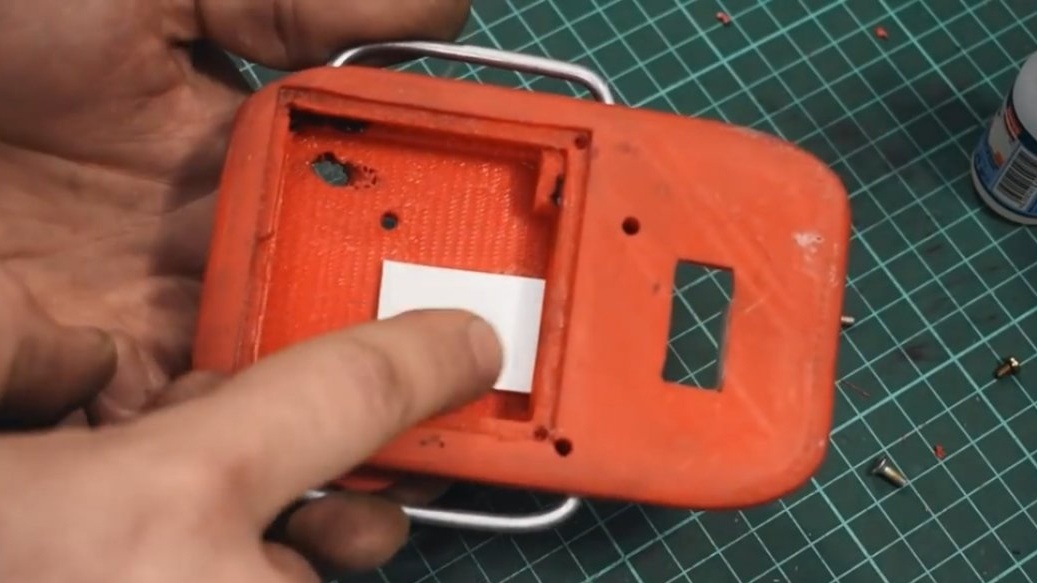
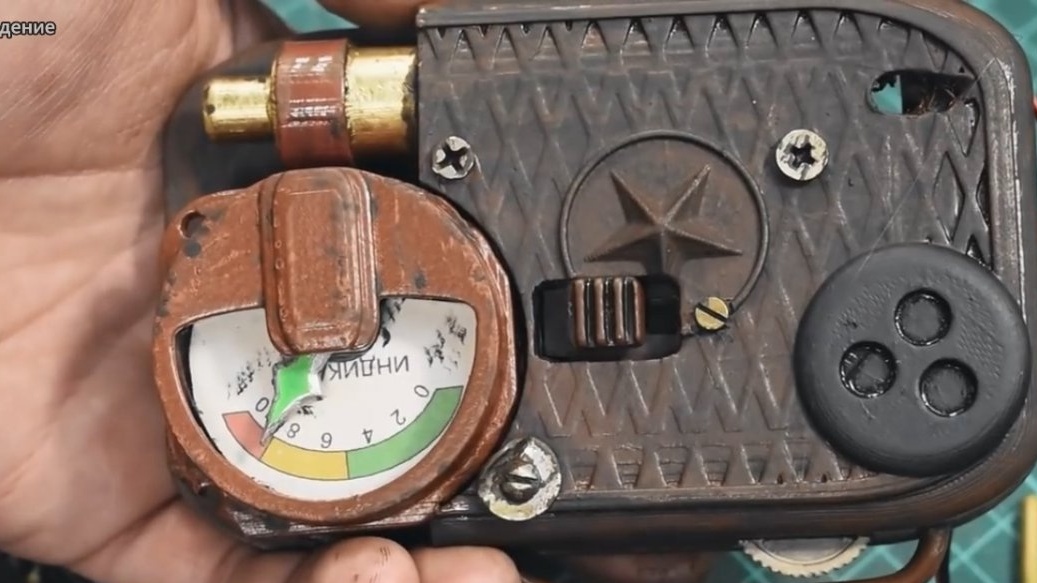
For reliable fixation of the servo, the author glued a couple of pieces of PVC plastic on the sides. I also pasted the PVC plug into the case, then we will make a hole in it for installing the switch.
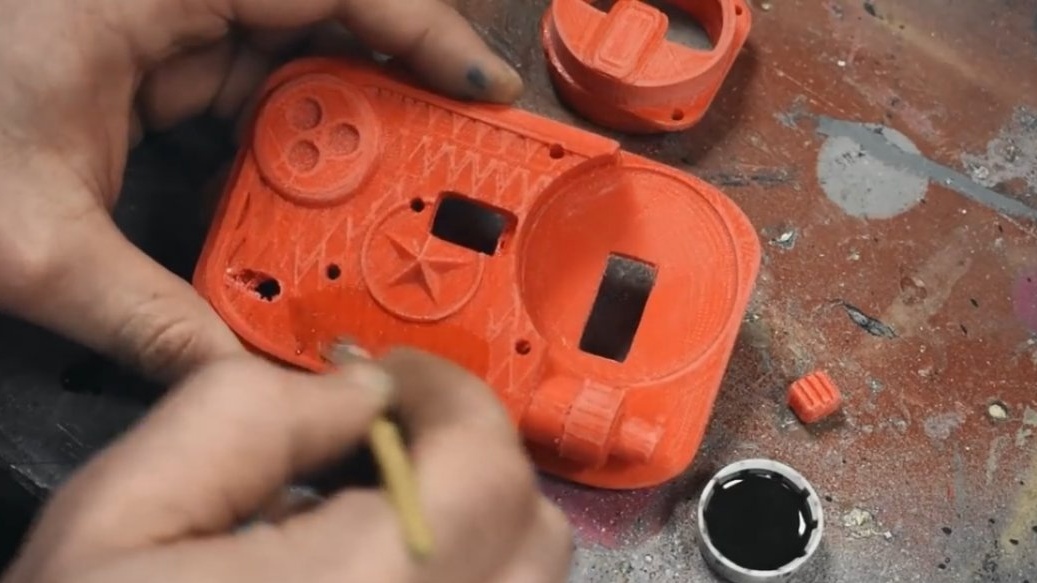
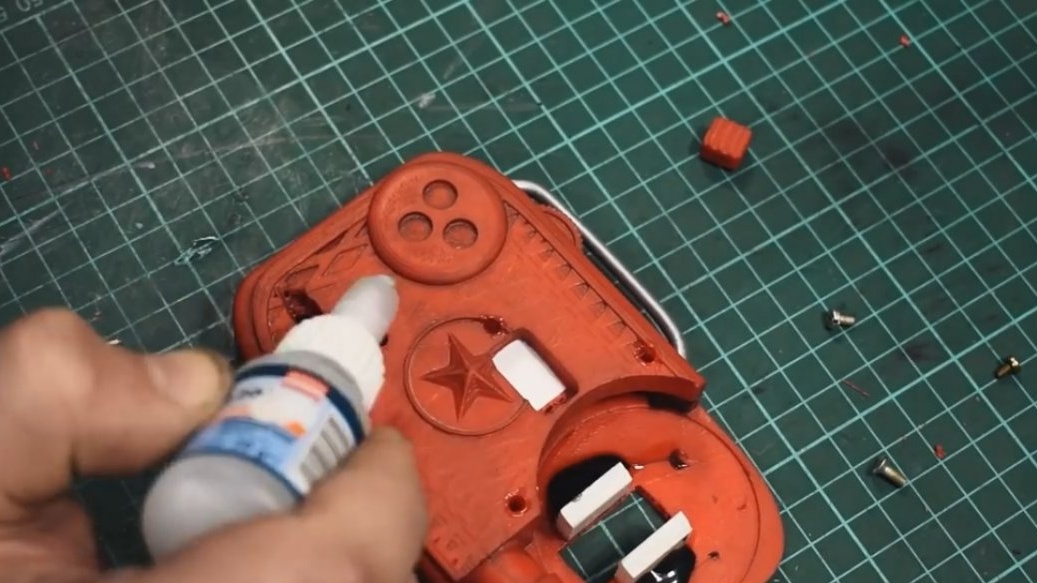
We glue decorative screws into the finished holes in the body on cyanocrylate.
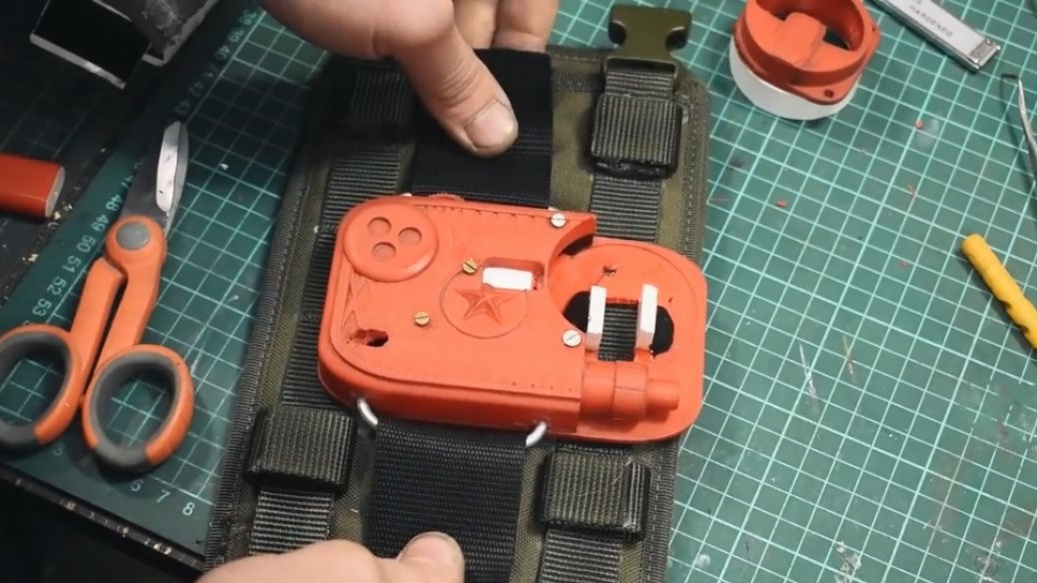
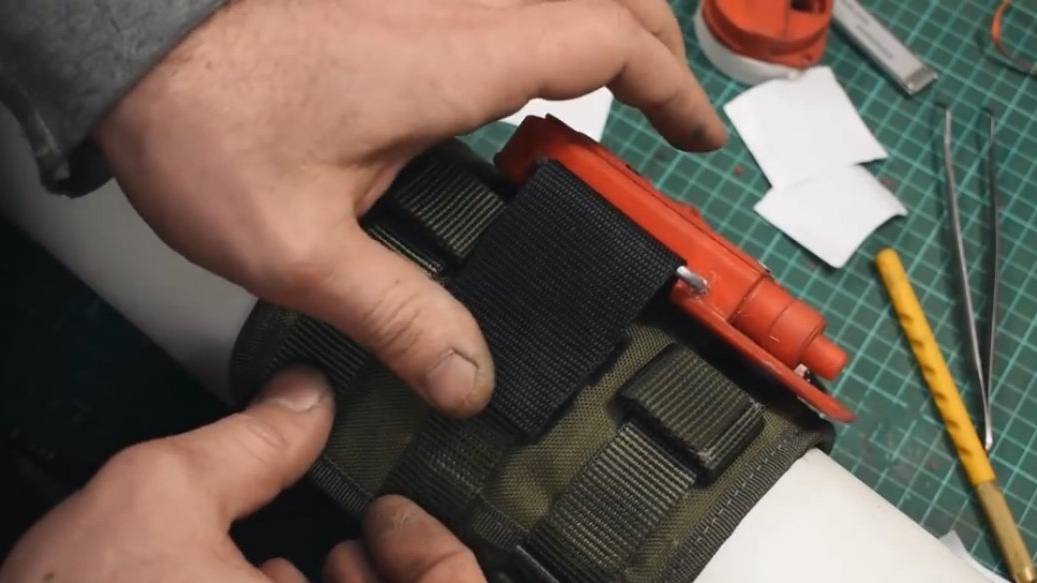
While the glue dries, we will take up the wristband. As mentioned earlier, the wristband will be made of a hip platform. Immediately cut off all the straps, since they will need to be attached to other places, like this.
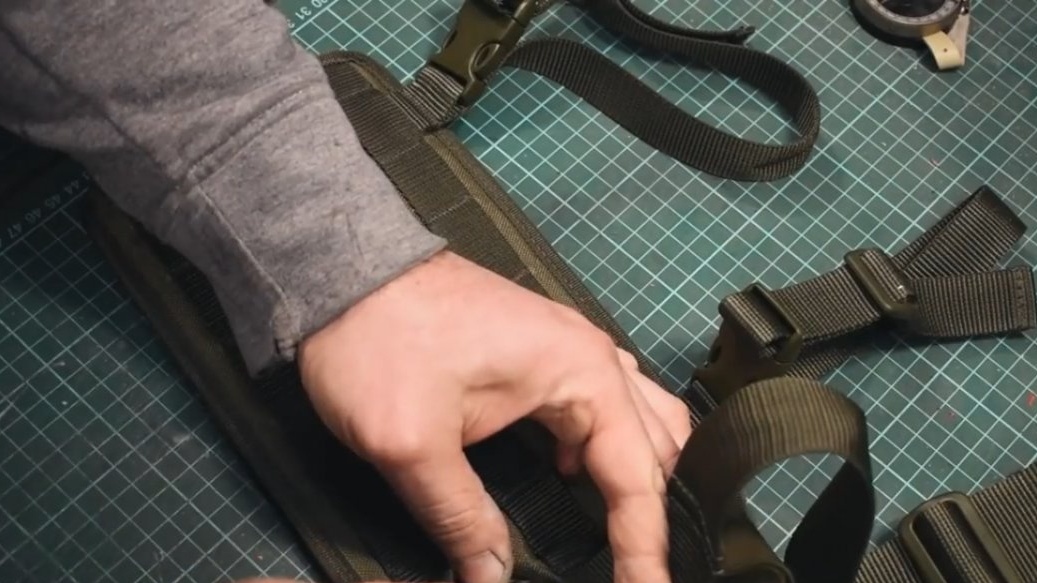
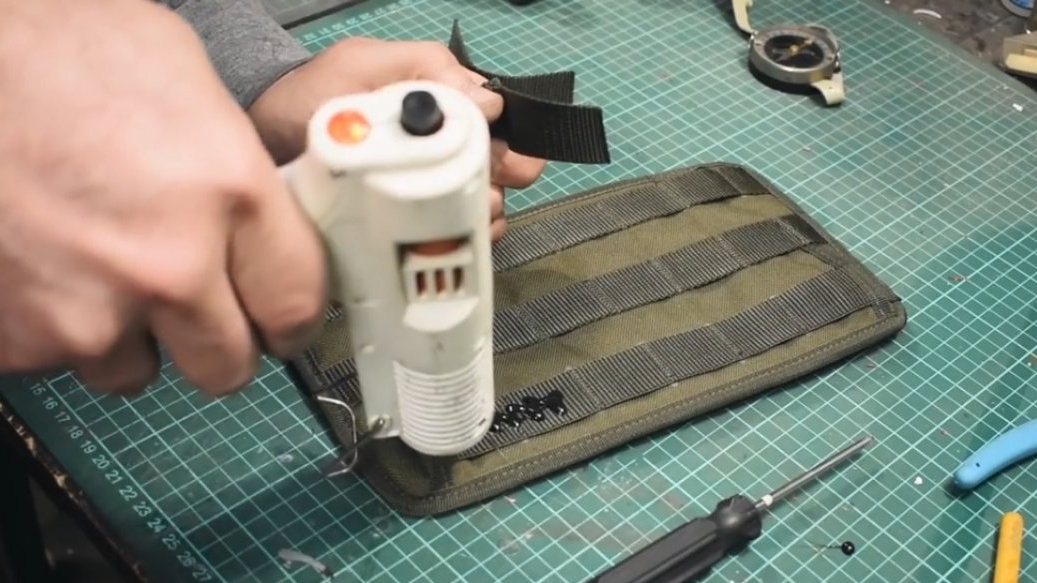
The straps will be attached to hot melt glue, it glues the fabric well, so there’s no need to flash it. We will mount the counter case on the wristband with such a strap:
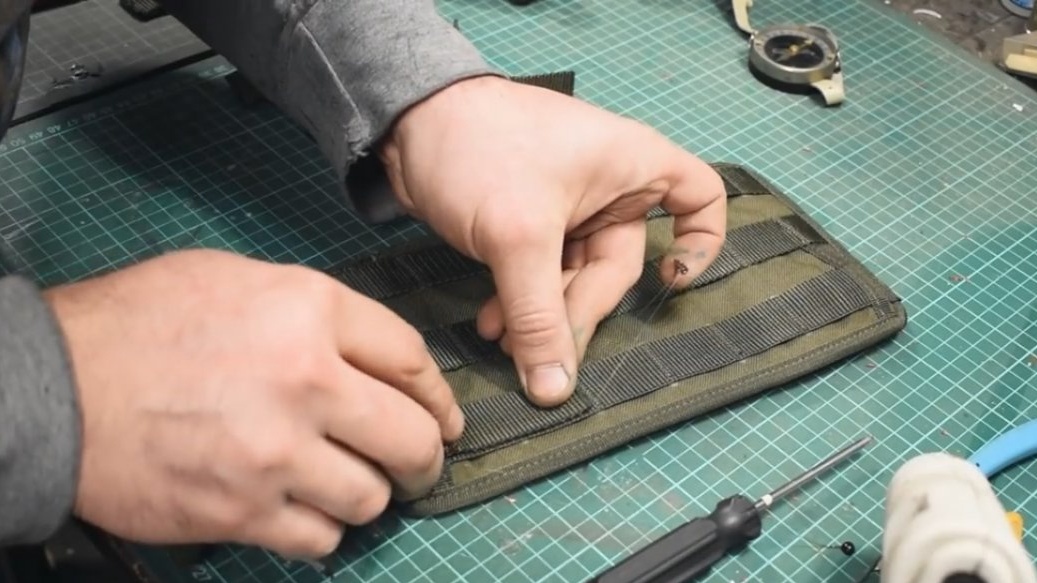
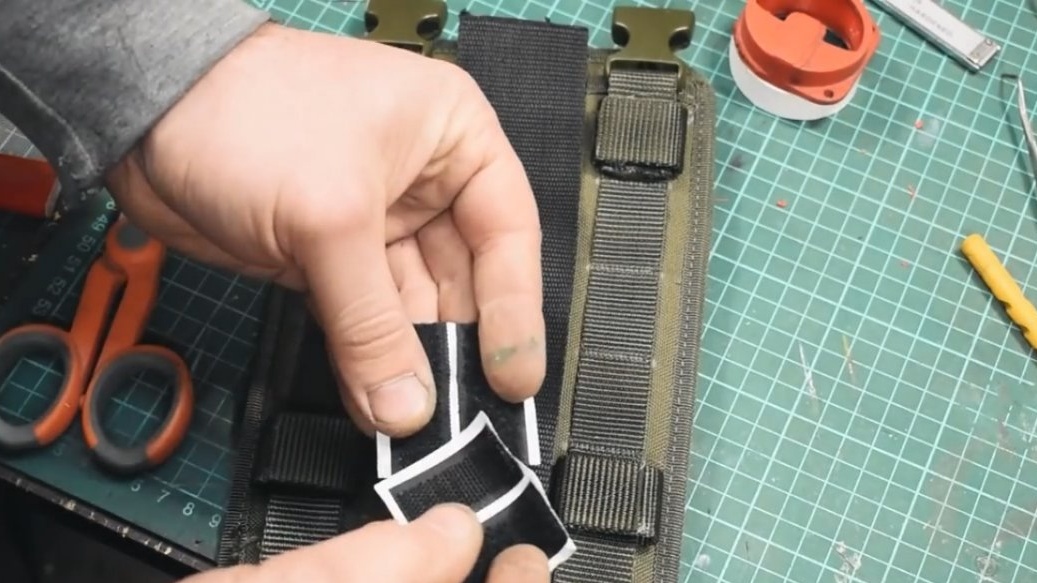
Only, in order to make it convenient to take it off, we glue a couple of strips of ordinary Velcro on the strap and on the wristband.
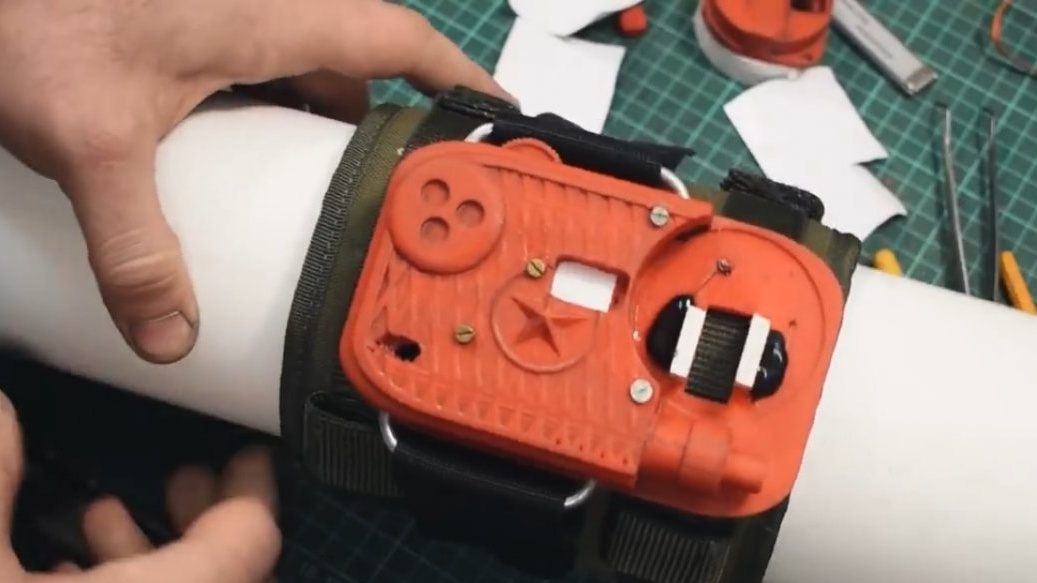
Well, in order to arrange them correctly, I had to fasten the wristband on the hundredth pipe, it will be like imitating a hand.
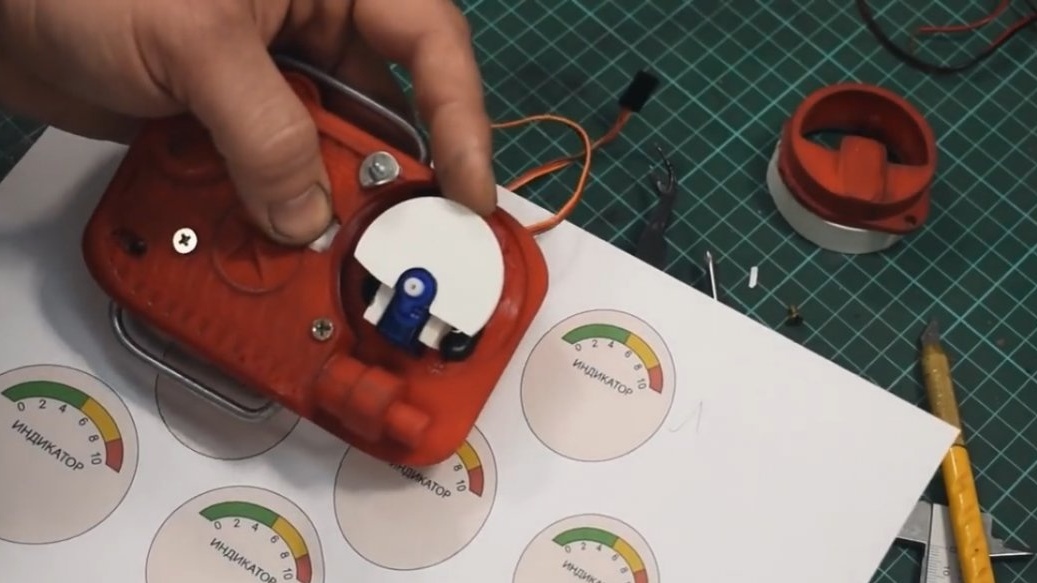
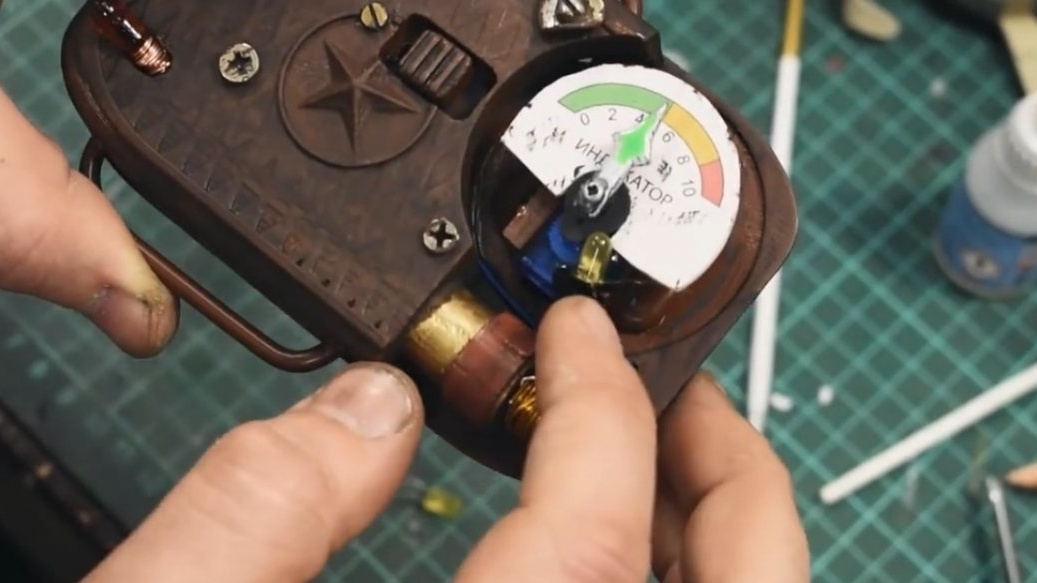
Now we install the servo and make a die for the indicator scale from PVC plastic. The scale can be printed on plain paper and simply sticked on top of the dies.
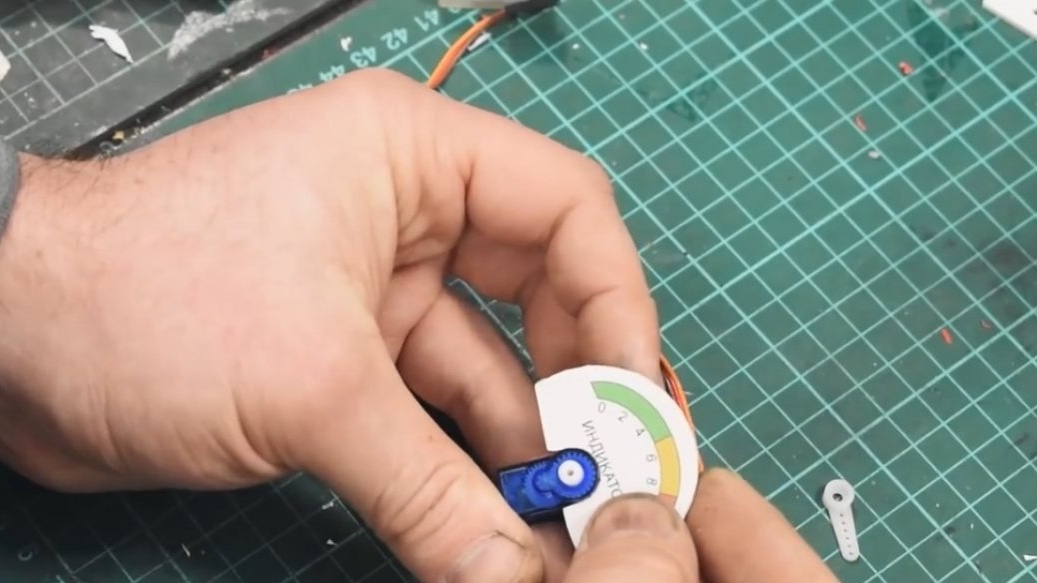
It is advisable to immediately check the Chinese servo for operability, as it happened that they came out of order.You can check it with an ordinary servo tester for 3 bucks.
All links to components that are used in this project can be found in the description under the original video of the author (link SOURCE at the end of the article).
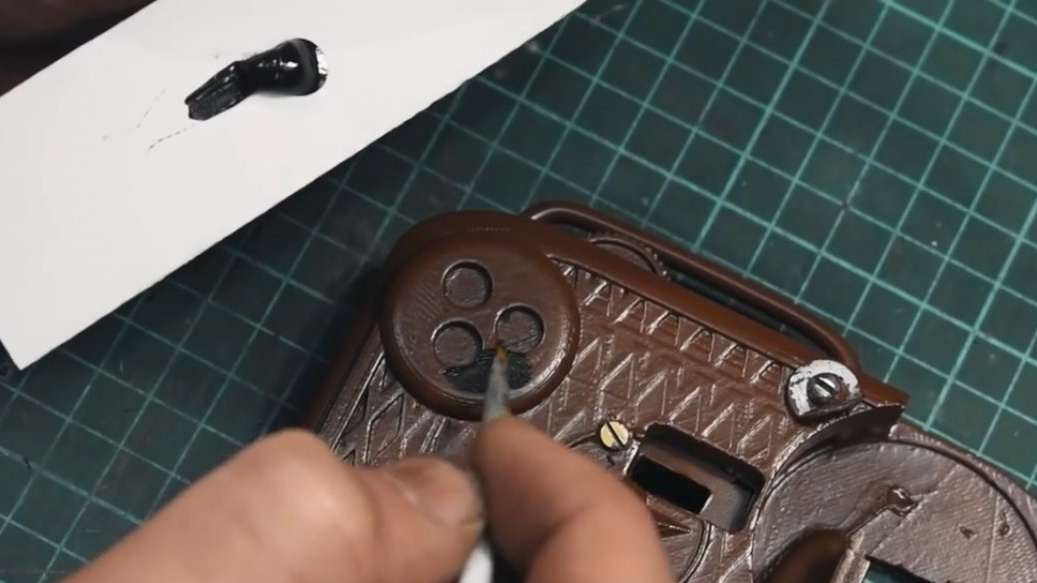
For further assembly, it will be necessary to prime the case and paint it with brown paint.


Once the base coat of paint has dried, you can tint the imitation of a dimmer and tube.
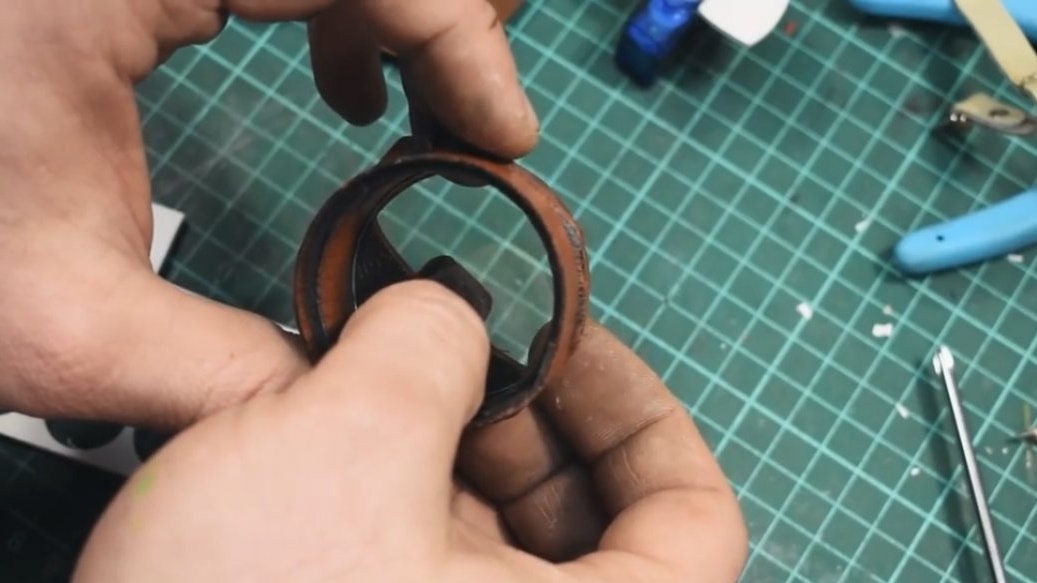
We make the glazing on the indicator of thin transparent plastic and glue it on an epoxy.
Set the servo with the scale in place and then cover the whole thing with the indicator housing. Test again and, if all the buzzing - you can collect further.
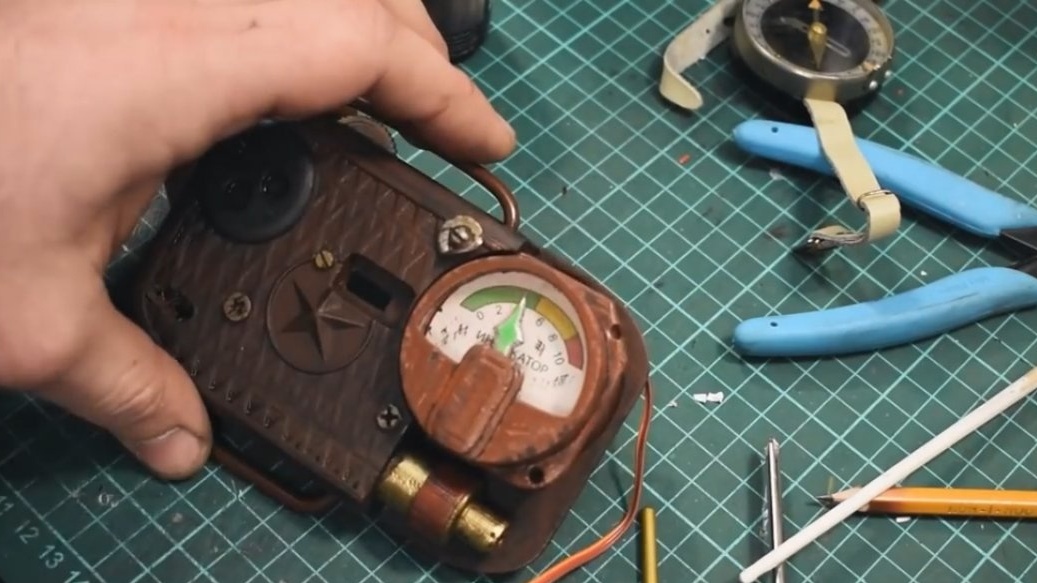
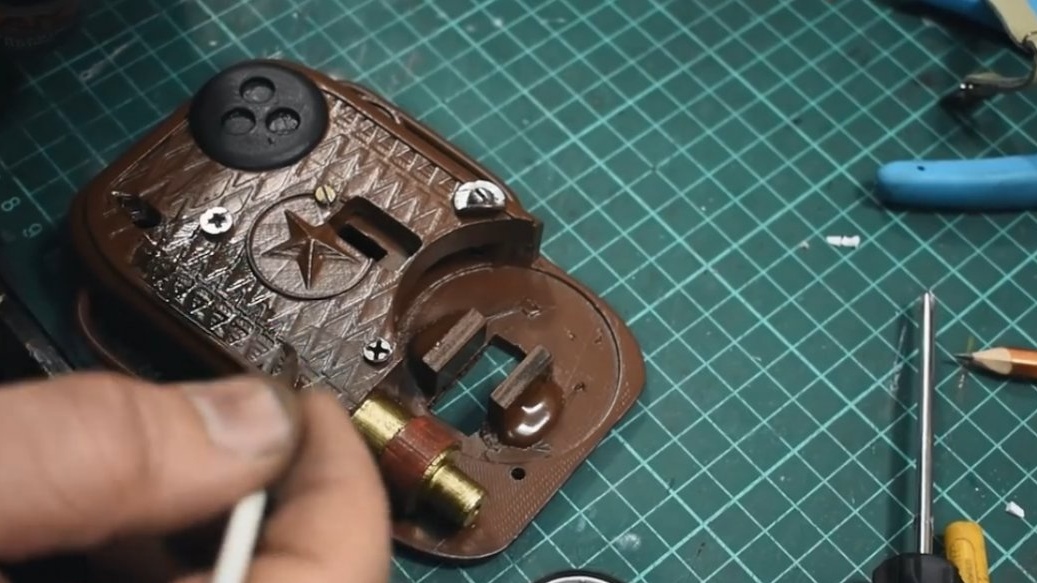
On the reverse side, the author pasted the power button, also did not forget about the decorative wiring coming from the meter tube.
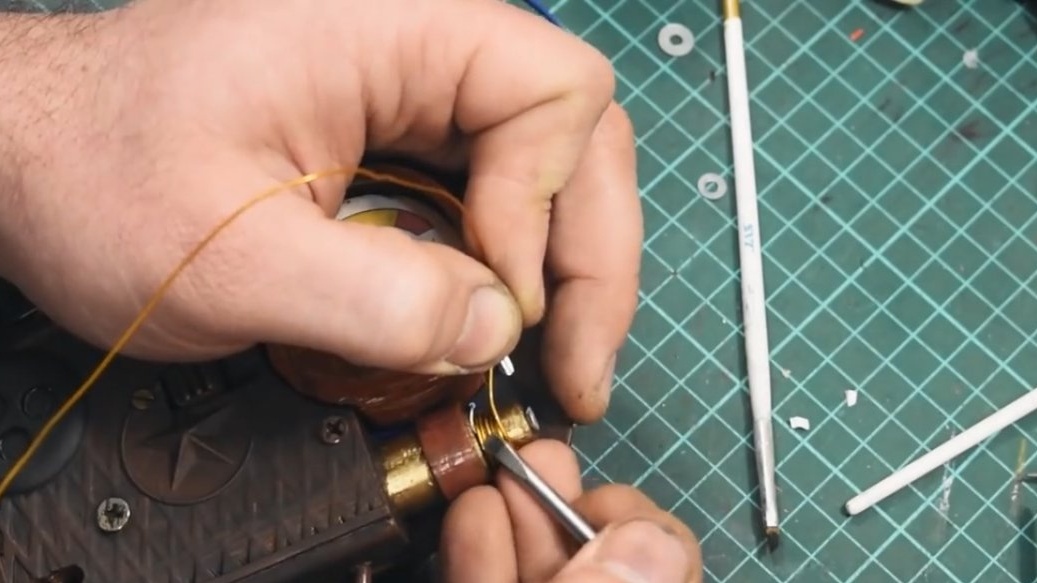
There is a lamp on the case, but the author did not find a similar one, and therefore he turned his own from a piece of acrylic and painted it with orange varnish. Well, he made coils of the type of thread made of copper wire.
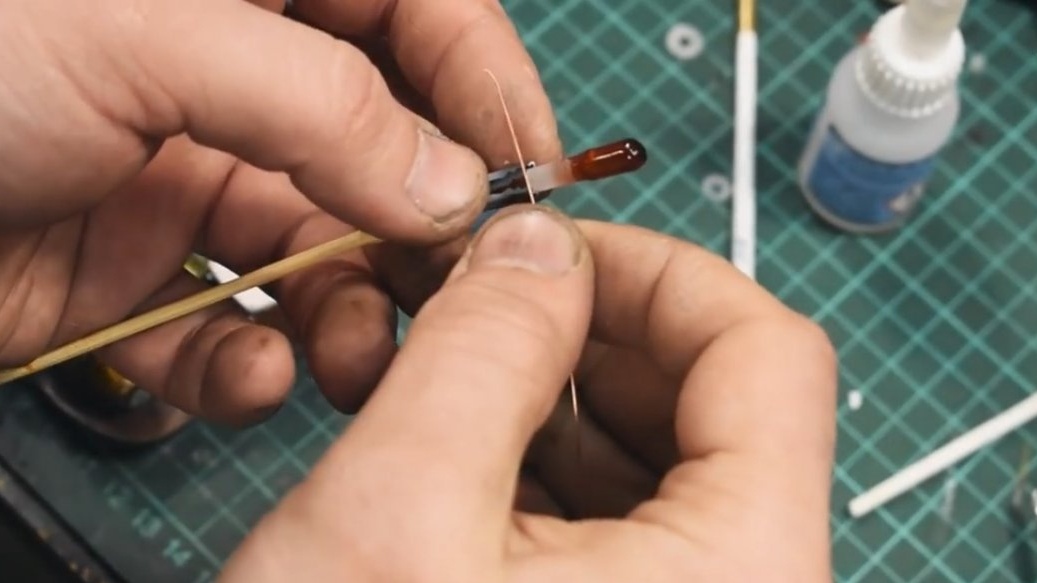
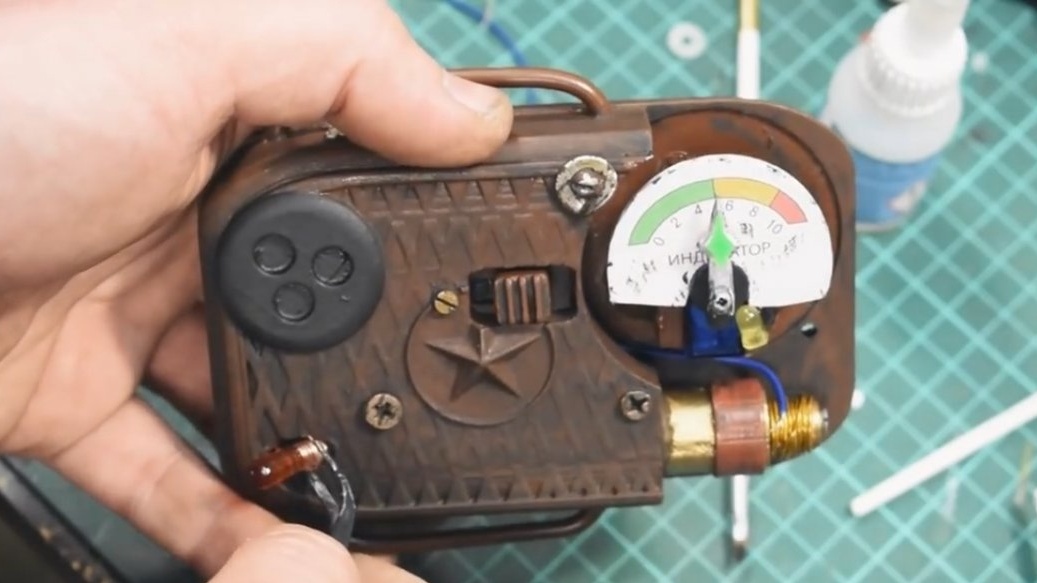
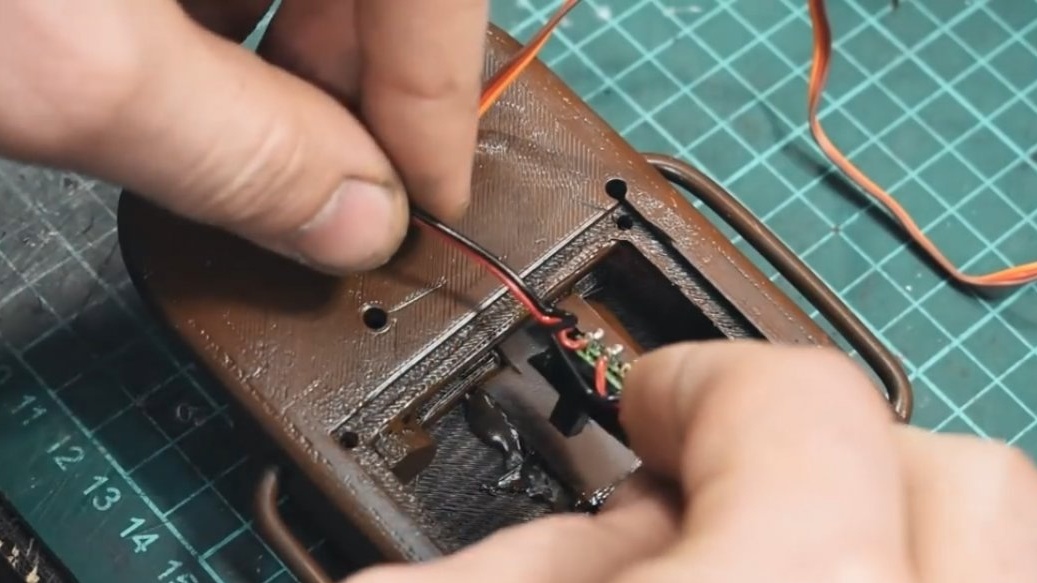
We also set the backlight in the indicator, using the usual yellow LED. And we’ll stick the same LED into the outdoor indicator lamp of the on counter.
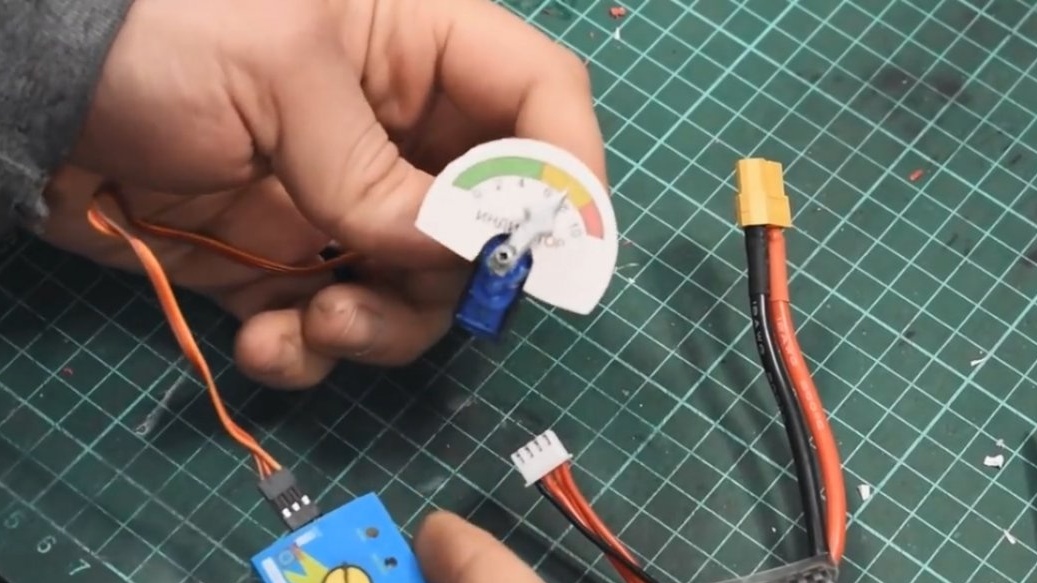
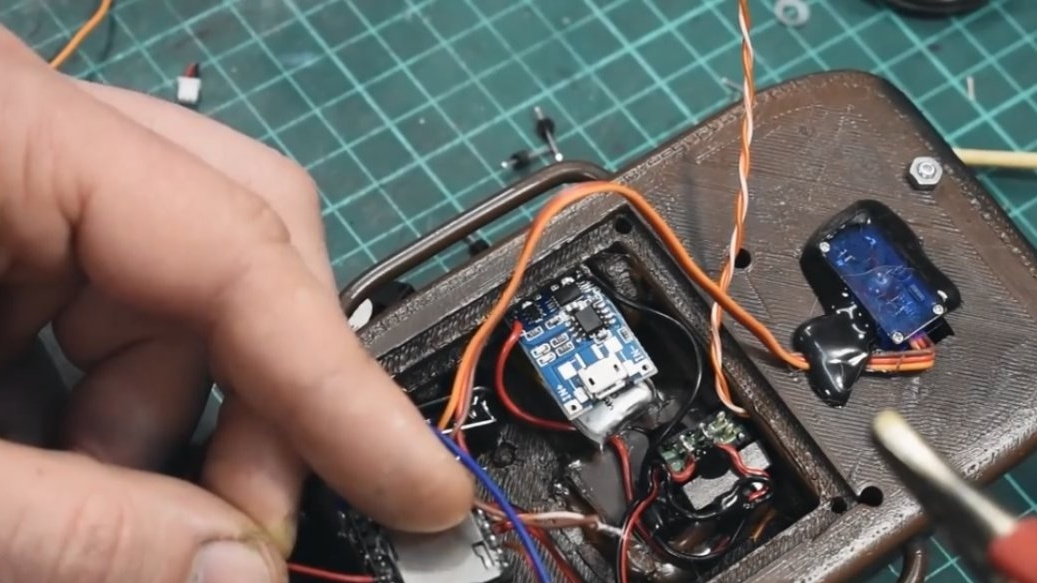
The whole system will be powered by such a 3.7V battery.
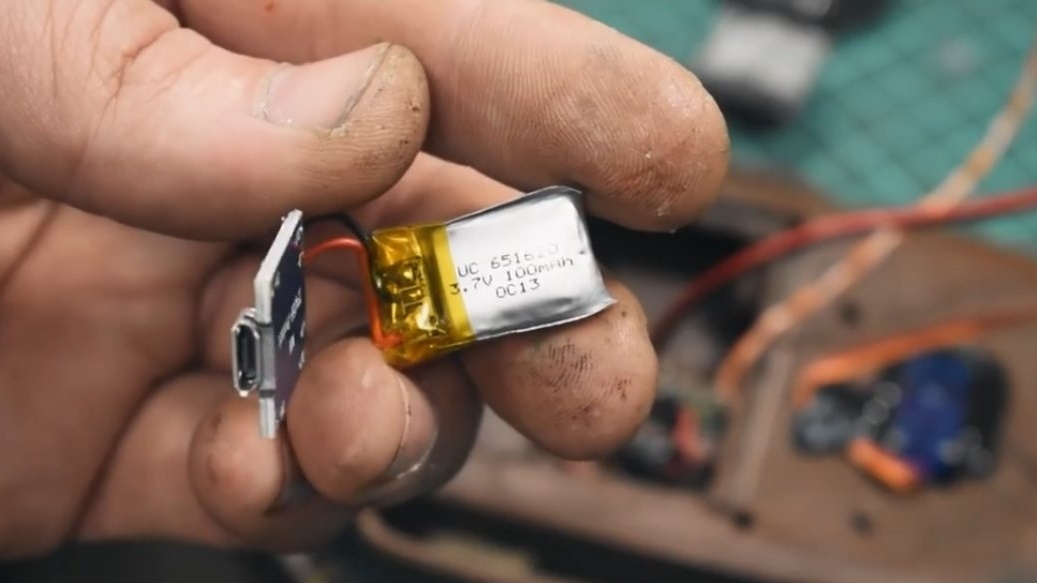
Immediately solder to it the charging module and the protection module, it will not allow to completely discharge the battery.
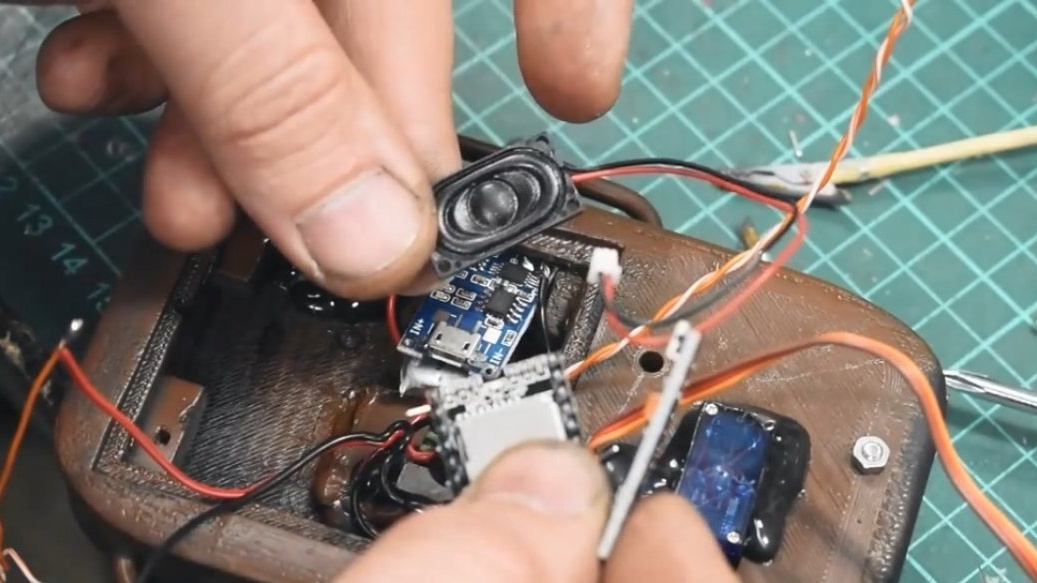
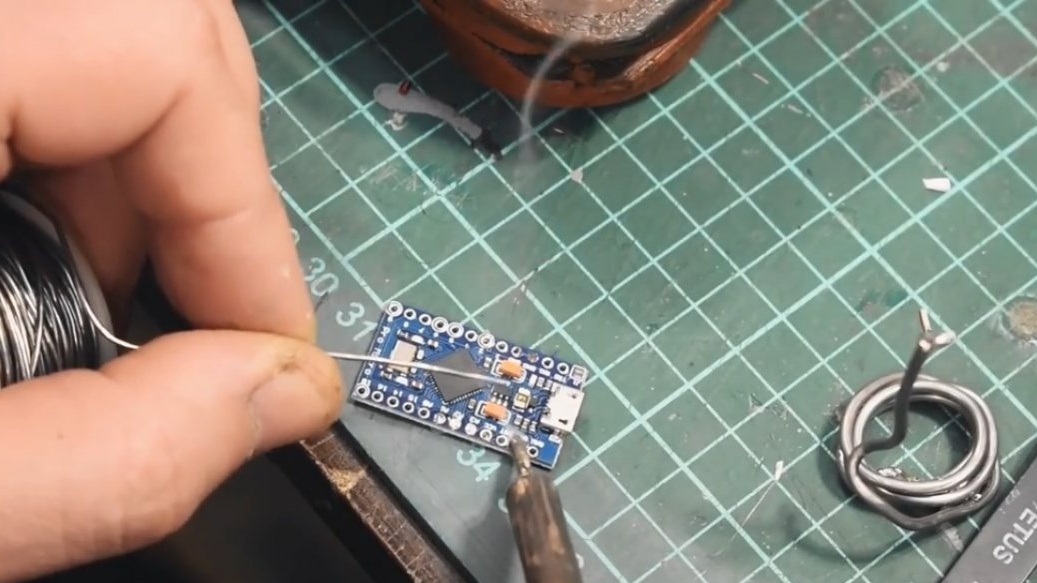
The heart of the whole counter will be Arduino Leonardo This is almost the same as the Arduino Pro micro, only there is USB for firmware right on board.
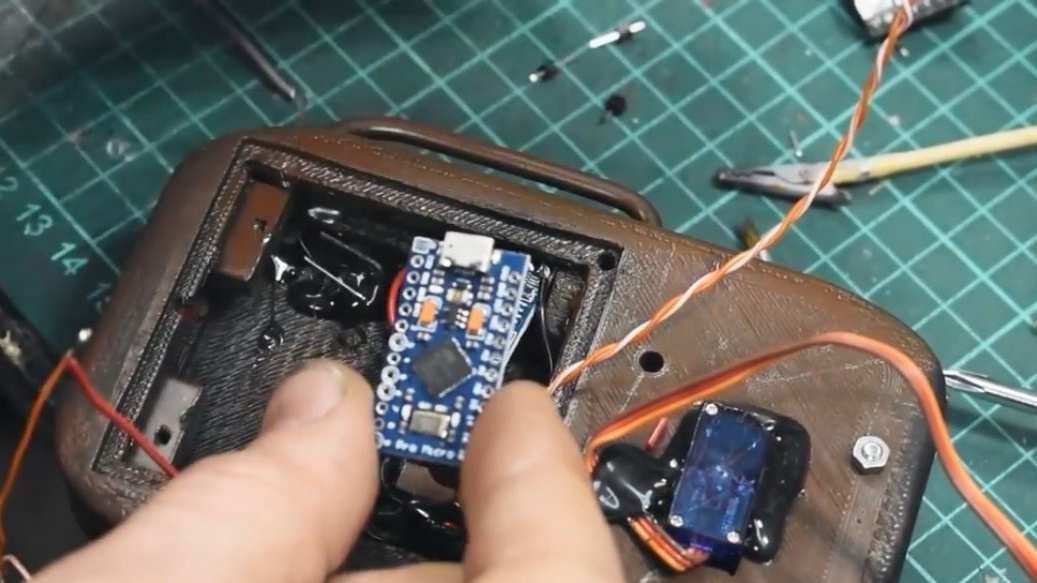
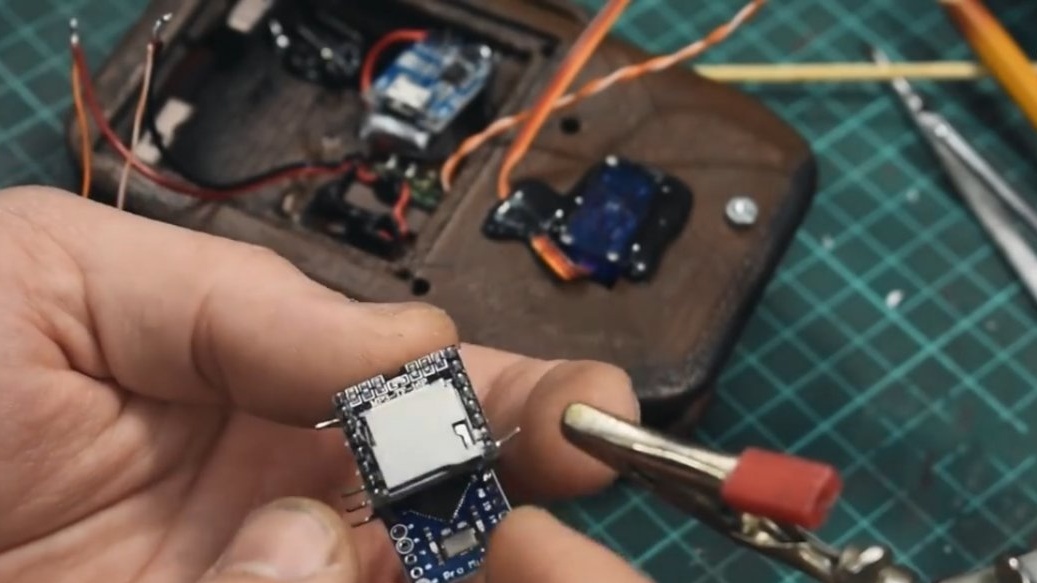
Well, the sound will be produced by DFPlayer, which, like the servo, will be connected to the arduine. In DFPlayer, you only need to insert a micro sd card and fill it with the sound of the counter.
In short, everything will need to be done according to this scheme:
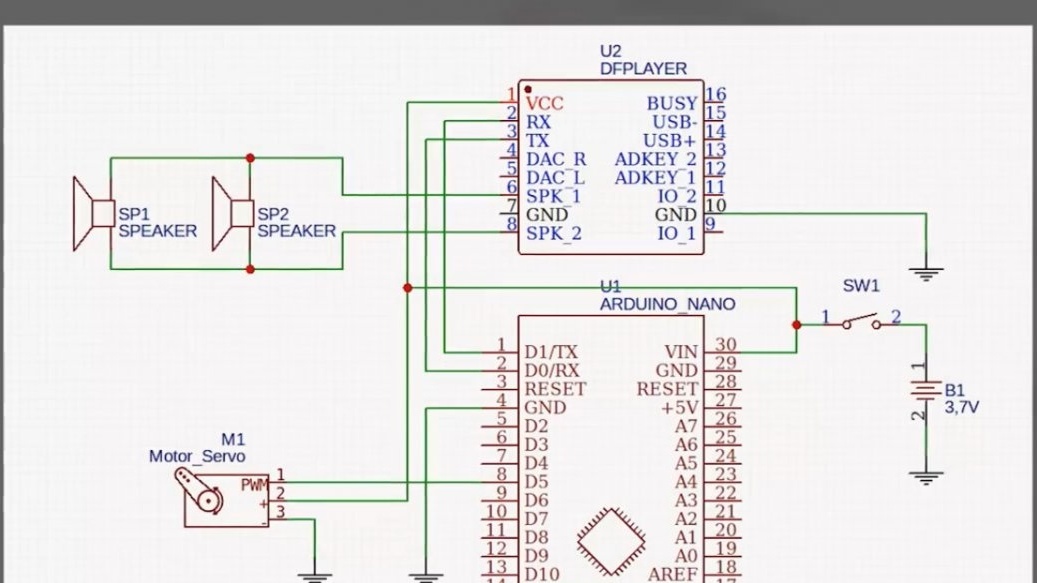
It is quite detailed and, I think, no questions will arise.
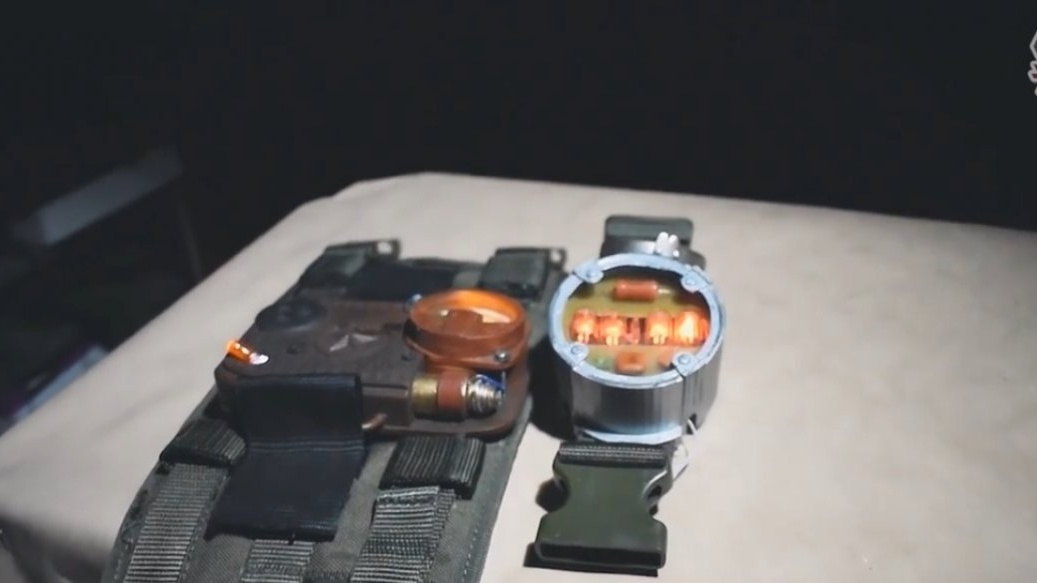
And now the most interesting thing is the watch on gas discharge lamps. Let's start with the board.
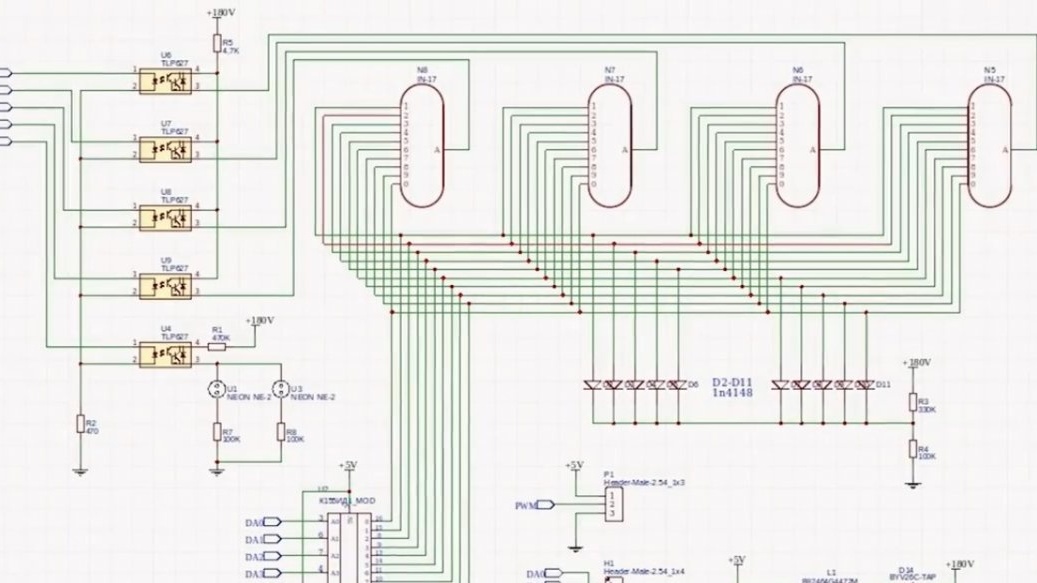
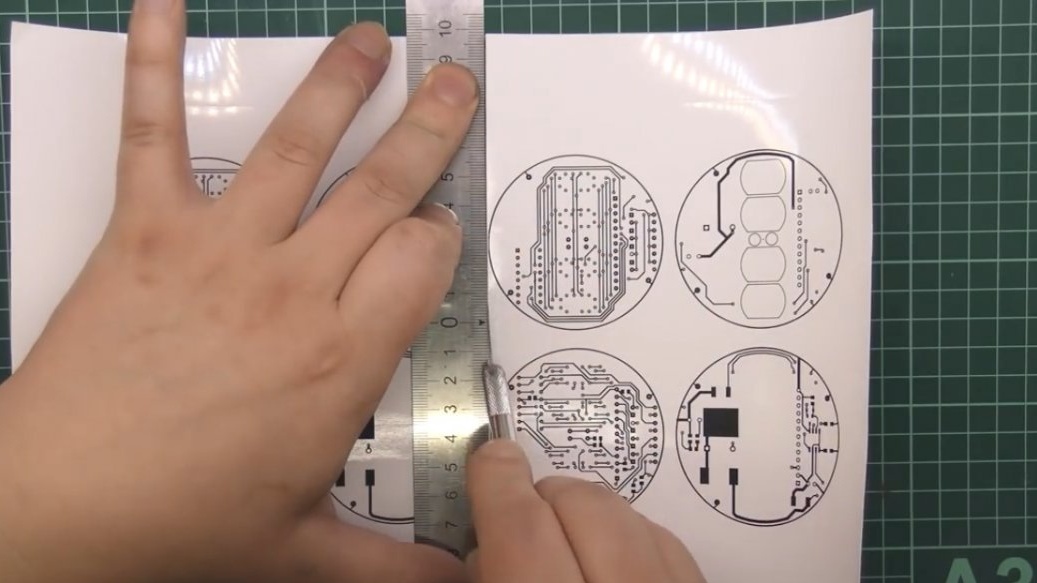
First of all, the author drew a board and parted all the components according to this scheme:

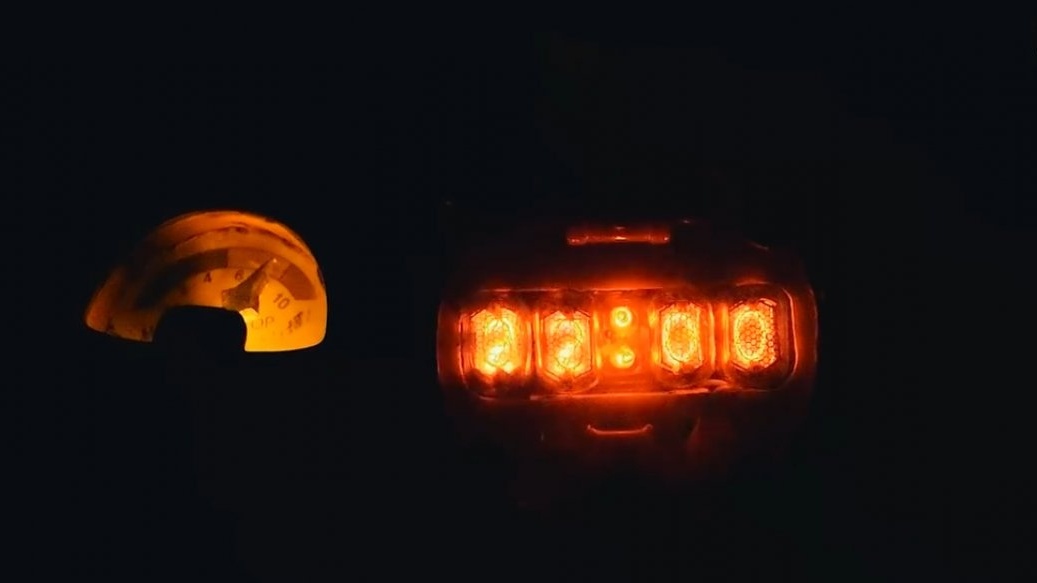
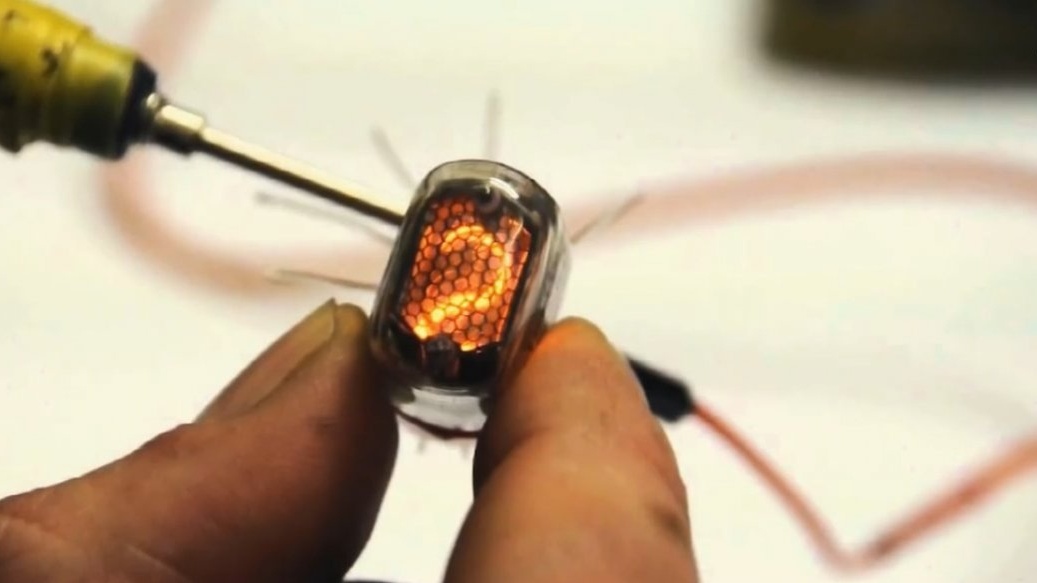
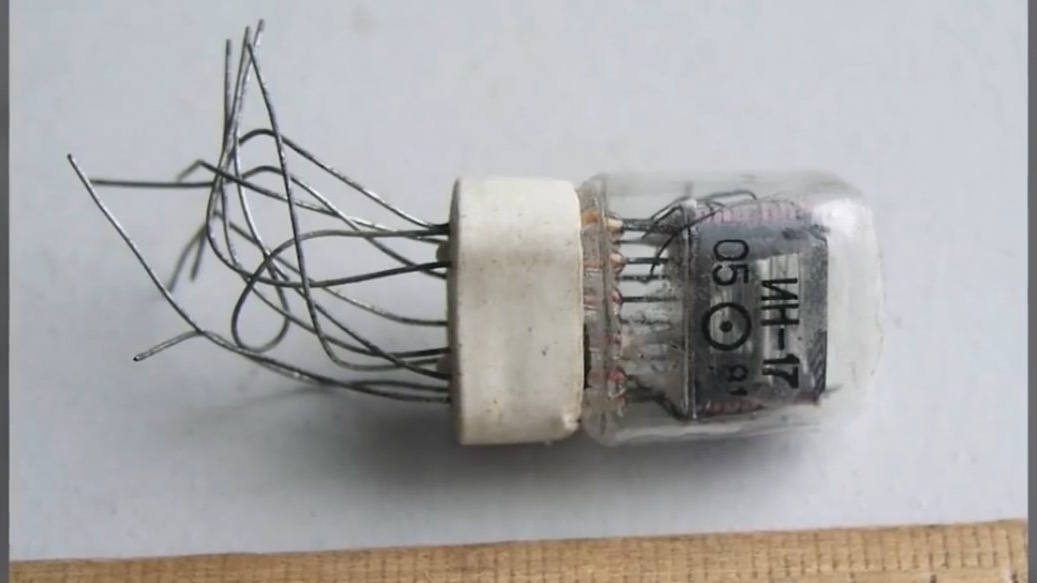
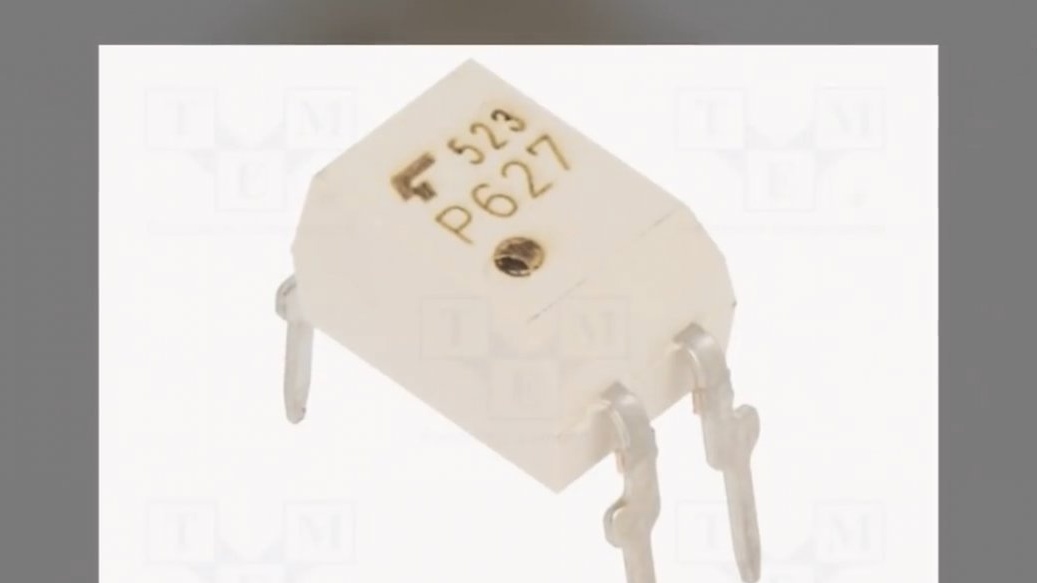
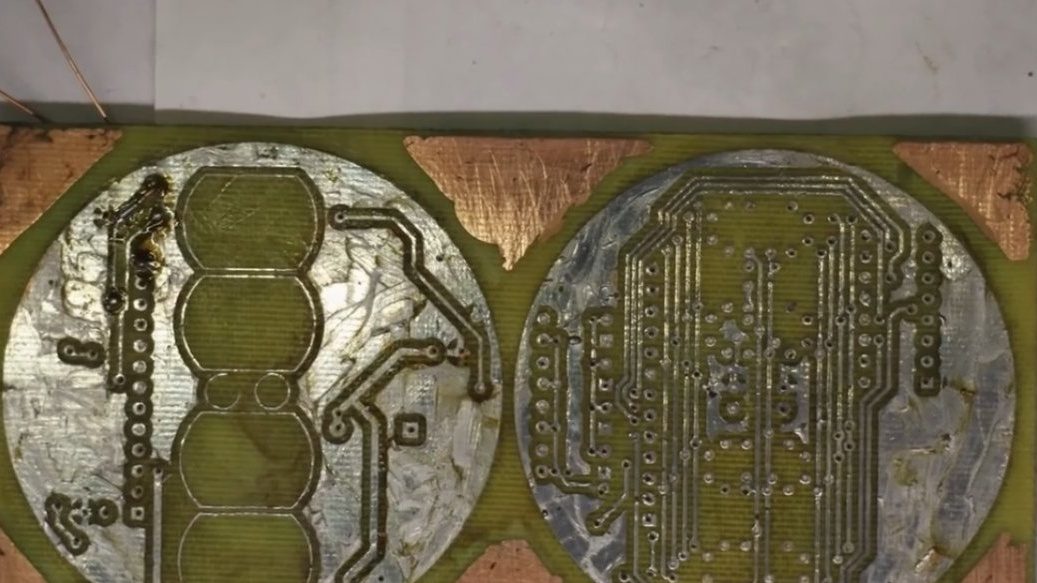
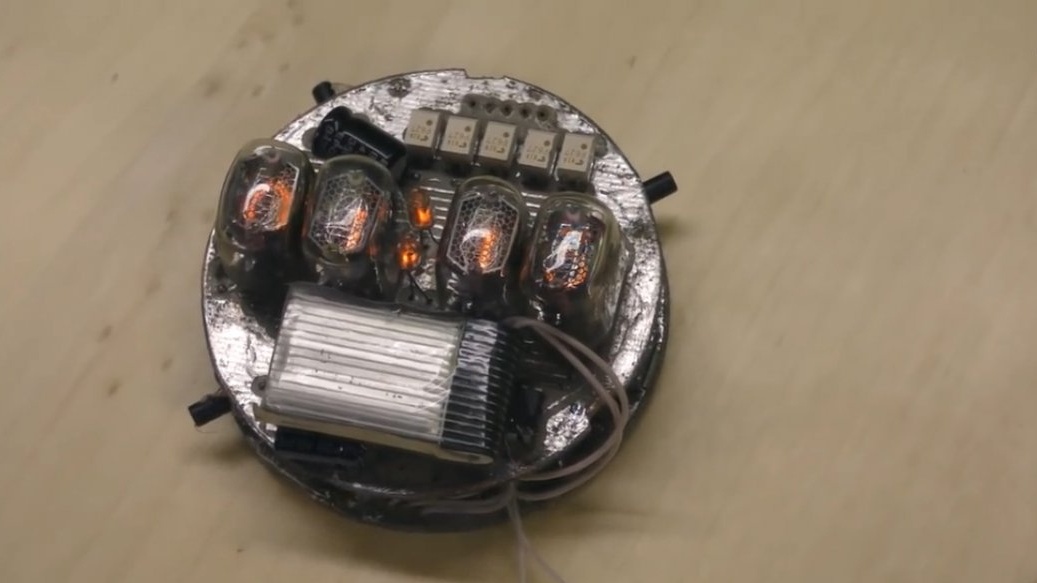
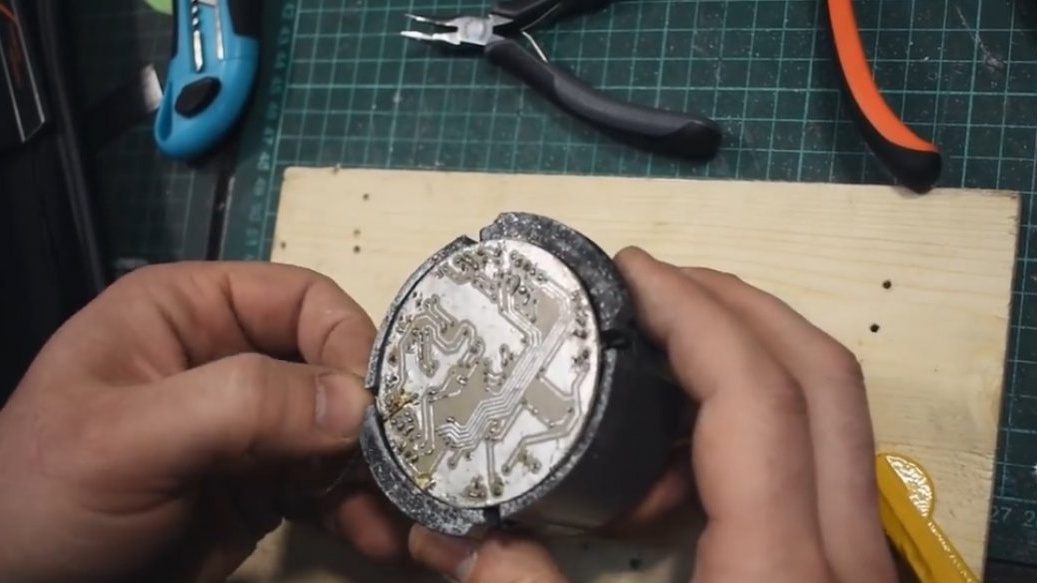
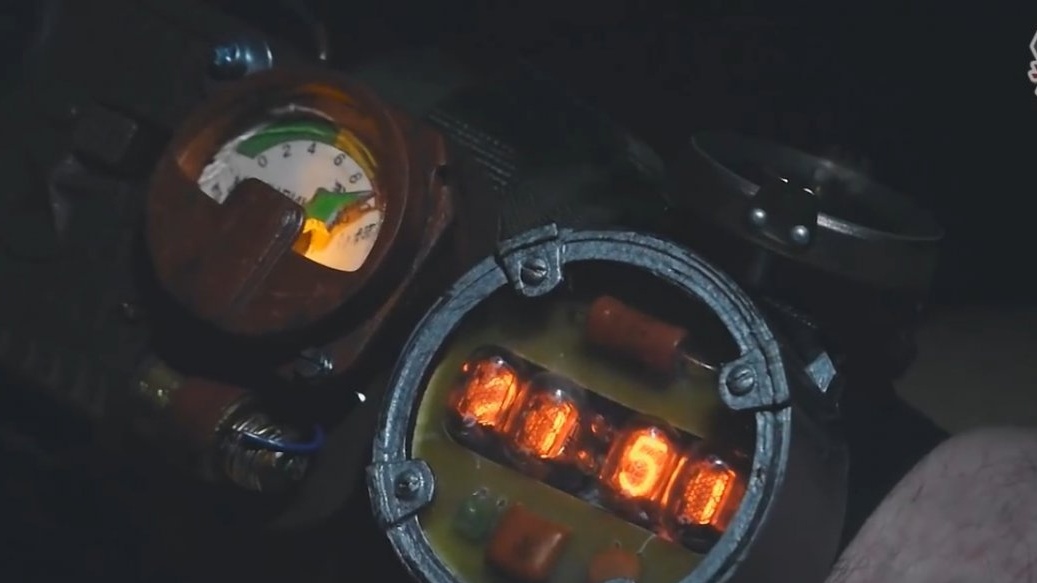
By the way, there will be two boards in the watch, one will be with the Soviet IN-17 gas discharge indicators, since these are the smallest indicators of all.
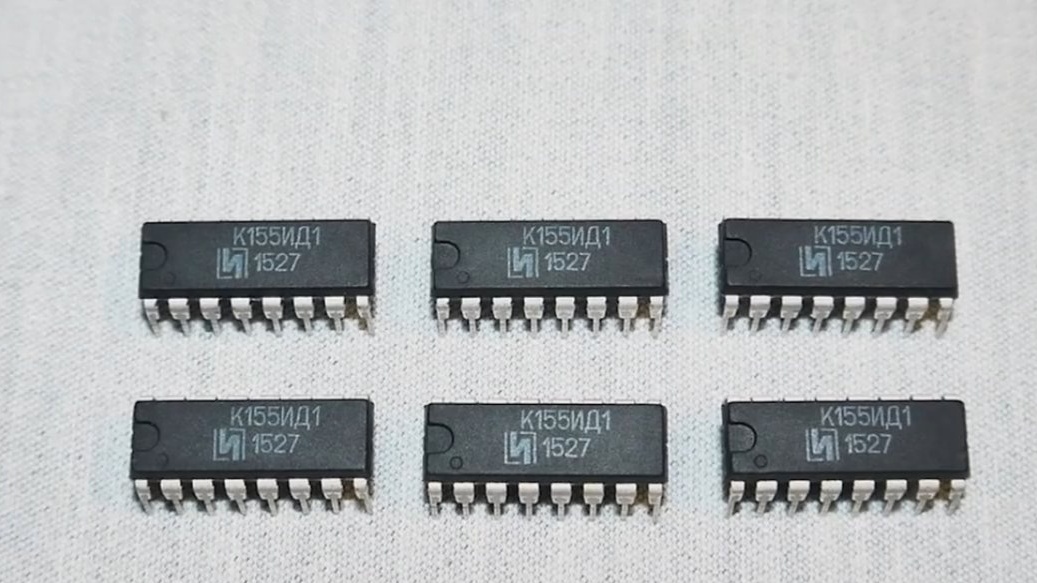
The board will also house the Soviet high-voltage decoder K155ID1, optocouplers and a voltage converter up to 180V, since gas-discharge indicators work from 180V.
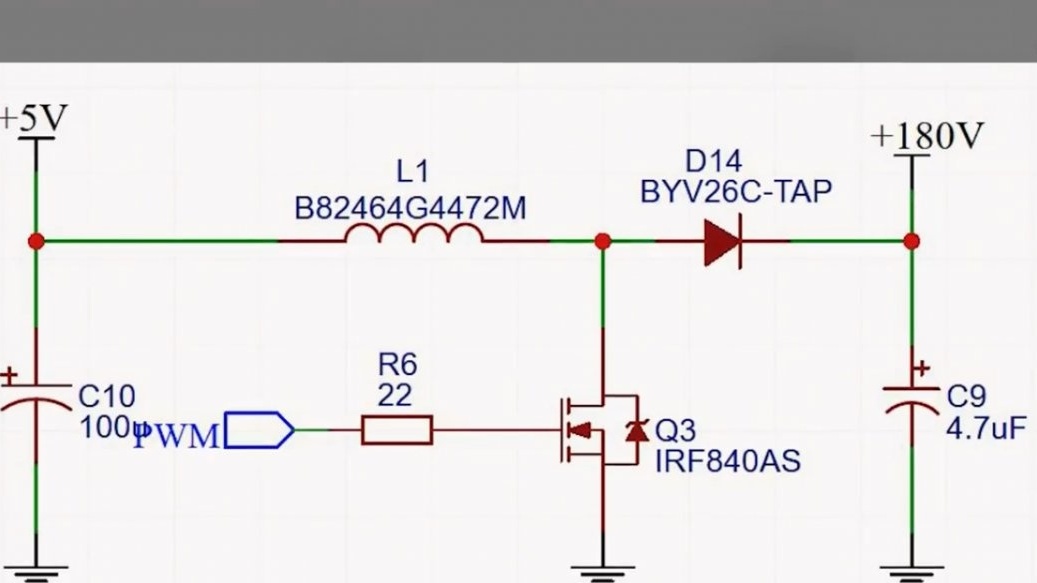
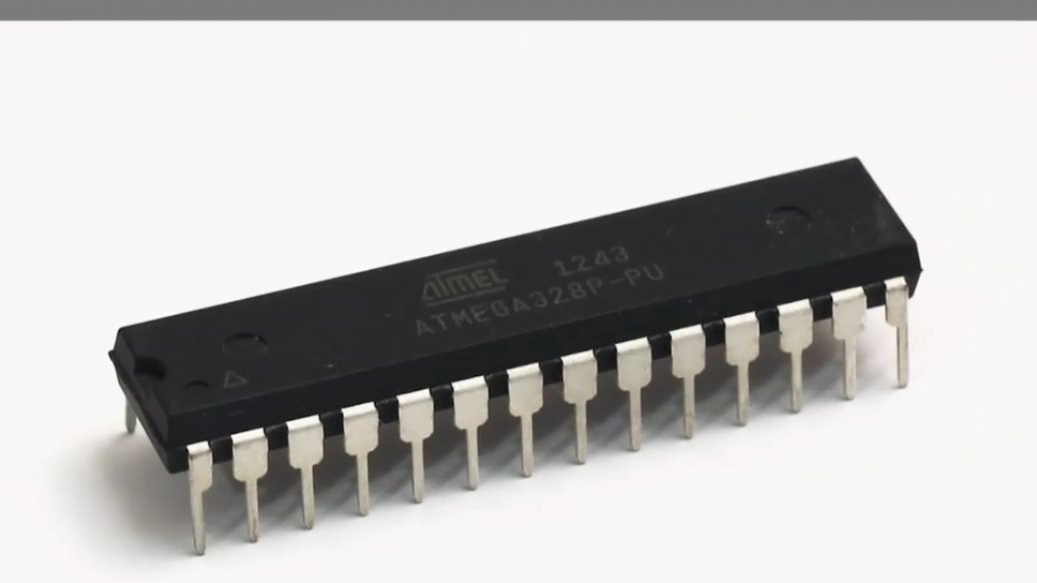
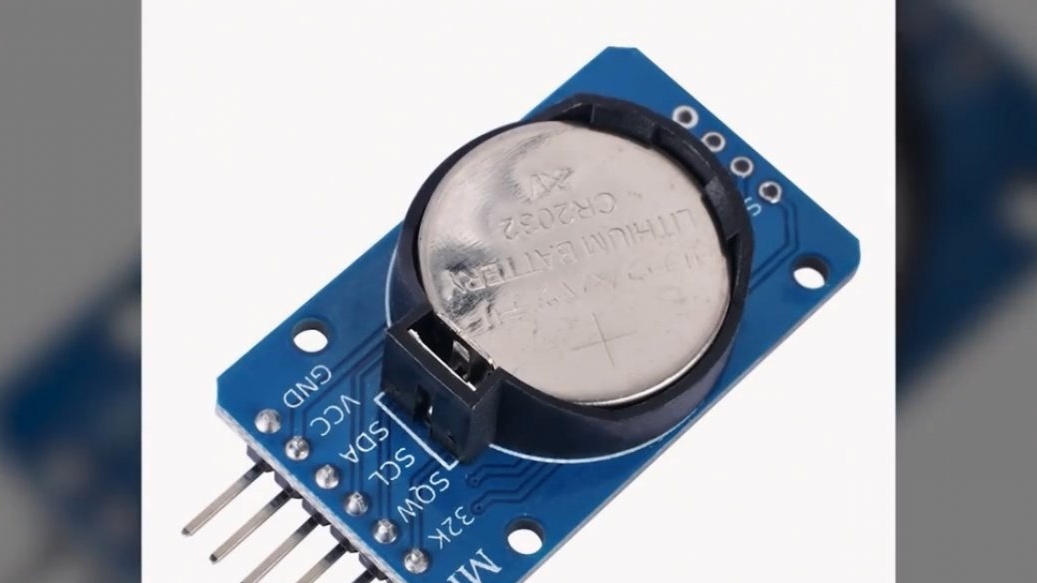
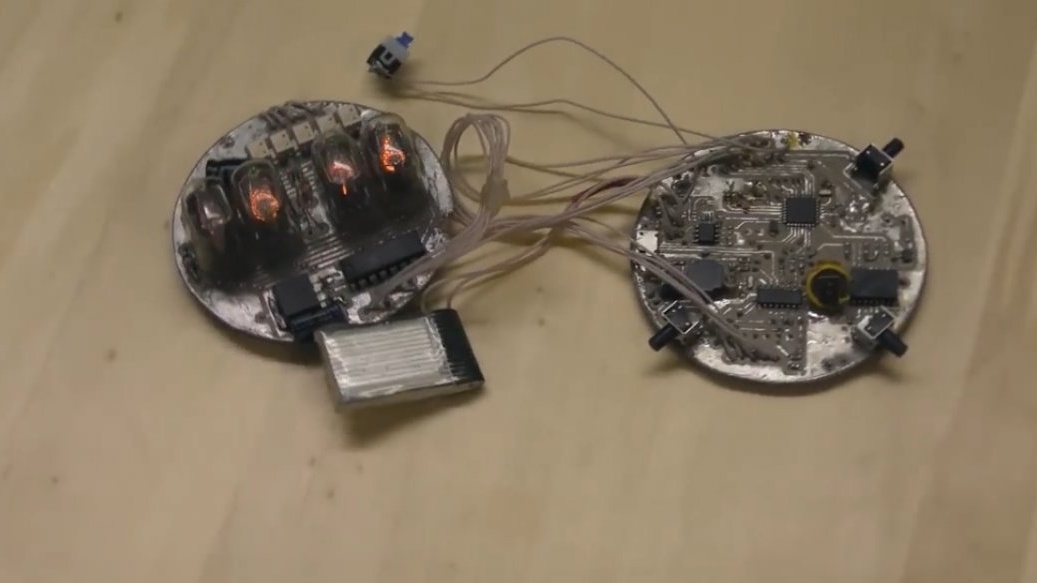
Well, on the second board there will be an atmega328 microcontroller, which will control everything, a ds3231 real-time clock, which, when the clock is turned off, will not allow time to go astray, well, and the power supply system of all watches.
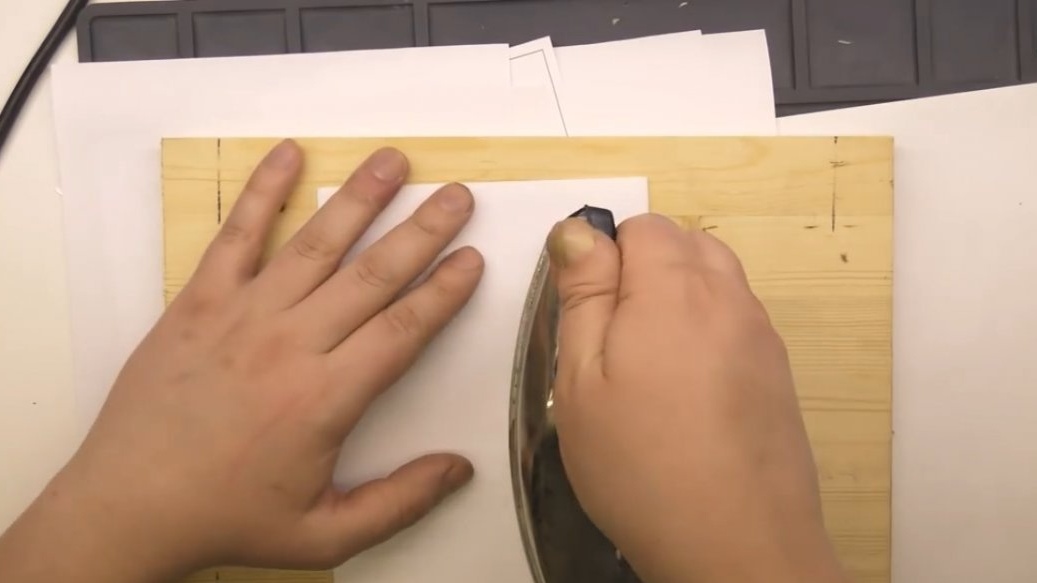
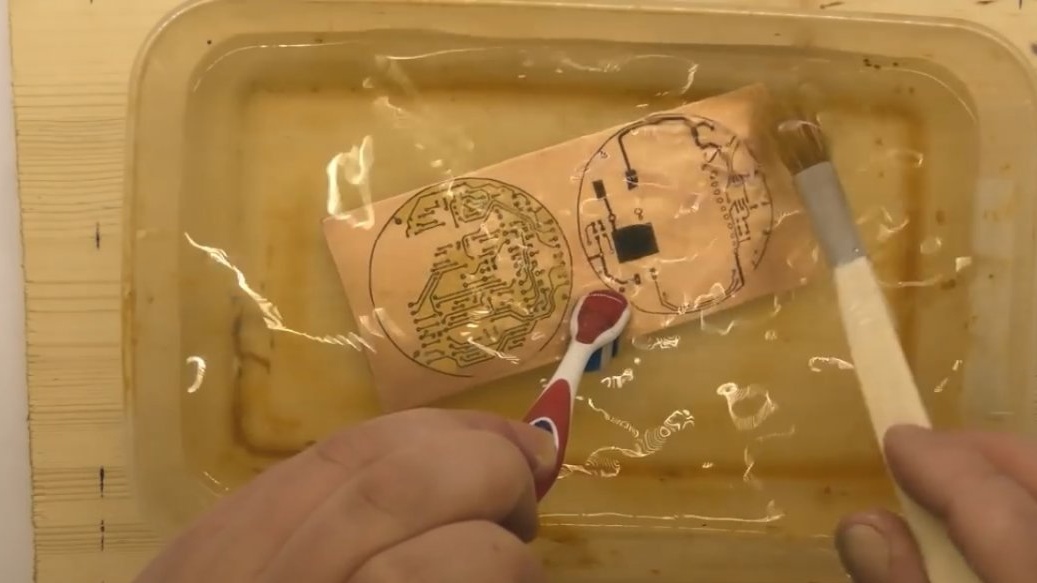
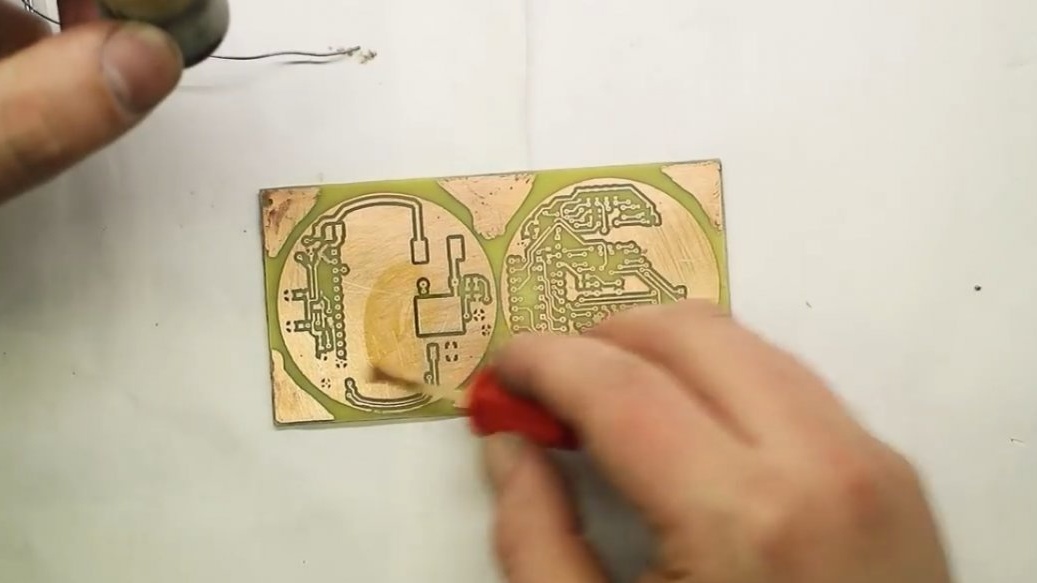
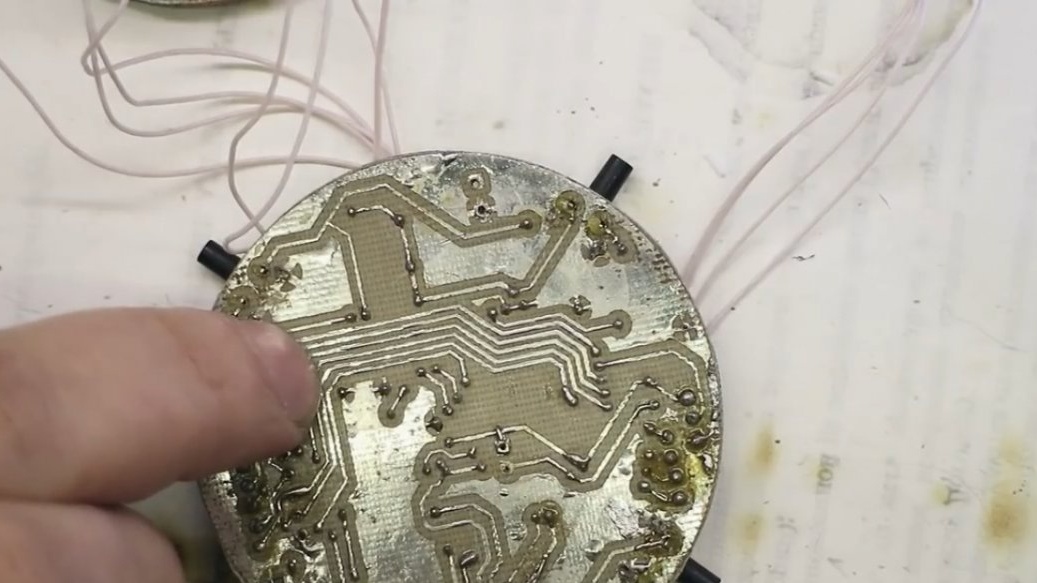
Printing the board's image is done on glossy paper from a magazine, since a thin layer of gloss holds the toner layer of the laser printer together well. The laser printer is used because its toner softens and becomes sticky when heated, and sticks to the copper foil on the textolite. And yes, both boards will be double-sided.

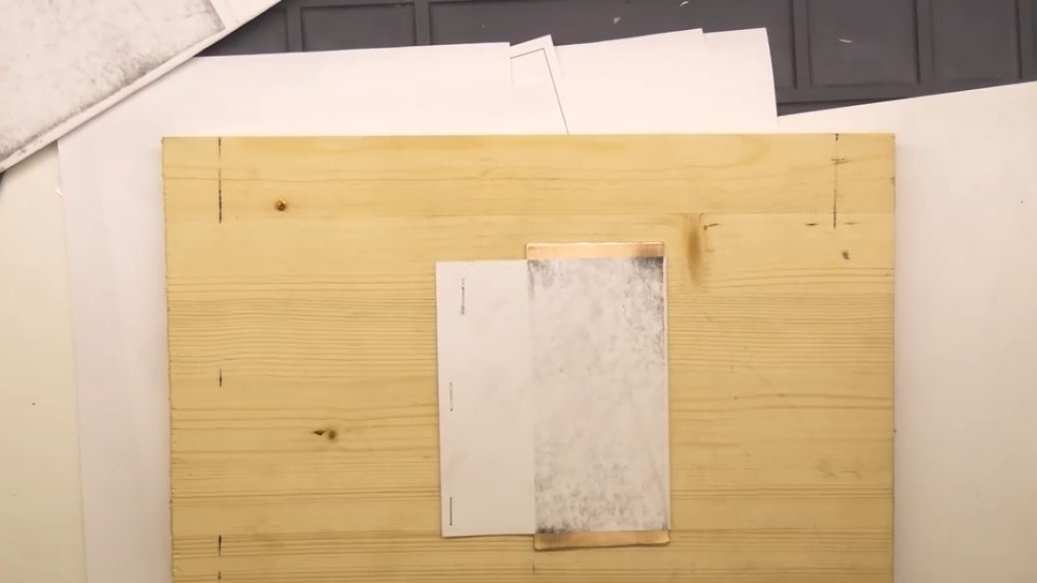
Next, dip the textolite into water to soften the paper. Its remnants will need to be removed with a brush.
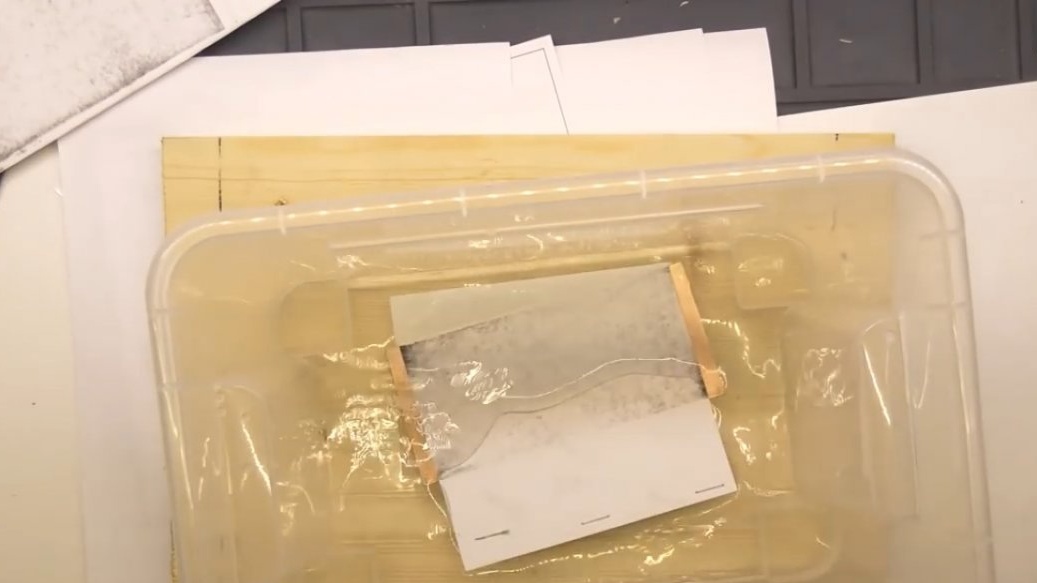
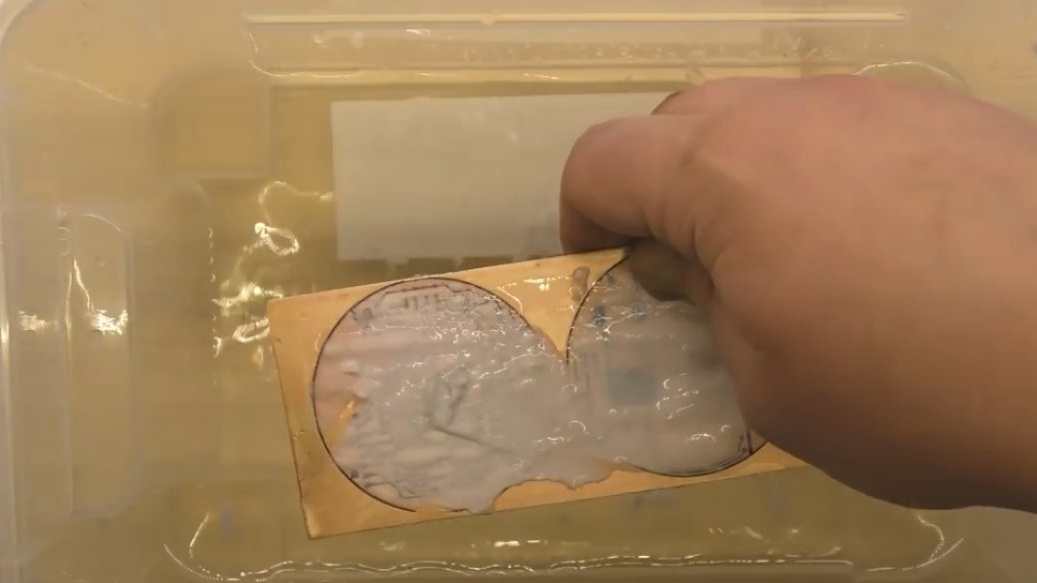
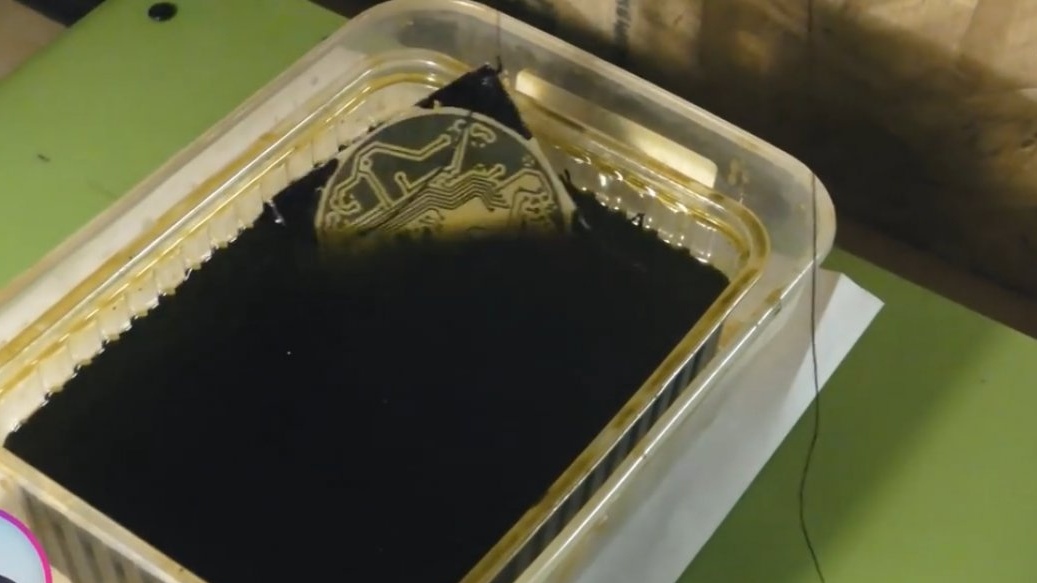
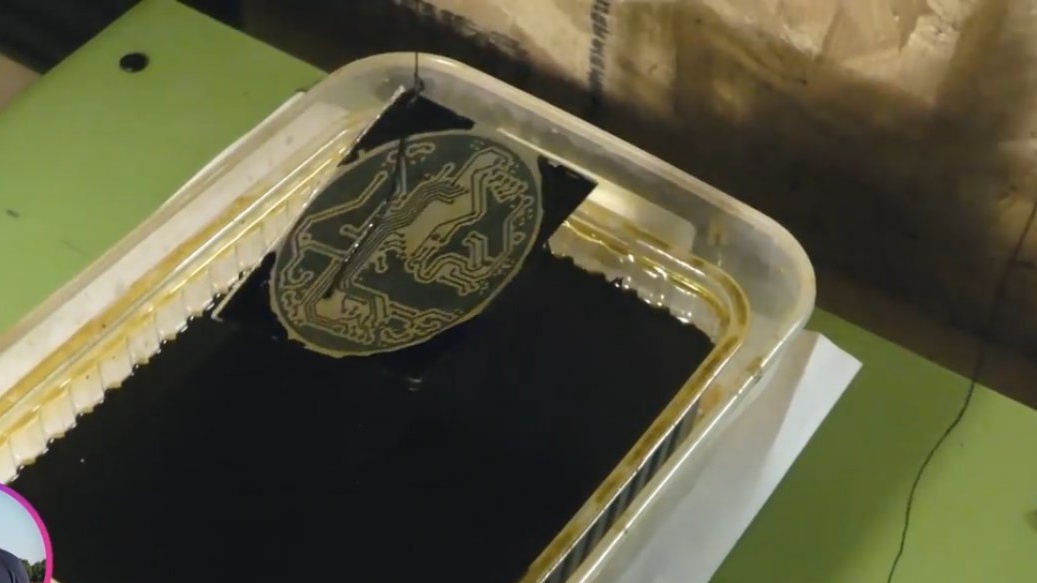
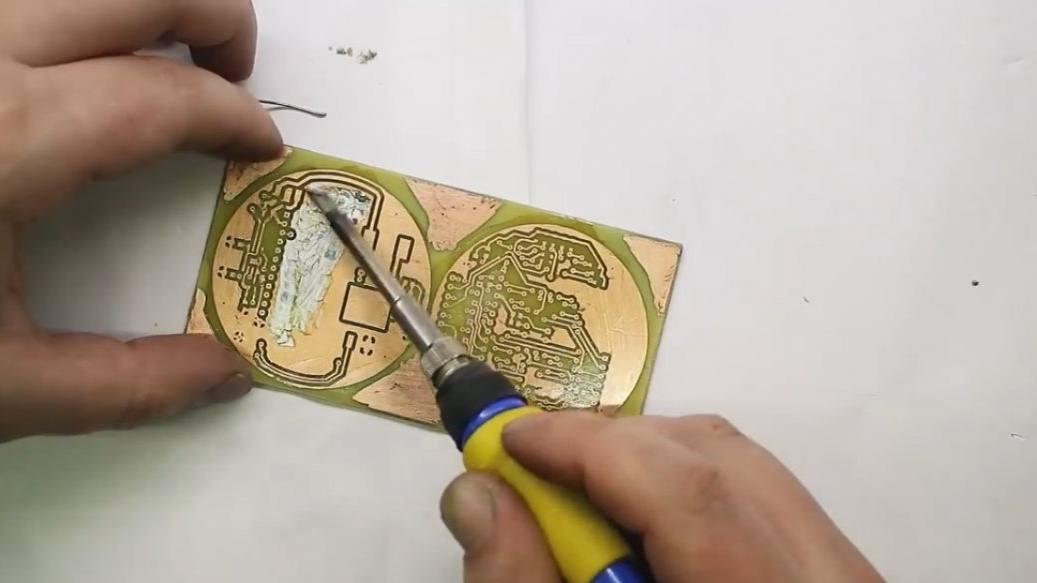
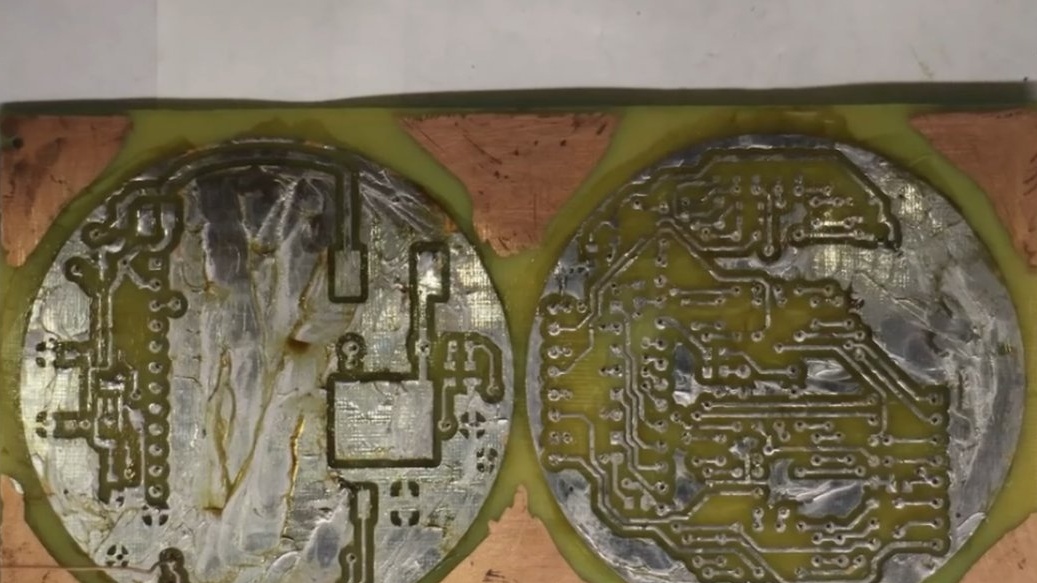
This is such a beauty that turns out, it remains to etch the board, we will do this in ferric chloride.
Before trimming the excess textolite, tack on each side of the board. For tinning we use flux and solder.
We will use arduino nano and a voltage converter board as part donors.
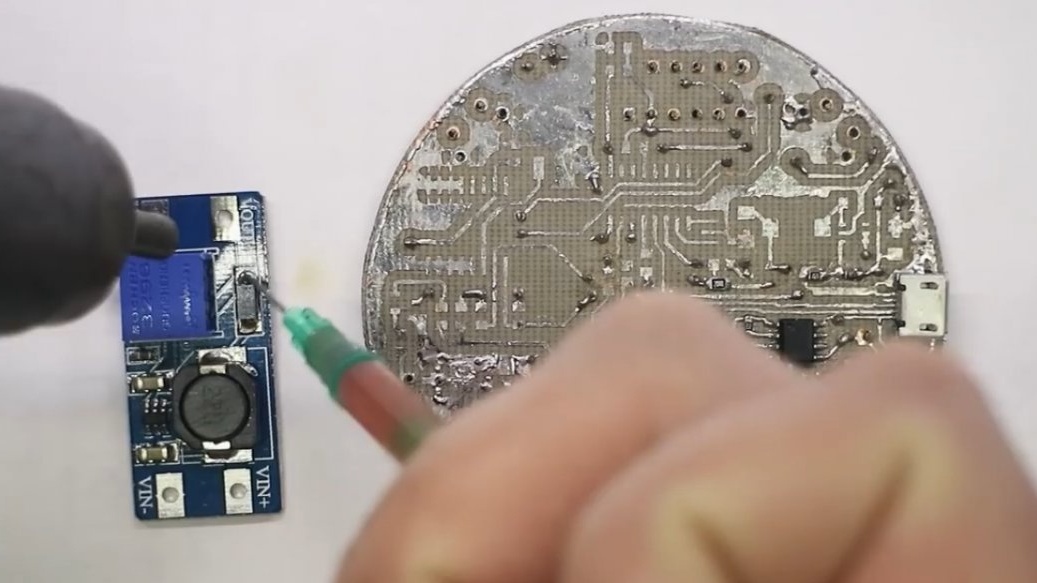
You could buy all the components separately, but it turned out to be cheaper to dismantle them from ready-made Chinese modules. So, the most crucial part is soldering all the dismantled parts to our board.
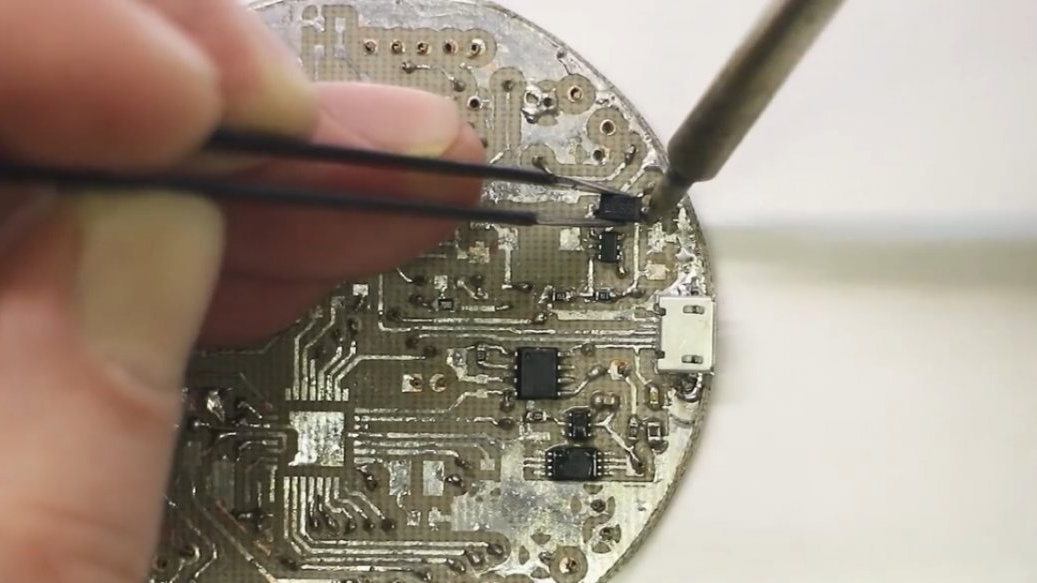
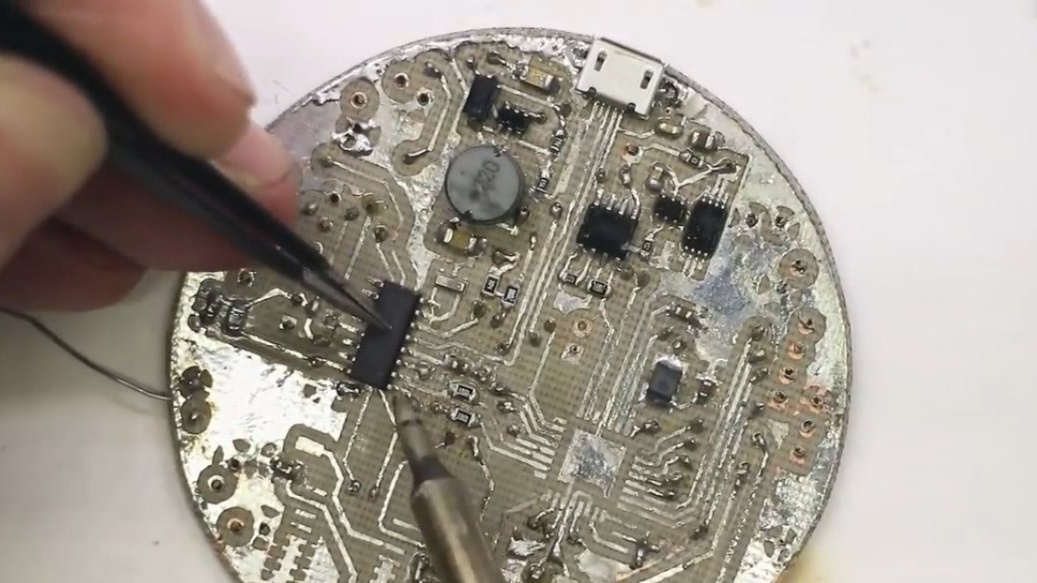
Some parts were soldered with a soldering iron, but some with a hairdryer, it’s more convenient for anyone. The clock will be powered by a 3.7V lithium-ion battery with a capacity of 240 mAh.
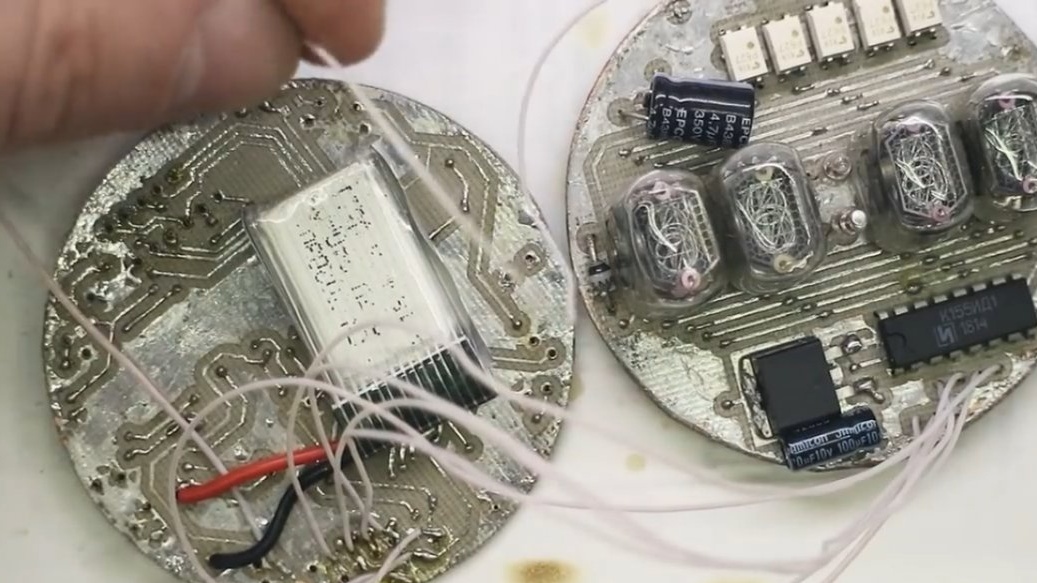
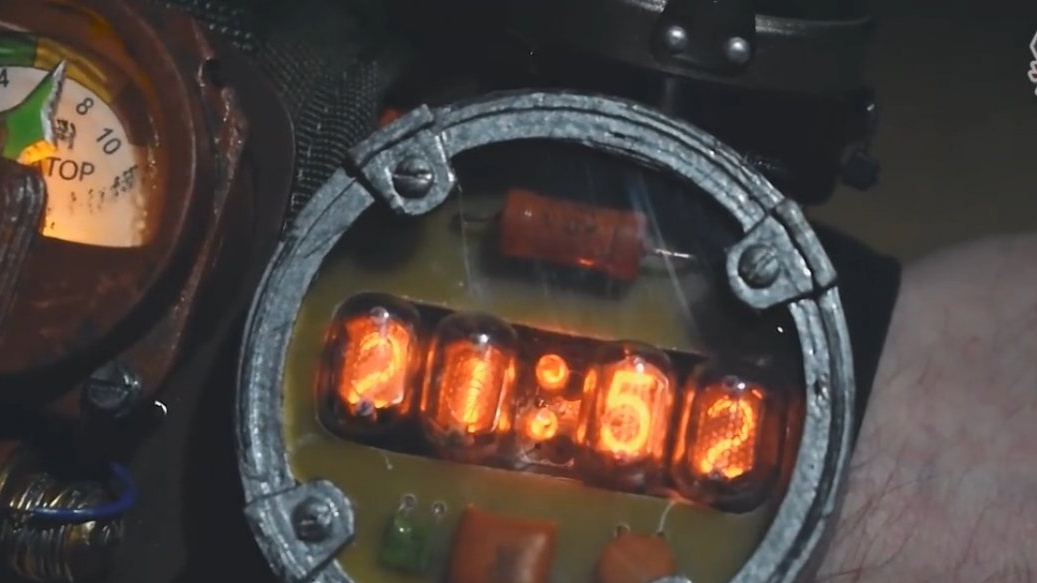
We already have a built-in charging circuit and battery protection in the board, also, as mentioned earlier, the circuit has a step-up converter from 3.7V to 5V to power all microcircuits, and a step-up converter from 5V to 180V to power discharge lamps. The board also has openings for control buttons and clock settings.By the way, when changing the time, all numbers are sorted out, this is necessary to prevent etching of the electrodes, it looks cool, and also a very useful thing.
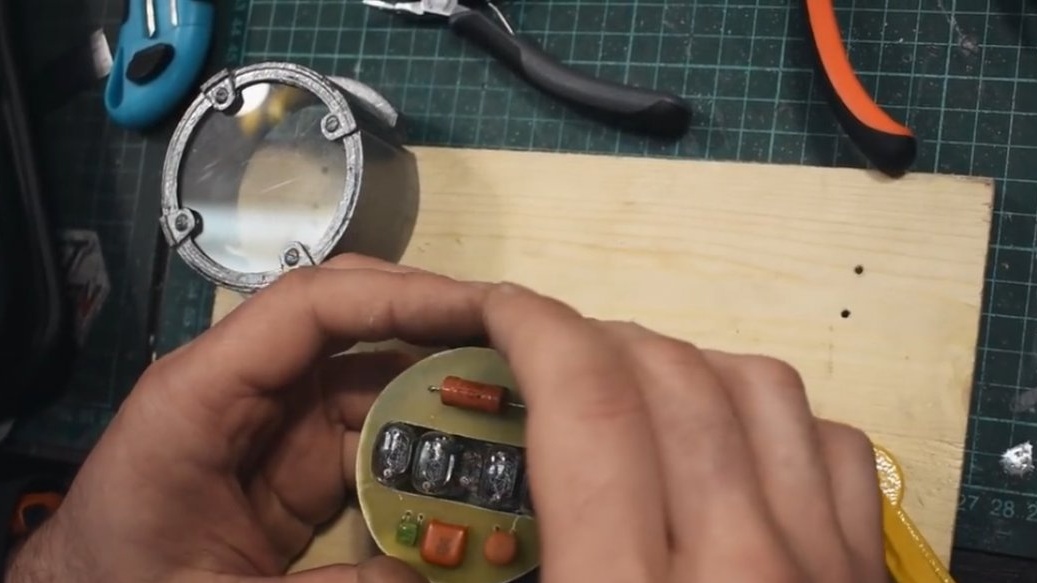
So, as for the case. For this prototype, the author has developed the simplest case with minimal detail, but plans to make a more detailed case in the future. It already has all the buttons and even the very blue LED will be completely identical to the original clock from the Metro.
Well, that’s all. Thank you for attention. See you soon!
Author's video: