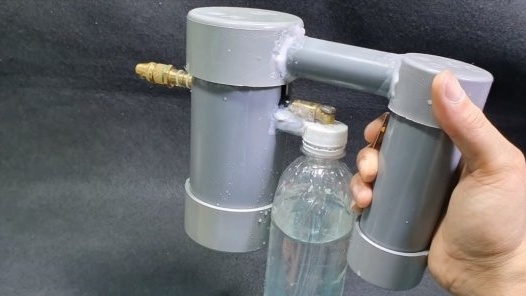
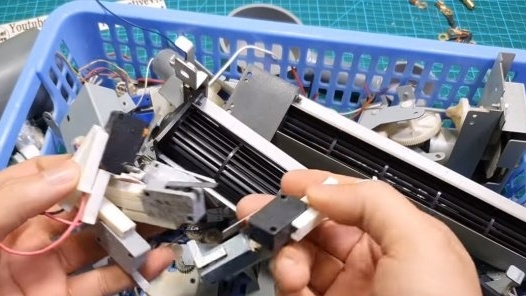
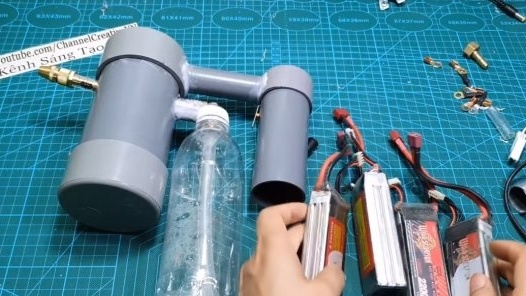
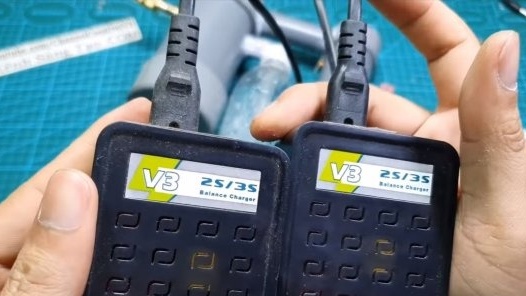
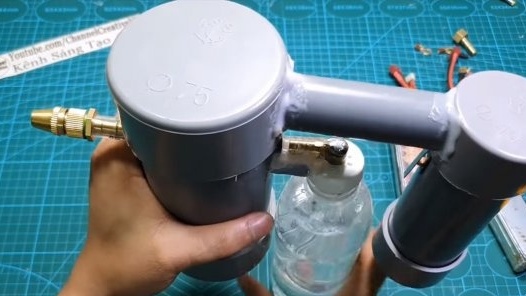
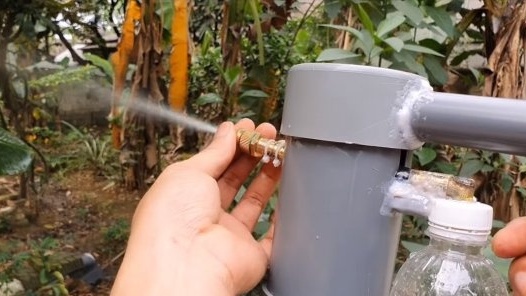
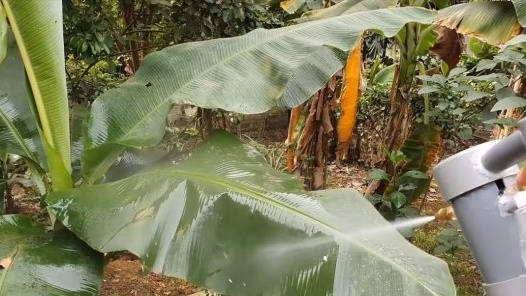
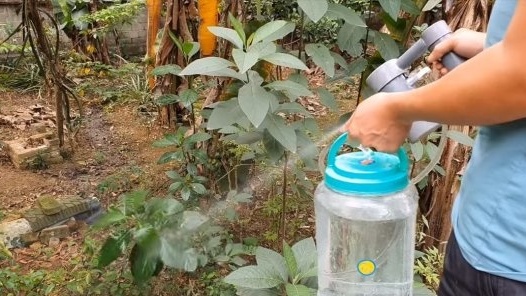
In this instruction we will look at how to do device for washing contaminated surfaces under pressure. Homemade it is easy to assemble, and parts are inexpensive, the device is powered by batteries, and it can be powered from the network through the power supply. With this tool you can wash the car, air conditioning and much more. By the way, using the correct nozzle, the device can be completely sprayed with insecticides, antifungal and other drugs. A bottle of spray liquid can be screwed onto a homemade product, or a hose can be fixed and connected to a larger tank. If the home-made you are interested in, I propose to study the project in more detail!
Materials and tools used by the author:
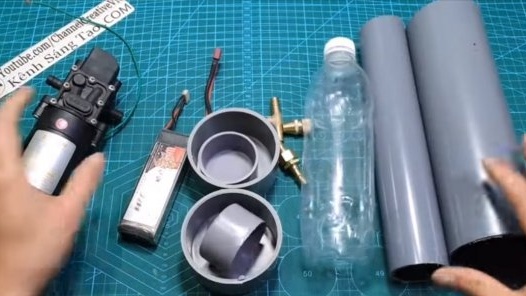
Material List:
- ;
- PVC plugs for pipes and pipes (for housing);
- switch;
- lithium battery;
- wires;
- hose;
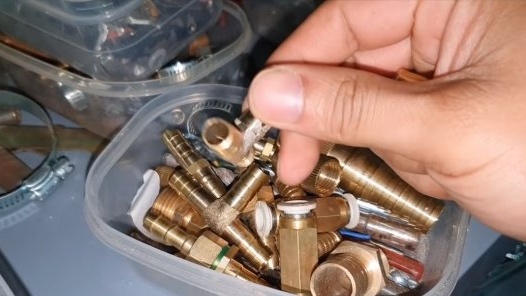
- water fittings, tees and spray;
- epoxy adhesive.
Tool List:
- drill;
- drill;
- soldering iron;
- a hacksaw (for cutting pipes).
Homemade manufacturing process:
Step one. Pump housing
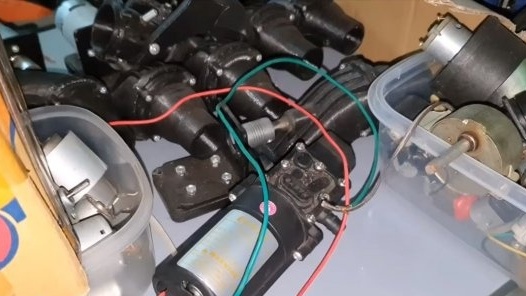
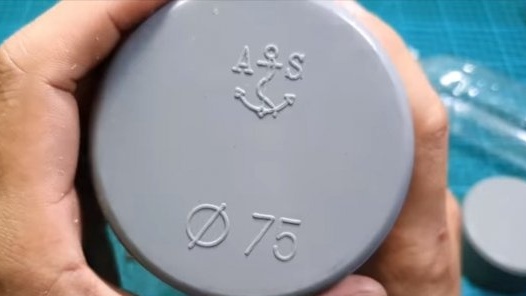
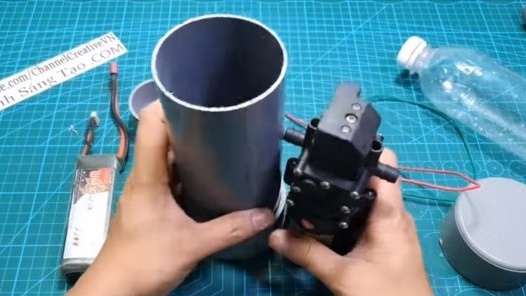
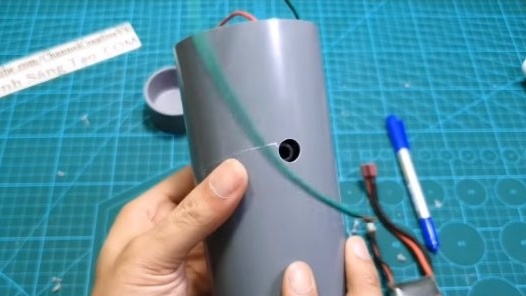
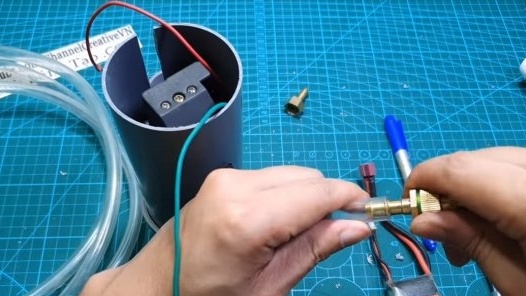
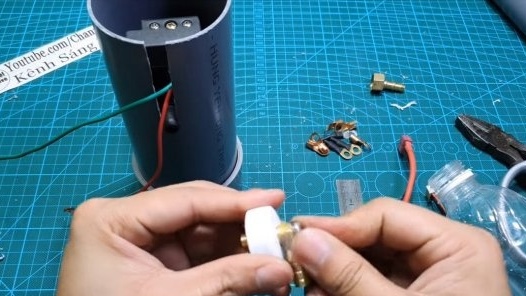
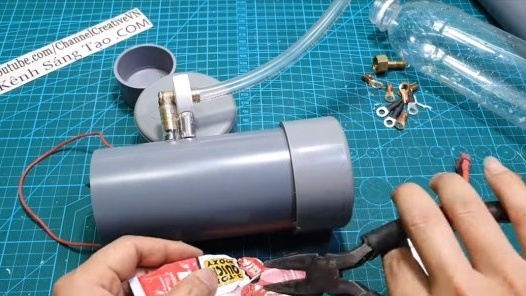
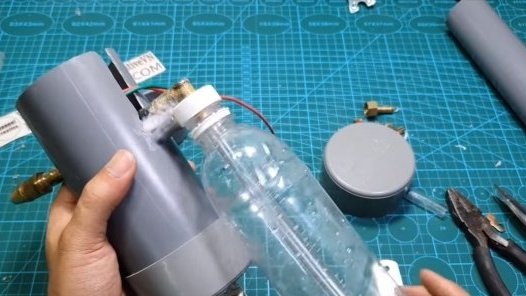
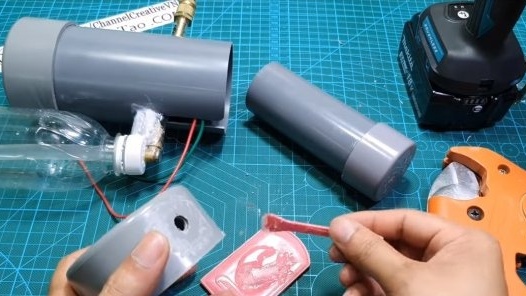
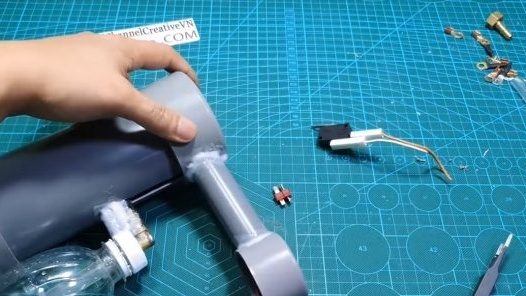
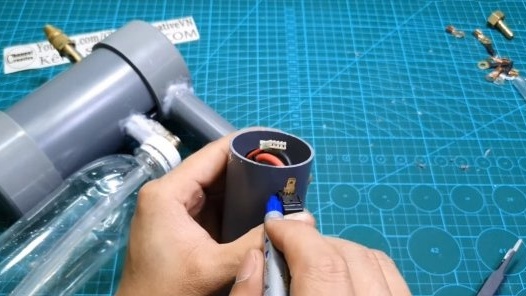
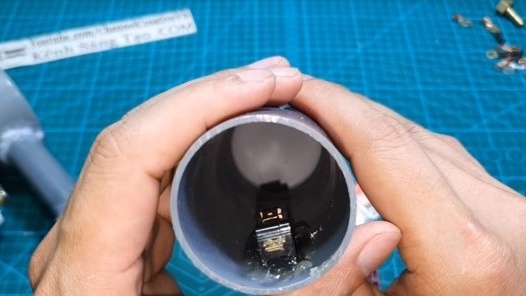
We make a housing for installing the pump, the design of the pump is such that the inlet fitting is on one side and the outlet on the other. The author used a piece of PVC pipe of suitable diameter as a housing for the pump. We install a plug on the pipe by cutting off a piece of pipe of the desired length.
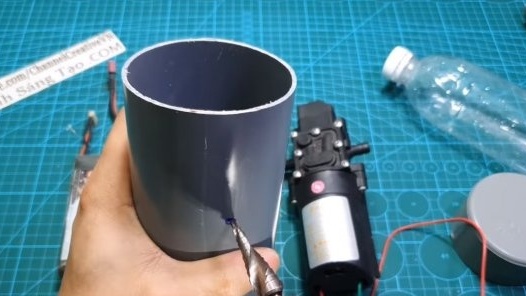
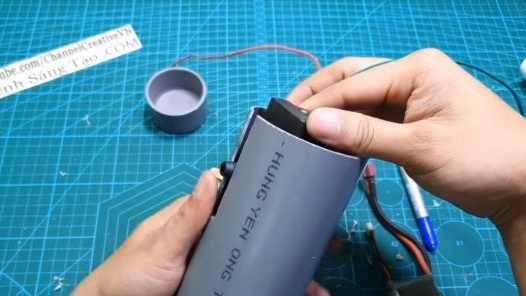
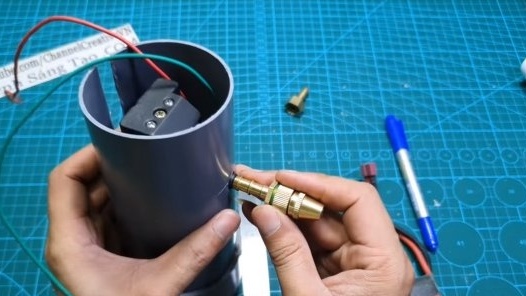
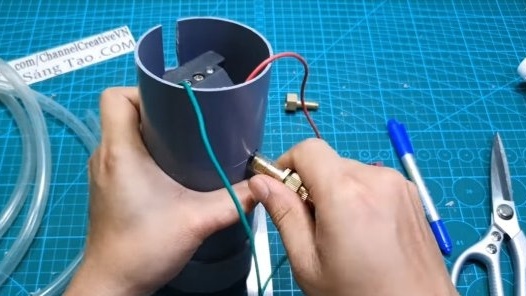
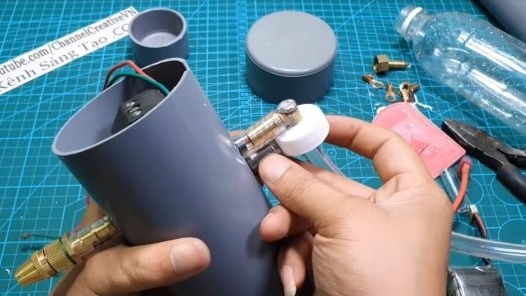
Next, you need to make holes for the fittings, one hole just drill a round drill. But for the second fitting, you need to cut a gap in the housing, since the pump simply does not go into the pipe.
Step Two Nozzle
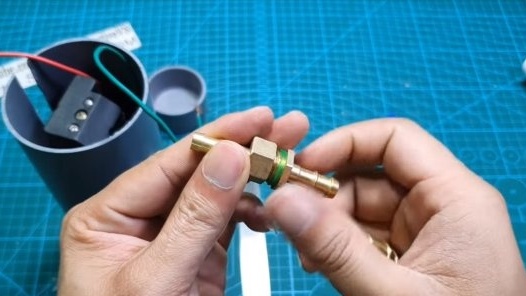
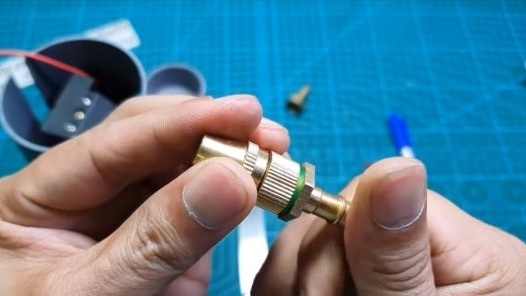
We install a nozzle on the outlet nozzle that will spray water, the author’s nozzle is adjustable, using it you can either spray water into the mist or make a jet under pressure, which is what we need.
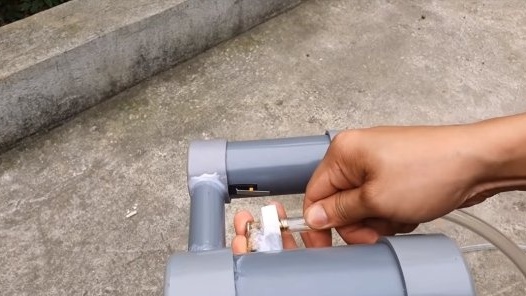
Well, then everything is simple, cut off a piece of hose of a suitable diameter and connect the parts.
Step Three Inlet fitting
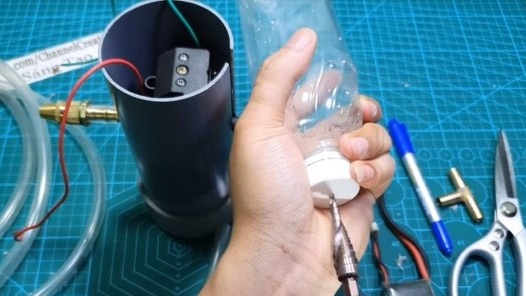
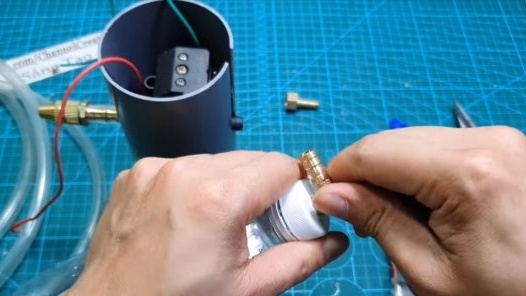
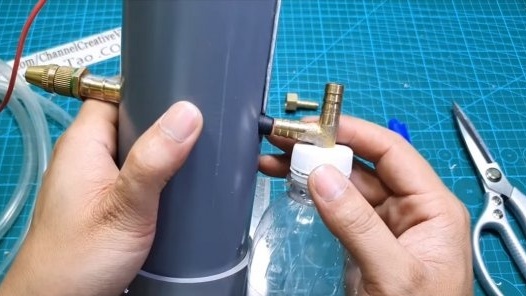
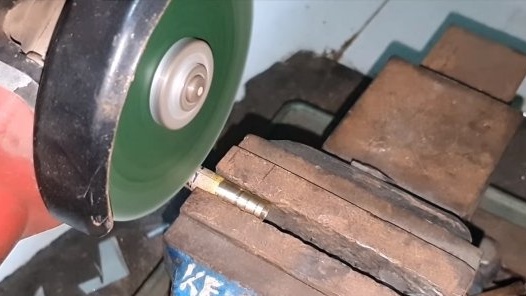
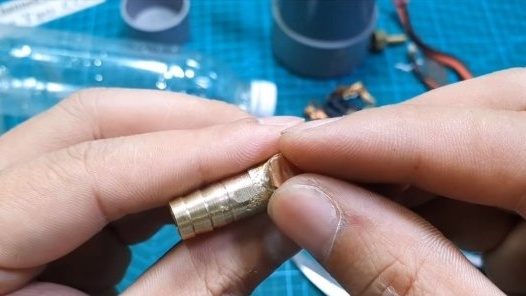
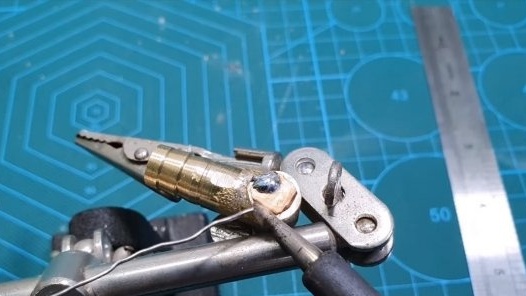
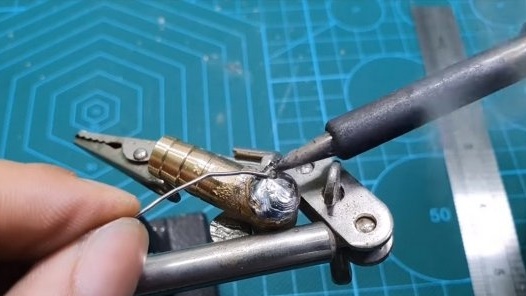
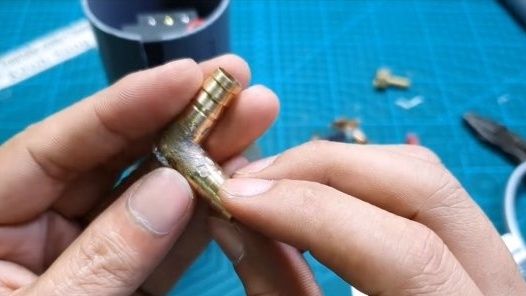
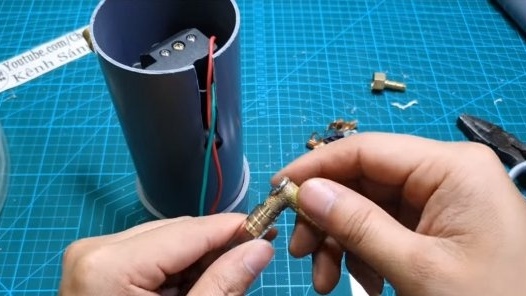
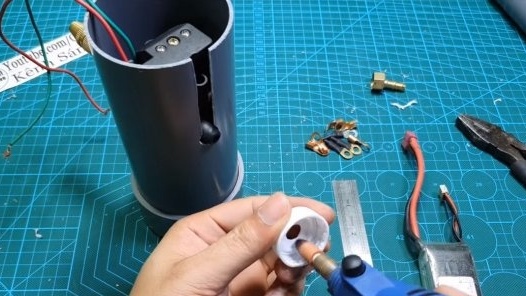
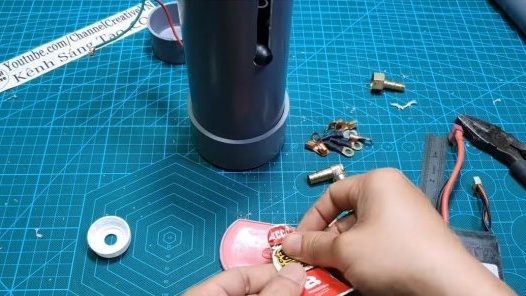
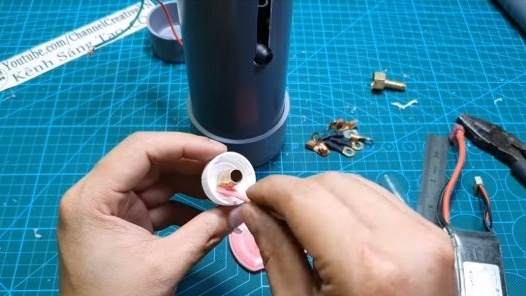
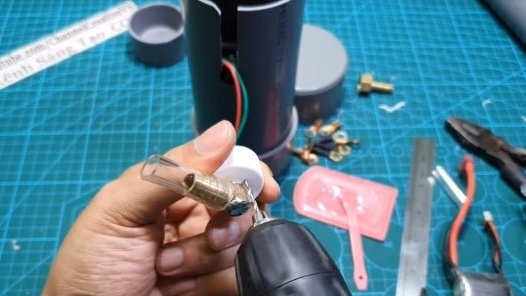
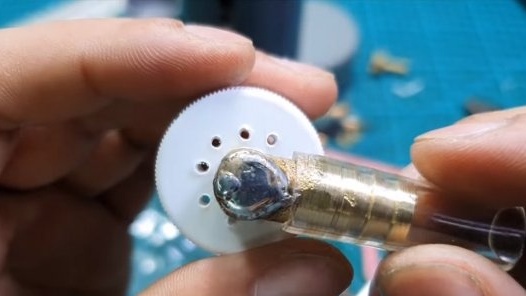
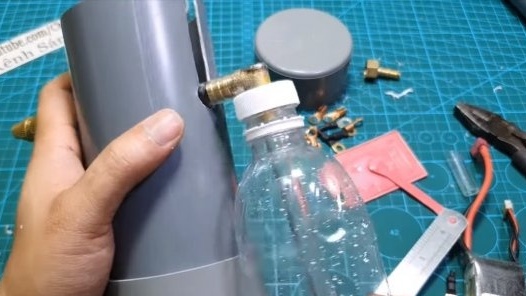
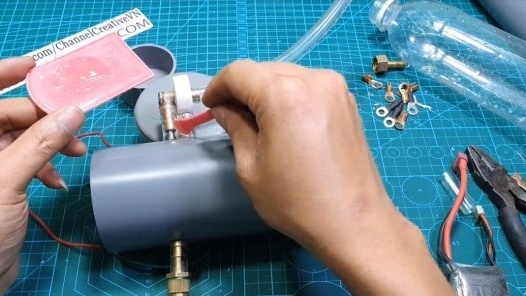
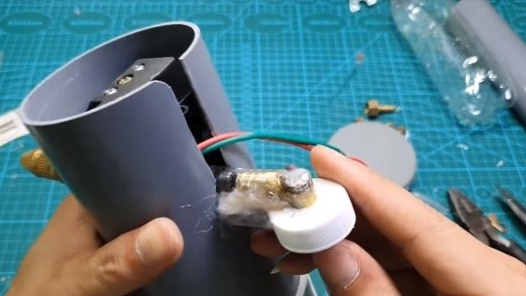
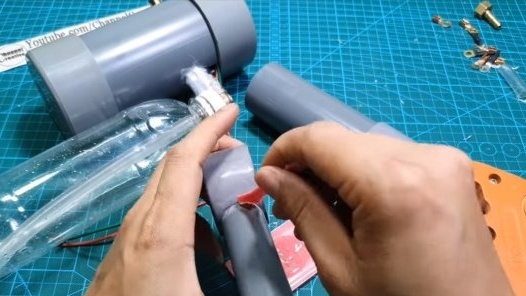
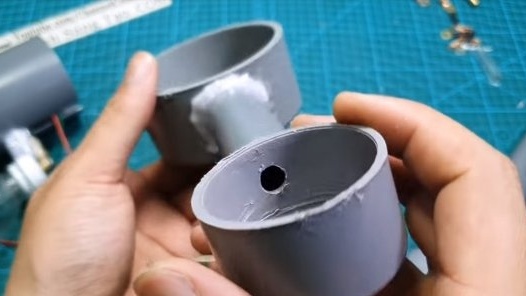
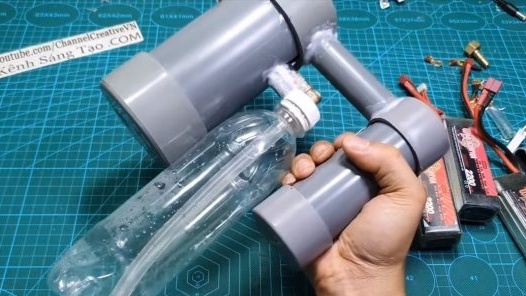
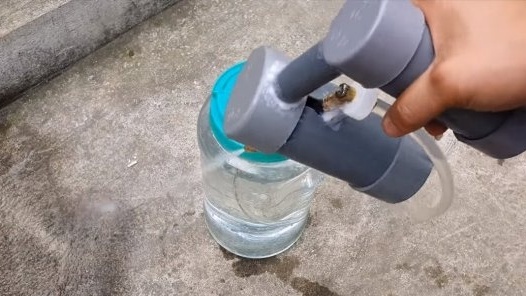
We are finalizing the inlet fitting, here we need a tee, its author redid it simply onto a pipe bent at right angles, cutting off an extra piece of pipe and sealing the hole.We connect the part through a hose to the pump. At the other end of the fitting, the author installs a bottle cap, this will allow screwing the water bottle to the device. Of course, the lid needs to be firmly fixed to the body so that the structure can support the weight of the water bottle. For bonding, special glue for PVC pipes or epoxy is excellent. Drill holes in the cover so that air can enter. A hose is installed on the fitting so long that it can reach the bottom of the bottle.
Step Four Handle and assembly
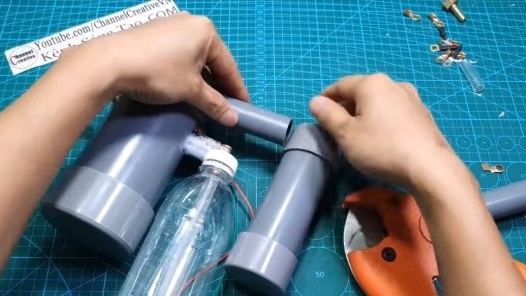
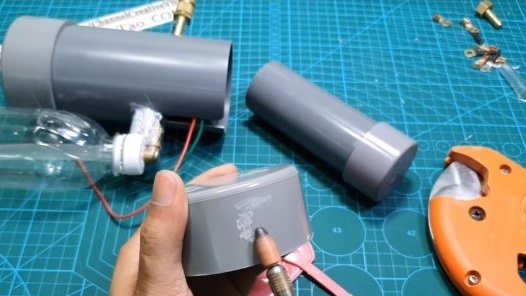
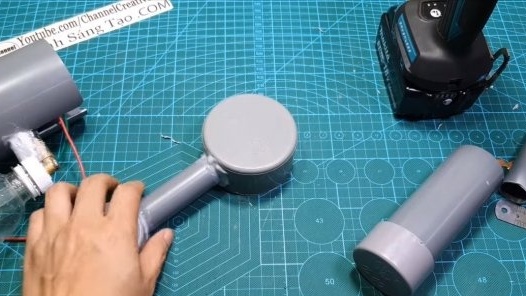
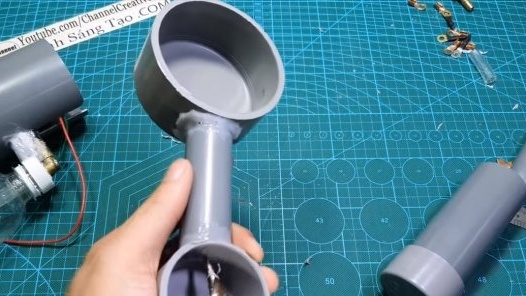
We make a handle for the tool, here we need 3 more plugs, as well as a smaller piece of pipe. We cut the parts, clean them well and glue them with reliable glue. The handle is made of a pipe of the same diameter as the pump housing. The handle contains batteries, we carry the cable inside the case.
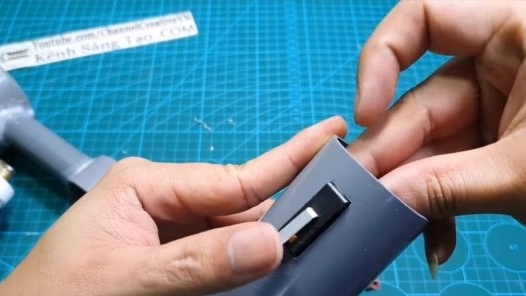
We install the switch on the handle and the homemade product is ready!
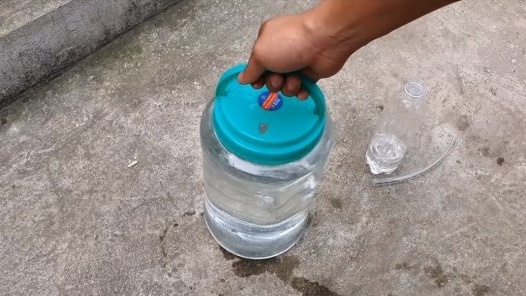
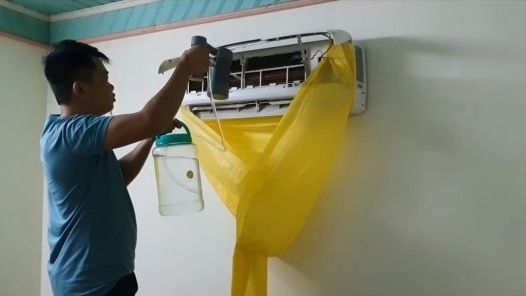
First, the author pours water into the bottle and installs it on the device. The pressure is strong, the device works fine, but the water is consumed quickly, and there is little of it in the bottle. If you need a lot of water, just connect the hose to the device, and lower the other end into a bucket or barrel with water.
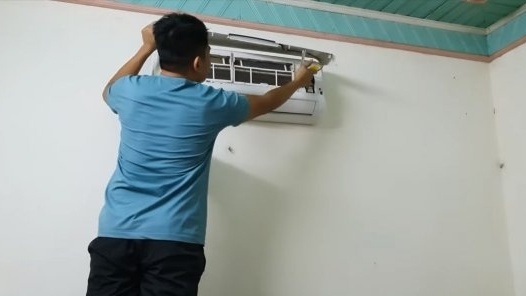
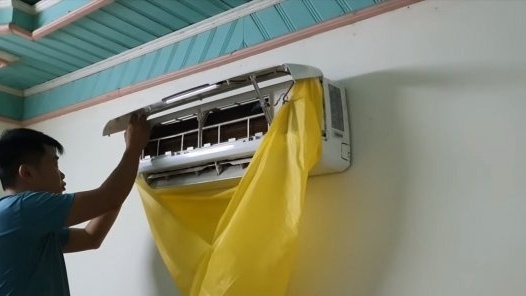
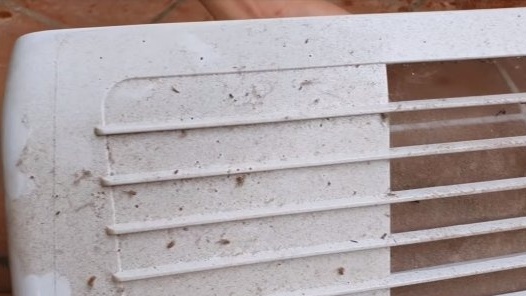
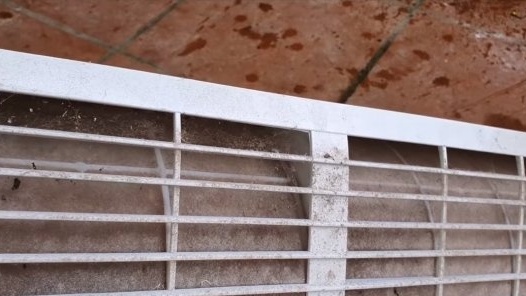
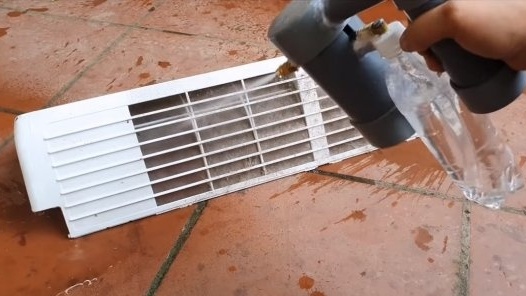
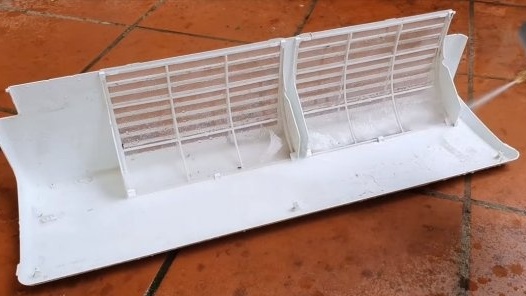
To demonstrate the work, the author decided to wash the air conditioner, there was quite a lot of dirt there, but the car perfectly cleans it. On this project can be considered completed. I hope you enjoyed your homemade work and found useful thoughts for yourself. Good luck and creative inspiration, do not forget to share your ideas and homemade things with us!

