
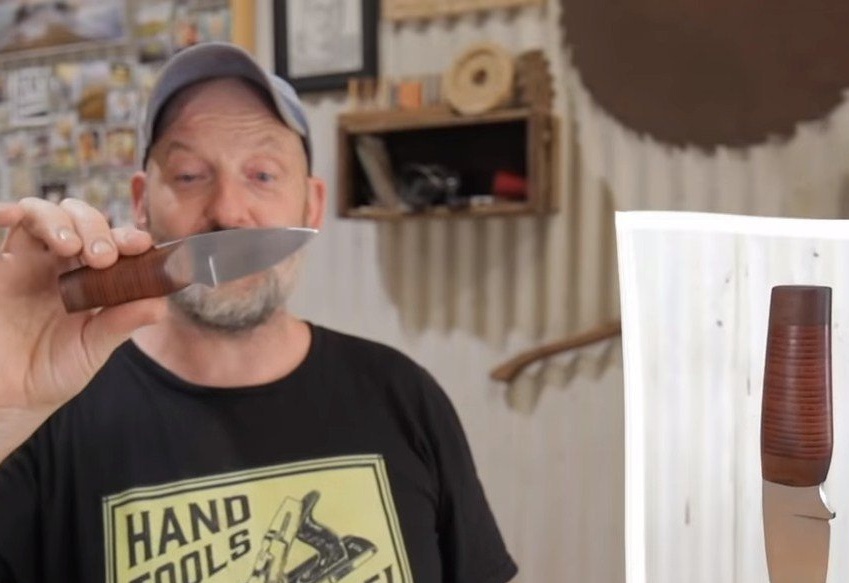
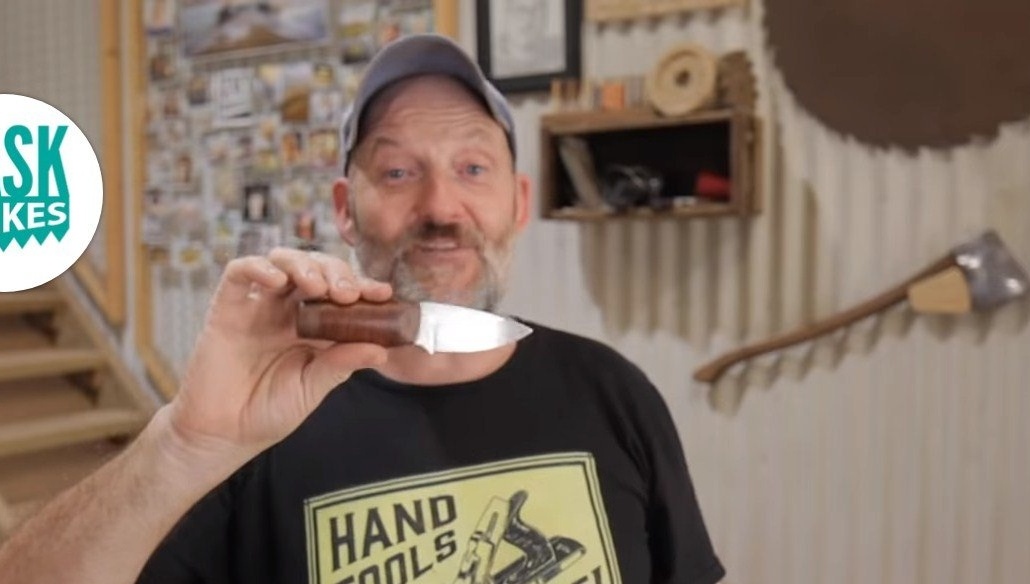
Hello lovers to craft, today we will analyze how to make a high-quality and convenient knife for everyday use. The knife is notable for its small size, the author made a pen to the size of his hand, and the blade is also short. For the manufacture of the knife, steel 1075, popular with Western masters, was used, and the handle is made of leather. The idea is that such a pen will be quite light and warm in the cold season, and it looks delicious, something like a pen made of birch bark. There are wood inserts in the handle; these are the tail section and the bolster. The knife is assembled quite simply, the author used fairly simple tools for manufacturing. If you are interested in the project, I propose to study it in more detail!
Materials and tools used by the author:
Material List:
- ;
- threaded rod or bolt, nut;
- leather, wood;
- epoxy adhesive;
- wax.
Tool List:
- grinder;
- drilling machine;
- a hacksaw for metal;
- orbital sander or any other;
- sandpaper (from large to smallest);
- pencil, paper, scissors;
- vise, file, clamps;
- oven, oven, oil (for heat treatment);
- miter saw, drill, etc.
The process of making a knife:
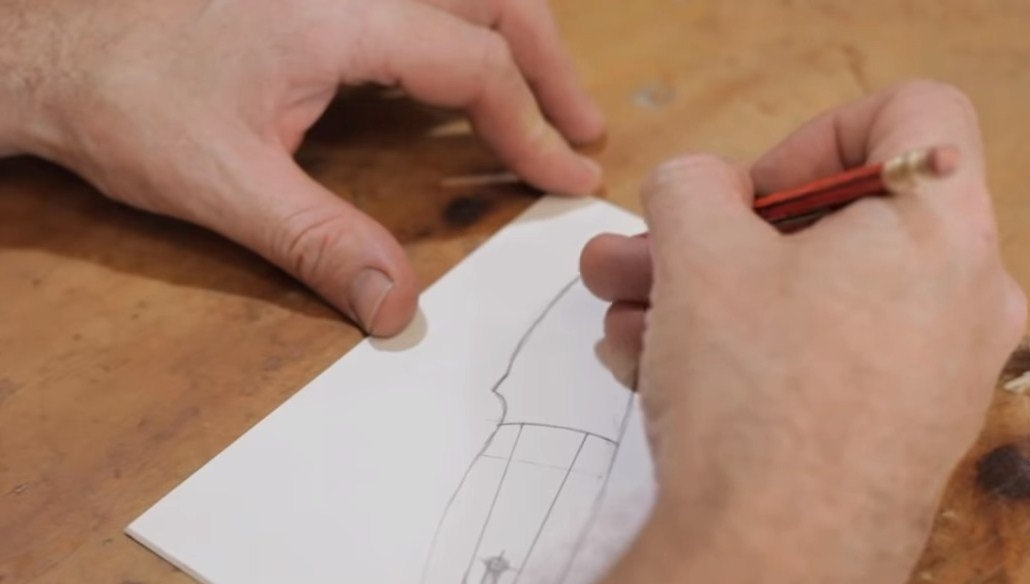
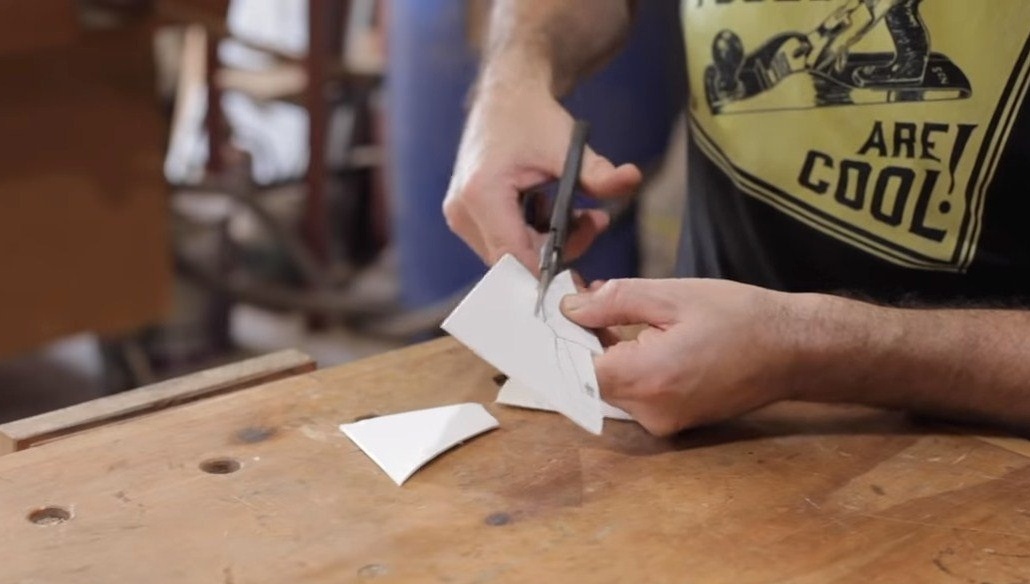
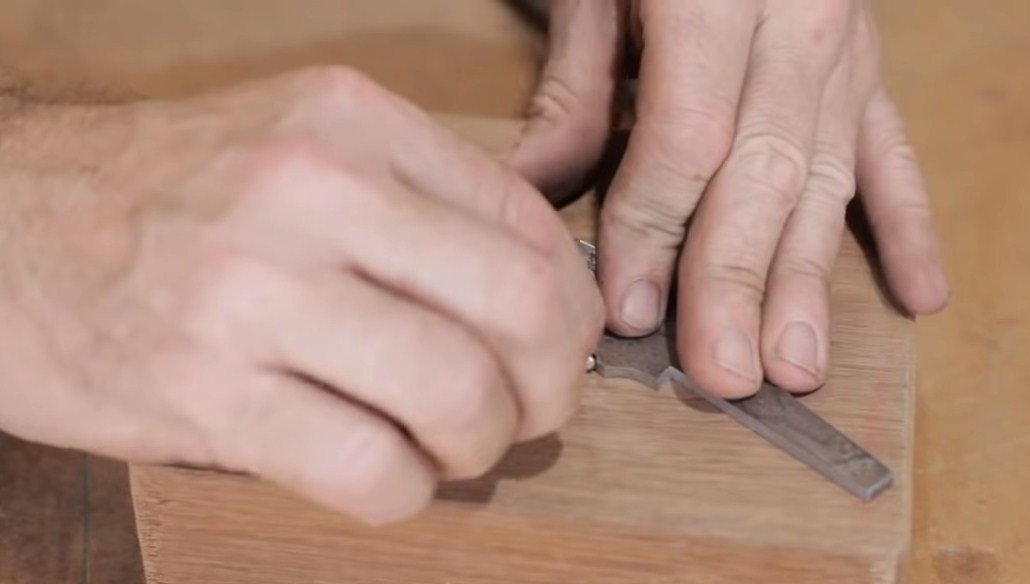
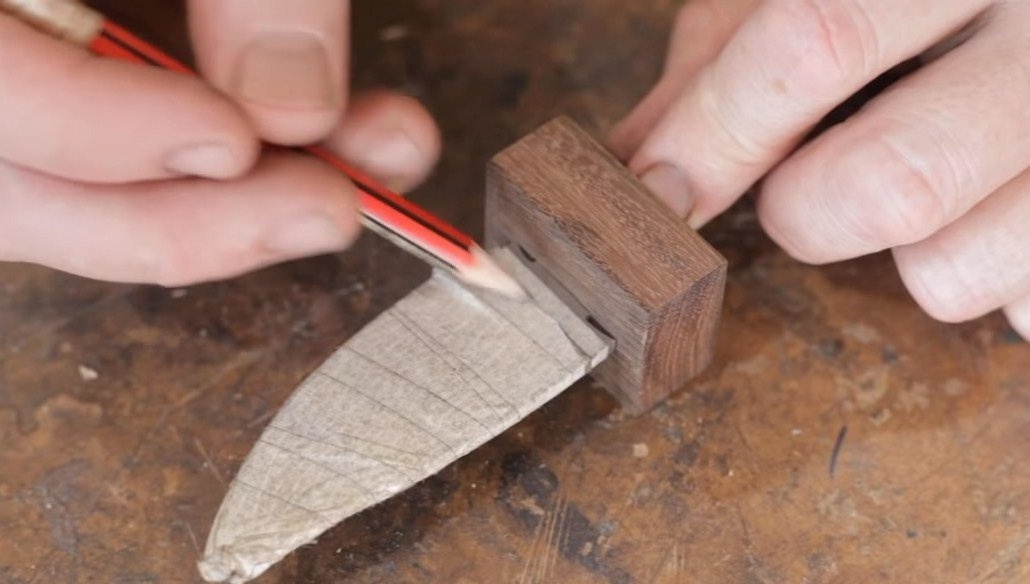
Step one. Cut the main profile
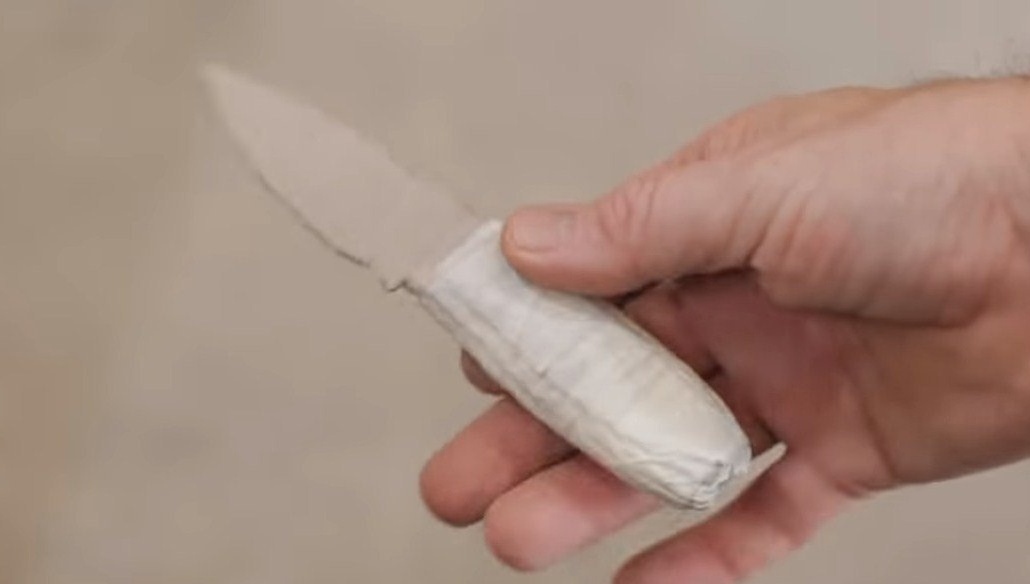
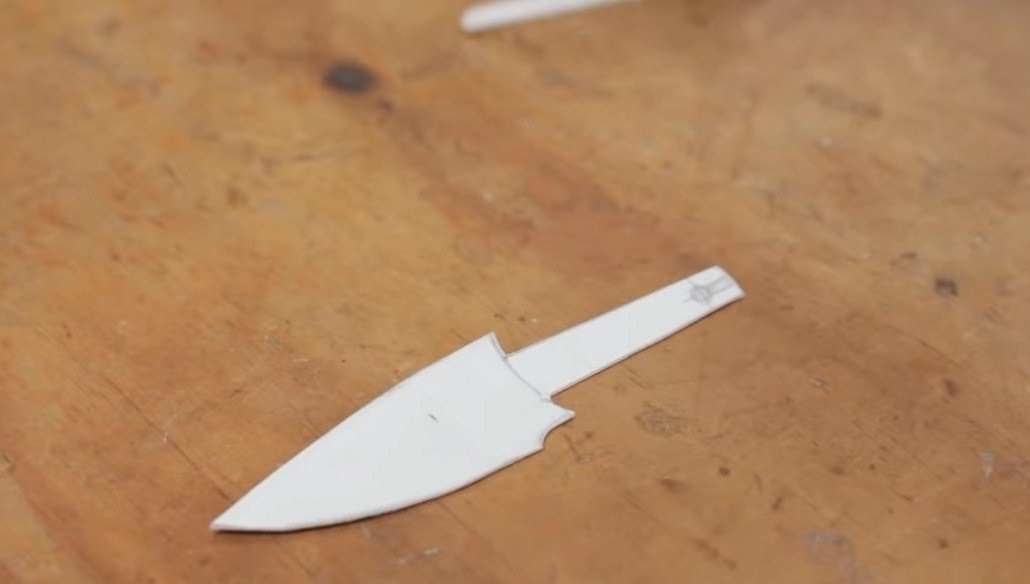
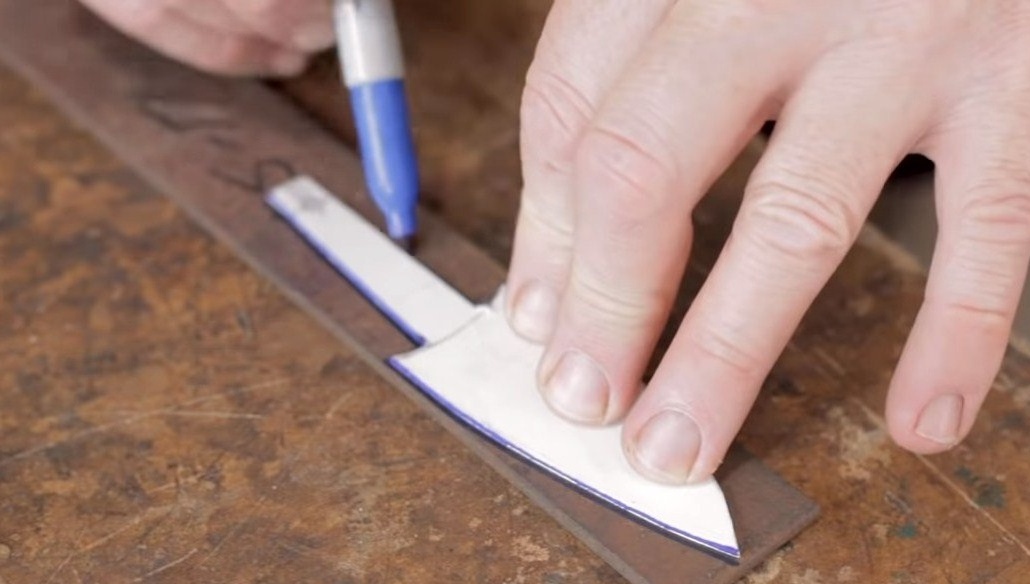
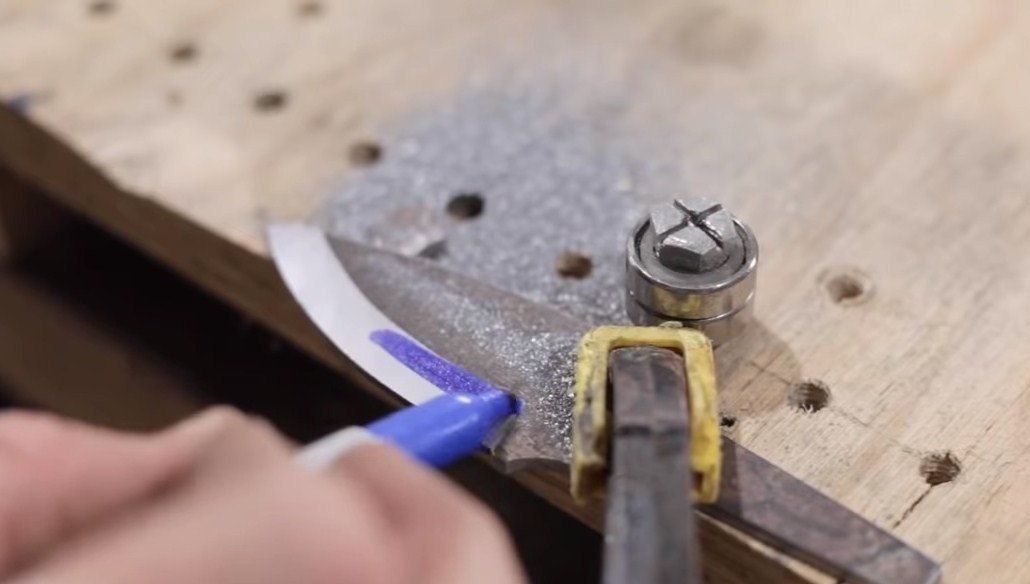
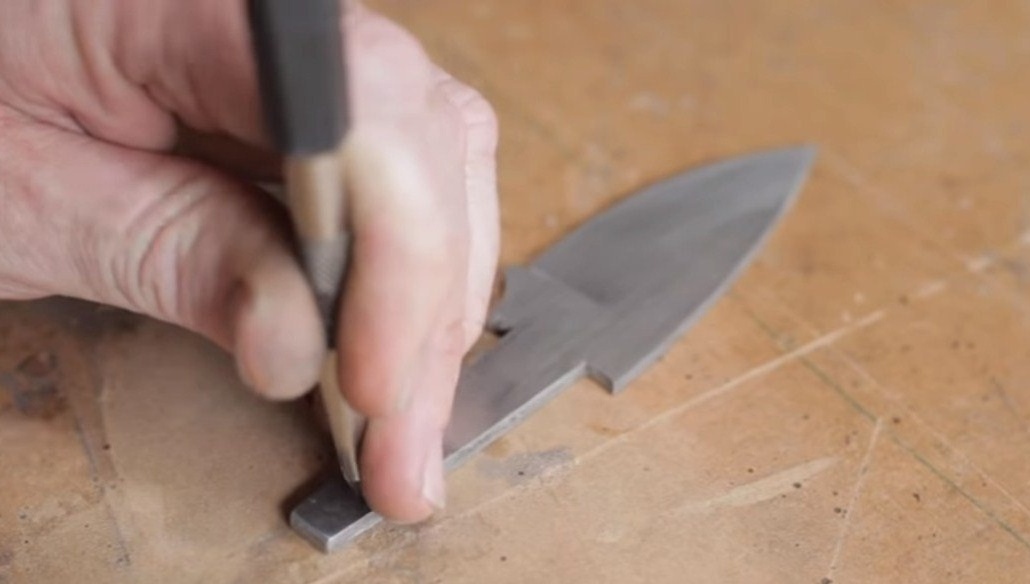
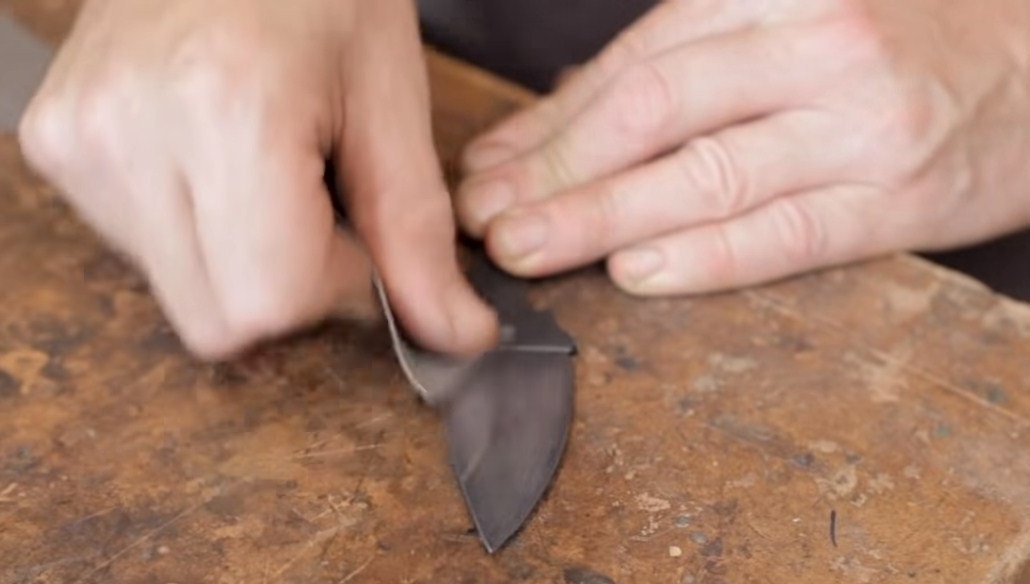
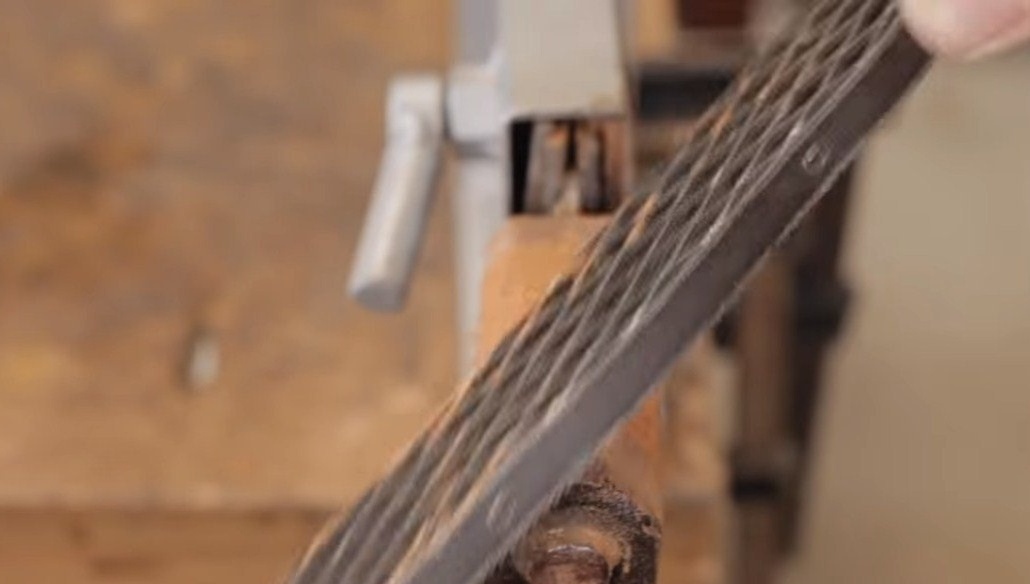
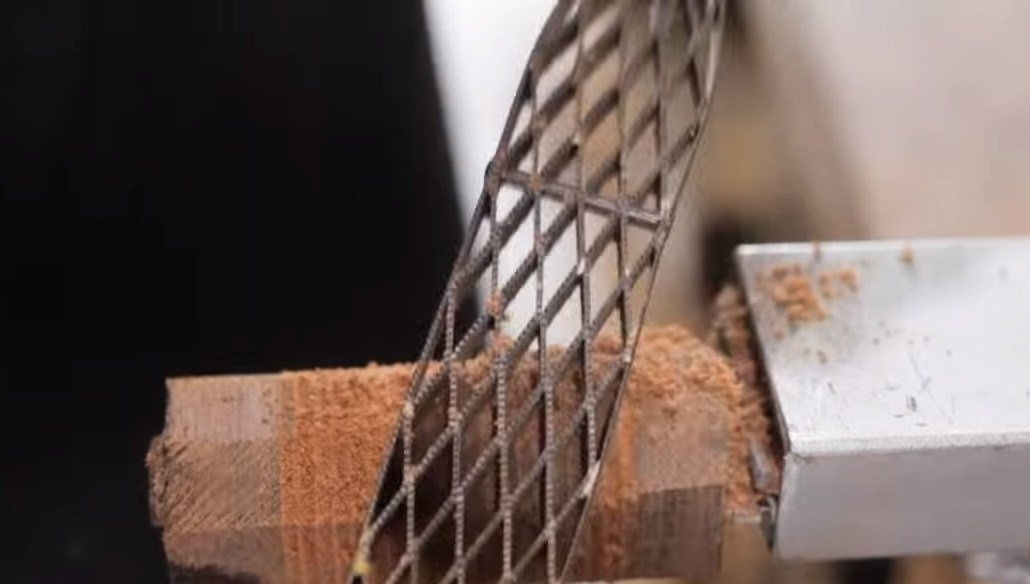
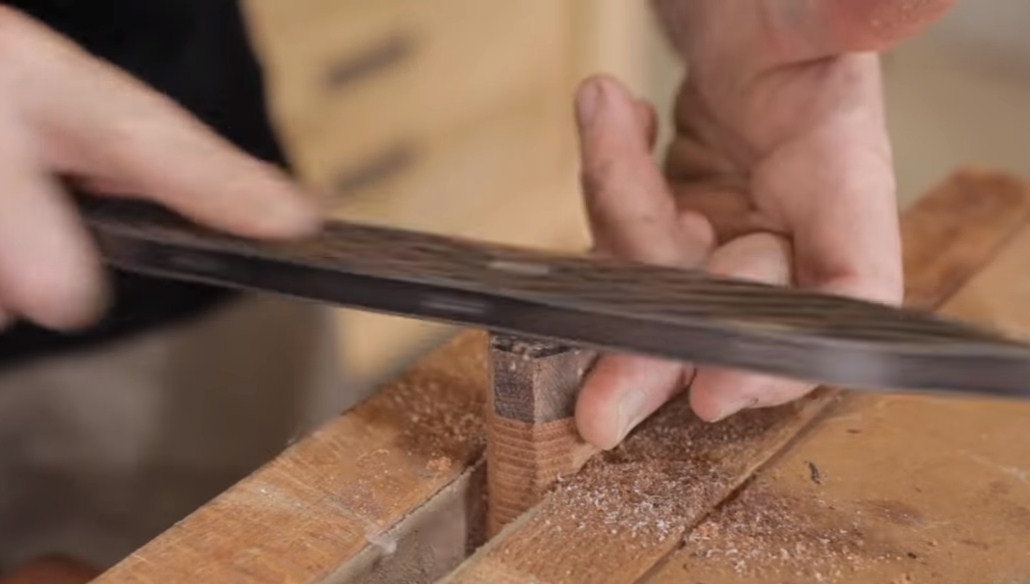
The author draws a knife profile on paper with a pencil, and then cuts it out of cardboard. The name of the template, you can now hold it in your hands to determine whether it will be convenient. The main profile can be cut, we work as a grinder, holding the workpiece in a vice. After that, we refine the shape of the blade with another tool, here a file and a hacksaw for metal, a belt grinder and any other available tool will come to the rescue.


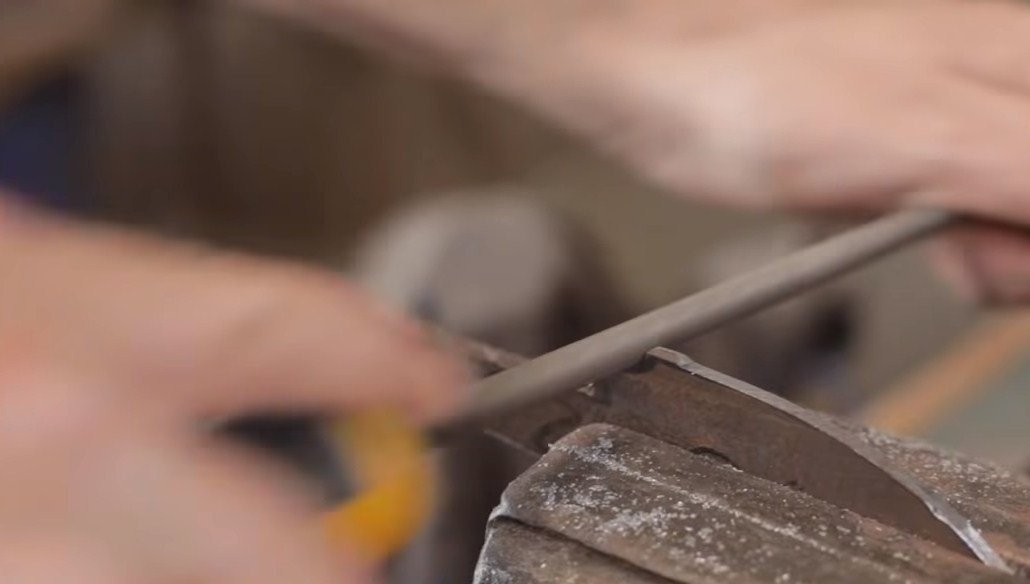
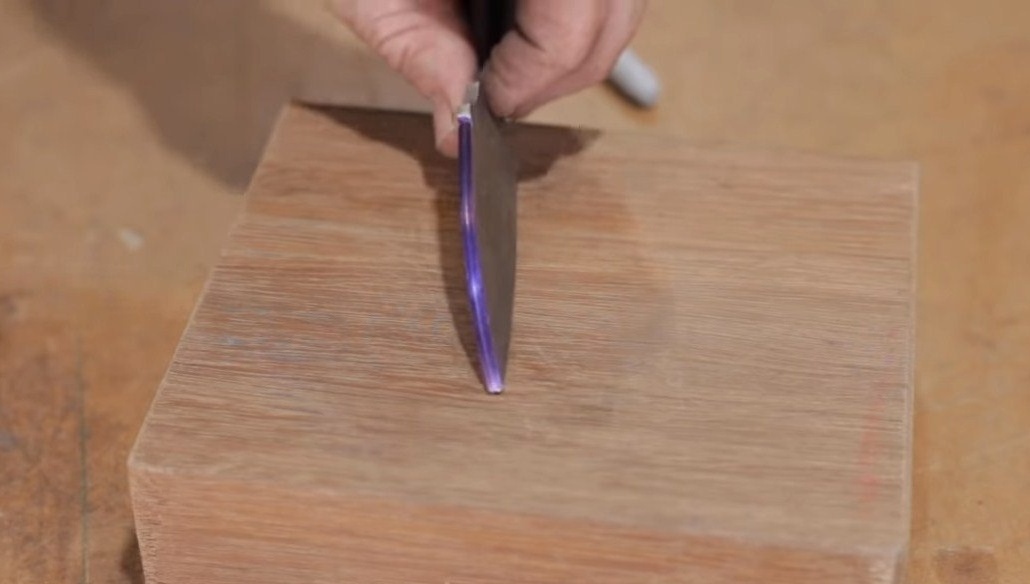
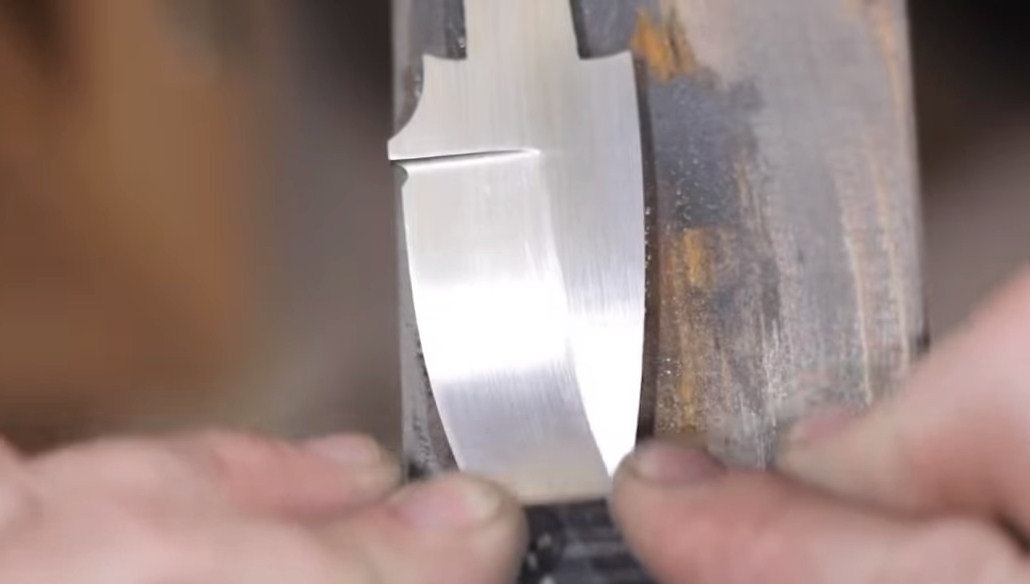
Step Two Bevels and grinding
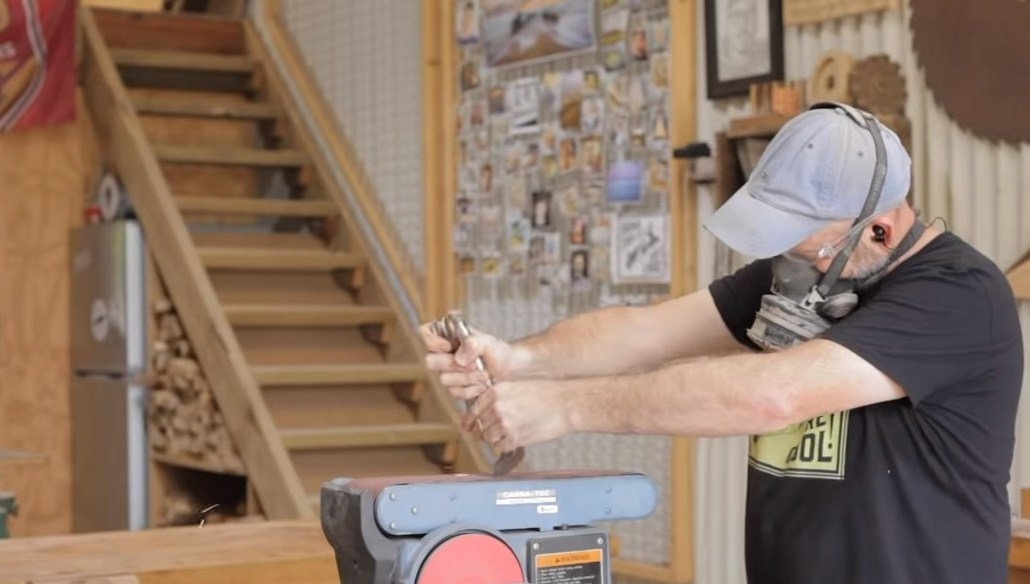
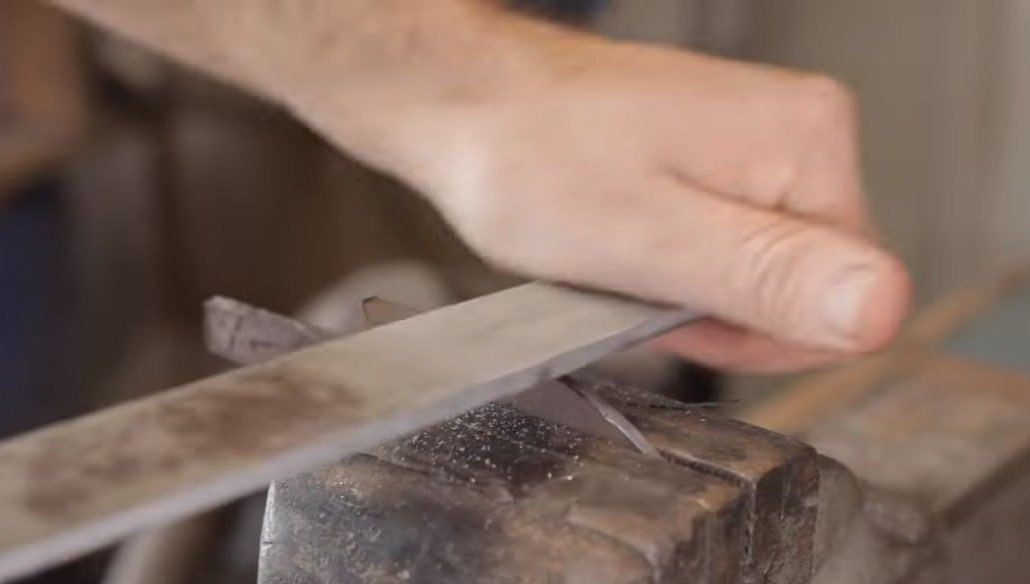
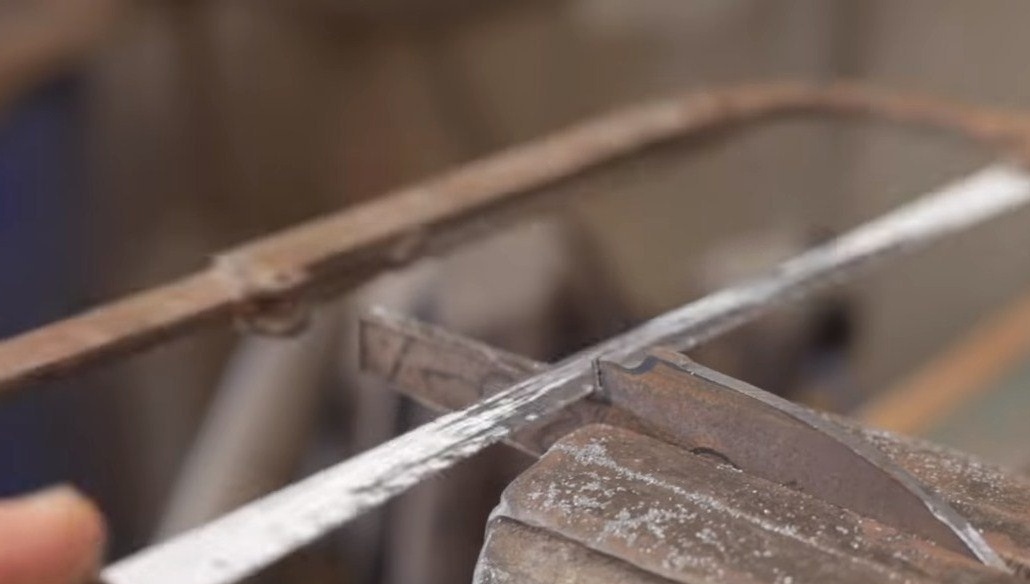
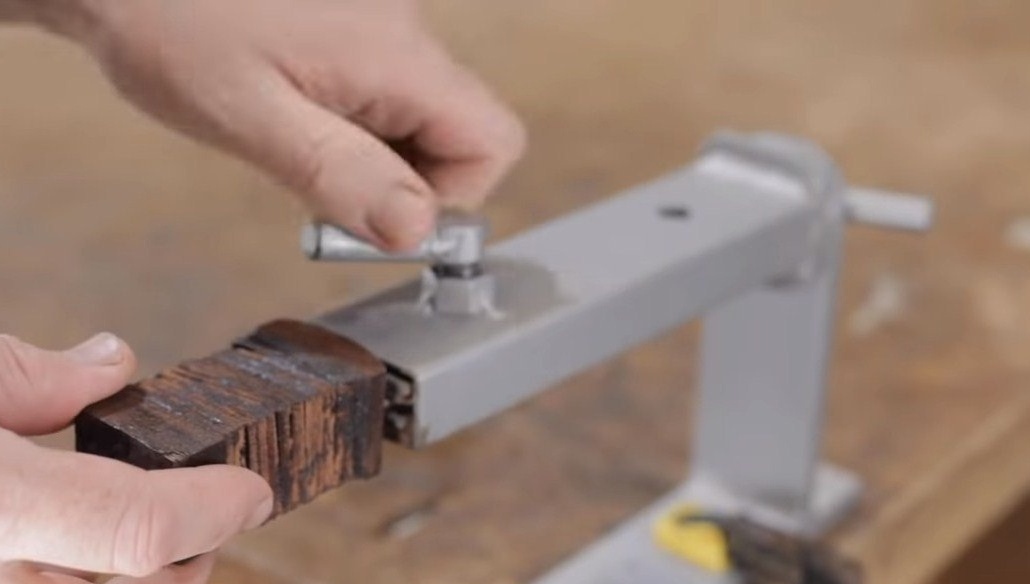
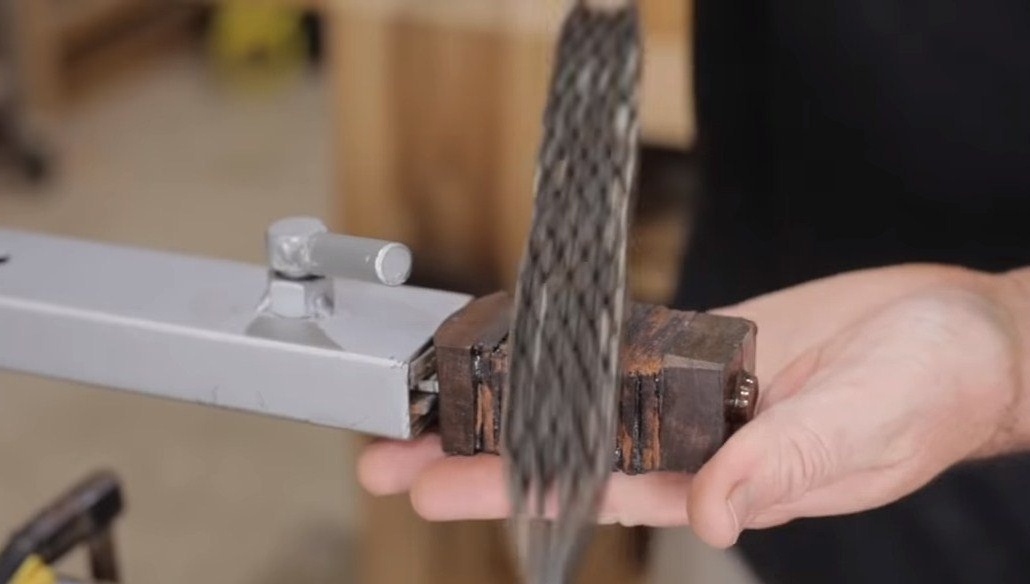
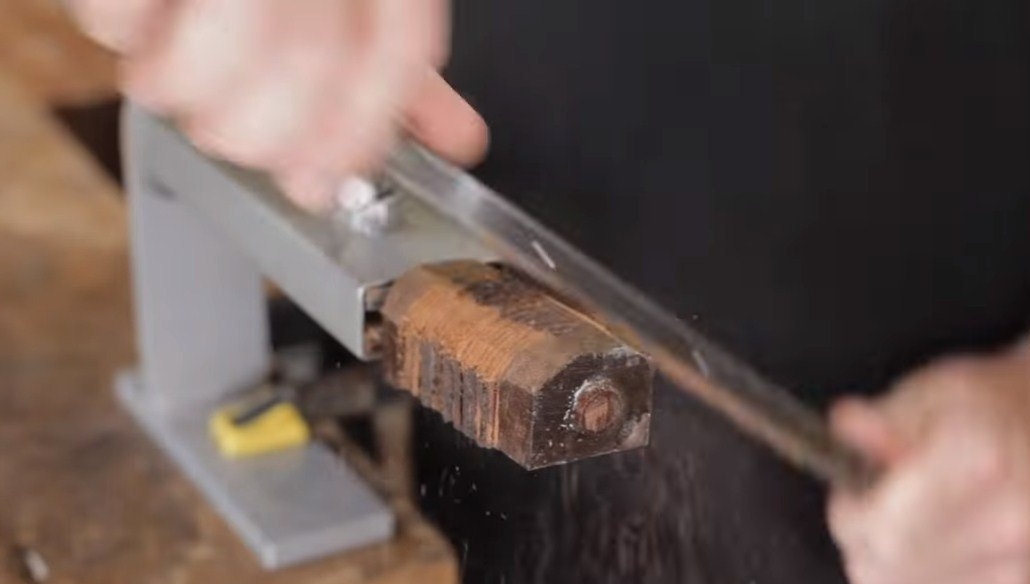
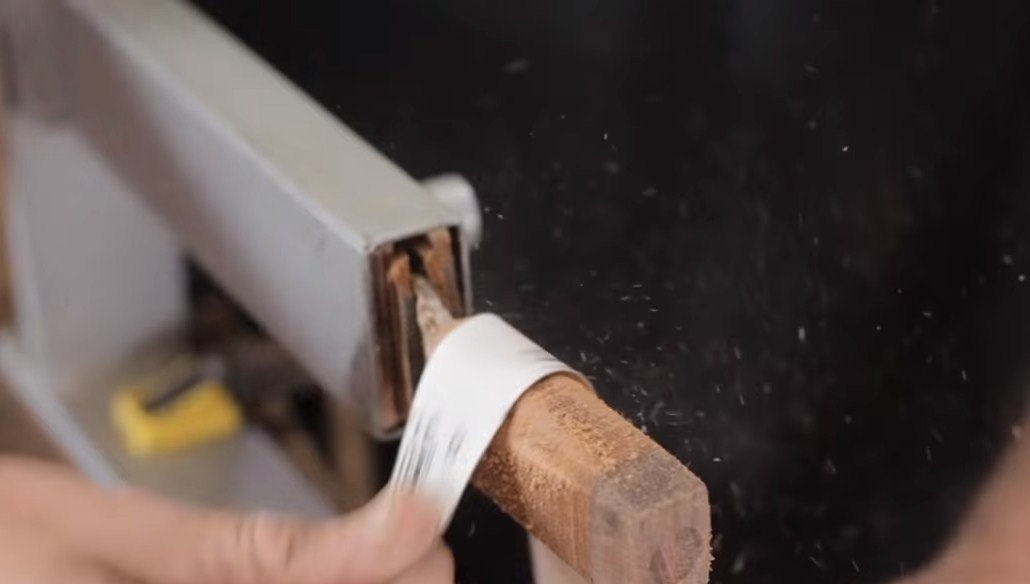
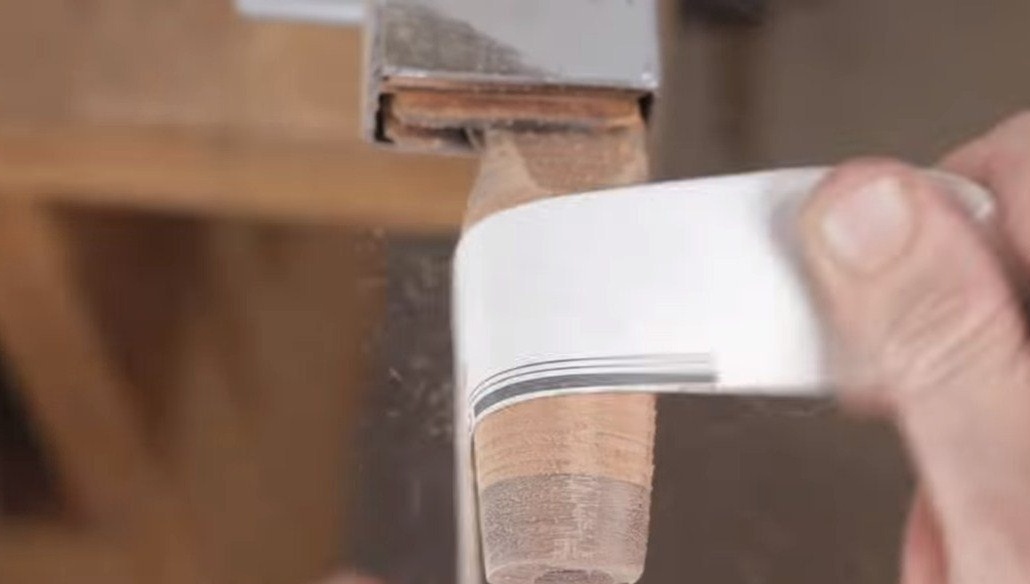
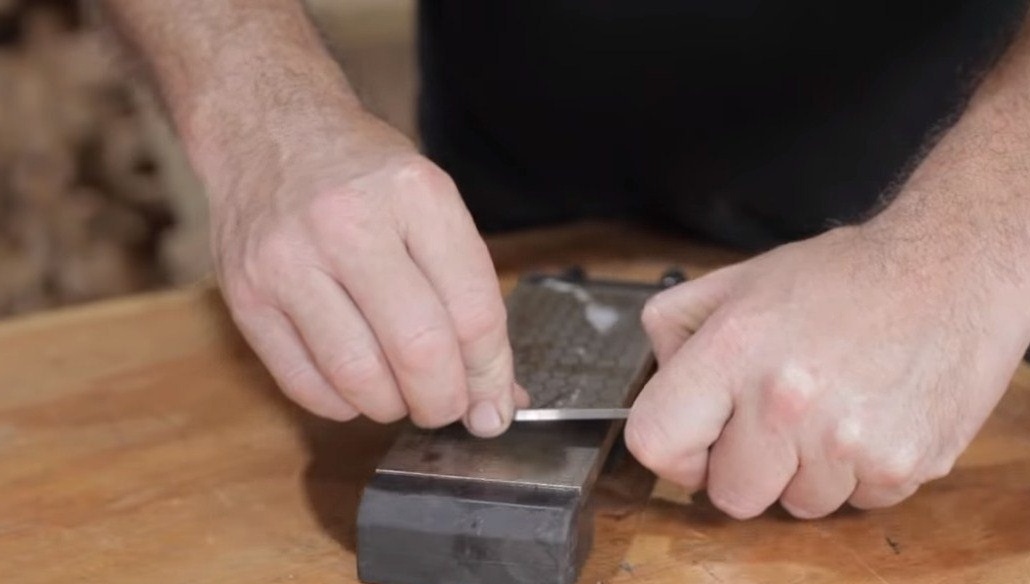
Next, it is time to form the bevels of the blade, someone does it by eye, and the author has a simple home-made manual grinding machine. The bottom line is that the file can move at a certain angle. The bevels must be symmetrical, so we need to first divide the blade into two halves. Sharpening while the blade is not necessary, since then we still have to harden the blade.
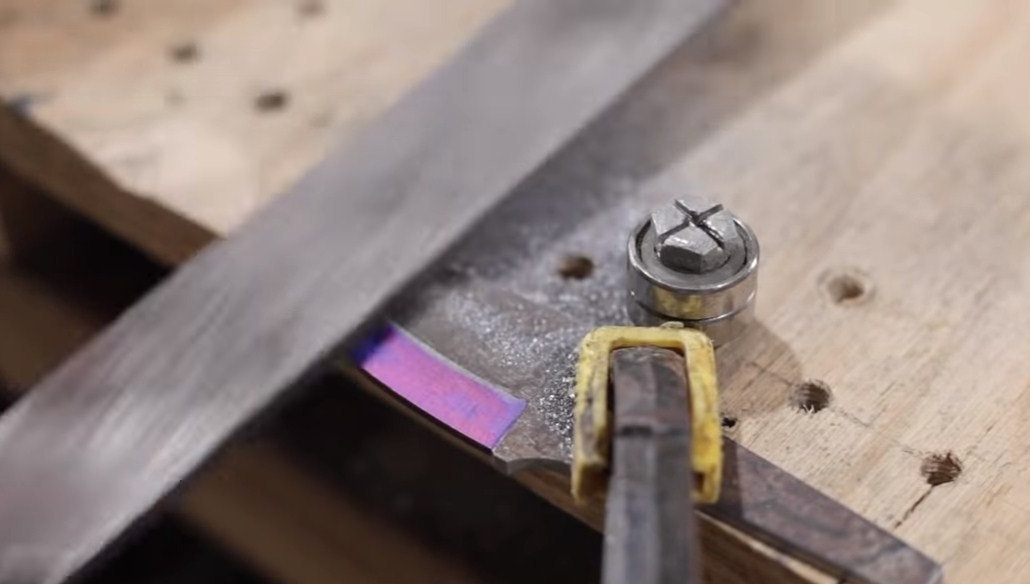

You can start grinding, the goal is to clean the metal from rust and shells. For faster cleaning, wet the sandpaper in WD-40 or just use soapy water. It is not necessary to polish the blade, then hardening remains to be done, the metal will still need to be grinded.


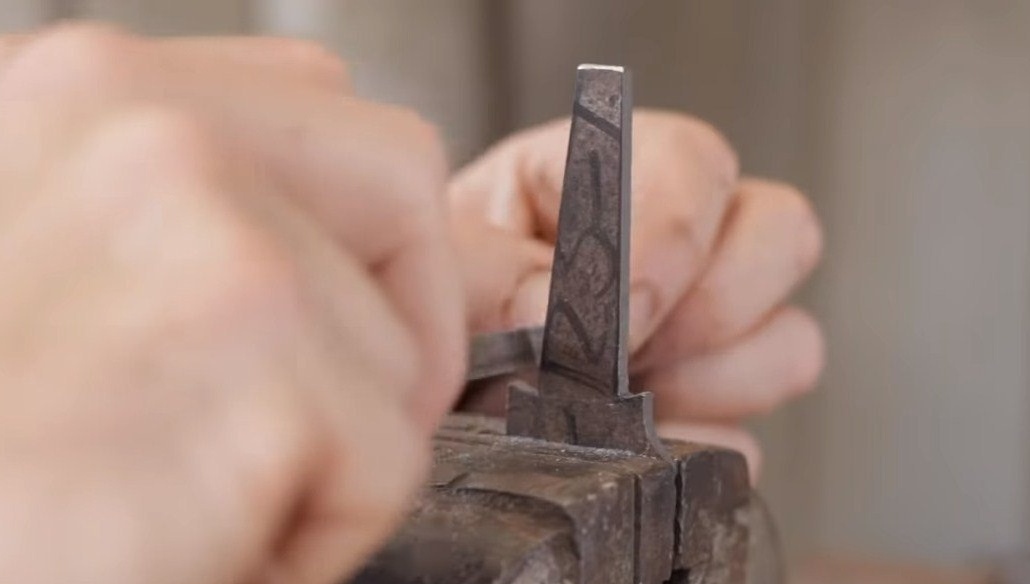
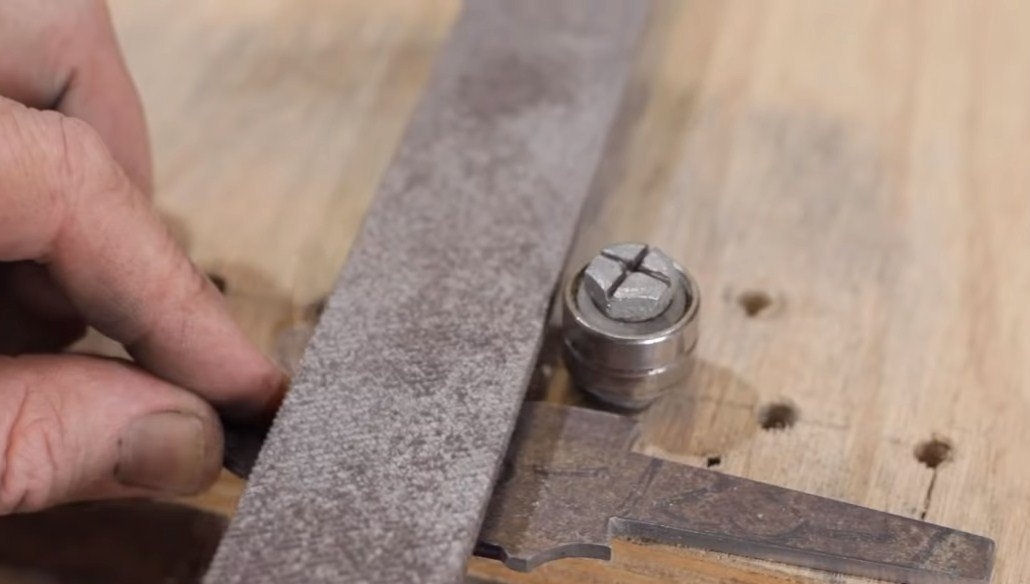
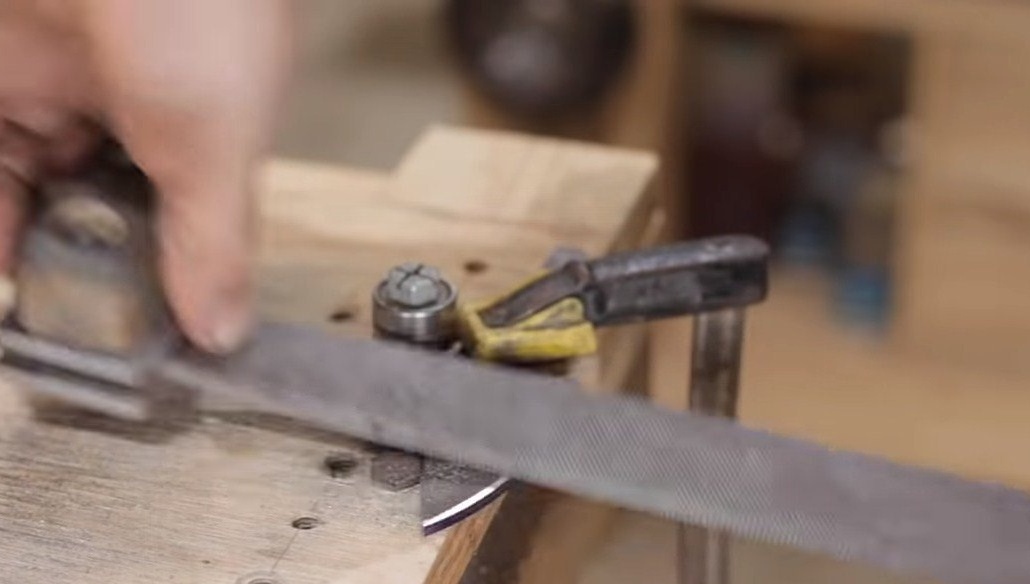
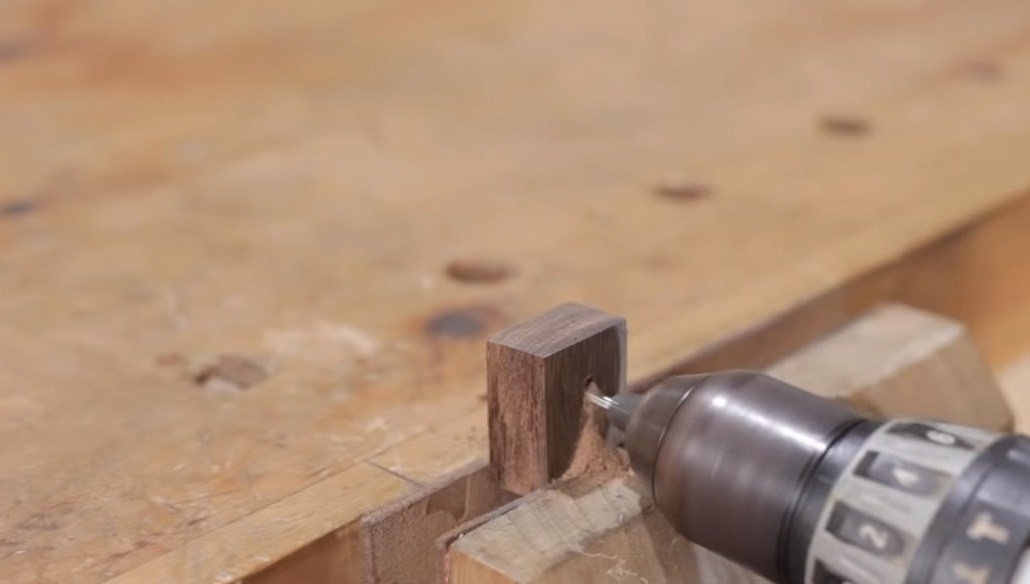
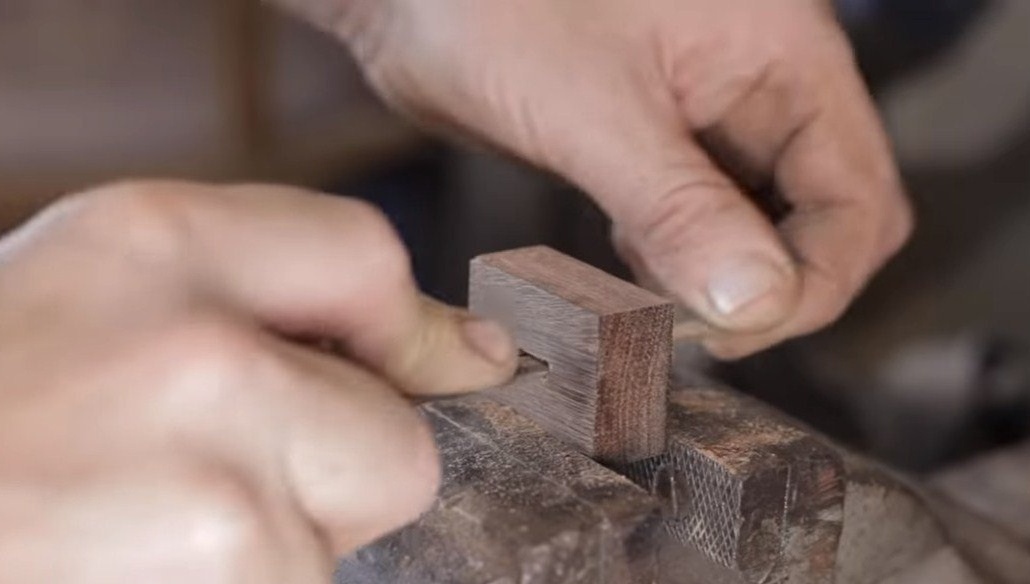
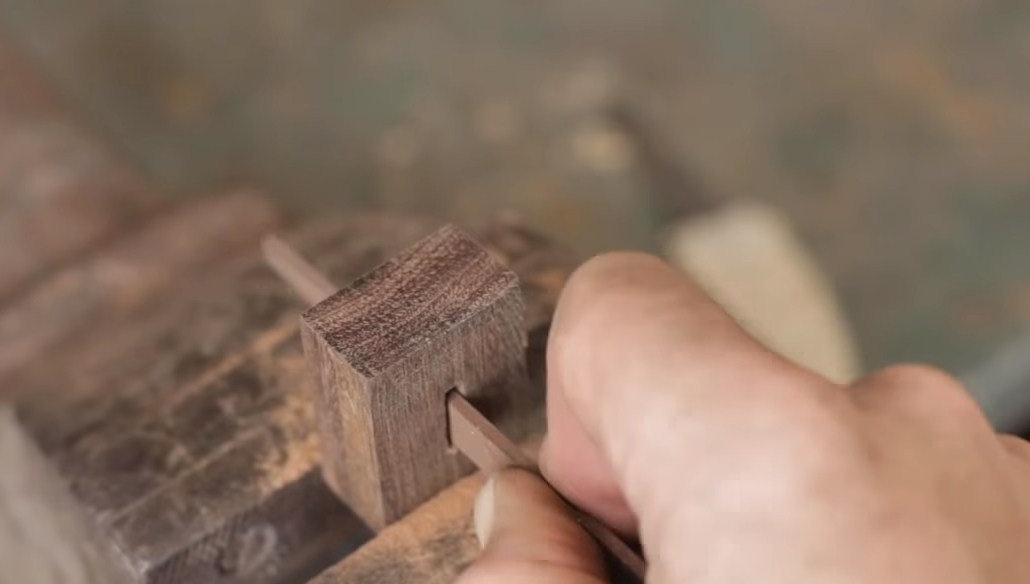
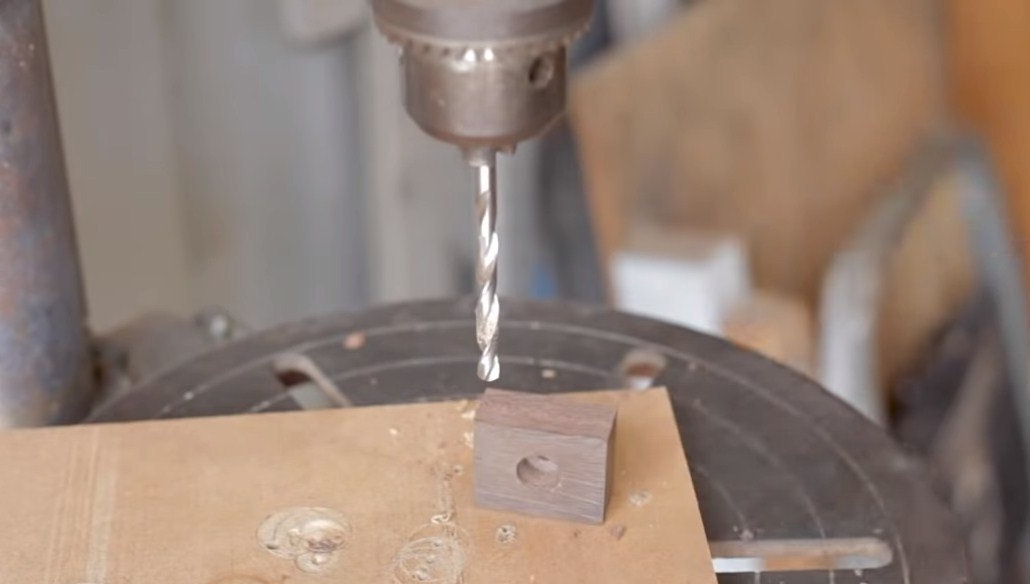
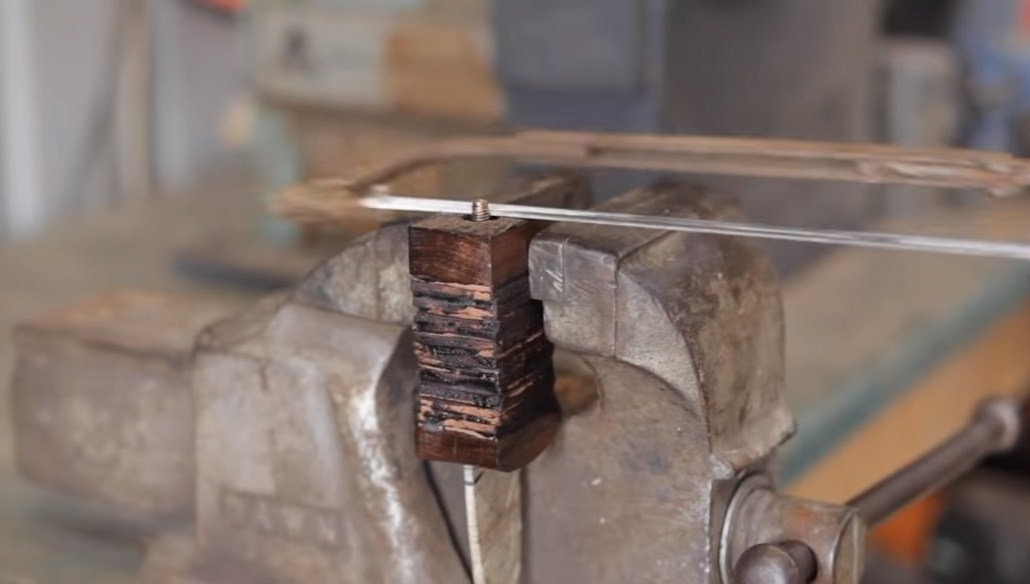
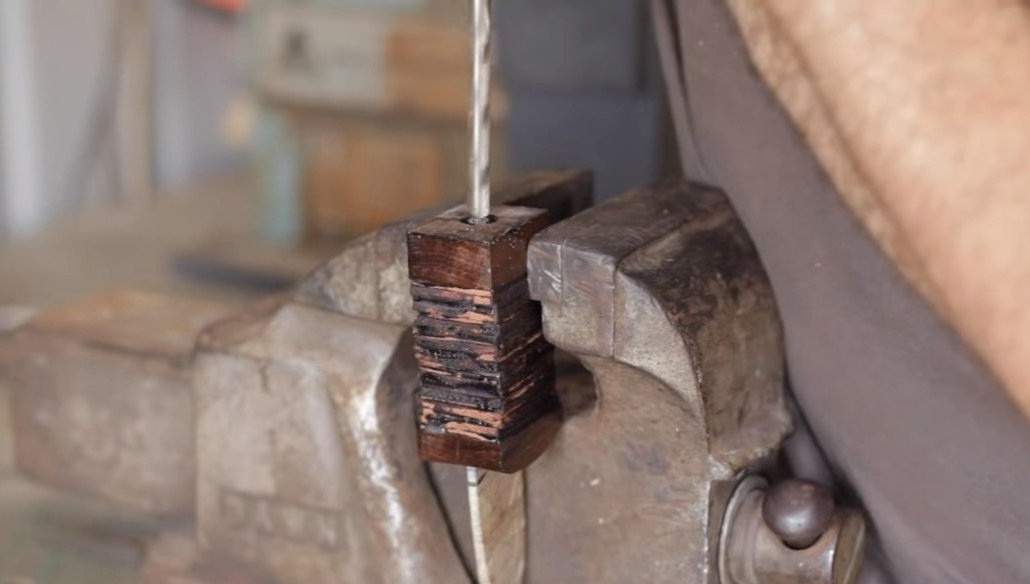
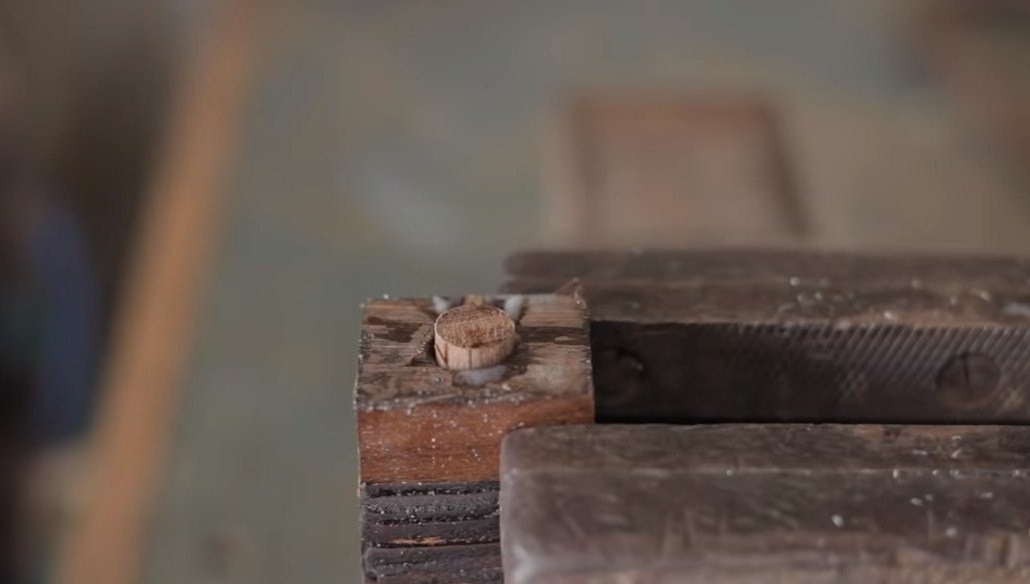
Step Three Shank
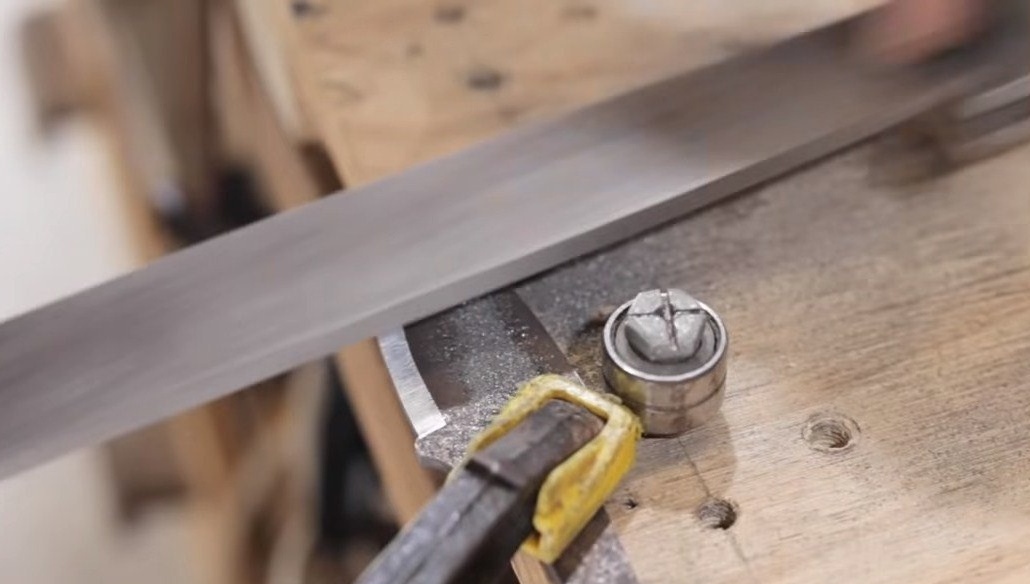
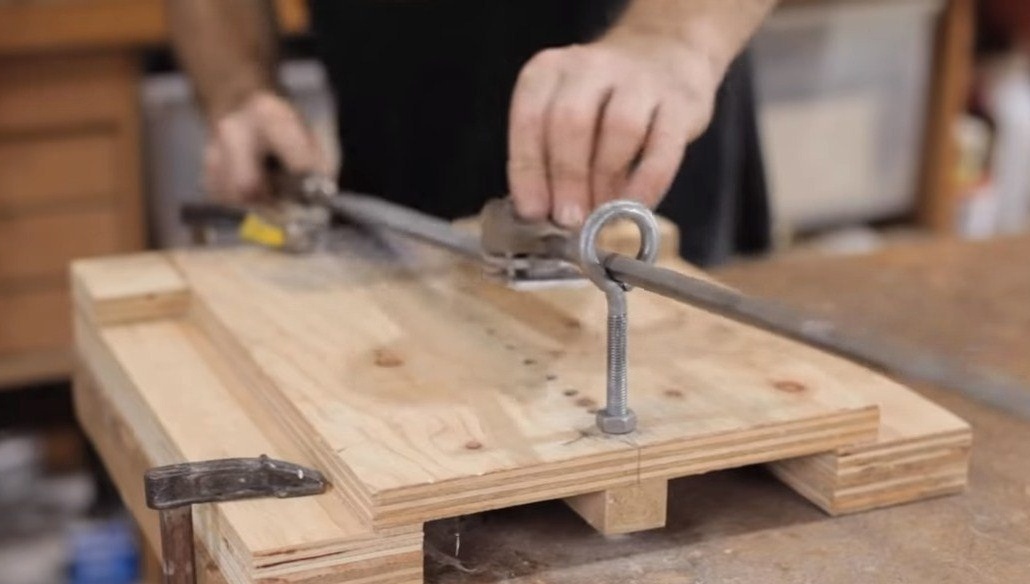
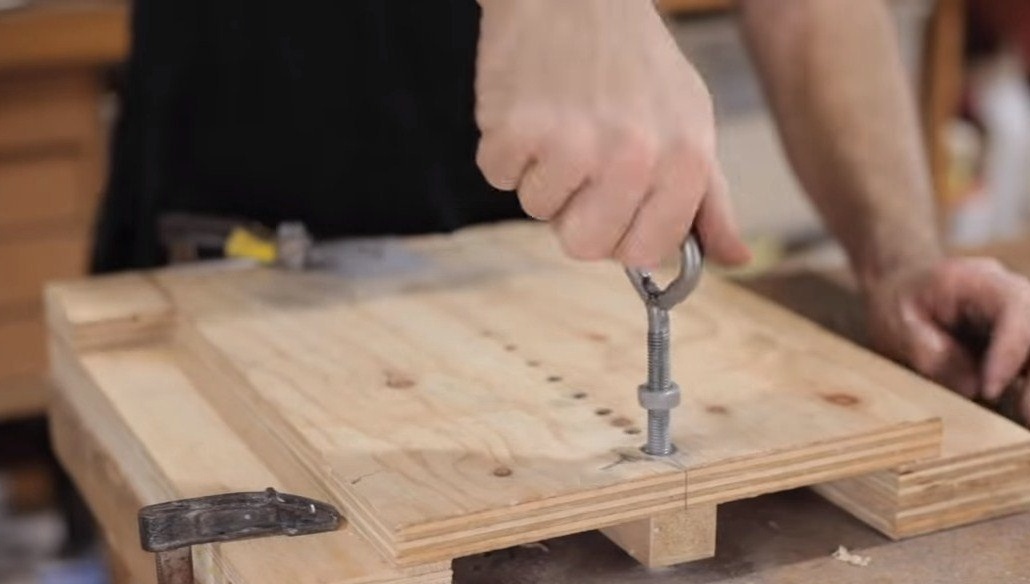
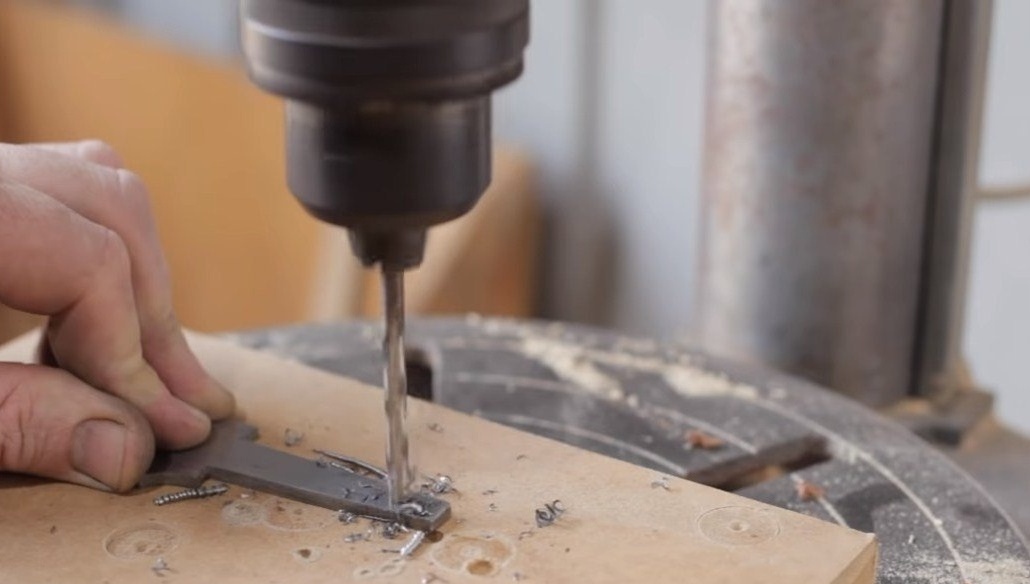
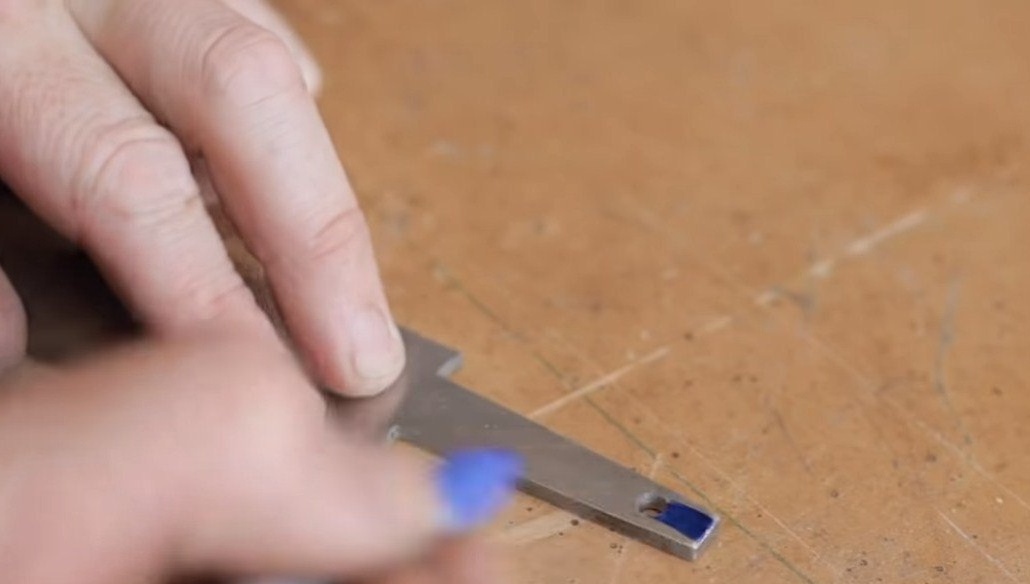
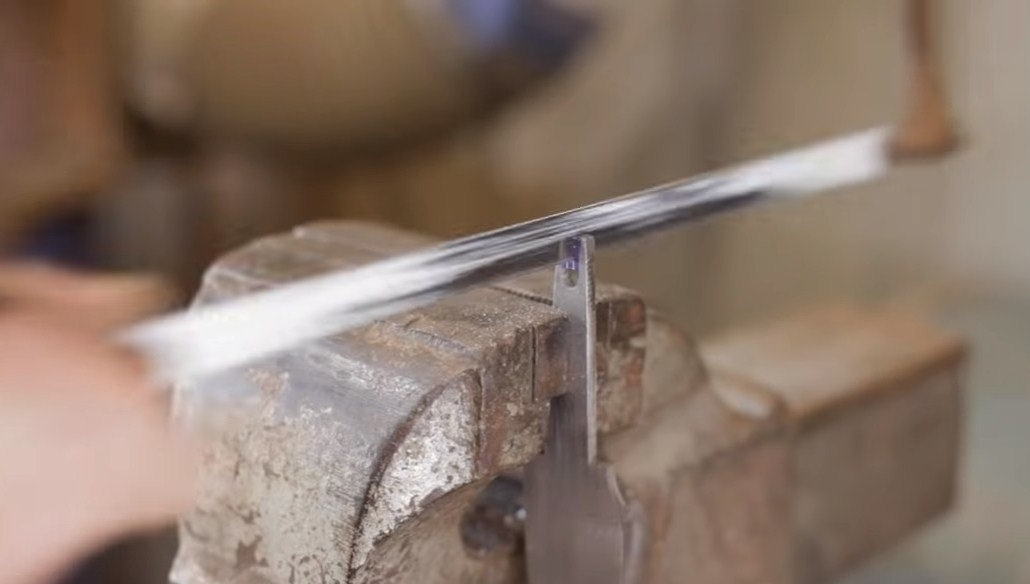
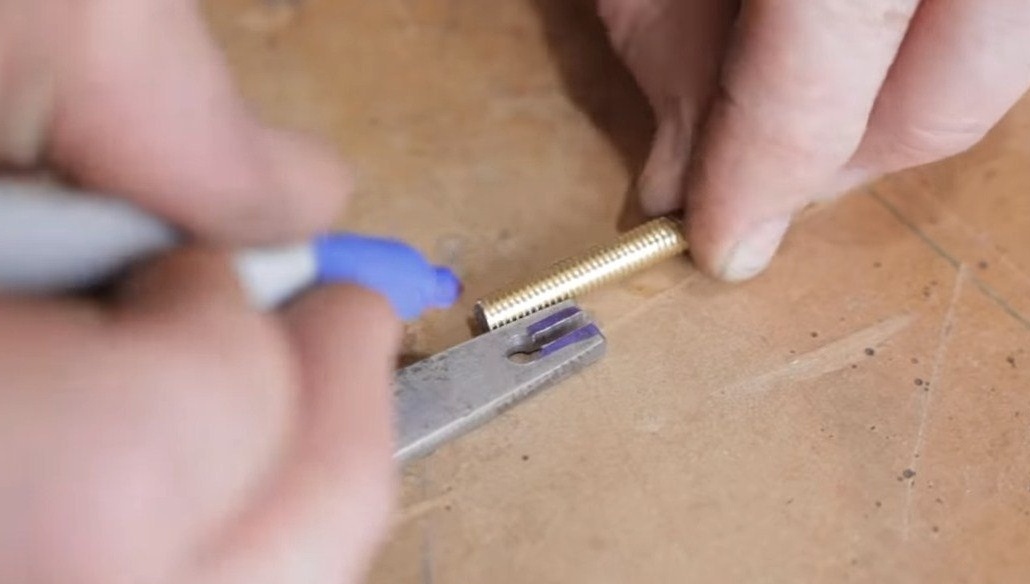
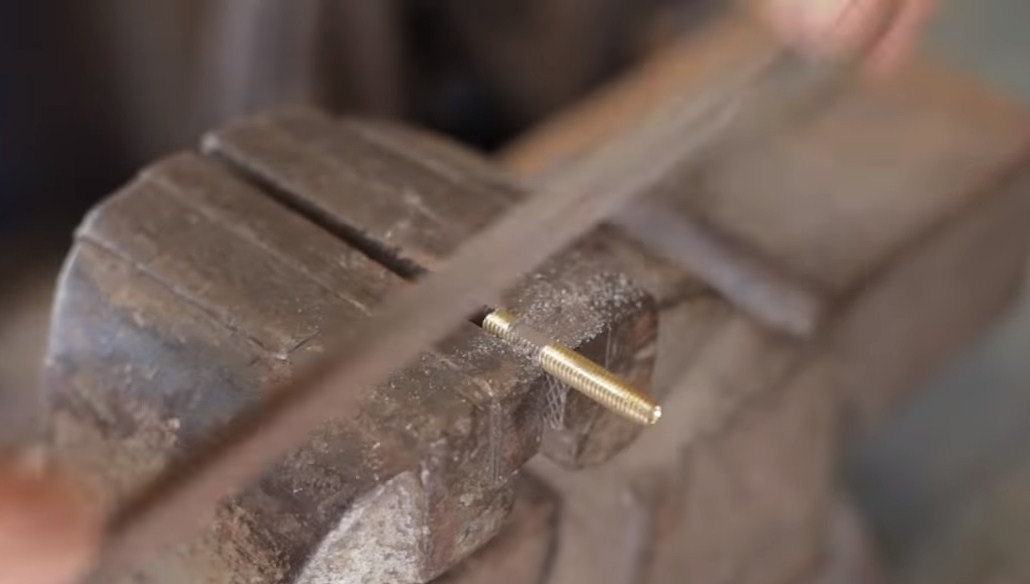
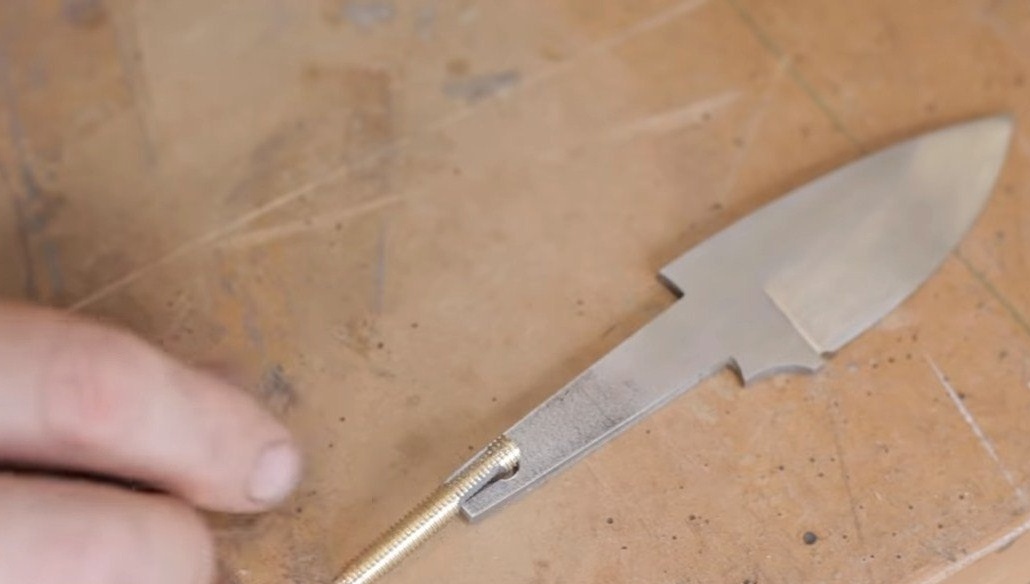
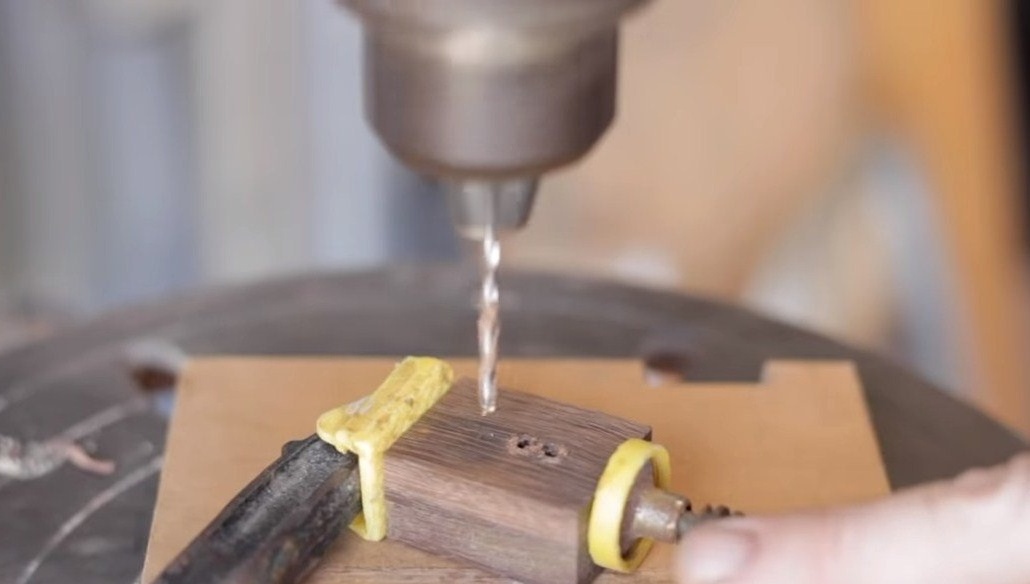
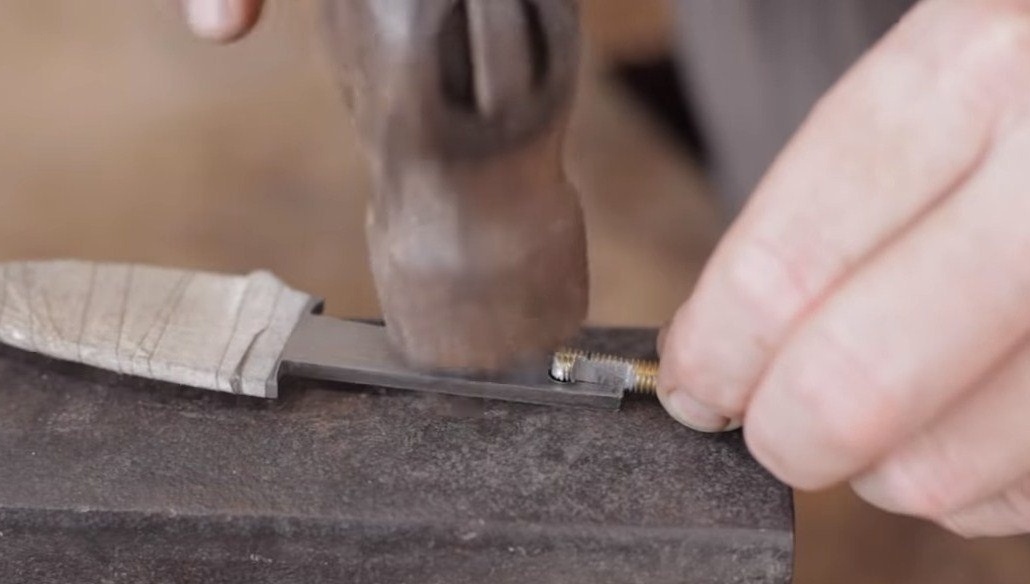
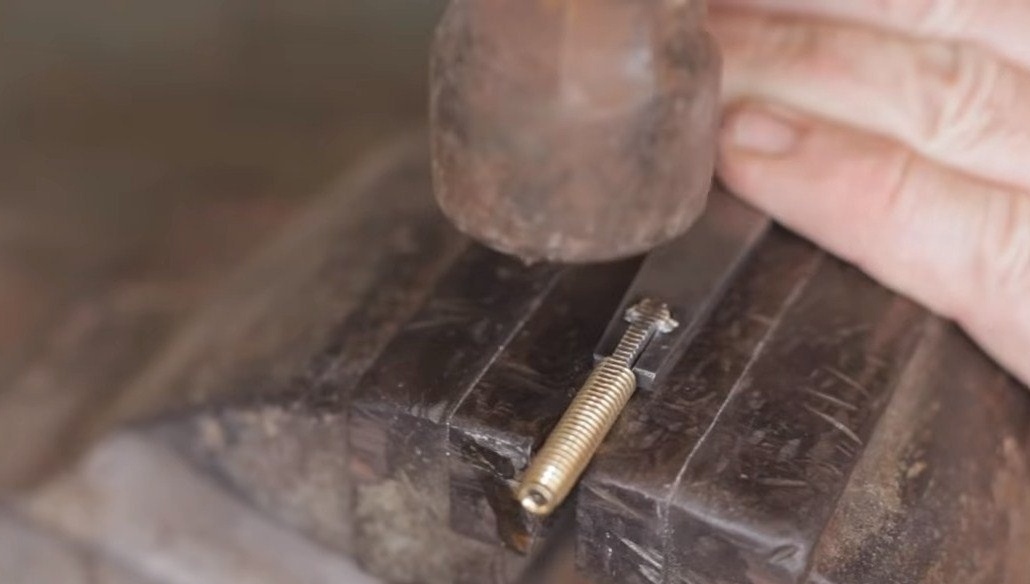
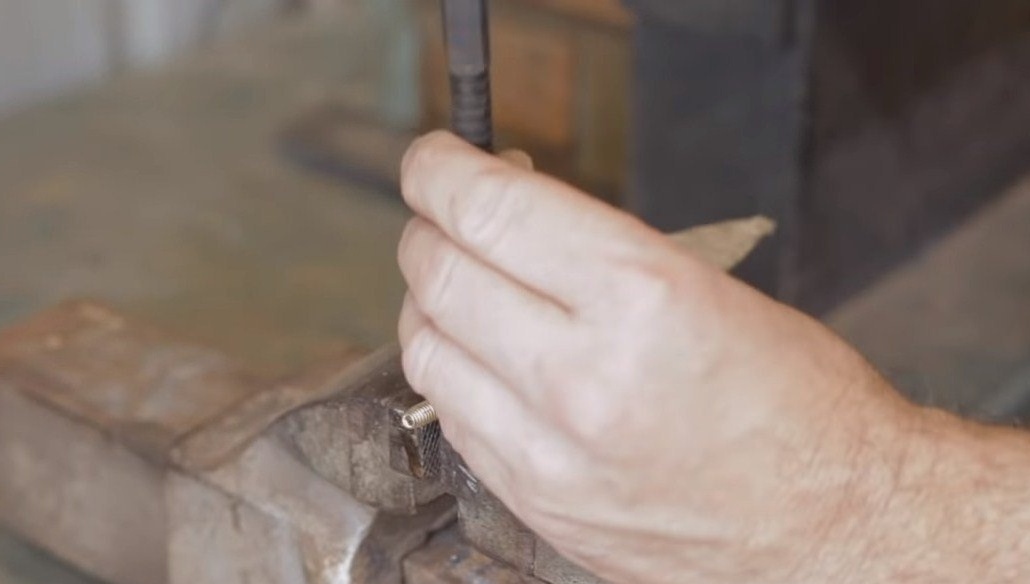
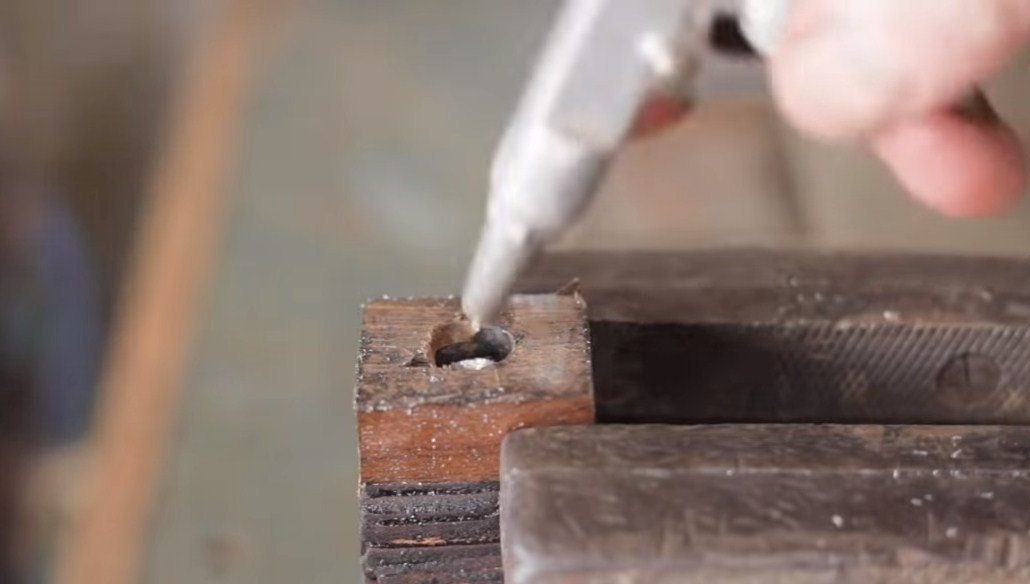
We are finalizing the shank of the knife, a threaded rod will have to be installed here, which, in combination with a nut, will allow you to tighten the handle. To install the rod, drill a hole in the shank, and then cut a slit hole to it, its width should be less than the diameter of the hole. As for the threaded rod, it needs to be chamfered so that the rod lies in the slotted hole made in the shank. As a result, there will be a wider part in the hole, which will allow the rod to hold firmly in the shank of the knife.
Step Four Heat treatment and cleaning
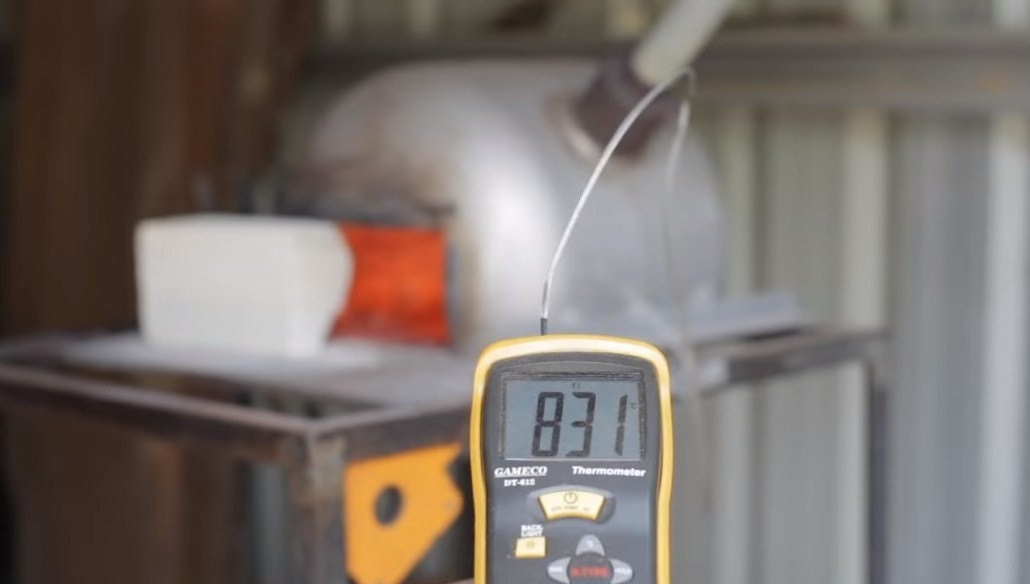
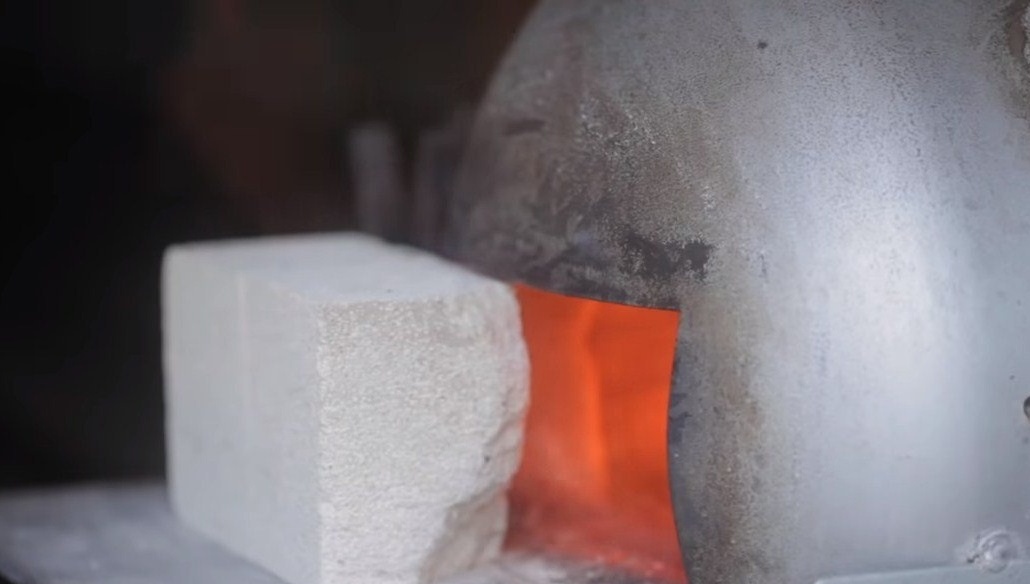
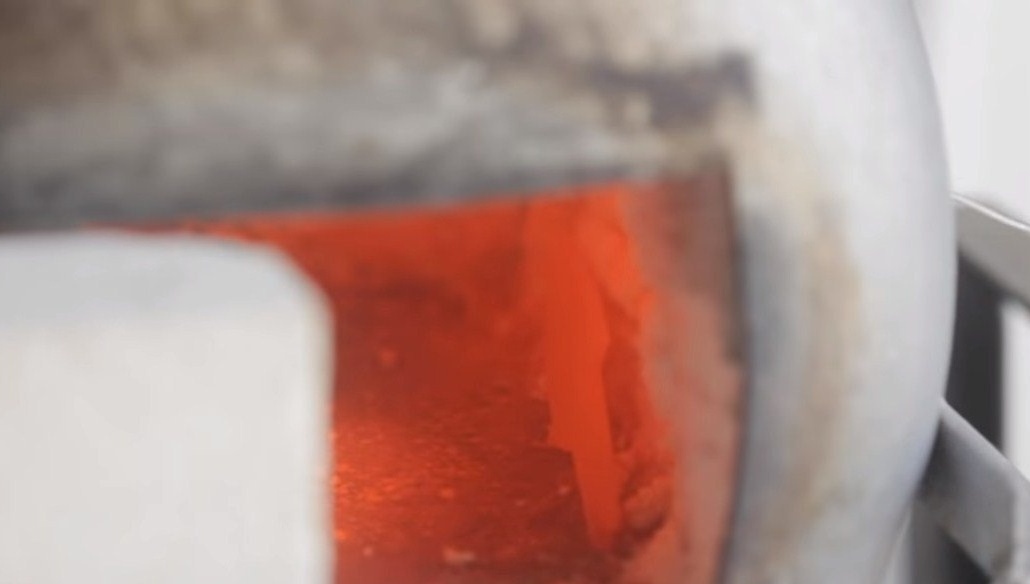
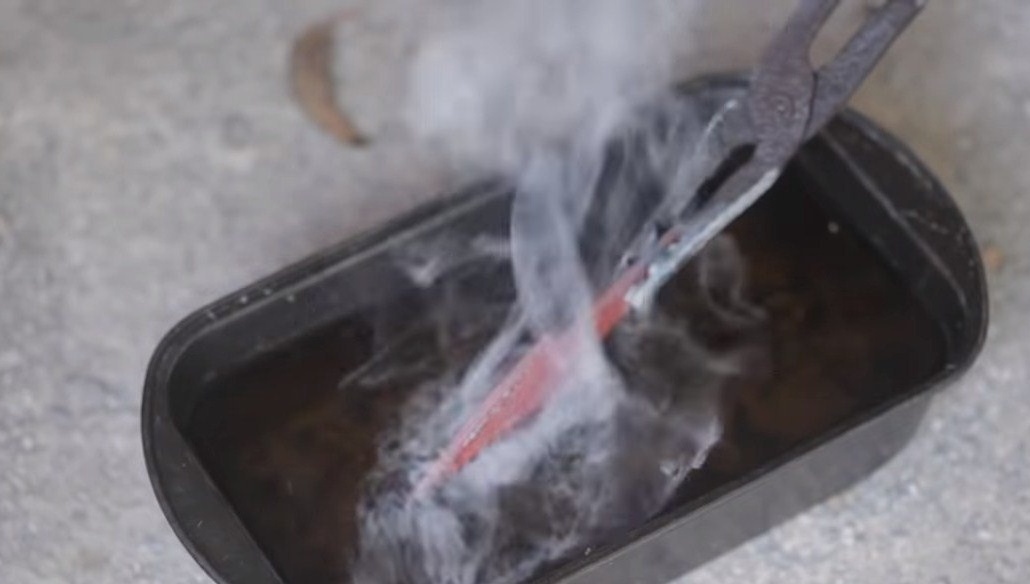
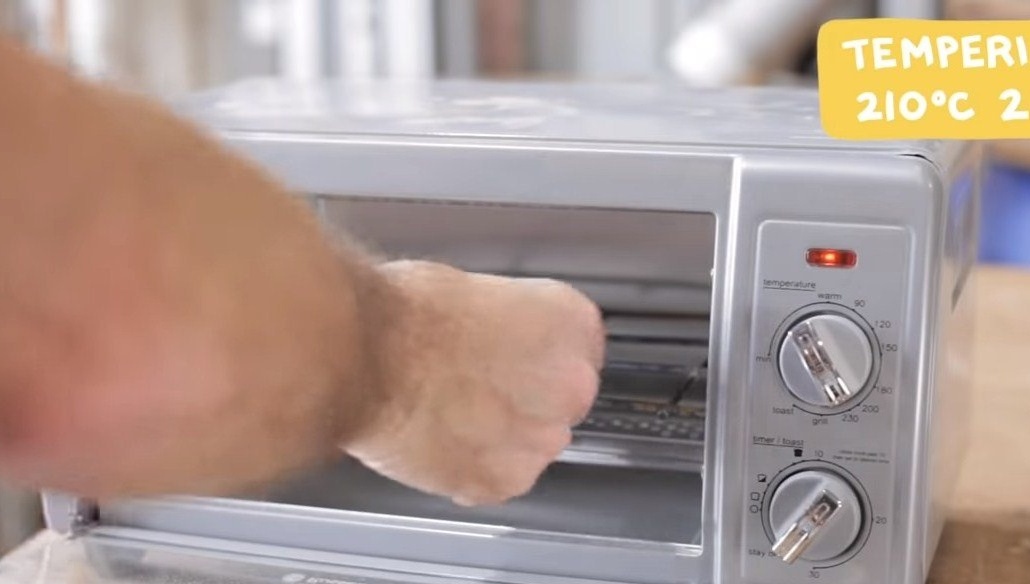
We proceed to heat treatment, first we temper the blade, it will gain maximum hardness. Heat 1075 steel to a temperature of 830 degrees Celsius, and then cool the blade in oil.
After hardening, we take a vacation, the author uses an oven, the knife bakes at a temperature of 210C for two hours. If hardening was successful, the metal should no longer be taken with a file.


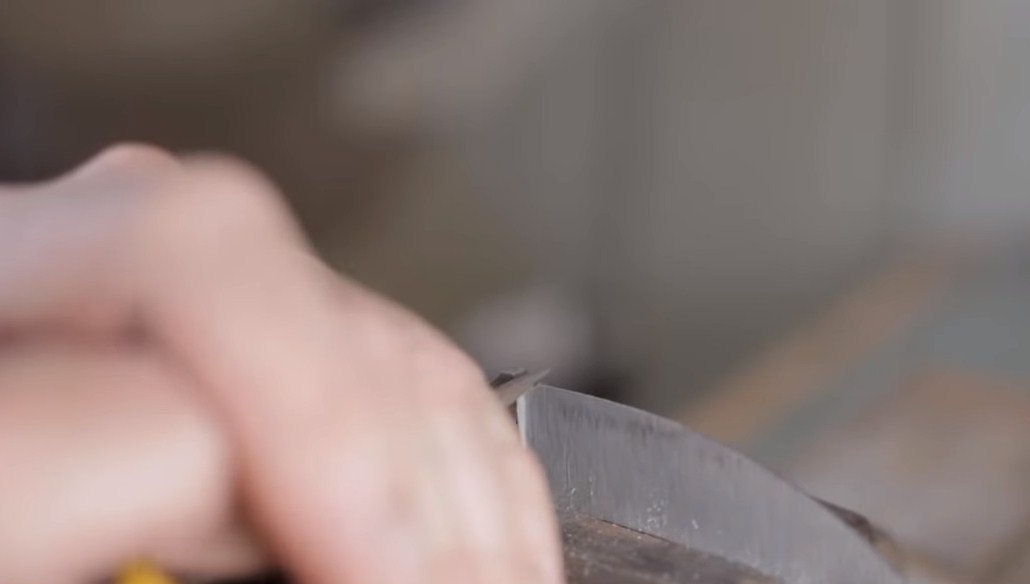
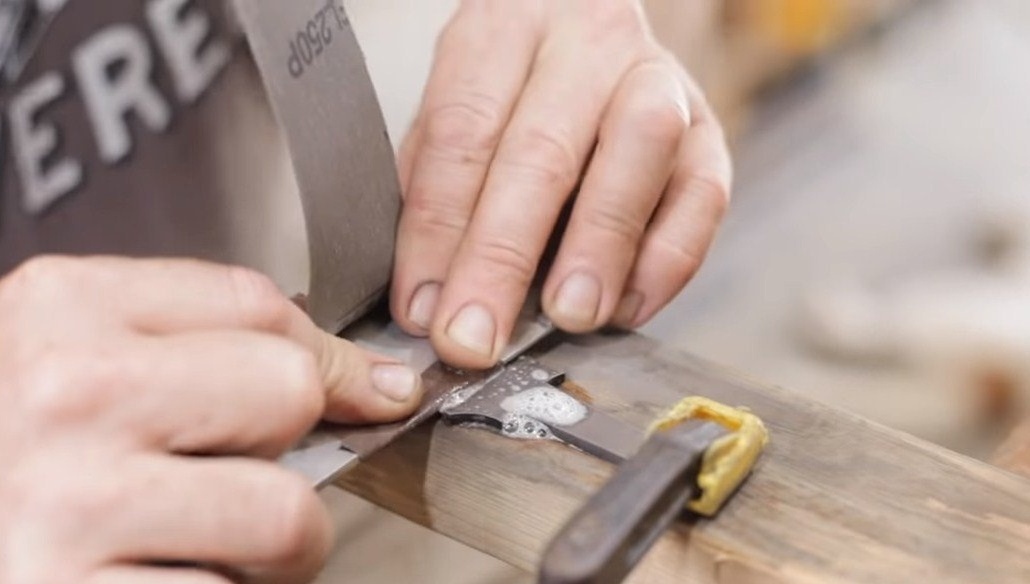
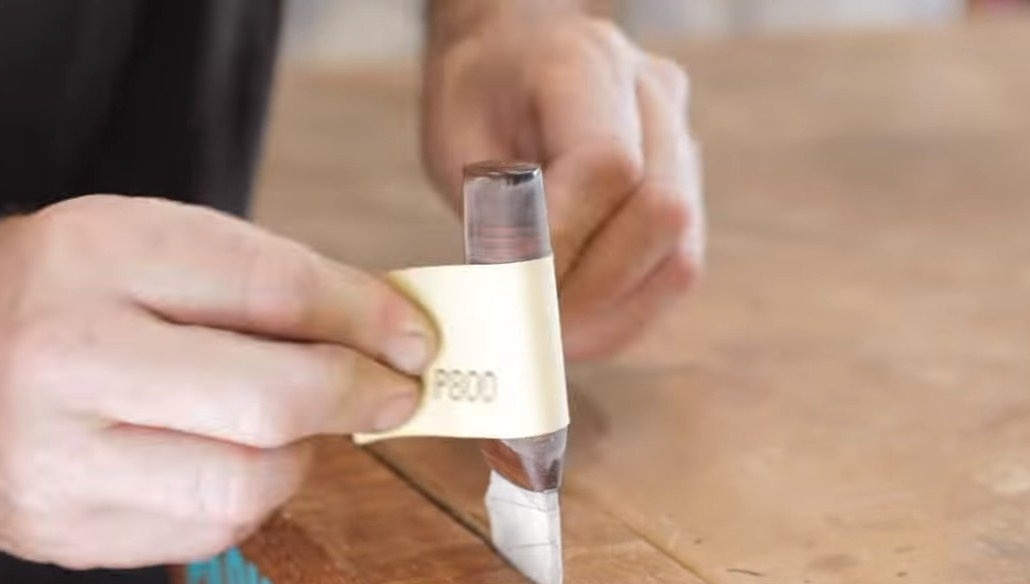
So, we have a blade of excellent quality, we clear it of soot and proceed to grinding. The author does all the manual grinding work using sandpaper with finer grain. As a result, the blade gains a mirror shine. Now it can be sealed with masking tape so as not to scratch or smear the blade during the assembly of the handle.
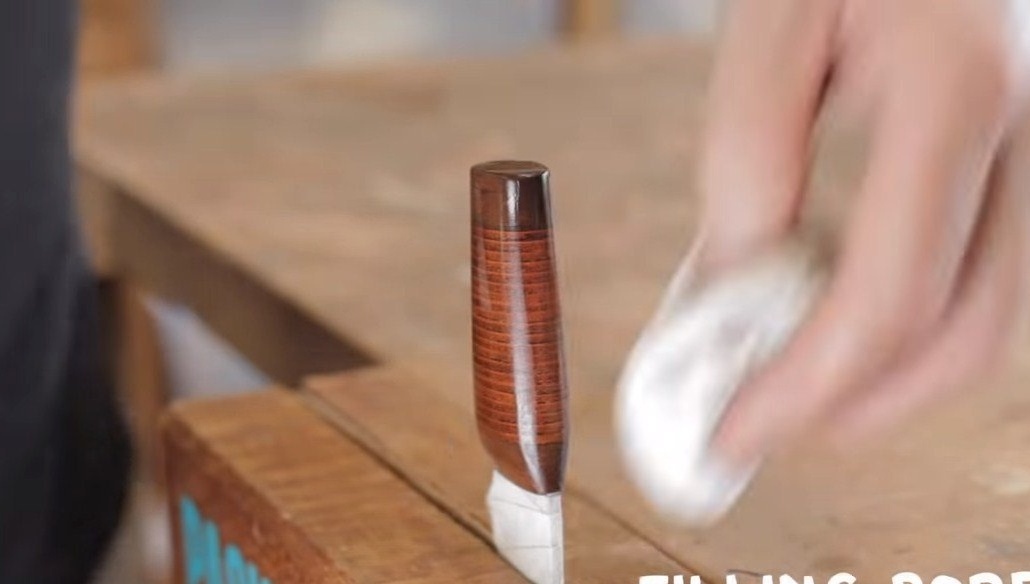
Step Five Pen making
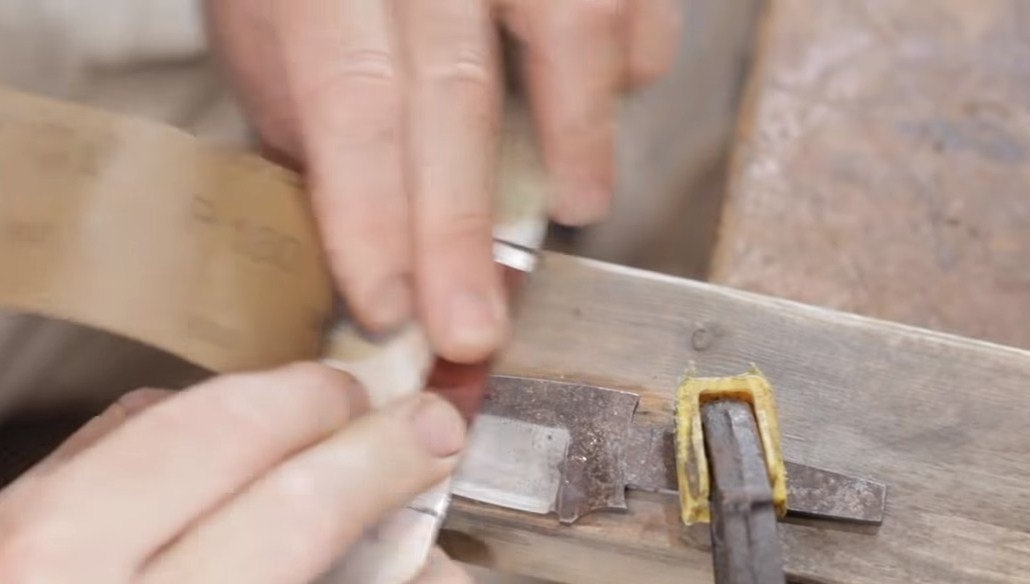
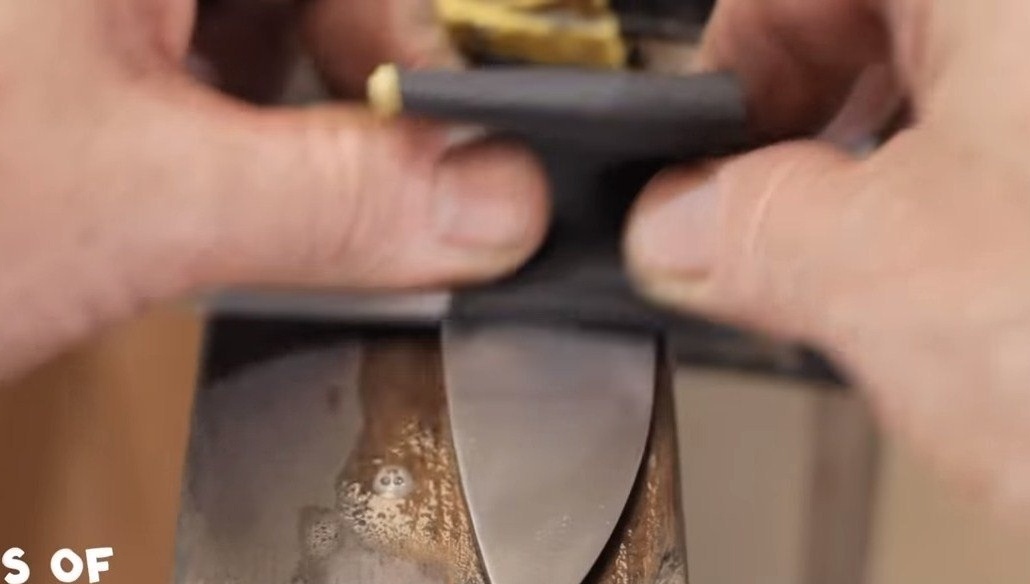
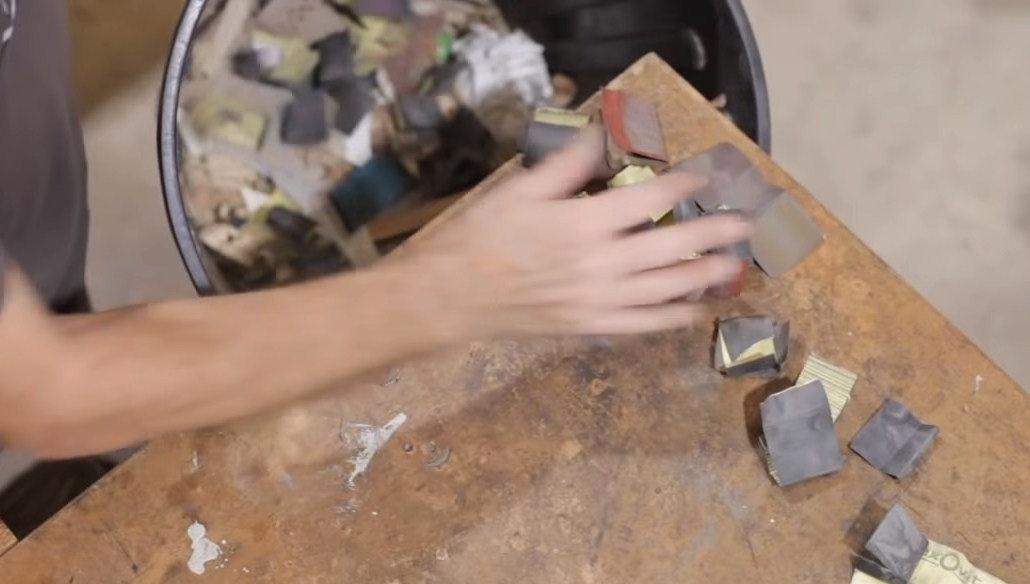
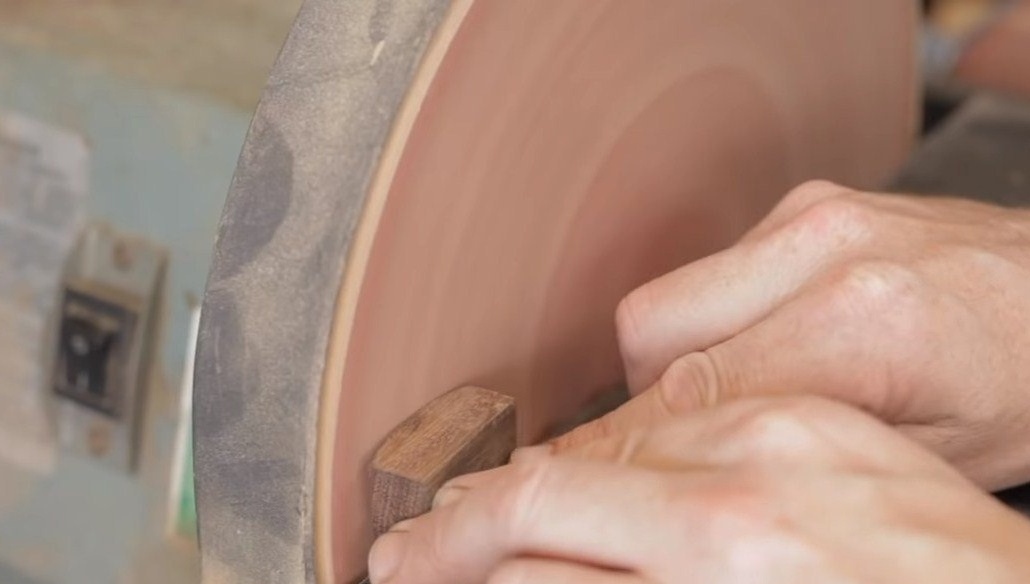
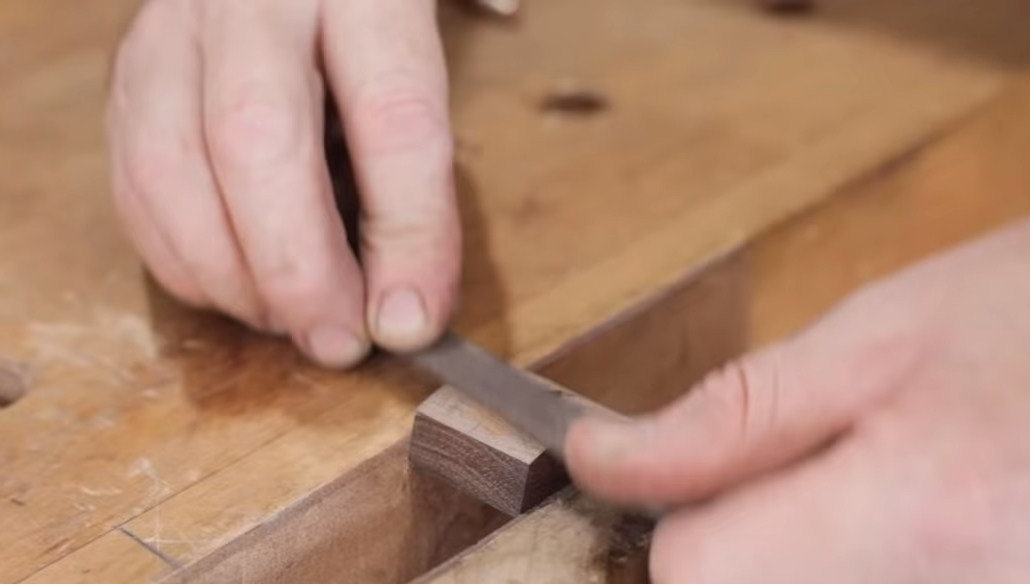
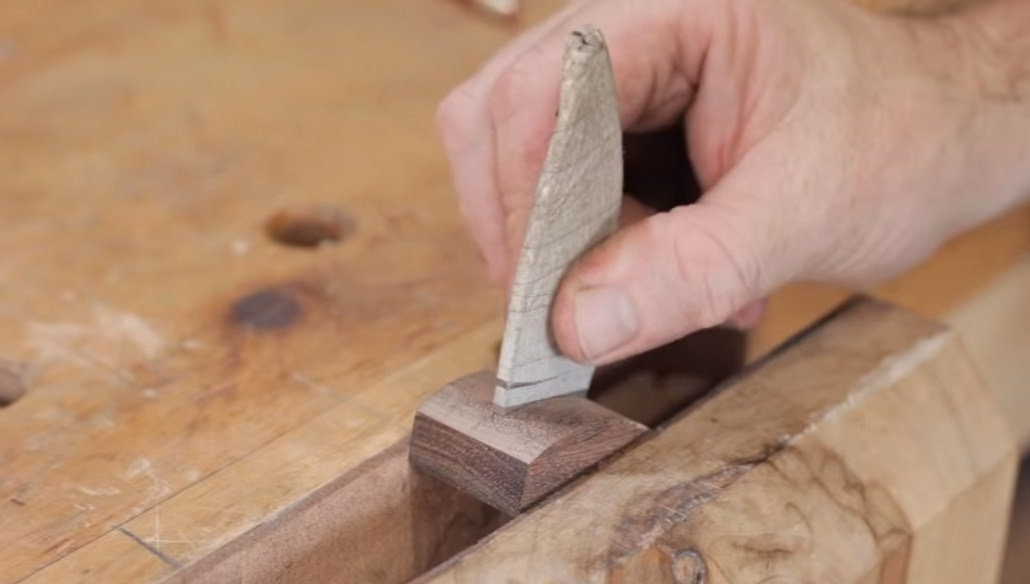
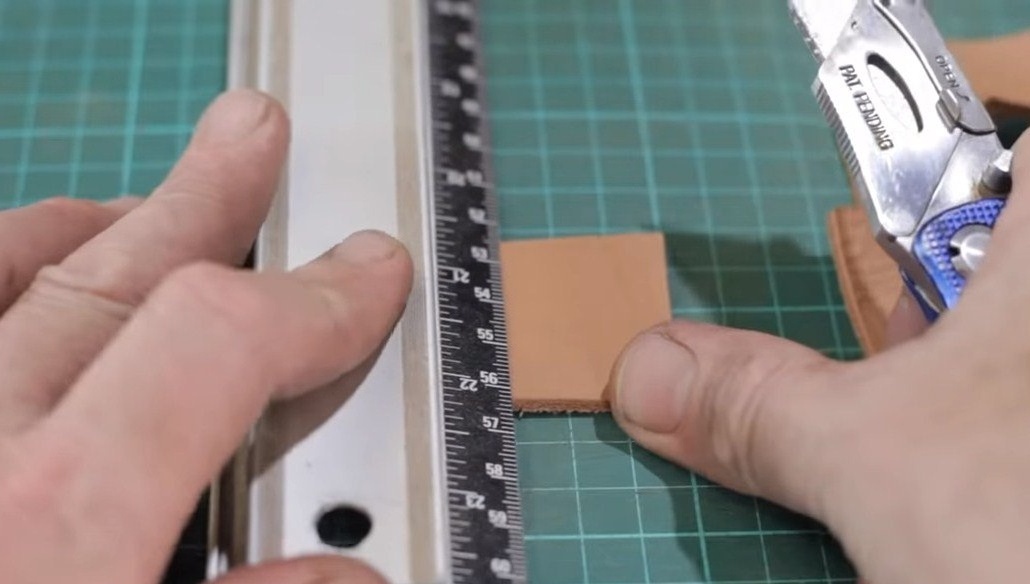
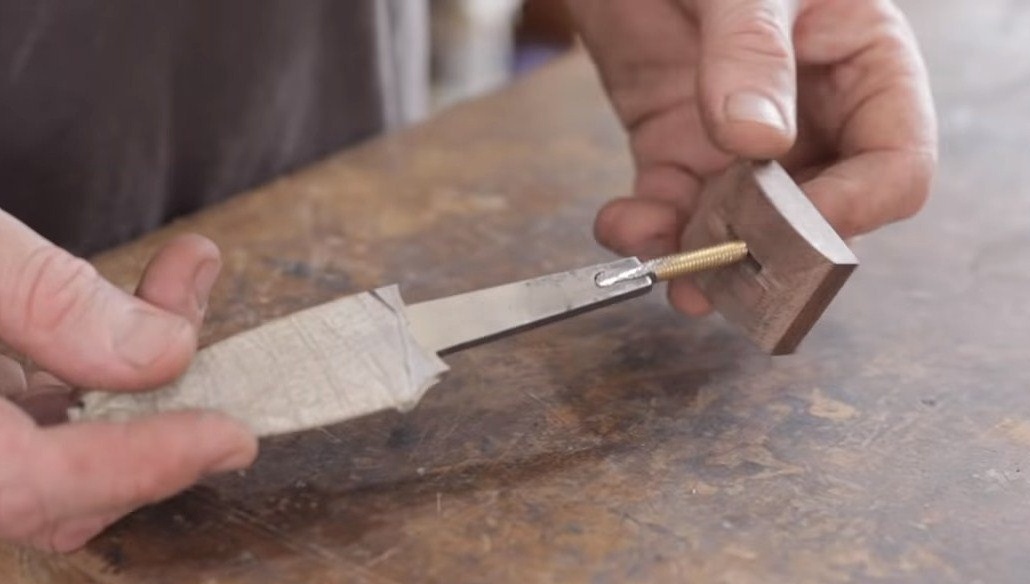
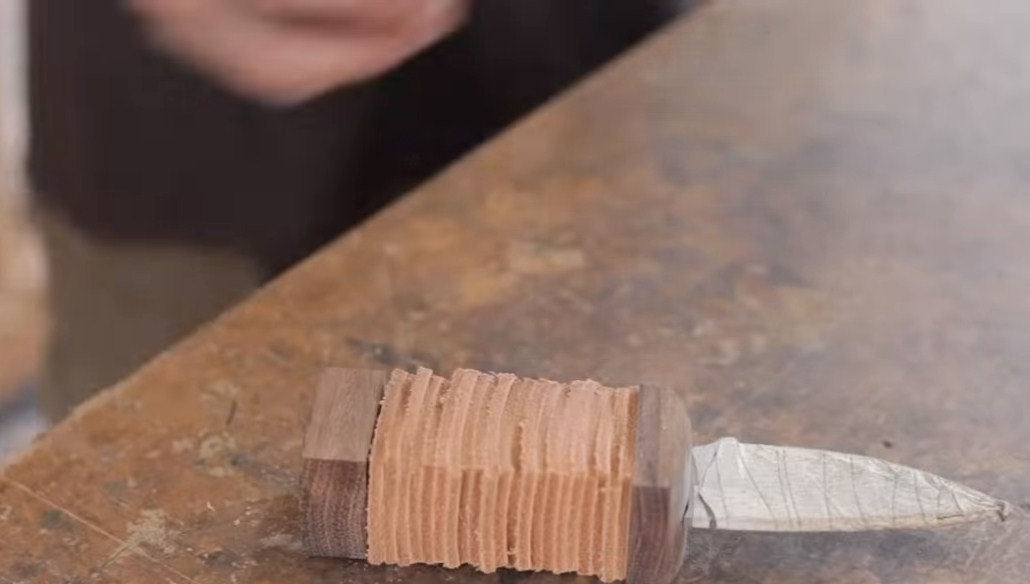
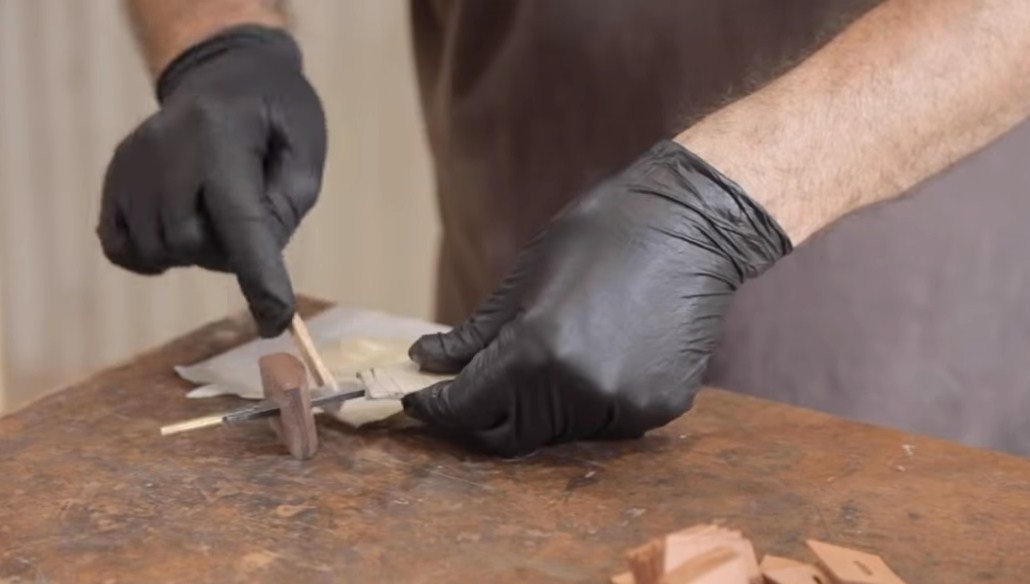
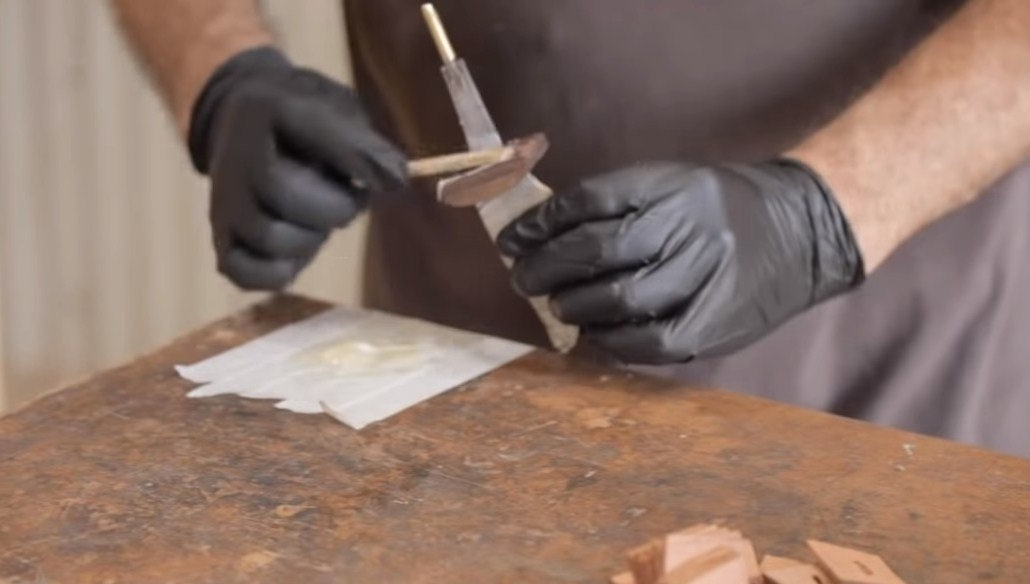
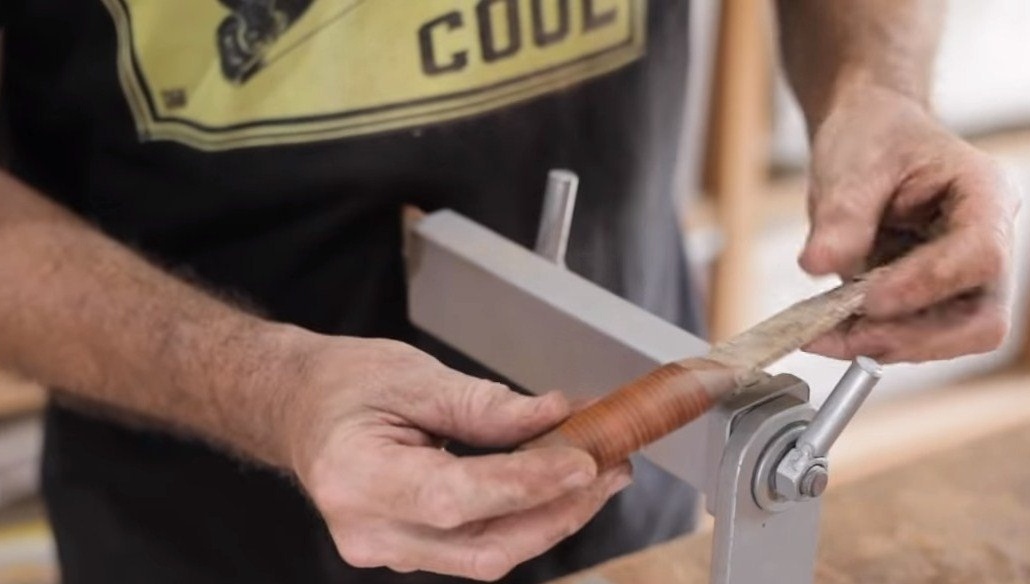
We have a combined handle, it is made of leather and wood, for a start we cut out the bolster, by grinding we set the desired shape. We make a slit hole in the bolster so that the knife shank can fit tightly. If the bolster dangles, this is not very good, the connection will no longer be as strong as necessary.
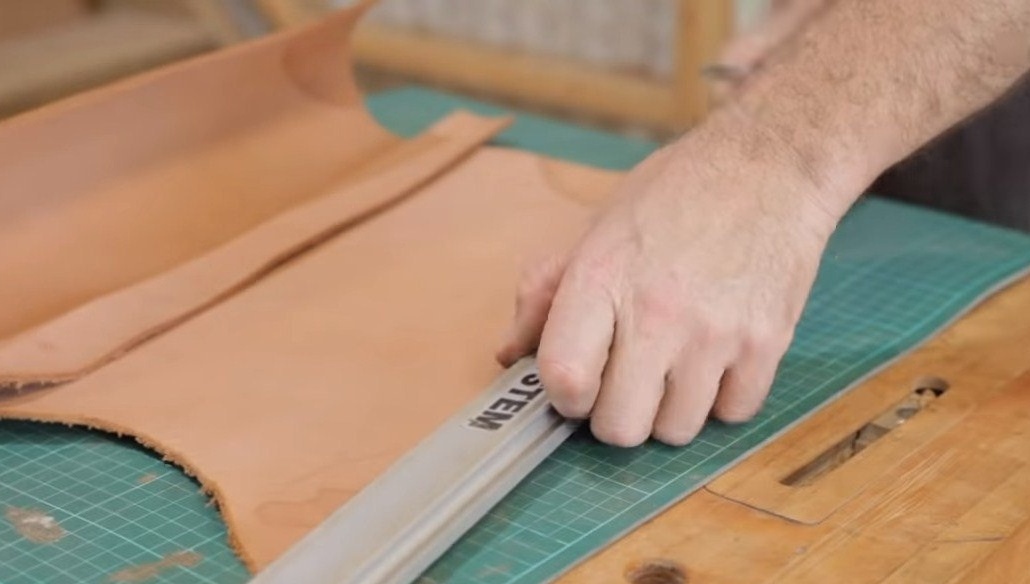
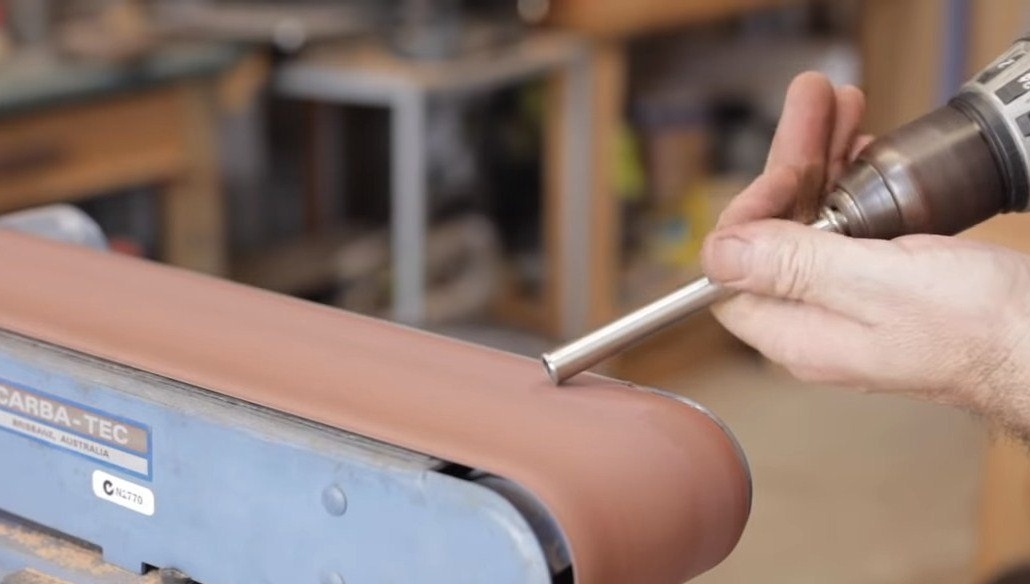
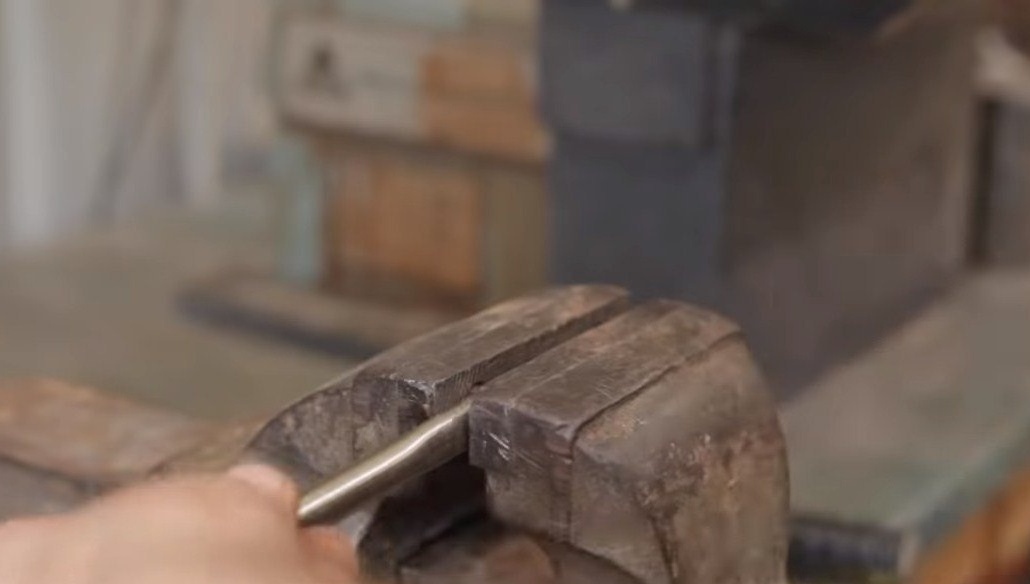
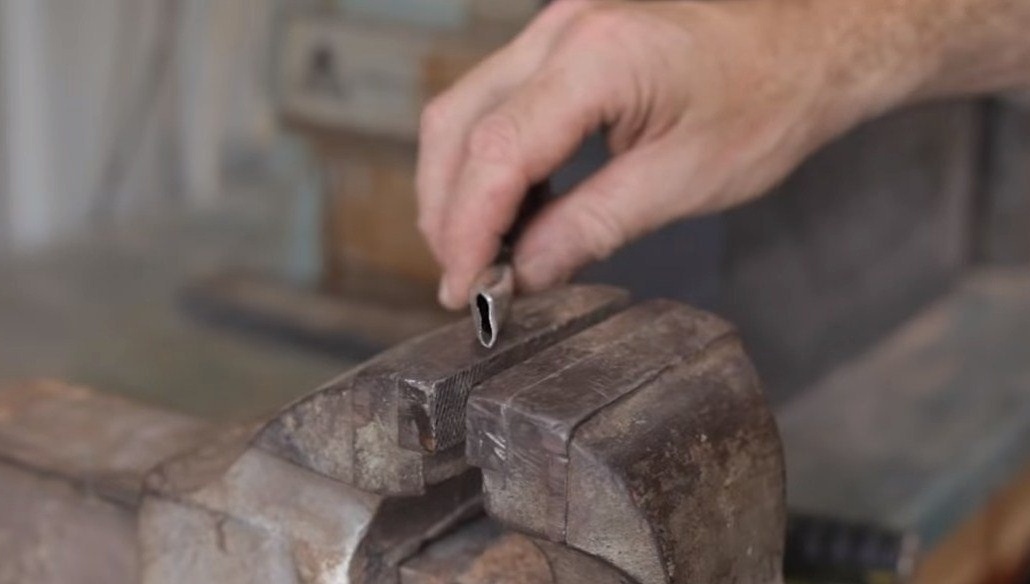
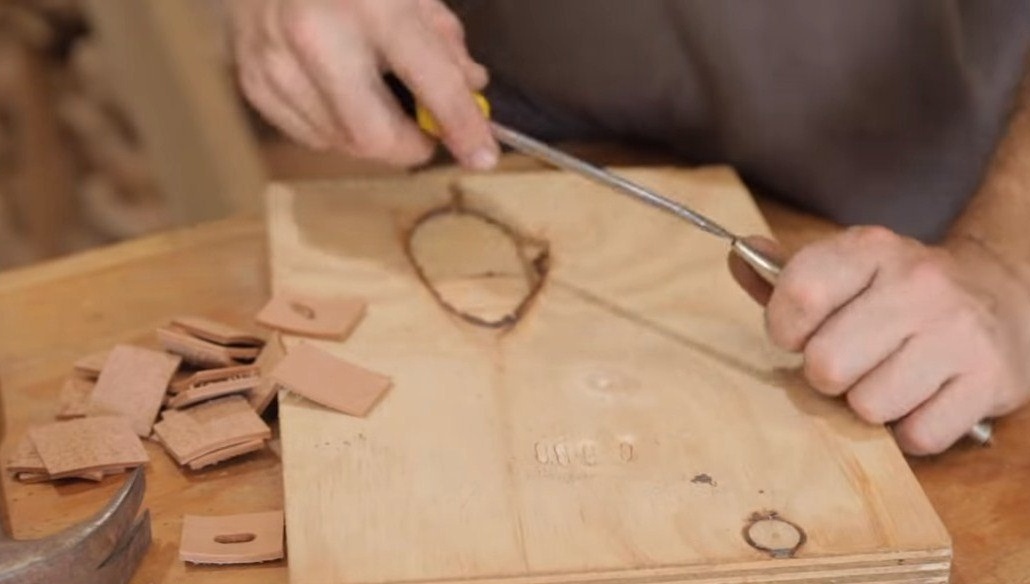
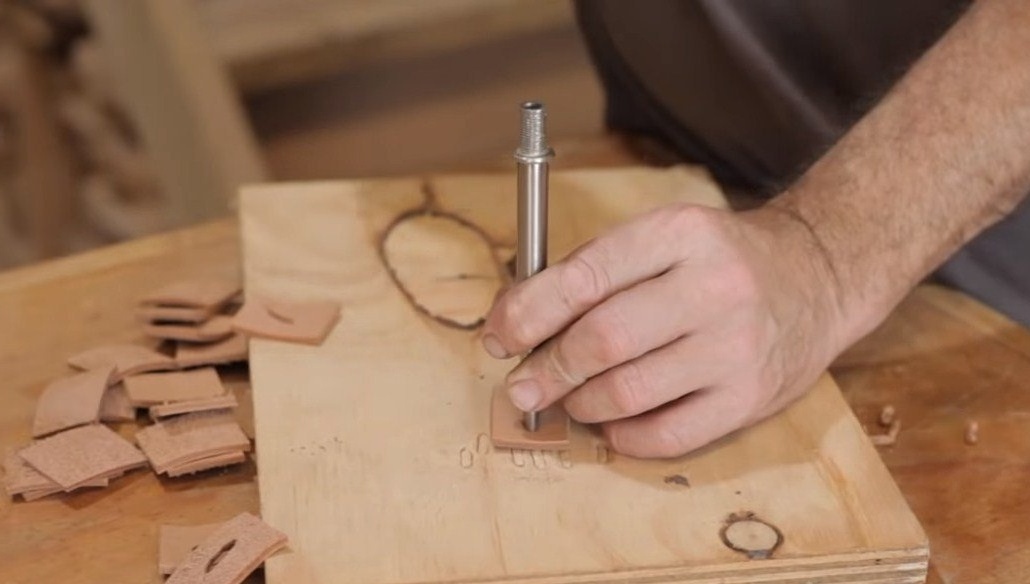
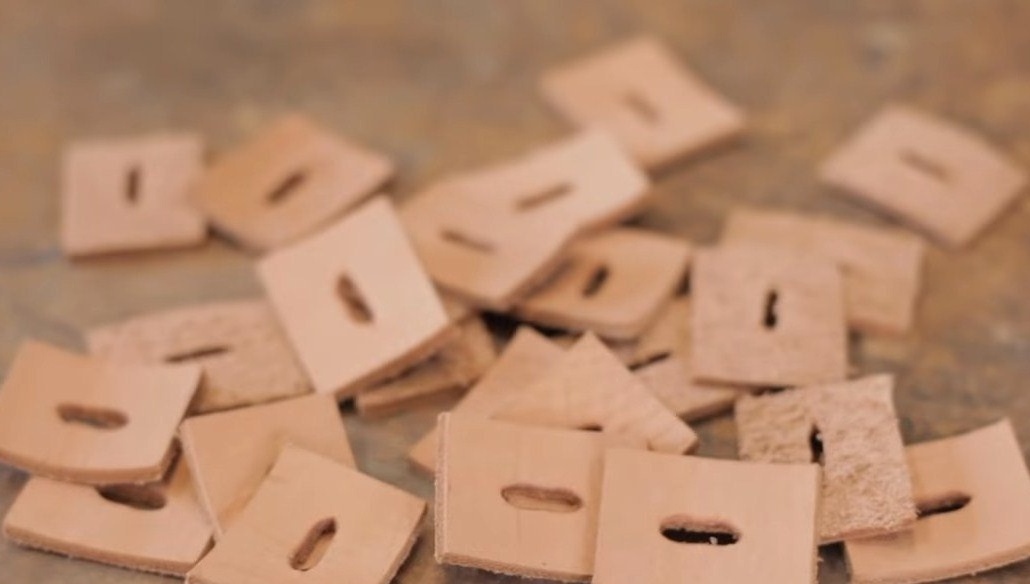
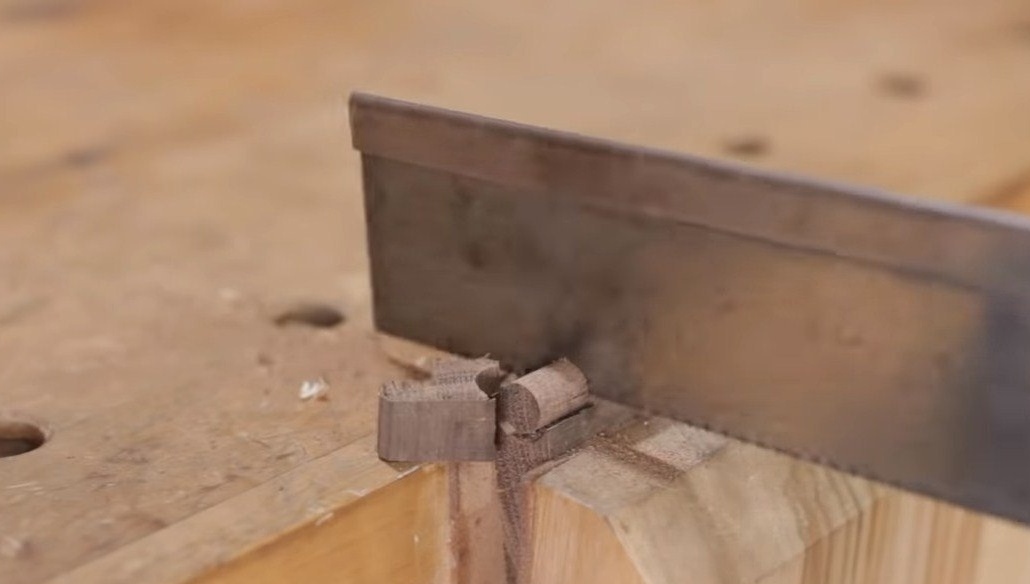
Next, we cut the skin into rectangles of the desired size, in each part you need to make a slit hole. To cope with the task, the author found the pipe, imprisoned and squeezed in a vice. Now we put the tube on the skin, remove it with a hammer and get an excellent slit hole.


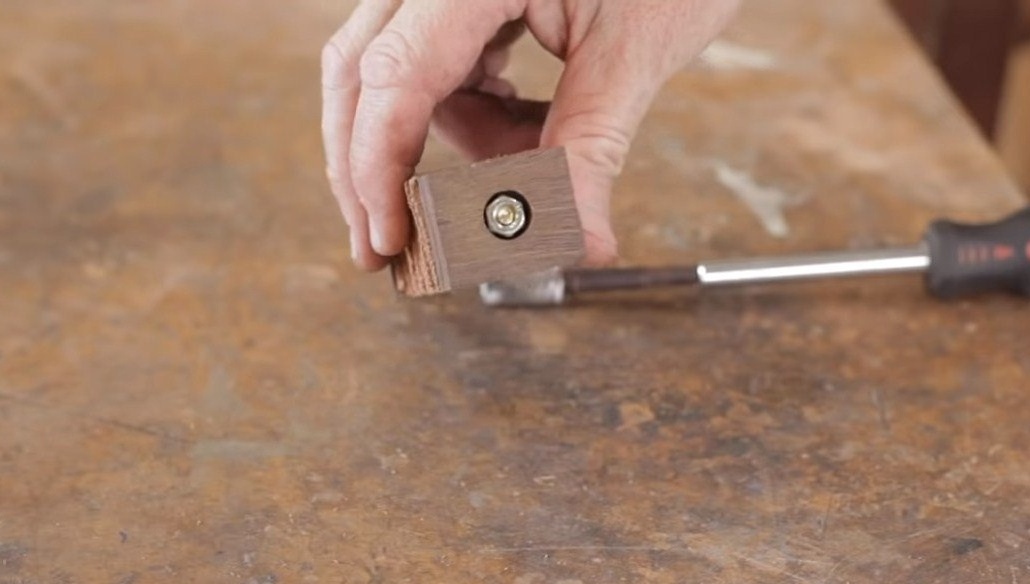
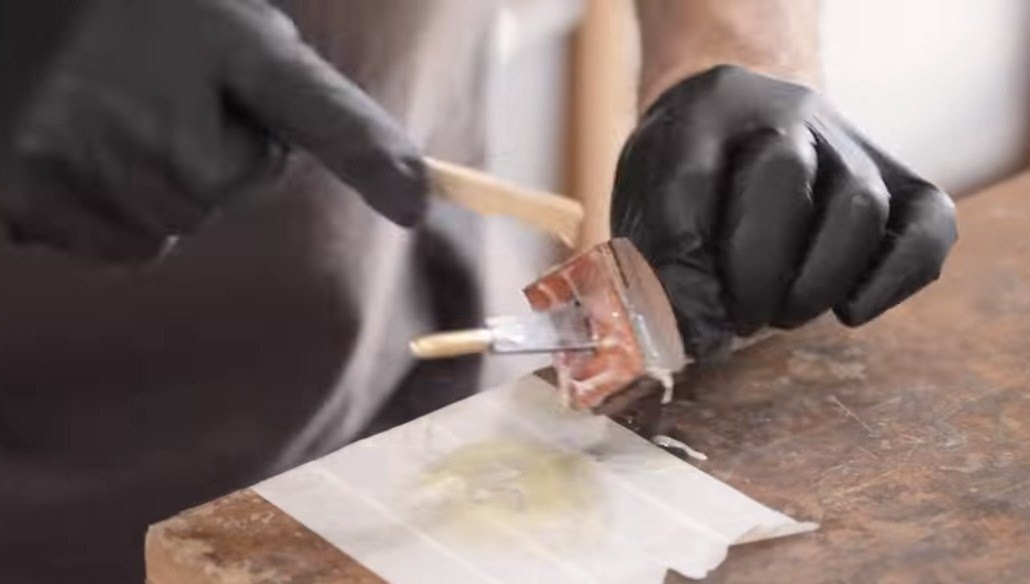
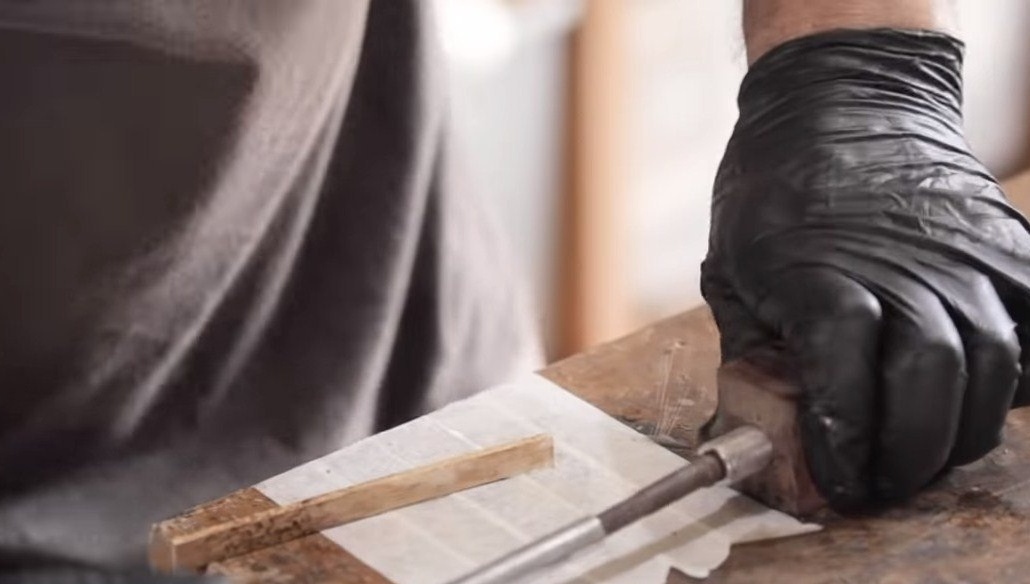
We also grind the handle back and after that we can proceed to assembly. Do not rush to install the threaded rod, as the author did, it is installed after assembling the handle. The rod needs to be relaxed with a hammer in the shank cold. Knead the epoxy glue and collect the handle, well glue all parts of the skin, bolster with glue, and also coat the shank. We tighten the handle with a nut and let the glue dry.

Step Six We finish the handle and sharpen the knife
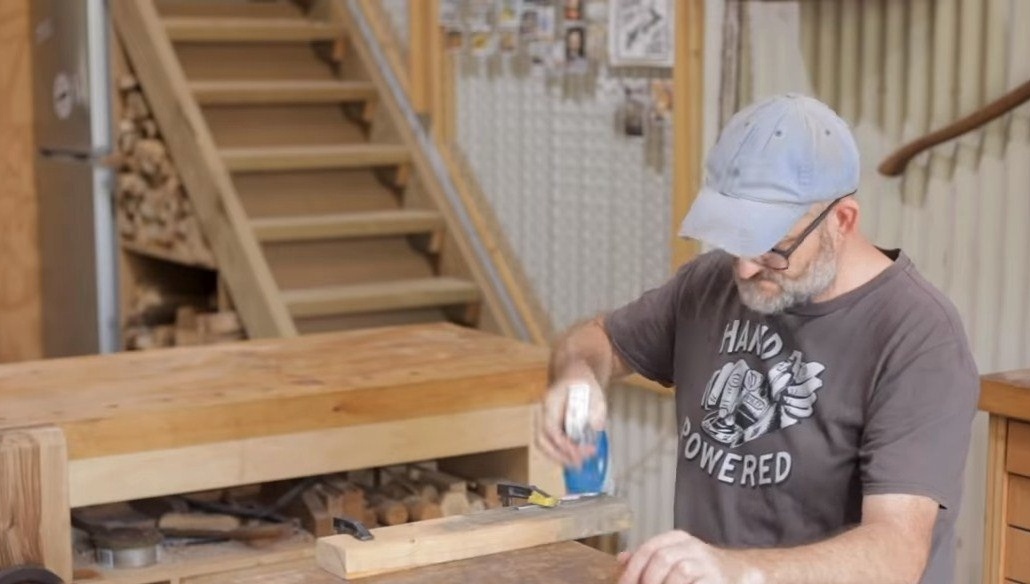
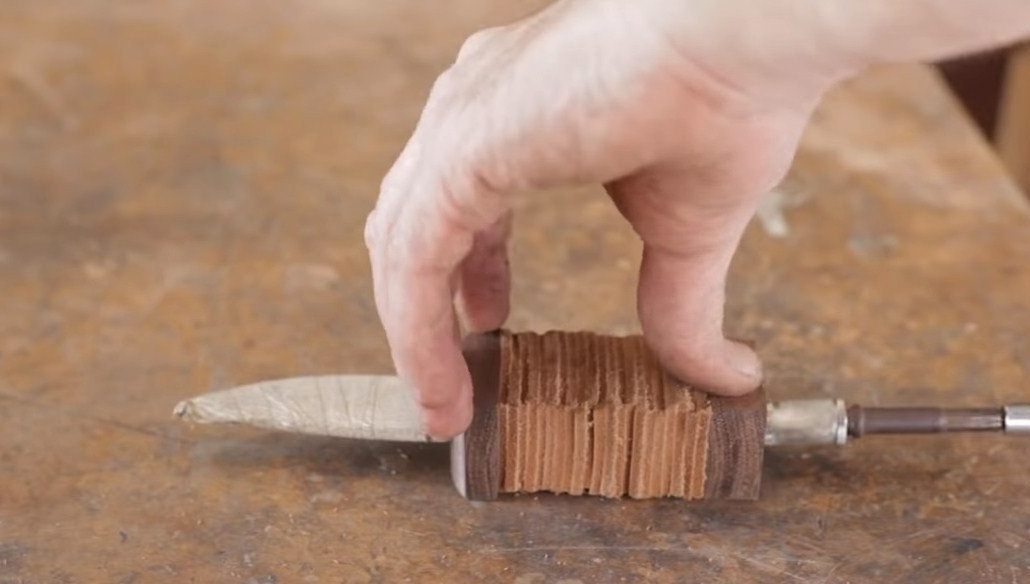
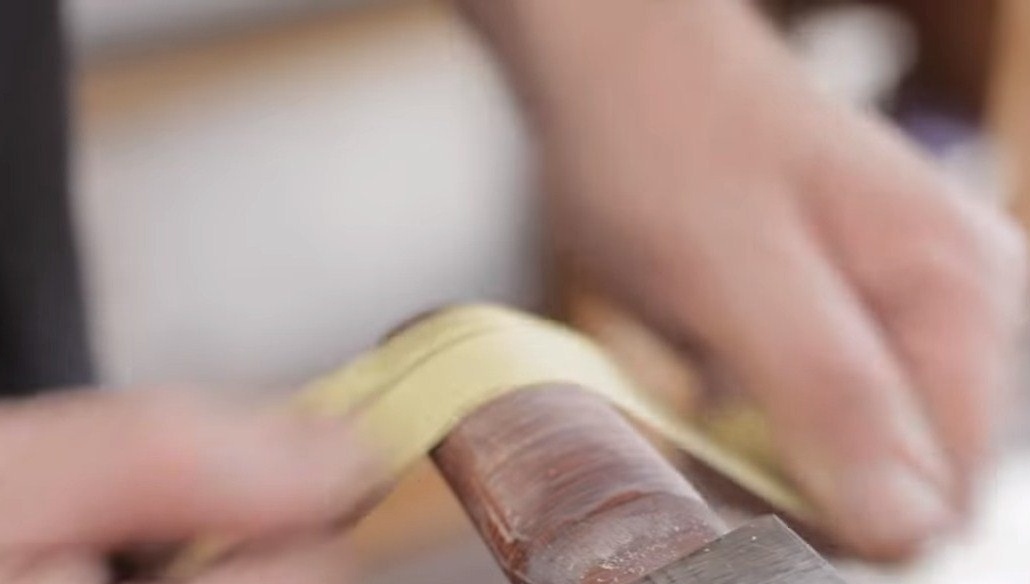
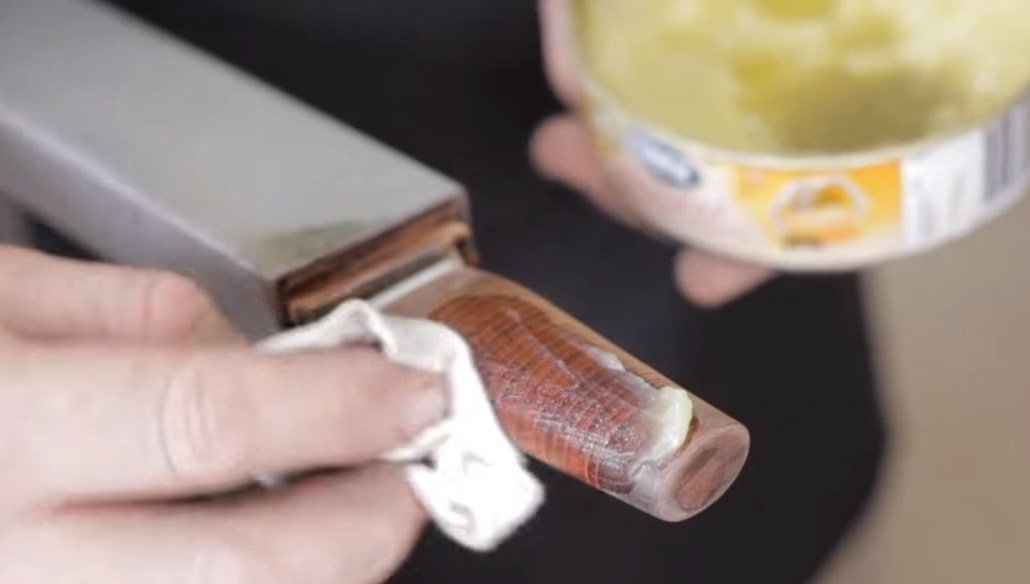
The glue has dried, now we set the desired profile of the handle with a rasp, and for finer processing we use sandpaper. The handle should become absolutely smooth, after which we impregnate it with transparent glue and let it dry. The author applies several layers of glue, grinding before each new layer.
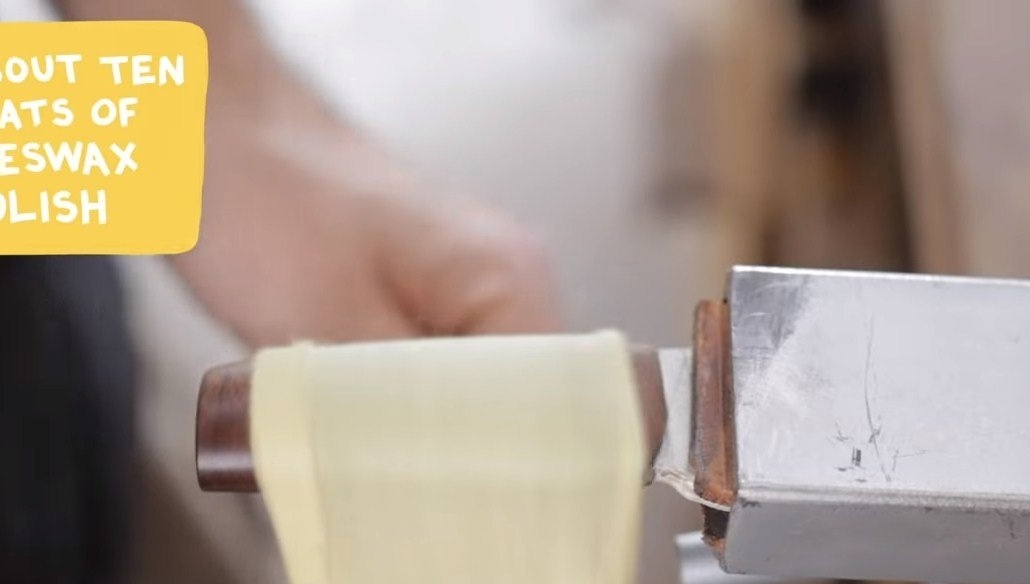
At the end, the handle is polished with beeswax, the author applied 10 layers of wax, the handle became transparent and looks amazing.
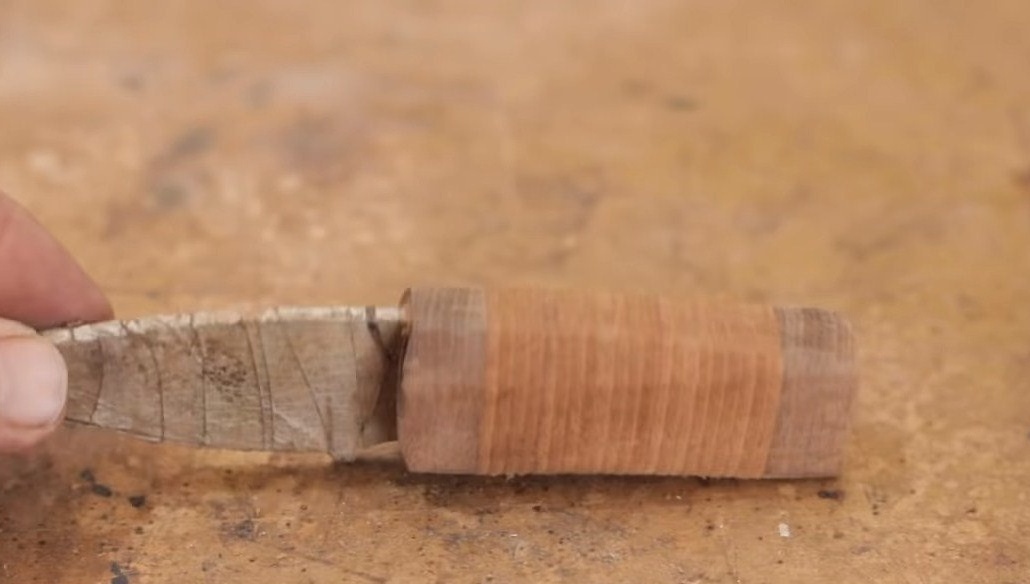
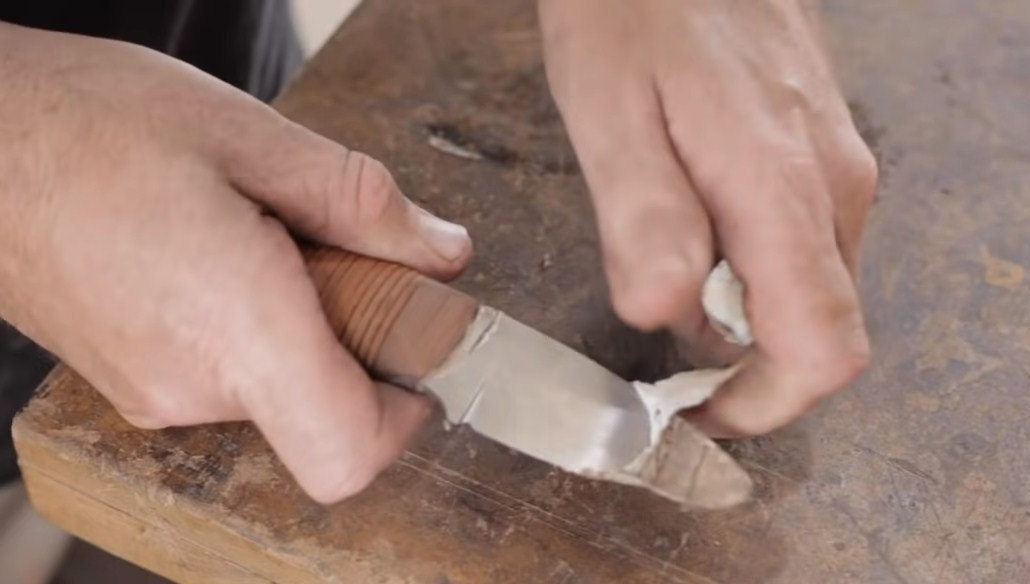
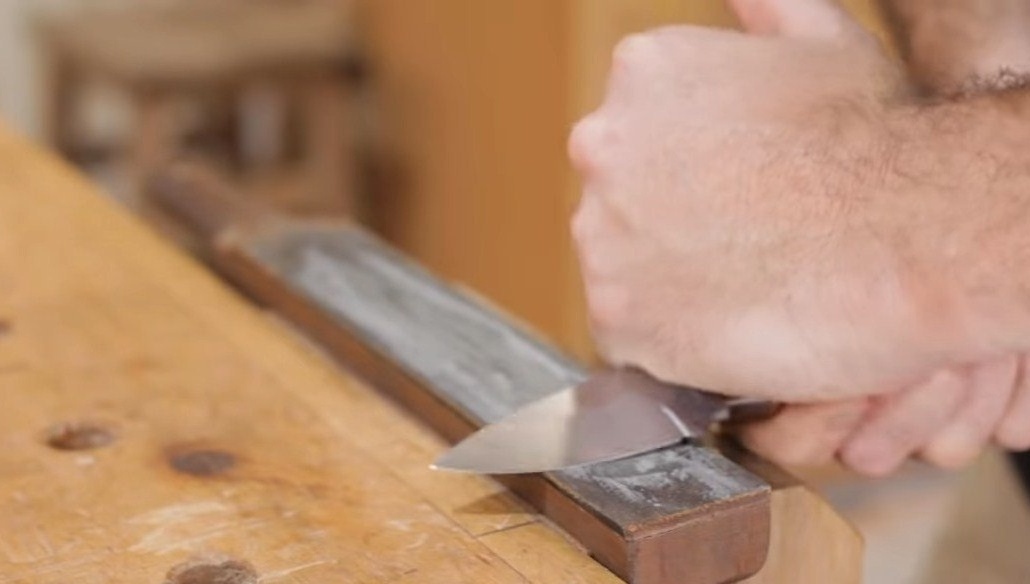
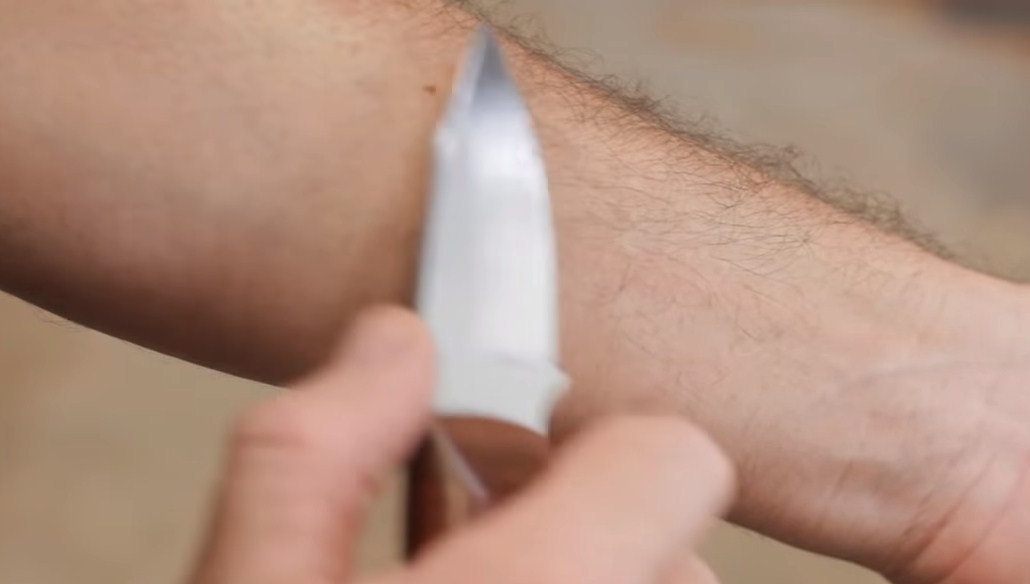
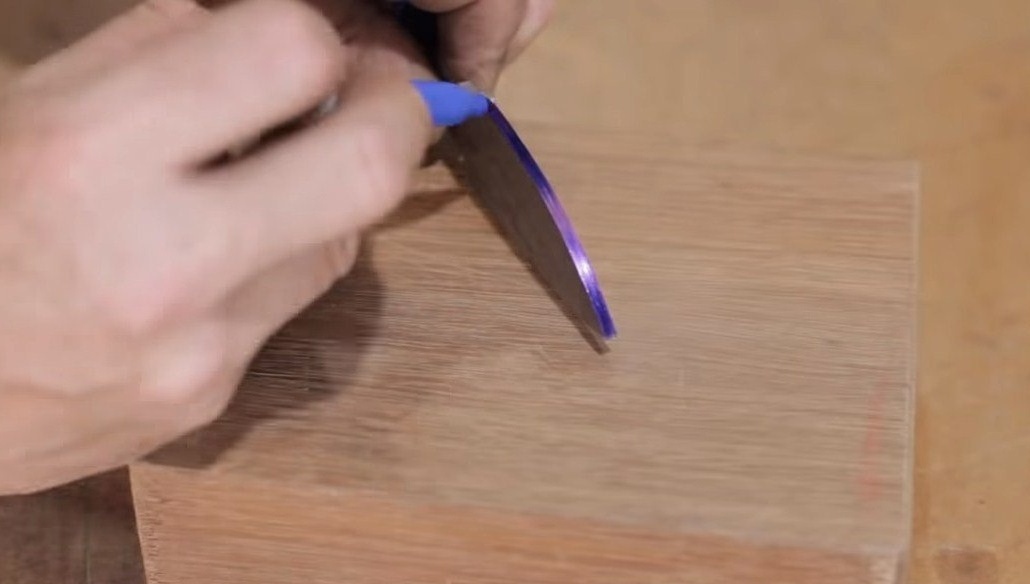
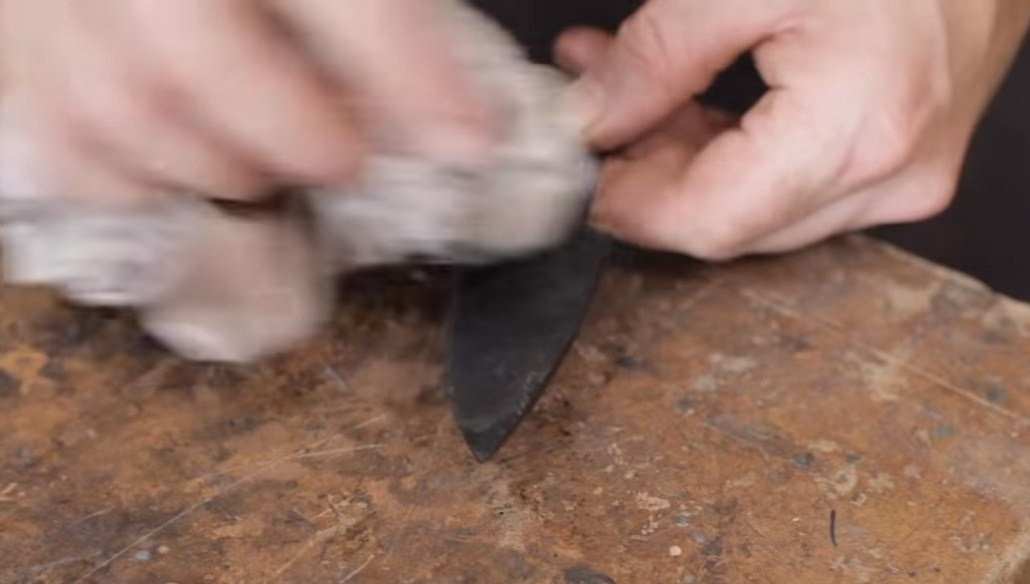
It remains only to sharpen the knife, the author brought it to the state of the blade. The knife easily shaves the hair on the hand. That's all, the project is over, good luck and creative inspiration!