
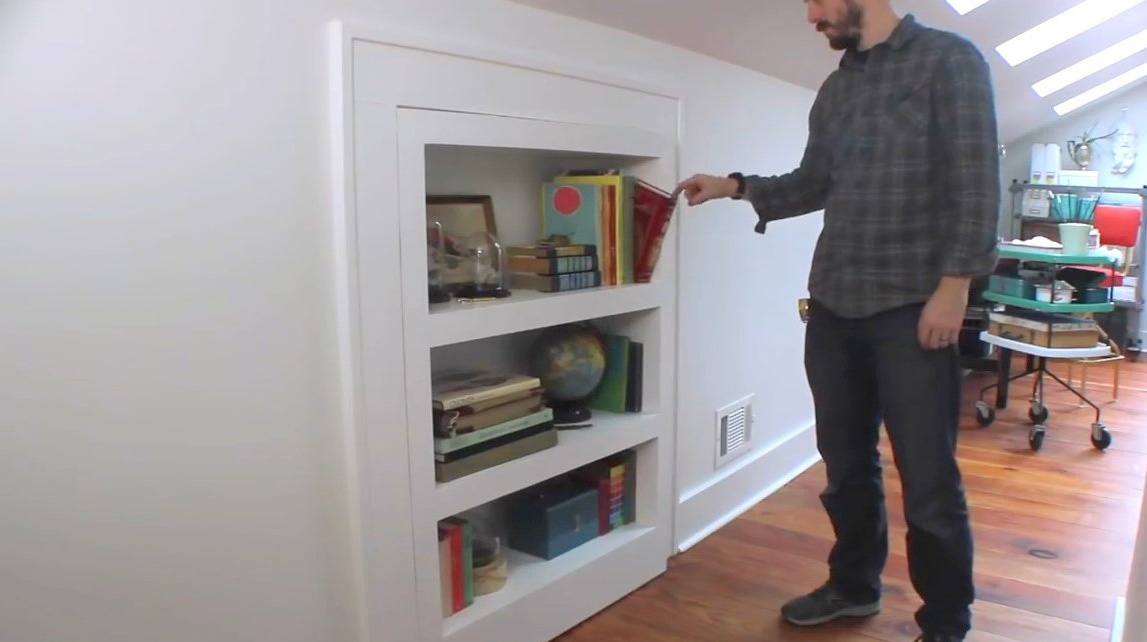
In this article, Bob, the author of YouTube channel "I Like To Make Stuff" will offer you detailed instructions on how to make a bookcase with a secret door! As in the best detectives, you touch a book and a hidden room opens - a small secret cabinet.
Materials
-
- pine board
- Sheet MDF
- PVA glue
- sheet plywood
- paint
- Latch
- Aerosol varnish.
Instruments, used by the author.
- Chisel, file, clamps
-
-
- Japanese saw
- Miter saw
-
- Neiler
-
- Square, pencil, pliers.
Manufacturing process.
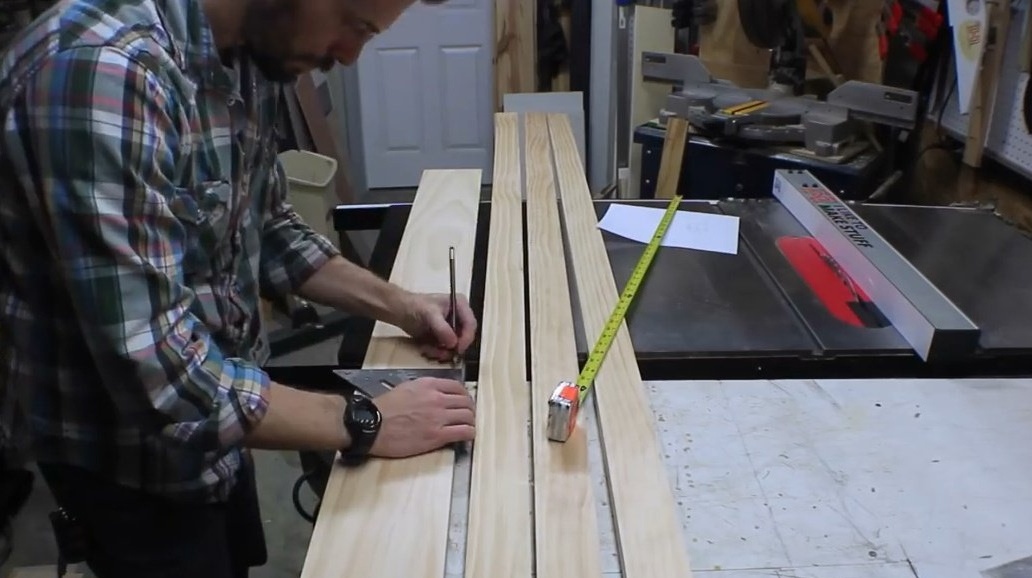
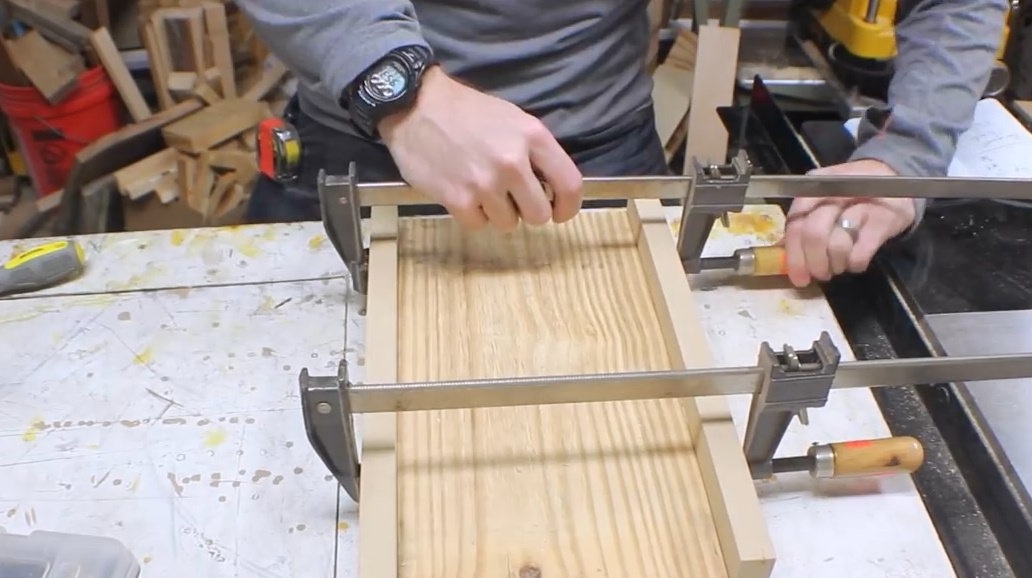
First, he makes the front panel of the cabinet from pine boards. Slices blanks on a circular saw.
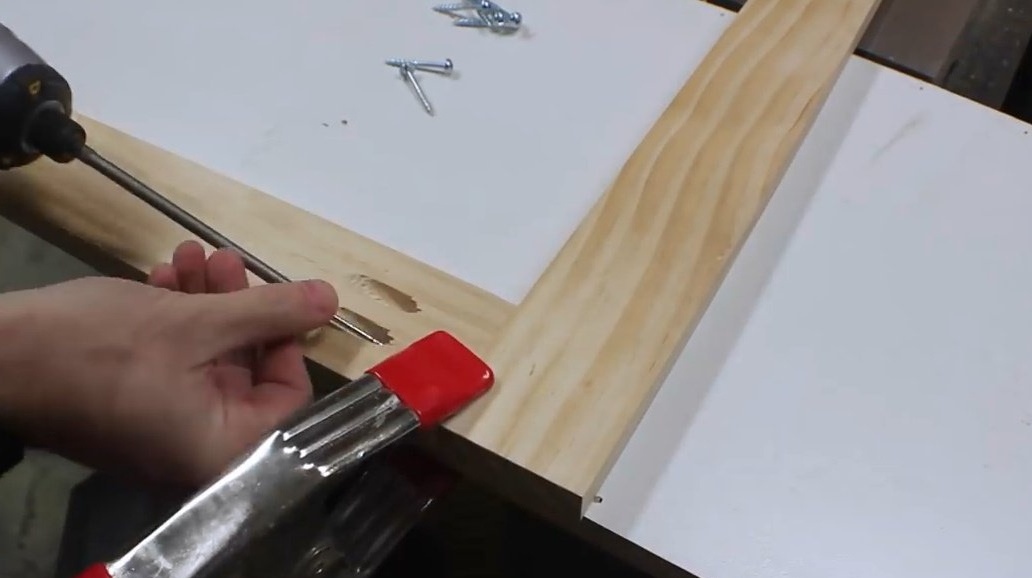
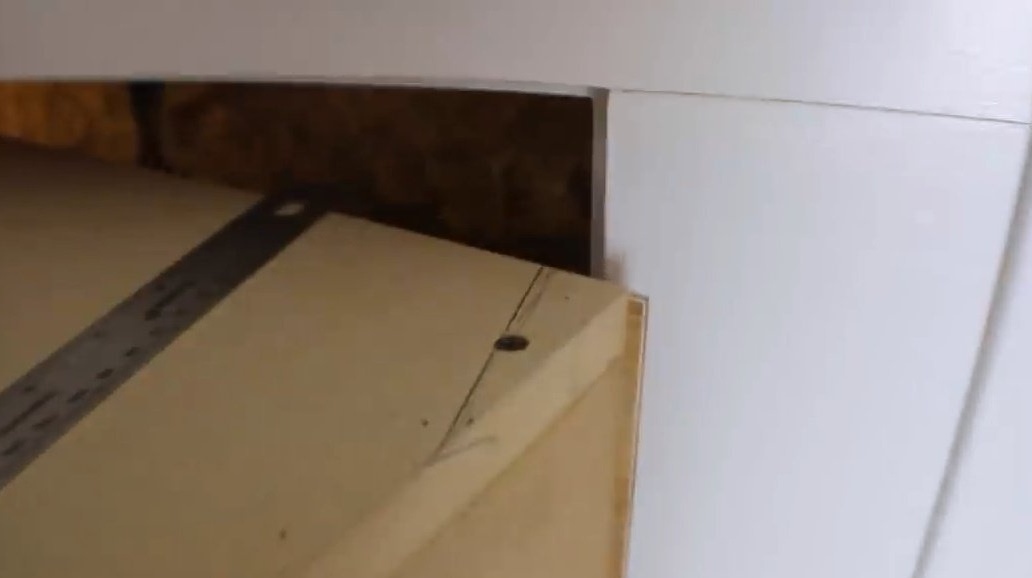
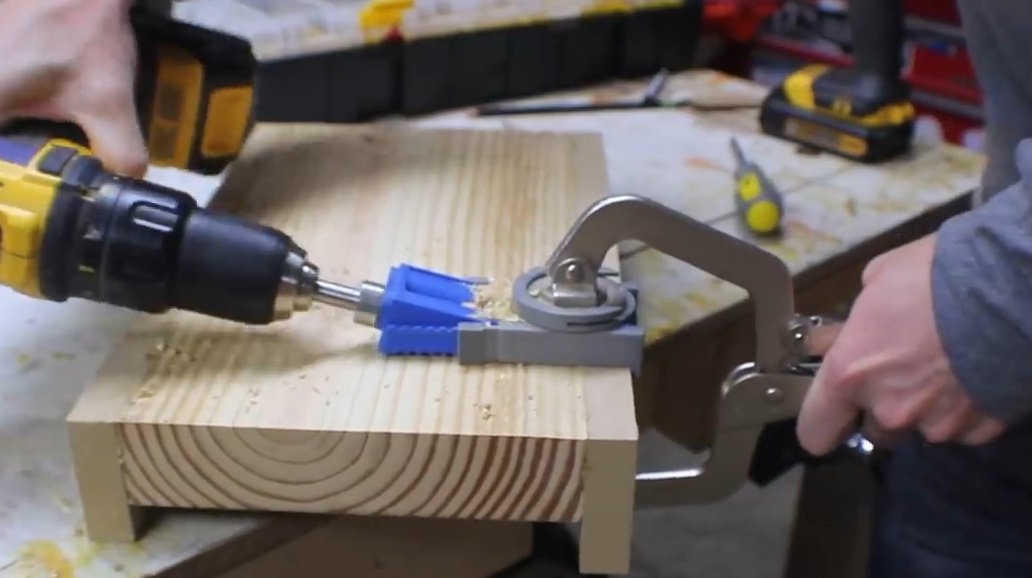
To connect pine boards, he uses a device that produces pocket holes. Thanks to this trick, the whole frame will be flat, and this is just what is required. The bottom board is slightly higher than the others so that the frame fits under the baseboard, and there is also room for a wheel.
Then Bob cuts out more material for the shelves and the box.
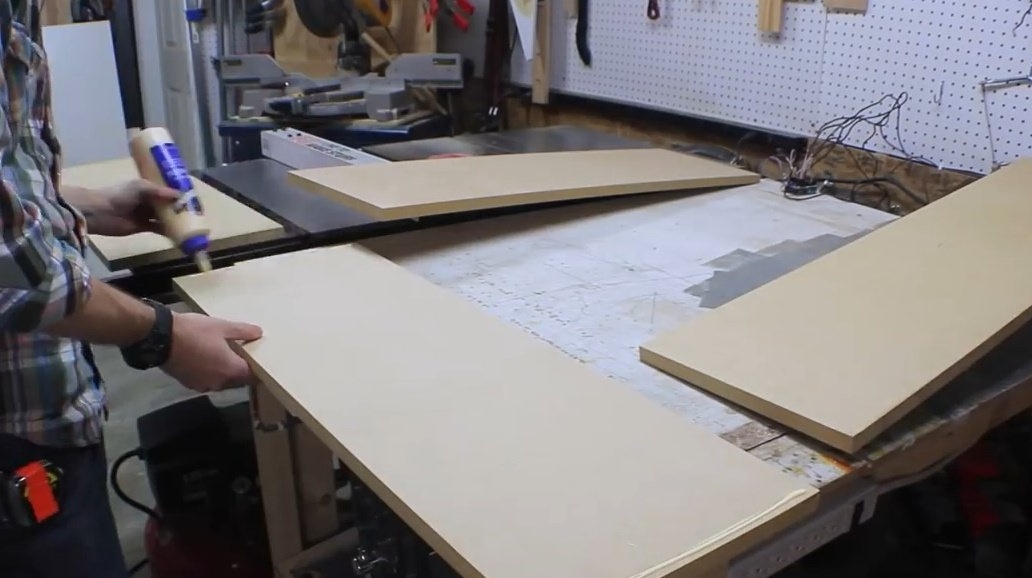
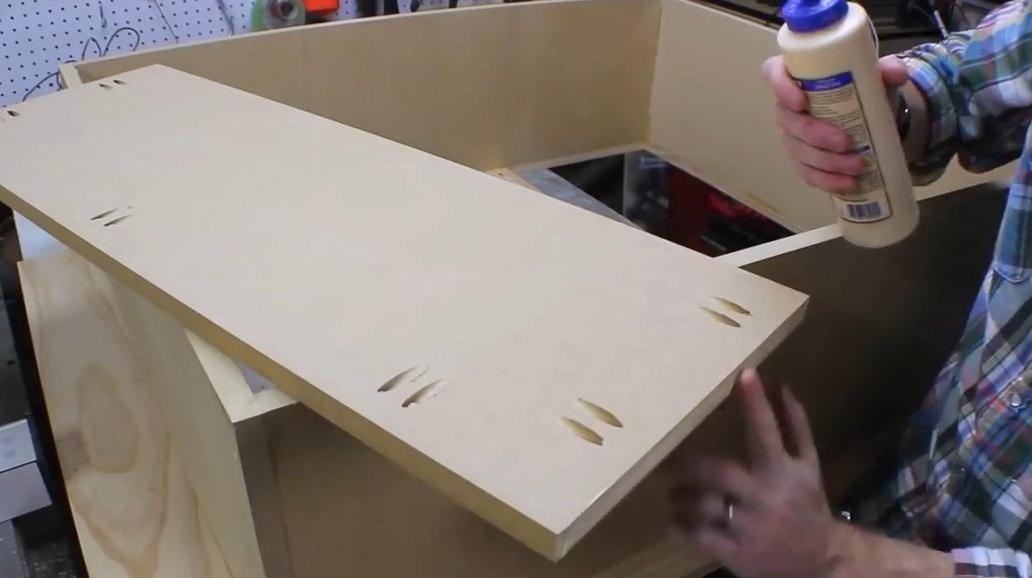
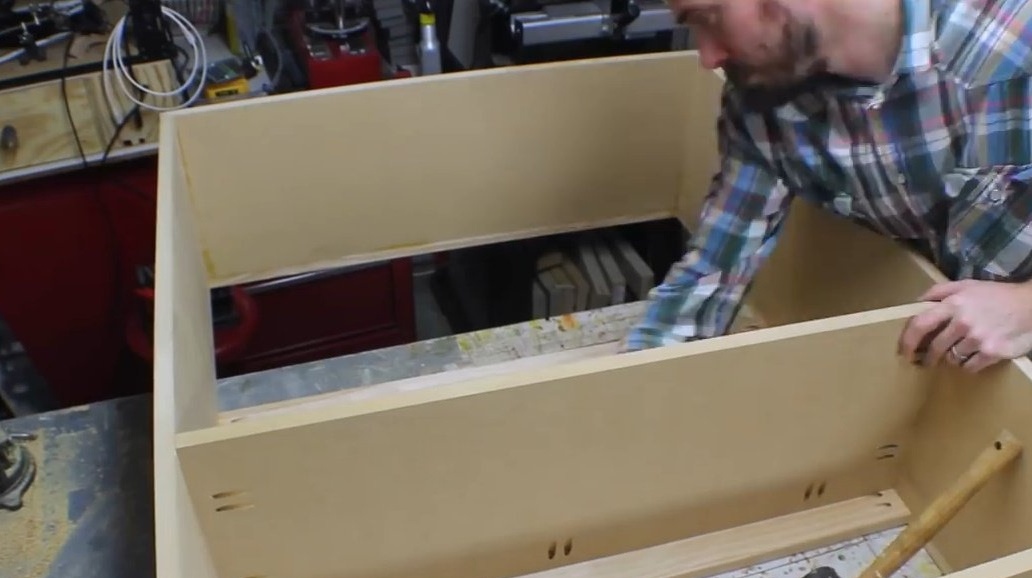
Now the author proceeds to manufacture the cabinet itself, which will be located deeper, outside the frame. It will be made of MDF, which will still be opened with paint. The master uses glue and a neiler to hold the entire structure together. Then he drills the holes, countersinks them and additionally drives the screws.
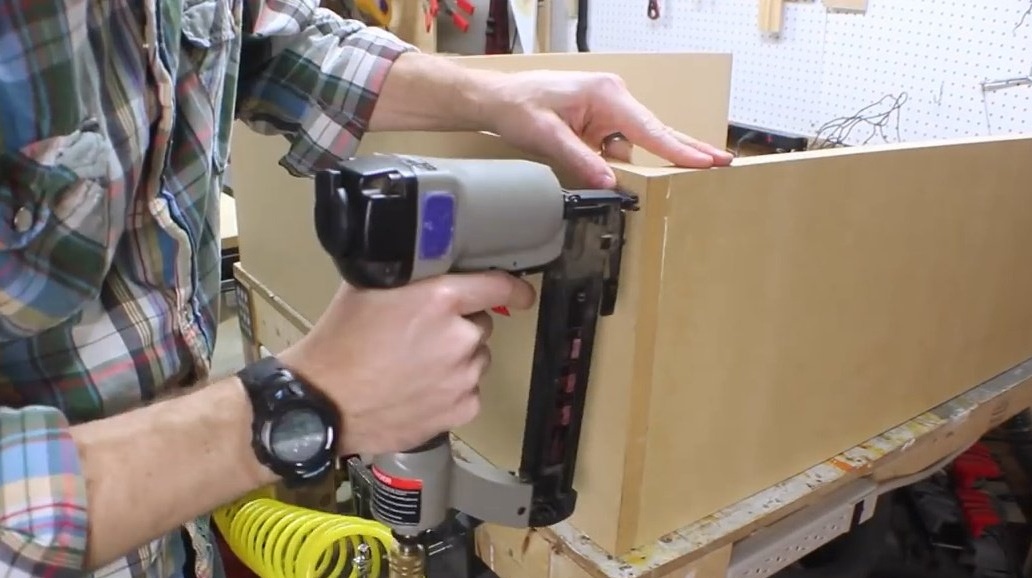
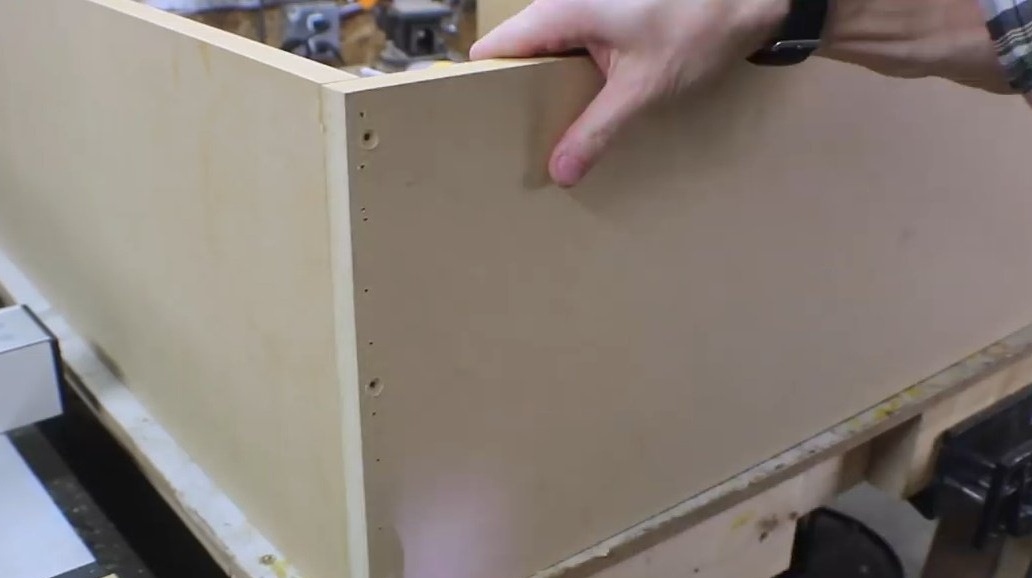
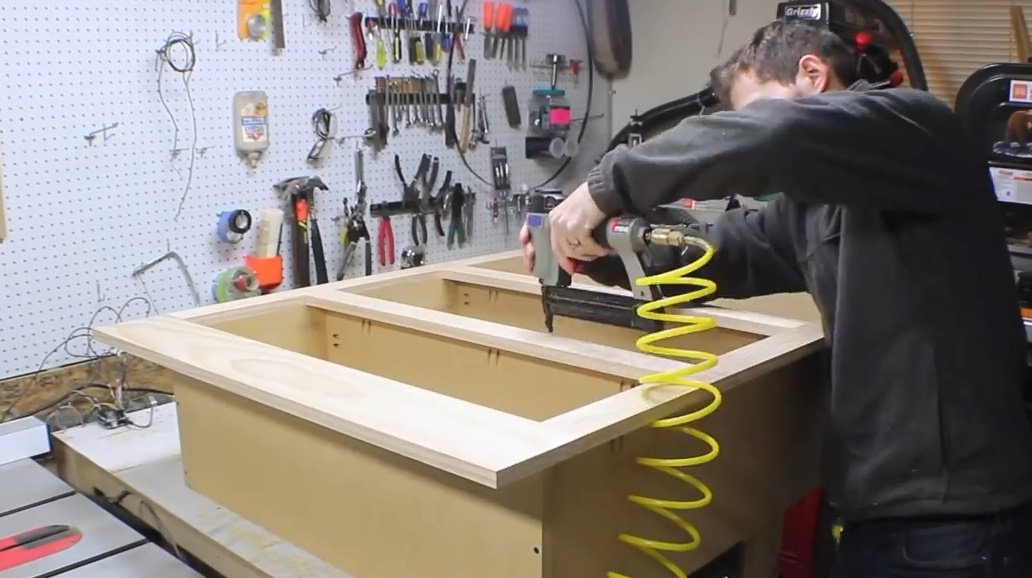
The size of this box coincides with the size of the inner space of the frame. Throughout the box, Bob makes pocket holes - a great way to secretly lock a cabinet with a frame. The frame is installed on glue, aligned in the corners and fastened with a neiler, and later through the pocket holes with screws.
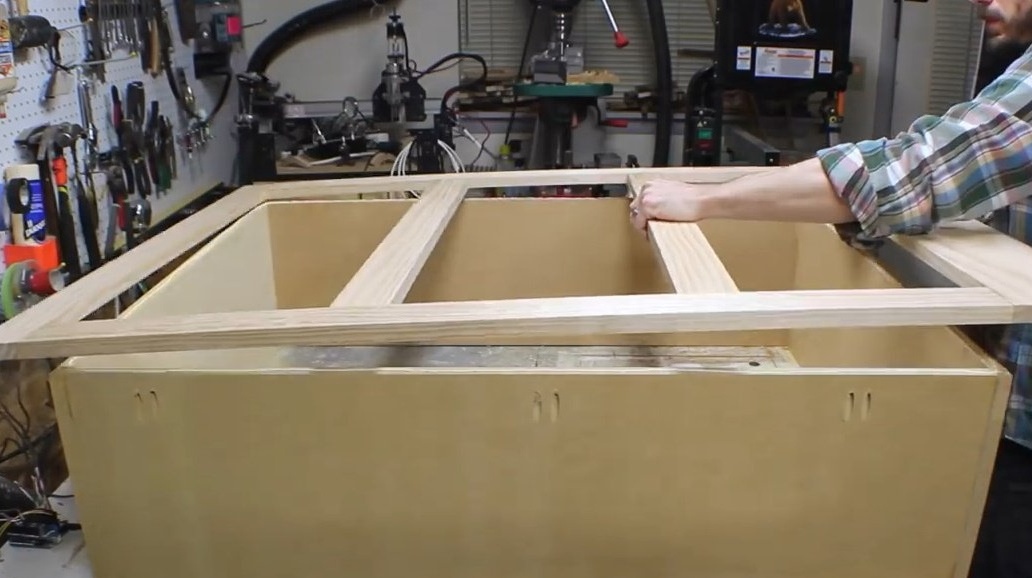
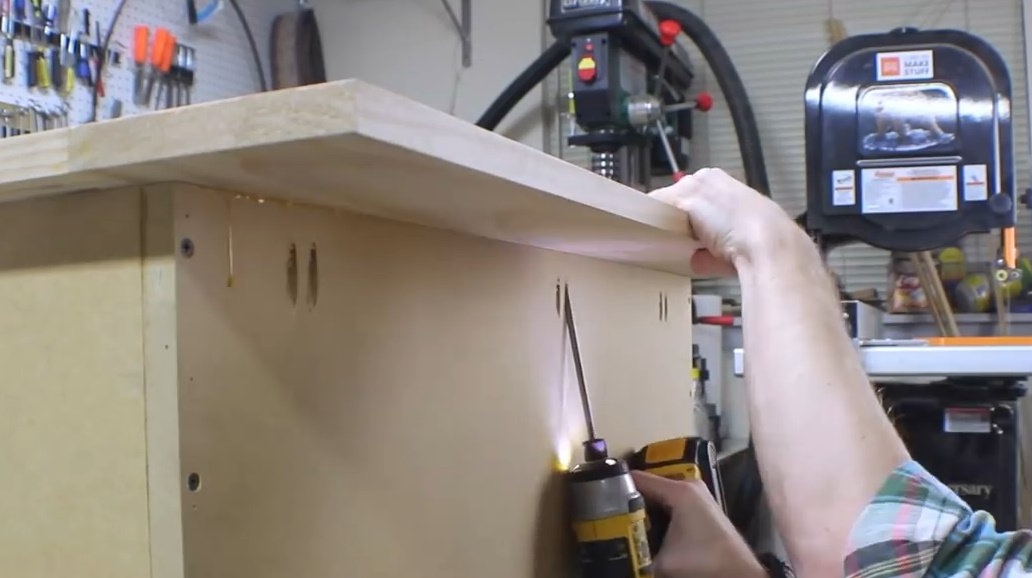
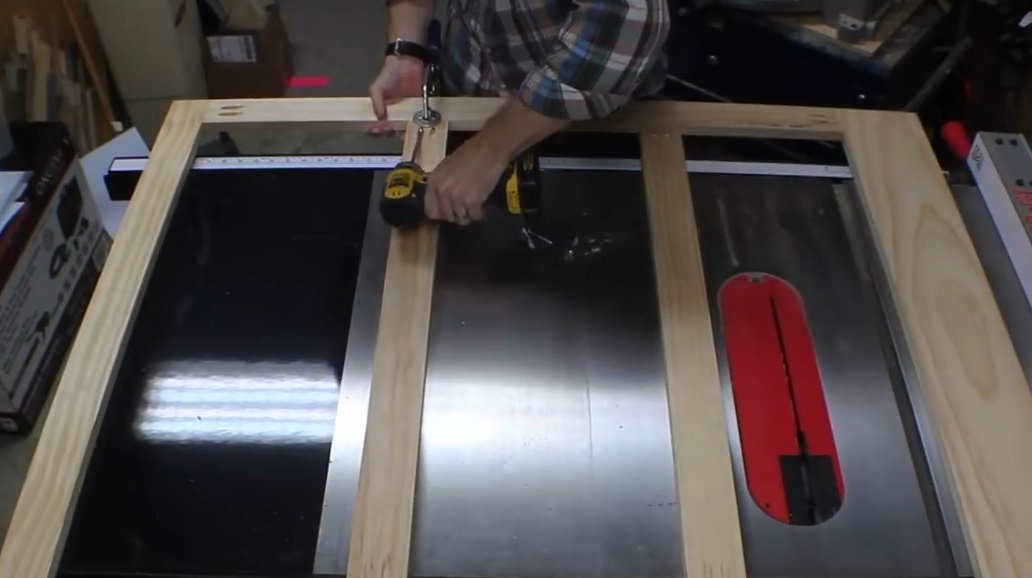
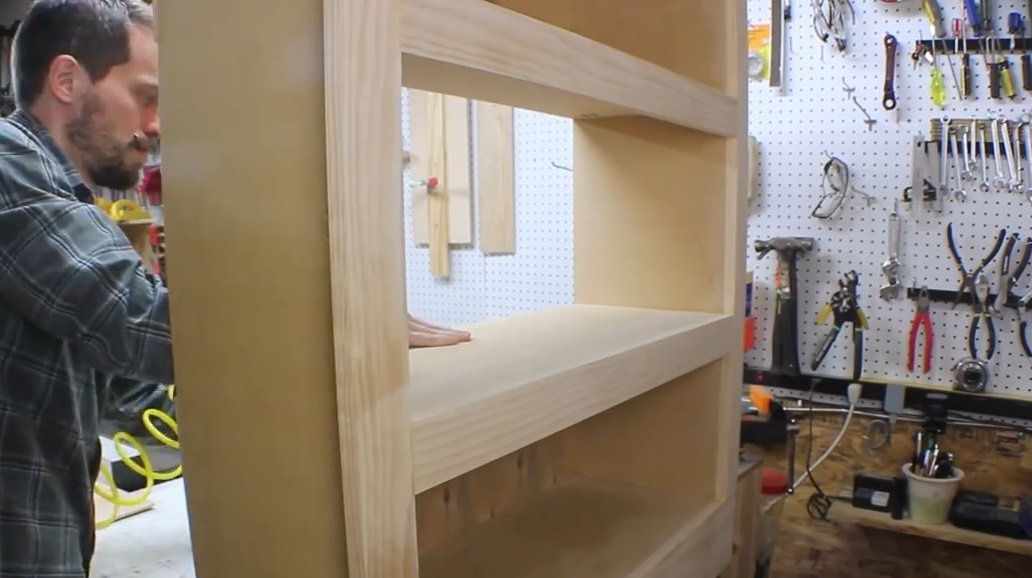
With an iron corner, he marks the line along which the shelves will line up. The more accurate the measurements, the less then the grout. Shelves are also connected to the frame with screws through pocket openings. But before it is also advisable to shoot them with a neiler so that they do not move from the desired position.
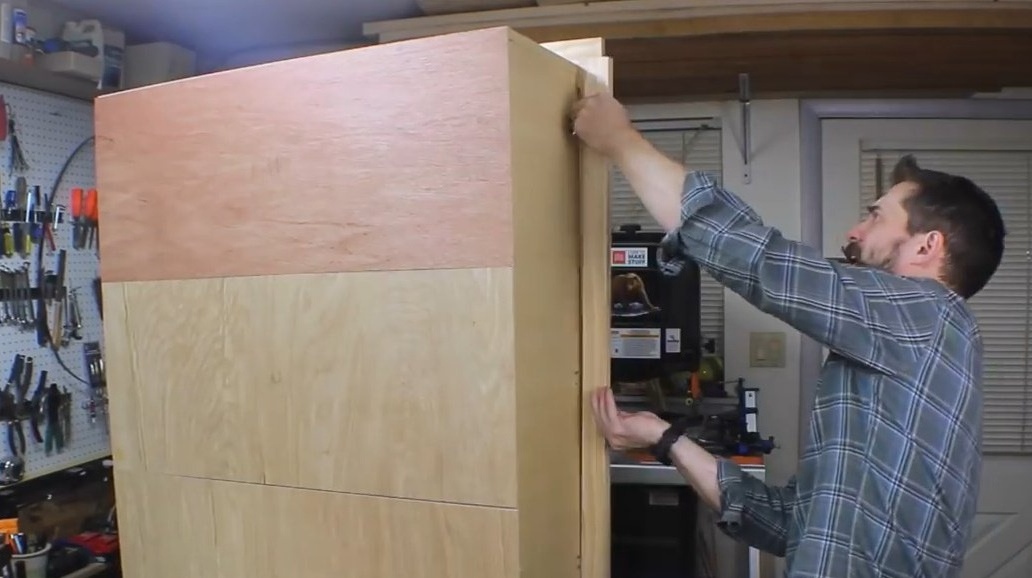
The front of the cabinet is polished by an orbital machine. For the back of the cabinet, the author chose plywood. Each strip is 20 cm wide.
He also fastens plywood sheets with the help of a neiler. The author would like plywood to be easily extruded if necessary. And this can happen if the lock breaks.
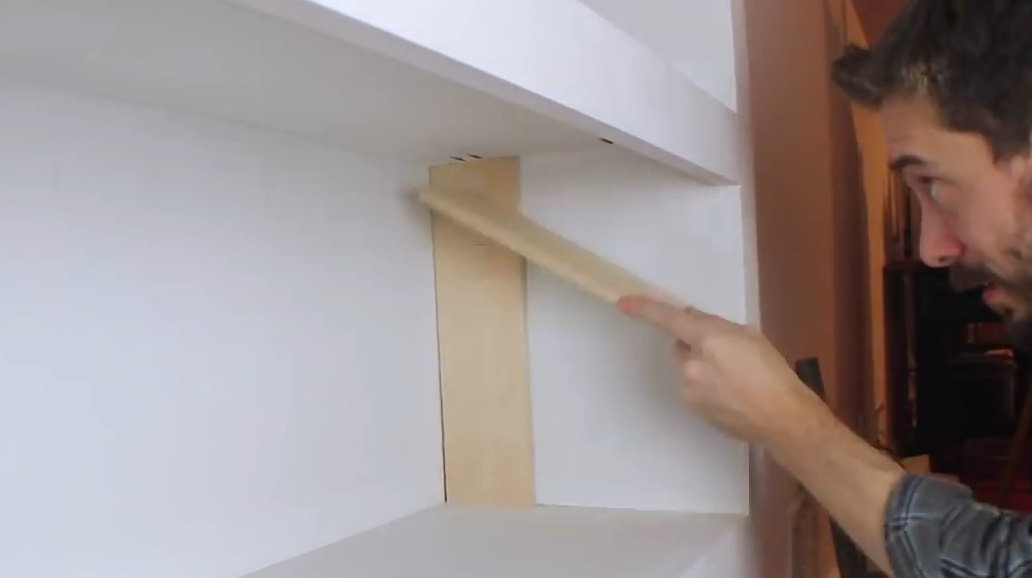
Before screwing the hidden loops, the master decides to strengthen the sides of the frame.A fairly large amount of glue is applied to the strips. Everything dried out during the night.
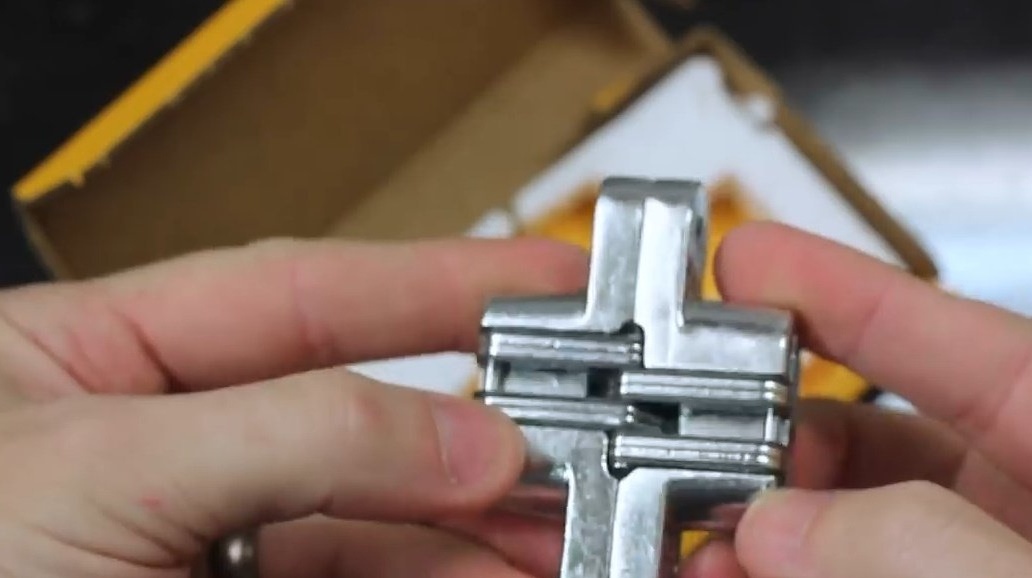
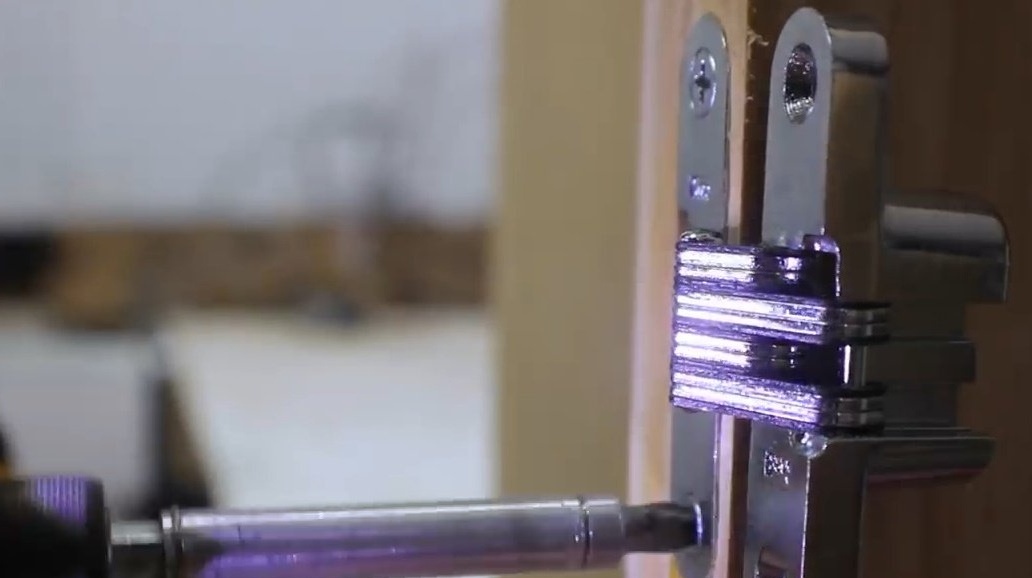
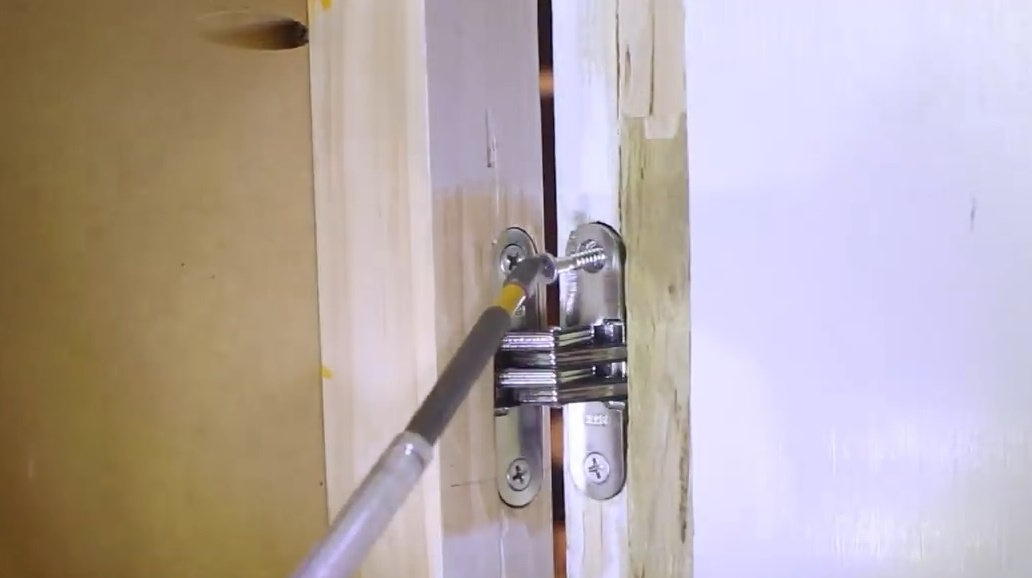
For these loops, the author first measures the center points using the template. He marks with an awl the places where there should be holes for the screws.
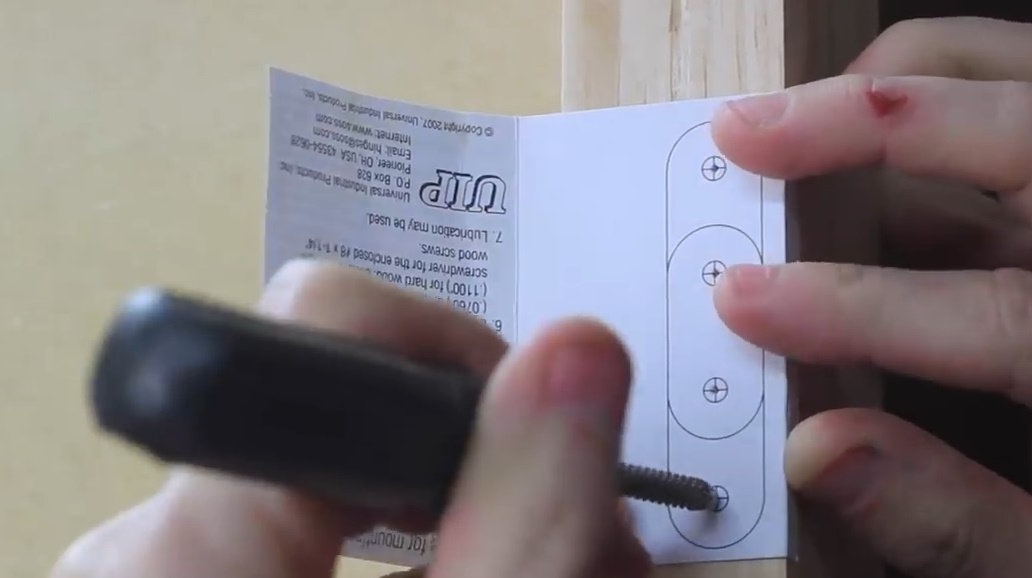
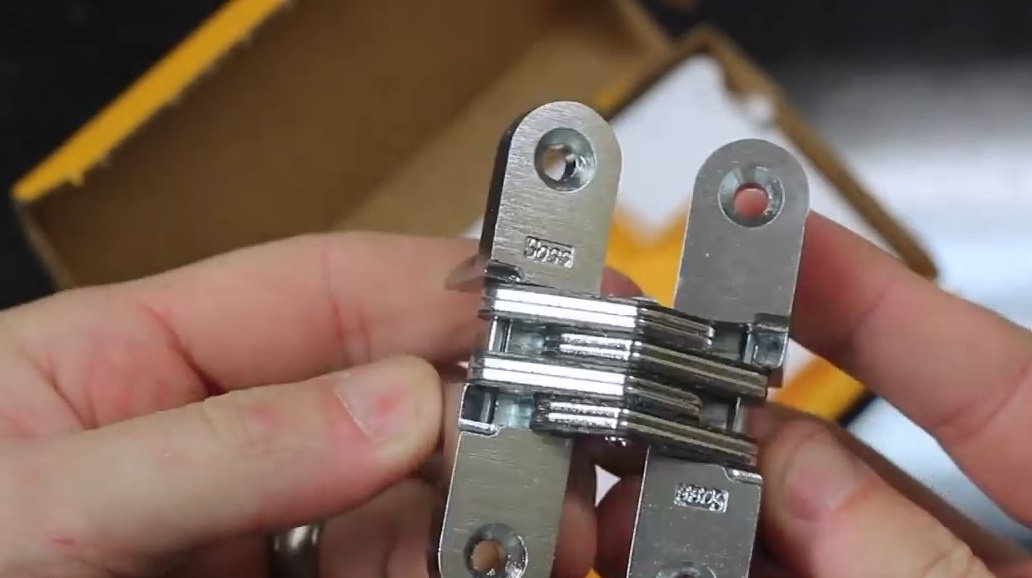
These hidden loops are truly amazing! You will find them by this.
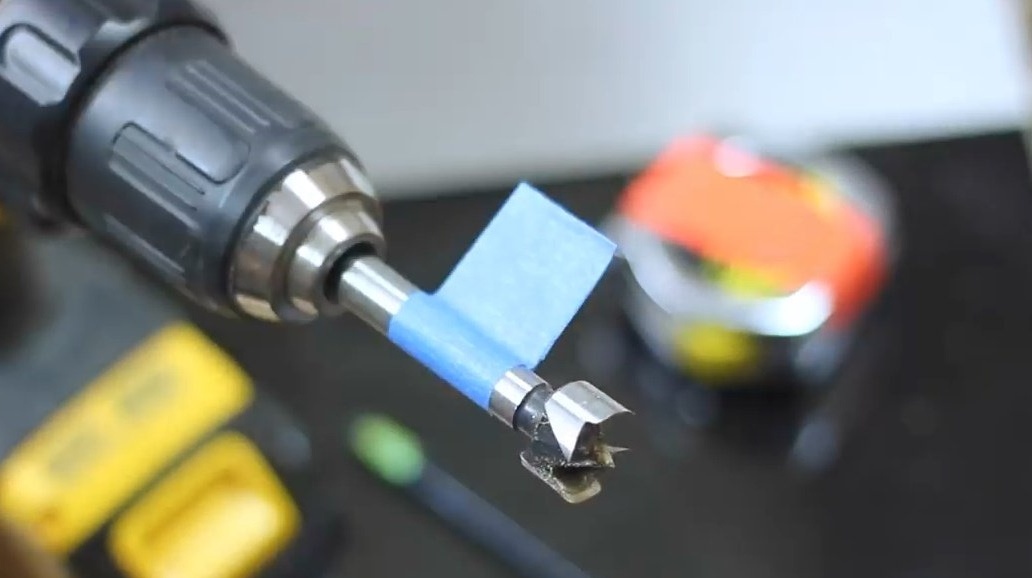
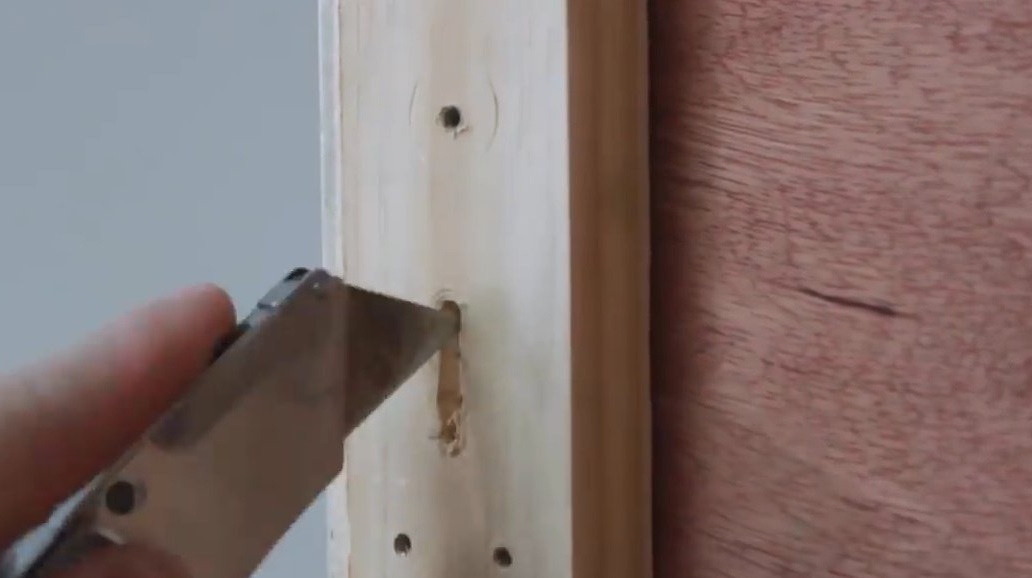
Bob marks the desired depth on a Forstner drill and drills holes. It is important not to go too deep, otherwise the loops will not "sit" flush with the surface. To do this, you can put a mark on the drill with electrical tape.
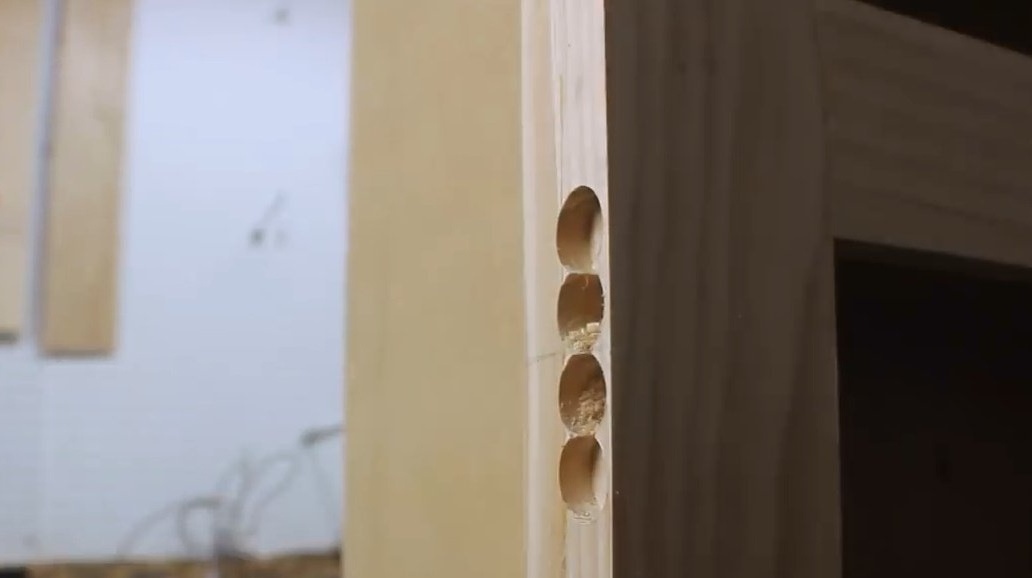
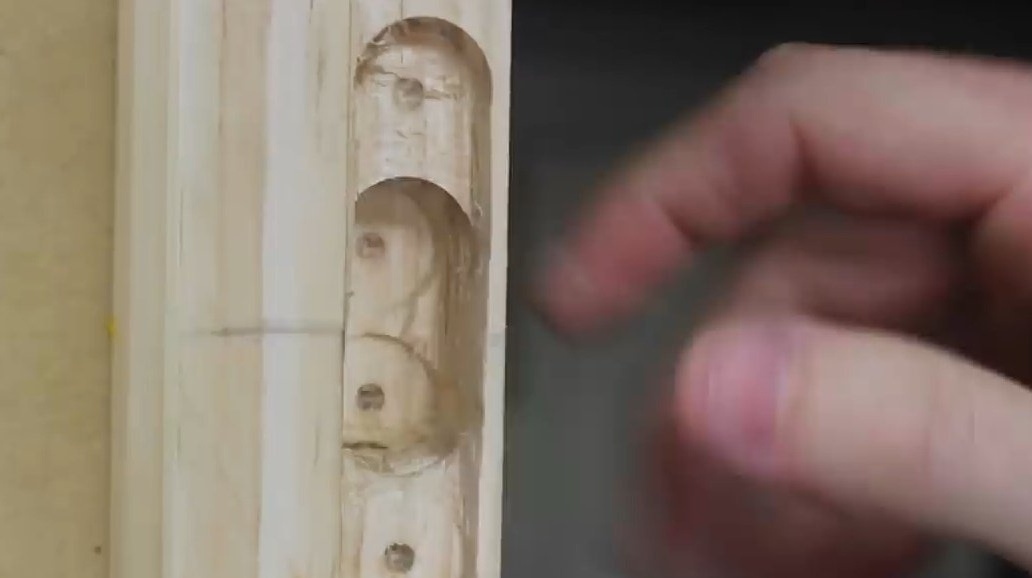
He scrapes the hole with a knife and a chisel, but not deeper than the specified depth. The author makes preliminary holes, then screws in the screws.
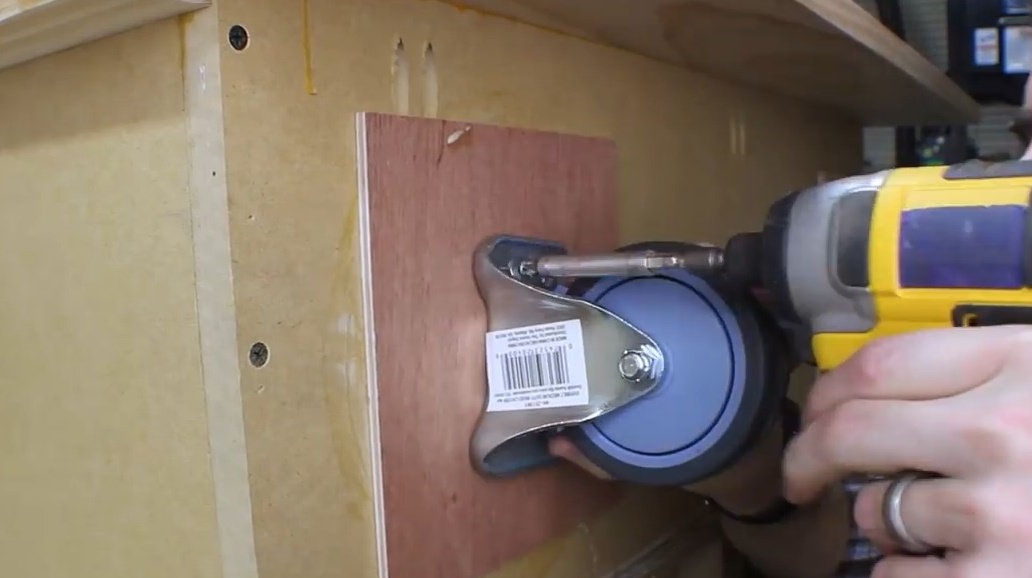
Before fastening the wheels to the base of the cabinet, Bob puts a plywood board under them so that in the future he will be able to change something with the floor. You also probably noticed that the wheels are at a certain angle. This is also not accidental.
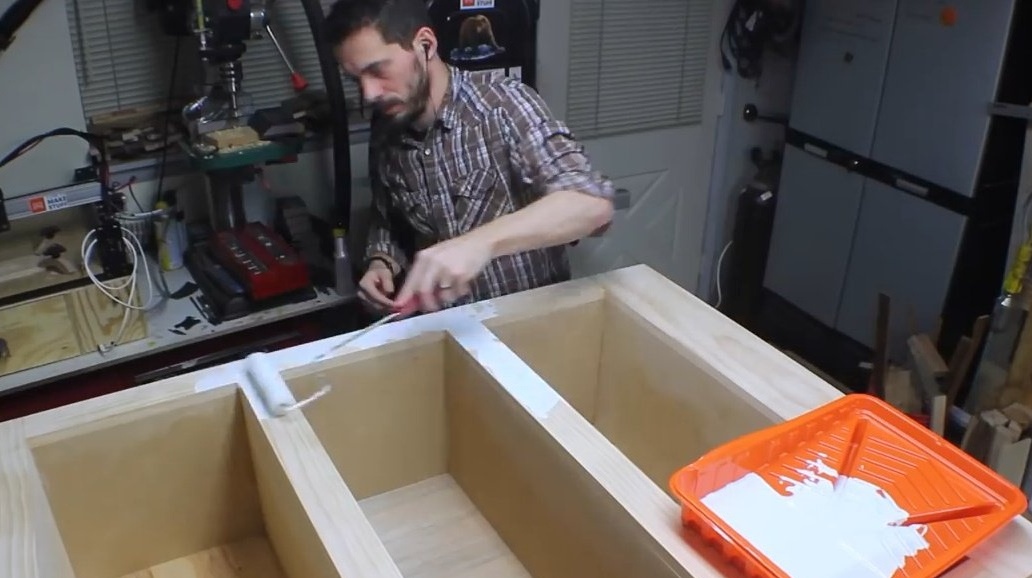
Now the whole structure is covered with paint. Of course, bright!
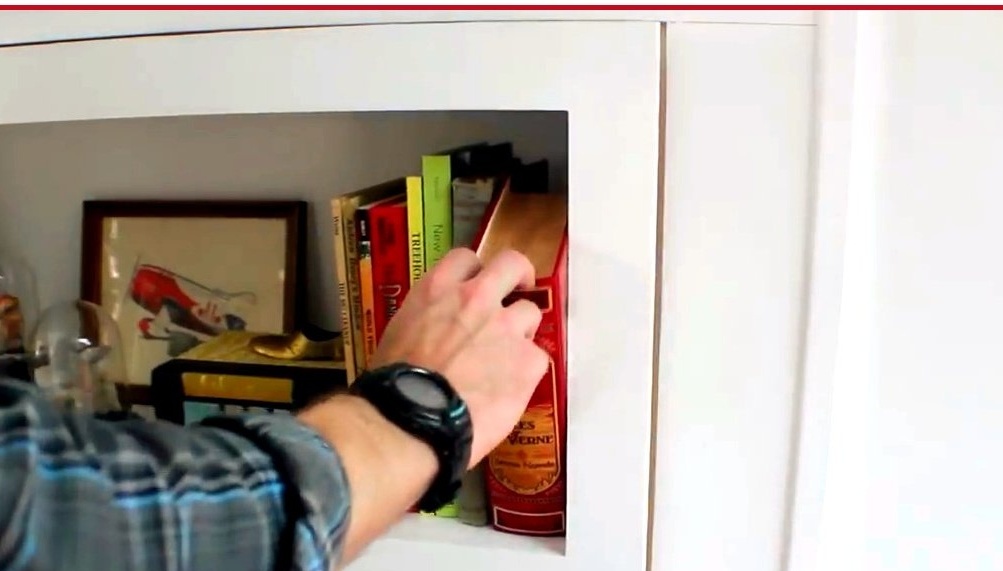
The secret latch will be performed by Jules Verne's novel. Yes, there is definitely something to it! The author measures the height and width of the book, and then carefully cuts out the pages, hoping after that to give the book a new life in a different binding.
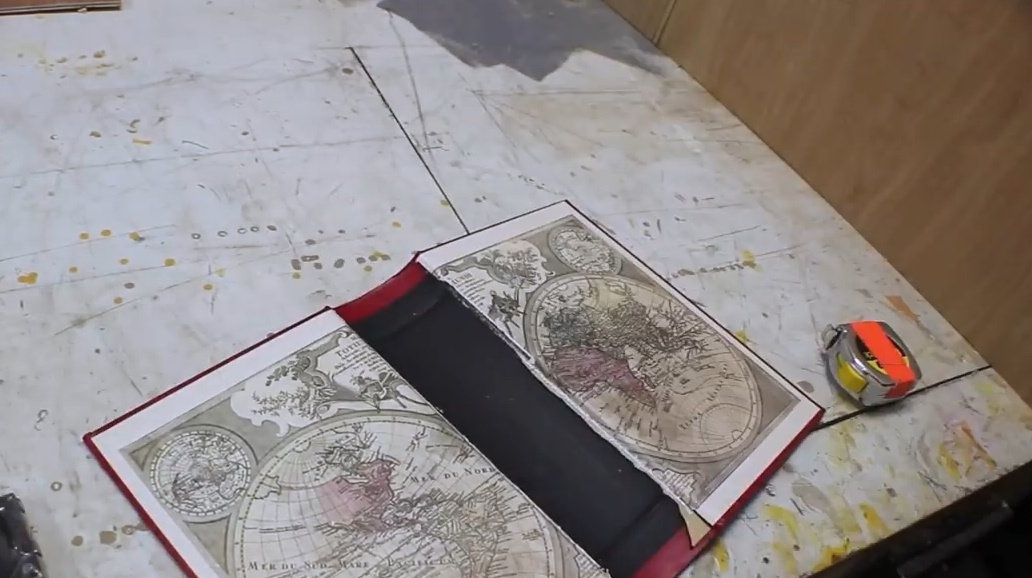
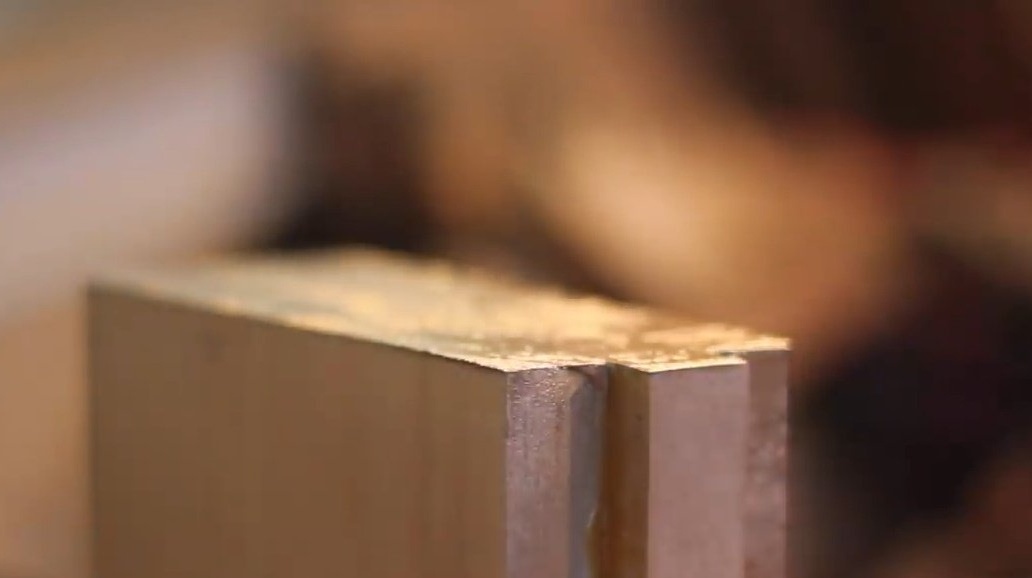
He cuts pine wood material and glues three planks together to make up the paper filling of the book. Even before the glue hardened, the master slightly pushed out the middle board to fix the shape of the cover, to make the cover stiff.
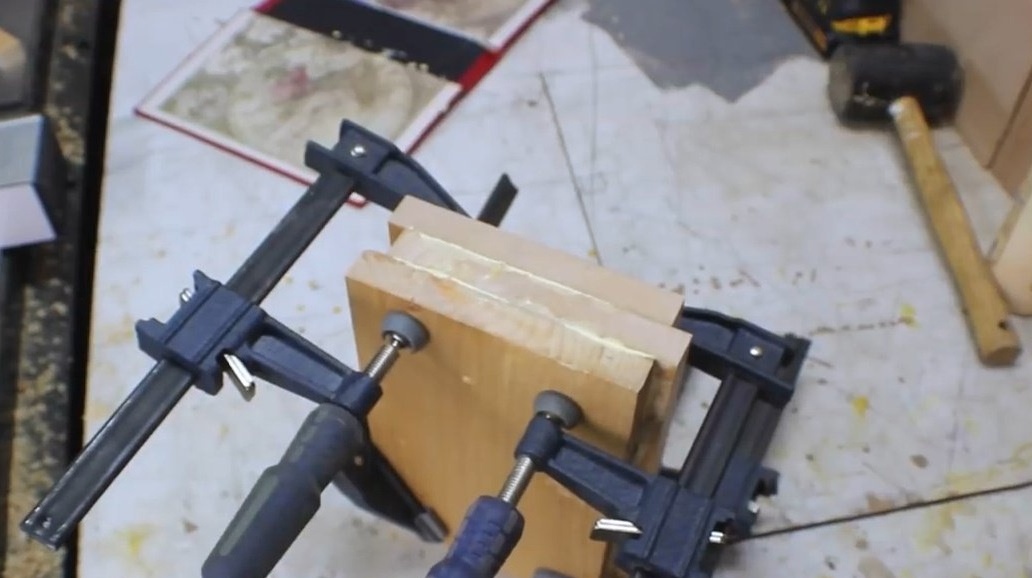
Excess material on the back is cut off. When everything is frozen, the workpiece is processed with a jointer. And the sides are treated with golden paint. Now it looks like a page.

Since the author was building the wall in the place where the loops should be, he had to cut some material from the frame itself. He puts the cabinet in place and outlines the center of the hinge relative to the wall. On this line, he applies a template, cuts out holes for loops.
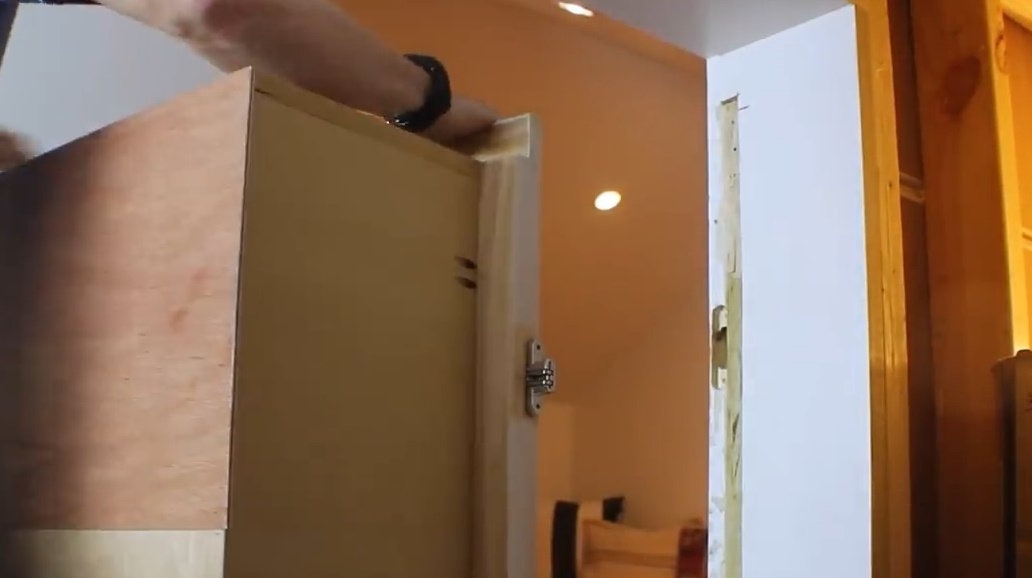
Next, a really difficult task is to put the cabinet on the hinges and combine the holes for the screws. At this point, an assistant is a must!
And ... the locker does not fit into the opening!
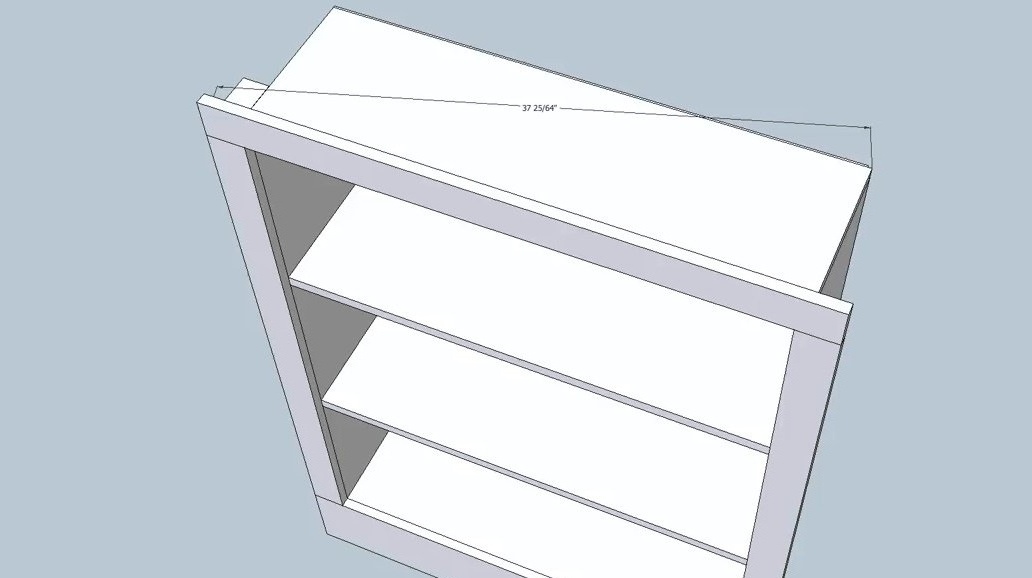
The wizard calculates his error, and it is not in the drawings. The diagonal measurement should be slightly smaller than the opening - and this nuance was taken into account when sketching the drawing. But later, the author decided to slightly increase the depth of the shelves. This also played a negative role. The whole triangle "flew".
The easiest way to remedy the situation is to cut off the part of the cabinet that abuts. Depth of the saw blade is not enough. The author uses a conventional handsaw.
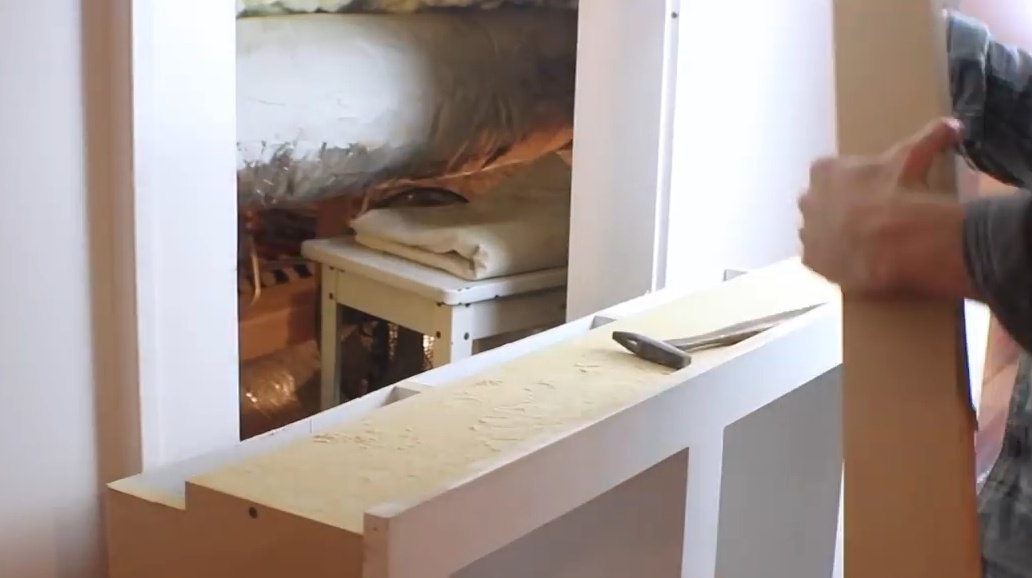
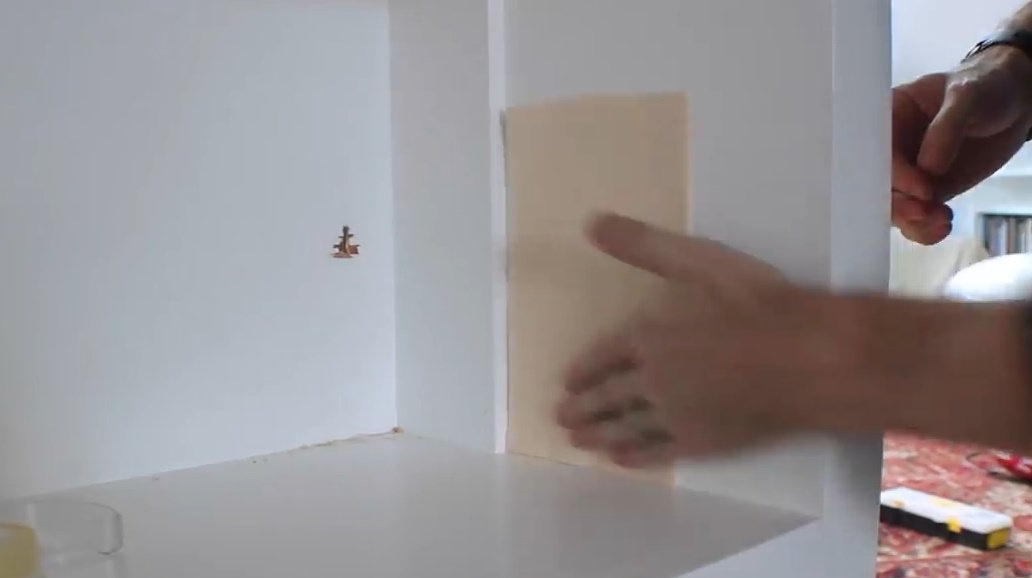
He covers the formed voids with plywood. She still will not be visible behind the books.
And opens with white paint.
Since the cabinet was much deeper than the door frame, the author had to make a protrusion to install a locking mechanism. He used several MDF panels and a board to construct a small shelf, and screw it to the back of the frame through pocket holes.
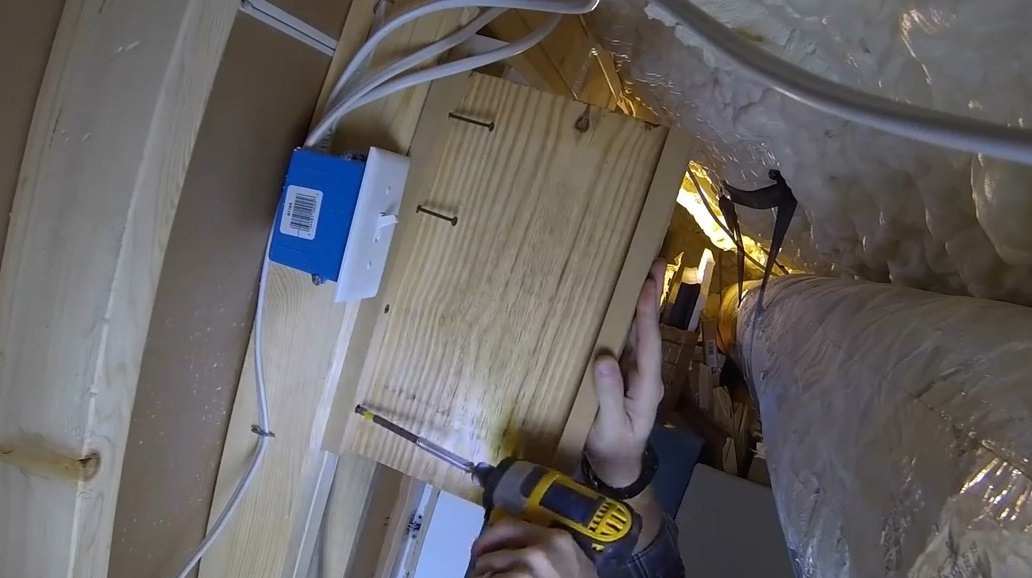
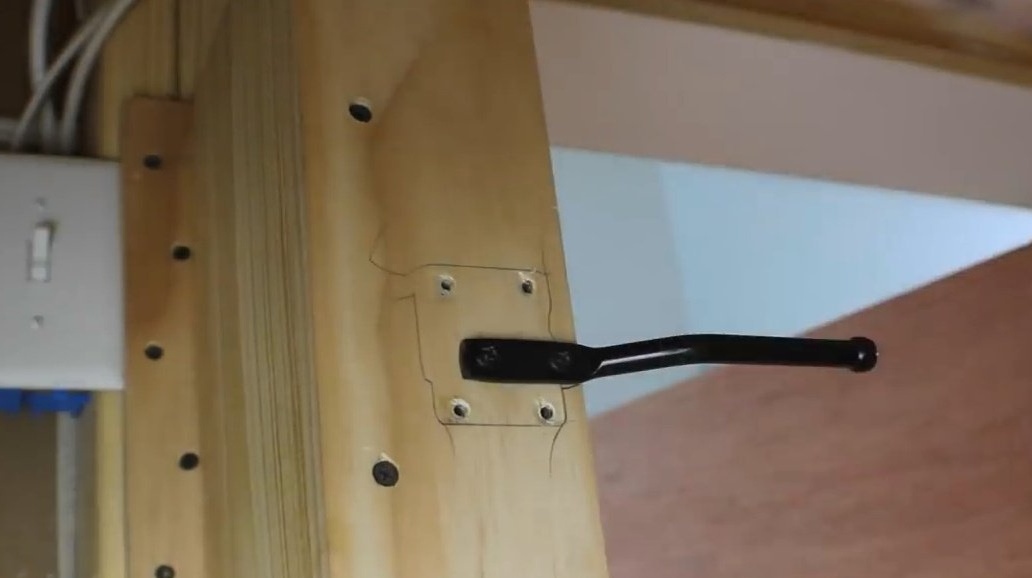
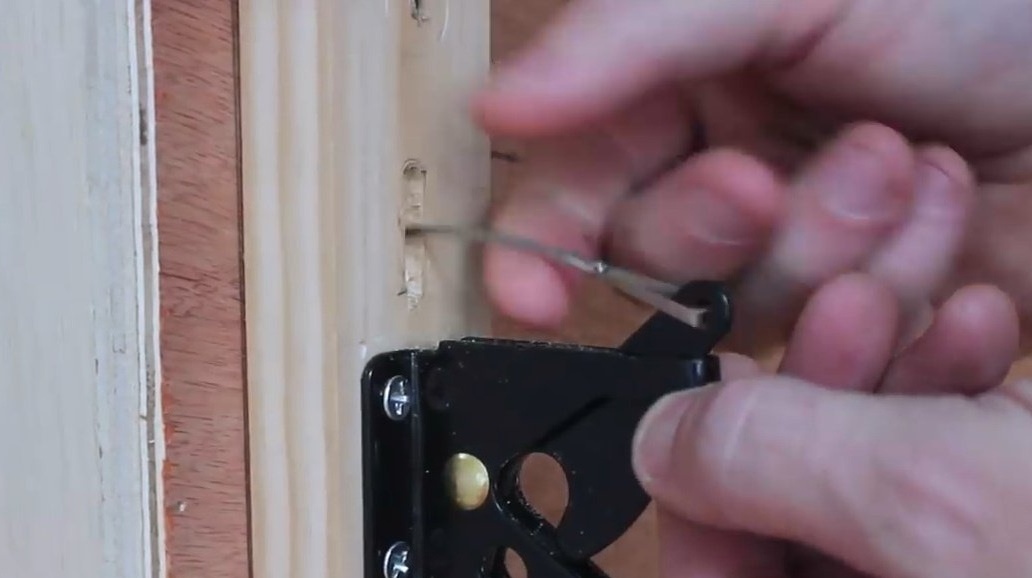
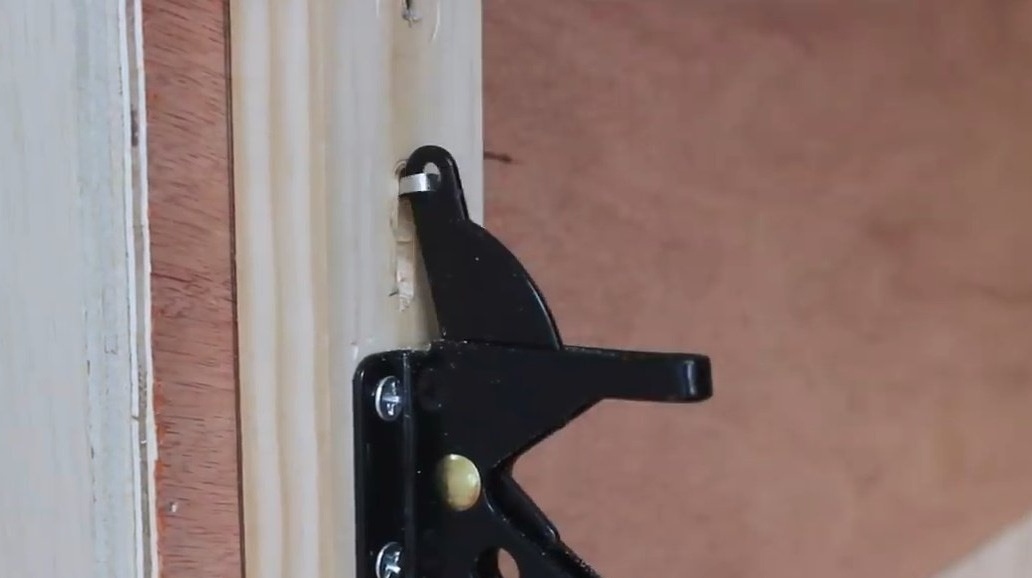
Now you need to fasten the automatic latch. Bob bolts a wooden plank to the back of the cabinet, on which he installs the counterpart of the lock. An ordinary door handle is immediately installed to the back of the MDF panel so that the door can be closed from the inside.
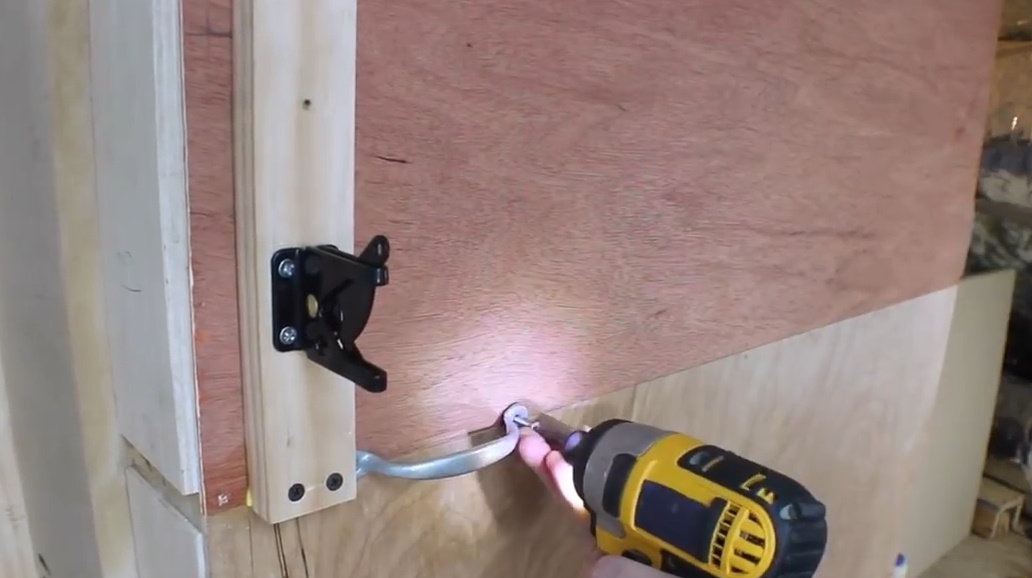
Bob marks the wire that will pass here and move the lock.
Unfortunately, on the reverse side there were several chips. But this one will later be covered with paint.
The author uses double-sided tape, glues it to the side wall of the cabinet and glues a flannel on it. Now the book will move easily, sliding along the flannel.
He fastens the ear to the back of the book and ties a wire to it.

Before fastening the loop to the book itself, the author removes a bit of wood so that the loop lies flush.It must be screwed as deep as possible so that it is not visible.
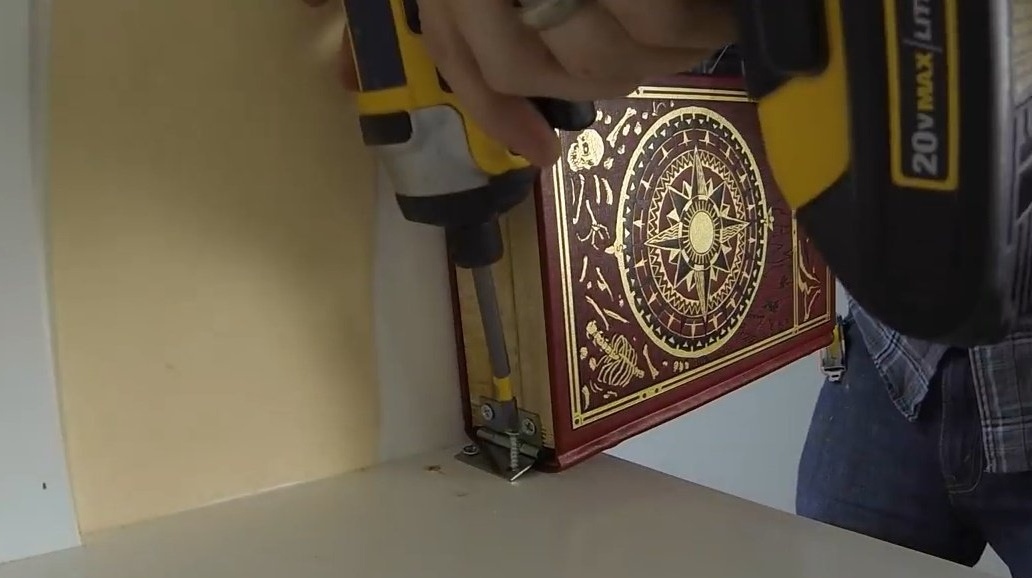
Here you have to play a little with the length of the wire to make sure that the mechanism is debugged and working. This is truly an exciting moment!
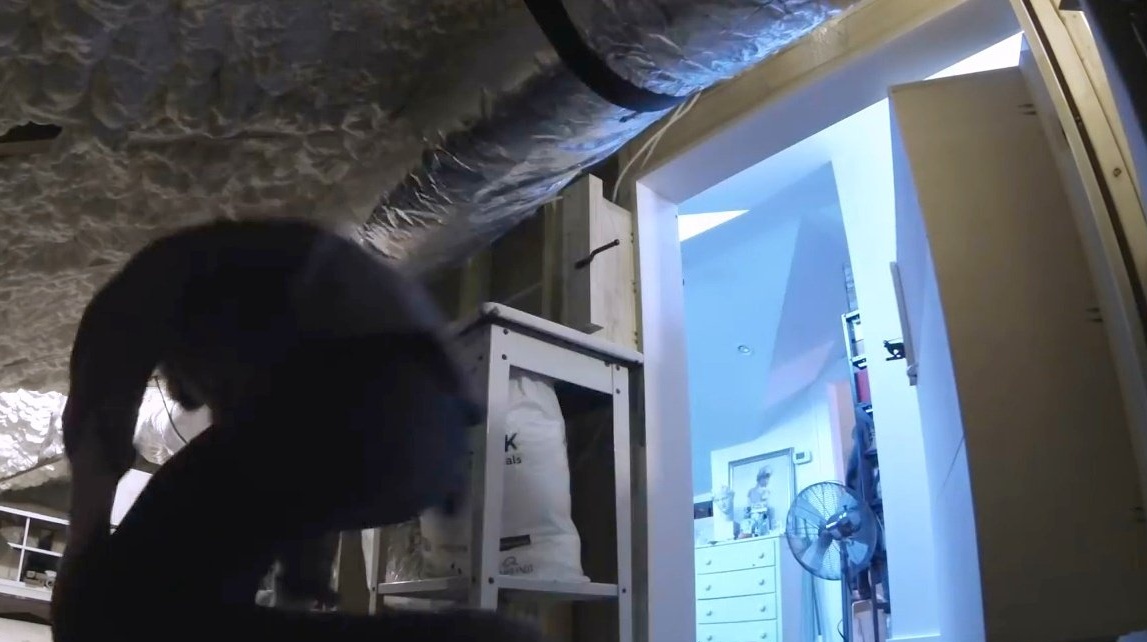
And here is the closet at work. The author really has a secret room there.
Thanks to the author for the simple but interesting idea of the cabinet with a secret!
All good mood, good luck, and interesting ideas!