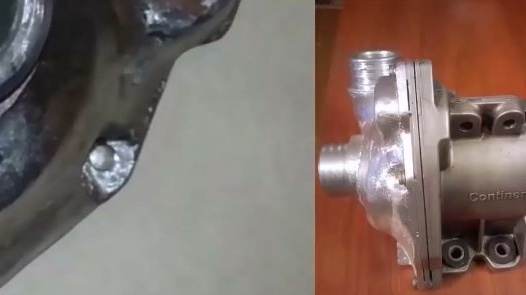
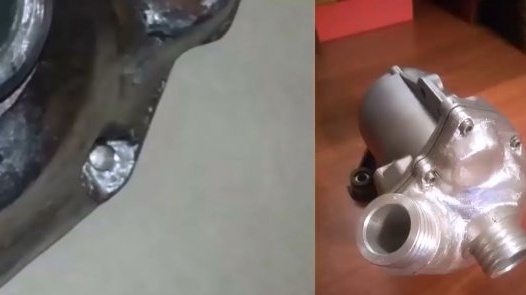
In this article, the author of the YouTube channel "Folk Craft", will tell you about the simple technology of casting complex aluminum parts.
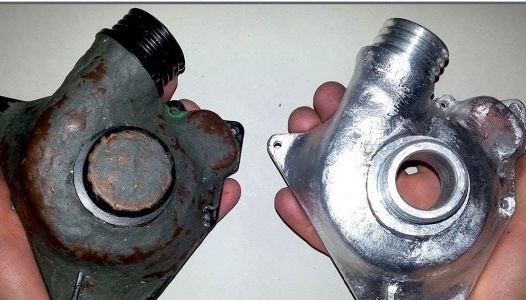
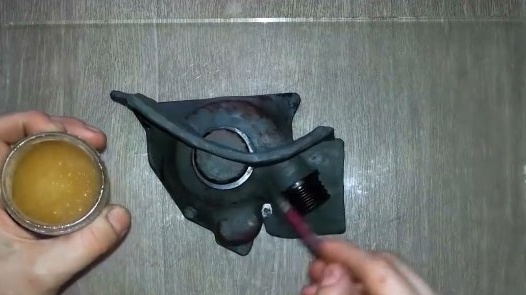
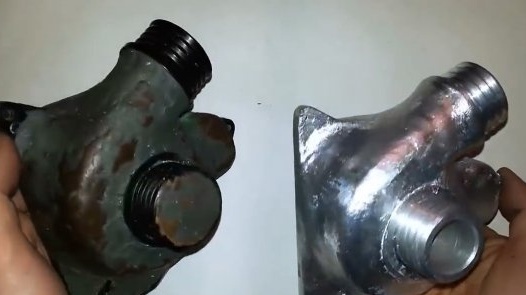
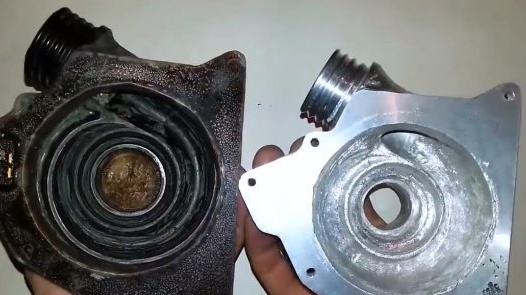
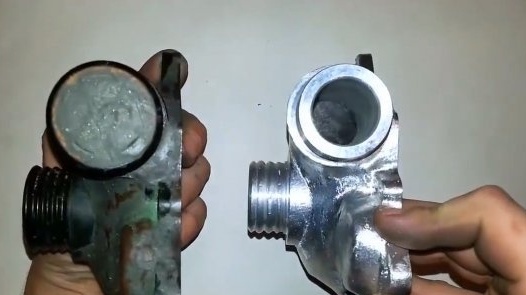
The author will cast an aluminum cover for the car’s water pump. The original cover burst because it was made of plastic.
Materials
- Gypsum G-16
- sand
- aluminum
- Plasticine
- Silicone Grease
- steel wire
- The children's designer.
Instruments, used by the author.
- Dremel
- Lathe
-
- Muffle furnace
- Drywall crown 15 mm
- Drill 10 mm
- Pliers.
Manufacturing process.
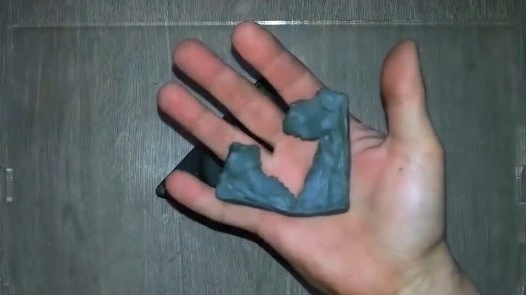
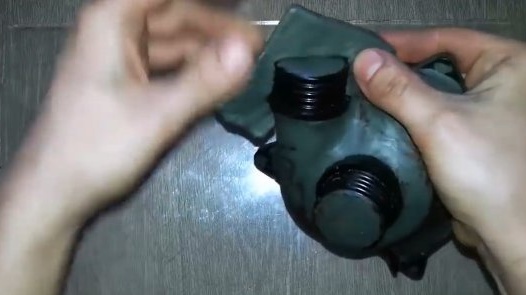
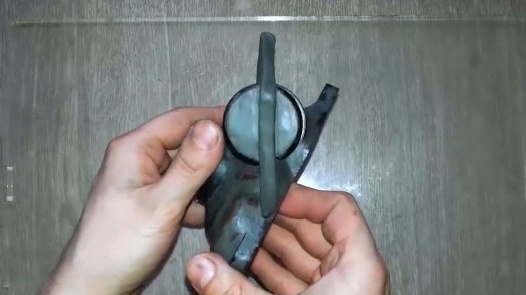
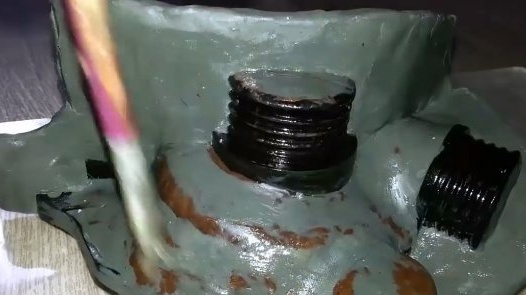
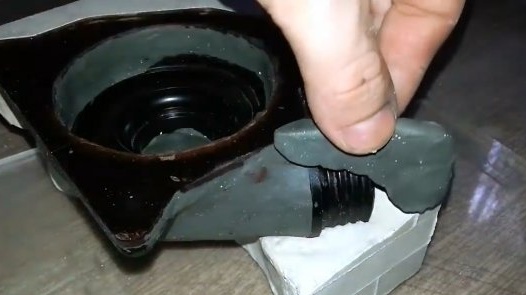
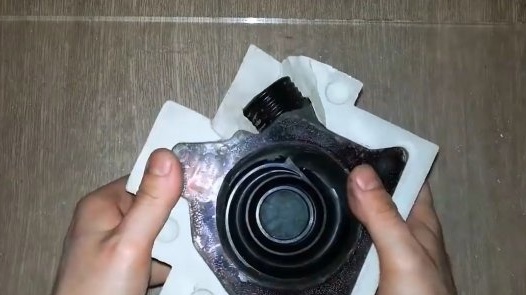
First of all, the author divides the broken part into two sections using plasticine. This he does from plasticine partitions. They are needed in order to divide the threaded pipes into two parts. The joint of the material and the workpiece is trimmed with a knife.
The form will be folding, three-section. The first section in which it will be filled with a mixture is lubricated with a separator. The separator is made by the author of stearin and sunflower oil.
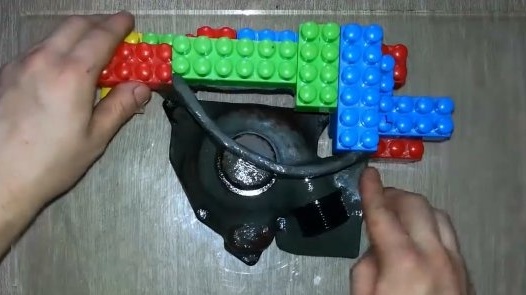
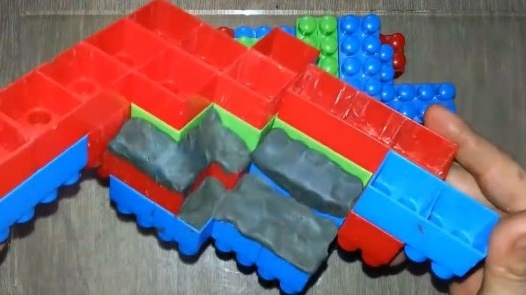
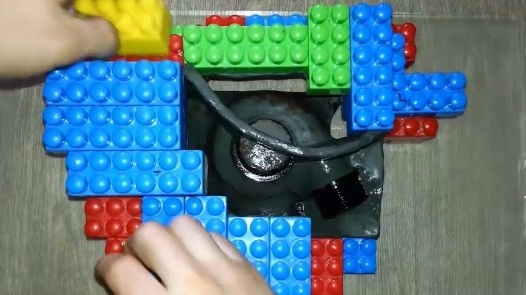
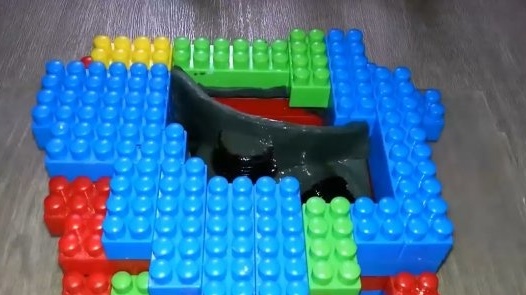
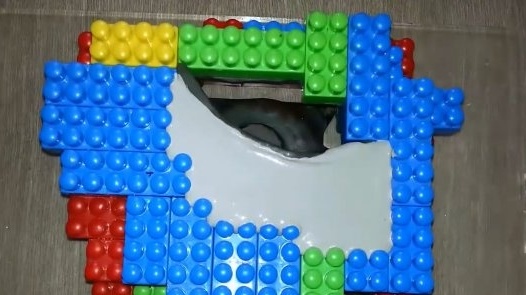
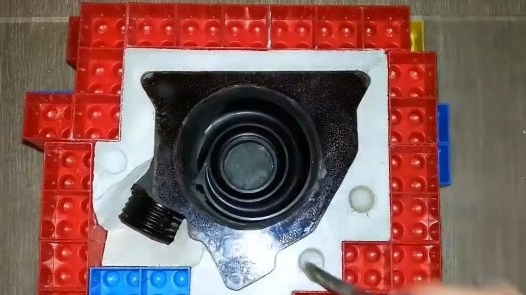
The author makes the formwork from a children's designer. To save the molding sand of the void in the cubes of the designer, he covered with plasticine.
Plasticine partitions are attached to the cube of the designer. The main thing is to do it hermetically, because if the mixture flows out of the mold, then everything will have to be removed manually.
Even before installing the part in the formwork, the author smeared the elements of the part, for which the form can catch on separation.
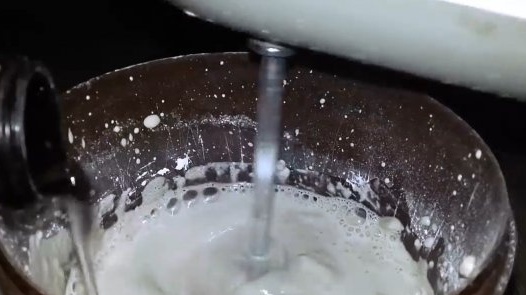
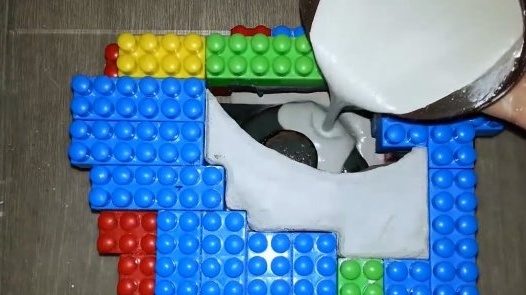
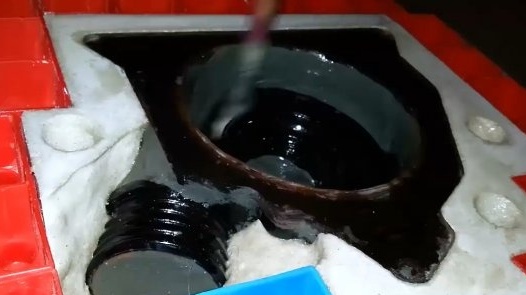
Then in a glass mixes gypsum and sand in equal proportions. When mixed with water, a simple mixture should be obtained, the consistency is quite liquid and fluid. Like a dough for fritters.
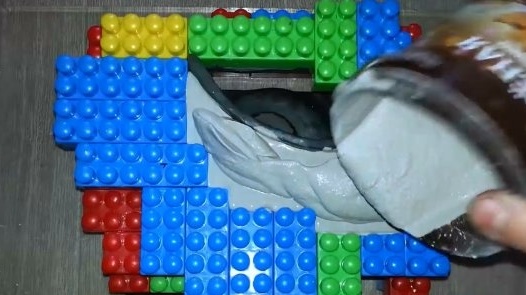
With this mixture, he fills the first section of the mold, shakes it, and leaves to harden. The author took the sand in the sandbox, and then sifted it. Purchased quartz sand will certainly be better.
The master used gypsum G-16. This is a gypsum for sculptures, and you can buy it at an art store.
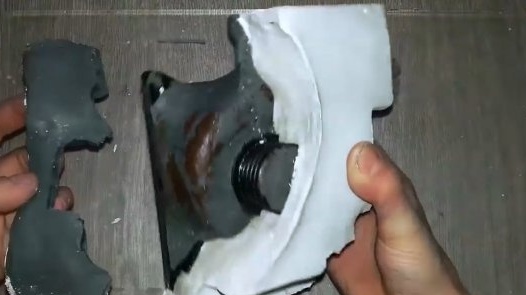
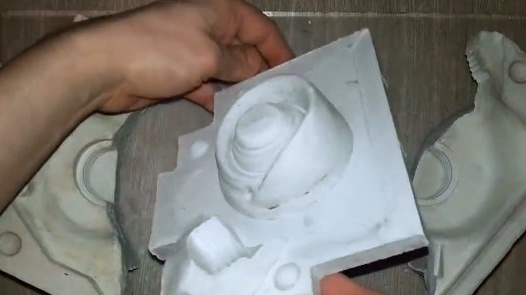
Before pouring the second section, he removes the partition. And again, the partition divides the nozzles. This will facilitate the process of disassembling the form. Be sure to lubricate the part of the finished form with the separator, and the part itself.
Now you can fill the second section with a solution.
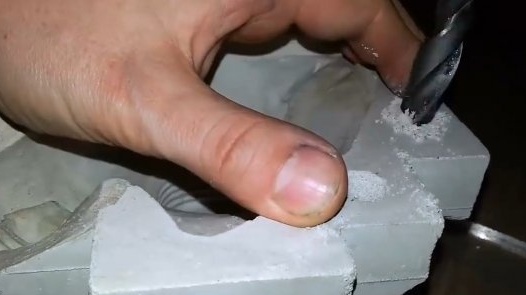
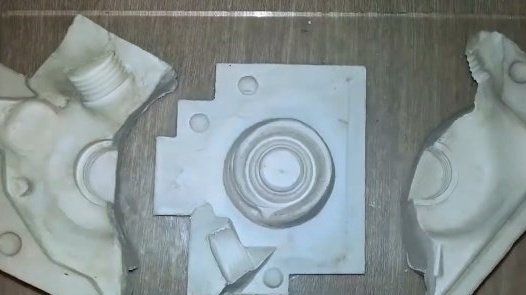
Separates the halves, and makes several blind holes.They will play the role of locks, and prevent the displacement of the third section relative to the first two, and serve as locks from displacement. Holes need to be done manually, the author used a 10 mm drill.
After preparing the parts, it connects both finished forms, inserts the workpiece into place. Then installs the formwork. Indeed, formwork of almost any form can easily be made from a children's designer.
Now preparing to fill the third section. Again, lubricates with a separator all parts, and adds one row of cubes to the formwork.
When disassembling the form should be careful. The last section of the form is the most difficult, and it could stick or get stuck. Plasticine played an important role, and work on smoothing bulging elements.
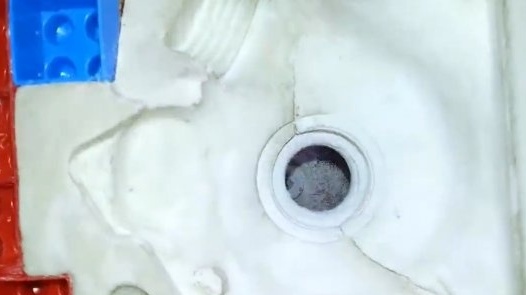
Then it reassembles the first two sections of the mold, and marks the place for the gate. The hole is drilled with a 15 mm crown. Such a diameter for the gate will be enough.
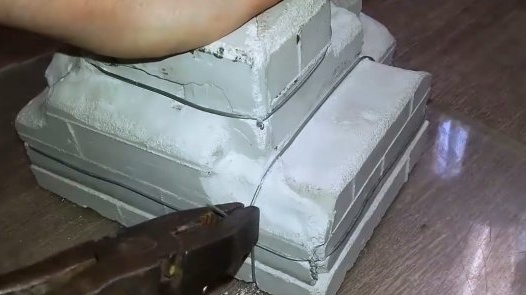
Gathers all three sections together, and tightens the shape with a knitting wire. As a result, this form turned out.
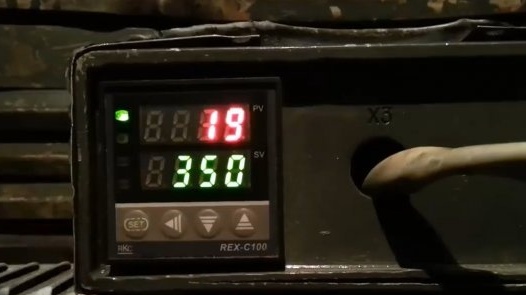
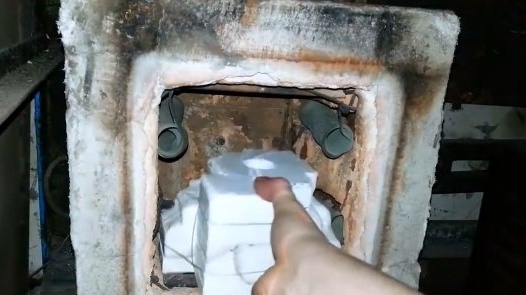
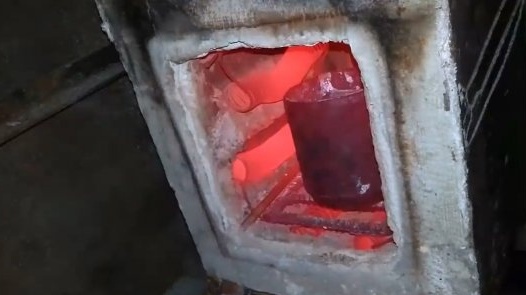
The next stage is the firing of the finished form in a muffle furnace. The baking mode is 350 degrees for 5-6 hours.
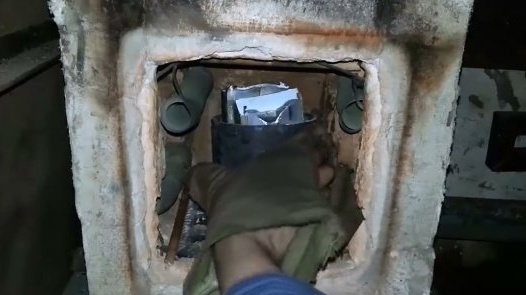
After six hours, the mold can be removed, but should not be cooled. In its place sends aluminum to melt. The author uses aluminum grade AL-9. It is from him that the most high-quality casting of complex elements is obtained.
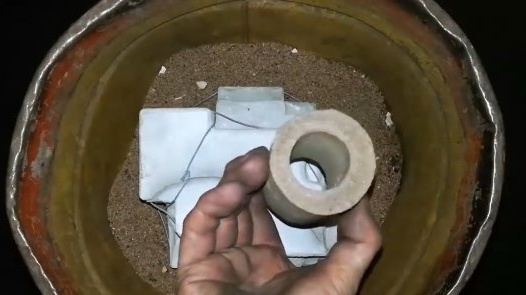
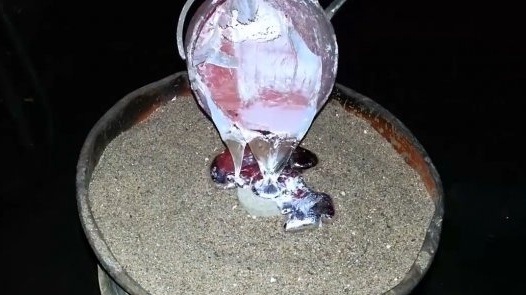
Sand is poured at the bottom of the bucket, then puts a hot mold on it. A sprue is installed on the foundry hole (its author made from a mixture of water glass and sand). Then it fills the bucket with sand to the very top of the sprue.
It is advisable to use coarse sand, it passes air well, and will not allow condensation to form.
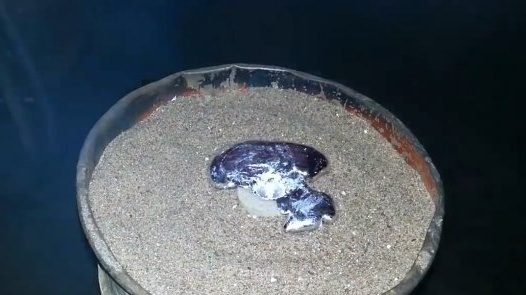
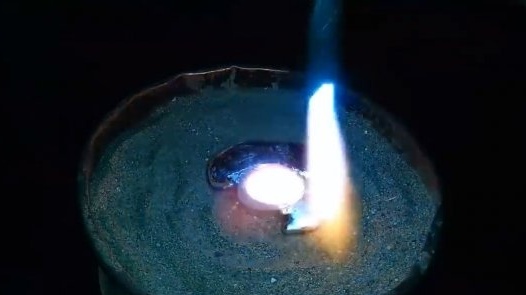
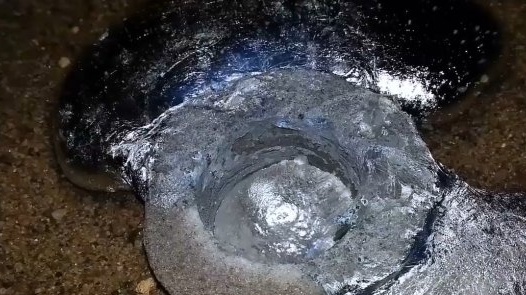
Everything is prepared for pouring, aluminum is melted. The author's fill turned out a bit unsuccessfully. The reason is the oxide film. It should be removed before pouring.
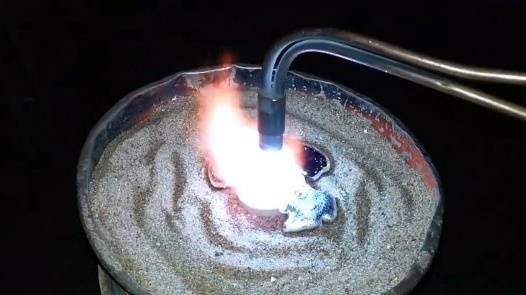
Immediately after filling the form to the top of the sprue, its central part must be heated with a burner. This helps to better seat the metal.
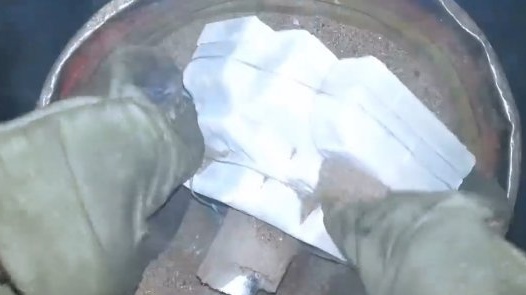
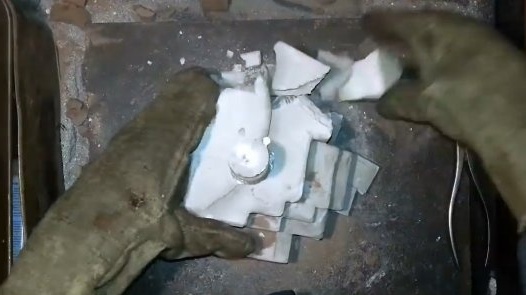
Time comes to breaking the form.
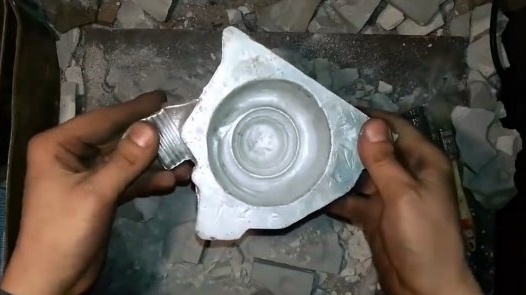
The form spilled perfectly. Naturally, traces of the joints remained, but they can easily be eliminated with the help of a dremel. Sawing the gate, and everything is ready for turning the part.
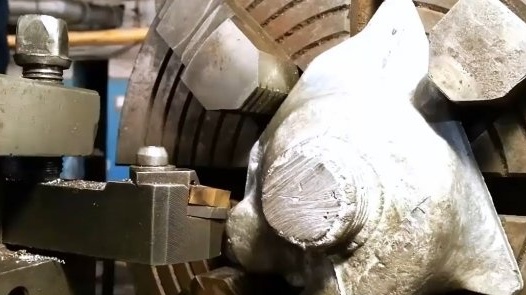
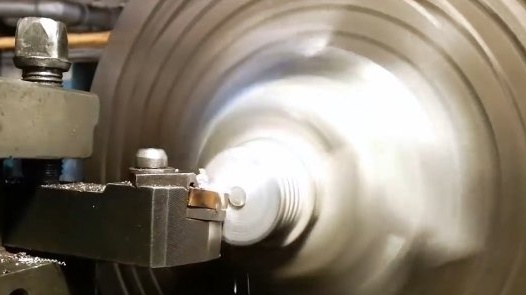
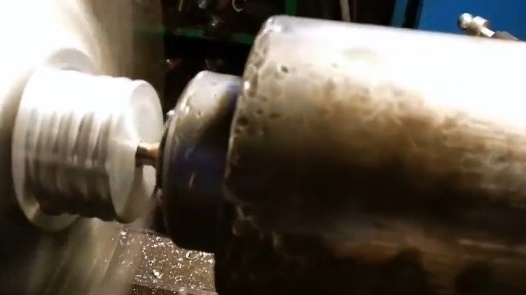
Goes to turning, and drills holes in the nozzles, cuts the threads on them.
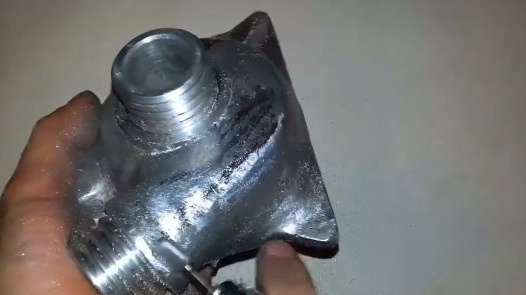
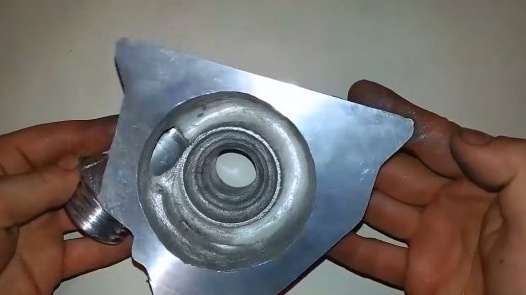
This is what the cover looks like after turning.
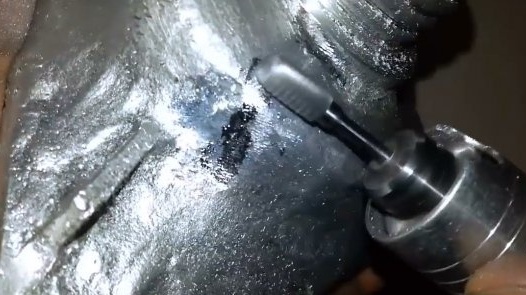
The author can only clean the traces of the joints of the segments of the form. It cleans the workpiece using dremel and metal cutters.
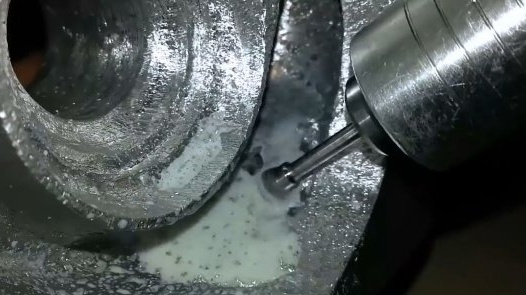
When removing large layers of metal, it is desirable to use an emulsion. Firstly, the milling cutter works more efficiently; secondly, small chips and dust do not fly around the desktop.
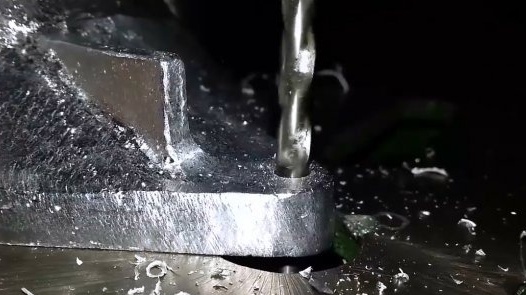
It remains to drill mounting holes in the cover. The author first corns the workpiece, and then drills it on the machine.
So, the master turned out to be an almost perfect copy of the lid. But now it is not plastic, but aluminum.
Thanks to the author for the simple casting technology in the workshop!
All good mood, good luck, and interesting ideas!

