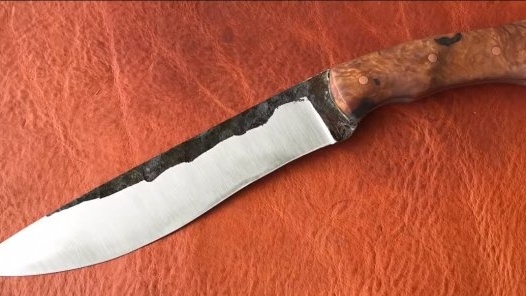
Hello to fans to knock on red-hot pieces of iron. This time we will look at how to make a fairly large knife from an automobile spring. The main part of the work is carried out by forging, the blade has a curved shape, which is also achieved by forging. It is not difficult to make such a knife, but you will need a furnace in which you can heat the metal to the desired temperature. With this knife you can chop sticks, young shoots in a summer cottage, chop wood chips and so on, that is, this is a pretty useful tool in a country house, as well as fishing and hunting. The spring itself is a good material for making a knife, although such a knife will not be sharpened to the state of the blade and it will not hold the sharpened sharpener well, but the blade itself will spring and will be very tough. If you need one homemade, I propose to study the project in more detail!
Materials and tools used by the author:
Material List:
- spring from the car;
- a tree for the handle;
- not enough for wood impregnation;
- copper rods (for pins);
- epoxy adhesive.
Tool List:
- oven, anvil, hammer;
- belt sander;
- drilling machine;
- sandpaper (if you bring to the ideal).
The process of making a knife:
Step one. Blade making
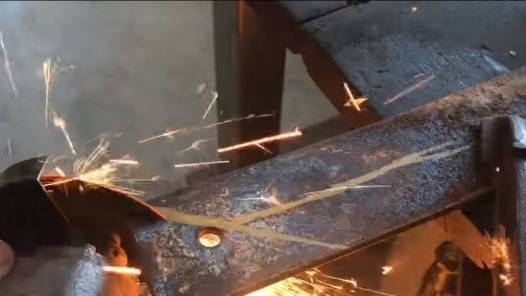
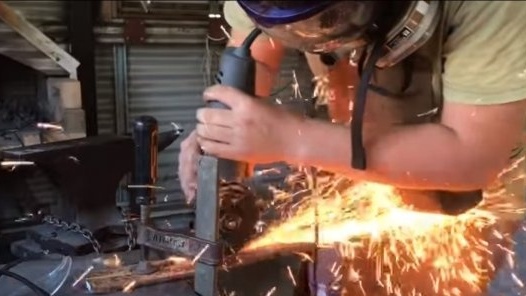
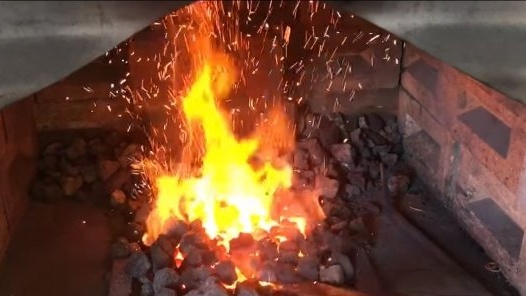
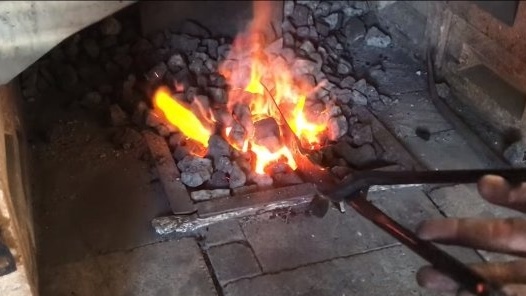
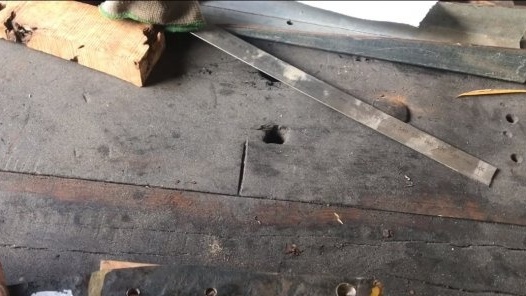
We proceed to the manufacture of the blade, to begin with, we kindle the forge furnace, since we will forge the blade. We cut off the excess spring from the grinder, which we do not need.
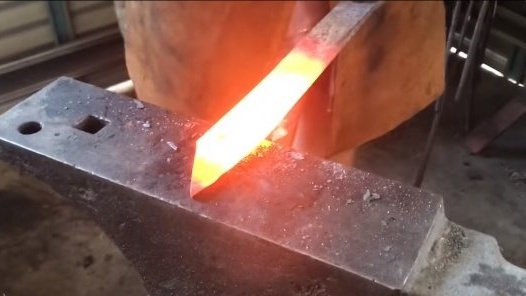
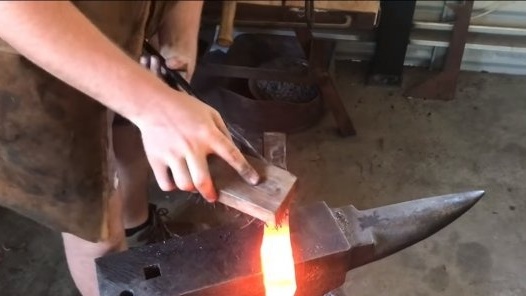
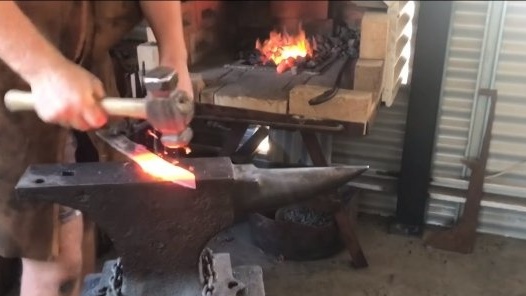
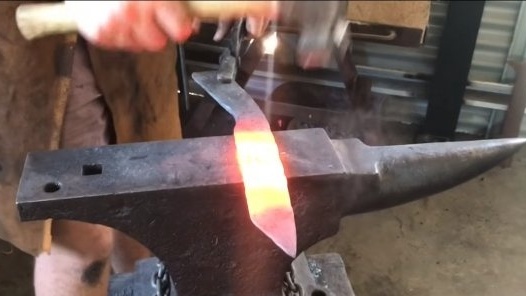
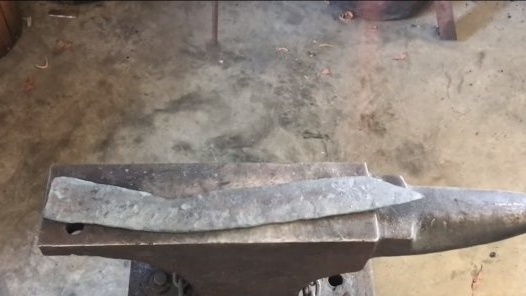
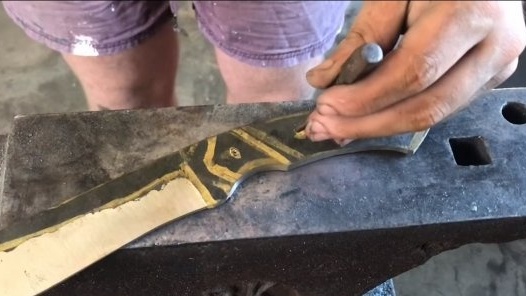
We heat the workpiece to a red glow, now the metal has become plastic and it can be wrinkled with the blows of a hammer. To get a bend of the blade, beat with a hammer on the part where the knife has a blade, the workpiece will bend in the opposite direction. There is nothing complicated in such a process, but a little experience is needed. Similarly, we form the handle we need.
Step Two Grinding work
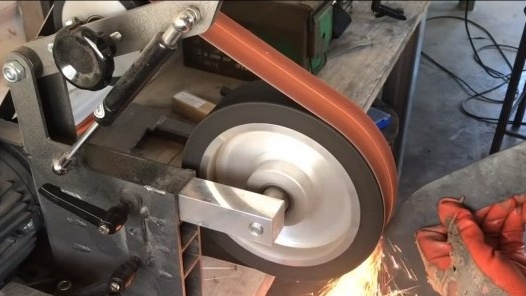
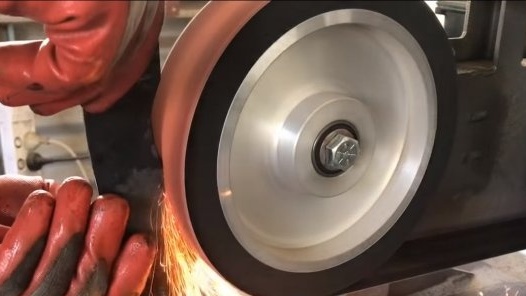
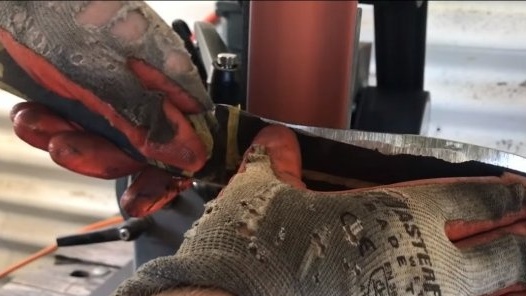
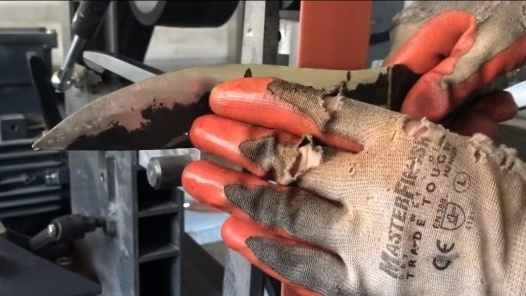
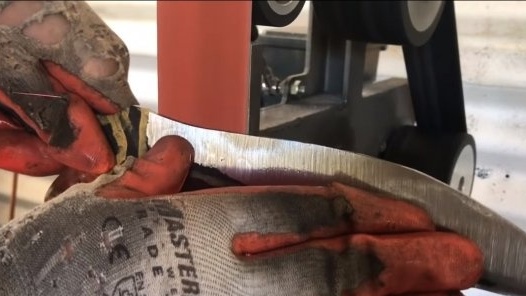
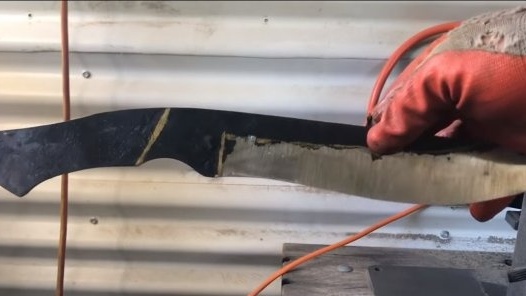
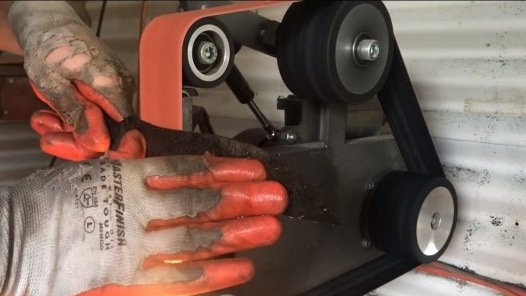
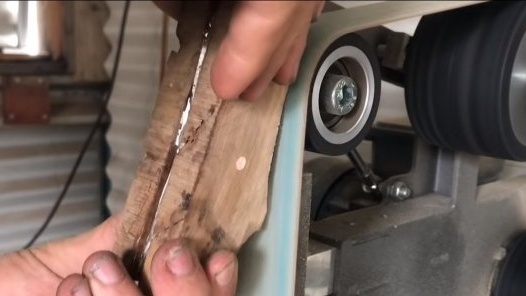
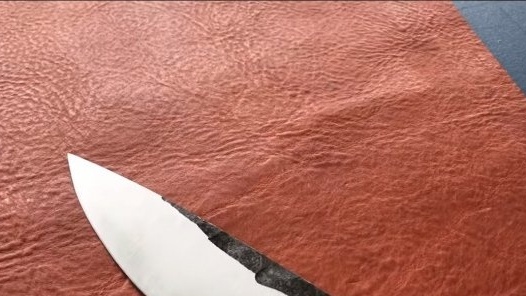
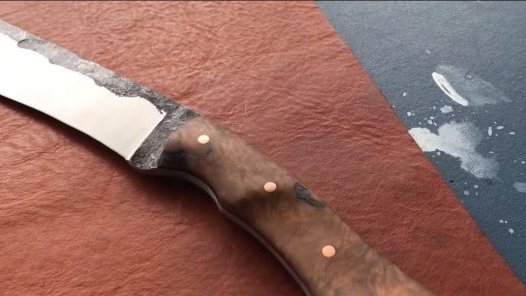
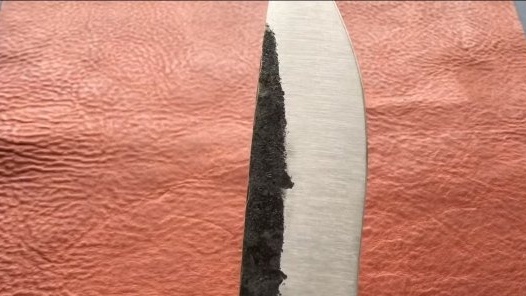
After forging, we proceed to grinding, and to make the process easier, it is advisable to let the blade go, heating it red and cooling it in the open air. We process the product along the contour, form the final shape of the blade and eliminate the forging defects. We also grind the plane, the author brought the bevels of the blade to the eye. The blade butt is not polished, it remains in the original dark color after forging and the knife looks very beautiful with such a pattern. The blade is not yet sharpened, as it will be hardened further, and the thin metal has the ability to burn through.
Step Three Holes
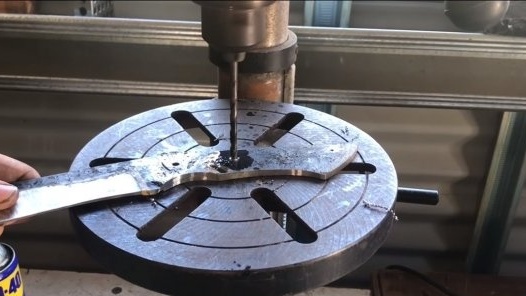
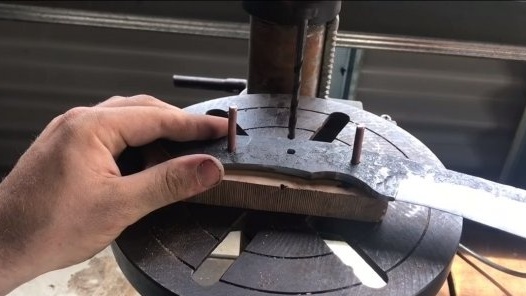
Be sure to remember to drill holes for the pins before hardening in the tail section. After hardening, the metal will be already very hard and not every drill will take it. The holes should be of such a diameter that the pins fit into them as tightly as possible, so that the maximum structural strength will be ensured.
Step Four Quenching
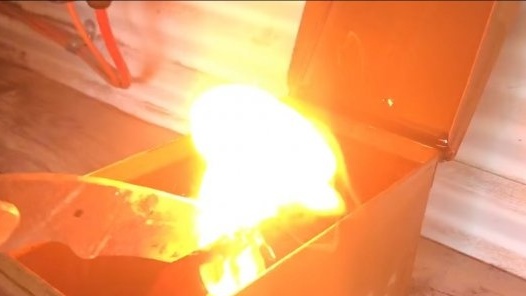
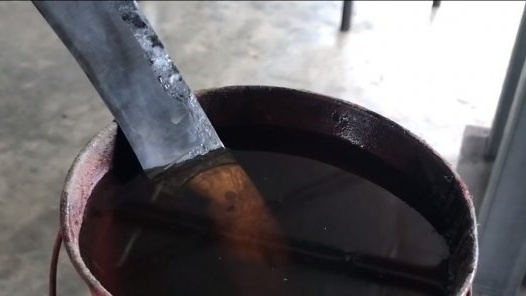
Further, the author decided to harden the blade so that the knife would hold the sharpener for a long time. We red-hot the workpiece and lower it into water, but it is better to use heated oil, so there is less chance that the blade will lead or crack. After hardening, the blade should not be taken with a file, but it all depends on the steel grade.
In general, after quenching, it is necessary to take a vacation, since steel can be very brittle, but everything again depends on the grade of steel. Ideally, the knife made should begin to spring approximately the same as the spring. It will be impossible to break such a knife with your hands, it will bend and will be able to withstand huge bending loads.
Step Five A pen
You can assemble the handle, but after quenching the metal will be black and all in the dross, so we clean it by grinding.
We have a wooden handle, we need two wooden boards of a beautiful breed. We cut them out roughly in the shape of the handle, drill holes for the pins and assemble the handle on epoxy glue. We tighten the handle well with clamps, and immediately remove the adhesive that has come out, so as not to waste time grinding it later.
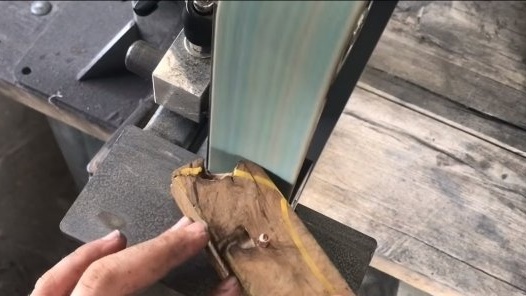
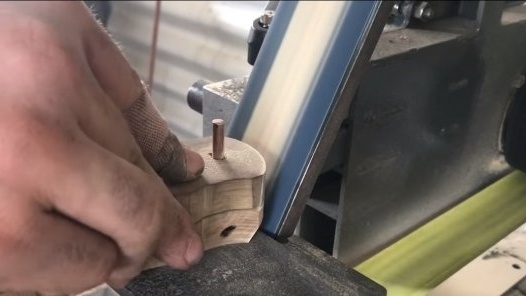
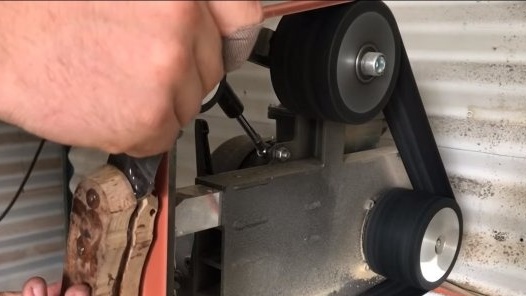
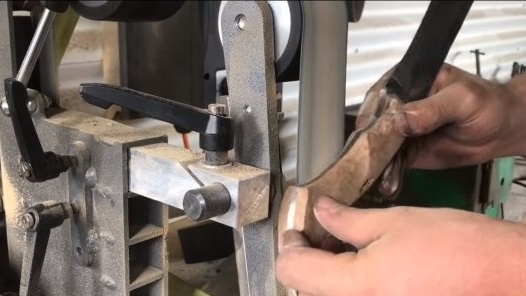
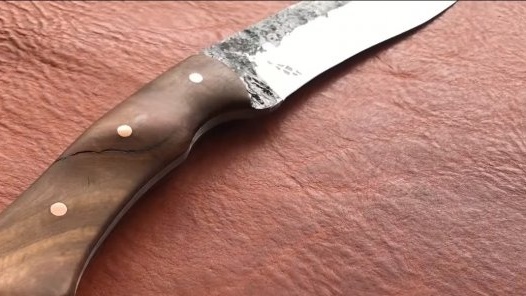
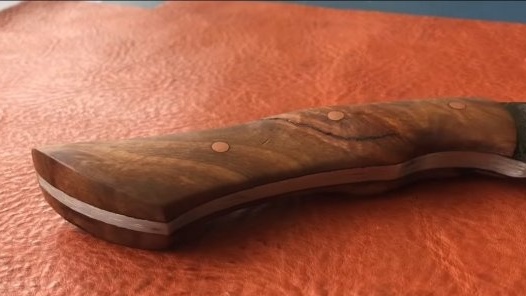
The handle has dried, you can form its final appearance. This can be done quickly and simply on a belt grinder, and if you are afraid to make a mistake, you can do everything manually using a rasp and sandpaper. The pen needs to be sanded to a smooth state, this will make the wood pattern expressive, and the pen will look very beautiful.
Step Six Completion
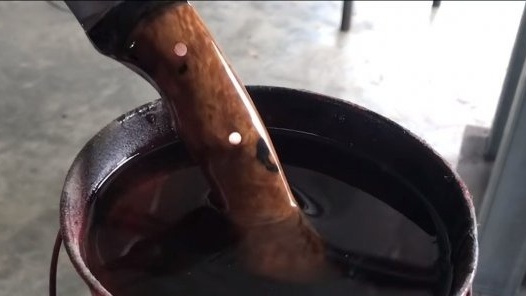
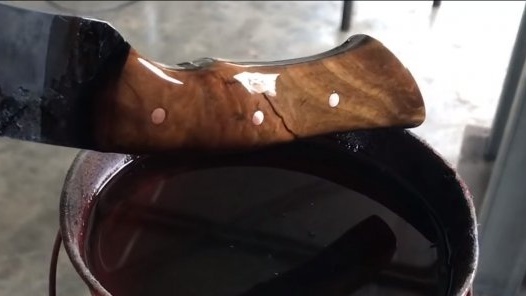
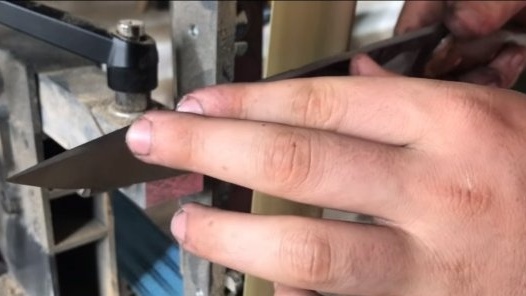
At the end, we soak the pen with oil, the author dipped it all in oil, the tree itself will take as much oil as he needs. Well, then wipe the handle and let it dry. The knife is ready, it remains to sharpen it, here the author uses a tape machine with the smallest grain. For even finer sharpening, you need to use grindstones or a manual sharpener for sharpening.
On this project can be considered successfully completed, I hope you liked it, and you found useful information for yourself. Good luck and creative inspiration, if you decide to repeat this. Do not forget to share your ideas and homemade things with us!

