
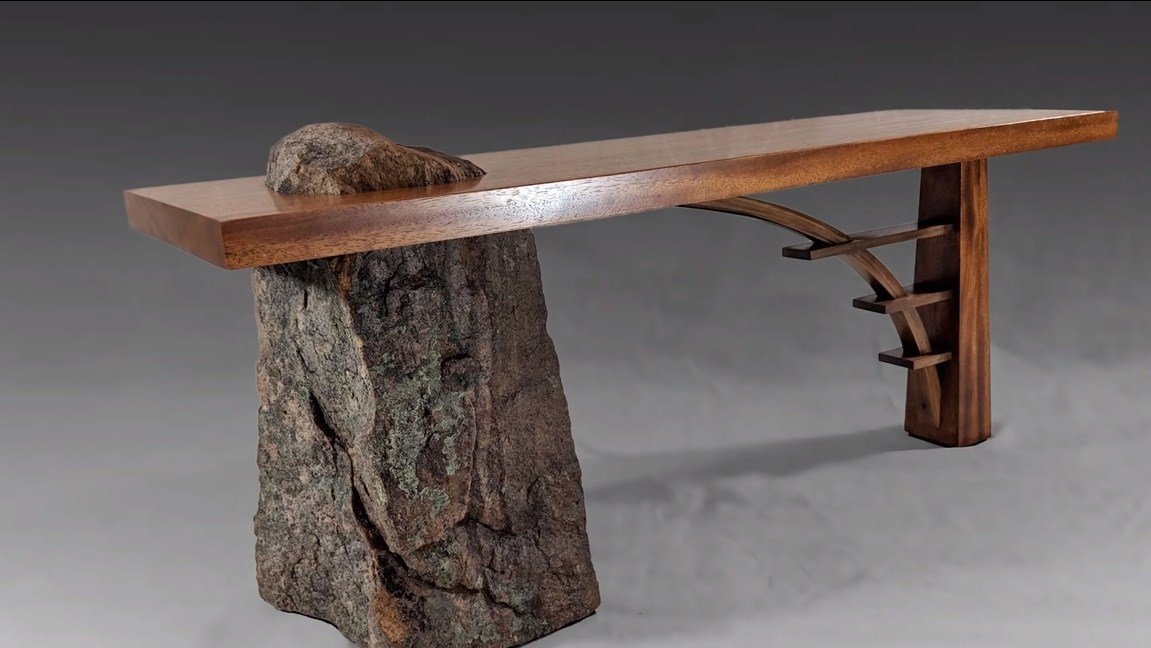
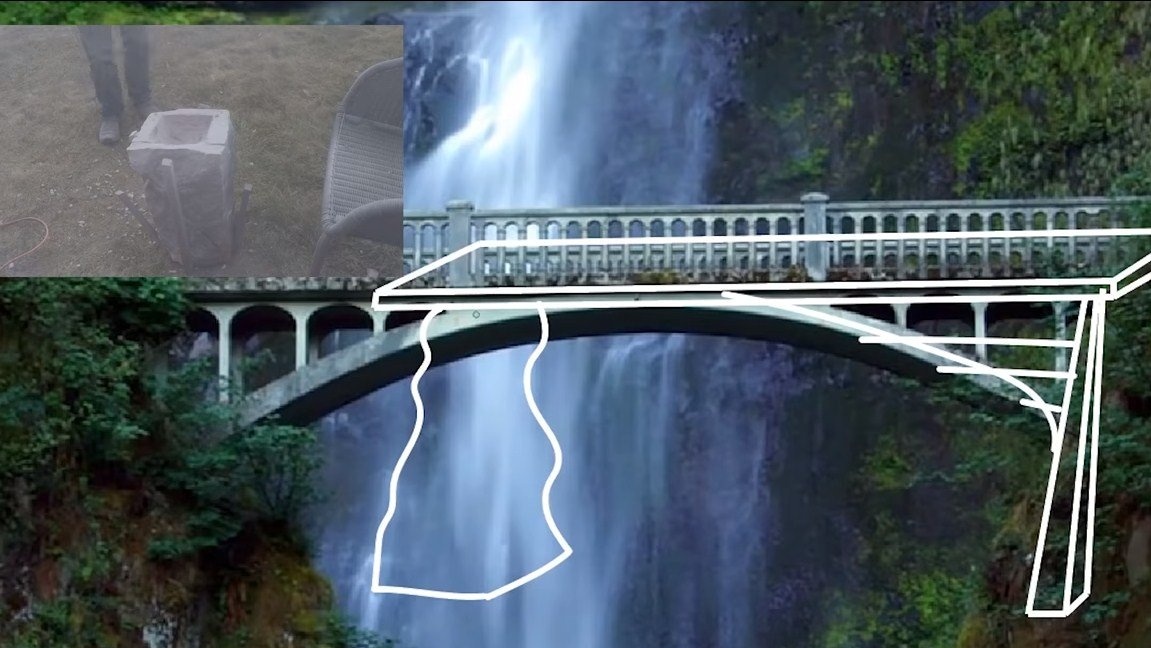
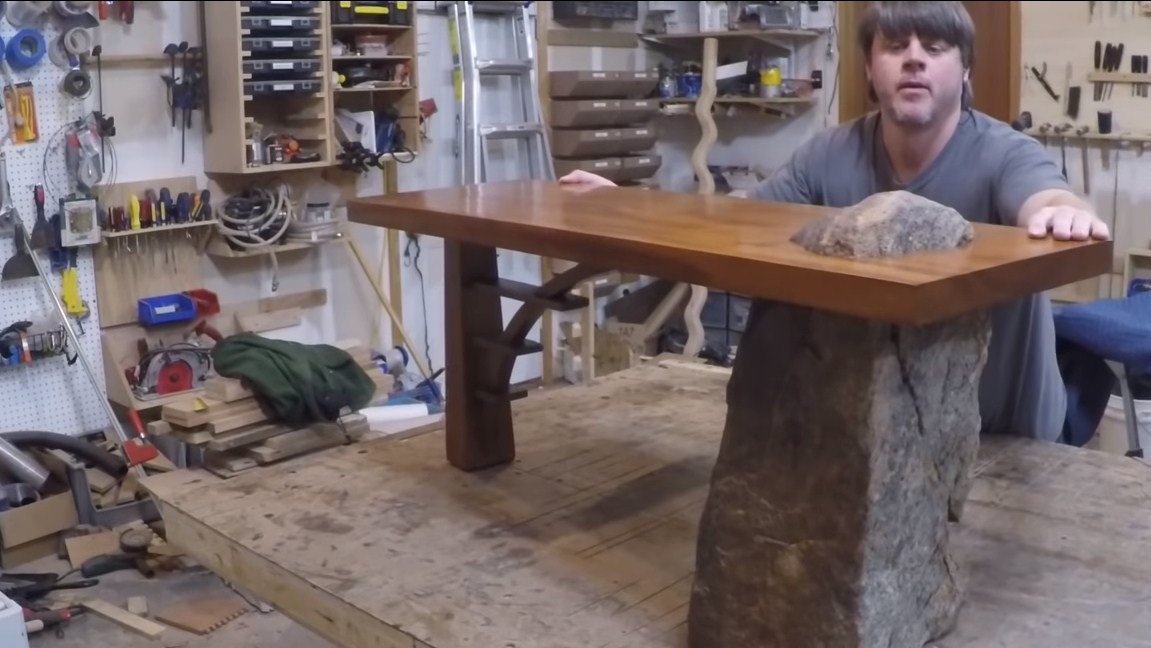
Hello to all lovers of this art. I propose to consider the masterpiece of wood and stone. As an idea for his bench, the author took a local bridge, which passes over the river between two rocks. The bench has two legs, one wooden and the other made of a massive piece of stone. Everything looks pretty interesting, the equipment for the manufacture was used quite serious. Nevertheless, no matter how this bench is made, it does not deprive it of the status of a masterpiece of art. If you are interested in the project, I propose to study it in more detail! Surely such a masterpiece can be made with simpler tools.
Materials and tools used by the author:
Material List:
- a suitable stone for the leg;
- wood stove;
- a wooden bar for a leg;
- round timber, iron plate, bolts;
- plywood;
- carpentry glue;
- polyurethane foam;
- oil, stain, etc .;
- wood screws and other little things.
Tool List:
- with a disk for wood and concrete;
- tape cutting machine;
- drilling machine;
- a circular saw;
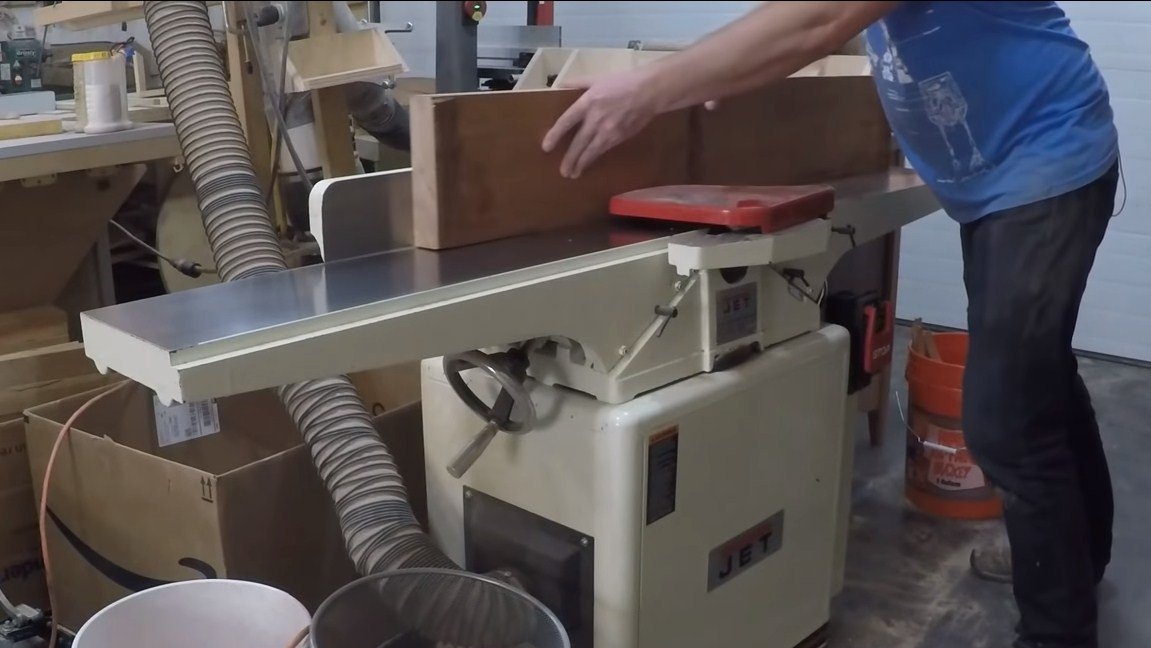
- a planer;
- milling cutter;
- ;
- milling machine;
- orbital sander;
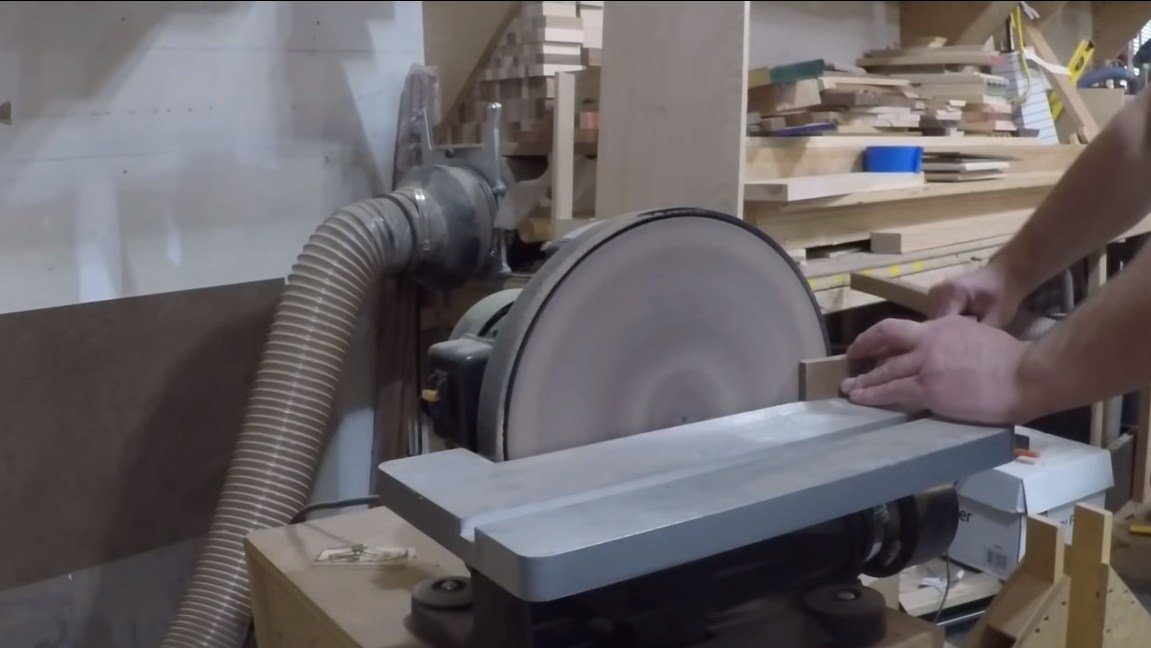
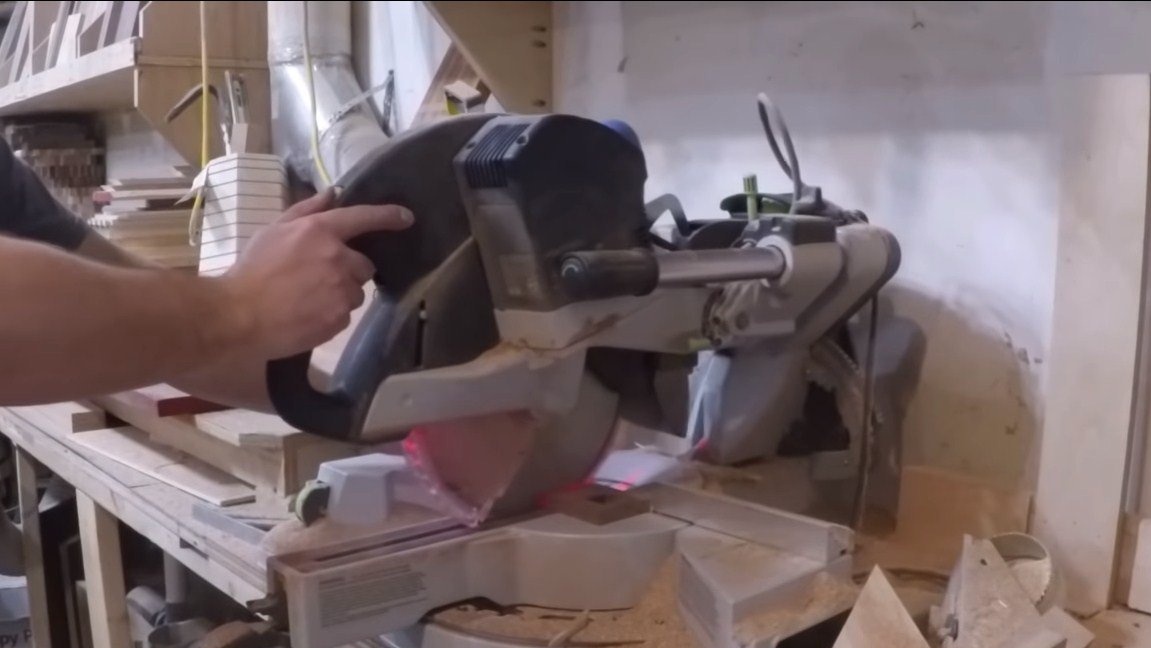
- miter saw and other technician.
Manufacturing process homemade:
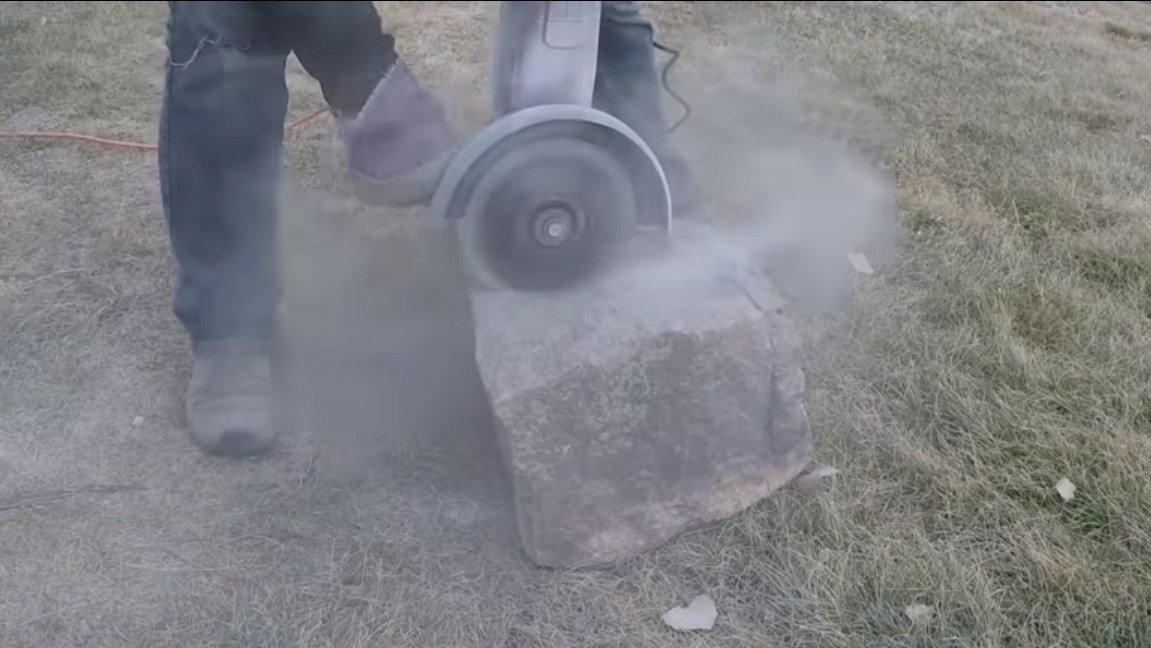
Step one. We work with a stone
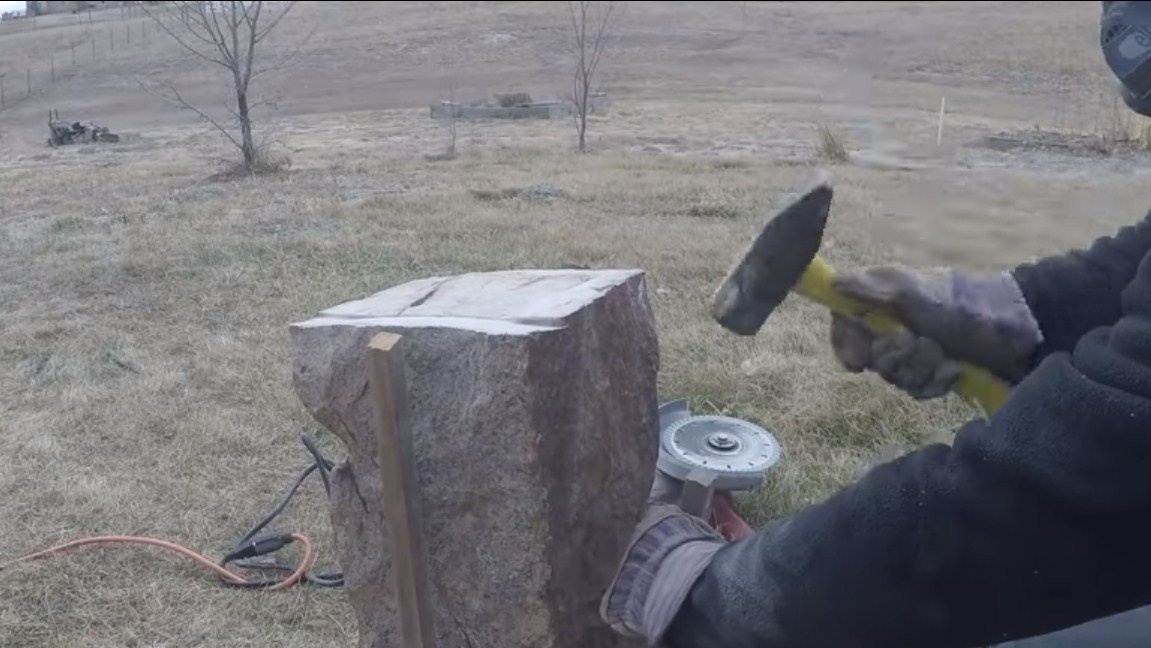
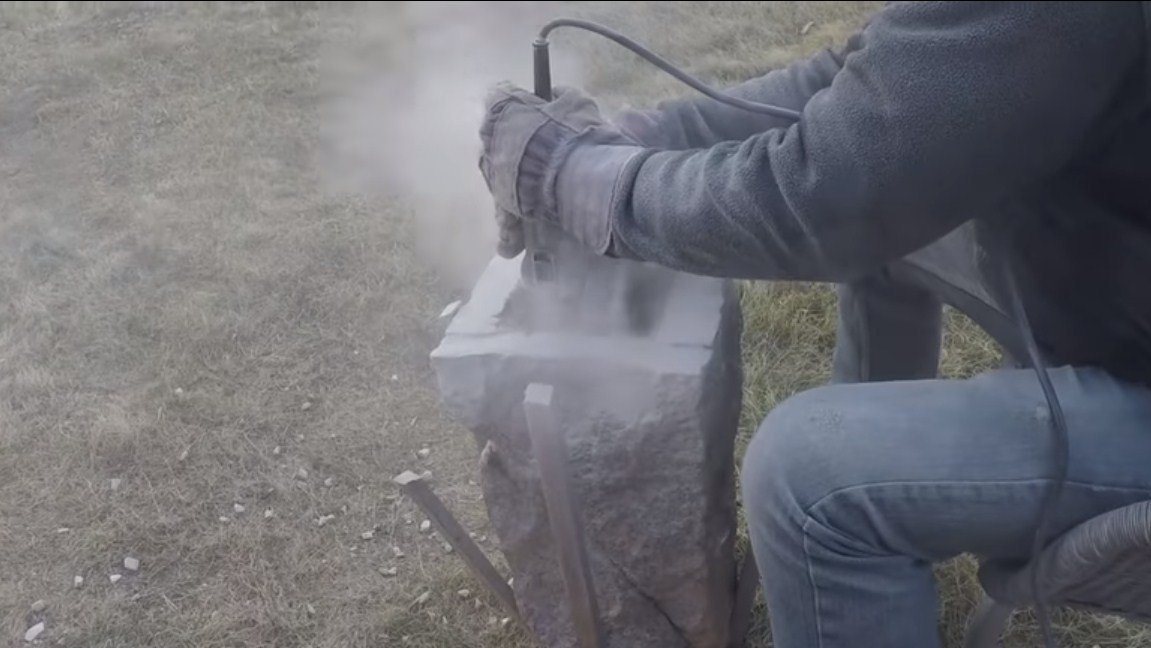
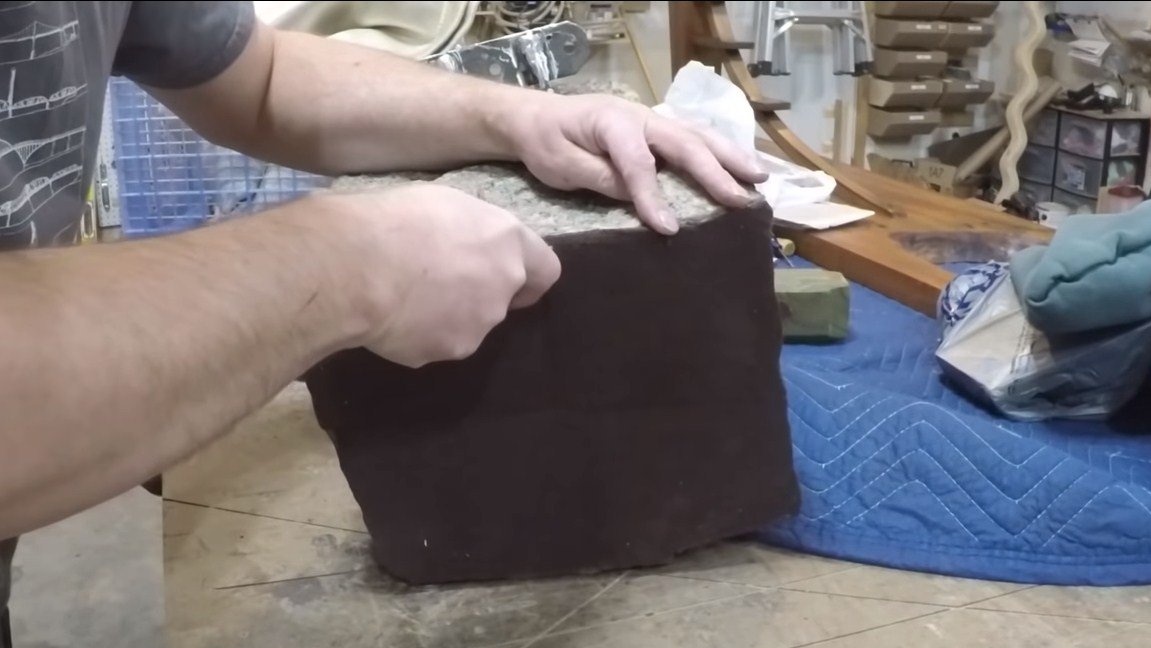
To begin with, we are looking for suitable sizes and shapes of stone, the author had to cut the stone. For cutting, you will need a grinder and a good disk for concrete, the severity of the work depends on the type of concrete stone. We make a cut along the contour, and if the disk does not reach, just split the stone along the cut line, it should crack approximately, as when cutting glass, glass breaks.
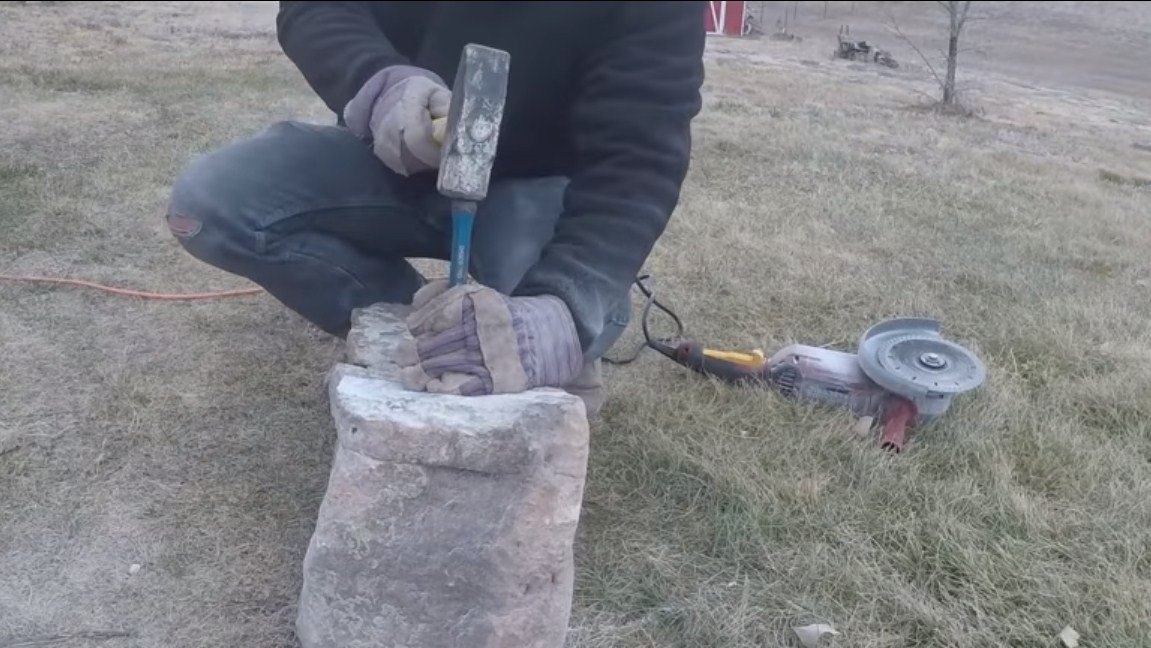
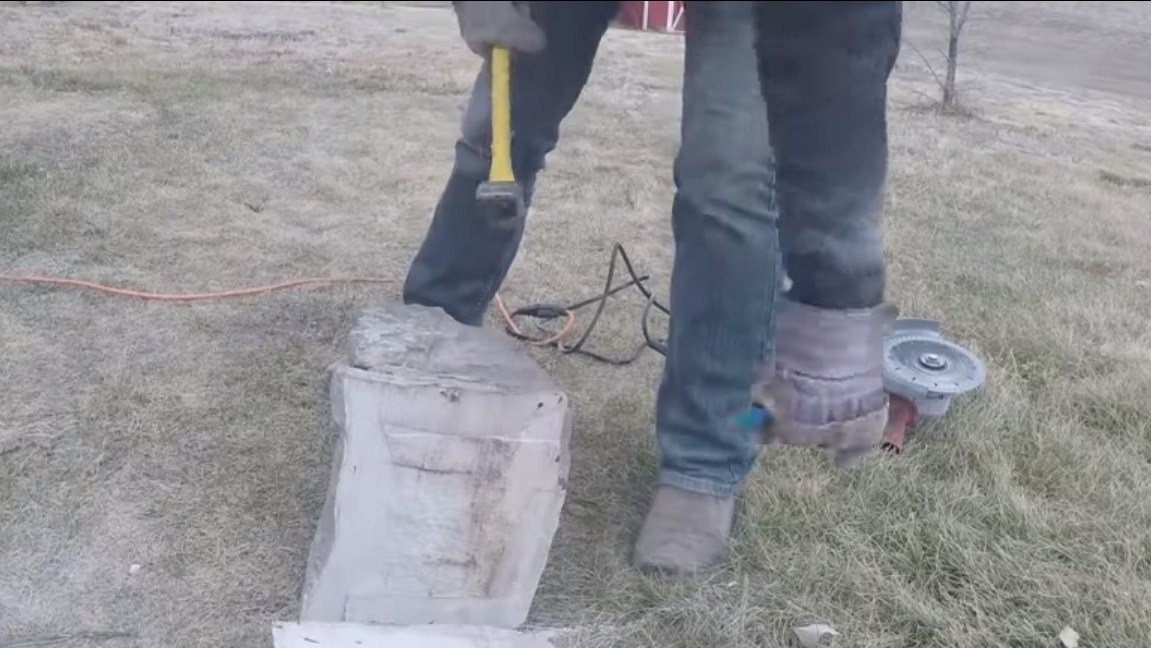
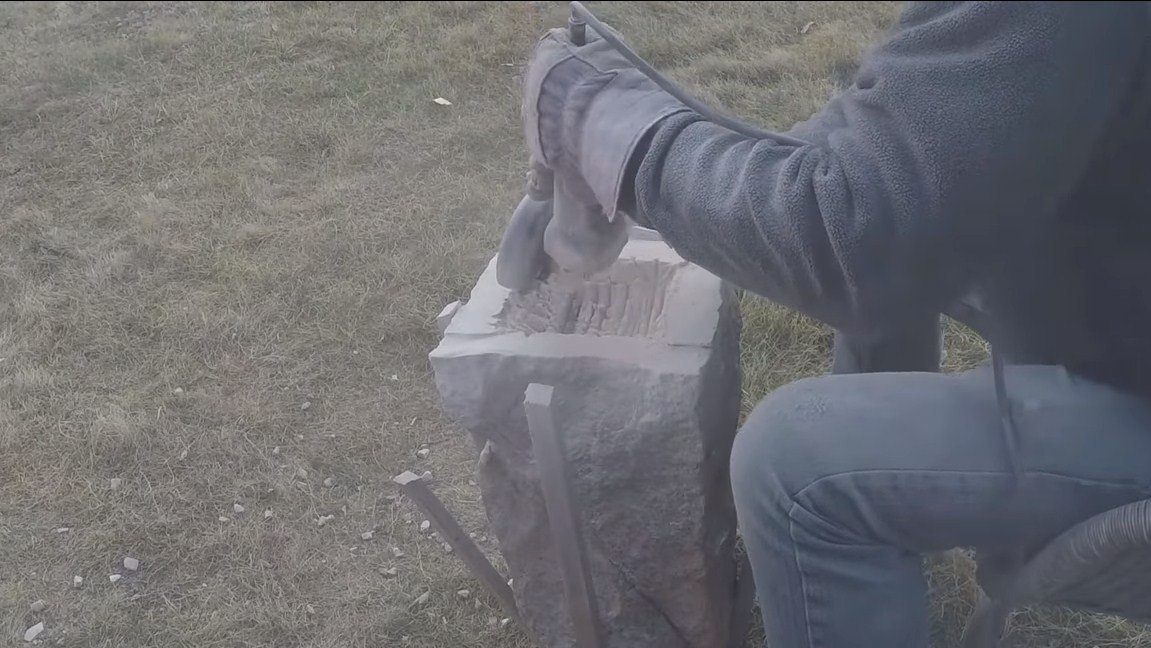
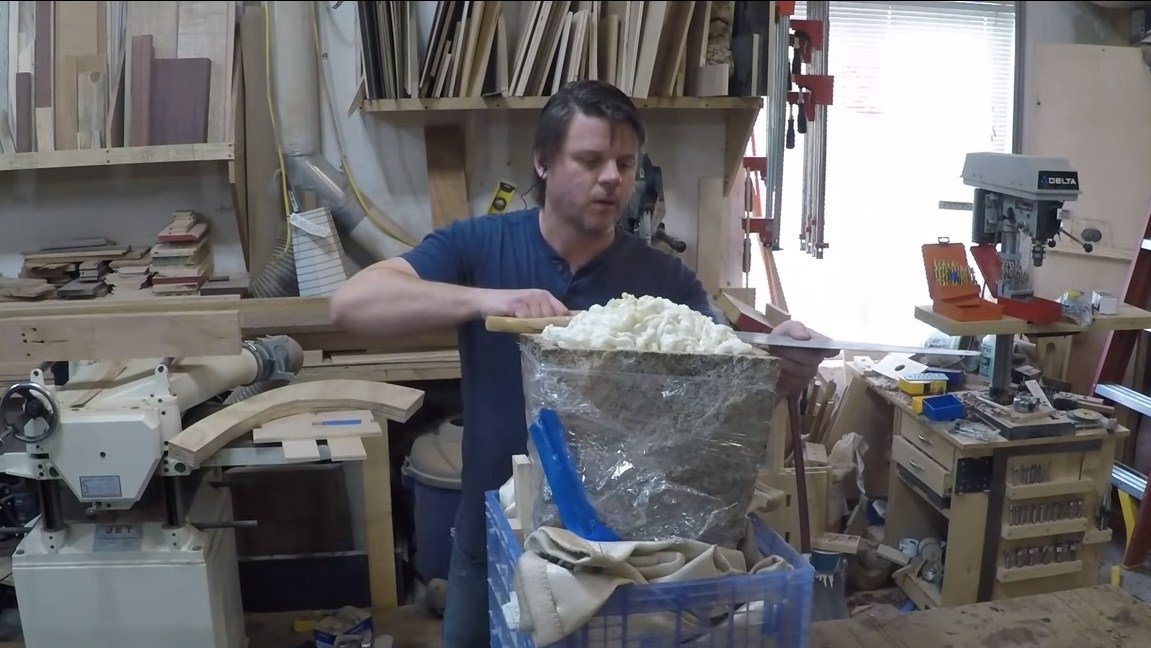
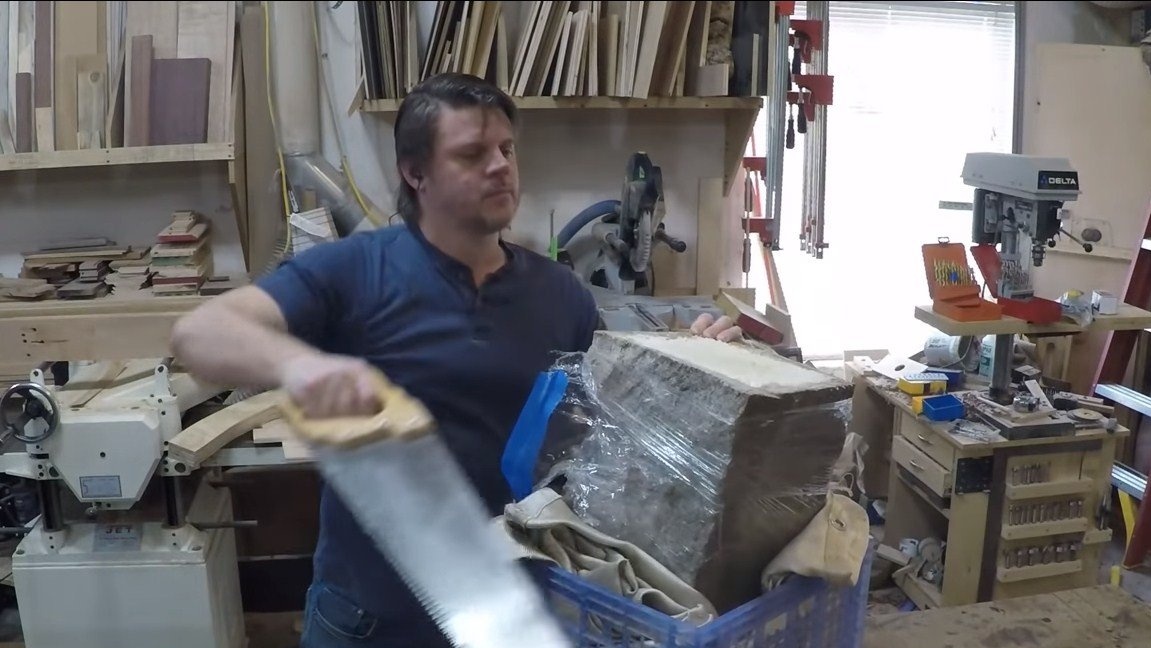
Next, the stone must be made hollow, there is already how much it will turn out well to do. Excess weight is useless to us. What is possible, we cut out the grinder, and where the grinder is no longer getting it, drill a drill with a drill for concrete, knock it out, crumble, and so on.
Step Two Plate making
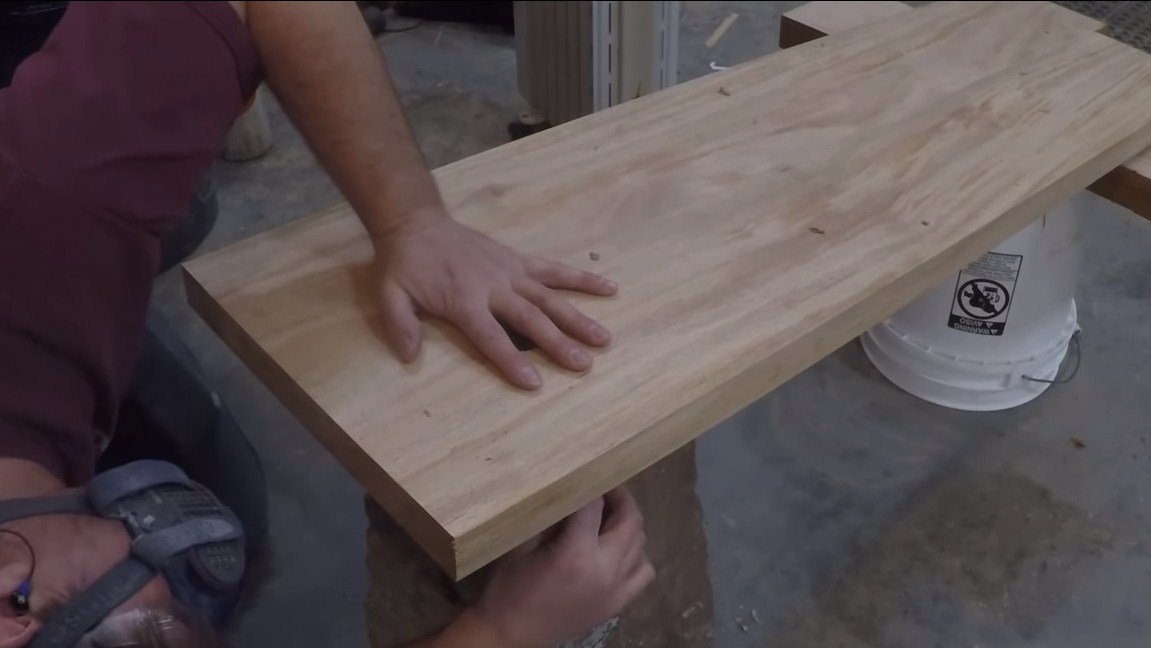
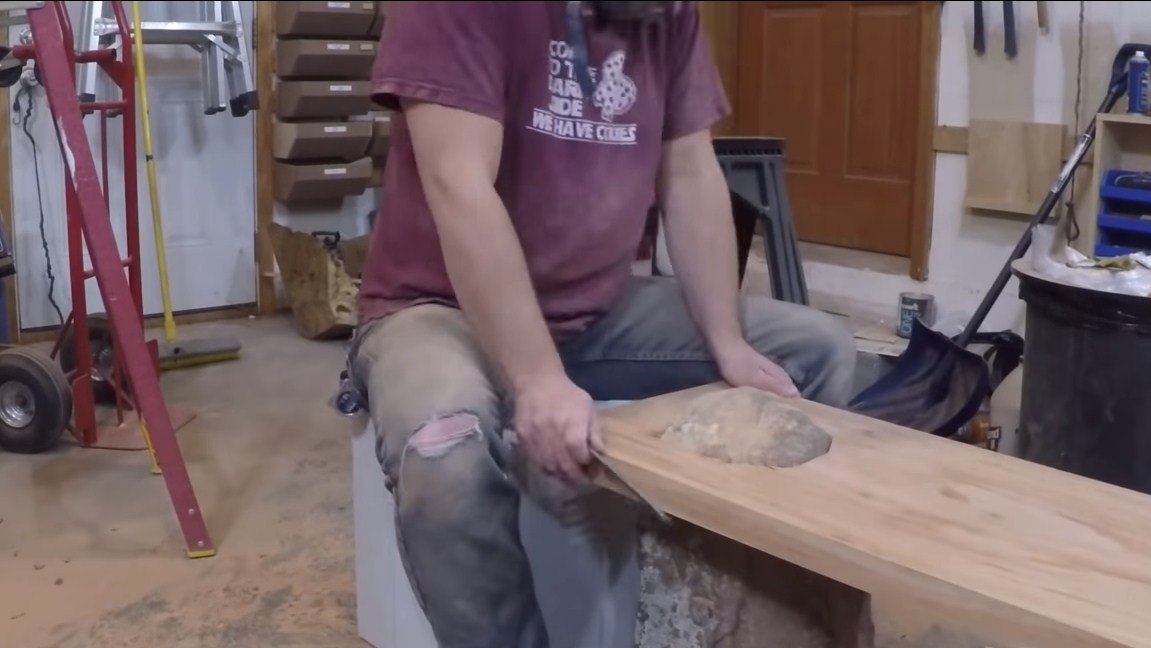
Next, we will make a plate, this will be that part of the bench on which we will sit.Here we need a wood slab of suitable width, if there is none, you can glue several beams or massive boards.
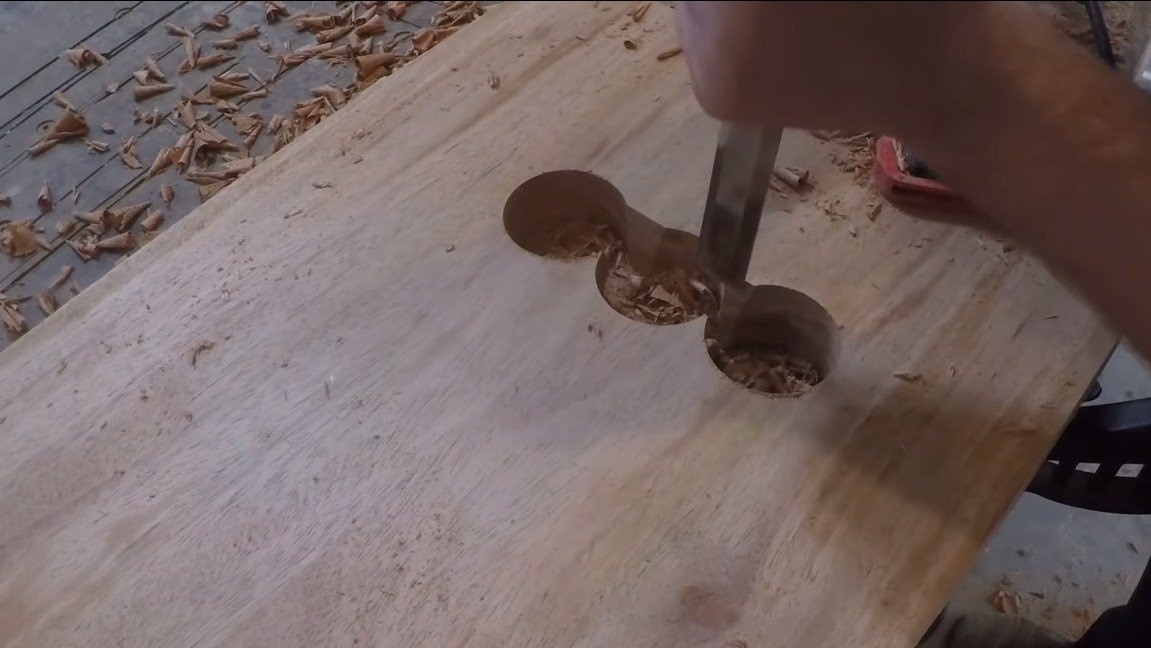
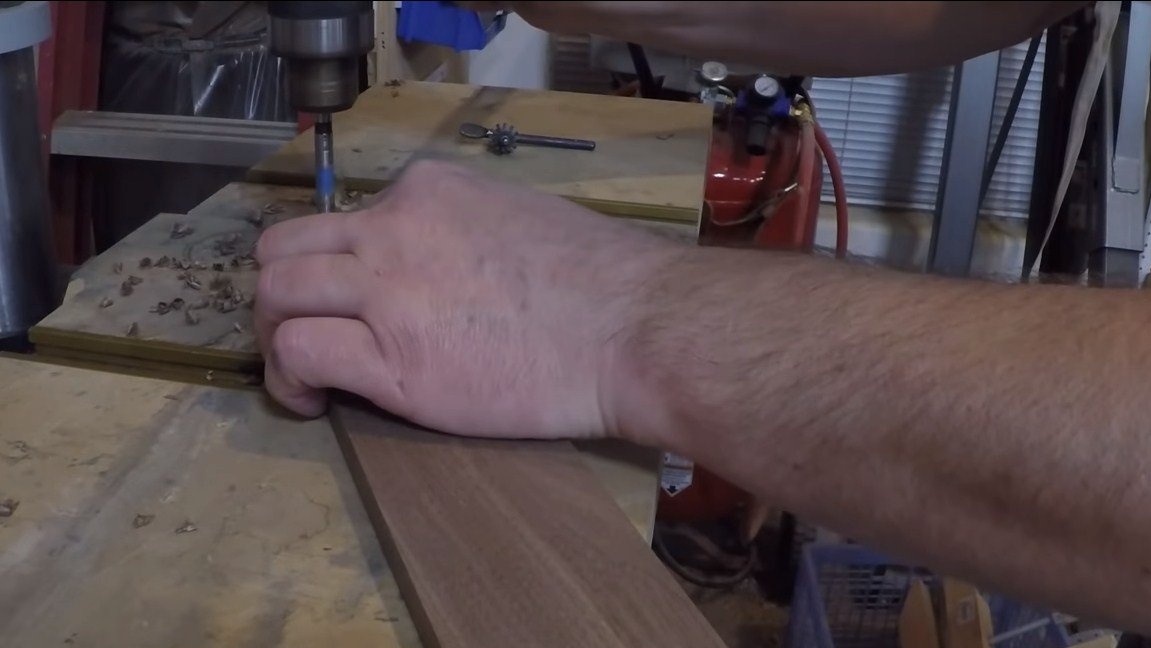
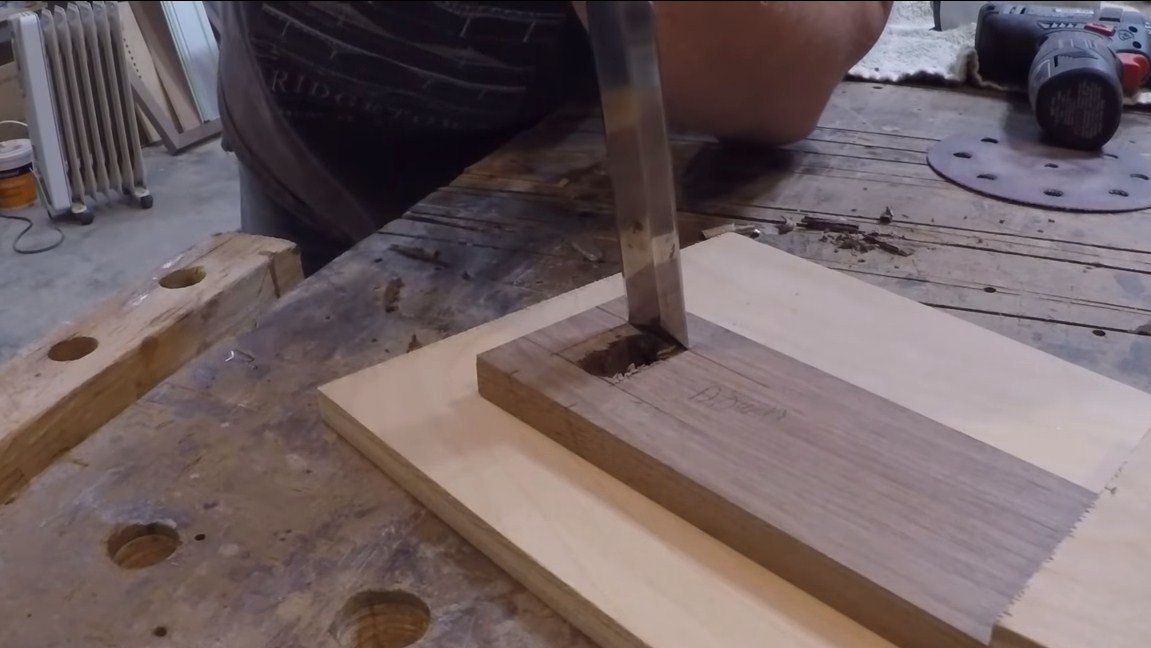
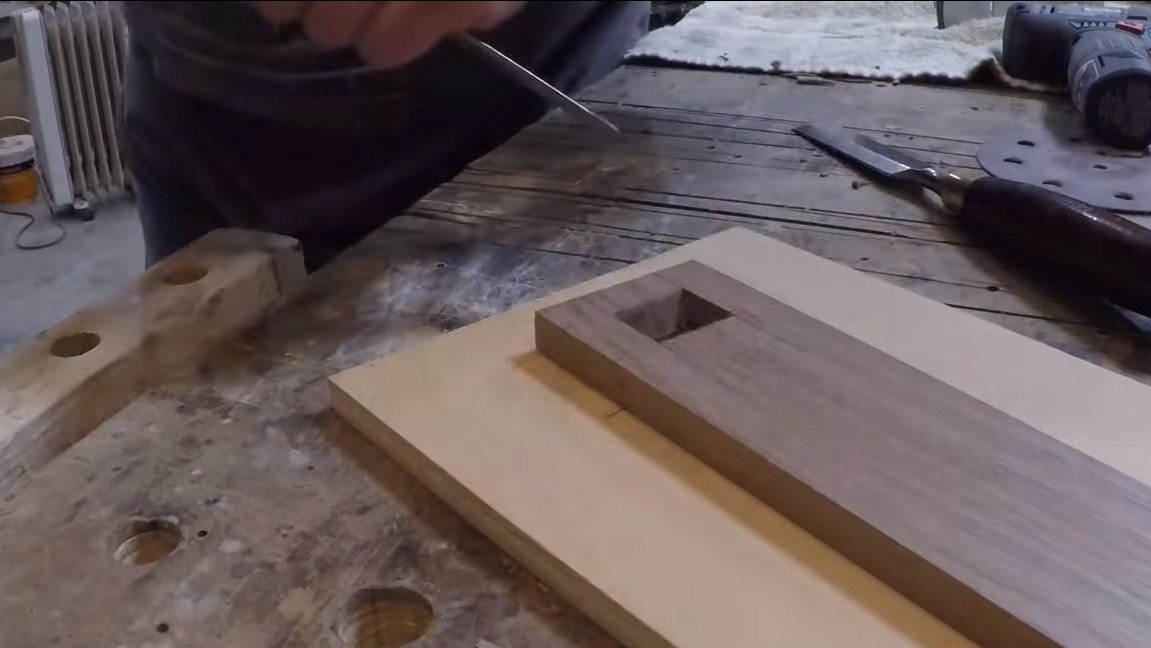
The next painstaking task will be to make a hole in the slab of such shape and size so that the upper part of the stone passes through it, according to the author's idea, it protrudes slightly above the bench. For work, we use the entire wood tool, which is available in the arsenal.
First you can drill rows of holes and then use a chisel to start cutting holes. First you need to draw on the tree the shape that the hole should have, this shape must match the shape of the stone. As a result, the stone should go into the slab with almost no gaps, then the work will be performed efficiently.
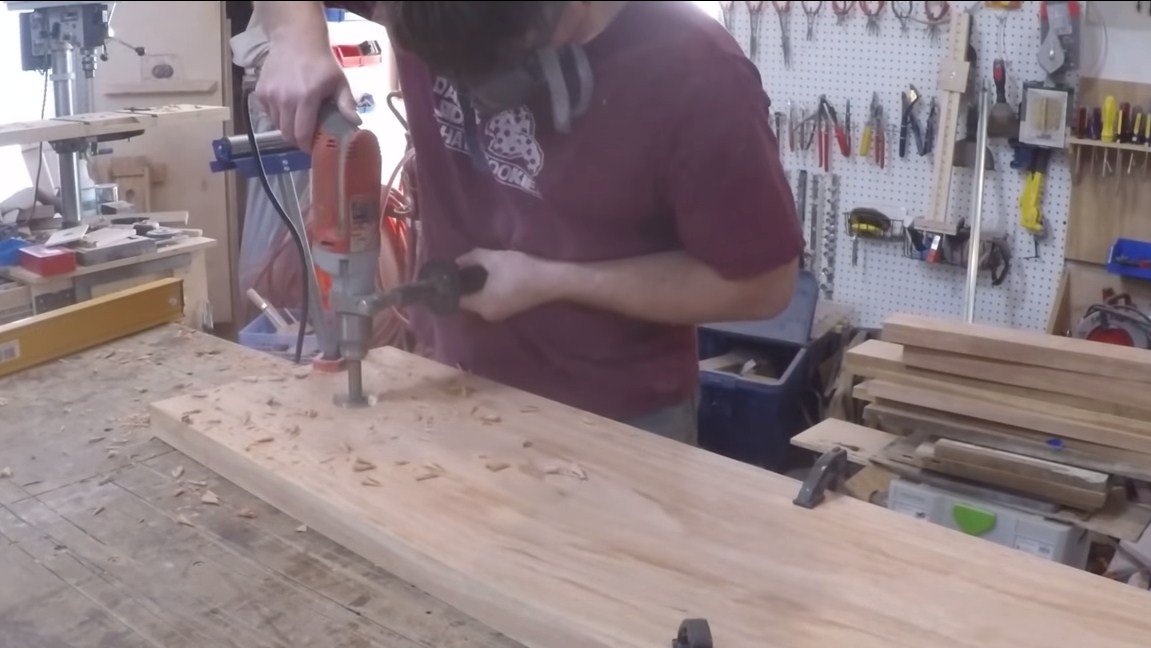
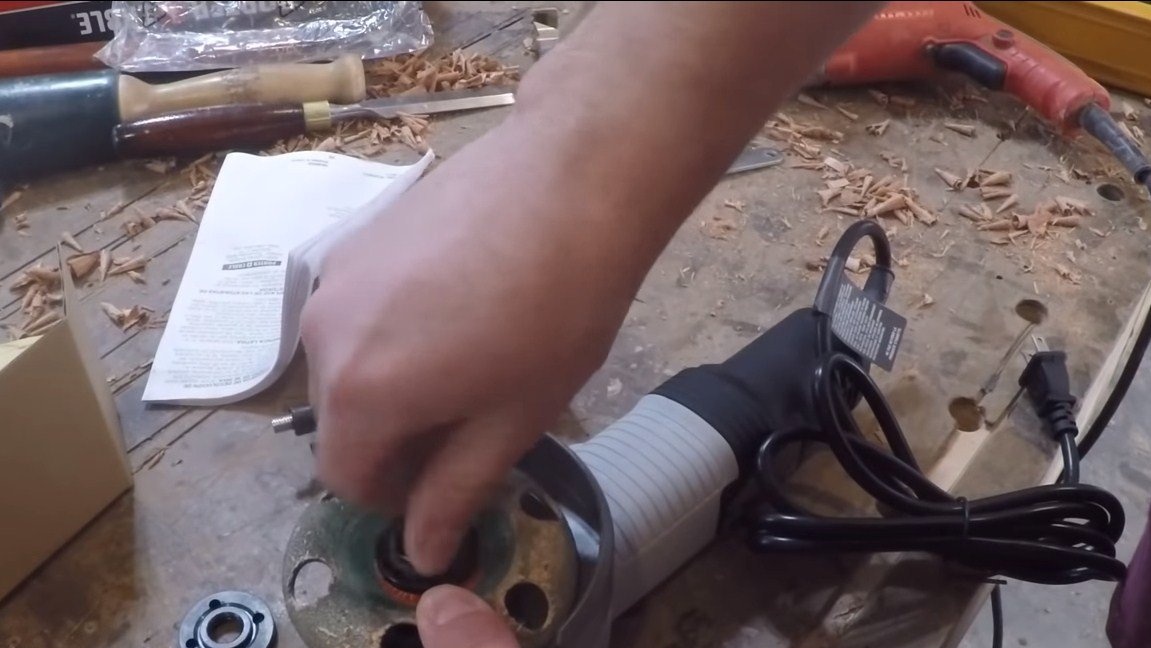
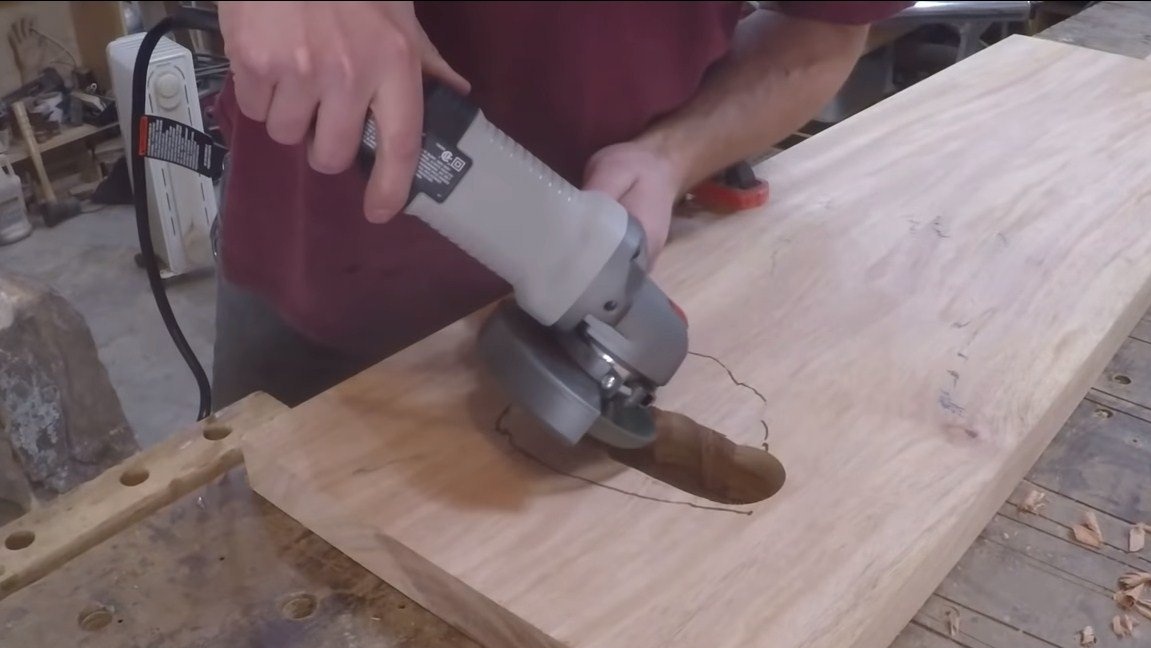
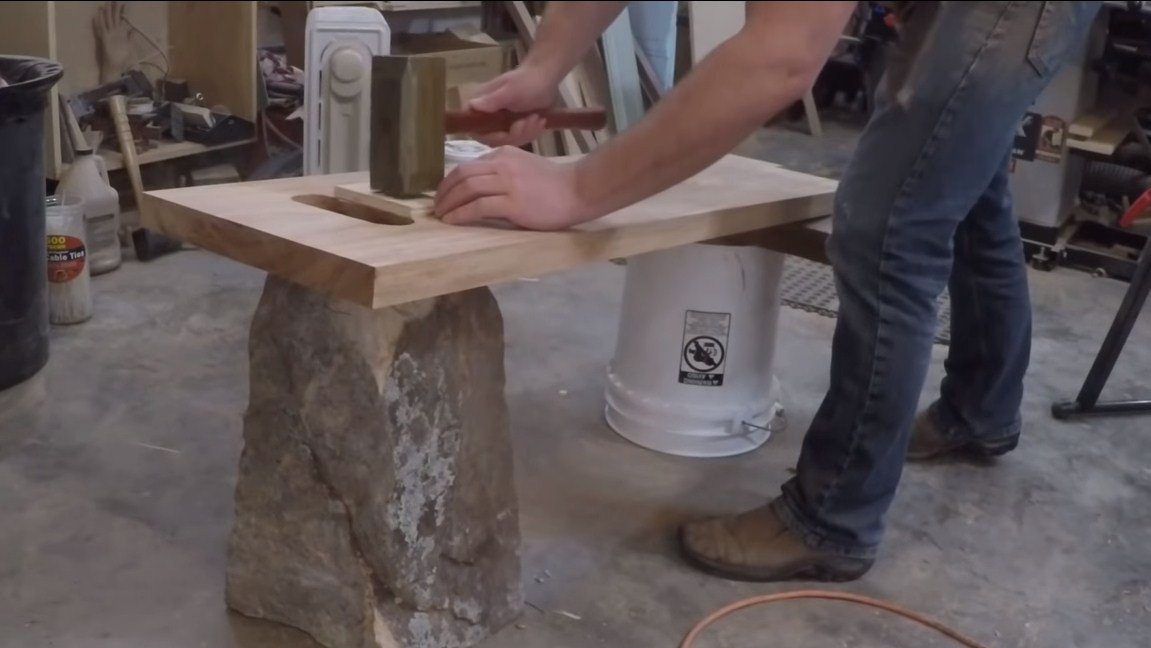
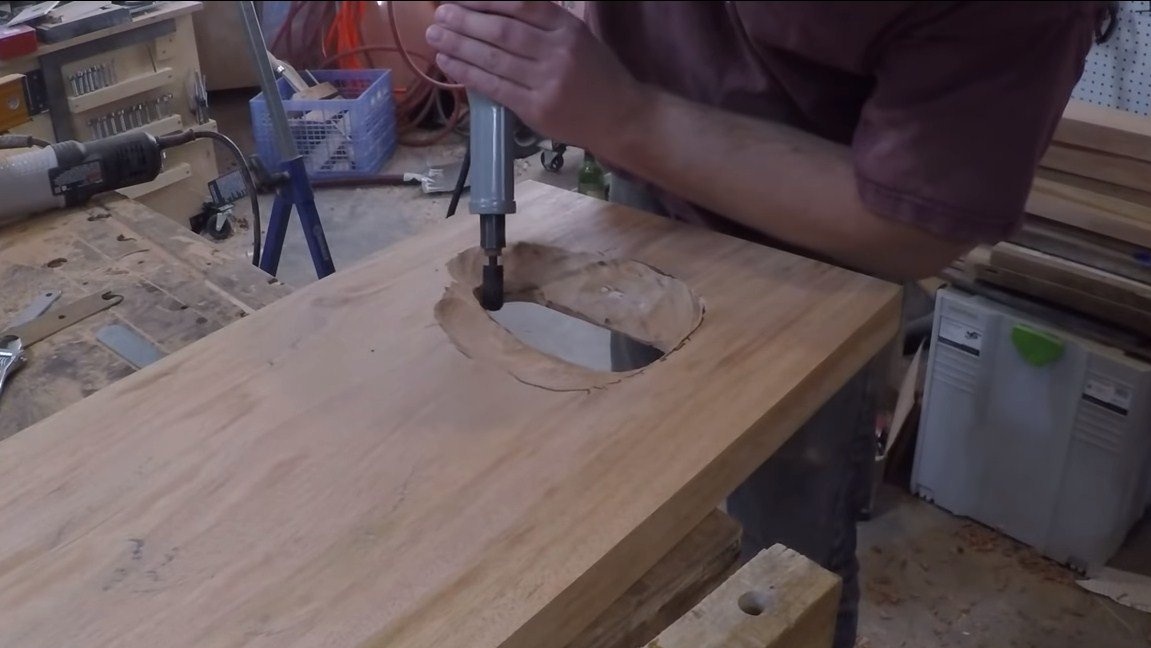
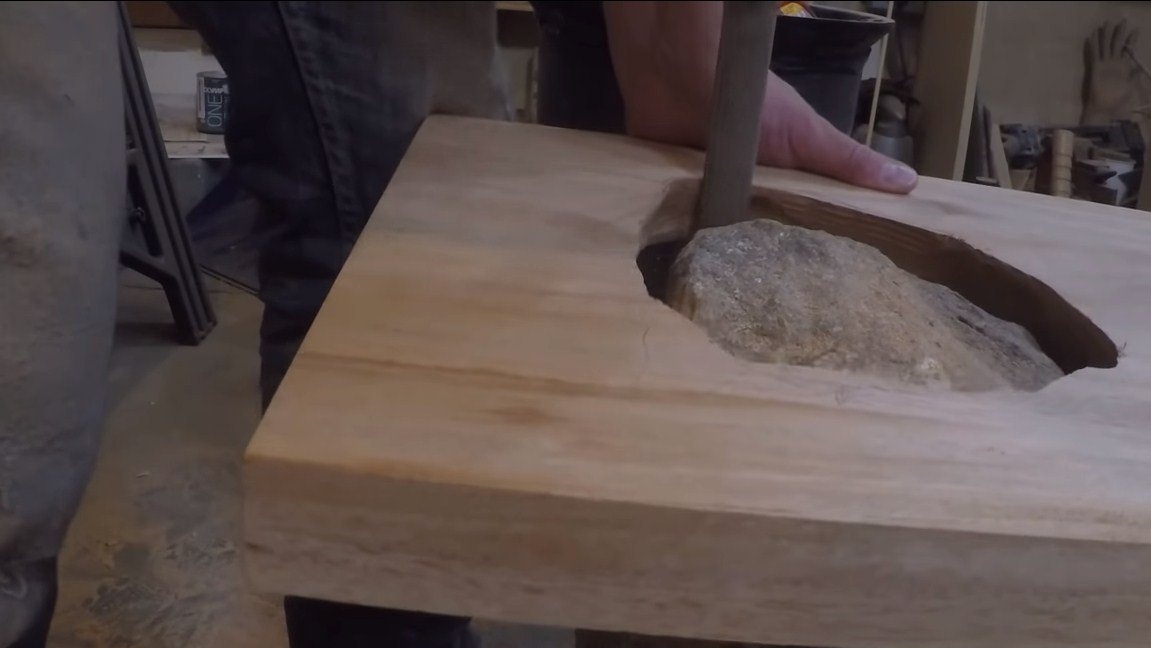
For works, the author uses a grinder with a special nozzle for wood. At the final stage, a drill is used, as well as a rasp. As a result, the author perfectly fits the hole, and the stone fits perfectly into the slab.
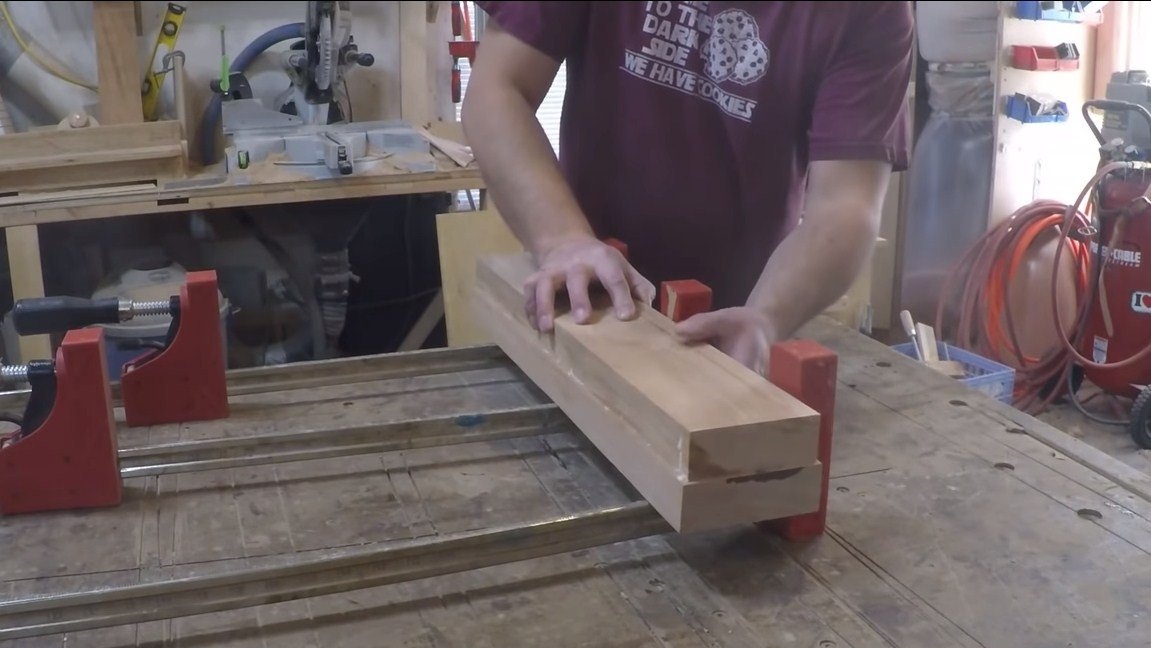
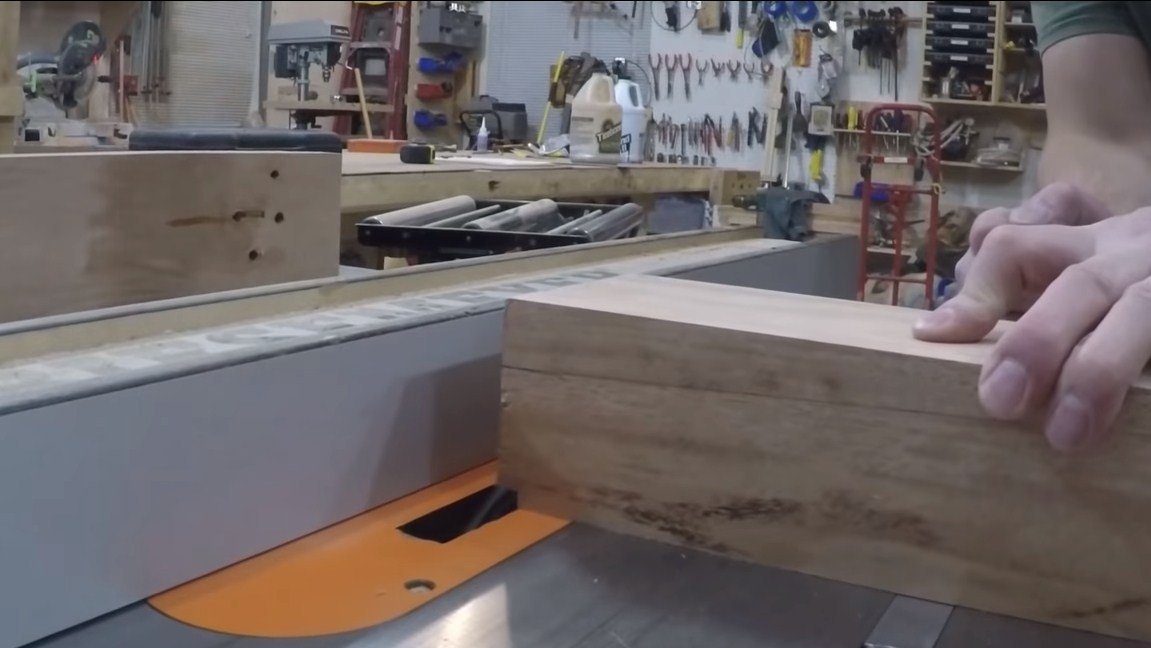
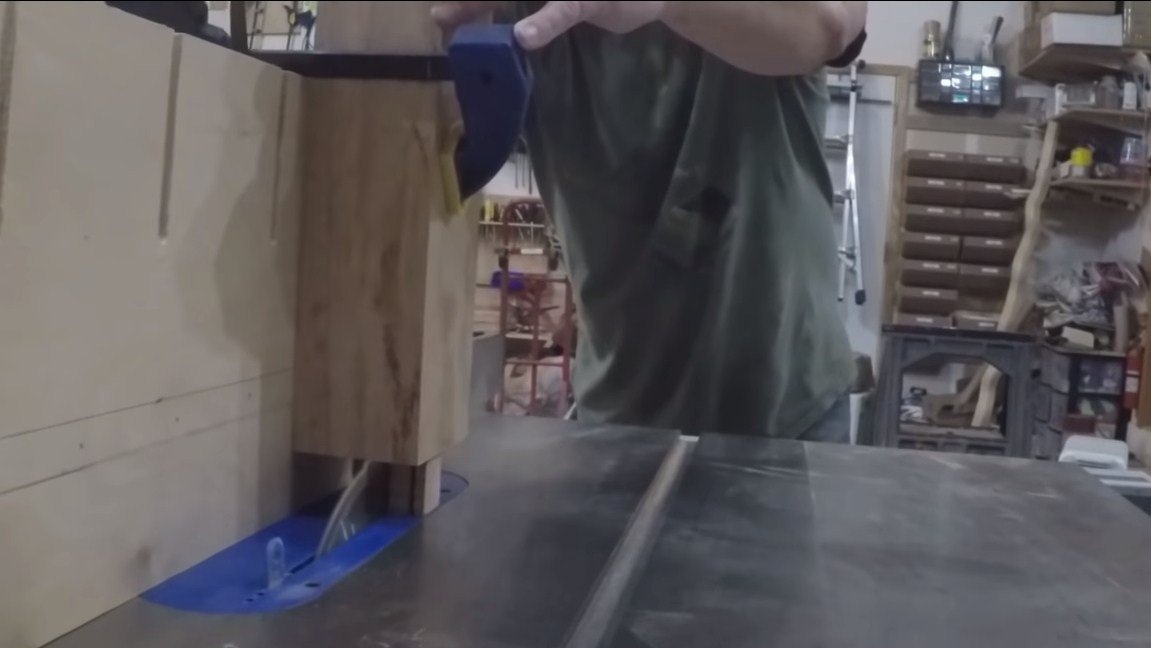
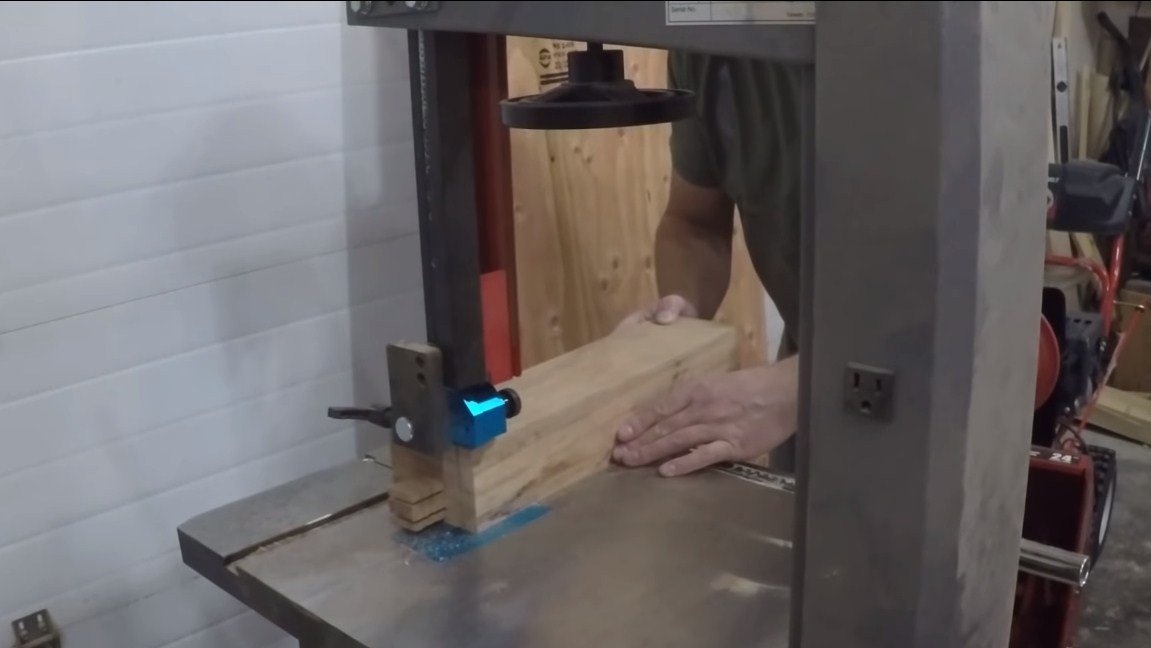
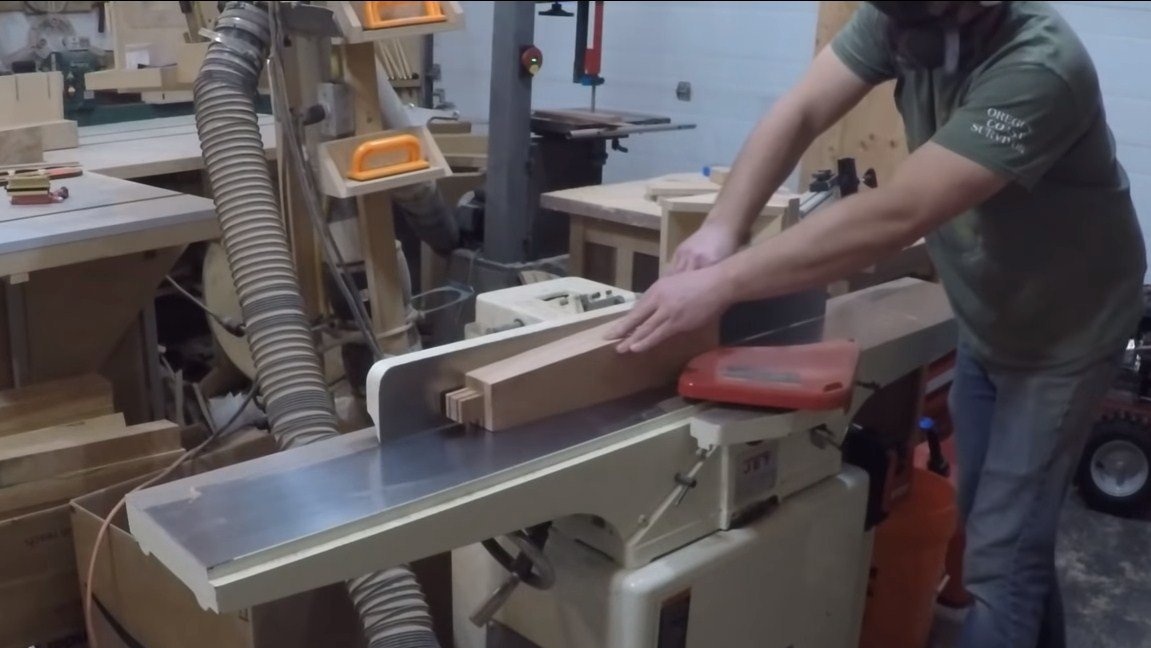
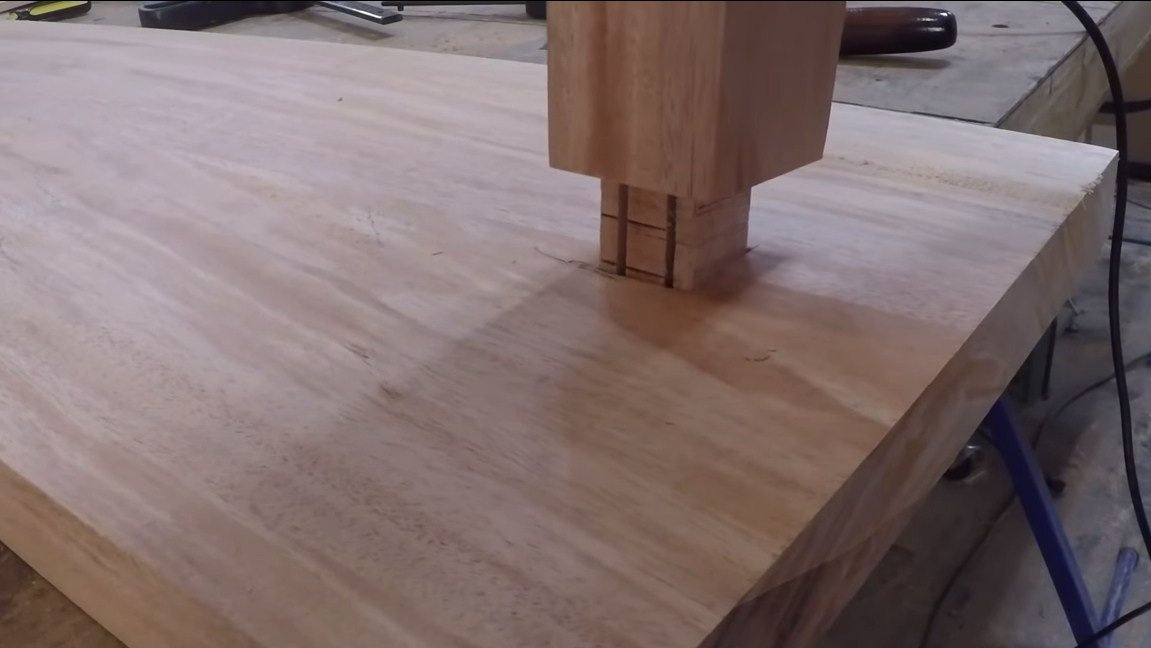
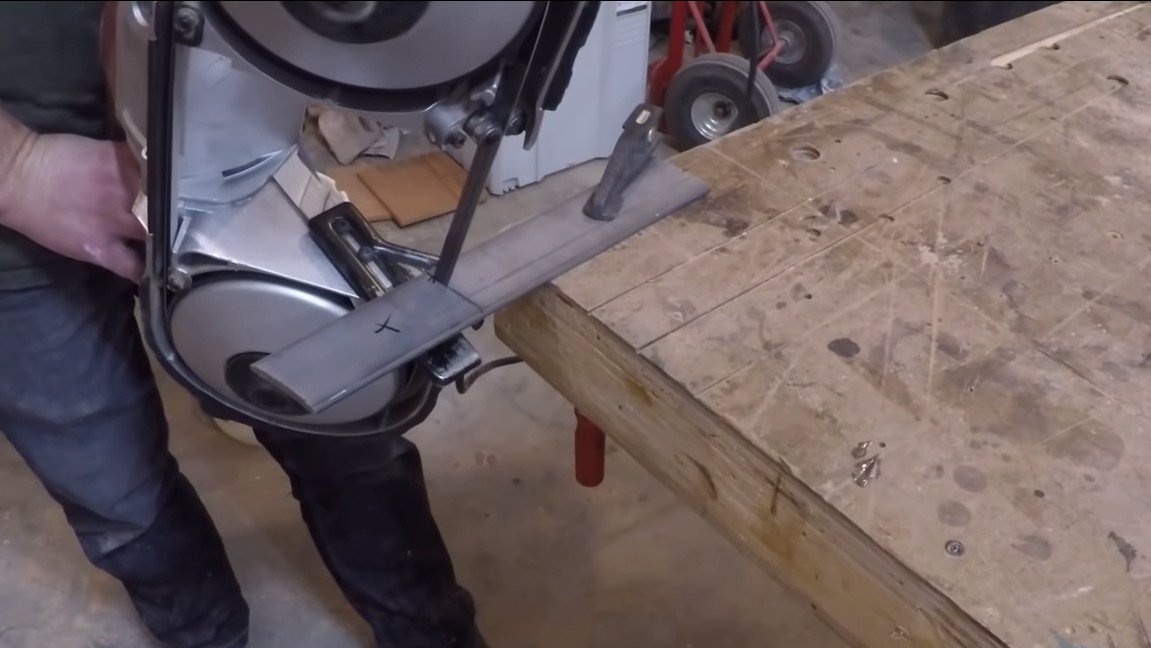
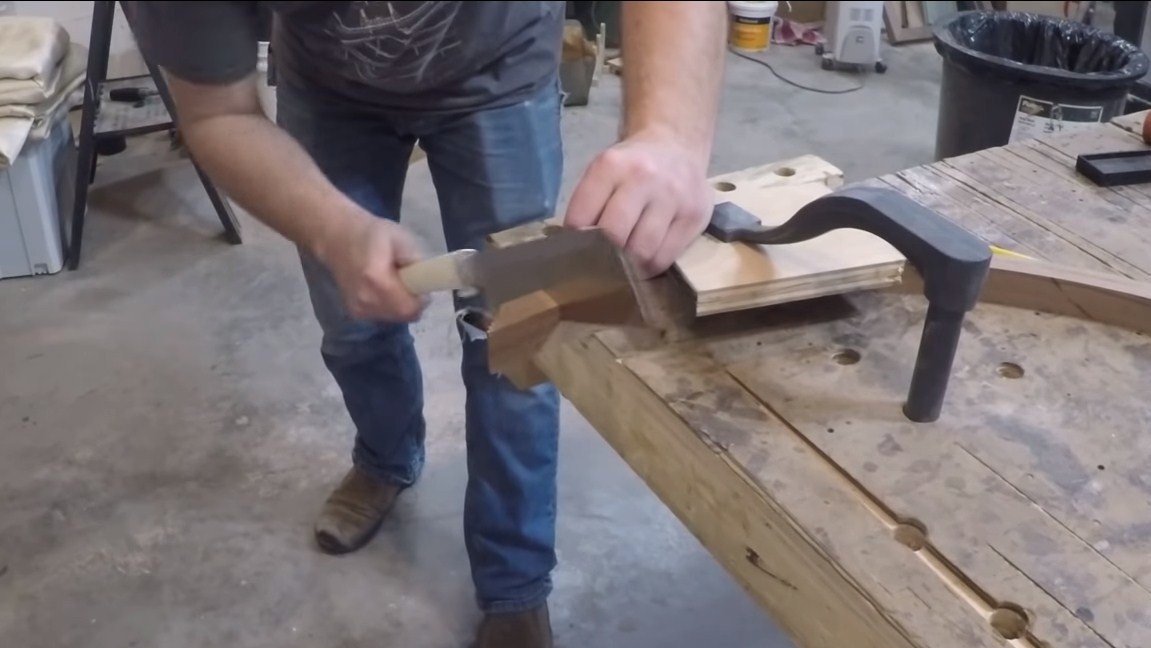
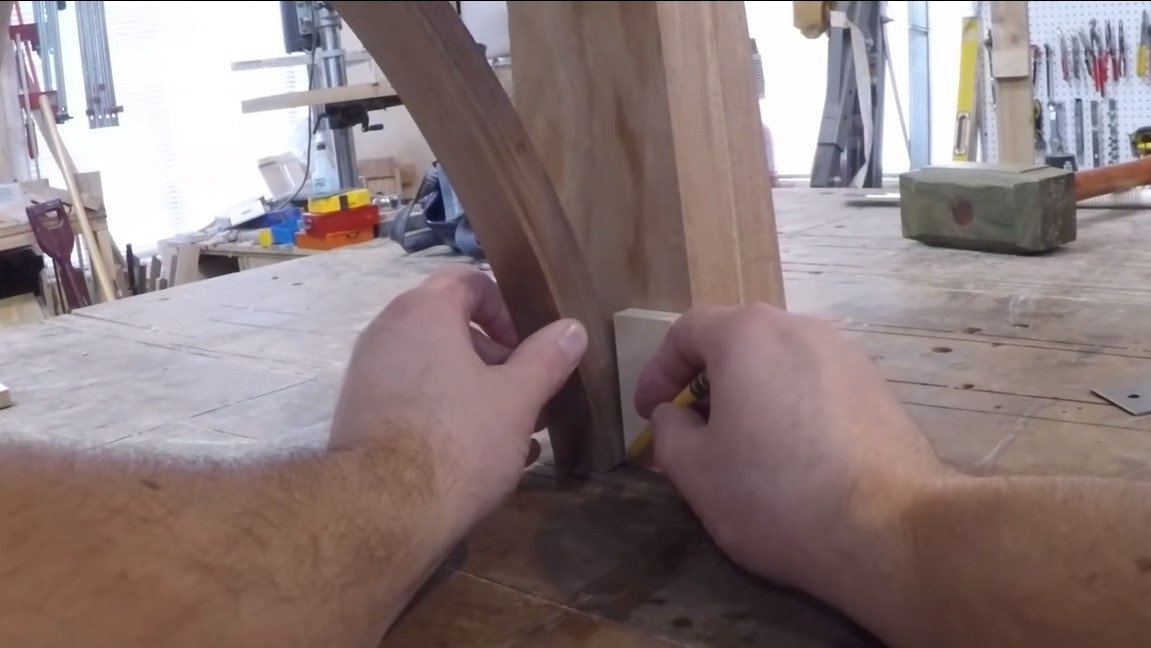
Step Three Leg
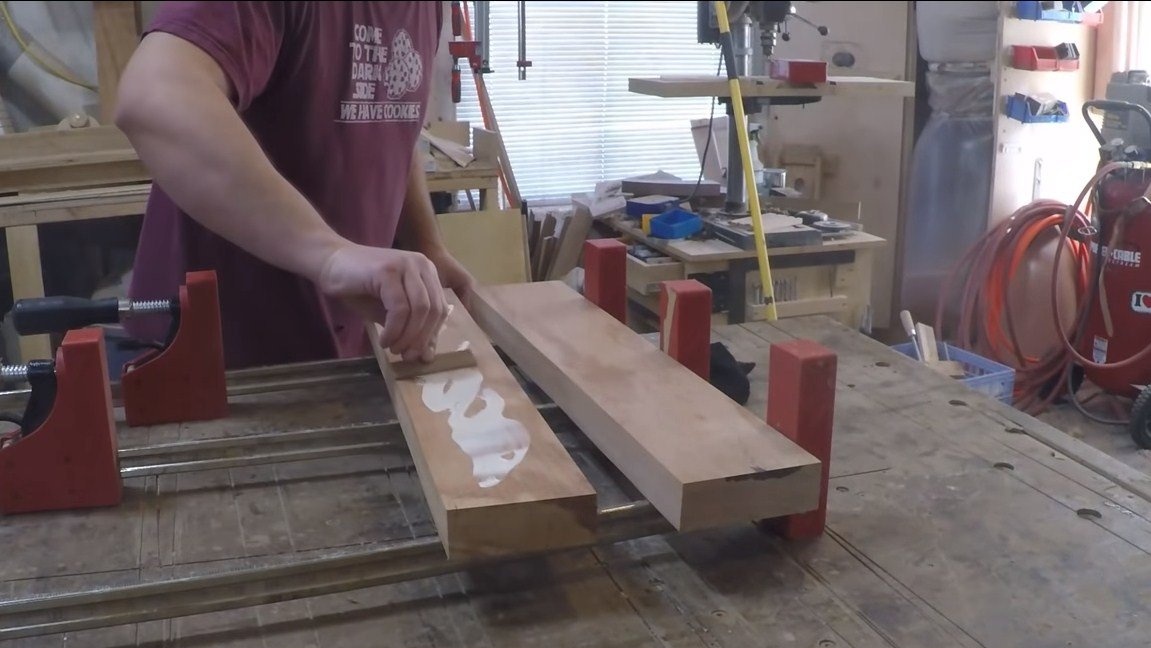
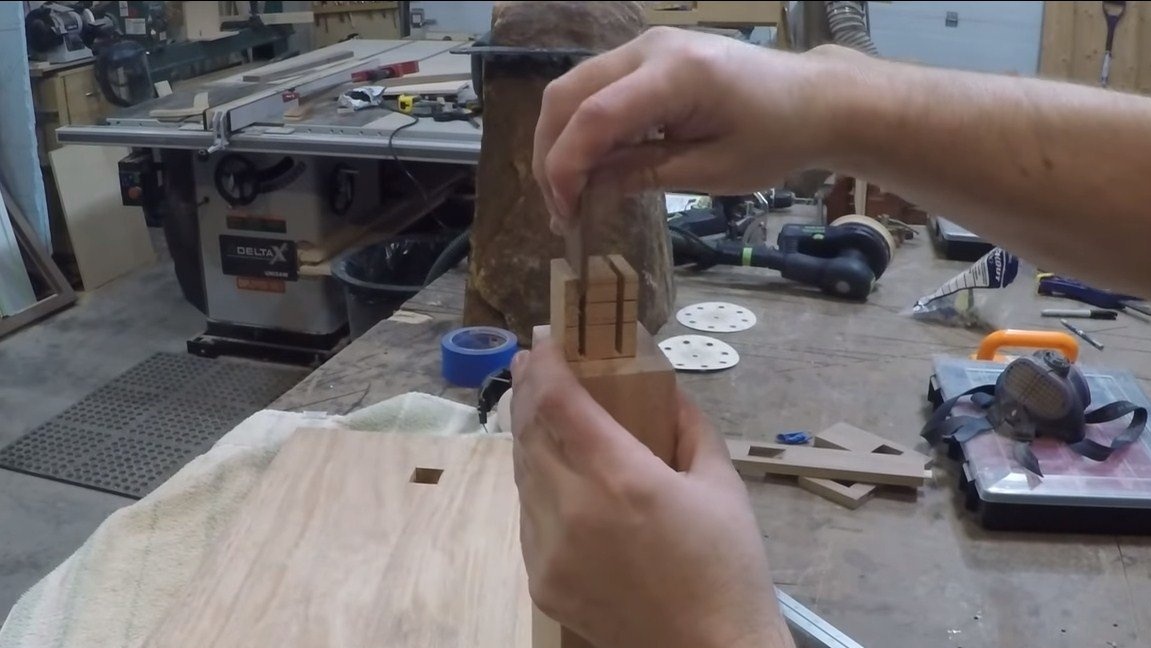
Let's make the second leg for the table, we have it from wood, if there is no beam of the required thickness, we glue several massive boards. Having cut the leg of the desired shape, we make a spike at its end, it is with the help of it that the leg will be attached to the bench. In the spike we make two cuts under the wedges, when the spike is wedged, it will hold very firmly in the wood slab.


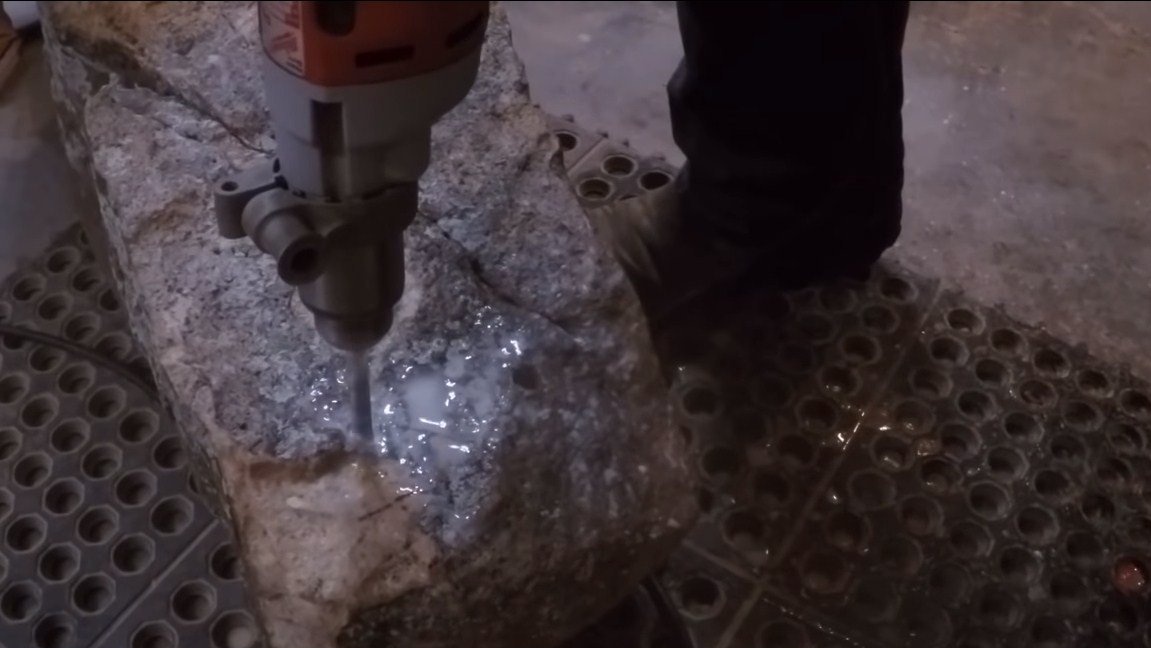
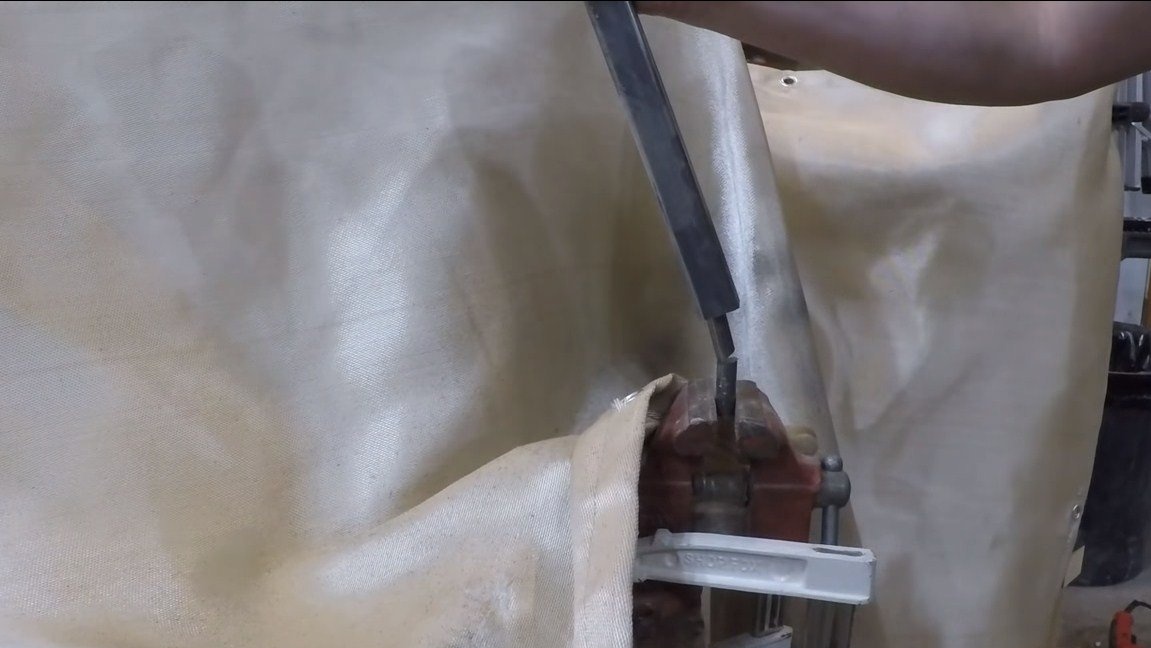
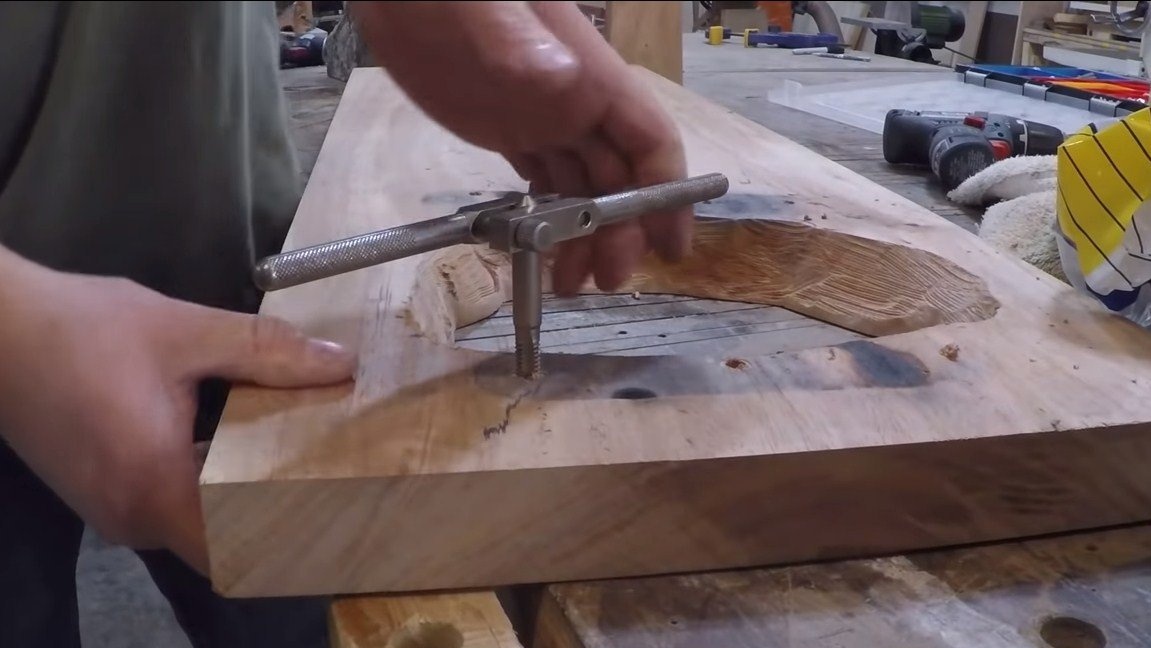
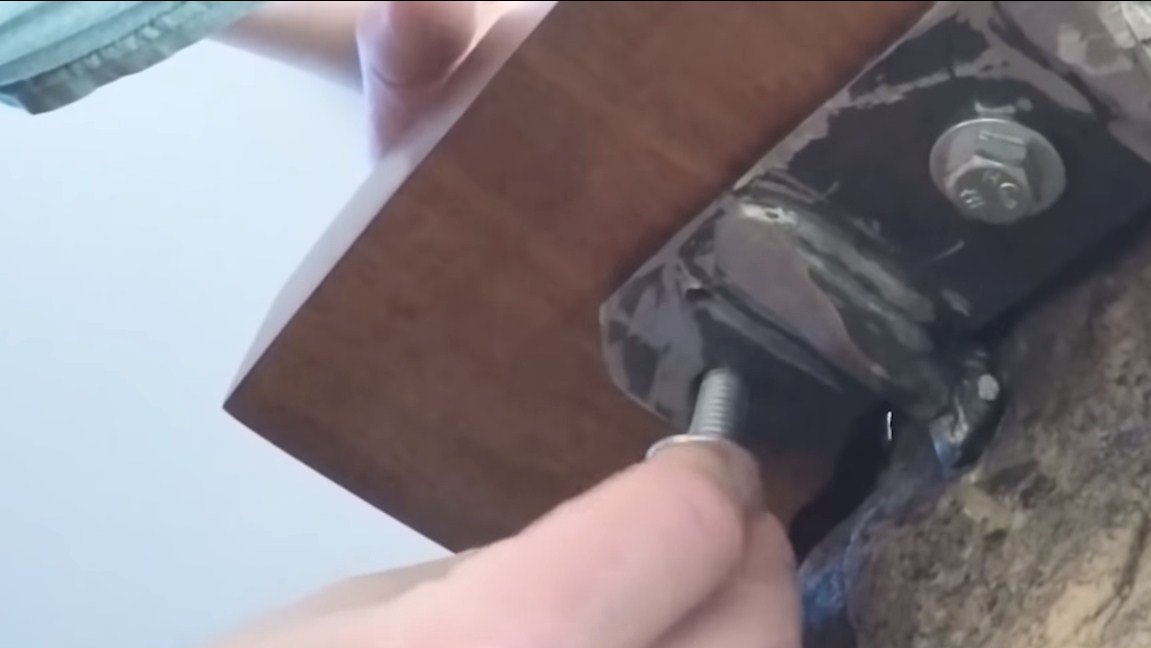
Step Four Stone mount
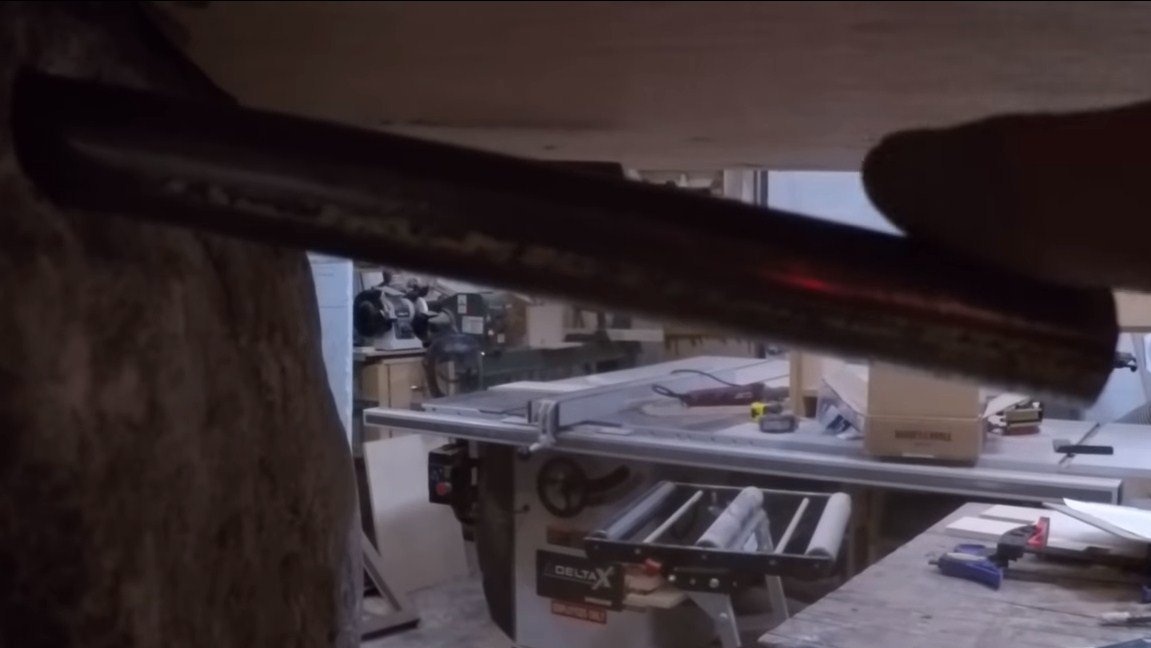
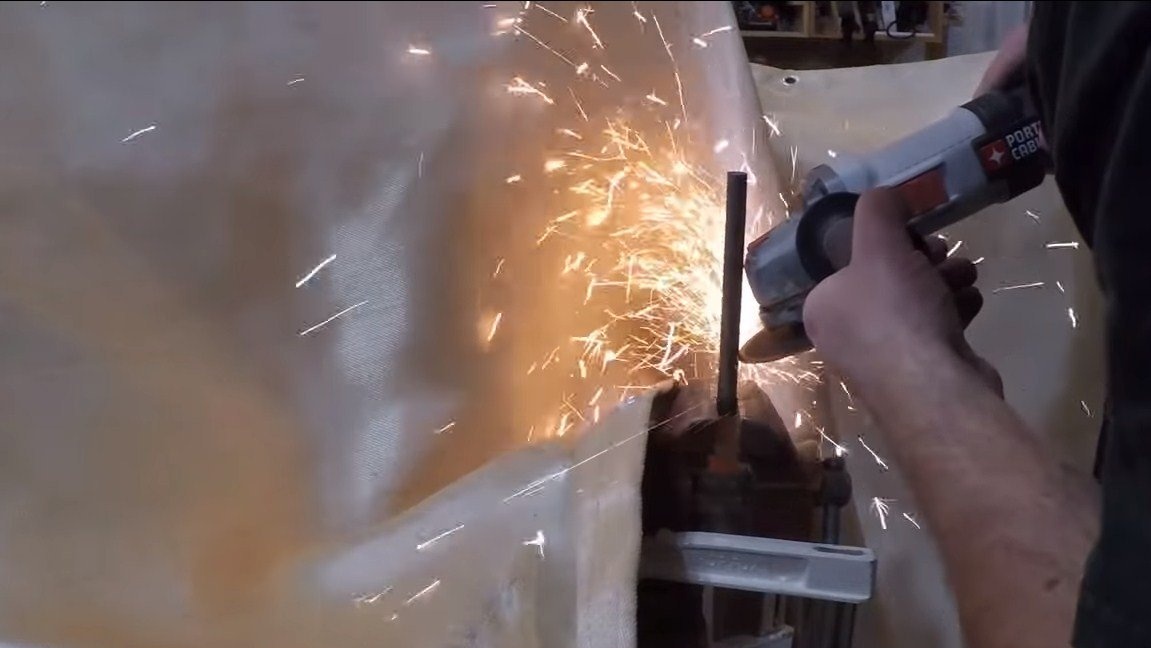
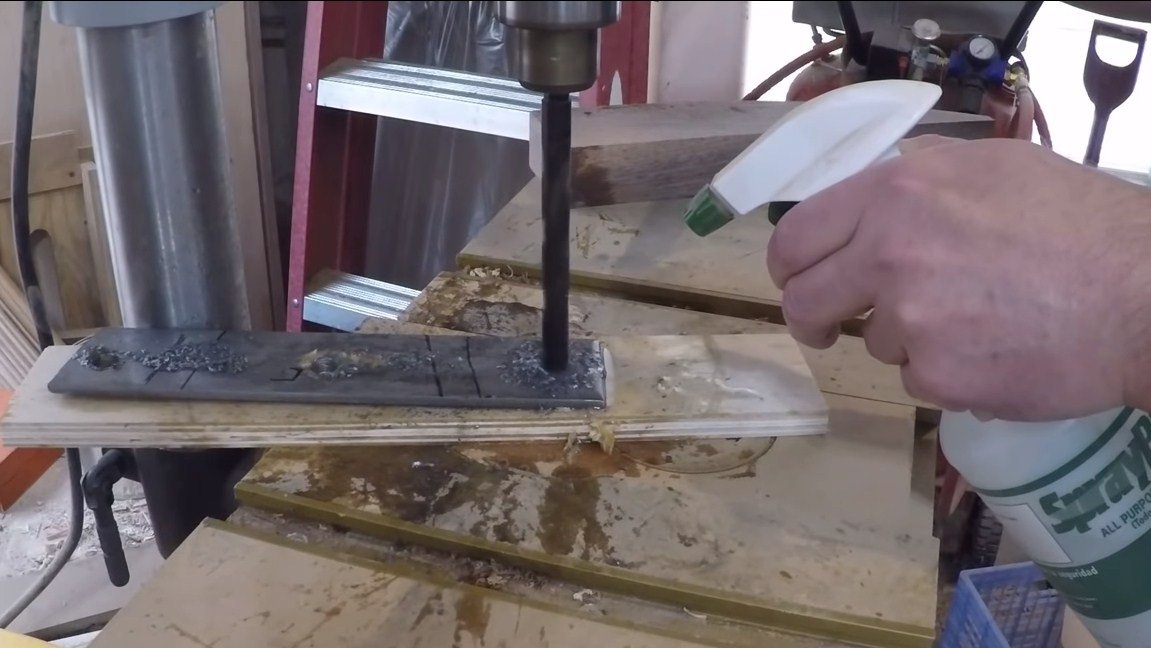
It is desirable to fix the stone so that the bench is as reliable as possible. To do this, we drill holes in the stone with a drill for concrete, well, then we assemble the fasteners. Here we need a round log and plates with holes, iron rods will go into the stone, and we will screw the plate to the plates welded to the rods. The author cut the thread directly in the tree under the bolts with a tap.
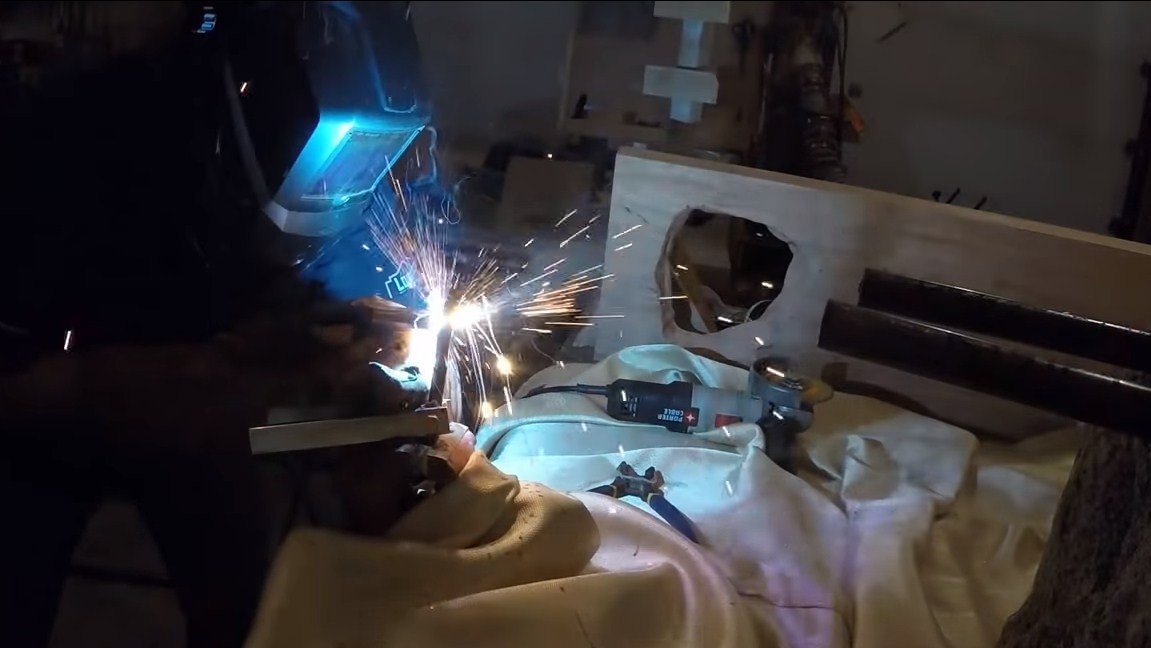

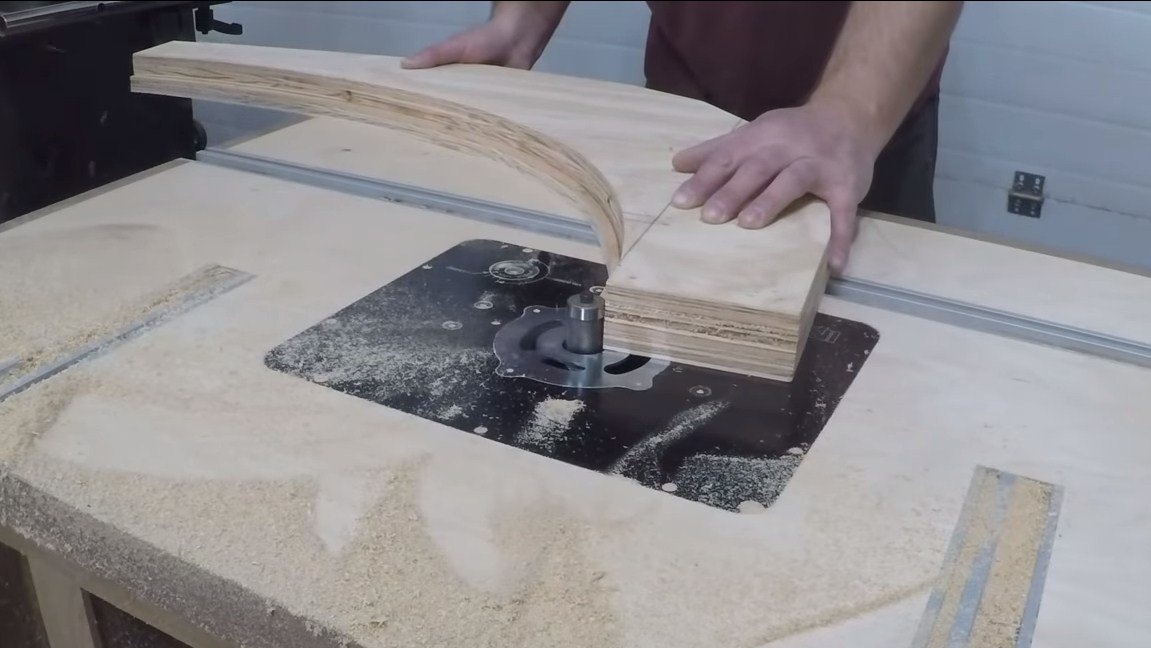
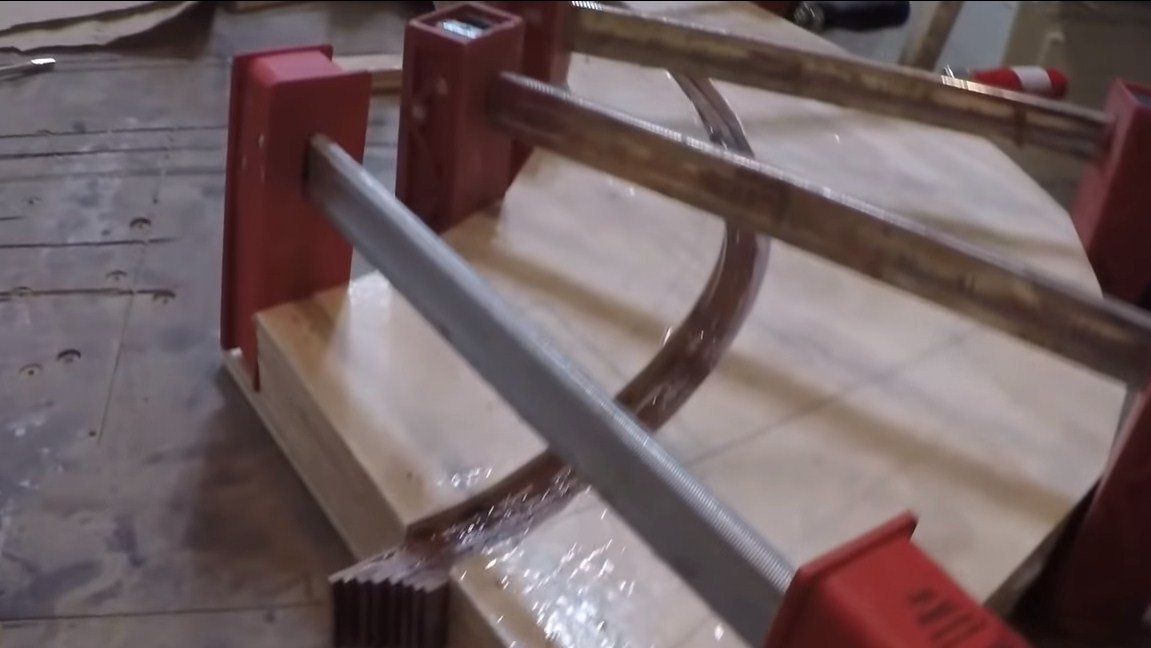
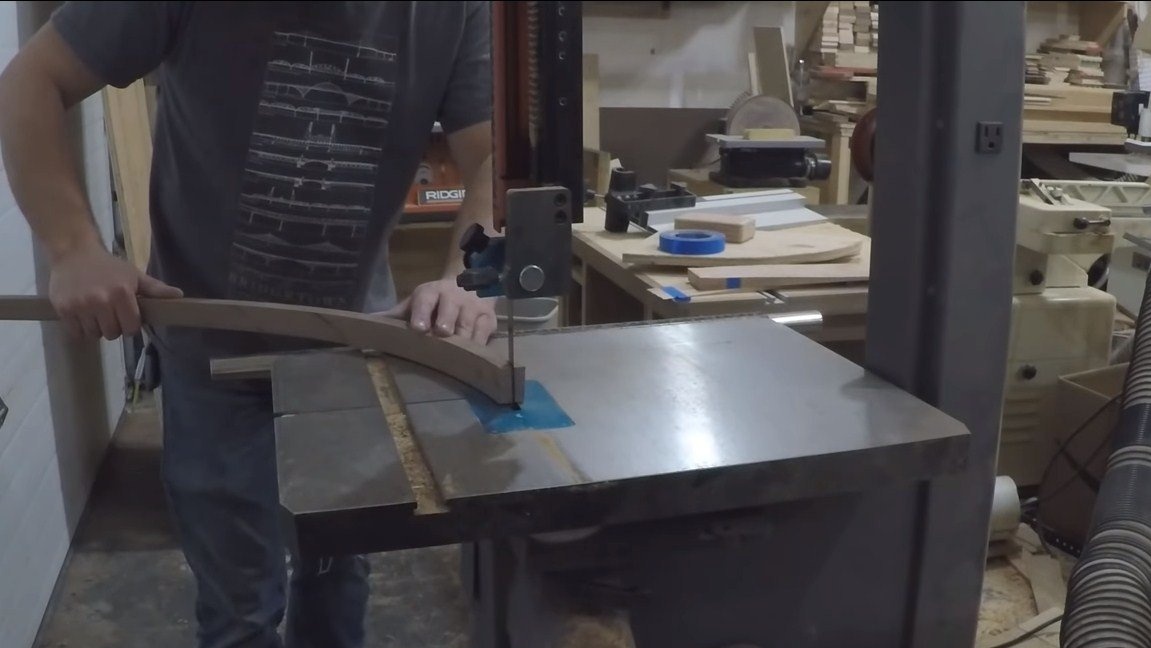
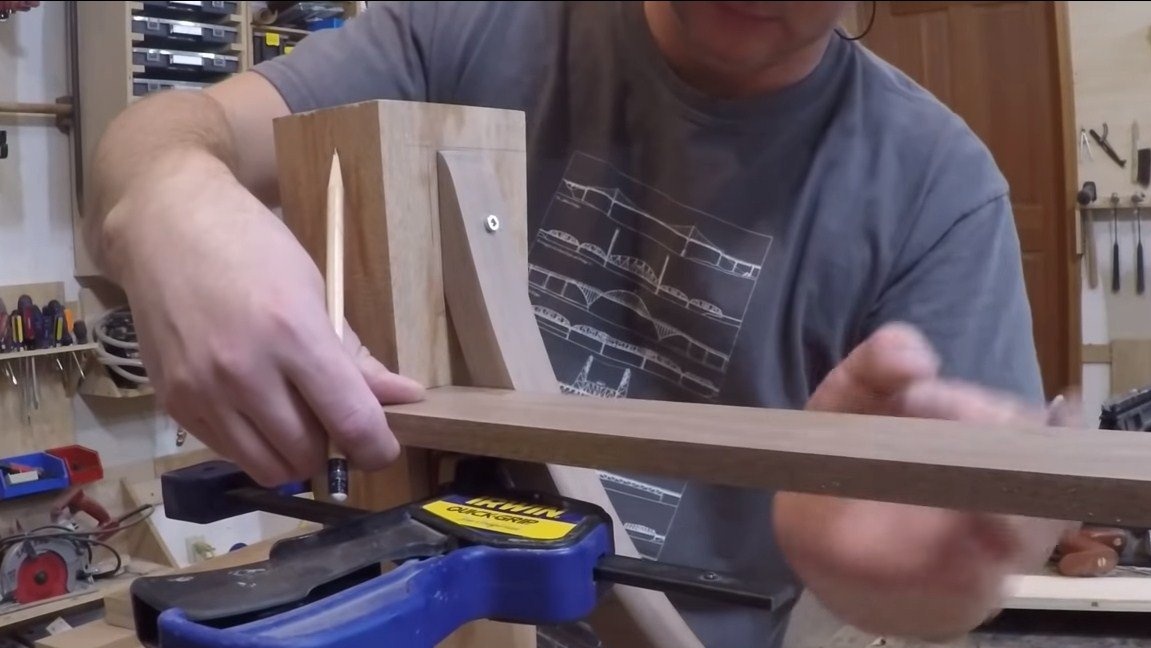
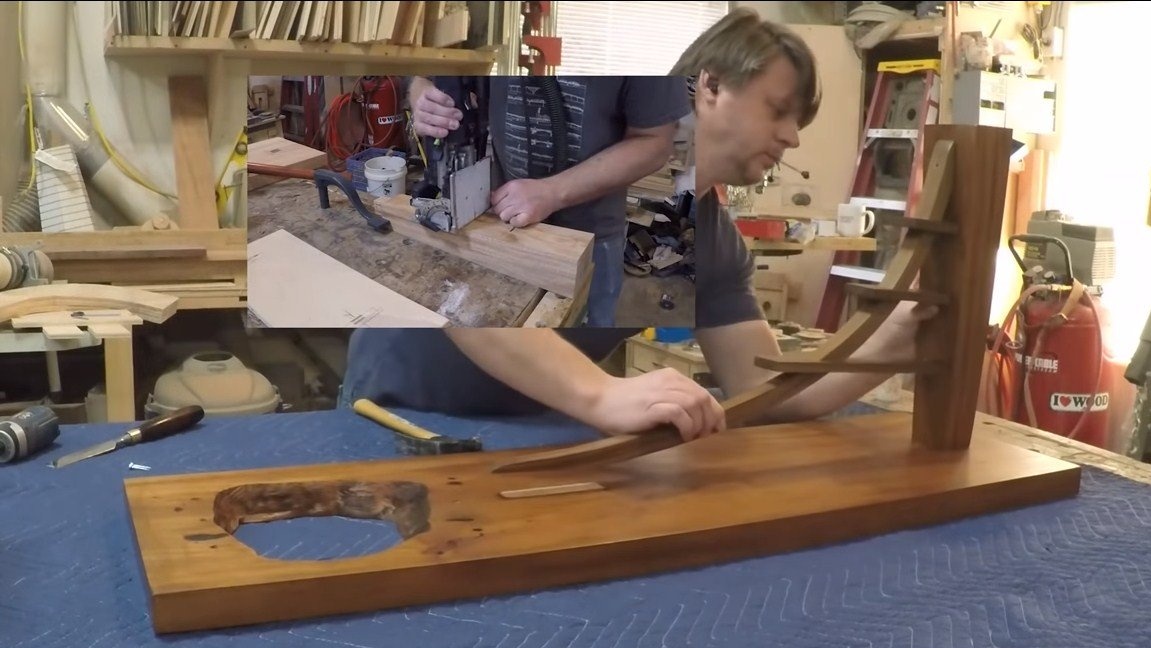
Step Five Arc
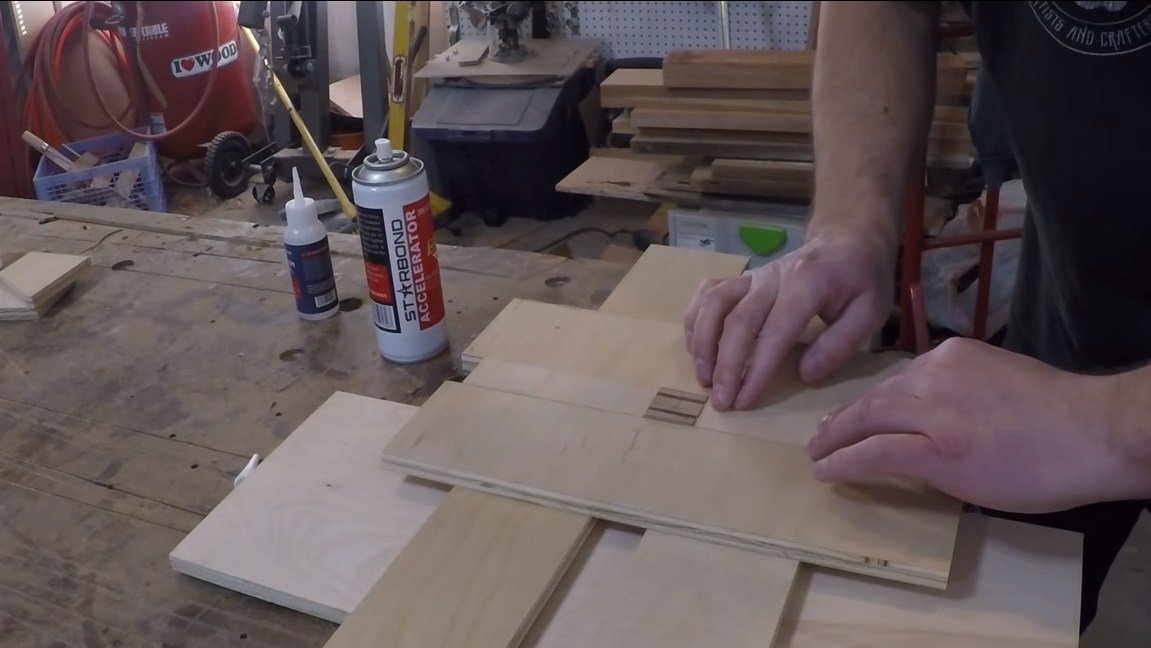
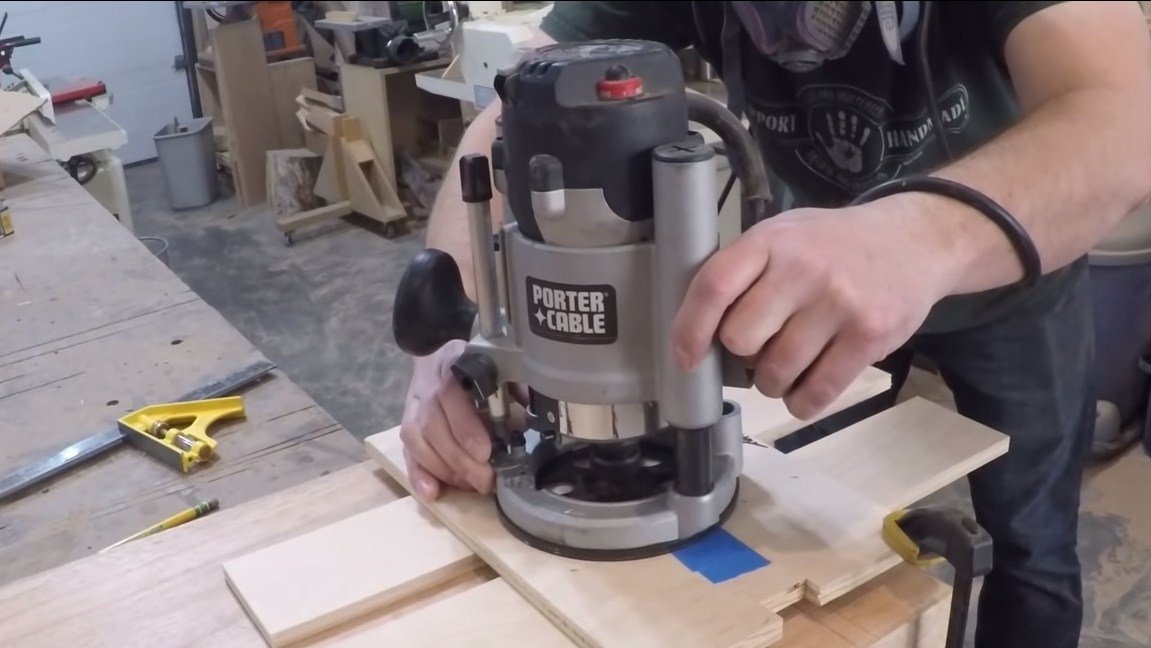
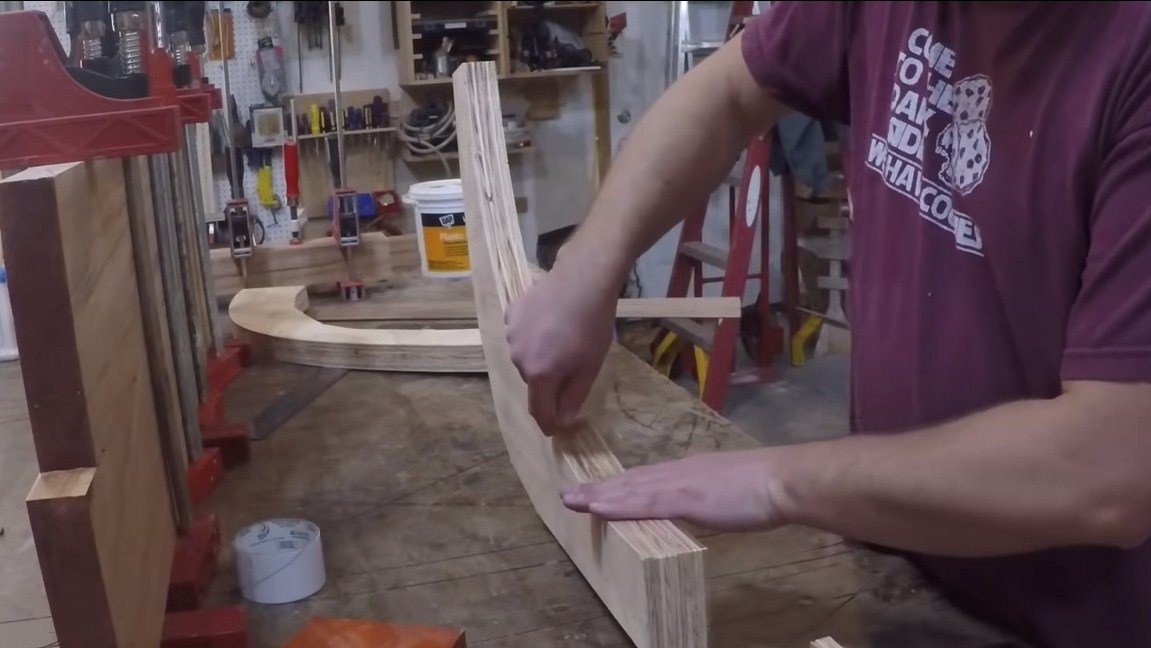
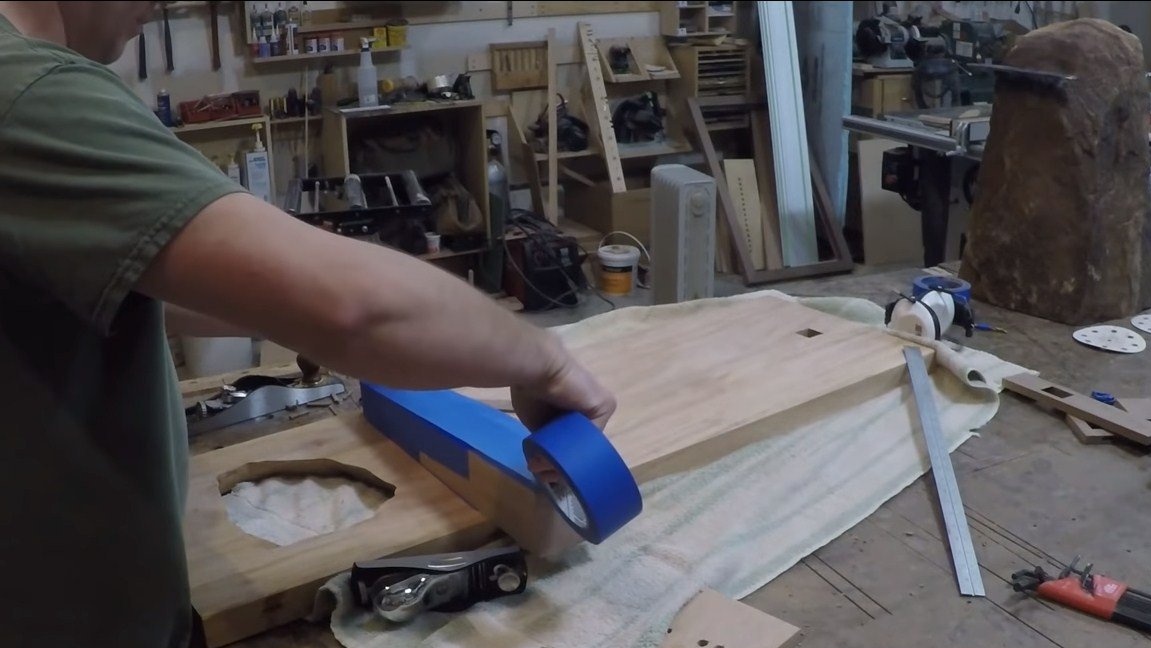
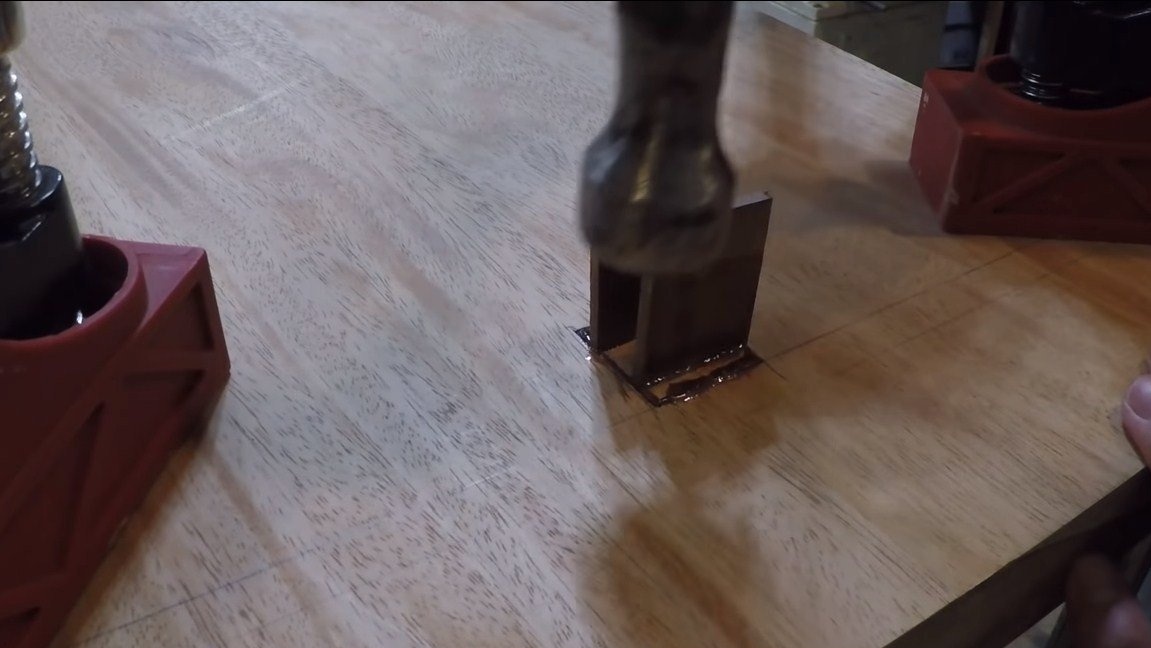
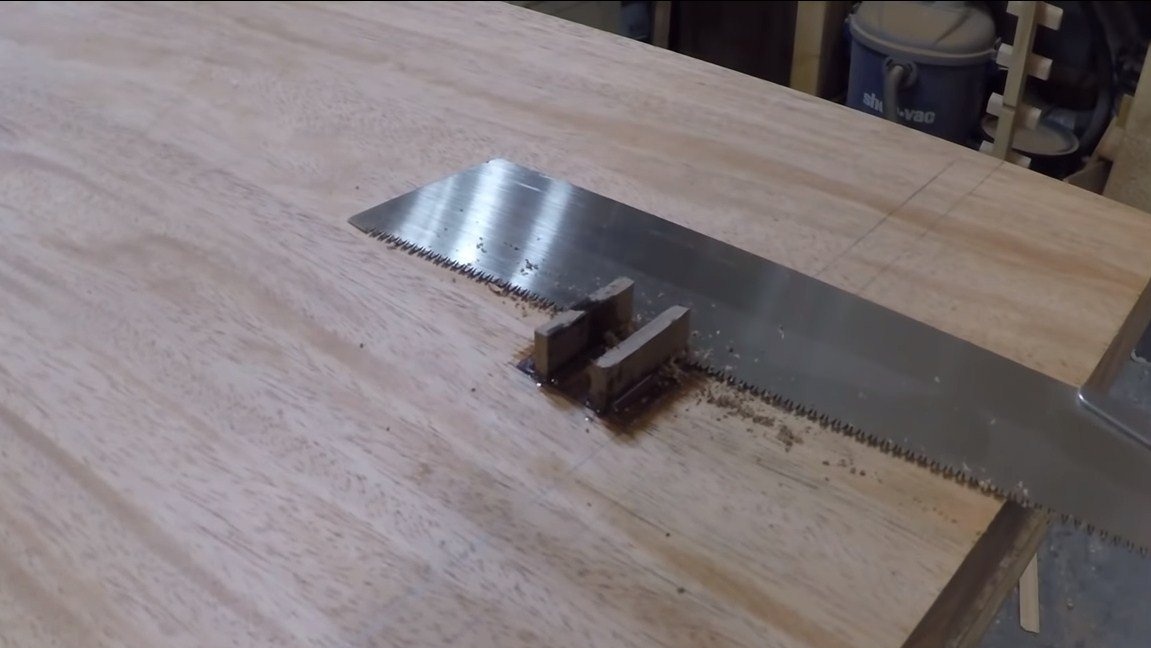
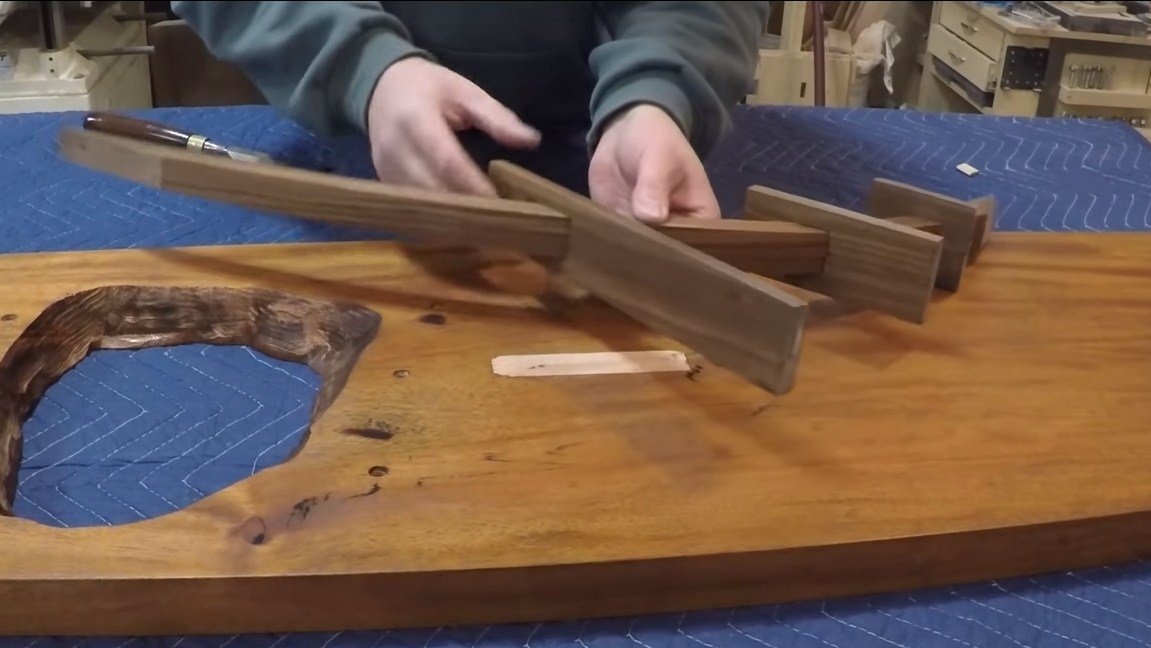
Now we make an arc that is attached to the wooden leg and base of the bench. Here we need thin boards of a beautiful breed of wood, they need to be glued together. To glue such an arc, you first need to make a mold from plywood, and then everything is simple, glue the parts and clamp in the mold to dry.
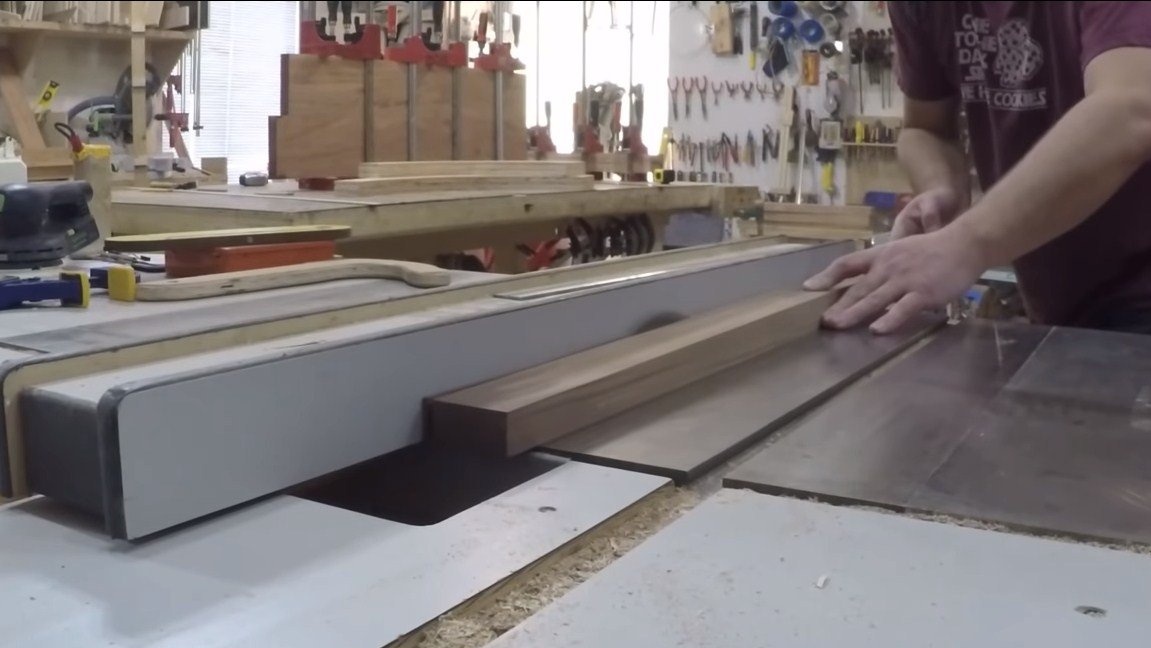
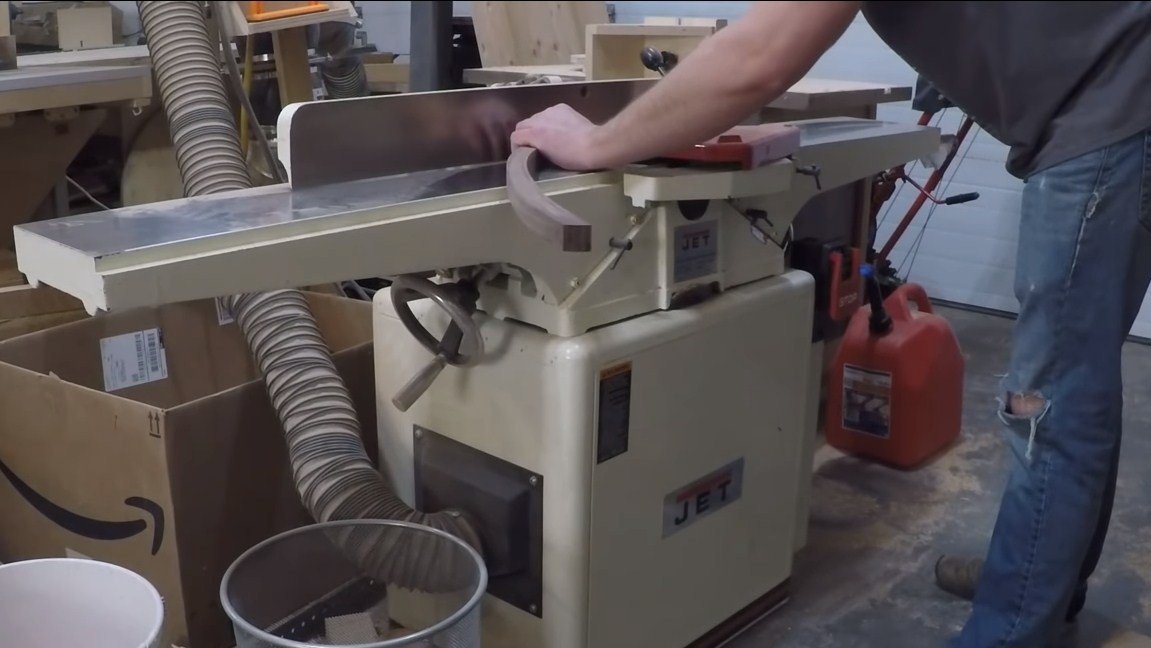
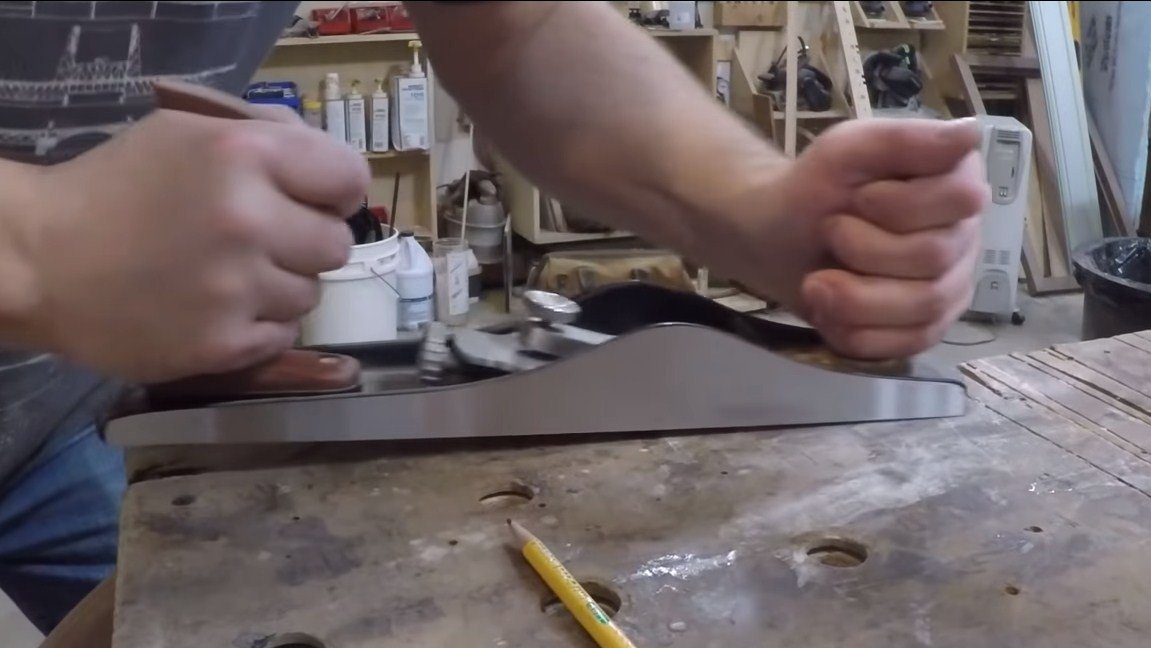
When the glue dries, we take out the product, grind it and customize it to our bench. “Jumpers” will also be needed on the arc, cut out from a board with a beautiful texture.
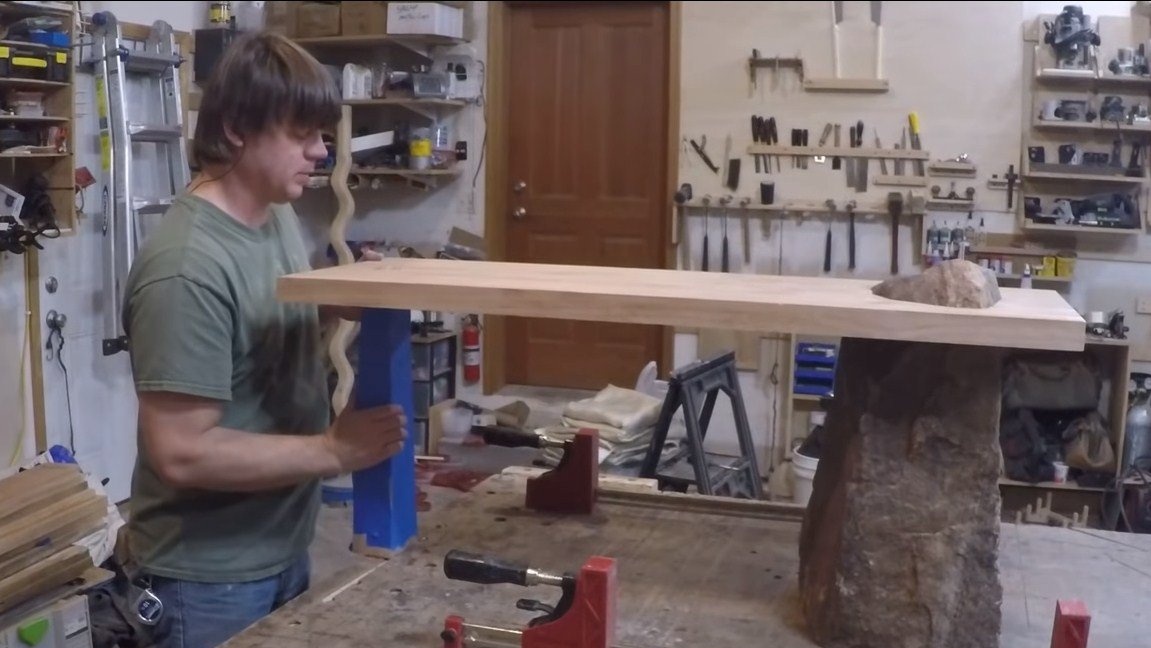
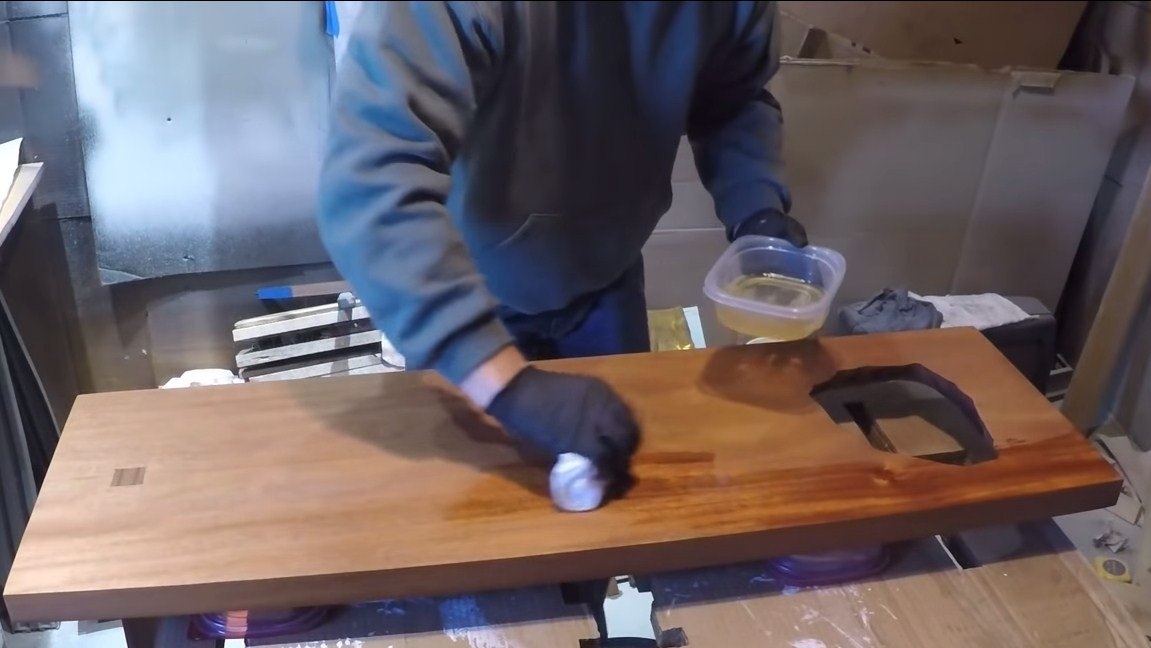
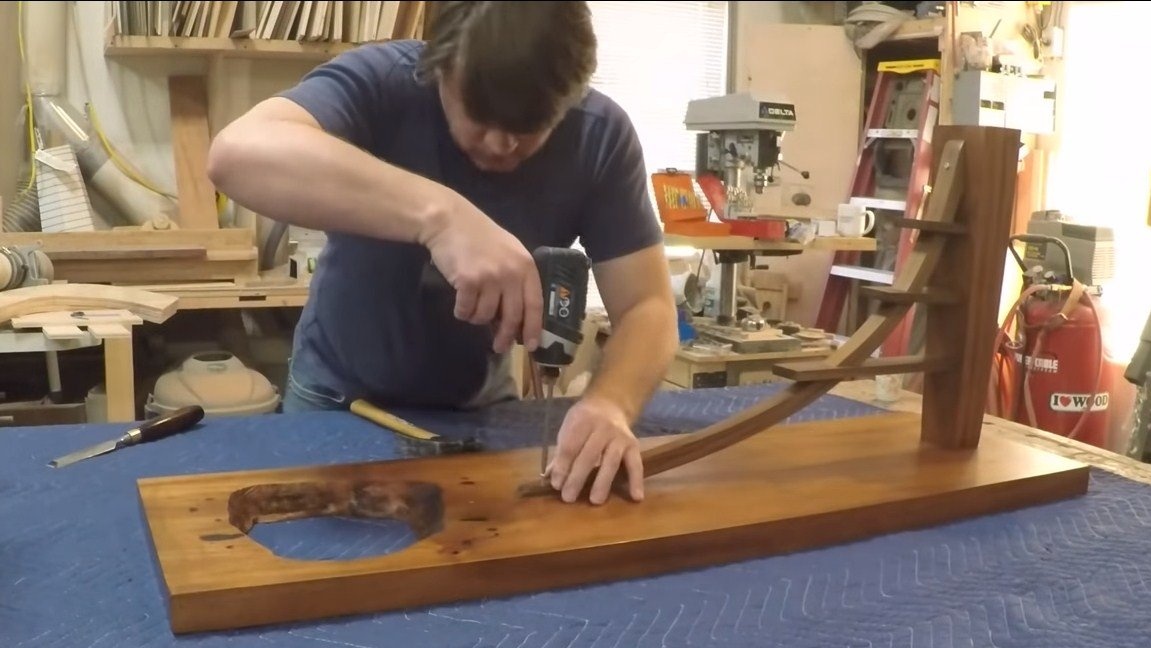
Step Six Foot installation and impregnation
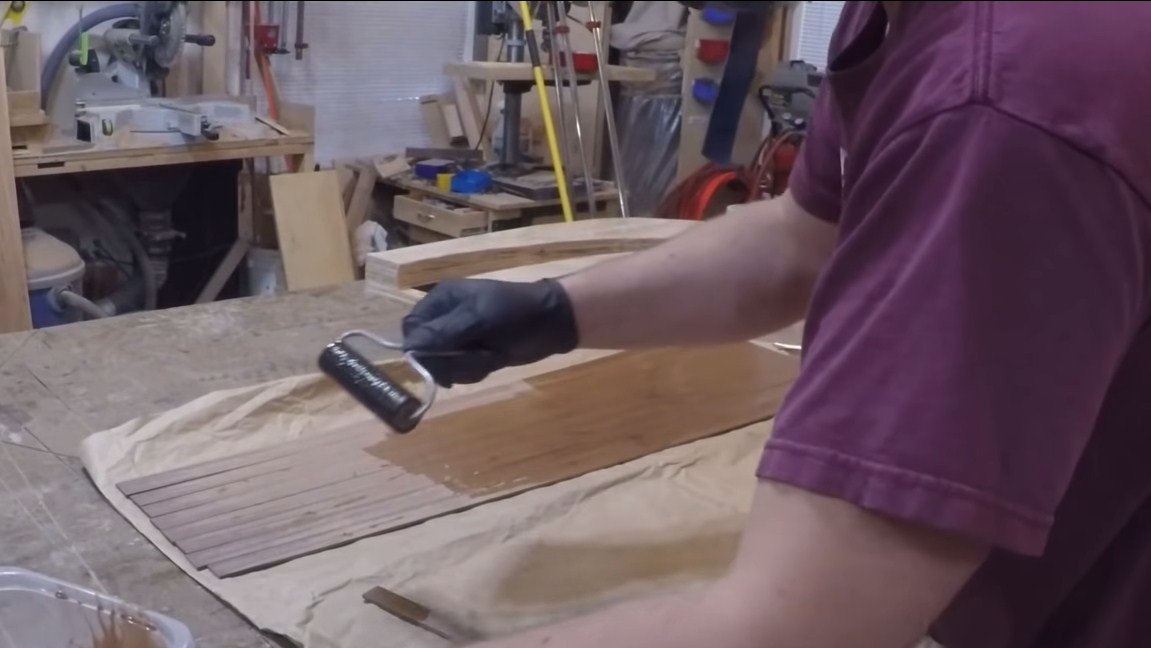
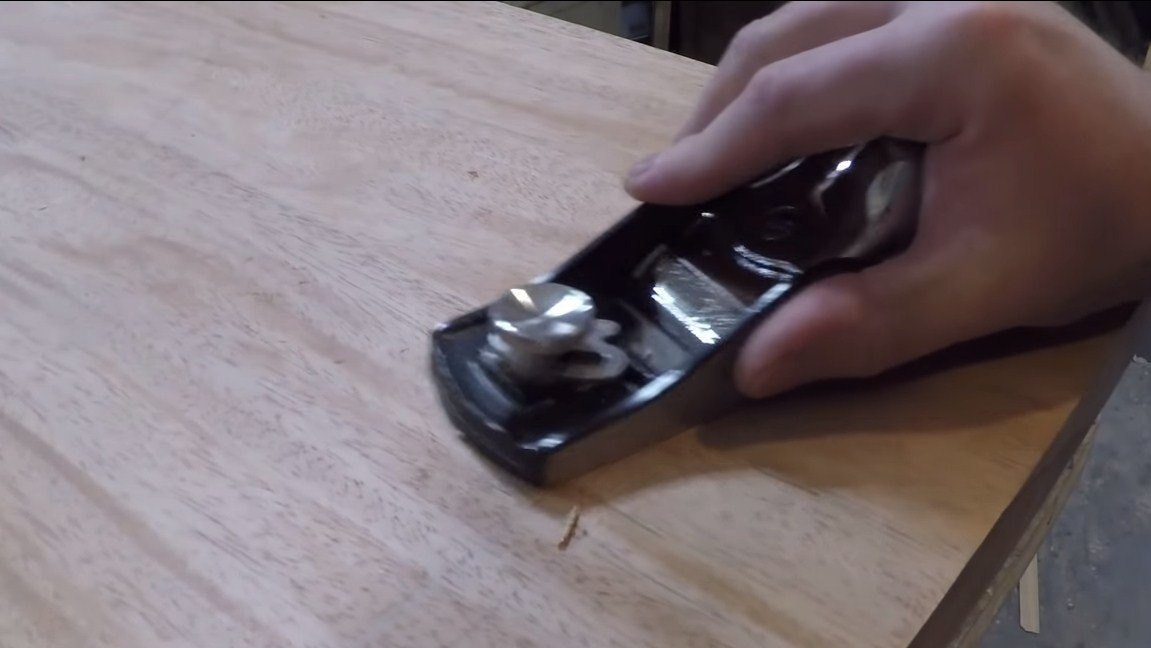
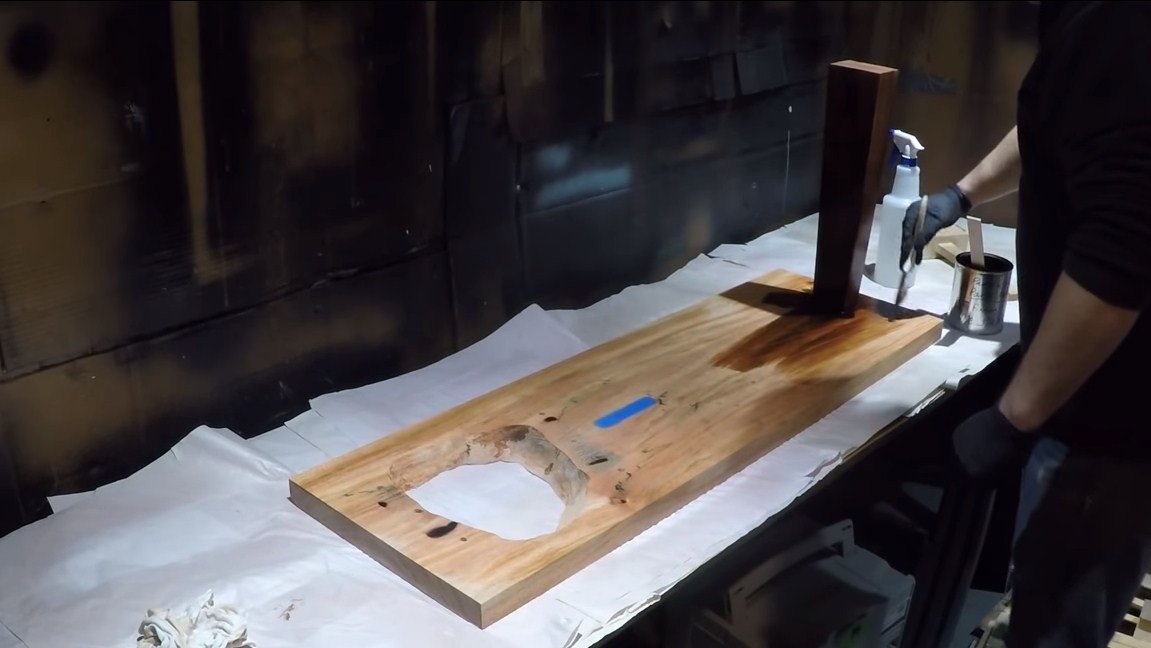
We install the leg, wedge the spike with glue, now everything will hold very tight. We impregnate the wood with stain, varnish or other impregnation at your discretion. Of course, the wood must be well sanded.
Seventh step. Putting the bench together
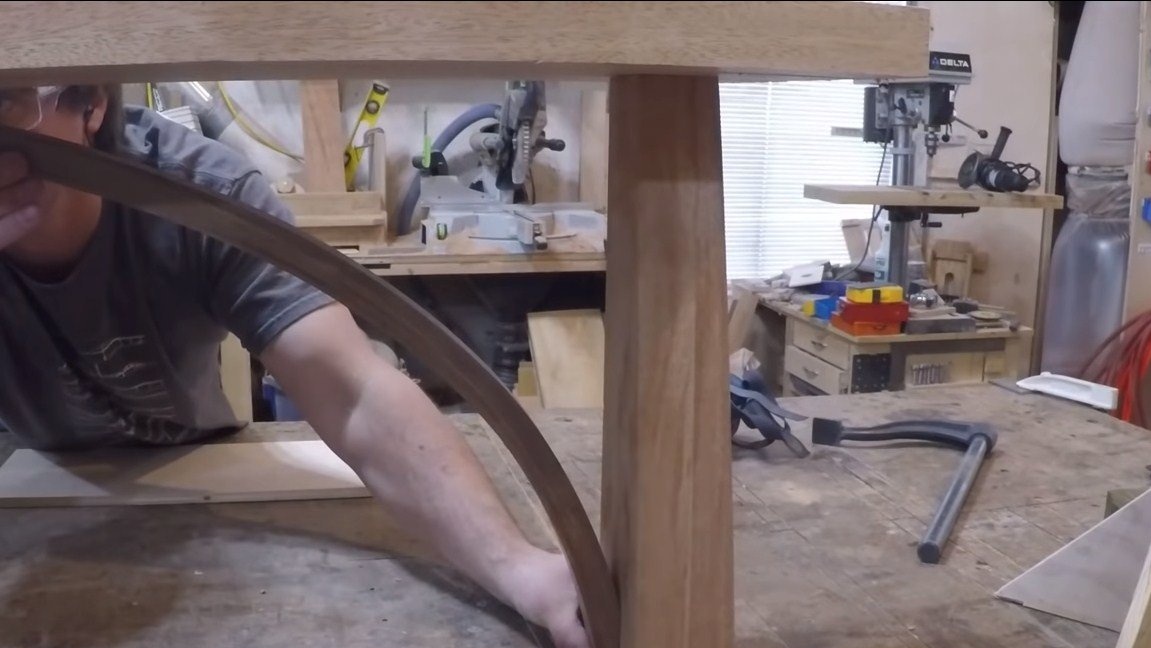
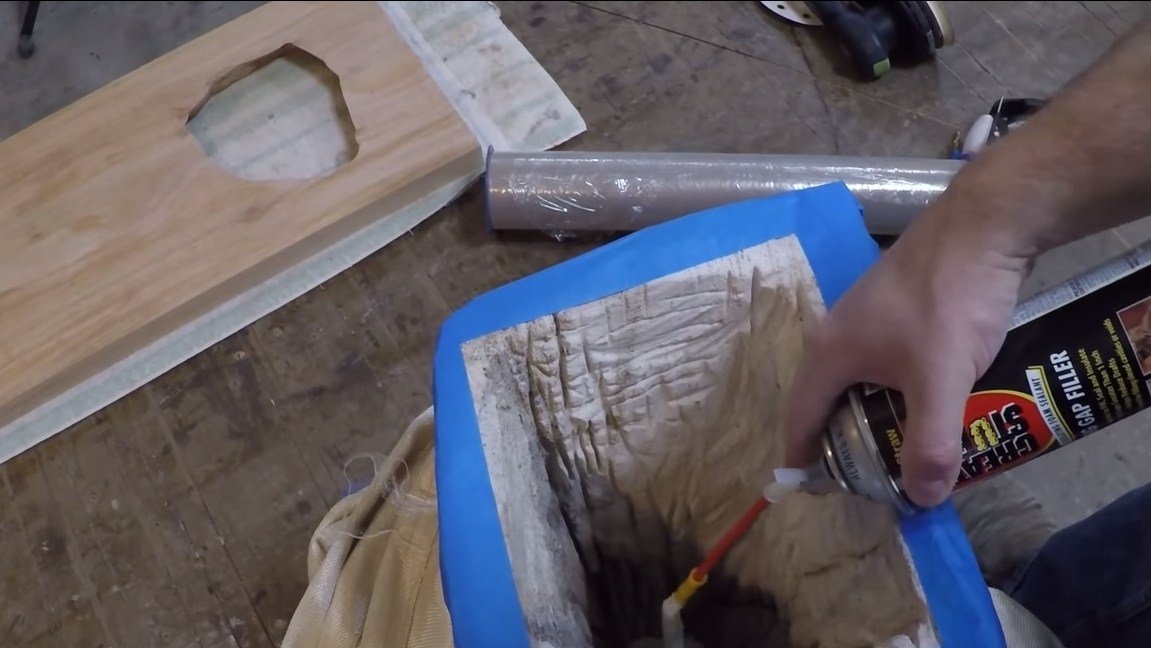
Before assembling the bench, the stone has yet to be finished, it is hollow inside, and this is not very good, since the stone can be considered quite fragile material. We fill the entire space inside with foam, it will strengthen the design. Now you can install the “arc” in place, fasten it with screws or use a dowel in combination with glue.
We set the bench on a stone, fasten it with bolts, the thread is cut in a tree. It is important not to tighten much so as not to break the thread. Bolts are needed only so that the mounts do not fall out of the stone, they do not carry any load.
That's all, the bench after that will be ready. If desired, several layers of wax can be applied to it. The project can be considered successfully completed, I hope you liked the homemade work, and you found interesting thoughts for yourself. Good luck and creative inspiration if you decide to implement a similar project. Do not forget to share your ideas and homemade things with us!