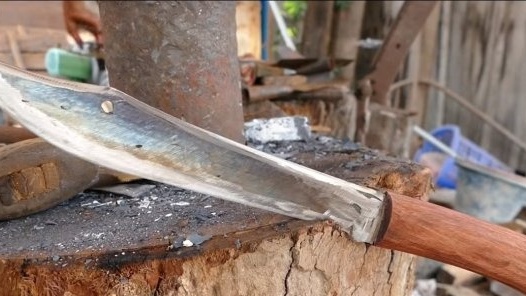
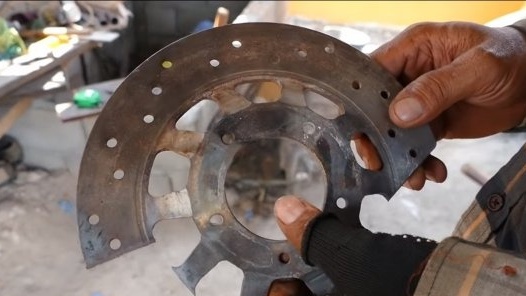
I welcome fans to knock on red-hot pieces of iron, this time we will consider how to make a massive and strong knife from a car brake disc. The author made this knife practically on his knee using fairly simple tools. So, for example, all the grinding work was done only by using a grinder, and the blade was completely and completely forged by hammer blows. The knife looks interesting and for sure it will be strong, since such automotive parts are made of strong steel, resistant to wear. As for sharpening, it remains a mystery to what extent such a knife can be sharpened. However, for many, this is not important, such a knife will definitely cut branches well, chop wood chips and so on. If you are interested in this project, I propose to study it in more detail!
Materials and tools used by the author:
Material List:
-A bit of a car brake disc;
- a piece of board for the handle;
- superglue or other glue.
Tool List:
- forge furnace;
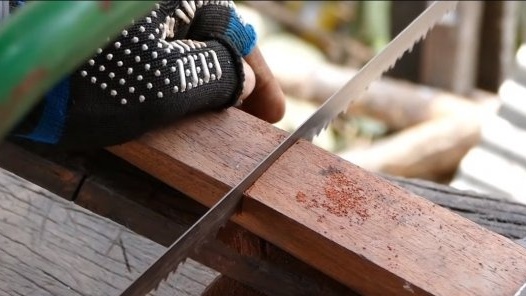
- a hacksaw;
- drill;
- with a grinding disc and Velcro for sandpaper;
- an anvil, hammer and other forging tools;
- various improvised equipment from piece of iron and sticks.
The process of making a knife:
Step one. Getting started forging
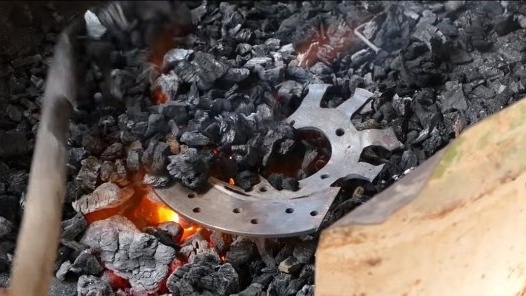
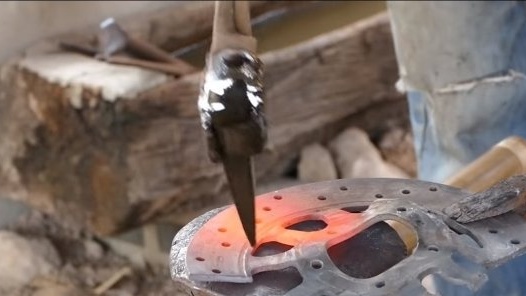
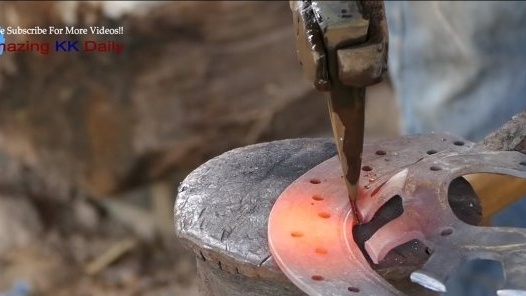
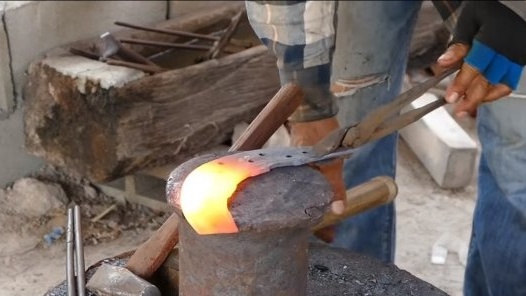
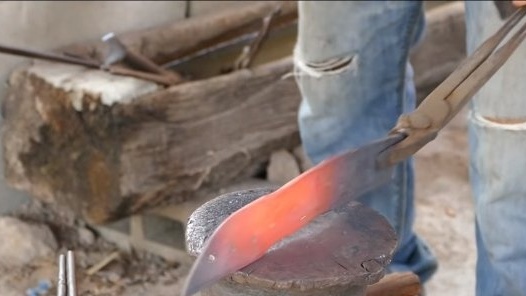
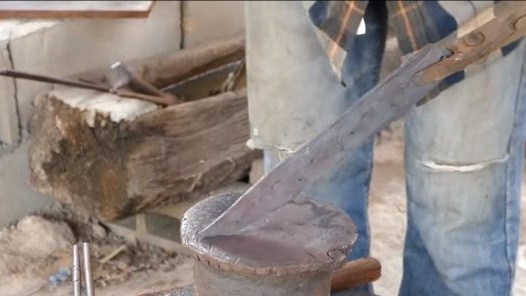
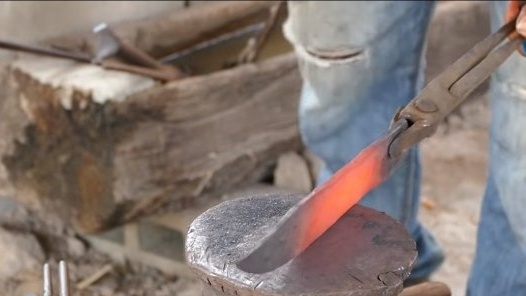
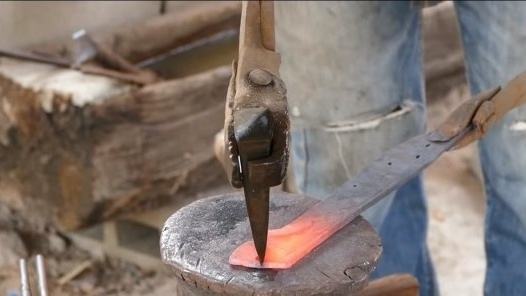
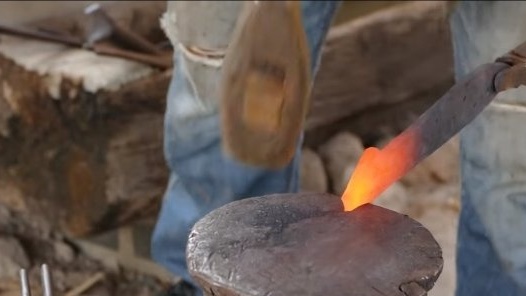
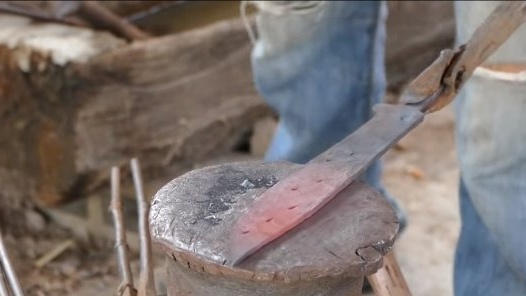
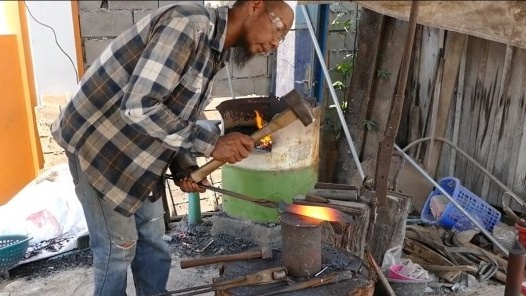
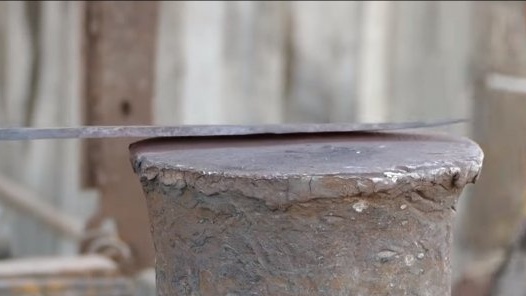
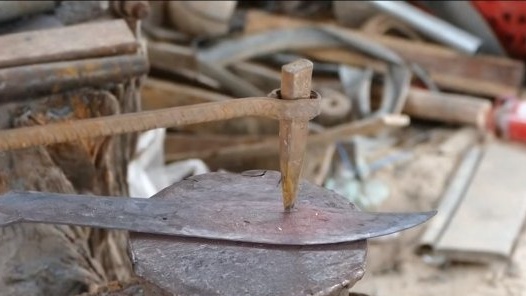
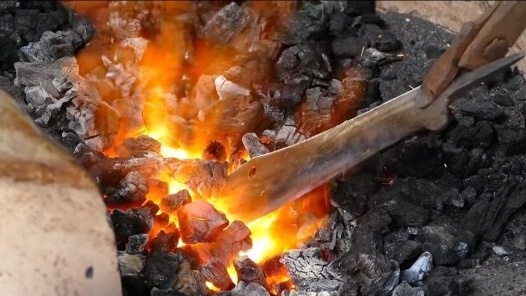
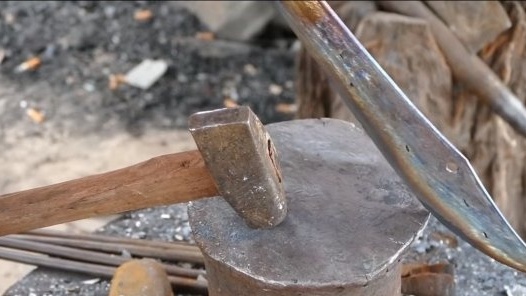
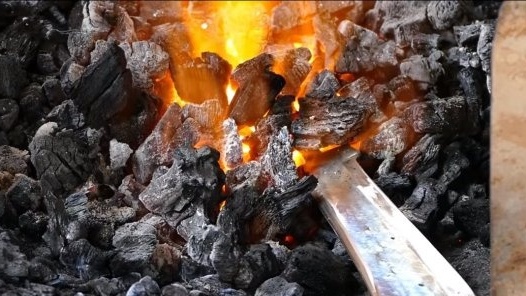
We take the disk and heat it up to a red glow, then we need to chop off the excess from it, or we can cut it off with a grinder, but the author saves the technique. We leave just the part of the disk of the desired length. Well, then everything is simple, we heat the workpiece and work with a hammer, level the part.
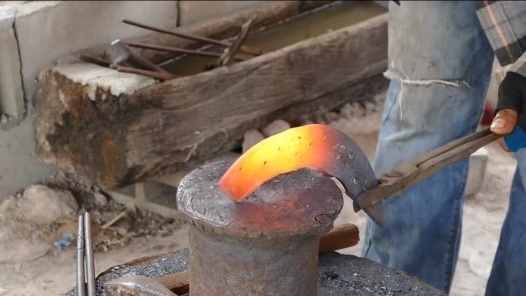
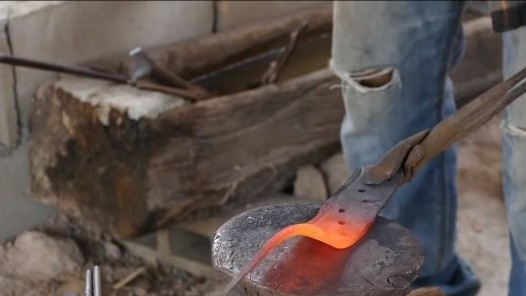
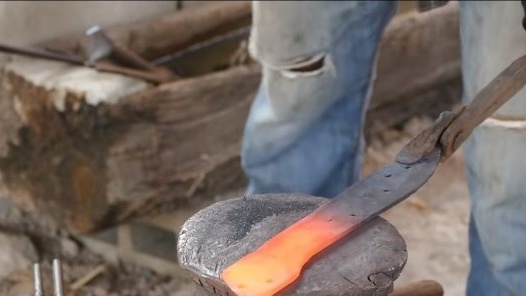
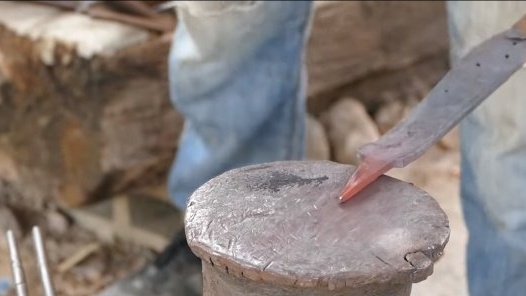
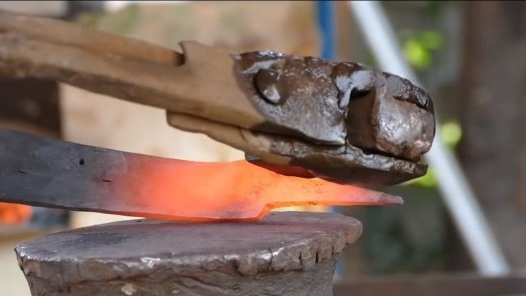
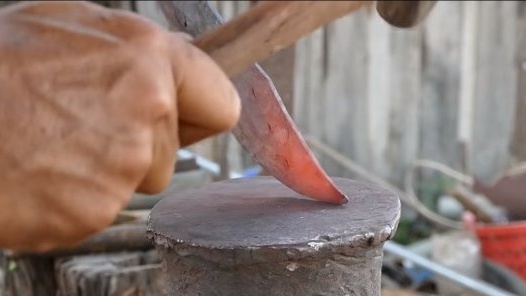
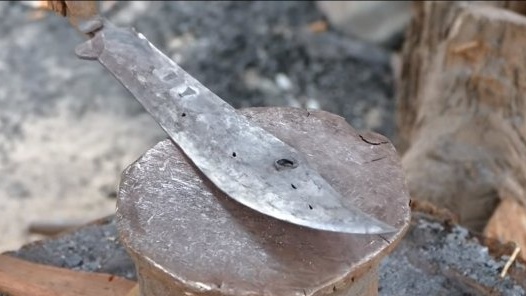
When we level it, slowly we slowly form the desired profile of the blade. Literally in front of the author, a piece of a piece of iron turns into a recognizable outline of a blade.
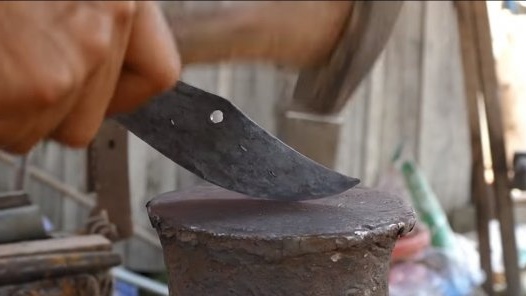
Next, pull the back, a shank should form. With simple manipulations, we bring the blade to the desired image. The more work will be done with a hammer, the less then there will be work grinder. In the blade, the author decided to punch a hole just in case, suddenly a knife would need to be tied.
Step Two Grinding work
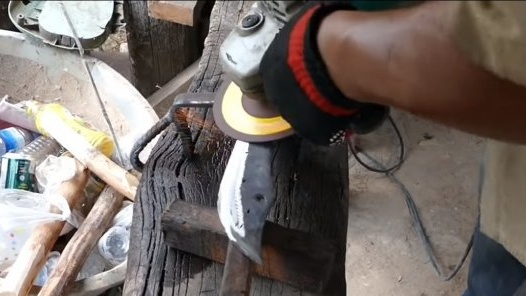
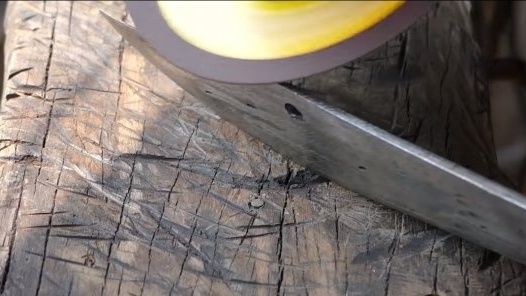
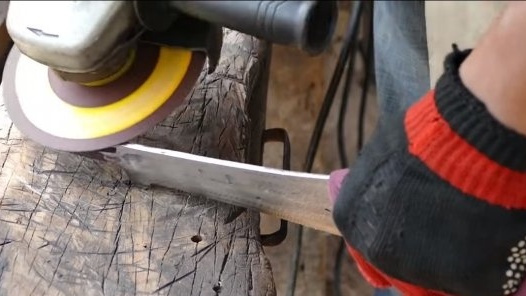
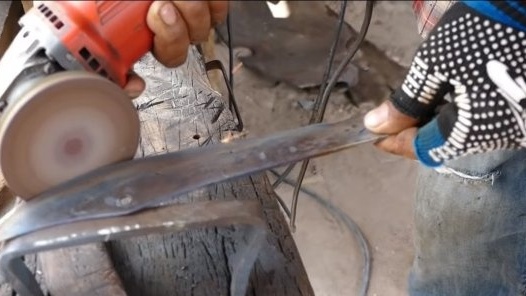
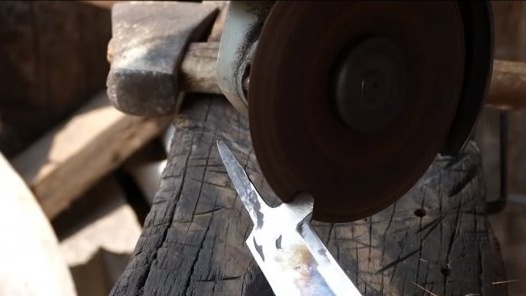
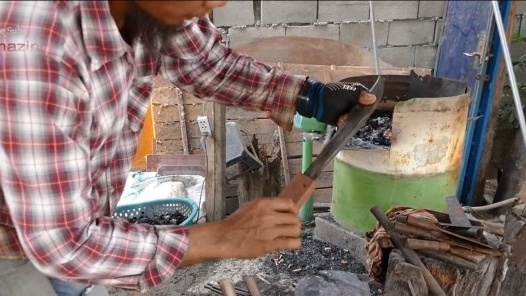
We proceed to grinding, so we will remove all the defects that remained after the forging.The author carries out rough processing with a grinder using a thick grinding disc. The bevels are formed by eye, we also grind the blade along the contour. It is not necessary to sharpen the blade yet.
Step Three Quenching
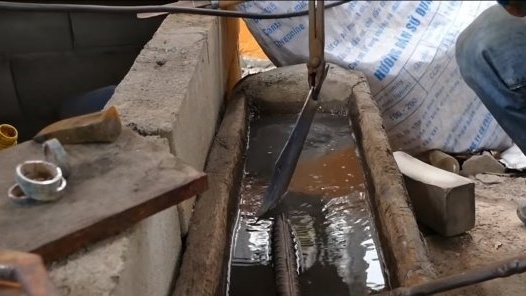
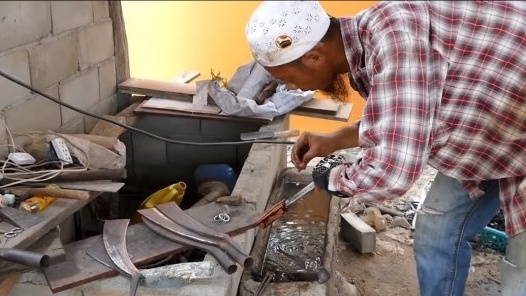
The hardening is carried out by the author in an interesting way, he only hardens the blade, as a result, the blade itself will not be brittle, and the blade can be corrected if necessary. We heat the knife to a yellowish glow and lower it with a blade into water, or better in oil, but the author did not have one. As a result of hardening, we have a very hard blade, which should not be dull during prolonged use.
Step Four Final grinding
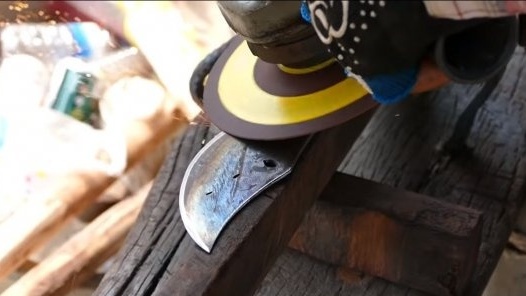
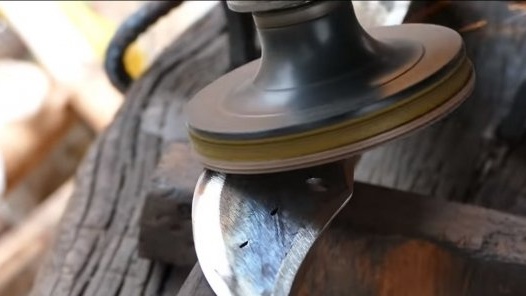
After hardening, we grind the blade again, here, as a nozzle, the author uses Velcro with sandpaper installed. Also we pass the nozzle along the bevels, we produce the primary sharpening of the knife.
Step Five Handle and assembly
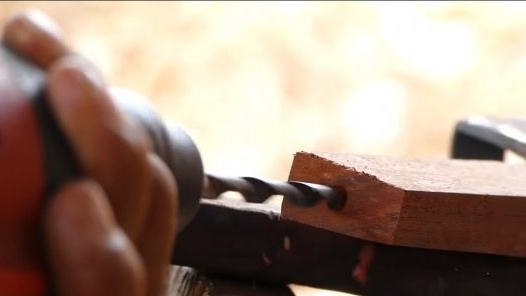
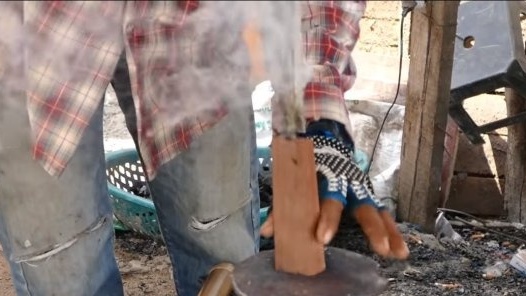
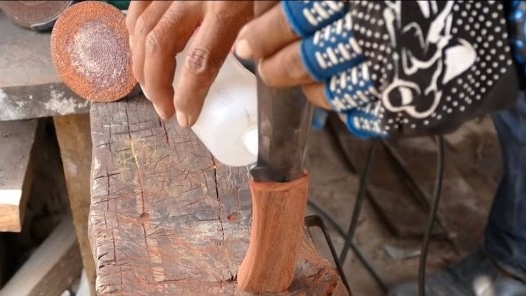
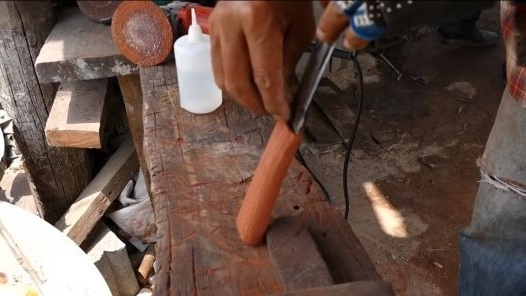
We will make a knife handle, choose a suitable piece of the board, and for practical reasons, it is advisable to choose hard wood, then the handle will last a long time. How to install the shank in the handle without a special tool? Very simple, we drill a hole in the workpiece and heat the knife shank red-hot. Next, insert the red-hot shank into the handle, and he will burn his own path. And so that the wood does not burn out too much, we water the blade with a small amount of water.
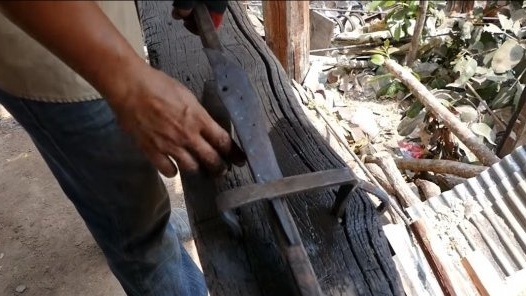
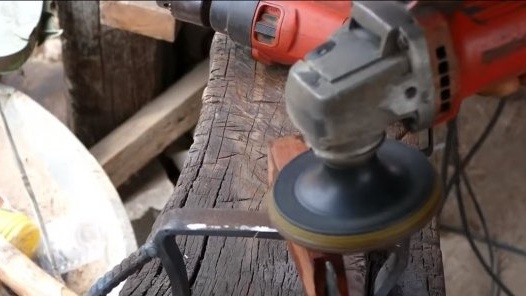
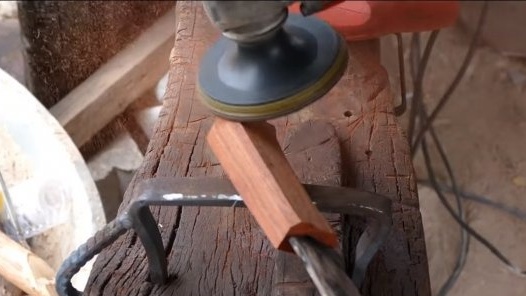
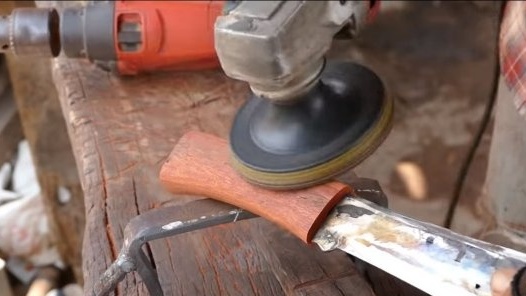
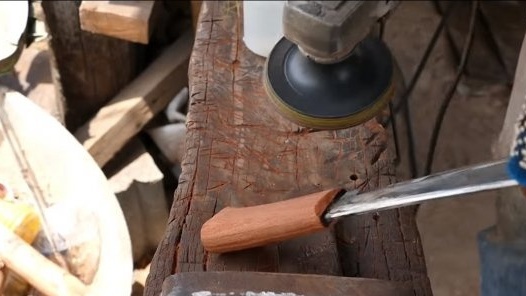
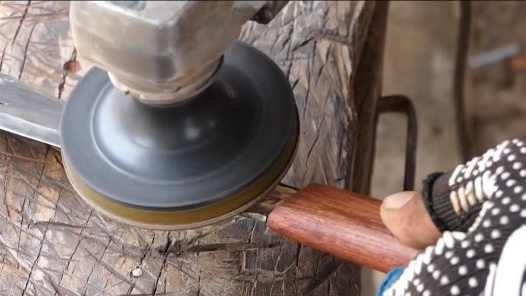
The author clamps the knife into a special device mounted on a log, and proceeds to grinding the handle. Here we need a disk nozzle for installing sandpaper. When the sample handle profile is ready, auto pours a little glue into the handle where the shank is inserted and sprinkles it with grinding dust on top. Now grinding can be completed. The pen is ready, if desired, it can be soaked with oil or at least some grease so that it is not afraid of water.
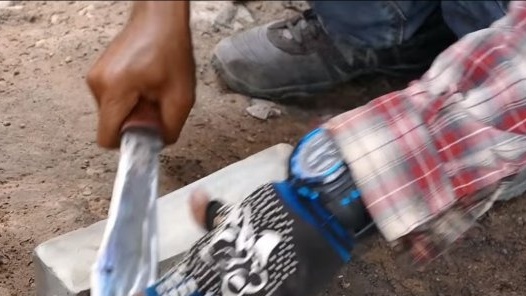
The knife is ready, it remains to sharpen it, the author performs the sharpening manually, and some kind of stone is white. The knife looks interesting, but the author did not provide its tests. On this project can be considered completed, I hope you homemade I liked it. Good luck and creative inspiration, if you decide to repeat this. Do not forget to share your ideas and homemade things with us!

