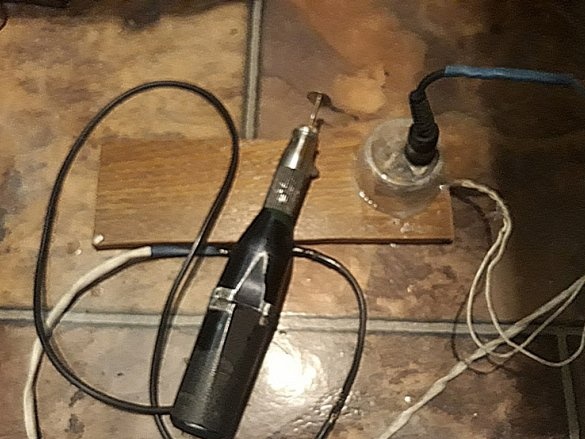
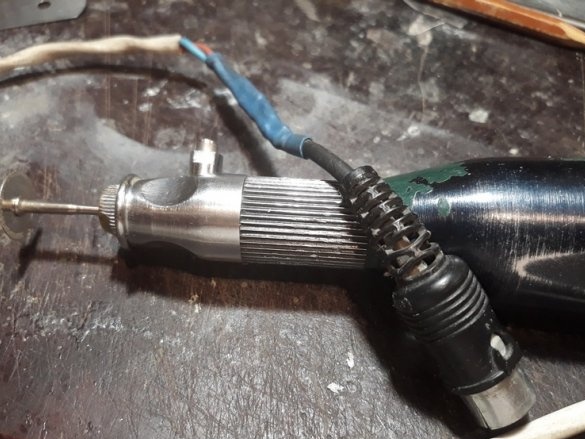
Small and simple homemade, but so necessary sometimes. The homemade function is simple - turn the equipment on and off so that your hands are free.
1. Required materials:
- a piece of wood, plywood, or something else. And, most importantly, thin and hard material, so that the pedal does not bend during operation. Thin, so that it would not be necessary to raise the toe of the foot high. Otherwise, the leg muscles (calves - checked) will hurt.
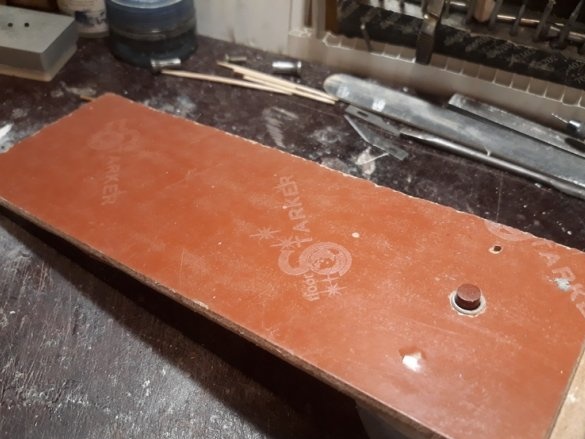
I use a piece of laminate because it is thin and hard,
size 70 x 260 mm,
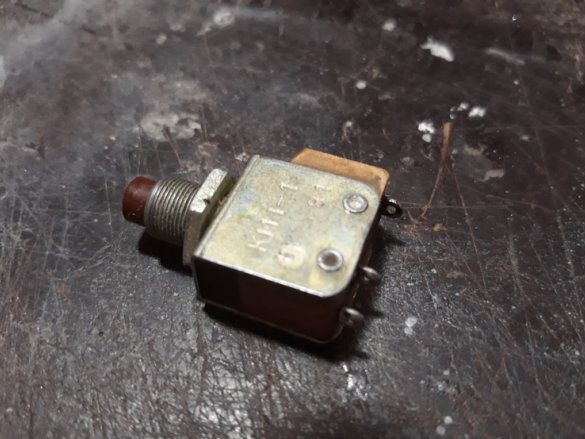
- micro button without locking contacts,
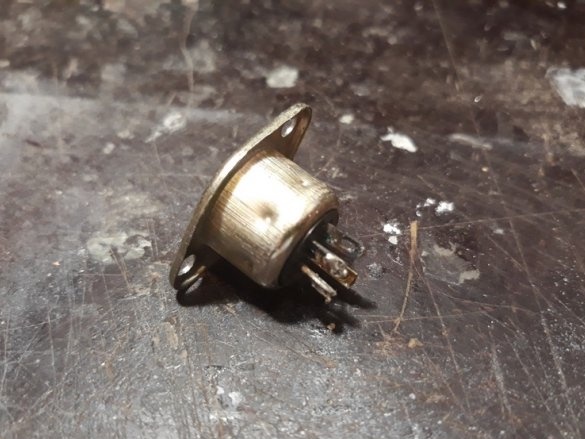
- pin connector (mother). I used a six-pin (well, I was at hand like that, so I put it), anyone can. Only then you need to change (dad) to
connected equipment
- some wires and a network plug
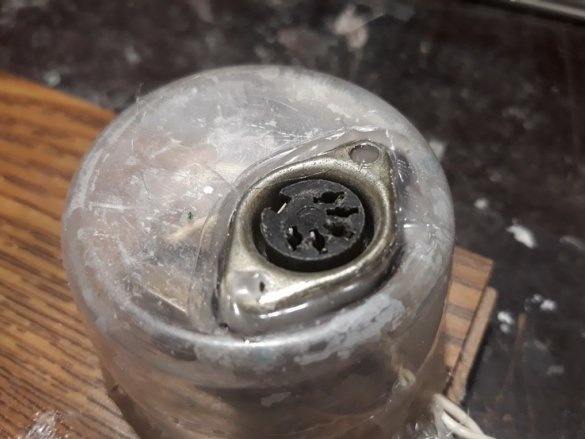
- a box so that the button and connector could fit
- glue gun.
2. Production.
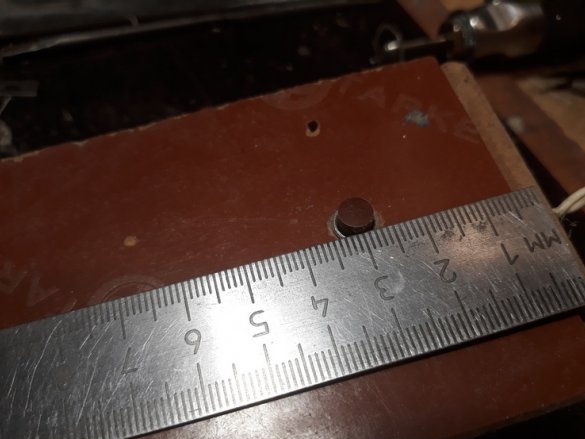
In a plank of laminate, which will be the base of the pedal. Stepping away from the edge, 30 mm in the center, drill a hole for attaching the button. I used the micro button KM 1-1
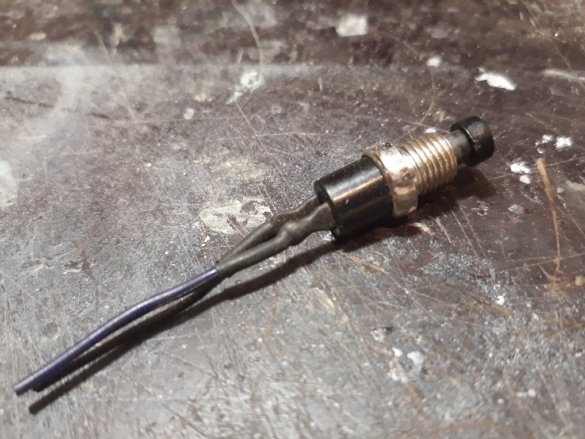
Set the button. Pressing "pimpochka" down, contacts to the top.
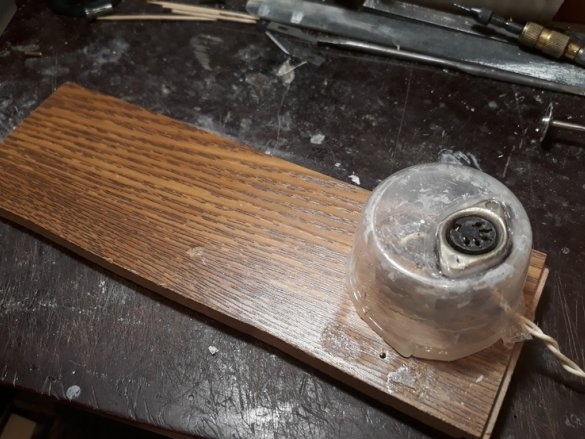
We take the box, make holes for the connector in it. We fix the connector. Hot glue gun.
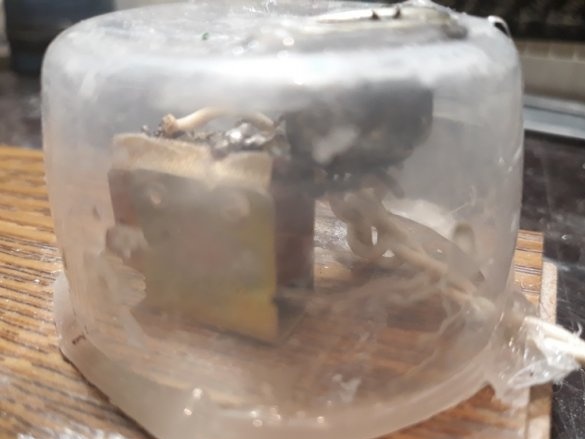
Next, unsolder the connector and button according to the following diagram.
We install the box with mounting on the pedal and fix it with a glue thermo-gun.
All is ready. We connect the equipment and go.
This pedal design has proven to be operational. Since, I use this pedal for many years.
Good luck to all.
I think there will be no questions.
Regards, Starp.


