Part marking is one of the most important operations in the entire technological process. Depending on the accuracy requirements that the master sets for himself, according to the clarity of the lines on the surface of the part, the method of marking is selected. It can be a pencil, and chalk, and a marker. When working with these objects, the lines come out clear, you do not need to exert much effort on the tool. Everything is done easily and accurately. But there are a few big disadvantages. This is either very thick marking lines, which will adversely affect the accuracy of the part obtained, or markings are very easily removed from the surface of the processed material, which is generally not acceptable during operation.
The most popular metal marking tool is the scriber, the simplest and most reliable tool for marking metal. They are made of tool carbon steel grades. But still, every master, if he has the opportunity, makes this tool for himself independently and in his own version. In this article I will tell you how I made my version of the metal marking tool - pens, - the author of the YouTube channel Electronics and Co. Schemes and devices.
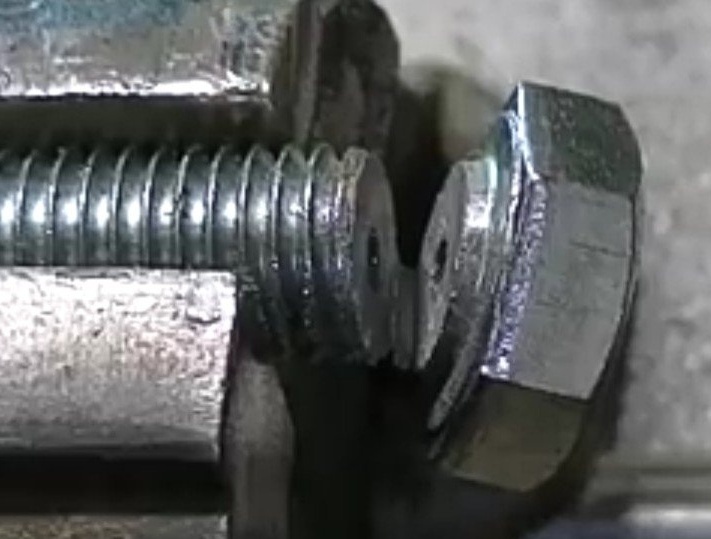
Step 1. The author used a bolt with a diameter of 12 mm to base his marking tool.
First of all, he drilled a hole in the center of the bolt of 12 mm. The hole depth does not exceed 20 mm. After a hole is drilled at one end, he cuts off the head of the bolt. A similar hole is also drilled from this side. Simply put, you should get a hairpin with two holes at the ends.
Step 2
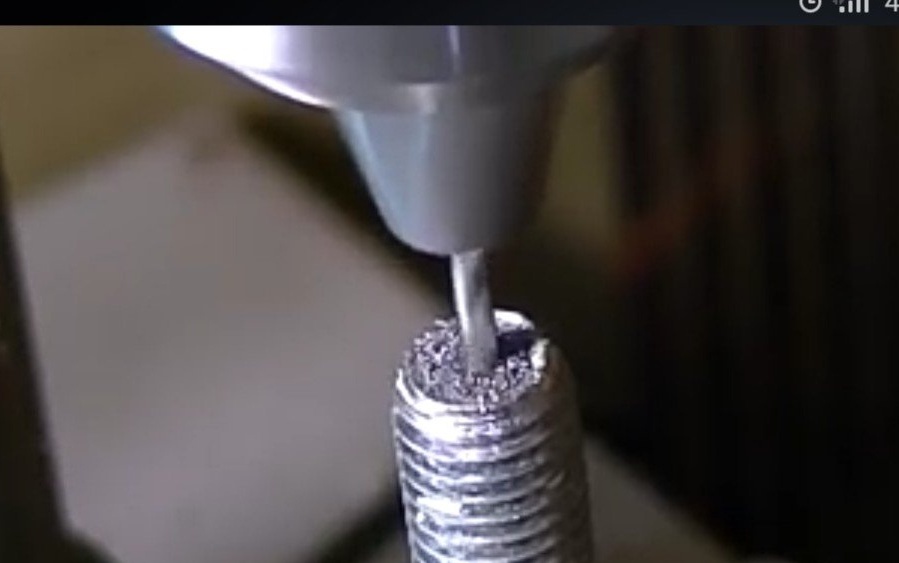
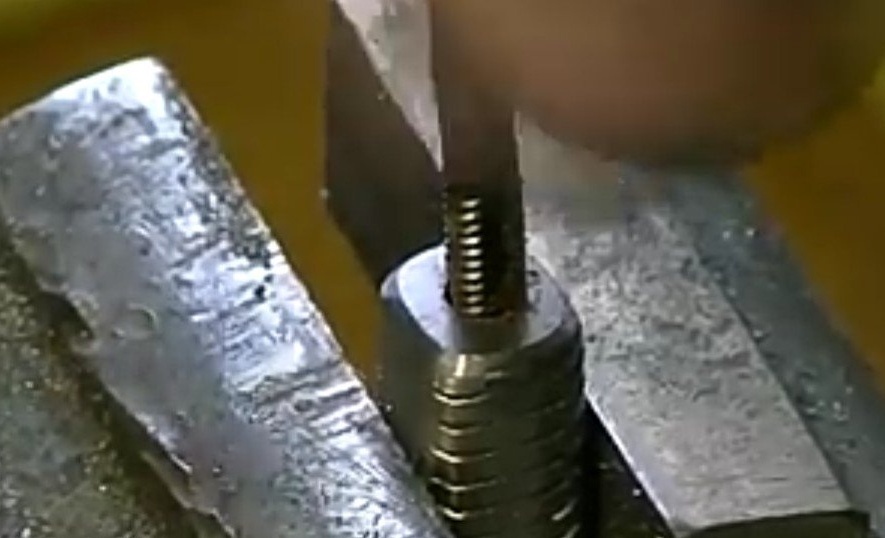
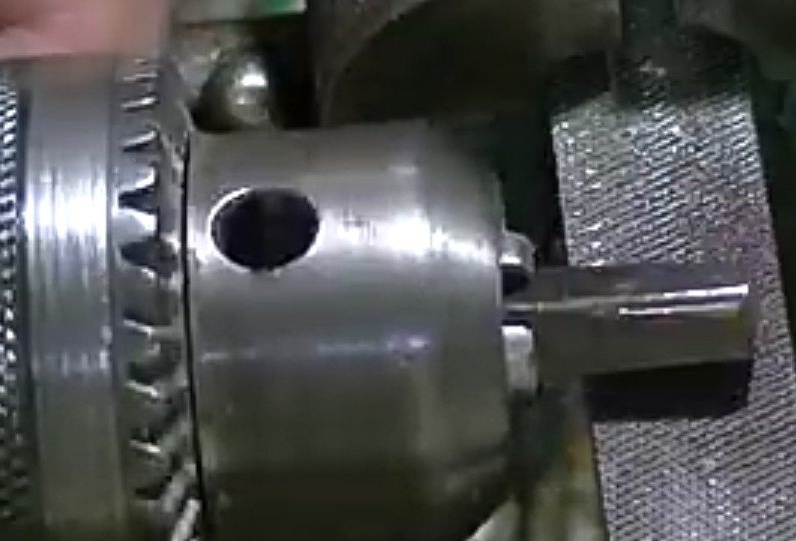
Since this marking tool should ultimately resemble a pen, it must accordingly be given that shape. Therefore, one end of the workpiece is shaped like a cone. This is done with a file, which is clamped in a vice with the working surface up. The workpiece is inserted into the drill chuck. In order to prevent metal filings from scattering around the workplace, a magnet is attached, which immediately collects these filings.The final, fine grinding is carried out on sandpaper. Since a thread has been cut across the entire surface of the bolt, the author brings it with a file, having previously clamped the workpiece in a vice. This is done for more convenient work with the finished tool, preventing finger injury.
Step 3
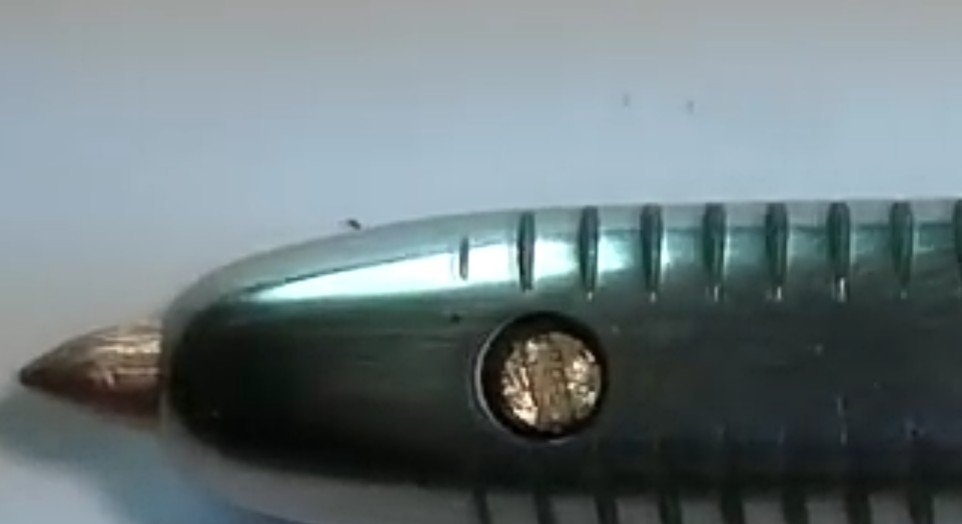
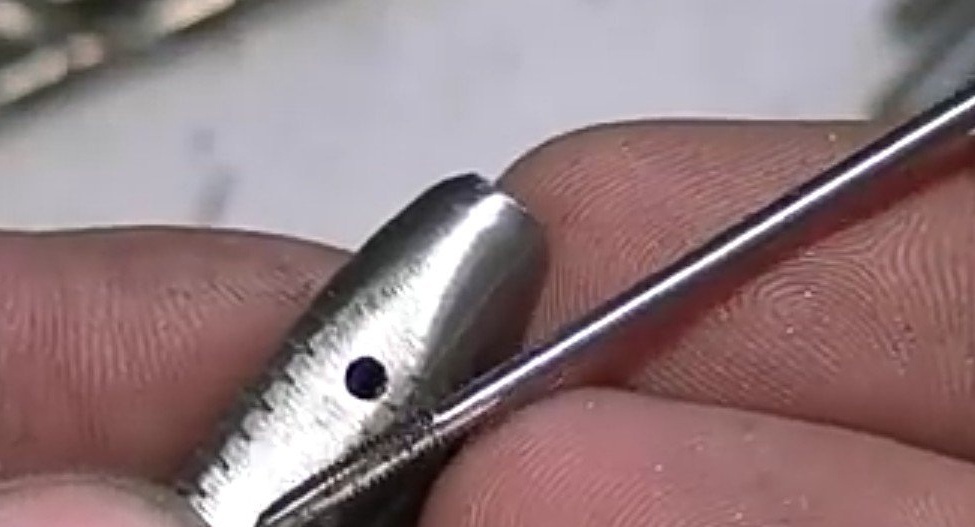
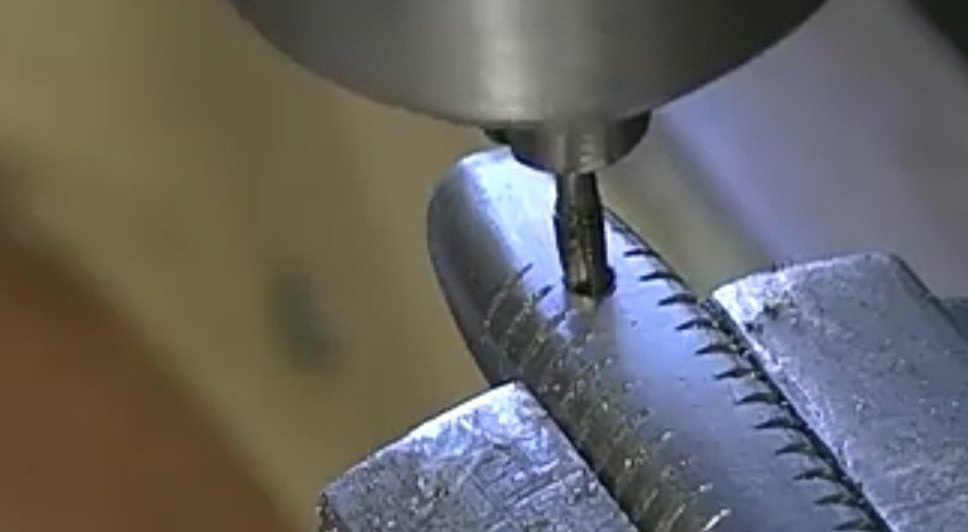
On one side of the bolt, thread in the finished hole. To do this, use a tap and a knob that holds the tap itself. This work must be done very carefully, as it may result in a skewed thread, or even break the threading tool itself. In addition to the holes that are at the ends of the bolt, it is necessary to drill one through hole in the side of the cone and cut the thread on it. This hole should cross what is at the end of the cone.
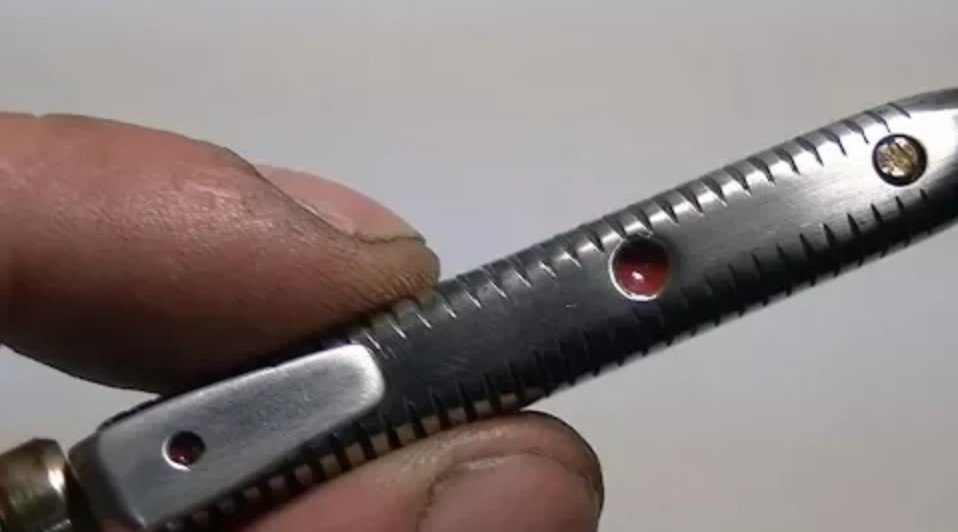
In addition, Electronics and Co. makes several more shallow holes on the sides of the workpiece. They will not carry any practical load. It’s just that the author is not alien to the feeling of beauty and he decides to decorate his instrument. Paint is poured into the holes, on which, after it has completely dried, an epoxy resin is applied on top for greater wear resistance.
Step 4
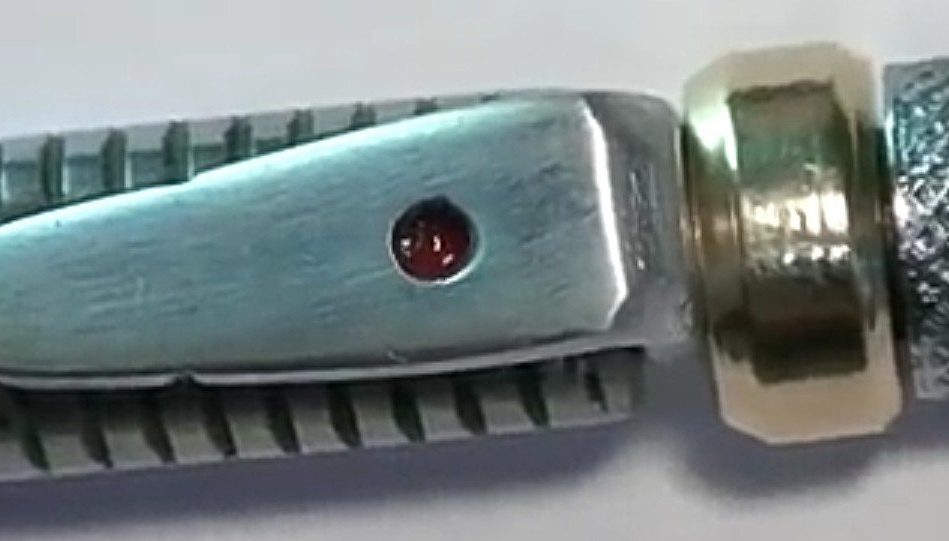
Brass washer is made. It is made from scrap left over from
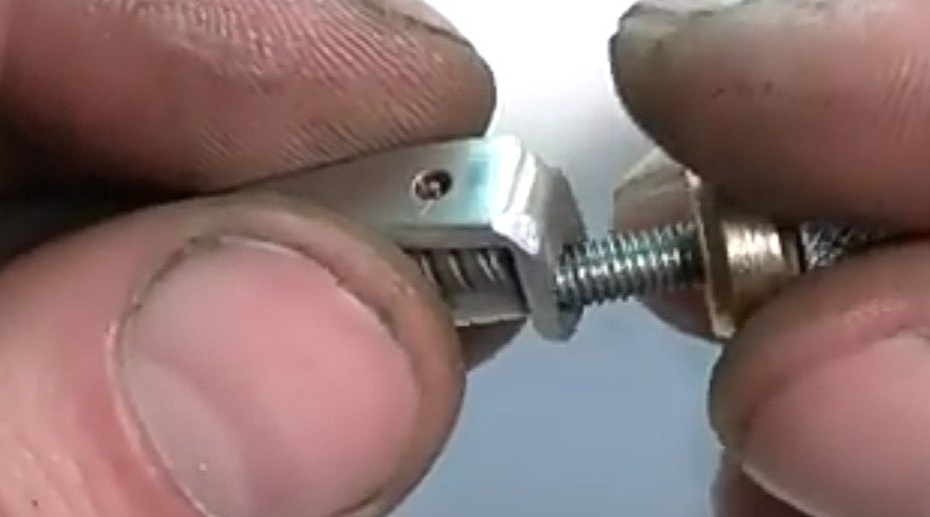
another project. Surfaces are ground with an emery cloth to give it a flat surface. Now, turning a screw into it, grinds it to the required diameter. In order to give a more attractive look, the puck is polished with a felt circle with Goi paste applied to it. Following is made a clip for the handle - a clip. It is made from disassembled parts of the TV. There is nothing complicated in its manufacture. The part is aluminum, easily cut with a hand hacksaw for metal and filed to the desired shape. We drill a hole in the upper part of the clip.
Step 5
We make a writing core. To create it you need a copper-graphite brush. The necessary fragment is cut from it and the shape of the rod is given to it.
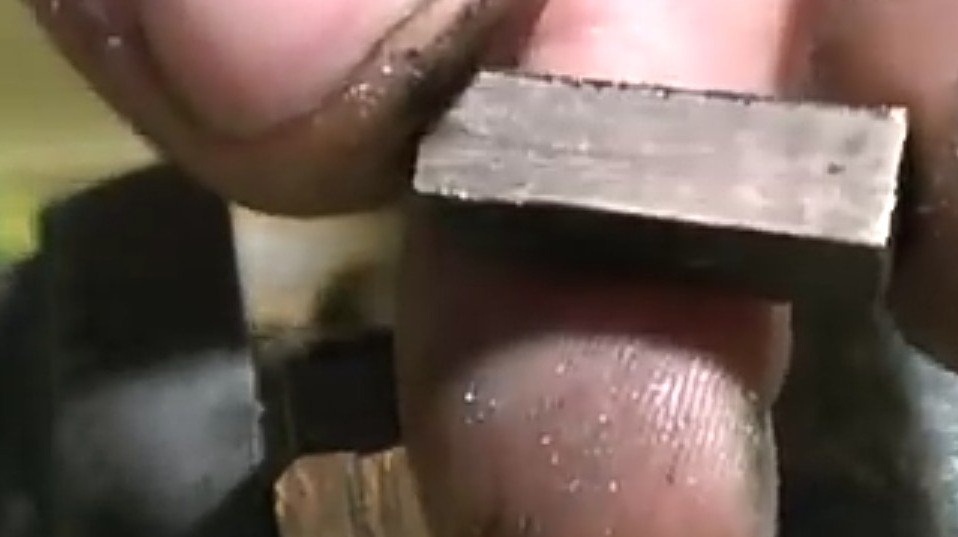
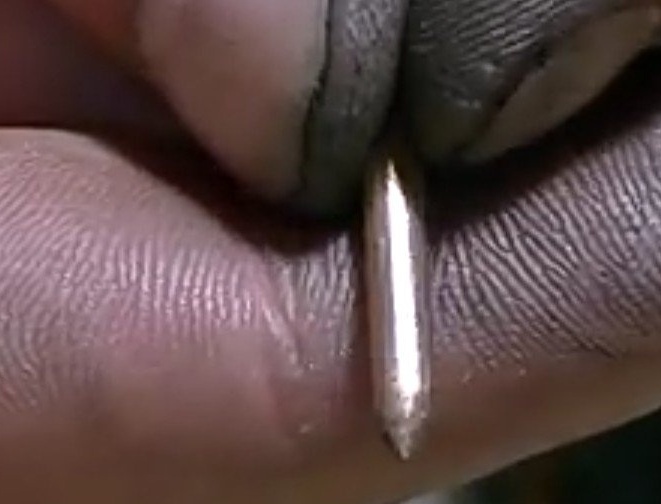
Step 6
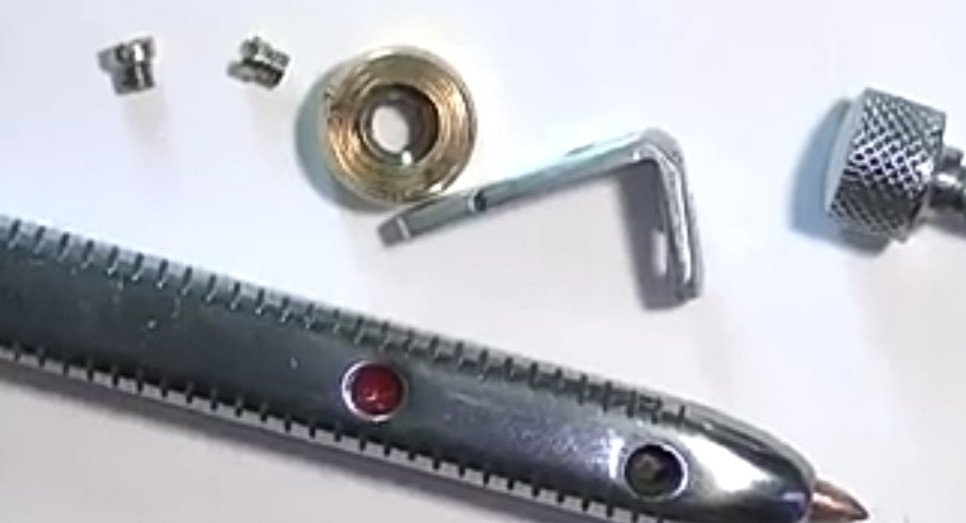
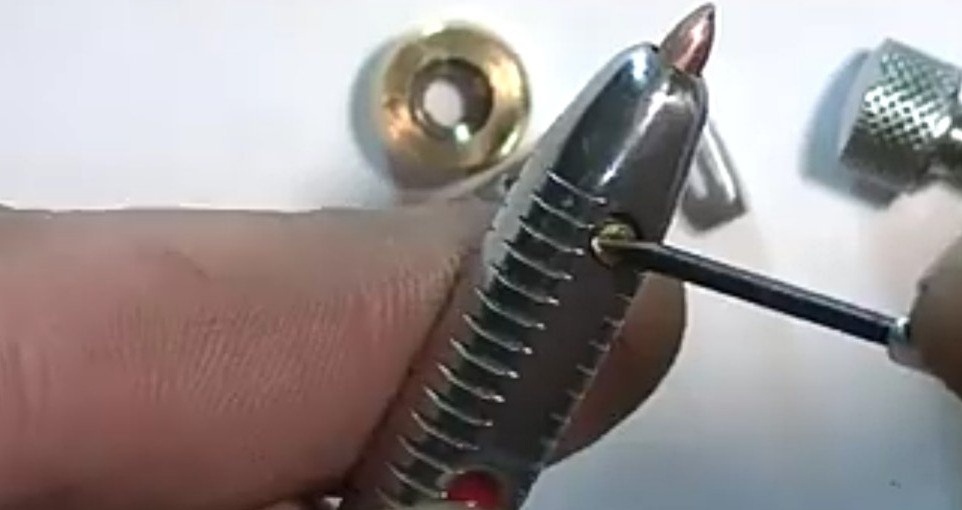
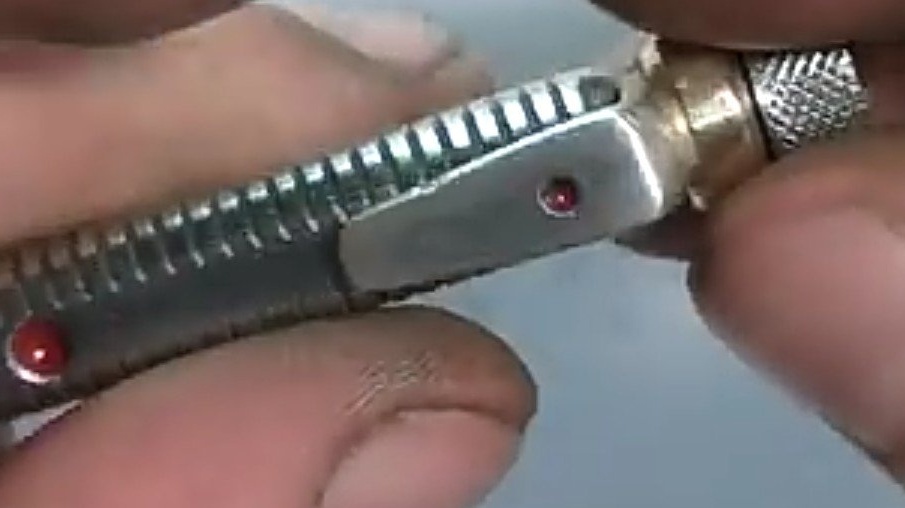
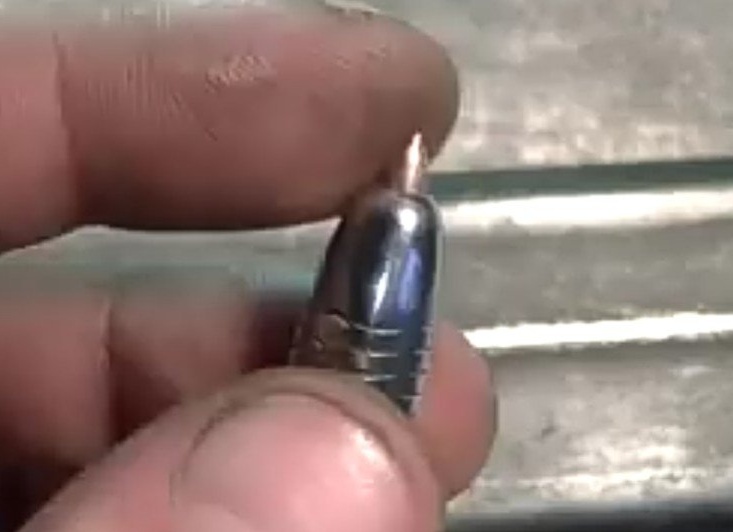
We proceed to the final assembly of the product. We place the graphite rod in the conical part of the bolt. The bolt on the sides is fixed with two bolts with a diameter of 2.5 mm. You need to tighten without fanaticism, otherwise you can damage the writing unit. Next, a brass washer is screwed onto the screw and a clip is put on. Screw the screw to the top of the handle.
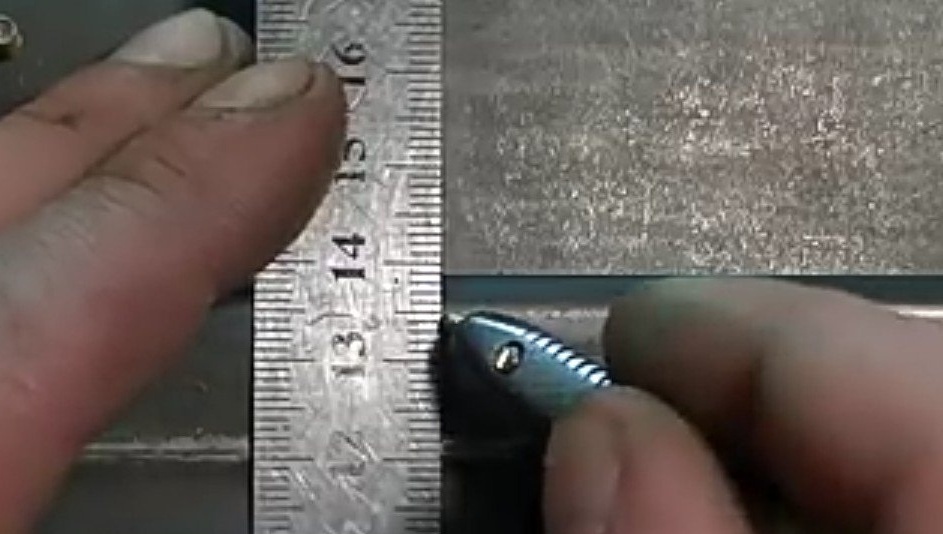
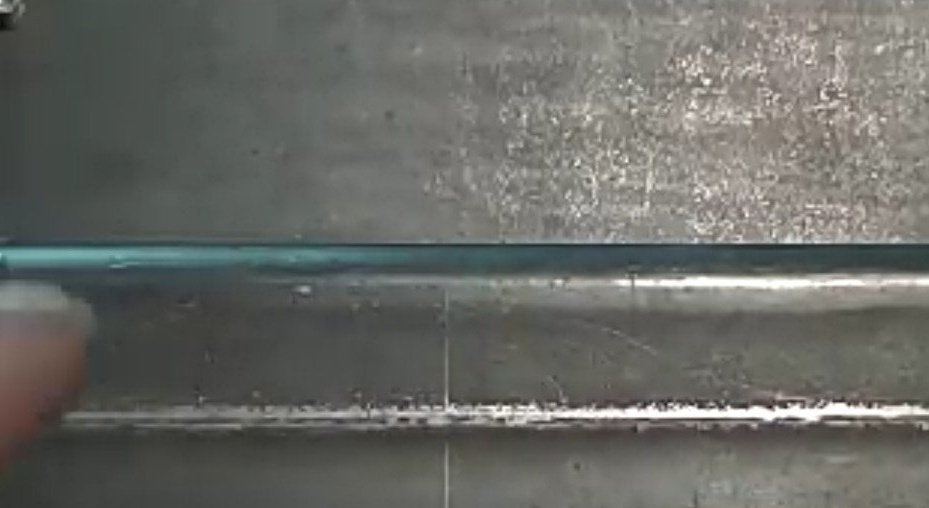
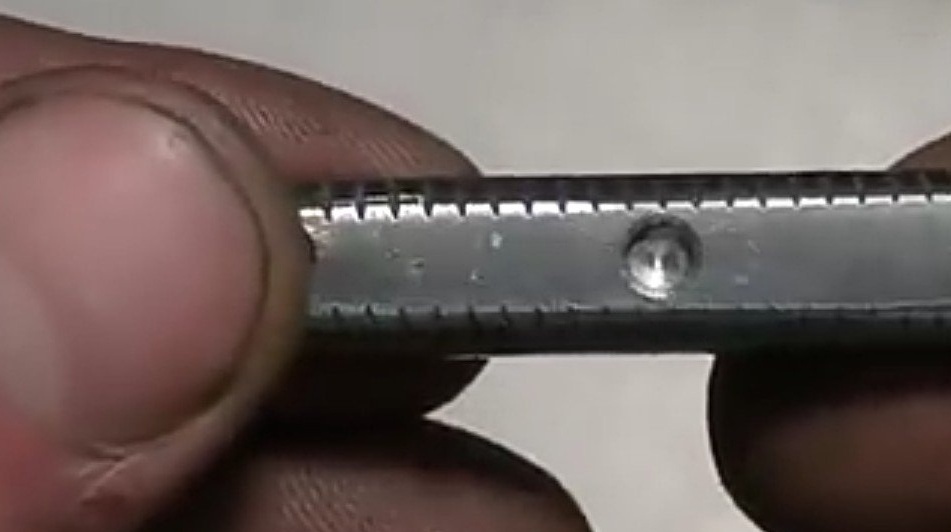
That's all. The scriber pen is ready and successfully passed professional tests. As you can see in the photo, the line is quite clear and easy to read, which is important when working with any material. And how the rod is drained, it is easy to remove it and re-give it a thin writing part