The site is already represented homemade masters Corrective lens diving mask. I will give a short description of the essence of homemade work. “In the process of diving, you need to look at the object, watch, manometer, camera, etc., close up. For a healthy person, this will not cause difficulties, but if you have a visual impairment this is already a problem. There are false corrective lenses on sale. Problem that they are fixed on the glass of the mask for the entire duration of the dive and cannot be removed if necessary. Such lenses narrow the field of view and the viewing angle. The master decided to make lenses that would be devoid of these shortcomings. "
In the second version, the master improved the mask using modern photogrammetry technologies (Photogrammetry (from photo ..., other Greek. Γράμμα - recording, image and ... metry) is a scientific and technical discipline that deals with determining the shape, size, position and other characteristics of objects by their photo images). Recently, photogrammetry has become available at the household level for any person with a modern smartphone.
The combination of this technology + 3D printing gives amazing results.
Tools and materials:
-Mask:
-3D printer;
-Ball;
-Smartphone;
-Talc;
-Brush;
-Computer with software;
-Bolts M5 x 8;
- Transparent acrylic 3 mm;
-Screwdriver;
Epoxy resin;
-Toothpick;
Step One: About the Difference in the Two Versions
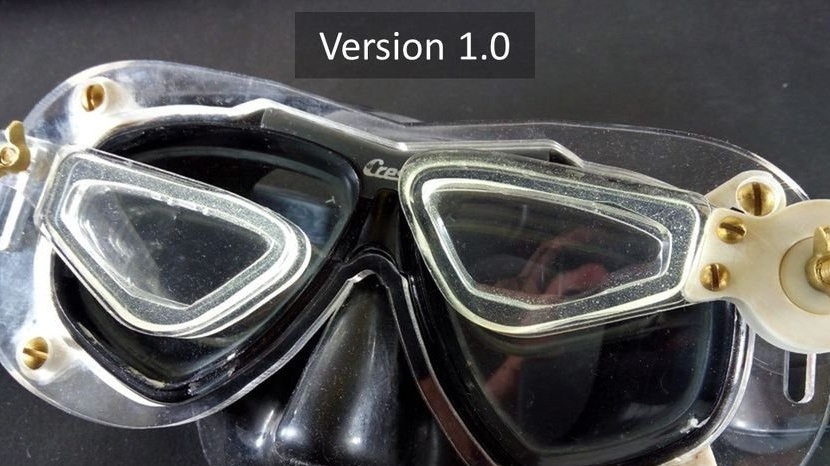
In the previous version (1.0), the wizard found the following difficulties when creating, as well as when using the mask frame.
Manufacturing difficulties:
1) The flat surface of the acrylic sheet provides limited opportunities for adding additional functions and elements to it.
2) supports of the mask frame are developed by means of visual measurements and therefore are inaccurate. Due to these inaccuracies, the shape of the supports does not match the shape of the mask and does not stick together properly. The master was forced to re-glue the supports several times.
Aligning all 4 support frames on the mask with irregularly shaped surfaces was a difficult task.
Since the frame supports are permanently glued to the mask, the mask is constantly changing and cannot be used as a “normal mask”.
Difficulties in using:
Moving and moving the lens up and down into the slot in the frame requires the use of both hands - with one hand to loosen the butterfly nut and the other to hold the lens barrel.
Improvements in V 2.0
Design improvements:
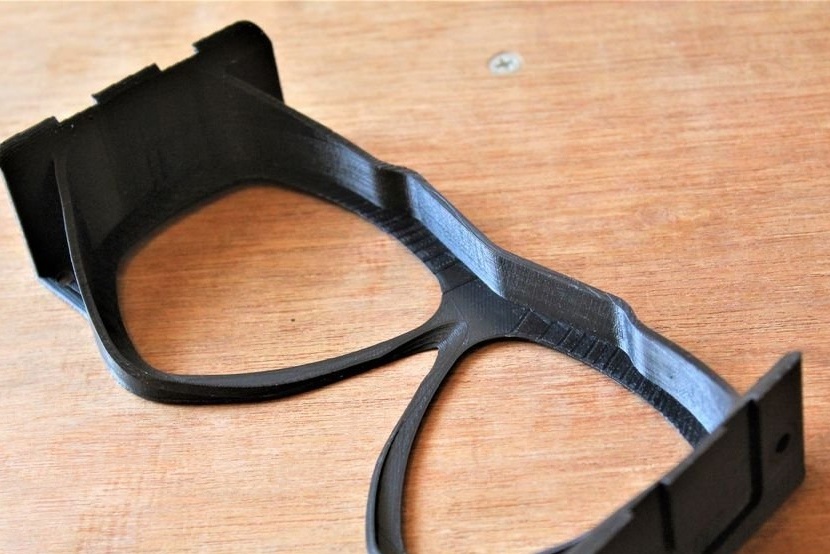
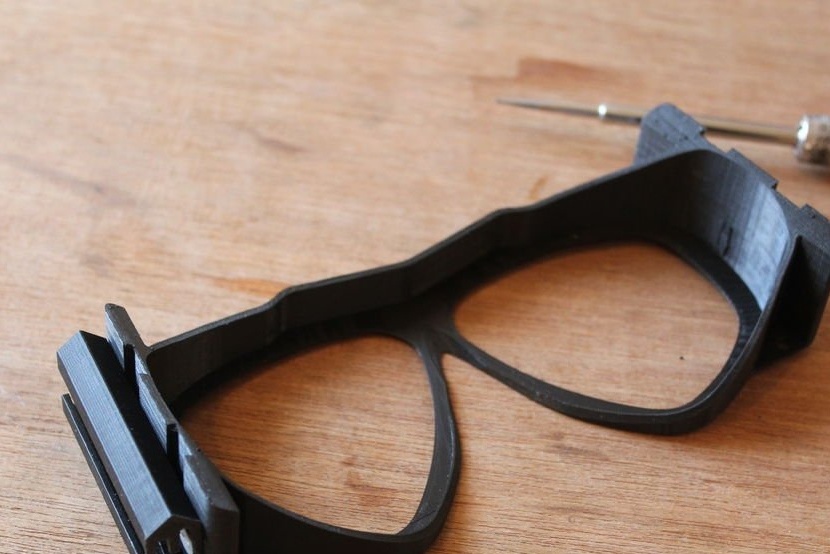
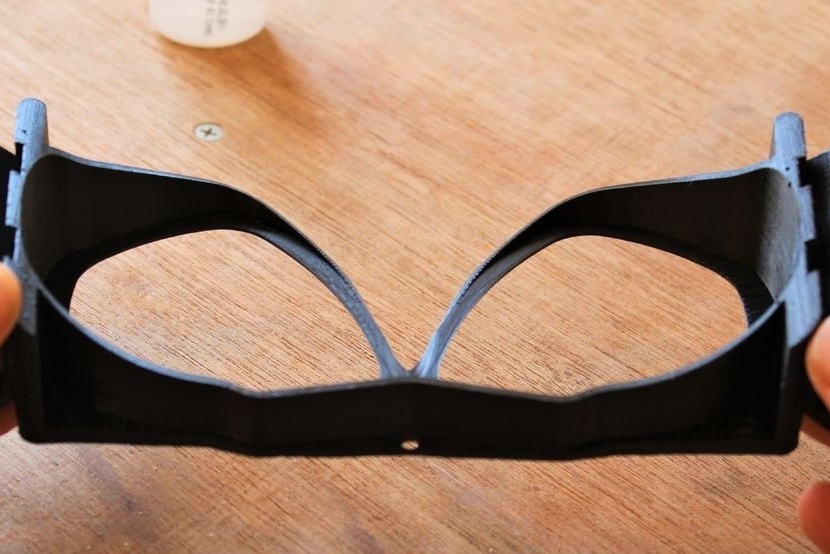
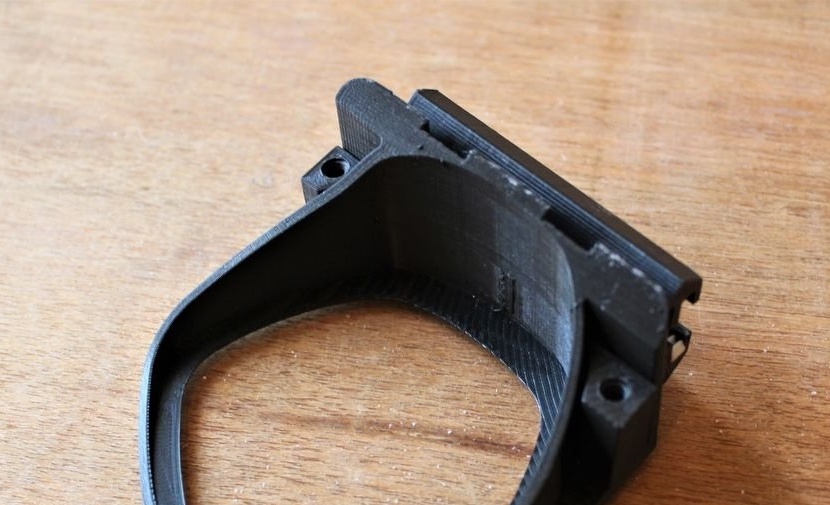
Having made an additional frame that exactly matches the shape of the diving mask, we get a three-dimensional figure, which offers us much more opportunities to add elements.
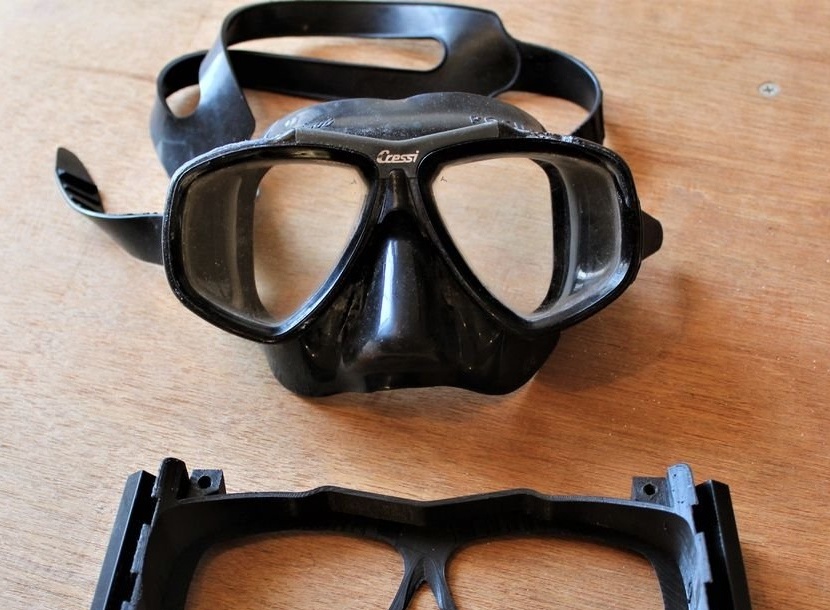
The additional frame, which closely matches the diving mask, does not require constant fixing or gluing to the mask.
An additional frame can be added and removed without making any changes to the diving mask.
Improved use:
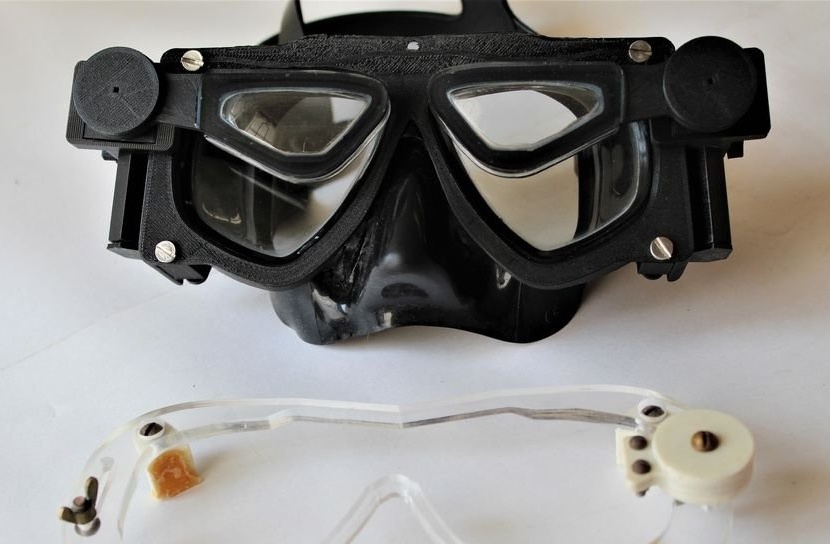
A mechanism was added to slide the lenses up and down the surface of the mask using only one hand, which makes adjusting the lenses extremely convenient.

Step Two: Design
One of the problems of creating an additional frame for the mask is the irregular shape of the mask for diving. The shapes of a typical diving mask are mostly curved in complex three-dimensional shapes. This makes it difficult to carry out those mask measurements that will be required to make the frame.
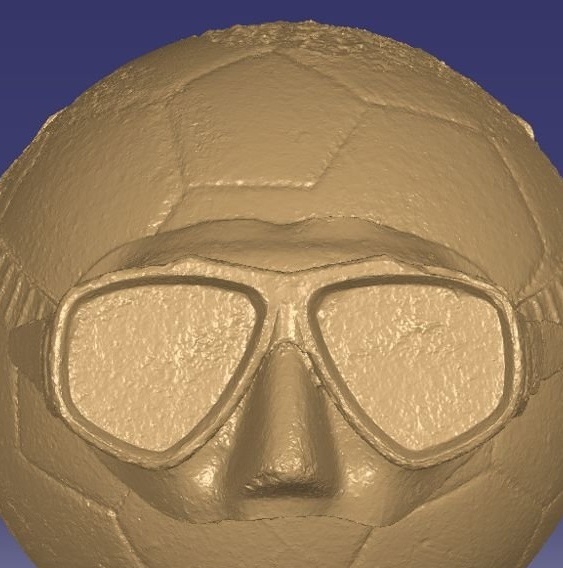
The difficulty of making mask measurements can be overcome with the help of photogrammetry, where you can directly recreate a virtual three-dimensional mask grid that exactly matches the real mask, without the need for any measurements.
Moreover, photogrammetry has become very user-friendly, and anyone who has a smartphone or any other camera can take photos of almost any object and get a virtual three-dimensional grid of this object with the click of a few buttons. There are several programs that offer photogrammetry for free, and, according to the wizard, anyone is able to figure out how to work with them.
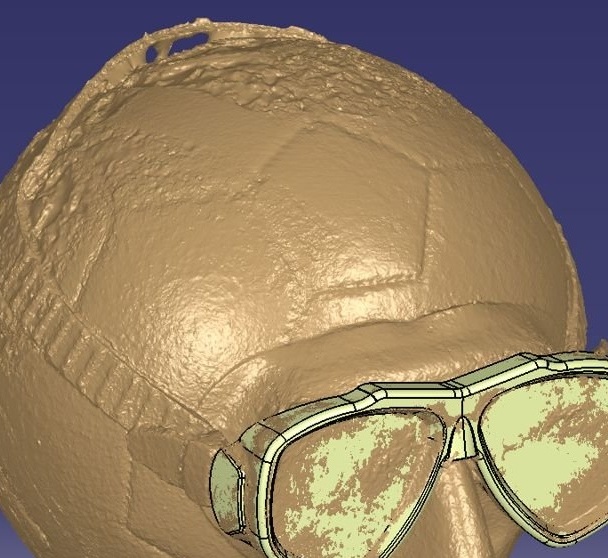
To use photogrammetry in this project, the master watched several videos on how to take photographs of the mask so that a fairly accurate three-dimensional grid of the mask could be obtained. In short, the important things to keep in mind are lighting the subject, reflecting off the subject, and ensuring that there is sufficient agreement between successive photographs.
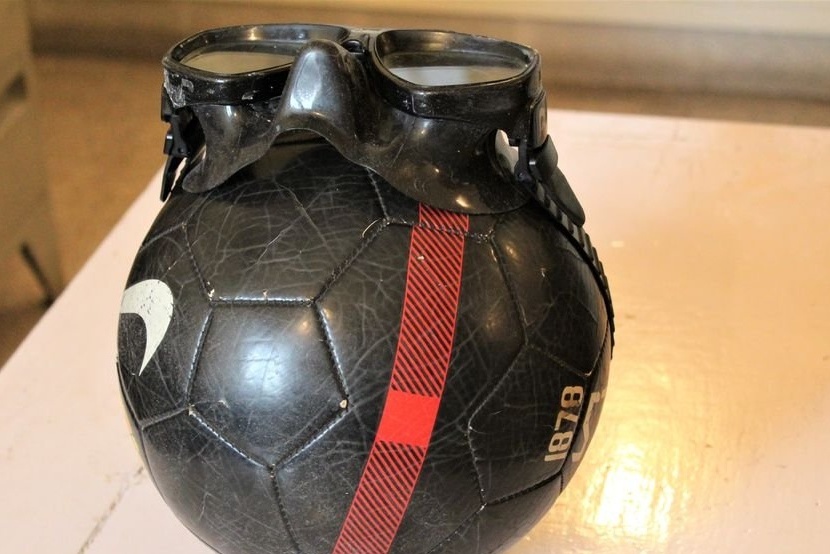
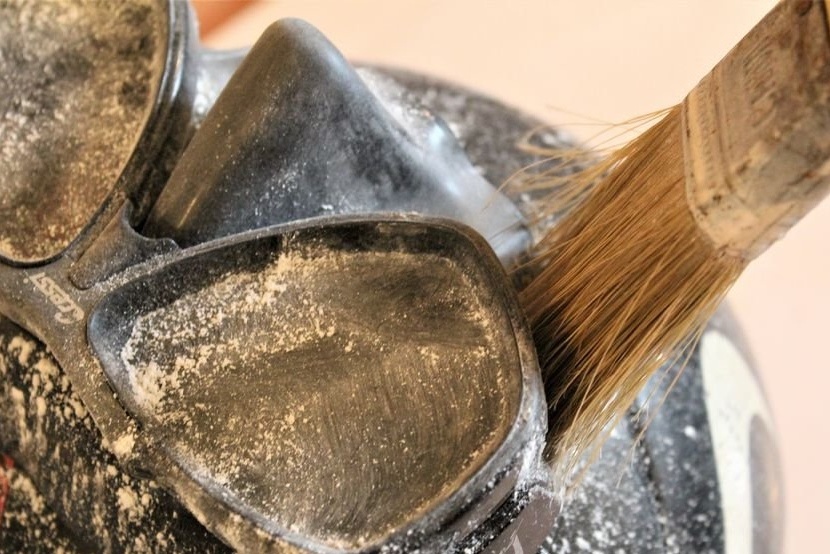
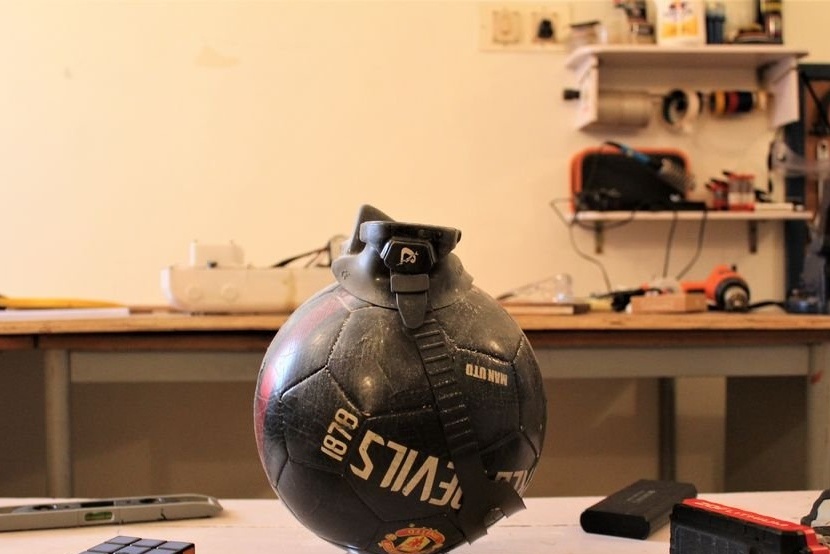
The master put on a mask on a soccer ball and continued to work. He was not too worried about the lighting and just used the natural daylight in the room + room lighting. Some photos turned out to be a little dark, but it did not seem to matter much. To remove glare from the mask, the master sprinkled a little talcum powder on it and spread it with a brush. He took as many photos as possible from all angles, about 120 pieces, the main thing is that the photos overlap each other. Then the photos were transferred to the photogrammetry program, which created a fairly accurate three-dimensional grid of the mask.
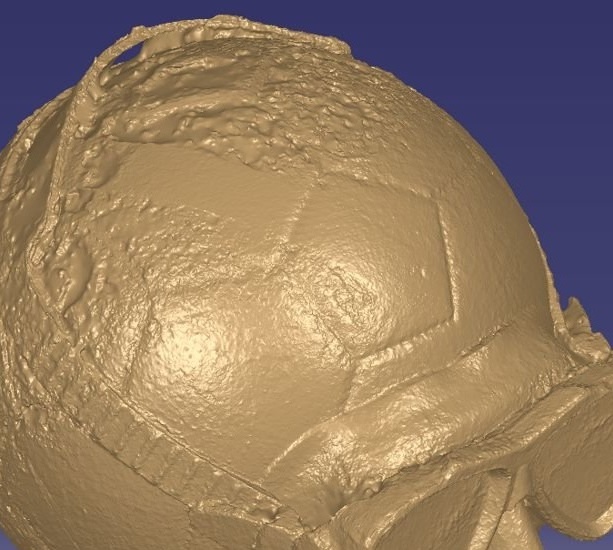

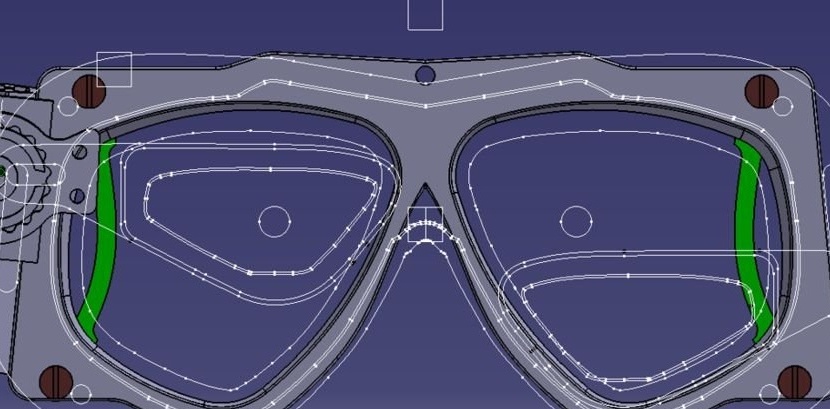
Having obtained a three-dimensional grid of the mask model, you can use the grid to recreate and reverse engineer the exact three-dimensional mask shape and model in the CAD software. There is no need to be extremely precise modeling and deviations in the range of +0.5 mm to 1.0 mm are acceptable.
It is important to remember that the mesh mask is not to scale. To scale the created 3D model to fit the actual mask, the wizard used the same scan, trace and 2D sketch method that I used in V 1.0.

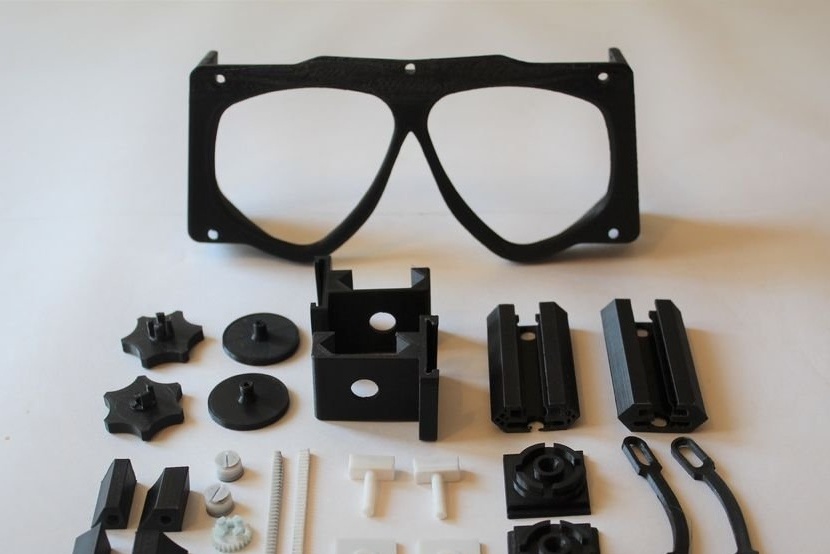
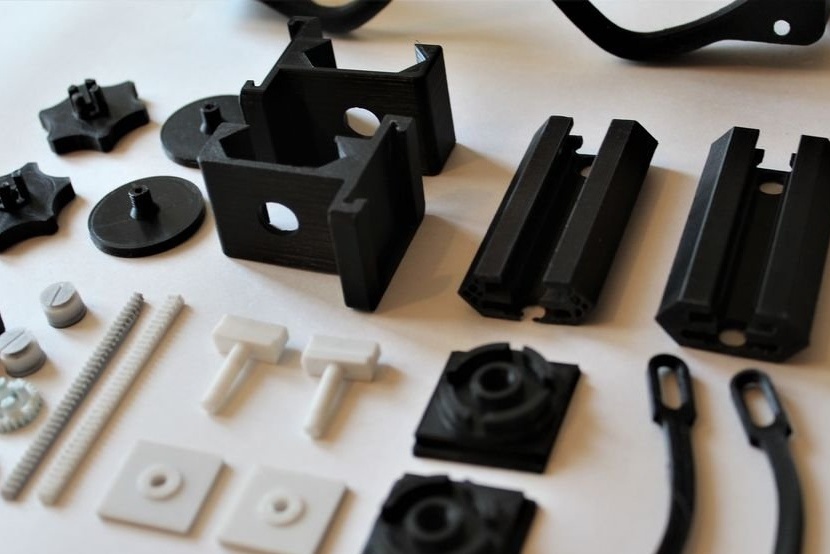
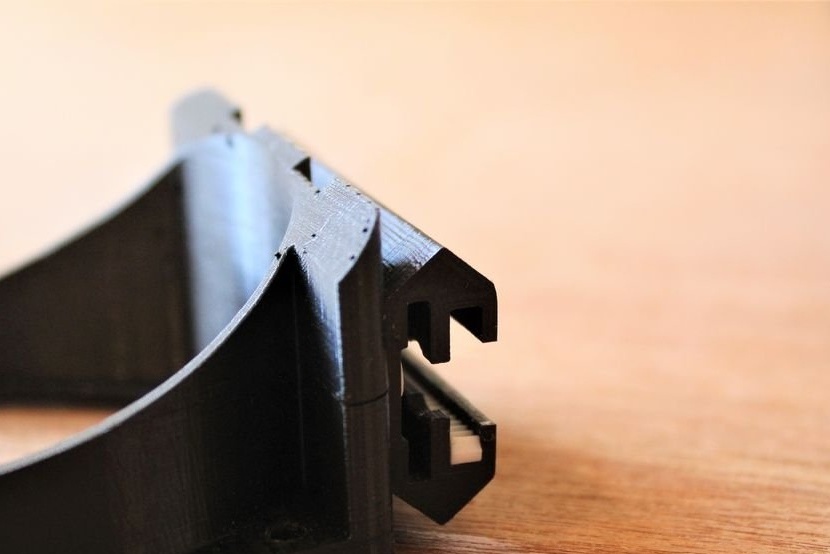
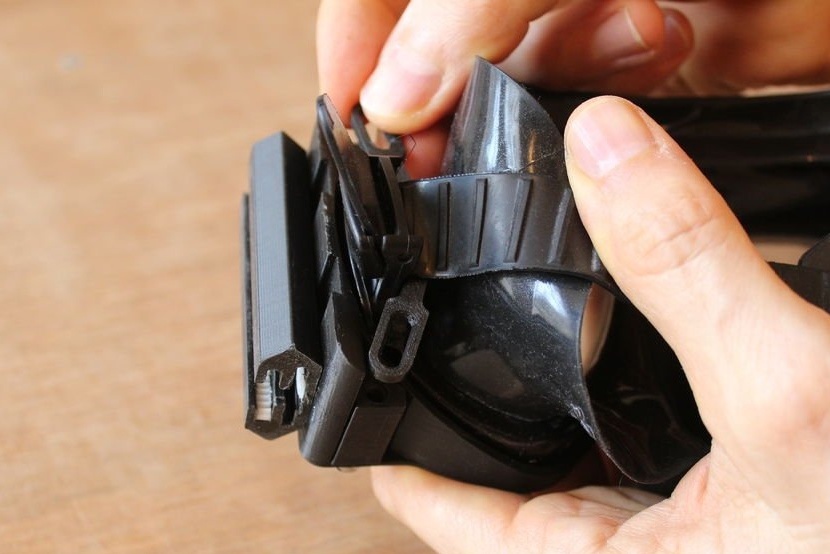
After creating a 3D model of the mask for diving, it will serve as the base model around which you can simulate the mask frame. The mask frame can be attached to the mask either with a belt or with a nozzle, which is mounted on the back of the mask frame and which holds it on the mask.
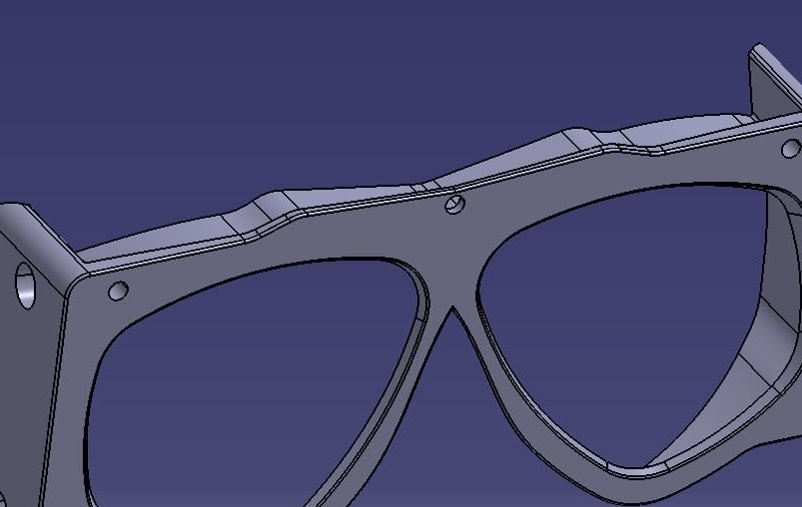
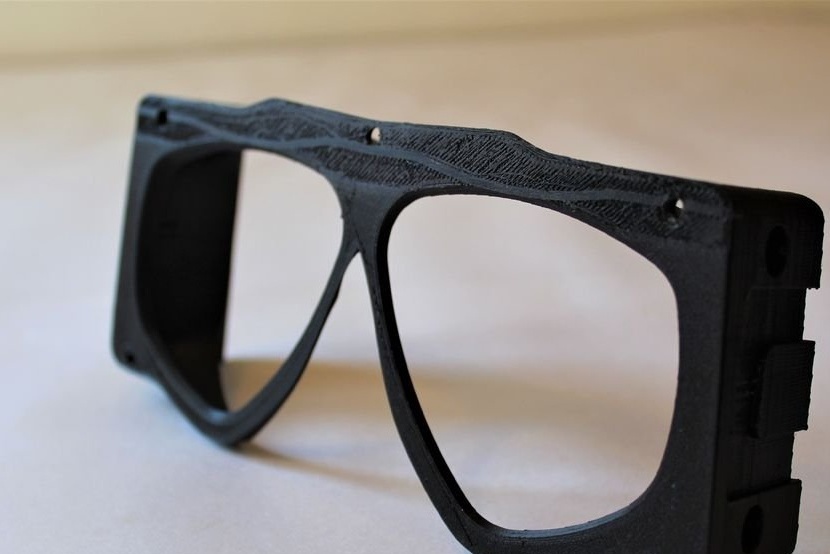
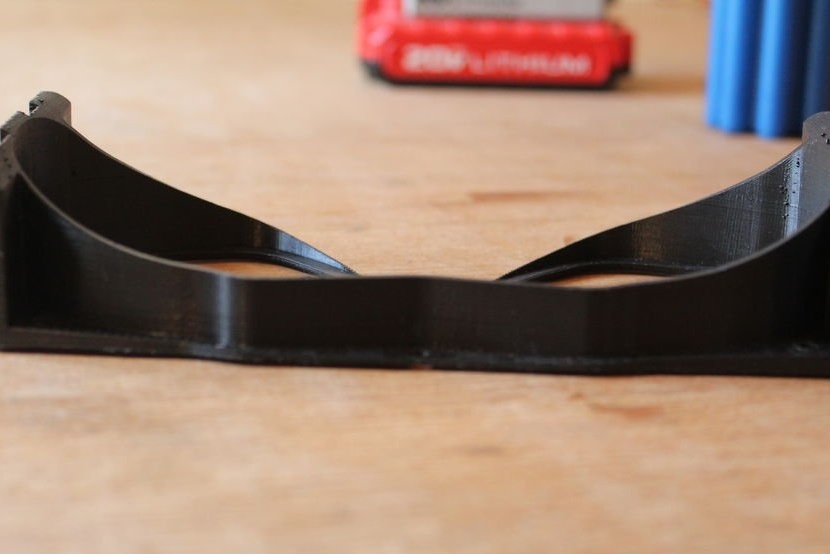
The mask frame can be modeled by offsetting the surfaces of the diving mask by about 1 mm to the sides to ensure that the frame is larger than the diving mask. These surfaces can then be thickened externally to create a solid three-dimensional model of the mask frame. When creating a mask frame, you can use your imagination and sense of design.
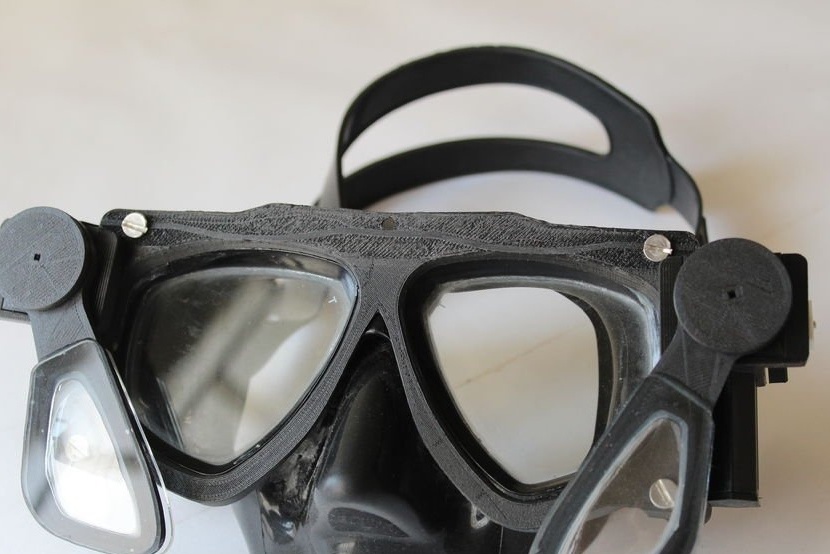
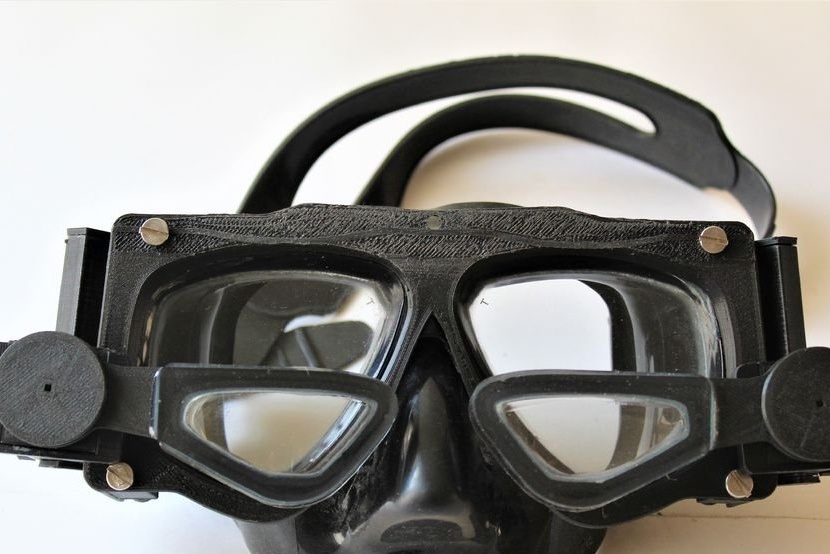
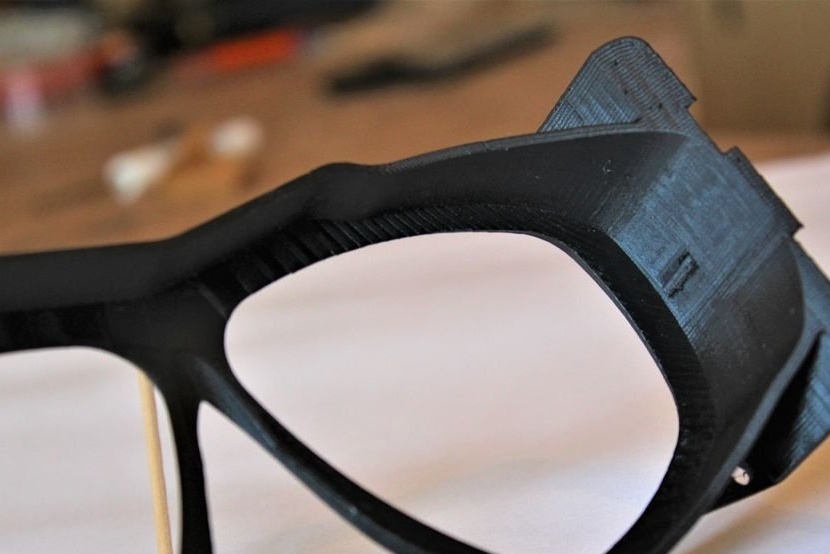
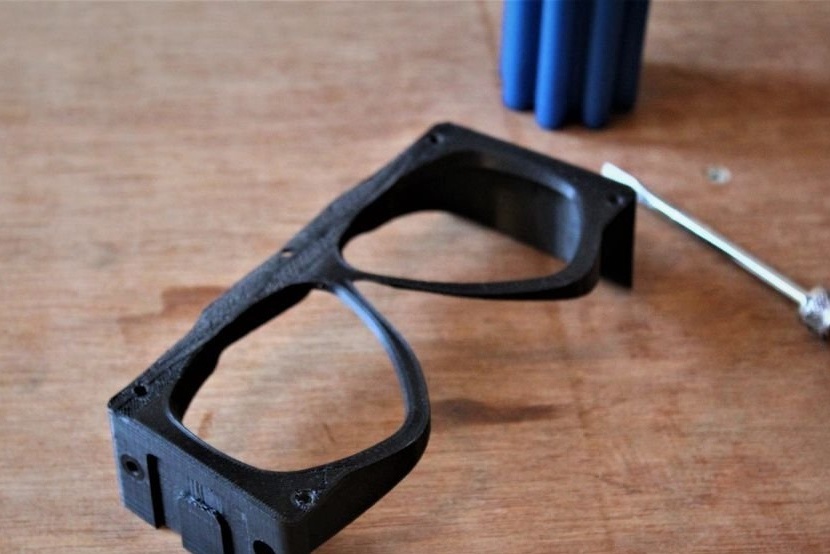
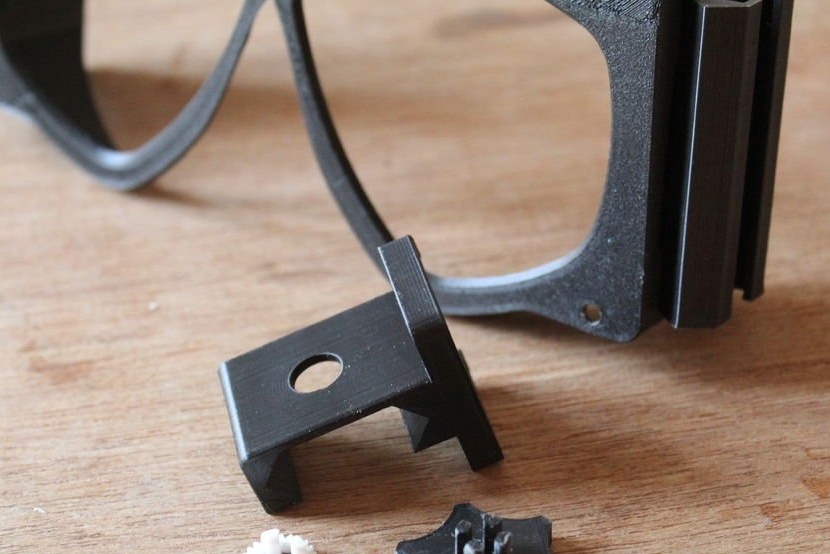
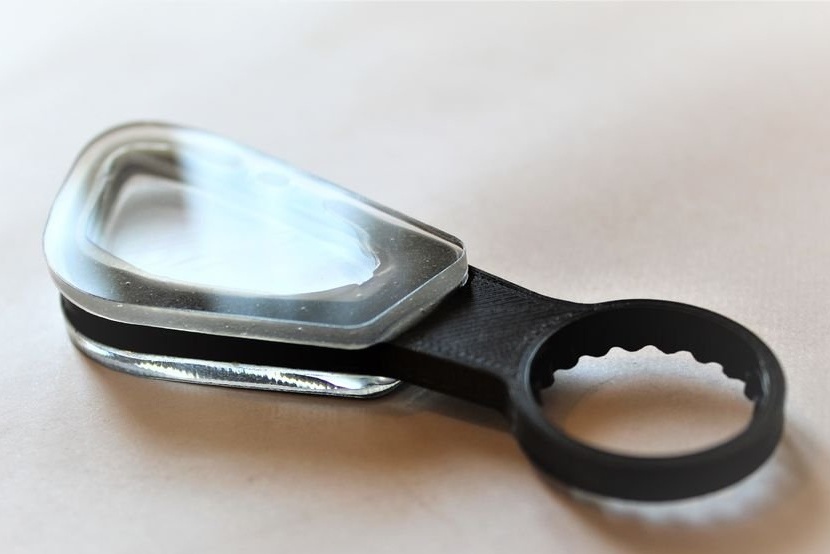
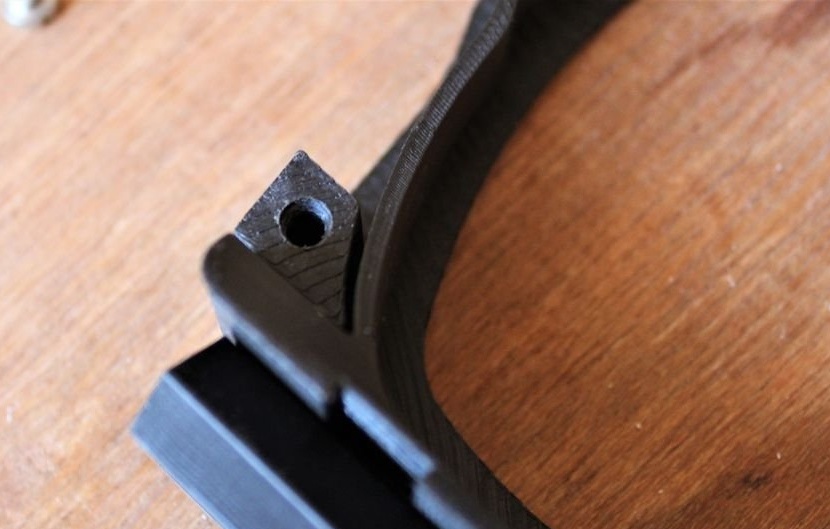
For example, the master tried to keep the design and profile of the original mask as much as possible and added a little space for the hole on top so that a mount for a compact underwater camera such as GoPro could be installed on the mask frame.
When modeling a mask frame, there is no need to be too precise if the 3D model of the mask frame is larger than the underwater mask. A few millimeters no longer matter.
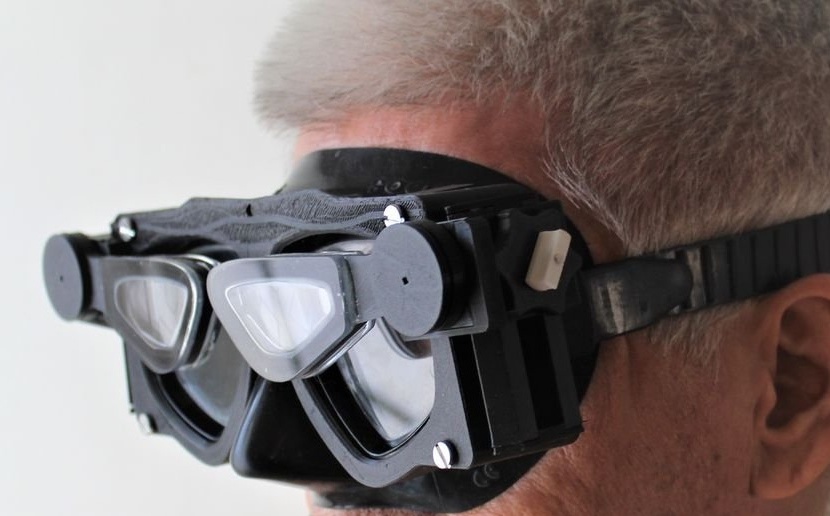
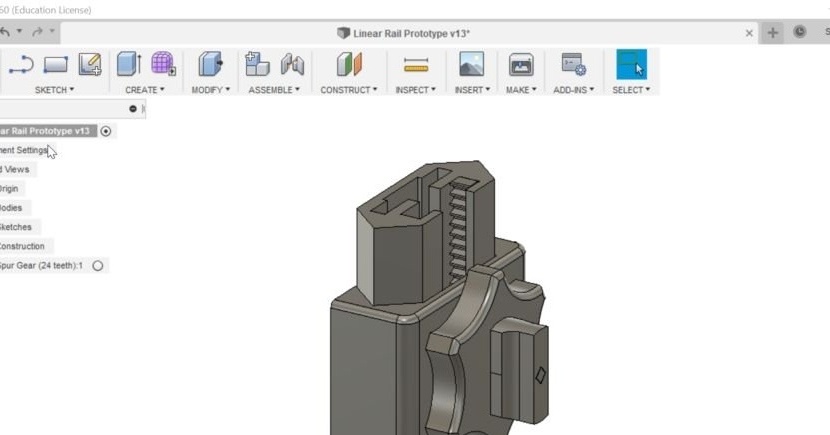
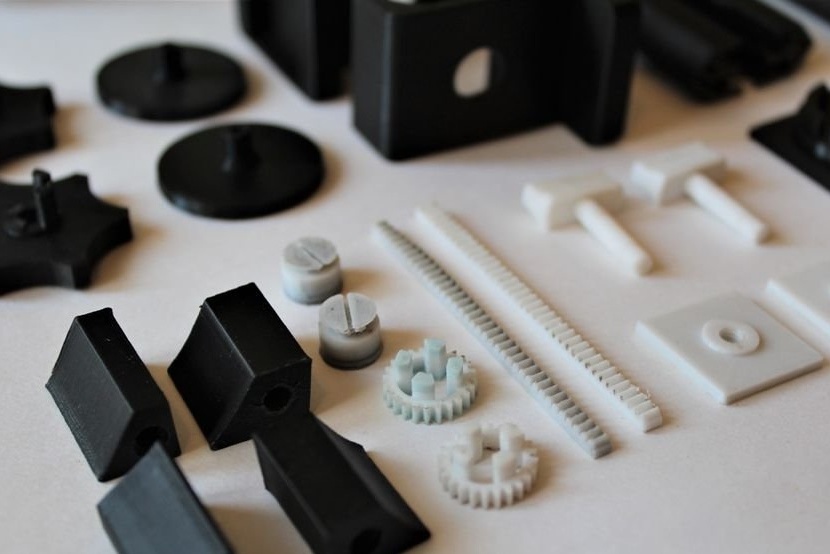
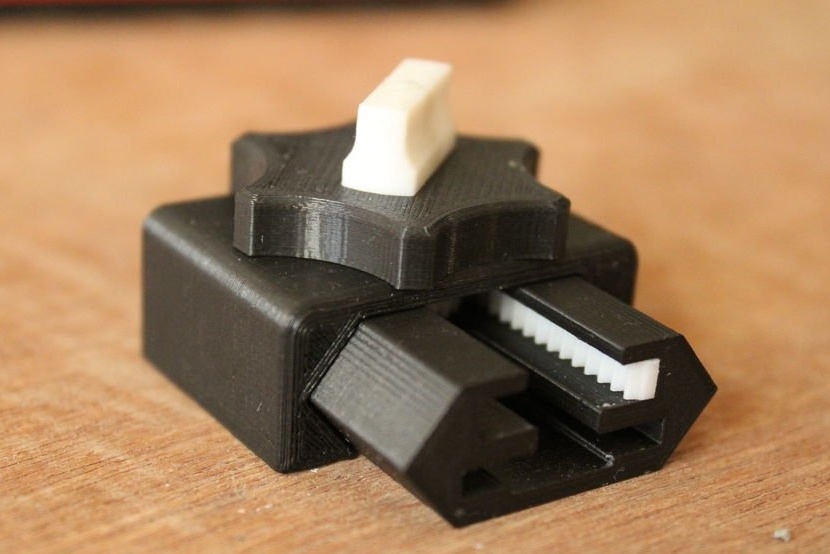
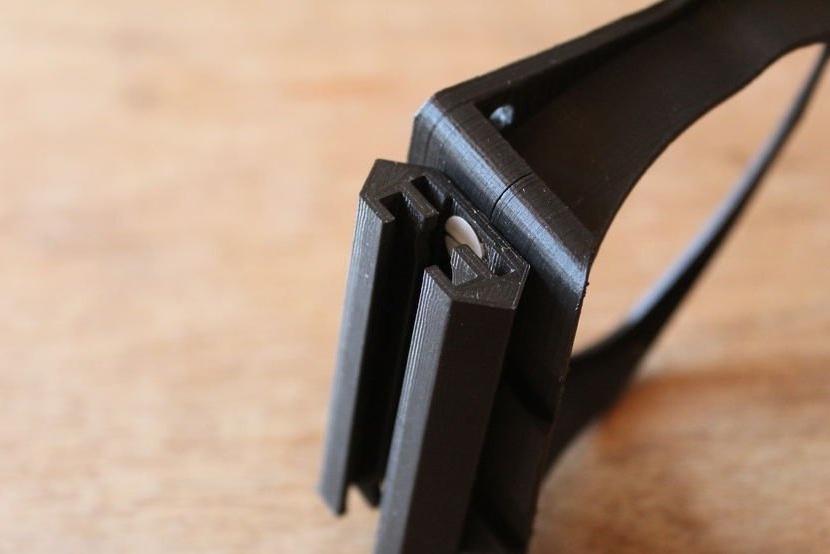
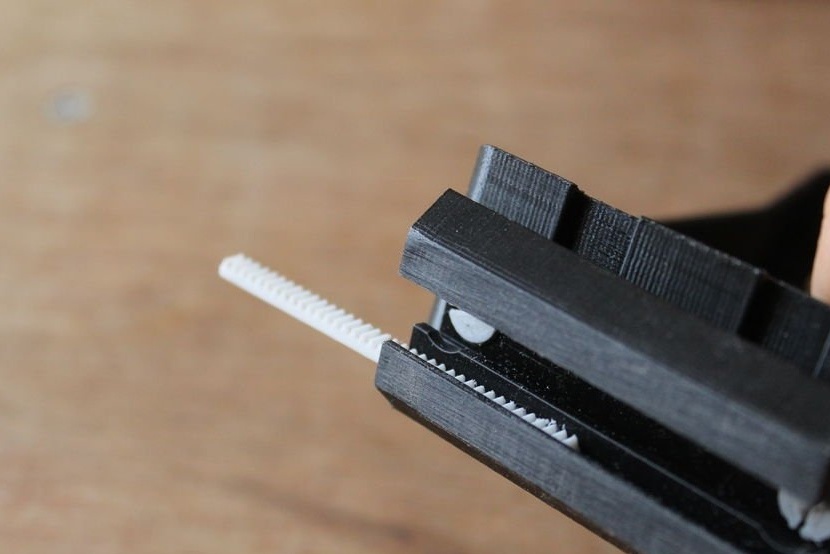
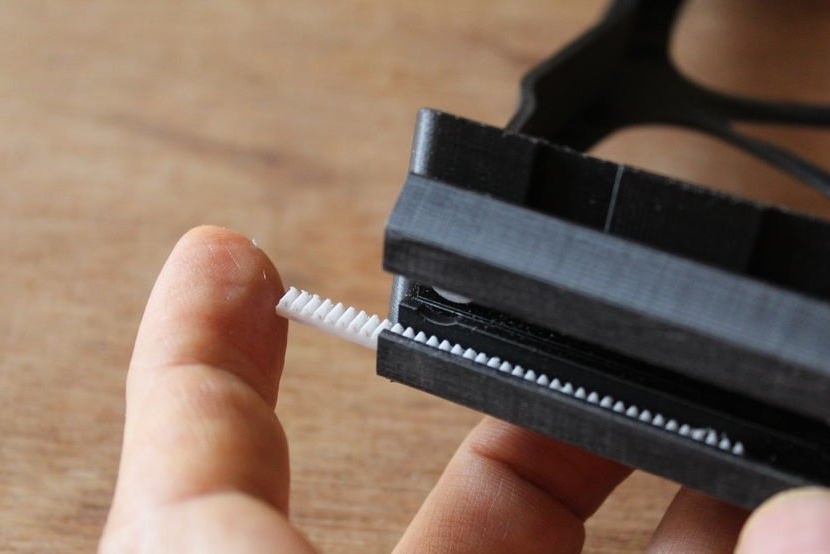
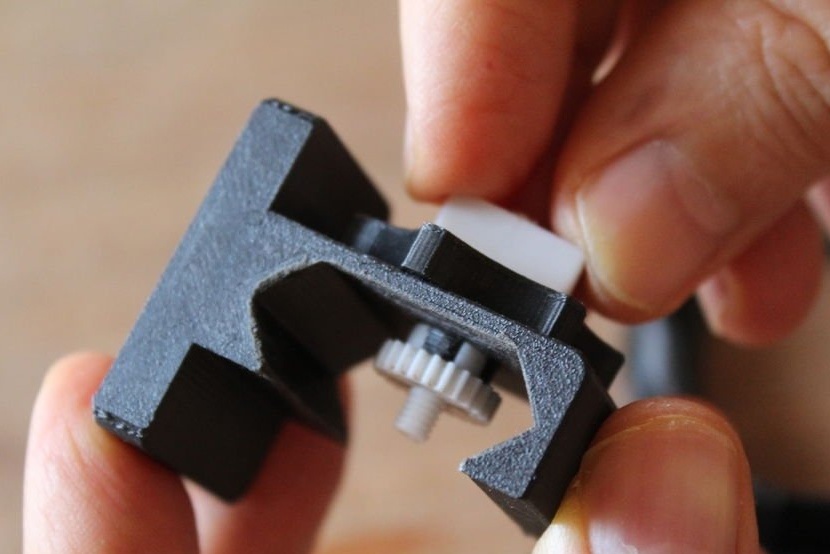
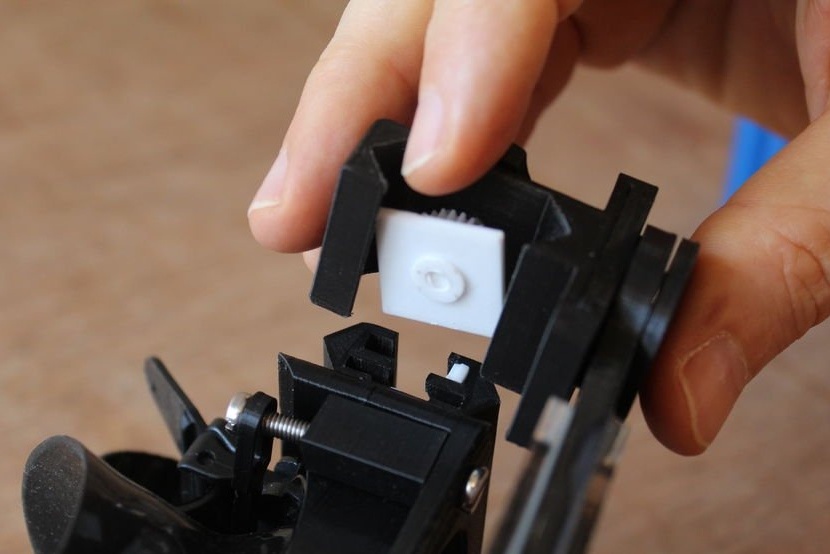
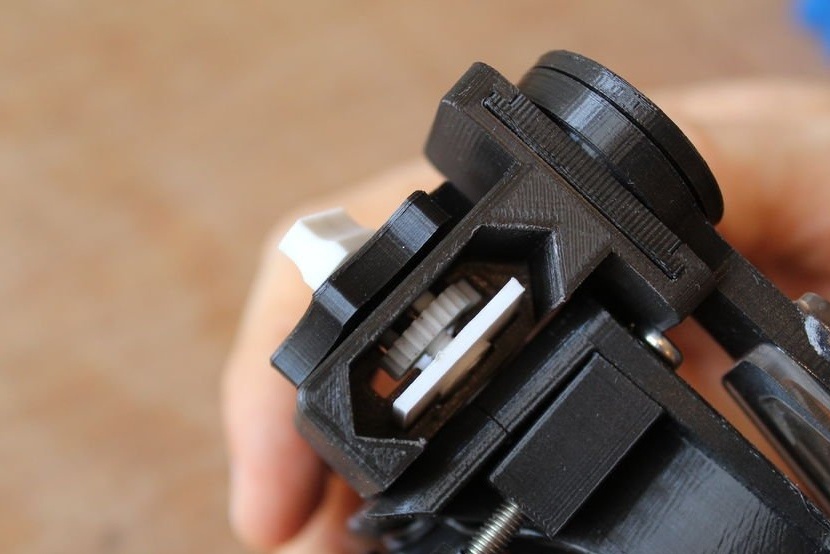
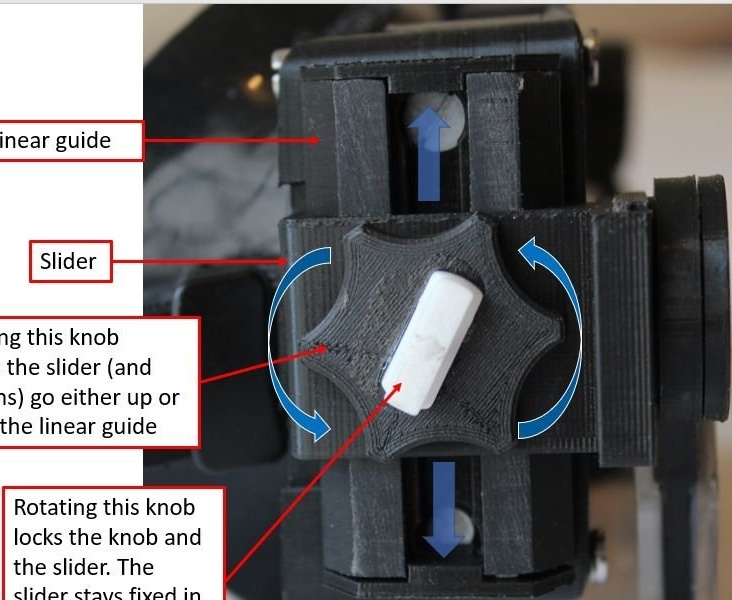
To increase the convenience of moving and sliding the lenses up and down the frame, a mechanism with a gear wheel was designed, which moves along a linear guide with a stand. In fact, by turning the handle connected to the gear, the lens can be moved up or down the rack with just one hand. To keep the lens sliding mechanism in place, a lock mechanism was integrated with the handle. This greatly simplified the adjustment and positioning of the lenses.
The stroke length of the linear guide mechanism is determined by the position of the eye in relation to the mask, as well as the shape of the mask, in this case the master needed a stroke length of 3 cm.
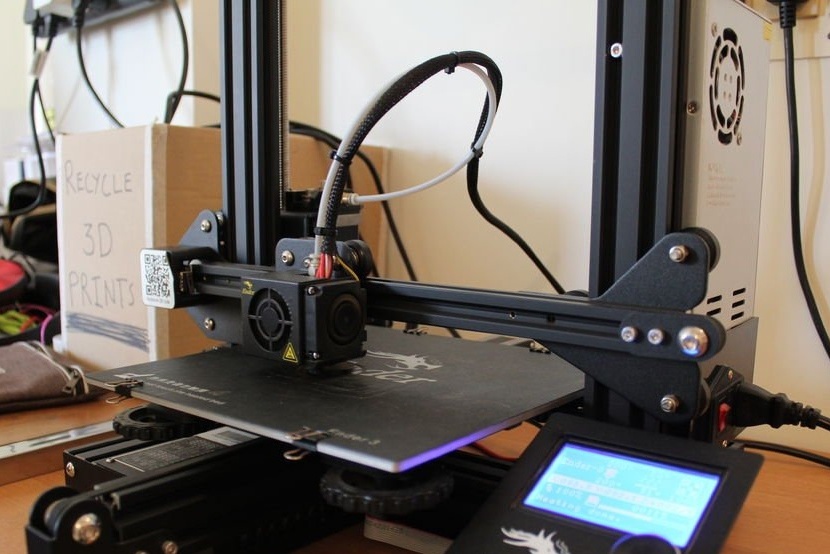
Step Three: 3D Printing
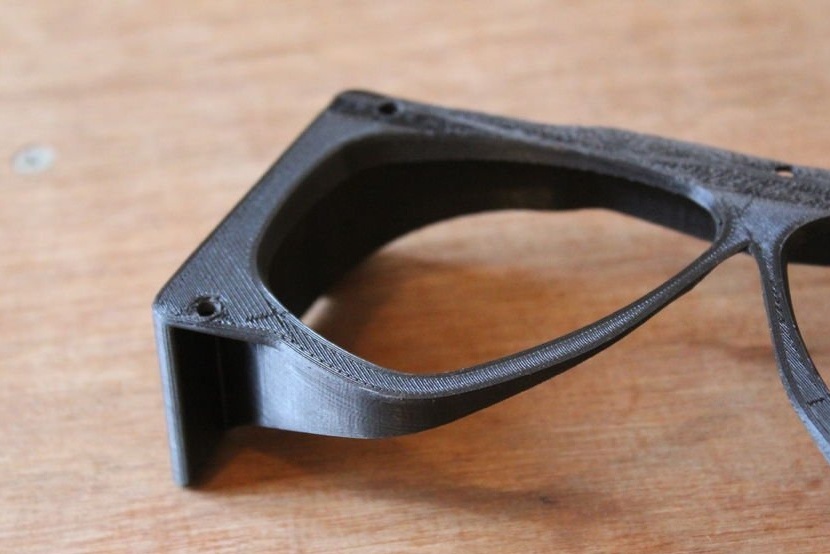
All details were modeled taking into account the simplicity of 3D printing. A significant amount of time was spent on the design of parts, taking into account the structural strength of the parts, as well as the possibility of 3D printing. Ideally, the master wanted to print fewer parts, but had to split them into smaller blocks, because it was impossible to print these parts at a time.
The wizard designed the model so that no component had any protrusions, and therefore it can be printed without supports. A complete list of parts with their 3D printing specifications (STL and G-codes) are in the file below.
Diving Mask with Extra Lenses (V2.0) .zip
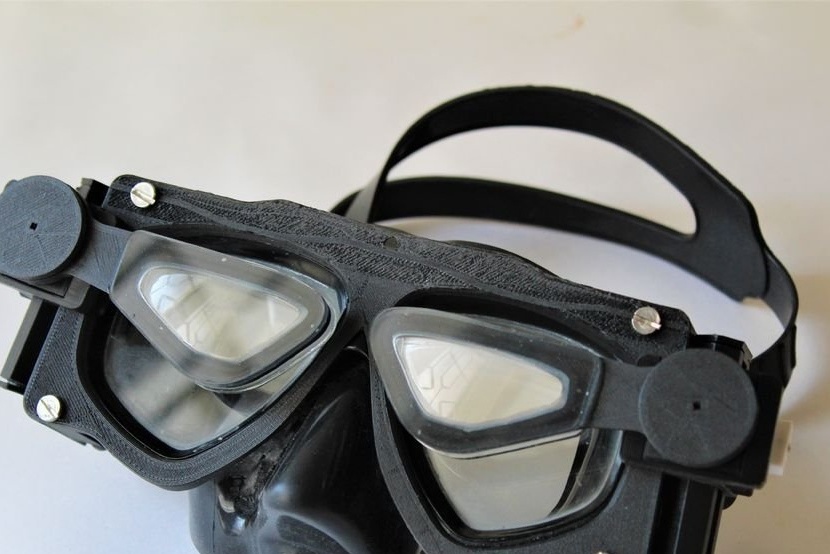
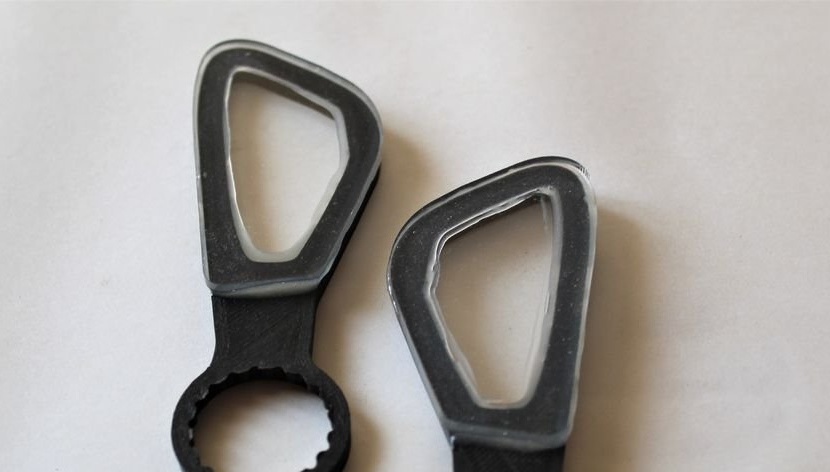
Thanks to the use of photogrammetry, the master was able to create a fairly accurate additional frame for the mask, which fit snugly against it. In addition, he believes that it looks better than the acrylic frame in V 1.0.
The key to a well-functioning mechanism is finding the right tolerances. The tolerances depend on the accuracy of the 3d printer used, and therefore may require changes for specific printers. The master used Creality Ender 3 to print parts with a tolerance of +0.25 mm, while parts with a friction fit were +0.1 mm. These settings lead to good results.
All parts are printed and you can proceed to assembly.
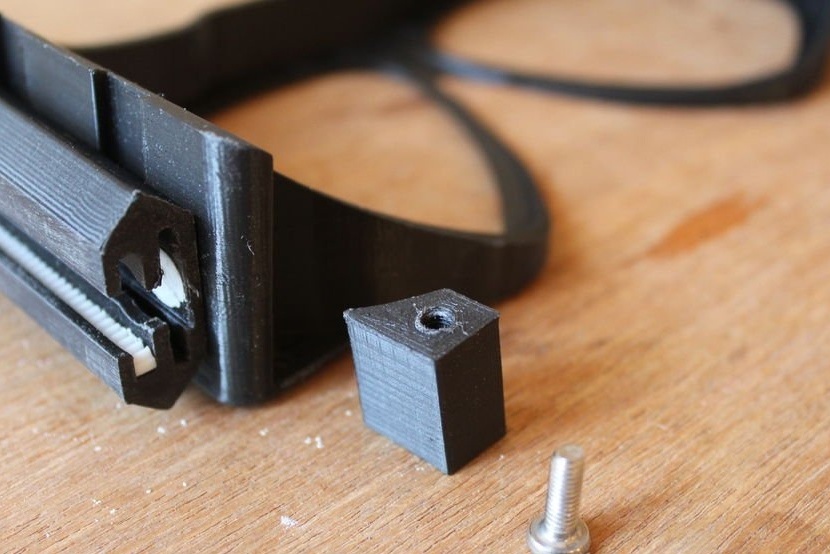
Step Four: Guides
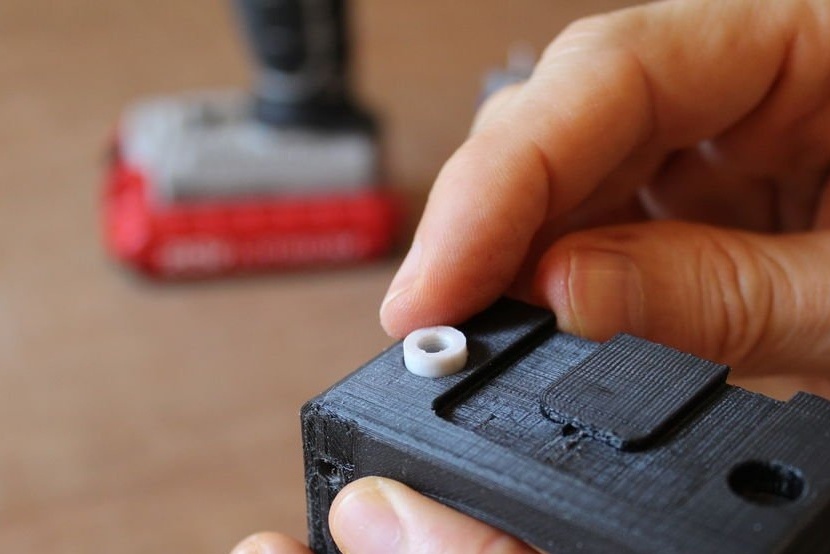
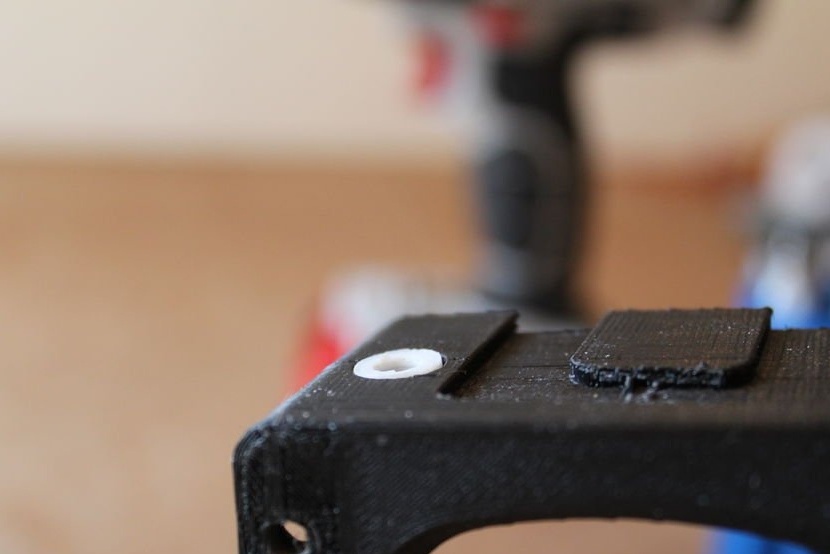
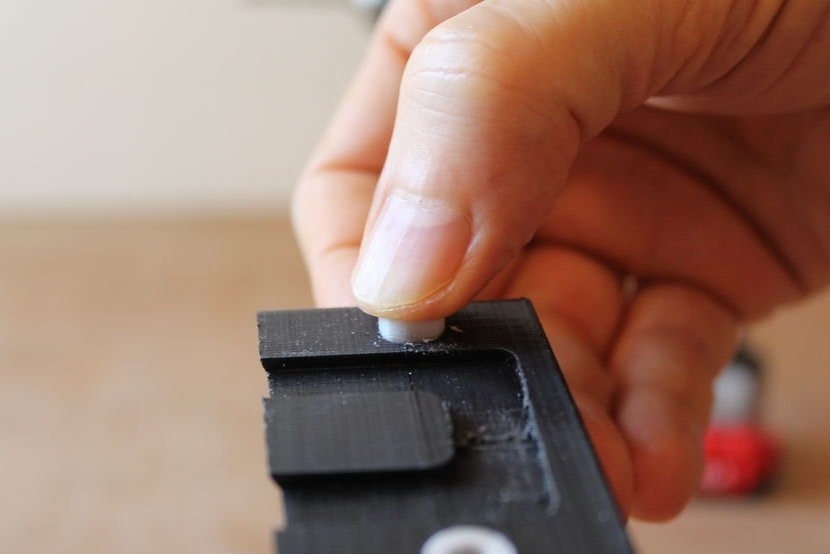
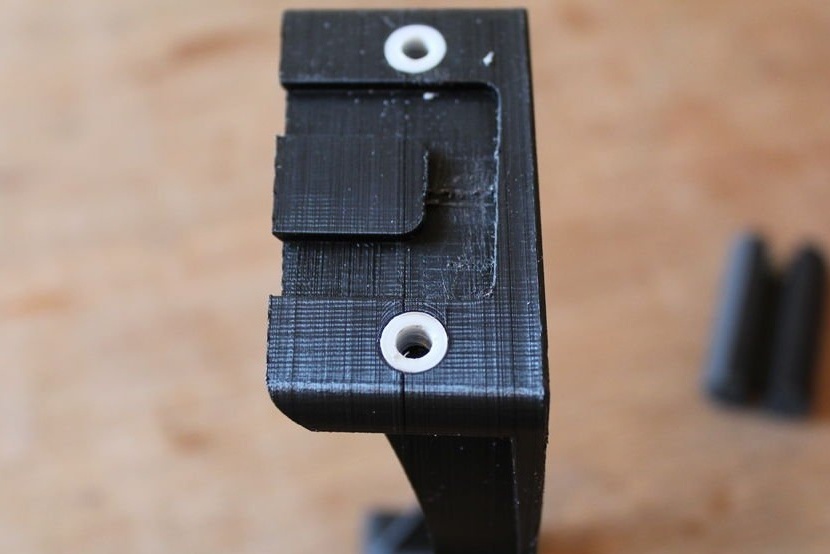
Installs threaded bushings and bolts guides.
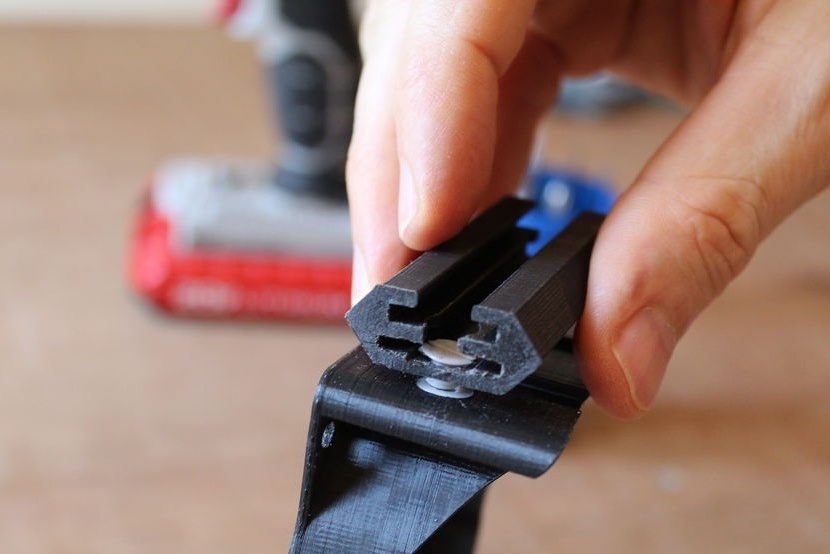
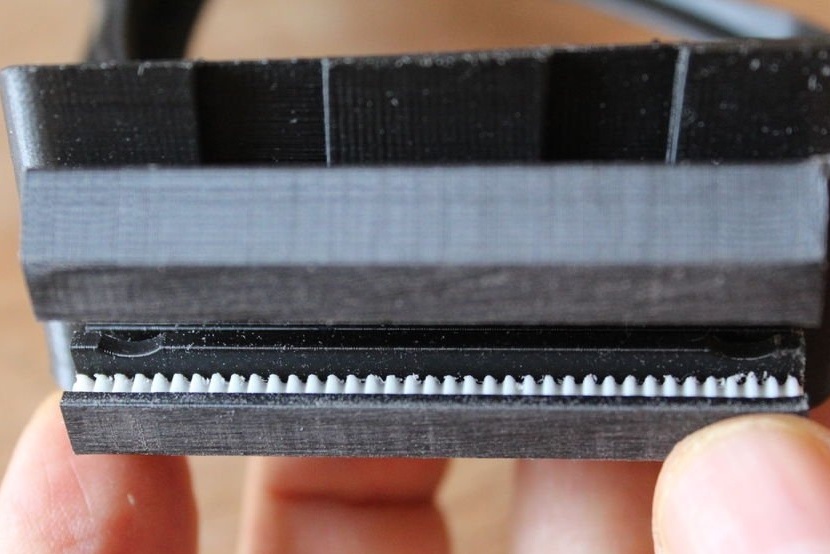
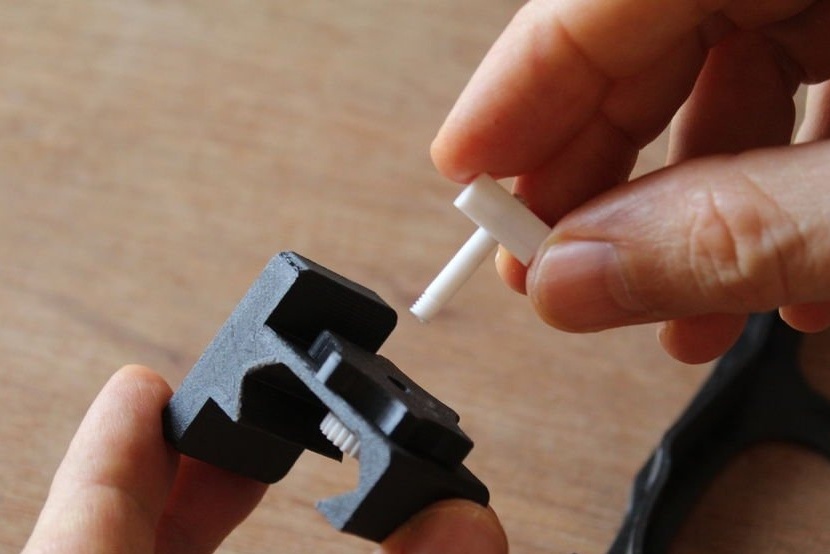
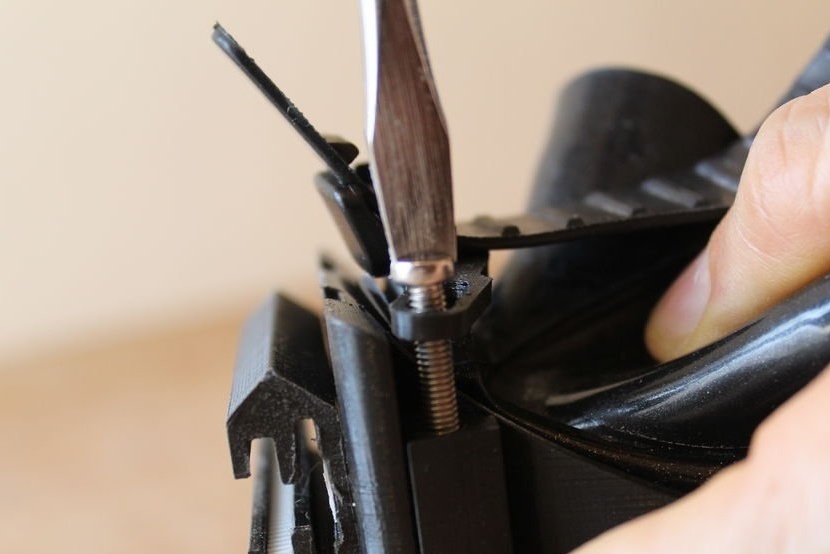
Step Five: Assembling the Linear Mechanism
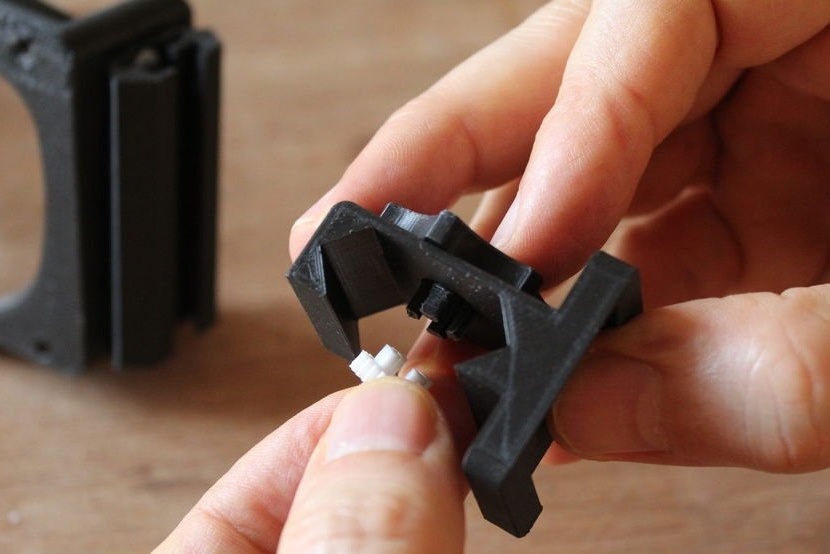
The gear rack sets into the guide and fixes with super-glue. Assembles a gear block.

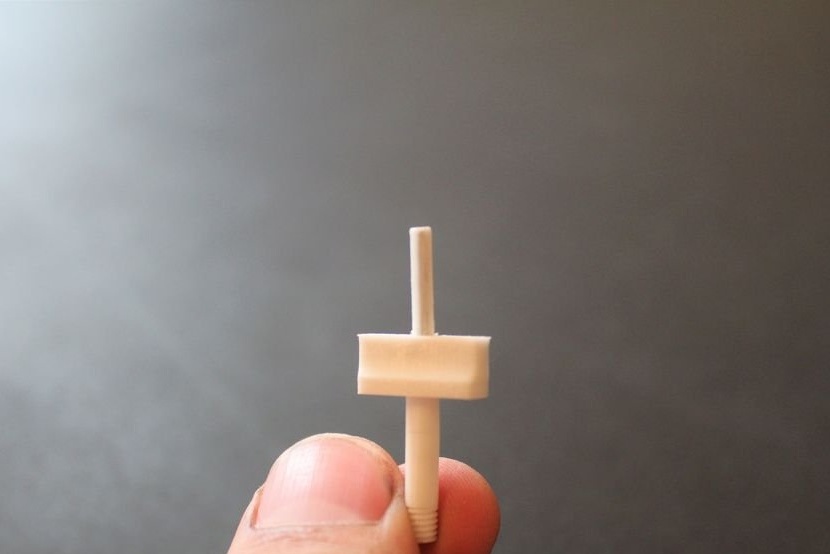
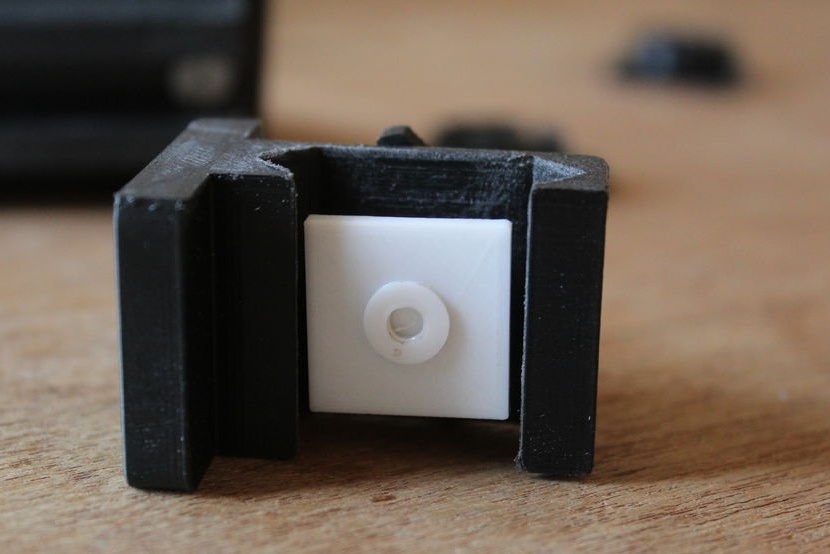
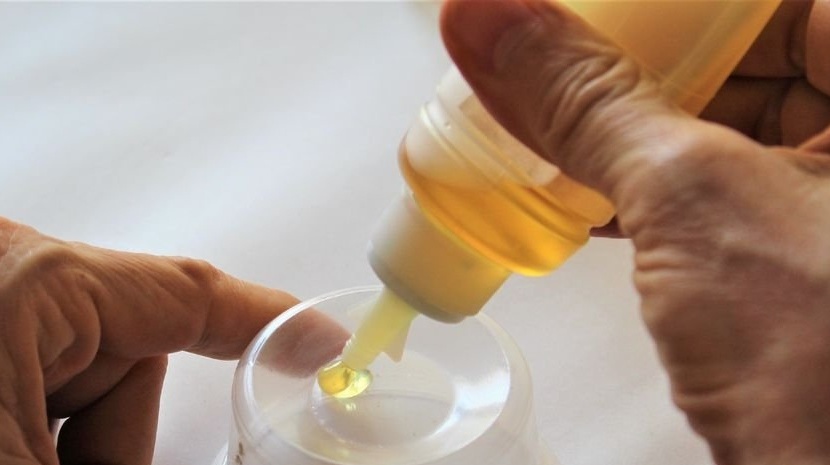
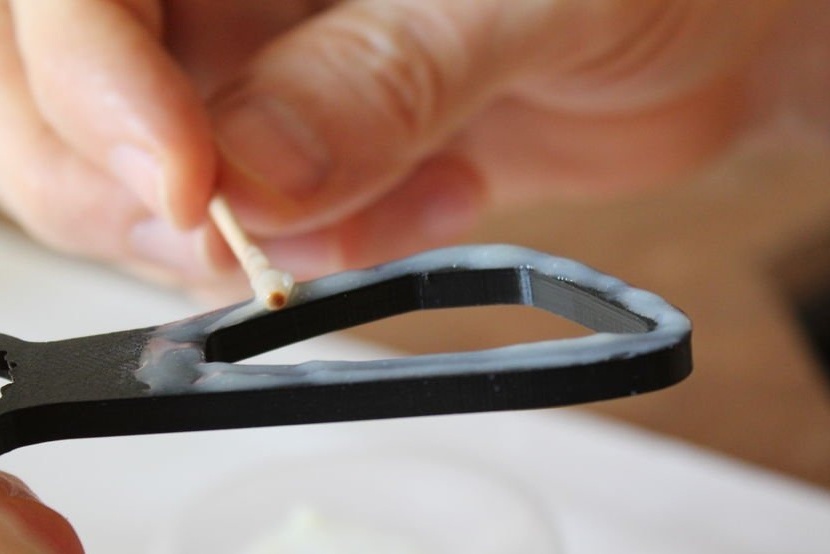
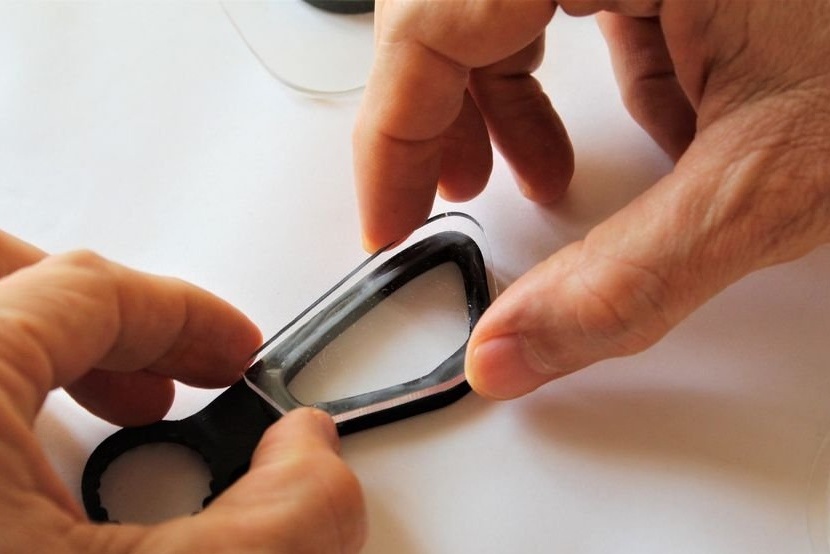
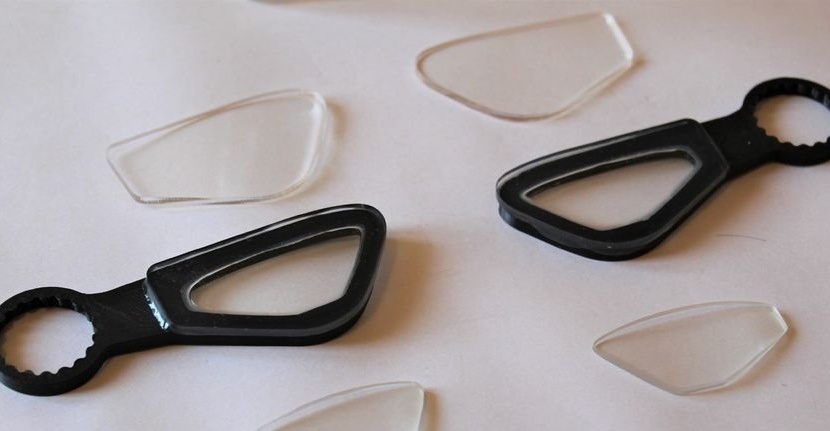
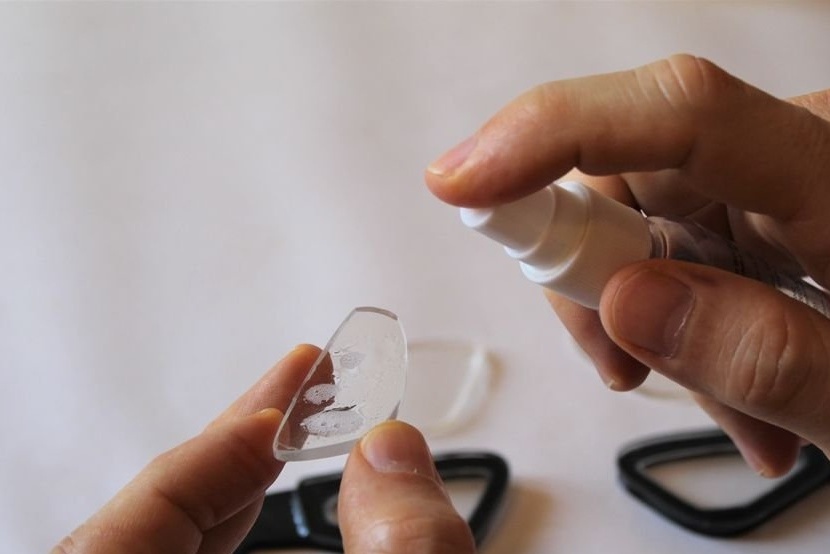
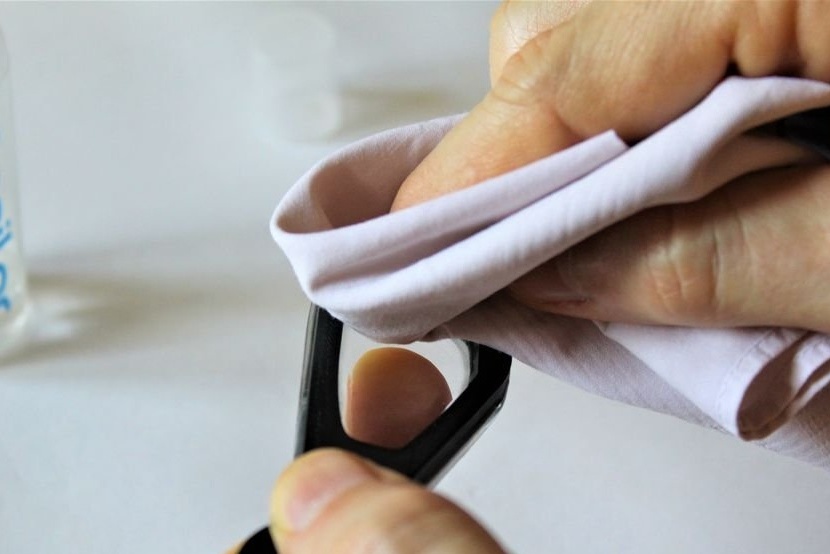
Step Six: Lenses
The master acquired polycarbonate correction lenses. He bought lenses at +0.5 diopters more than those that he uses on land. The lenses are inserted into the holder and covered with acrylic. It is important to make sure that the lenses and lens caps are clean before gluing, because after bonding the lenses and the inner surfaces of the lens caps become inaccessible. Care should also be taken not to smear the epoxy resin on the lens caps, since subsequently it is practically impossible to clean.
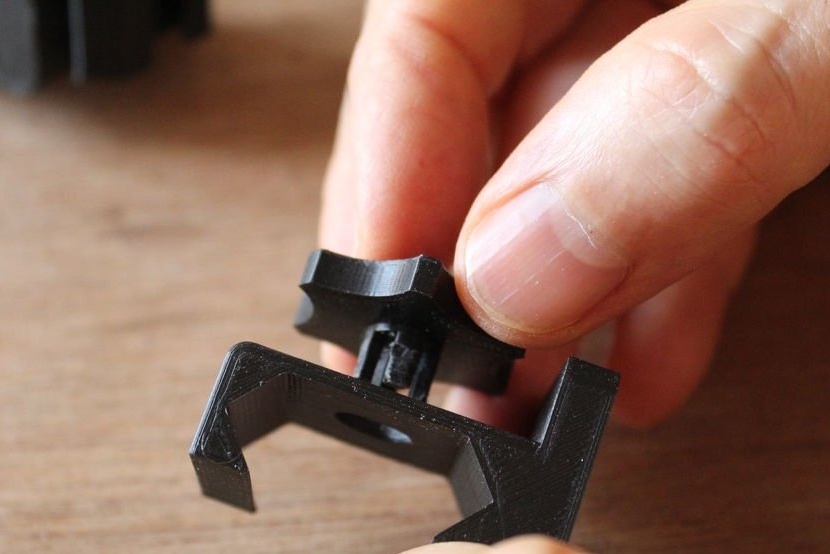
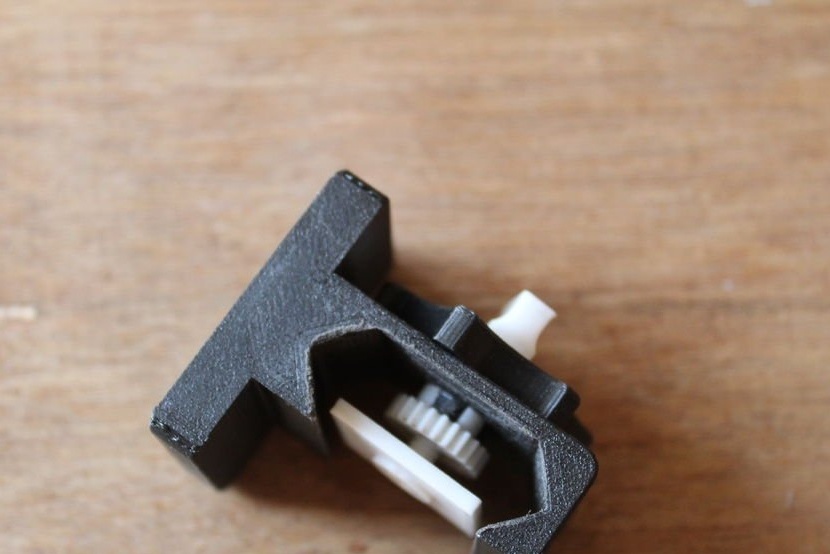
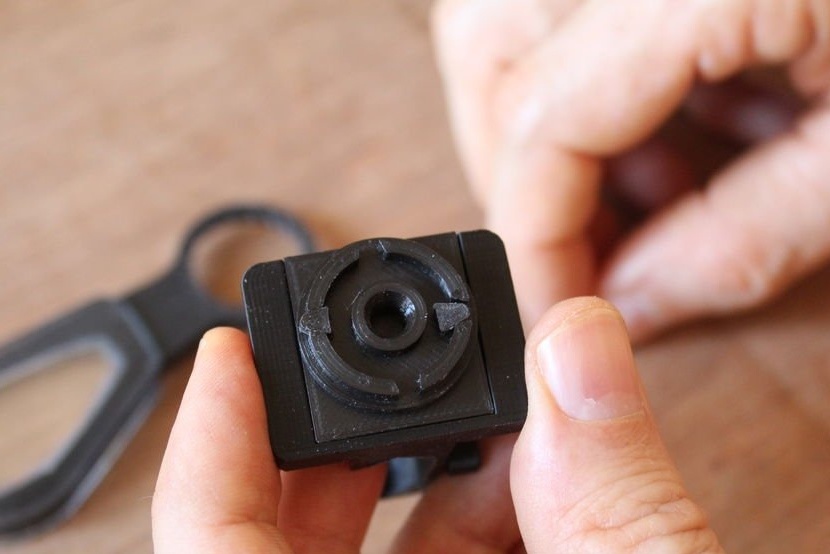
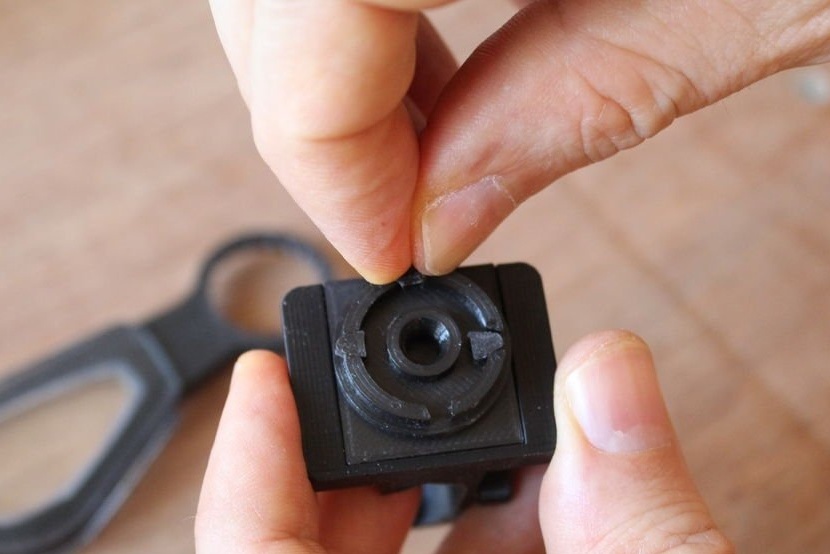
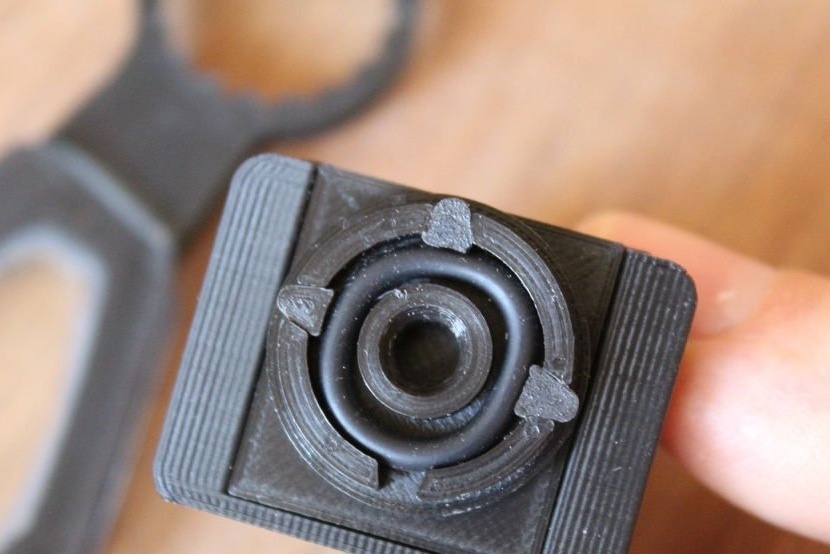
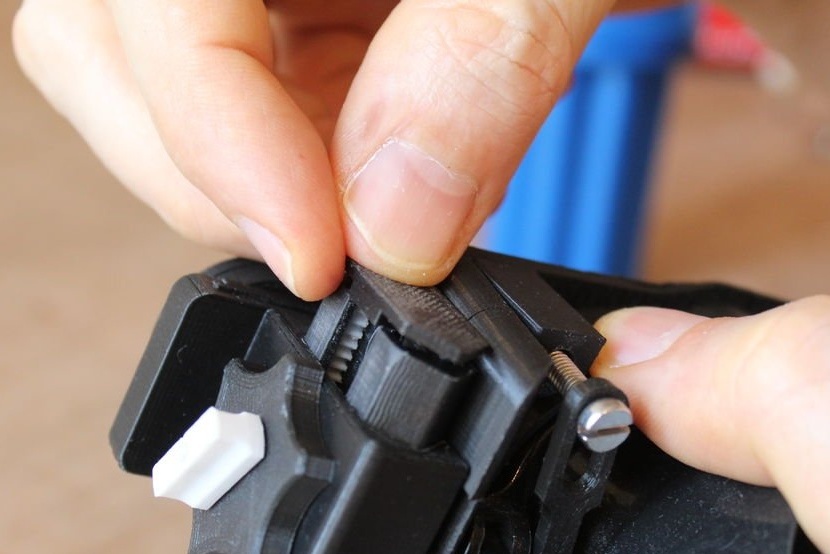
Seventh step: assembly of the rotation mechanism and lens lock
Continues assembly.

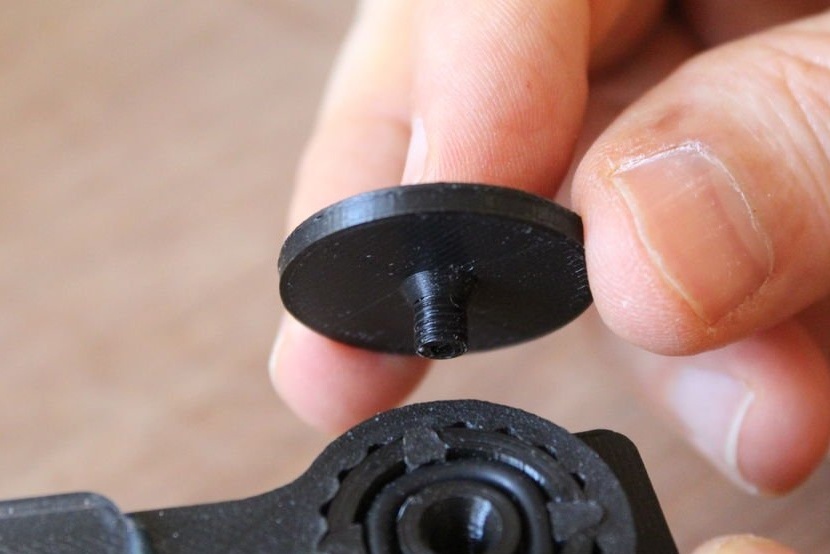

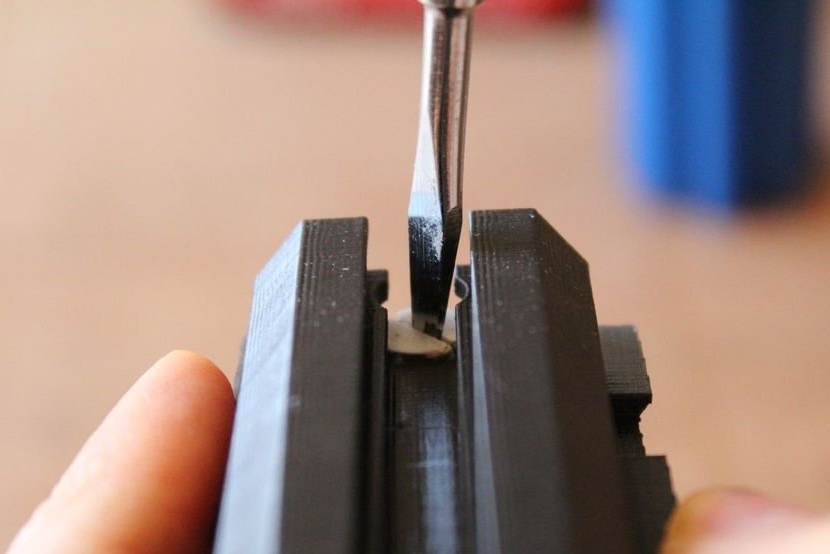
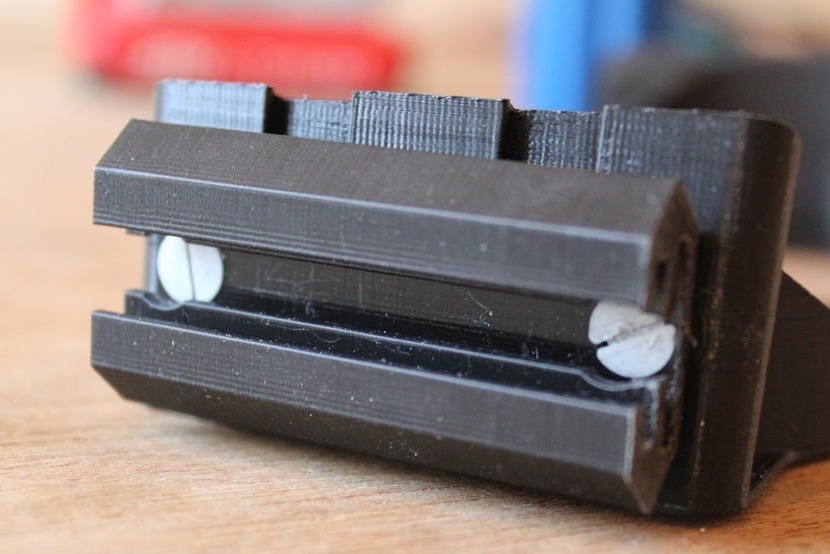
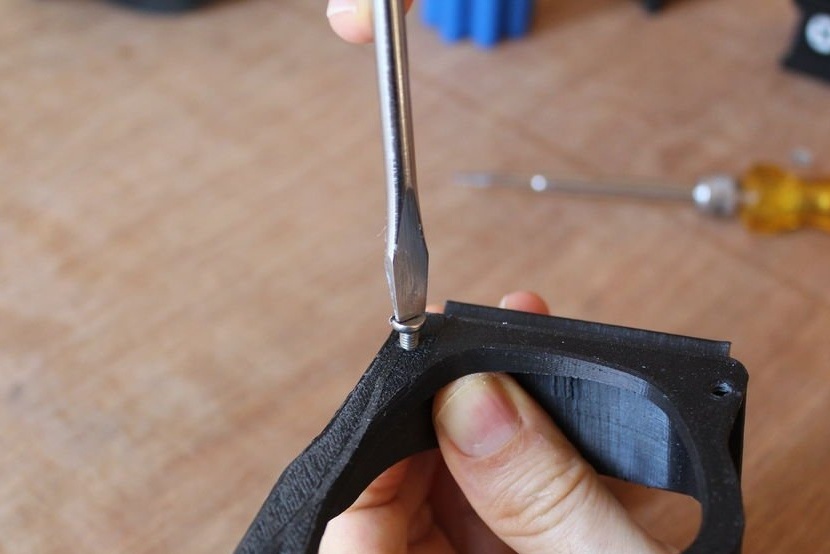
Step Eight: Threaded Connection
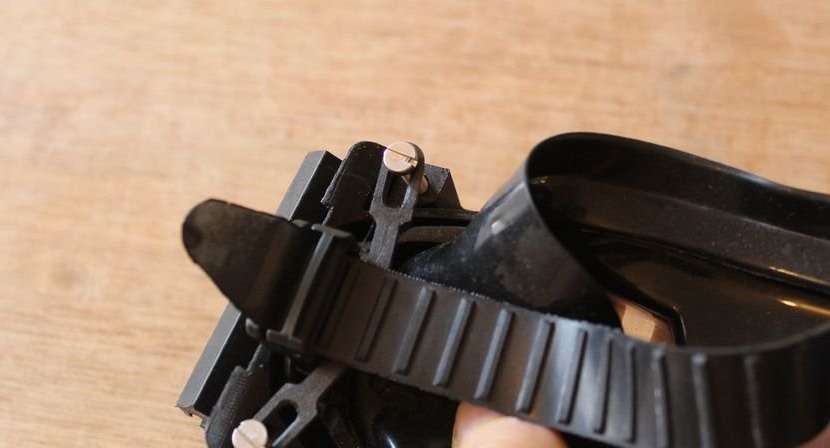
Fixes the details on the frame, with which it will be fixed on the mask. When fixing uses stainless steel screws.
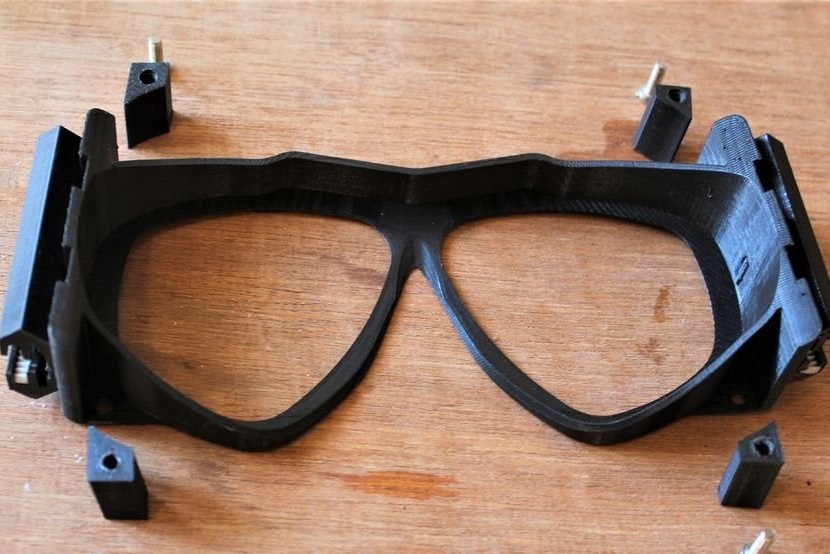
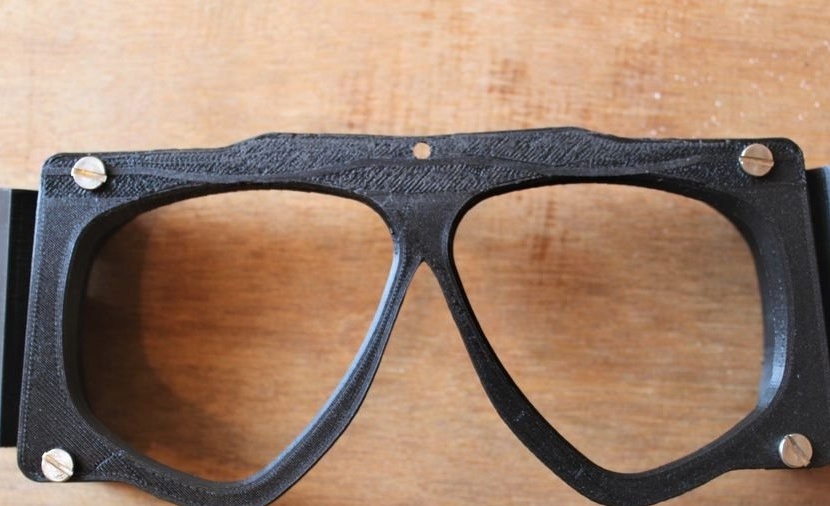
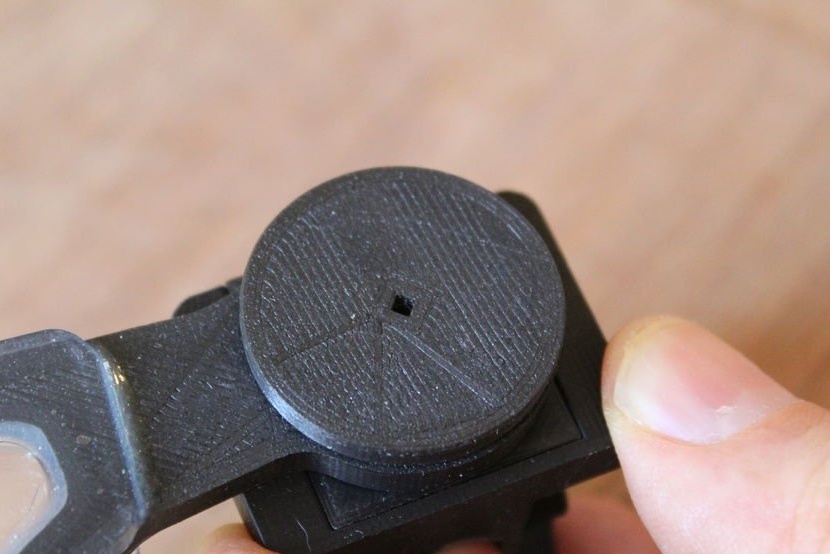
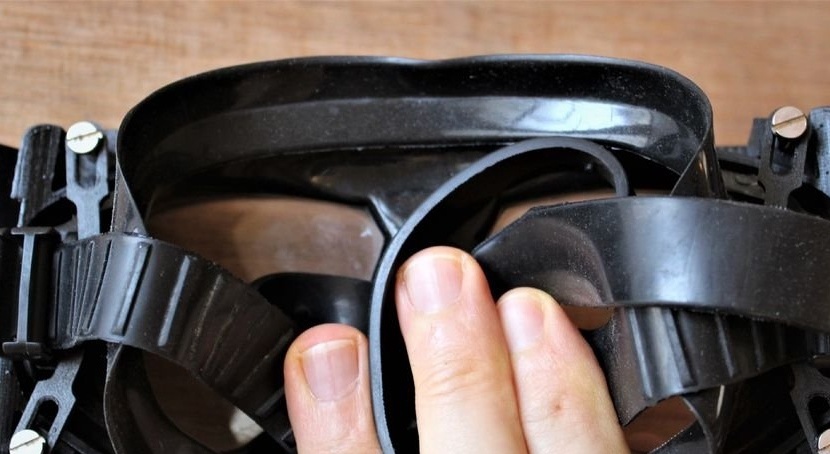
Step Nine: Setting the Frame
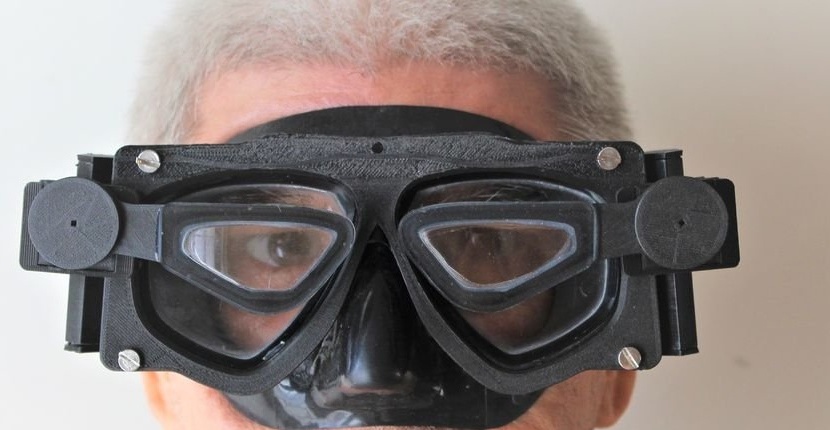
Connects mask and frame. Installs two mounting straps and tightens the screws.


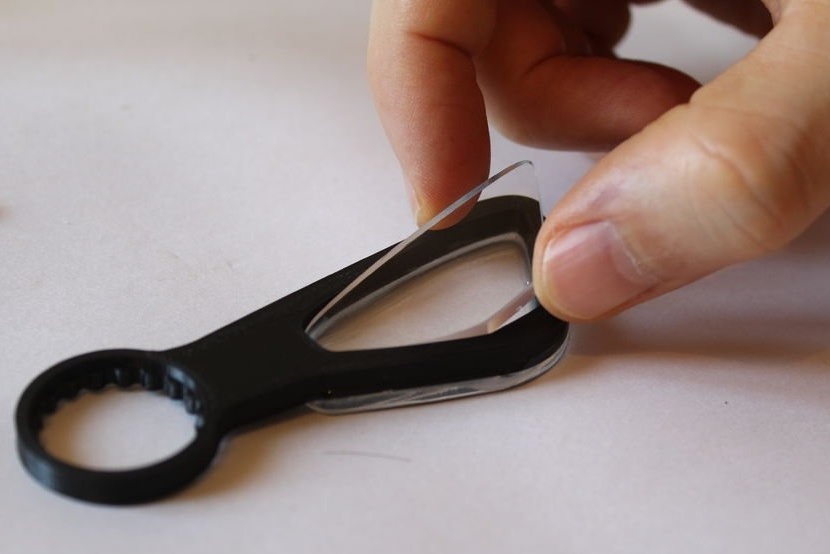
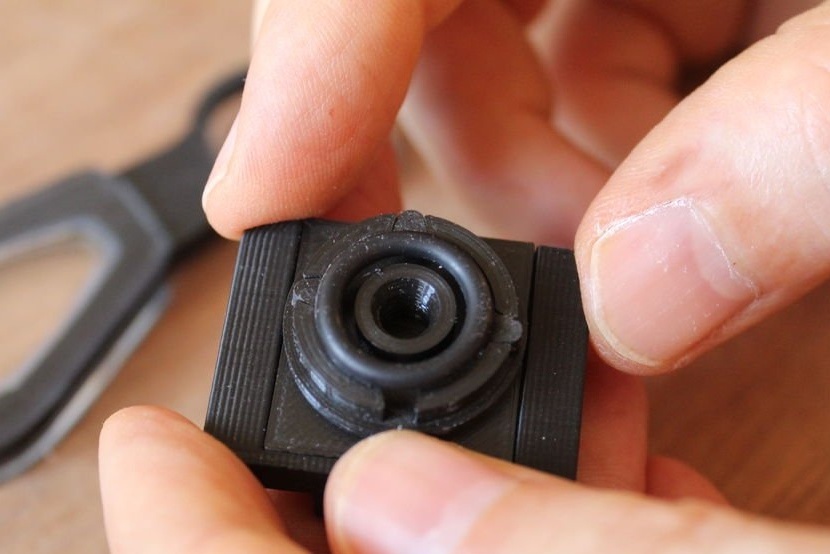
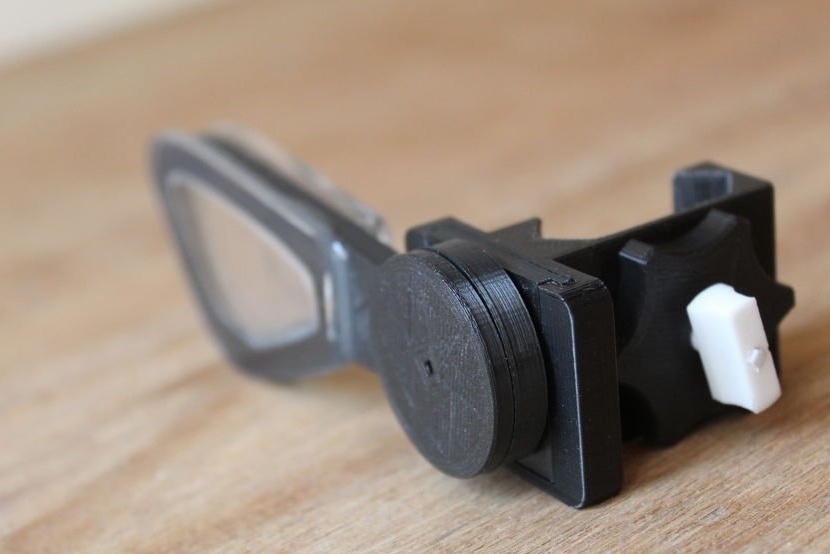
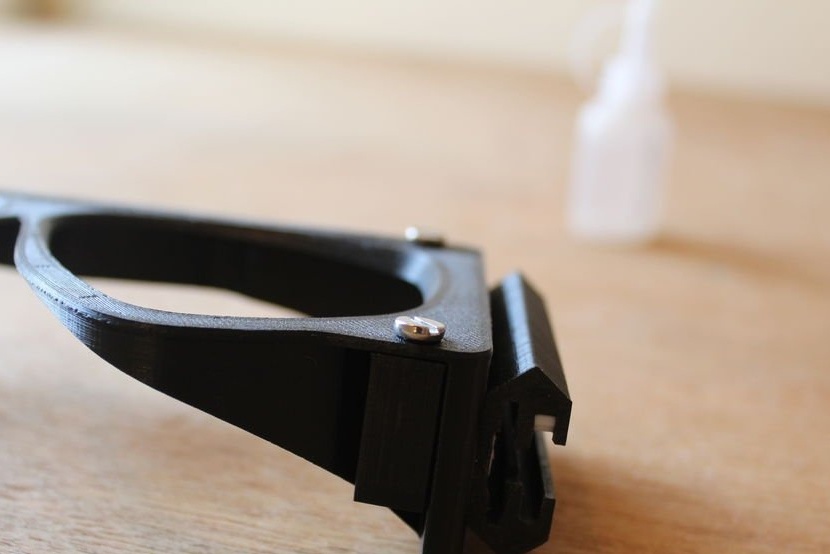
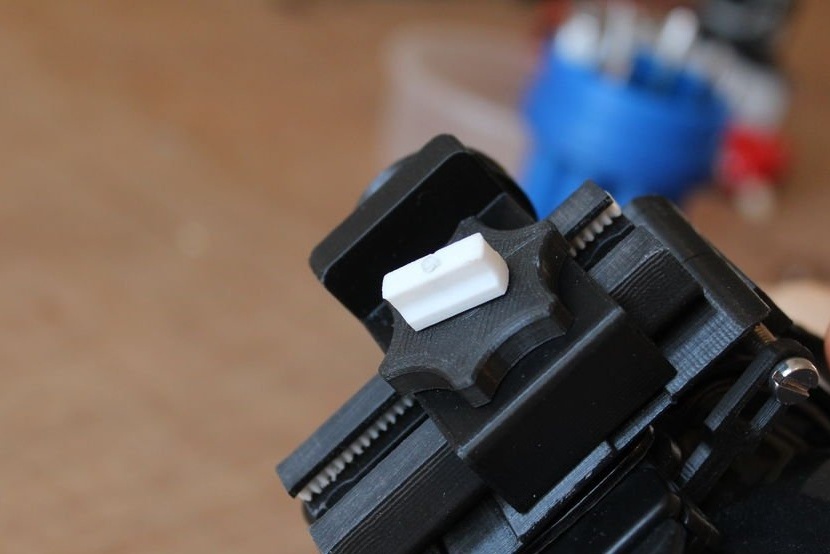
Step Ten: Swivel
Now it remains to install the rotary-slide mechanism. With it, the lenses are mounted at eye level, and then, using the wing knob, move up / down. Also, the mechanism has a lock.
All is ready.According to the master, the creation of a custom mask frame using photogrammetry allowed him to expand the functionality of the mask for diving. Now you can add detachable lenses and various accessories, such as camera mounts and flashlights, to it.