
In this article, the author of the YouTube channel George Kosilov will tell you about an interesting sports simulator, namely a balance board. With it, you can learn to keep balance.
This homemade product will be very interesting for children and youth.
Materials
- Sheet plywood 10 mm, 16 mm
- Extruded cardboard pipe
- Wood screws
- Acrylic lacquer
- PVA glue.
Instruments, used by the author.
-
-
-
-
- Brush, roller
- File
- Ruler
- .
Manufacturing process.
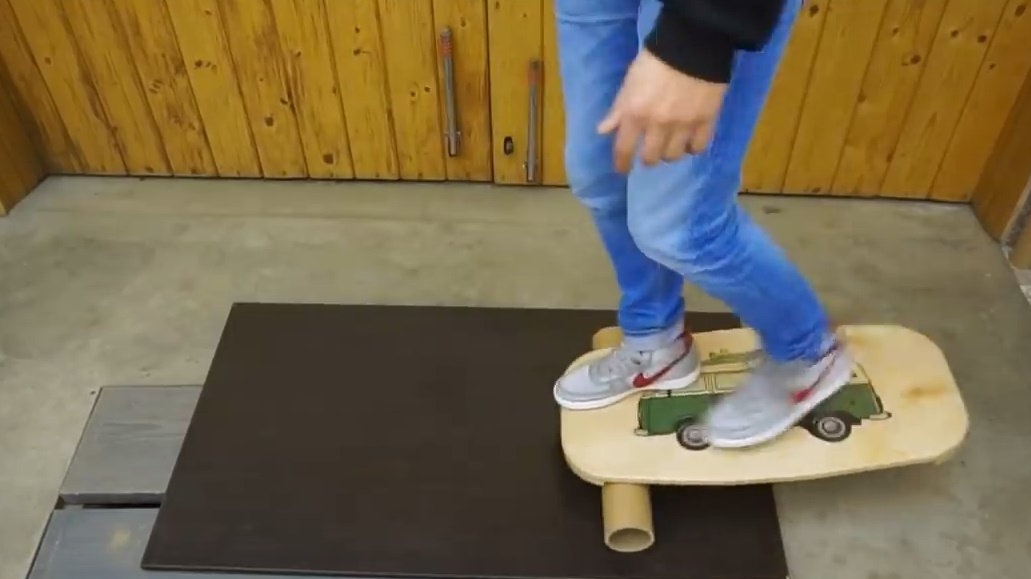
Given device consists of two parts - boards and pipes. Initially, he wanted to use a thick-walled plastic water pipe, 110 mm in diameter, as a pipe. But she was oval.
Then the author drew attention to the cardboard pipe from the carpet. It has rather thick walls (8 mm) and a diameter of about 100 mm. Such pipes are very easy to find, they are usually just thrown away by large construction stores.
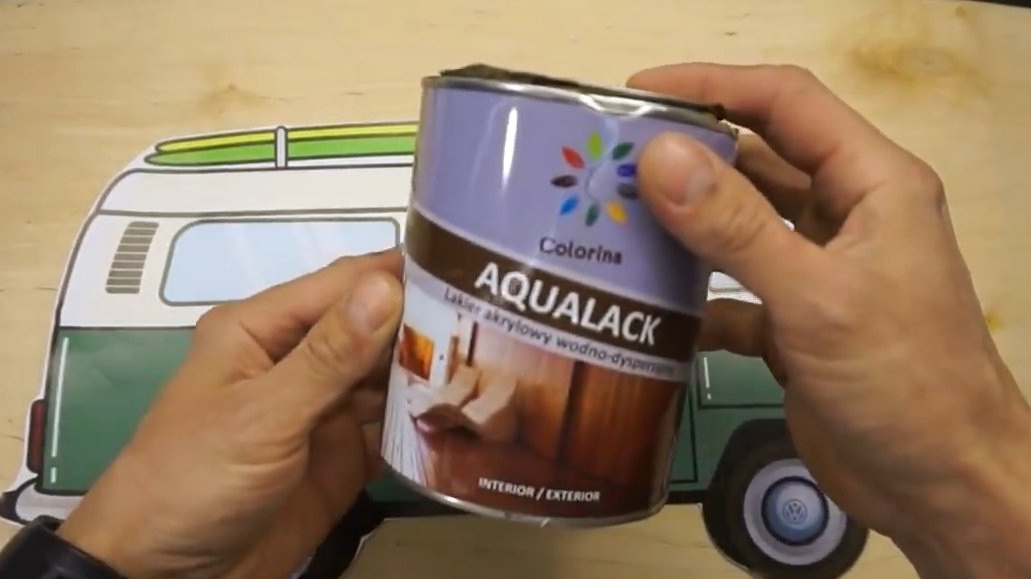
To strengthen the walls, and protect them from moisture, he impregnated them with acrylic varnish.
Two blanks with dimensions 380X900 mm are cut from a plywood sheet.
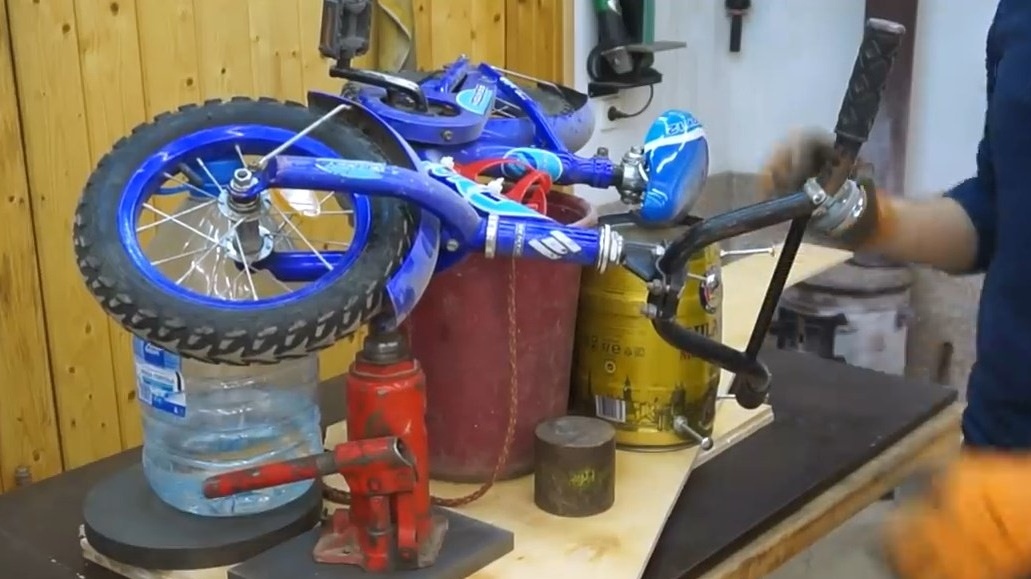
Then glues both blanks together, presses with a load.
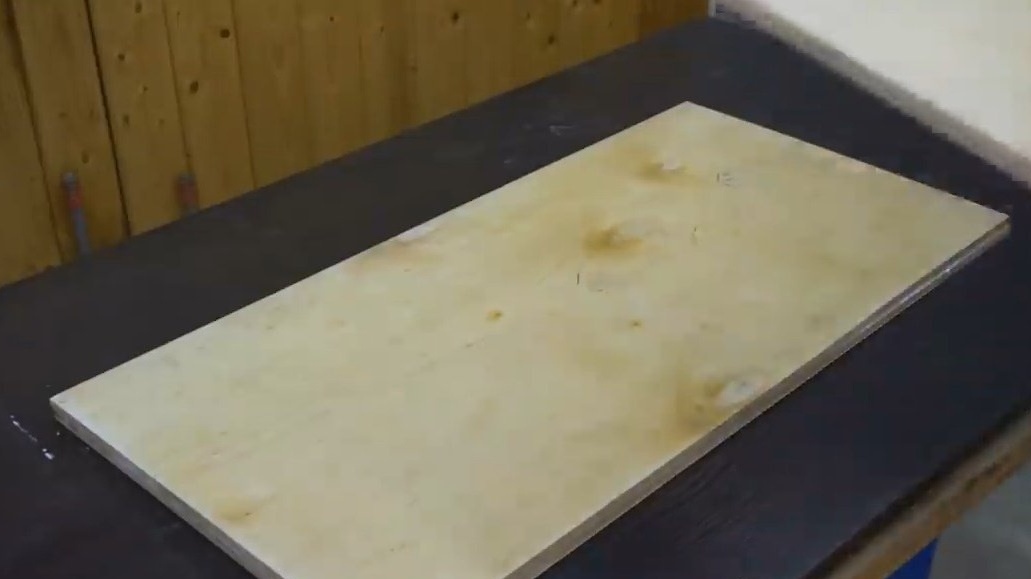
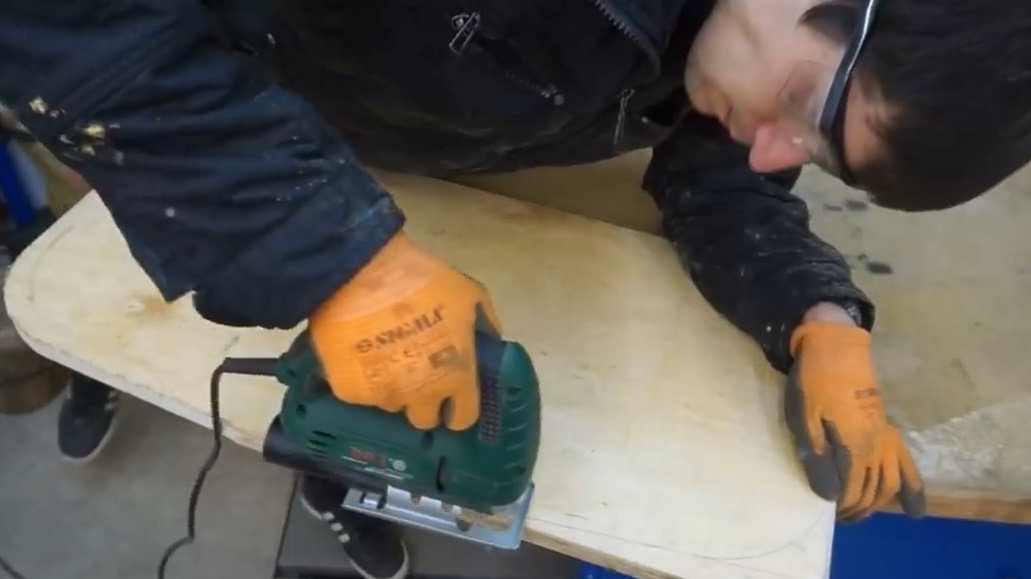
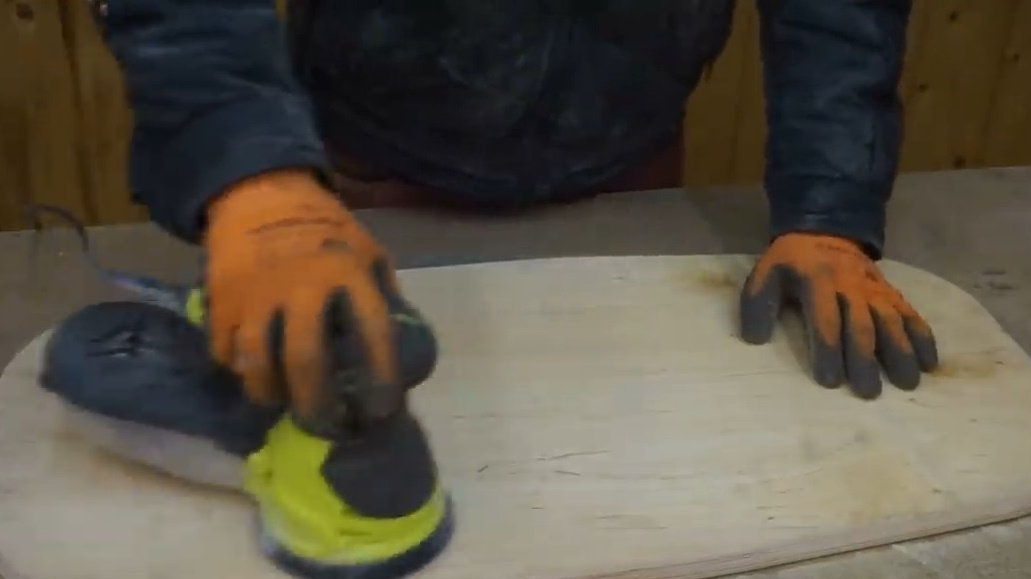
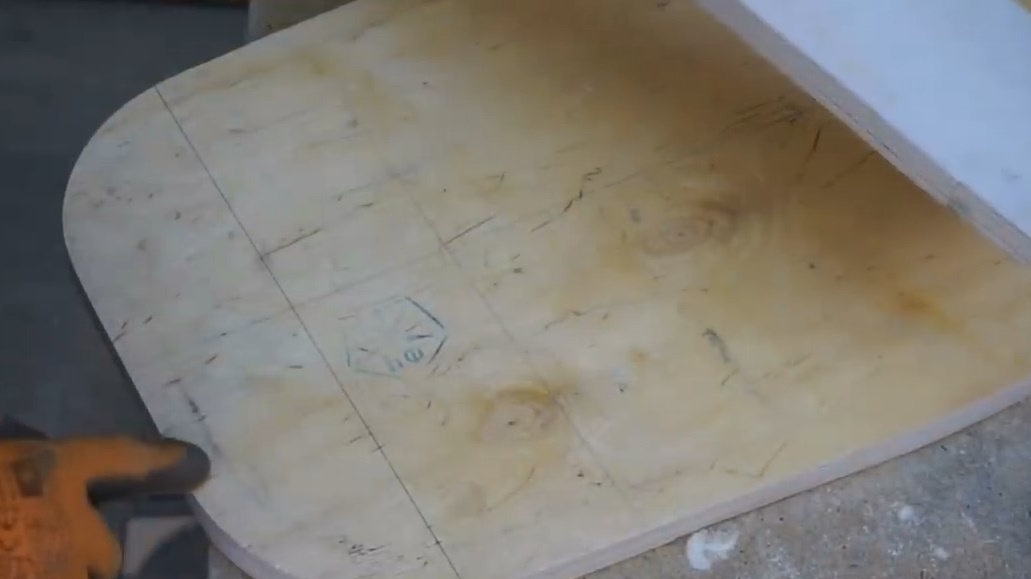
The result was a workpiece with a thickness of 20 mm. Marked, and rounded the corners with an electric jigsaw. Then he polished the surfaces and ends 180 with emery.

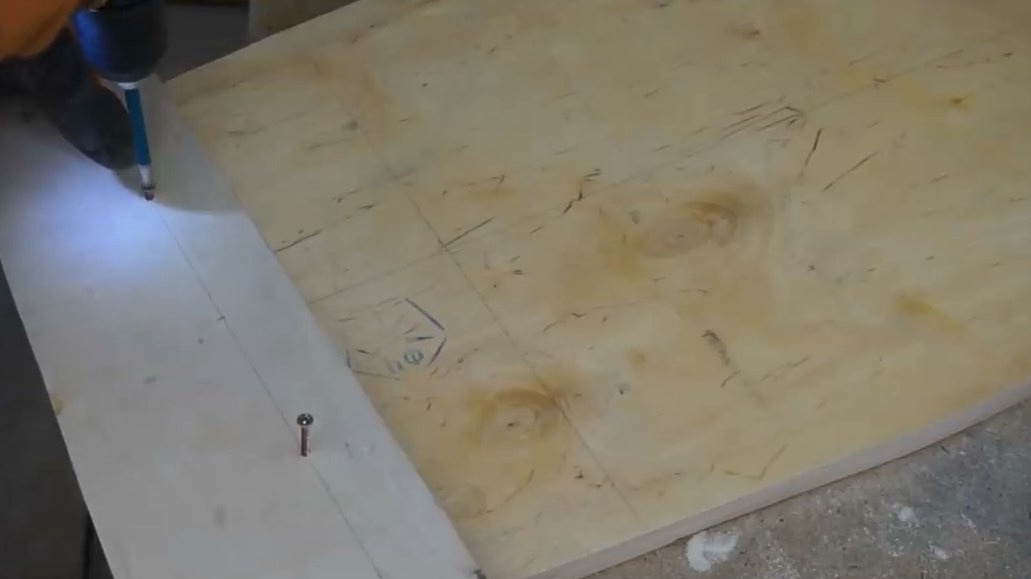
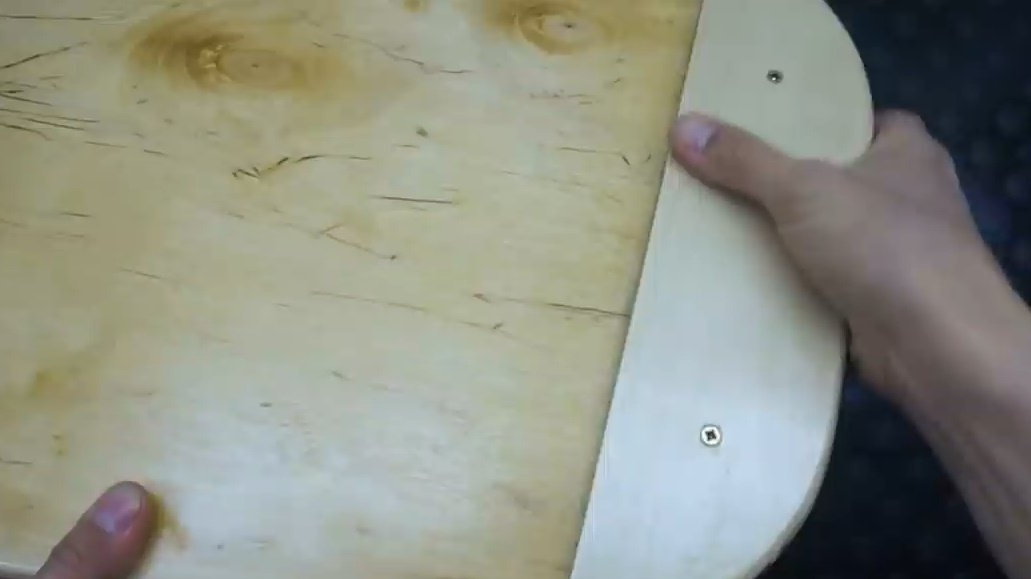
Measured 75 mm from the edge, glued and screwed a piece of plywood 16 mm thick.
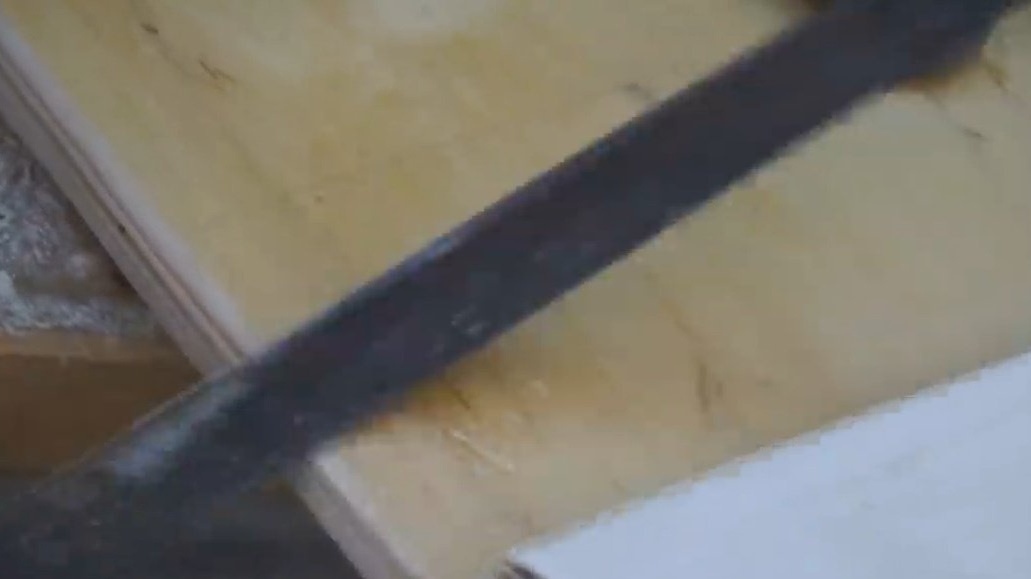
Then it mills all the edges of the board, except for the internal stops.
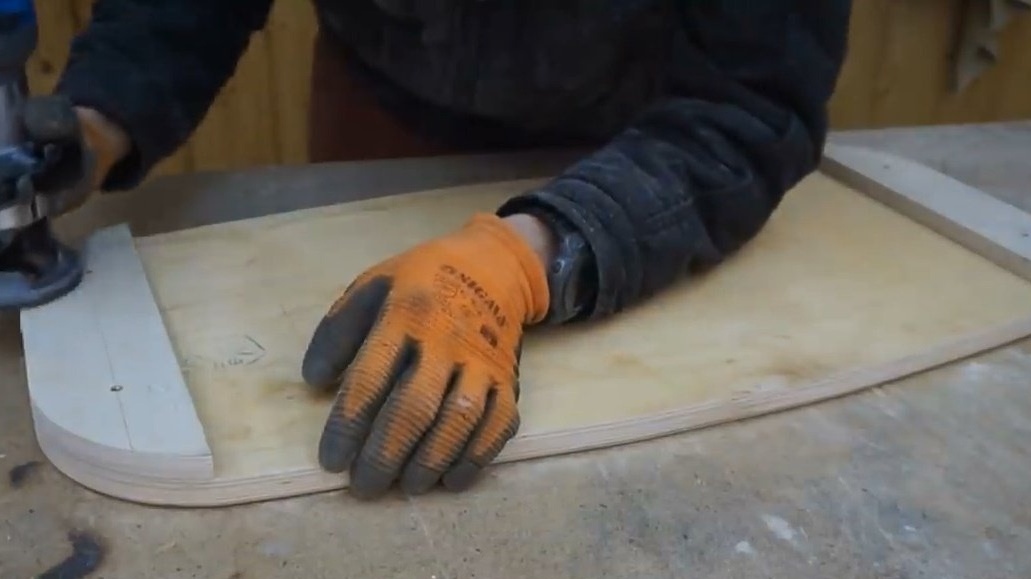
Since the stops are already glued, and the milling cutter does not reach some places - I had to round them with a file.
After applying varnish - the underside of the board looks like this.
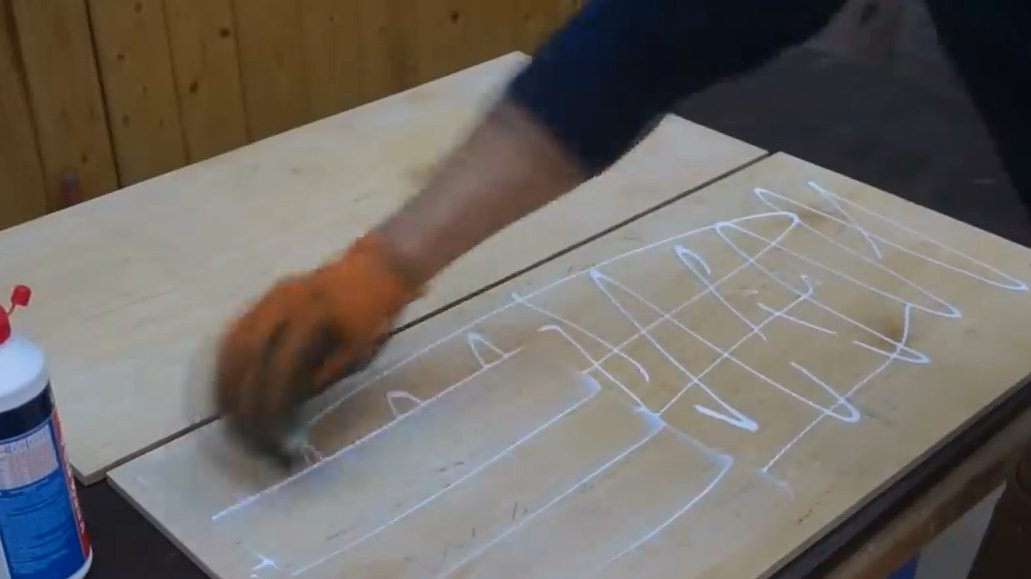
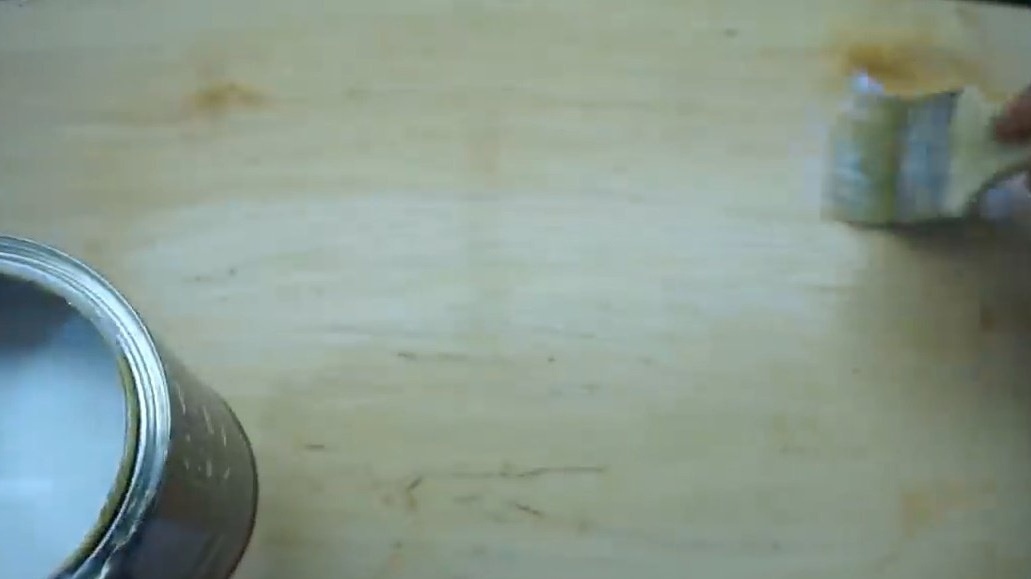
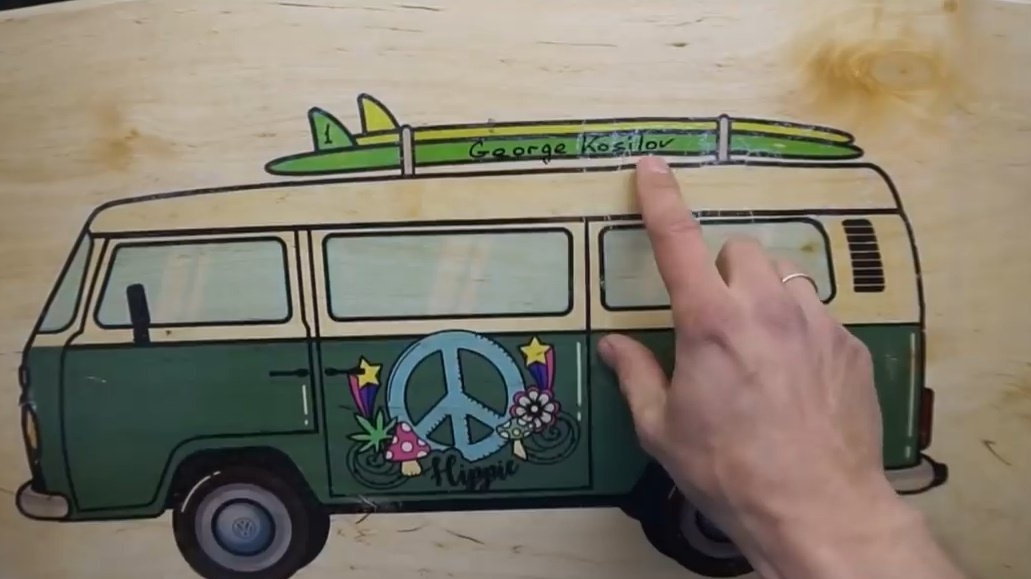
Now the author shows the technology for transferring pictures. I printed the picture on a printer, cut it out along the contour, and copiously smeared it with acrylic varnish, put it off for soaking.
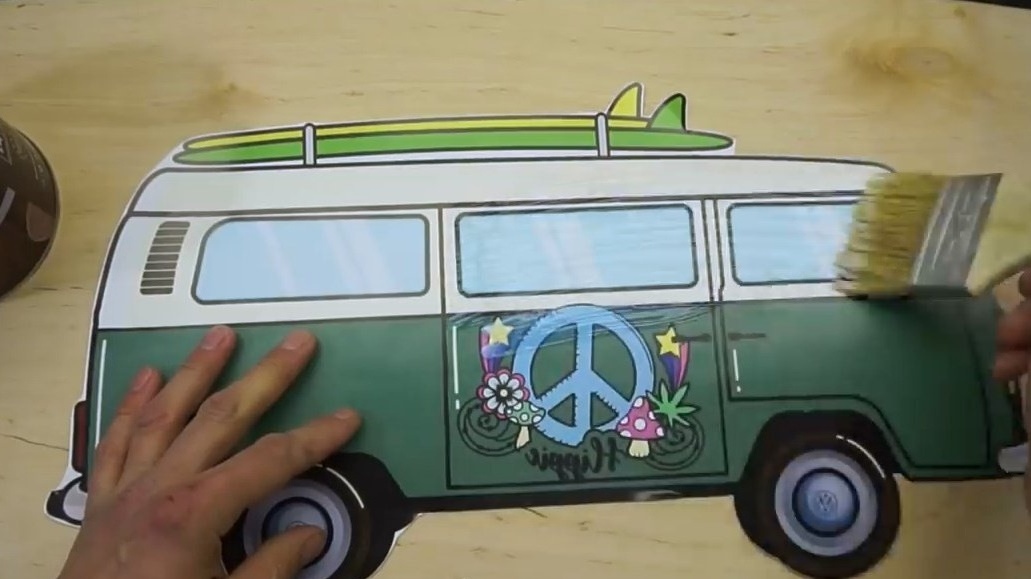
Also applied varnish to the top of the board.
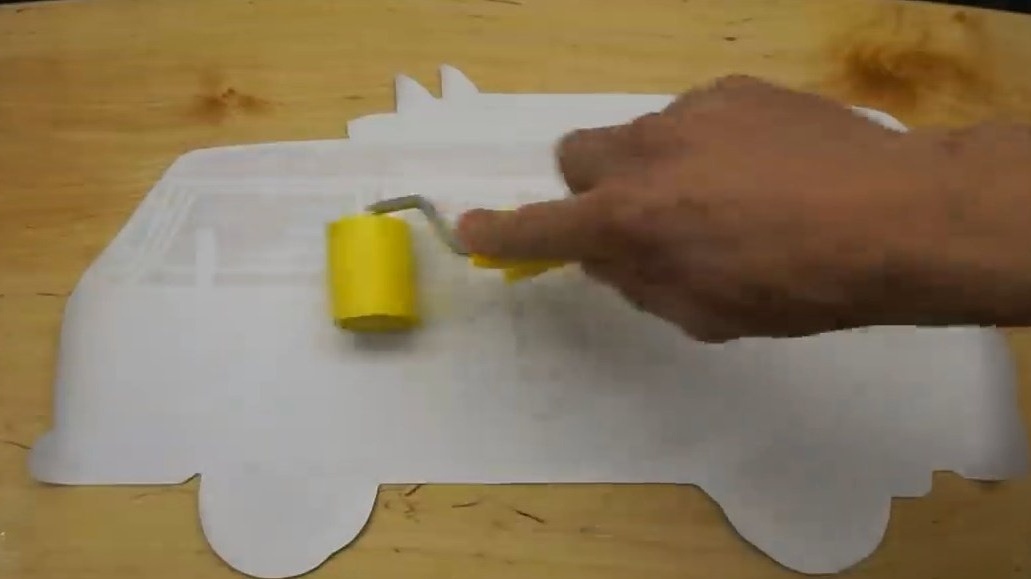
I attached the picture with the front part to the board (if you transfer the picture with the text, then you need to print it in a mirror), and rolled it with a roller.
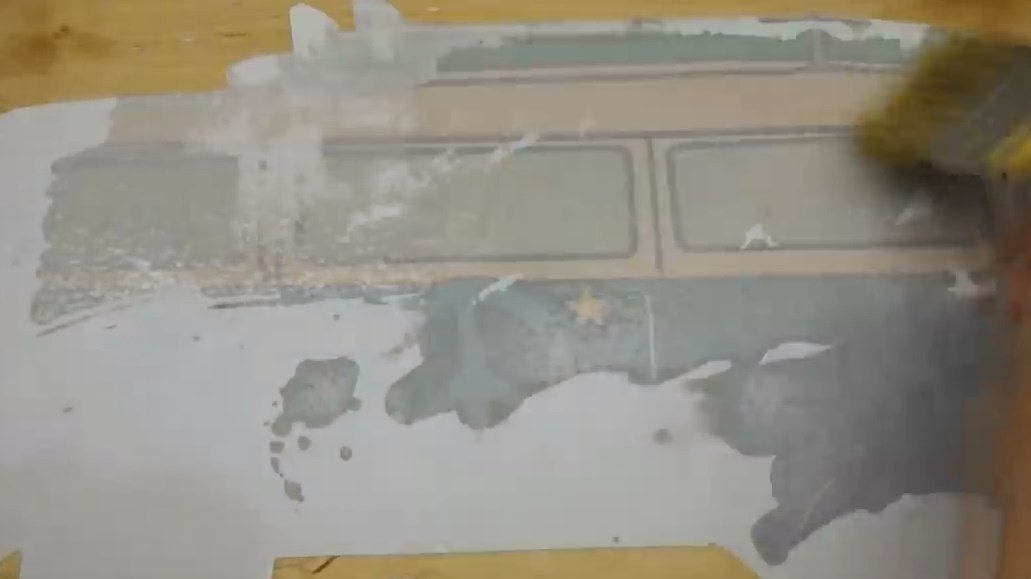
Next, the author removes the first layer of soaked paper, and leaves to dry.
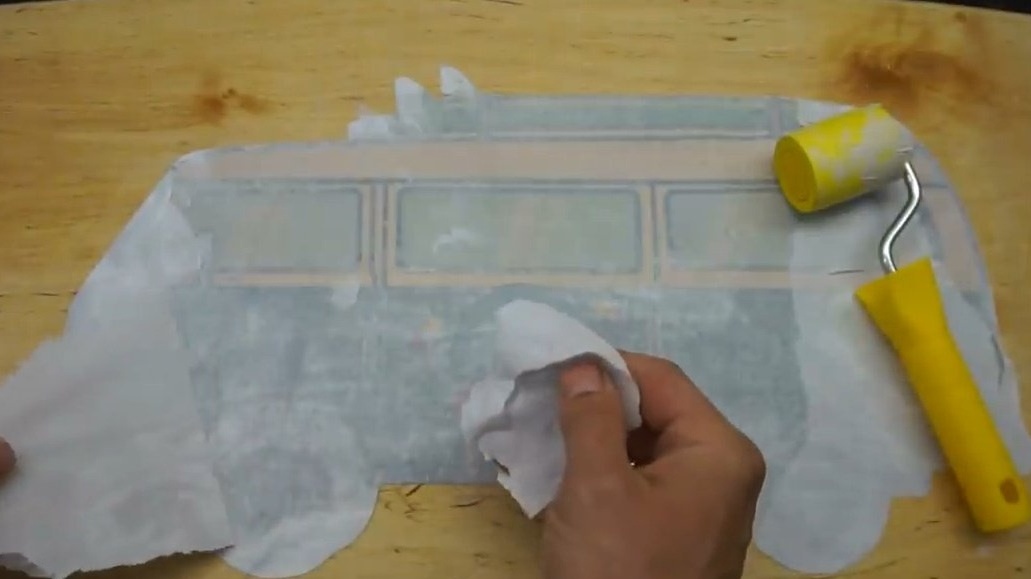
The dried layer of paper is wetted with water and begins to "roll" it by hand. The main thing is not to try to remove the entire remaining layer of paper at a time. The layers will separate gradually.
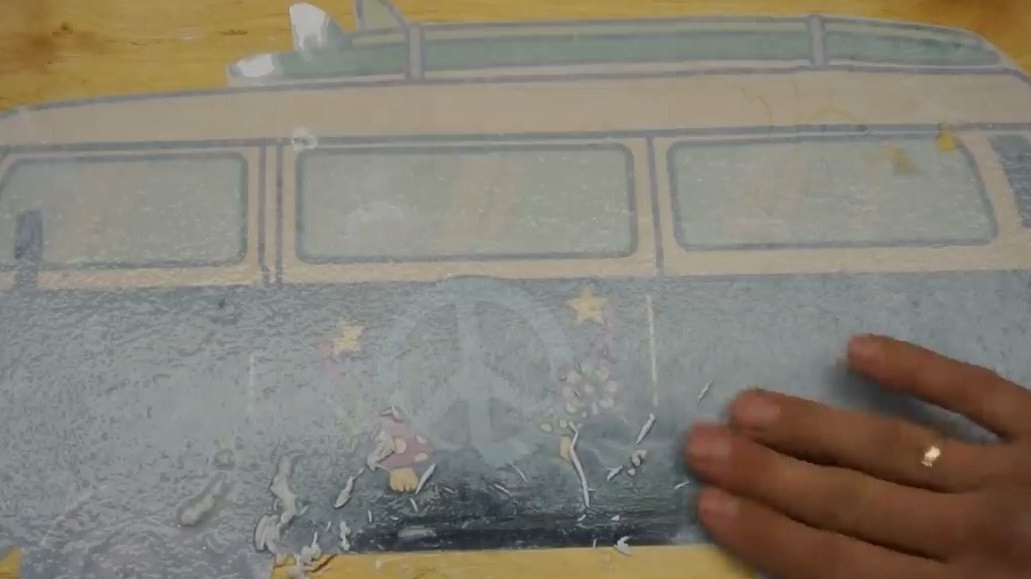
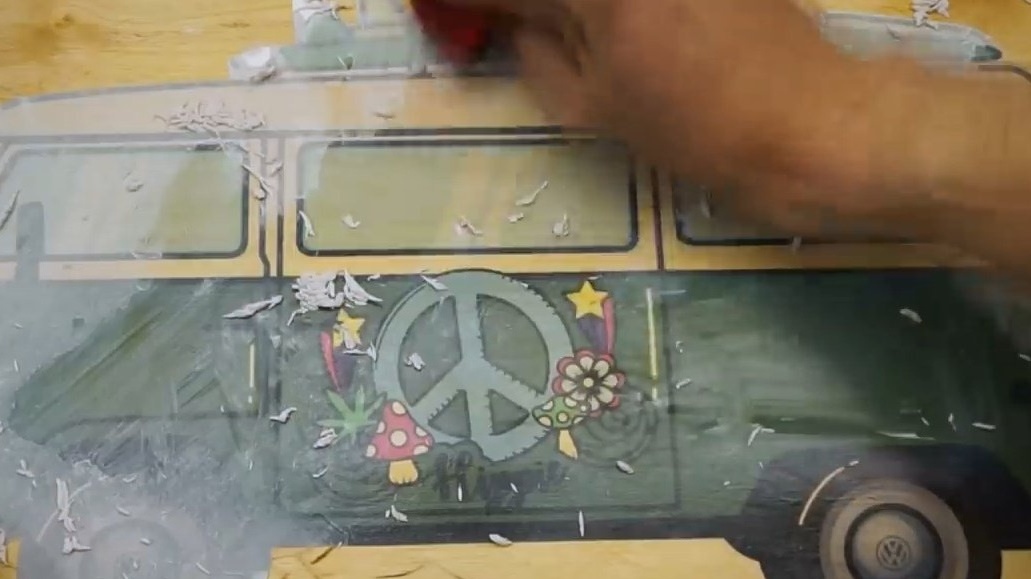
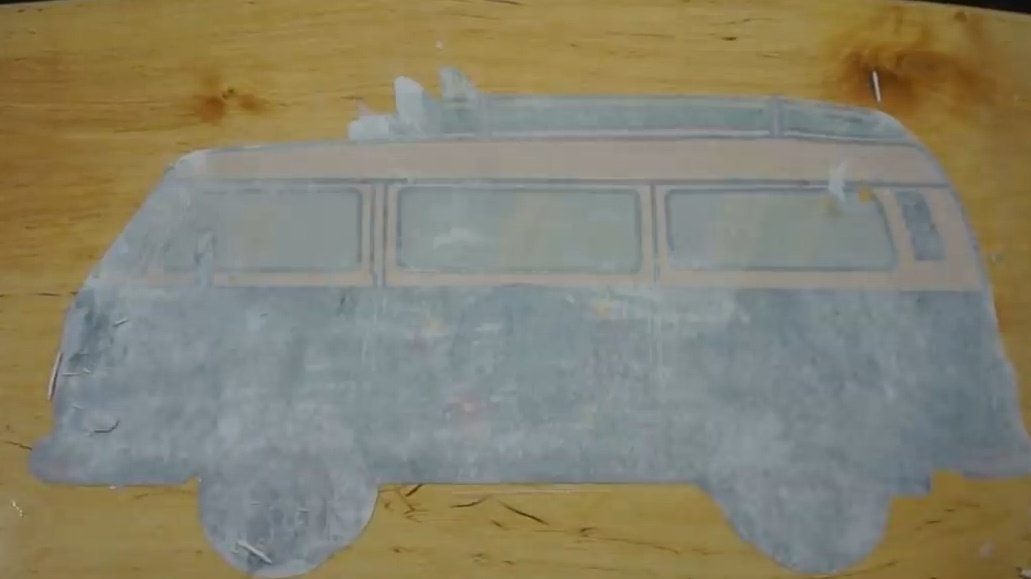
Then it removes the remaining traces of paper with a hard sponge.
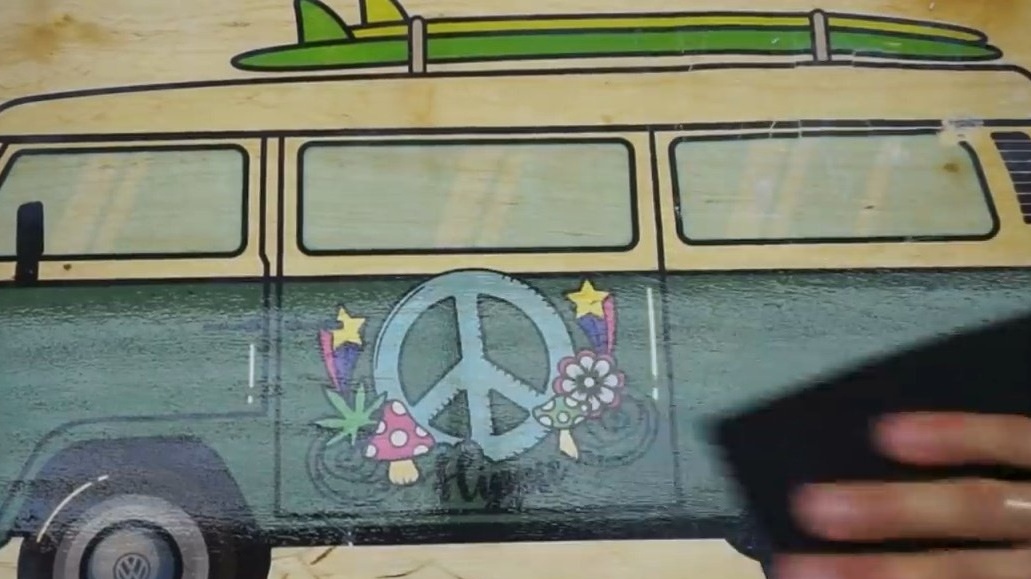
Before starting work on the board and not ruining the surface, the author trained on a small workpiece. After drying, the large board remains varnished.
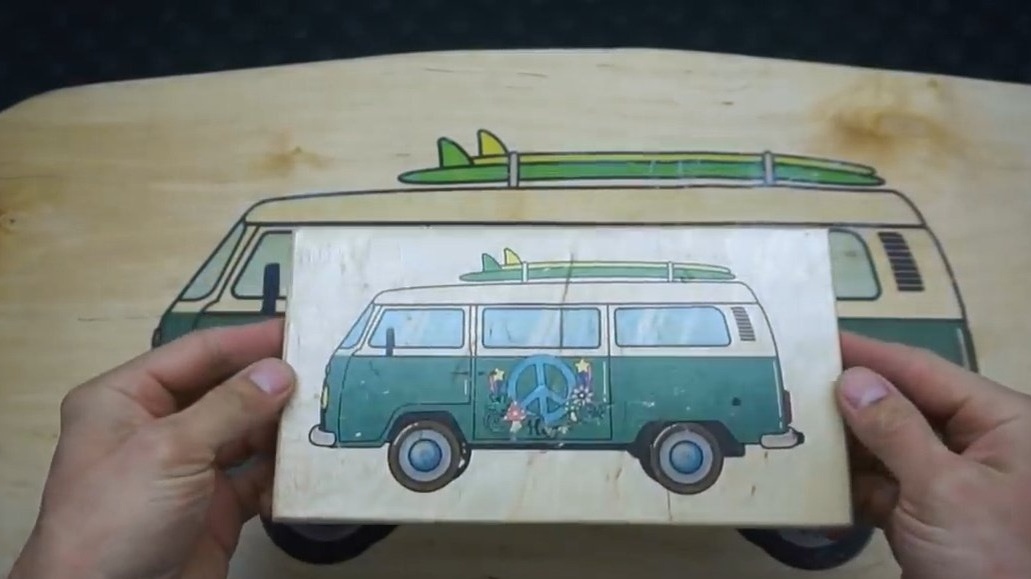
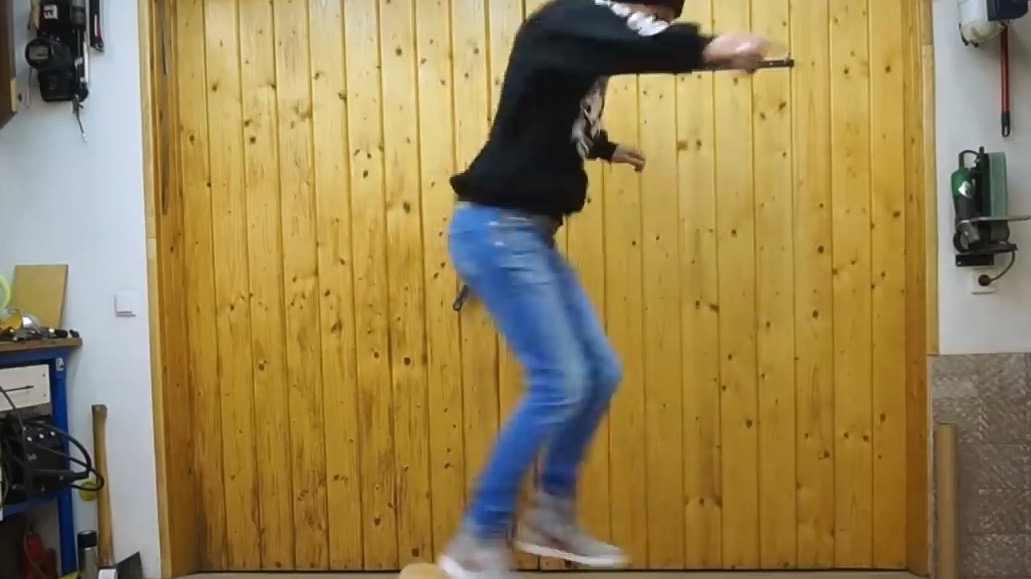
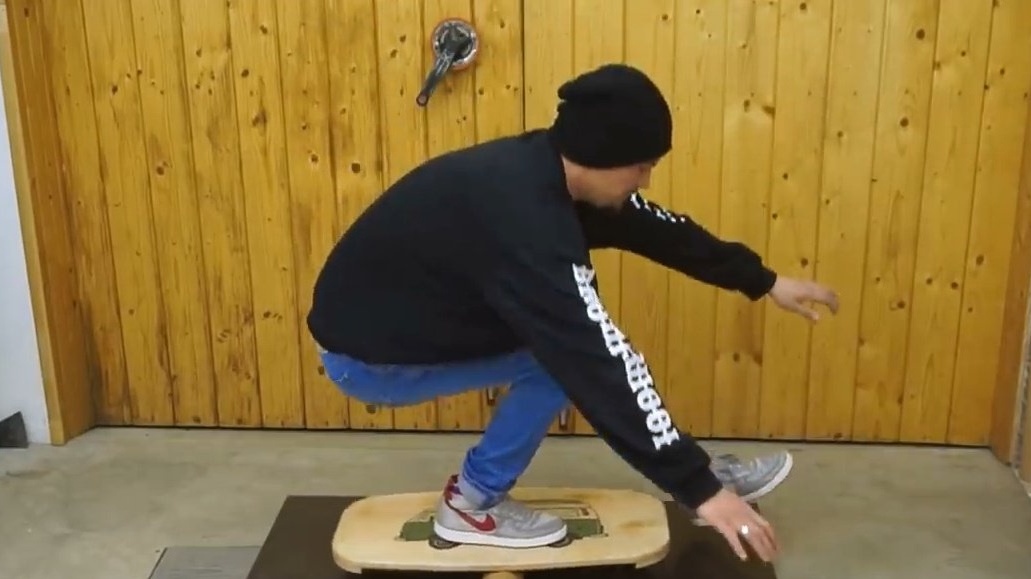
So, the board is ready, it's time to test and learn!
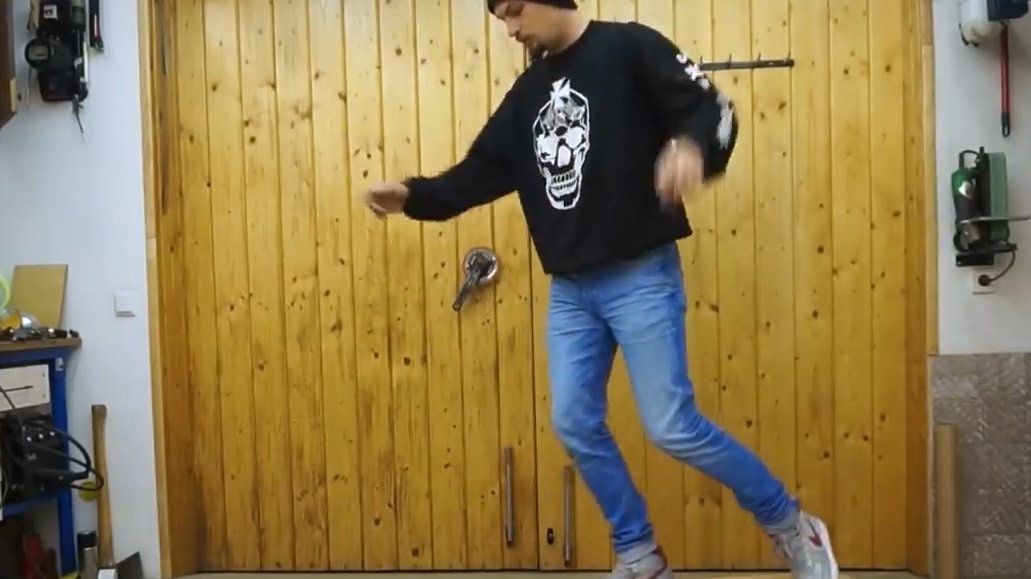
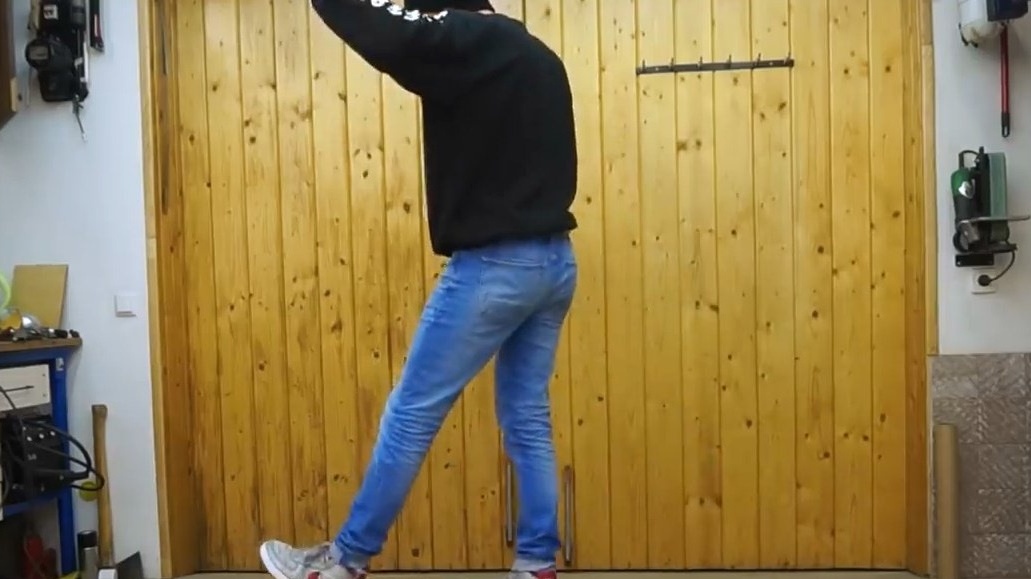
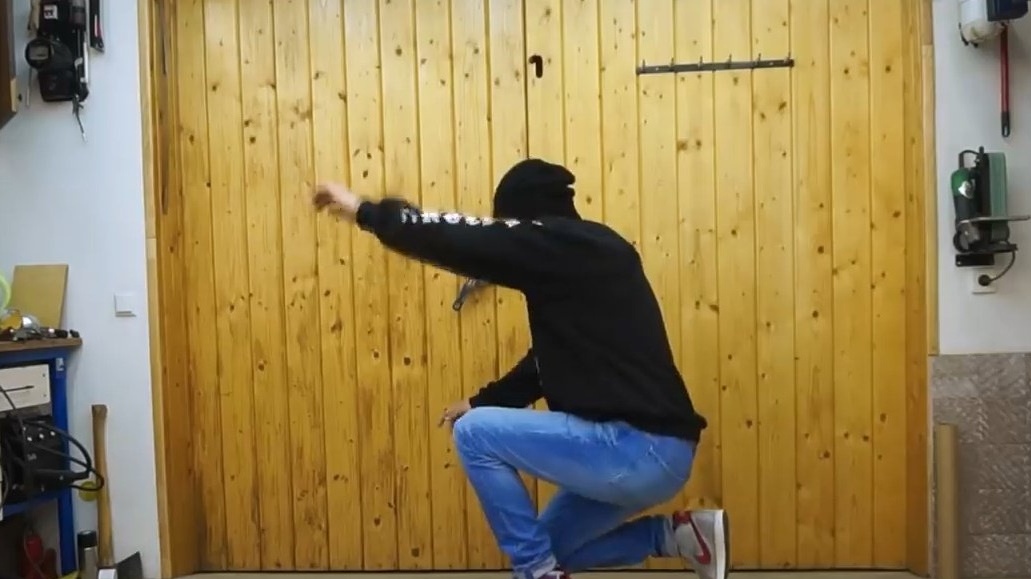

After gaining balancing experience, you can even bounce and turn around 180 degrees.
At the end of the work, the author put the name of his channel. Make yourself such a simulator, manufacturing will not take much time and money, and its average cost on the Internet is about 2 thousand rubles.
Thanks to the author for a simple sports simulator and picture transfer technique!
All good mood, good luck, and interesting ideas!