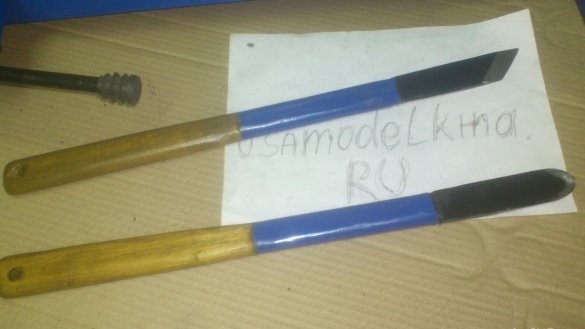
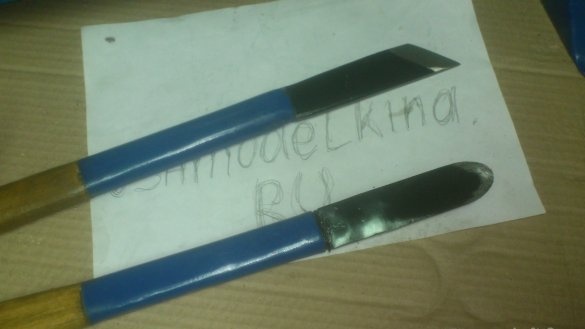
It is known that in order to work with wood on a lathe, it is necessary to have at least two main cutters - rake and meisel. (Although I, in the process of testing the machine, managed one and only grandfather's chisel. But not a century to suffer ...))))
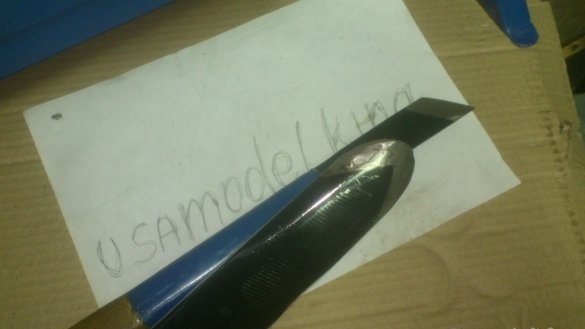
Reer - a cutter for primary, rough processing. They align the workpiece, and make it cylindrical. In the process of this work, the cutter has serious impact loads, so the shape of the rake should ensure its rigidity, and, at the same time, allow contact with the workpiece with only a small cutting edge area. As a rule, it has a gutter-shaped shape with a rounded end. (Occasionally only a rounded end is dispensed with). Sharpening at reer one-sided.
Meisel - a cutter for exact processing. It has a beveled cutting edge and double-sided sharpening.
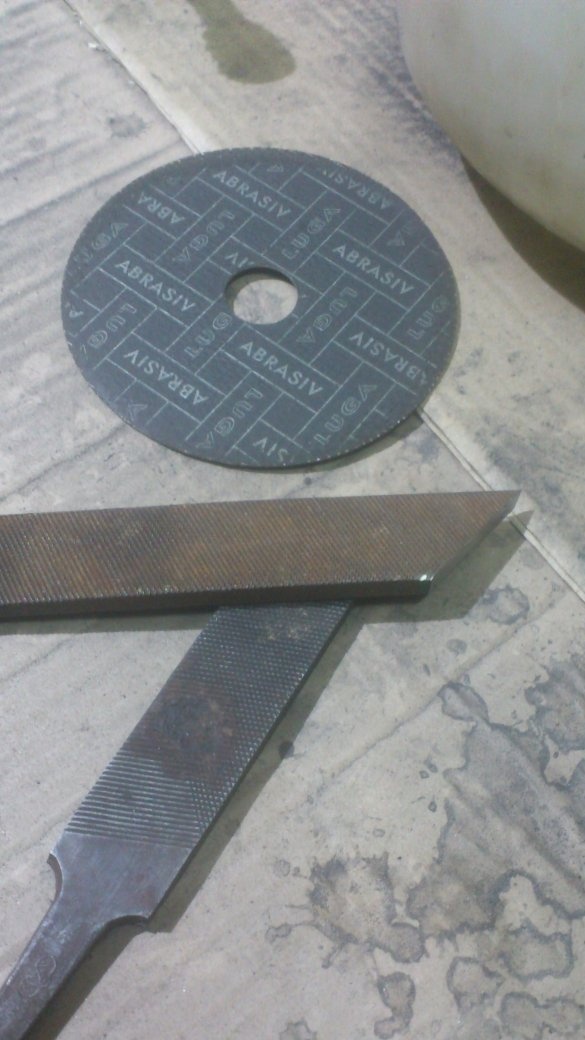
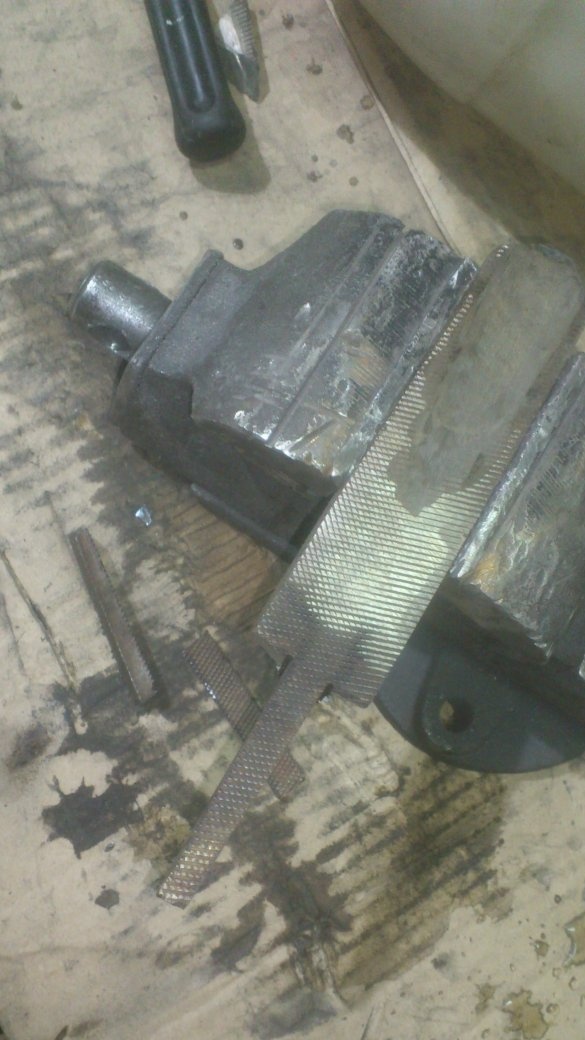
Cutters must be made of very hard steel. Therefore, as a material for them, I decided to use a very old flat file, which was released in the 70s of the last century. As a tool, he had already served his - dull, and in some places corrosion appeared. But as a blank for cutters, it fits perfectly! The quality of steel in the USSR was quite good, and, most importantly, then they did not bother with zone hardening! The file steel always had the same properties both on the work surface and inside the tool.
Here is what I needed to make the cutters:
1. Old wide flat file (It could be a rasp. But I had a drachev).
2. Trimming thin-walled metal pipe with a diameter of 25 mm.
3. Handles for a hammer.
Too lazy to read, he can see the process of making cutters in this video:
But we will proceed.
I am not the first to make file cutters. Looking through information on this topic, I saw that, basically, people always release the file, then process and temper again. I decided to abandon the vacation with subsequent hardening ...
I'll try to explain ...
Steel hardening is a rather complicated technological process !!! In order to produce it correctly, it is necessary, at a minimum, to know the steel grade and its properties! Yes, and possess equipment that allows you to precisely control the required temperature.
IN home Under conditions, people often temper steel ... And they think that it turns out well ... But, exactly, they think ... Actually, it’s only good at masters with great experience, and if they know which steel they have business ... Of course, a metal heated to a stable glow, which is sharply cooled, in any case, will significantly increase its hardness. (unless, of course, this alloy is quenched). But here, it is unlikely that someone will be able to recreate factory hardening at home without a good stove, or a hearth and relevant directories. And even more so, I don’t believe that something sensible can happen to those who heat a file on a gas stove in the kitchen, or with a cheap household gas burner !!! )))))
Therefore, I decided to keep the "native" hardening of the file during manufacture. Abrasive will go, of course, many times more, but we’ll put up with it ... The main thing is a quality product at the output.
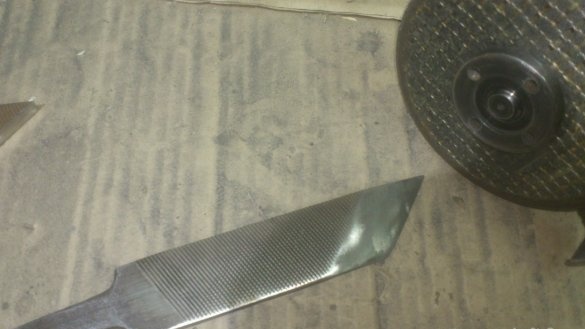
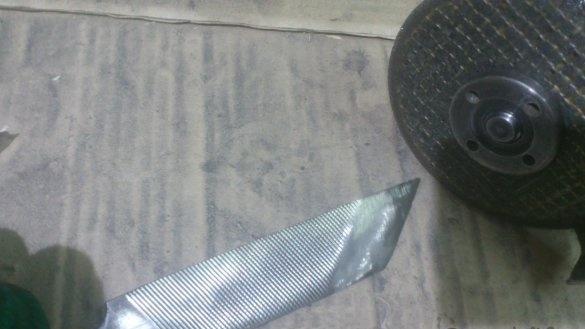
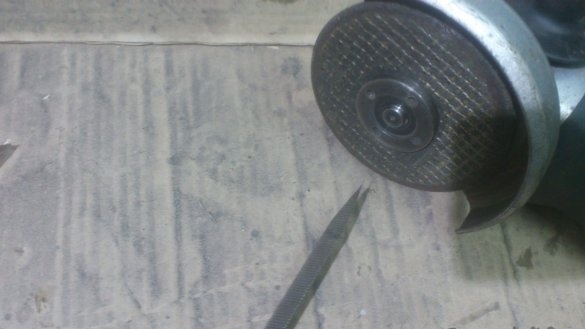
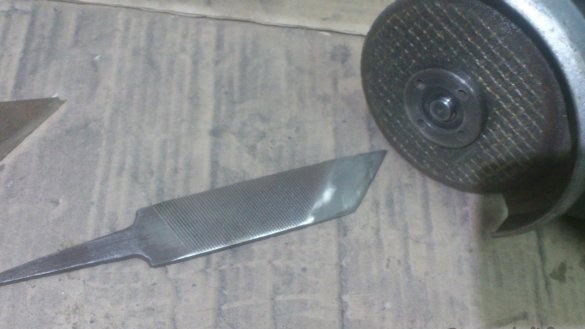
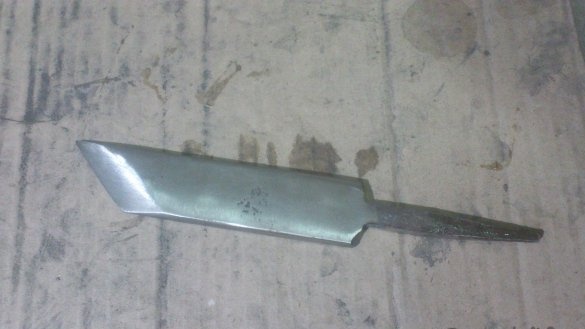
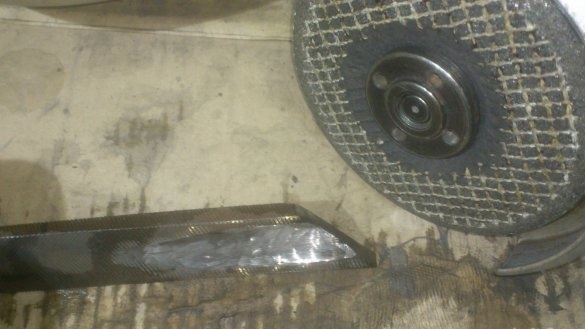
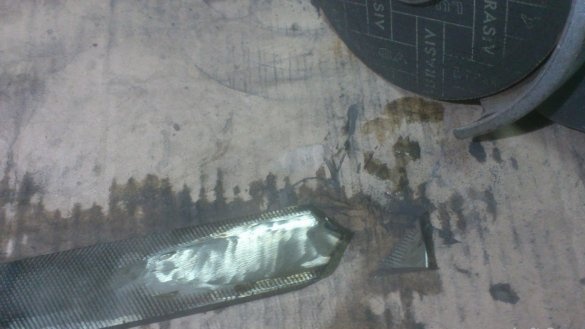
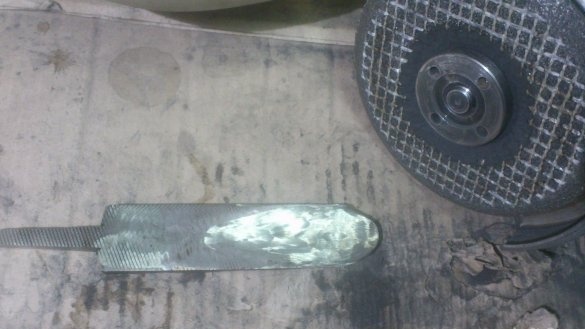
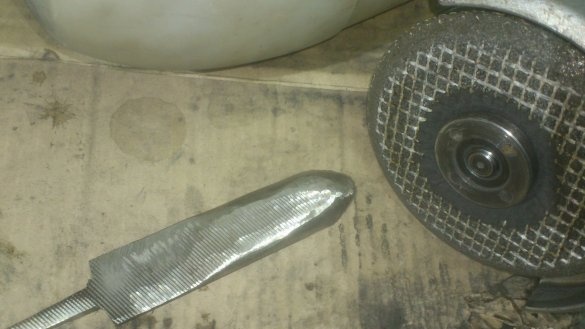
To begin with, I sawed a file with a grinder into two equal parts. (Measured the length (with a shank!) And divided by half.). The cut was carried out very carefully, constantly lowering the file into the water after a second touch with a cutting wheel. Cut immediately at an angle:
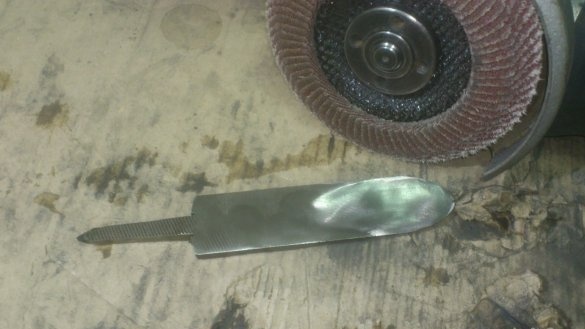
I started with making a meisel. I did not begin to calculate the angles! After all, anyone familiar with sharpening a tool knows that the desired angle can be precisely observed only if the sharpening tool has a support bar (or vice), which is regulated by the protractor. In any other cases, when the thickness of even a pencil marking gives a colossal error for the angle, and even more so if, when sharpening, it is necessary to maintain the angle on a plane that itself is located at an angle .... This is all as easily possible as correct hardening with a household gas burner! ))))
So, I will sharpen by eye !!! And I’ll also choose the angle “so that it would be normal.”))) That is, first I will determine the desired sharpening angle “on a hunch”, then I will grind it ... a little bit short of it ... And when I try to work already, I will not grind more will be difficult ... If necessary ...
I also sharpened it with the help of a grinder, providing it with a cleanup circle. The method - as with cutting: a second or two cleanings - dipping in water ...
It took me several hours and a half of new cleaning circles! ... Ehh, they did good steel in the USSR. But remember? Did we criticize quality with might and main ??? They retold some legends about the fact that "here abroad, iron is iron!" ))) ... Apparently, we just didn’t know bad then ...))))) And those legends were from the same cycle as “There is a 25-year guarantee on Japanese TV! And if you open it, everything burns out inside ! " ))))
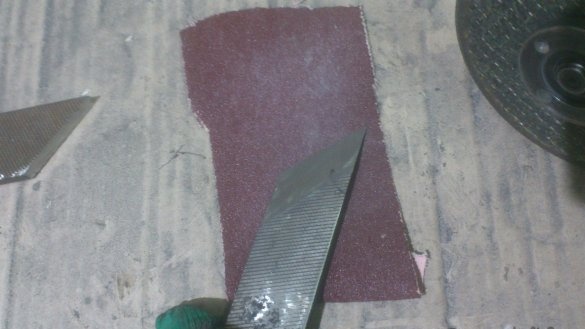
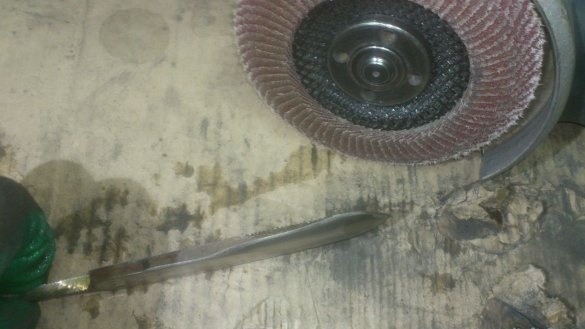
The final sharpening I did manually. The grinder circle rotates very quickly. The thinner end of the edge will turn blue instantly. But this must not be allowed. And so, spread a sheet of sandpaper - and go !!! Pens! )))
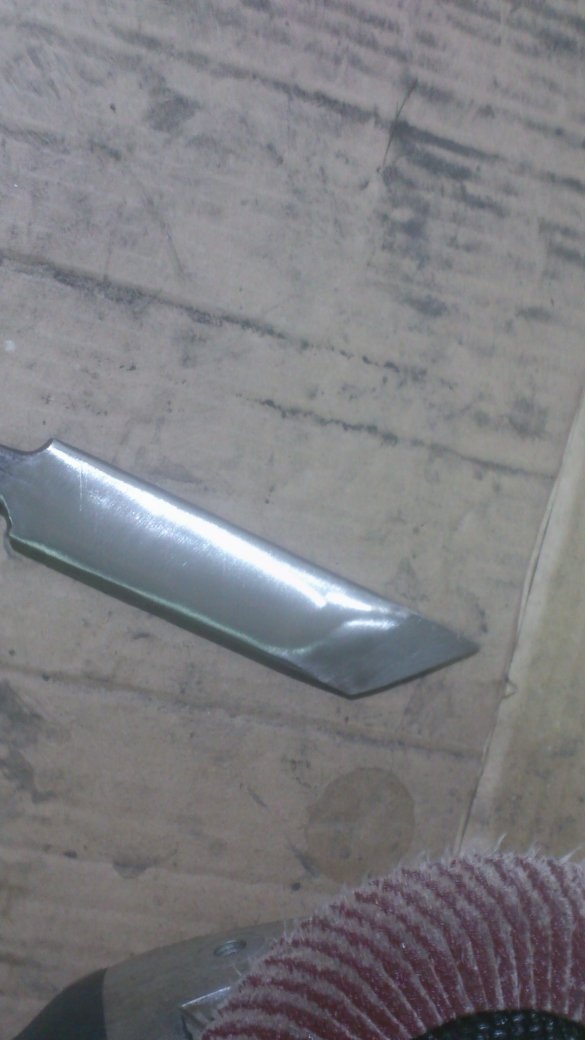
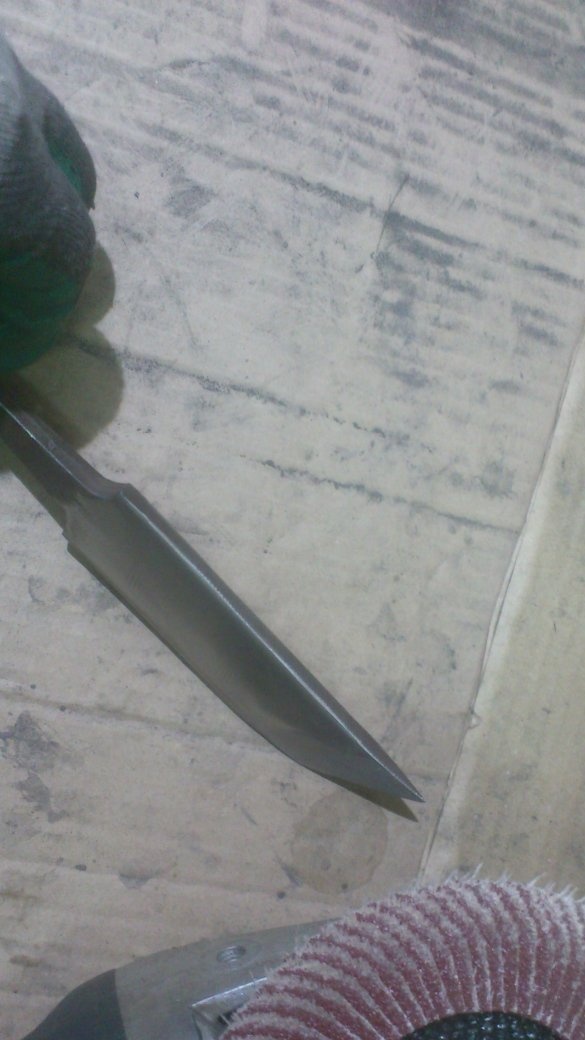
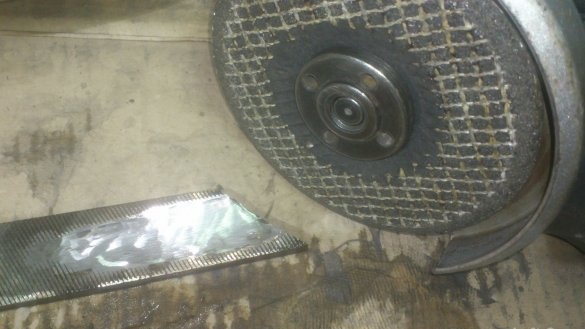
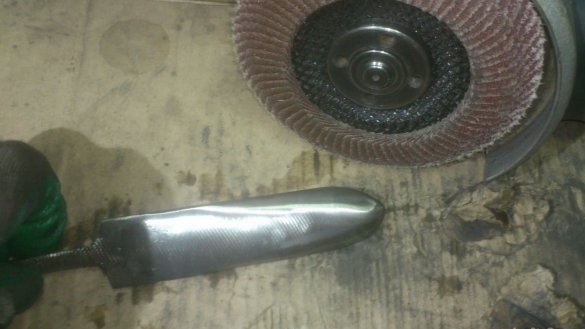
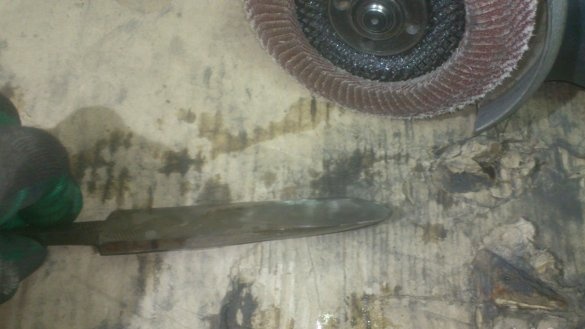
Next came the turn of the petal circle. I cleaned them and removed the notches:
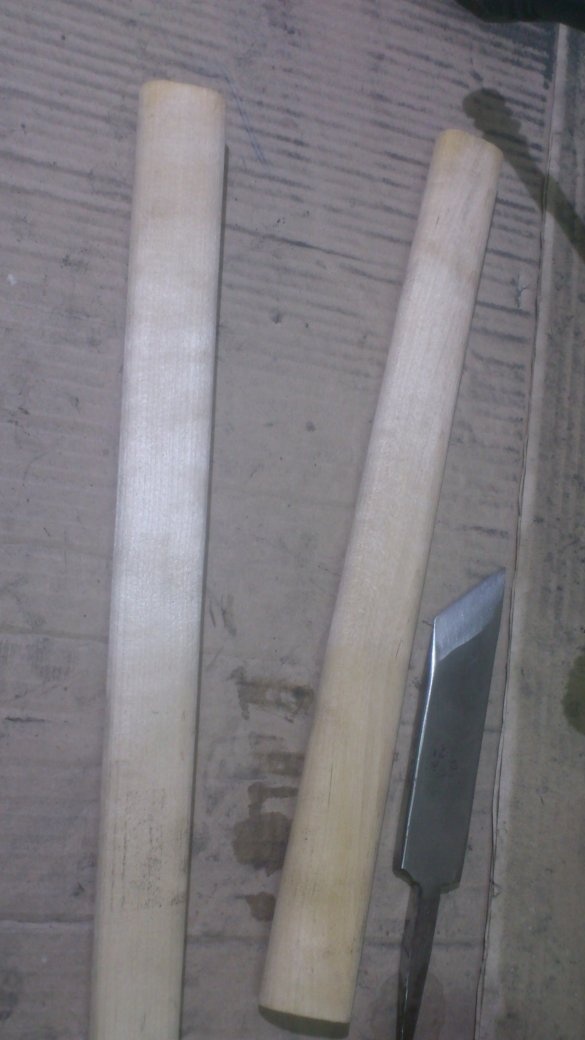
Now we will do the handle. I always have various cuttings and handles in stock - for shovels, rakes, and other axes and hammers. I don’t do them myself (it’s a pity for the time), I just buy ready-made ones “to be”. This time I decided to use handles for hammers:
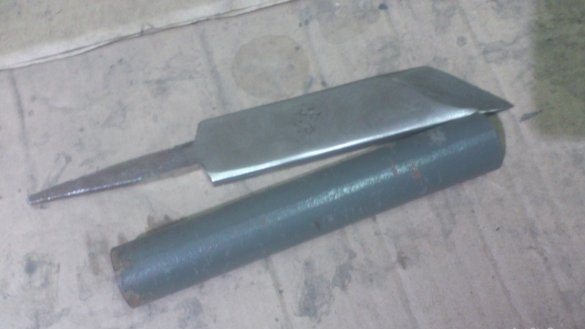
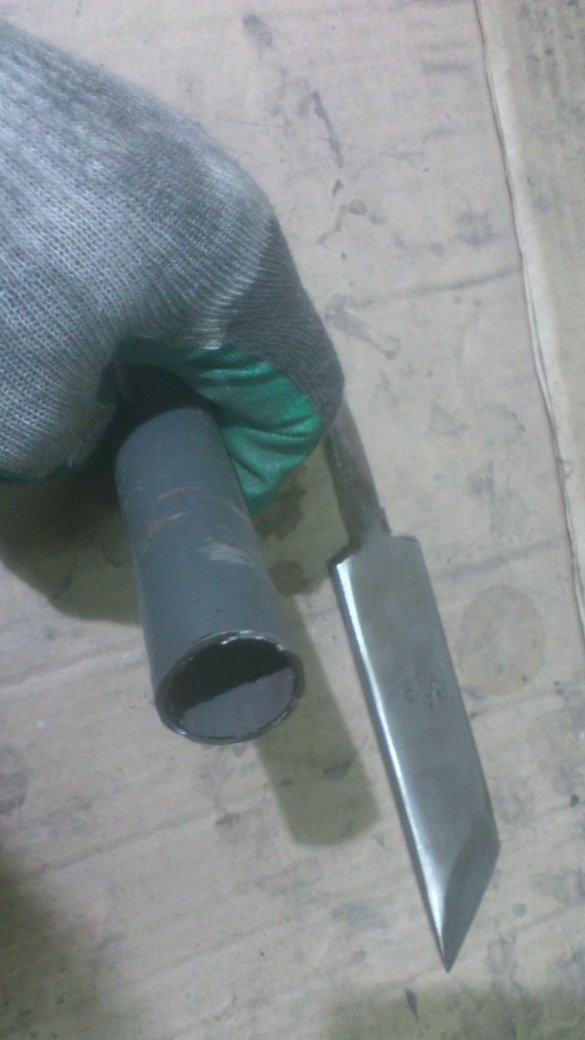
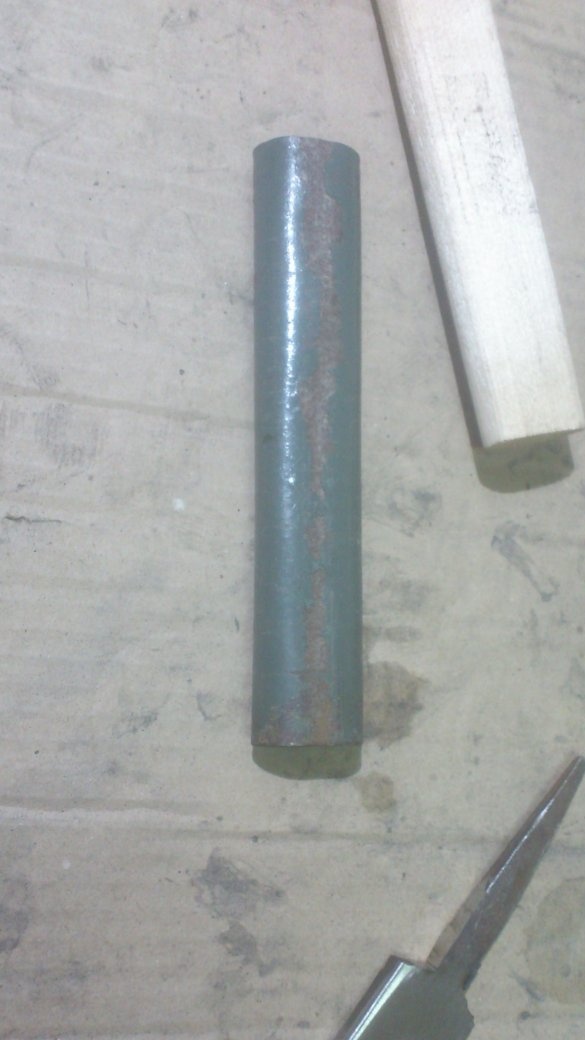
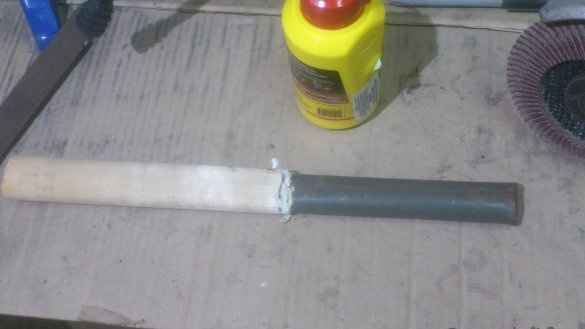
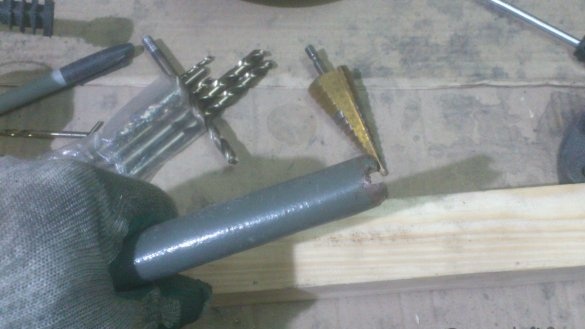
To strengthen it, I found in my scrap metal piece of thin-walled (not water) pipe, 25 mm in diameter, and cut a piece of 15 cm:
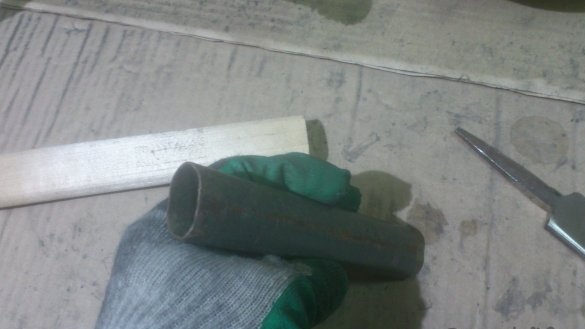
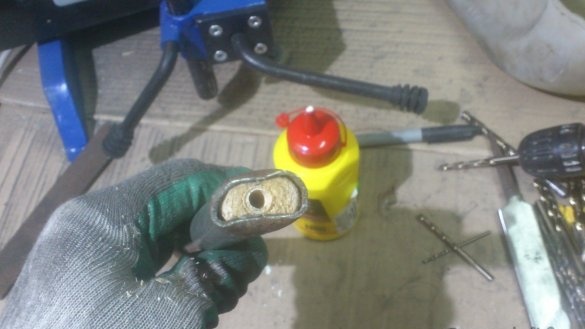
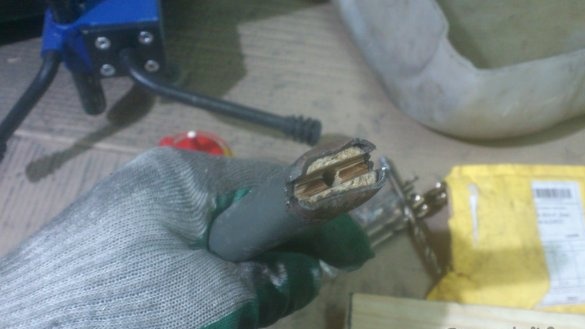
Having placed the tube between the two boards, I “flattened it with a sledgehammer-percussion method”, making its cross section oval:
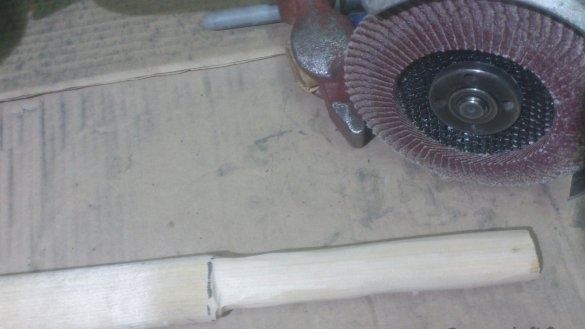
Then he adjusted the handle from the hammer to the size of this pipe ... I should have done it with a knife ... Yes, only laziness, mother .... I managed the grinder, on which the petal circle was still dressed .... But so what dusty? !!!!
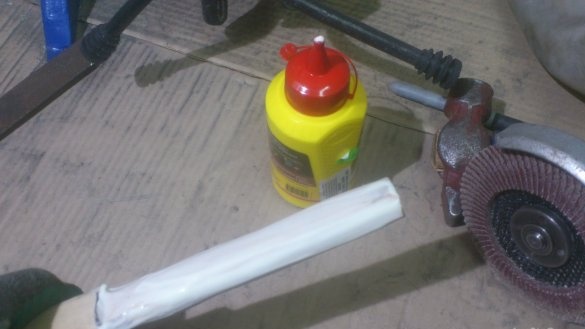
The pipe landing spot was abundantly coated with carpentry glue:
And he cased the pipe on the handle:
Drilled a hole for the shank:
Grinder made a drink:
(by an ordinary cutting wheel for metal. I know, I know that it’s impossible! That a circle from a tree can burn up and collapse .... Only this is in theory.And then - he cut it, and okay ...)))
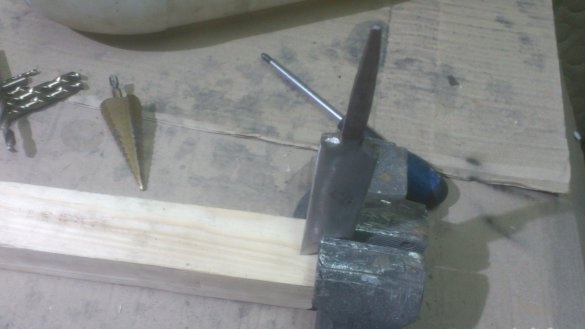
He fixed the blade in this way with an emphasis on the tree:
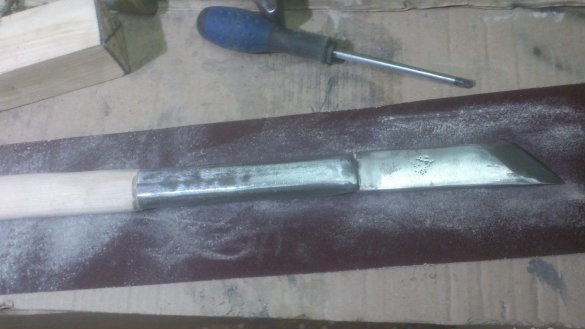
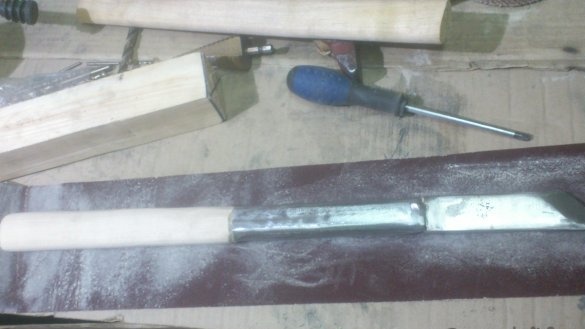
And he filled the handle, generously lubricating the shank in front of this glue, and poured a little glue into the hole prepared for it. Meisel, you can say, is already ready:
Now I want to make a reer from the rest of the file.
With the help of the sweep circle, we begin to make a gutter (again, not forgetting to cool!).
Cutting circle "cut off excess":
This part of the file does not have a shank. I had to cut it:
This time I didn’t bother with cooling, of course ... Not only that, then I also released it specially. After all, the fragile shank of the instrument is a great evil)))). I haven’t photographed this process ... I’ll just describe ...
He did not dare to heat with a burner, so as not to damage the hardening of the entire workpiece. He lowered the workpiece with the working edge in a jar of water up to half, and simply cooked the base of the shank with a thick electrode until it all began to glow. He let it cool. At the same time, the water at the touch point was boiling slightly, but its temperature in the jar (and hence the temperature of the cutting part of the workpiece) made it easy to hold fingers in it .... Then I simply removed the "electrode soldering" with a cleaned circle.
Further, by scrubbing, and later, by the petal circle, he continued to form a “trough-like body” of the incisor, while at the same time sharpening:
He made the handle using the same technology as the Meisel handle.
After which, as usual, the stage of "combing homemade goods"))))).
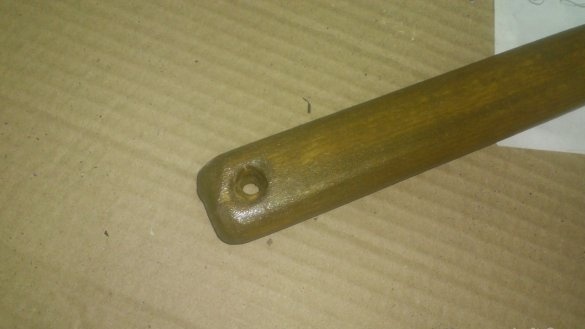
I drilled holes at the ends of the handles so that it could be hung on a carnation)))) And I treated it with wood impregnation, which I had left after making the garden bench.
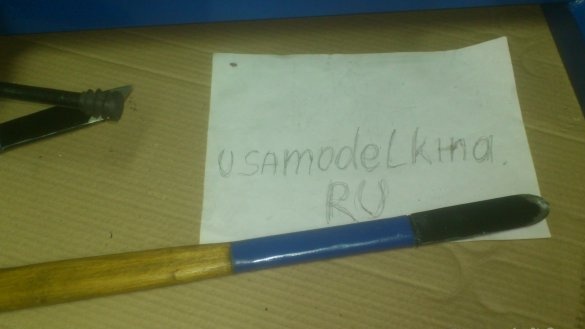
Well, painted the metal parts of the tools ...
P.S.


