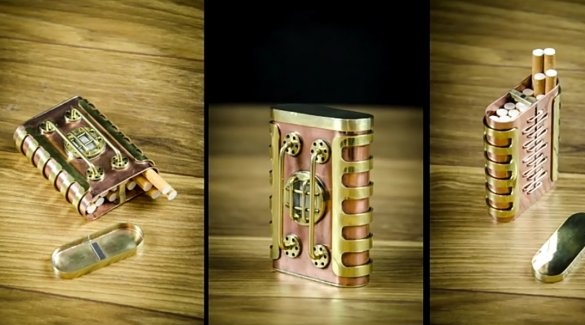
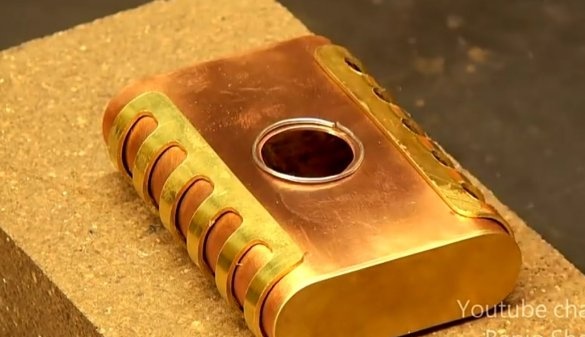
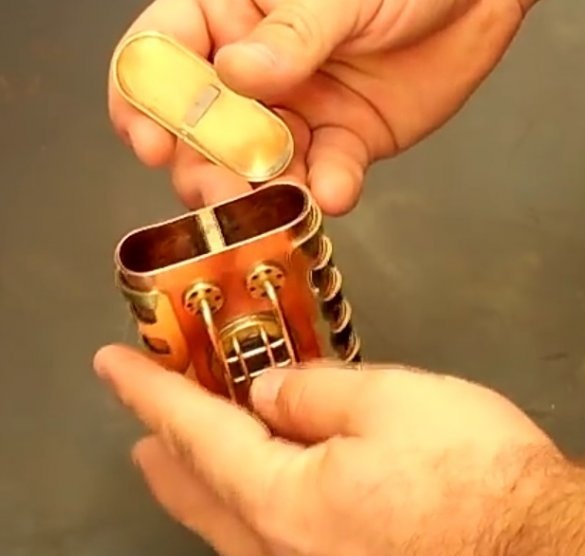
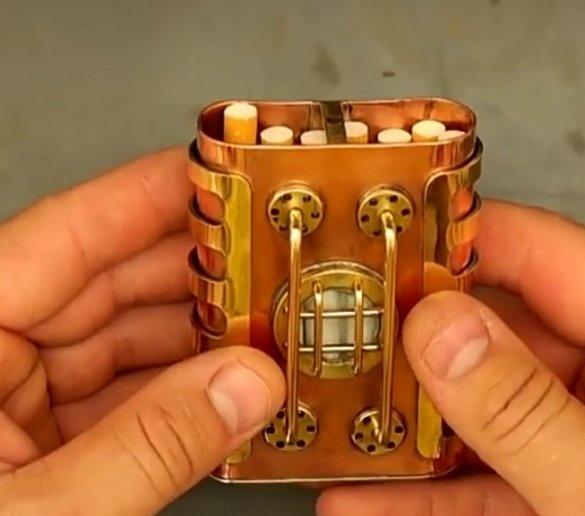
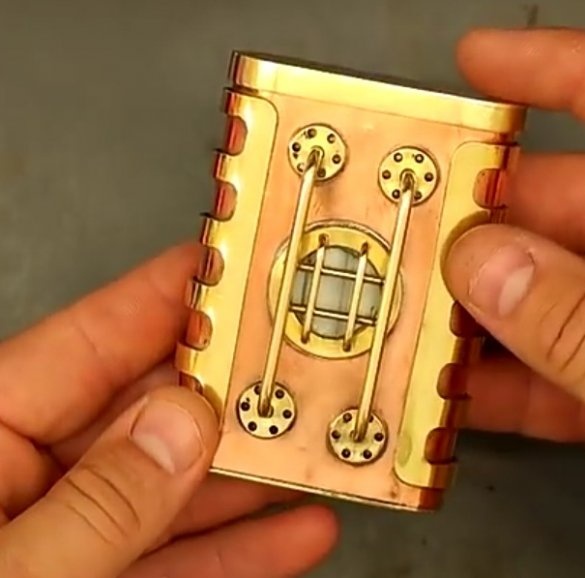
A cigarette case is a flat box of a rigid, usually rectangular shape, made of various metals: bronze, copper, brass, gold, silver and is not rarely adorned with any engraving, plot, coinage, etc. The first cigarette cases appeared in European society in the seventeenth century, when the fashion for the "diabolical potion" spread. This word comes from several French words: porte - “to wear” and cigare - “cigar”. The very first cigarette cases were made of precious metals - gold or silver. They were decorated with intricate carvings, inlays, various inserts on enamel, semiprecious and even precious stones were often used. But some time later, the main material for the manufacture of cigarette cases becomes silver and for several centuries occupies a leading position. The choice of silver as the main raw material in the manufacture is due to the fact that it has unique metal properties. It resists very well all the tricks of nature, is very easy to process, and also has a beautiful color and brilliance. At the beginning of the twentieth century, this item was worn by all representatives of high society, the military and various employees. It was not necessary to smoke to own a cigarette case, since it was a status item of its kind. Every man was glad of such a gift. It is believed that a cigarette case is a real men's accessory that will not go out of fashion for a long time.
This article is dedicated to the creation of such a subject. On the example of the author of the YouTube channel Banjo Show, we will take a closer look at how to make a cigarette case yourself.
We will need:
gas torch, tin, liquid rosin, wire cutters, pliers, metal scissors, jigsaw with a metal saw, thin sheets of brass and copper, copper wire, several magnets, core, engraver, drill or screwdriver, drills of different diameters, file, lathe .
Step 1.
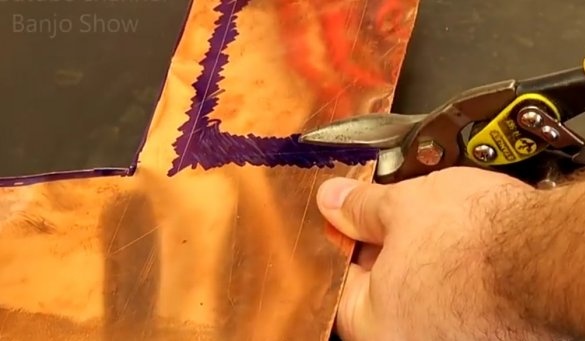
A thinly rolled copper sheet is taken. It makes markup that determines the size of the future product. In order for the marking lines to be clearly visible, the author paints the metal with a marker, along which he draws lines and cuts off the necessary piece of material.
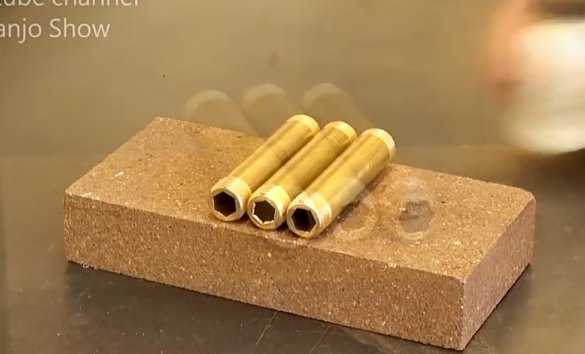
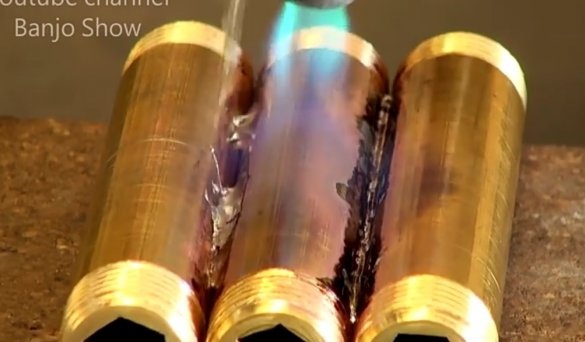
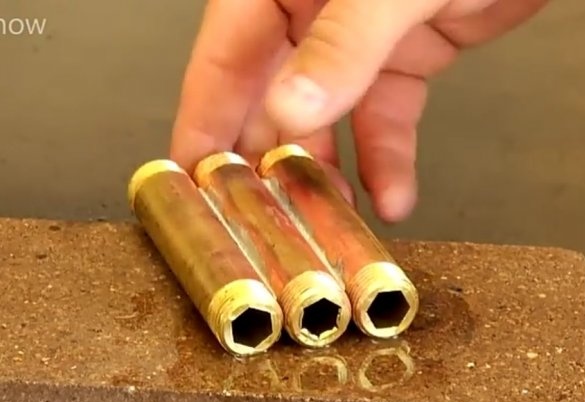
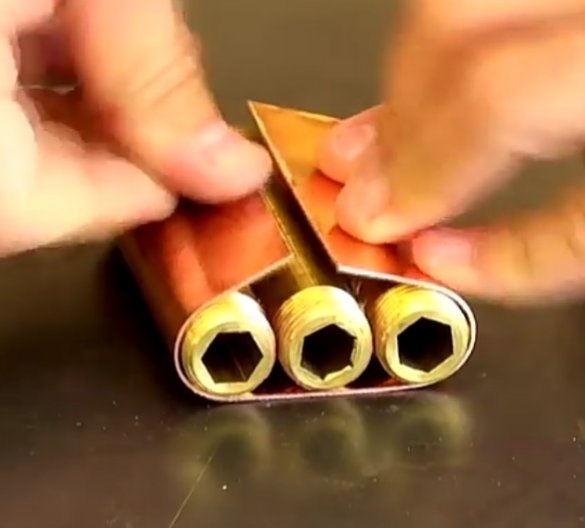
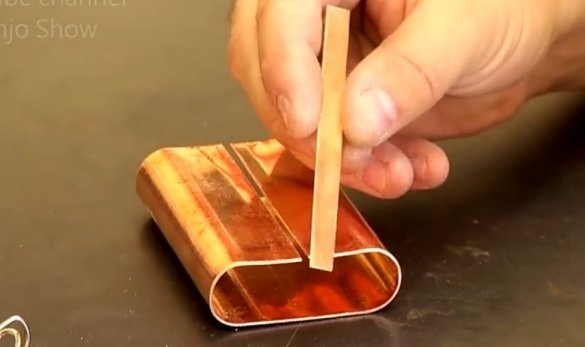
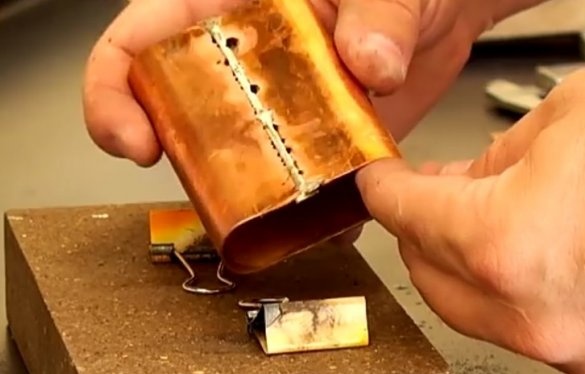
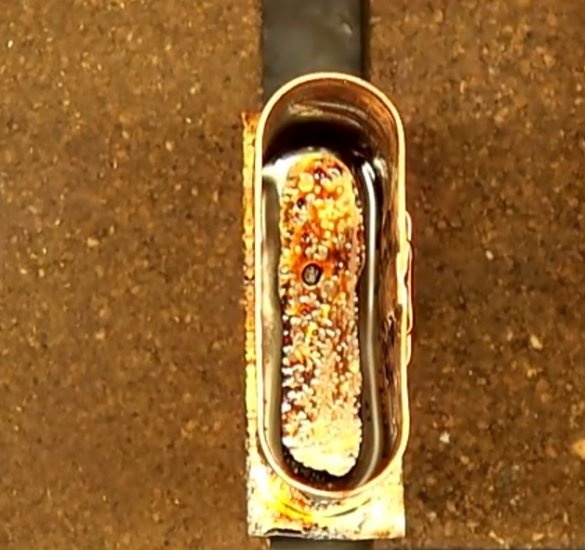
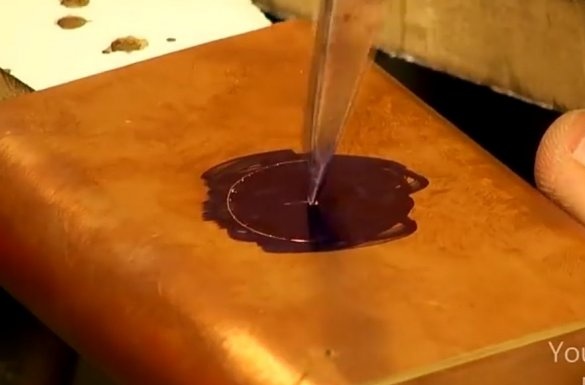
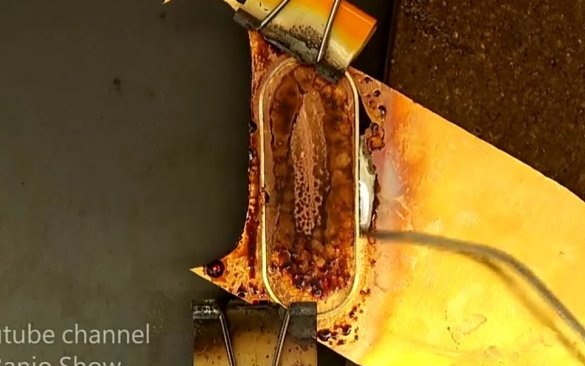
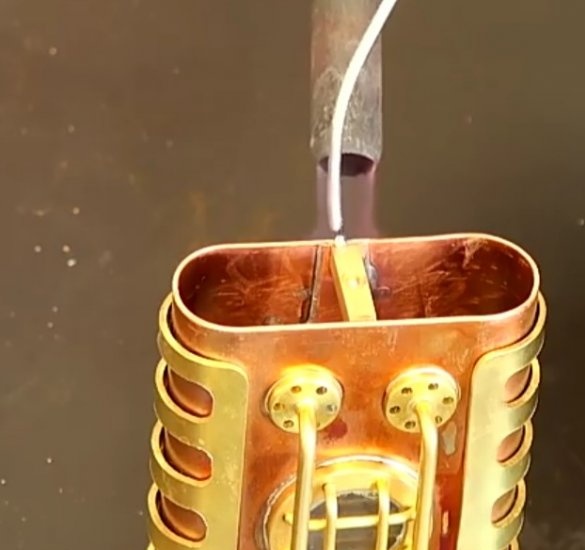
Next, several tubes are taken, which are soldered together and form a template on which a copper sheet will be bent. This will be the "body", the capacity where cigarettes will be laid. Putting the workpiece on pipes welded together, we begin to gently bend the edges, reducing them towards each other.This must be done very carefully so as not to damage your hands on the sharp edges of the part. We get an oval blank. The edges need to be soldered. A strip of the same material is taken, placed inside the workpiece in the middle. Parts are clamped with ordinary stationery clips. At the edges we lay strips of tin along the entire length. With a gas burner we heat the parts and, when melted, they tightly connect the parts.
Step 2
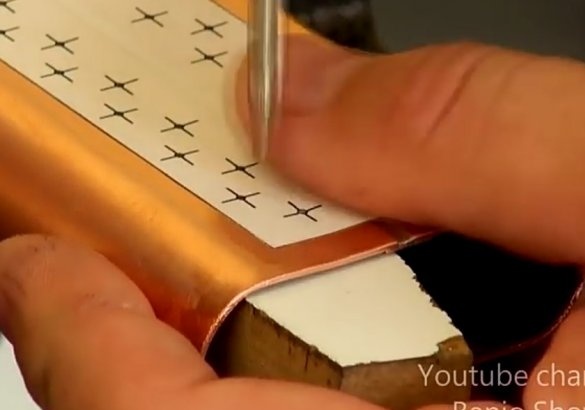
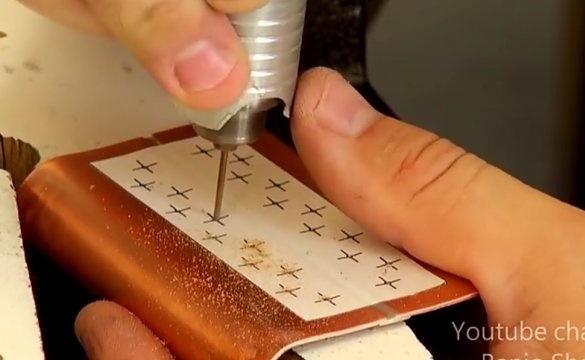
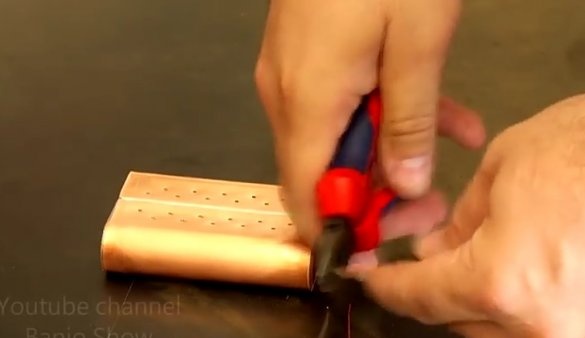
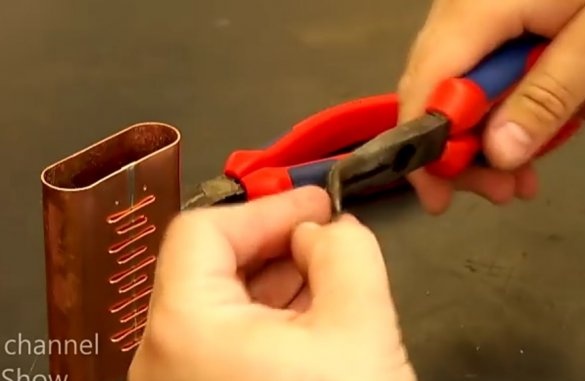
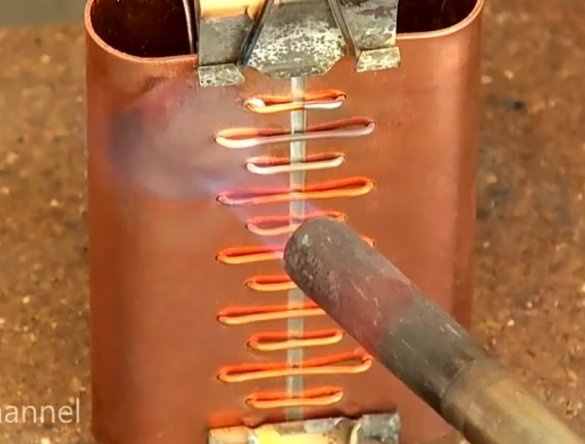
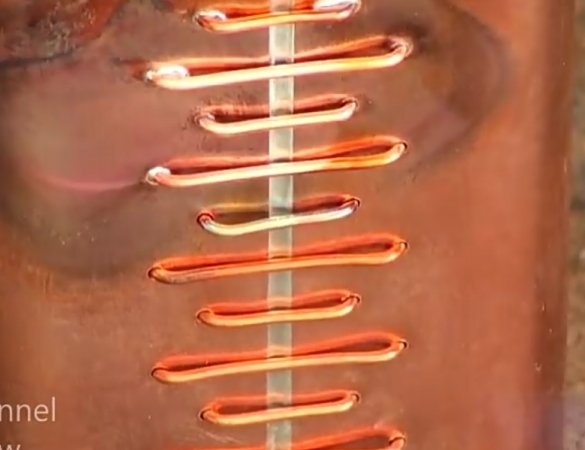
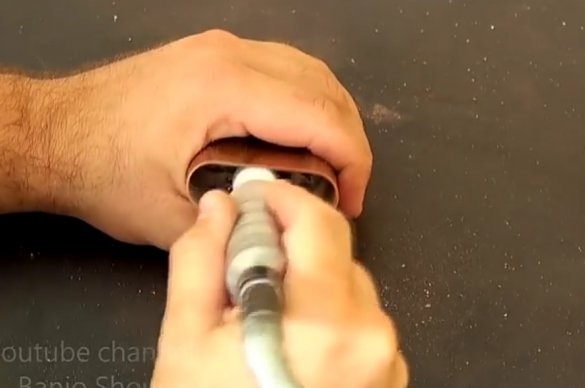
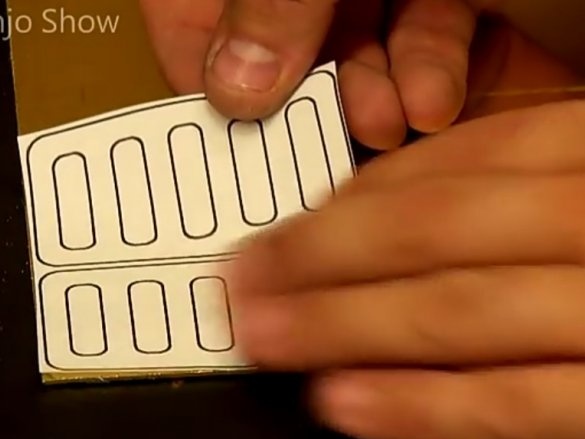
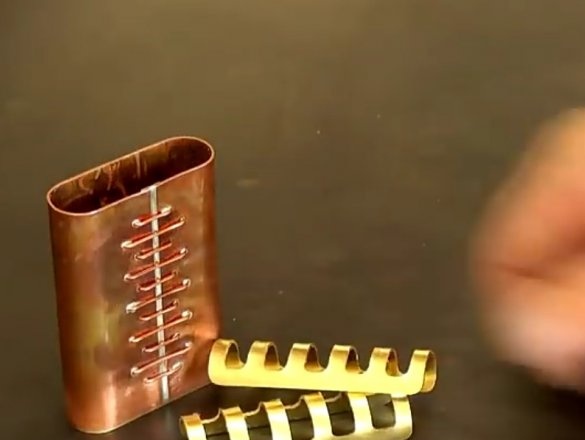
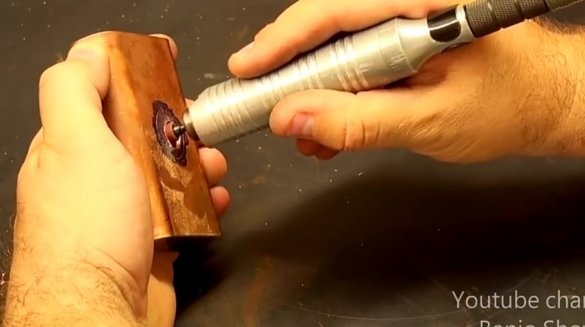
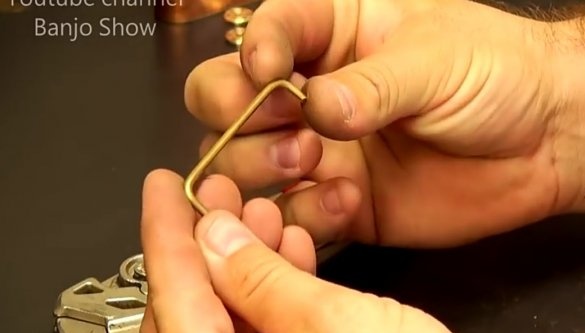
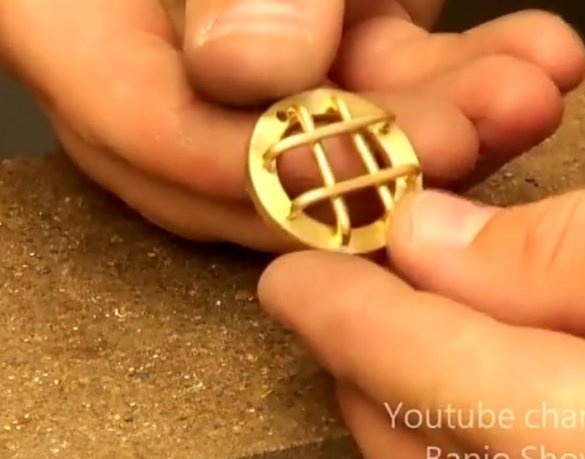
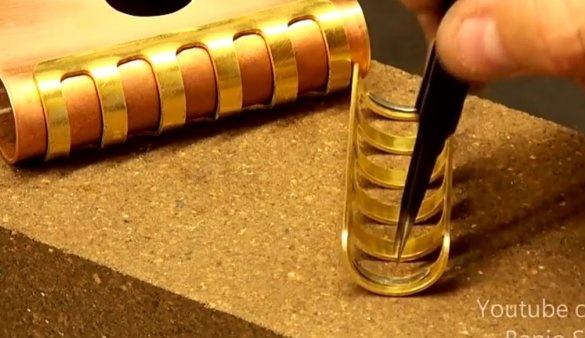
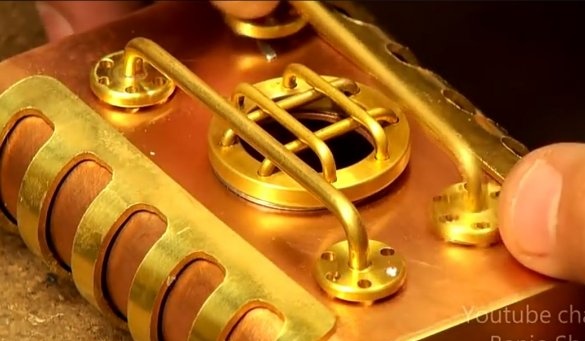
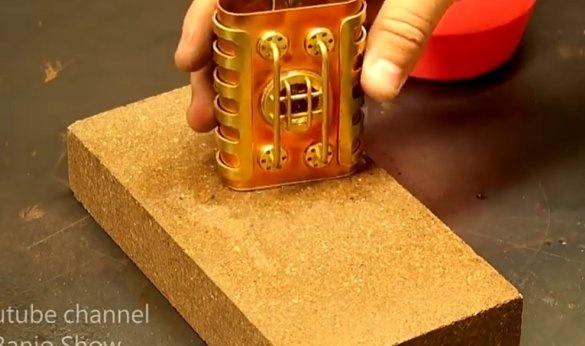
To the side, the edges were sealed, the stencil was glued, with marks symmetrically located on it. With the help of a core, we mark the places of drilling. Using an engraver, the author drills holes. The wire cut off with pliers in an amount equal to the number of holes on the body of the workpiece. These wires bend U-shaped and curved edges are placed in the holes. Heating the workpiece from the outside, solder the ends of the wire inside. This should be done as quickly as possible so that the temperature does not melt the tin that secures the edges and the connecting strip. After soldering, the insides are sanded.
Step 3
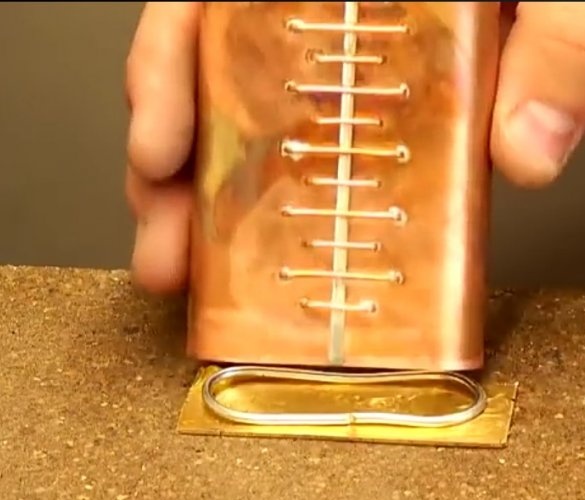
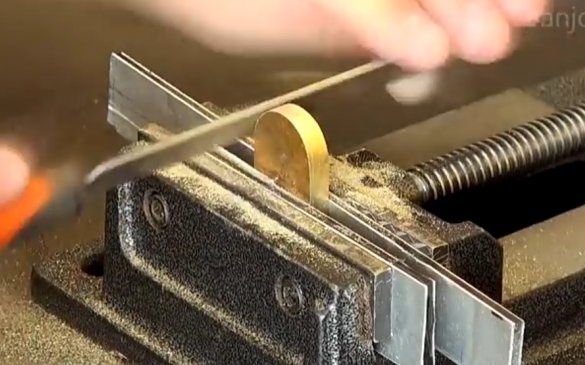
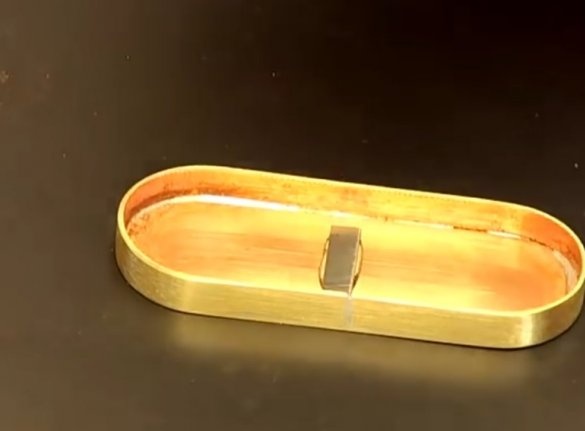
Getting to the bottom of the cigarette case. For this we need a thin sheet of bronze or brass, who has what. We put the container on the workpiece and also solder the parts. In order for all parts to cool quickly and you can proceed to the next stage of work, the author uses a spray bottle with water. He sprays them with hot parts. The protruding parts of the bottom are trimmed with scissors and polished with a file until they are flush with the walls of the tank.
Step 4
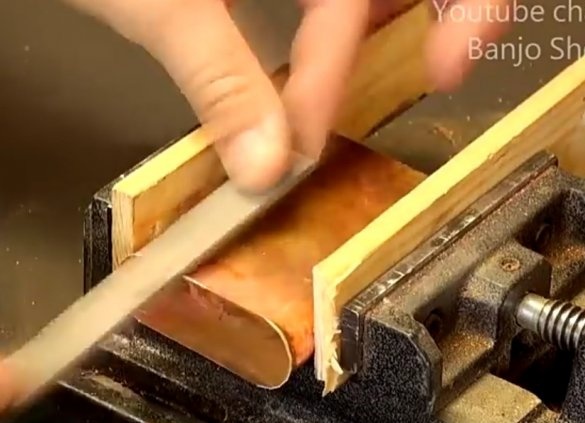
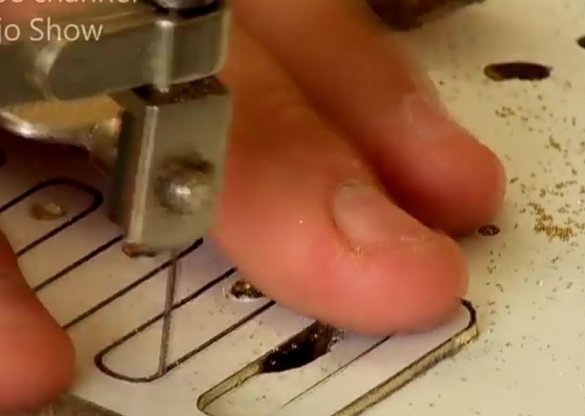
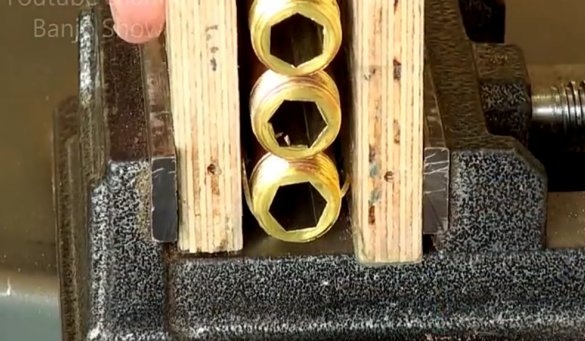
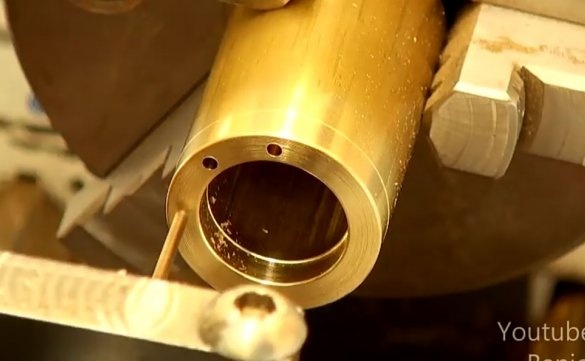
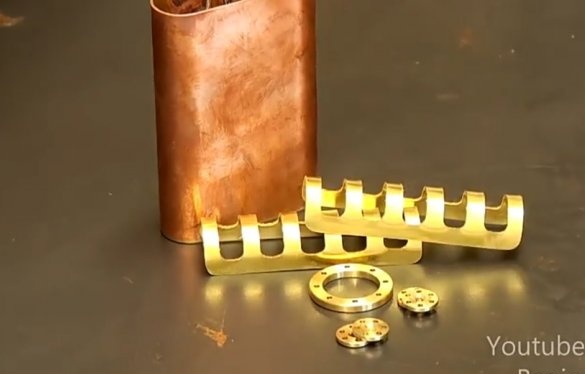
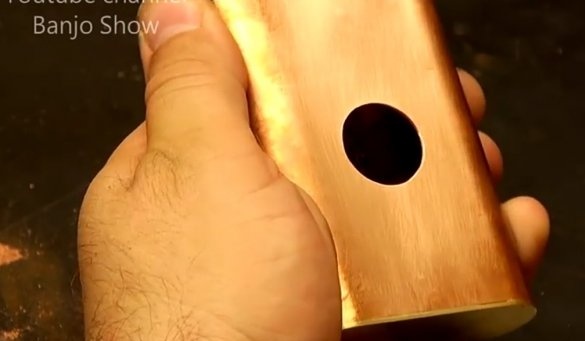
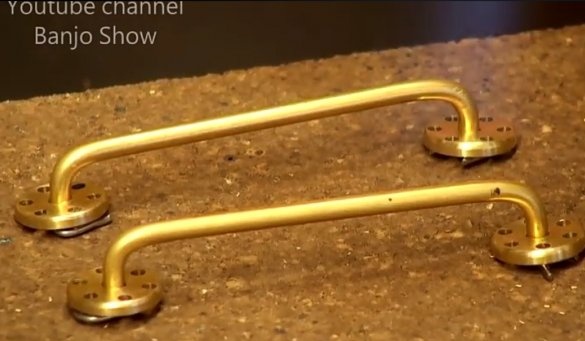
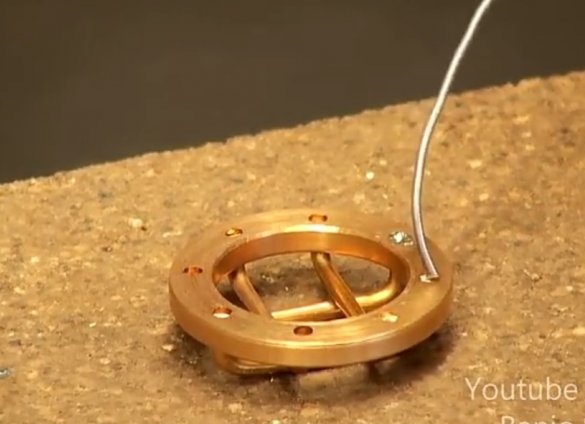
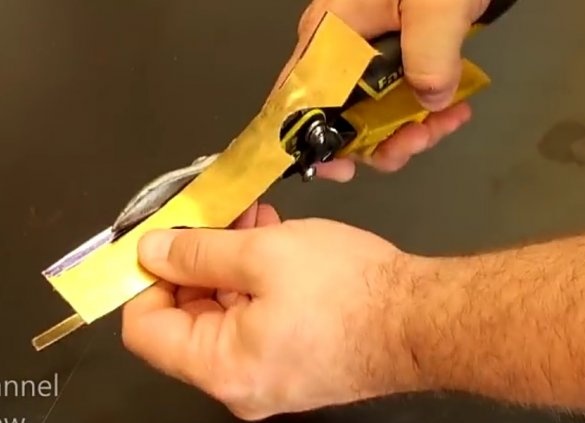
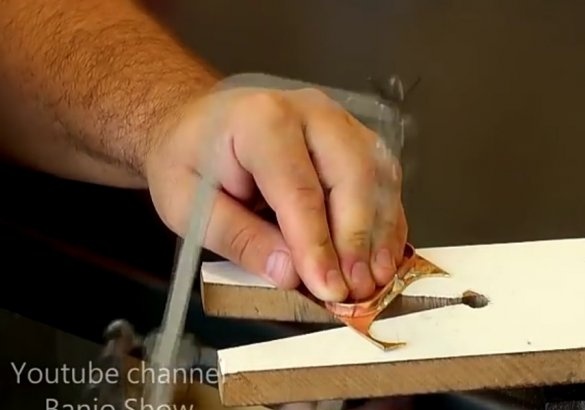
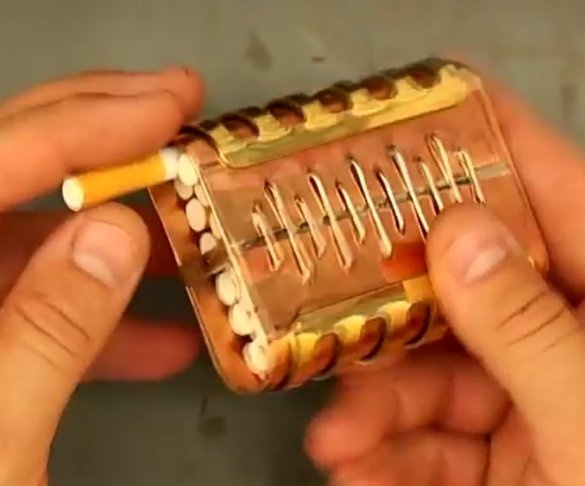
We make decorative pads on both sides of the body of the cigarette case. A sheet of brass or bronze is also taken, on which a paper template is glued. Unnecessary fragments are cut out with a jigsaw. The edges of the cuts are ground. With the same pipe template, we give a semicircular shape to the parts just obtained. For a more tight crimp, a vise with wooden spacers between the vise lips and the bent workpiece is used. Further, using the lathe and the tube, the following decorative elements are created - round rings of various sizes. They drill holes for wires. In the case of the cigarette case in its middle, a hole is drilled. We proceed to decorate the surface of the cigarette case. The side decorating elements and decorations on the front wall are soldered.
Step 5
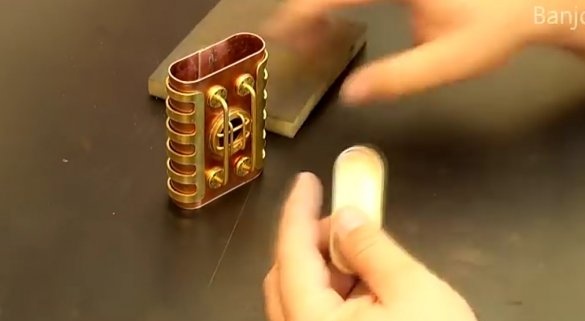
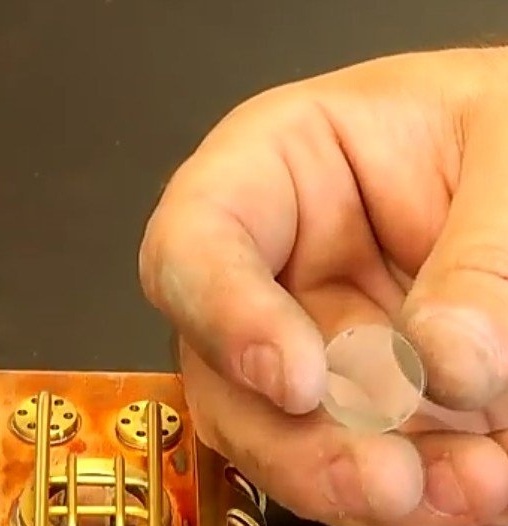
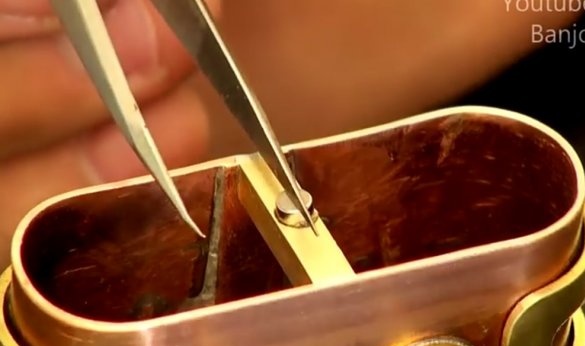
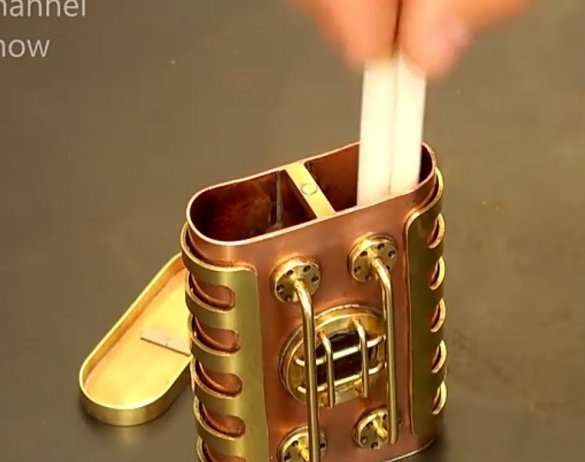
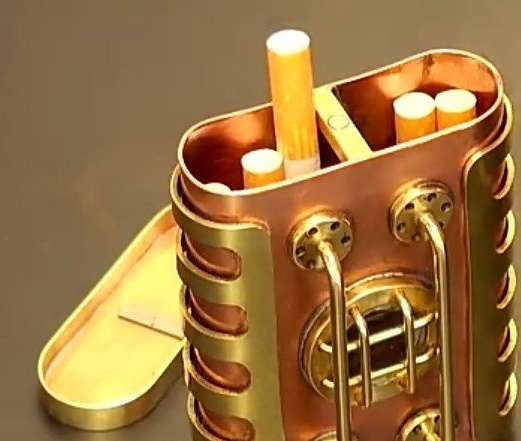
We make a cover. A strip of bronze is cut off and wrapped around the top of the cigarette case. This part, the edging, should be slightly larger than the cigarette case itself, so that the lid fits freely and covers the contents. We solder the edges. We solder the edging to the bronze sheet. The protruding parts are trimmed and sanded. We put transparent plastic or glass on the hole in the middle. Now you need to make the mechanism for attaching the lid to the cigarette case, so that during movement its contents are completely intact. For this purpose, a small bar of bronze is suitable, which is mounted inside the cigarette case in its middle upper part. In this bar, a hole is drilled for a magnet, which is planted on an epoxy resin. A metal strip is glued to the lid. Everything is very carefully polished on a felt polishing wheel, giving shine to the finished product. The cigarette case is ready. Cigarettes are laid inside and the lucky owner of this device may not worry about the safety of their cigarettes!

