To all the inhabitants of our sites, my respect.
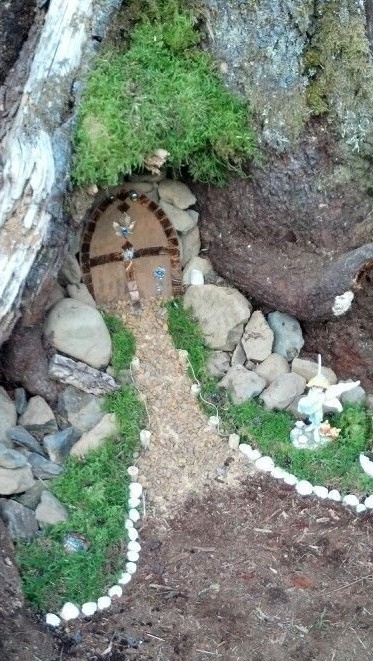
Today I want to talk about making a small souvenir that can be used both at home and in the garden at the dacha. Now many in their spare time are engaged in the manufacture of various crafts to decorate your garden or summer cottage.
Well, something like that.
1st step. Materials
To make the door we need:
- starch
- PVA glue, better Momen-joiner,
- sunflower oil,
- a deep plate
- plasticine, better sculptural, but simple too,
- stacks for working with plasticine,
- a rigid substrate, I took plexiglass,
- glue Super moment or Second,
- silicone sealant, small tube,
- acrylic primer,
- acrylic paints,
- varnish is glossy acrylic, it can be matte or semi-matte, but then it will shine,
- a piece of transparent film to simulate glass in a window.
2nd step. Manufacture.
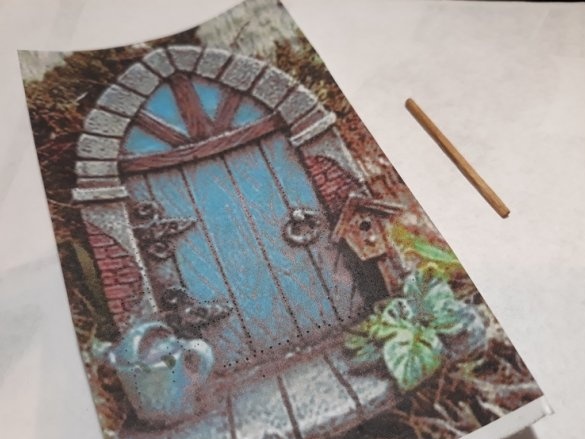
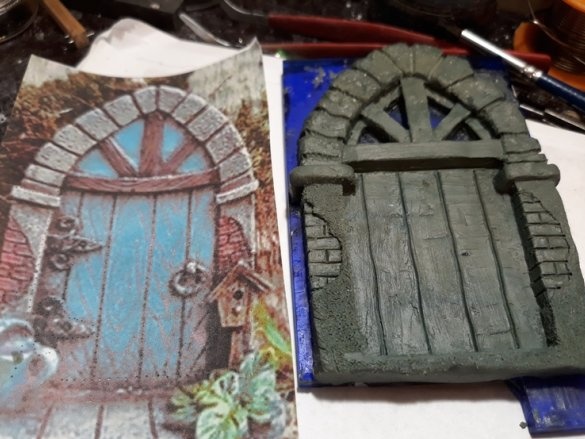
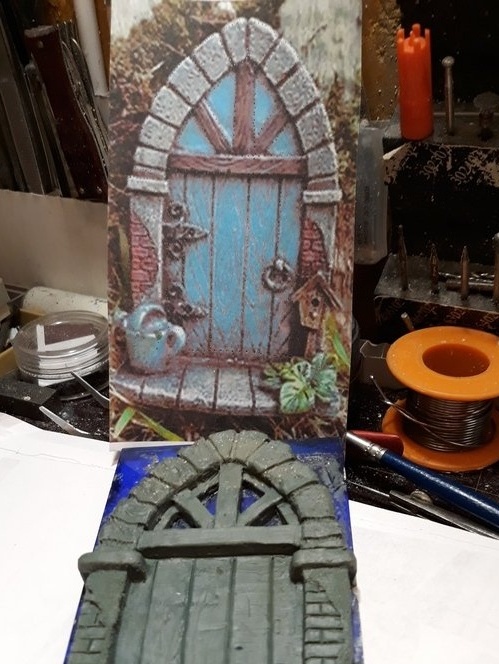
In order to make something you need to have at least an image - a picture (drawing, etc.) I took from the Internet the first picture of the door that I liked. I printed it on the scale I needed.
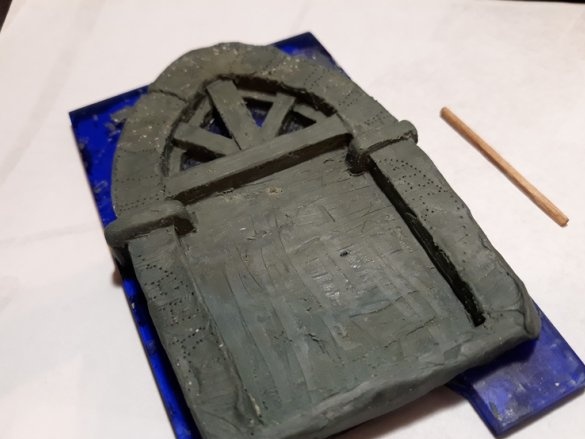
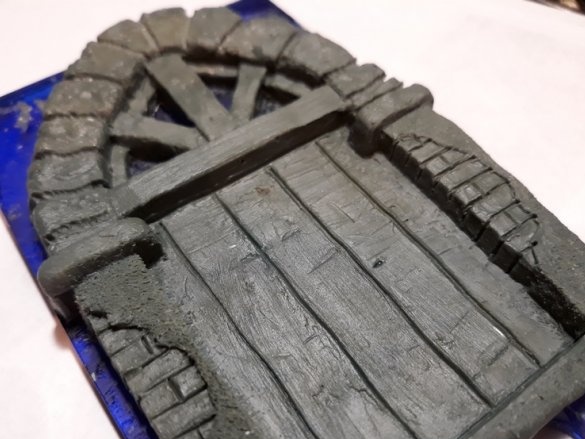
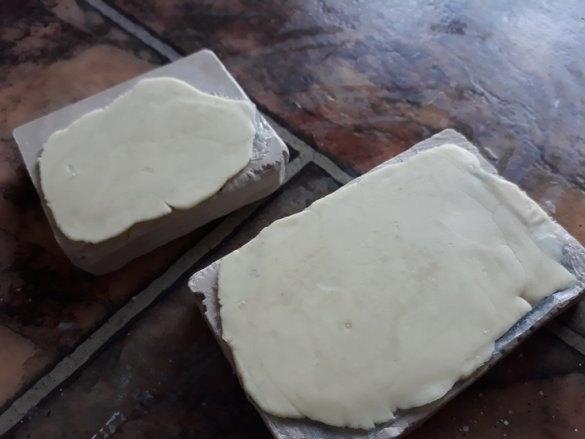
Further, he took the prepared base of the plexiglass crafts, applied a layer of sculpted plasticine on it, according to the size of the picture. The plane is aligned parallel to the base (substrate). I overlaid the drawing, pressing it lightly so that he would not move. And neatly with a needle he transferred the drawing to plasticine. This operation looks like this.
Having removed the drawing, he connected the needle marks in a line. Checking, of course, with the original. Thus, we got a drawing on plasticine. You can do all this of course, so to speak from the head, impromptu. Well, whoever knows how.
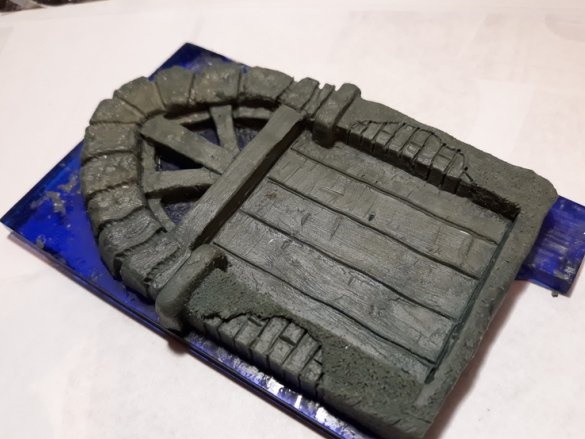
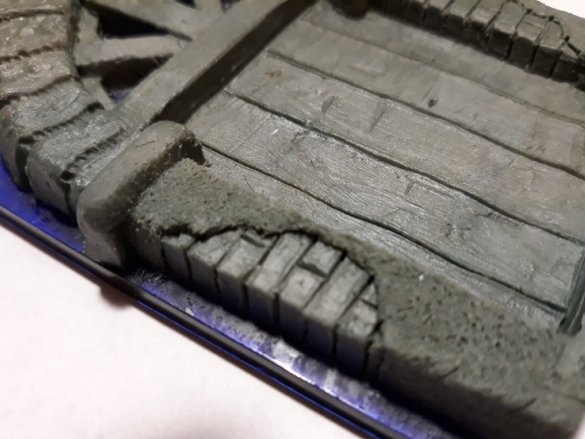
Next, we take stacks for working with plasticine or clay and begin to give volume to the drawing. Deepening what should be in the depths, and without touching, what is near you.
This is done gradually, showing so-called individual details of the picture.
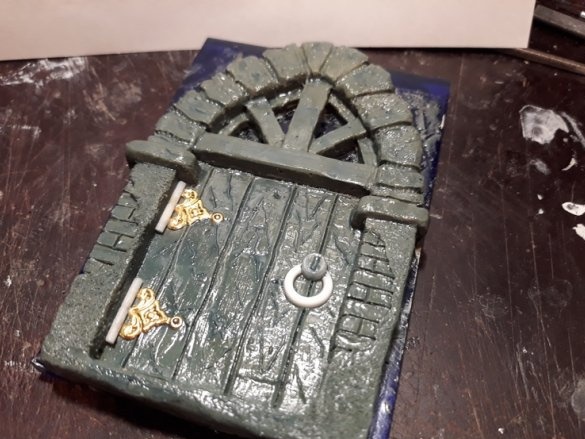
I did not make hinges and a doorknob from plasticine, more on that below.
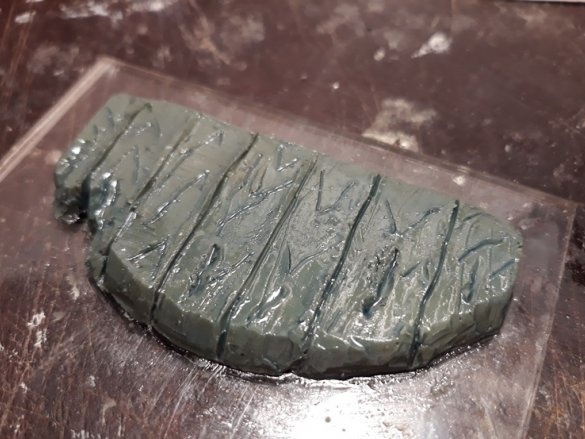
Further, on another substrate, I did practically the same thing as with the door, depicting a porch.He marked the boards, chips of boards and their decay, as well as the structure of the tree. Then the porch was covered with super-glue in one layer. This is so that the silicone sealant does not act on plasticine, softening it.
The handle and loops, of course, could also be molded from plasticine, but here I decided to accelerate a little, so to speak. Since portraying this trifle is a very long and painstaking work.
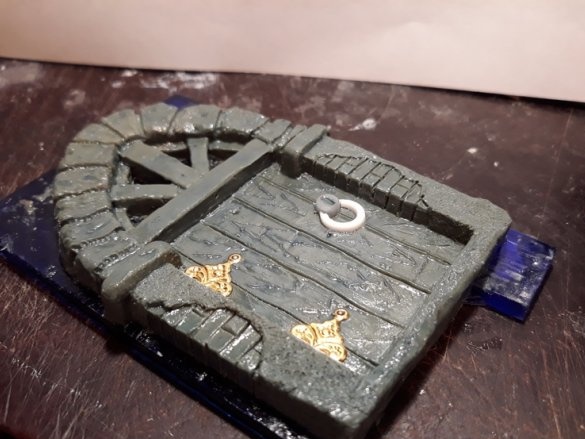
Therefore, for the hinges and the door handle, I used suspension parts from jewelry and parts from a disassembled gas lighter. Before installing the hinges and handles, the door is also covered with super-glue. And on it he set the details of the loops and handles.
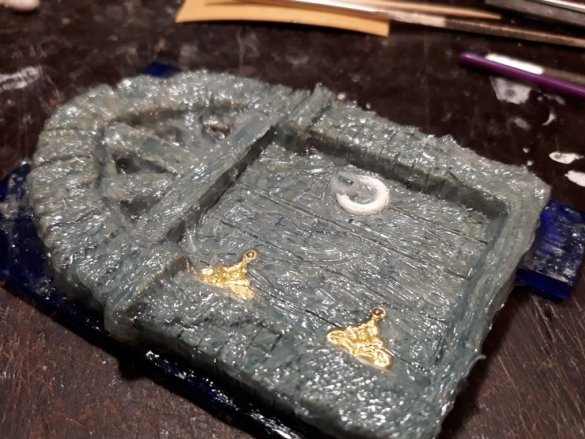
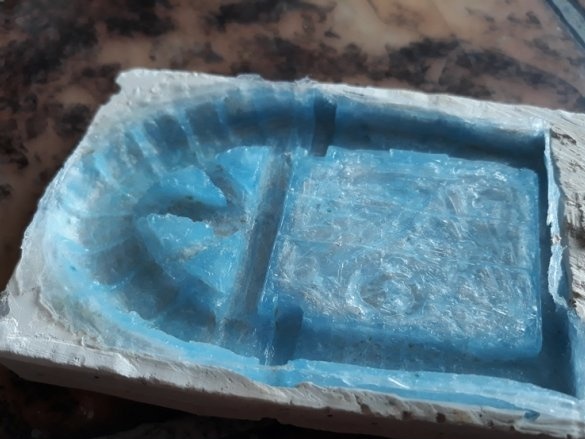
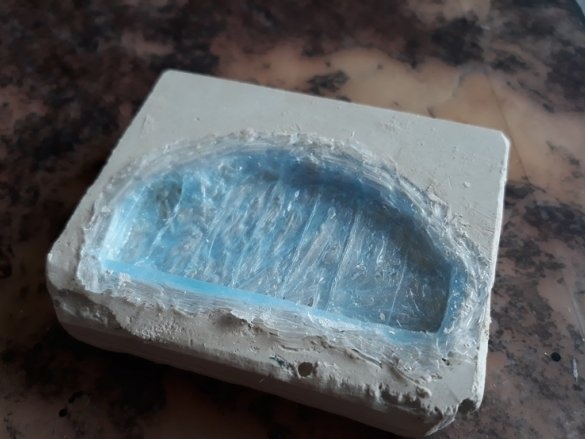
Further, everything prepared - the door and the porch covered with silicone sealant. Covered in several layers, with an intermediate "drying". The thicker the sealant layer, the easier it is to work with the resulting form in the future.
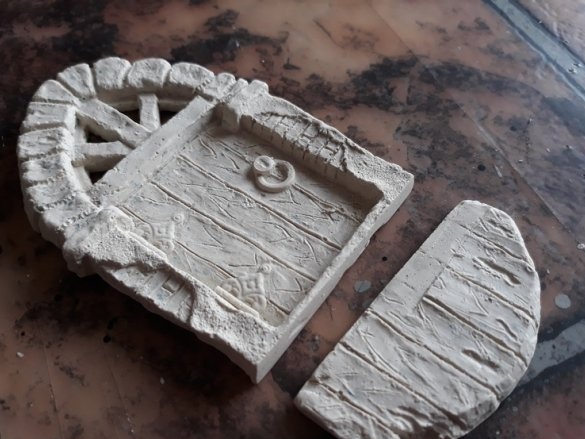
Further, after polymerization (drying) of the last layer of sealant, a gypsum substrate is applied on top of it. The gypsum mixture is simply diluted and laid out on top of the silicone. You can make the sides so that the gypsum mixture does not spread. And, you can just make the top surface even. So then it’s more convenient to work. These are the molds for casting our product. They can be used many times.
Now we are preparing our filling mixture. Dye can be added to it; it does not need to be boiled and baked until cooked. It does not need to be cooked, so to speak in the good. It becomes so.
Two parts of starch and one part of PVA glue are mixed in the prepared container. When the mixture becomes more uniform and slightly thickened, it is necessary to moisten the hands with oil, and continue to knead further, like dough. When the mass becomes ready for something to be made, it is something to dazzle. We fill our previously made forms.
If the mass turned out to be thick, you can add a little PVA and mix the mass again.
If very liquid, add starch and knead again.
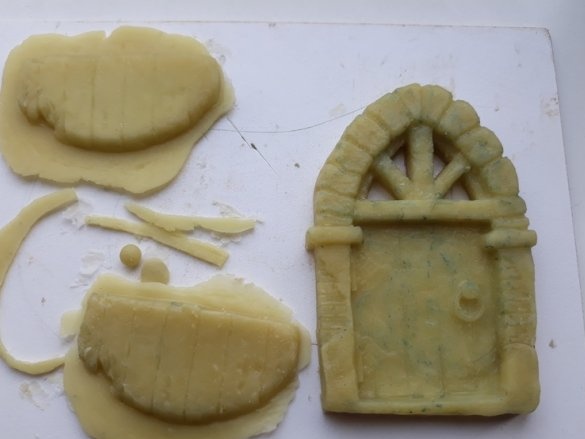
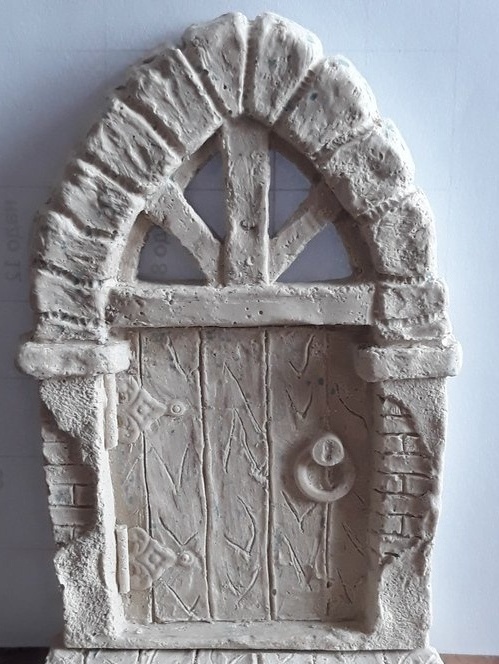
Thin casting will dry in about a day. In other words, the thicker the cast, the longer the mass sets. Specifically, this product has dried for two days. Upon drying, we take out the finished castings from the molds.
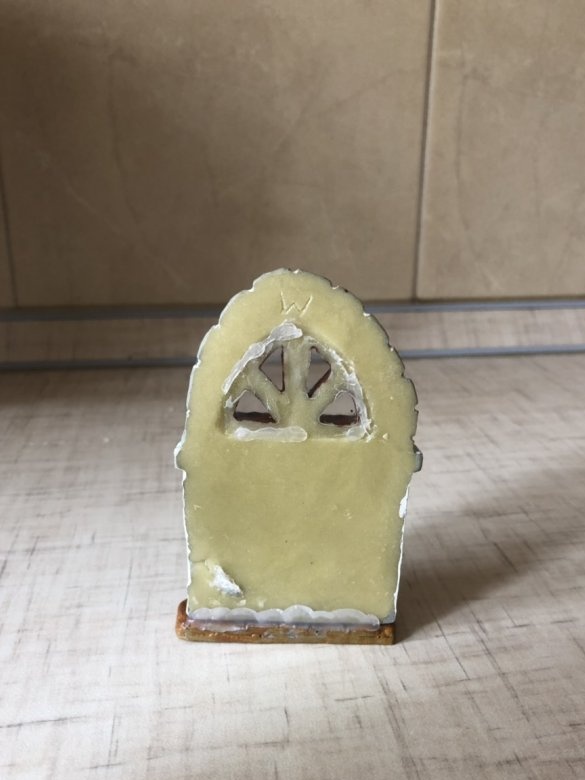
I want to add if the castings are deformed is not a problem. It is necessary to heat the part with a hairdryer or put it on the battery, or in another way and give it the desired shape. After casting parts, if necessary, processed and refined. So, for example, in this case, a selection is made on the back side of the door casting for gluing glass imitation glass there.
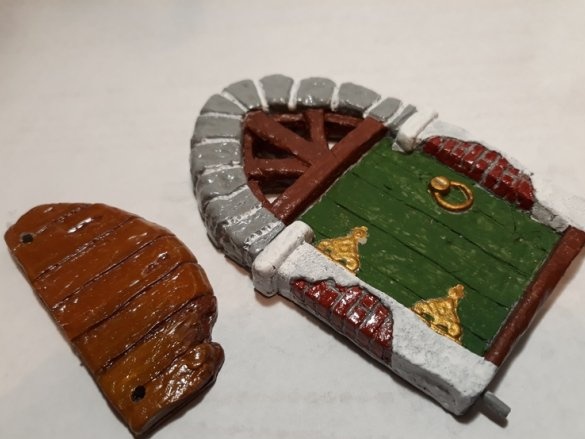
Then, everyone is primed.
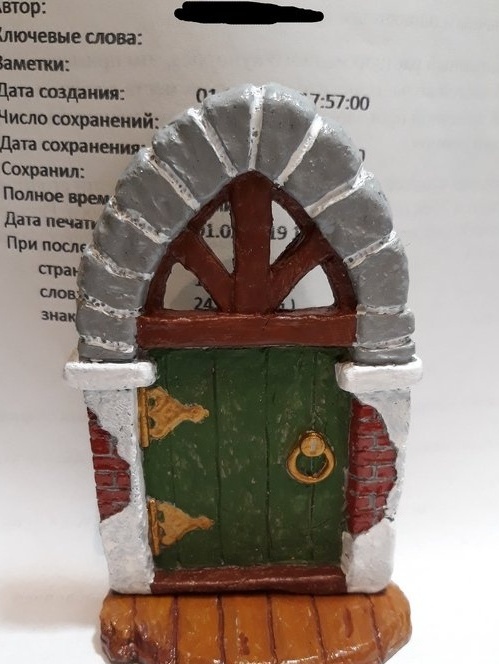
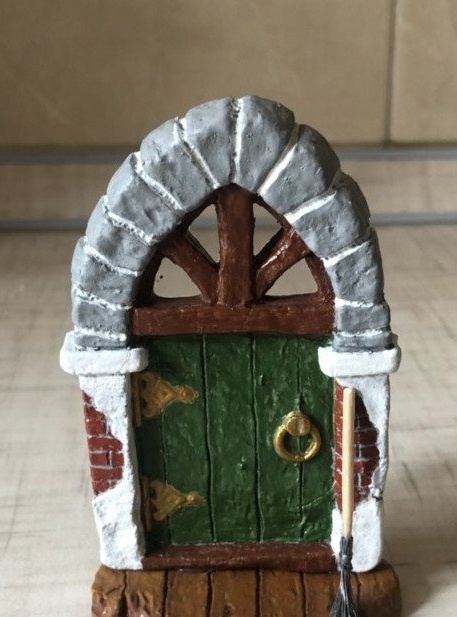
Further, the product is painted, at its discretion, and assembled.
Then, imitation glass is glued from the back.
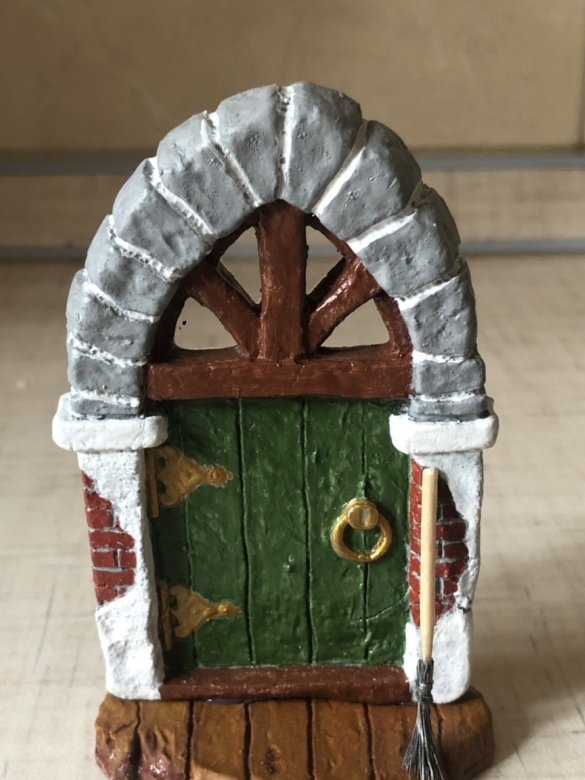
Finishing touch. I thought that the porch was somehow empty, since I did not make a watering can and birdhouse. Made it easier - made a broom, and leaned against the jamb. Broom - a bundle of copper wires and a toothpick. Assembled on Super glue and varnished.
That's it.
See, criticize, advise, ask.
Regards, Starp


