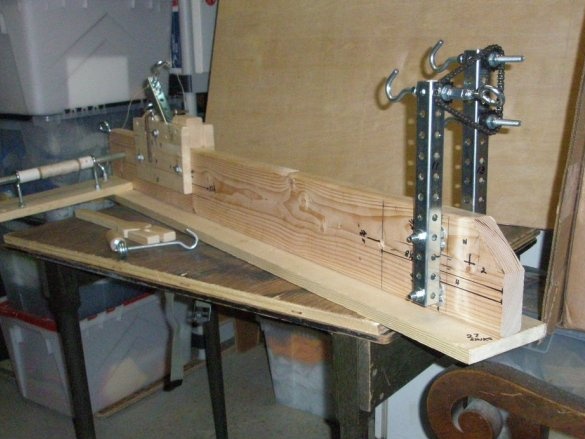
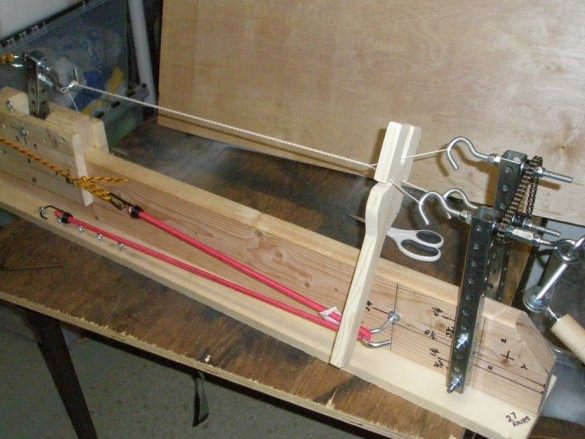
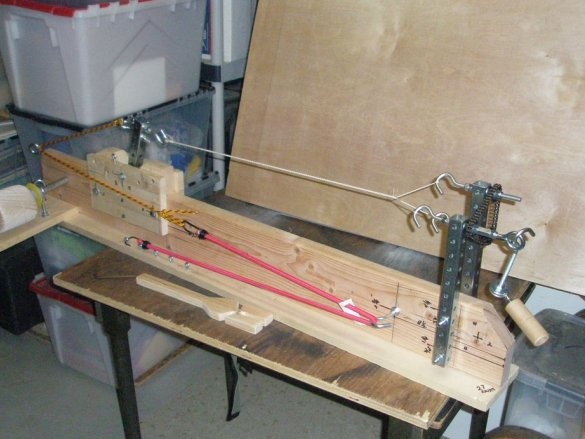
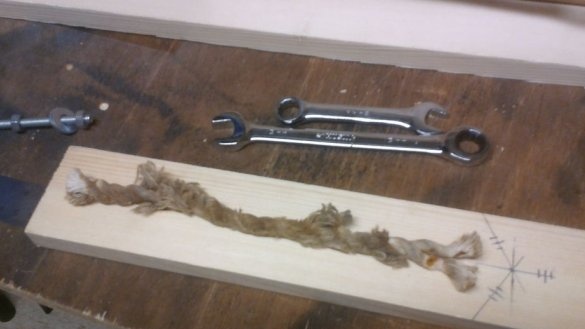
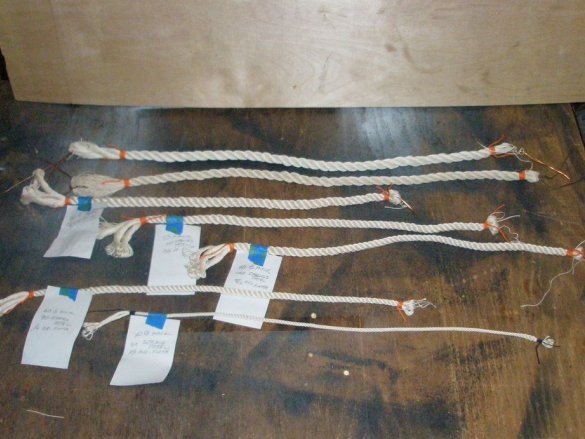
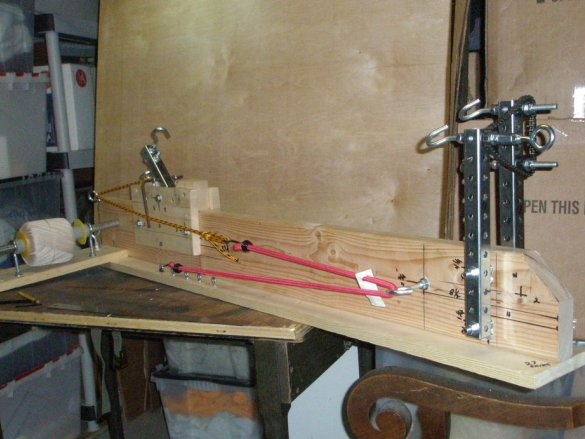
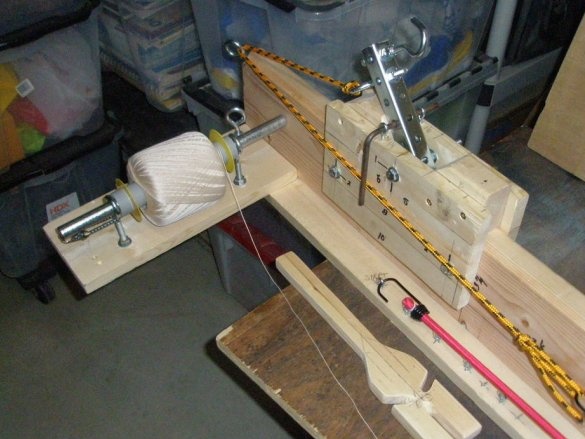
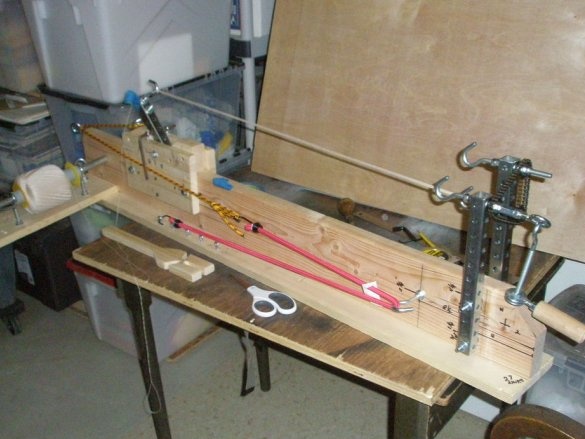
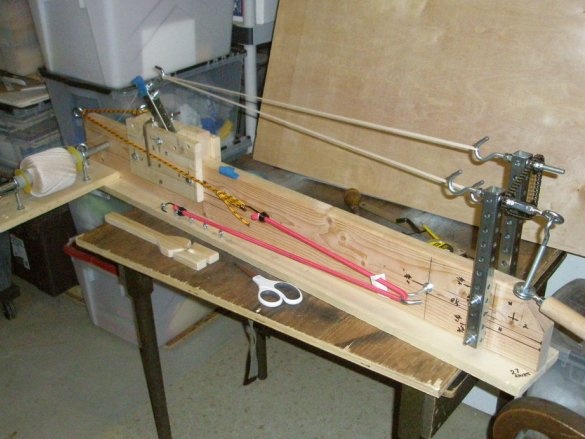
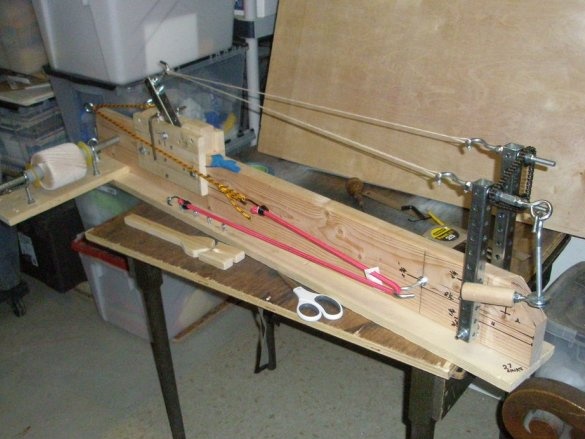
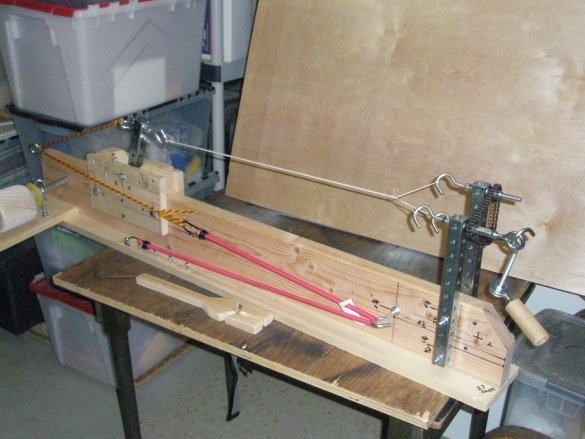
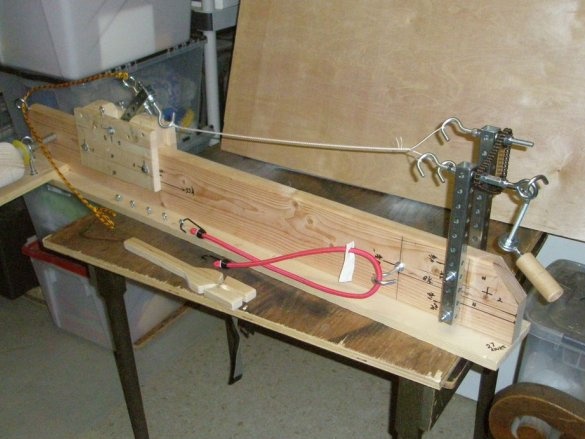
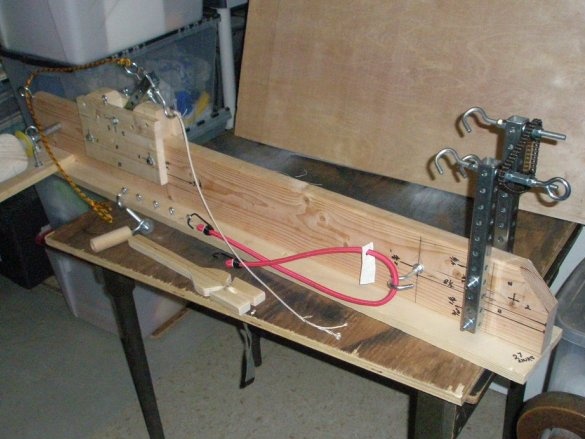
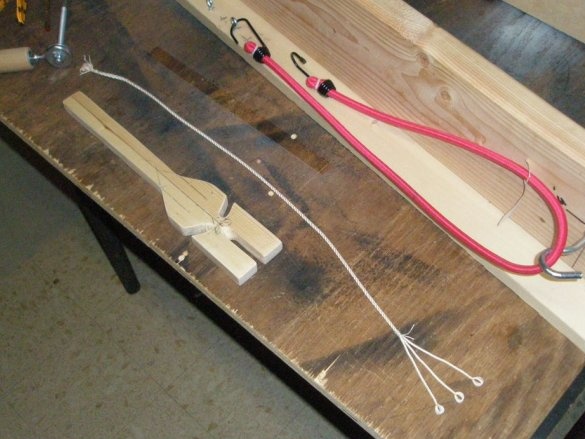
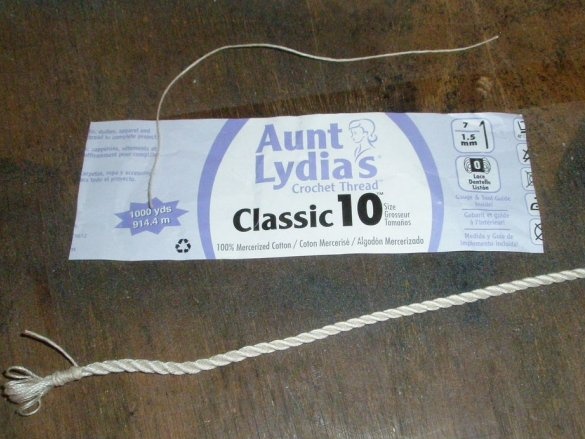
The craftsman needed a cotton rope of a certain diameter. There is no such rope on sale, and then he decided to weave such a rope on his own. In principle, the rope can be weaved with less labor, but the task was, in addition to the diameter, to have a good aesthetic appearance of the rope (more on the first step).
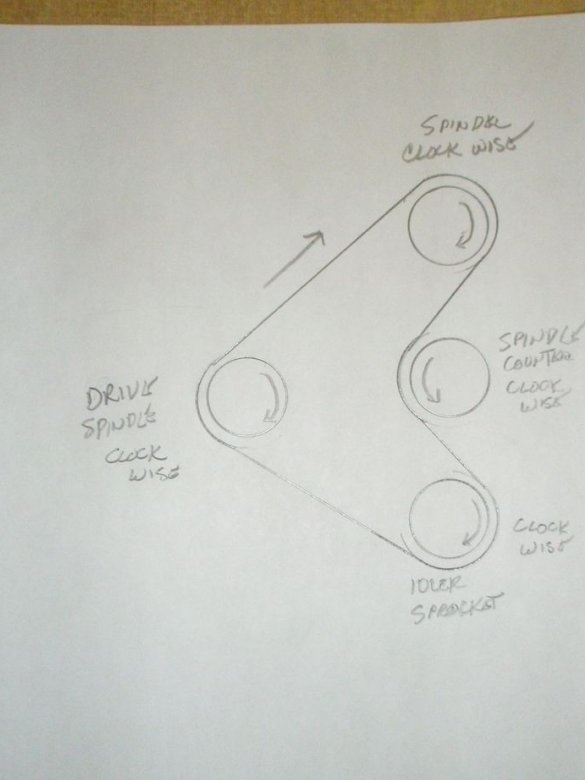
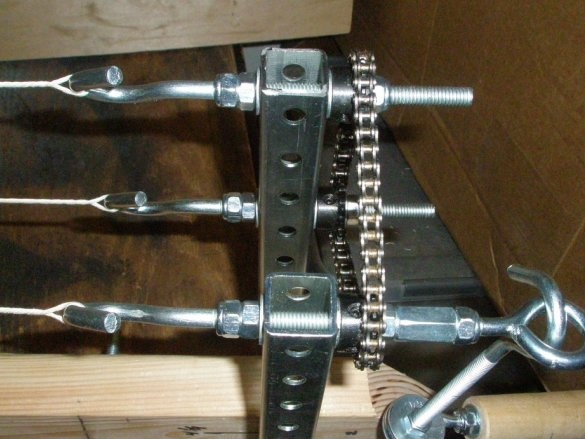
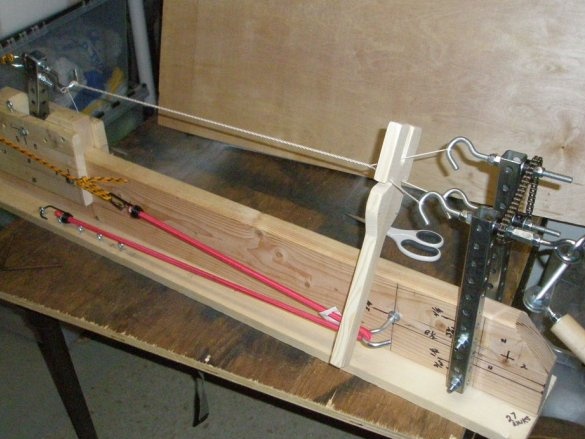
By the way, with the help of such a machine you can weave not only a rope. In the comments to homemade one of the readers asks whether it is possible to weave a bowstring for bows, crossbows using a machine. The master answers that it’s possible in principle, but for this it is necessary to slightly change the mechanism. In the author's homemade product, the shafts, and accordingly the threads, spin in one direction. To weave a bowstring, the shafts should be spinning towards each other.
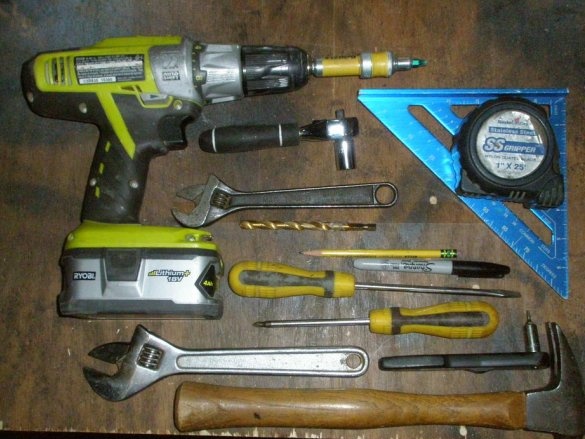
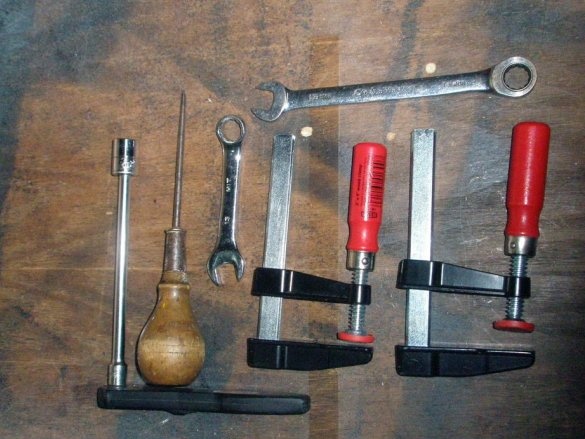
Tools and materials:
- Cordless drill;
-Drill;
-Roulette;
-Marker;
-Gon;
-Hammer;
- Keys are metalwork;
-Screwdriver;
-Awl;
-Profile;
-Chain;
-Stars;
-Connecting links;
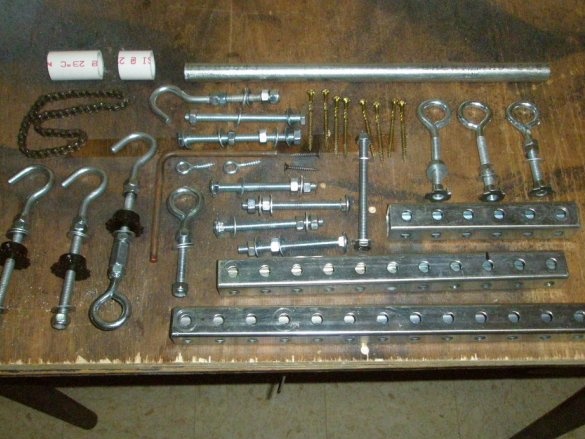
-Various fasteners (bolts, nuts, eye bolts, etc.);
-Boards;
-Drilling machine;
-A circular saw;
- PVC pipe;
- Rubber bands;
Step one: introduction
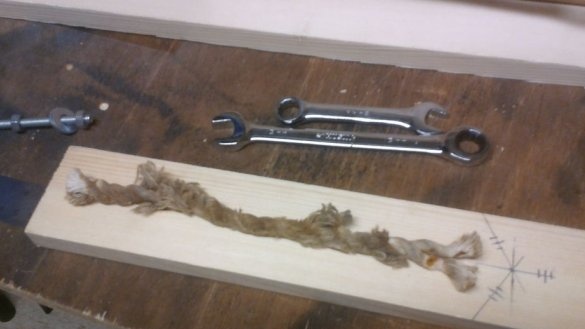
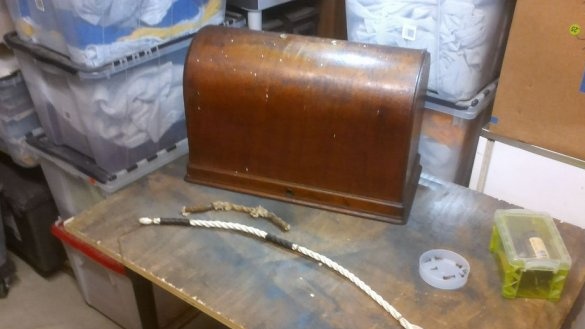
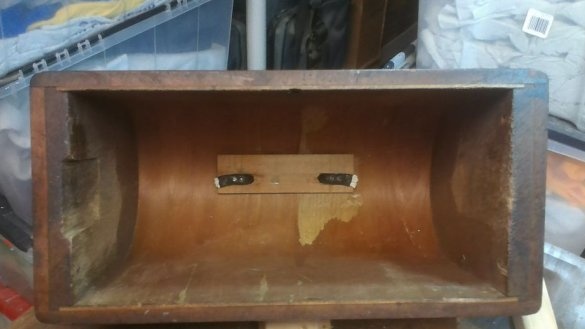
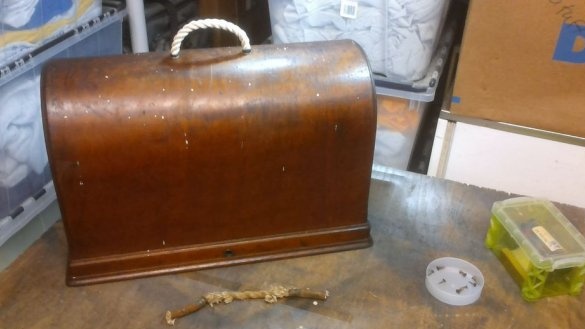
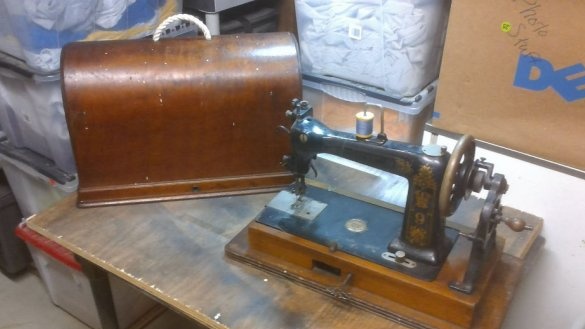
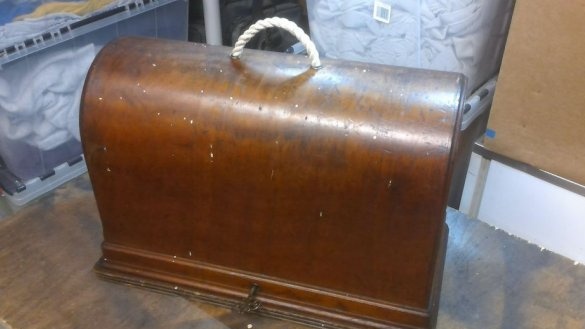
So, why did the master need such a rope? He is engaged in the restoration of antiques. This time, an old sewing machine Wheeler Wilson W9 from 1887 fell into his hands. The machine is manual and stored in a wooden box. On the box lid there is a rope handle, which, over time, has become unusable. The master’s goal is to restore the thing as close to the source as possible. And he did it.
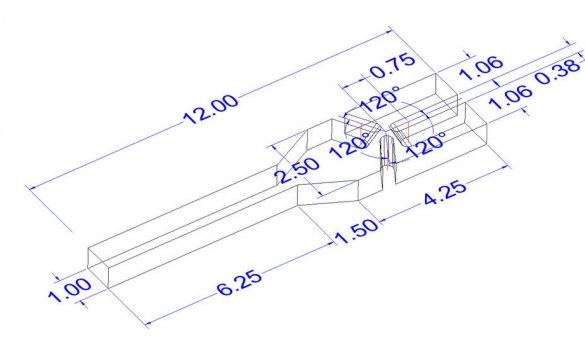
Step Two: Sawing the Board
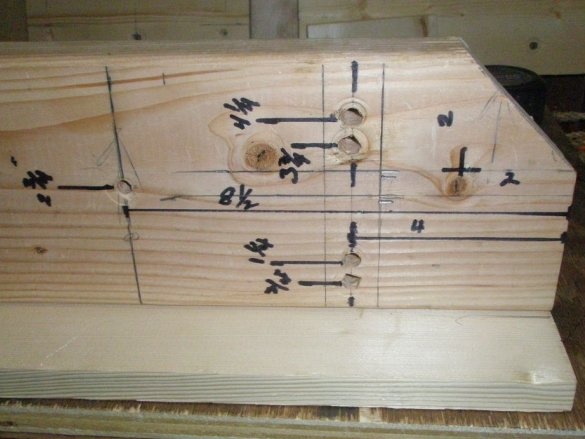
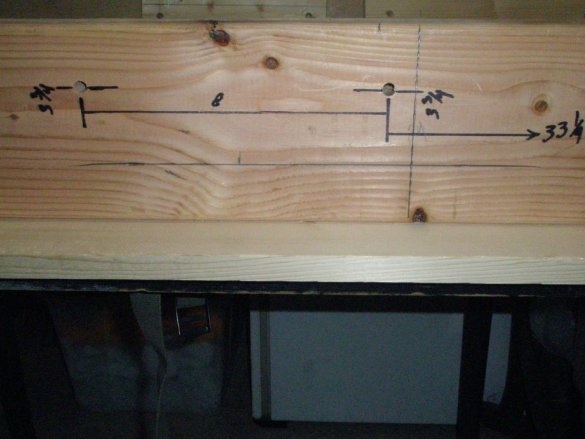
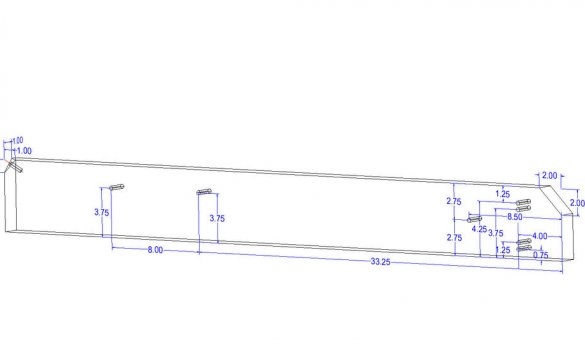
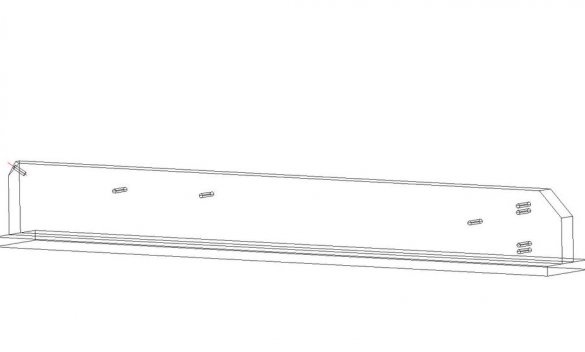
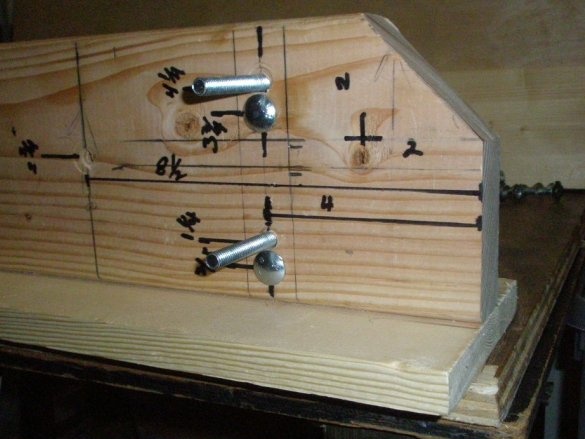
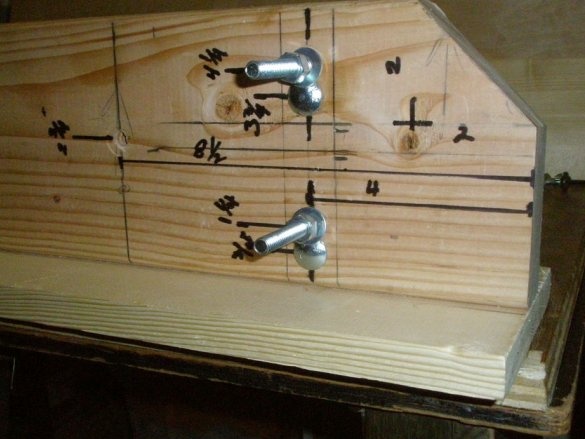
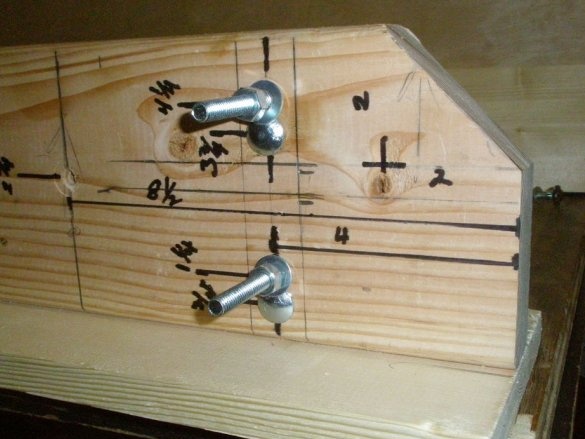
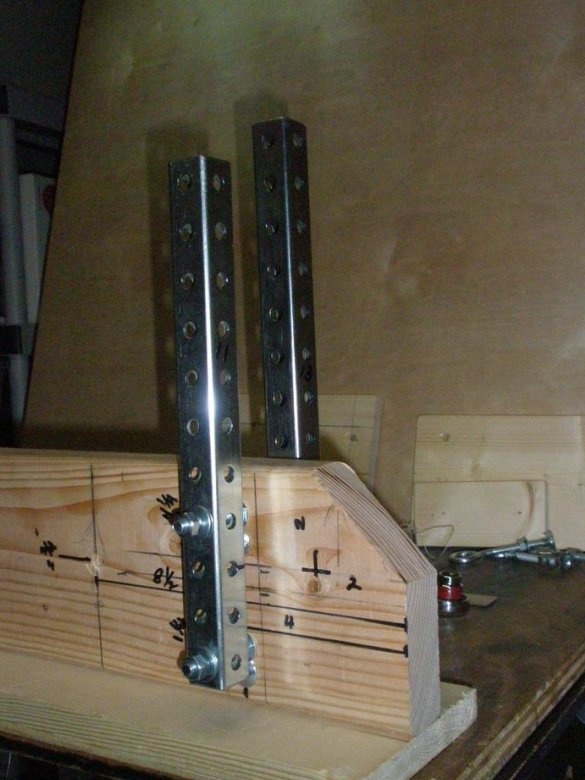
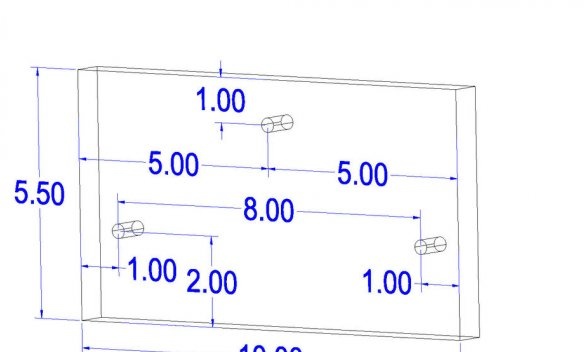
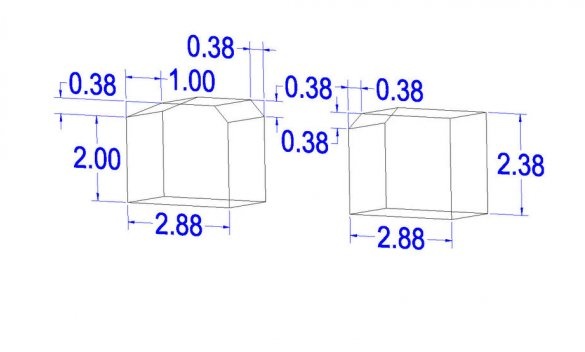
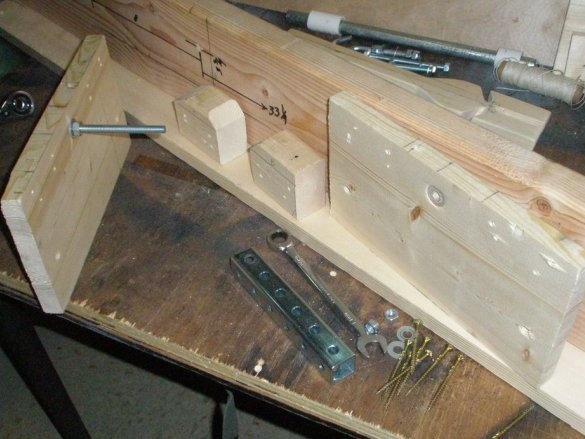
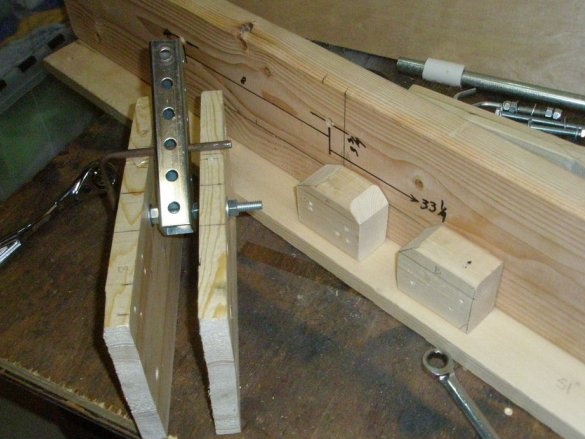
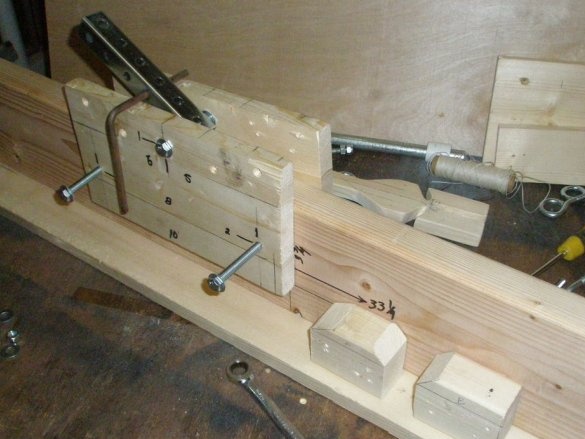
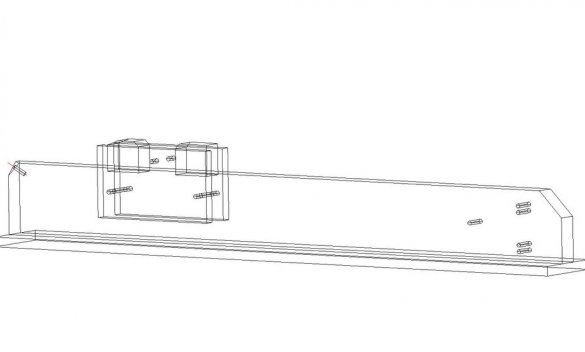
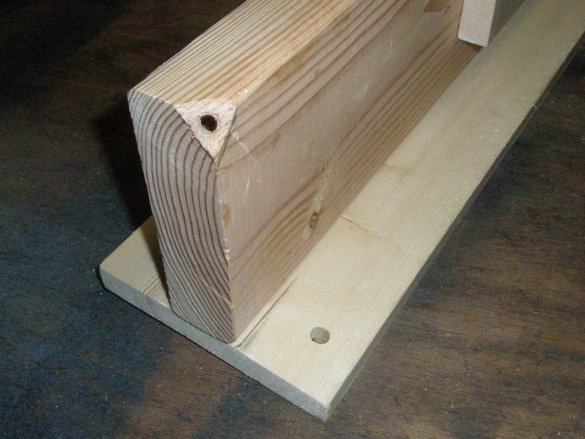
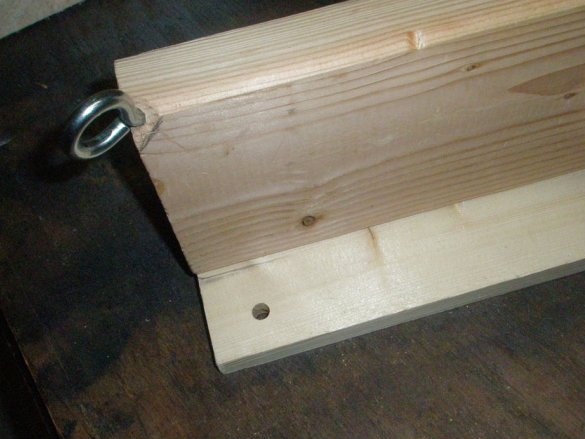
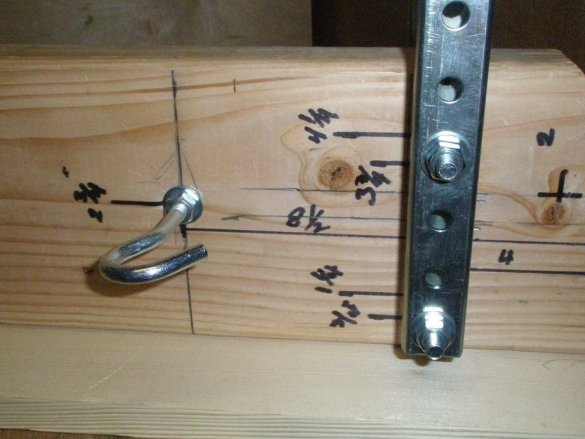
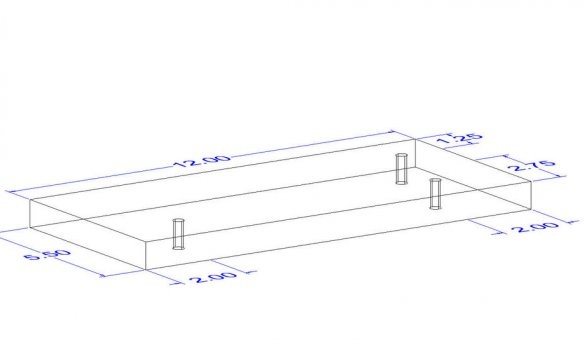
The machine itself is made of boards. The master cuts the boards according to the size. Then drills the holes. Dimensions are in inches.
Step Three: Chain Drive
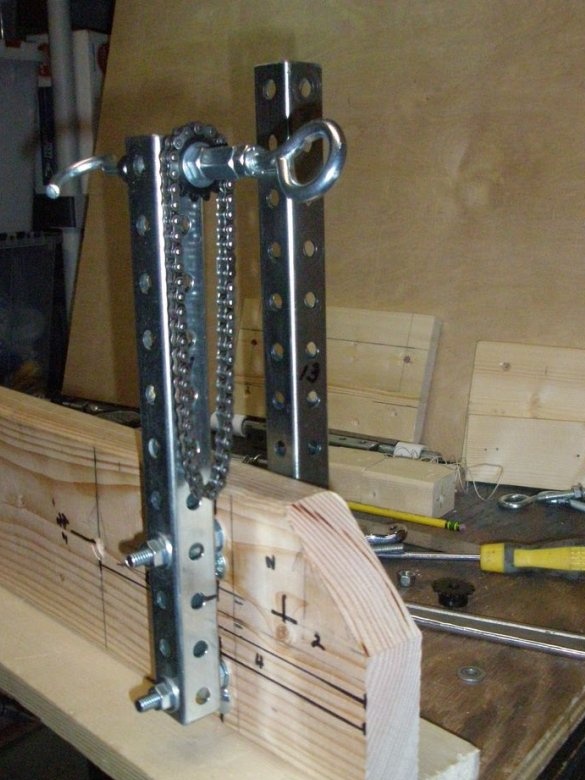
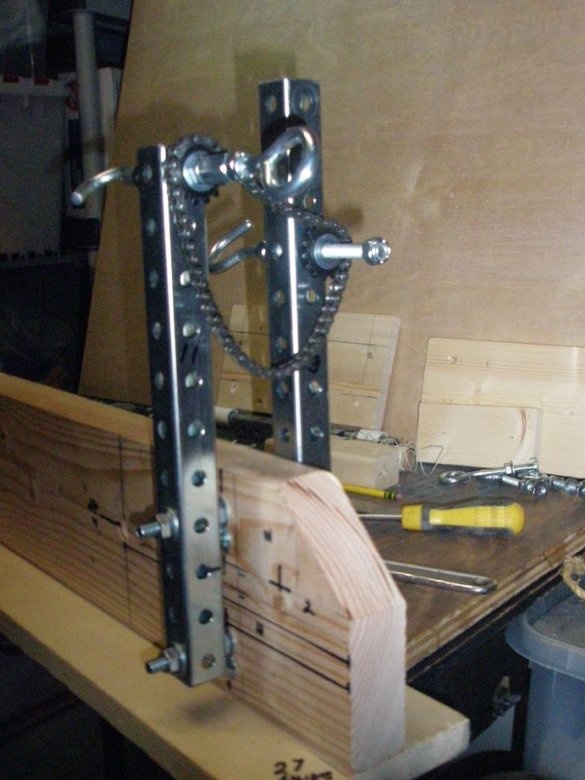
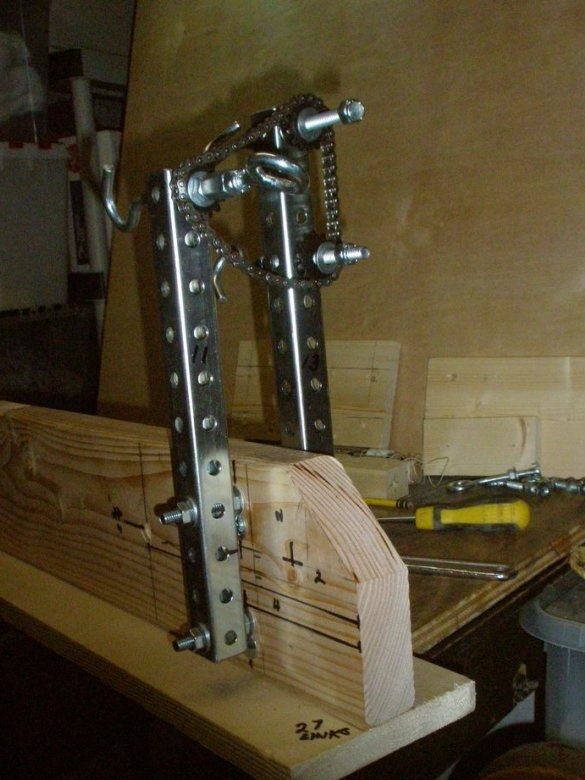
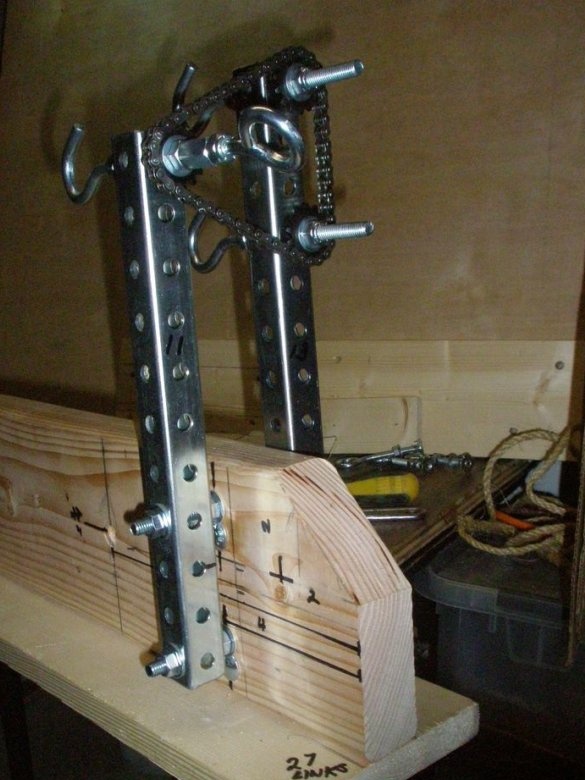
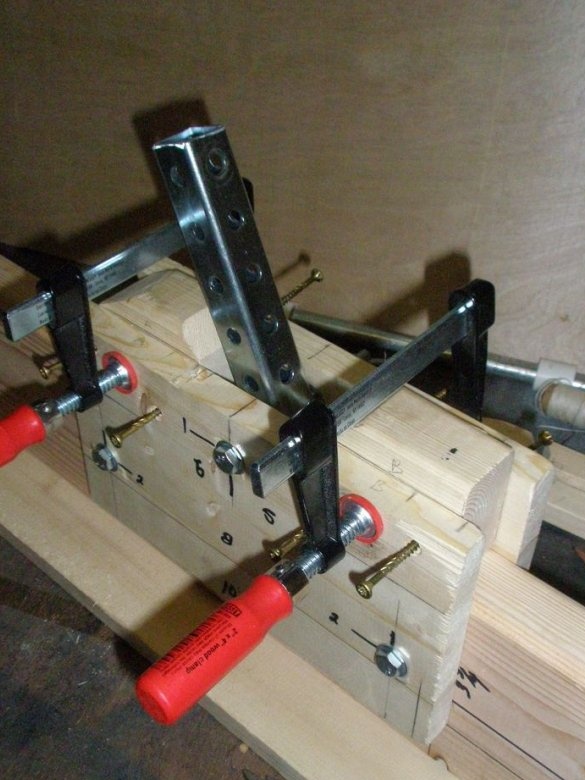
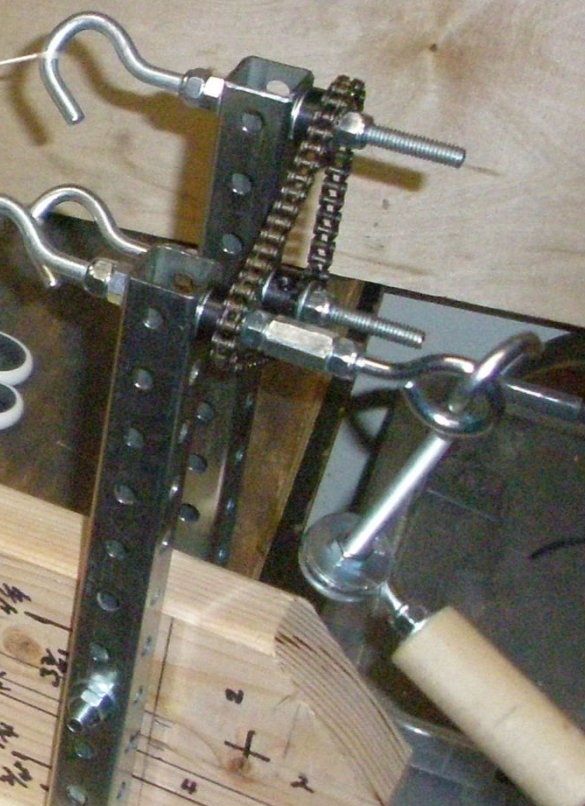
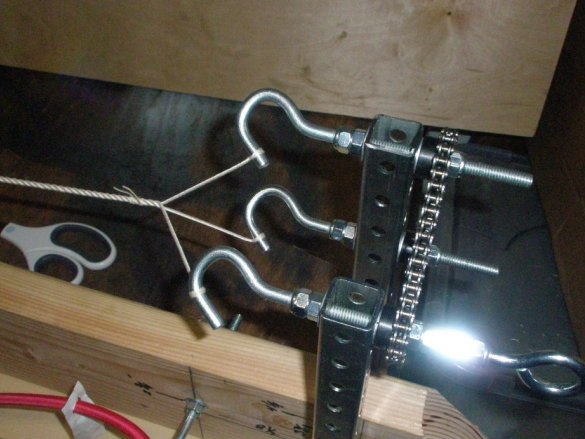
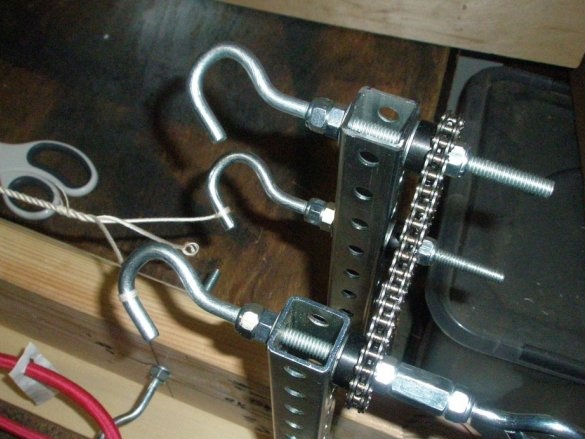
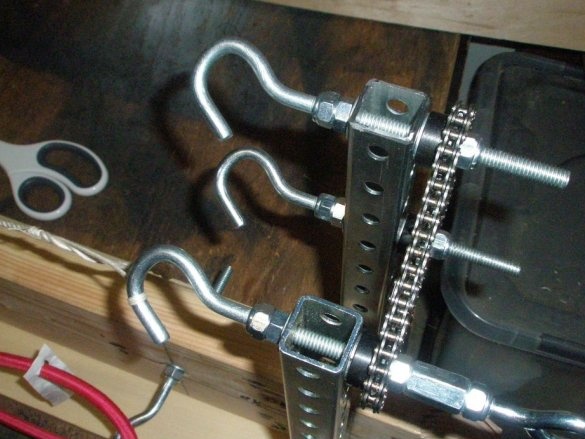
Installs the bolts. Screws a profile perforated pipe. Assembles a chain drive.
Step Four: Tensioner
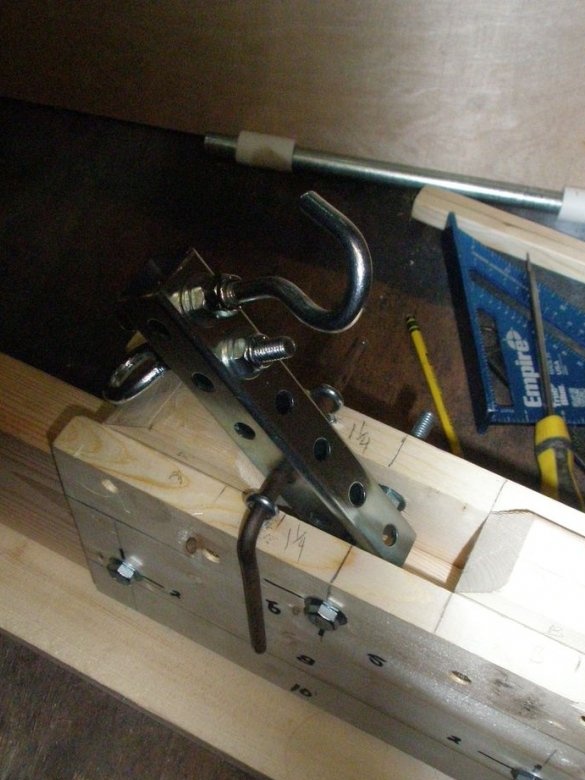
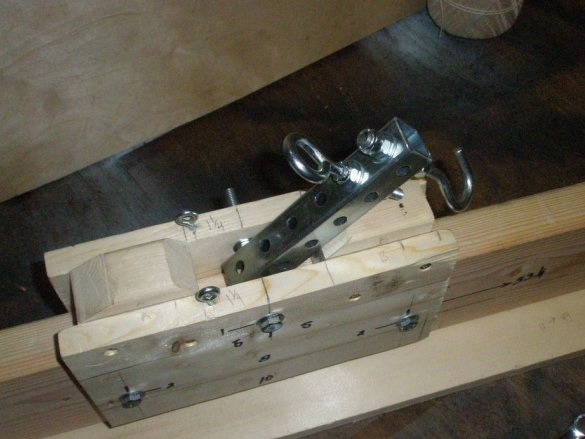
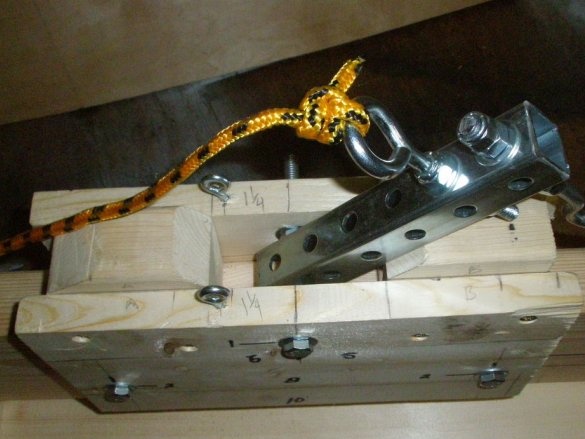
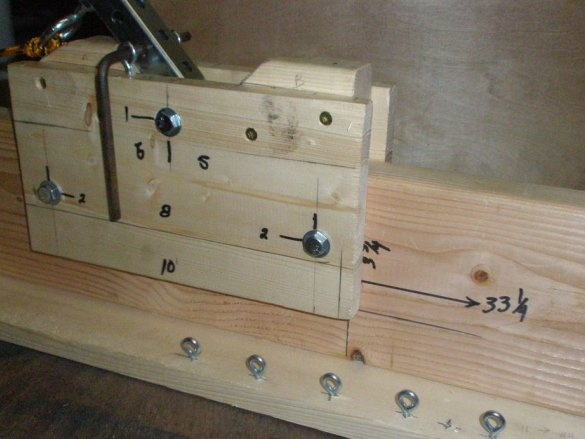
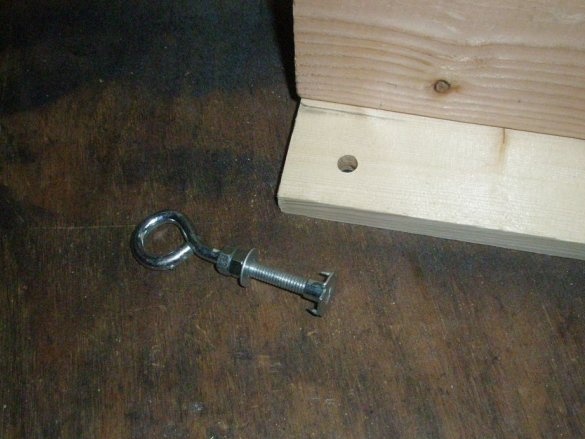
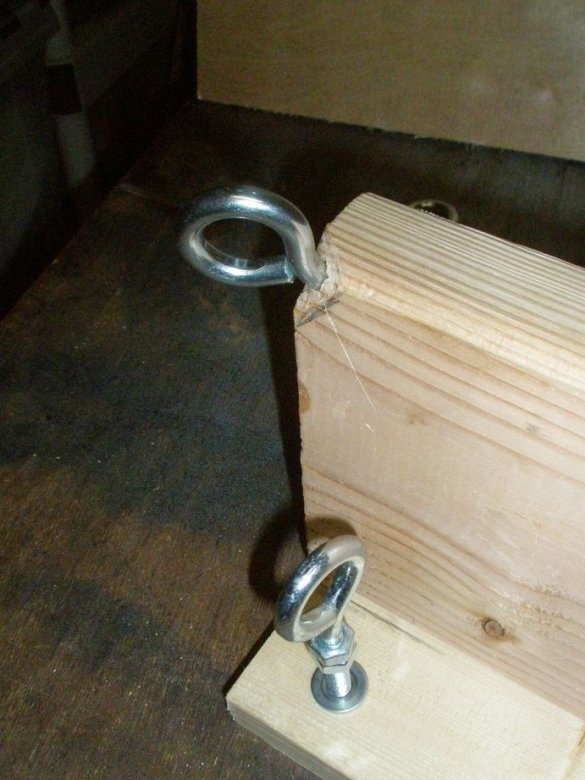
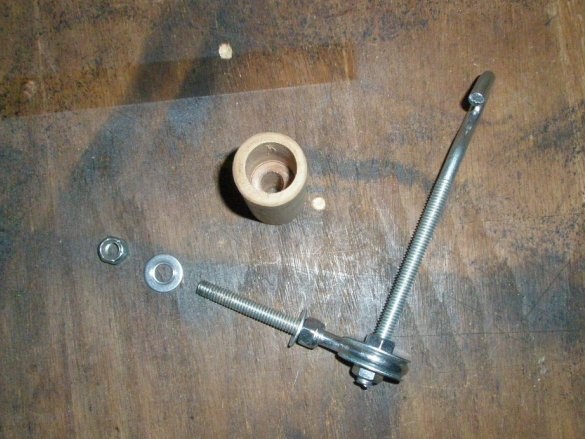
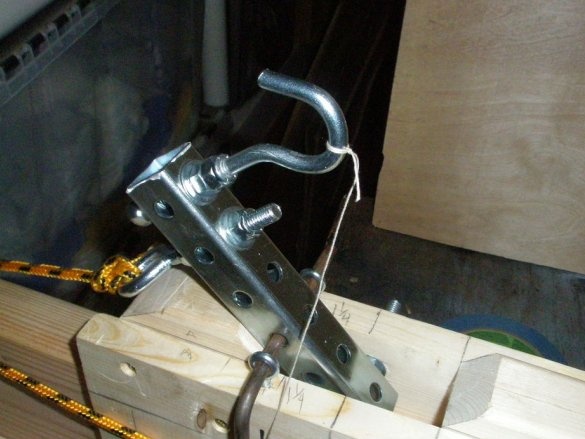
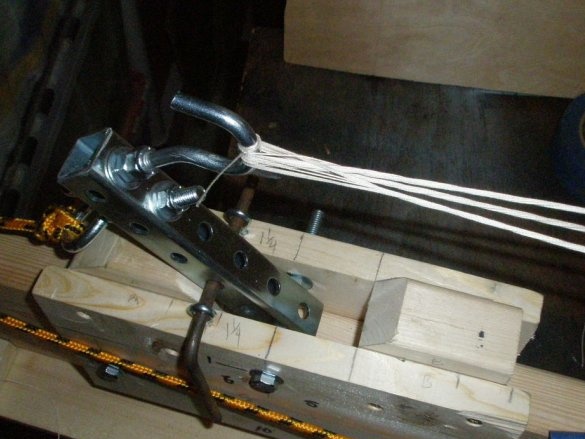
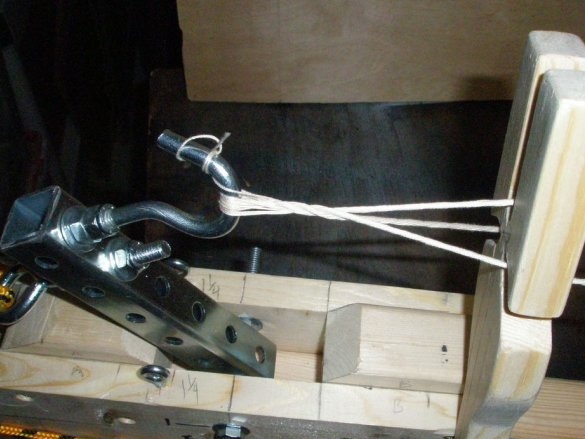
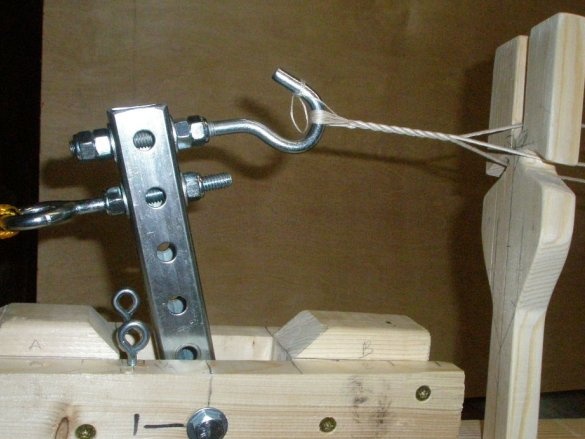
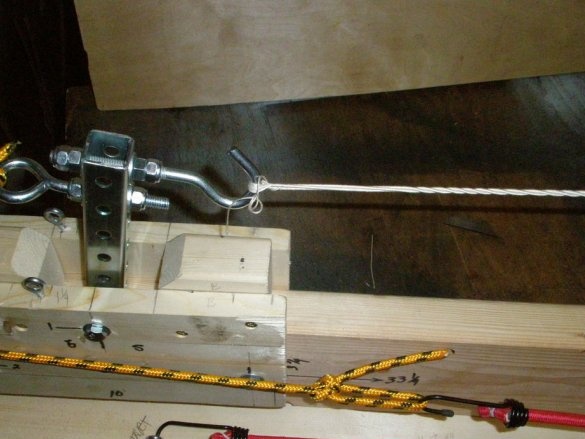
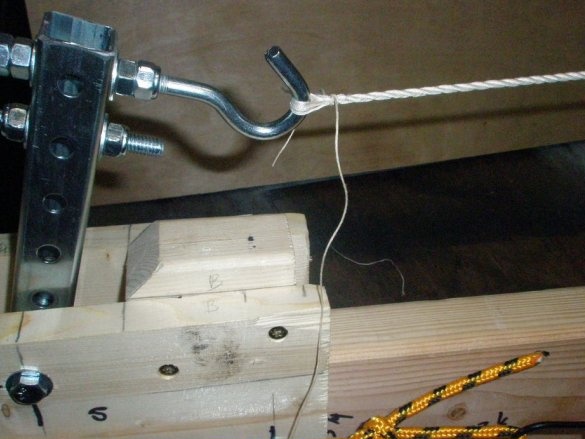
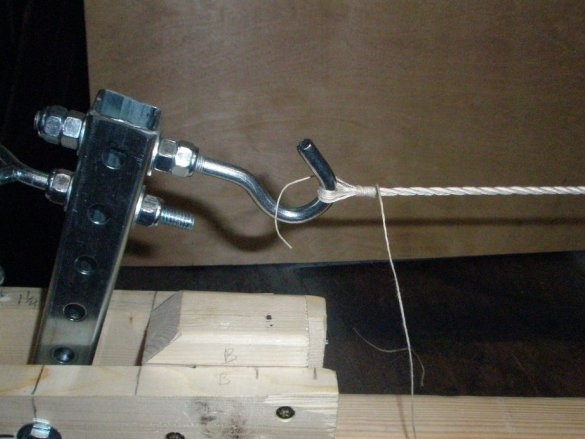
A hook is mounted on the back of the machine on which the braided threads are attached. Those. the beginning of the rope is attached to it. It is not enough just to fasten the hook, it is necessary that the hook is in tension. First, the master makes and assembles a hook fastener.
Now the tensioner itself collects.
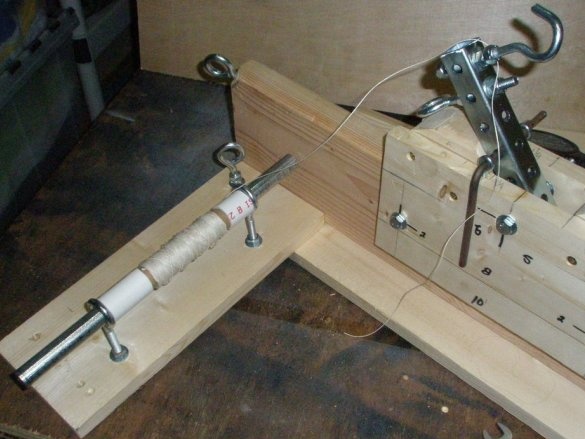
Step Five: Coil
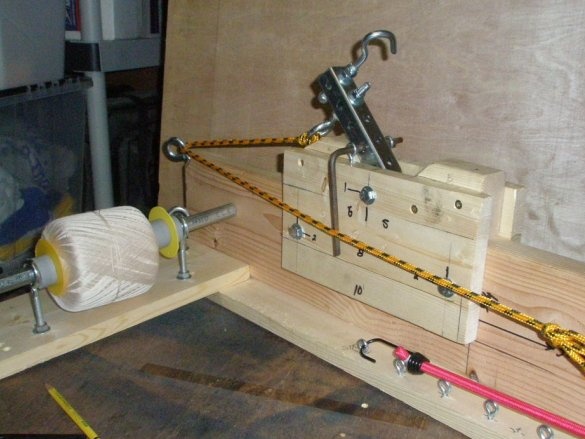
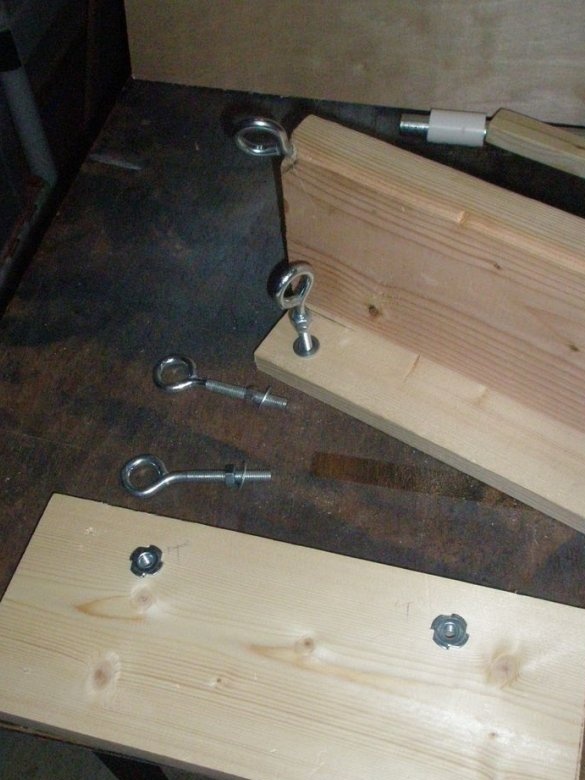
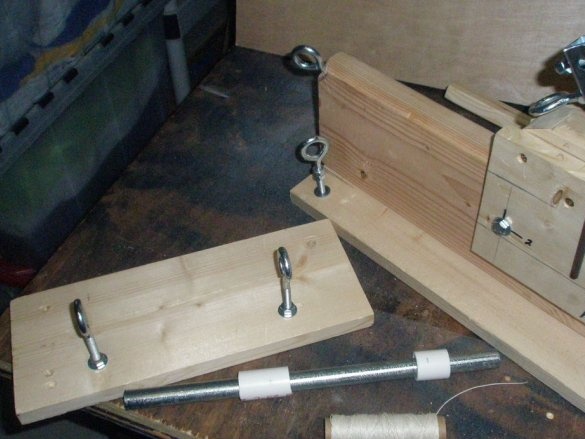
Assembles the holder and sets the coil.
Sixth step: handle and guide
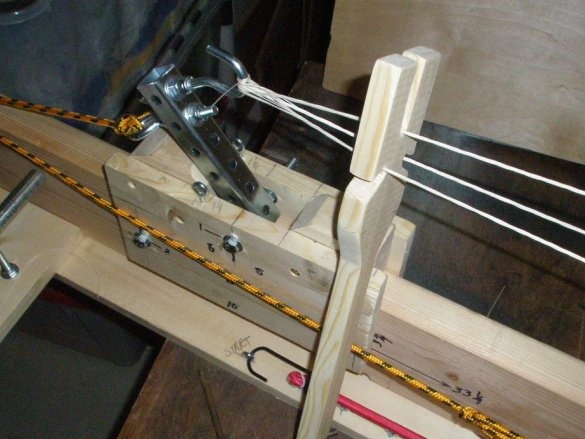
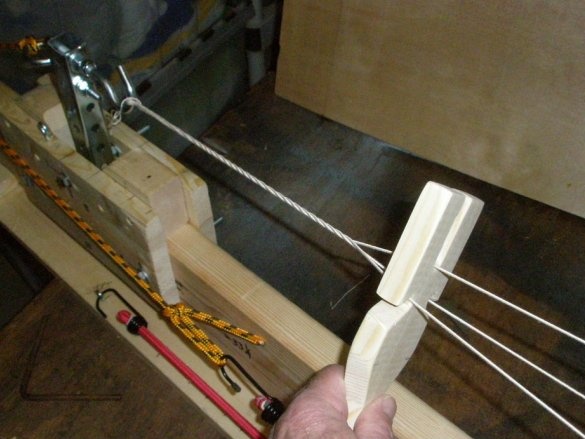
Makes the size of the guide. Braided threads will pass through it.
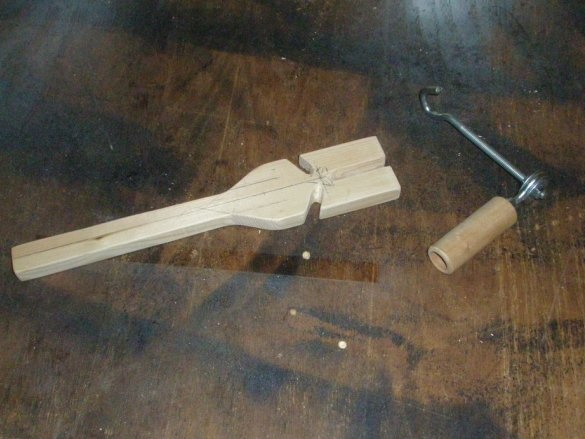
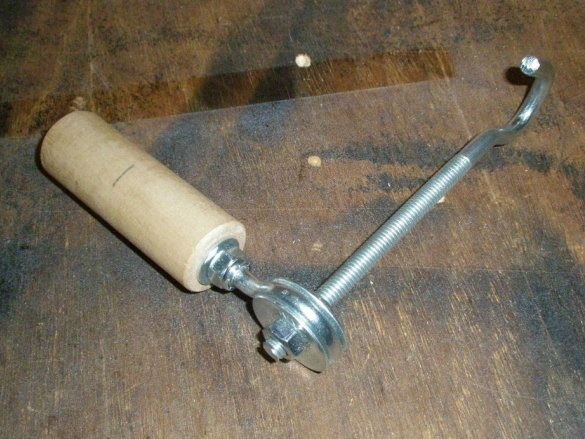
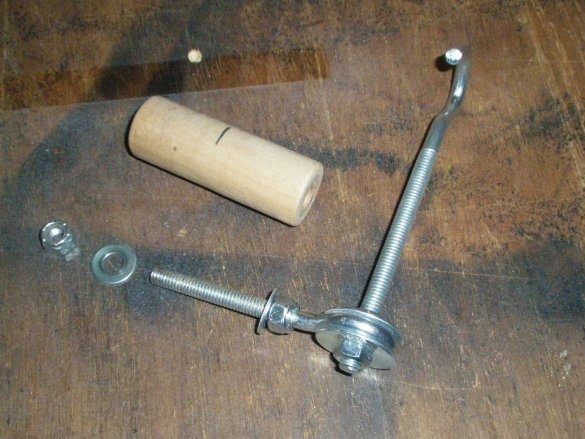
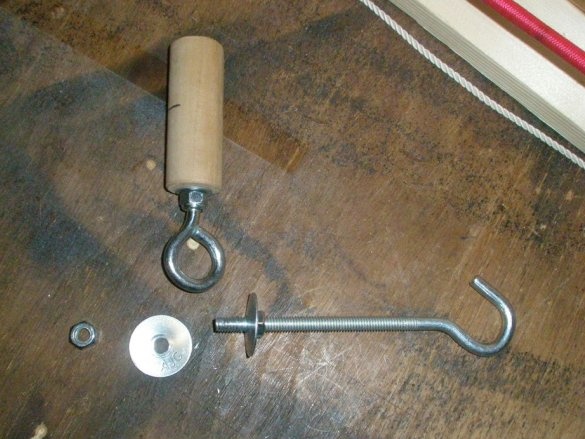
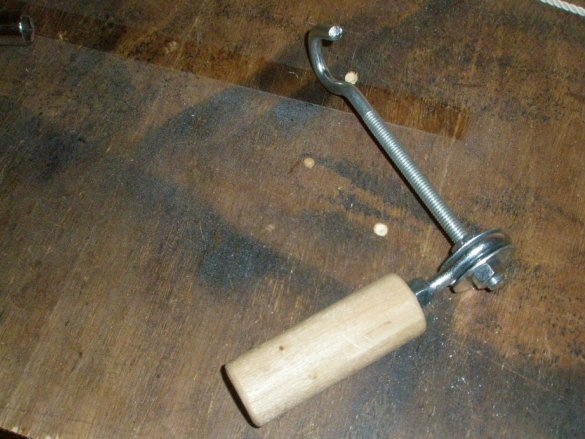
Assembles a handle for driving the mechanism.
Seventh step: weaving
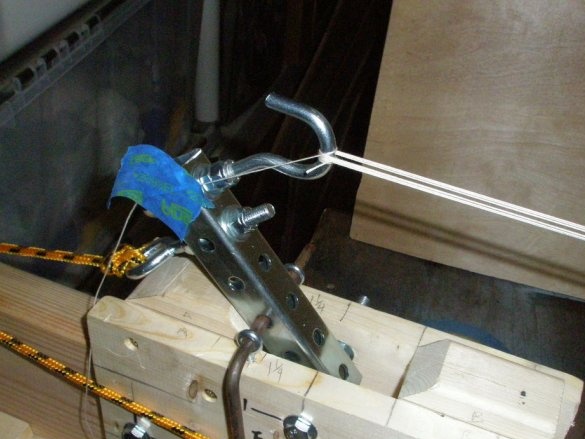
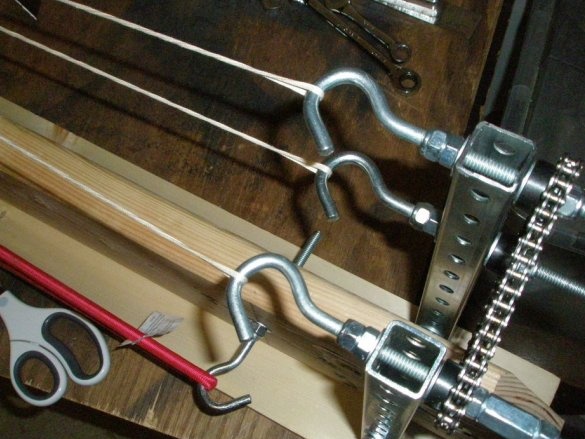
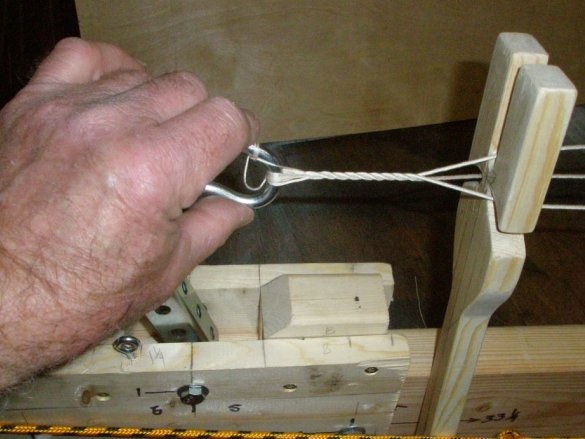
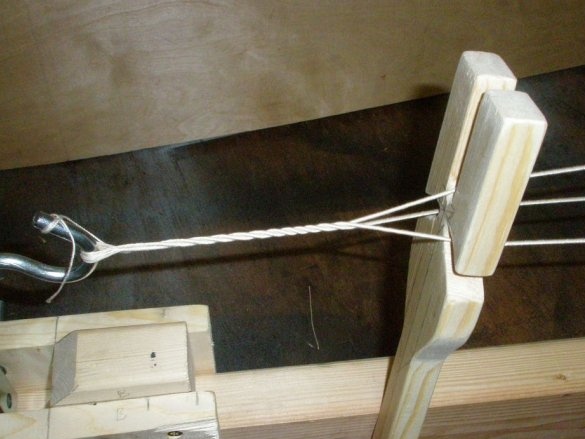
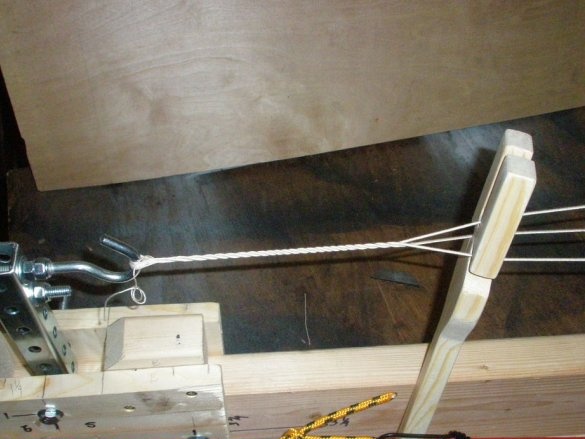
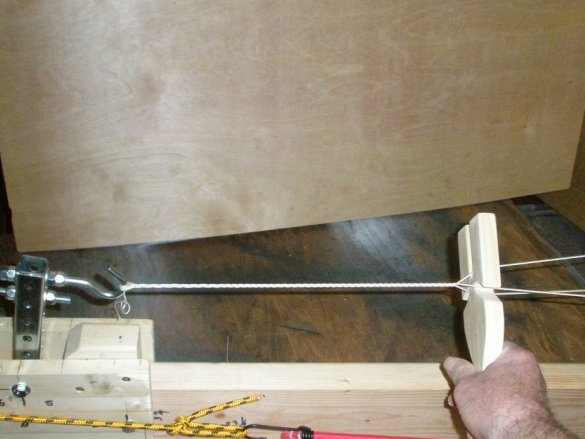
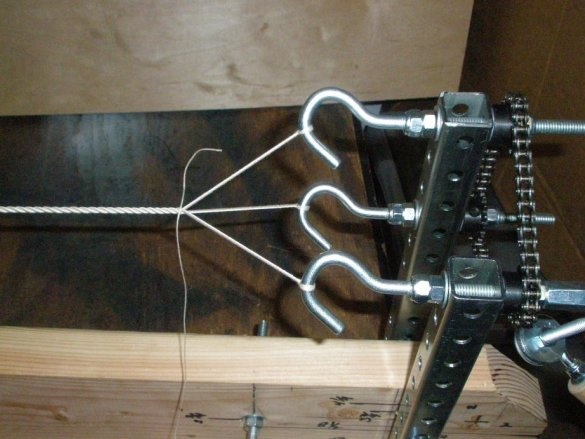
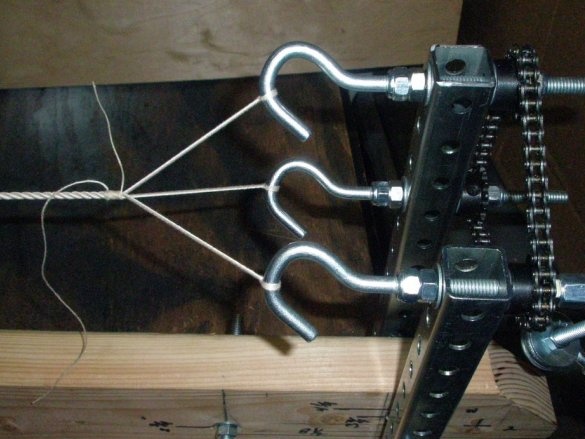
Now we can start weaving. The master will weave a rope of three threads. Tightens the tensioner rubber. Tie a thread to a hook. Hooks her on one of the hooks on the opposite side. Winding 10 threads. Also, on 10 threads, winds on two other hooks.
The threads are fixed and the master rotates the handle 10 times.
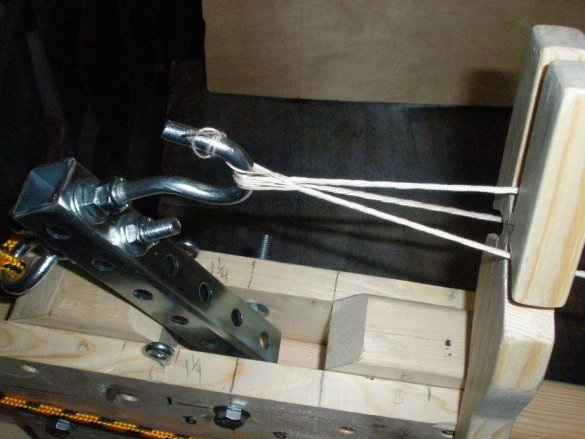
Sets the guide and adjusts the thread tension by twisting or unscrewing the hook.
Now we can continue weaving the rope, periodically checking the tension.
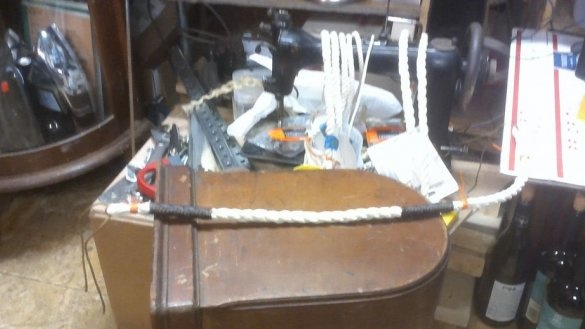
The rope is woven, now you need to tie it at the ends and remove it from the hooks.
Here is such an interesting machine turned out from the master.

