
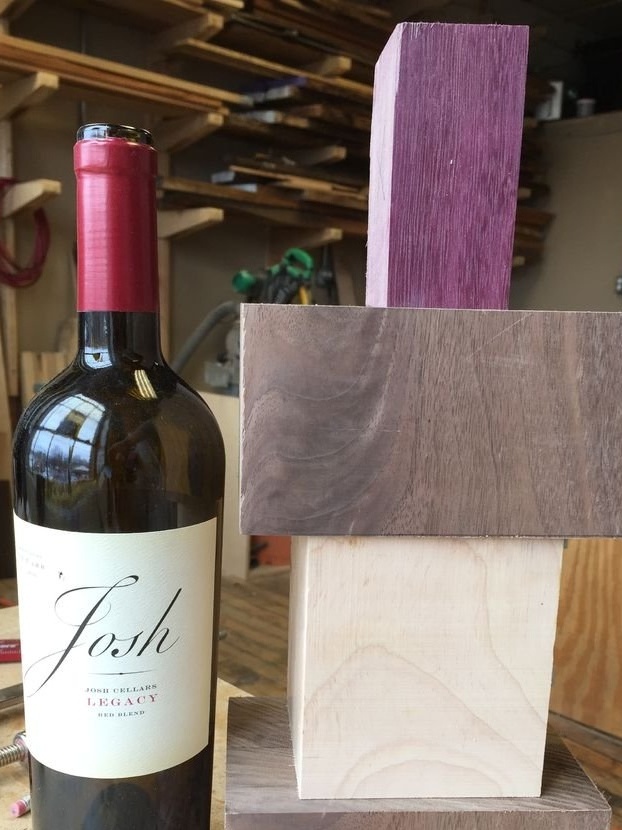
Do you have a large collection of wine corks and they clutter up the whole box? Or would you like to make a wine cork yourself? Then this article is for you. The master collects wine corks. After they began to clutter the drawers of the kitchen table, he decided to streamline their storage.
So, for the manufacture of the organizer, the master needed the following
Tools and materials:
-Wood of valuable species;
-Gon;
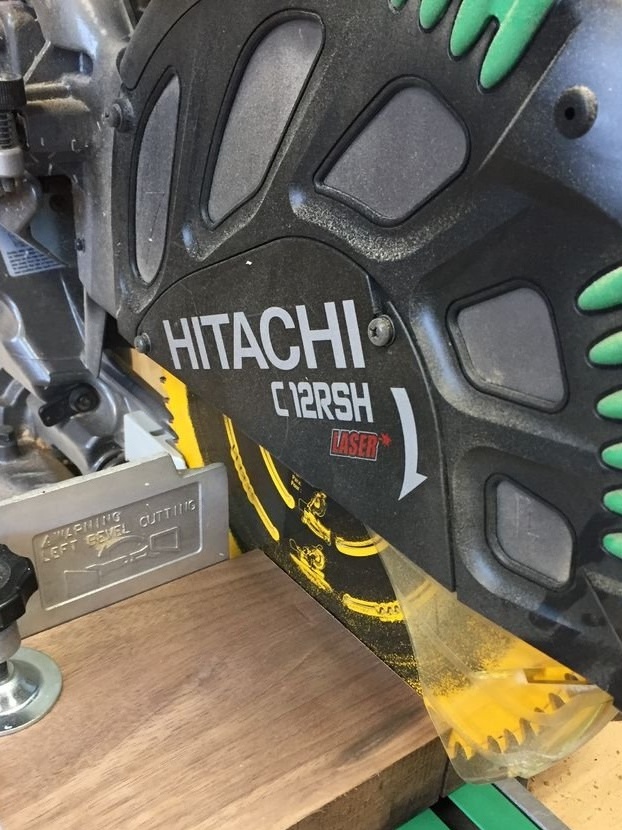
-Circular Saw;
-Marker;
- Clamps;
Epoxy resin;
-Drilling machine;
Grinding machine;
-Lathe;
- dowels;
-Bandsaw machine;
-Sandpaper;
-Drill;
-Plane;
Milling cutter;
- Loops;
-Varnish;
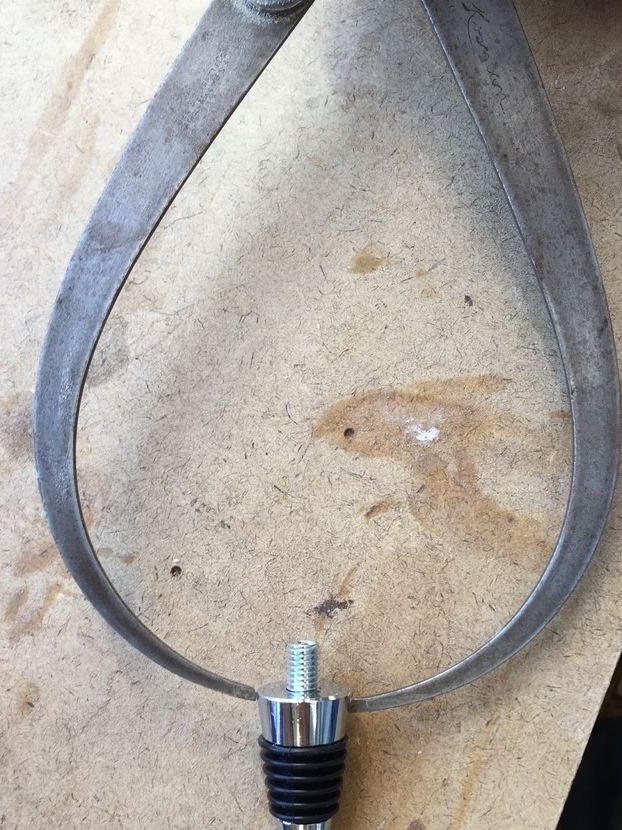
-Calipers;
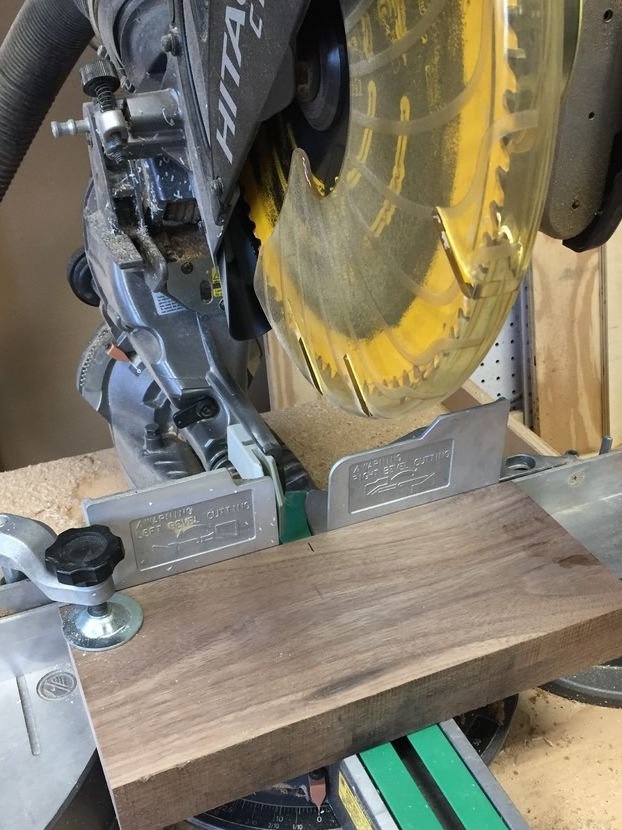
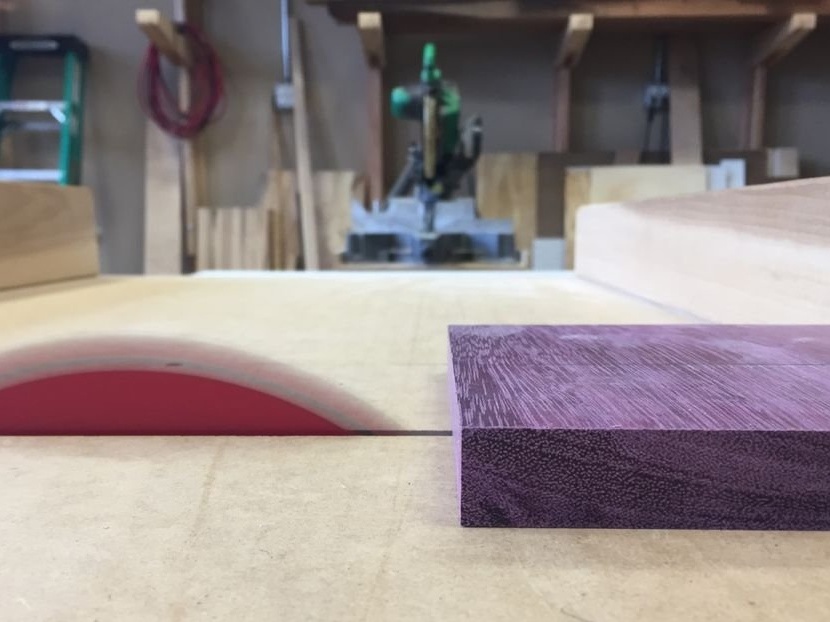
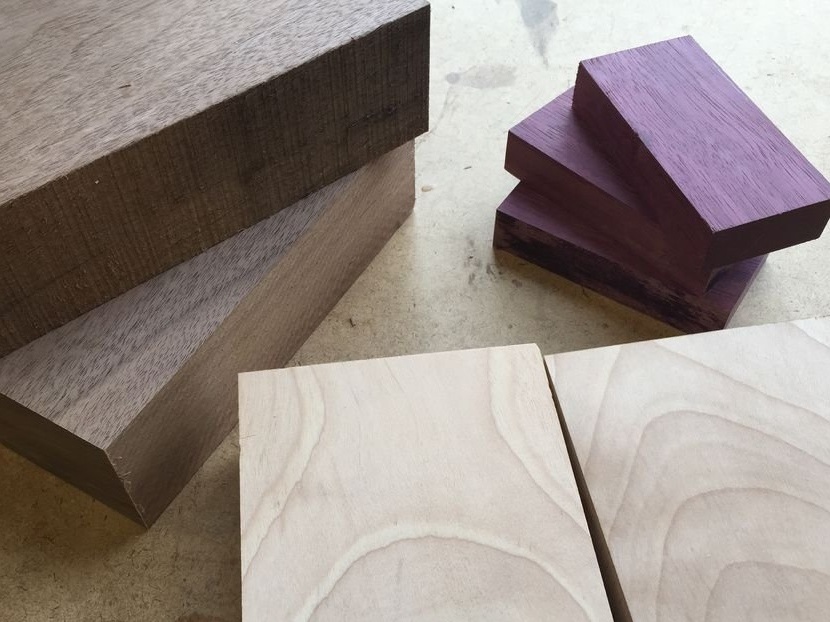
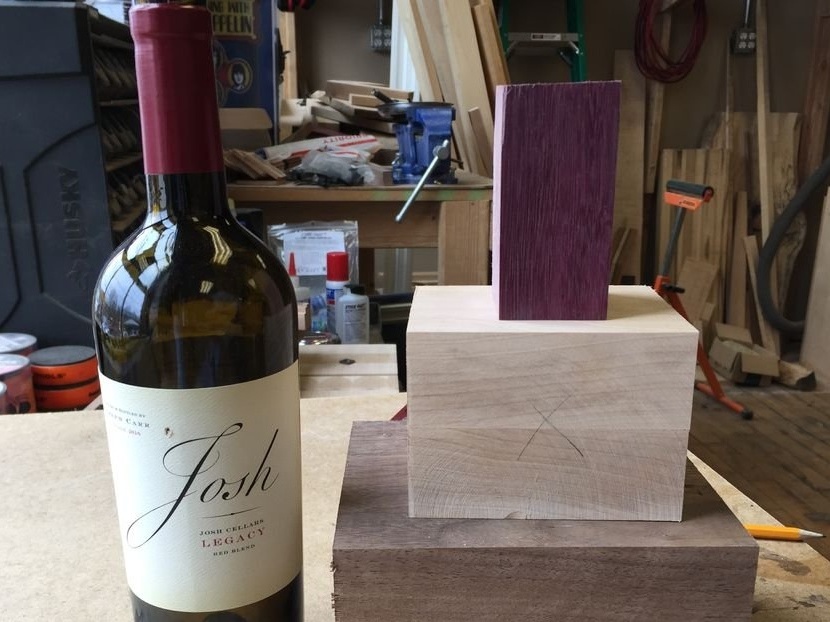
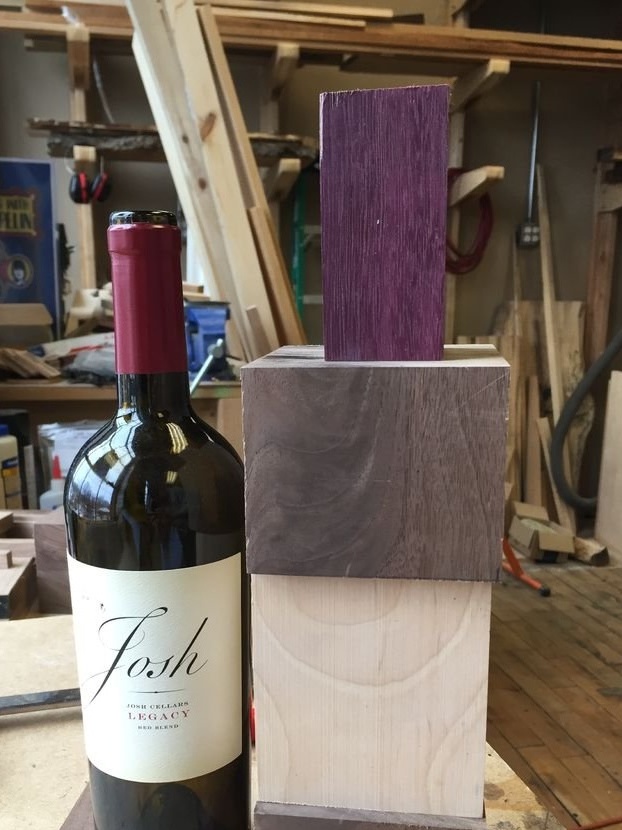
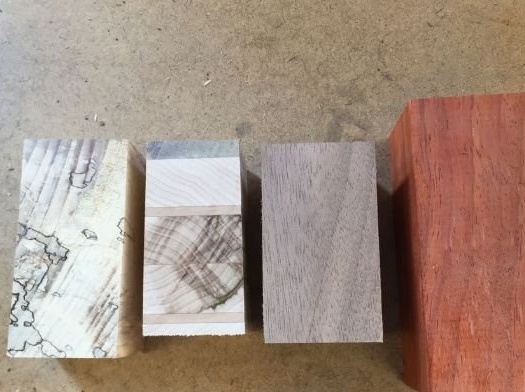
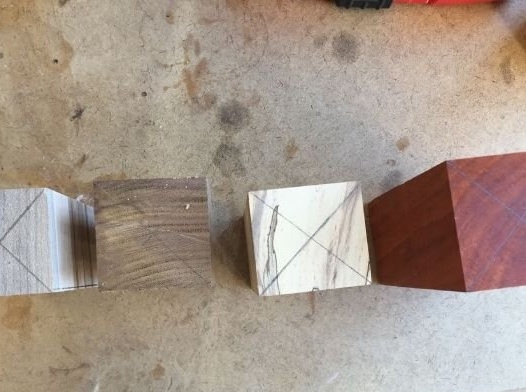
Step One: Material Procurement
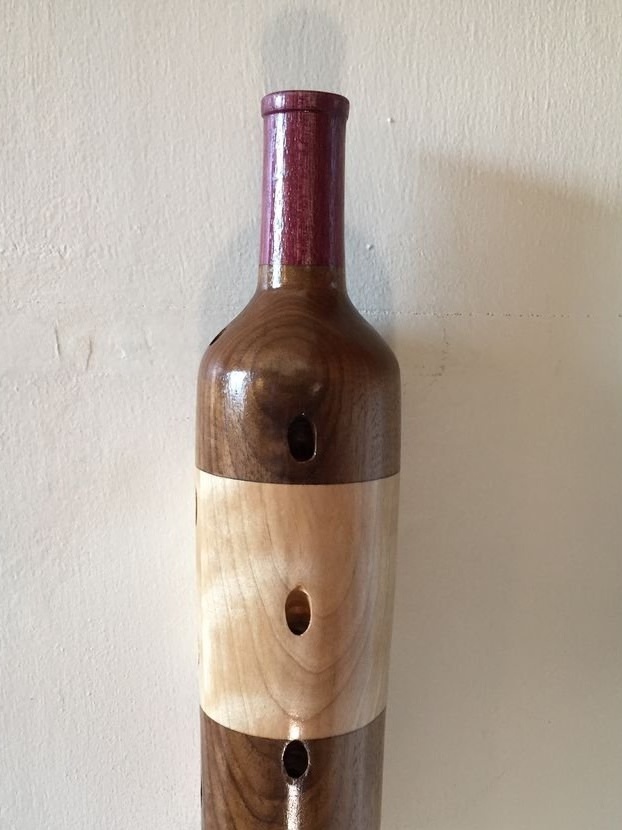
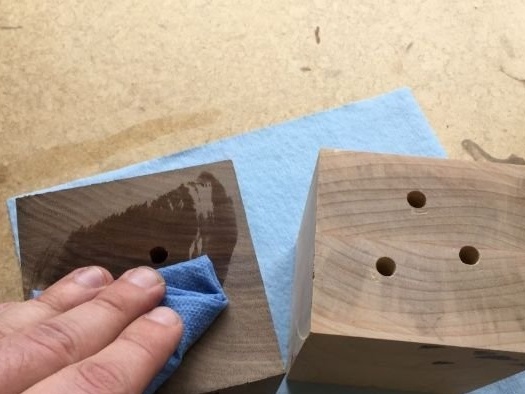
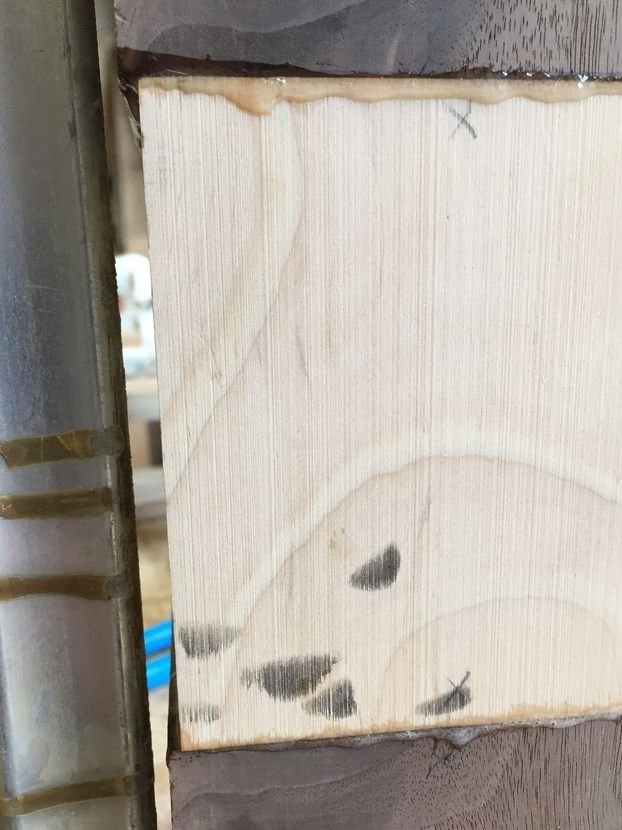
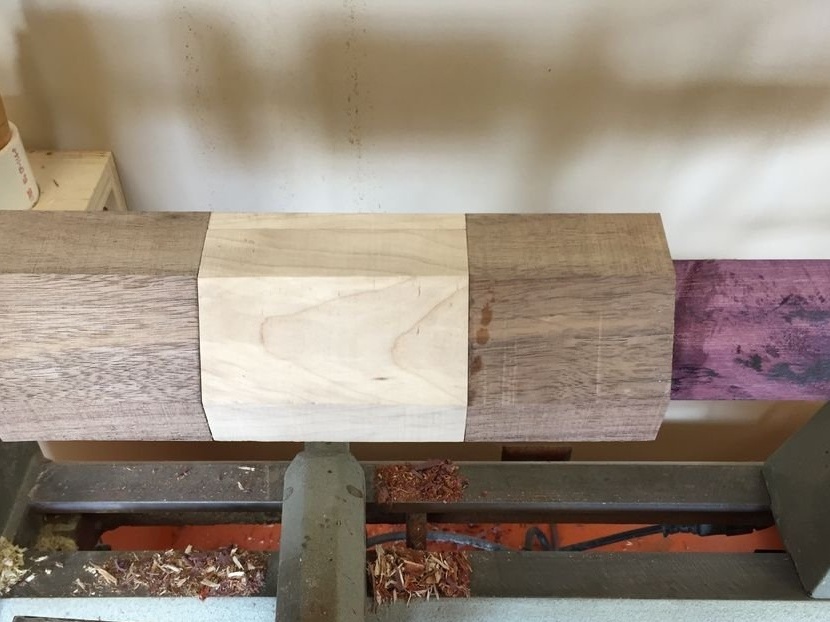
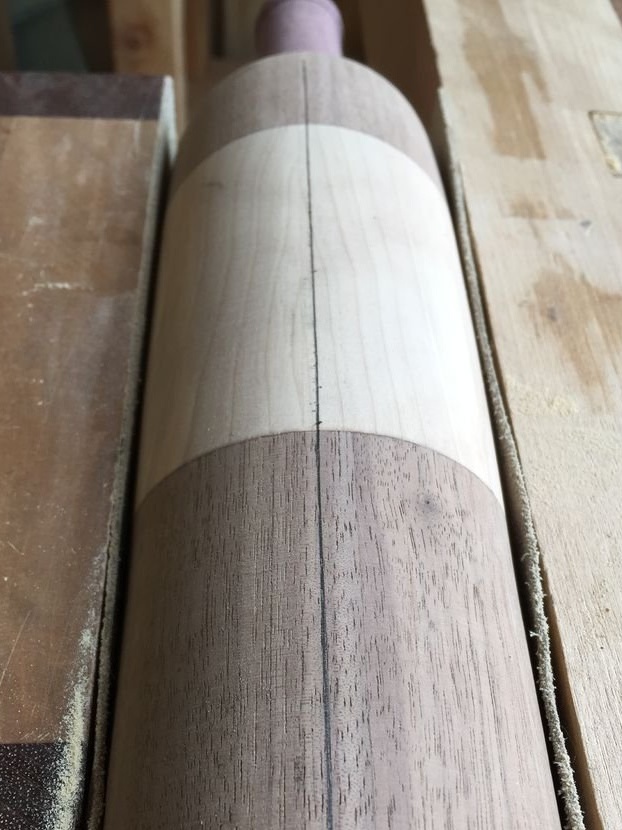
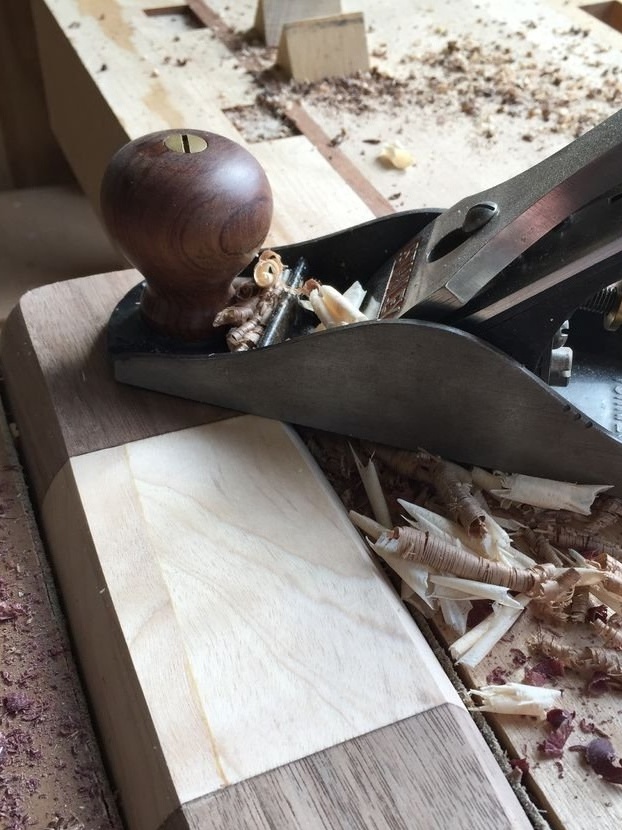
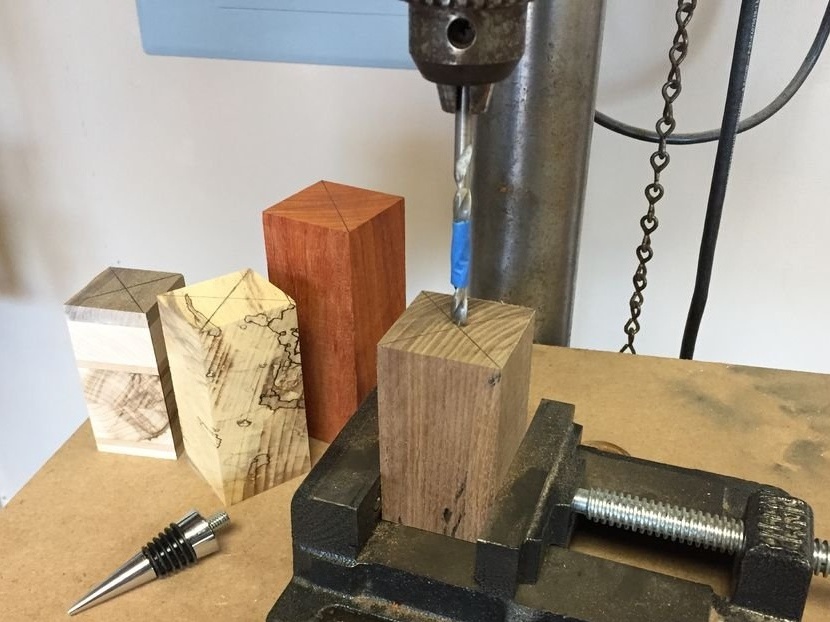
For the manufacture of the organizer, the master used valuable wood species. Three blanks are needed to make a bottle. The craftsman uses wood from previous projects. Cuts, grinds and glues.

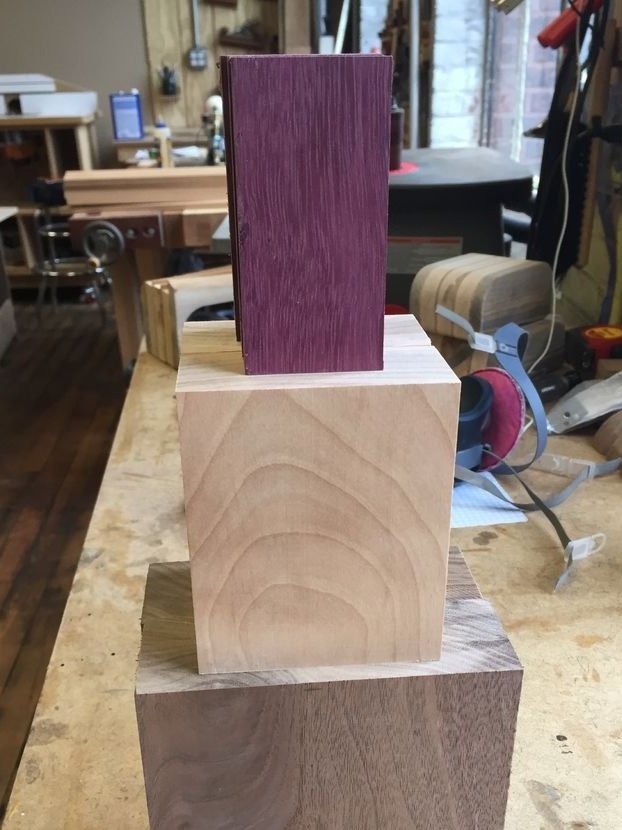
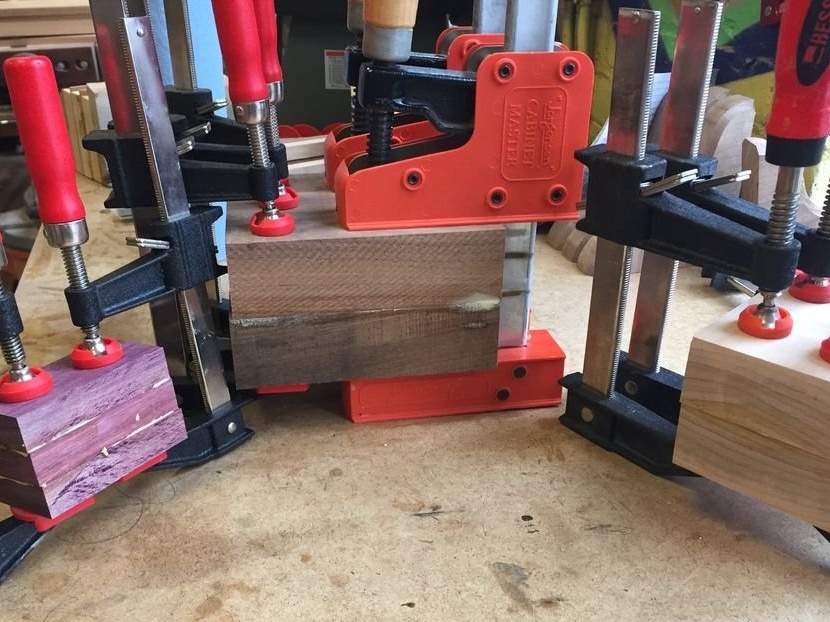
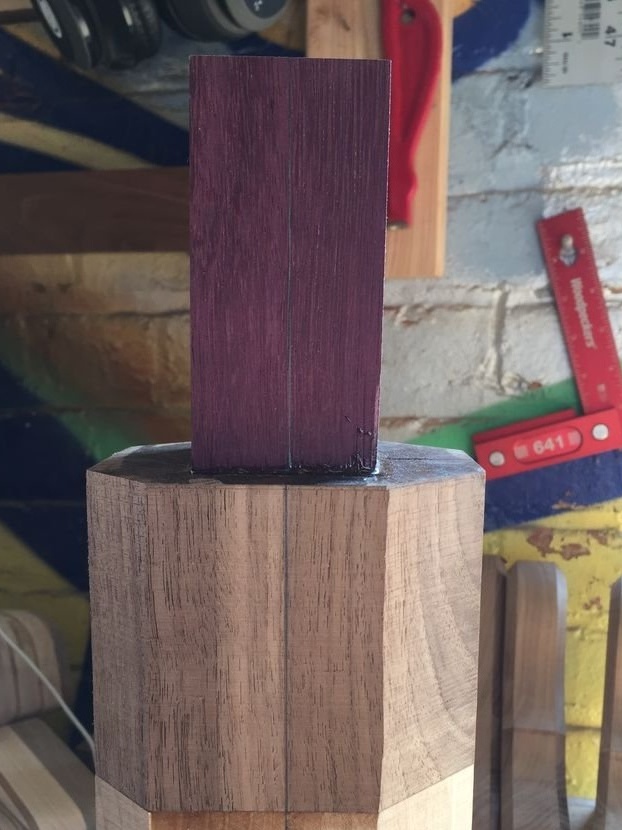
Step two: assembly of the workpiece
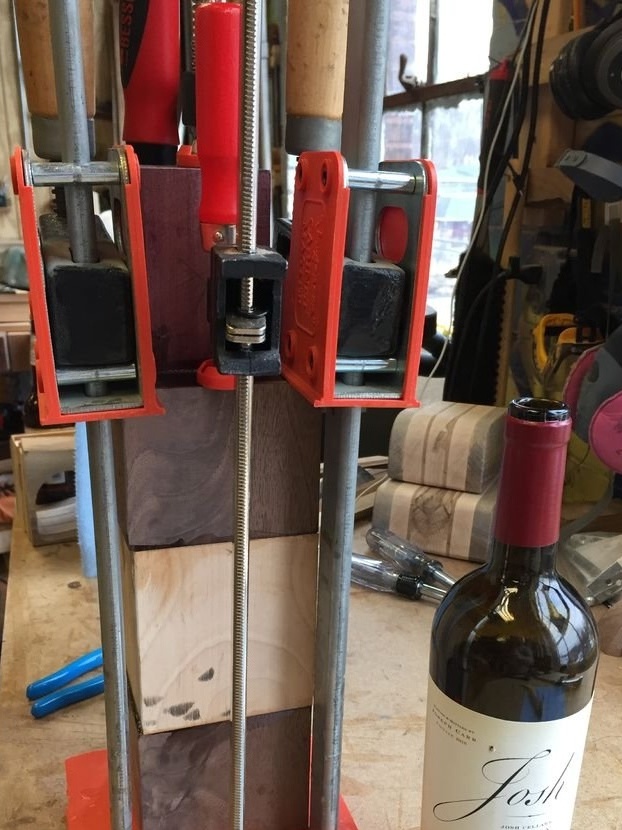
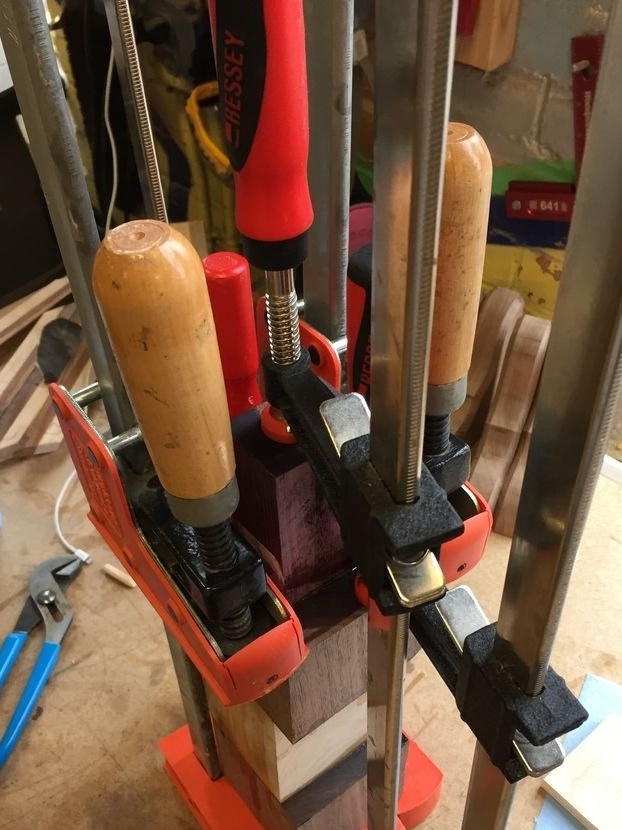
The glue has dried and it is necessary to combine all three pieces into one.
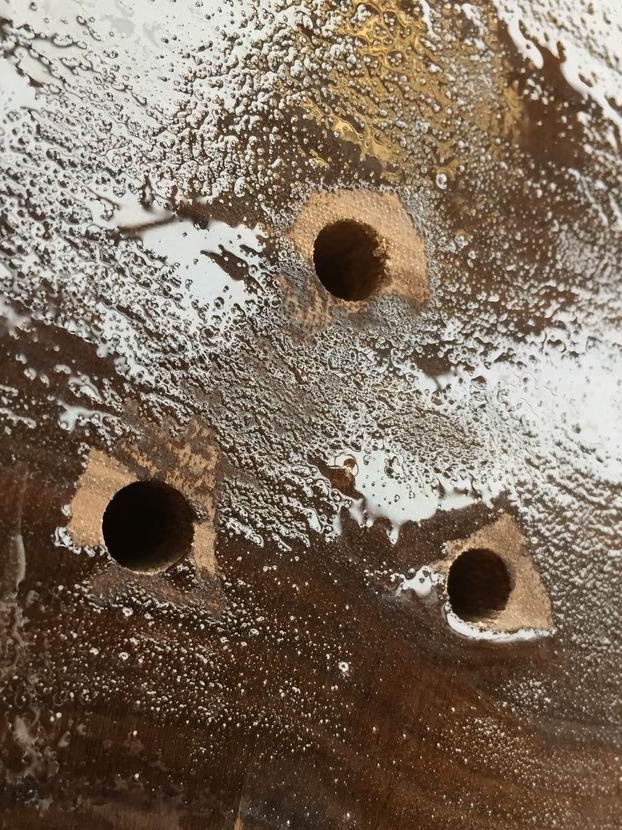
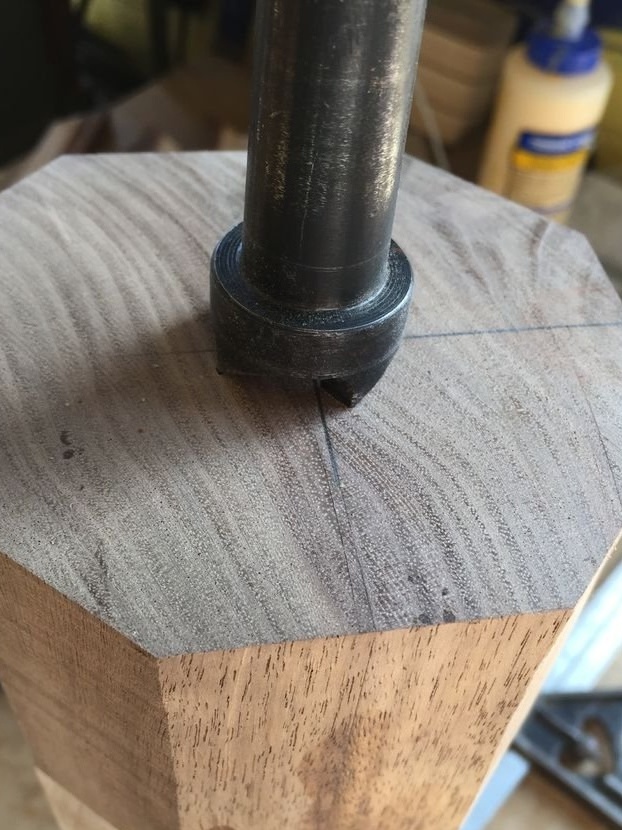
Drills holes in the workpiece.
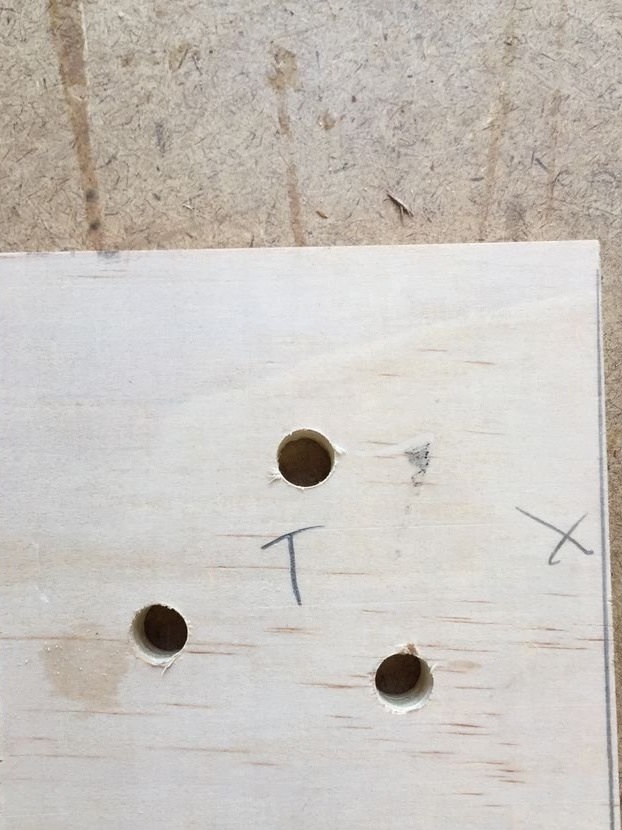

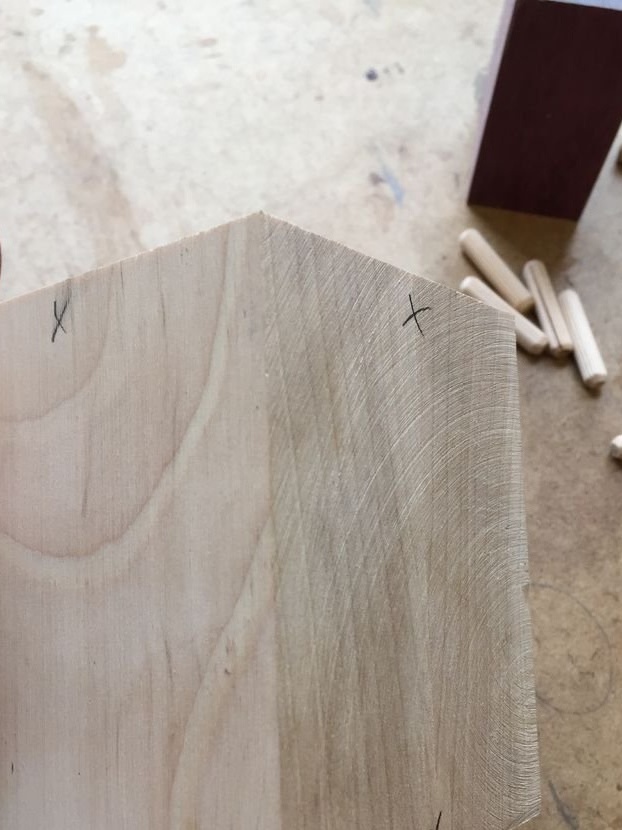
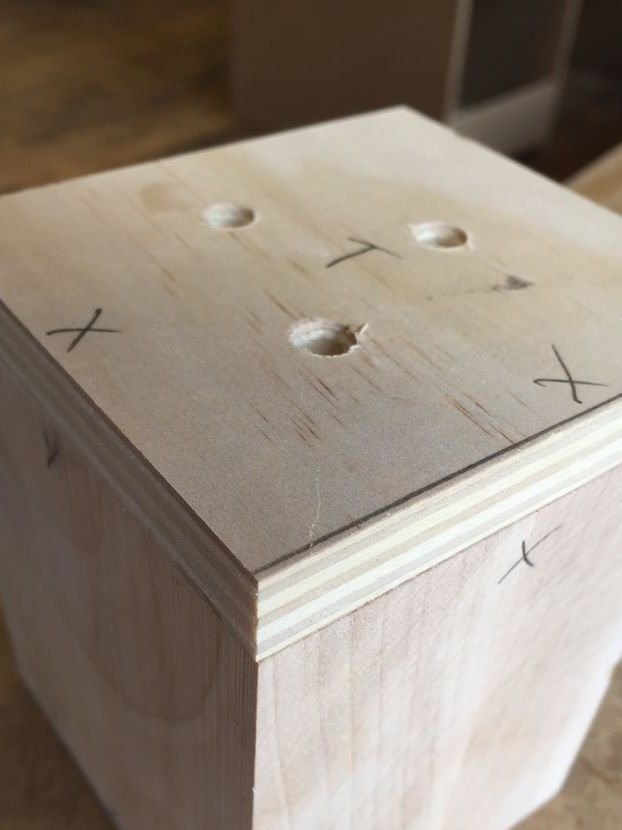
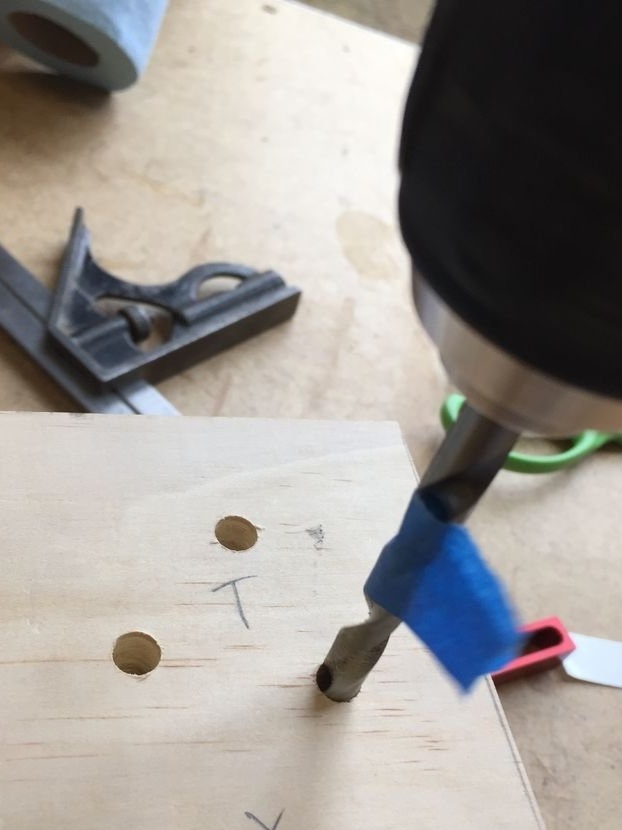
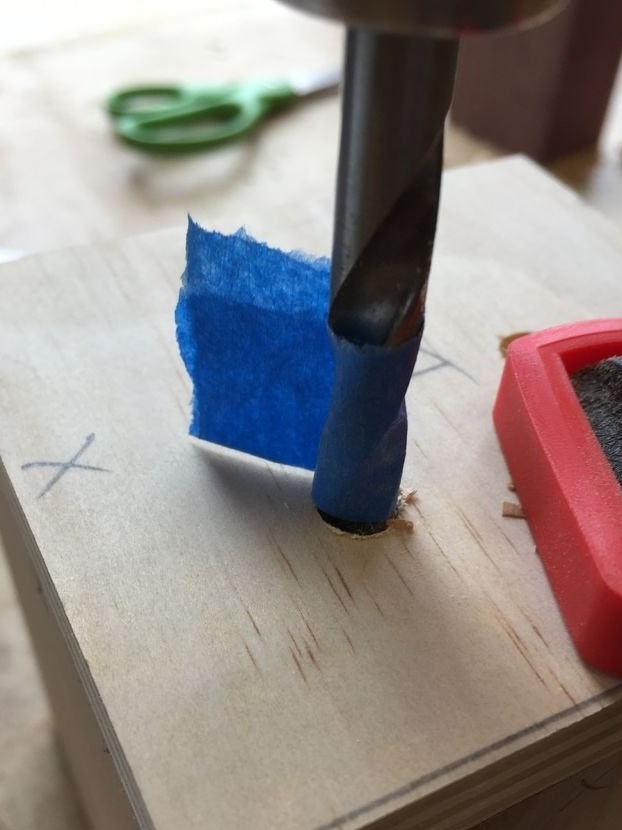
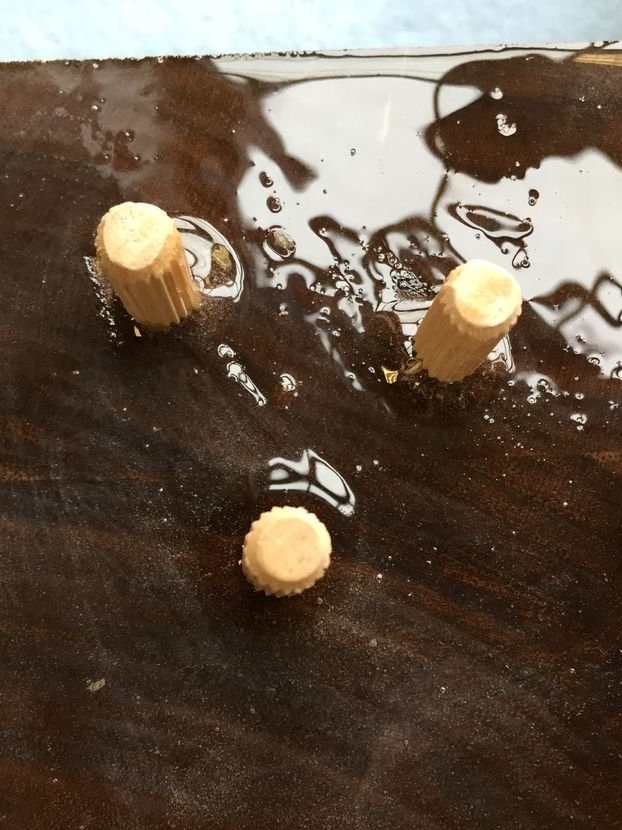
The master uses epoxy to glue the workpieces. First, the master moistens the surface with water, it raises the fiber. It then applies epoxy resin to the mating surfaces. The resin is applied in several layers until it is no longer absorbed into the wood. Install dowels in the holes.
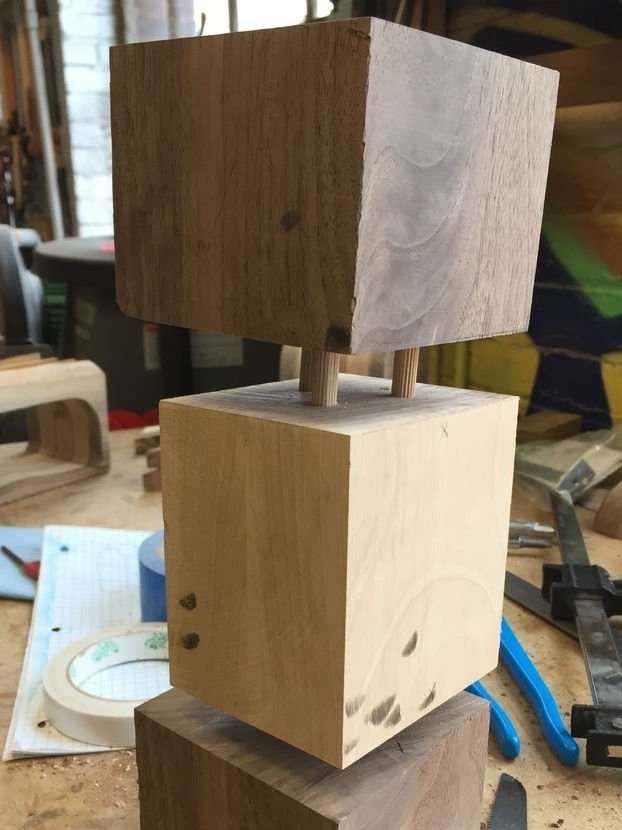
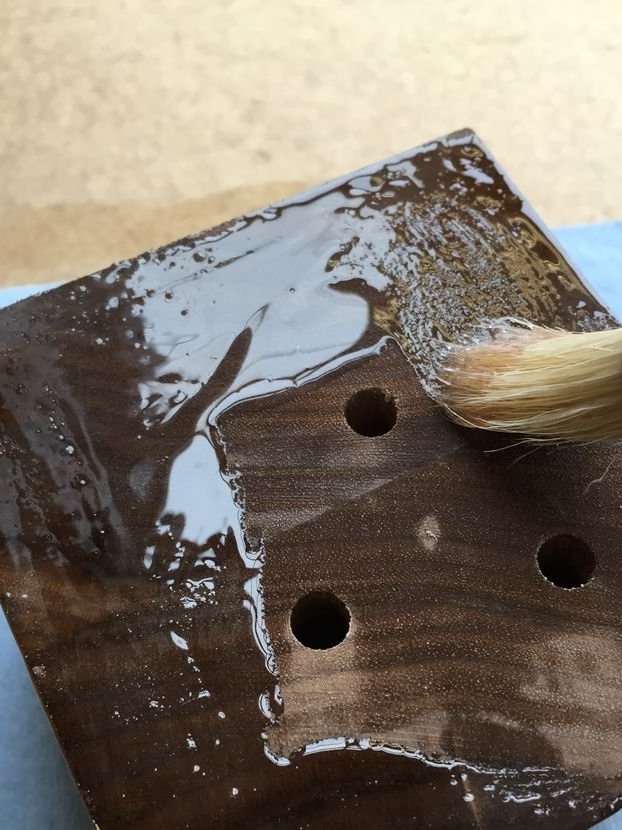

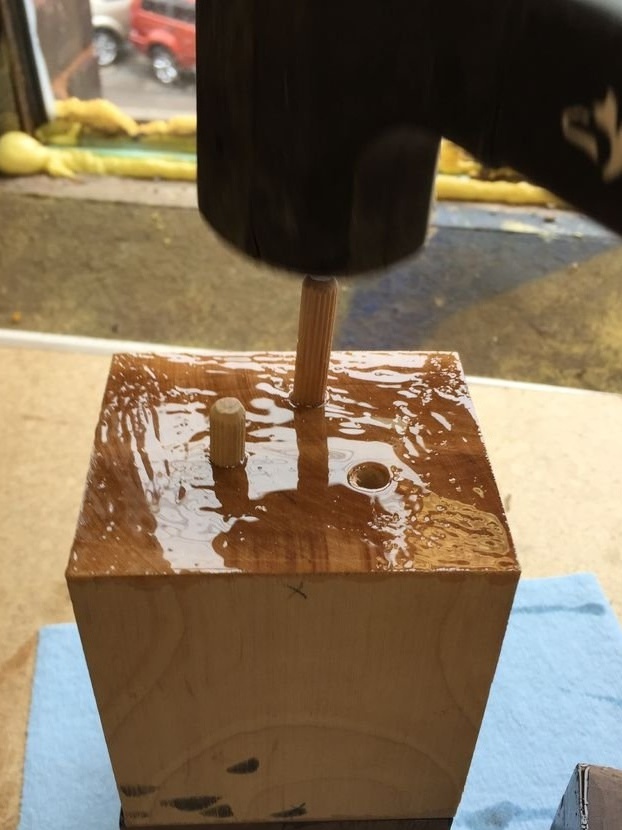
Collects the workpiece. Before drying, the resin fixes the workpiece with clamps.

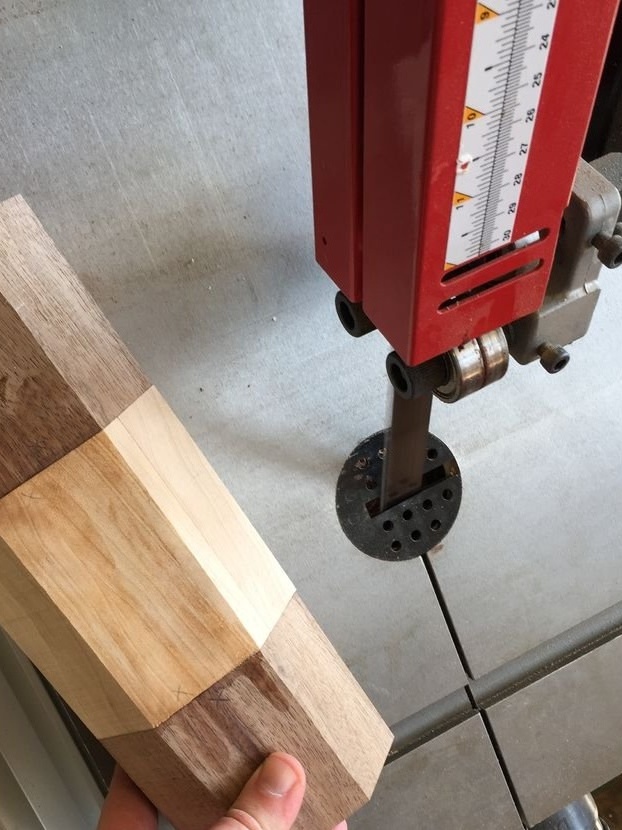
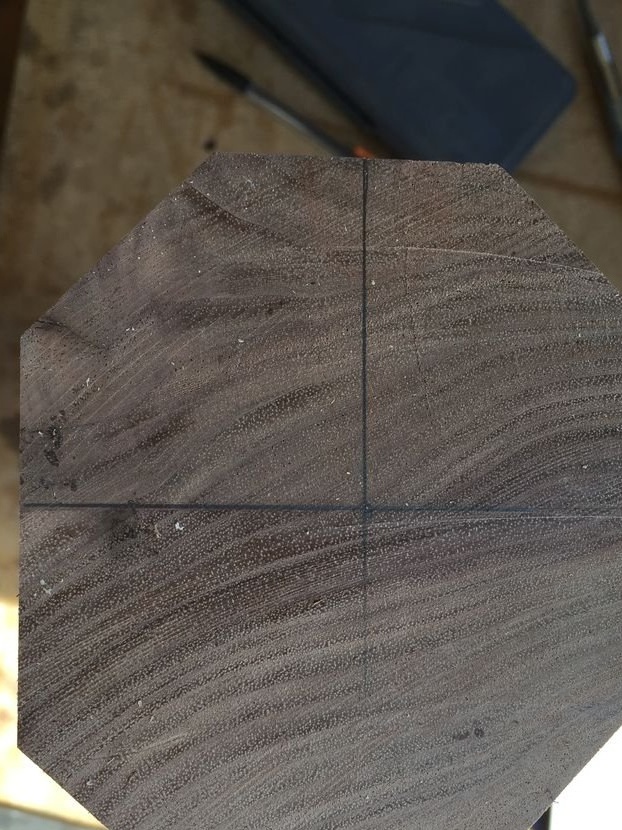
Step Three: Trimming
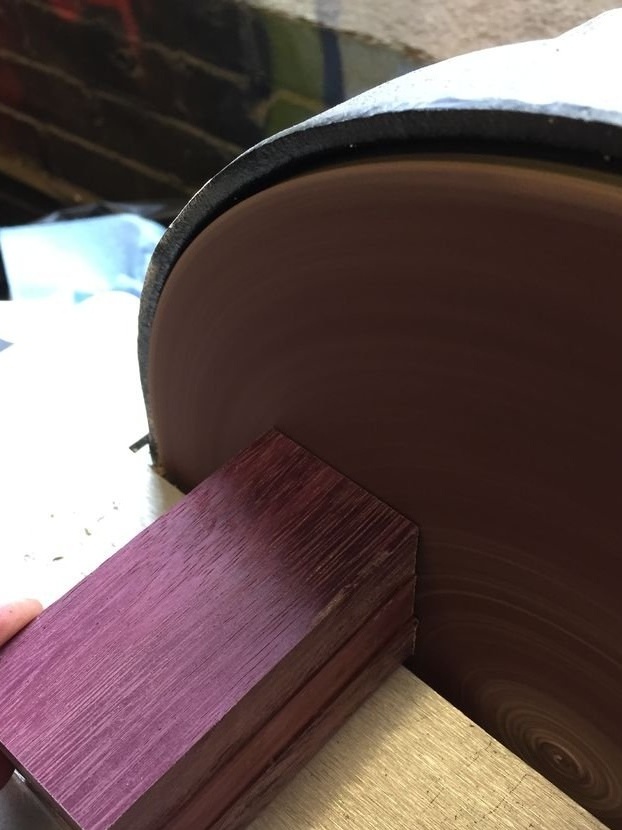
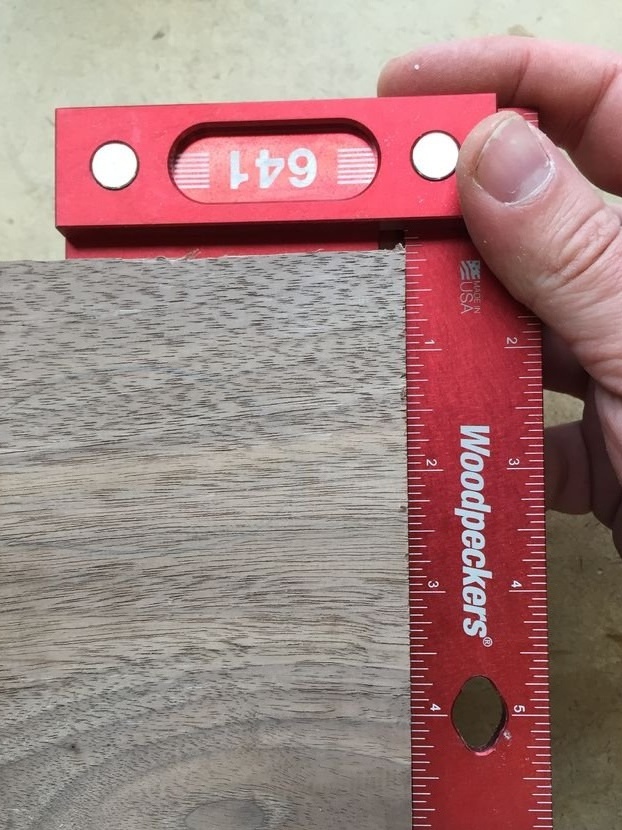
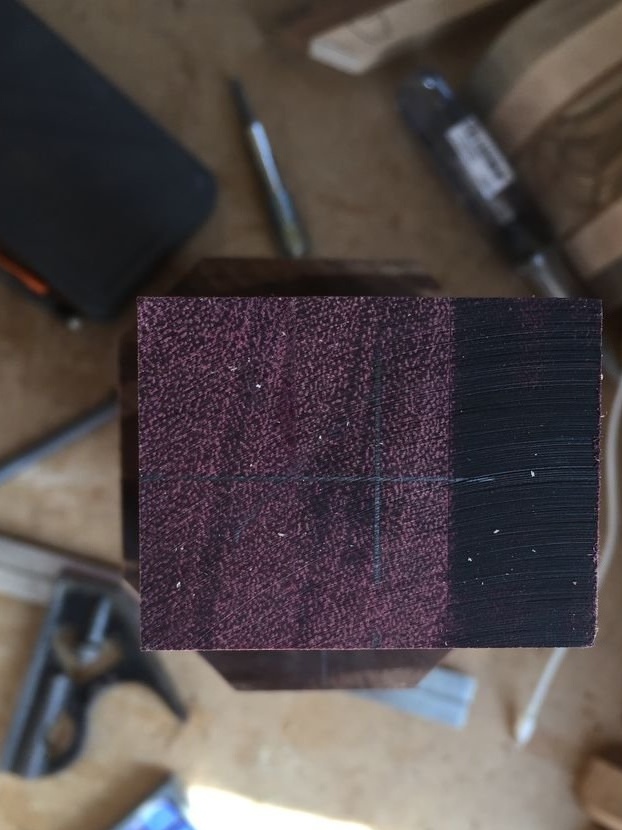
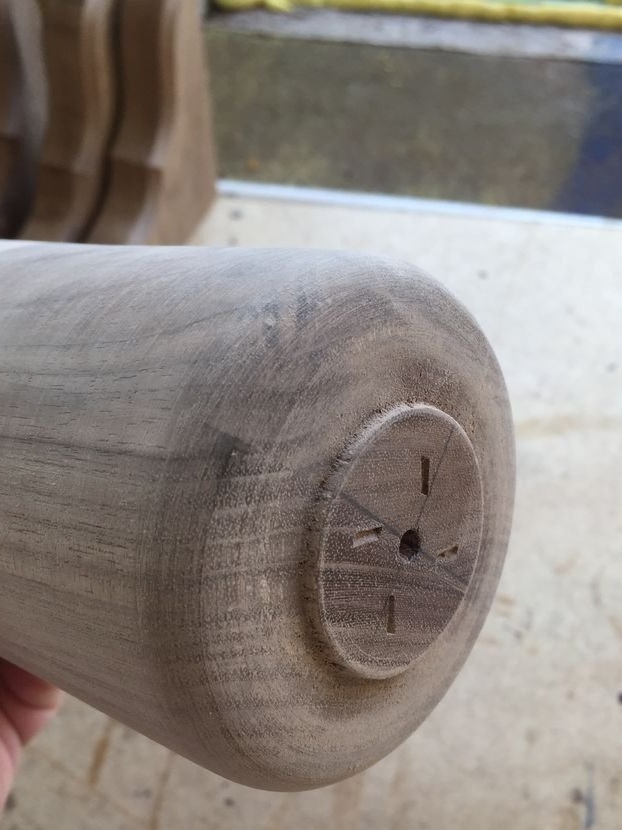
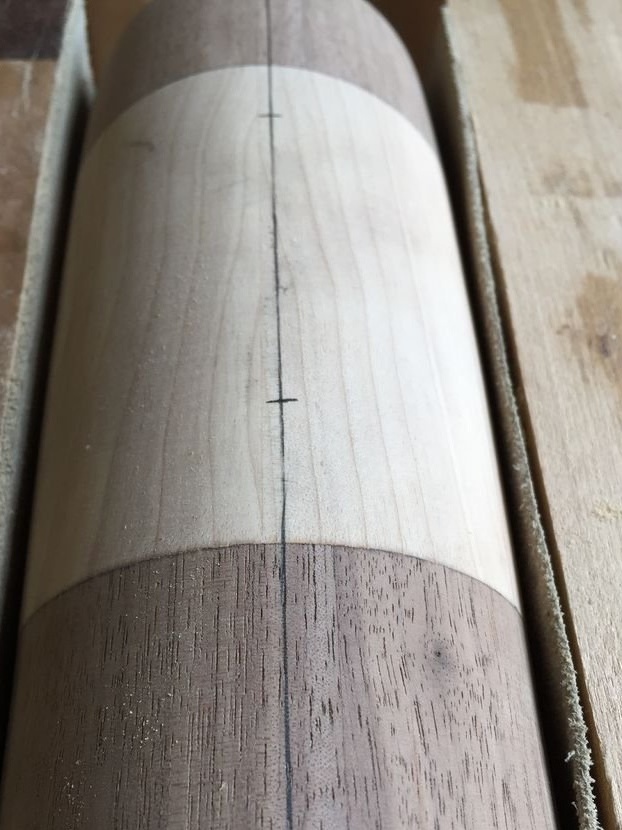
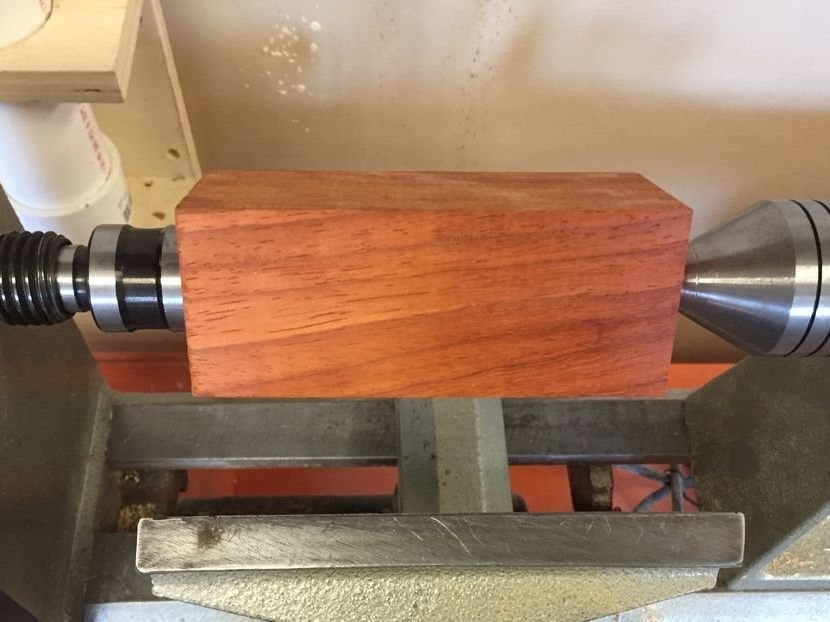
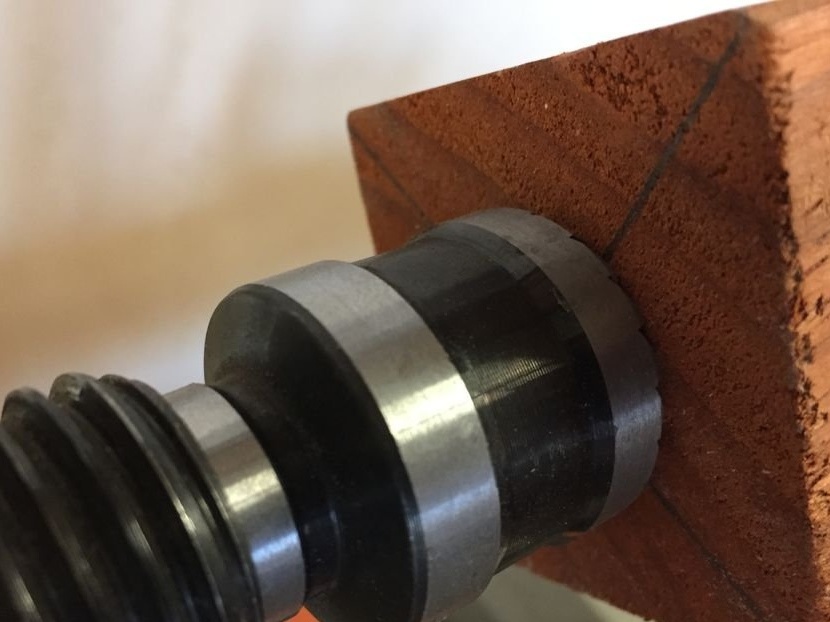
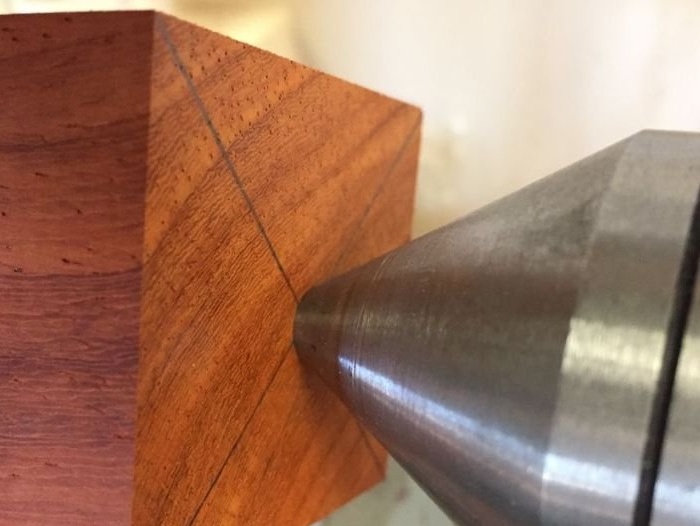
At the ends of the workpiece, the master marks the center. Further, the workpiece will be processed on a lathe and to save time, the master cuts off excess wood.
Step Four: Turning
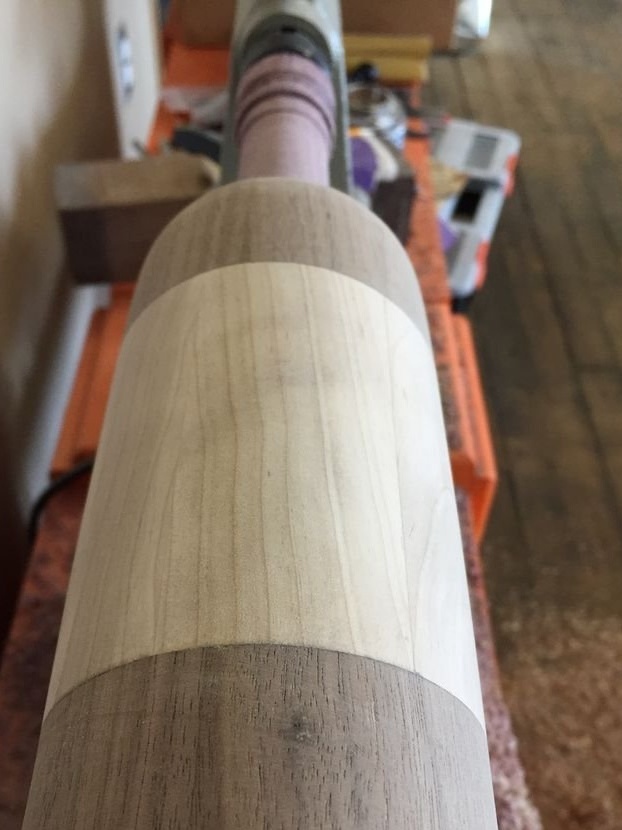
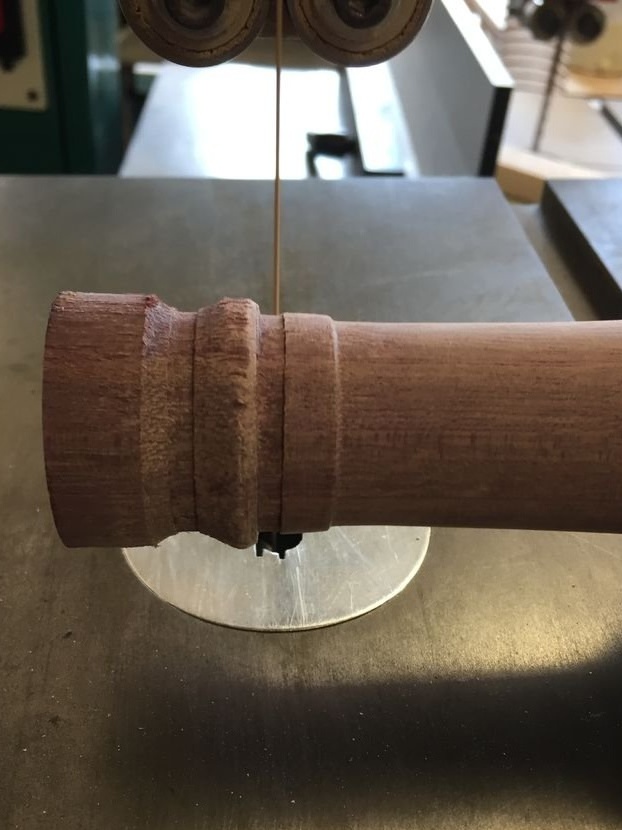
Installs the workpiece in a lathe and starts processing. Processes first at low speeds. As the workpiece is shaped into a cylinder, speed can be increased.


After shaping the bottle, the ends are cut off.
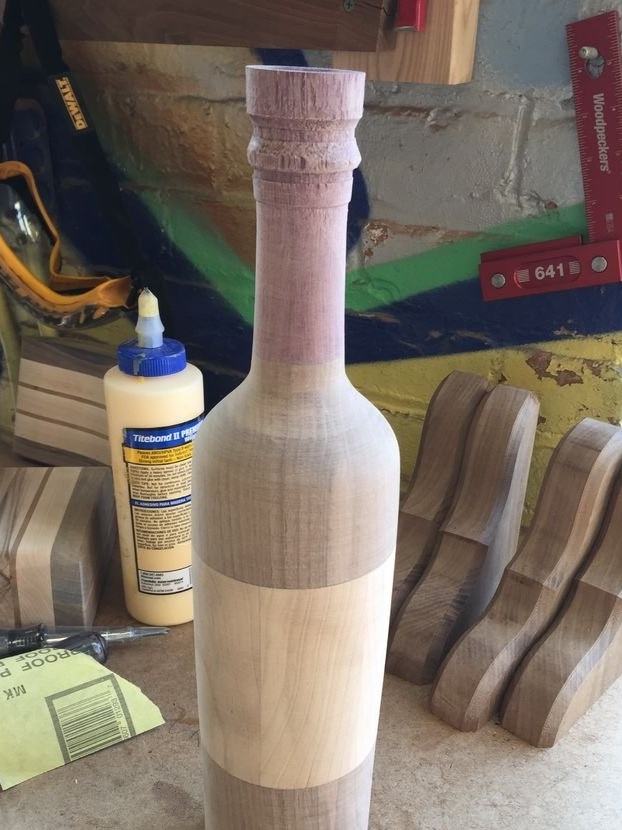
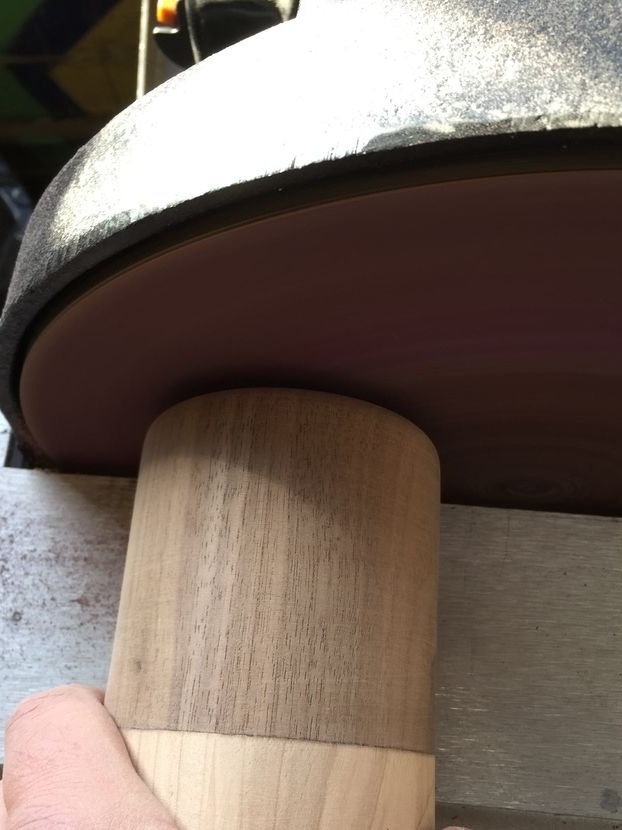
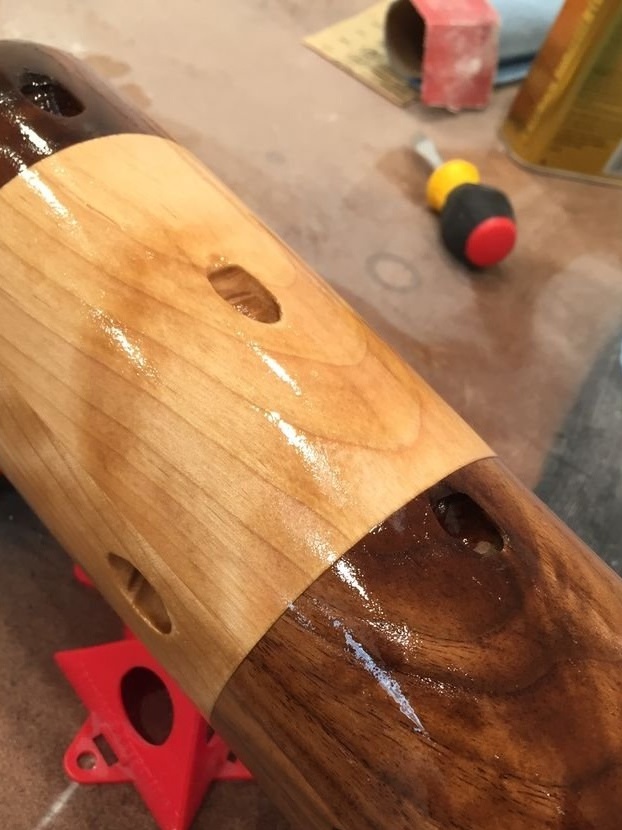
Step Five: Grinding
Grinds the bottle.

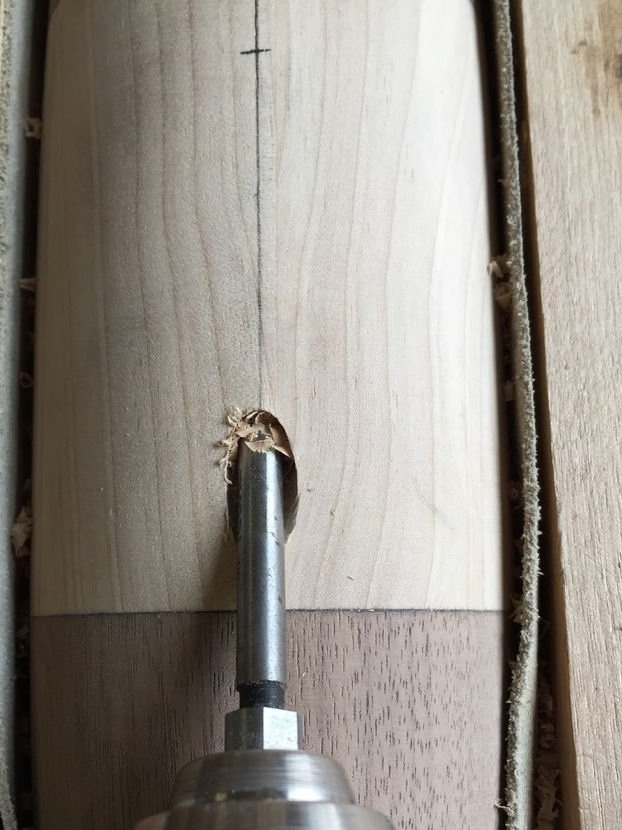
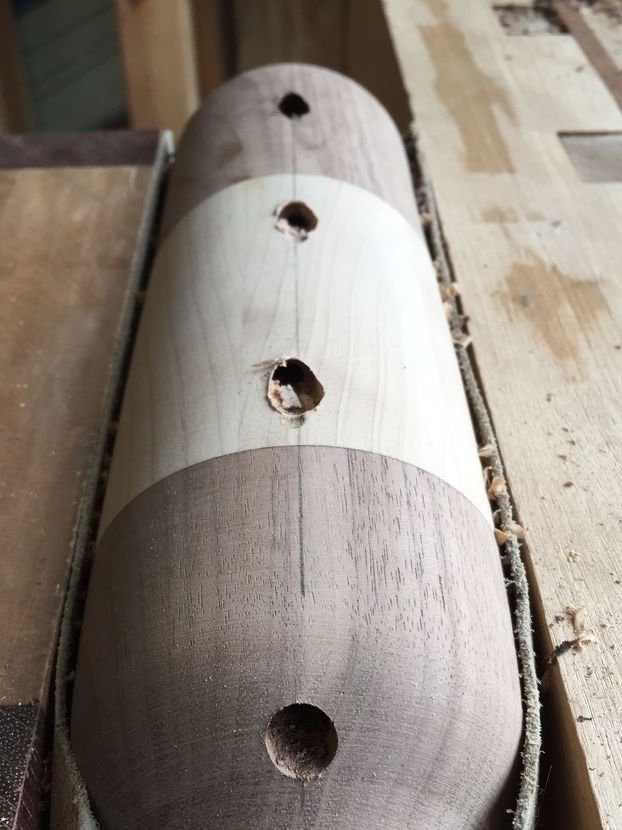
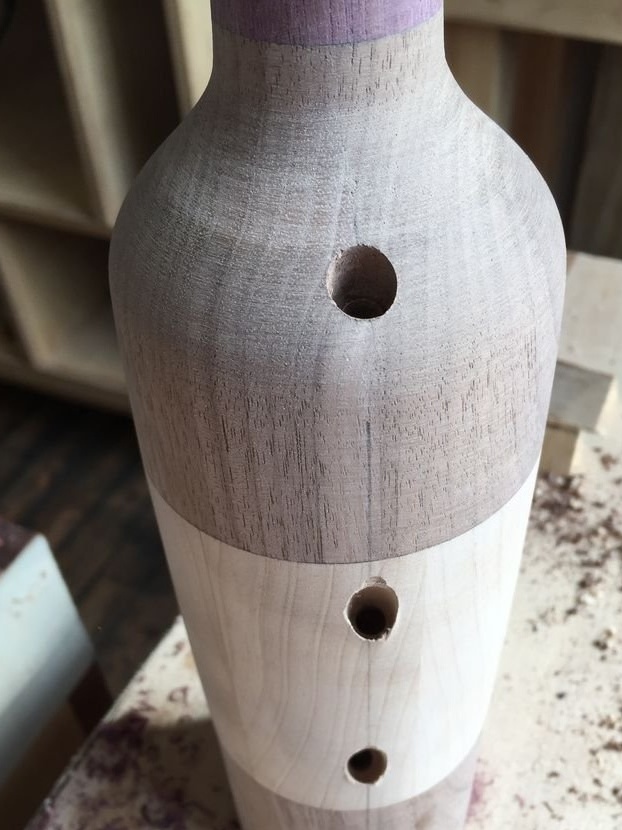
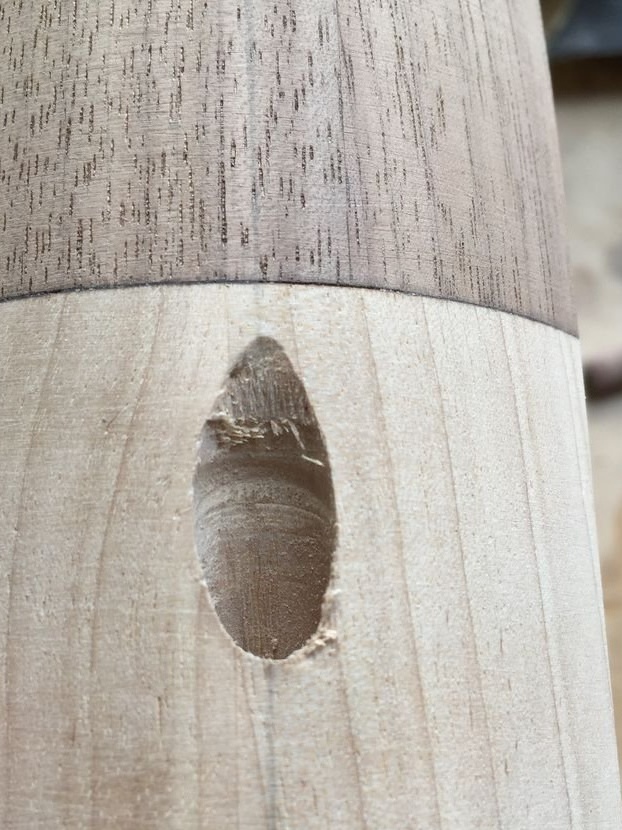
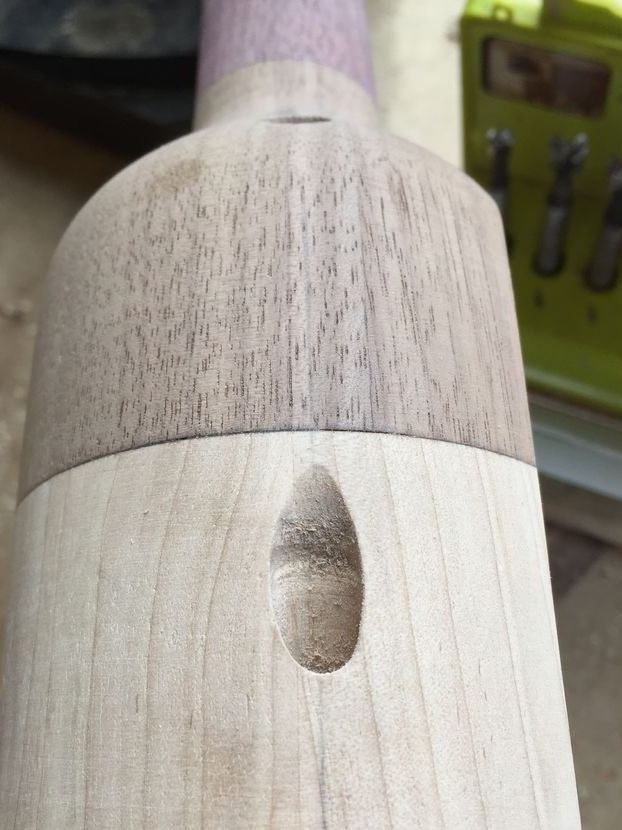
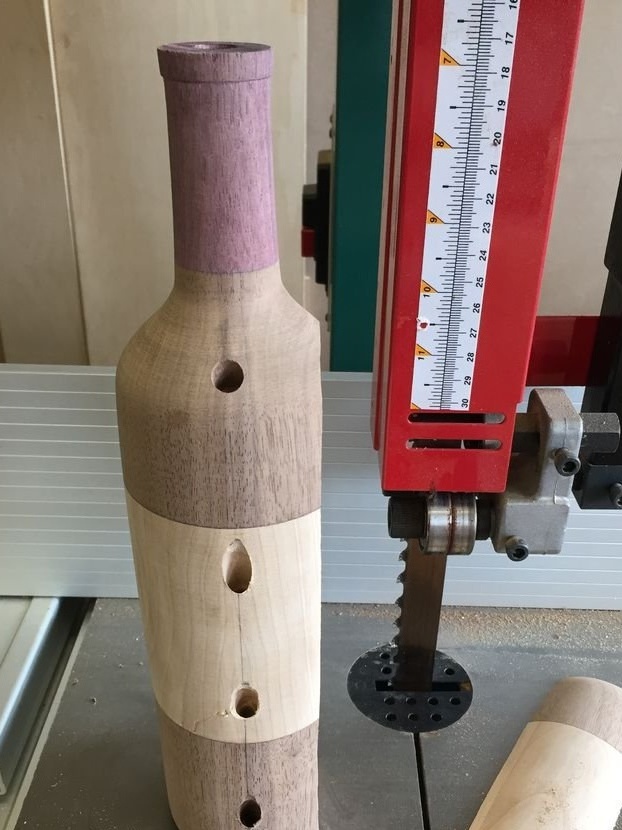
Step Six: Holes
Marks traffic jams. Drill holes. Grinds them.
Seventh step: installing loops
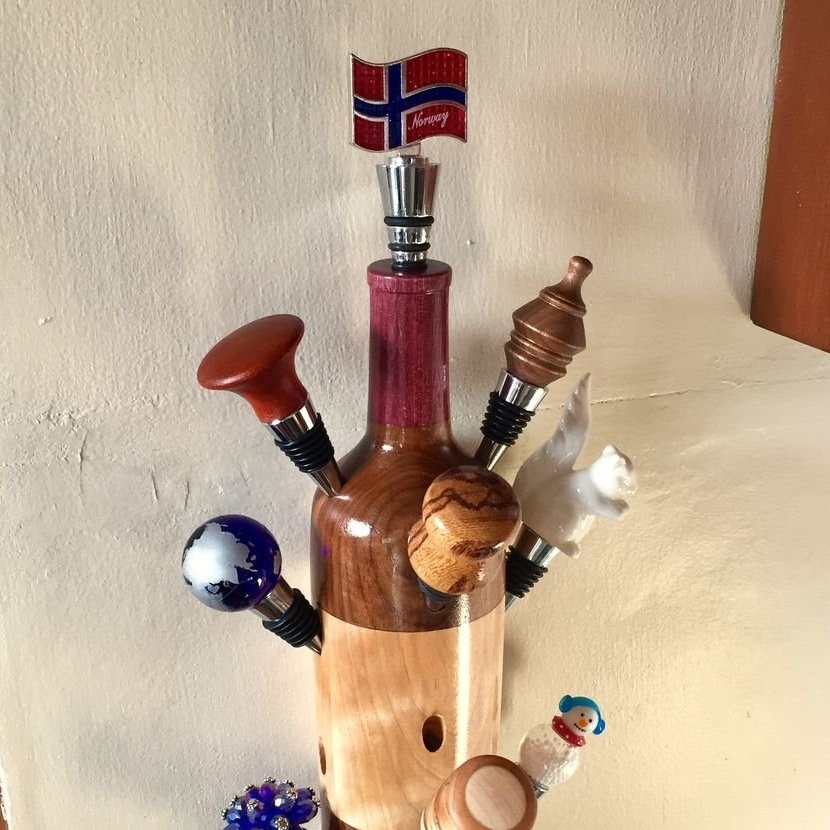
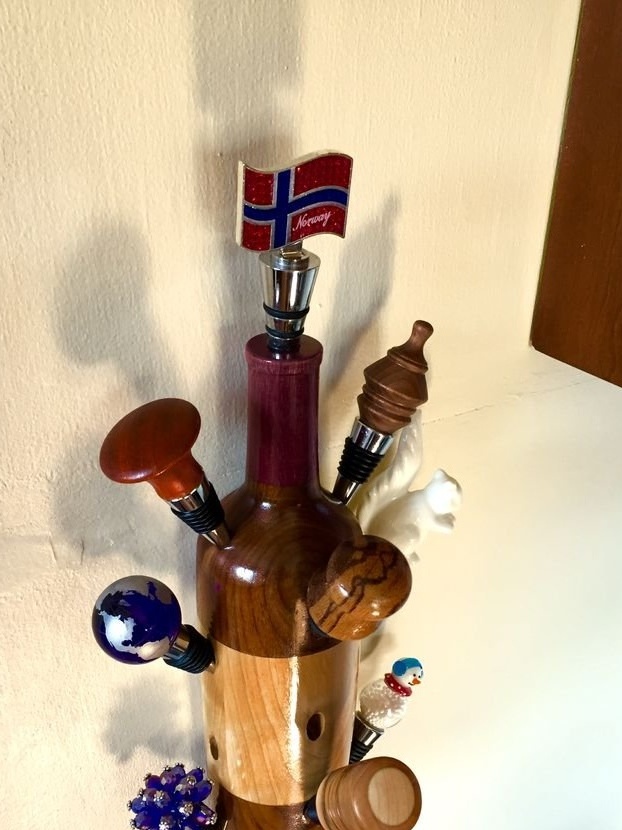
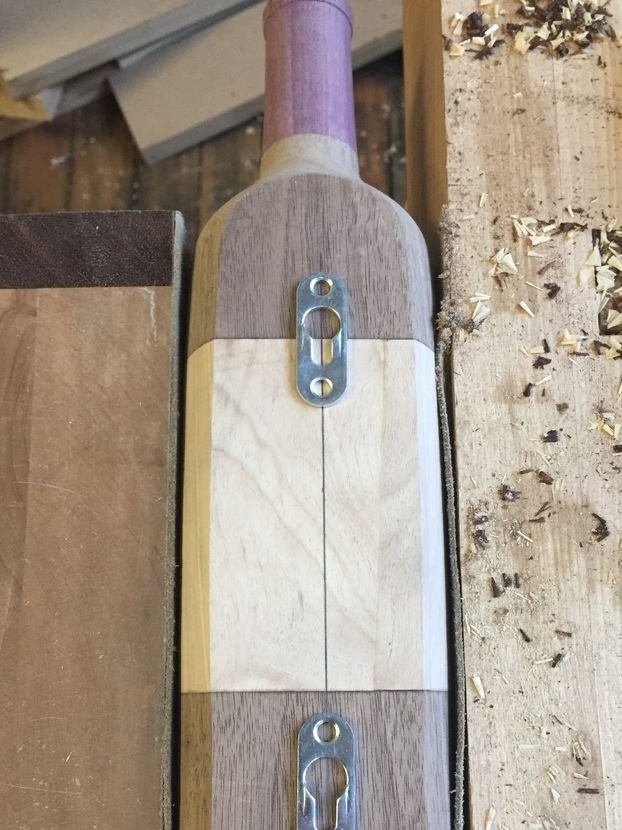
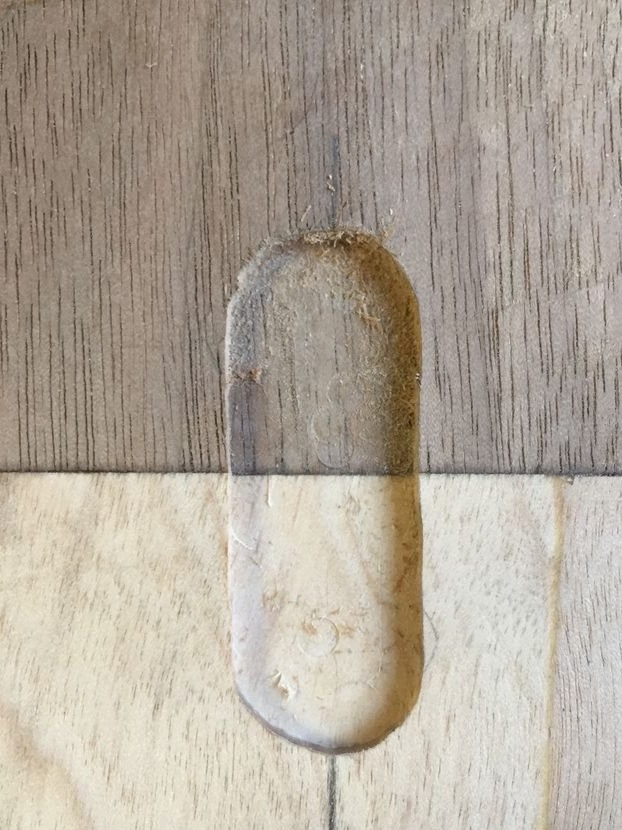
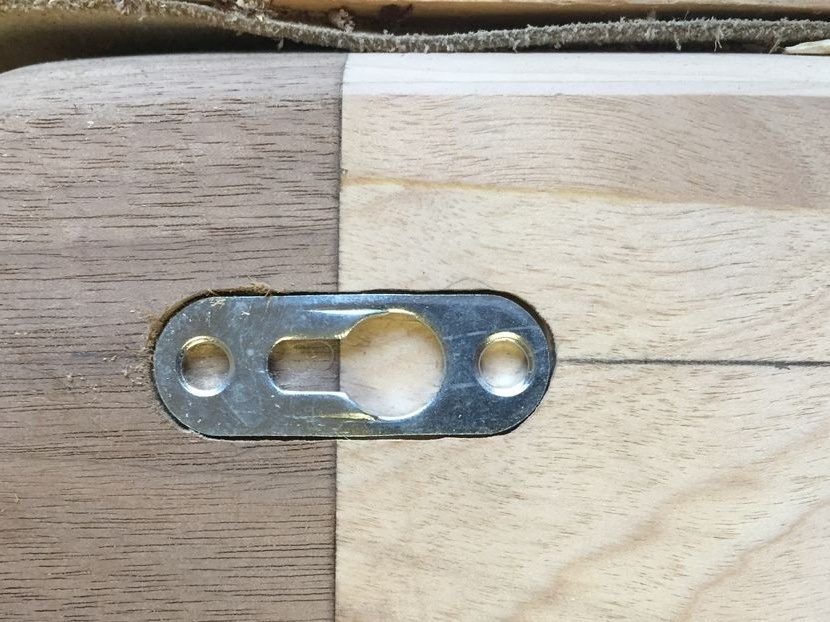
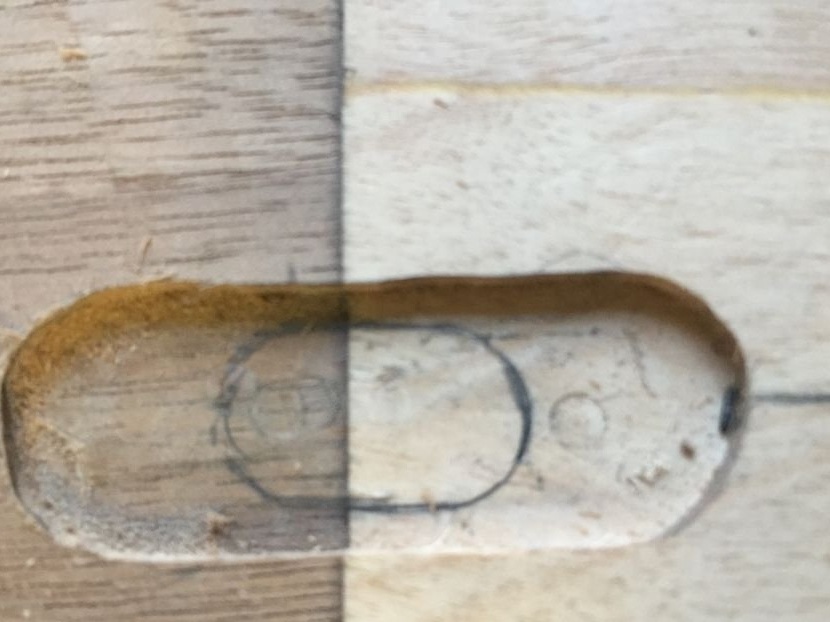
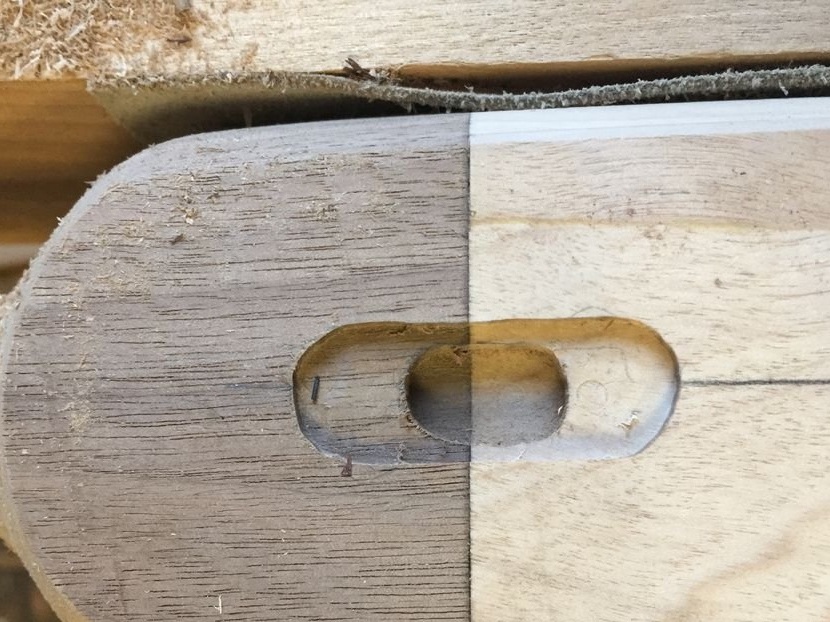
As conceived by the master, a bottle-organizer can either stand on a shelf or hang on a wall. To hang the bottle, the master slightly cuts off its back.
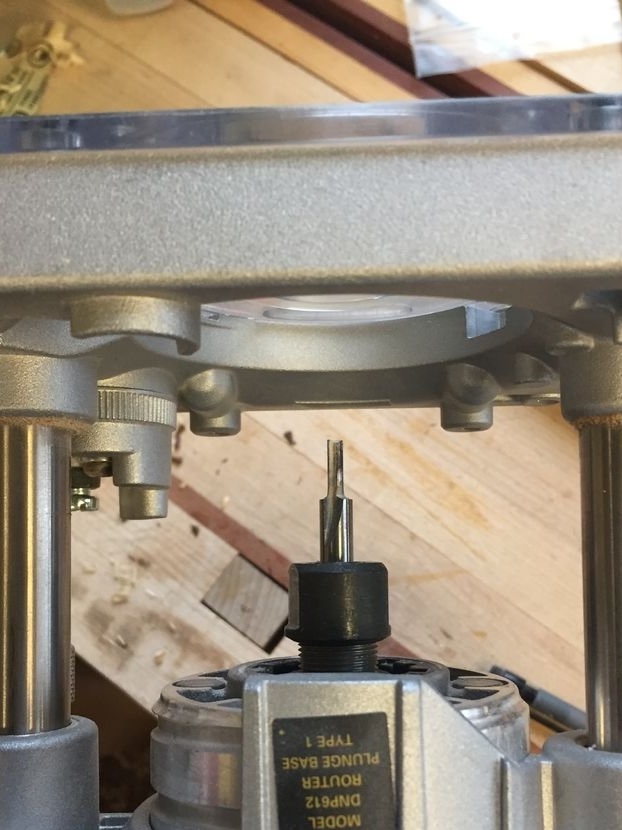
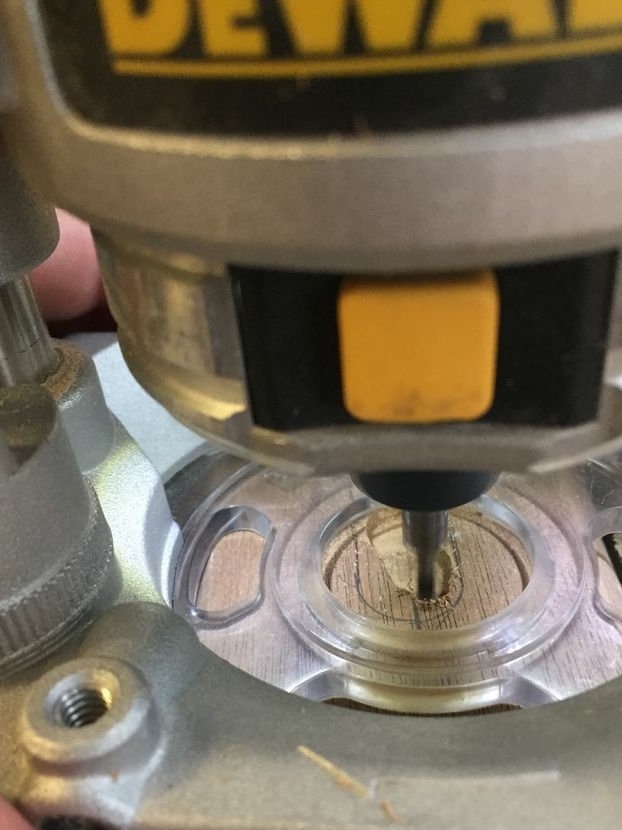
Then marks and mills holes for installing loops. Fastens the hinges.

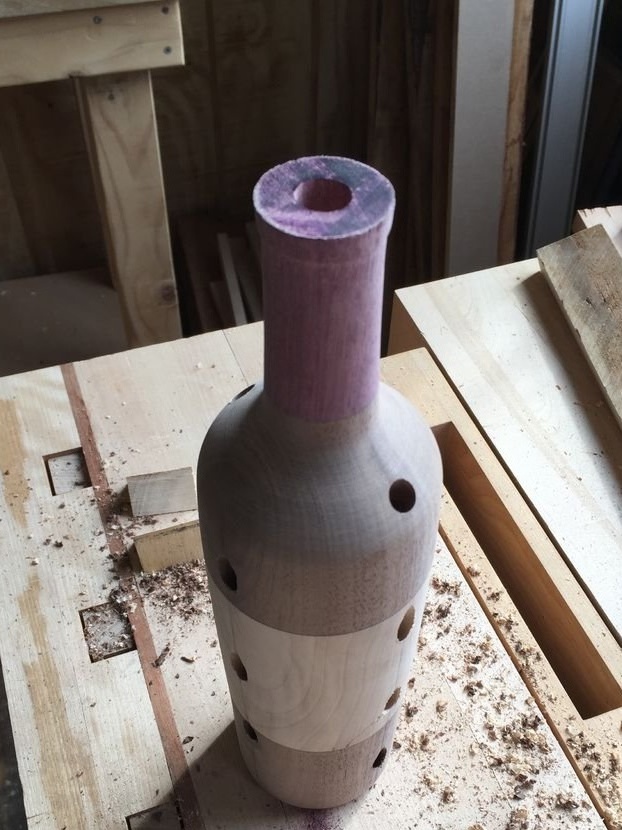
Step Eight: Varnishing
The organizer bottle is almost ready, it remains to grind it and varnish.

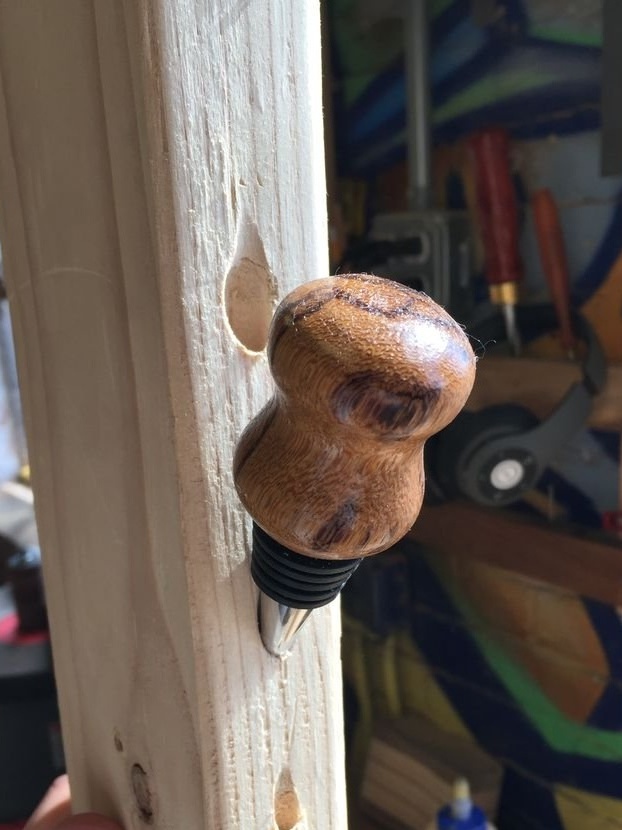
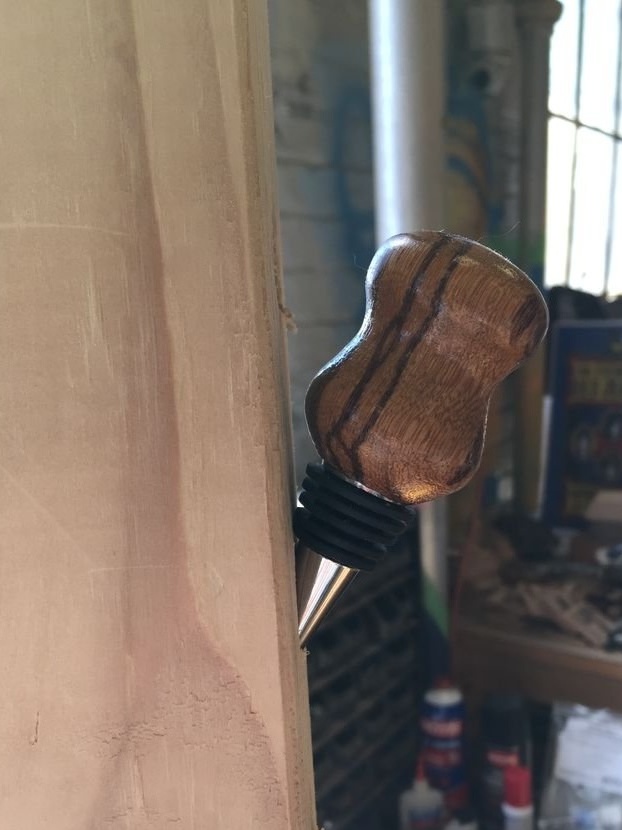
Step Nine: Traffic Jams
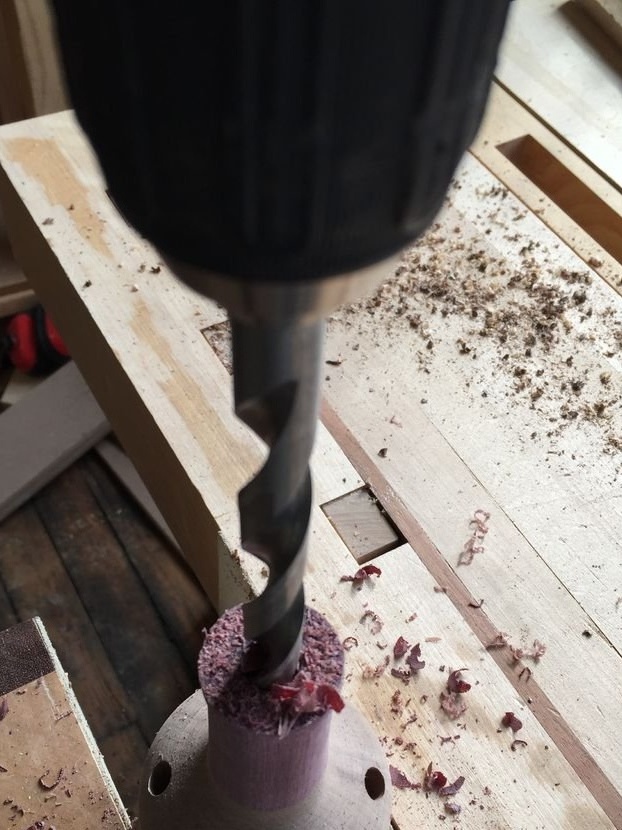
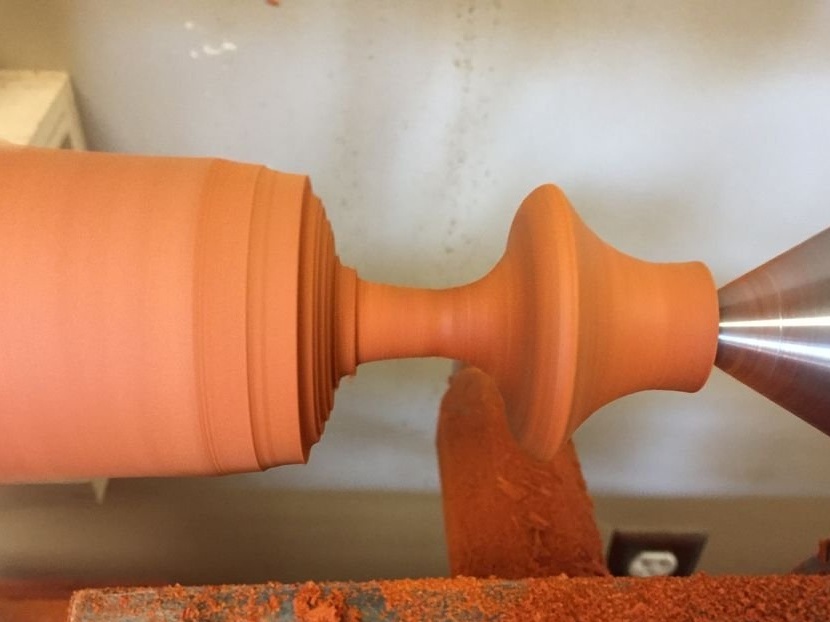
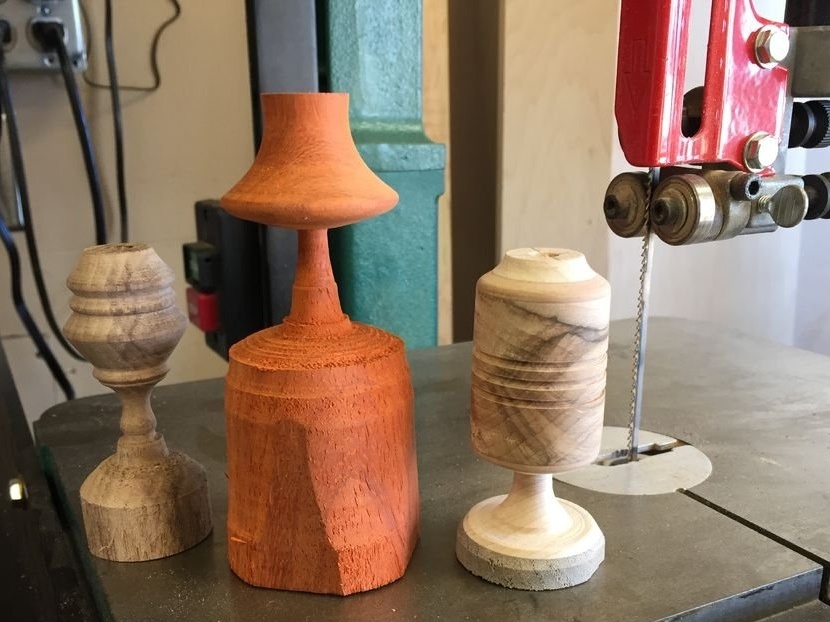
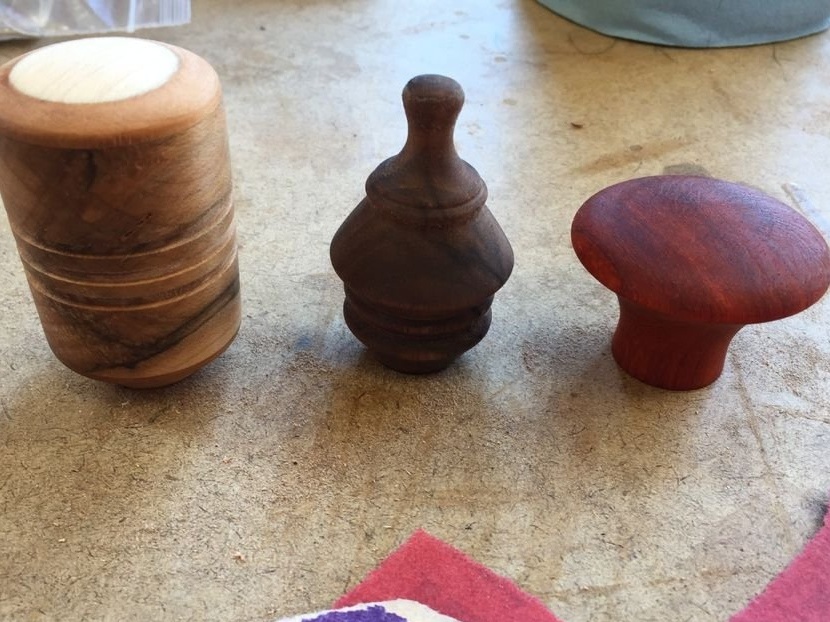
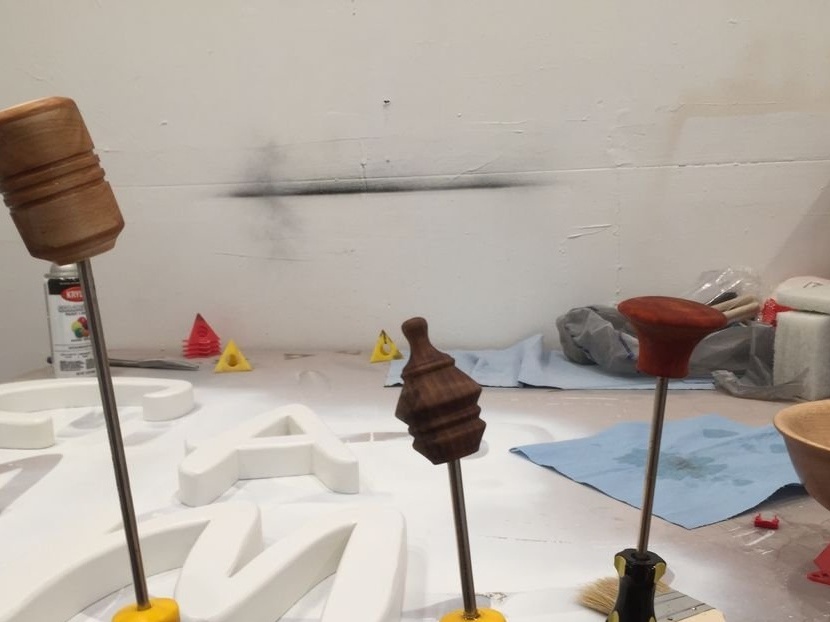
While the master dries the varnish, he decided to make several wine corks. The master of the cork itself, a cone-shaped metal part with a sealant, the master acquired in an online store. He needs to make the top.
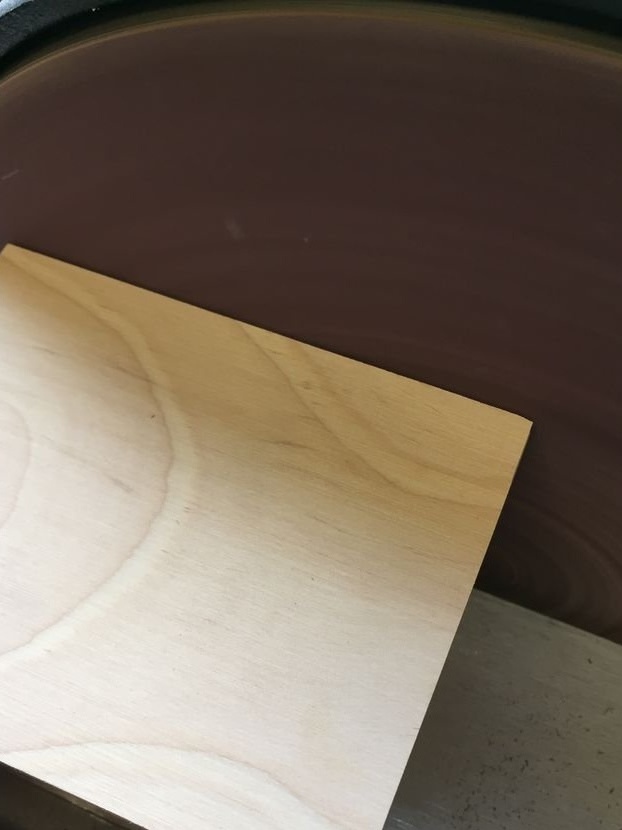
The master makes the upper part from wood of various valuable species.
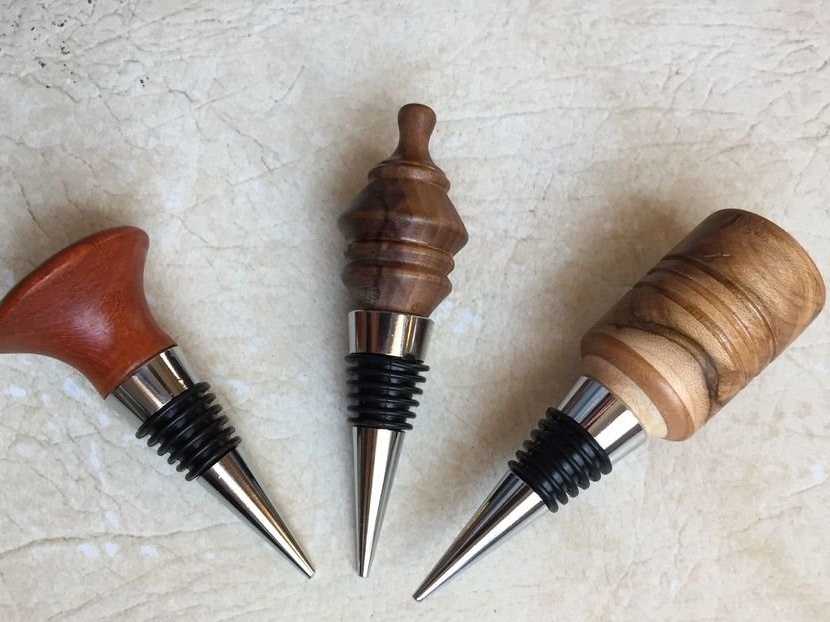
In the center of the workpieces, a drilling hole is drilled along the diameter of the fastener part of the cork.

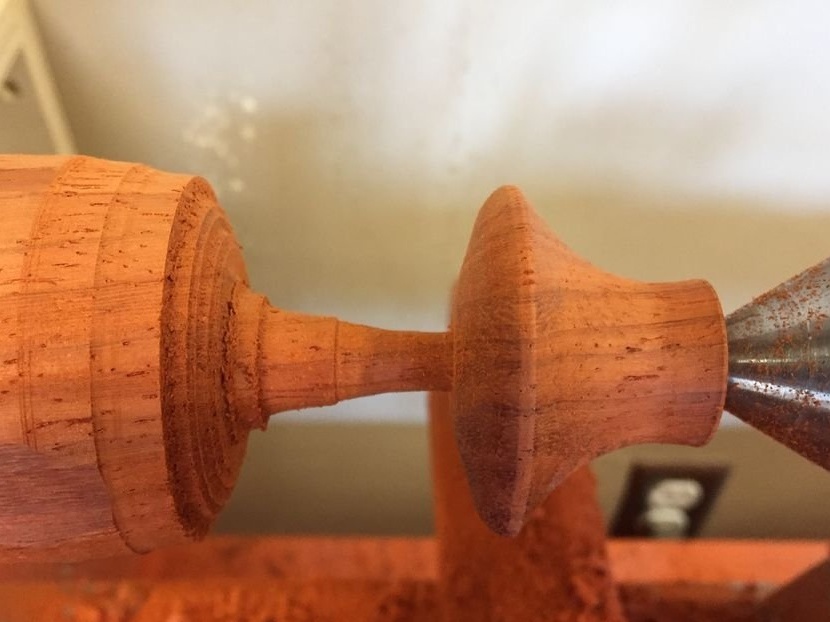
Sets workpieces in a lathe and grinds. Then it polishes and varnishes. For fixing two parts uses superglue.
All is ready. Here is such a wonderful bottle-organizer turned out at the master.