

general description homemade:
The essence of homemade is simple - to make a sound in a helmet. So that you can listen to music on trips without getting confused in the wires, and also do not remove gloves to switch tracks on the phone. The second requirement is the ability to receive calls, and talk on the phone on the go, again without taking off the gloves and making stops.
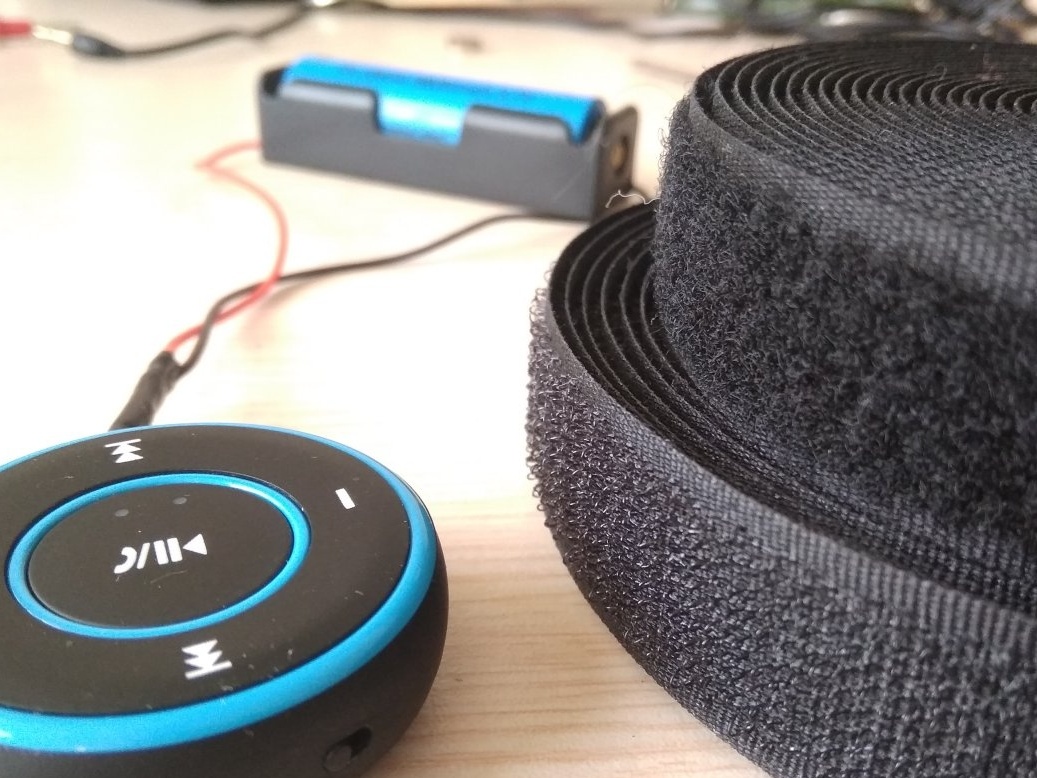
All these wishes are decided by the purchase of one inexpensive (300 rubles) bluetooth device - the link will be lower) and a pair of speakers from full-sized headphones. You can also use a miniature headphone amplifier if you like listening to music as loud as possible. Next, I will talk about some of the nuances of this solution.
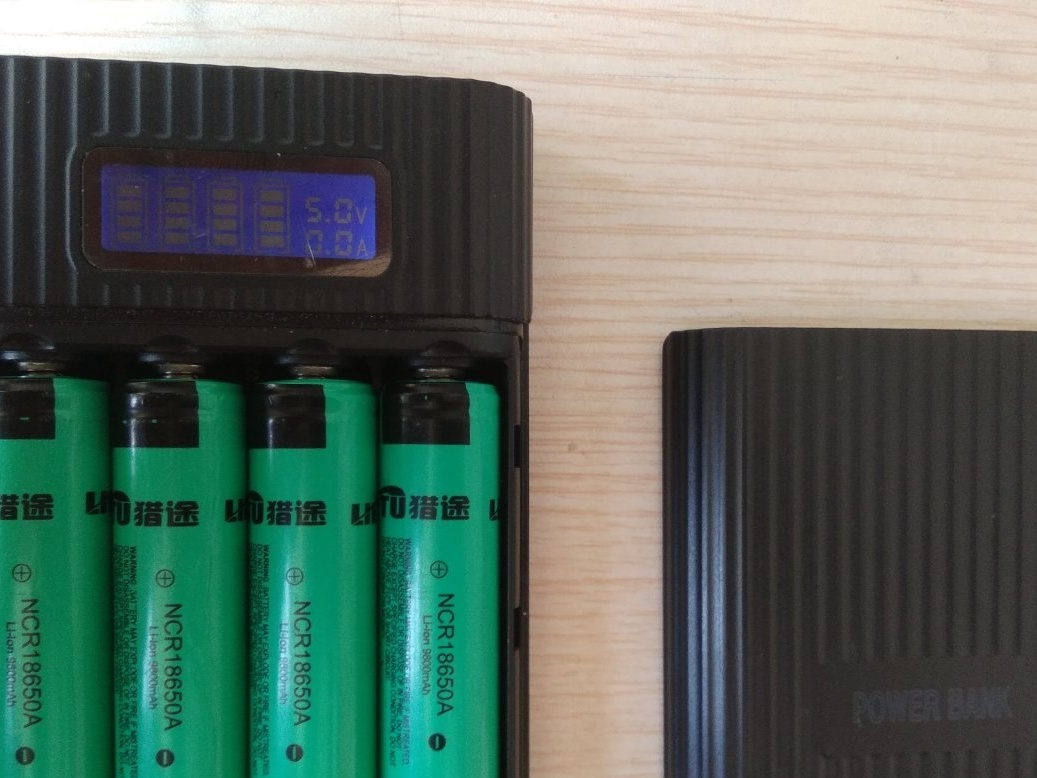
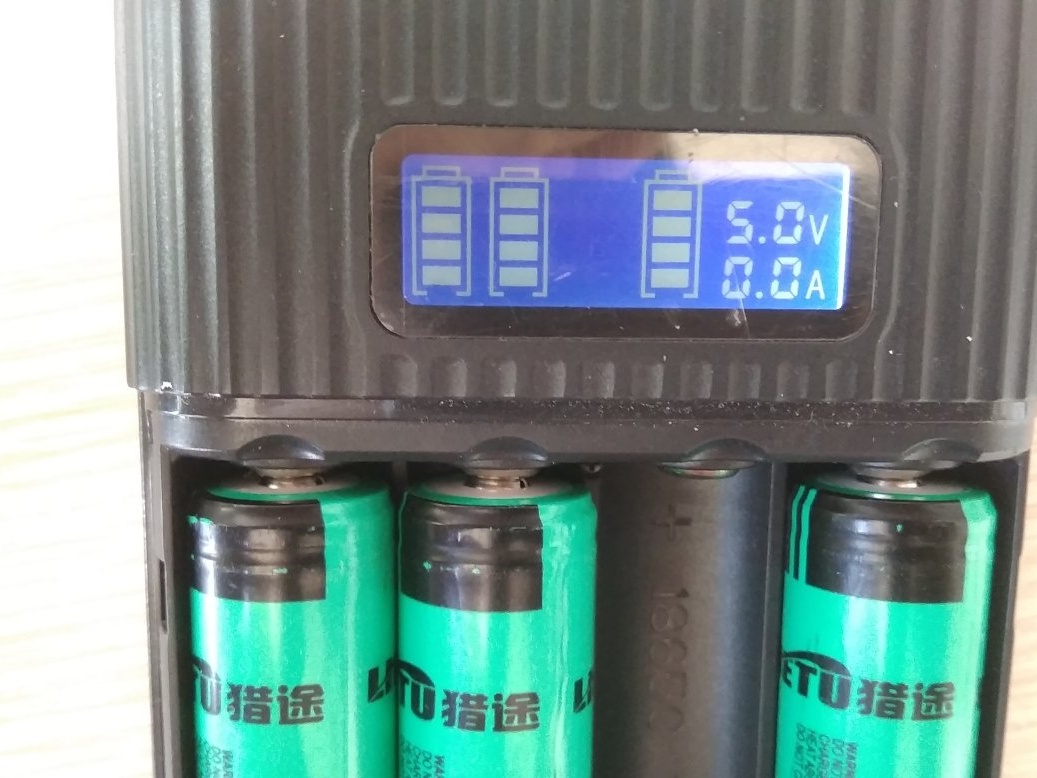
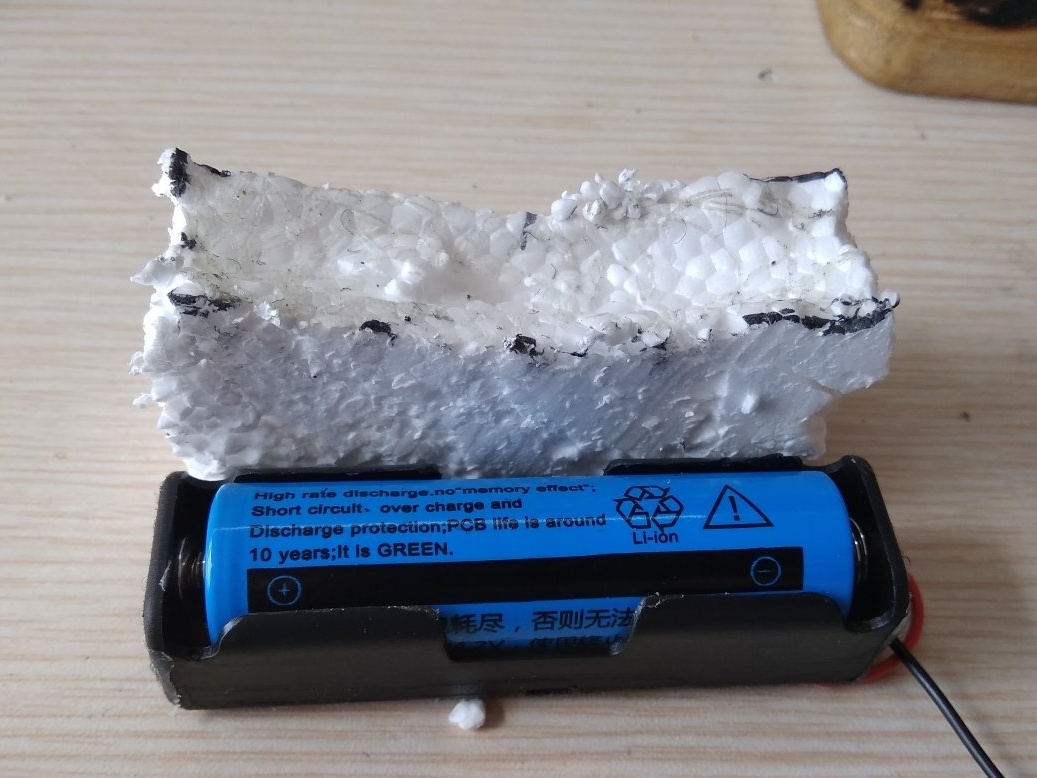
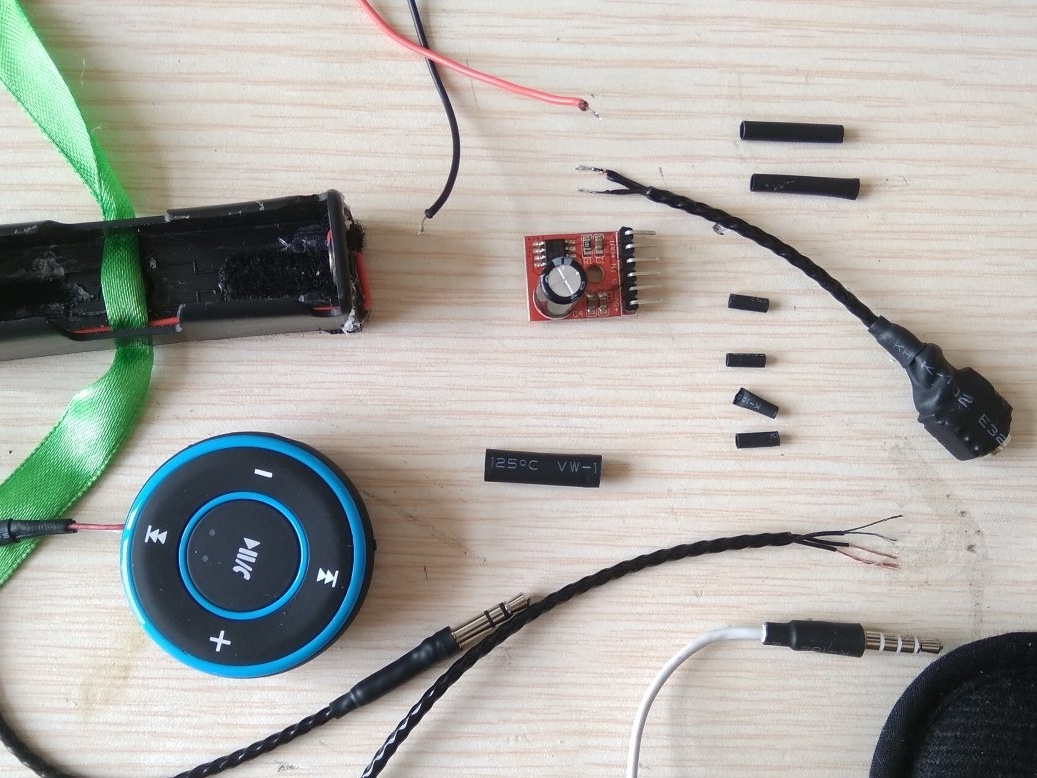
In the manufacture of this homemade product, I replaced the standard power supply, which was clearly not enough, with a more capacious one. Along with this, it became possible not to wait until the design is charging, but simply to replace the discharged battery with a fresh one, on the principle of a finger battery. As a charger, I use a power bank for the phone. Four 18650 batteries are inserted into it, while it does not lose its main functions in the absence of one or more "batteries". And in addition there is a charge indicator for each battery. The body of the energy bank specially chose such that it could be easily opened and closed.
Materials: :
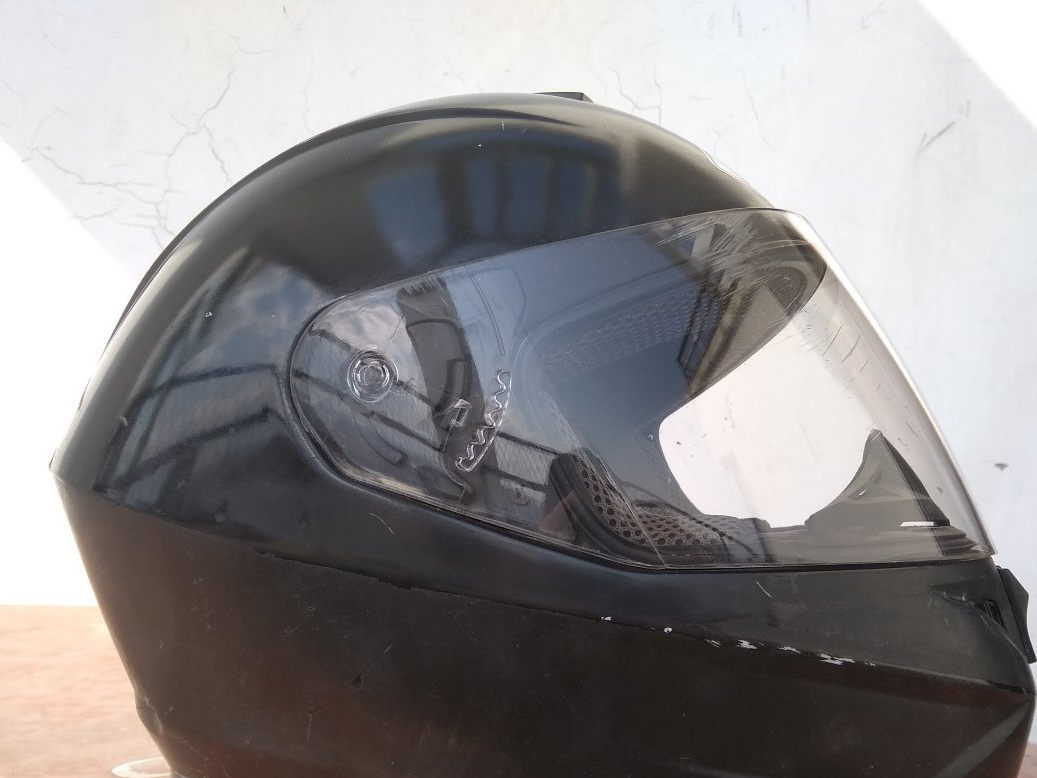
1. Helmet
2. Bluetooth device
3. A pair of speakers from the headphones, preferably with rigid membrane protection
4. Battery 18650
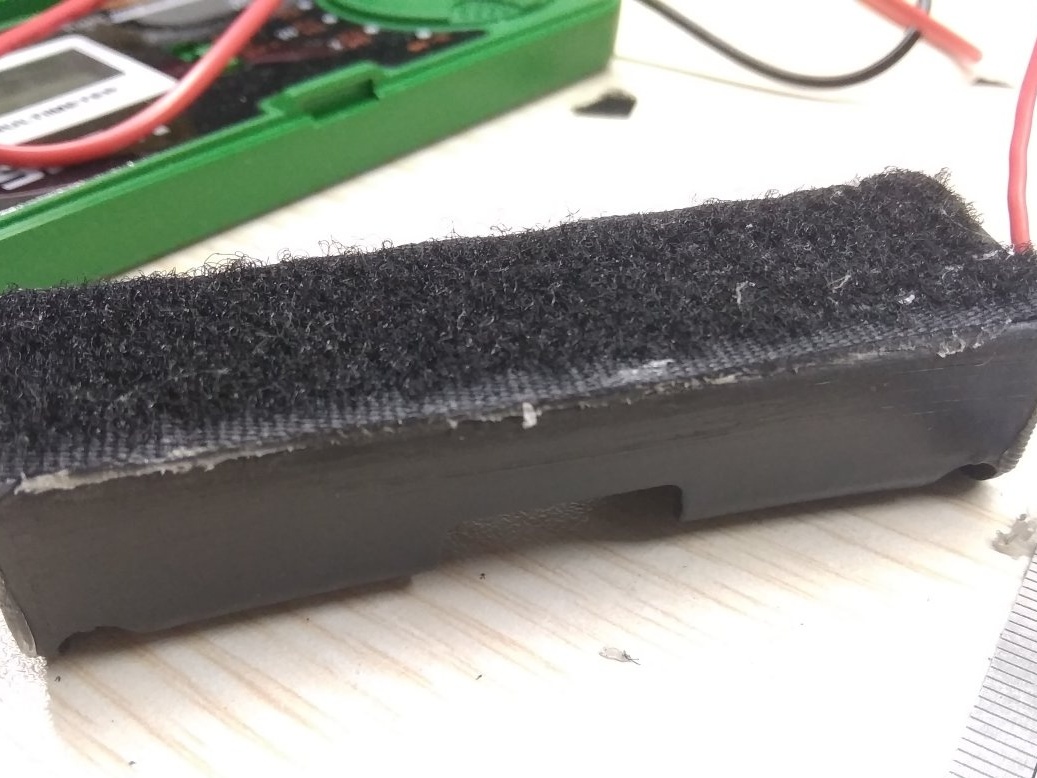
5. Battery cartridge
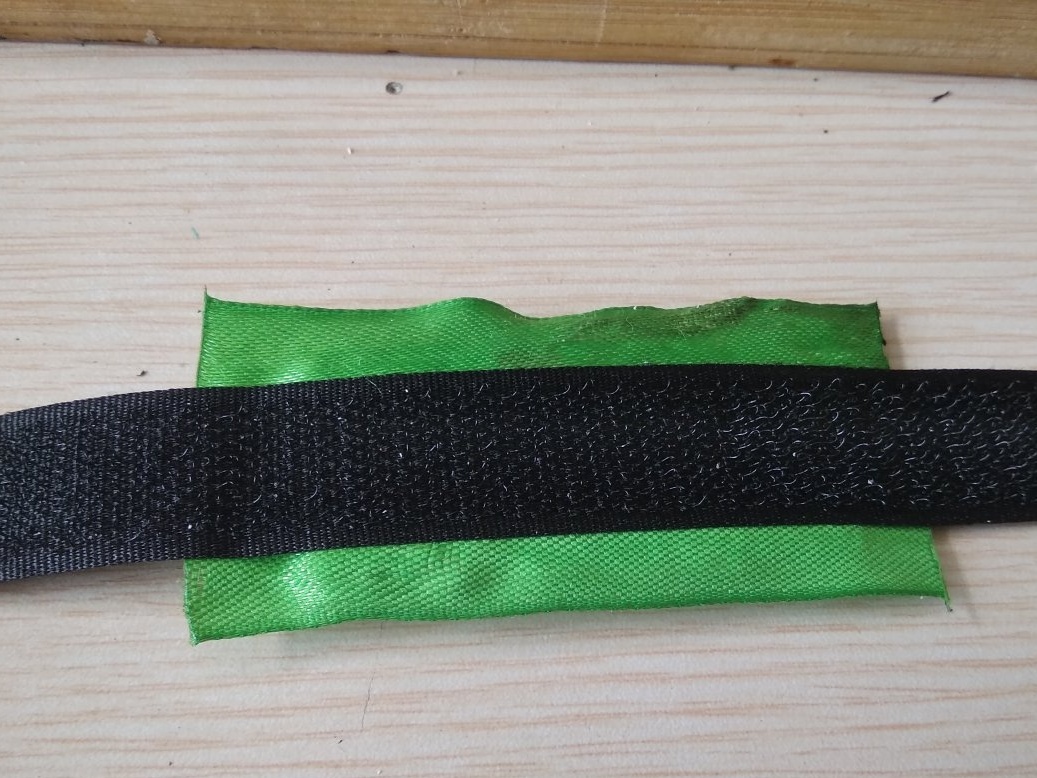
6. Hook clasp (Velcro)
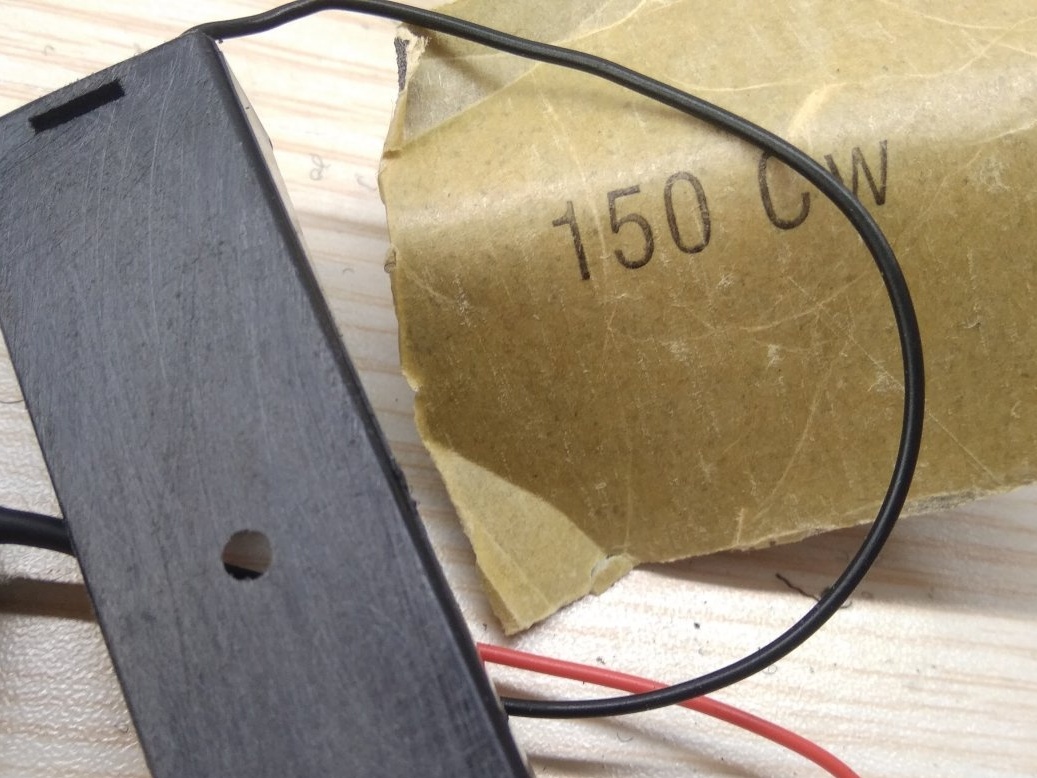
7. Headphone wires (4 wires), power wire (2 wires)
8. Shrink insulation or electrical tape
9. Glue
Instruments:
1. Soldering iron with tin and rosin
2. Stationery knife
3. Scissors
4. Awl
5. Marker
6. Ruler
7. Side cutters (nippers)
Detailed manufacturing description:
Step 1:First of all, I took apart the bluetooth device, disconnected the standard battery and connected the wires from the battery cartridge to its place (Cassette - 10 rubles, battery 100 rubles apiece). The voltage of these batteries is slightly higher than required - four instead of three volts, but this is not critical. I connected large headphones, turned on at full volume and left it for the whole day to check the duration of work on a single charge. By evening, the music still sounded, and the battery charge did not sink even by 50 percent.The phone from which the music was played, by the way, was discharged almost to zero. There was no point in continuing the experiment until the battery was completely discharged, since 12 hours of continuous sound with a margin overlaps my requirements.
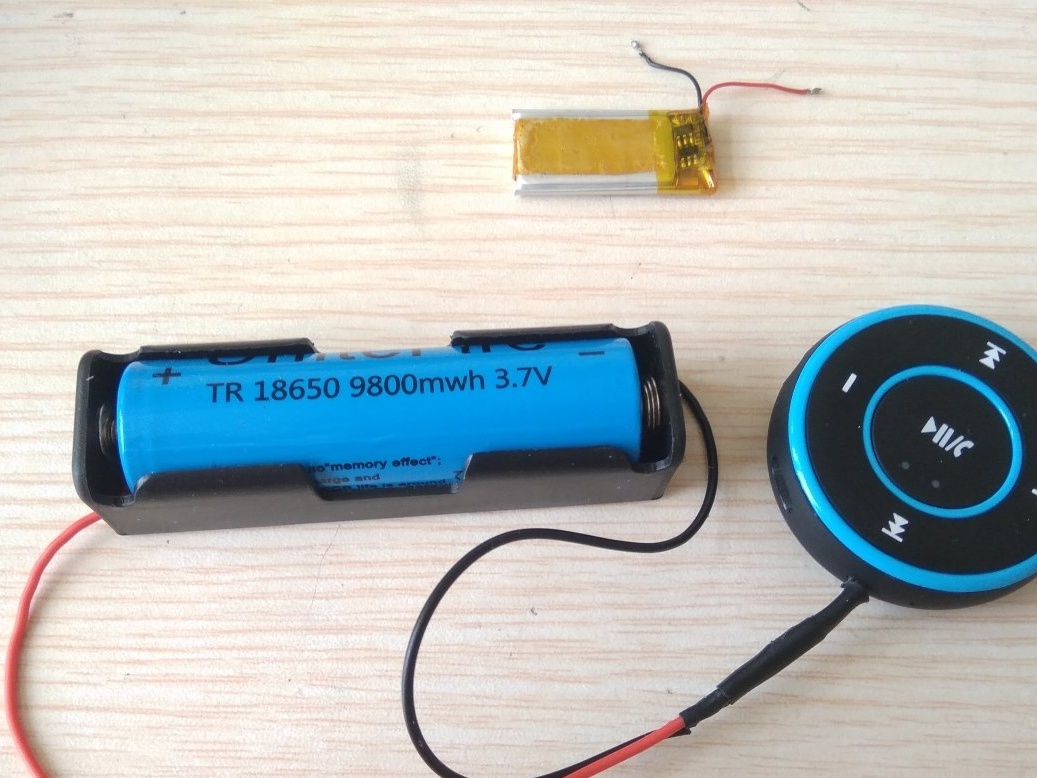
This bluetooth device I already used in one of the homemade products, (Link) and then I liked everything except the battery capacity. On one charge, it worked for no more than an hour, and in the cold it did 20 minutes at all. It was not possible to install a large battery, unlike a helmet, there.
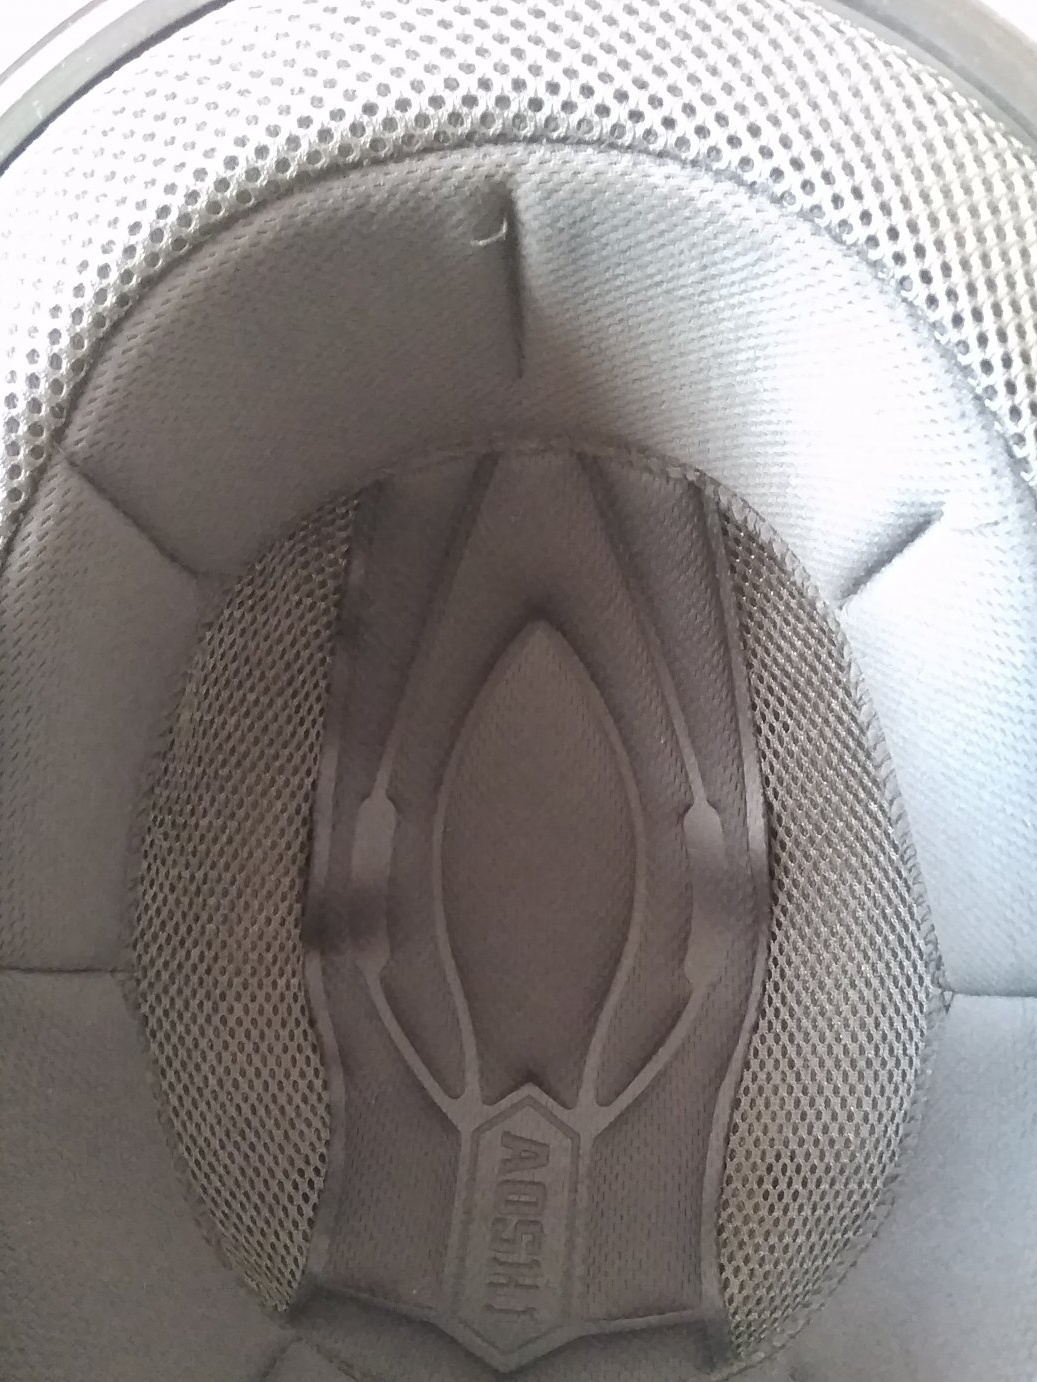
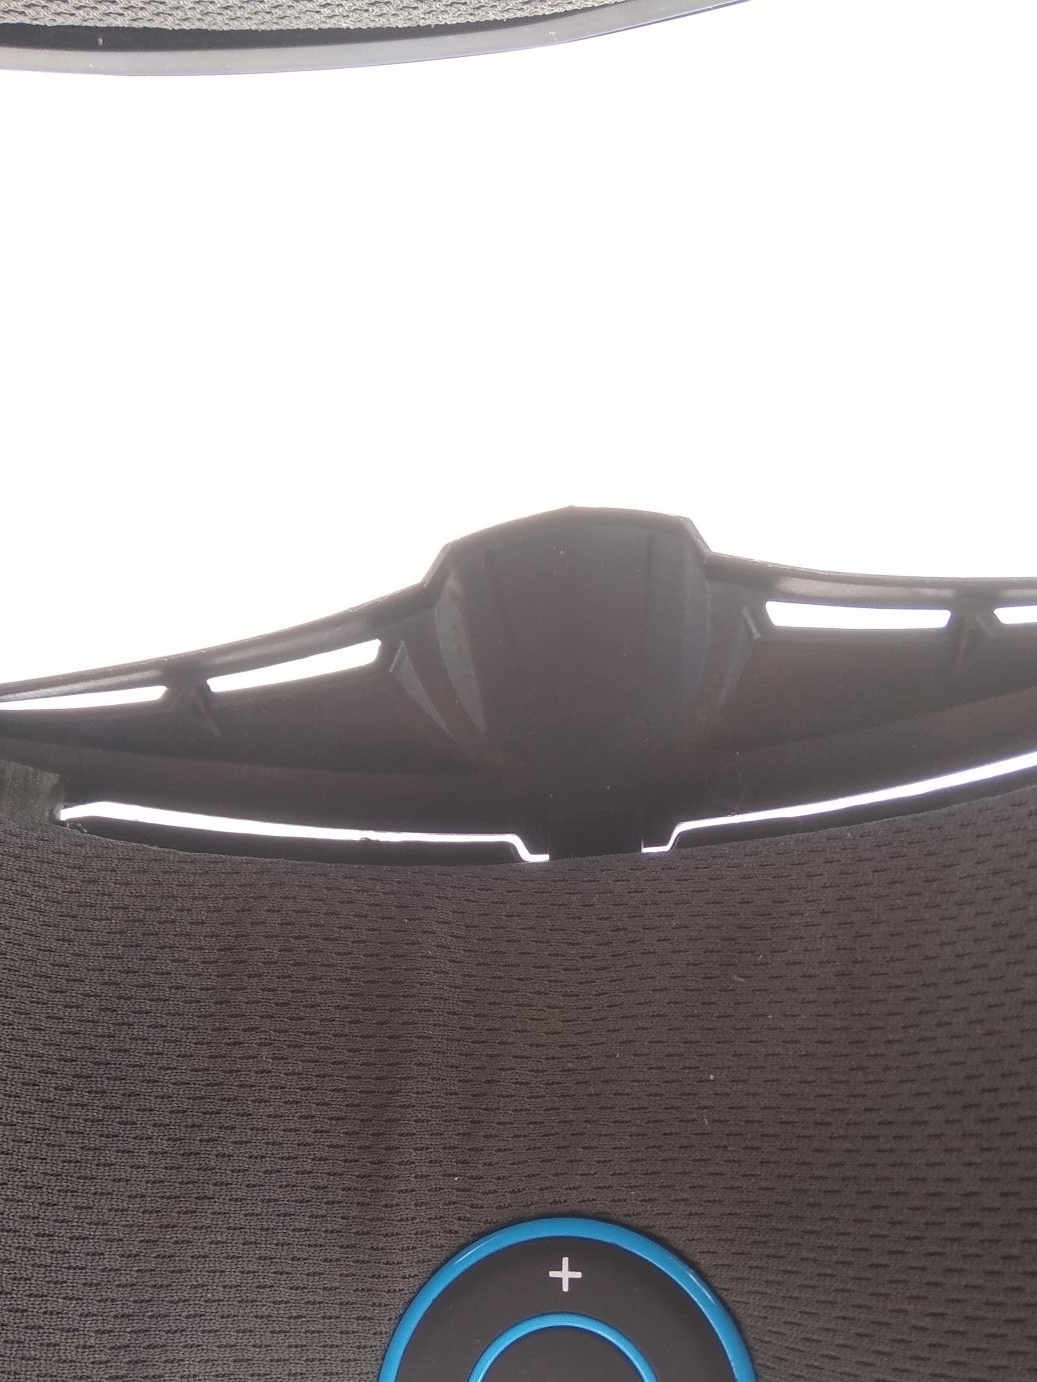
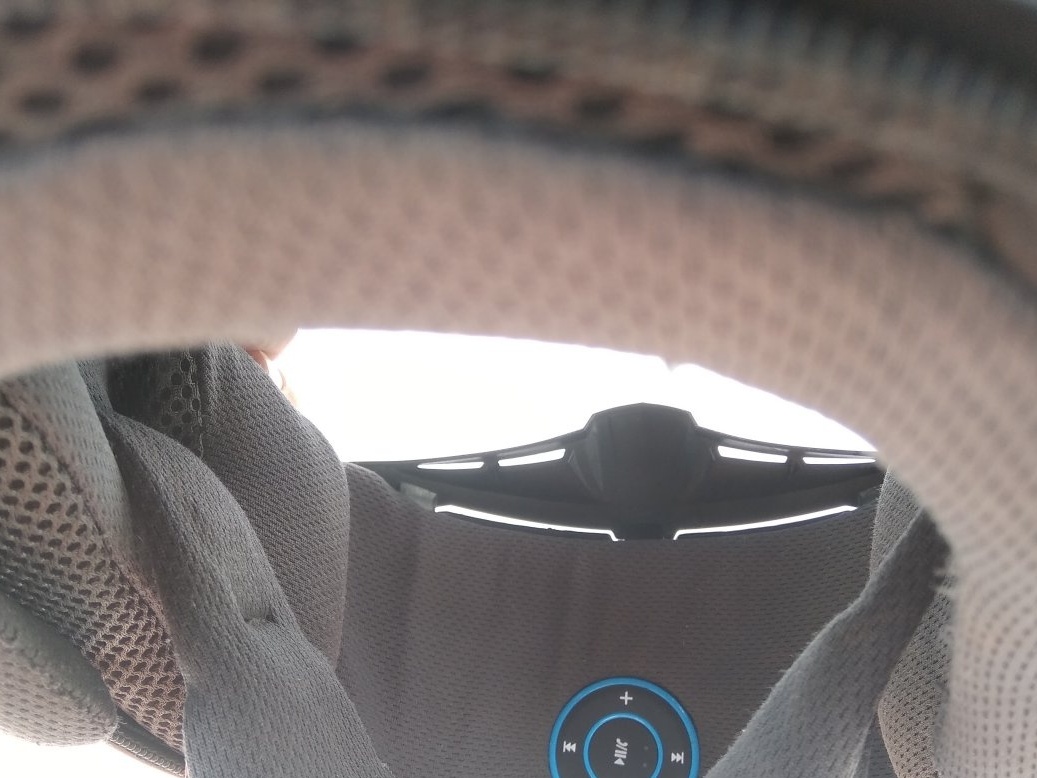
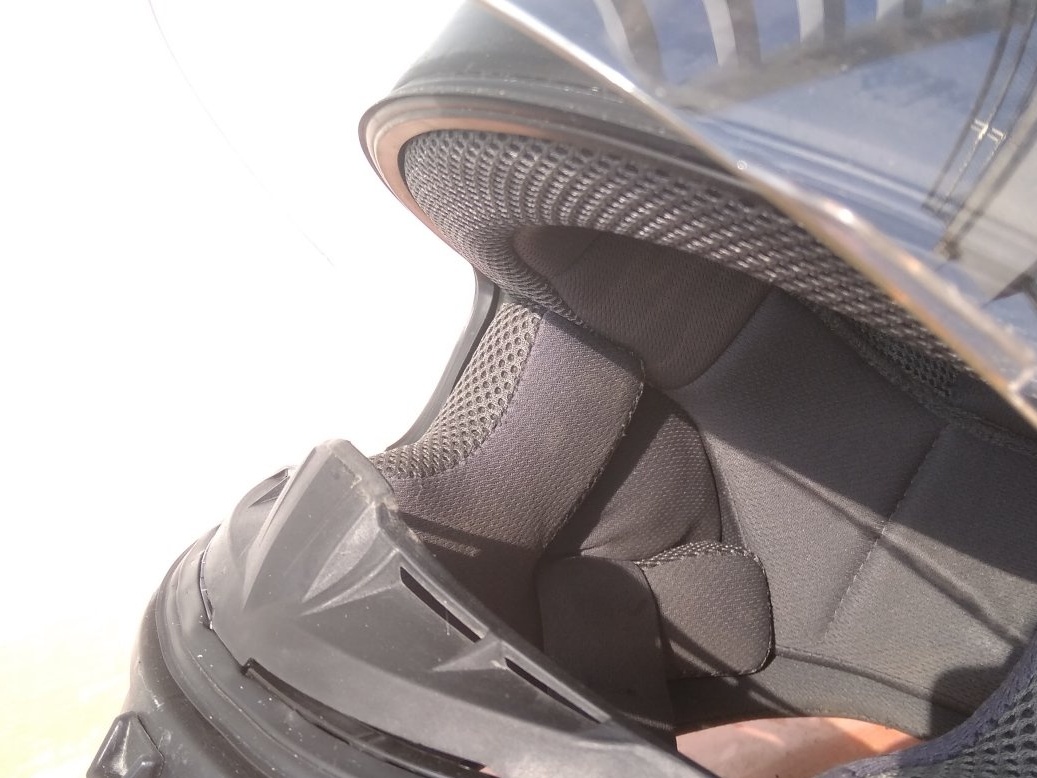
Step 2:I didn’t choose a helmet on purpose, I just took the one that is. It would be much simpler and more convenient if he had a removable inner lining. But no, all the insides are simply glued. Although for homemade this does not really matter.
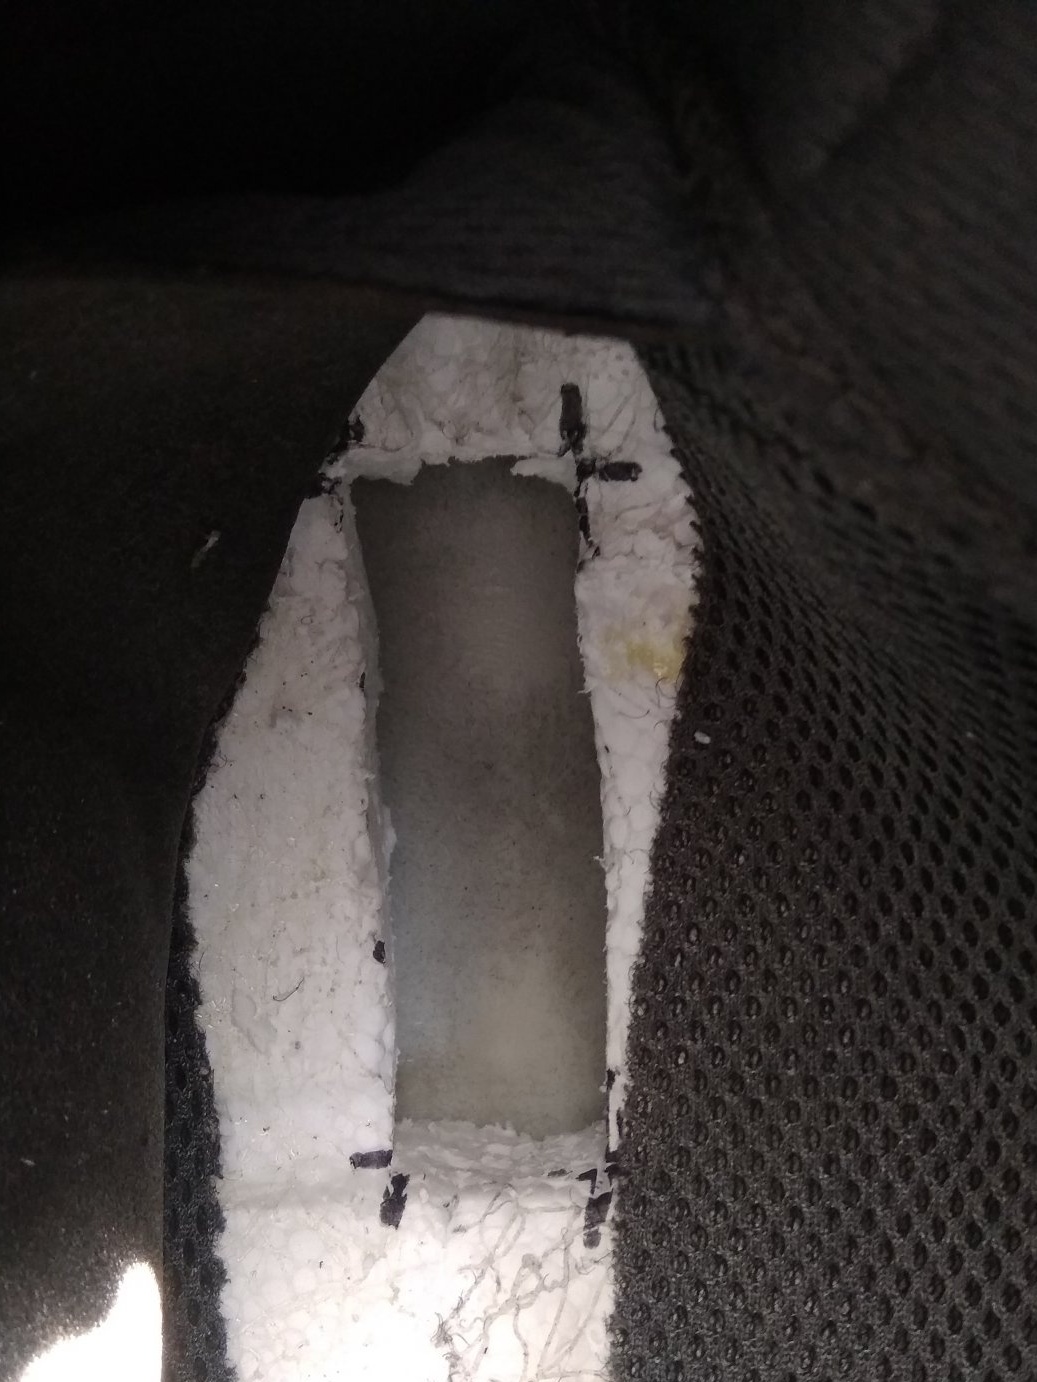
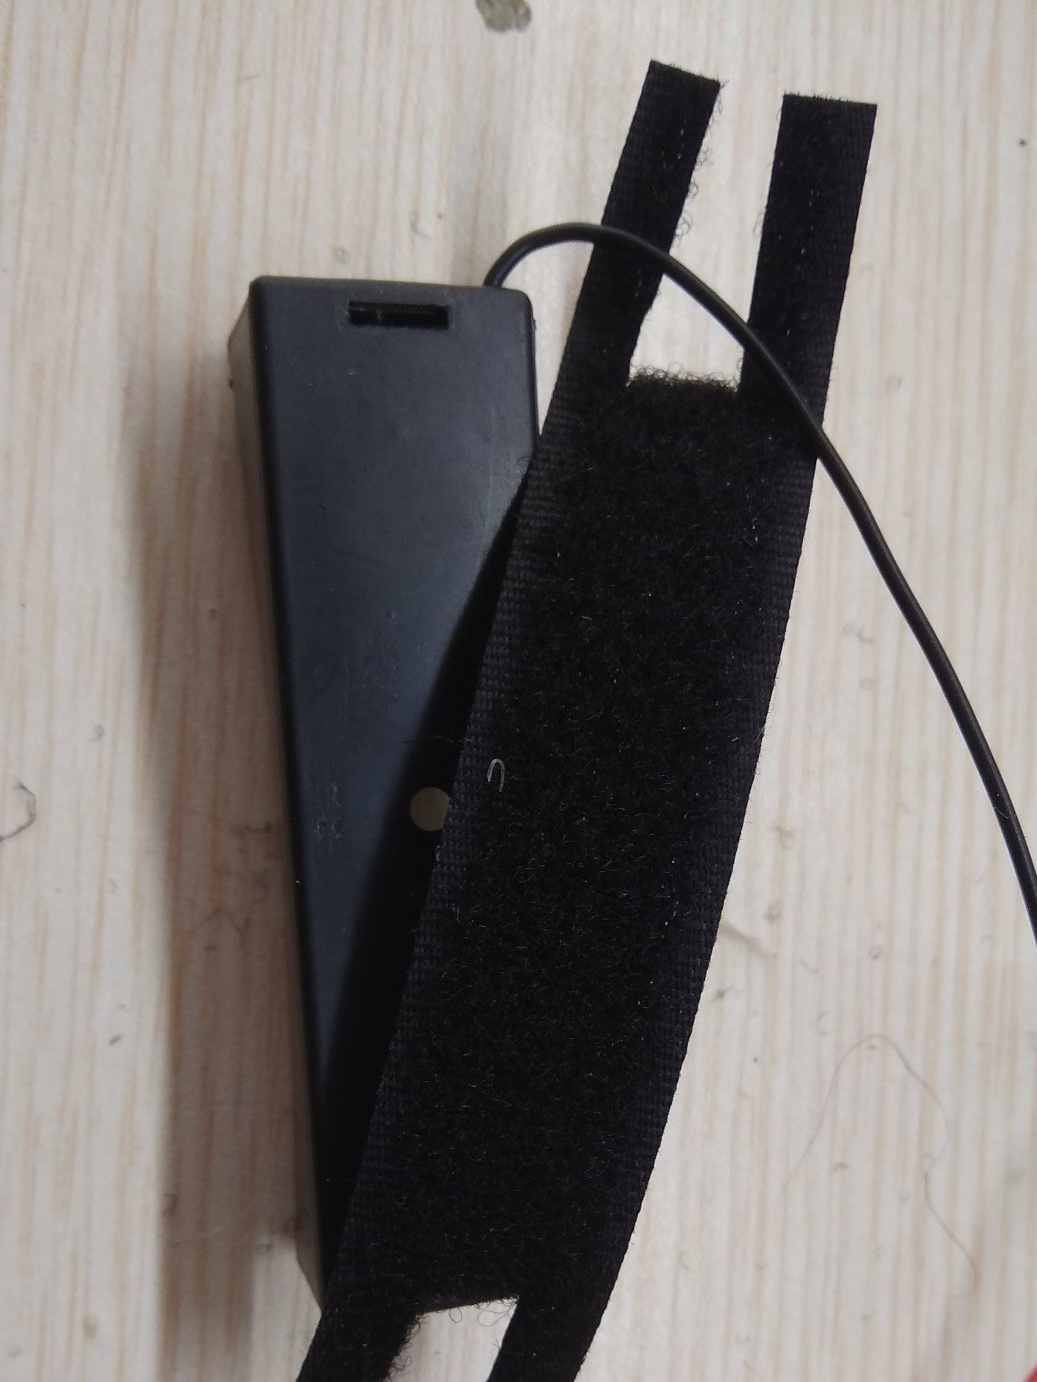
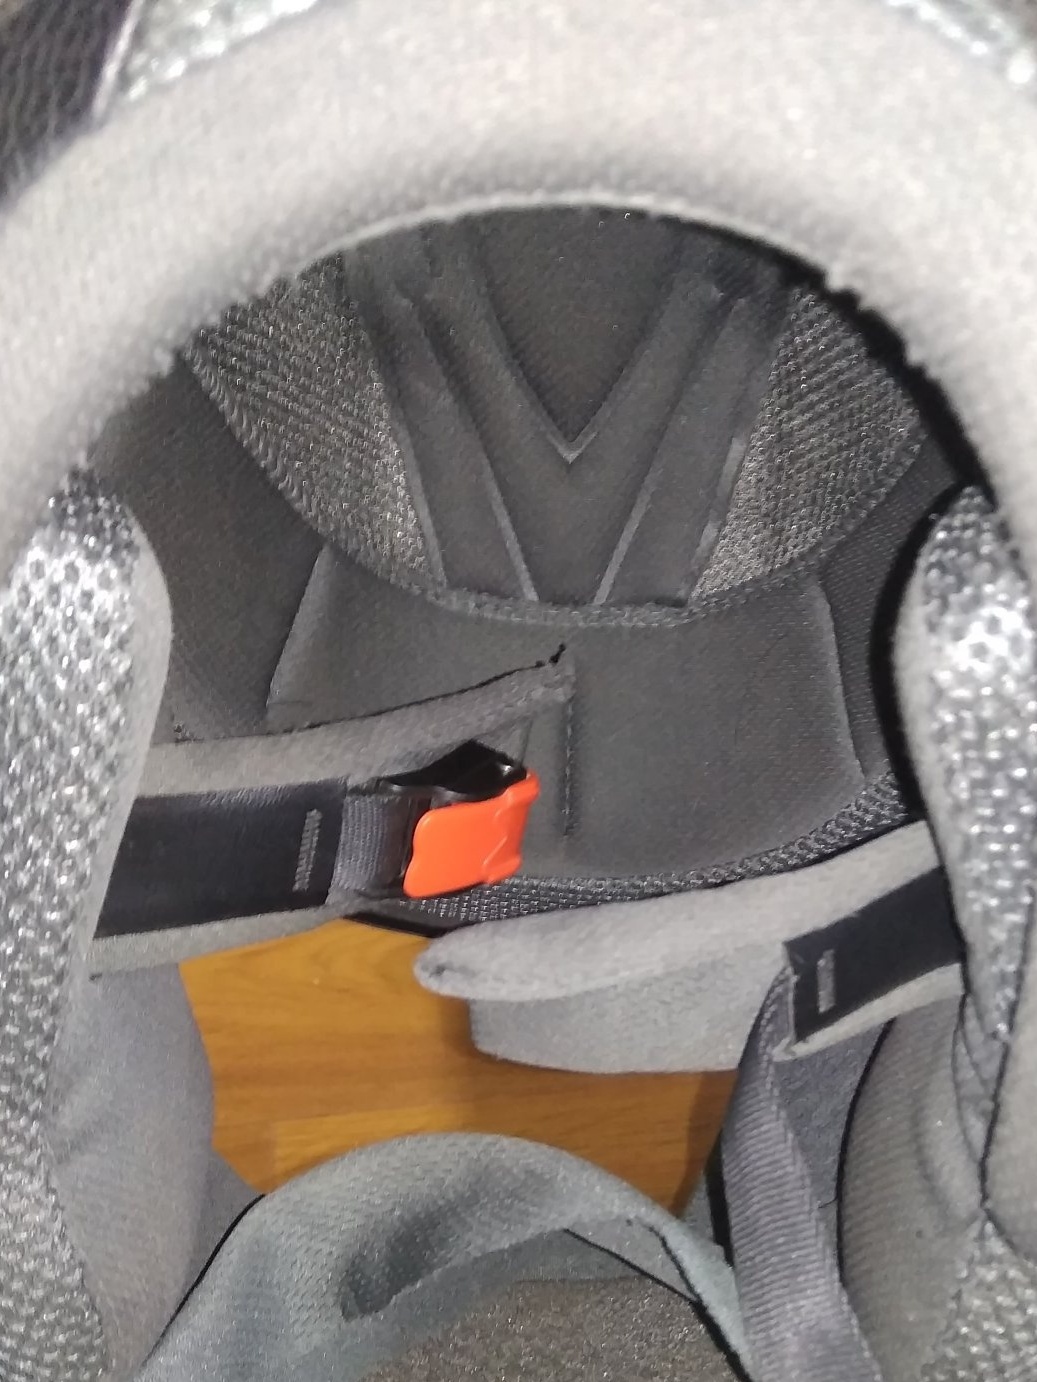
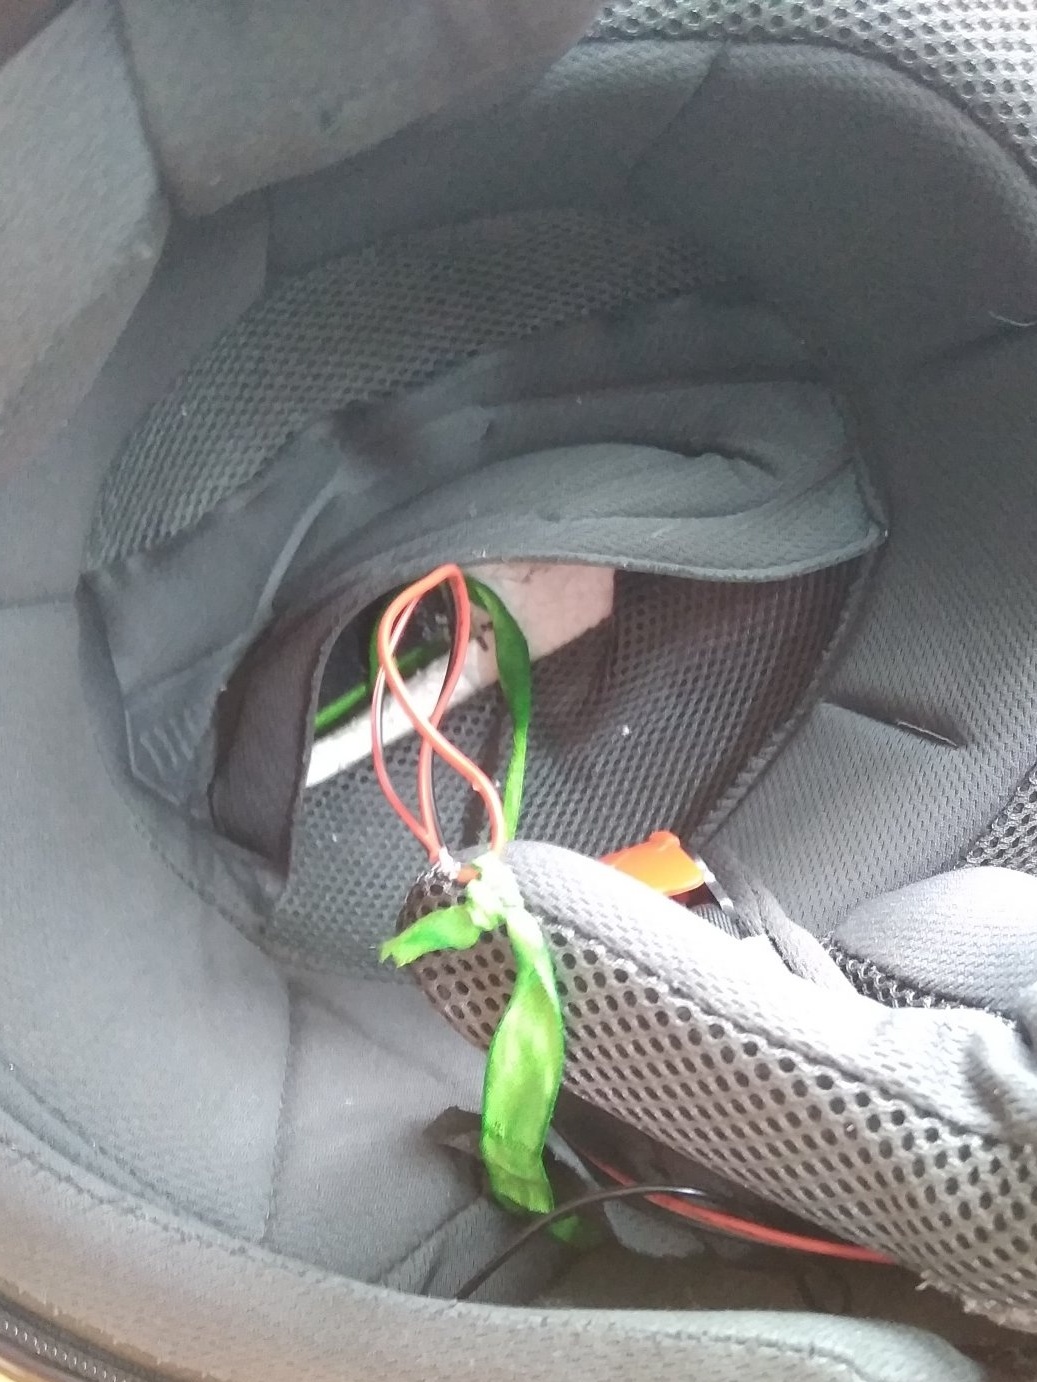
So, for starters, I decided on a place for the battery, placing it on the top of the helmet, where the thickest layer of foam is.
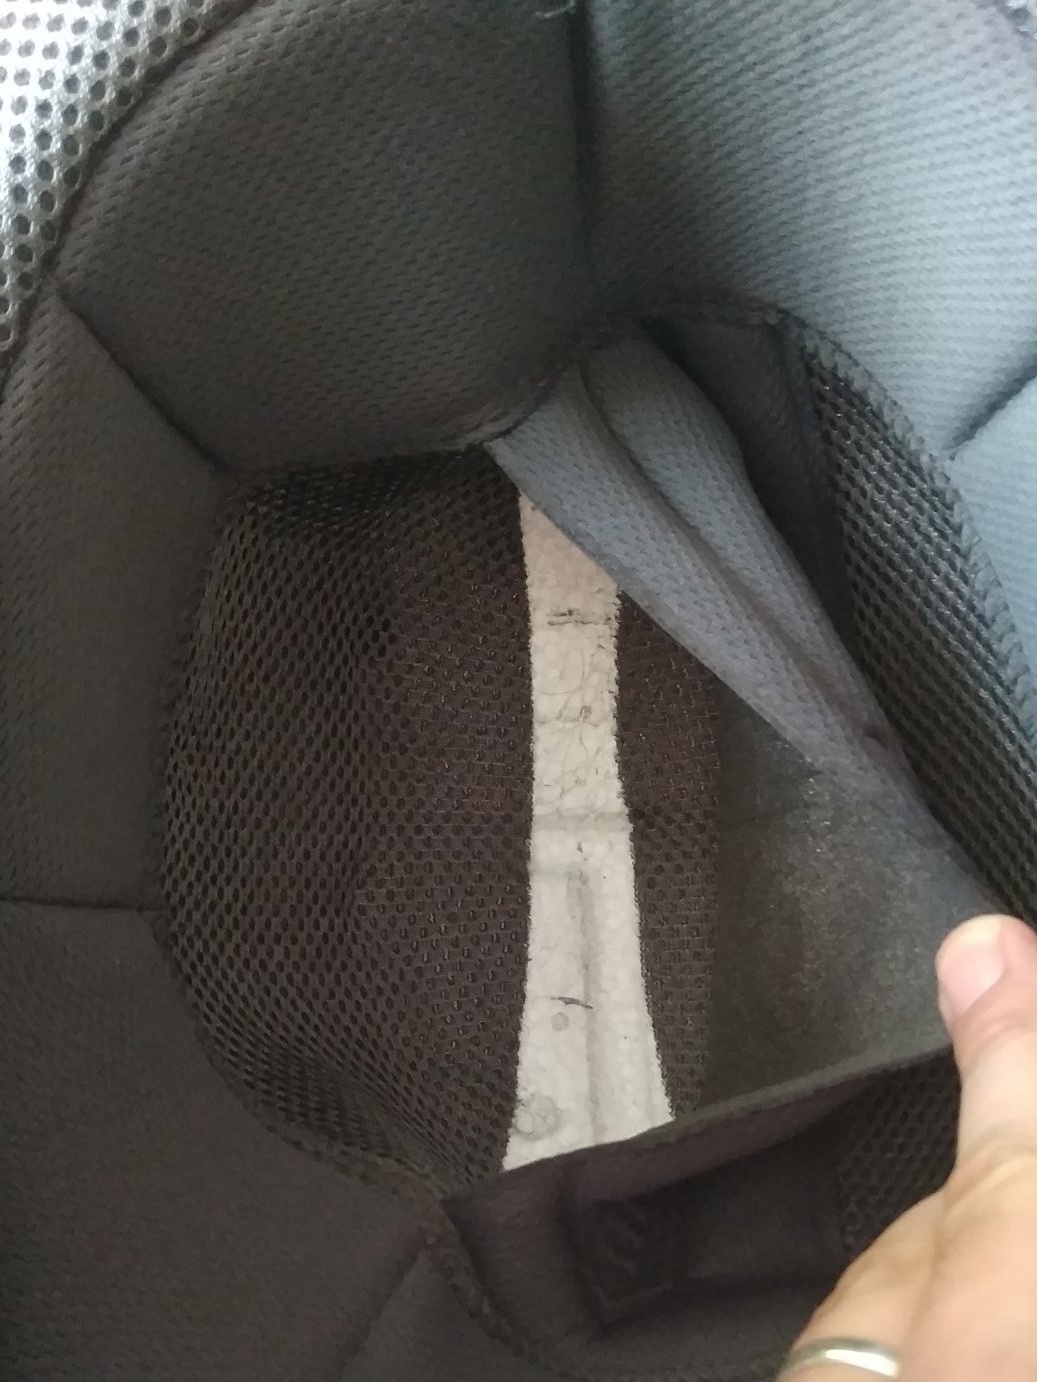
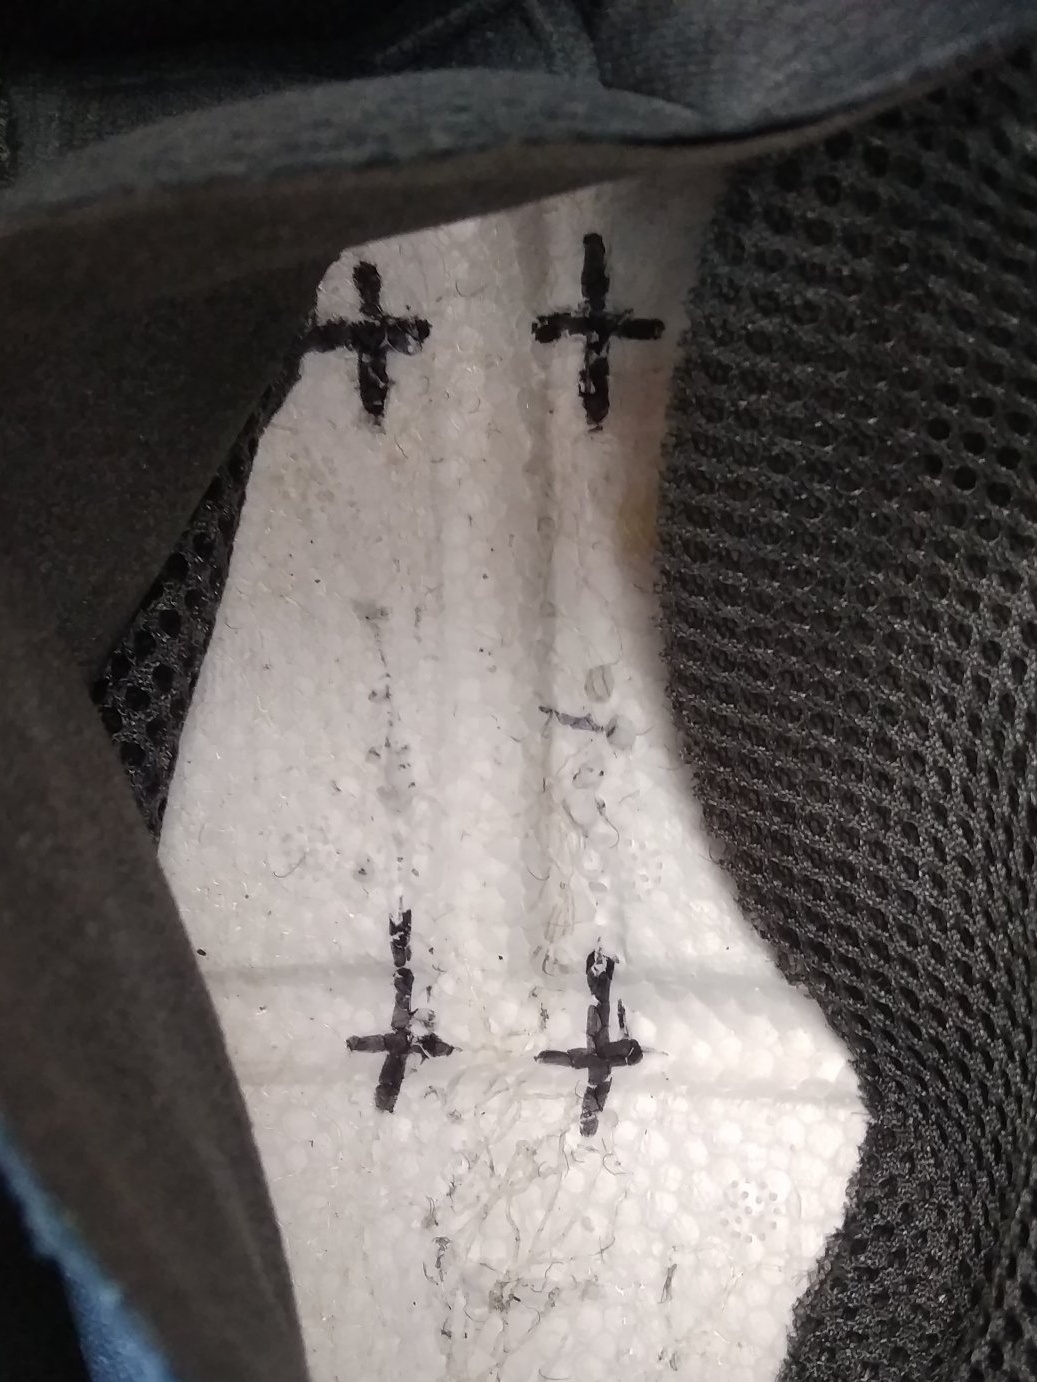
I cut a hole in the shape of a cassette with a clerical knife, it turned out not very neatly, and with a size of a couple of millimeters I made a mistake. And it was planned that the cassette will fit tightly into the hole and only the battery will be pulled out. The situation was saved because the cartridge purchased in Taobao fixes the battery sooo tightly that it cannot fall out. It’s not easy to get it from there. In general, I glued Velcro on the shell of the helmet, and its counterpart on the cassette, and for convenience I made a supply of power wire. It turned out even more convenient than originally conceived. Now the entire battery pack is pulled out by the cord and then the battery is replaced.
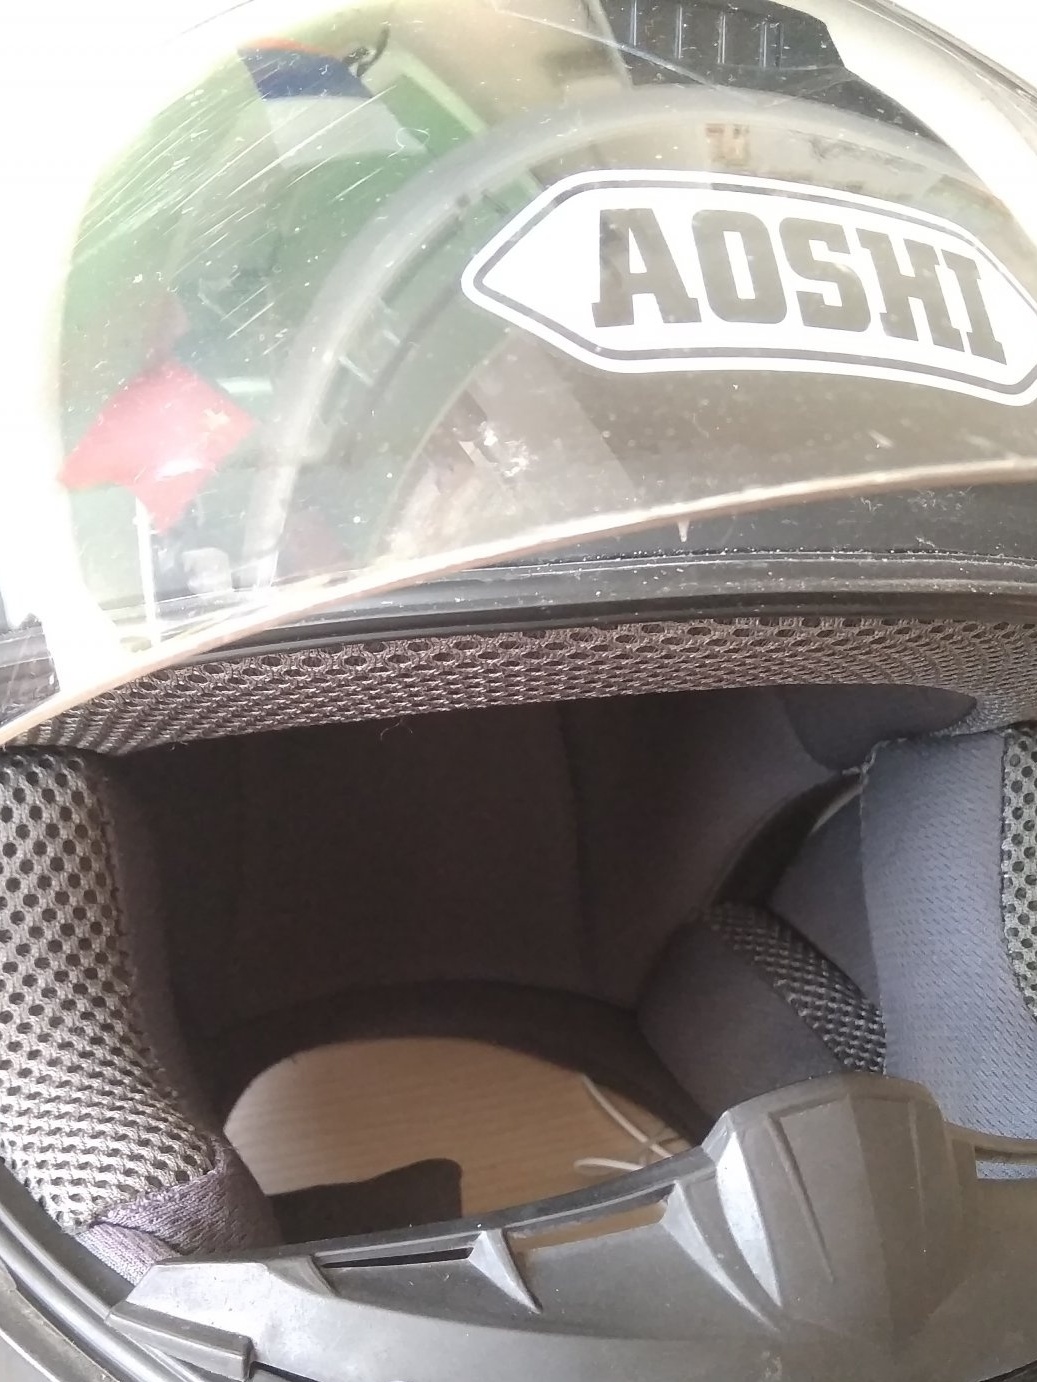
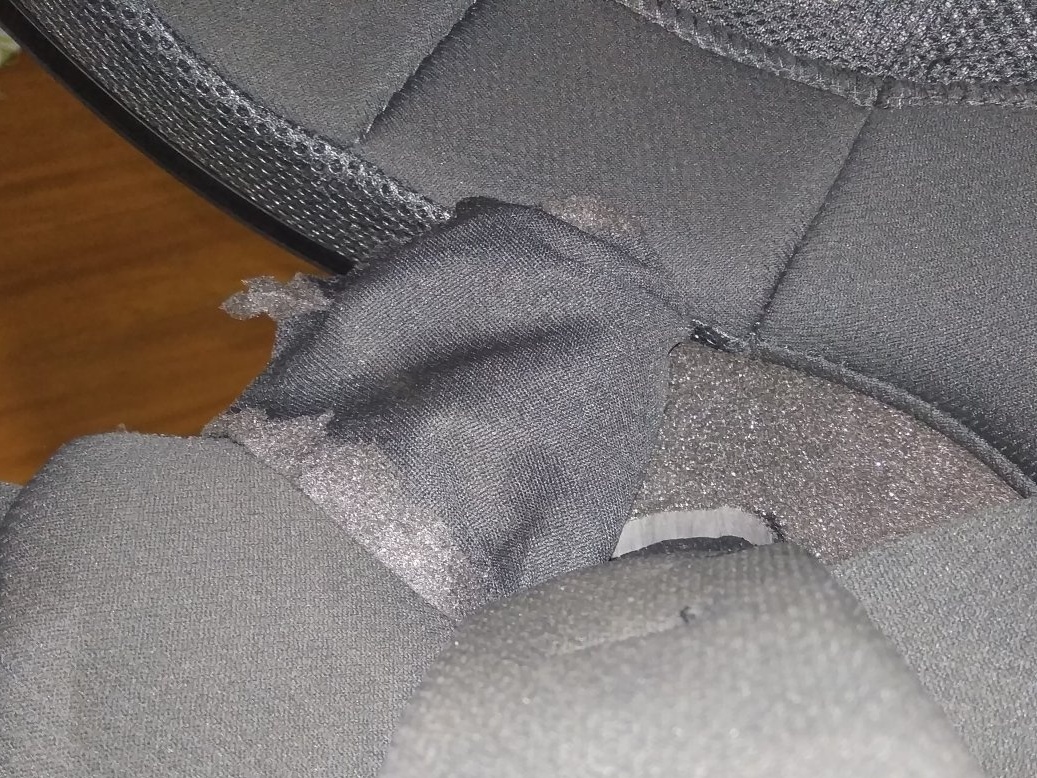
Step 3:The Bluetooth device (Bluetooth Audio Receiver) decided to place in the "beak". The place is not the best, because in the cold season there will be condensation from breathing. And for electronics, this is not very useful. But I make this helmet for a trip to the distant SUMMER in SUMMER, so I decided to neglect this nuance. And this is the only place where the volume control buttons, track rewind and pause will be available (lift it and hang up when talking on the phone). Of course, you could install the device outside the helmet, but this option is even more unsuccessful, because rain is much more dangerous than condensate.
The size of the hole and the density of the bluetooth fit, previously checked on a piece of password.
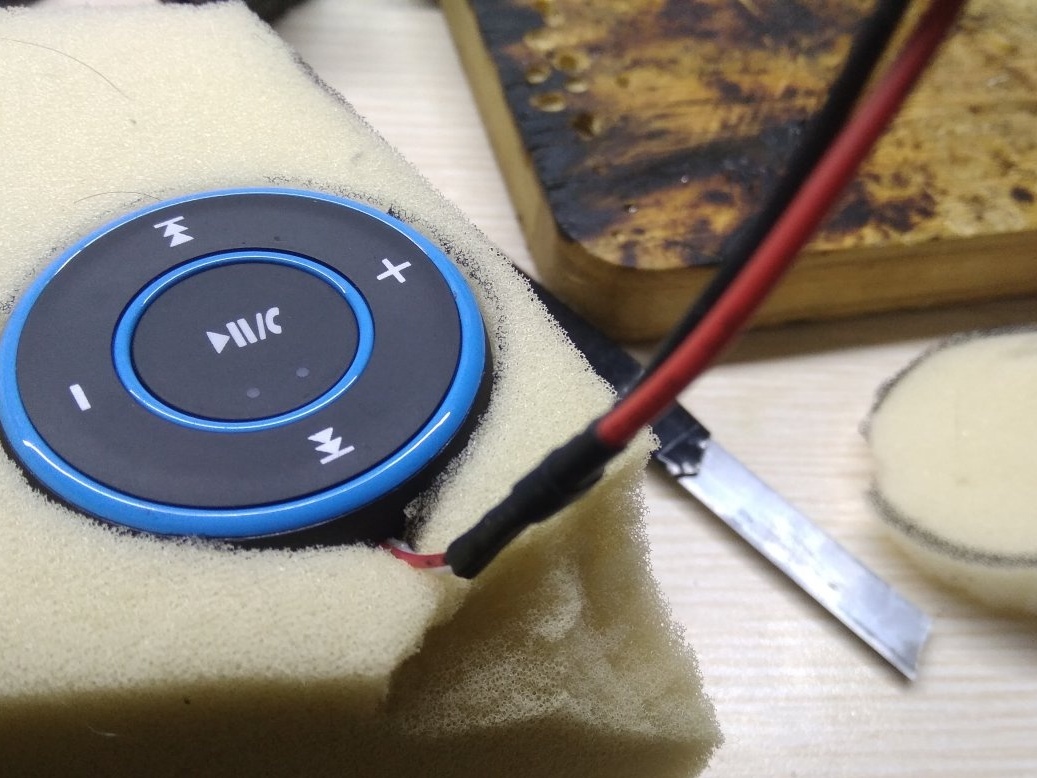
Before cutting a hole for the bluetooth, I gently tore off the casing fabric to subsequently wrap it around the edges. The power cord and the jack from the headphones let you down so that they did not stick out anywhere and at the same time prevented the device from falling out of the socket. Everything turned out conveniently, with the exception of one point. On the edge of the bluetooth, there is a microscopic toggle switch (you can see in some photos), which turns off the power of the device and access to it by no means turned out to be convenient. As a result, I decided to install a "mass" switch directly on the power wire. And somehow he quickly soldered the button, set it under the skin and ... and forgot even to take a picture. Oops
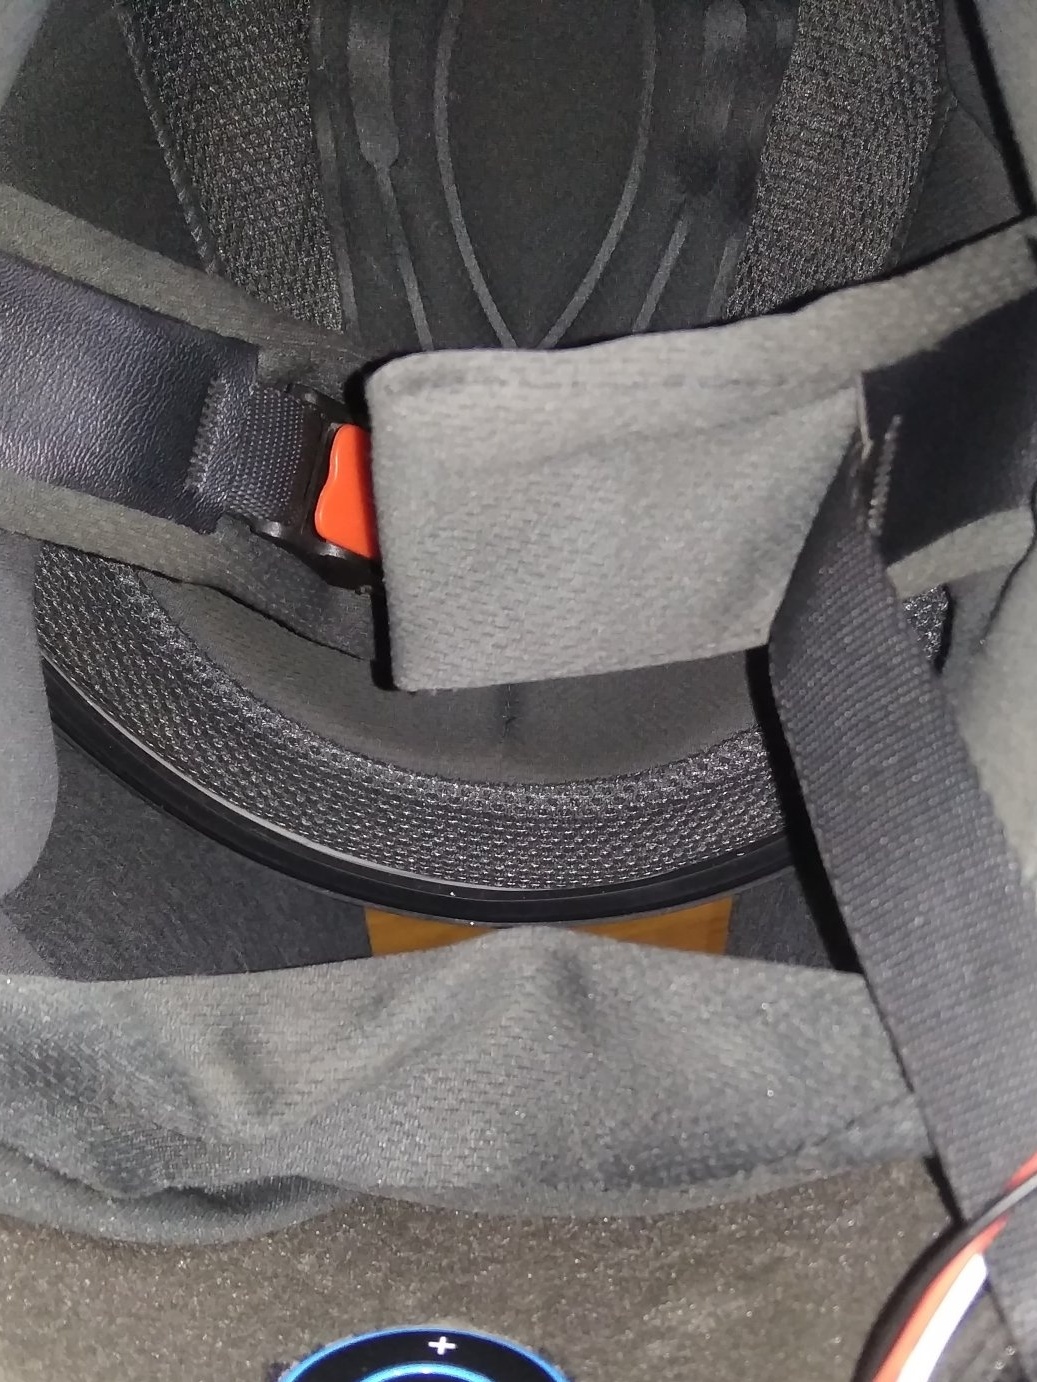
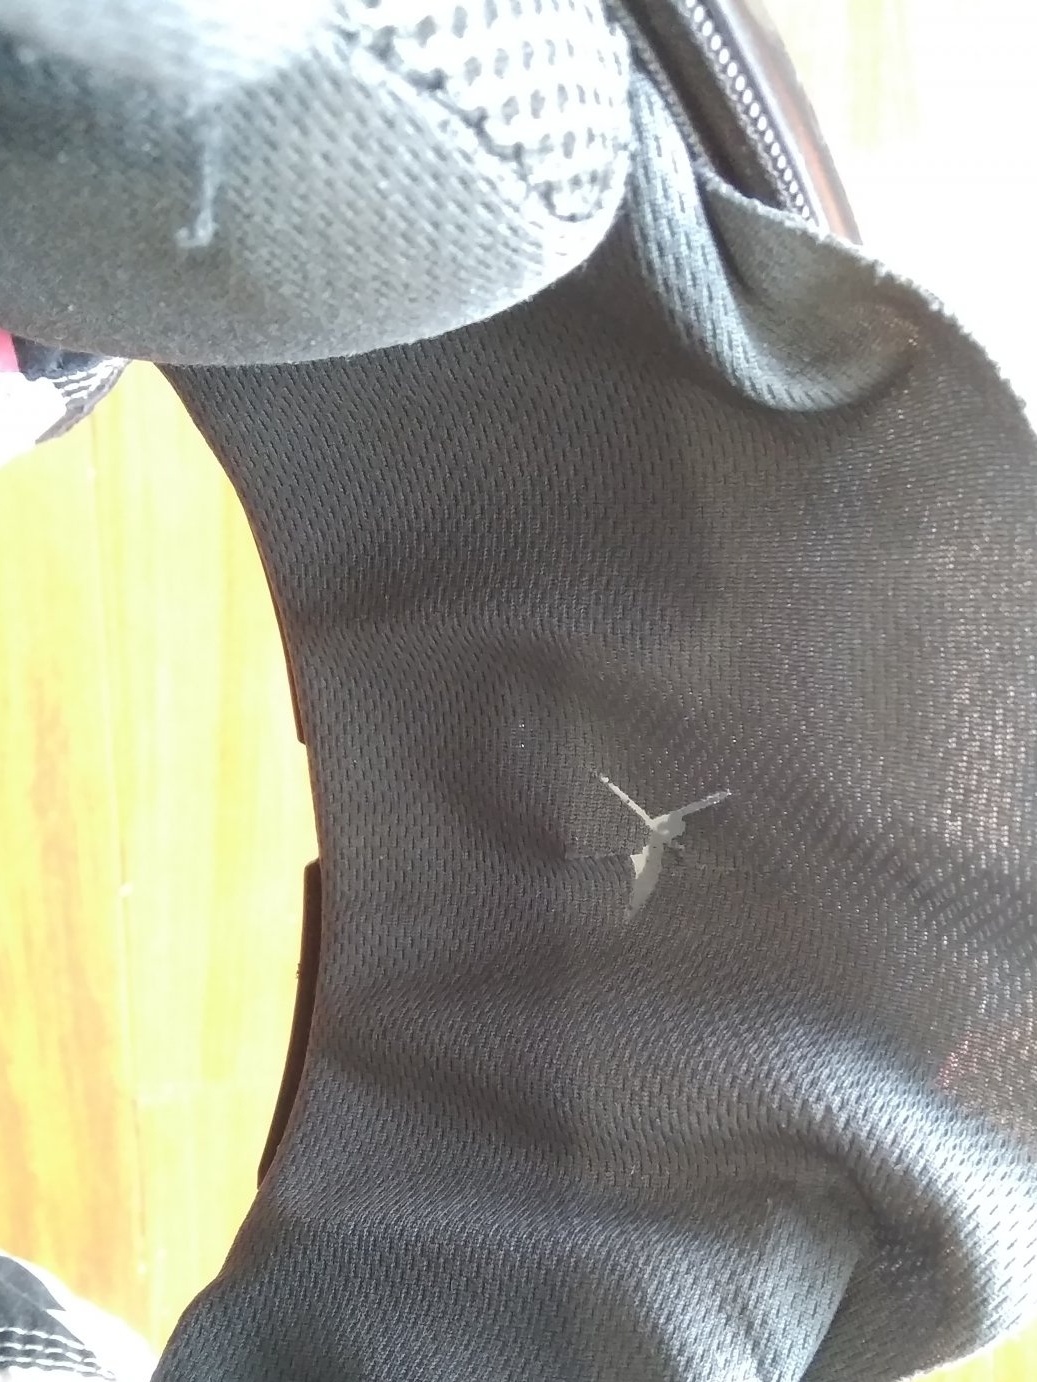
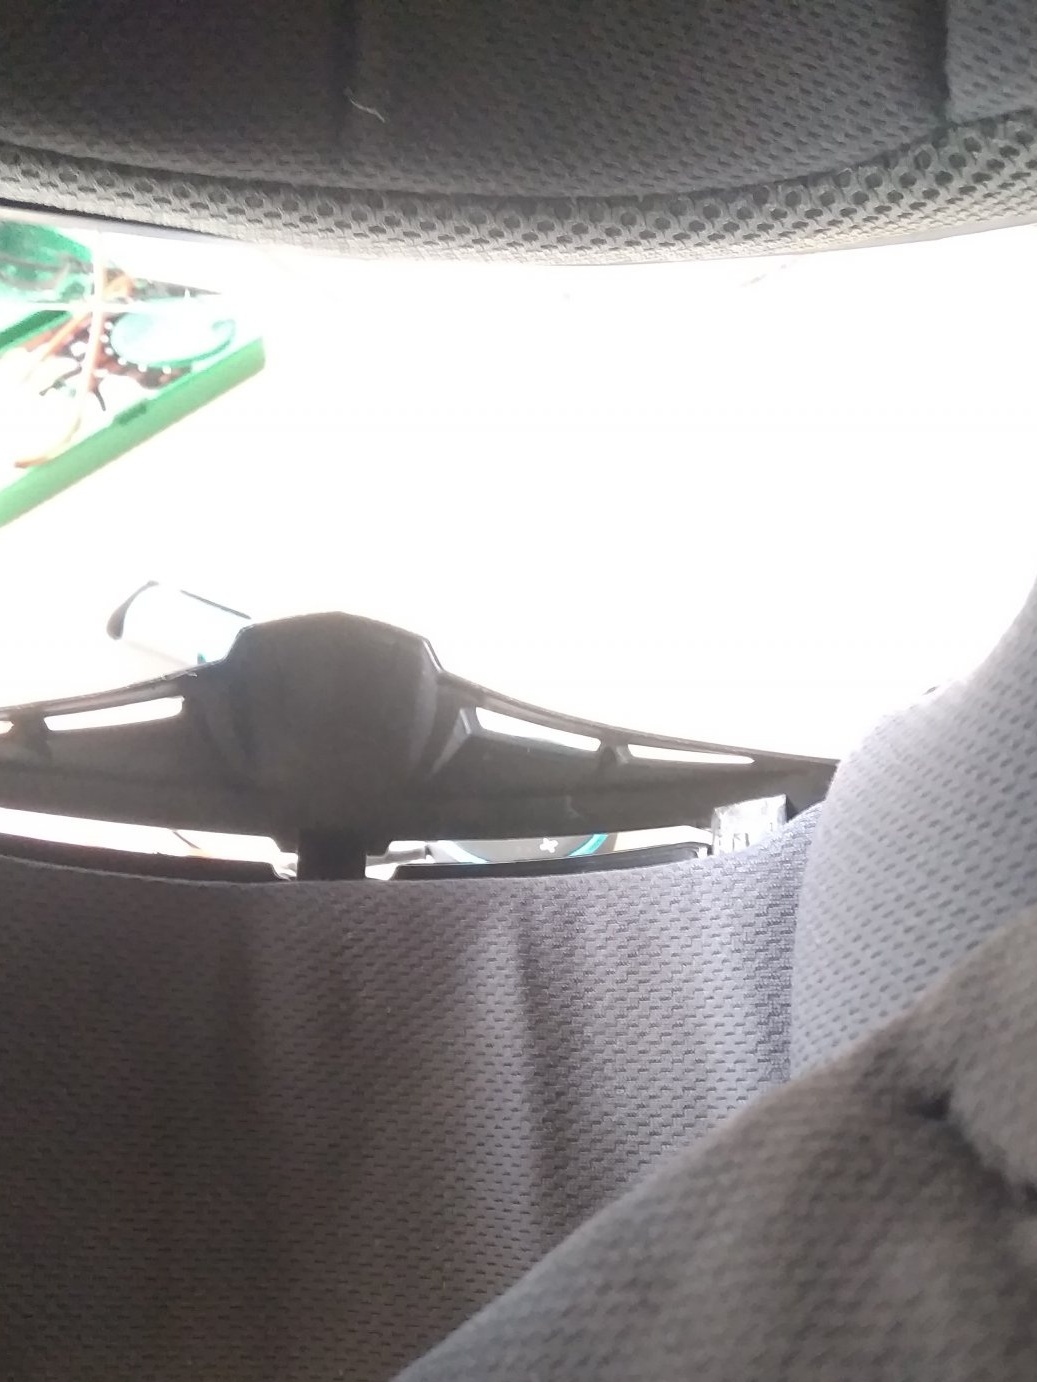
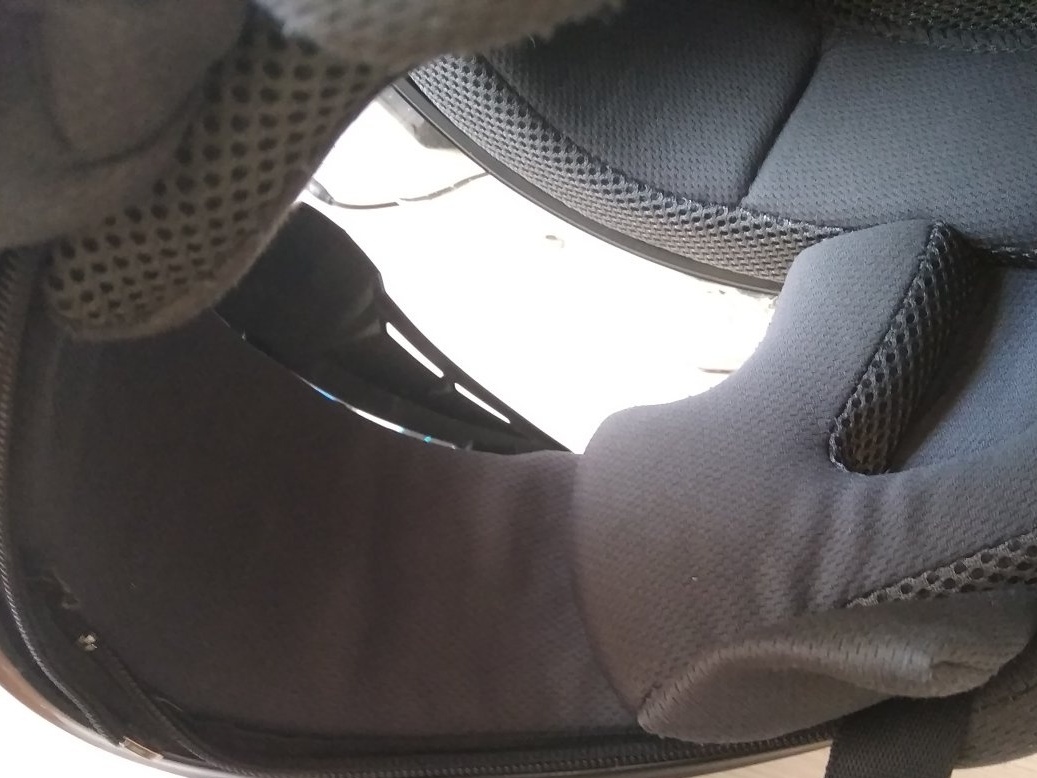
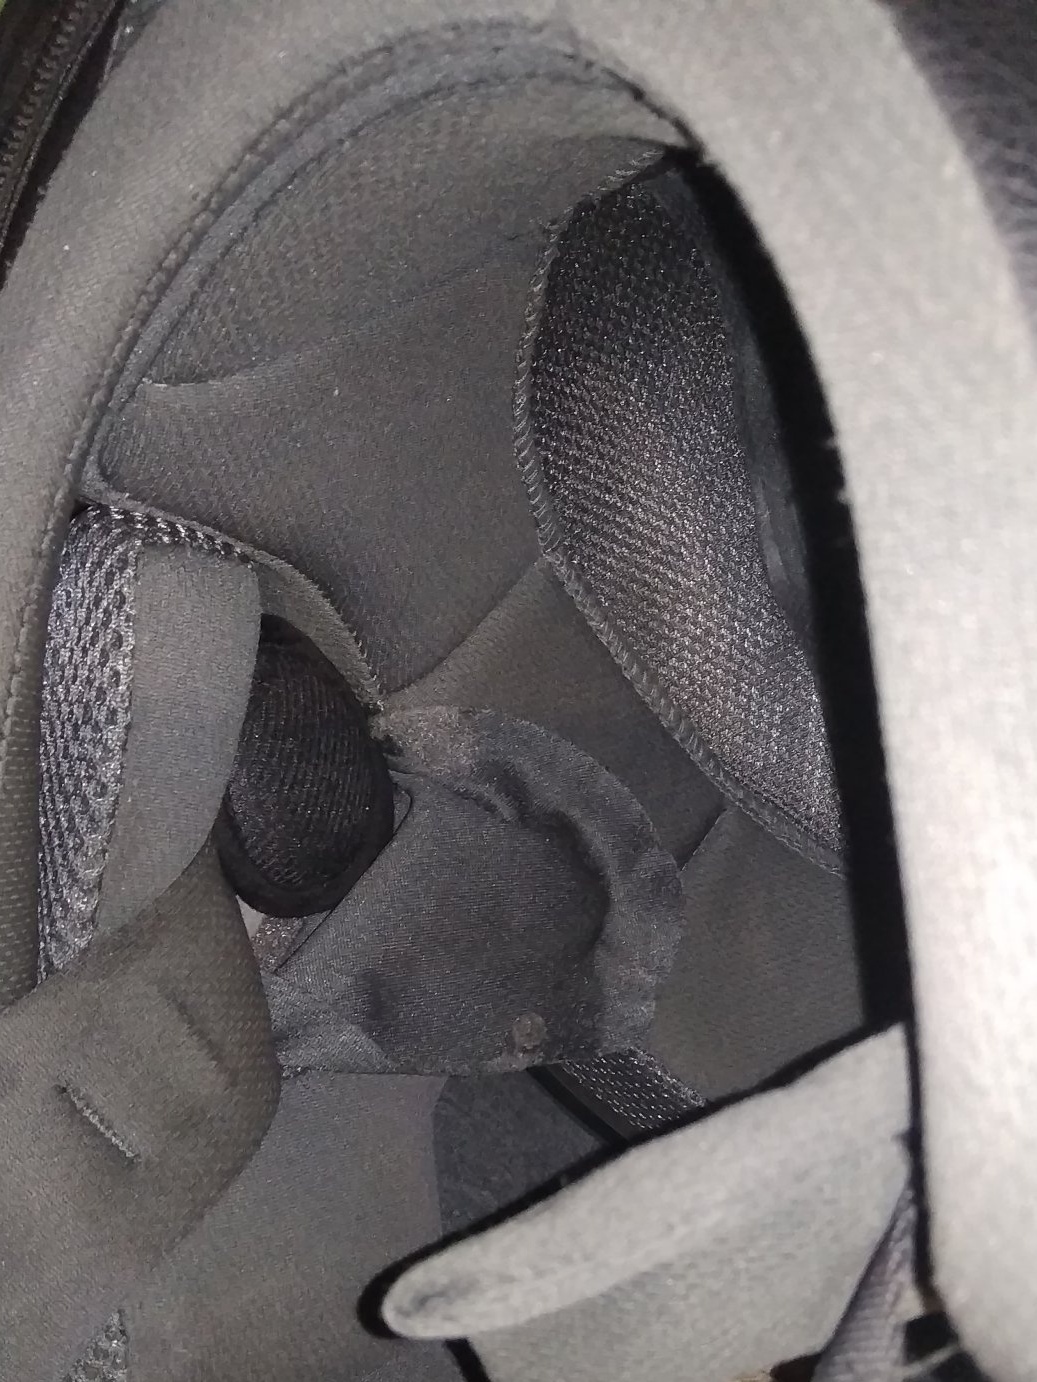
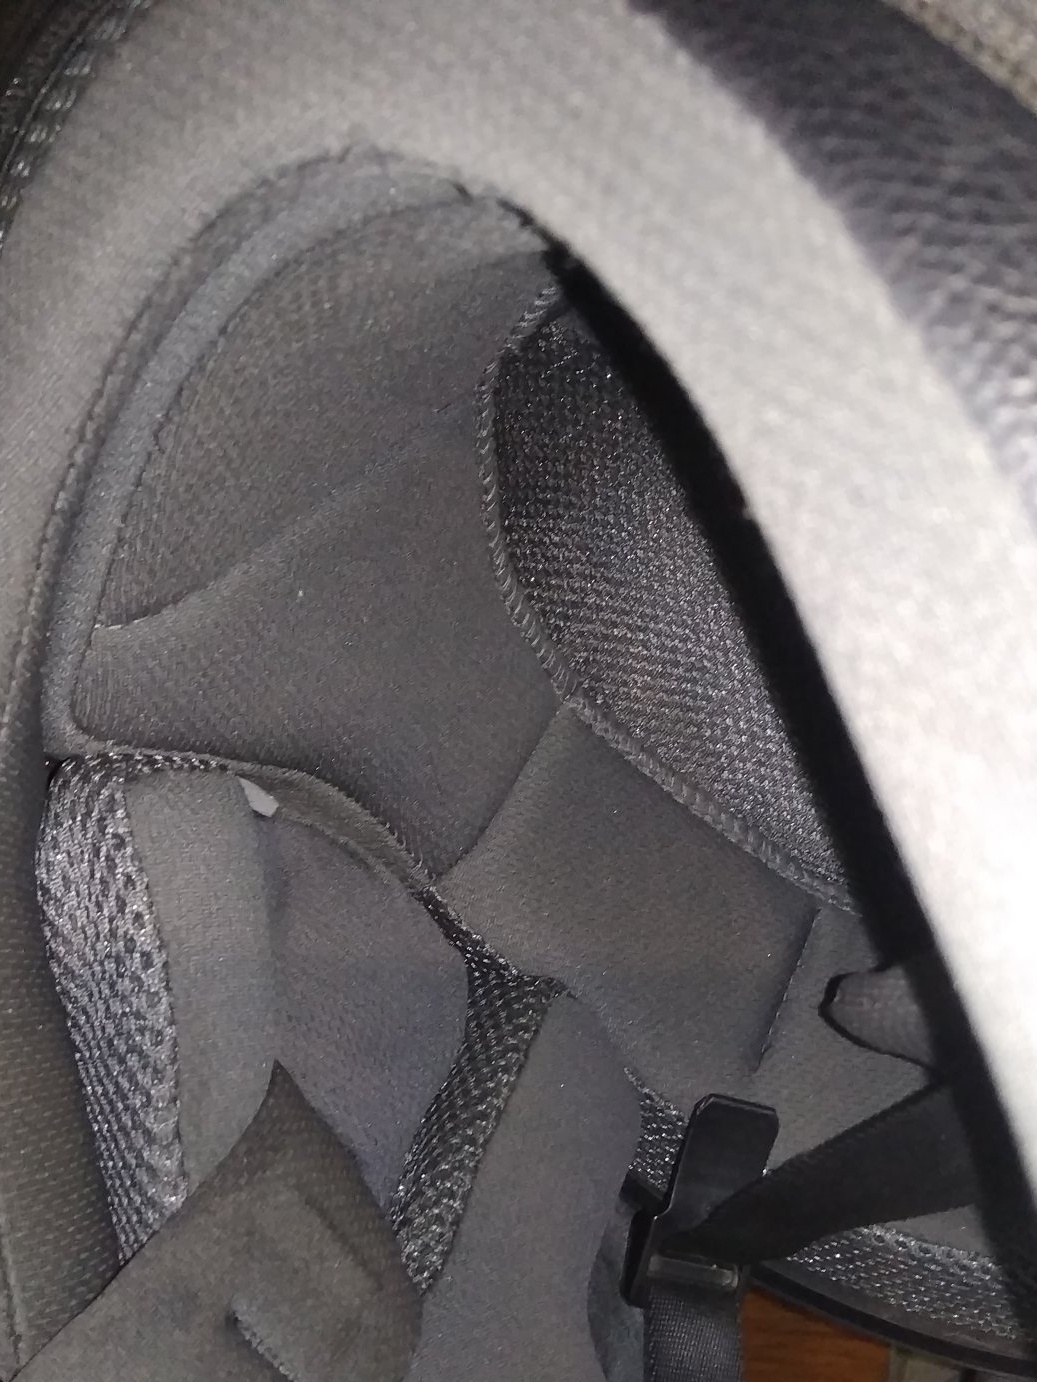
Step 4:Speakers installed in the recesses for the ears, there is plenty of space there. There, as in the beak, there is a lining similar to polyurethane - such triangles are covered with fabric. But because of the straps, these triangles are at an angle, which is why the headphones got up incorrectly. The problem was solved elementarily - just made cutouts for straps in polyurethane and everything became as it should.

I bought speakers from headphones on Taobao (400 rubles per pair). I installed them on polyurethane triangles and tightly covered with fabric, which I had torn off before. The fabric on the back glued to the glue. Used glue for foam rubber. The speakers stood tight and did not require additional fixation.

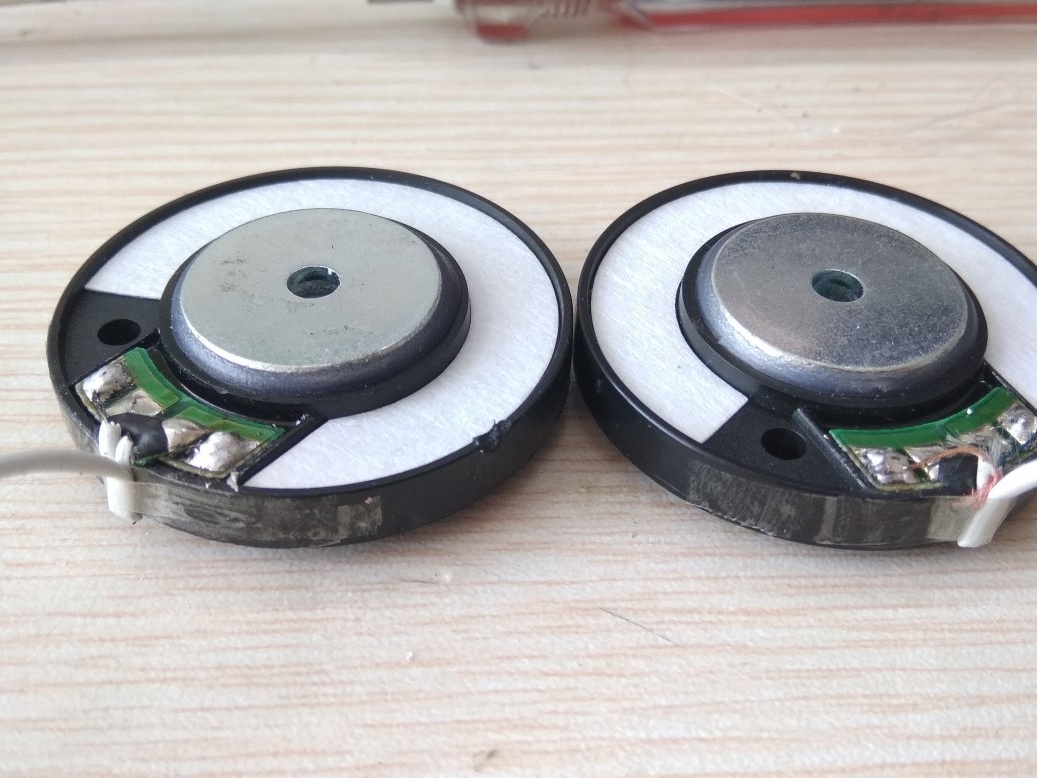
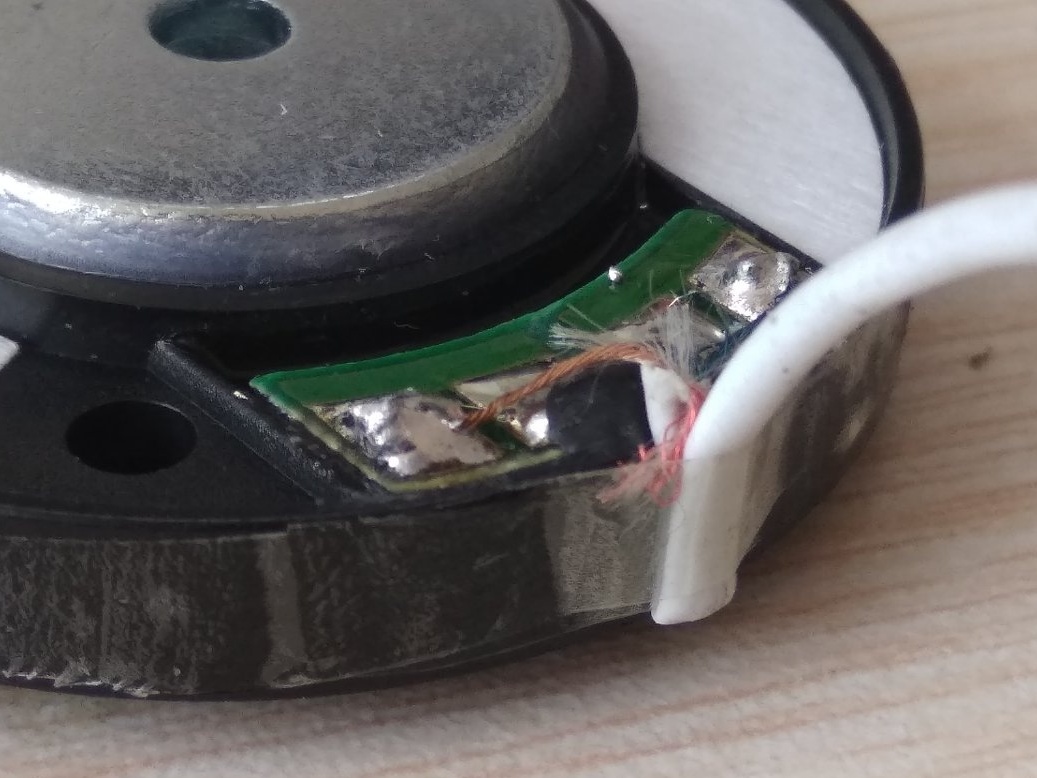
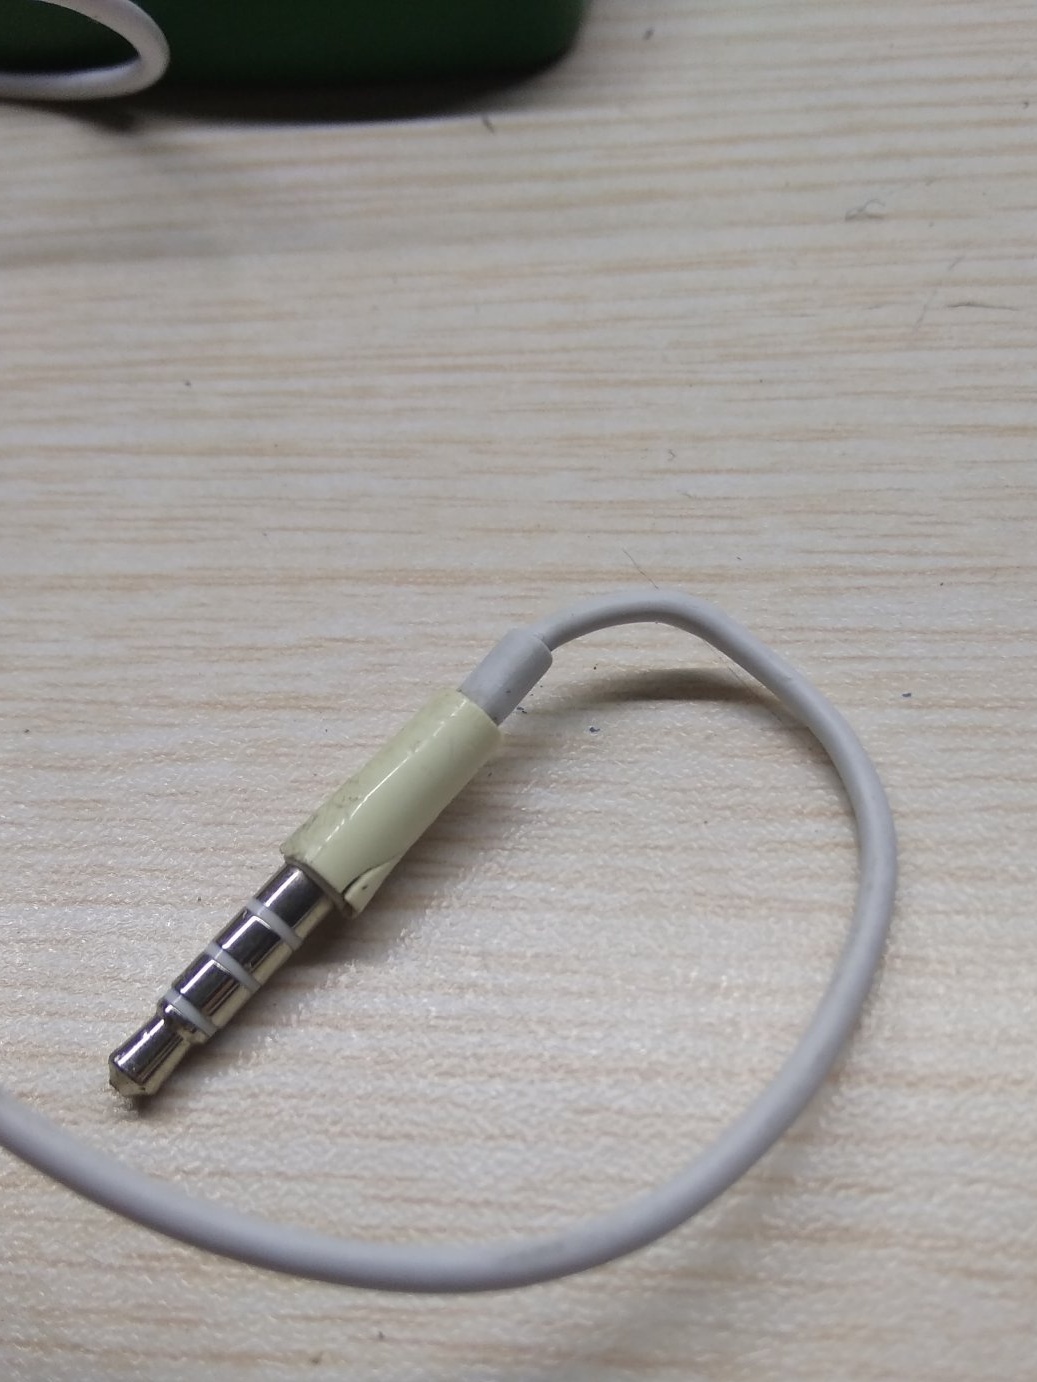
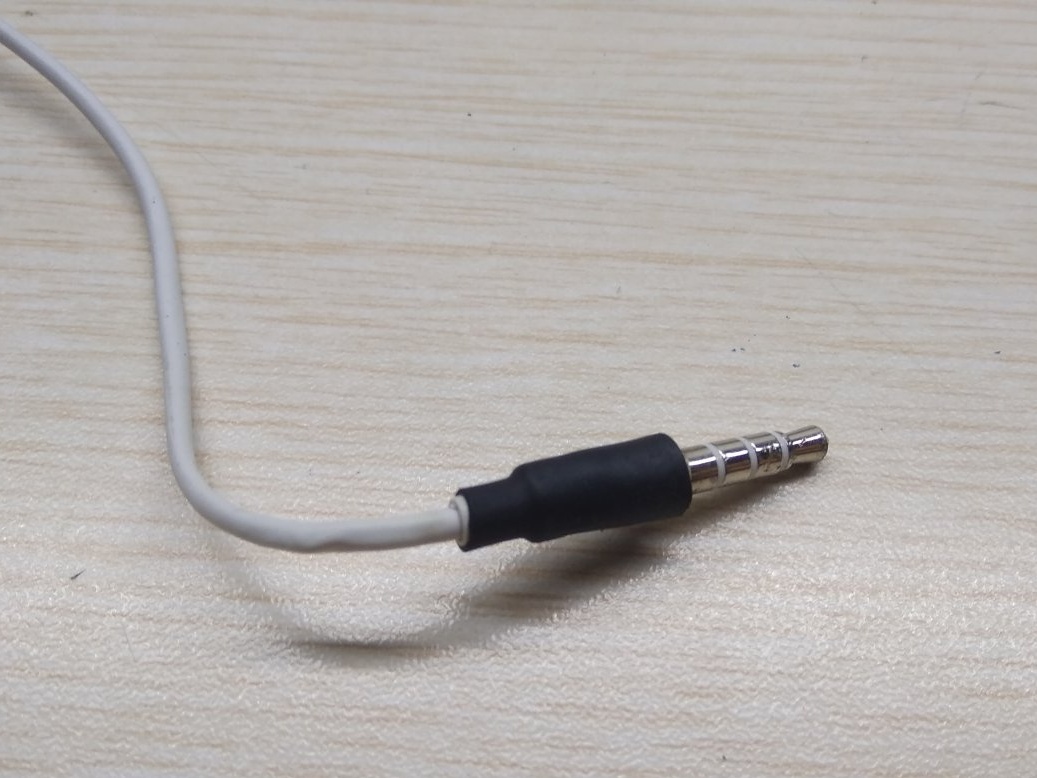
I took the wire for the speakers from the old headphones. Just in case, the bursting case of the jack pulled into heat shrinkage. There seems to be no load there, but it’s better to overdo it ...
The amplifier purchased as an experiment was not used in the homemade product. Because it turned out that if you power it, and the bluetooth device from one battery, a strong whistling background appears. It’s as if the microphone is starting up. Why I didn’t figure it out (can someone tell me?) And I did not dare to install a separate battery for the amplifier for several reasons. Firstly, I did not want to cut another hole in the foam of the helmet, thereby weakening the protection, and secondly, I did not want to increase the weight of the helmet either. And plus everything, the working temperature at one of the parts of the amplifier (the condenser seems to be) rises at 60 degrees, and I definitely do not need a heater in the SUMMER helmet. And it turned out that the bluetooth device apparently has its own amplifier. In general, I decided to sacrifice the sound volume to comfort and safety.

Step 5:I hid all the wiring under the skin. I had to tinker a bit so that the wires did not fall into the air channels inside the helmet. Again I didn’t take a picture, but now not because of my forgetfulness, but because here I just couldn’t manage to slip the phone so that something was visible. I did everything almost to the touch. I soldered the soldering wires using heat shrinkage - much more convenient than the good old electrical tape, especially when working with thin wires. True, if you forgot to put the tube on the wire in advance, then you have to unsolder everything and do it again.
Conclusion:After test pokatushek, no design flaws were identified. I have been using it for a week almost every day, the battery has not yet been discharged to the end. The volume level is good, but if it were even a little lower, it would not be enough. Especially at speed. It was also necessary to install another player on the phone, because the native player (which was installed when buying the phone) could not identify model headphones and therefore the equalizer settings were not available. And tuning was necessary - it was necessary to add bottoms and slightly tidy up. After installing another player and adjusting the sound, this flaw disappeared.
It is also worth noting that I placed the speakers so that they did not touch the ears. Because if the helmet presses the ears tightly, then by the end of the day they begin to hurt. But if you wear a helmet no more than a few hours a day, then it is better to place the earphones denser to the ears. Sound quality benefits from this.
Thanks for attention.