

Hello, dear visitors of the site.
Today I want to talk about how I made a simple metal support for climbing plants. This publication will be devoted to homemade work, which I did spontaneously. That is, I did not plan anything in advance, did not expect, did not invent. Yesterday was Saturday, and I went to my construction site. My wife expressed a desire to come with me, and along the way she asked me to stop by the market to buy flower seeds. After all, this is the main thing for me - to build a house! ))) Women are more important - flowers!
 Well, how can you not plant flowers, even if no one lives there yet? !!!
... Together with the seeds, she bought two bushes of clematis. I already learned along the way that this is called clematis, that it is curly, and that now I have no right to even die until I make two "trellises", because the plant is curly, and it needs support !!!
Particularly pleased with the detailed explanation of the type and size of the "gratings", which I must make: "Well, the usual! Such as for clematis put!" ...
.... And the truth !!! ... What is there to invent ?? I'll do the usual ones, such as for clematis and that's it! ......
I’ve already been about ten minutes, as I know, that in nature, it turns out, there is a certain beast with such a Latin name, or Greek, or Baltic name! Upon arrival at the station, I (there’s nothing to lose anyway!)))) I interrogated with an addiction, threatening that until they explain to me at least roughly what clematis is, and in what holes or hollows it lives, I’m finger I won’t hit my finger !!!
Explained in more detail! )))). I had a net from the shell bed (I sowed gravel through it). They showed me a finger at her and said: "Well, something like that is needed! .... About .... Only a little less ... And so beautiful!"
To my further questions “How much less? Only in height, or in breadth too?”, They showed me a hand with the words “Well, like that!” ....
Well ... Input, with a sin in half, is enough ... The main speculation.
My wife’s proposal, “For the time being, knock me down from wooden slats and build your construction further, and then someday you will weld it from iron”, I rejected right away. Firstly, it will take as much time to “knock down wooden slats” as metal. Secondly, you still need to cut these very slats, and I have in my stock profile pipes. And thirdly, judging by the size of the support, the rack will have a huge windage! You never know, blame it with a gust of wind .. It’s not that I will mourn the dead clematis ... I just won’t be given time for it ... I’m unlikely to survive it for a long time ...

Therefore, he immediately made of metal.
And here is what I needed:
1. Profile pipe 30 by 20 mm.
2. Profile pipe 15 by 15 mm.
5. Corner. (Anyone not needed)))) Section - from 30 ...
Let's get started. Knowing my wife’s tastes (I’ve learned for a quarter of a century), I decided to make a rather strict form, without decorations and other “fentiflyushki” ..)))
Thinking about the choice of materials and a rough project took me one mug of coffee and two cigarettes!))))
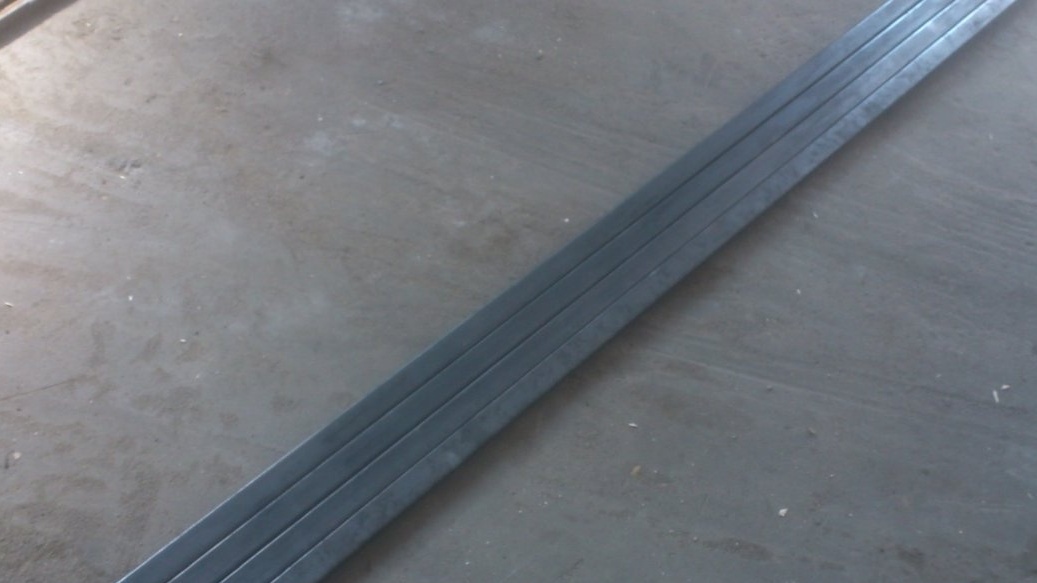
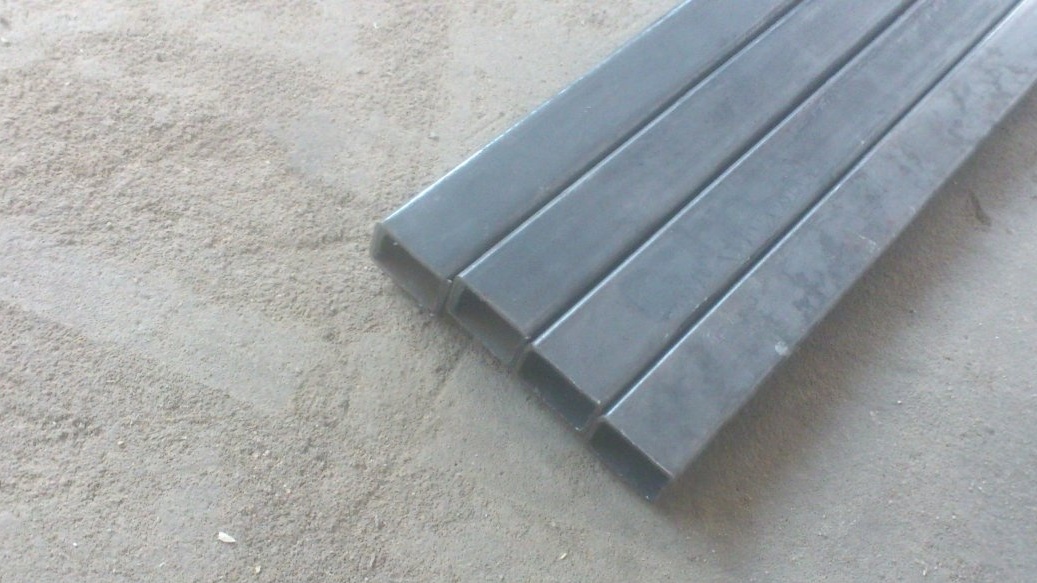
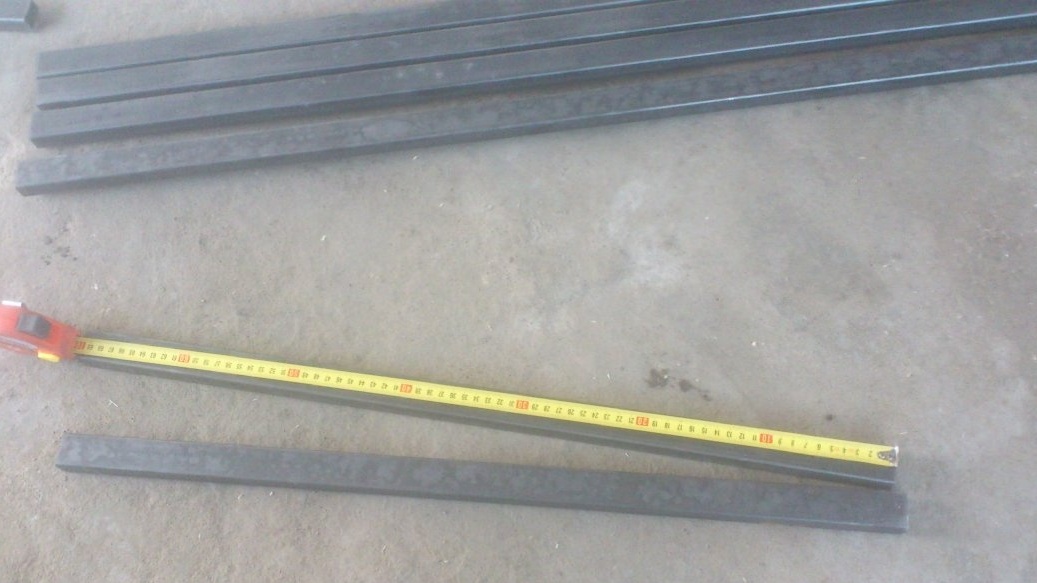
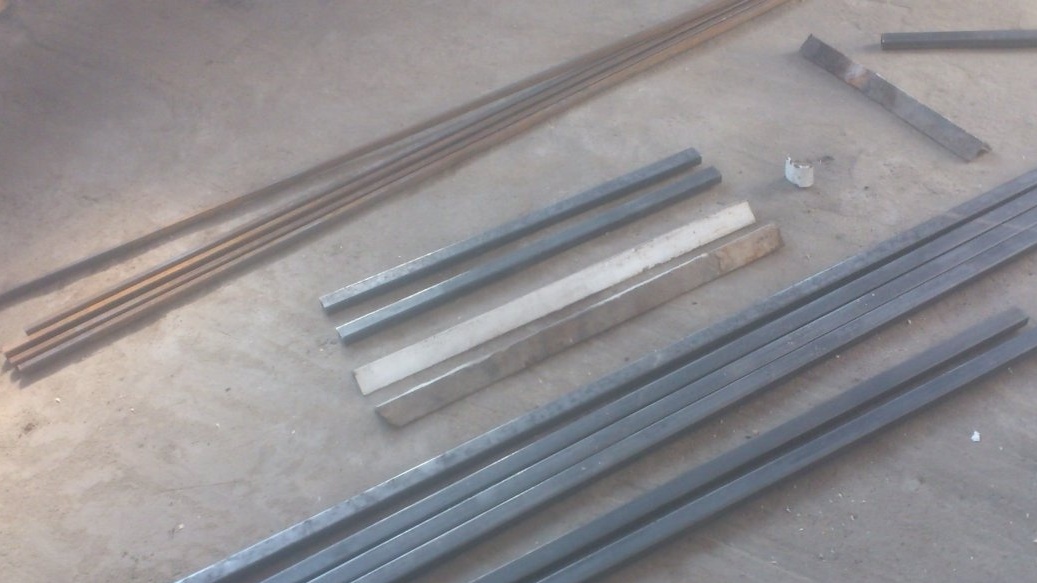
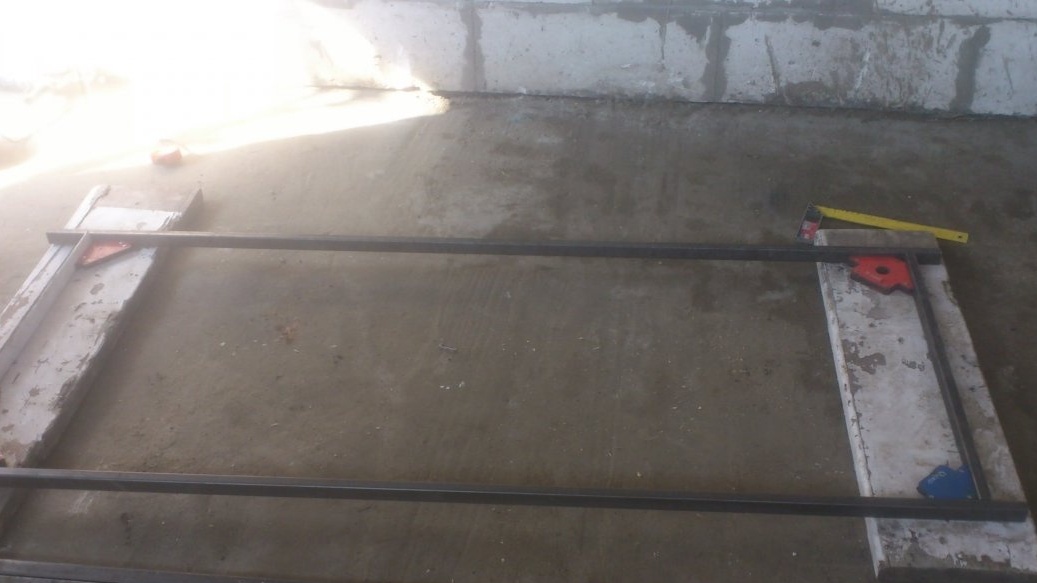
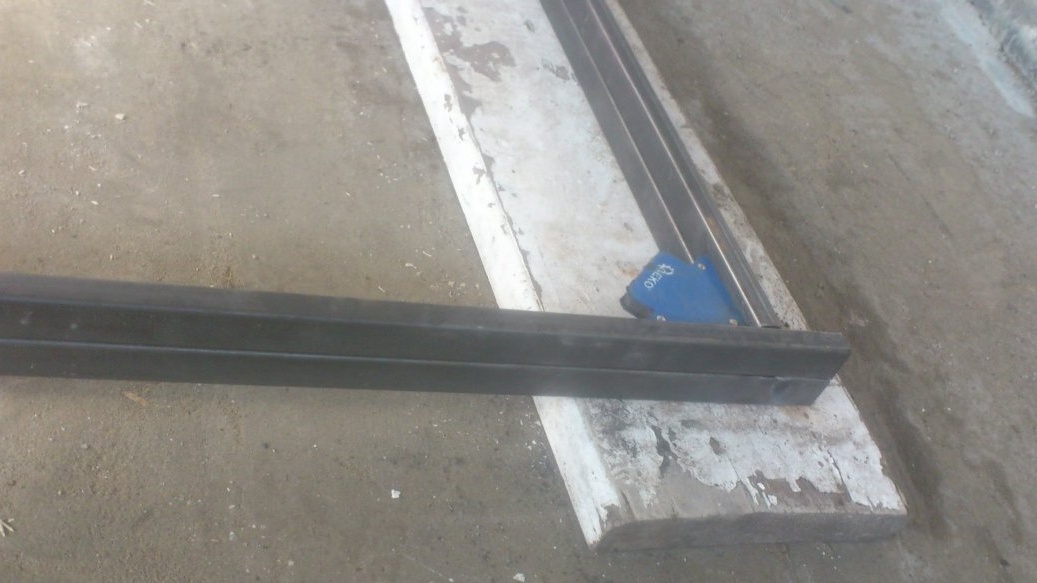
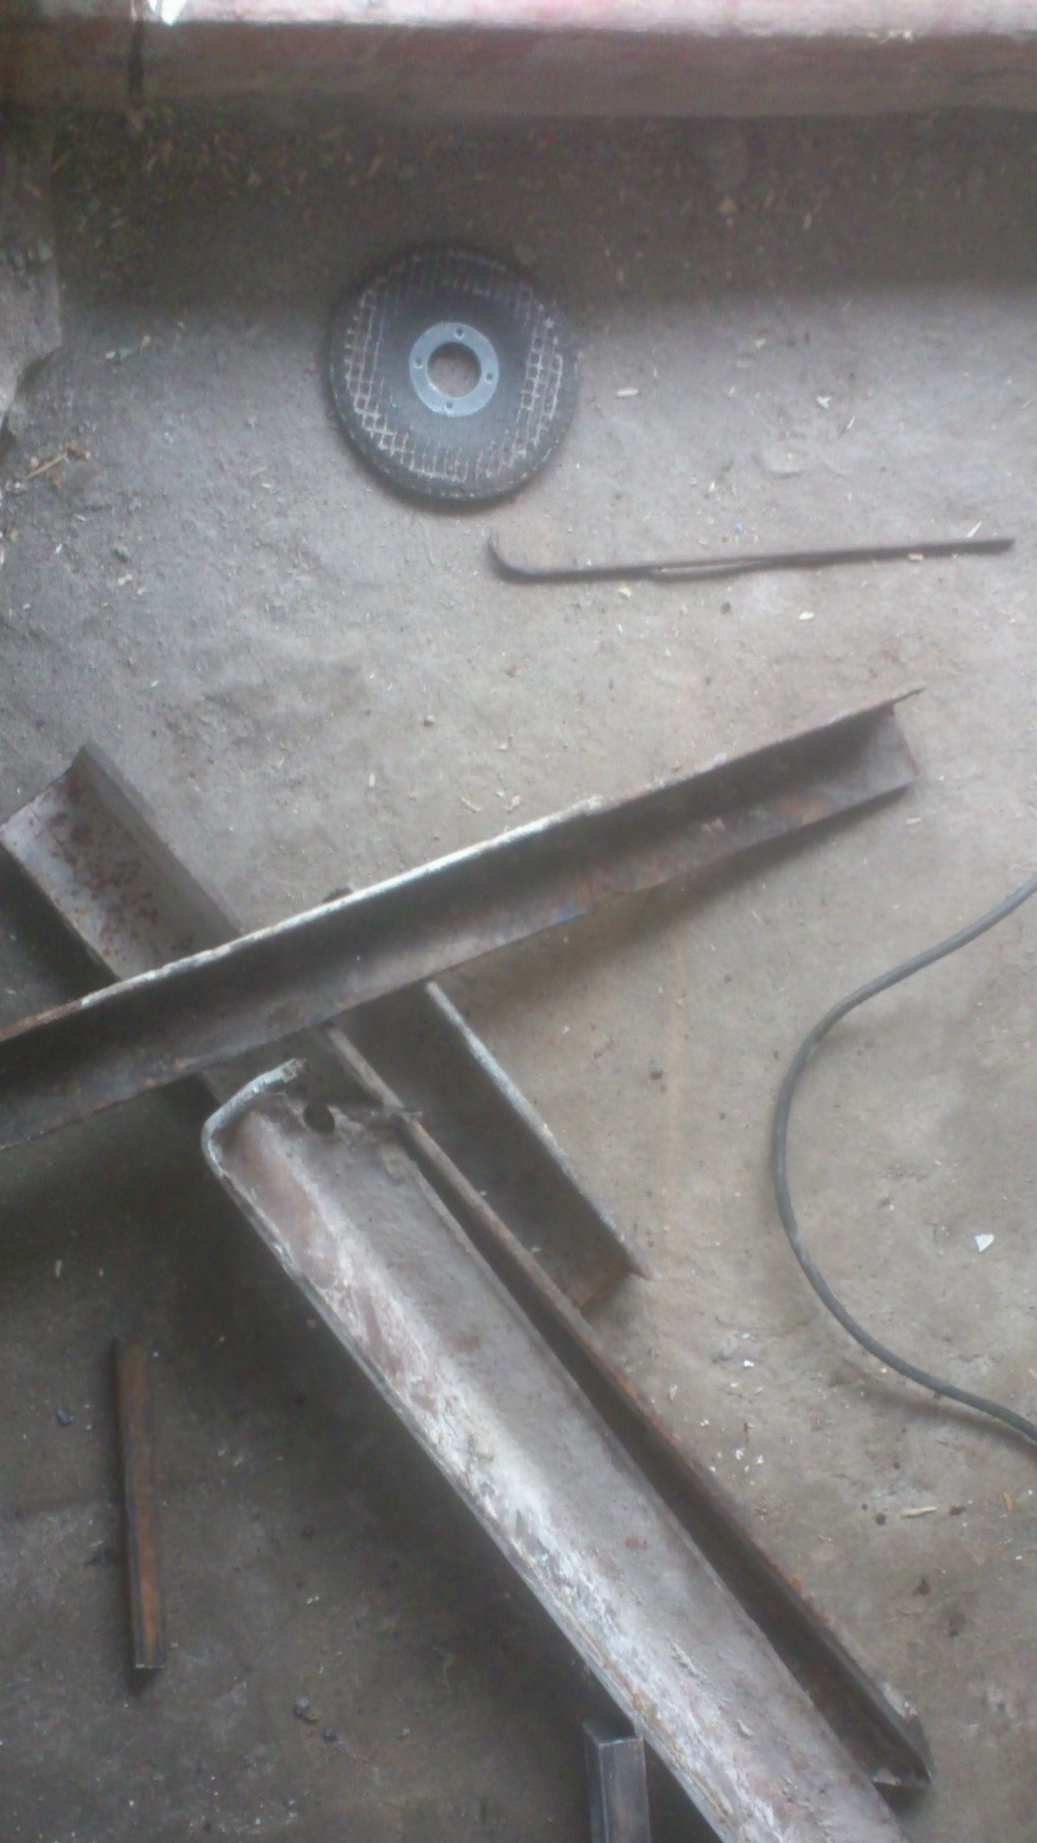
To start, I prepared the materials. I had profile pipes of 20 by 30 mm. Four segments of 3 meters:
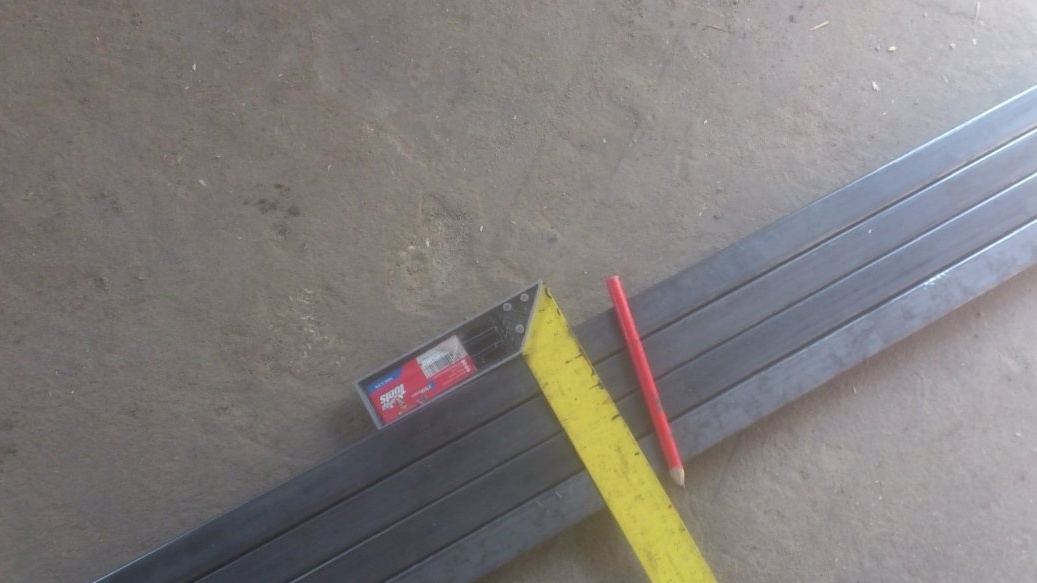
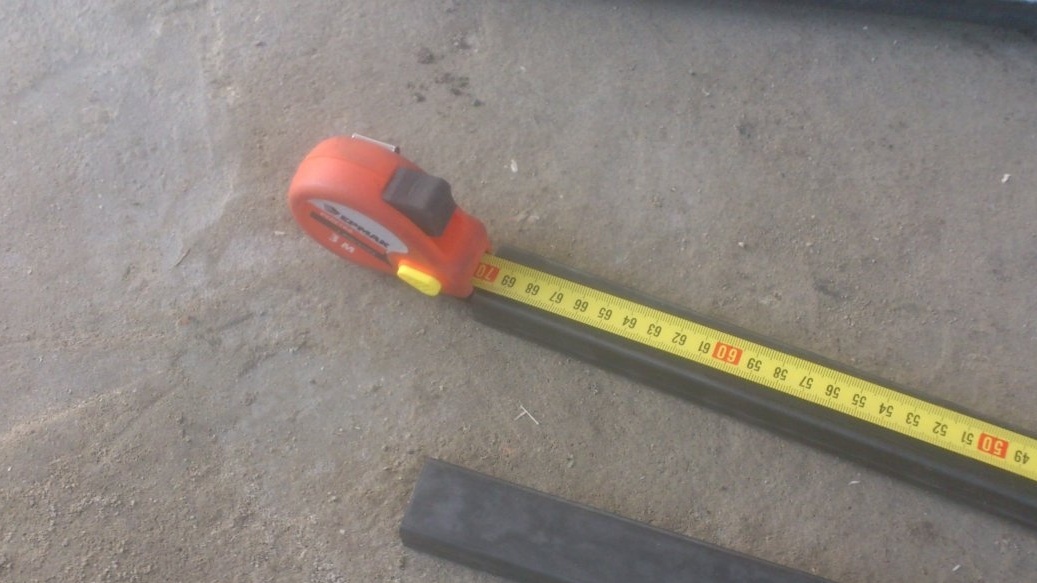
Since I decided to make two racks at once, I decided to cut the materials in double quantity at once. Having estimated the required size, I cut four segments, 1800 mm long (This will be the height of the rack). Since there are few pipes, I did not bother with the cutting machine. He noted with a square and sawed off the grinder:

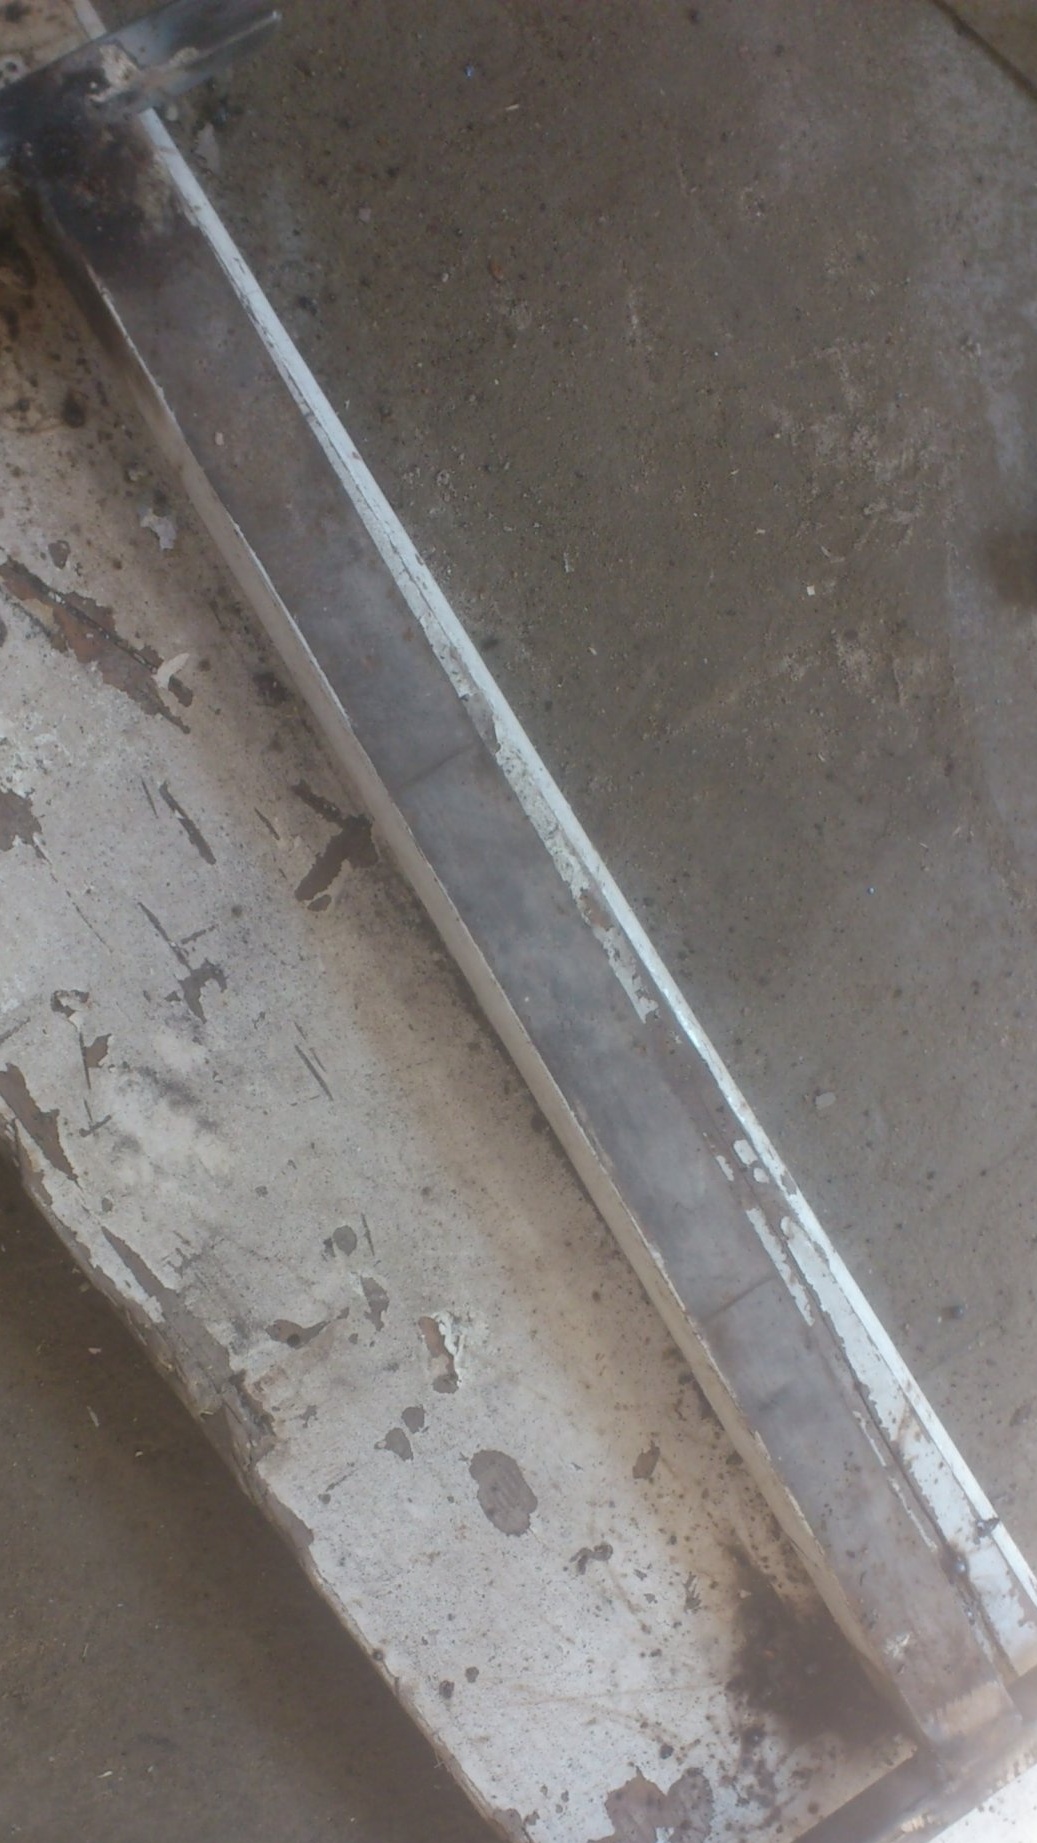
The width of the rack, as I understand it, is needed in the region of seventy to eighty centimeters, so I cut a pair of 700 mm long from the remaining pieces (these will be the upper crossbars:
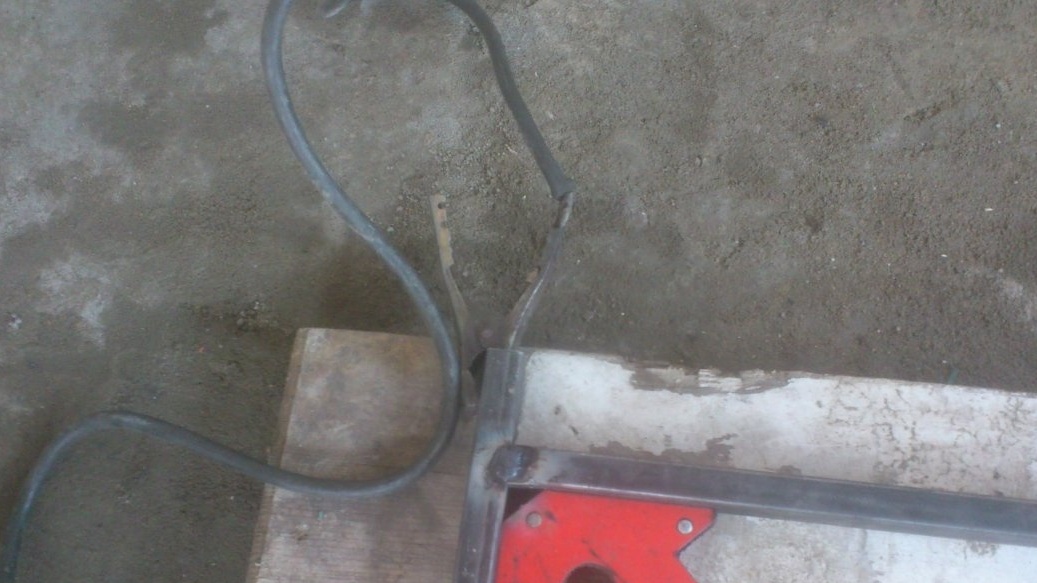
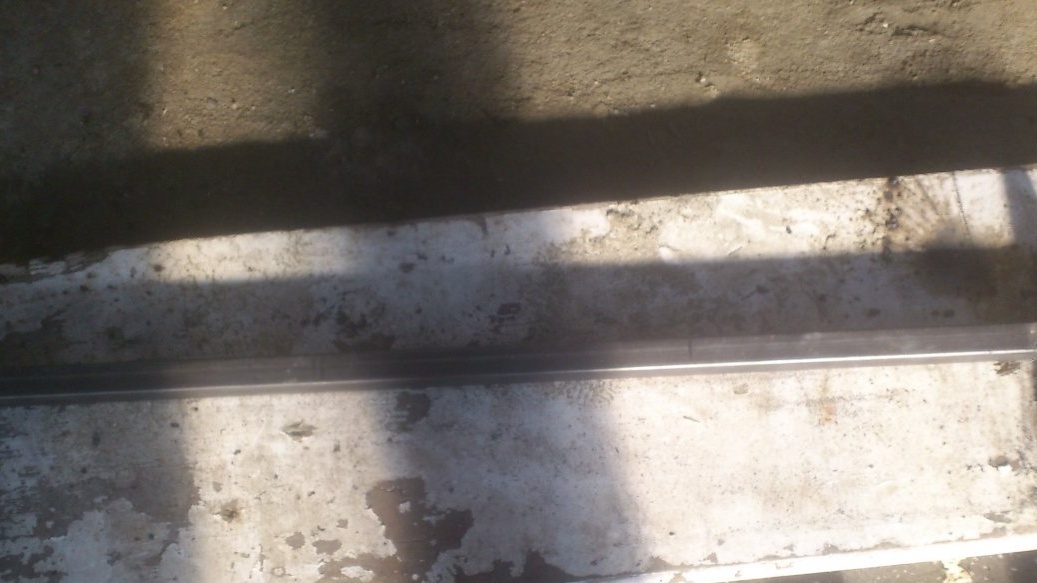
I decided to make the lower rungs from the old corner lying in the scrap metal (it remained after I dismantled the furnace):
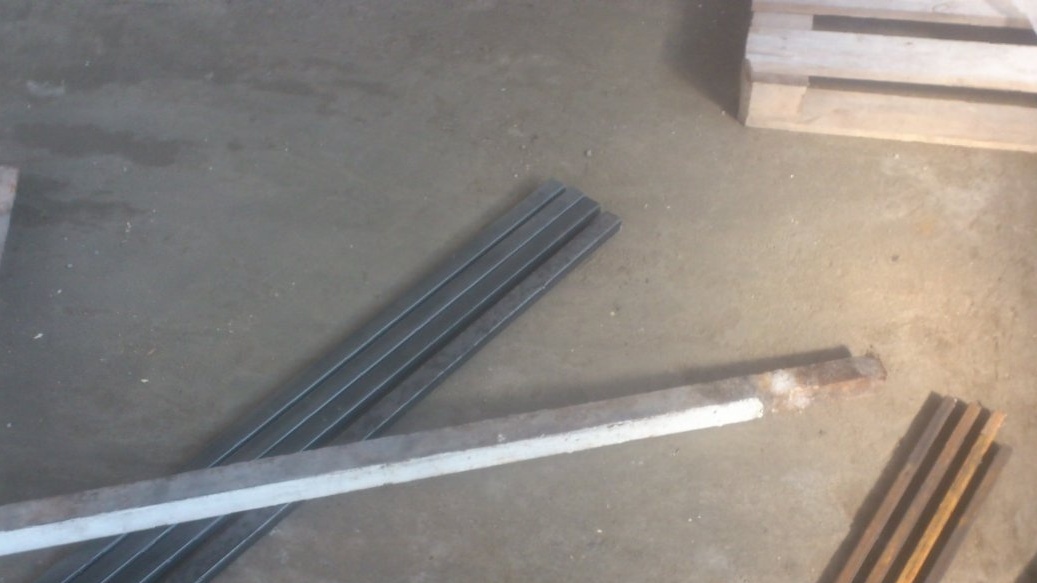
Firstly, from below, a thin-walled profile pipe can quickly rust. Secondly, the rack must be driven into the ground. It is high - it’s inconvenient to do it from above, and doubt it! Better in a powerful corner. And thirdly, I have some plans for the remaining two pieces of the profile pipe!))).
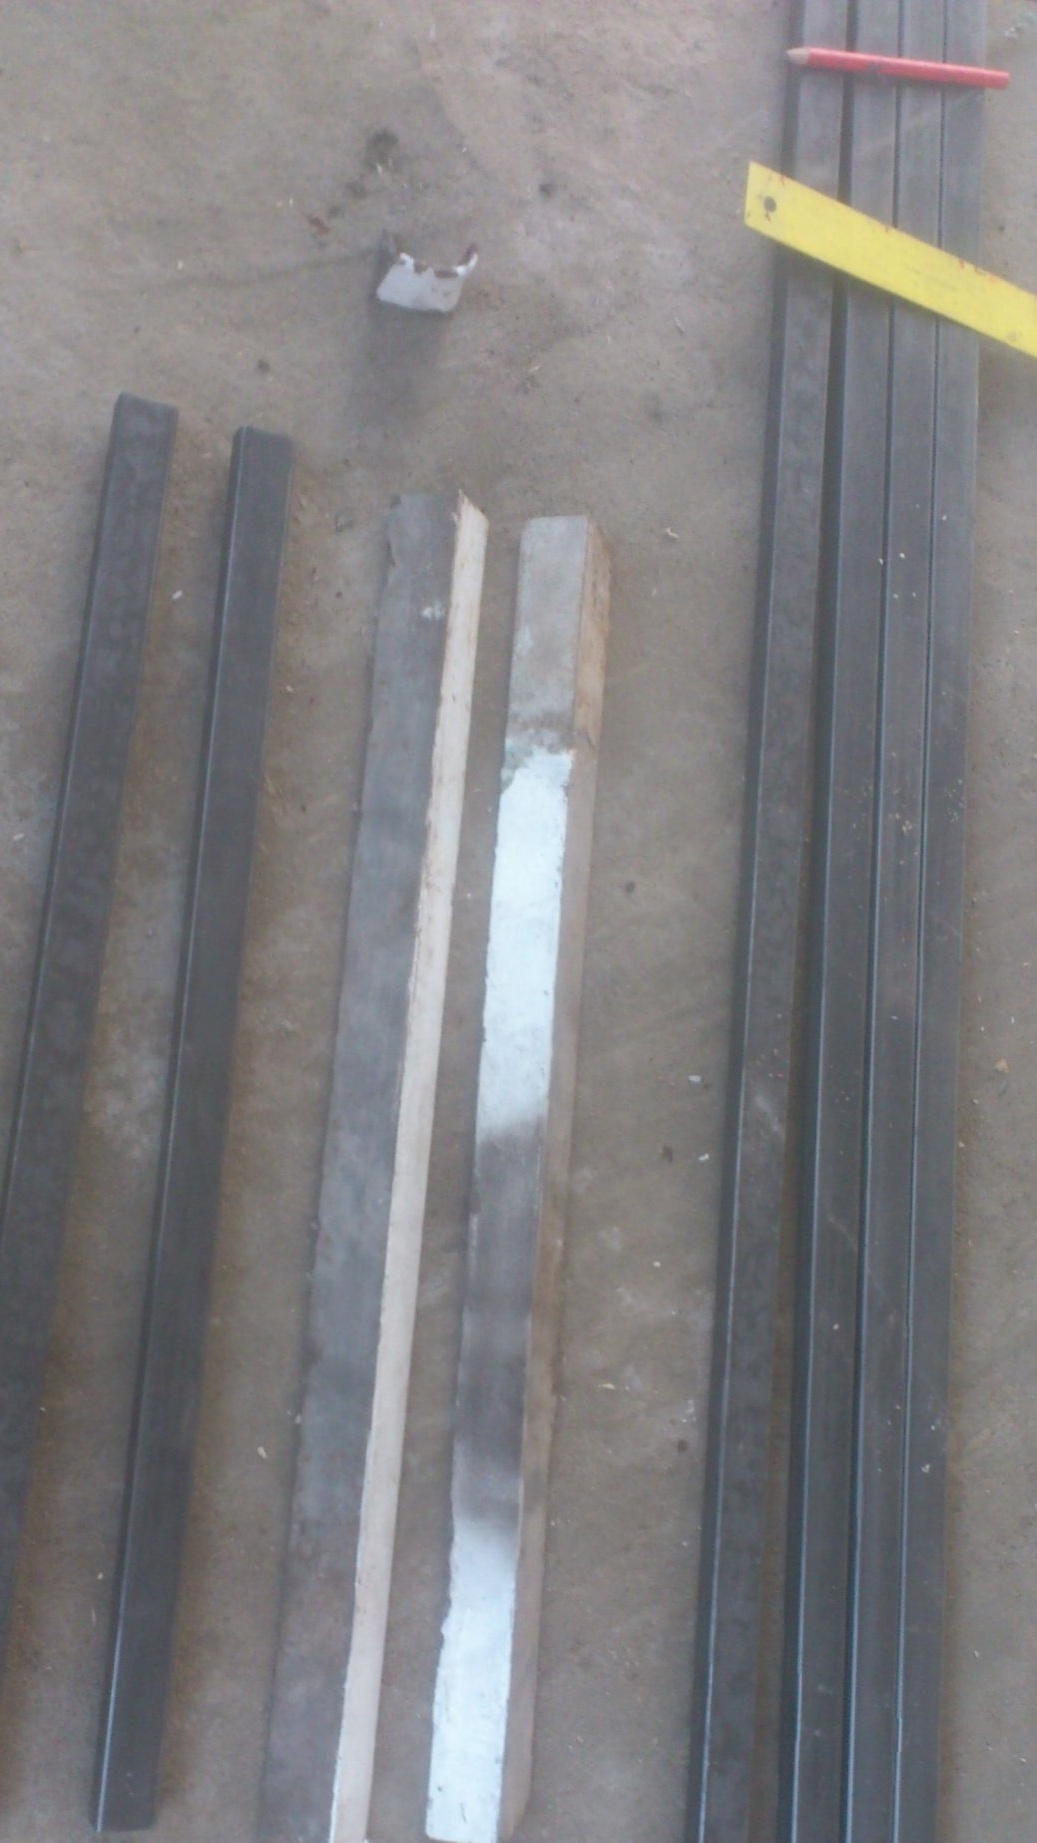
So, the components are ready:
You can start assembling.
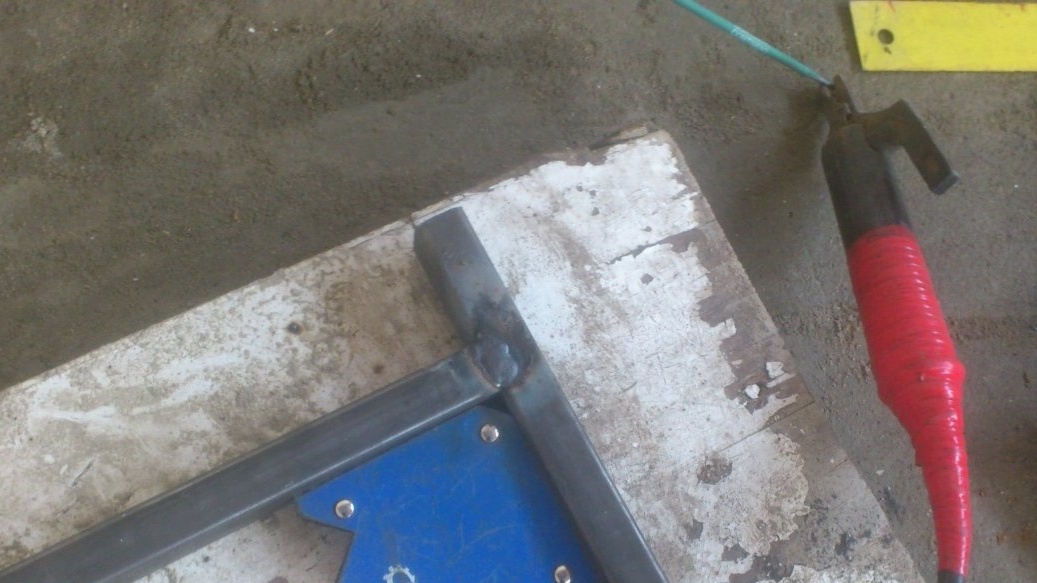
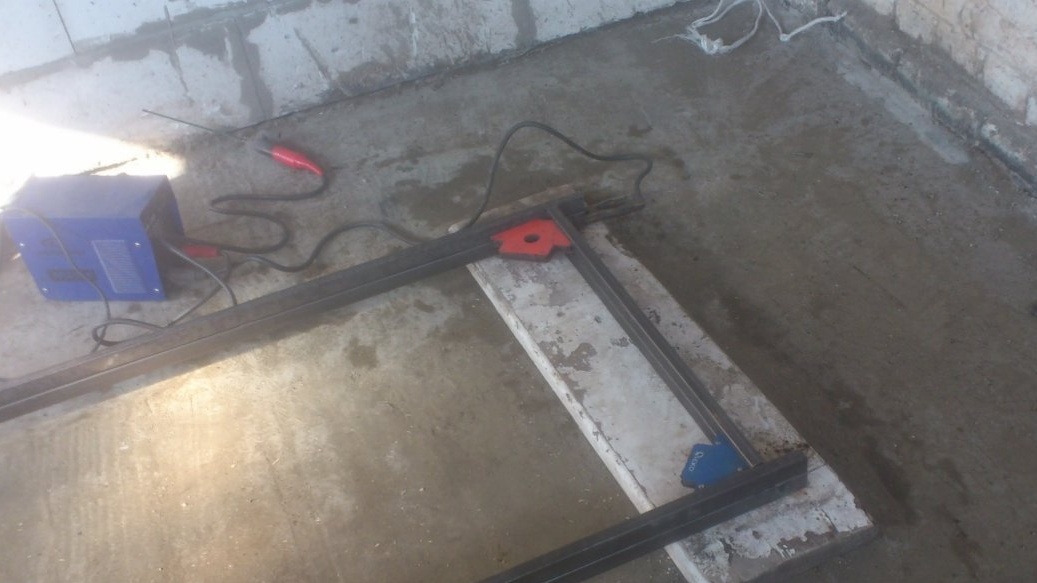
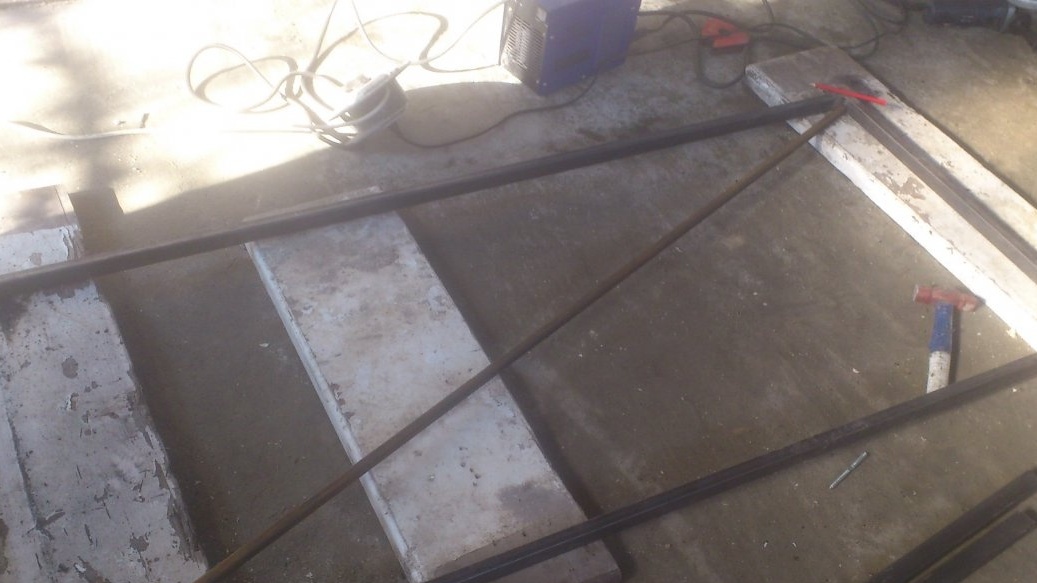
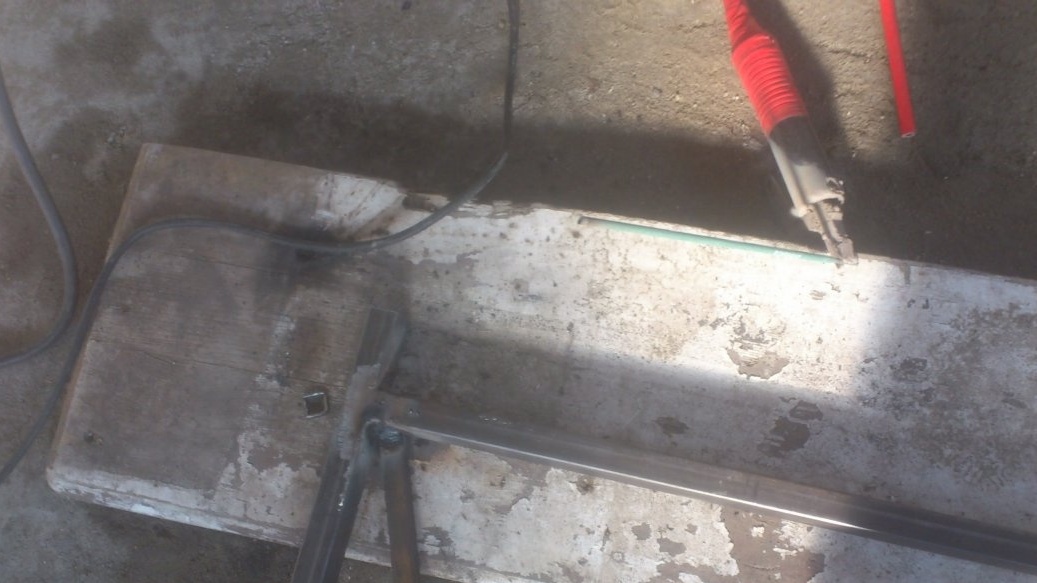
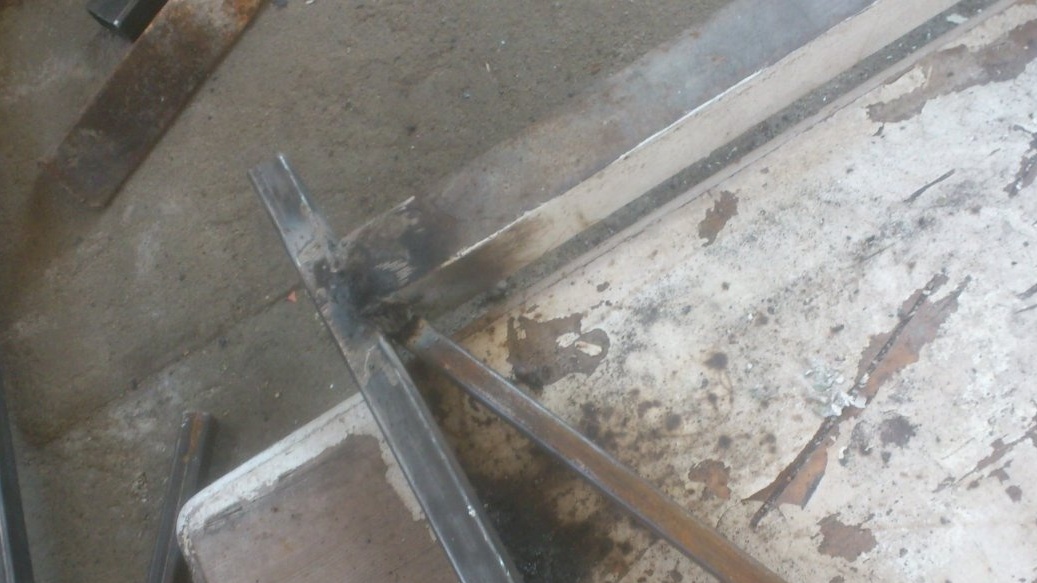
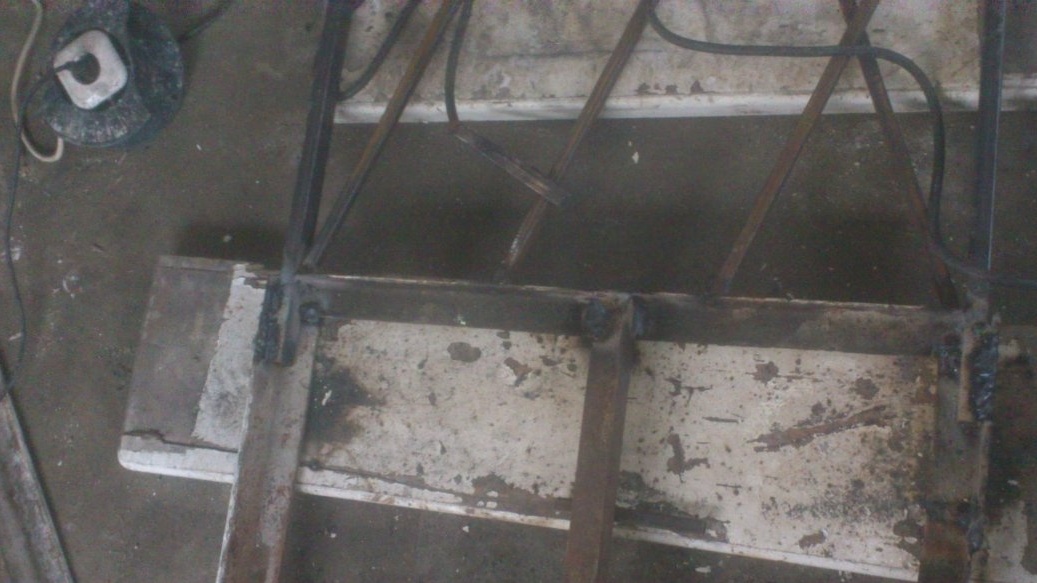
To start, I welded the frame using magnetic welding squares. Two purchased:
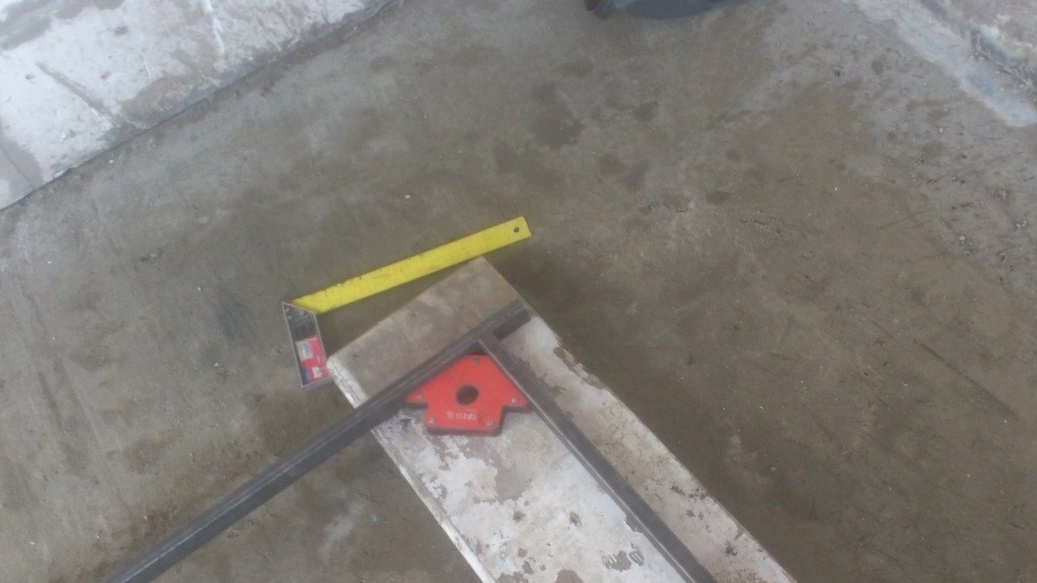
And two homemade ( this, and this ))))
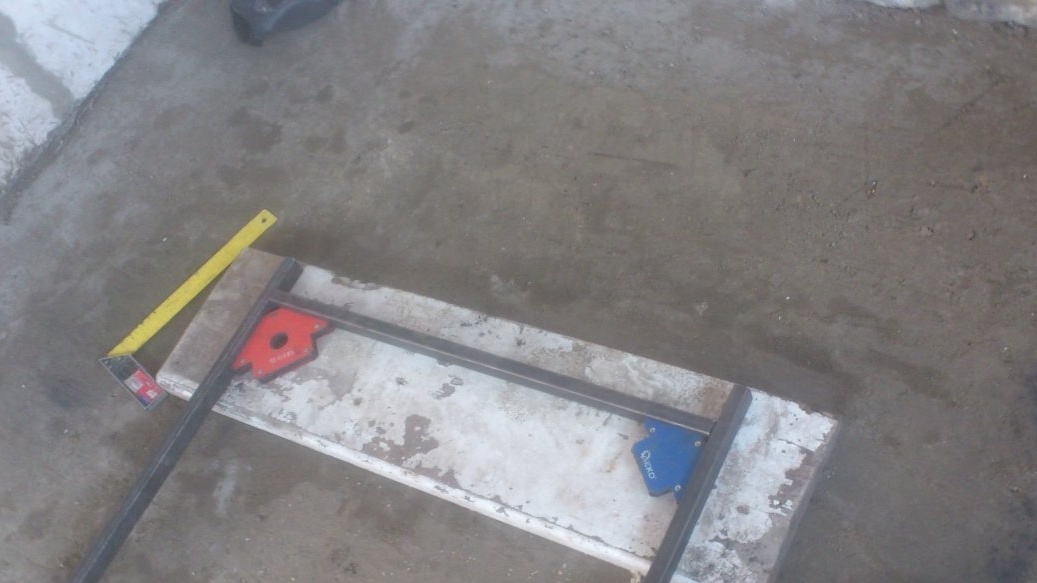
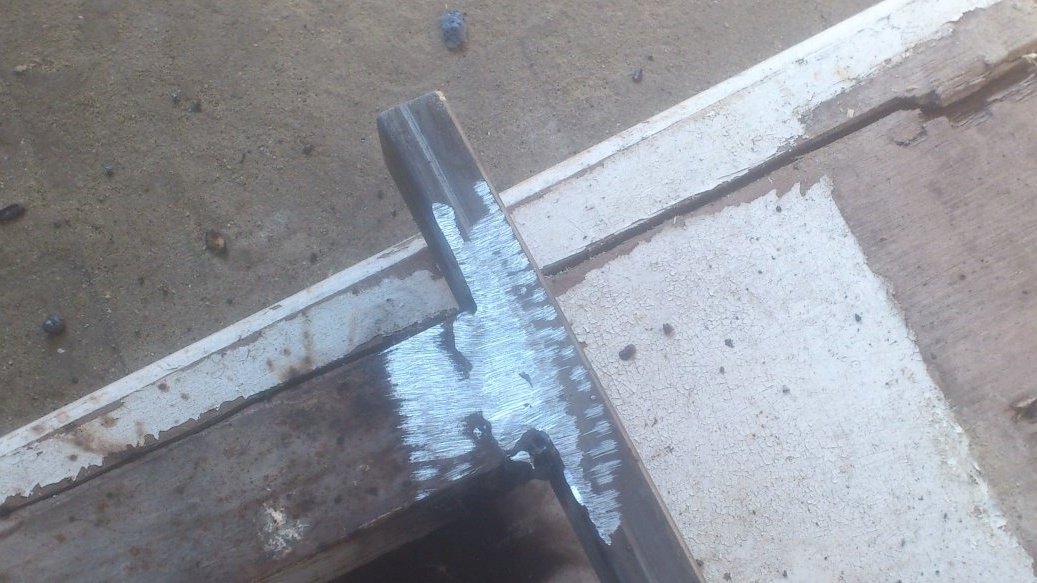
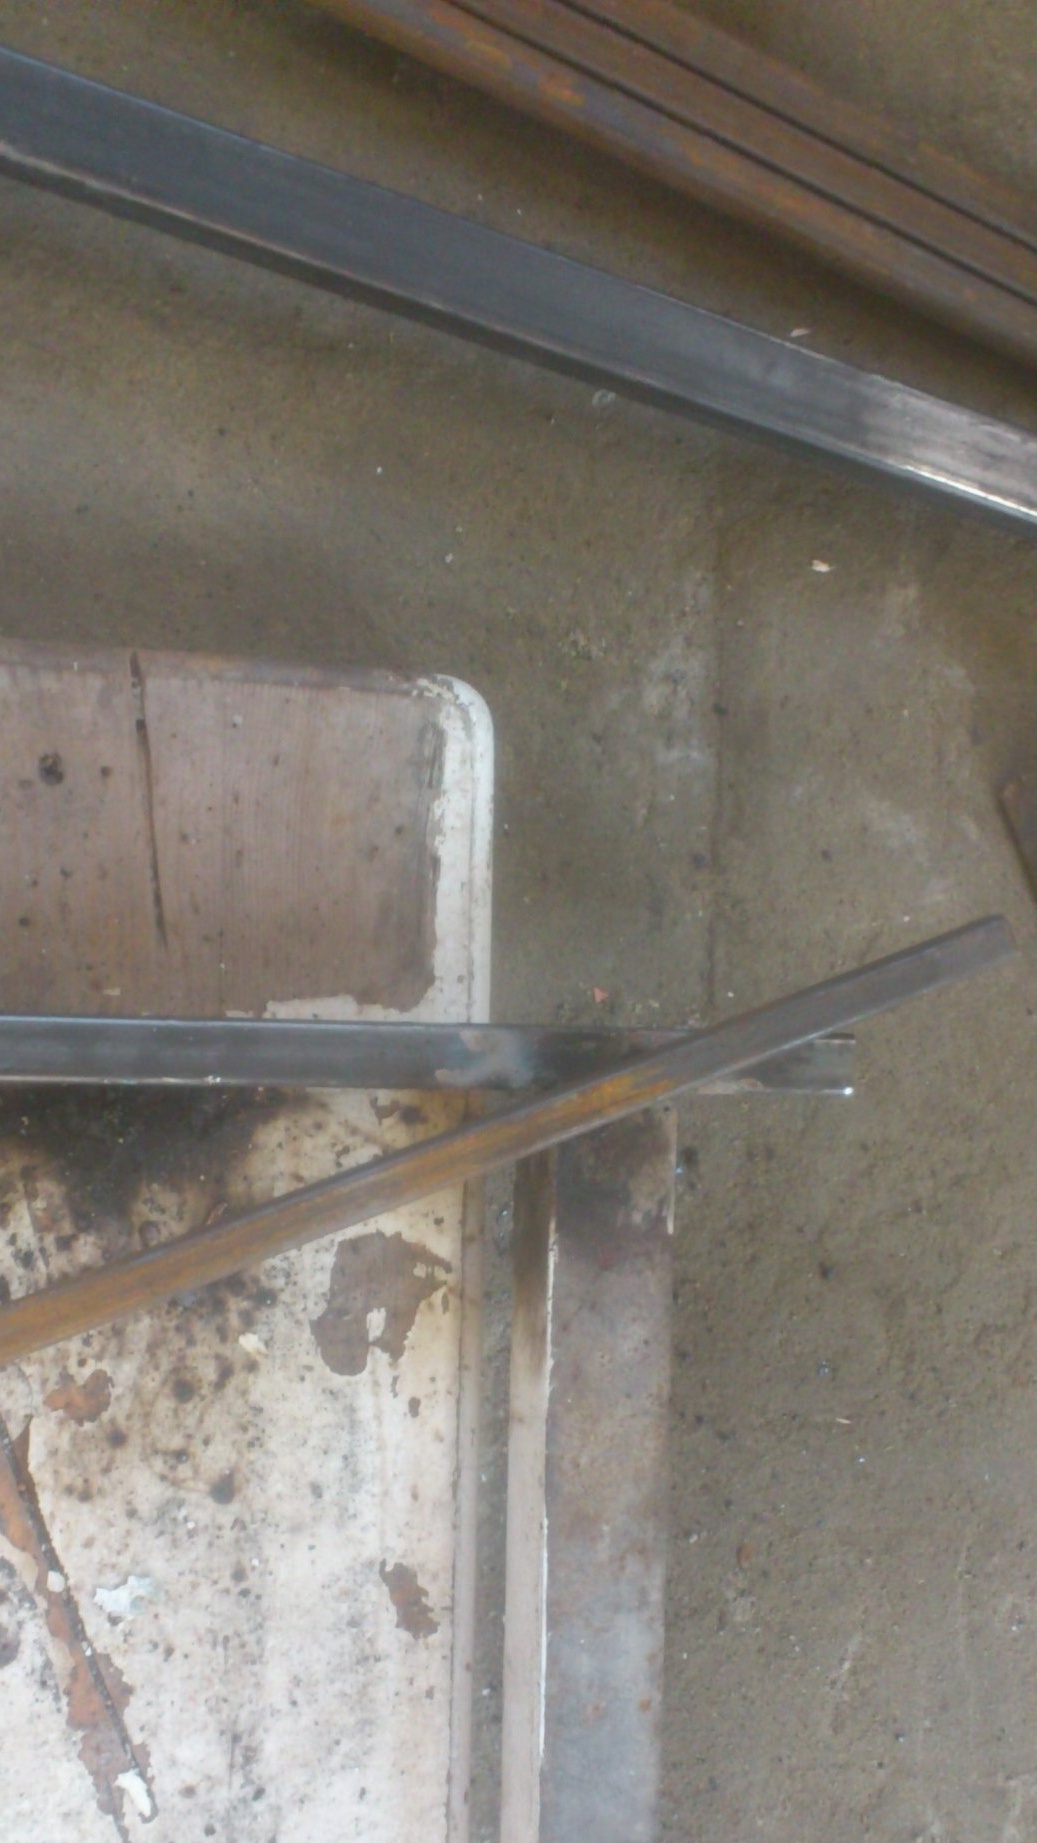
Above the crossbars I left five centimeter “horns”:
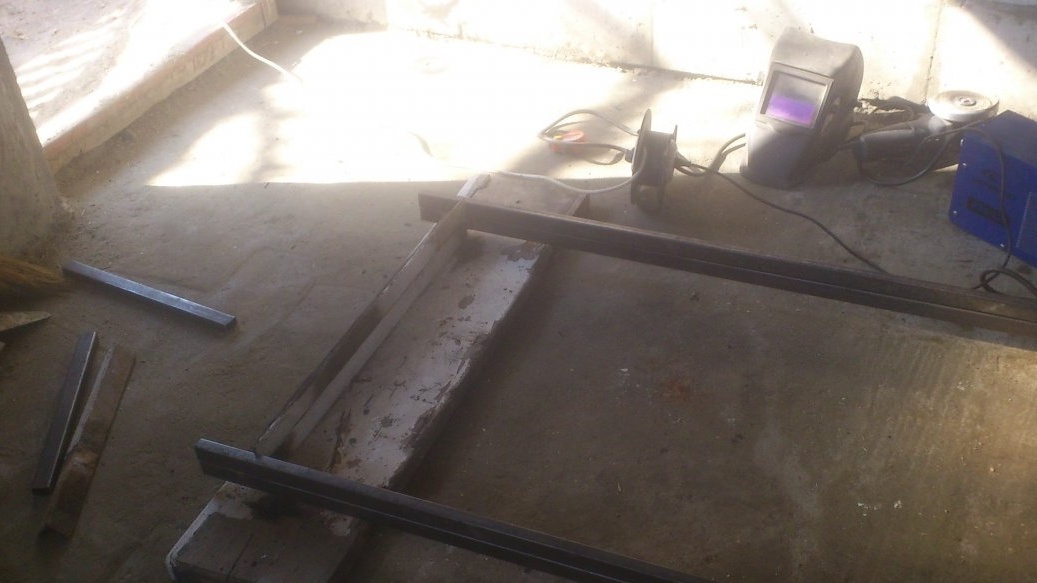
Since I want to make two identical products at once, I decided immediately, according to the template, to weld the second frame.
I cleaned the seams:
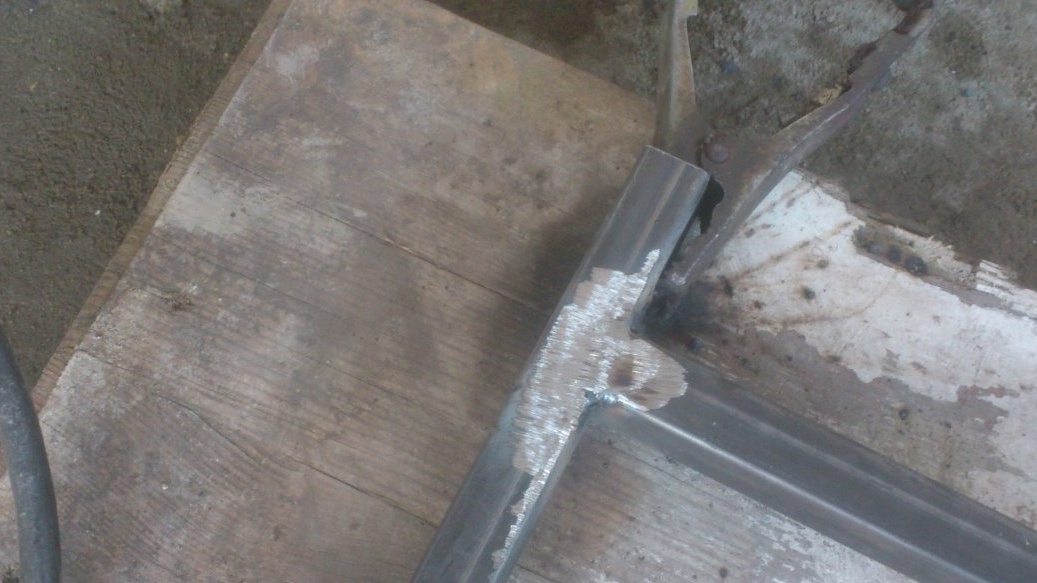
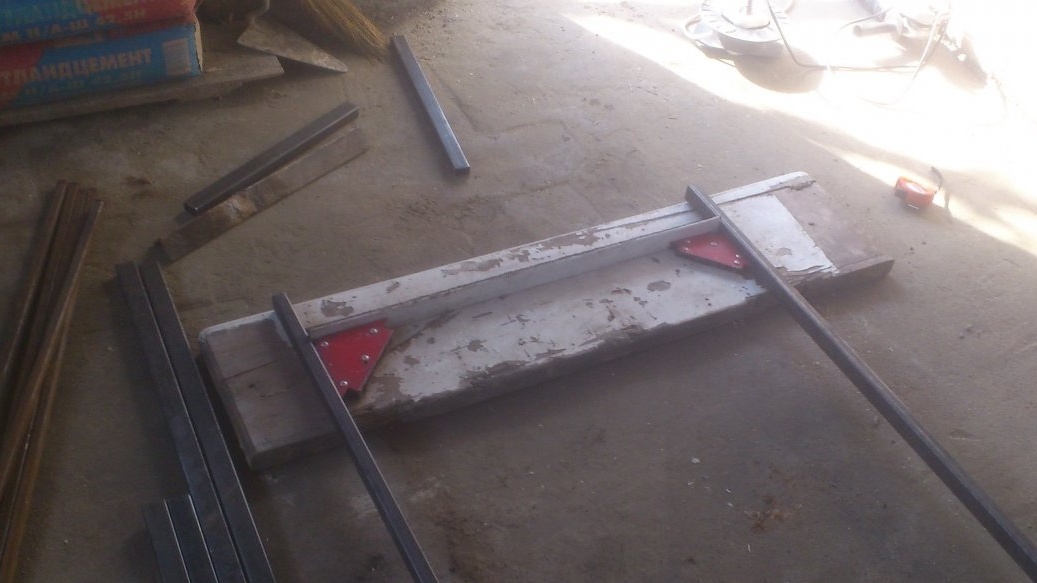
And, putting the components on top, welded a second frame:
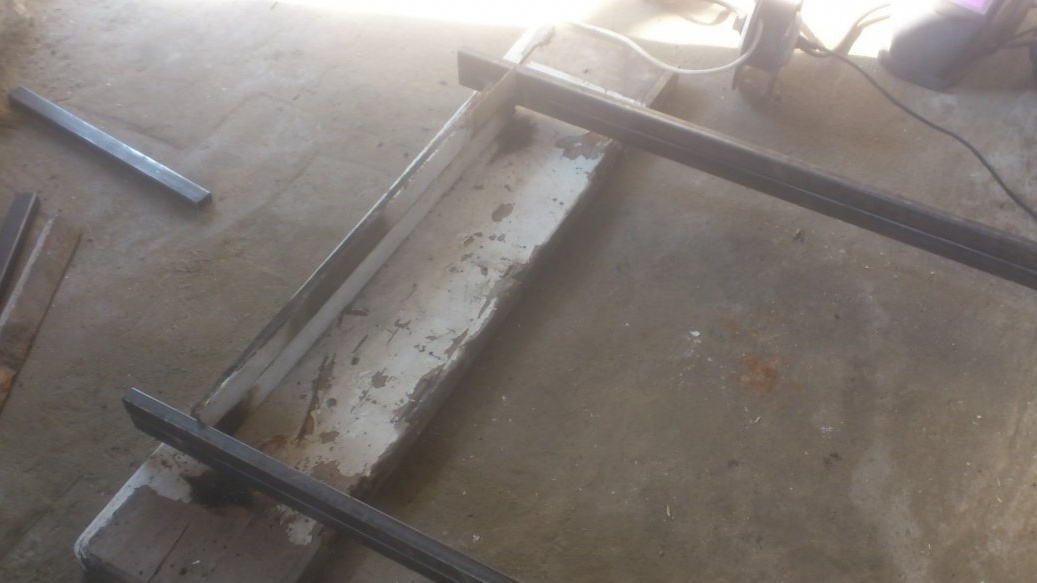
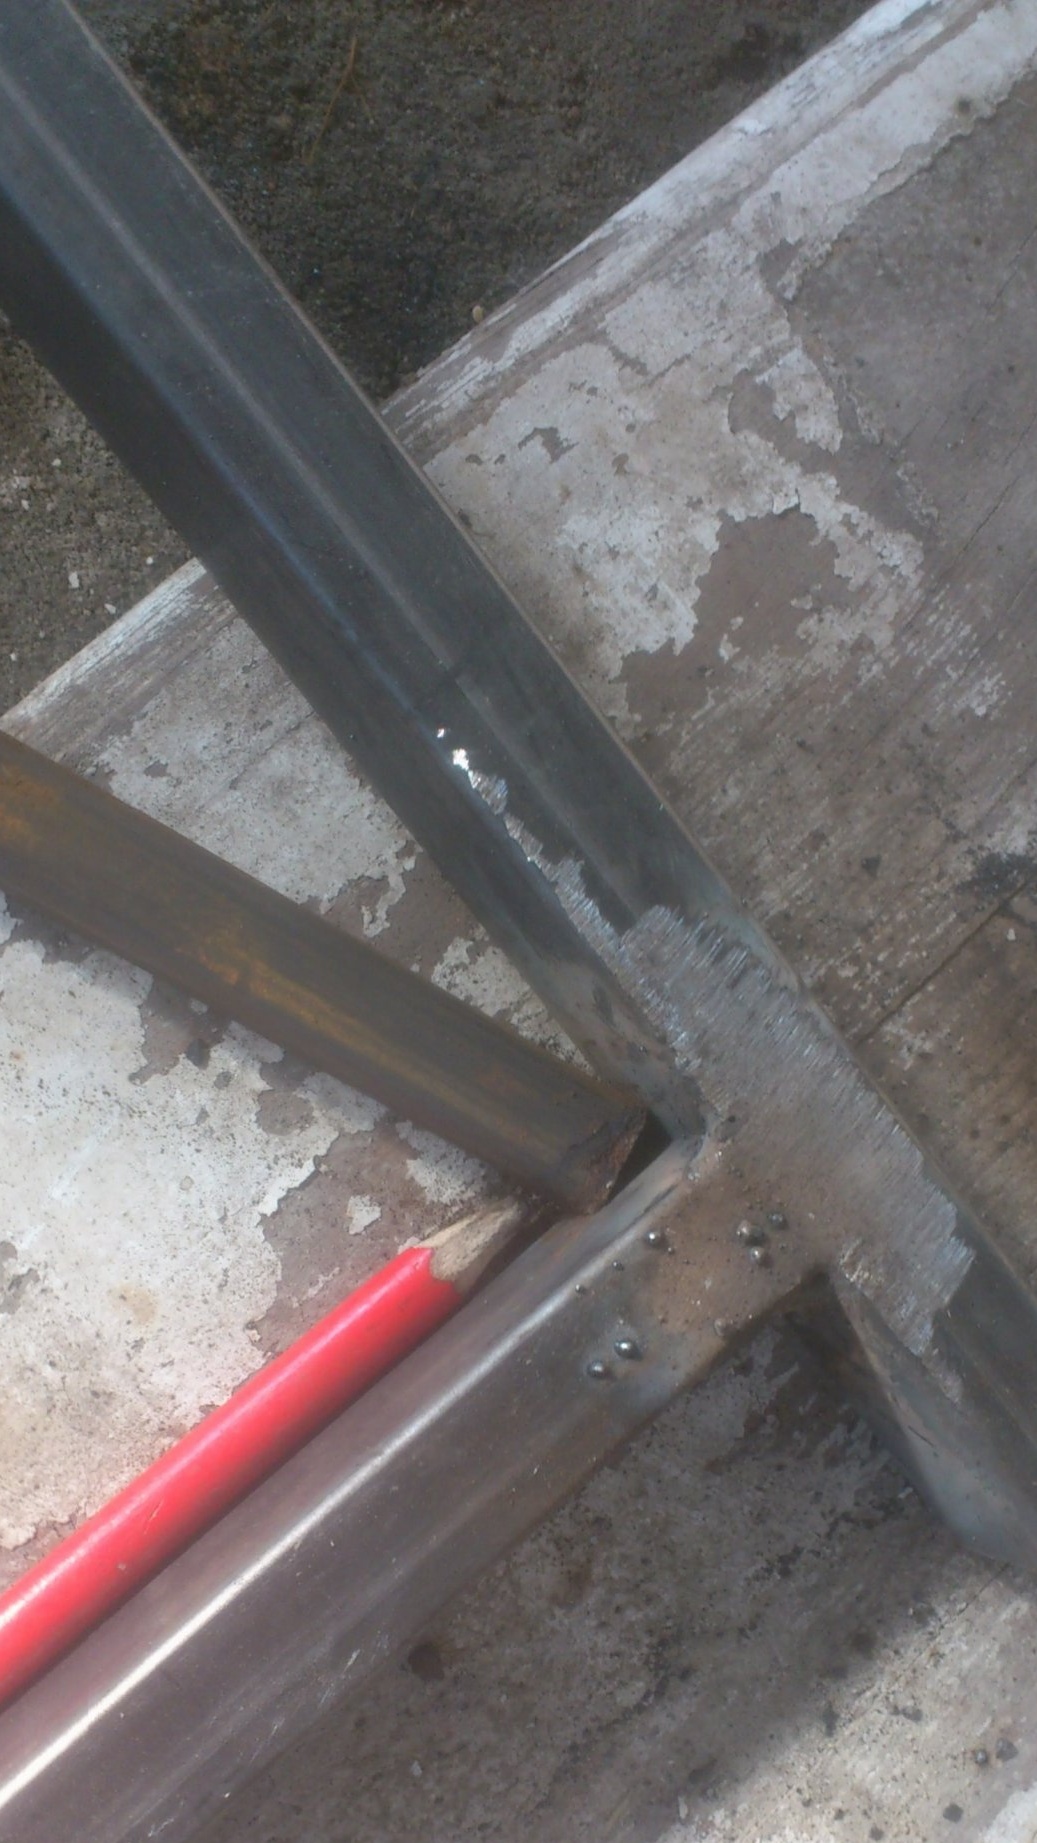
Her while we remove to the side. And on the first we divide all sides into three equal parts and mark with a pencil:
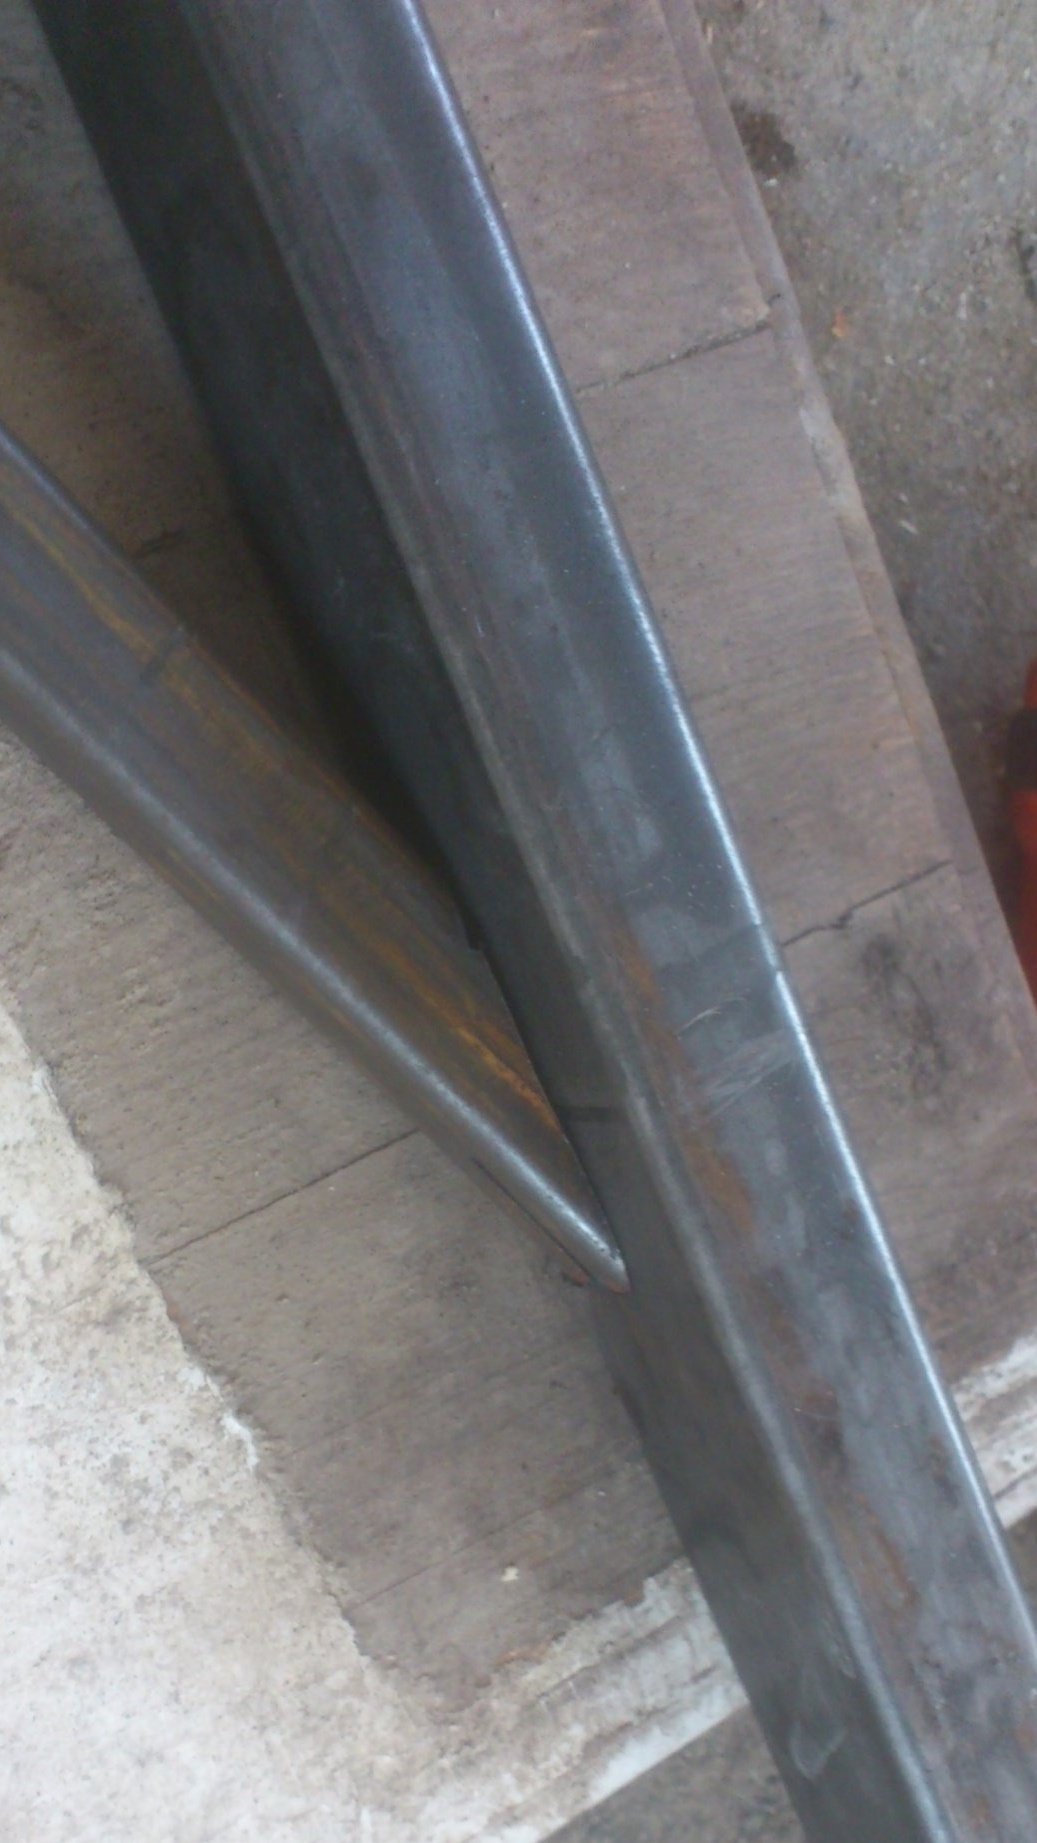
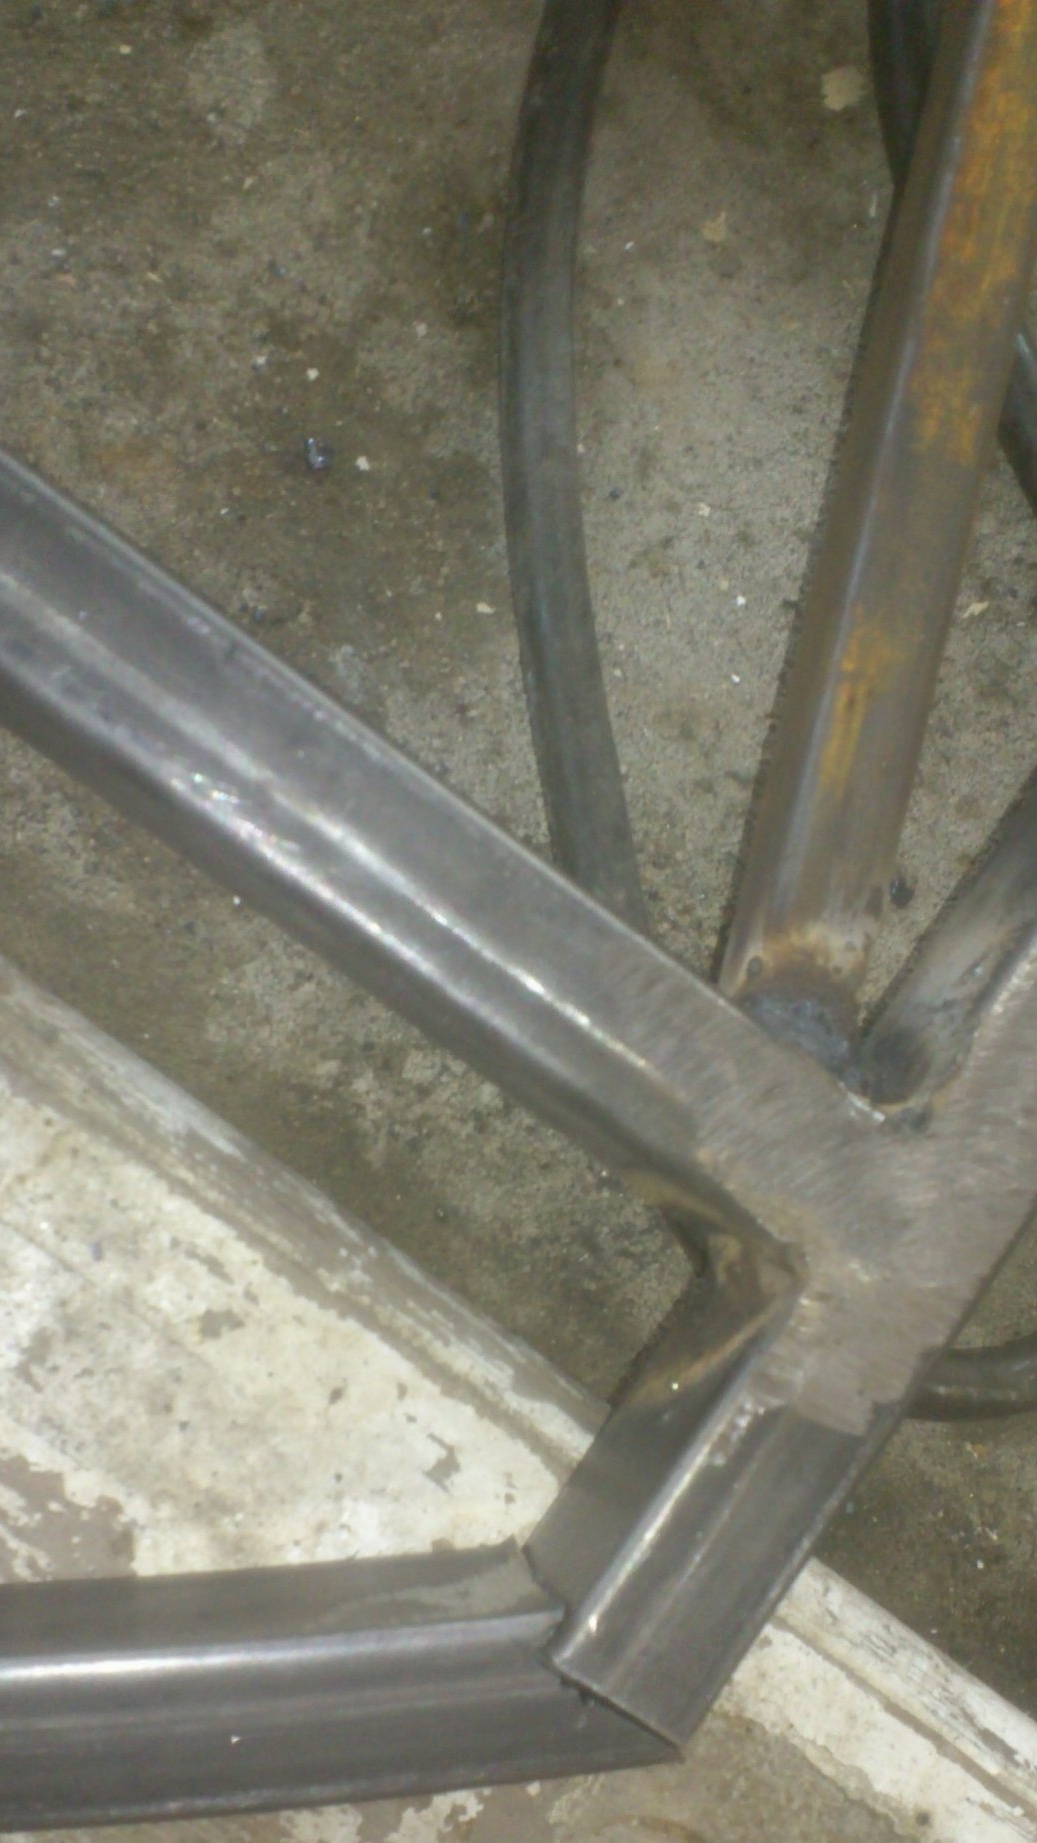
Now we take one piece of the pipe 15 by 15, and make a diagonal from it:
It is quite difficult to cut precisely parts for snug fit at an angle to each other. Therefore, hereinafter I will not calculate and measure anything. I use the simplest and most accurate method, which I jokingly call "applied")))). This is when attached - and cut off in fact.)))) Something like this:
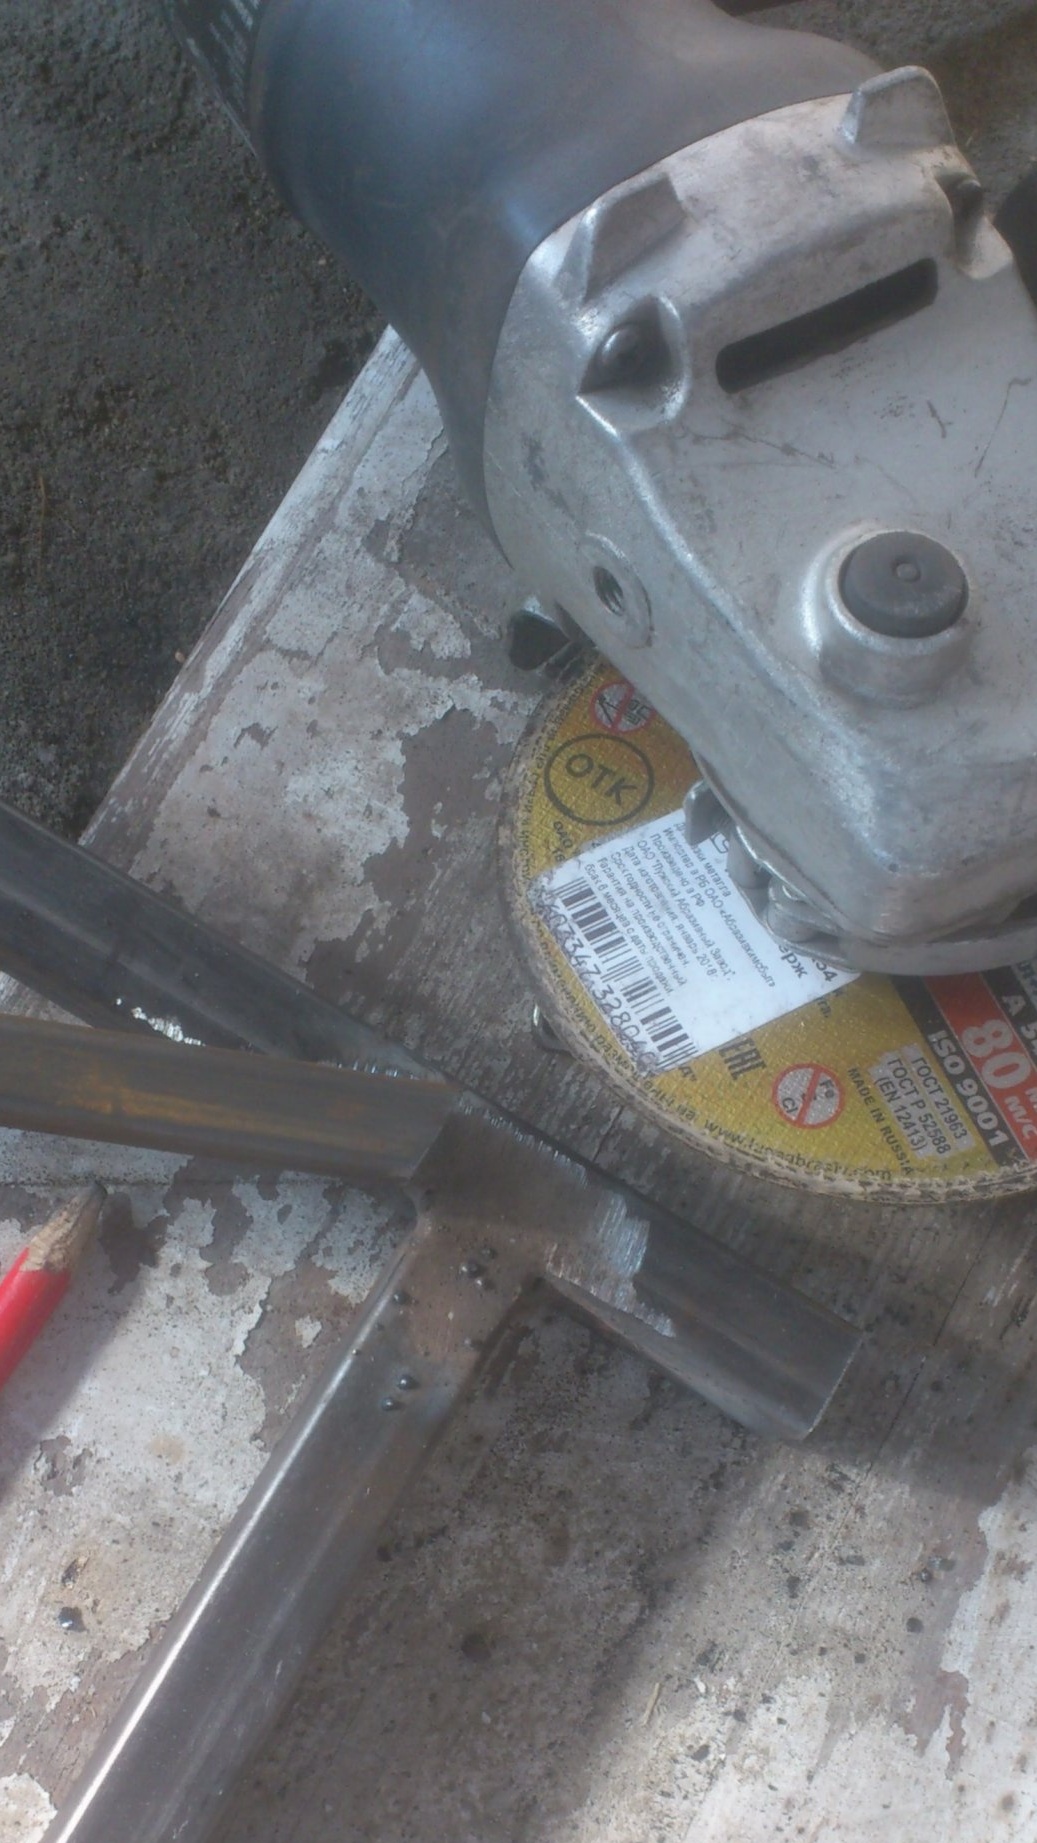
And, only after that, on the other hand. Without noting anything - immediately grinder:

All. The diagonal is ready.
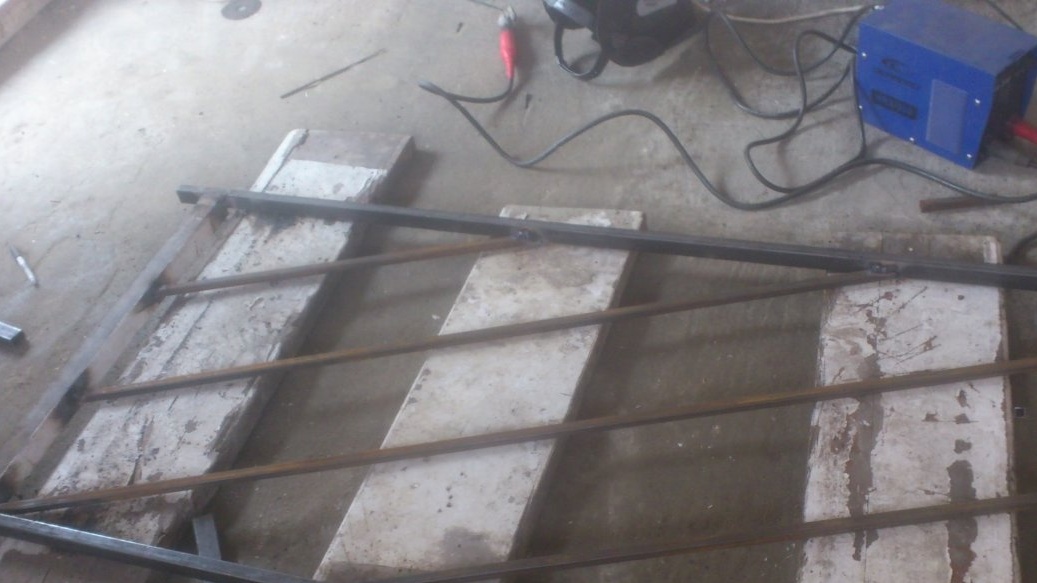
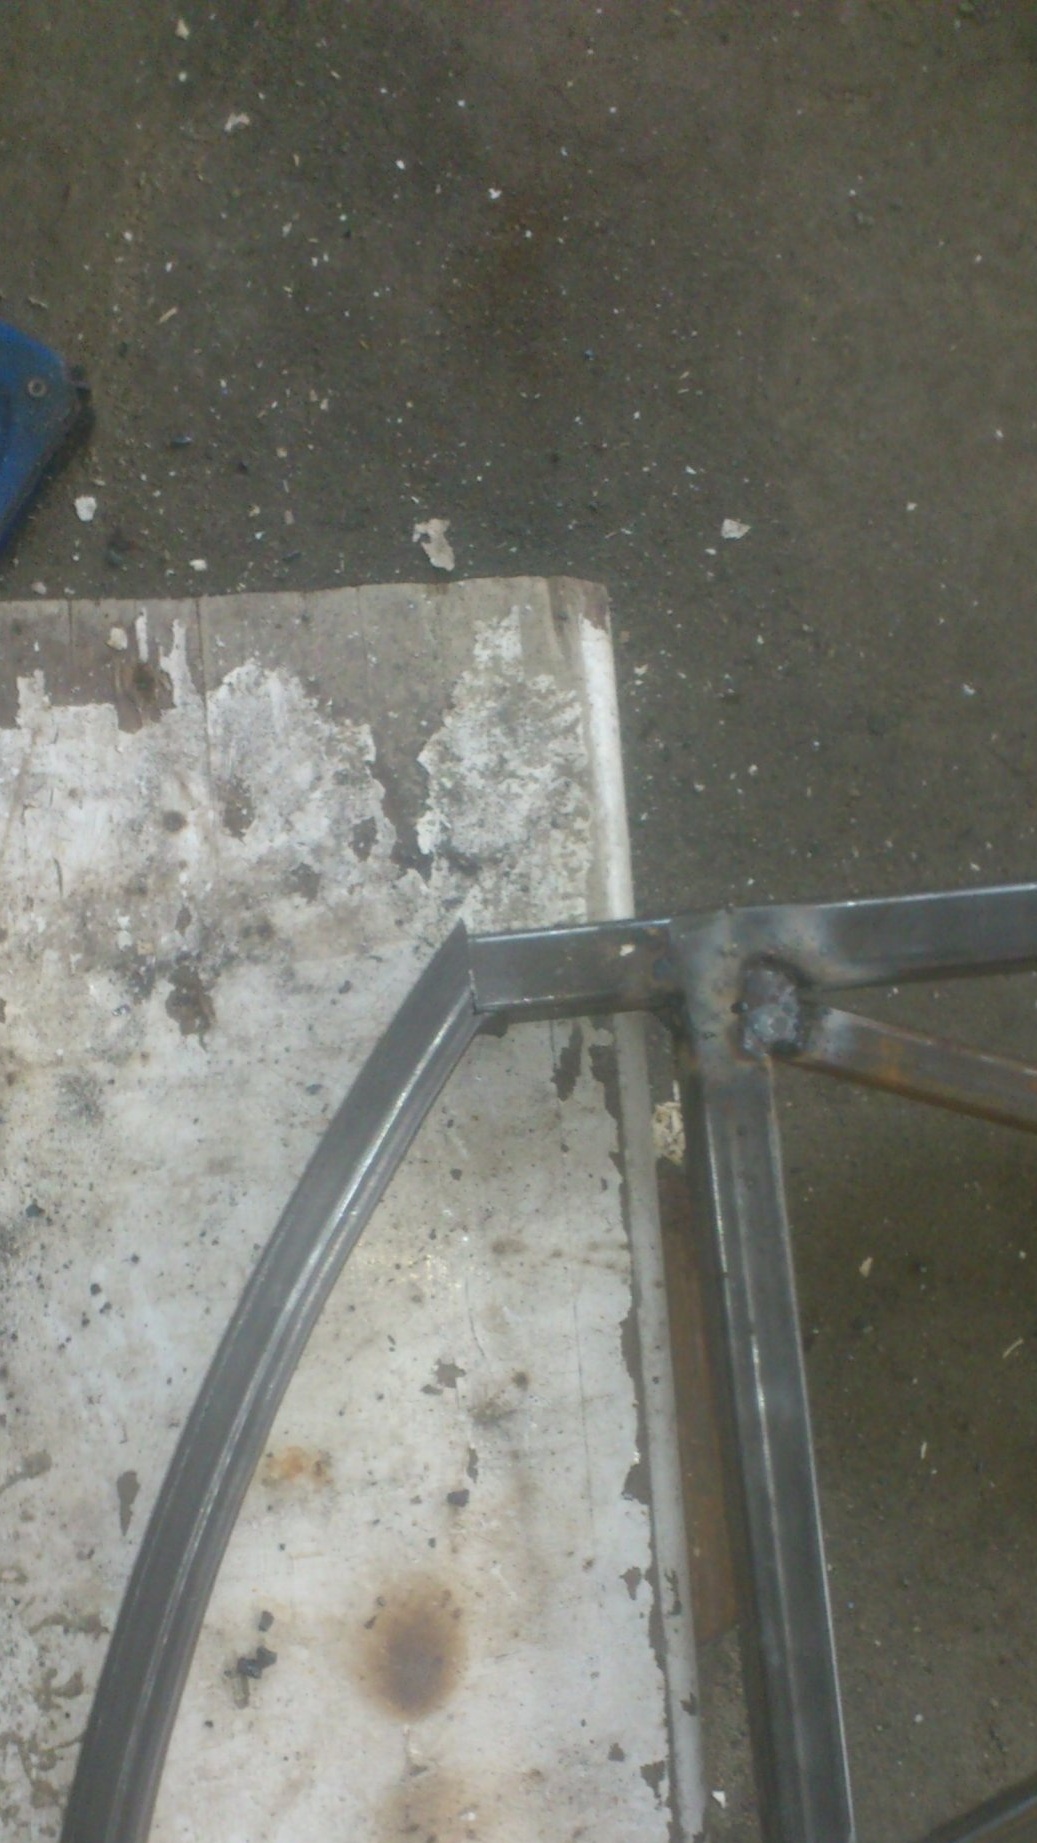
Now, using the same method, we weld parallel segments of shorter length, placing their ends at those points that divide the sides into three equal parts:
I forgot to mention one more, very important thing. If you weld a pipe structure that will be used outdoors, you must definitely make technological cuts, or drill holes at all the lower ends of the pipes, which turn out to be “blind”. Otherwise, the condensate accumulated inside will freeze sooner or later and break the pipe! In theory, this seems unlikely. In practice, condensate accumulated over one summer breaks the racks of new gates and gates in winter! But there is a rather small gap in the lower part, and, thanks to the convection movement of air, there will be no condensate inside! And if it does, it will pour out through this hole)))). Therefore, such a condition is necessary.
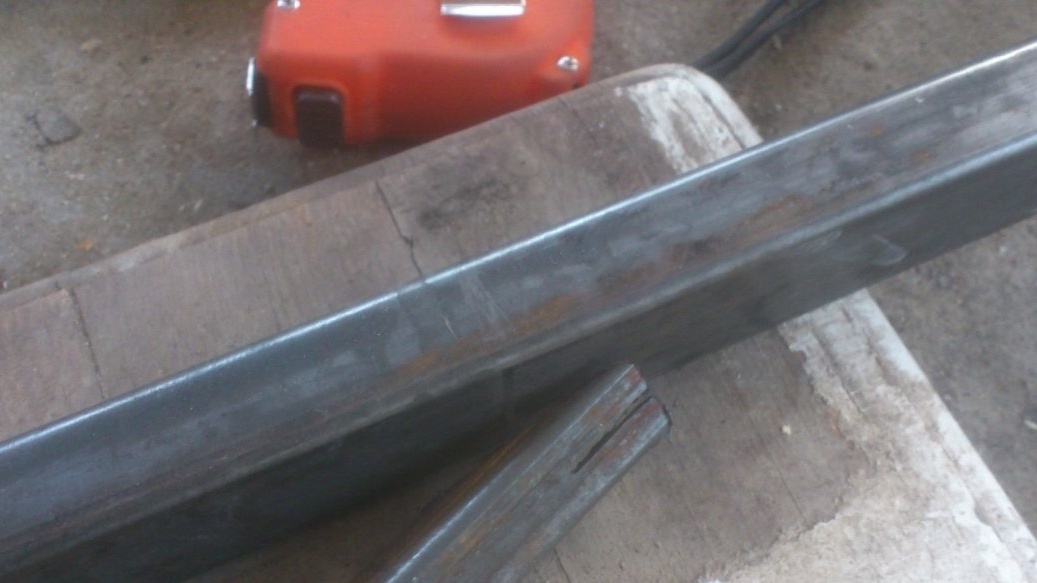
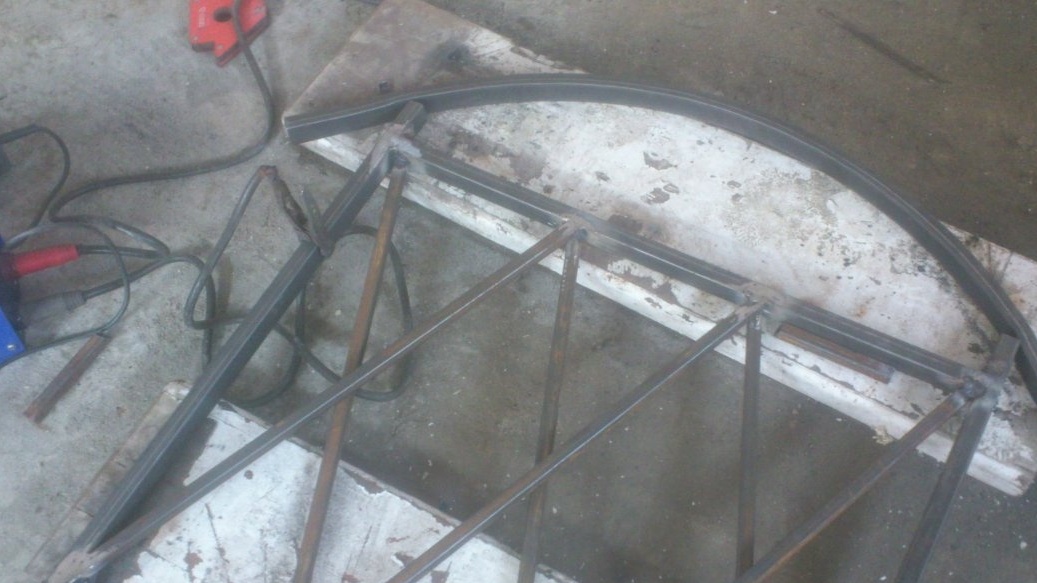
The grill is already half ready:
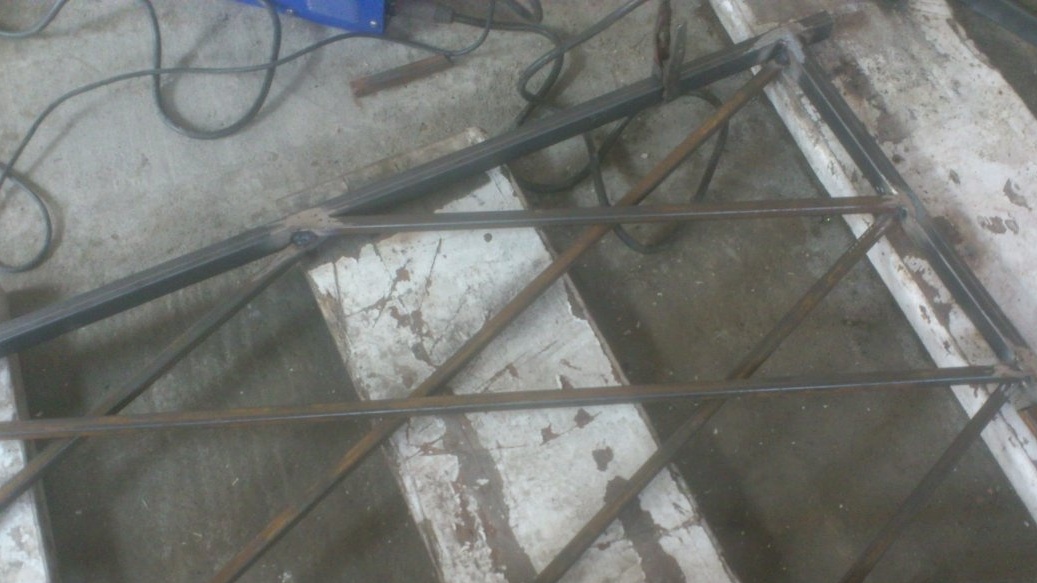
We clean the seams and cook the second diagonal, and lines parallel to it, placing them in the second layer. (Since the "depth" of the frame is 30 mm, and the grill is made of pipes 15 by 15 mm, the second layer is just placed flush:
Now you need to somehow "ennoble" the top. Since I already said that I and my wife do not like special "monograms, currencies and snails" in garden decorations, I decided to just make a small arch from above.
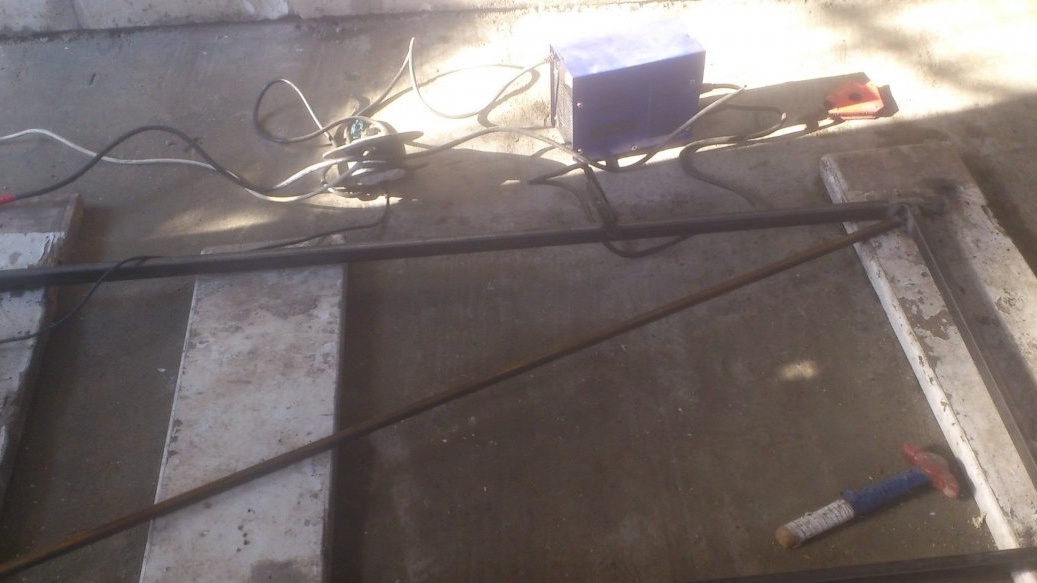
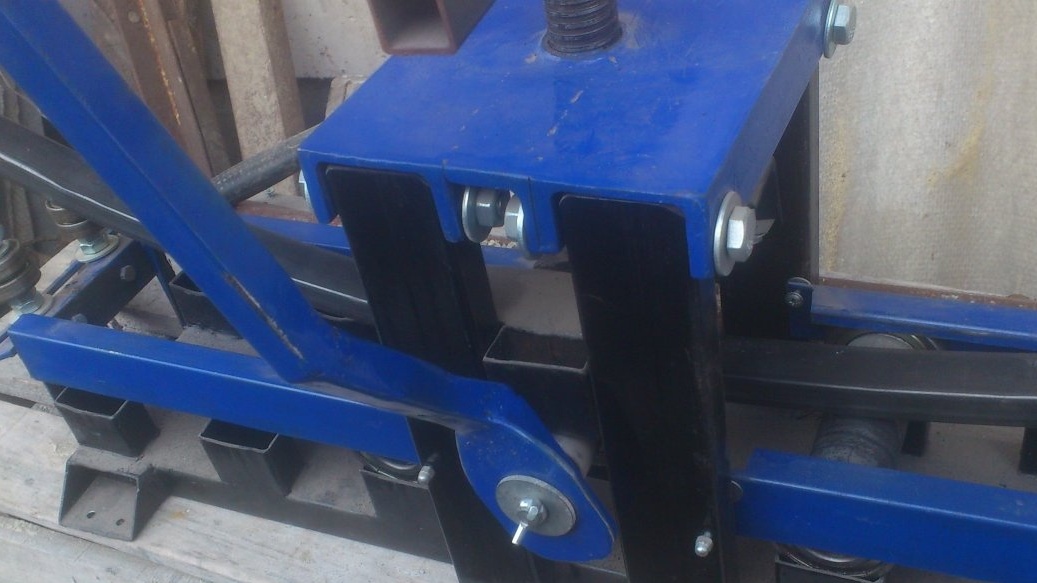
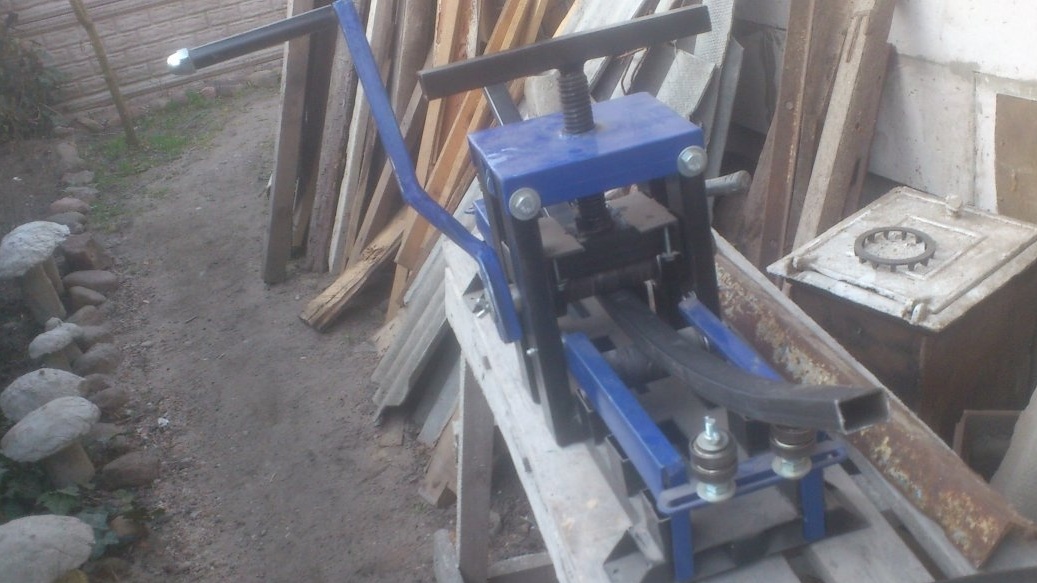
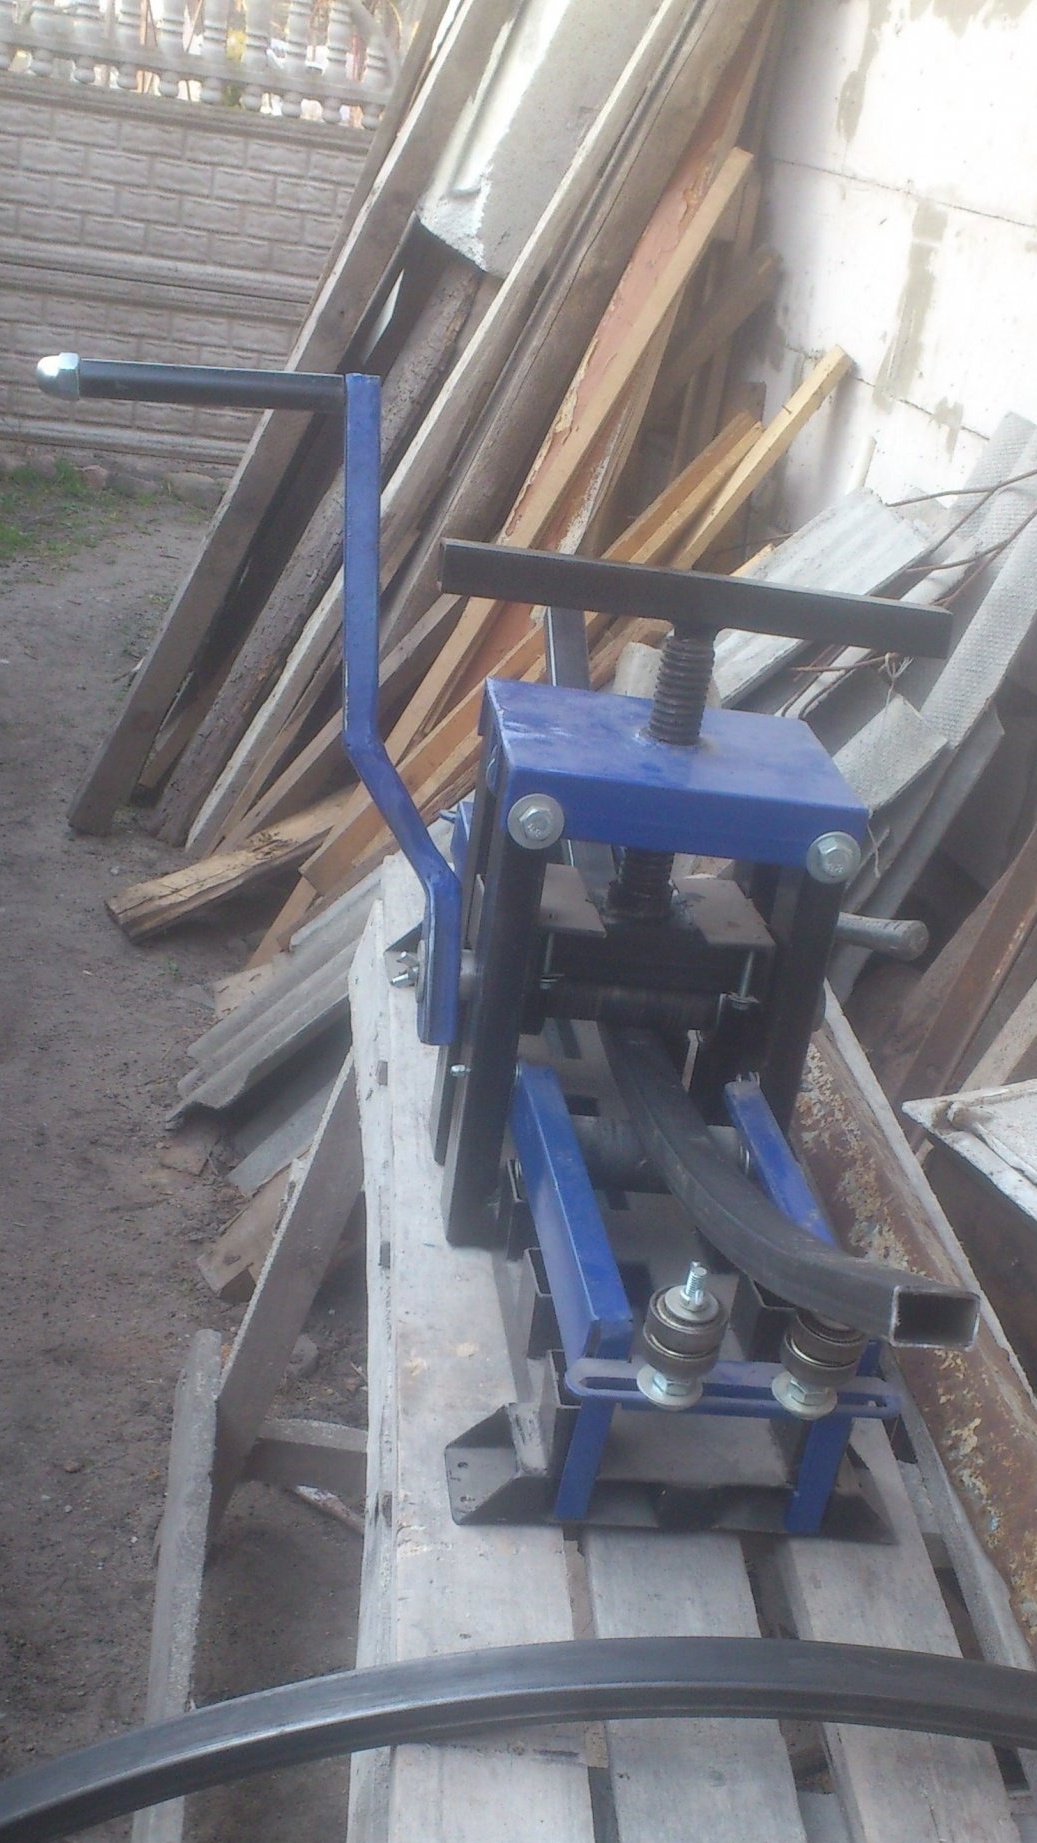
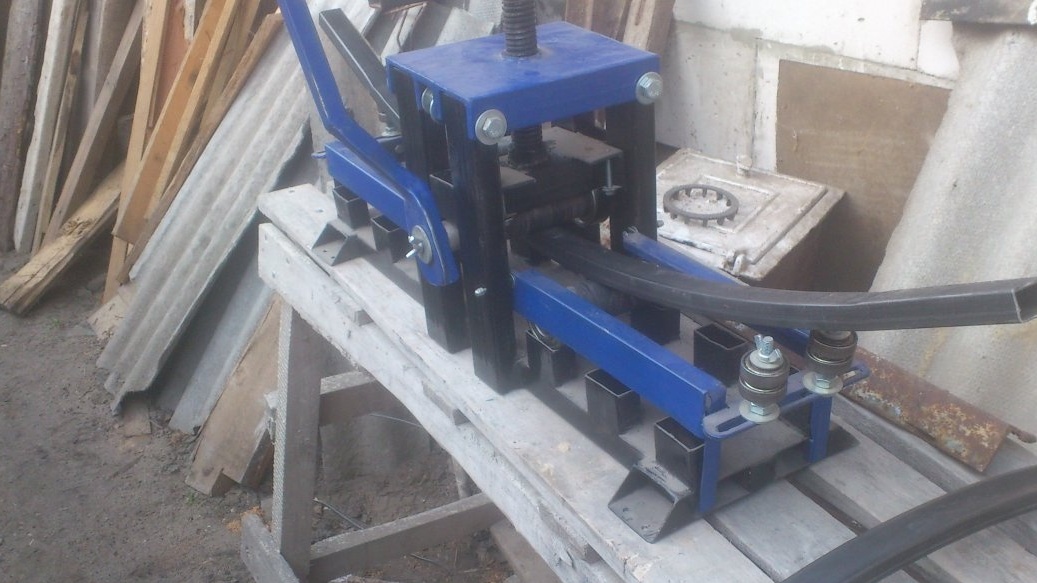
This will help me my homemade pipe bender, which has long been gathering dust on a shelf without work:
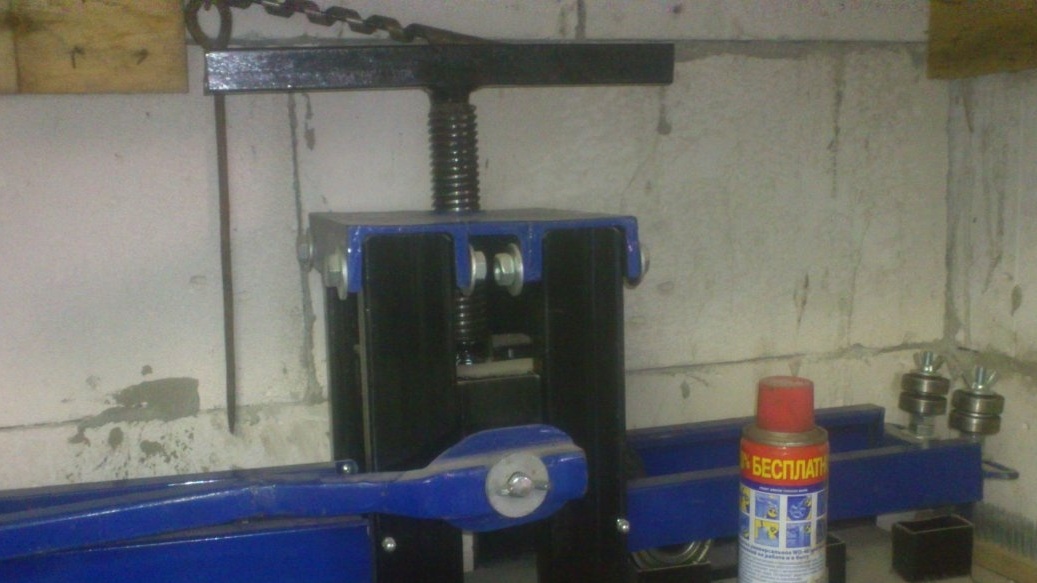
I rolled on it the remaining two pieces of pipe:
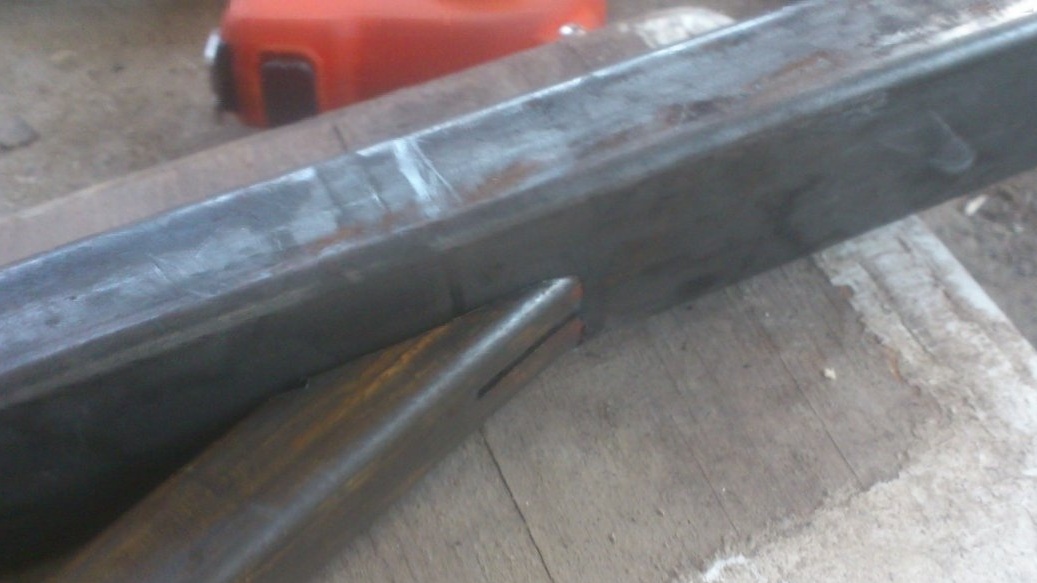
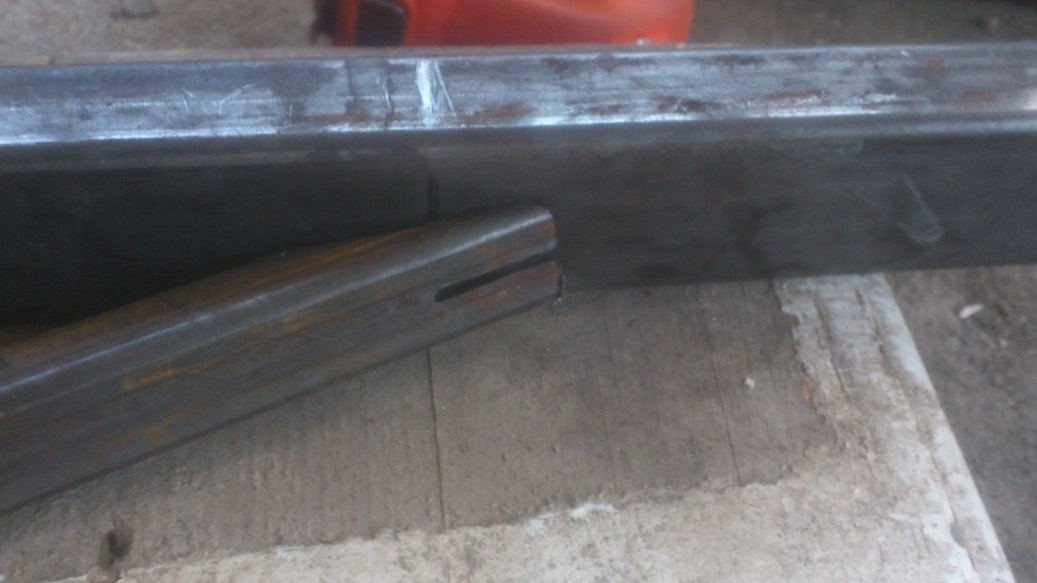
Welded them to the top of the racks, making curly cuts:
Almost ready. It remains to make the "legs" for deepening. Since, as I already said, the windage is expected to be large, then the “hold on to the ground” rack should be tight.
I searched in my “very scrap metal” and took away quite powerful corners:
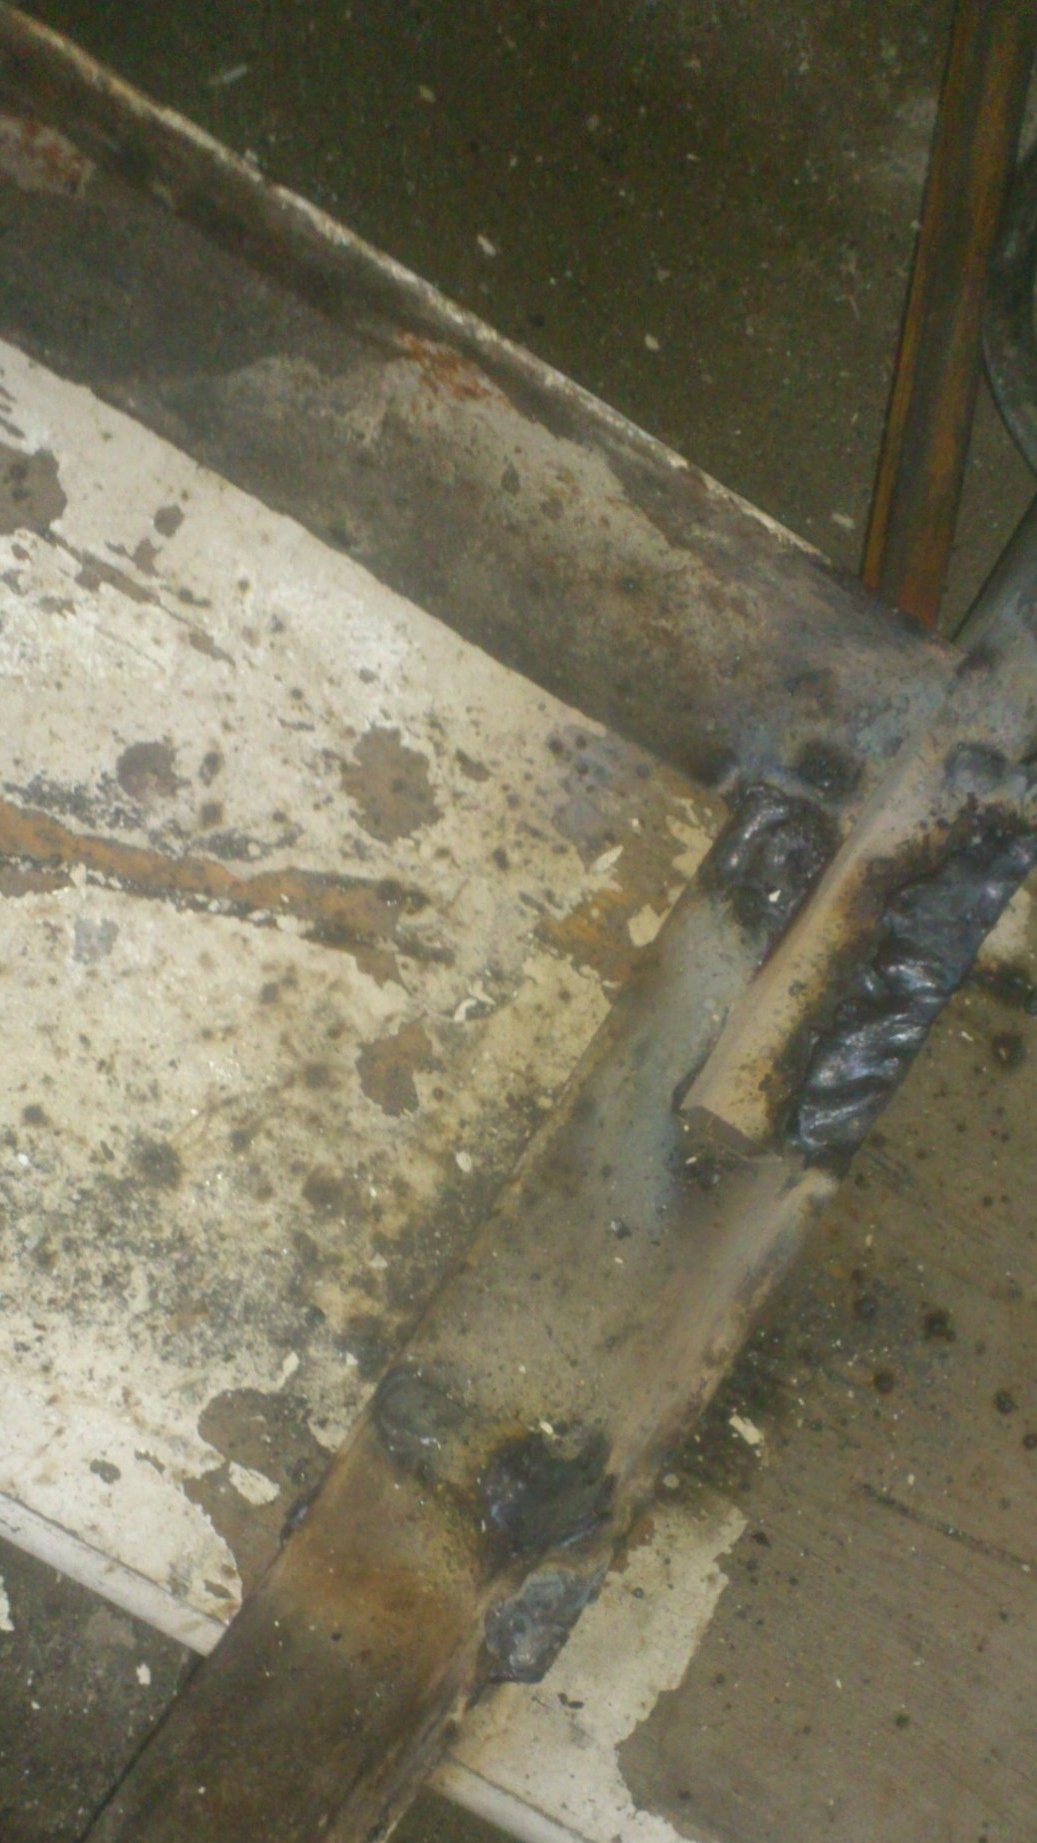
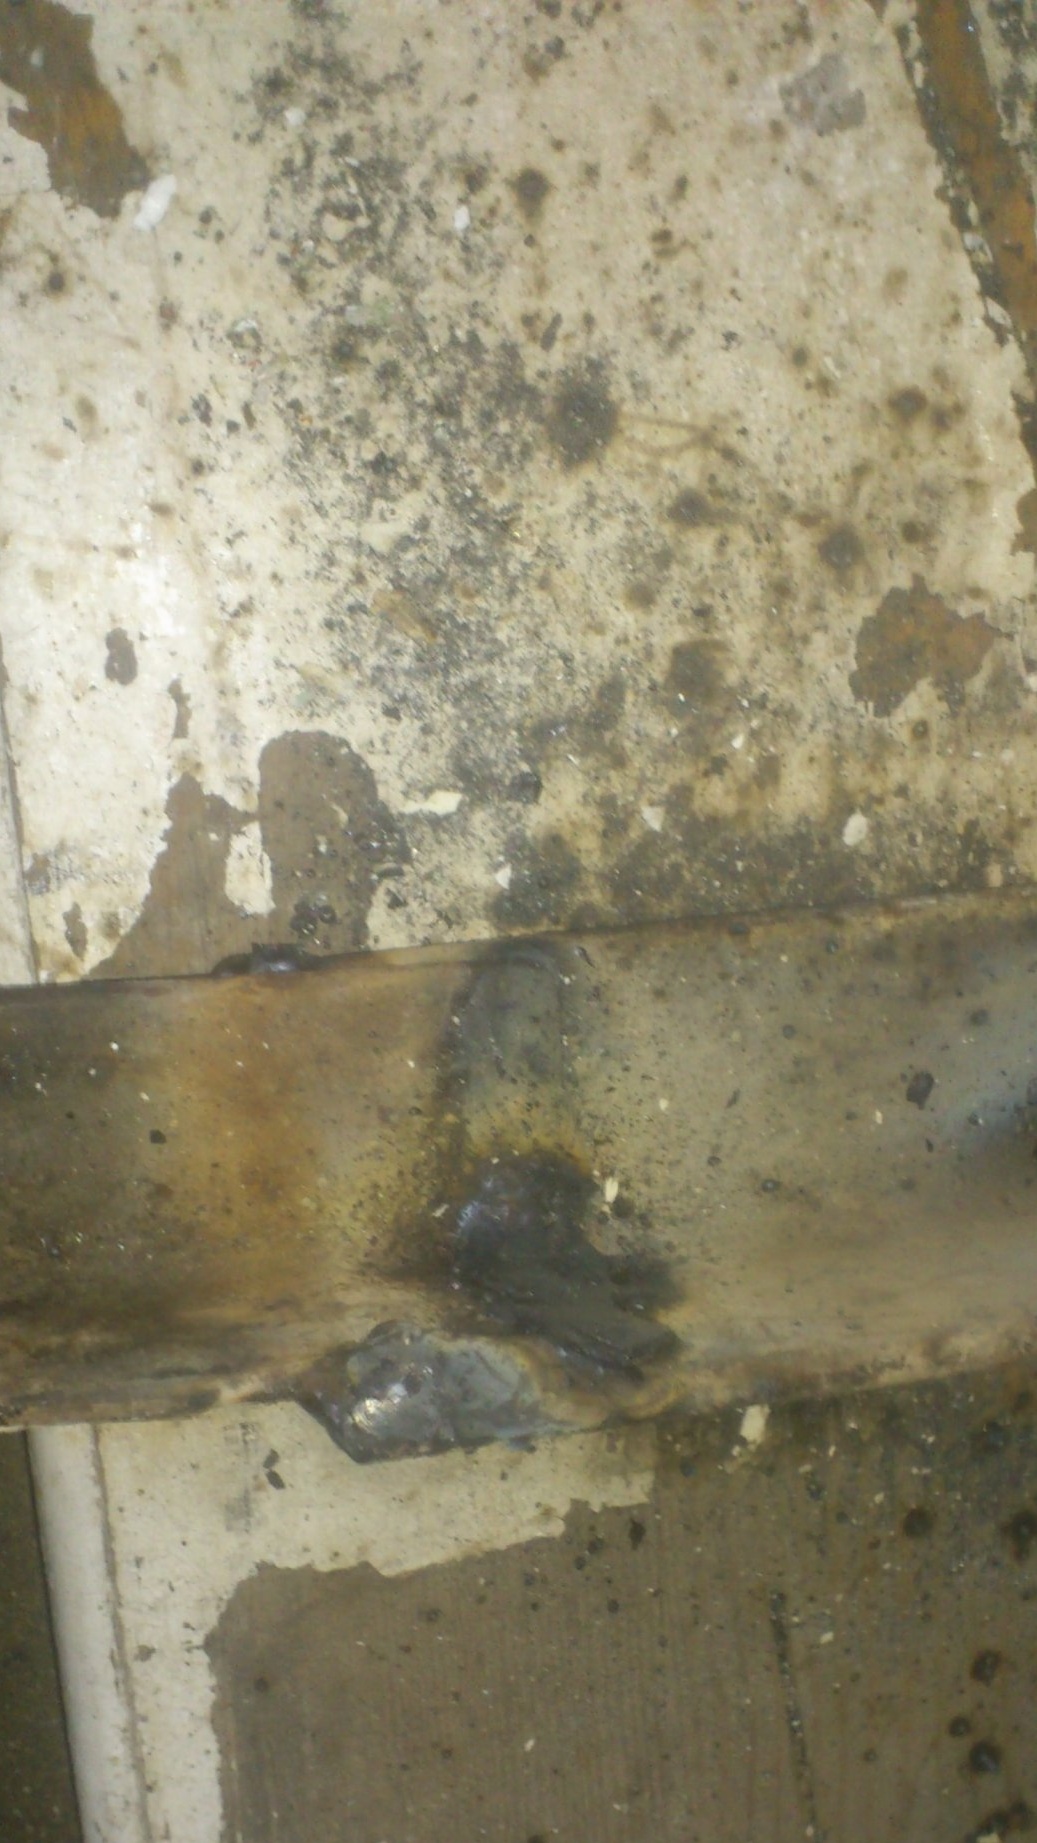
Of these, I made each wedge three of these wedges:

Welded clumsily, ugly, scary. Sometimes in two pieces ... But the main thing here is hard! To be indignant at the lack of aesthetics on this part of the product could, perhaps, earthworms! ))). But they will not succeed because of the lack of their organs of vision! )))). So I'm calm ..)))
I painted the rack with PF-115 enamel. I always have it in my possession, as I paint a lot of things in brown color (RAL 8017). And this enamel is characterized by quick drying (on metal), resistance to corrosion and ultraviolet, and (importantly), it is quite cheap ....
Here is such a support for climbing plants I got.
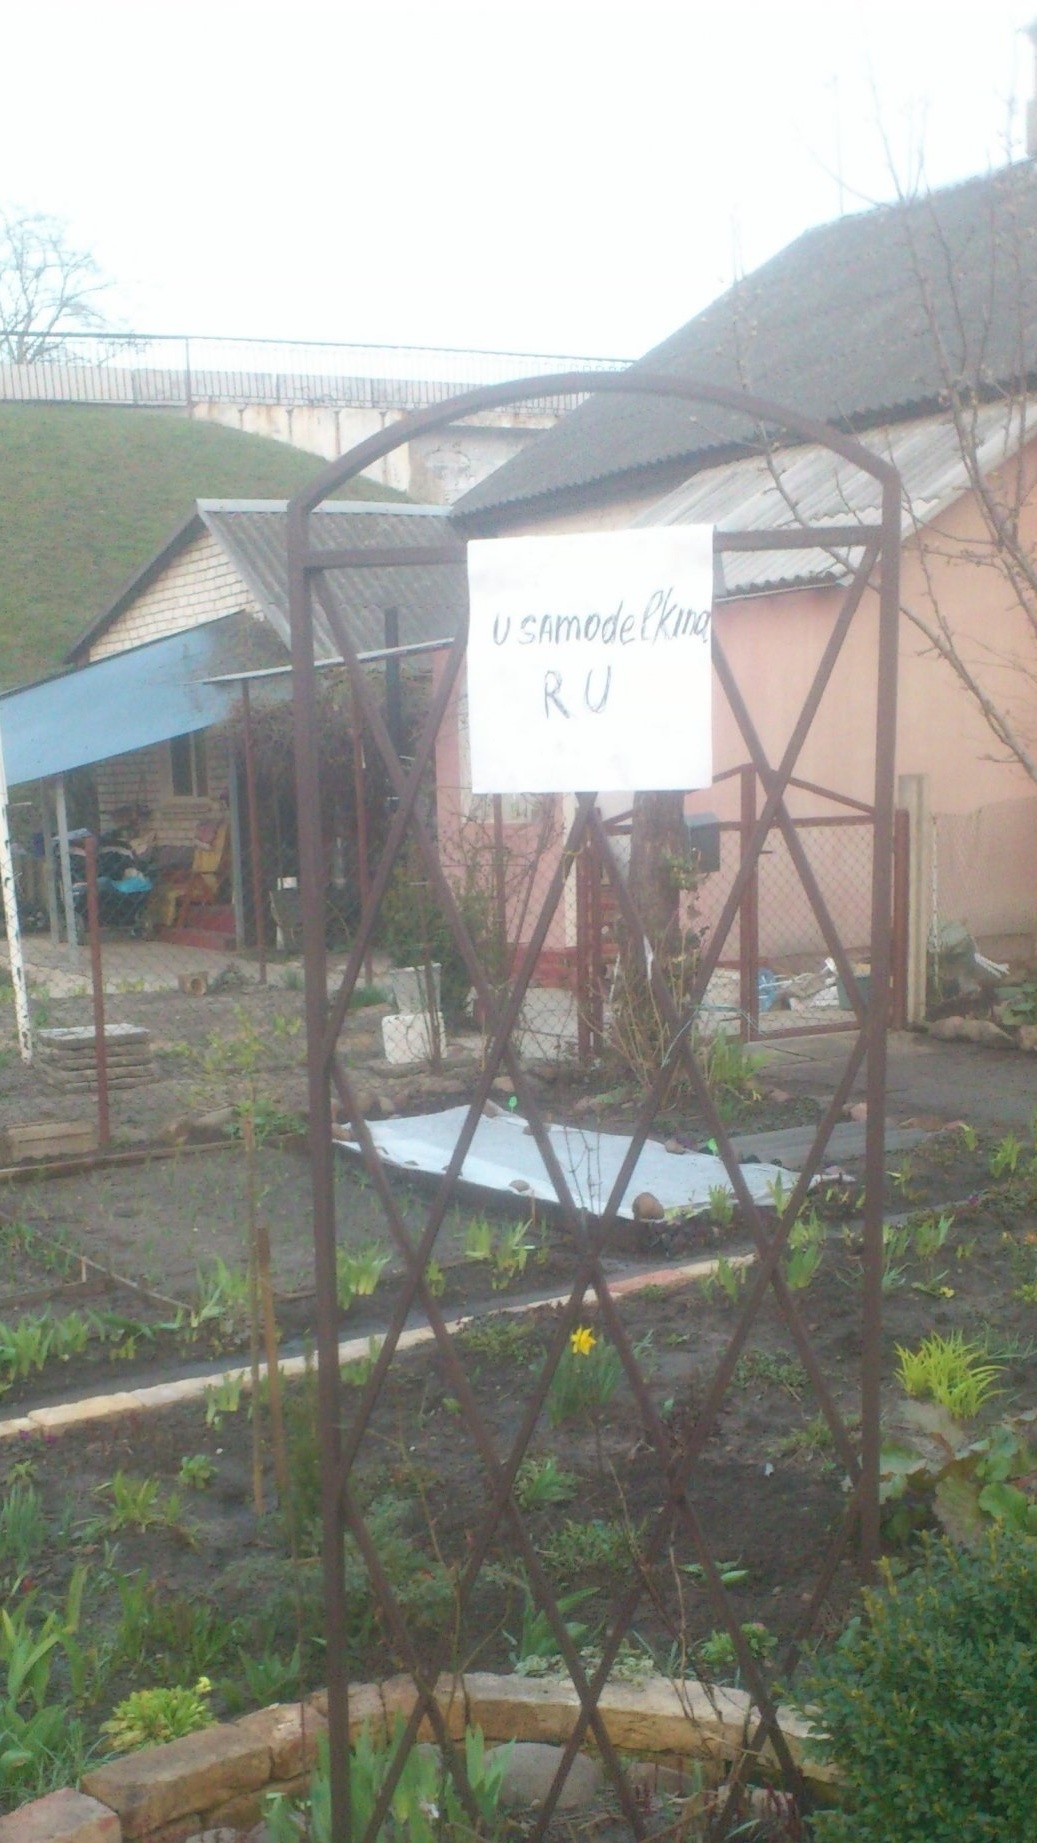
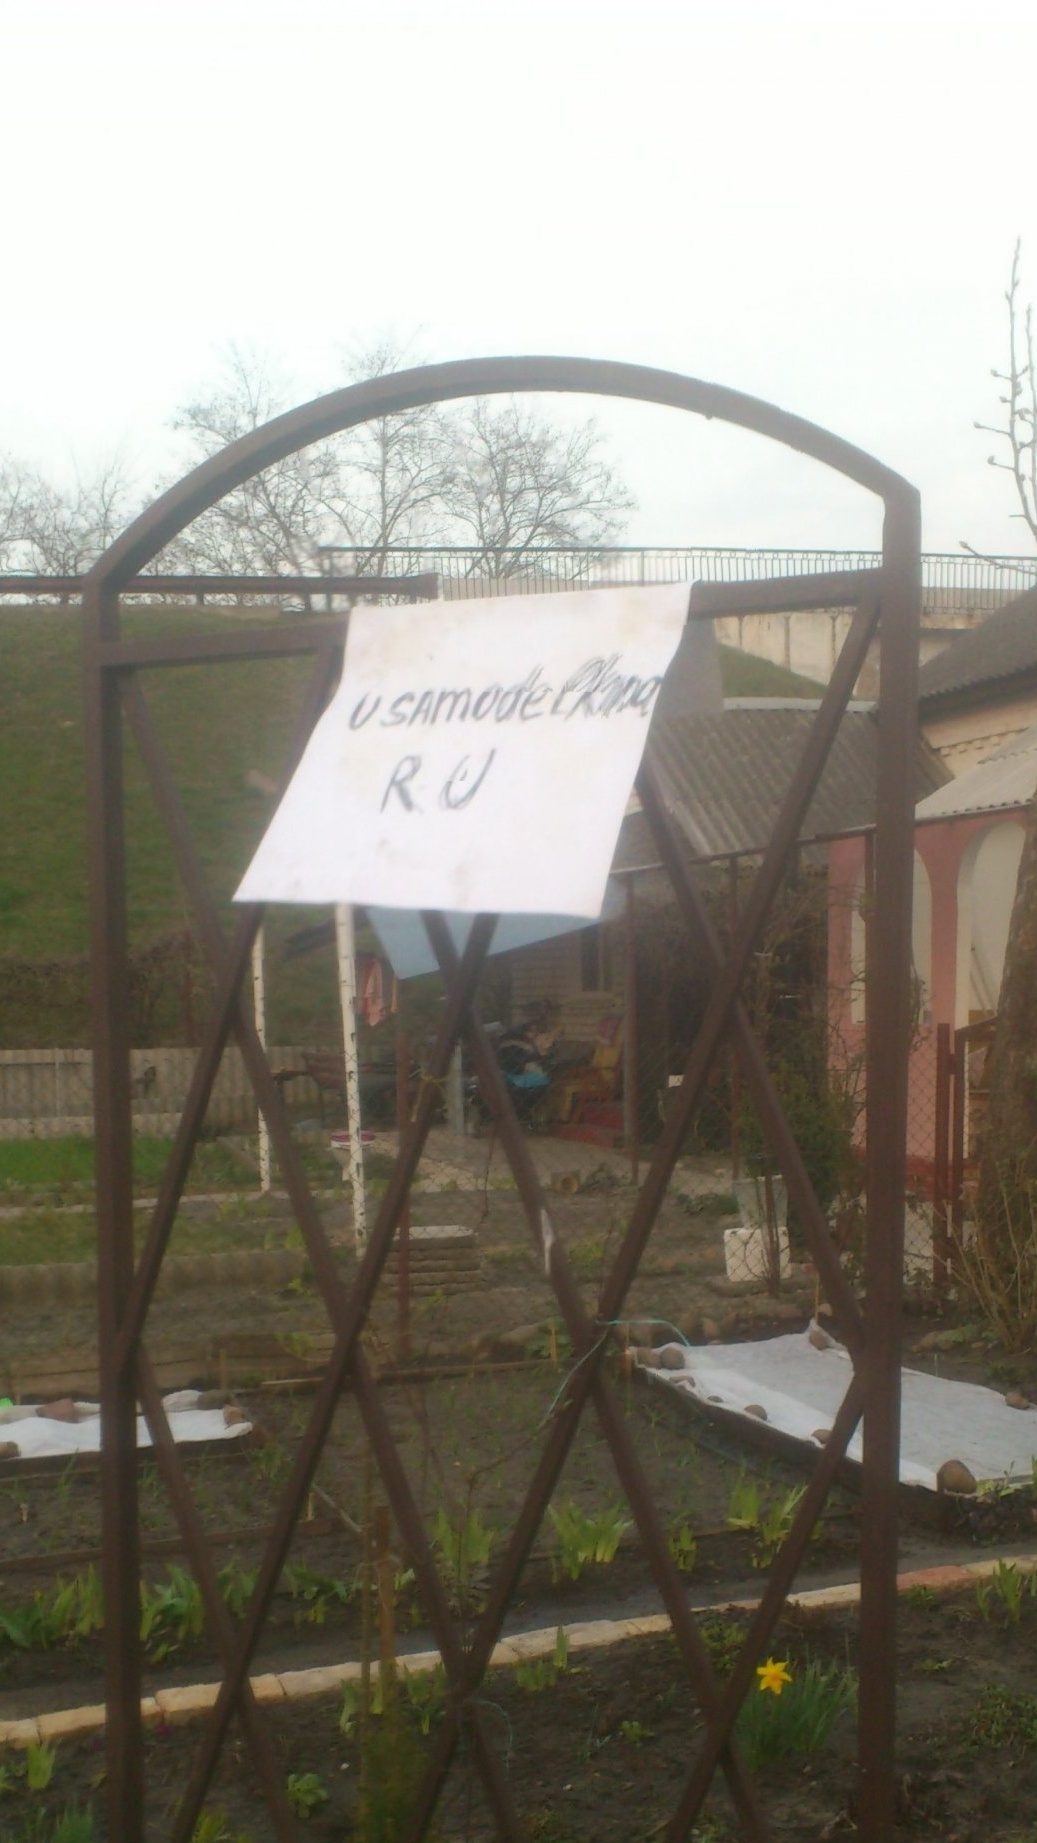
Unfortunately, while mounting this, while painting the second - it was already dark. So, the second install on Monday.))))
The wife is very happy. She liked the shape. She said that they turned out "somehow more seriously bought"))). I’ll add from myself that it’s also an order of magnitude stronger and more durable ...