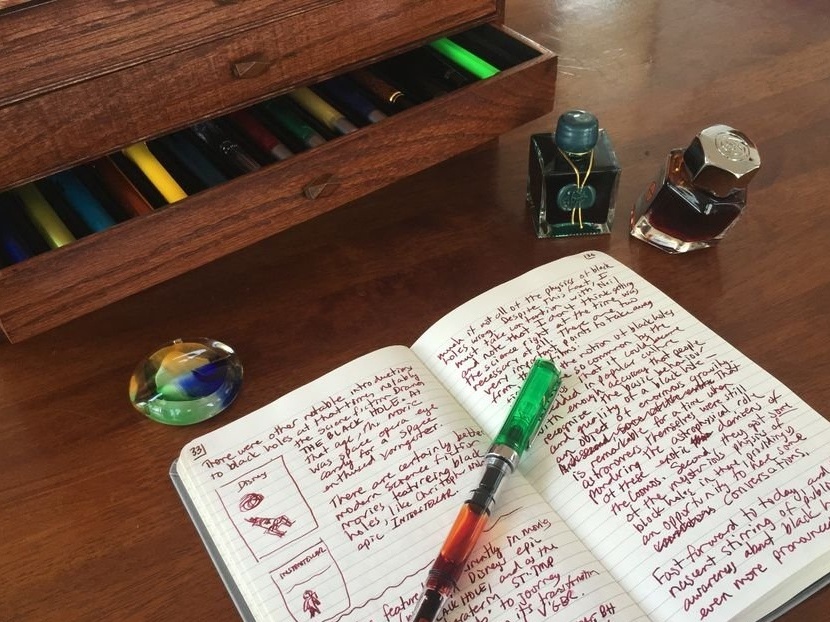
Shane L. Larson, a professor of physics and astronomy at the University of the USA, is not only engaged in science, but also collects ballpoint pens. To organize his collection, he decided to make a box.
Tools and materials:
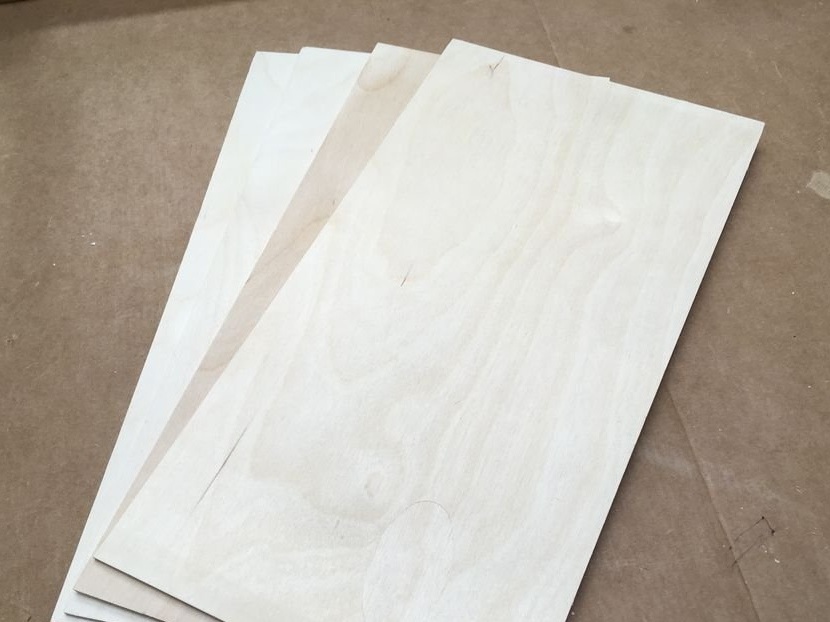
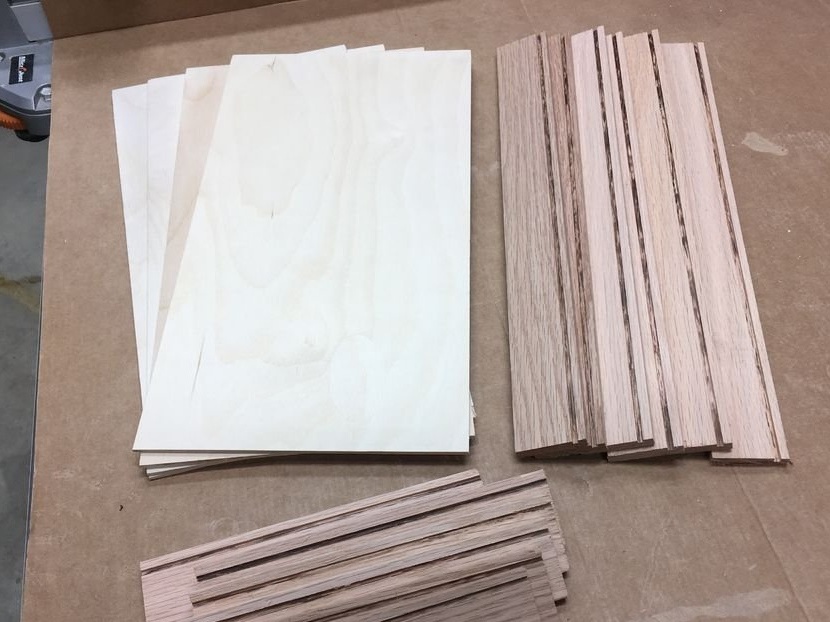
-Plywood;
- Boards from oak and poplar;
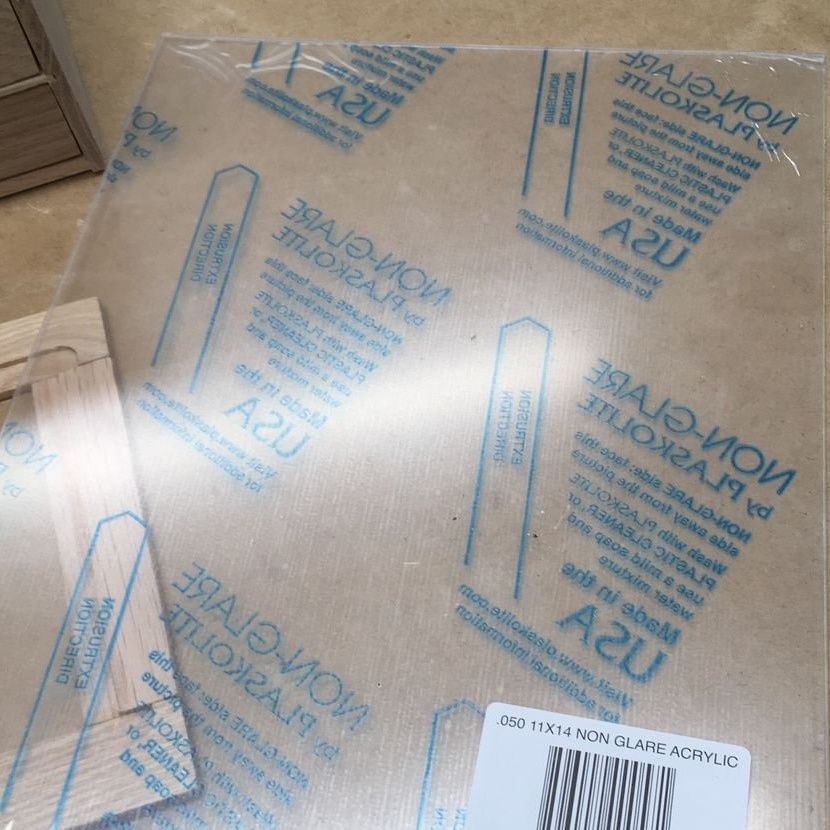
-Acrylic;
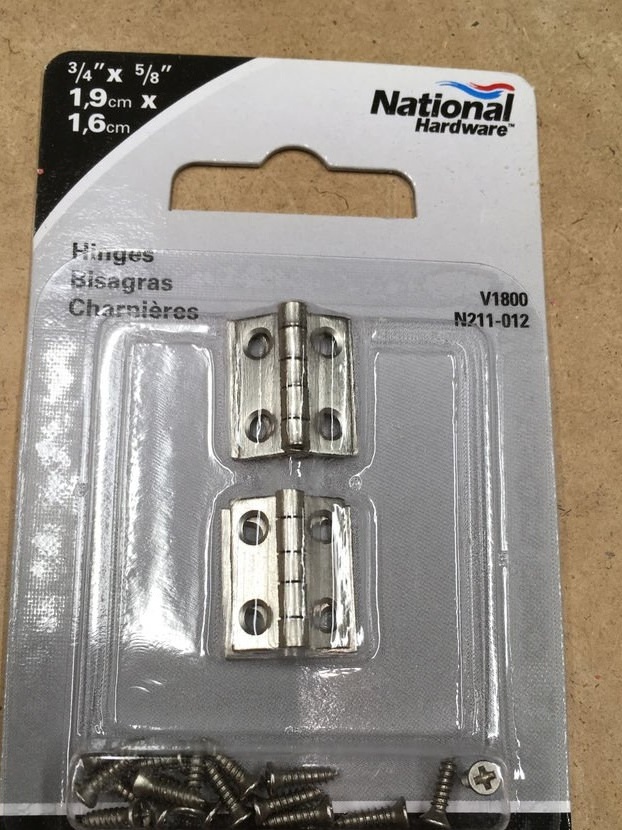
- Loops;
-Pens;
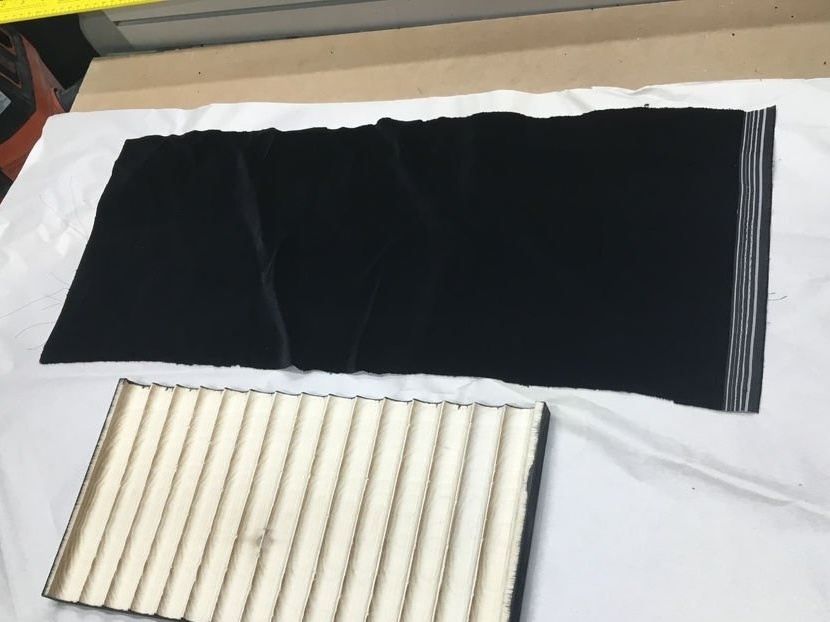
-Black velvet fabric;
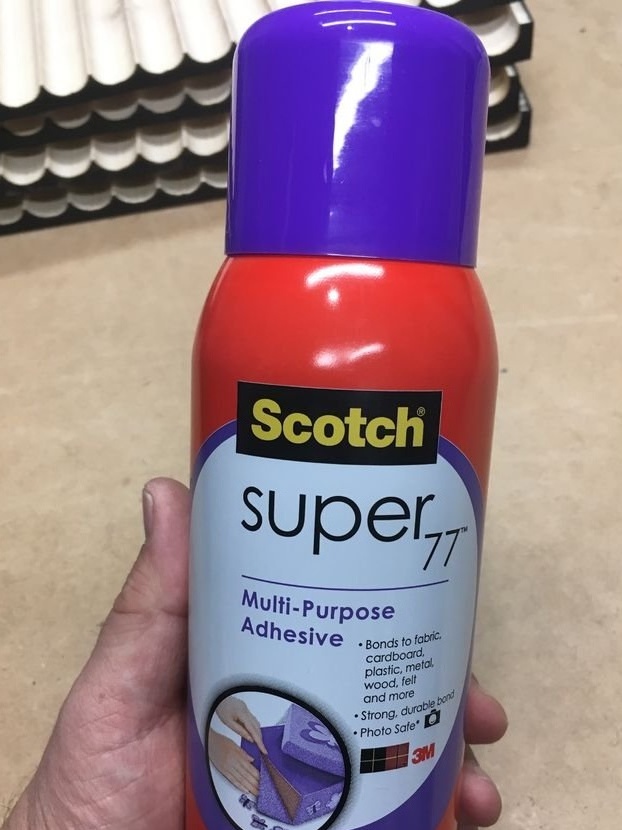
- Spray glue;
- Stain;
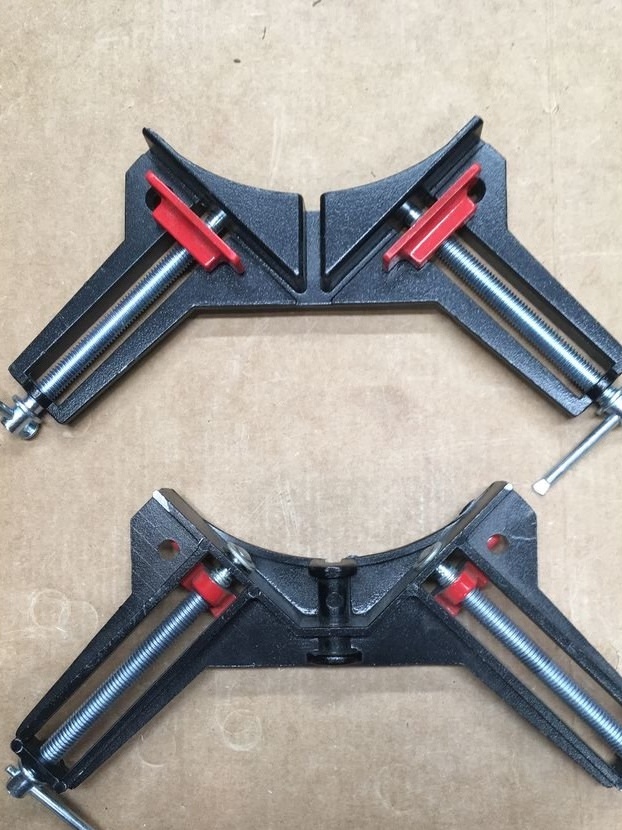
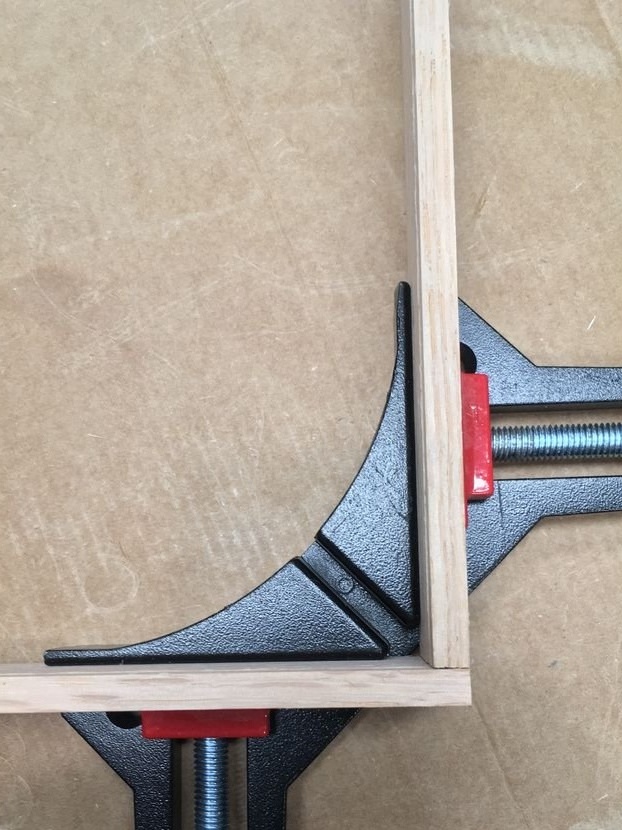
- Clamps;
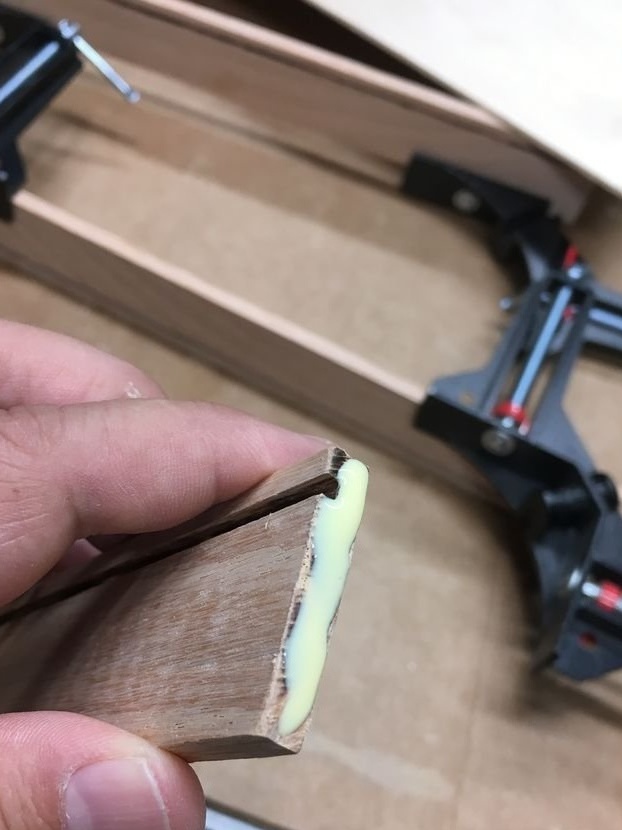
- Joiner's glue;
-A circular saw;
-Rule;
-Pencil;
-Drilling machine;
-Milling machine;
-Knife;
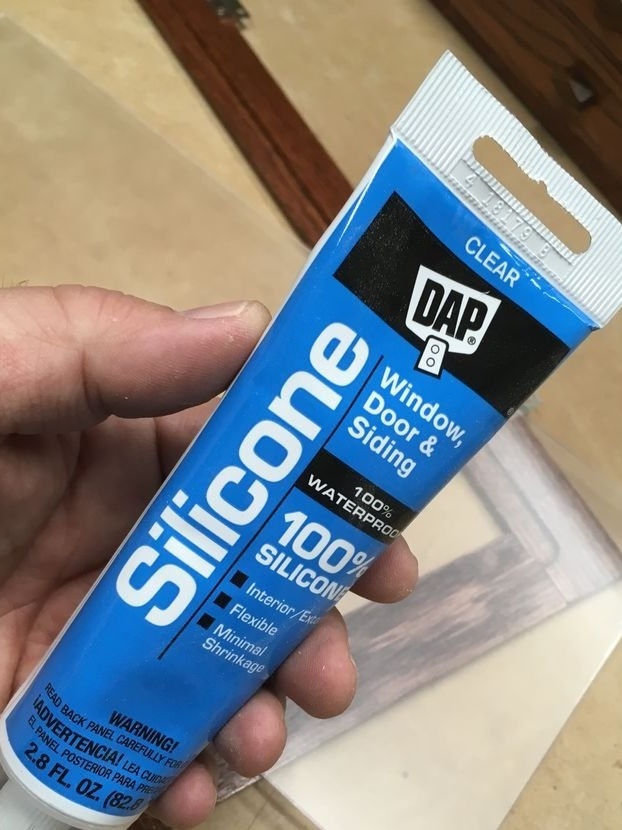
-Silicone;
-Sandpaper;
-Thread;


Step One: Planning
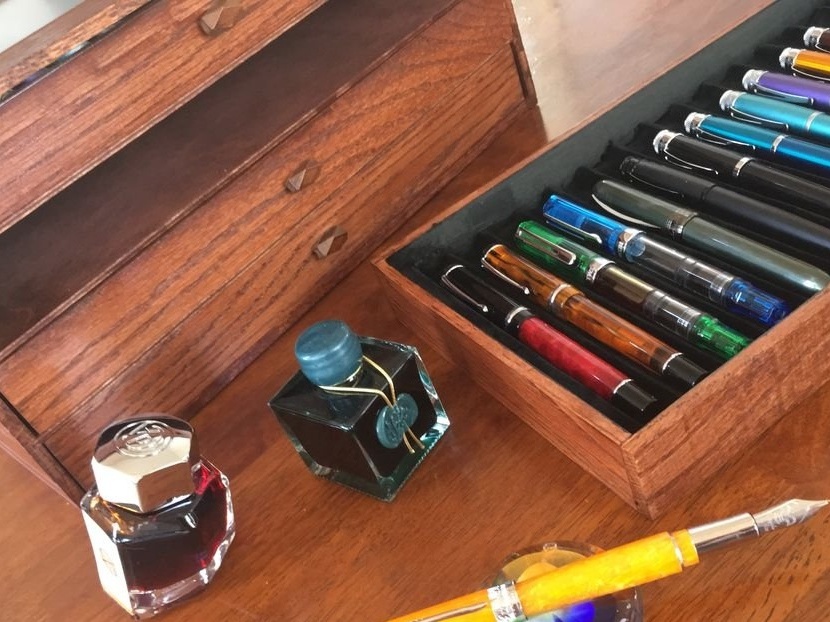
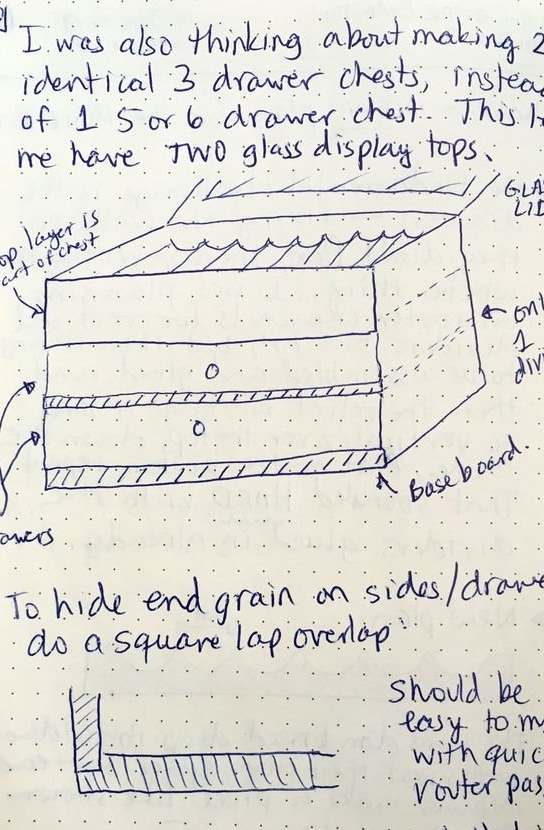
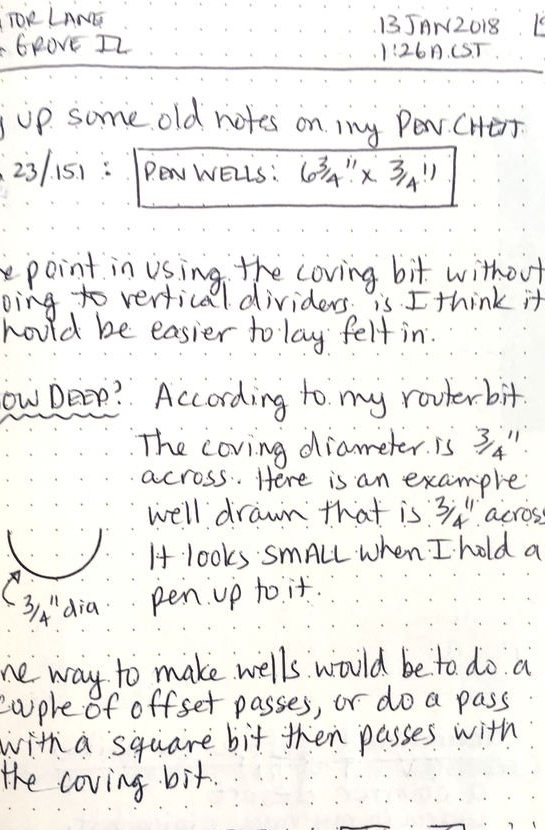
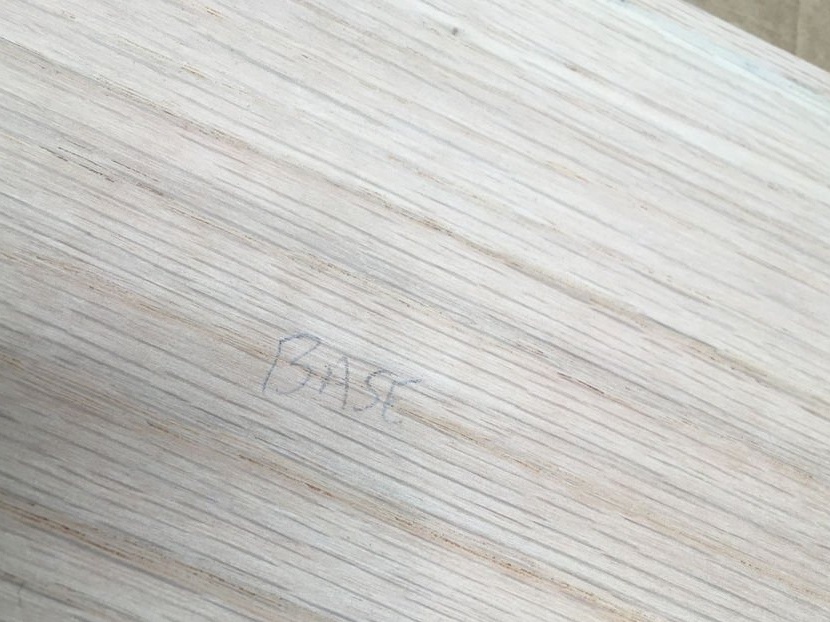
The author's collection of more than 40 pens. The longest of them is 15.3 cm long. Based on these data, calculations were made. The box should be roomy, at least 18 cm wide, with pull-out shelves and a transparent top cover.
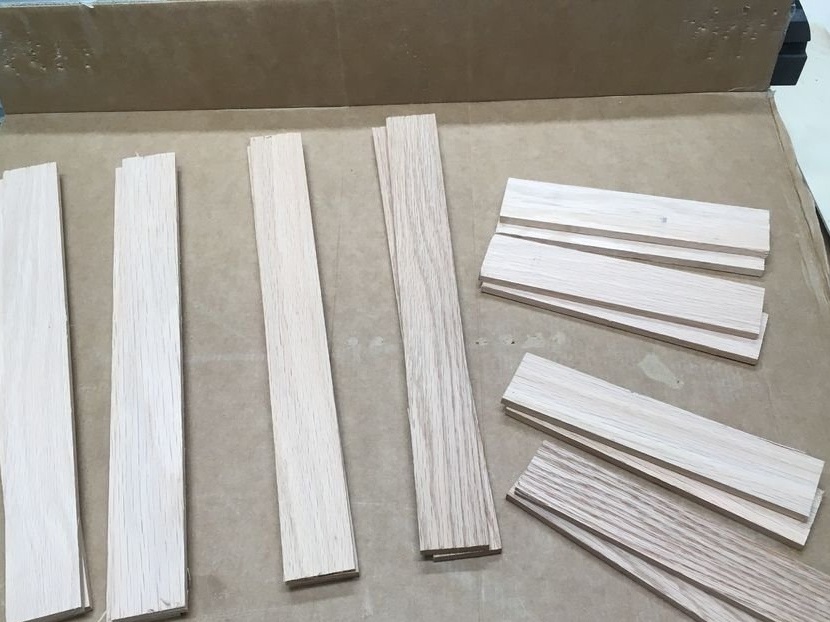
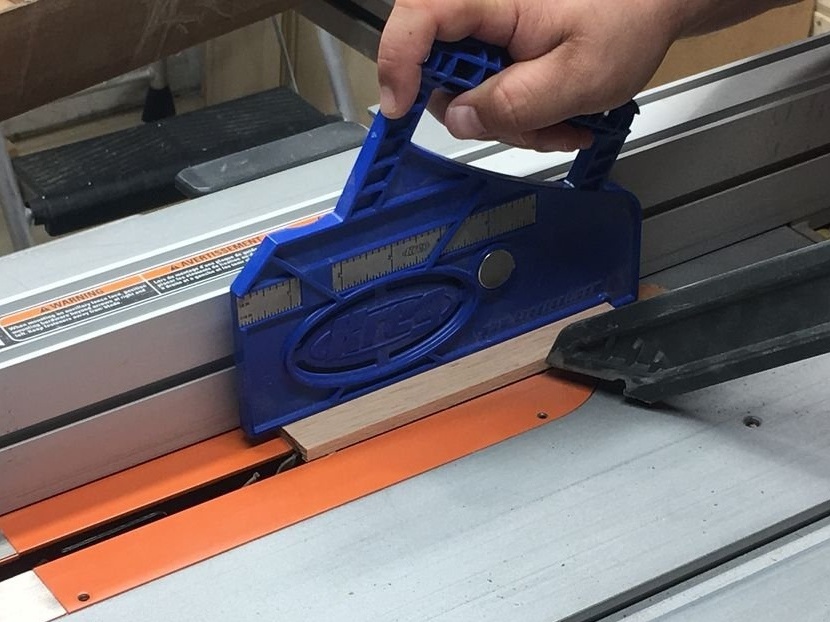
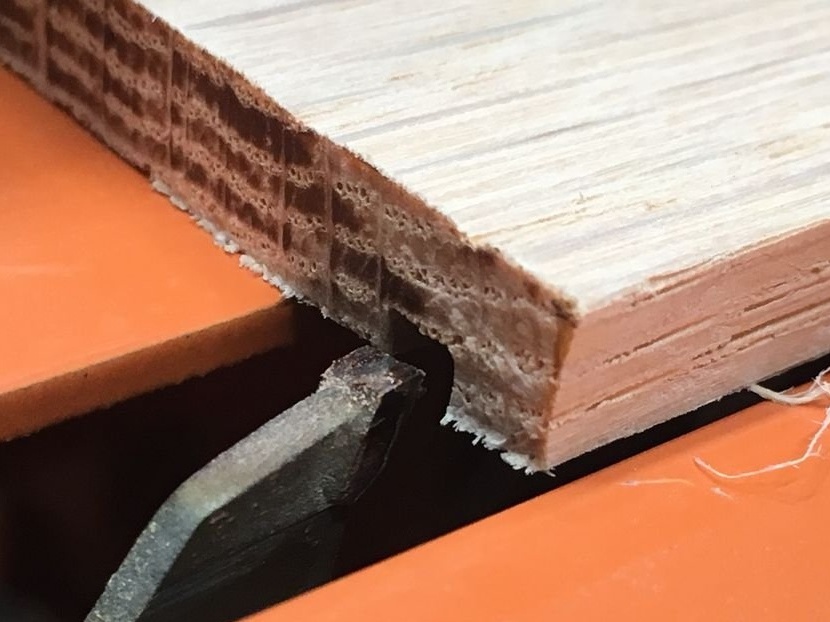
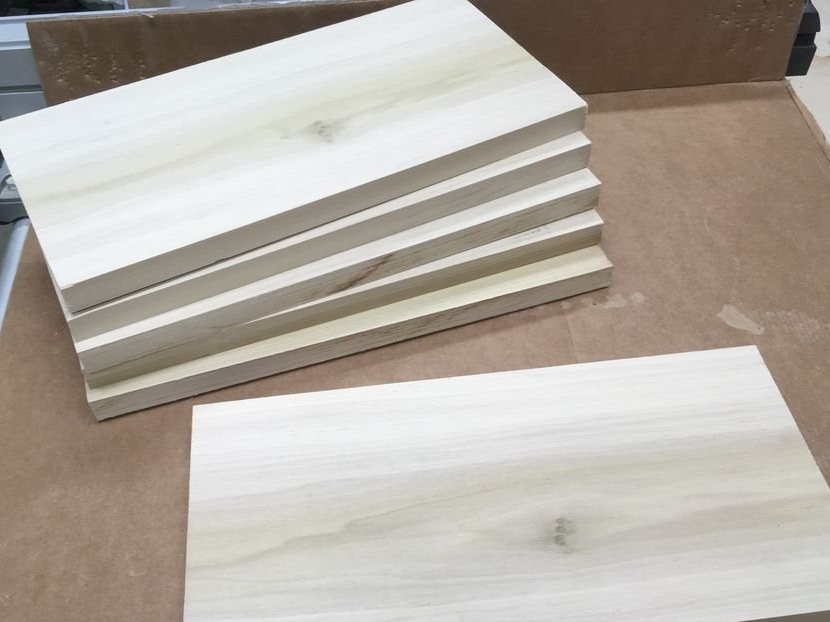
Step Two: Sawing
The plan has been drawn up and you can start sawing.
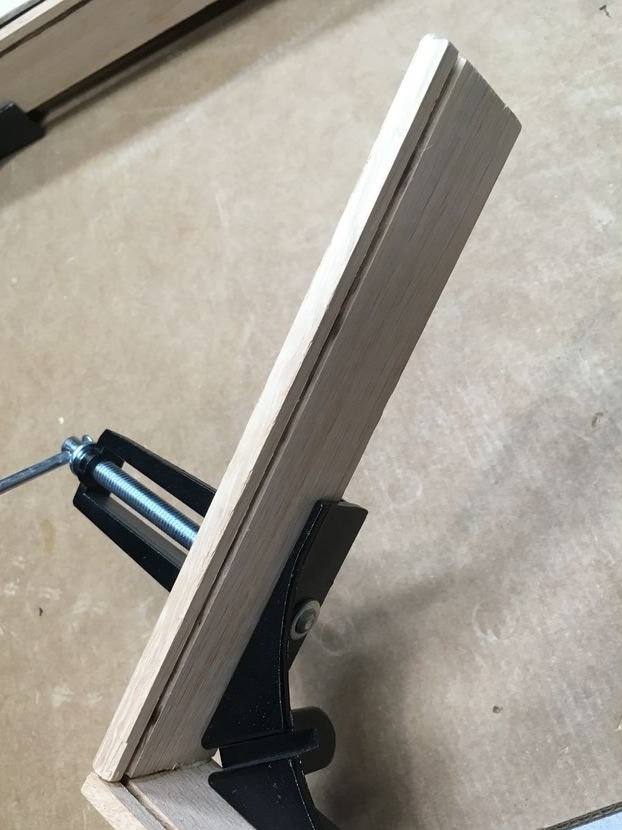
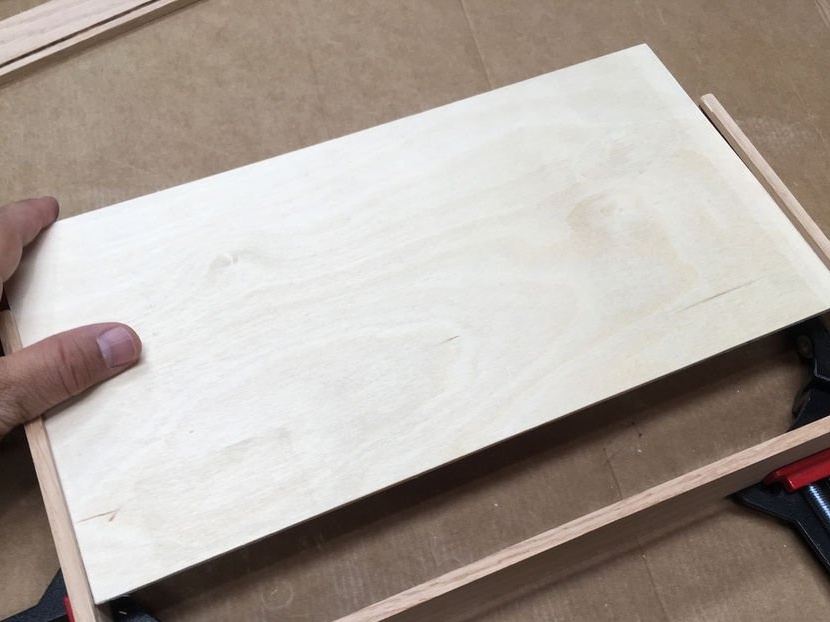
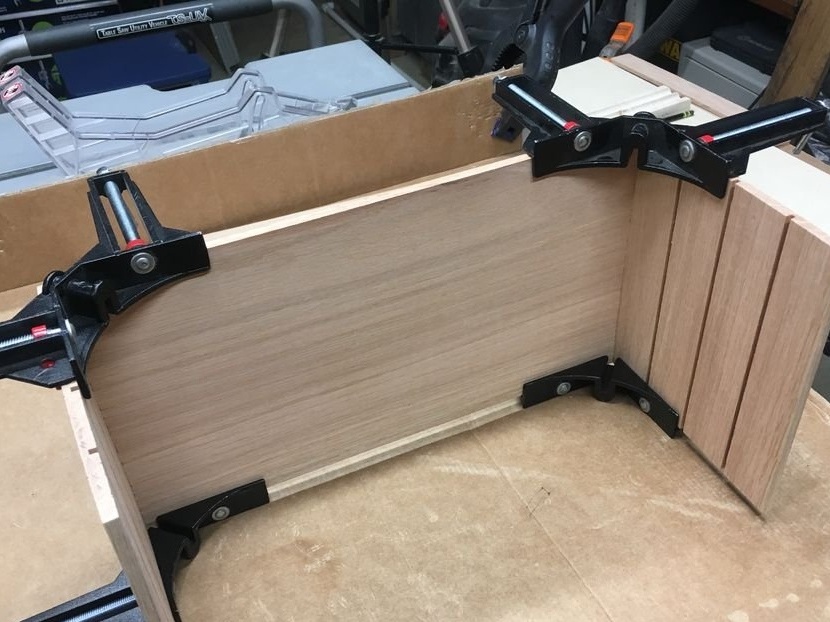
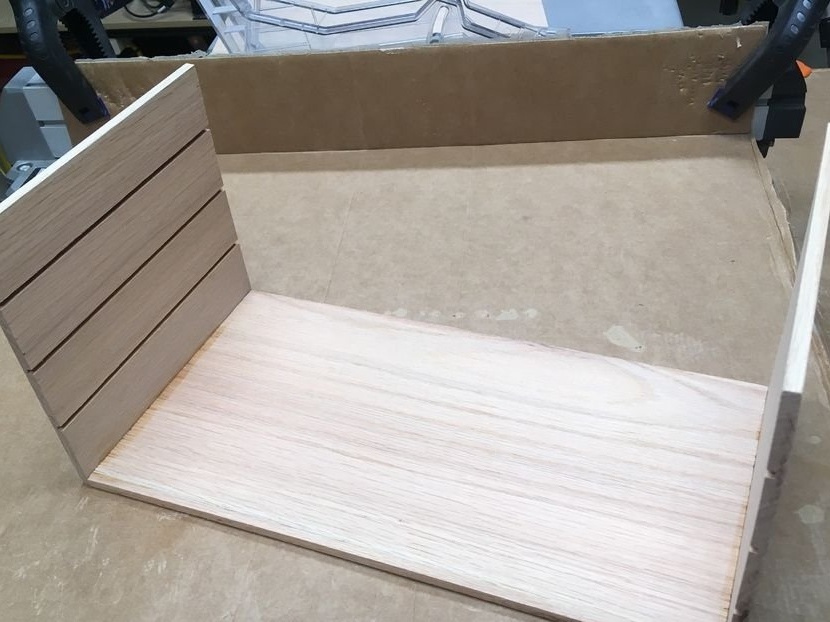
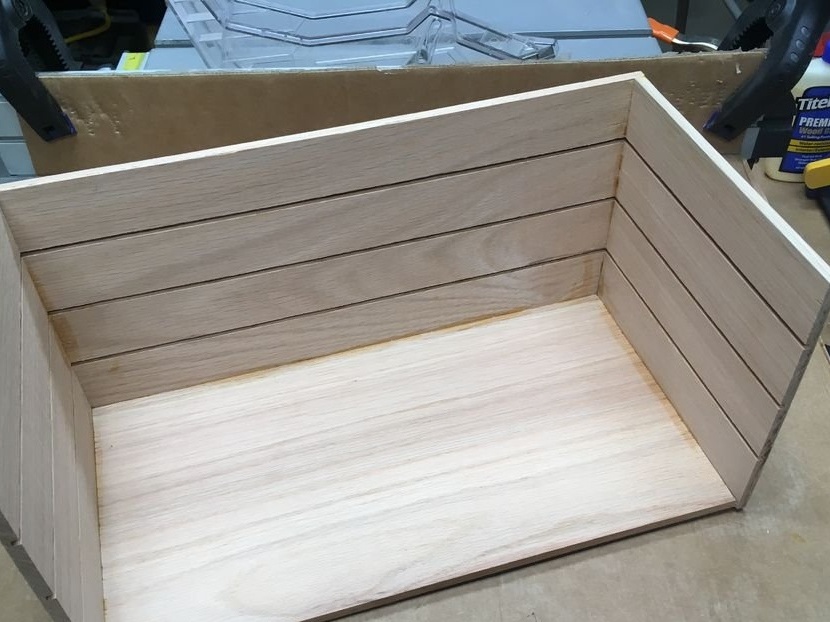
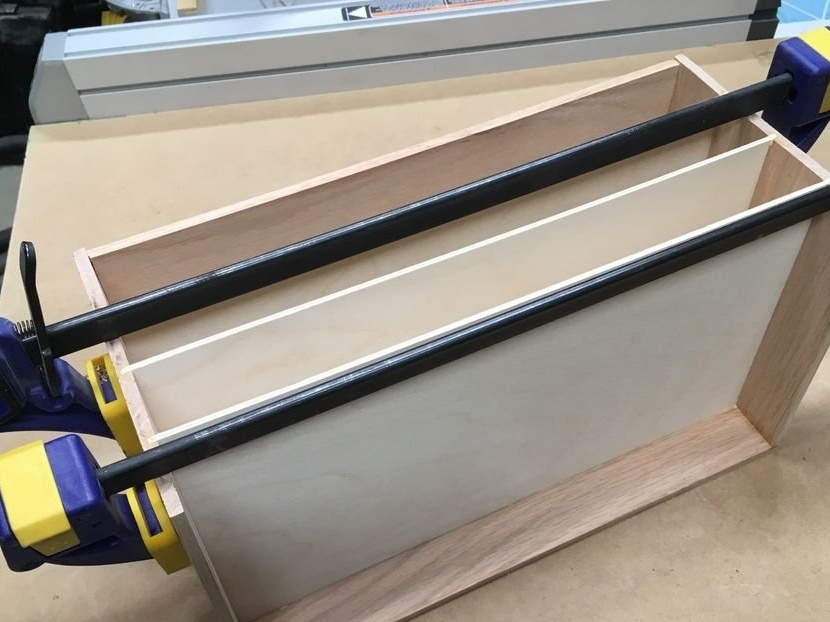
Step Three: Build
The material is cut, the grooves under the plywood bottom are sawn and now you can collect the boxes. Details of boxes, and further boxes, the master collects "for glue".
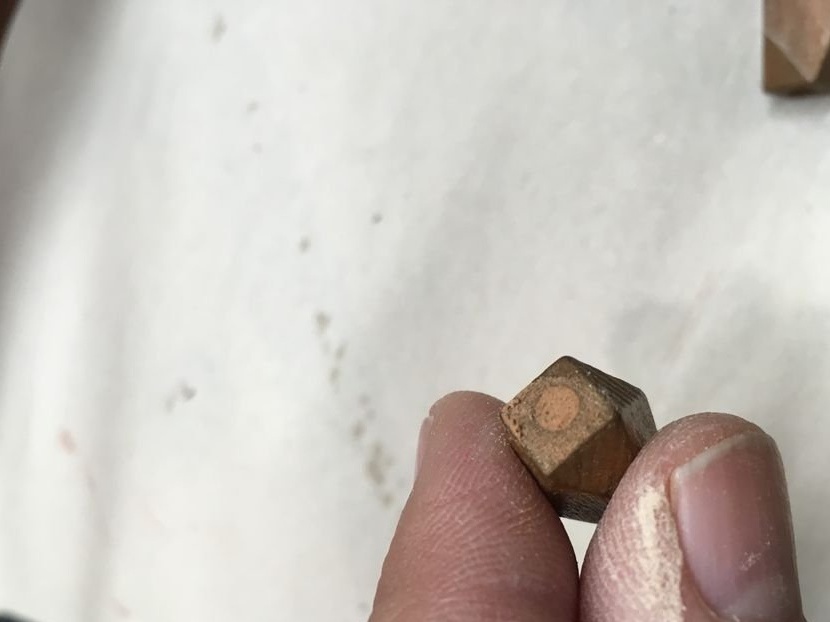
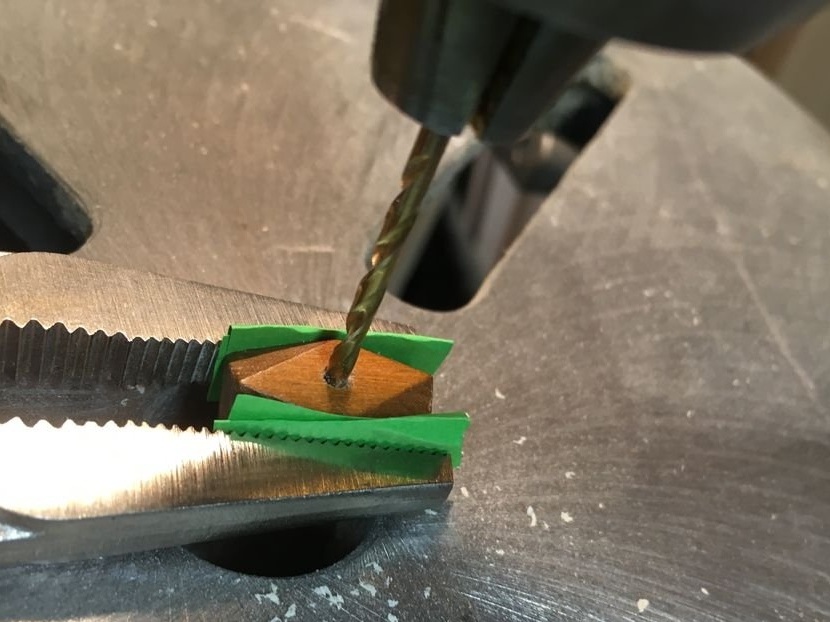
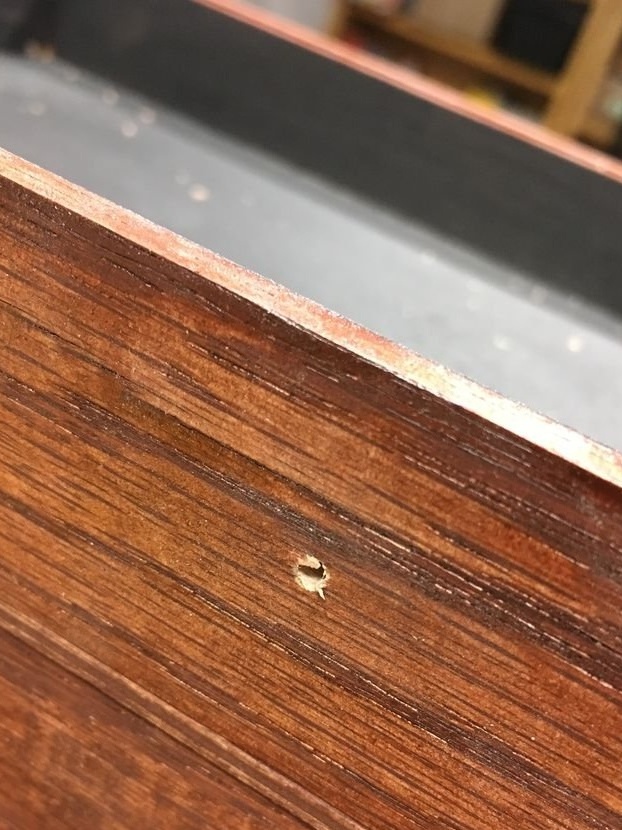
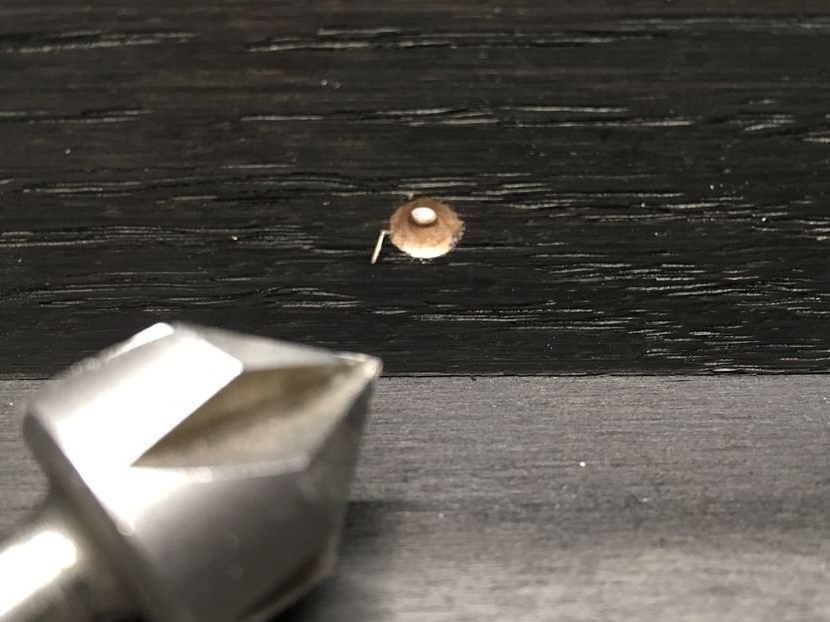
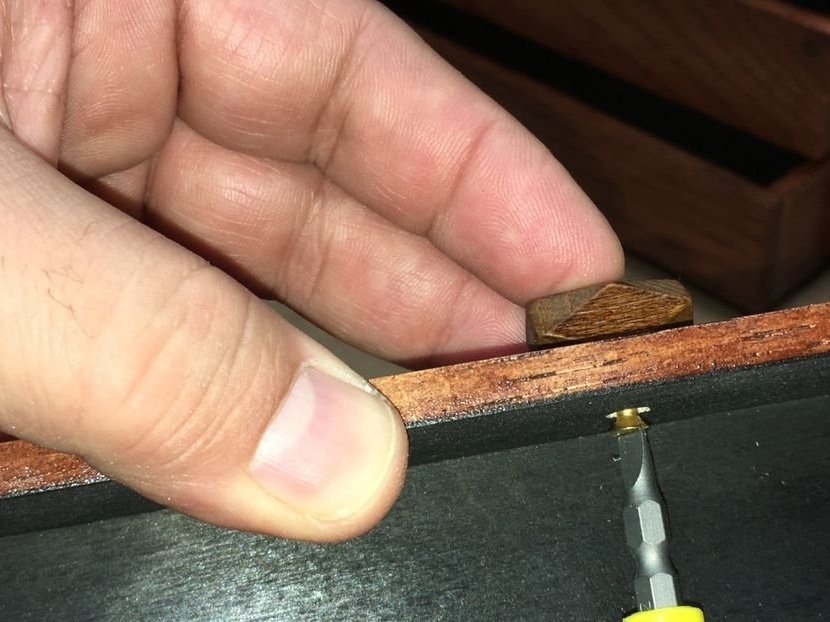
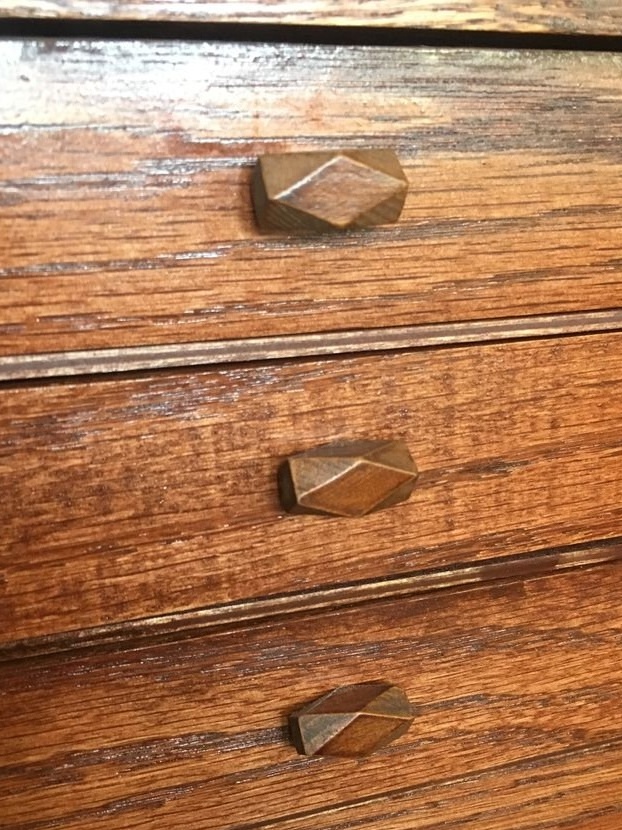
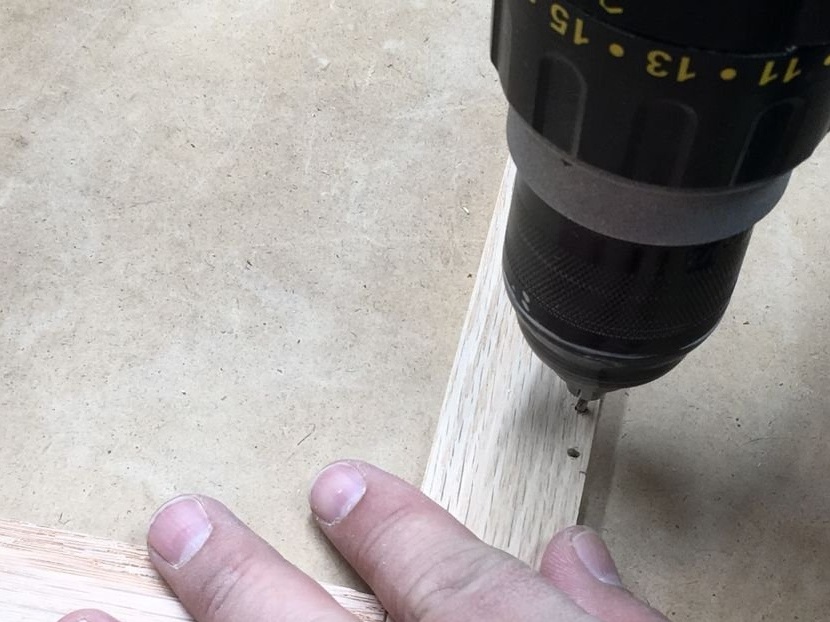
Step Four: Pens
The boxes are small and it was difficult to find pens for them, then the master made them himself. Then secured to the drawers.
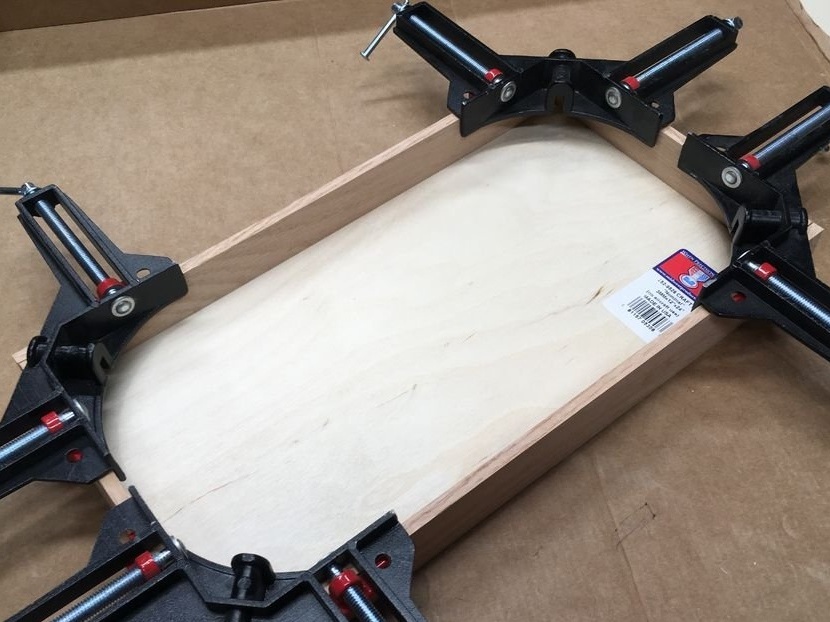
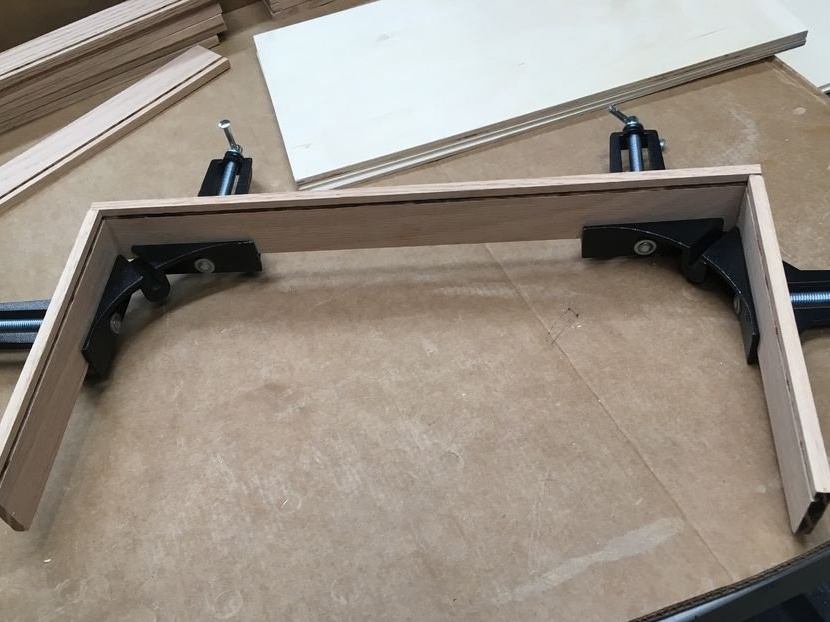
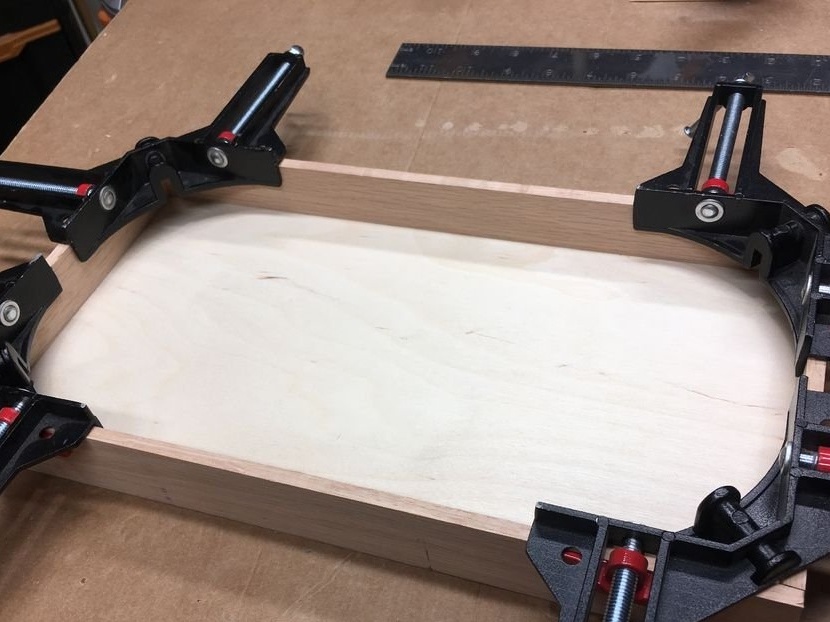
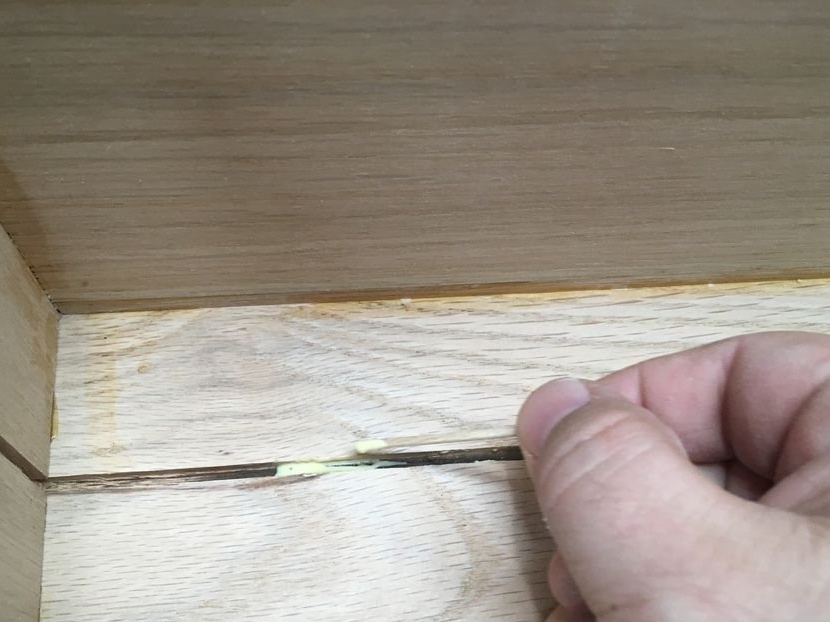
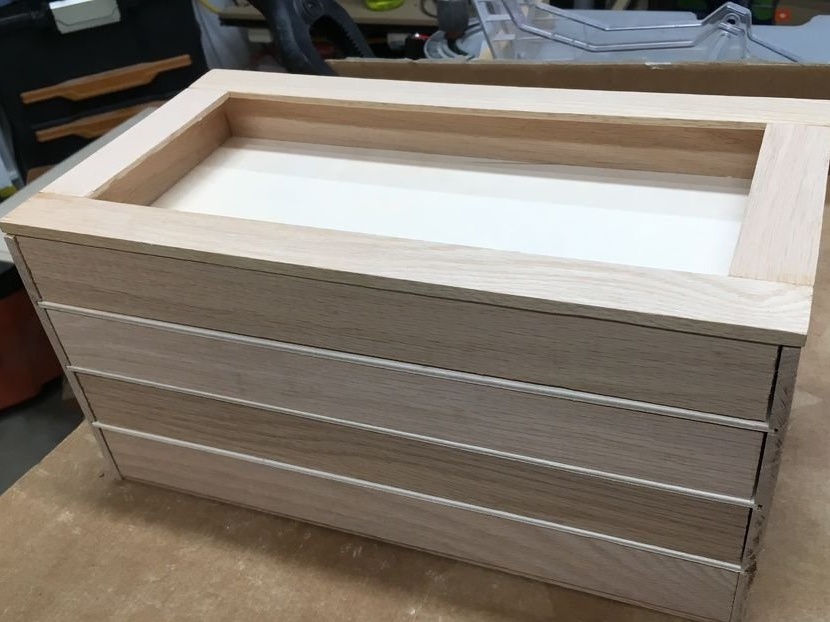
Step Five: Assembling the Box
Now it was the turn to collect the box.

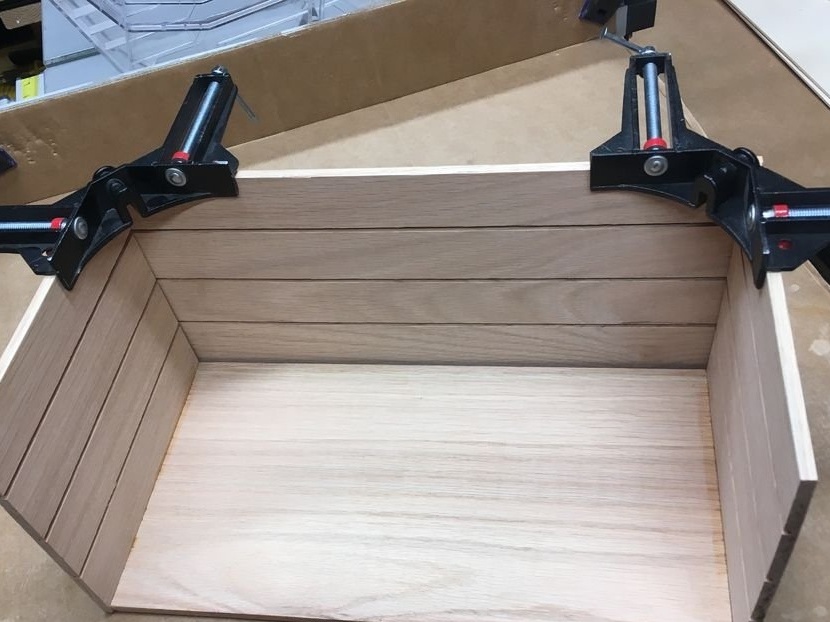
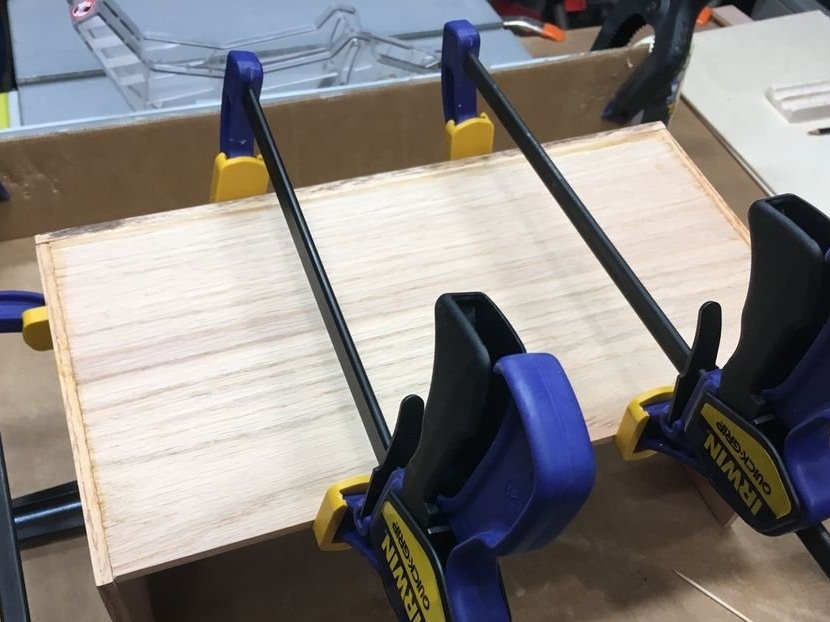
Boxes will be mounted on plywood shelves. Shelves the master fastens with wood glue.
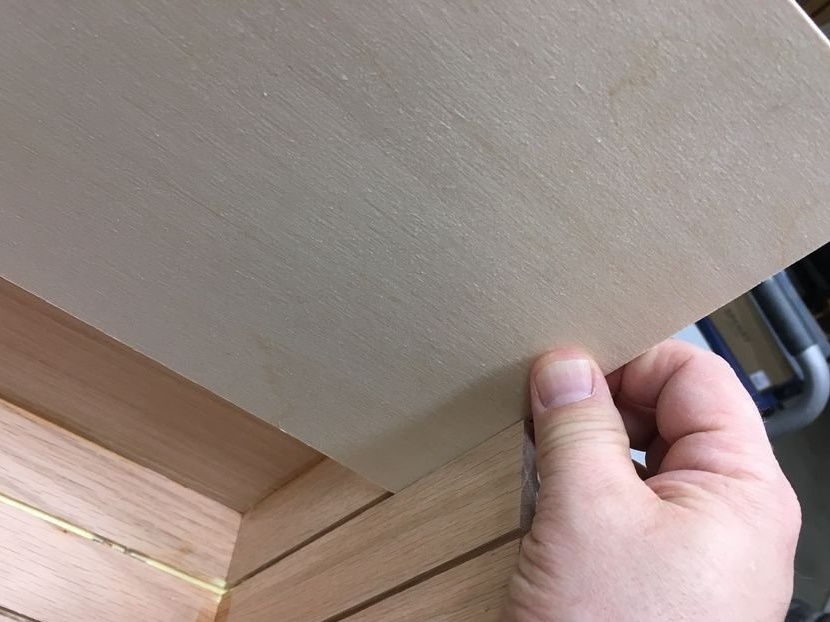
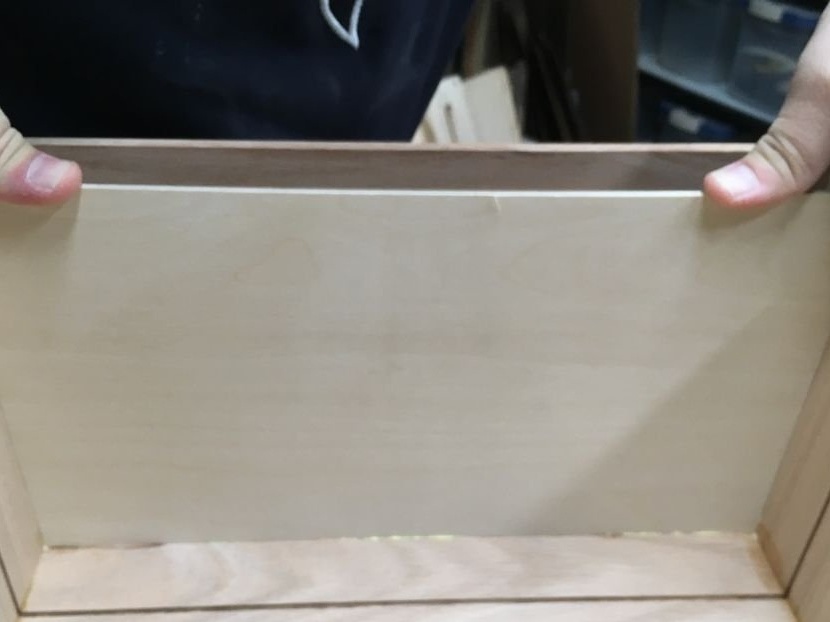
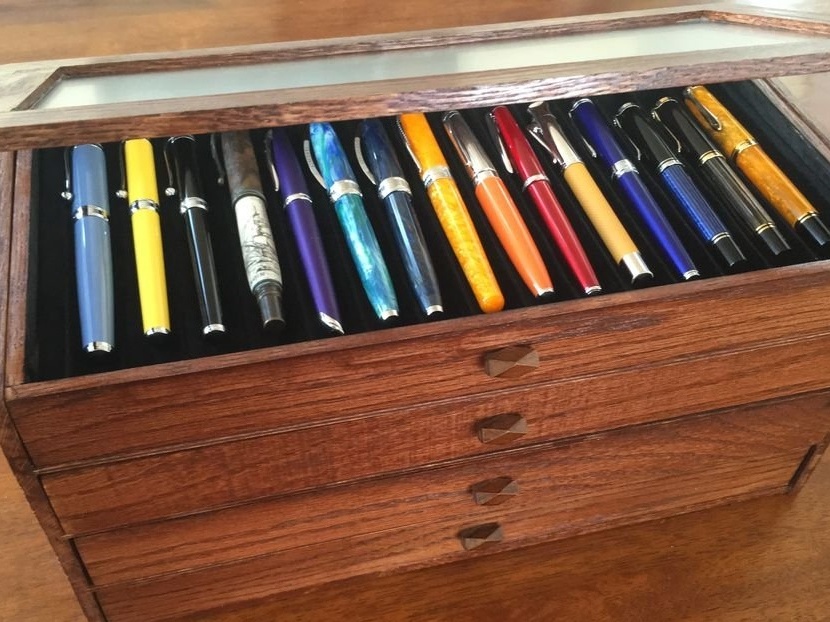
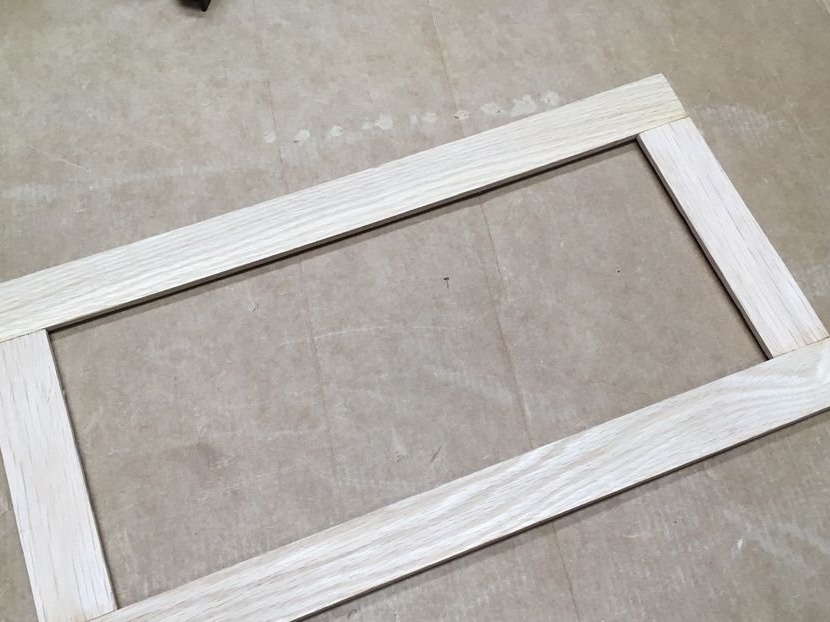
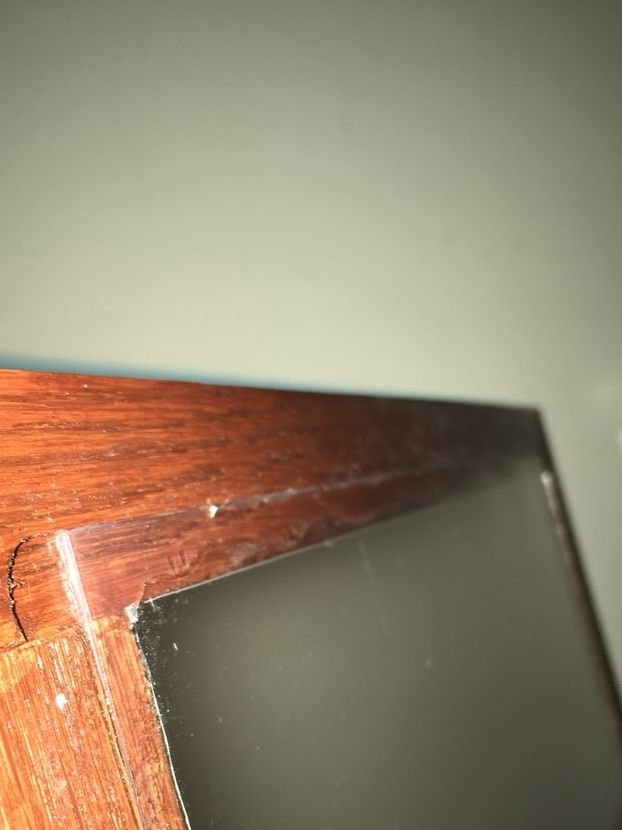
Step Six: Cover
Assembles a cover. Mills in it a seat for the “window” of acrylic.


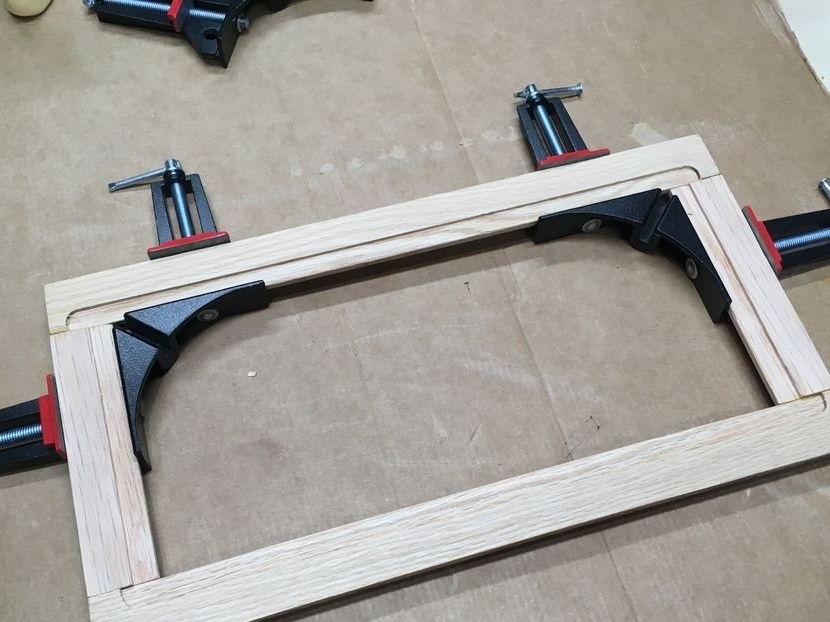
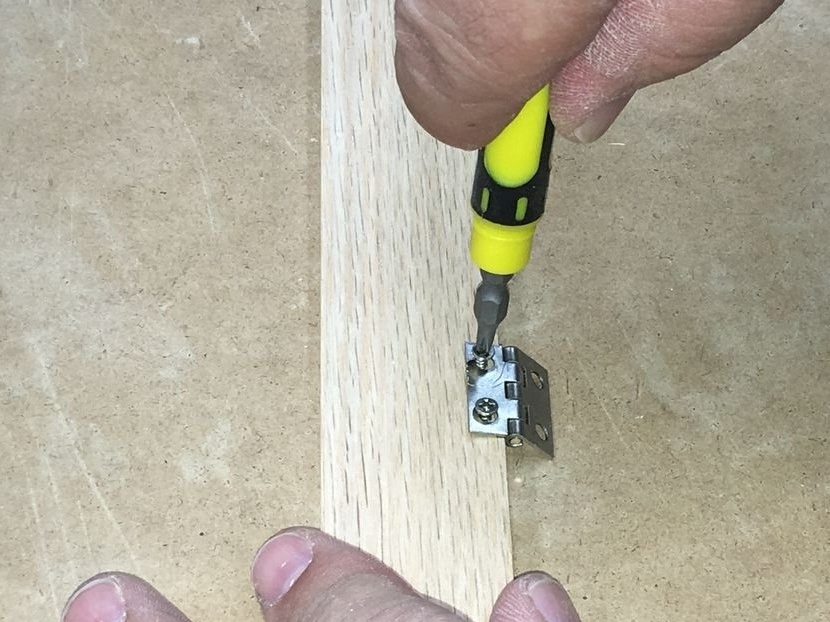
Screws the hinges and fastens the lid on the box.
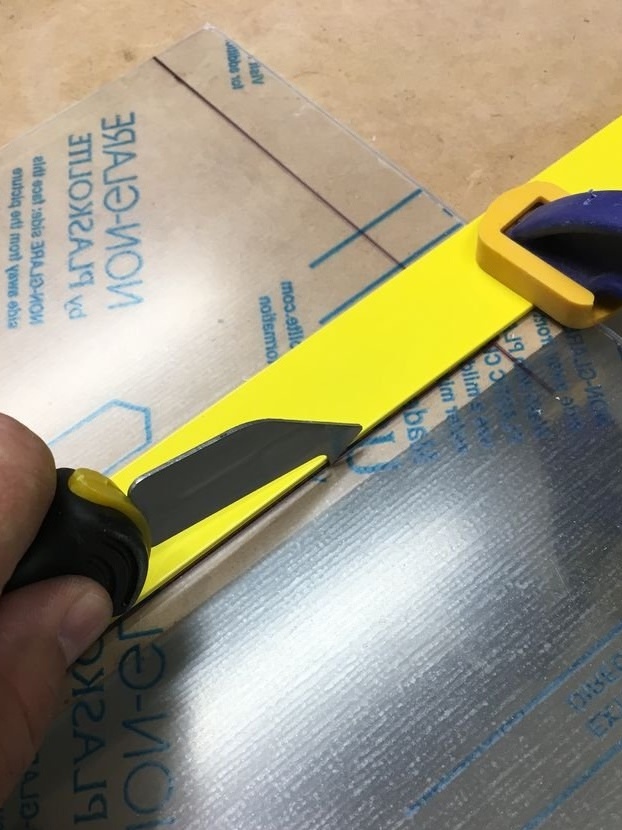
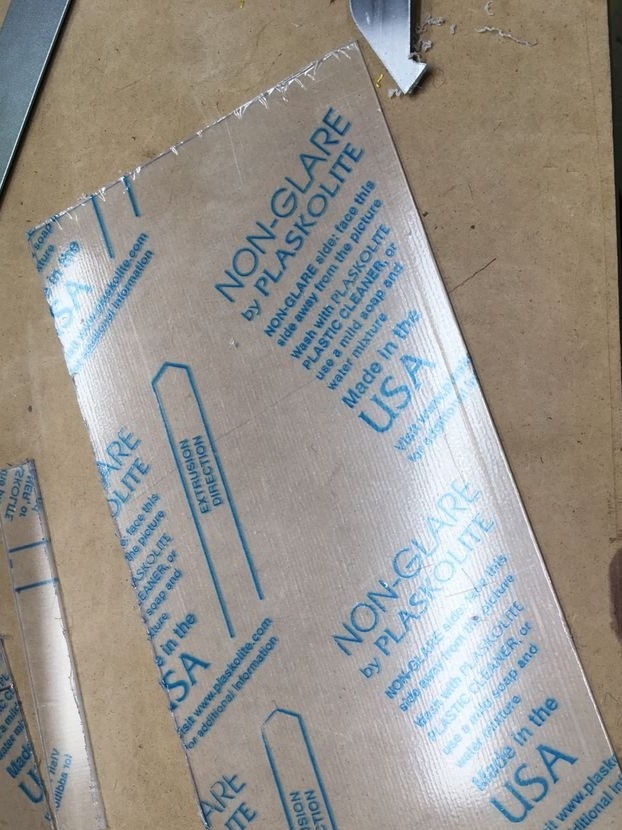
Cut acrylic to size. After opening the stain, it will be mounted on the lid with silicone.
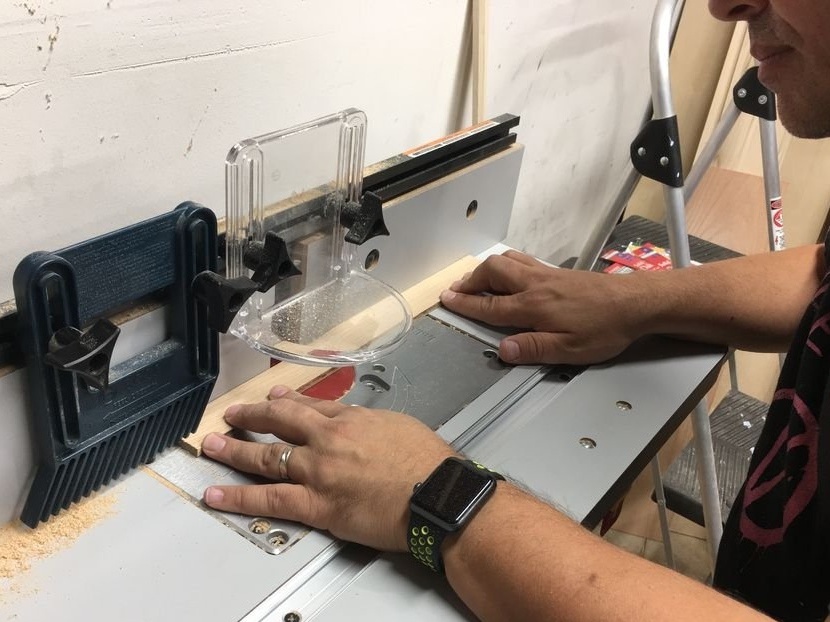
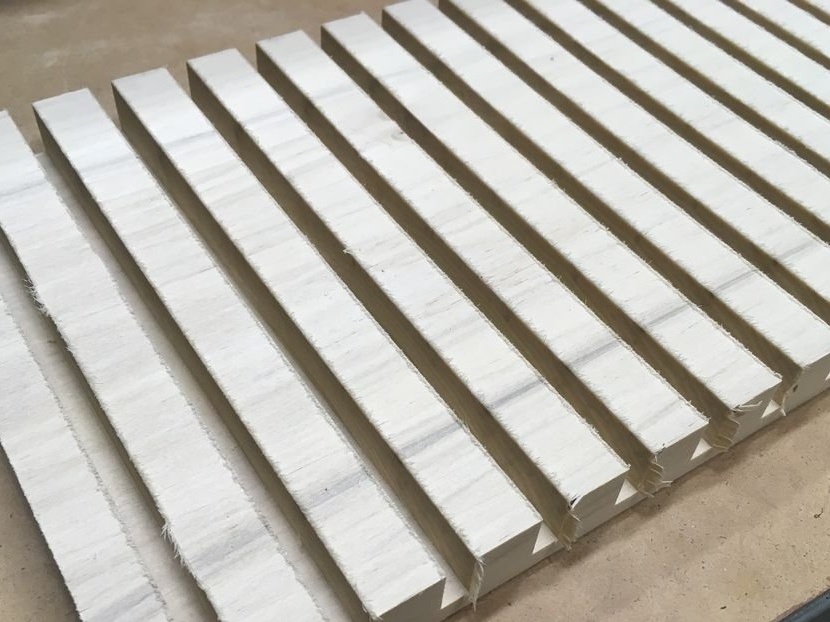
Seventh step: insertion
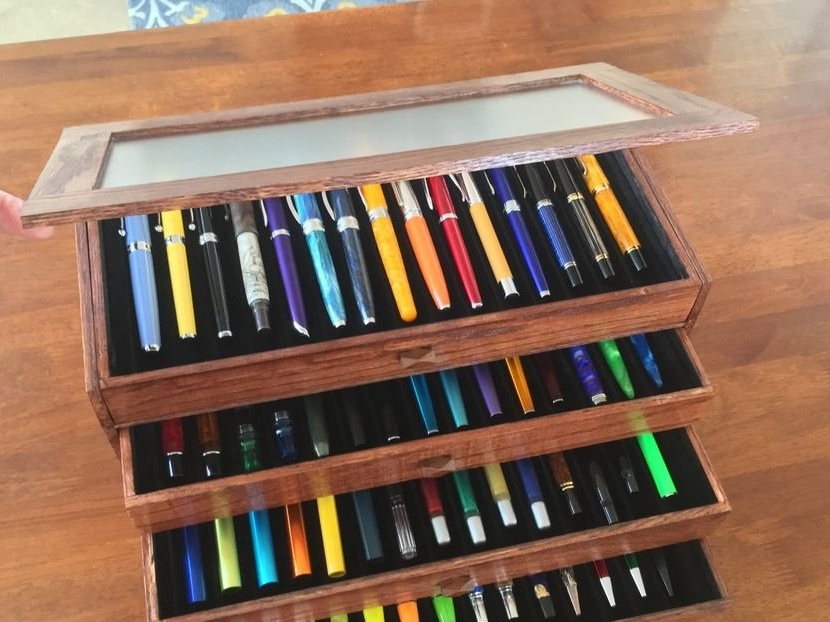
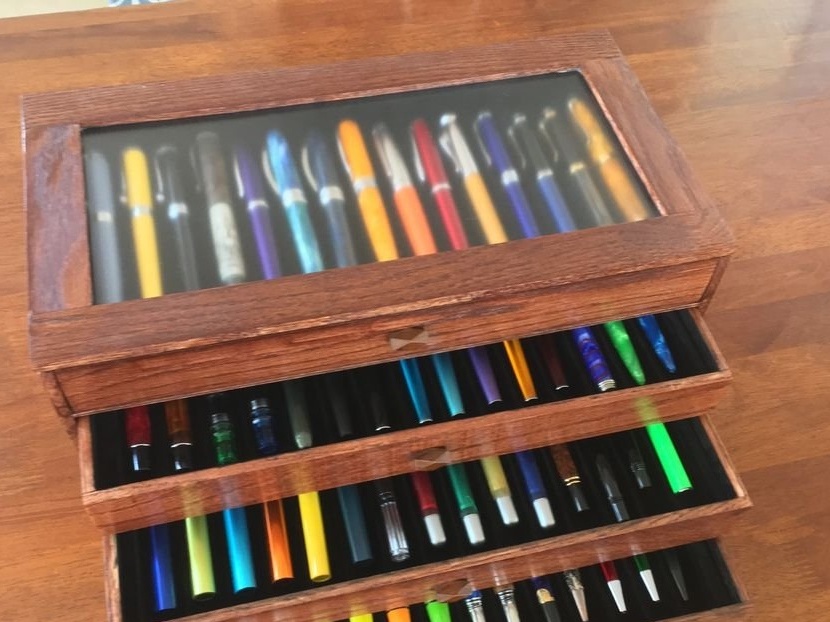
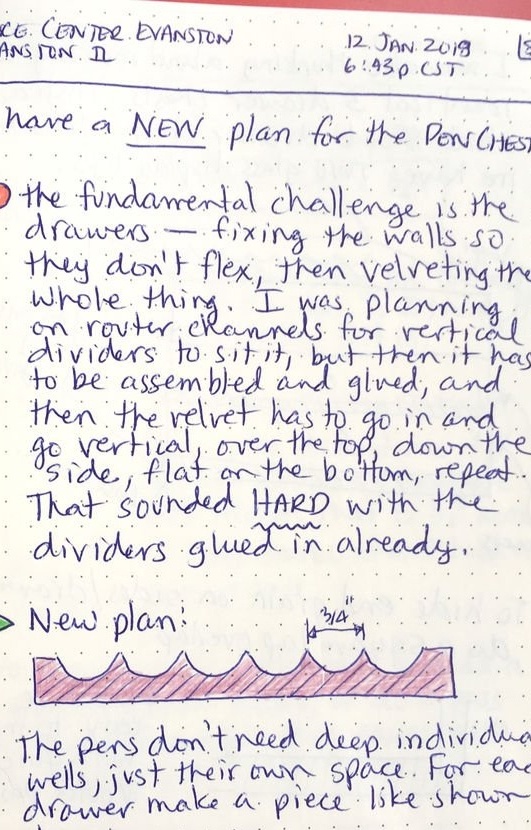
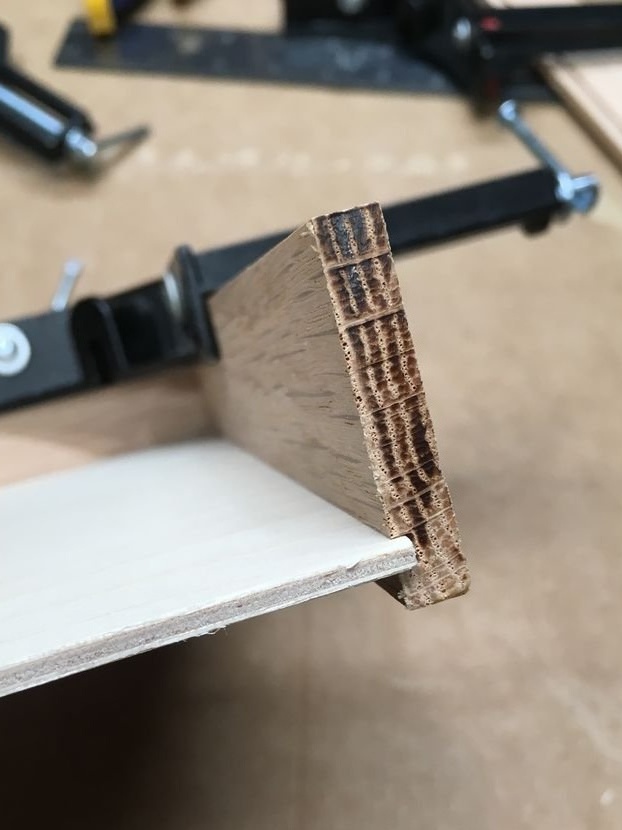
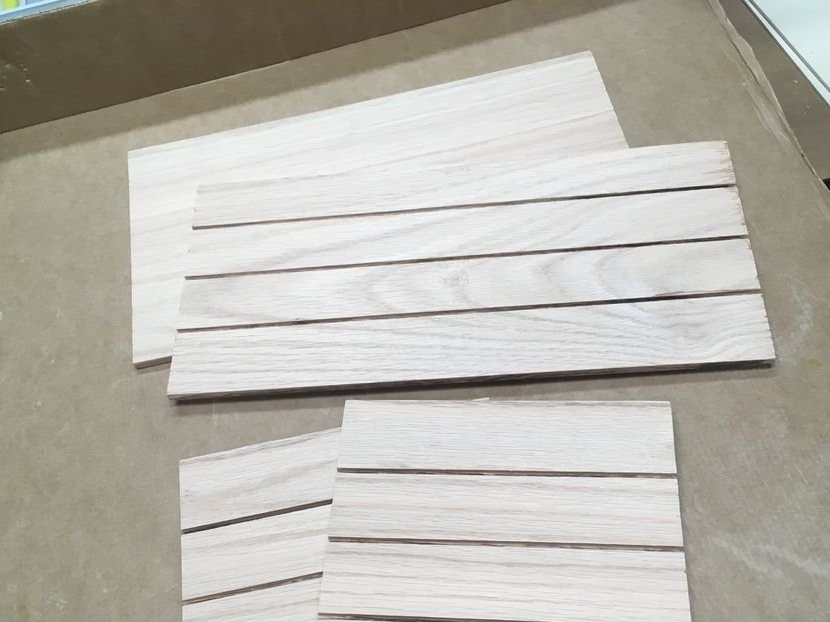
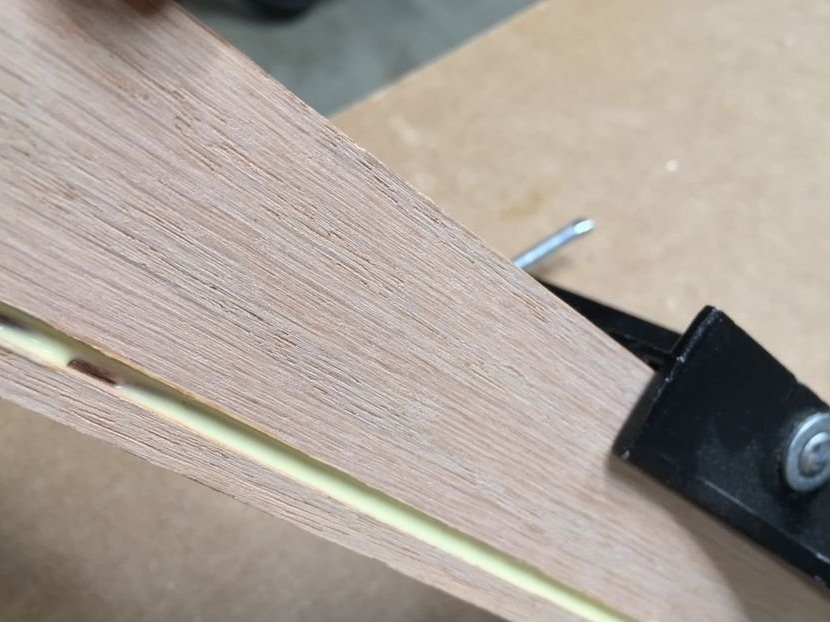
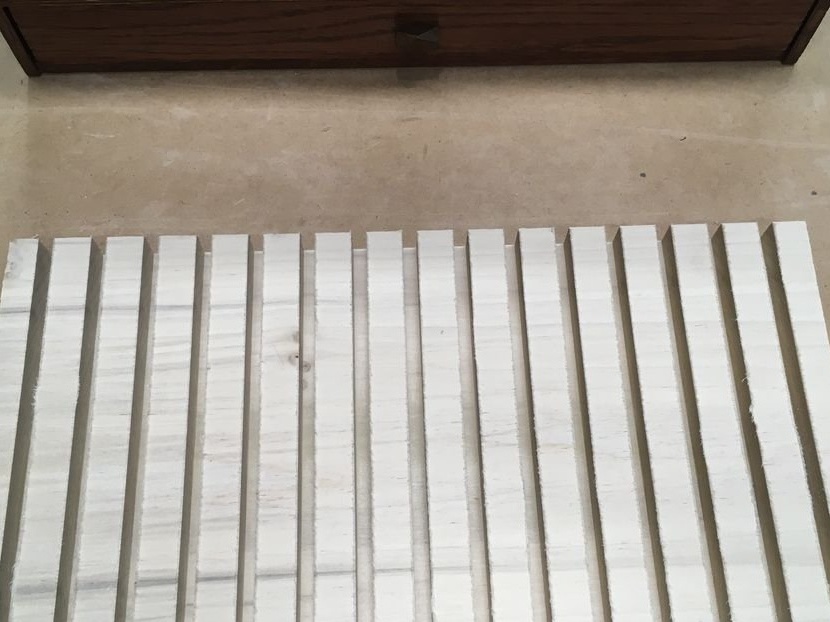
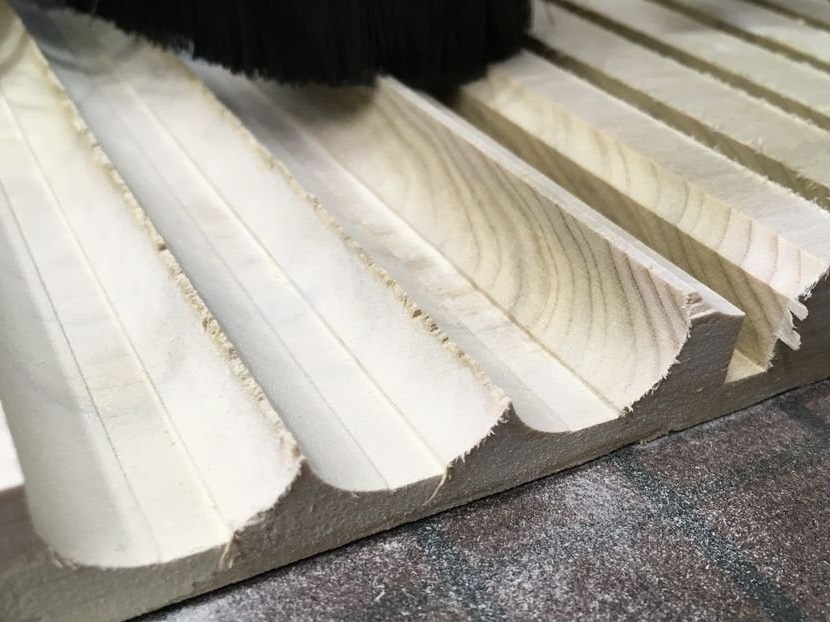
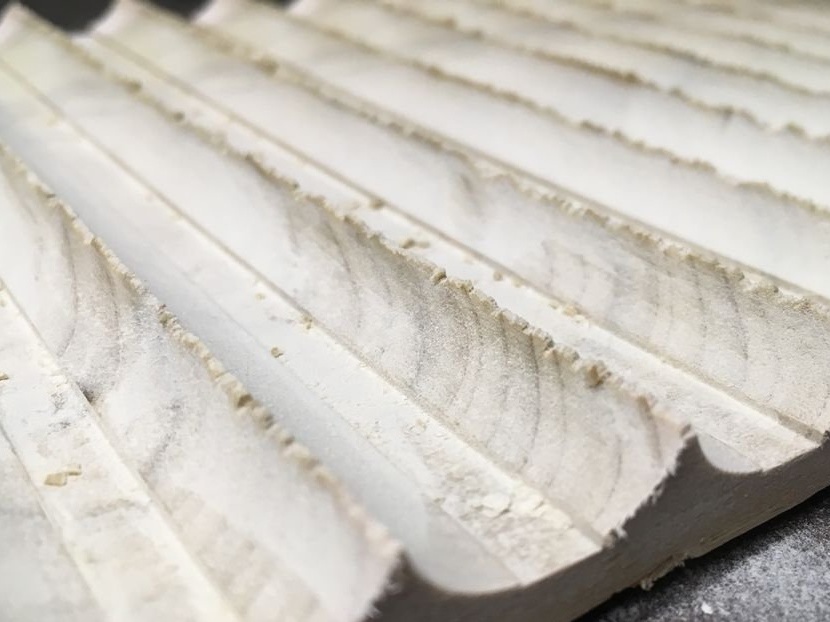
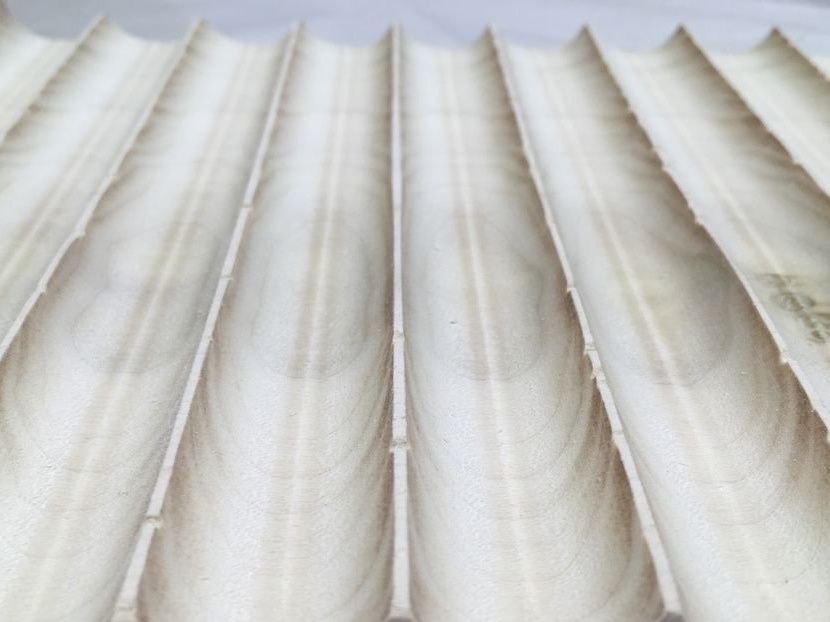
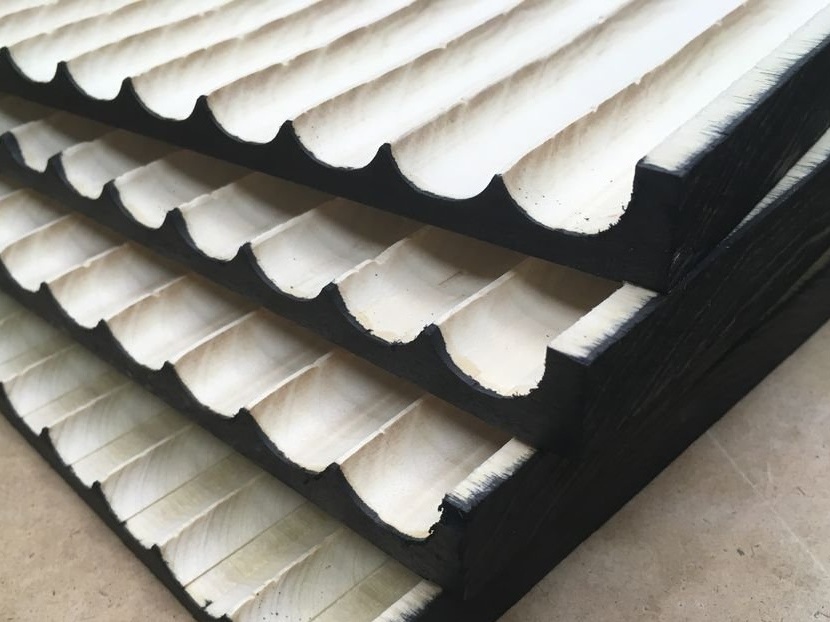
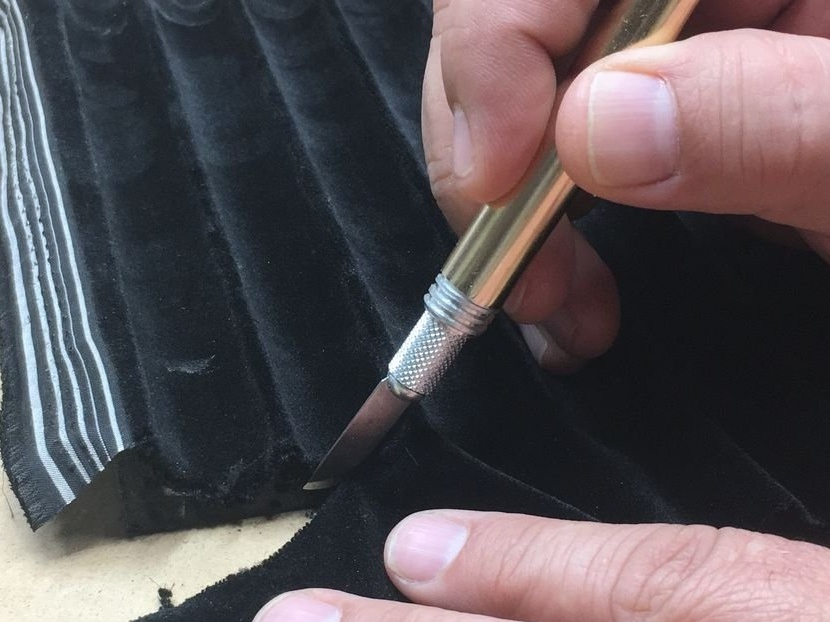
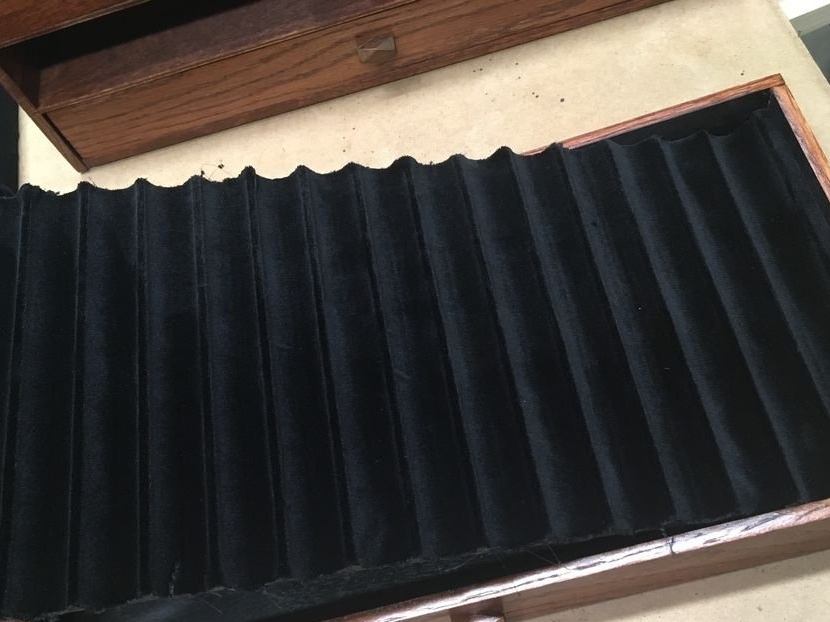
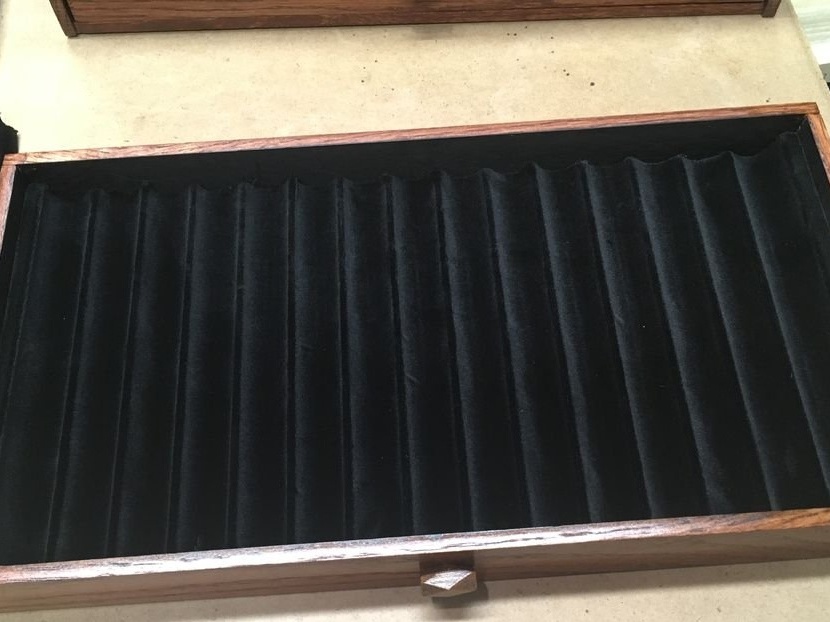
At the bottom of each box, the master planned to install wave-shaped inserts. The inserts are made of boards. First, the master sawed the grooves, and then, with a cutter, gave the desired shape. At the end I polished it with sandpaper. In total, in four boxes, 60 cells turned out.
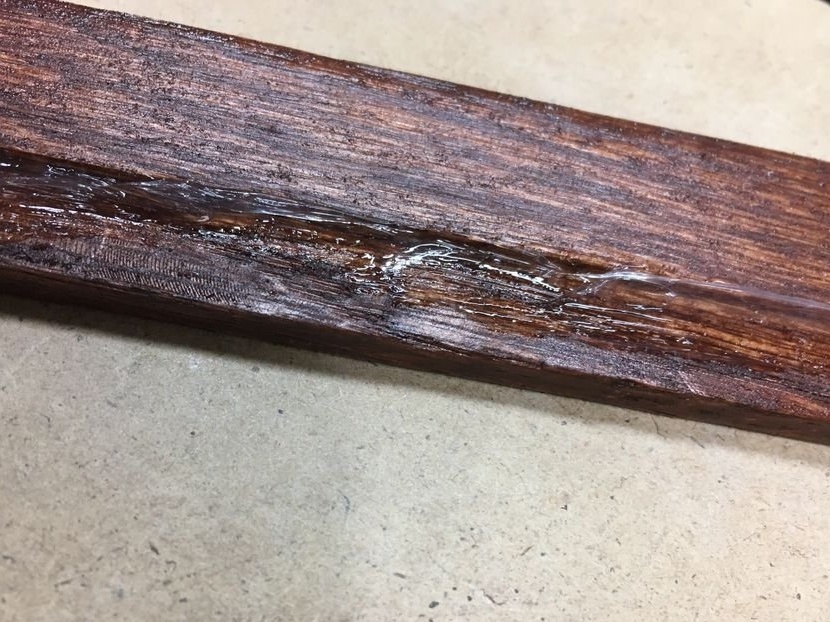
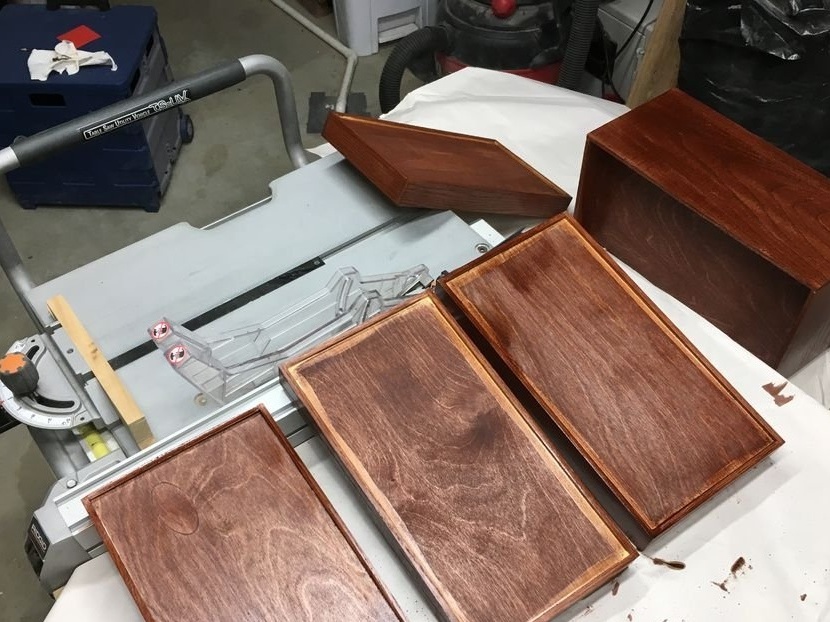
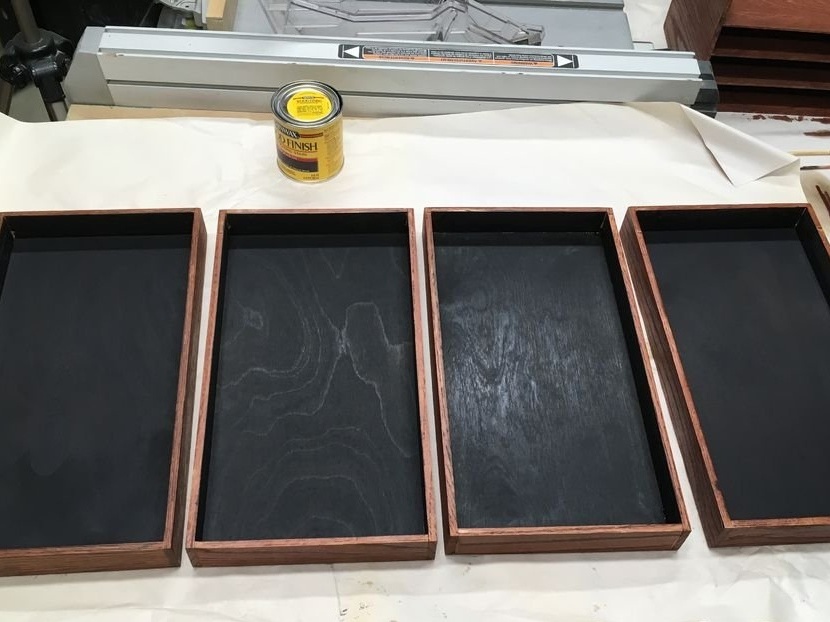
Then the master covers the box and boxes with stain. The bottom of the drawers and the end parts of the inserts are coated with black paint.
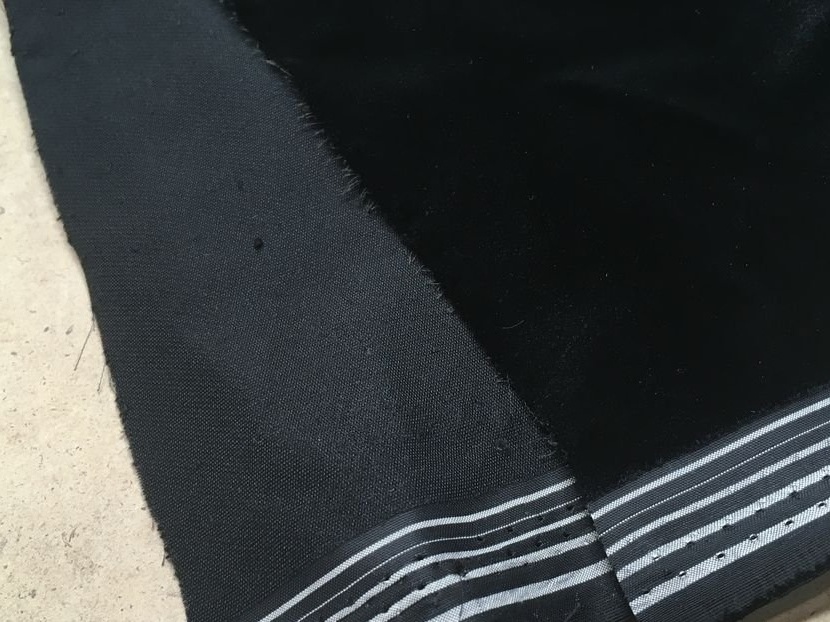
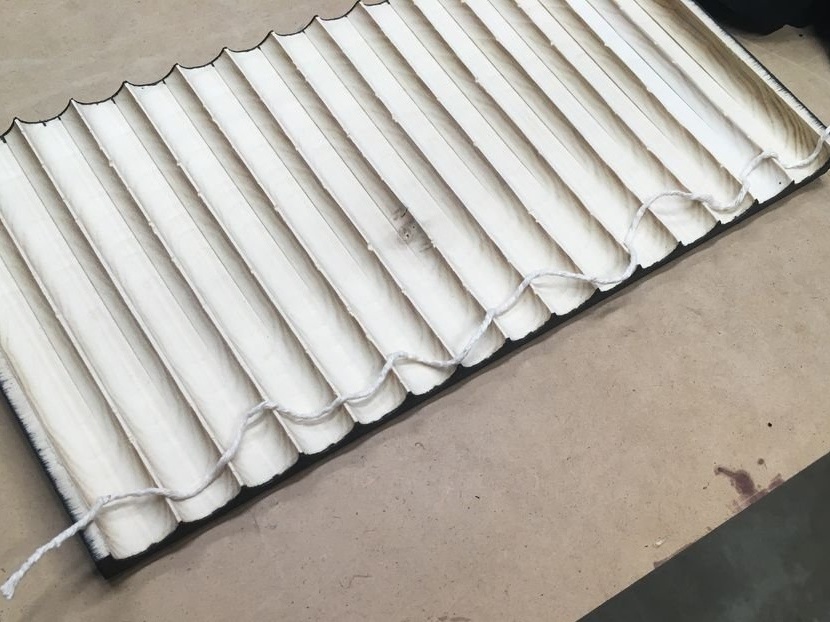
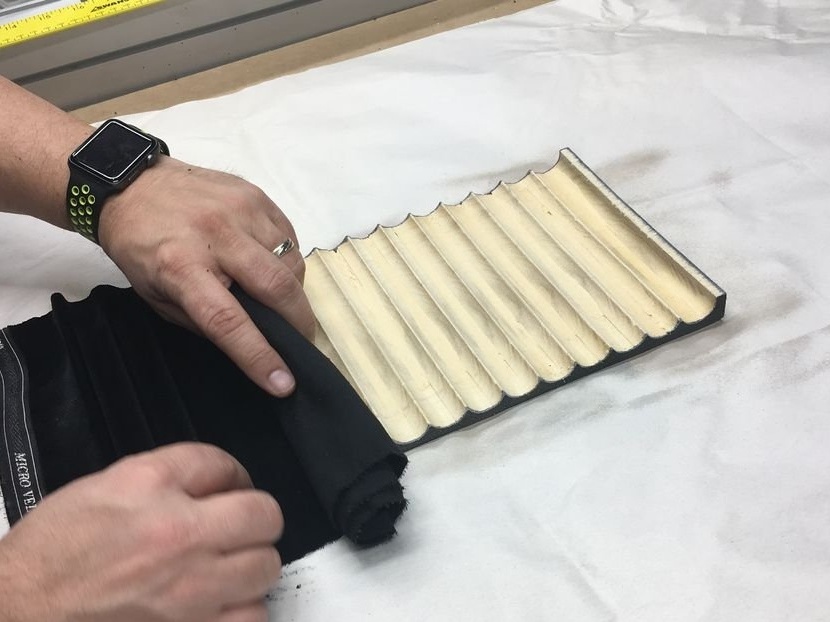
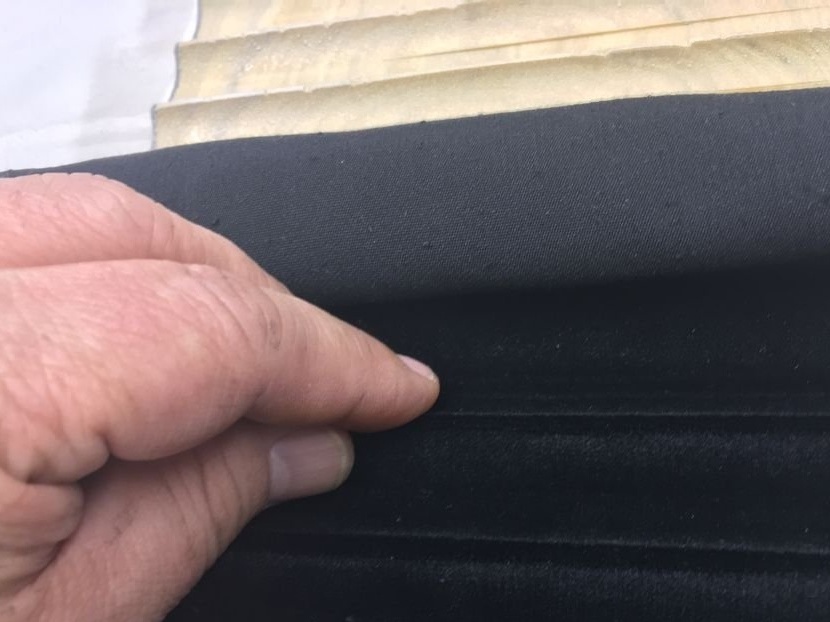
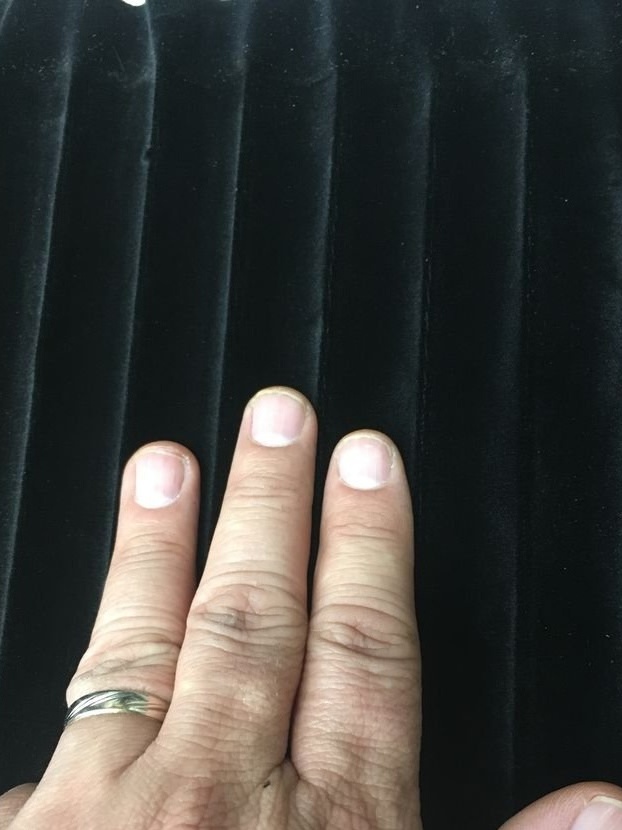
Step Eight: Cloth
To determine the length of the fabric, the thread is laid on the inserts, repeating the shape of the insert. Now you can transfer the size to the fabric.Further, the fabric is trimmed and glued to the inserts.
Step Nine: Mistakes
In general, the master is satisfied, but there are two points.
1. For the window you need to use either highly transparent acrylic or glass. The acrylic used by the master glares.
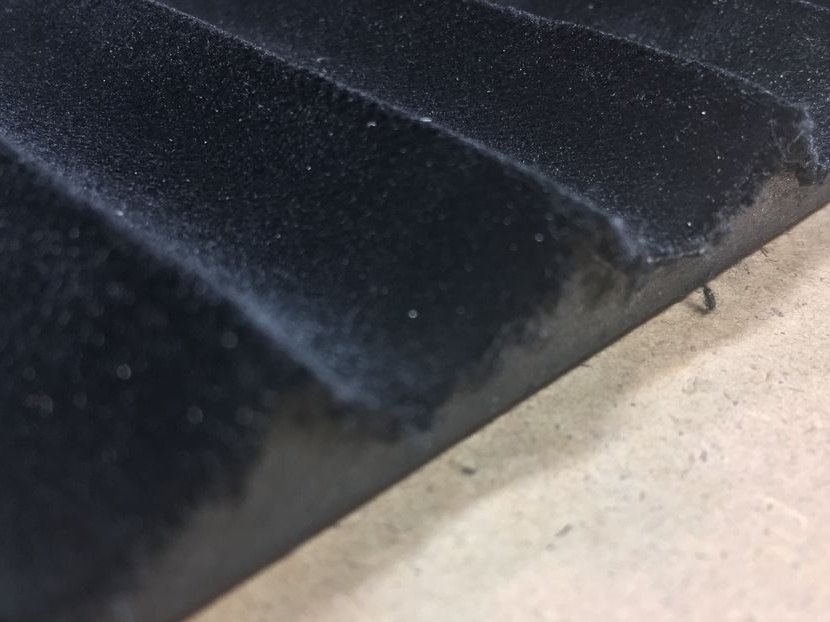
2. Velvet fabric on the edge fluffs.
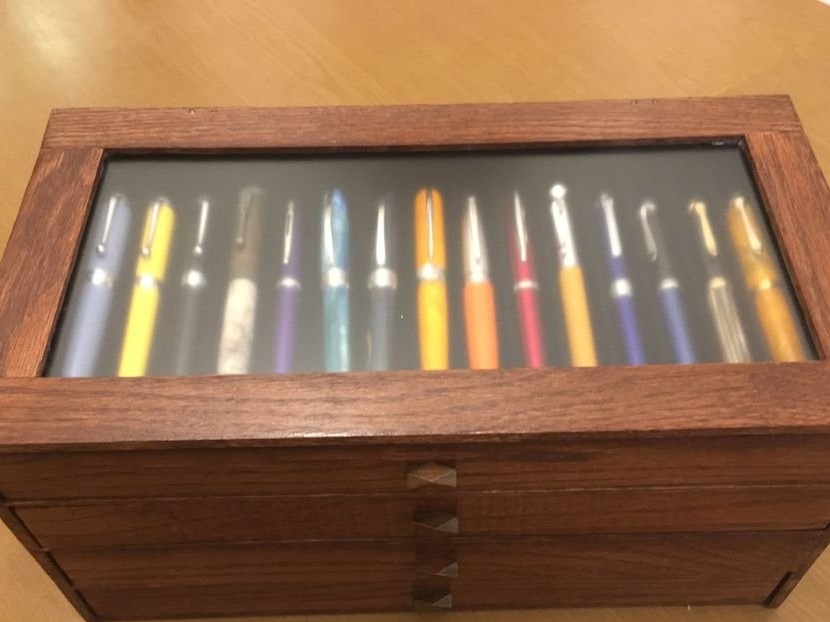
The organizer box for storing pens is ready.