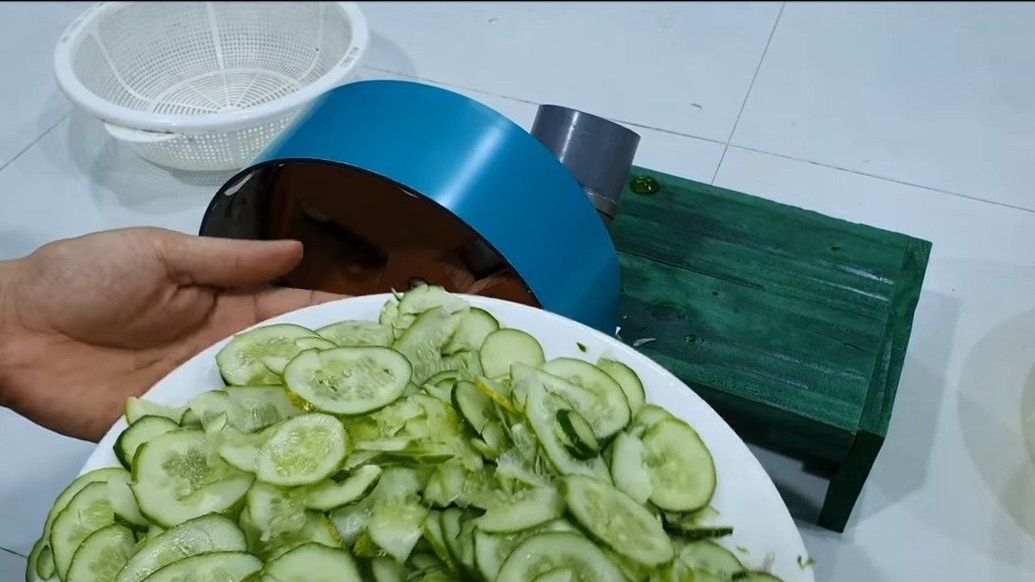
Greetings to lovers of craftsmen, spring has come, which means that soon there will be greens, cucumbers and other vegetables, which produce excellent and healthy salads. This homemade It will be useful for those who make salads regularly and in large volumes. The device automatically slices onions, cucumbers and other vegetables into slices. Moreover, this all happens quite quickly, and the machine is lightweight and has a small size. You can feed homemade battery, so the device is safe and you will not interfere with the wires. Homemade assembly is also quite simple, everything works on the basis of a small gear motor. If the project interests you, I propose to study it in more detail!
Materials and tools used by the author:
Material List:
- ;
- battery;
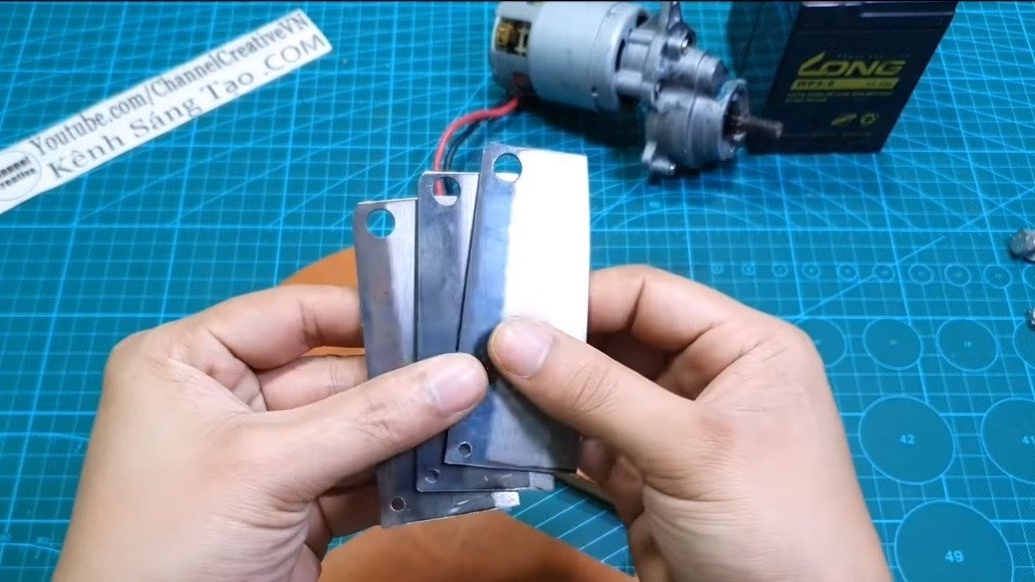
- kitchen knives or sheet steel;
- sawed wood or other material;
- boards;
- screws, clamps, mounting brackets, etc .;
- sewer plastic pipe (for the supply sleeve);
- sheet material for a protective shield;
- wires;
- switch;
- cable.


Tool List:
- drill;
- soldering iron;
- rivet gun;
- jigsaw;
- grinder;
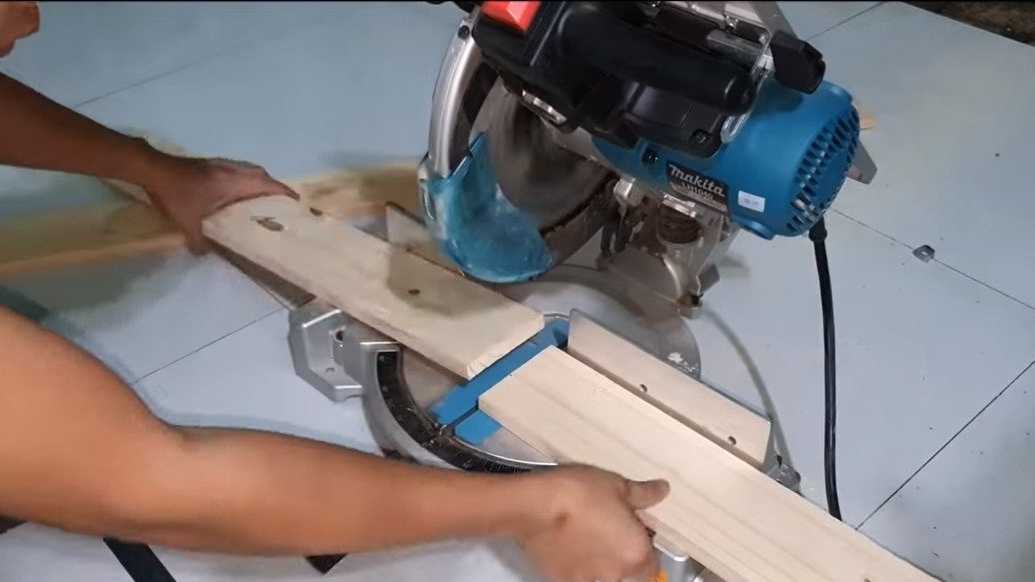
- Miter saw;
- drill;
- marker, tape measure, compass, etc.
Homemade manufacturing process:
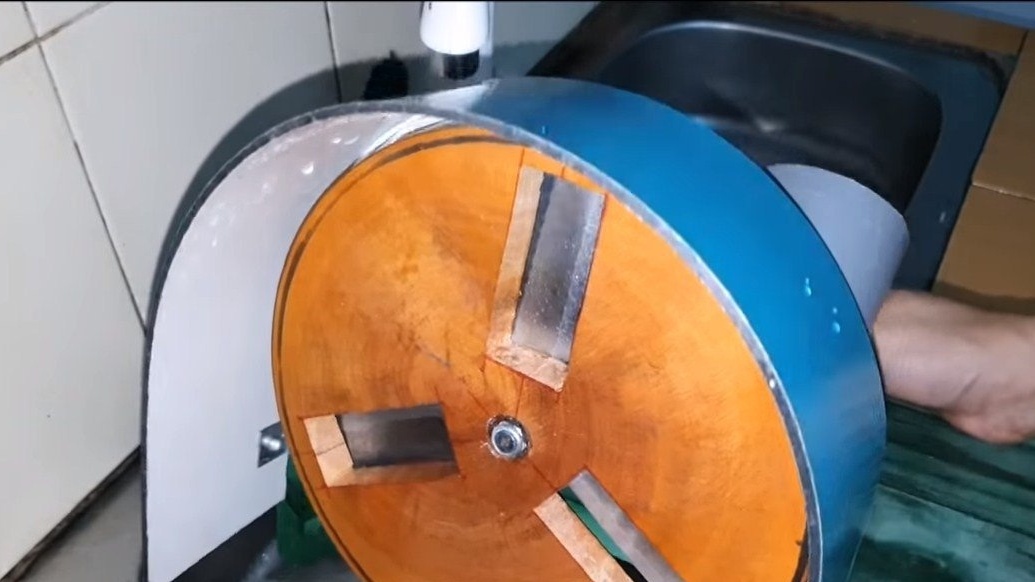
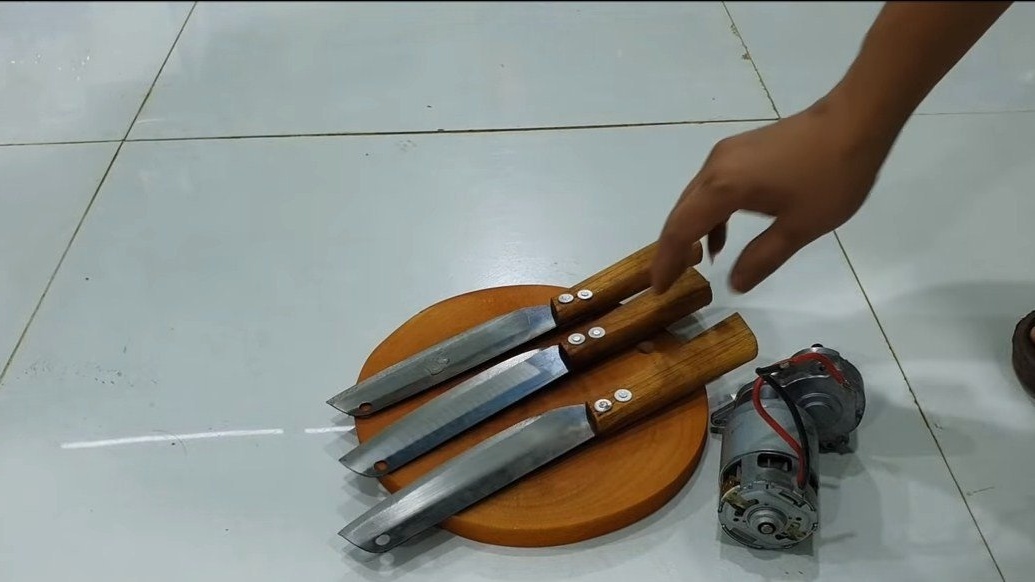
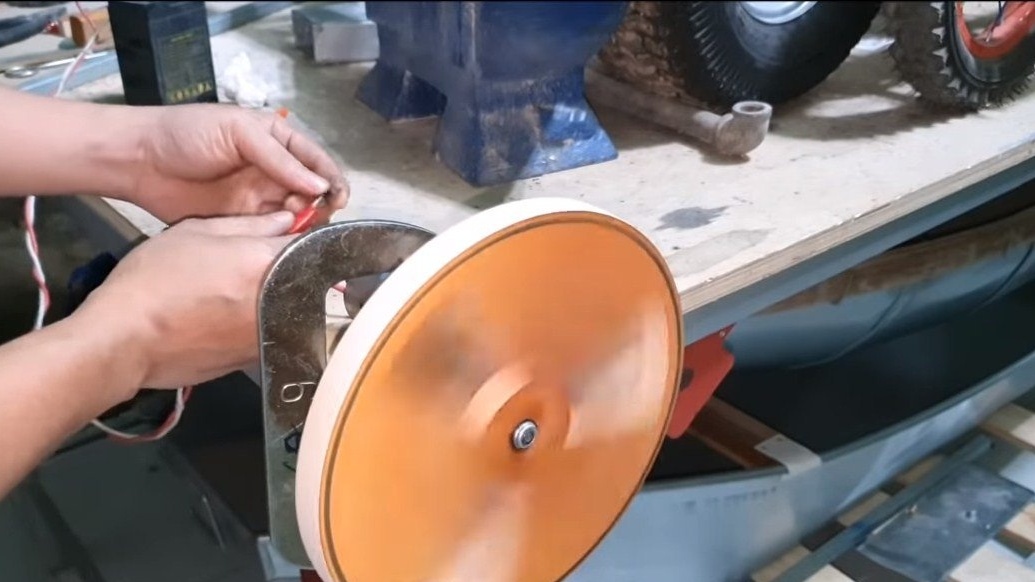
Step one. Knife making
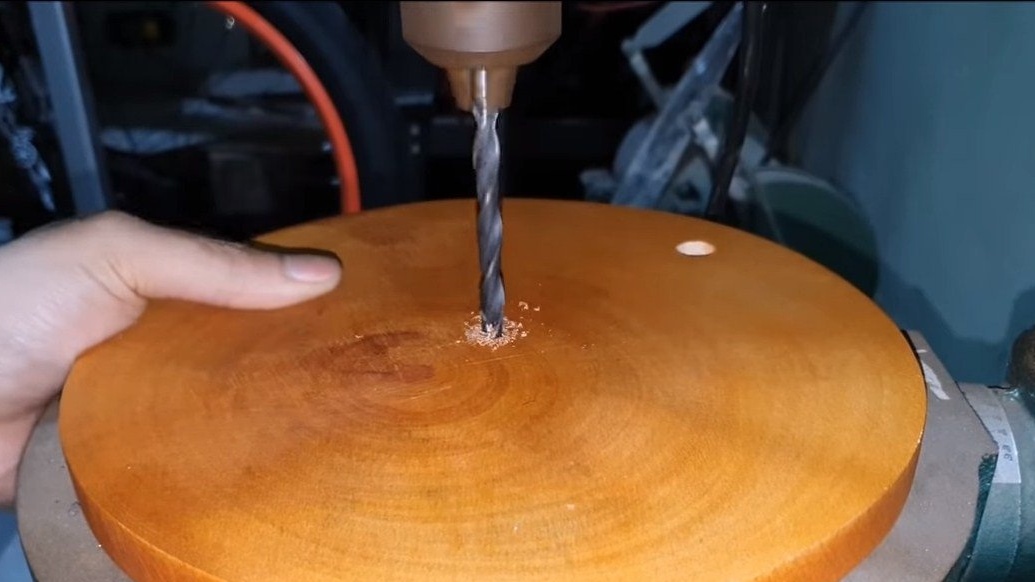
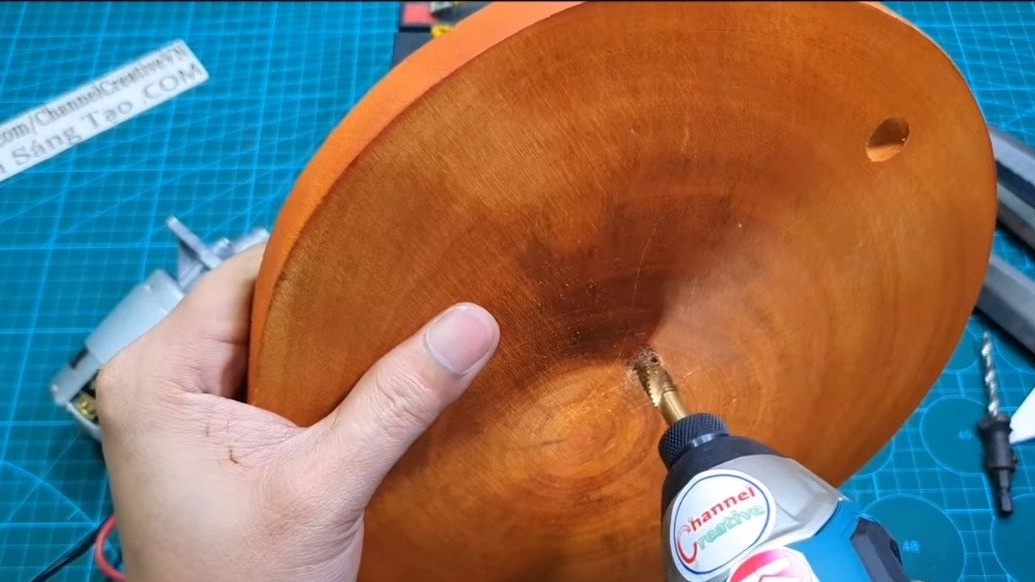
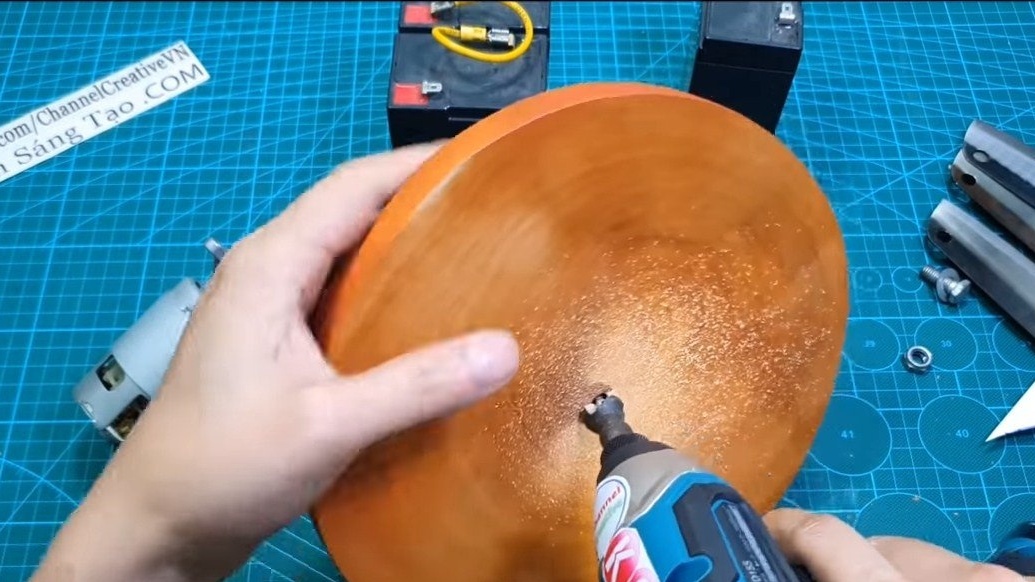
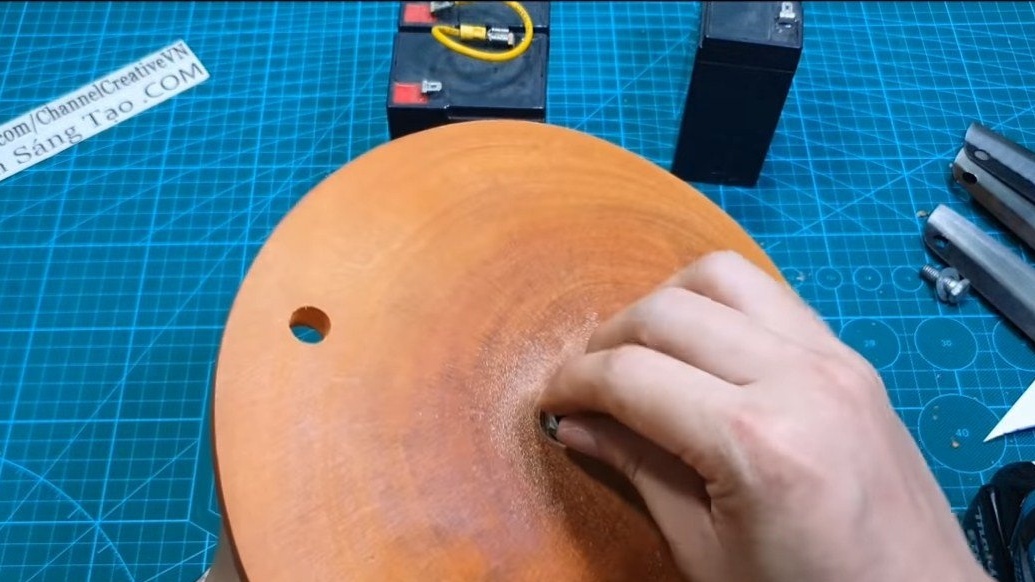
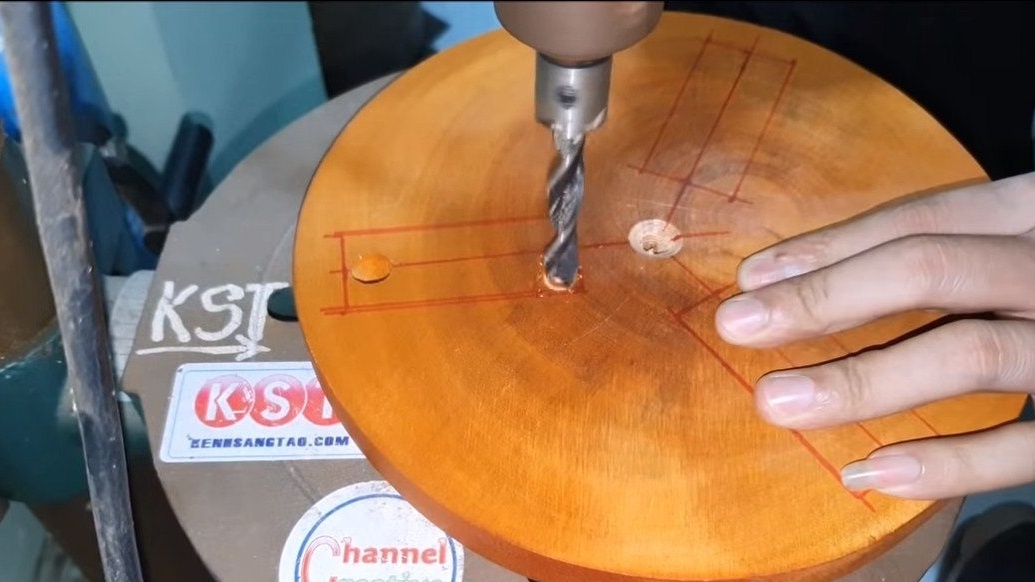
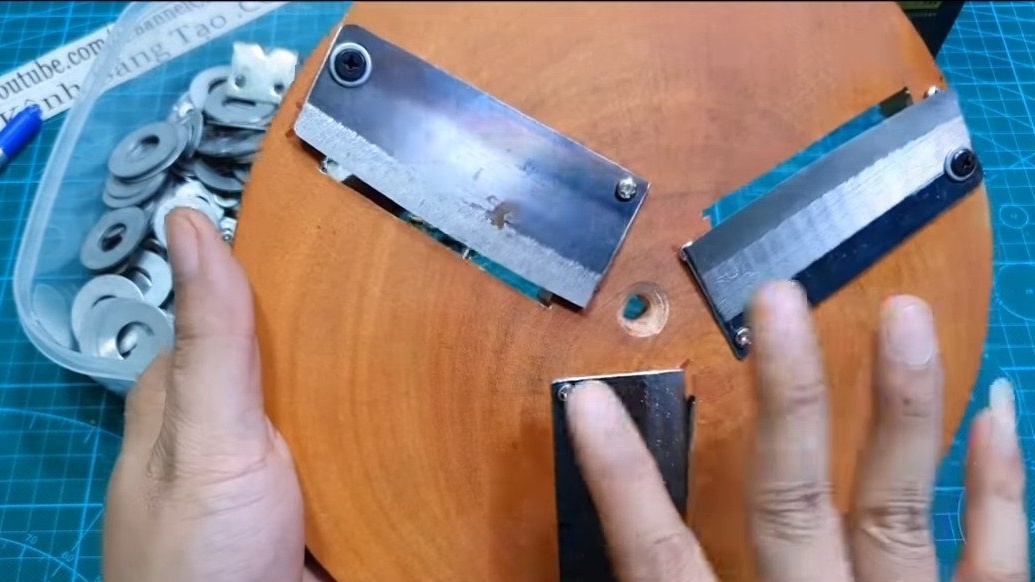
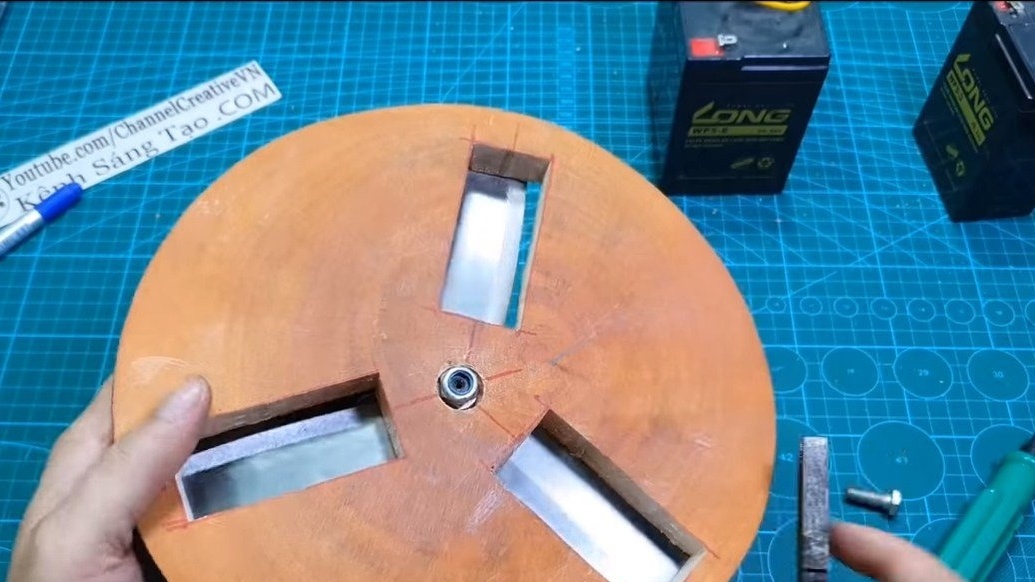
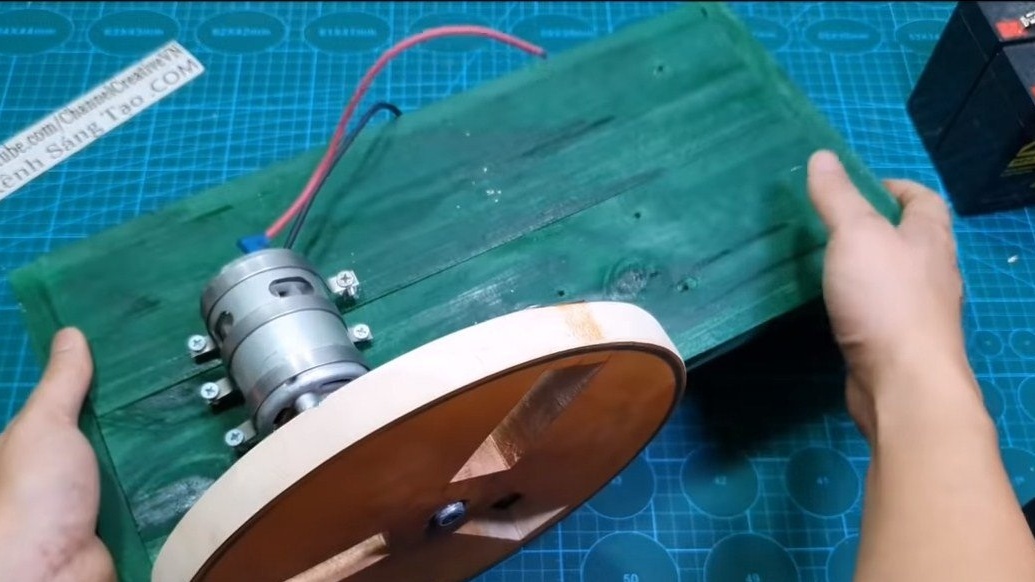
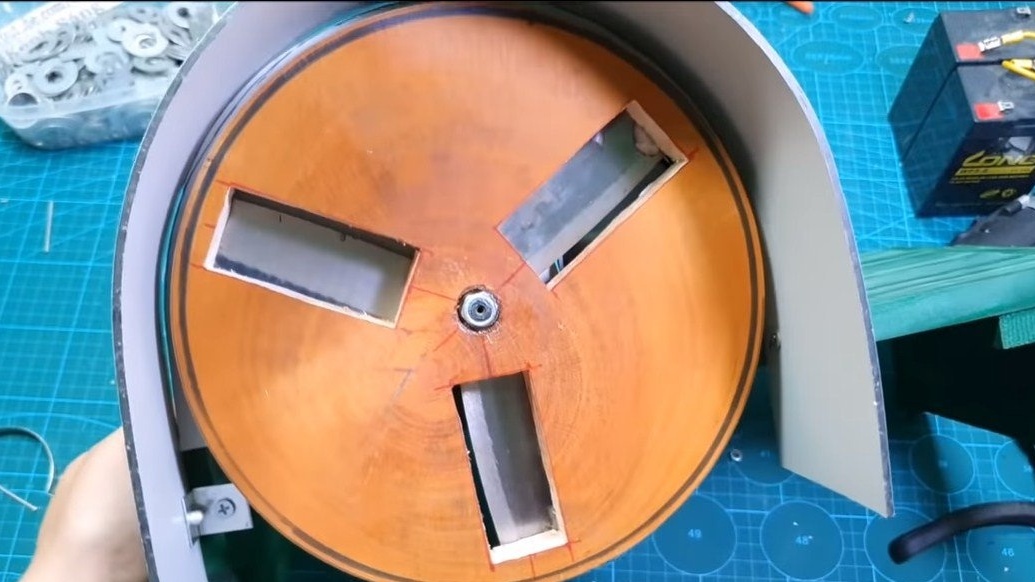
The first step is to make a knife that will chop vegetables. The knife in this case is three-bladed. As a basis, we will need a round cutting board, the author has it made of wood cut. Or you can cut a circle from a more durable material, for example, from plywood. In the center of the workpiece, we drill a hole for the motor shaft, the author cuts the thread under the motor shaft in the tree, and the main fastening here is a nut.


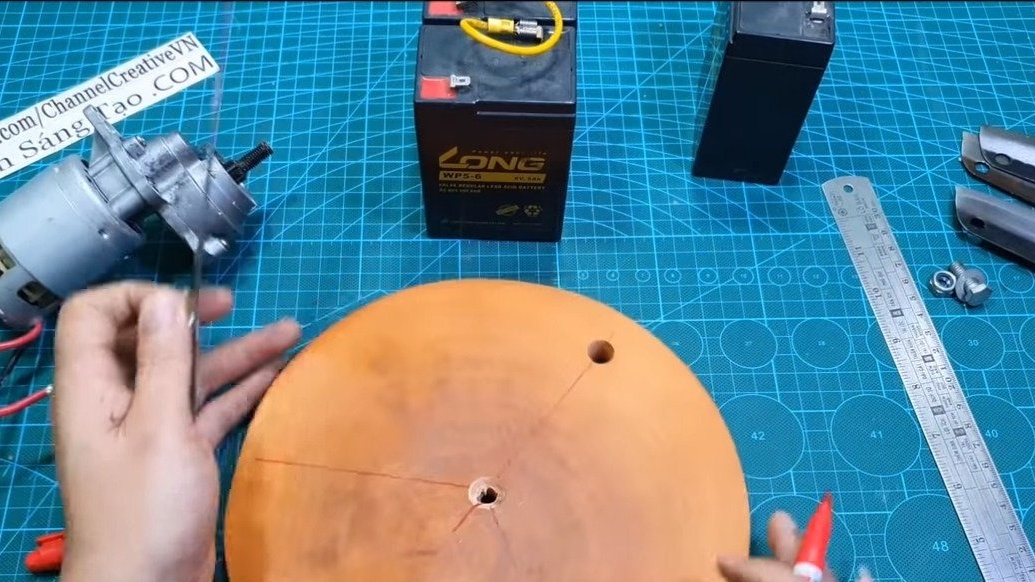
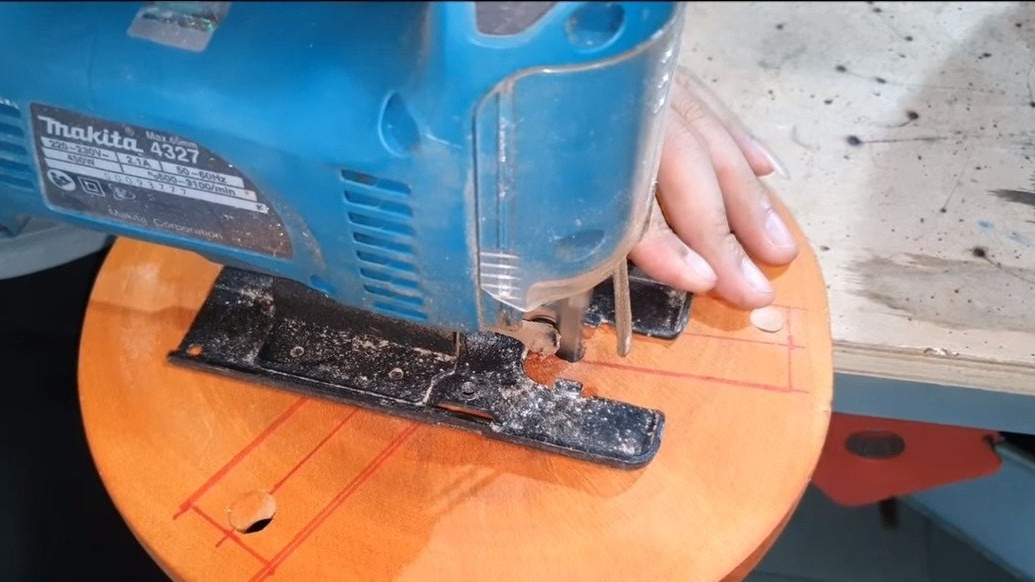
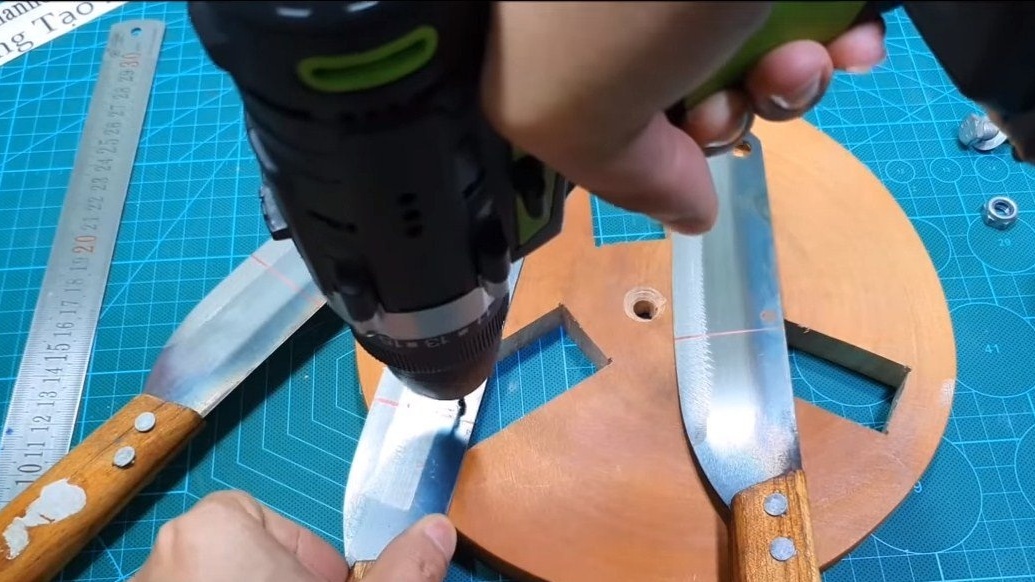
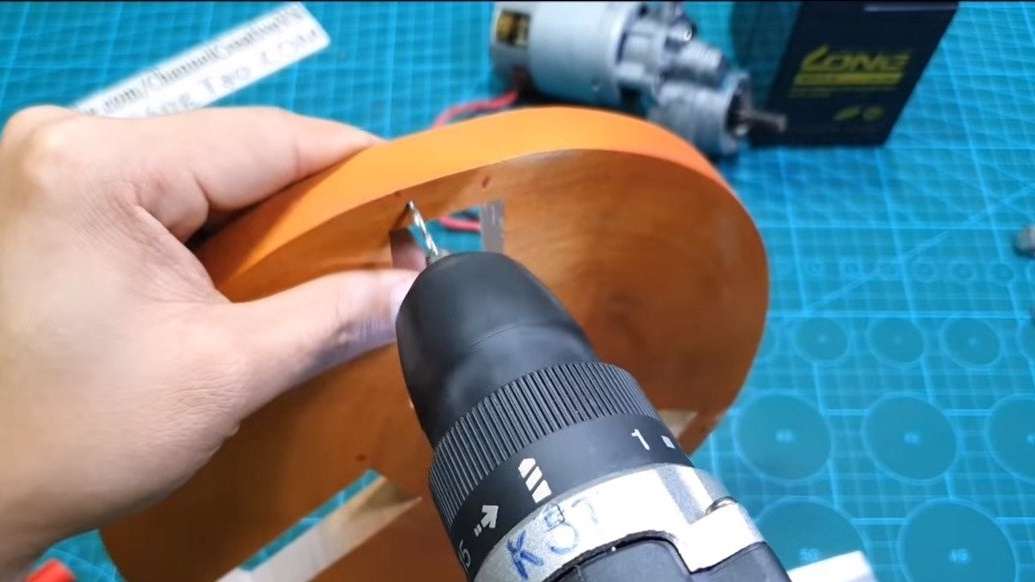
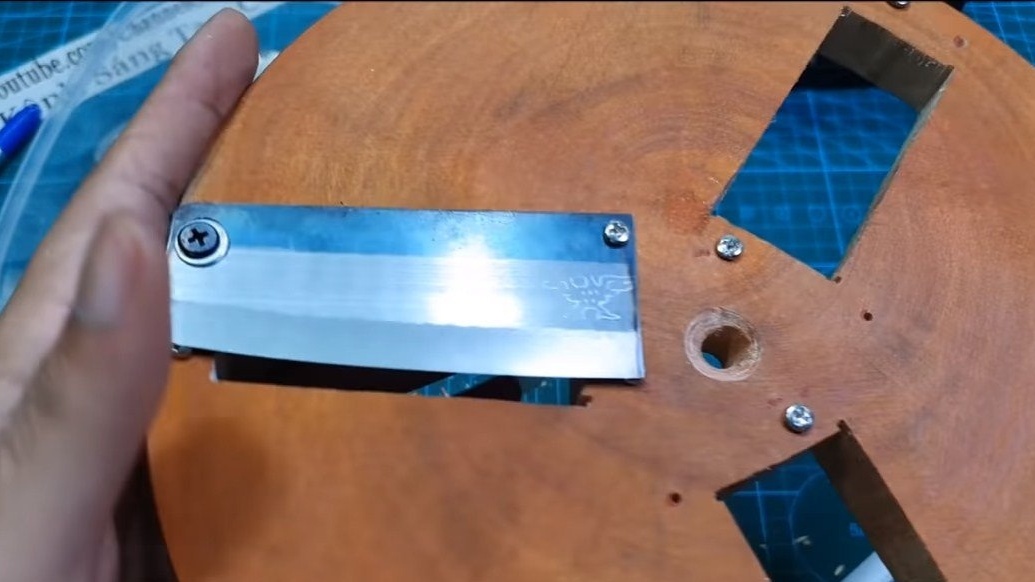
You can make and install directly cutting elements. Then the author used three small kitchen knives, cut off the handle from them. Next, in the base of the tree, you need to cut rectangular windows, after which knives will be installed. First, drill holes with a drill, and then cut the rectangles with a jigsaw.To install the knives, we drill holes in them, the knives will need to be screwed on very securely, here it would be nice to use not screws, but screws with nuts. We need to fix the knives at an angle, and the larger this angle, the larger the machine will cut vegetables. To get the necessary clearance, the author wraps screws under the knives, it is thanks to the screw caps that the necessary gaps are obtained.
Then it remains to refine the circle of wood, install the part on the motor shaft, and securely mount the engine on the table and turn it on. We work as a grinder using a petal nozzle. We need to achieve such a result that the beats become minimal.


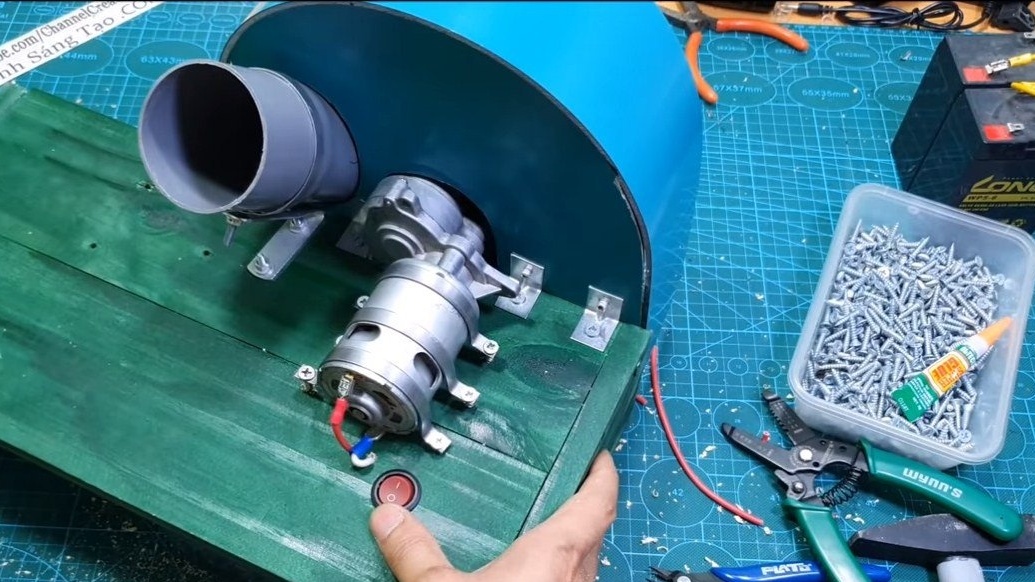
Step Two The foundation
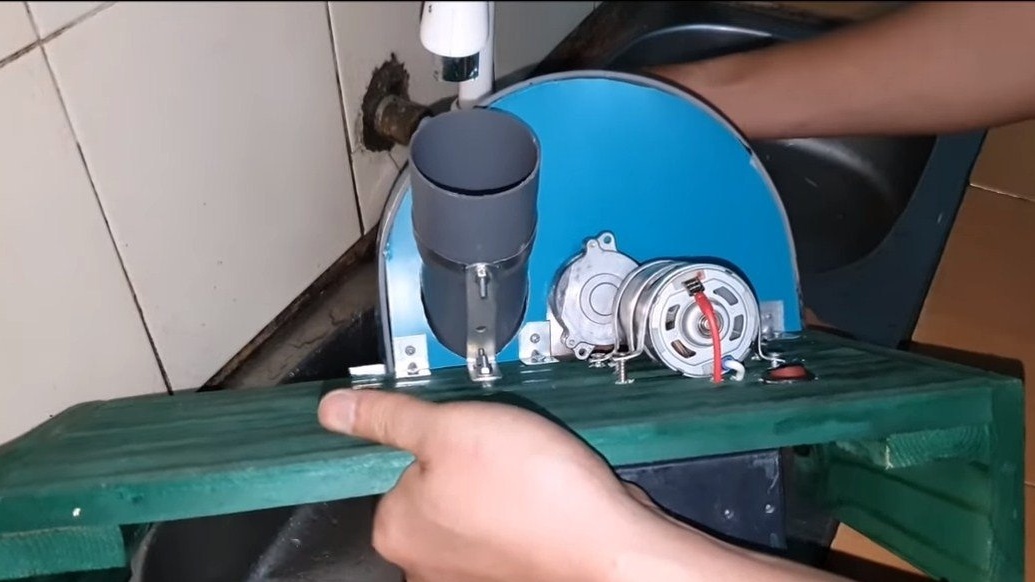
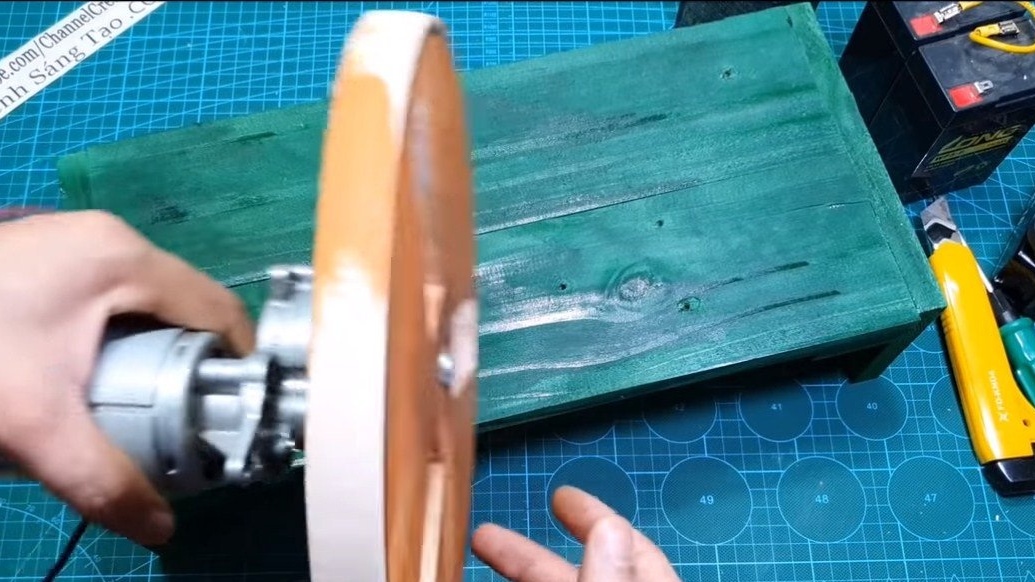
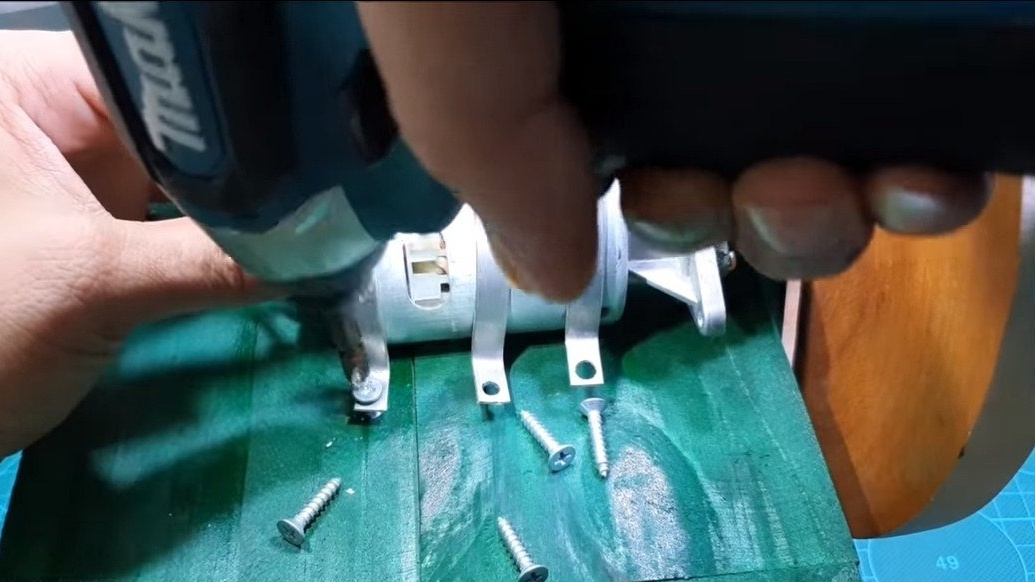
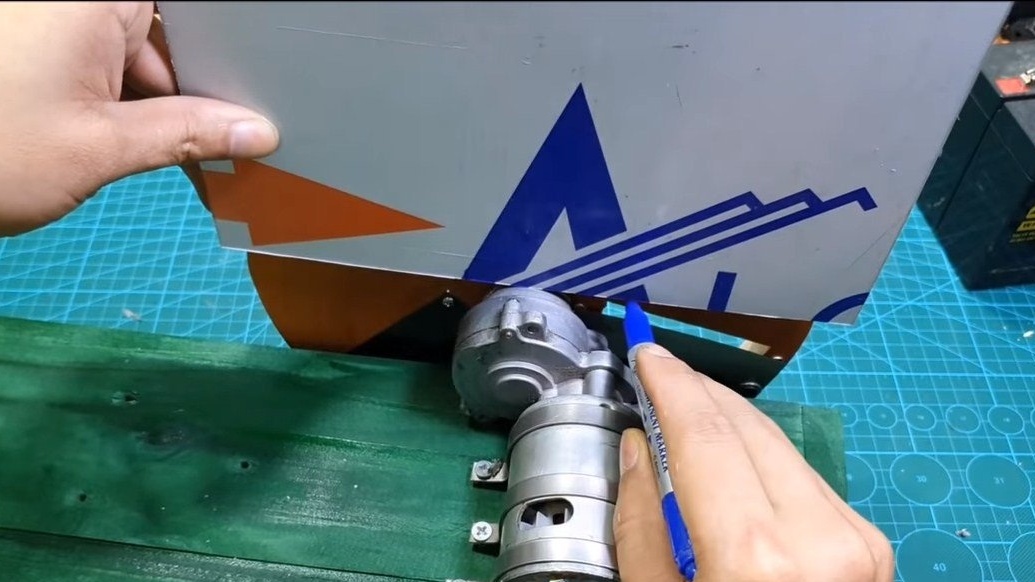
Let's make the basis for the machine, it should be light and strong. Here we need boards, we cut them and twist them with screws. After painting the base, an engine can be installed on it. To mount the engine, clamps will be needed, in total the author used three pieces. The clamps themselves are attached to the base with self-tapping screws.


Step Three Protective shield and feed sleeve
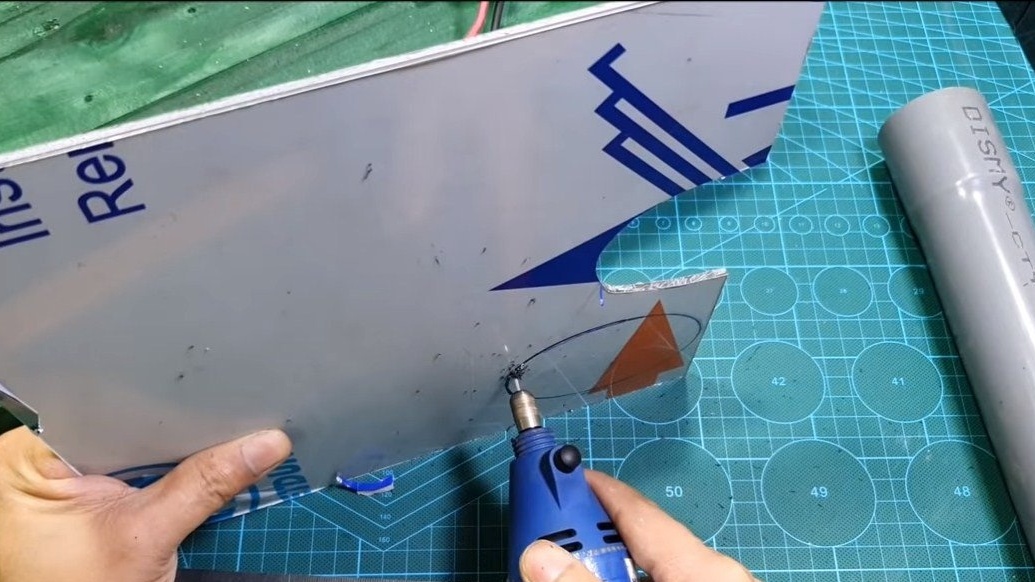
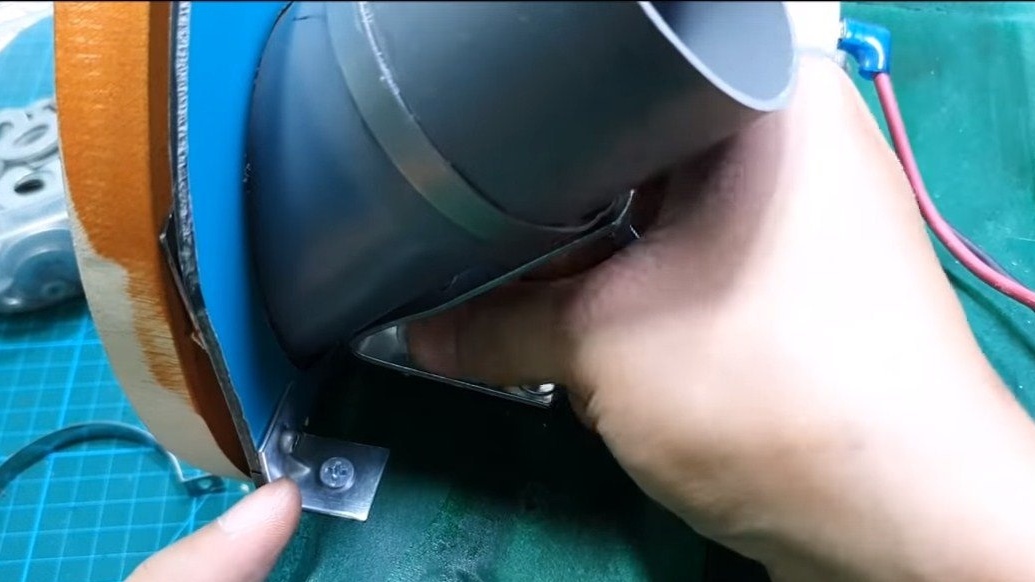
For the machine, you need to make a protective shield so that chopped vegetables do not scatter throughout the kitchen. Also, such a shield should save if one of the knives decides to come off. For the manufacture of the shield you will need sheet metal or other similar sheet material. The shield itself is assembled on rivets, and to the base we fasten it with the help of fixing corners.
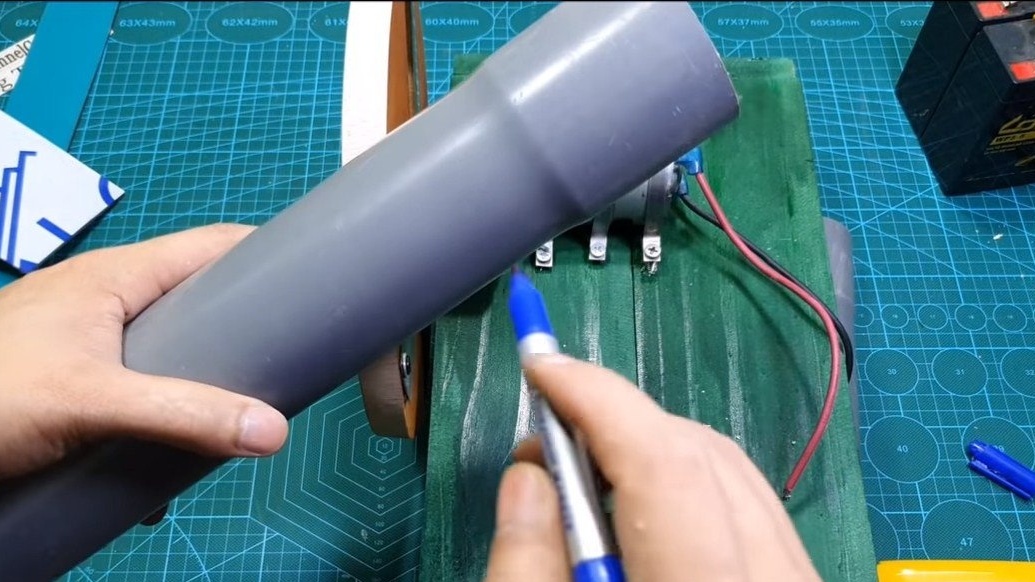
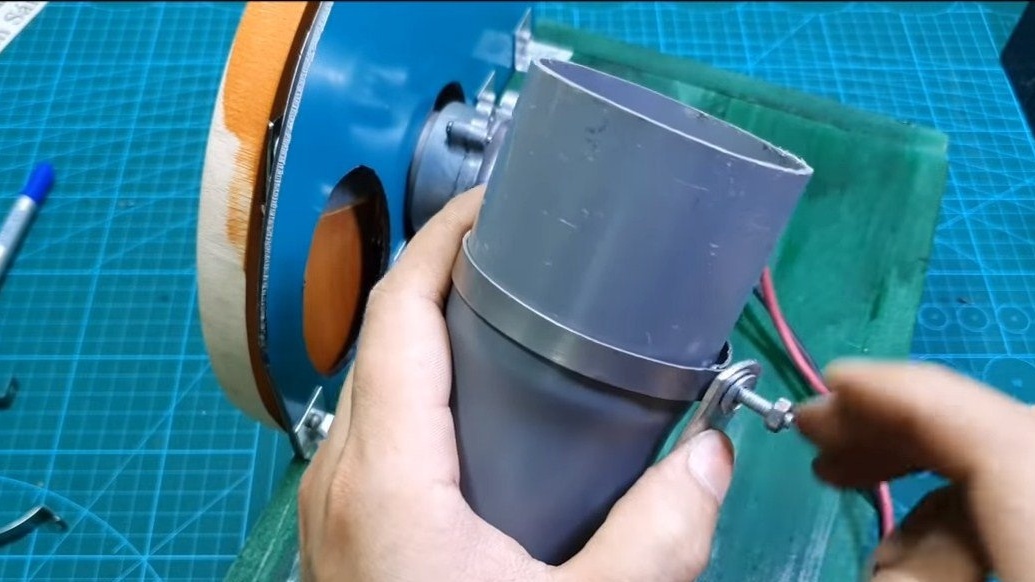
We also need to make a supply sleeve into which we will throw vegetables. For its manufacture, cut the desired piece from the plumbing pipe. To fasten the supply sleeve, we make a clamp and fasten it to the base.


Step Four Finishing touches and tests
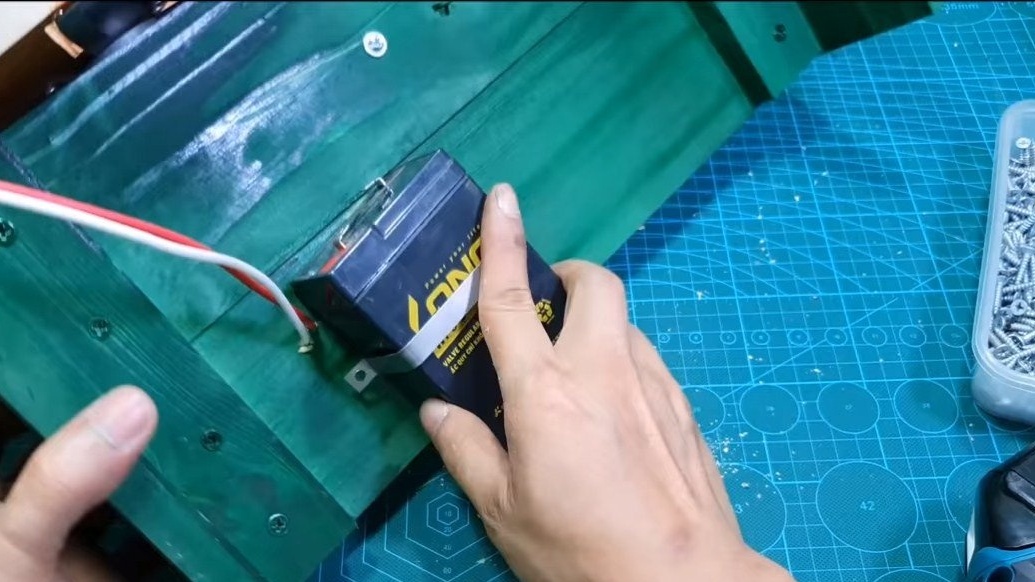
At the end, solder the wires to the contacts of the motor, and also drill a hole for installing the switch. The battery is installed under the base, we bring wires to it.
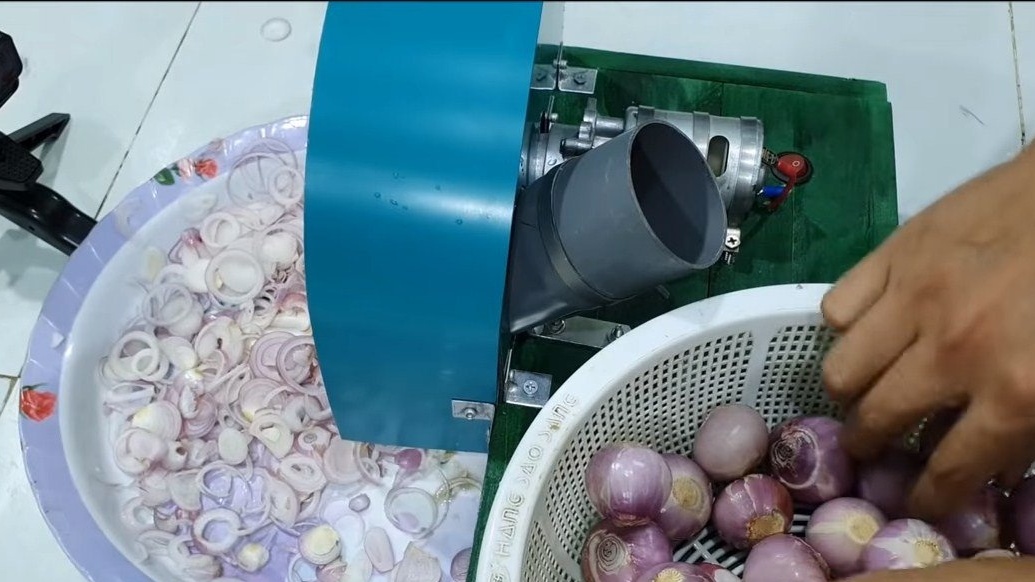
That's all, the homemade product is ready, it remains to wash the knife and you can begin to work. As an experiment, the author easily and simply slices onions and does not cry, as when working with a knife. Cucumbers are also excellently chopped. Now all season it will be possible to eat one salad. On this project can be considered successfully completed. I hope you enjoyed your homemade work and found useful thoughts for yourself. Good luck and creative inspiration, if you decide to repeat this. Do not forget to share your ideas and homemade things with us!