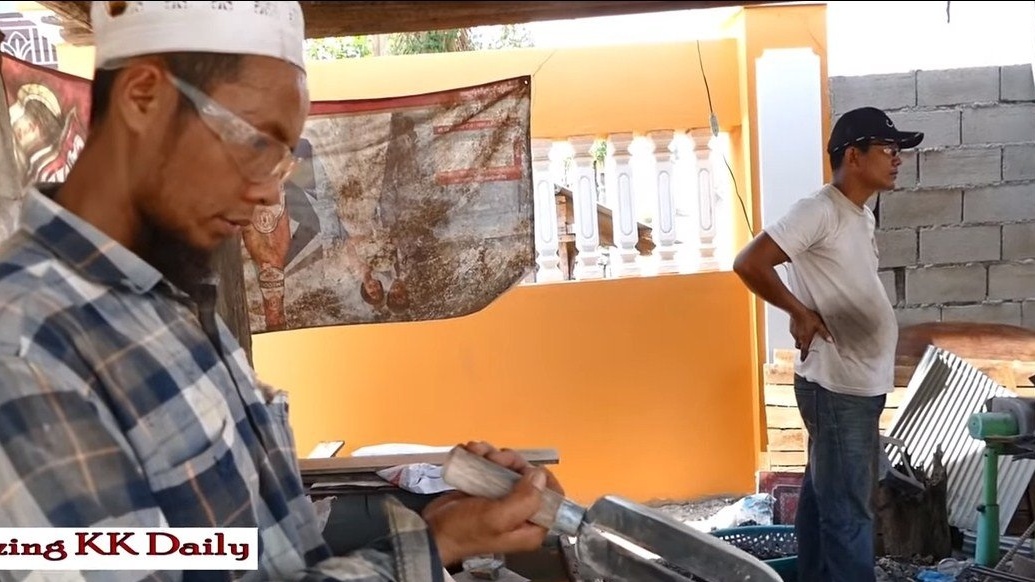
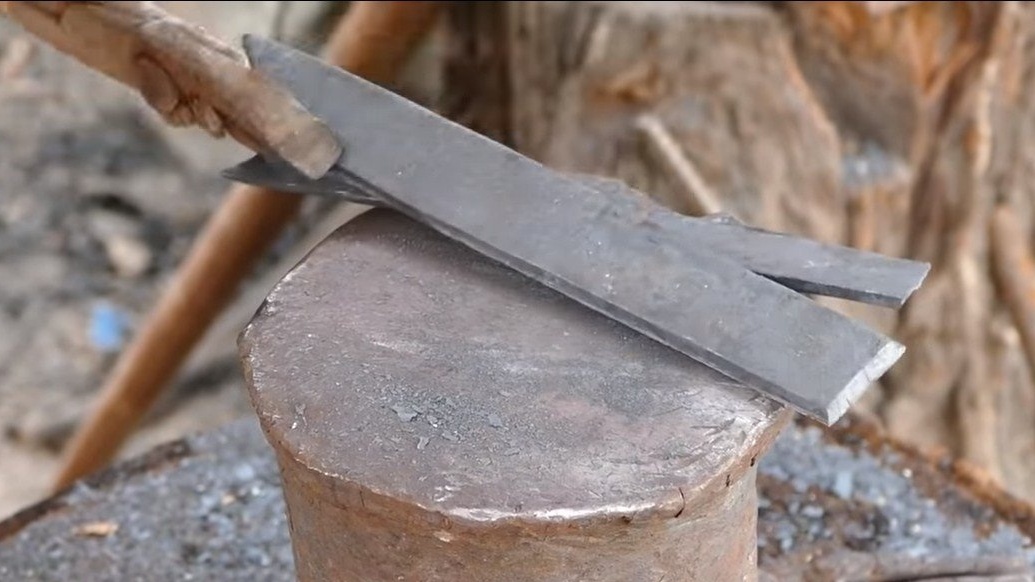
Hello to fans to knock on red-hot pieces of iron. This time we will consider a method of manufacturing a knife that is very useful and functional in the household. This knife is double-sided, it is made quite strong, the knife is designed for cutting and chopping, they can be chopped or sharpened branches or used for some other purpose. But that’s not all the knife can do. In the core of the knife there are two more blades, they are needed to remove the bark from the trees, for planing, or you can chop or cut the greens with such a knife. The knife is made quite simple tools, the main work is done by forging. If you are interested in the project, I propose to study it in more detail!
Materials and tools used by the author:
Material List:
- Sheet steel;
- a wooden bar or stick for a pen;
- superglue, wood glue or the like.
Tool List:
- blacksmithing supplies;
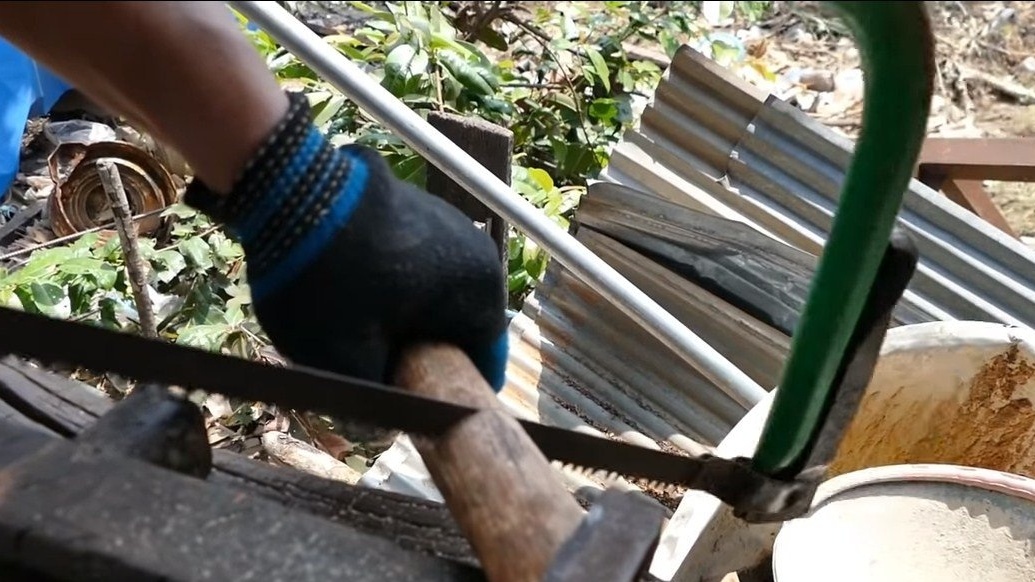
- a hacksaw;
- Bulgarian with a disk nozzle for installing sandpaper;
- file.
The process of making a knife:
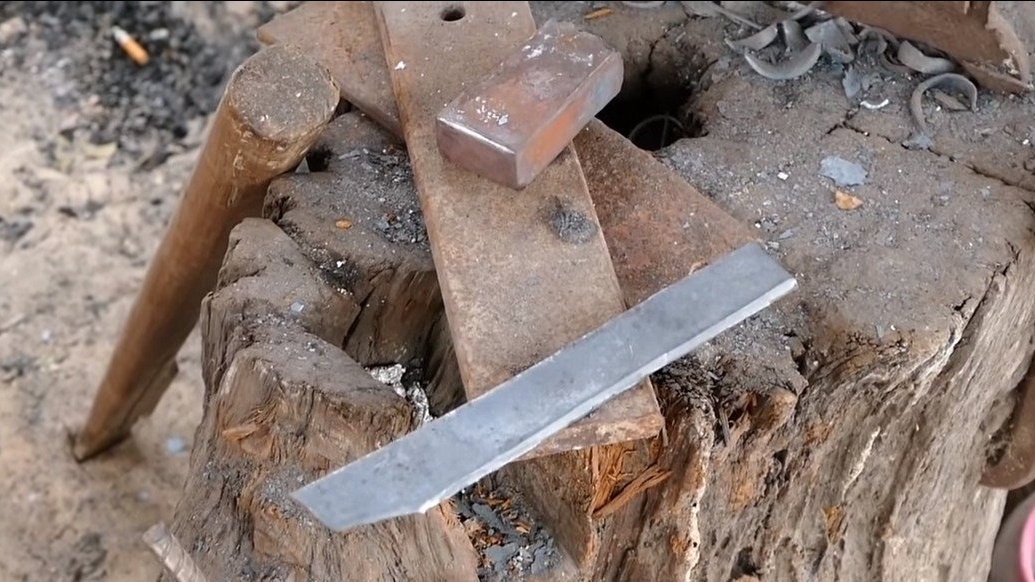
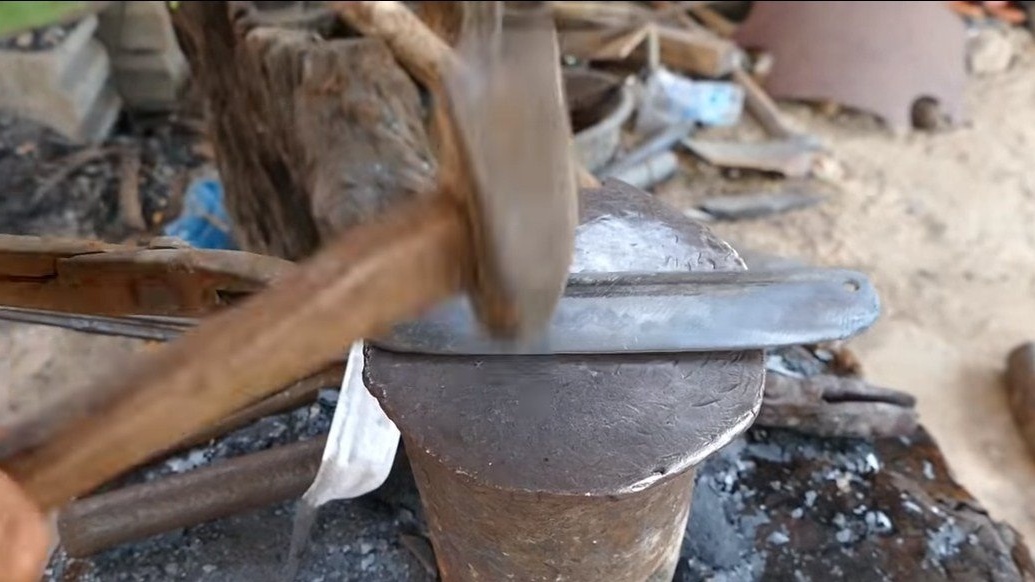
Step one. Forging blanks
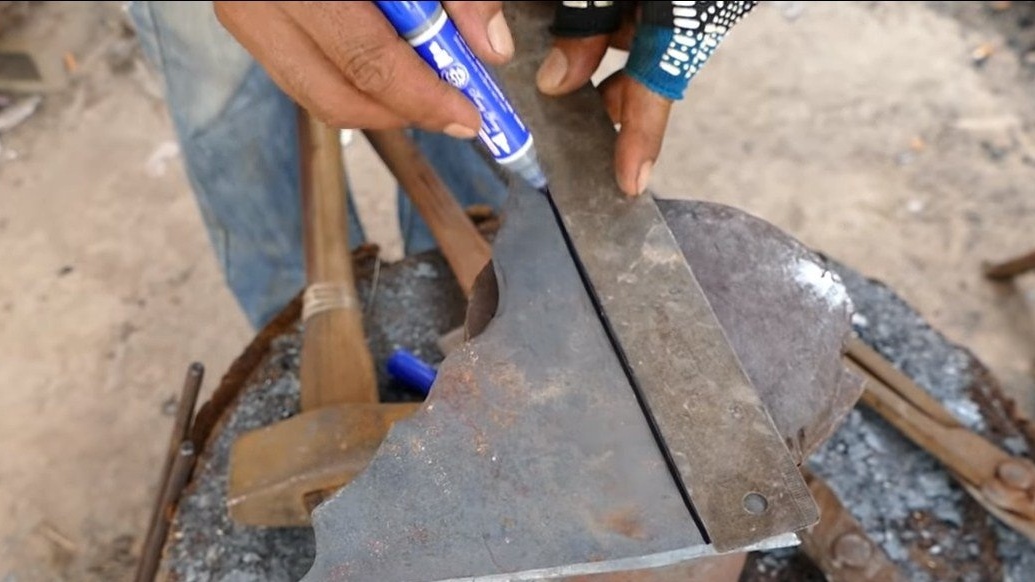
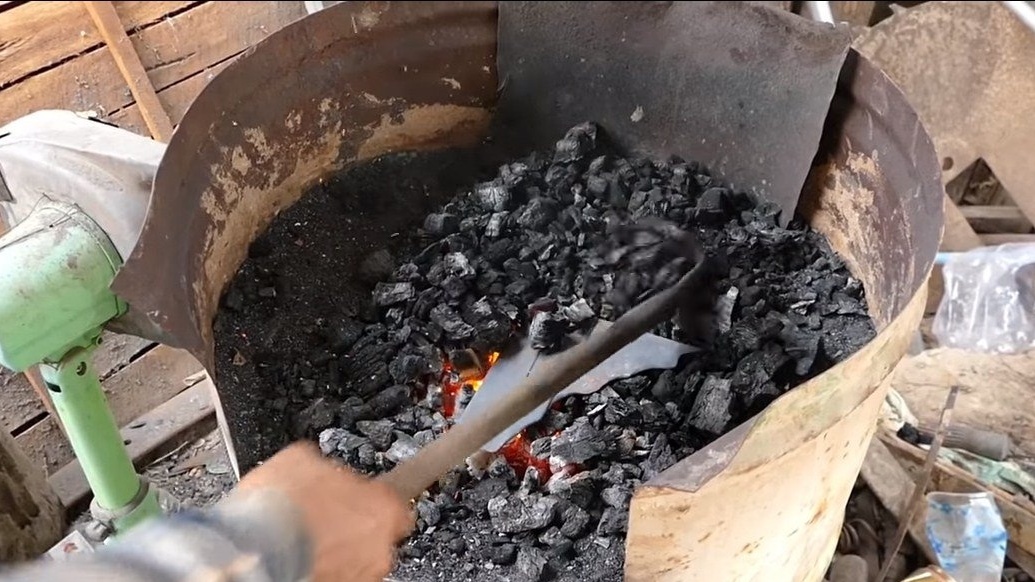
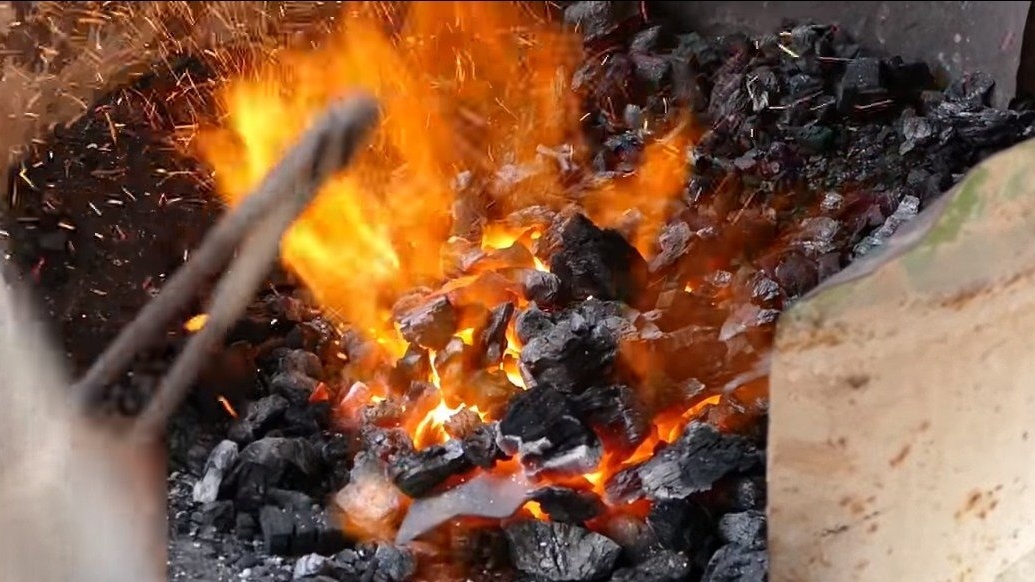
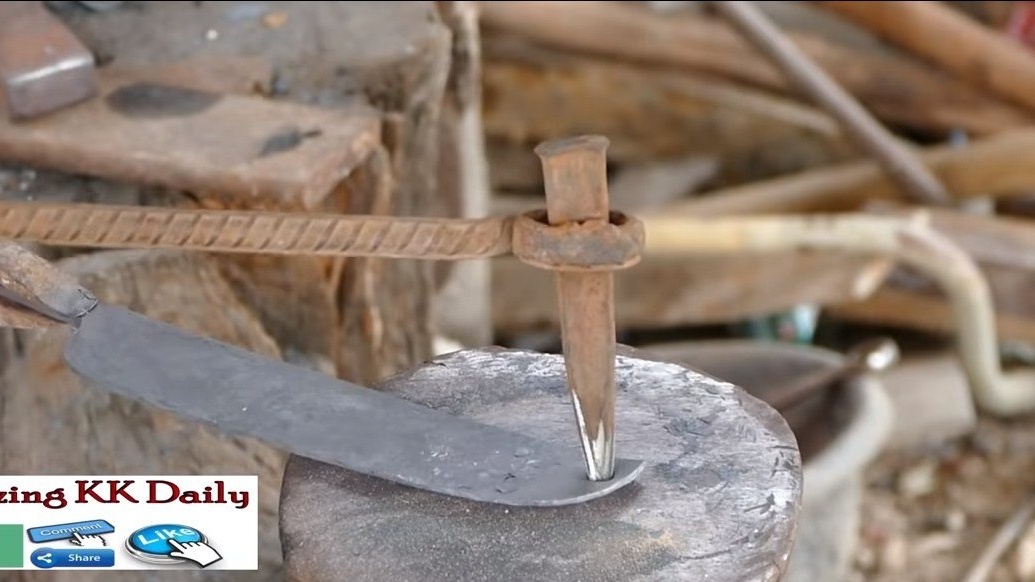
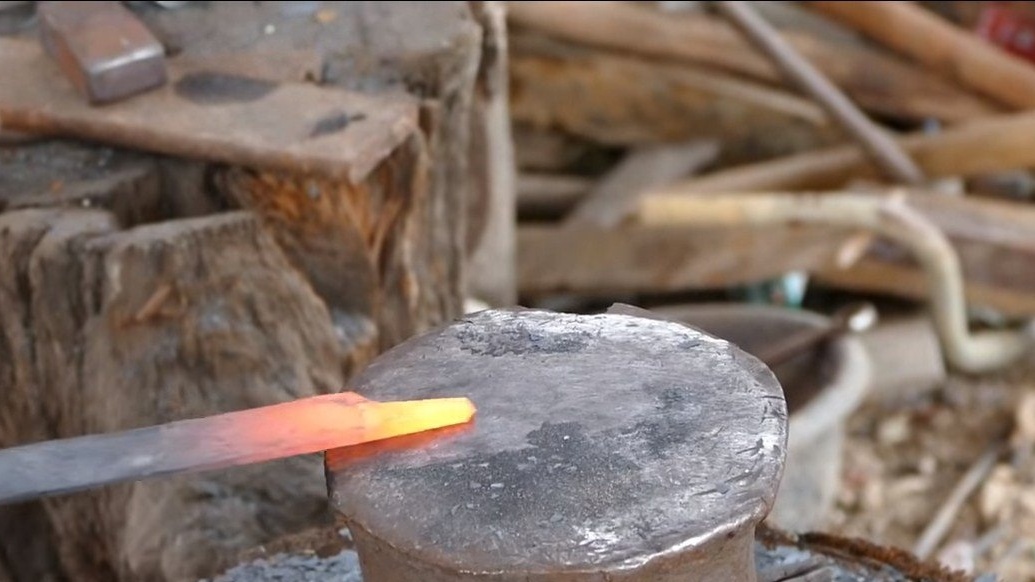
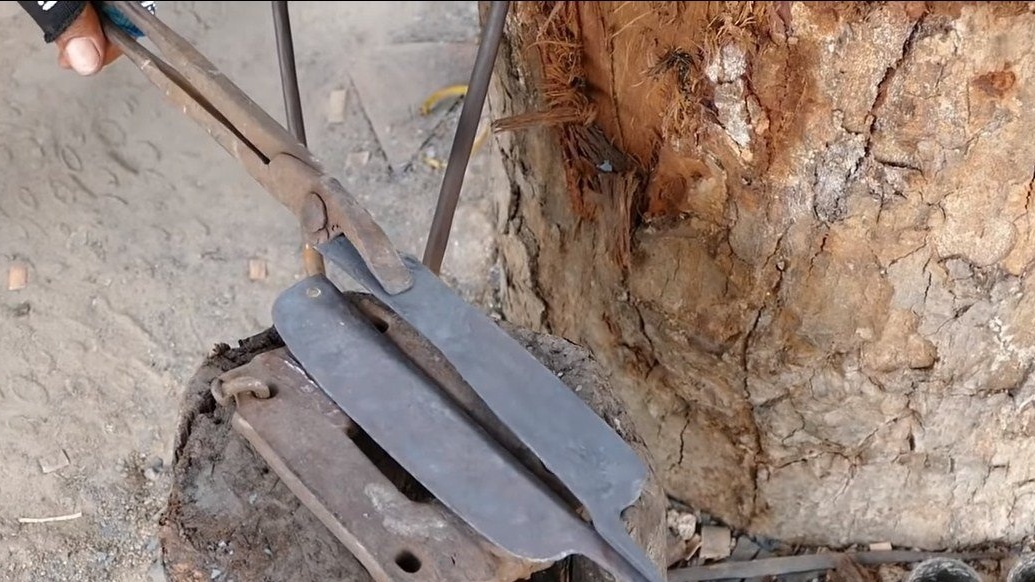
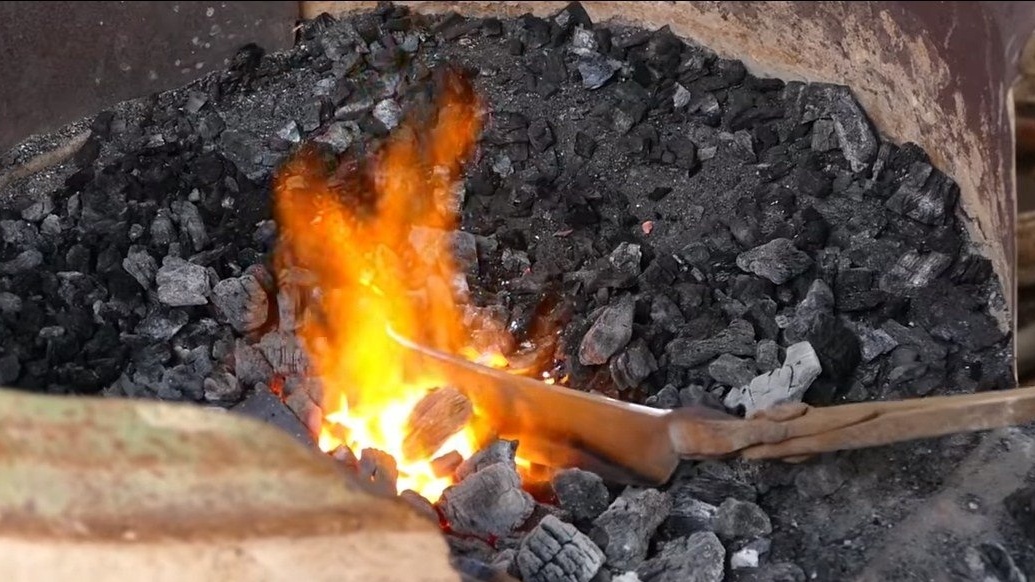
The main parts for making a knife are made by forging. First, we need to cut two blanks of sheet steel. Steel should be good, with a high carbon content, otherwise the knife will be dull very quickly. We heat up a sheet of metal and chop off a special adaptive workpiece. Of course, in a more civilized world, such work is done by cutting with a grinder.
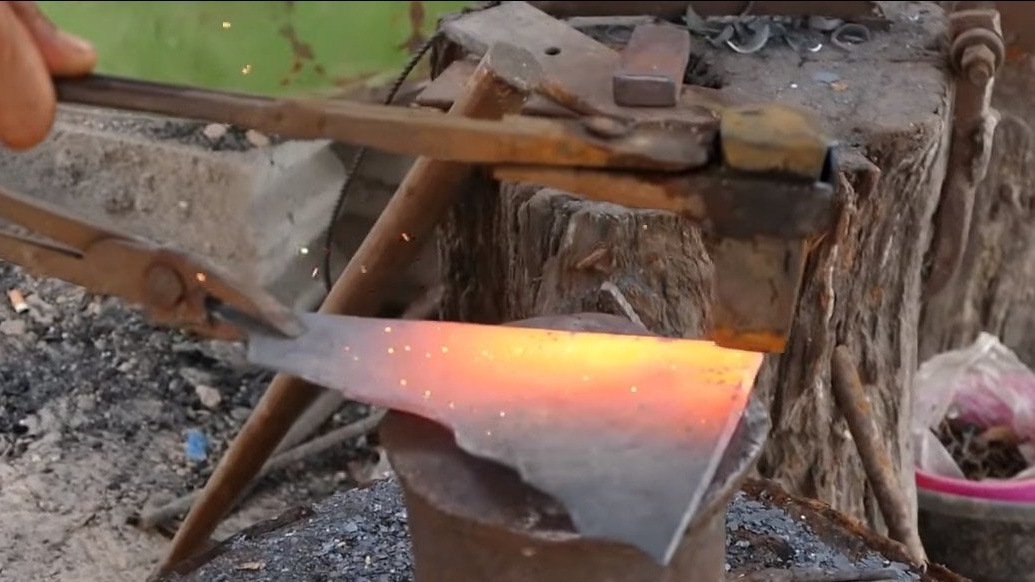
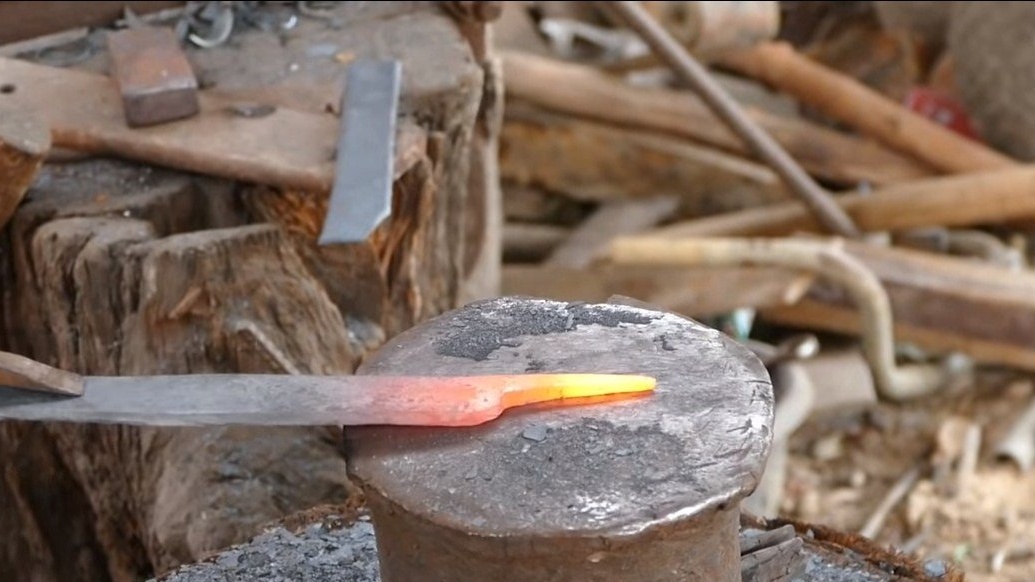
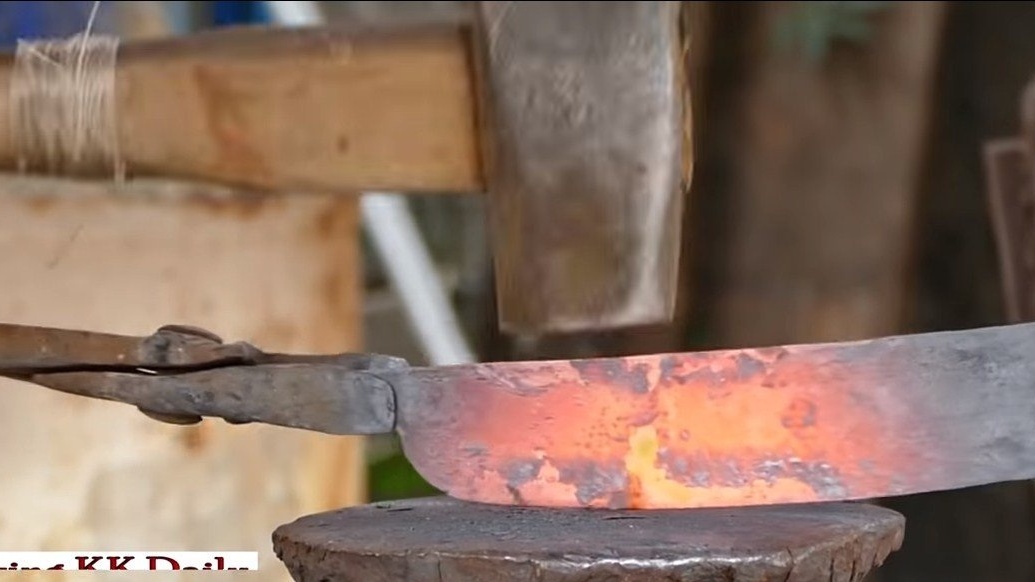
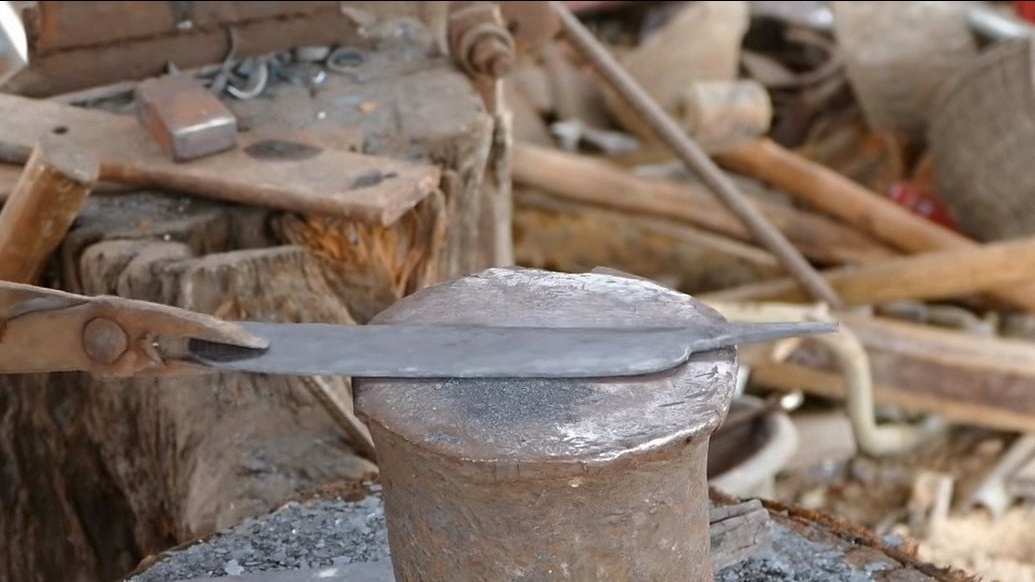
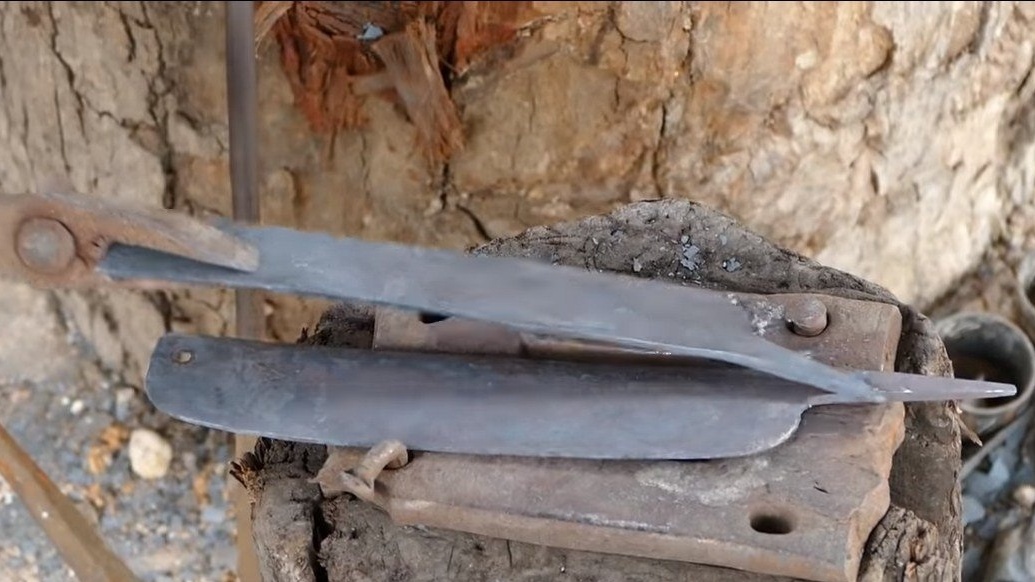
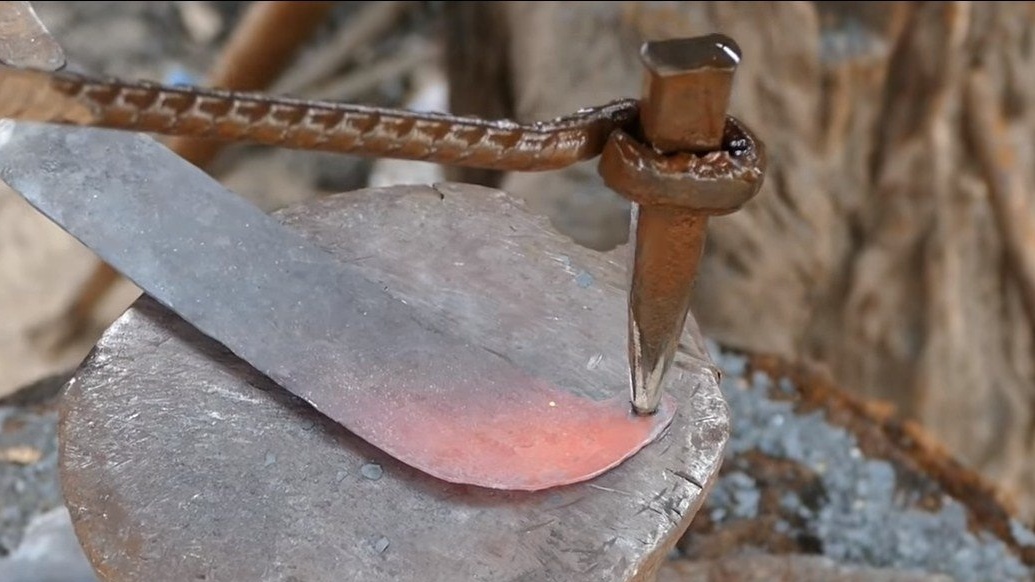
Well, then we proceed to forging, we need to make two identical knives in shape. We form the desired profile, we extend the shanks, if there is experience in forging, such work will not be particularly difficult. The knives will be joined at one end with a rivet, and at the other end with a handle. We make holes in the knives under the rivet, the author punches them with a special punch. On this, the manufacture of the primary profile of the knife can be considered finished.


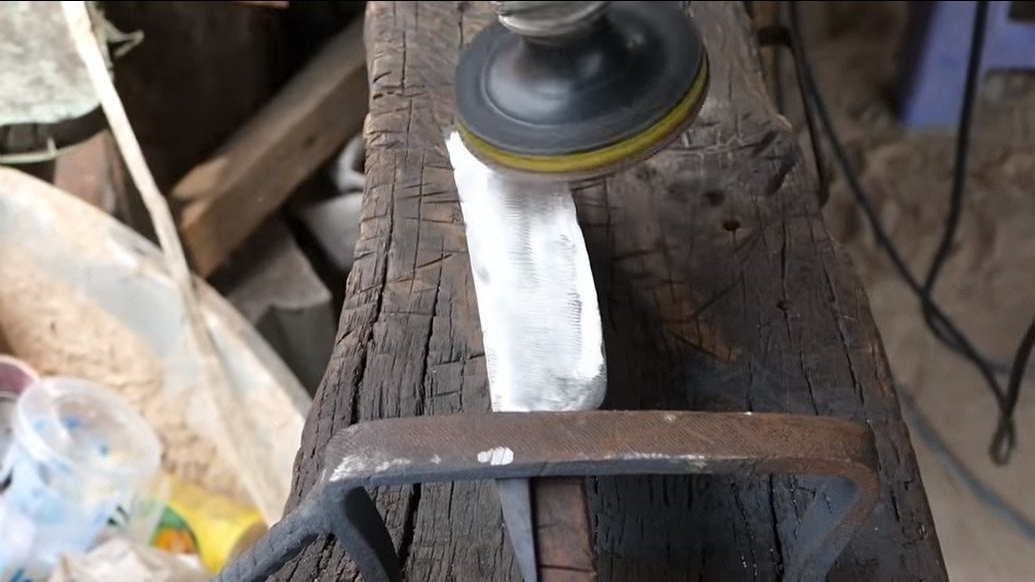
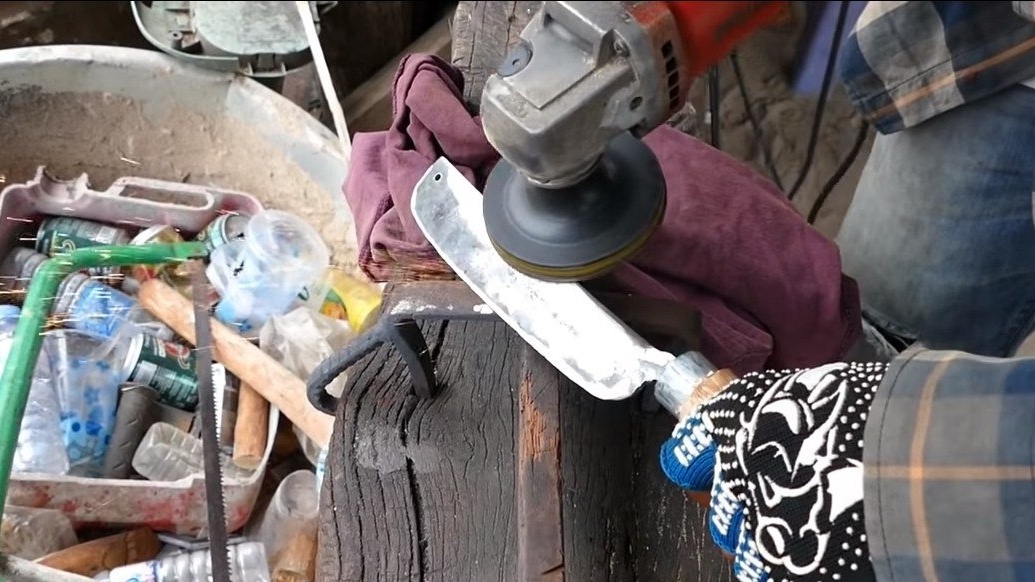
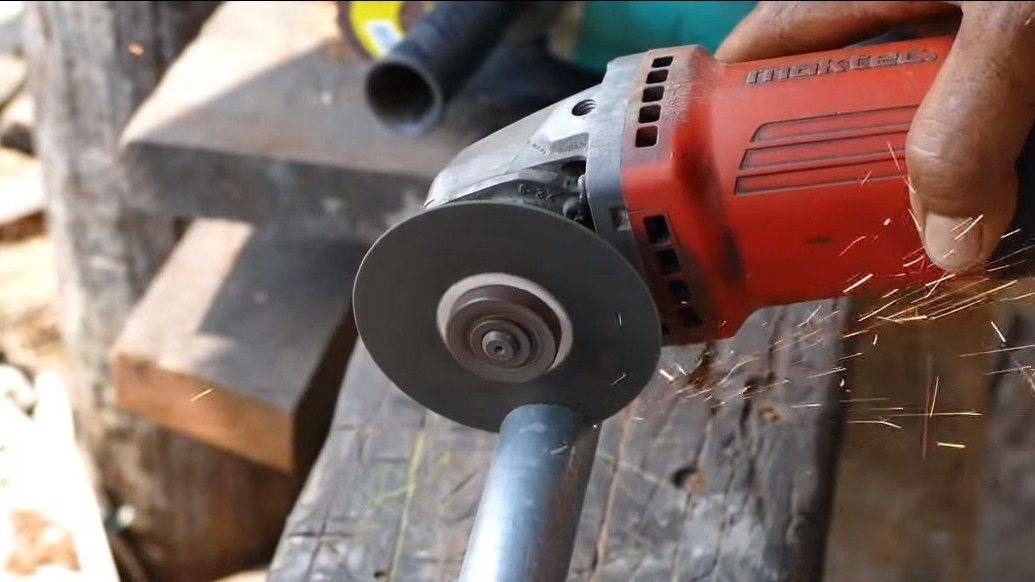
Step Two Grinding
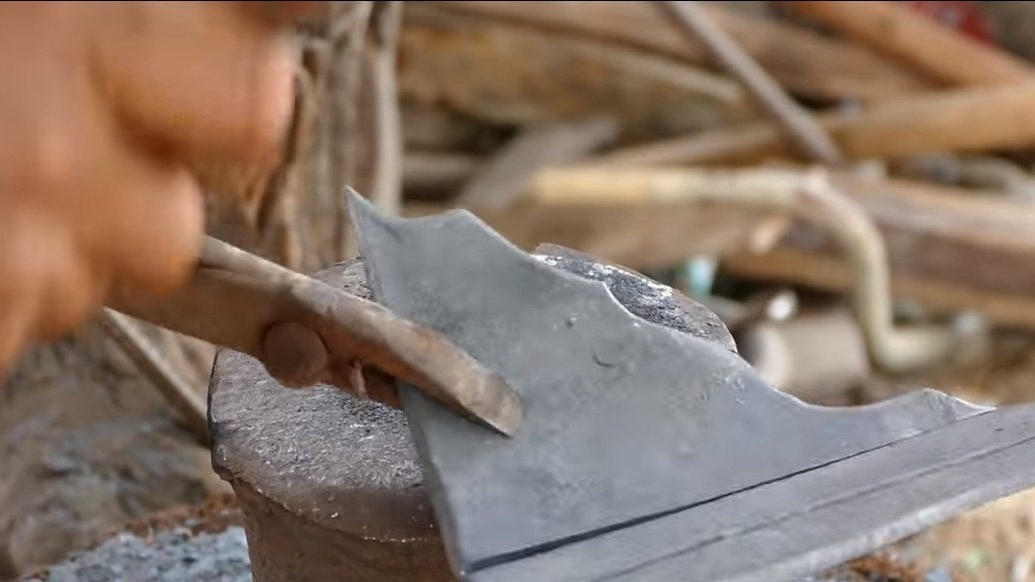
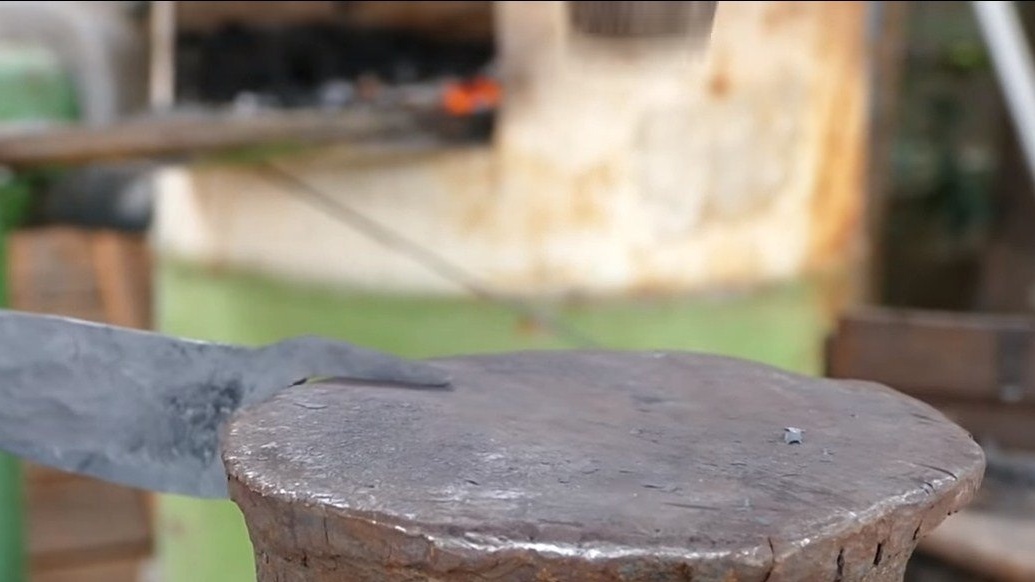
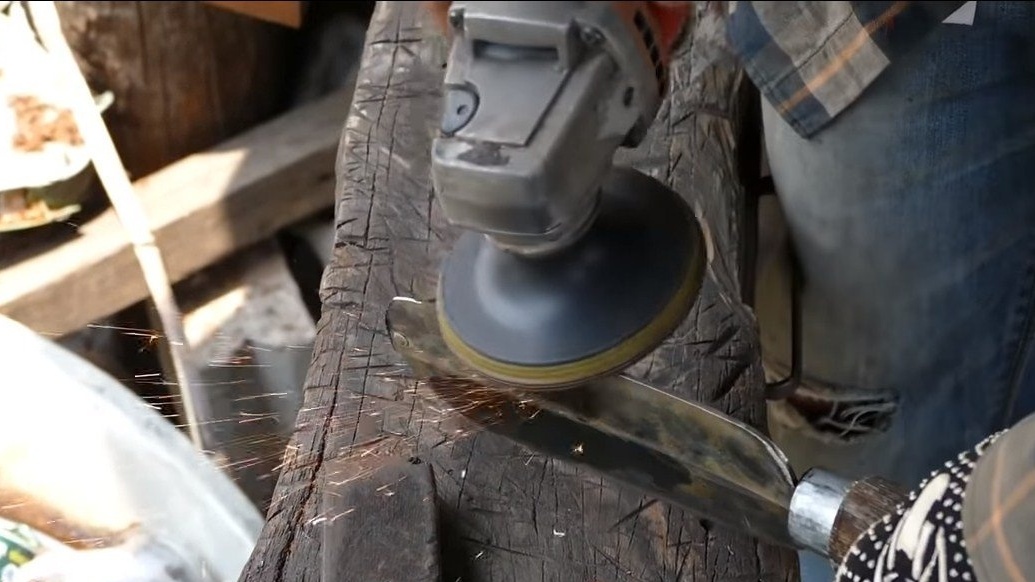
After forging, there will certainly be defects that will need to be fixed. Then a grinder comes to the rescue with a nozzle for installing sandpaper. We grind the planes well, eliminate forging defects.As for the blade, it is desirable to trim it with a file, since when processing a grinder, metal can be overheated if there is no experience.

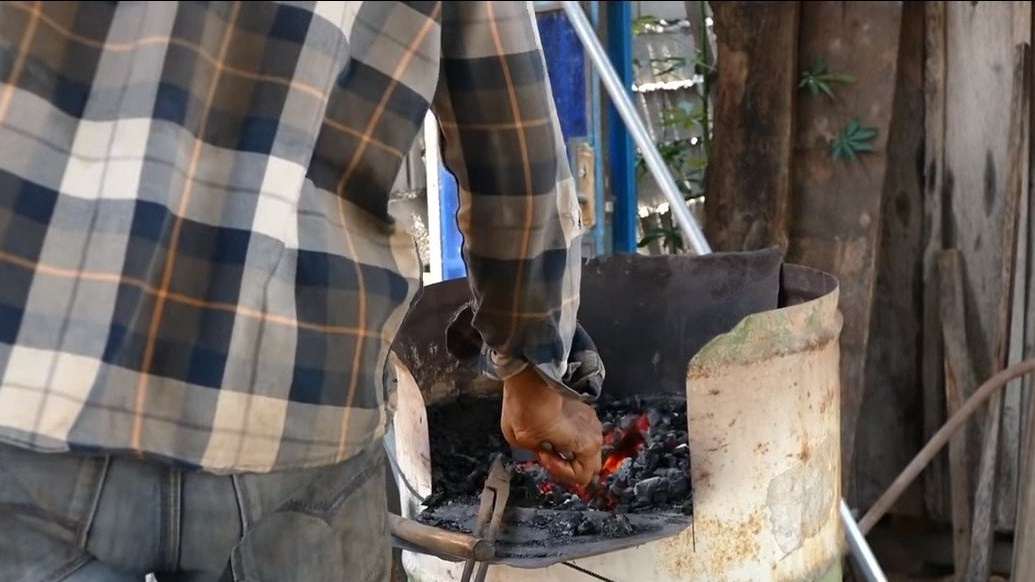
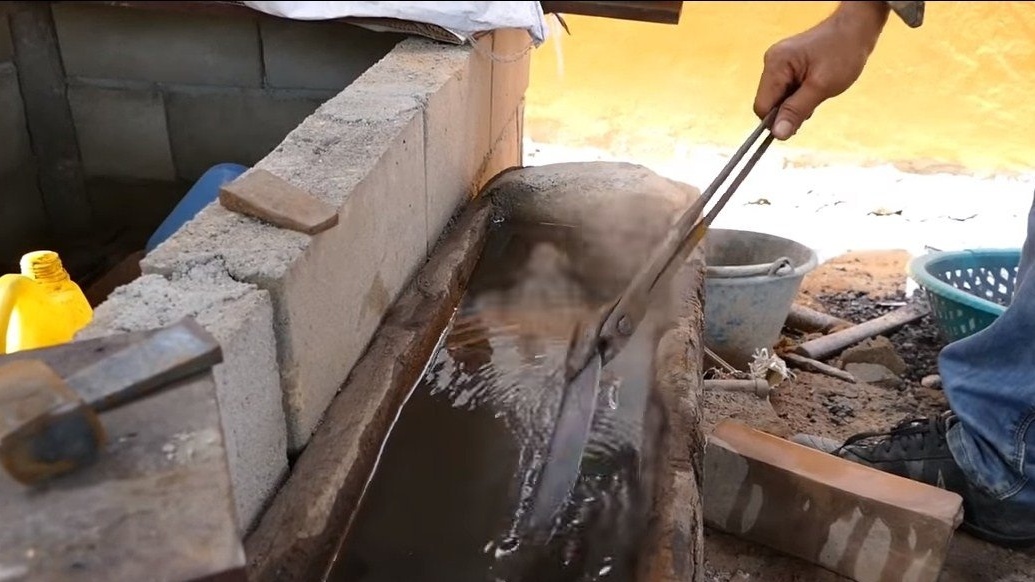
Step Three Quenching
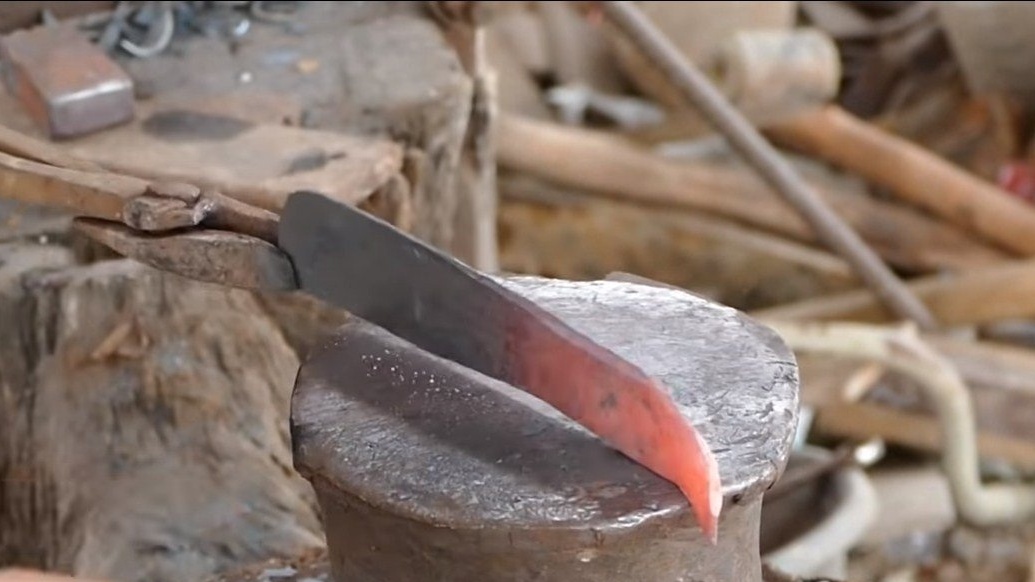
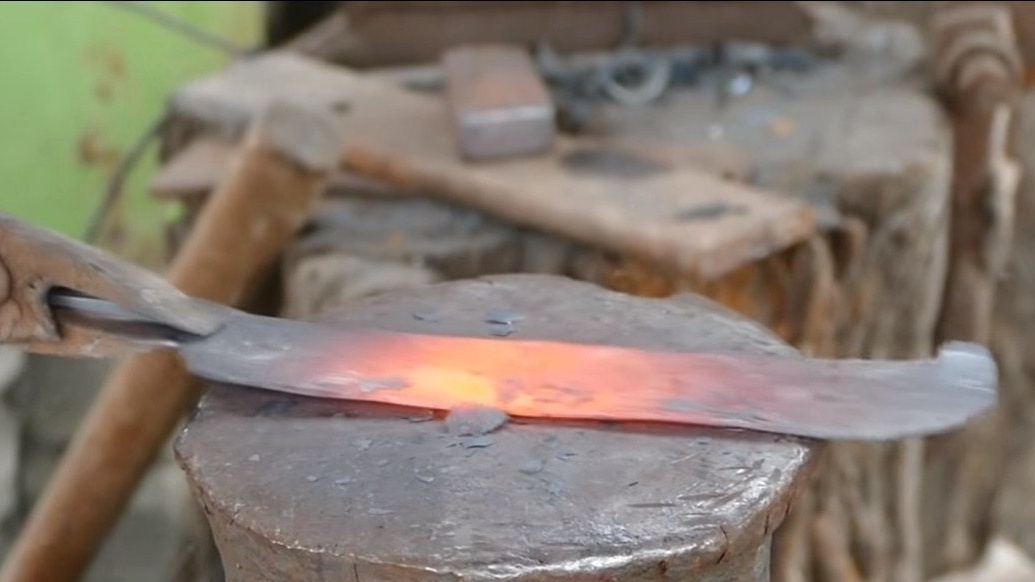
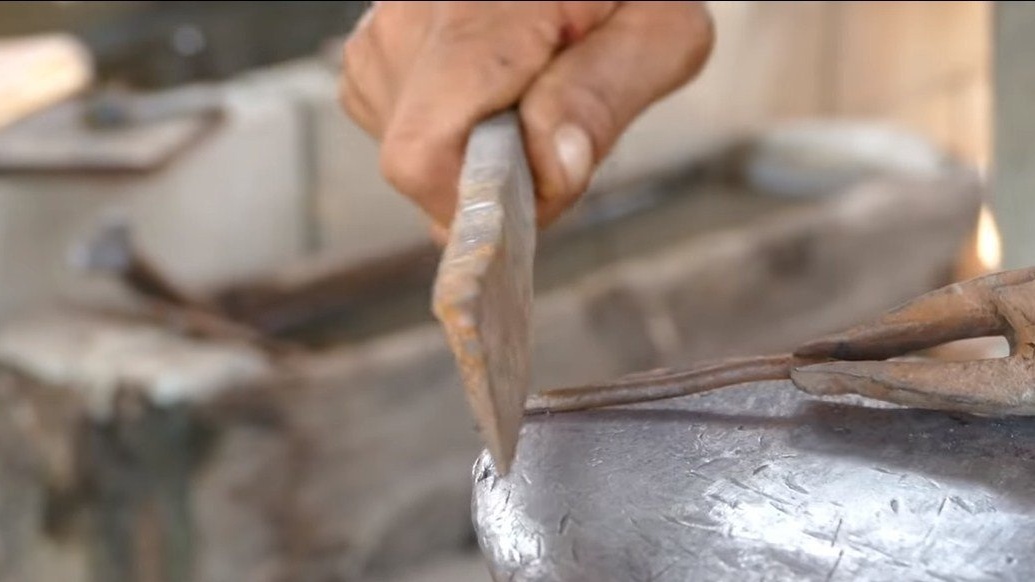
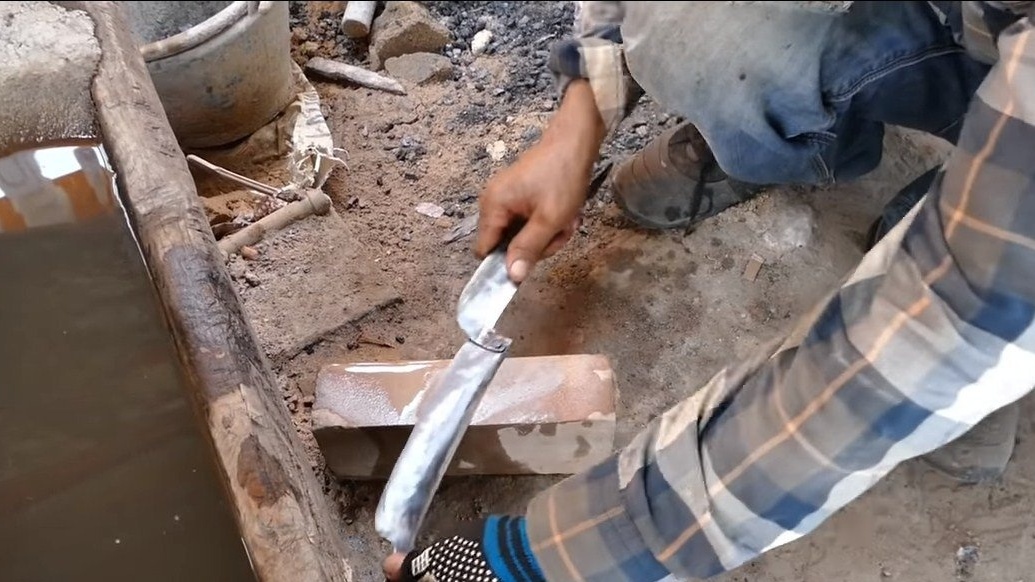
We proceed to hardening the knife, which will allow the blade to hold sharpening for a long time. Specifically, this author hardens all his knives according to one technique, only the blade lends itself to hardening. First, we heat the blade, and then we lower only the blade into the water. There are two blades on each workpiece, so each blade will need to be hardened separately. As a rule, with such hardening, the blade leads a little, it needs to be trimmed slightly hot with a hammer by eye.
Step Four Knife assembly
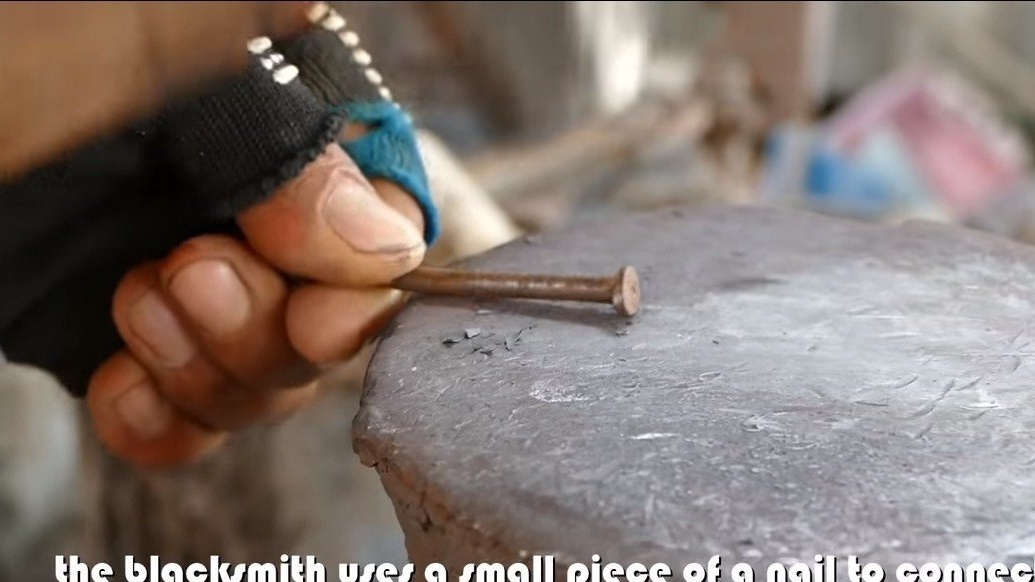
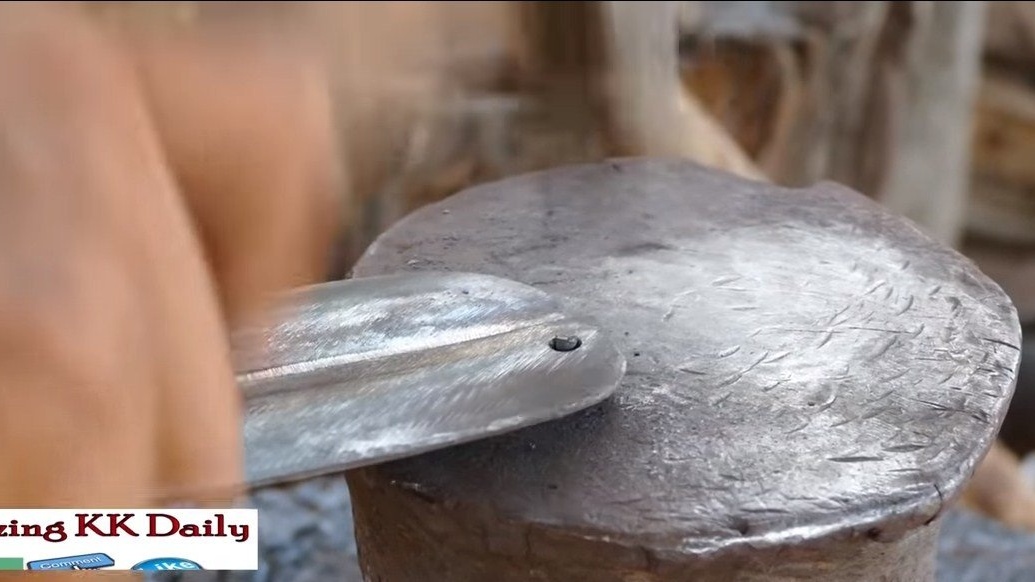
We begin to assemble the knife, connect the ends with a rivet. Then the nail is thicker.
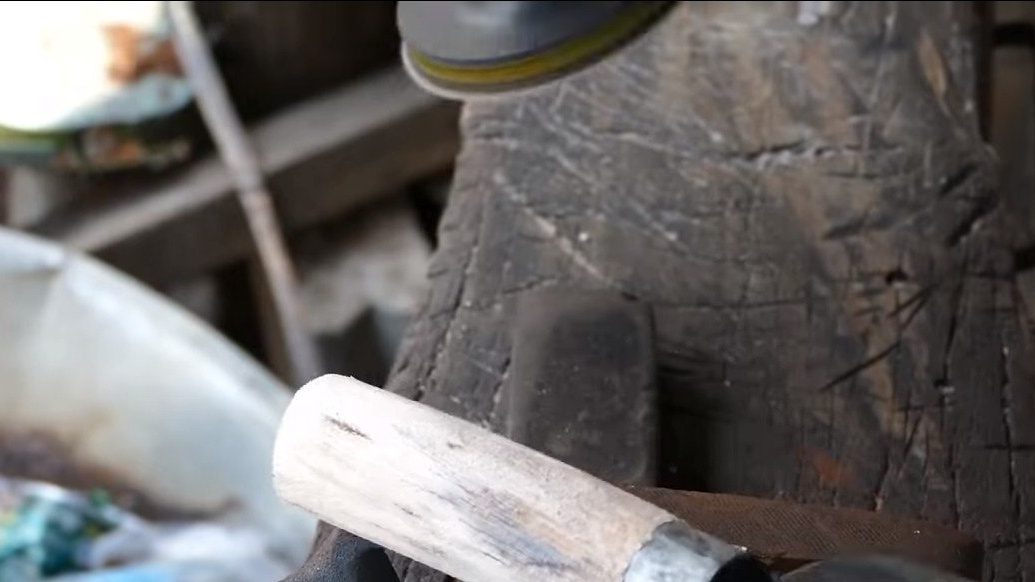
As for the other ends, we will connect them by installing the handle. The handle is made of a bar or stick of suitable diameter. First, cut off the desired piece of stick and press on it an iron tube, and then cut off the excess wood from the outside. Or you can just sharpen the stick from the beginning so that you can press the tube tightly onto it. Thanks to the tube, the handle will be strong and the knife will hold securely.
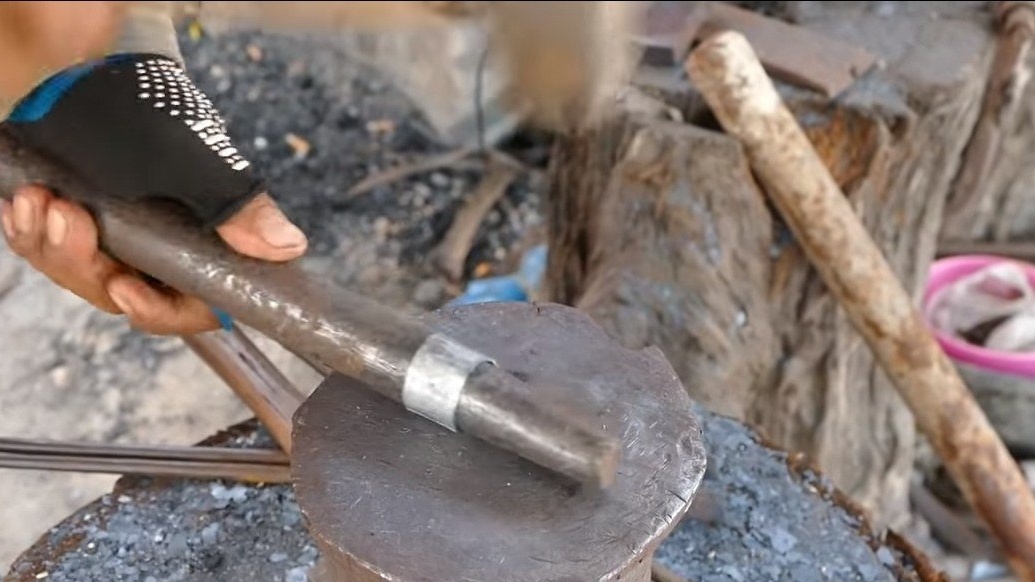

The time has come to install the handle, if there is no drill, we heat the steel rod and burn the hole in the handle. Better yet, burn the hole with a red-hot knife shank. At the end, we put the shank on a suitable glue, the author uses superglue.
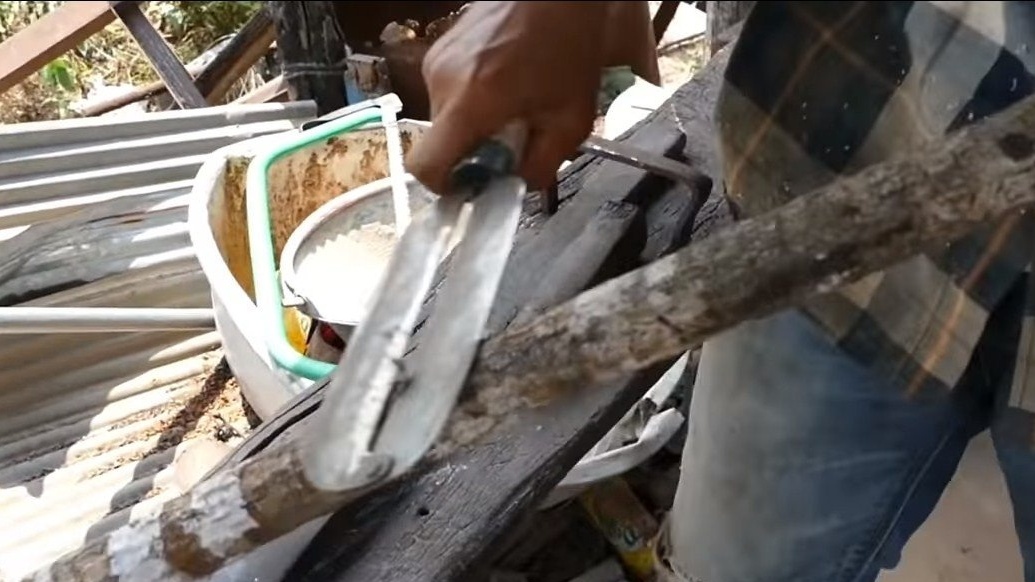
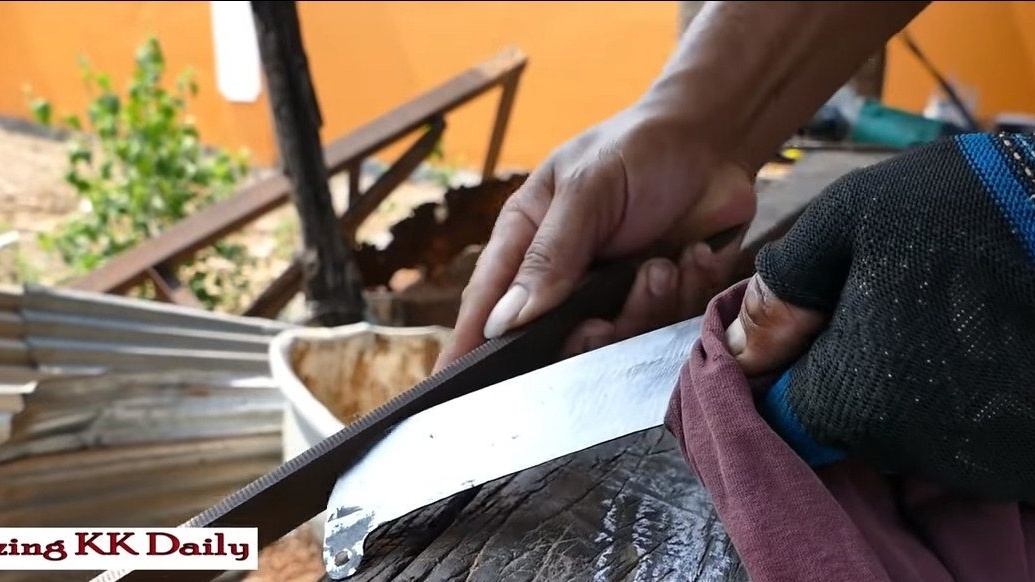
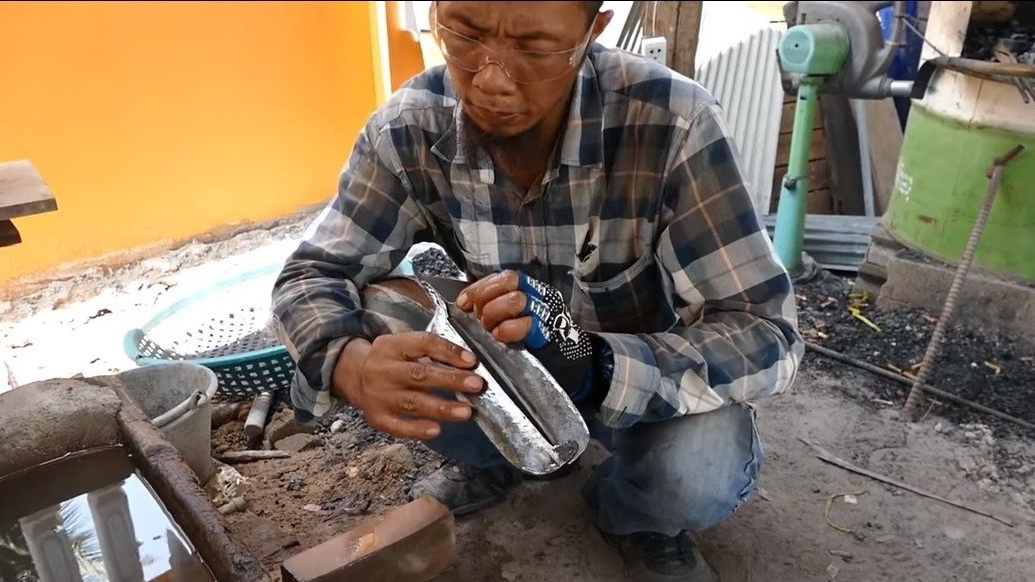
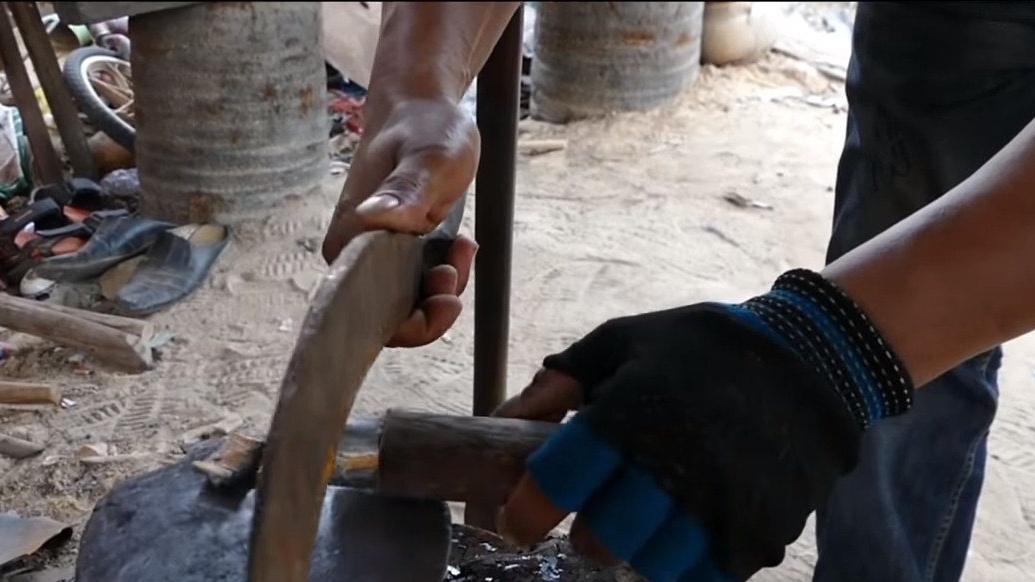
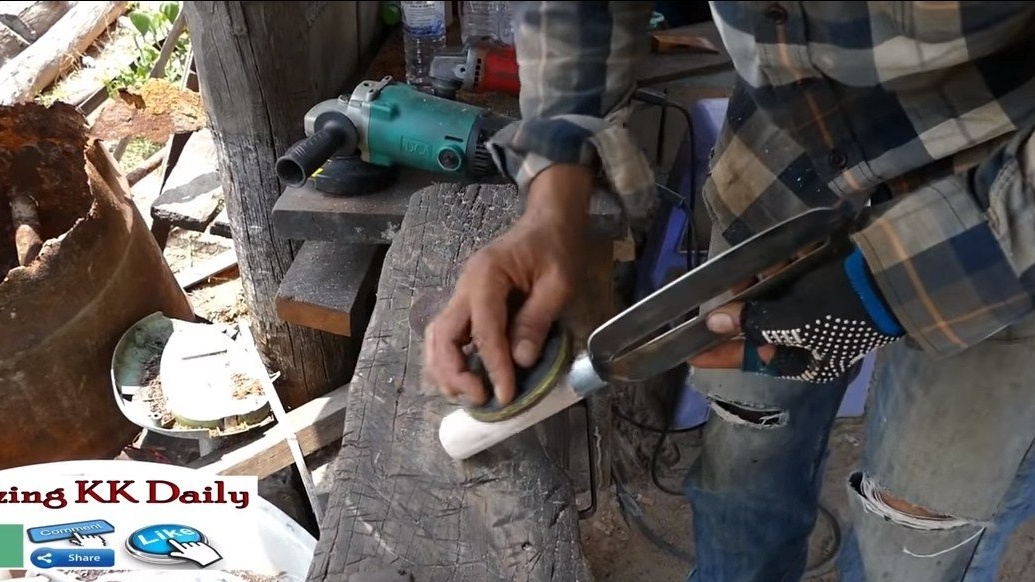
The knife must be well ground with a grinder and sharpened; we also produce grinding and handles. In order for the pen to look good, it must be sanded manually to a perfectly smooth state, and then soaked in oil.
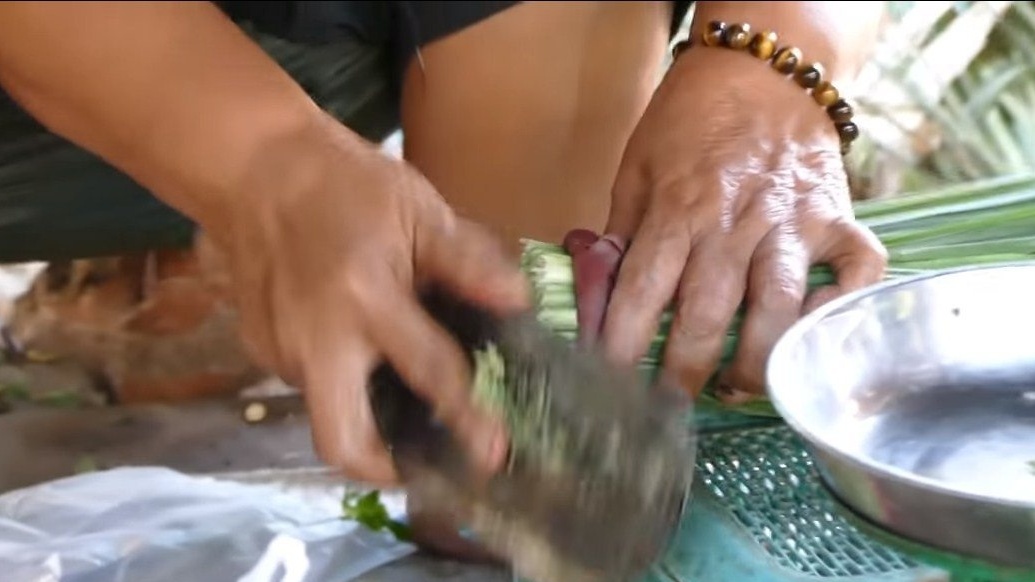
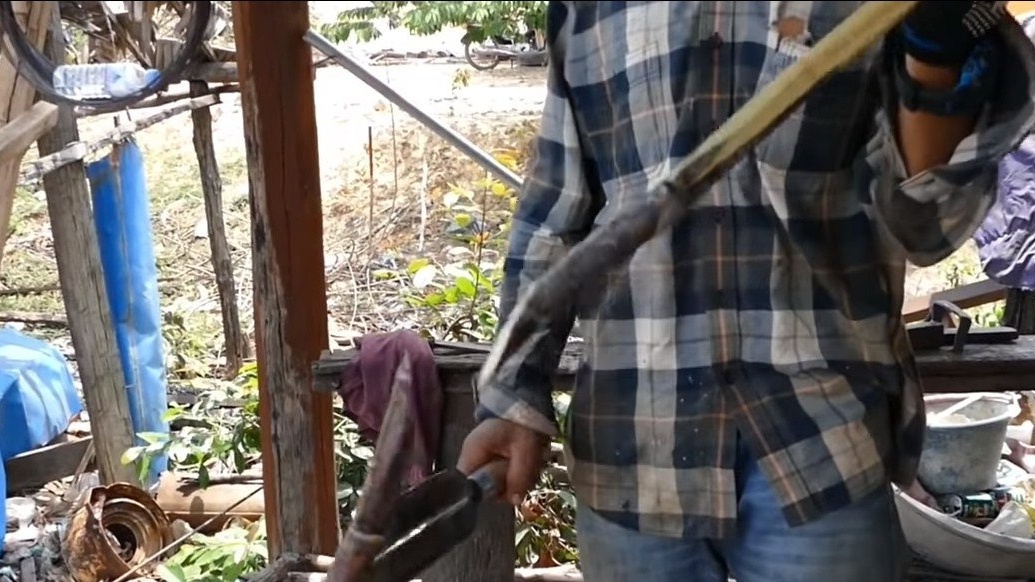
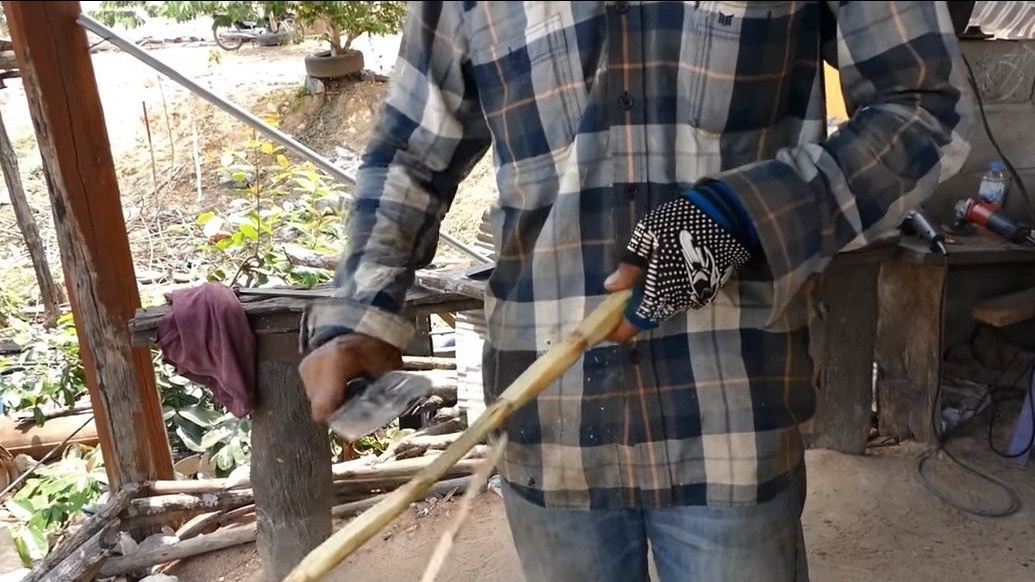
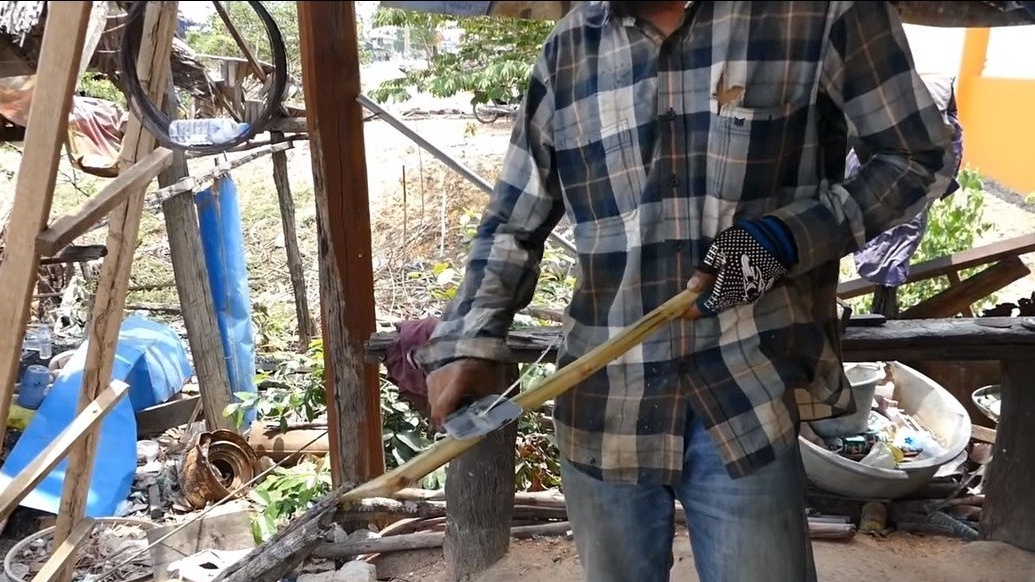
The knife is ready for use, the author easily cuts branches with it, since the knife is strong and quite weighty. And with an internal knife you can remove the bark or cut the greens like a grater. The project can be considered successfully completed, I hope you homemade I liked it. Good luck and creative inspiration, if you decide to repeat this. Do not forget to share your ideas and homemade things with us!