

Today I want to talk about home-made curtains for the bath.
1st step. History in a nutshell.
At the next repair, I decided to rearrange the bath, thereby getting the opportunity to increase its size. In the previous version of the bathroom layout, the bath itself was raised above the floor by two bricks, and access to the under-floor space was free. Since the washing machine stood aside.
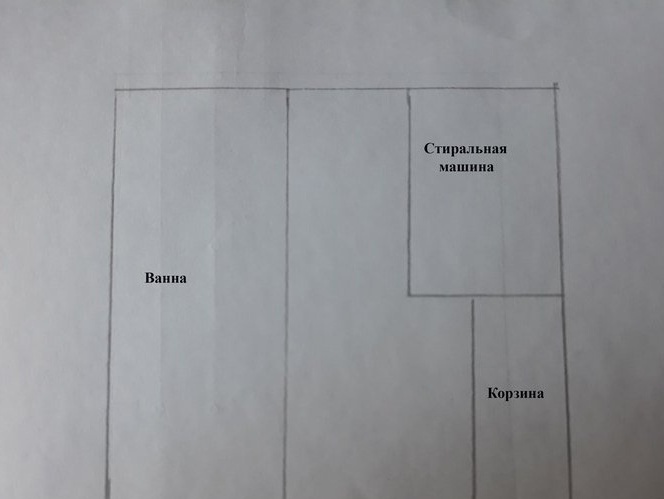
Now I decided to install the bath a little lower, but larger in size, because I decided to make another “rain shower”, and the vertical component played a role.
But, everything rested in the curtains under the bath, which are sold in stores, they are three casement.
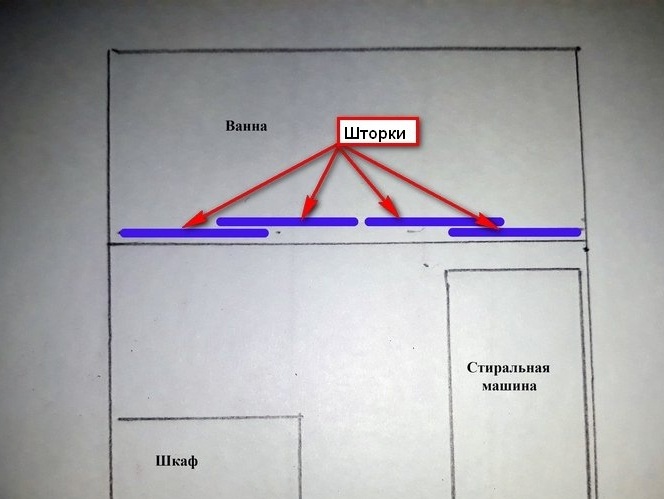
With the resulting layout, they are able to use the bathroom. The width of the curtains and the legs from the bath were in the way. As much as I did not look in the shops, something that could fit was all in vain. It was decided to make the curtains myself.
2nd step. Materials
In order to build what I wanted I needed:
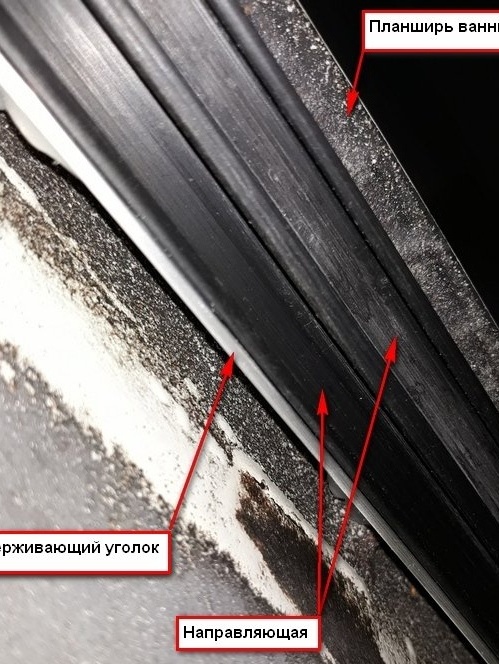
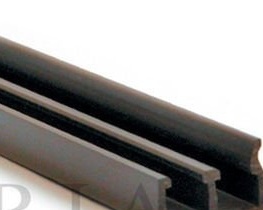
- “Ш” - shaped profile, used guides for sliding wardrobes CT148 - 2 pcs.
- aluminum corner 20x20 mm 2 pcs.
- a piece of channel profile 120 mm 2 pcs,
- metal brackets 2 pcs,
- wall panels, 8 mm thick 8 pcs (L - 600 mm),
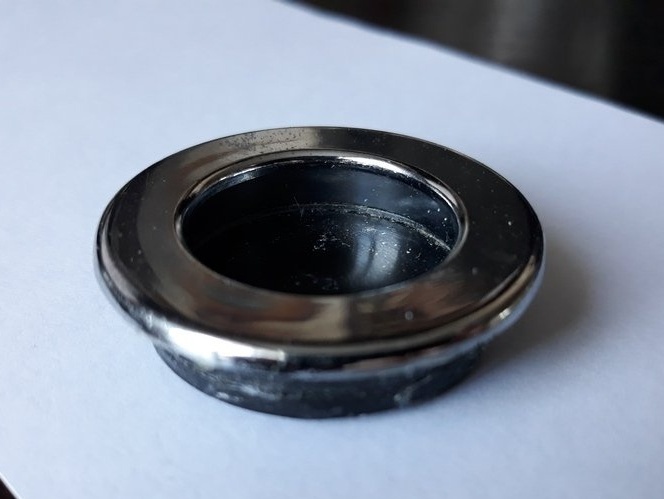
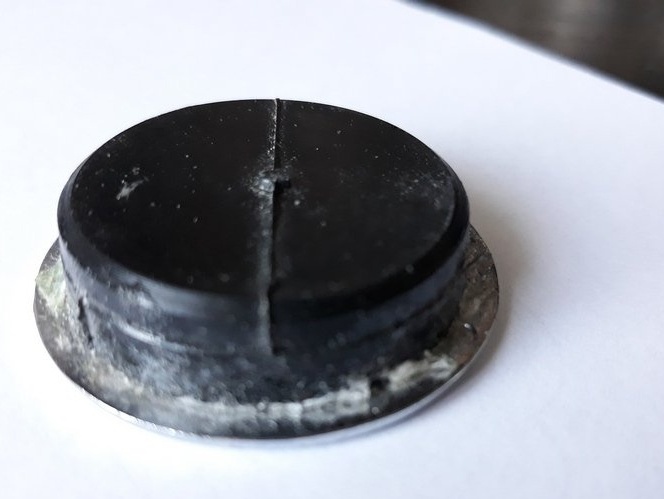
- furniture handles in pot 8 pcs,
- building dowels for concrete,
- screws
- punch,
- screwdriver.
3rd step. Construction.
To begin with, the old bathtub was removed.
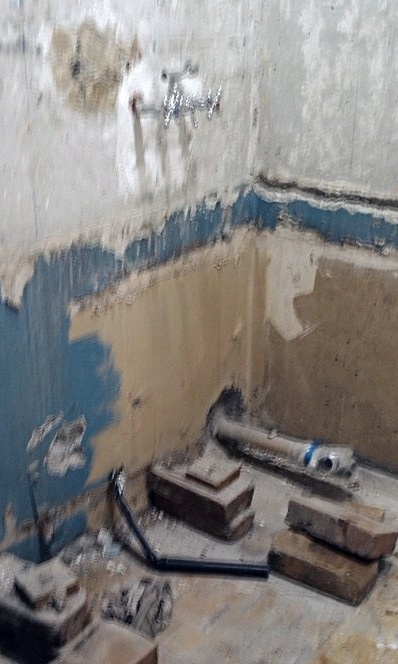
The walls were cleaned of paint and old mastic, on which the tile was sitting.
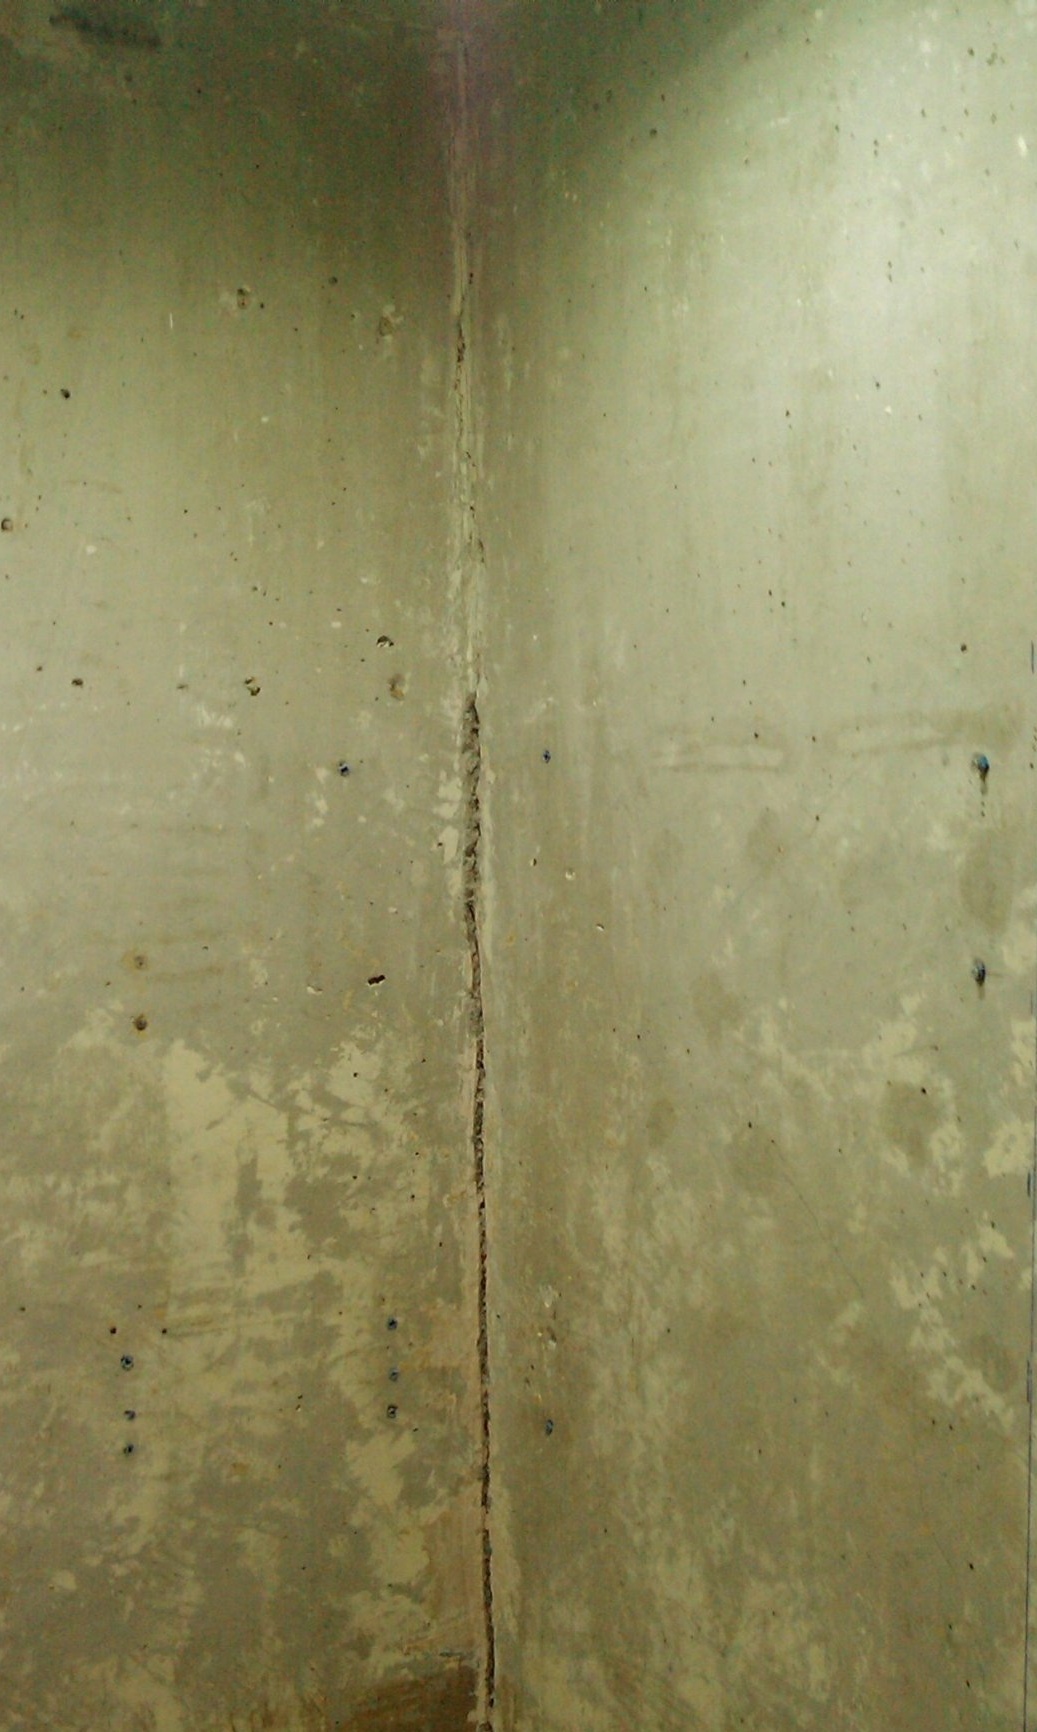
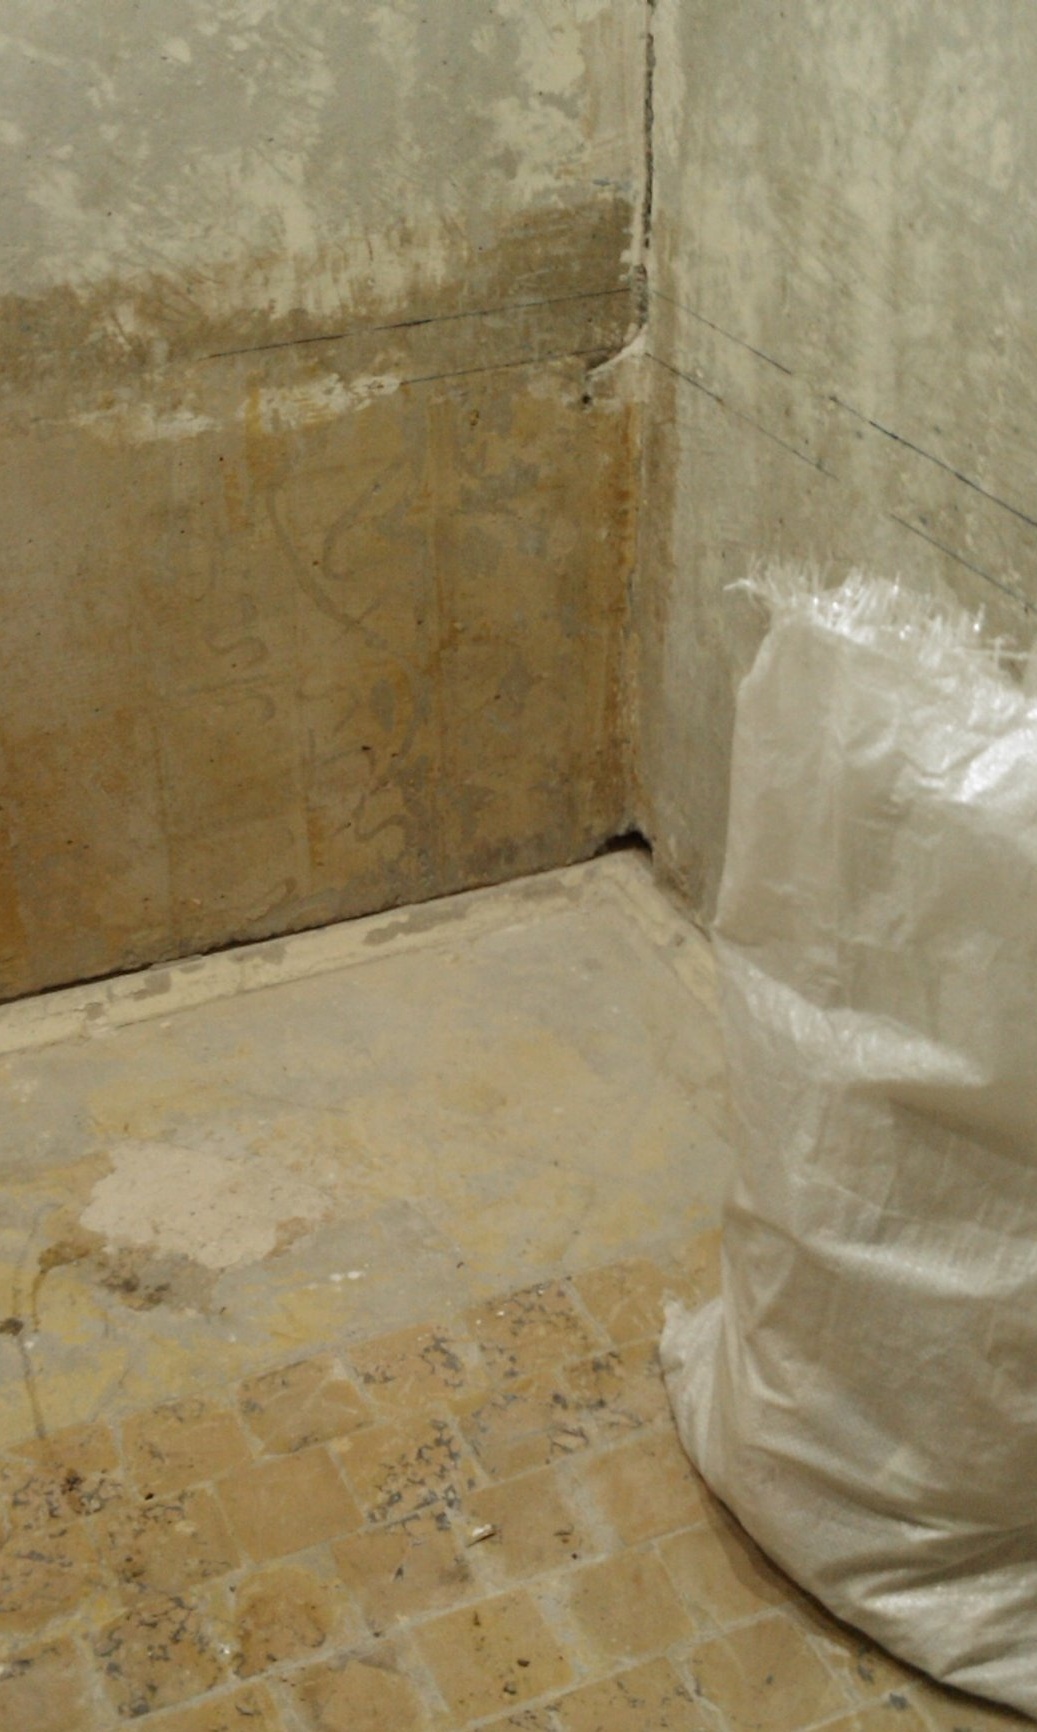
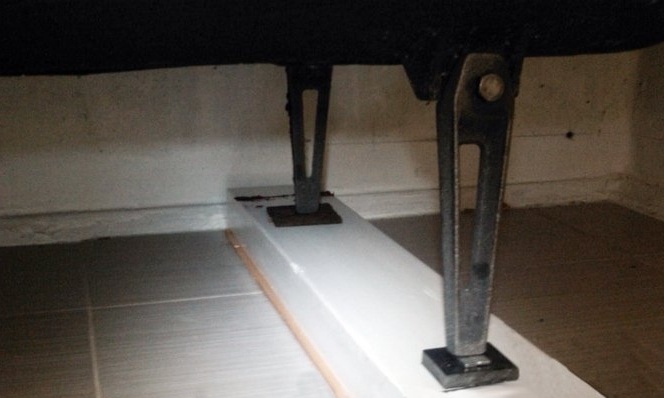
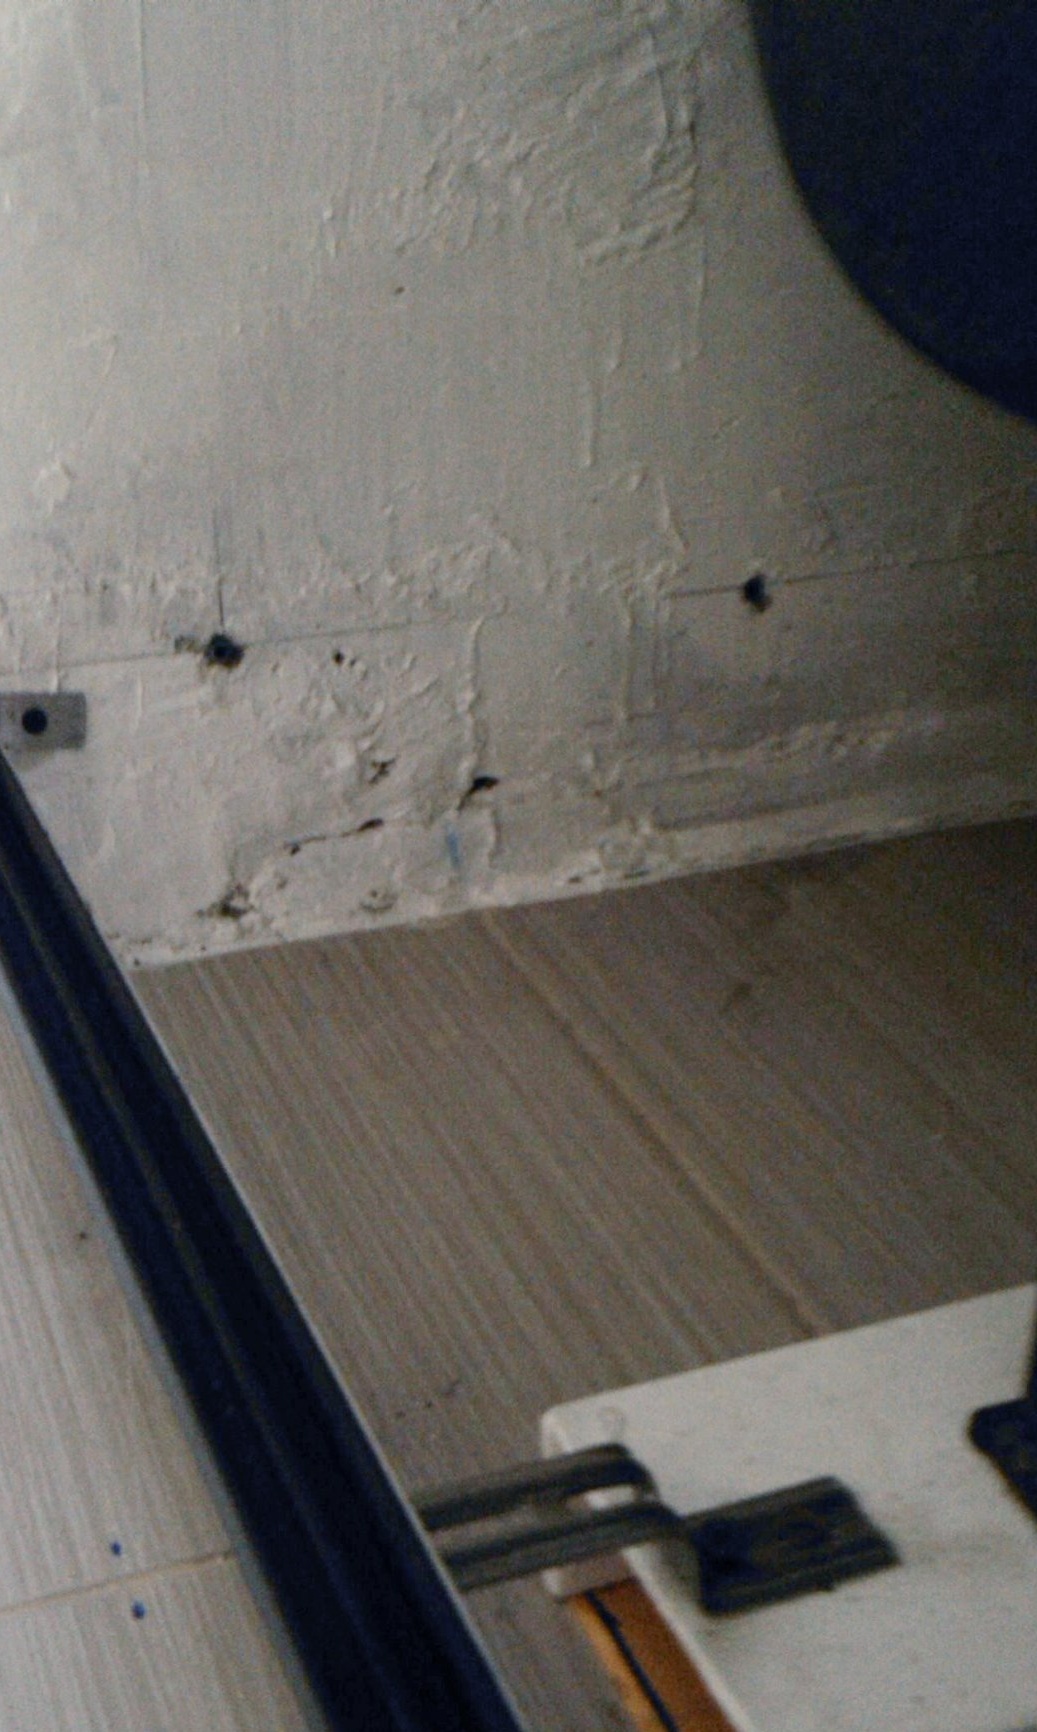
Holes are painted over and the walls below the bathtub are painted, the floor is tiled, a place for stands is provided for channels, gaskets are cut from old linoleum. Channel coasters are painted white. Everything is set in place and a bathtub is installed.
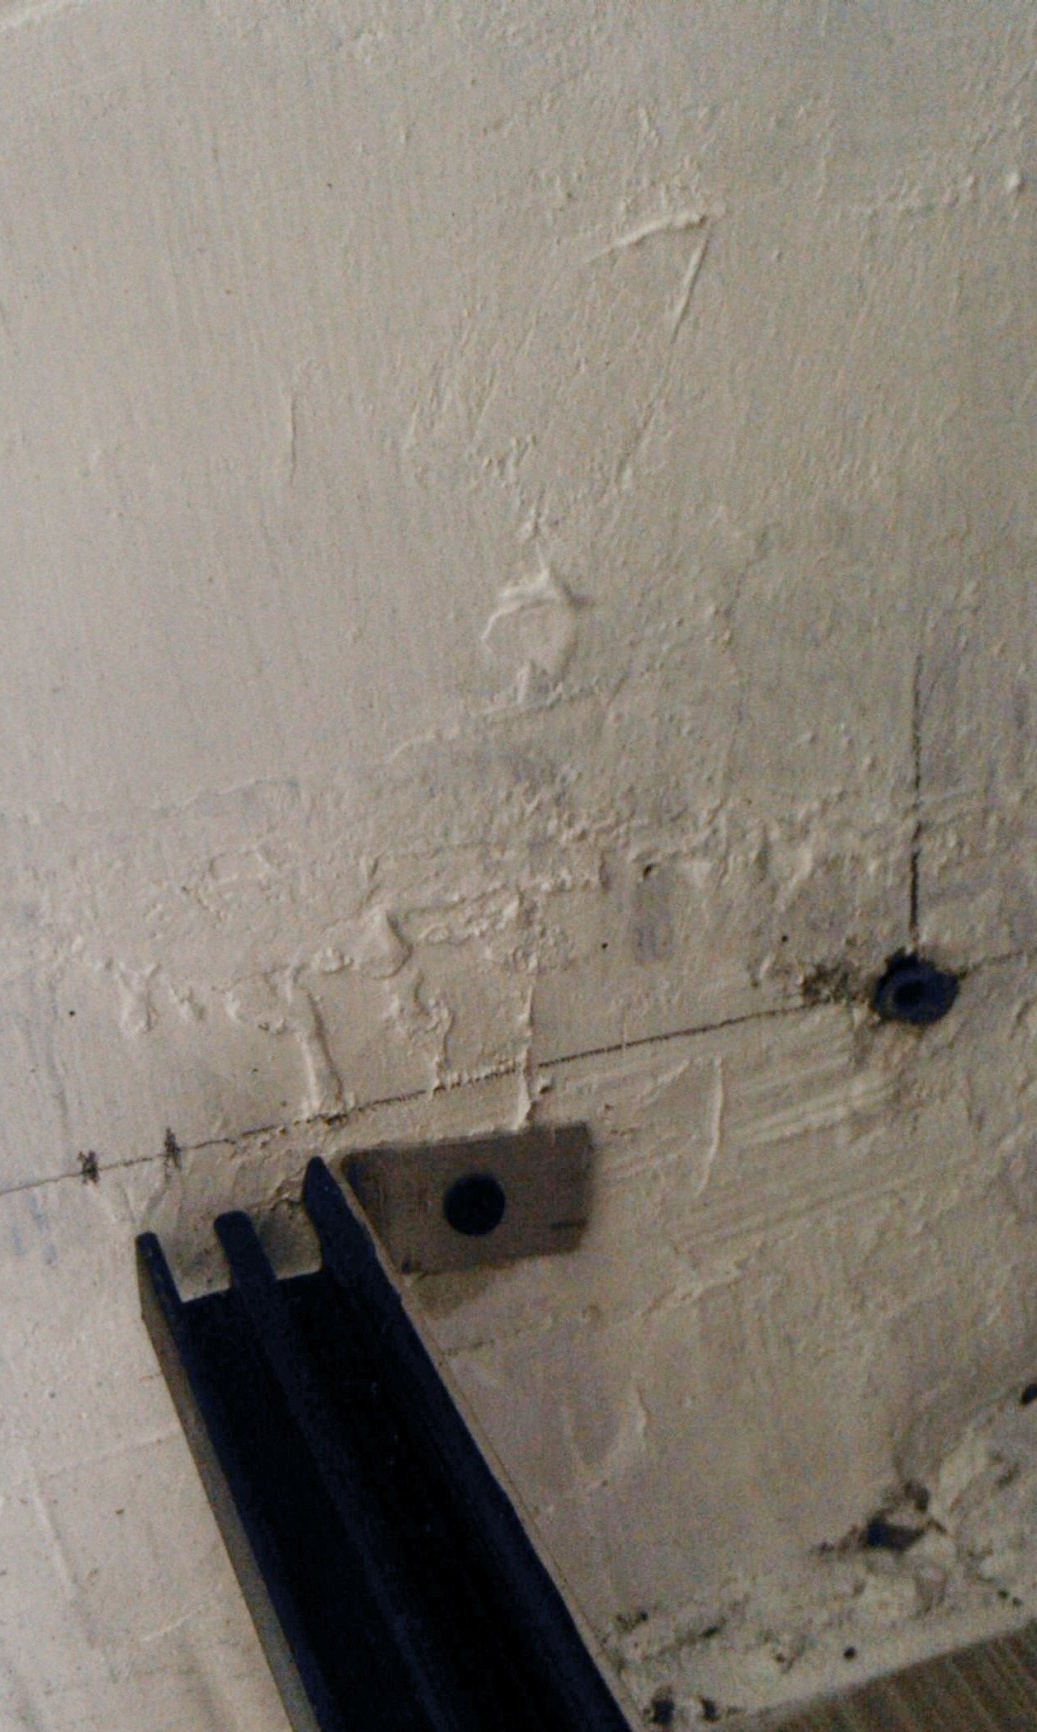
Next, prepare to install the upper guide. First, measure the distance between the walls and give an allowance for the bend of the support corner (20x20 mm), about 30 mm per side, but more can be. But, there is one caveat. If the walls are even and the bath rises with a slight gap from the wall. That allowance of 30 mm must be added, as I wrote above. But, if there is an uneven gap between the bathroom and the wall, or it is relatively large, then it is better to install wooden substrates on the wall that overlap this gap. And it is advisable to do this before installing the bath, fixing it with dowels with screws to the wall. I missed in this regard. And I had to install them on the wall on liquid nails. And bend the supporting corner, taking into account the thickness of these bars. Because the bends of the supporting corner are attached directly to them. This can be seen from the photo.
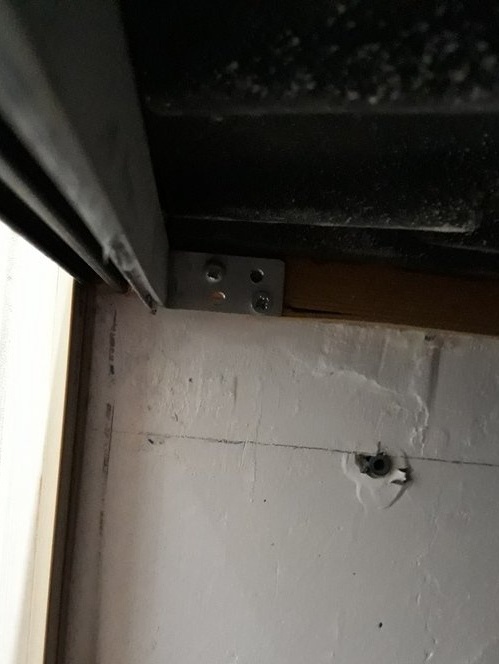
In this case, the length of the guide remains from wall to wall.
And one moment. The upper supporting corner, approximately in the middle of the length of the bathtub, is attached to a wooden boss (or two) glued in the bend of the bathtub plainshire. I glued on liquid nails.
And the last recommendation. Before installing the upper guide, as well as the lower one, it is necessary to check how the curtains stand and move (segments of wall panels). Wall panels are made by different companies, and the size (thickness) is slightly floating. Therefore, we must verify this. And if necessary, expand the grooves of the guides with a large sandpaper on a suitable bar. Since I have a combined facade - from different panels, I had to adjust the groove for one panel.
This is not scary, believe me.
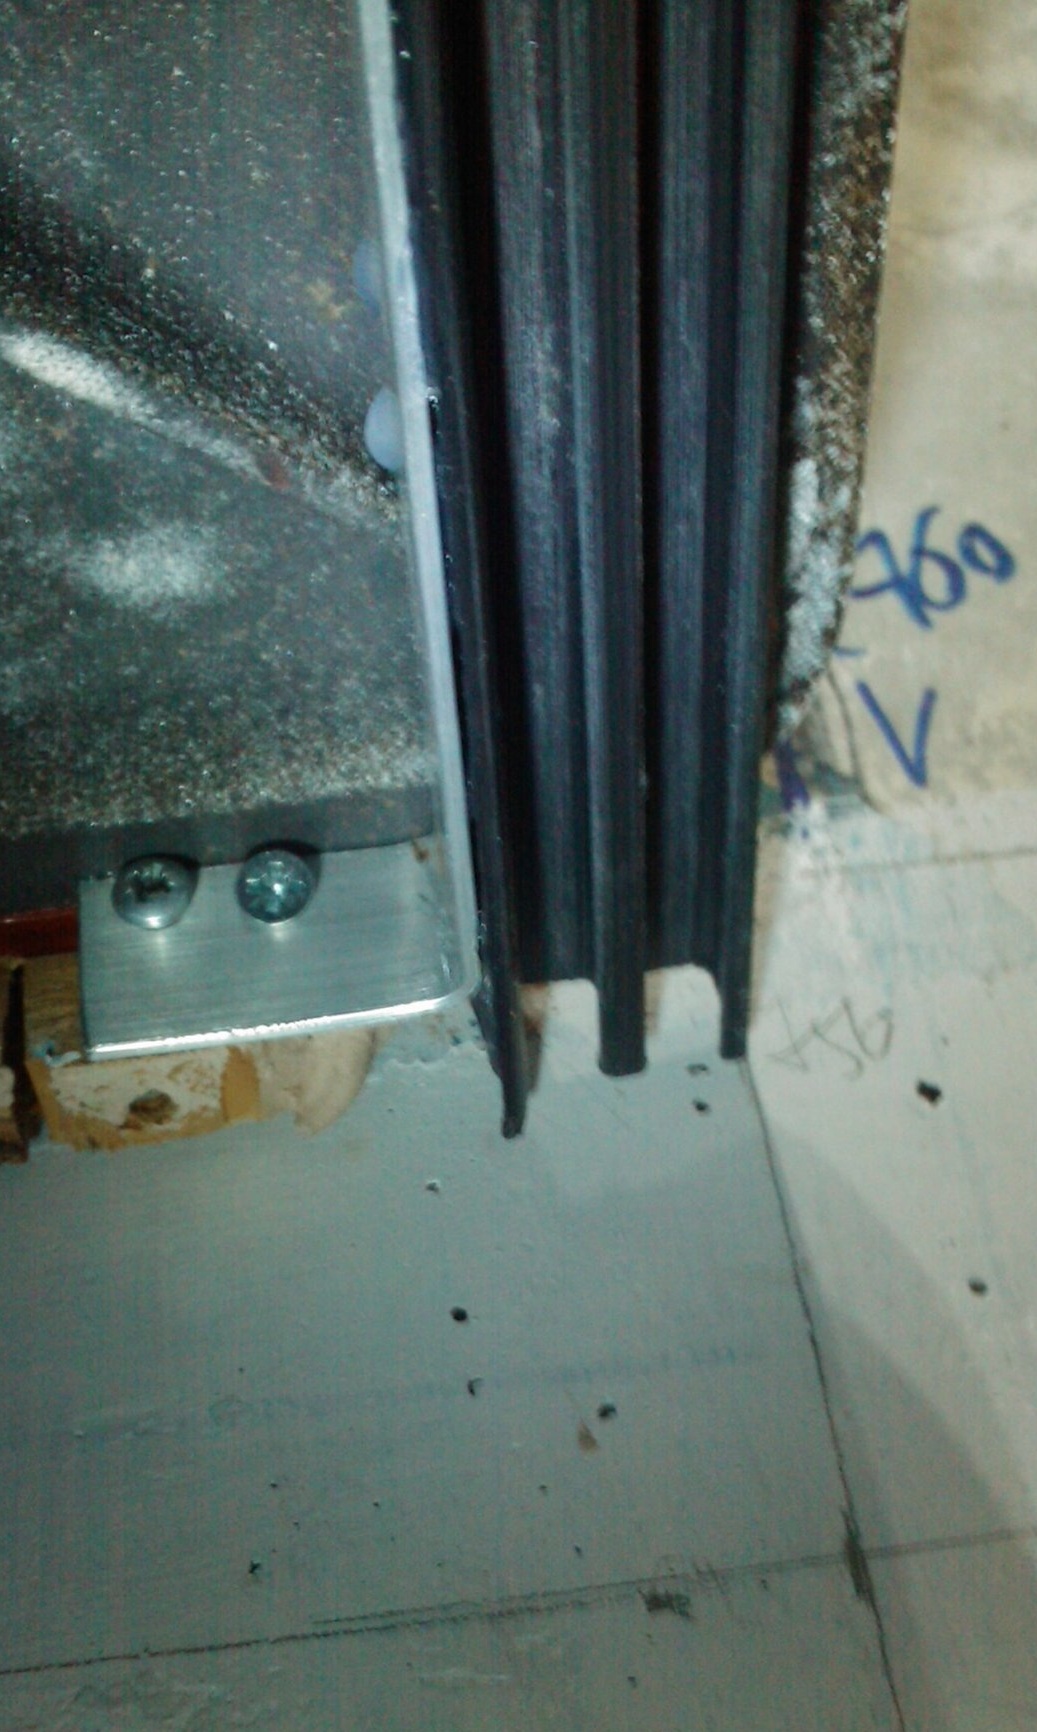
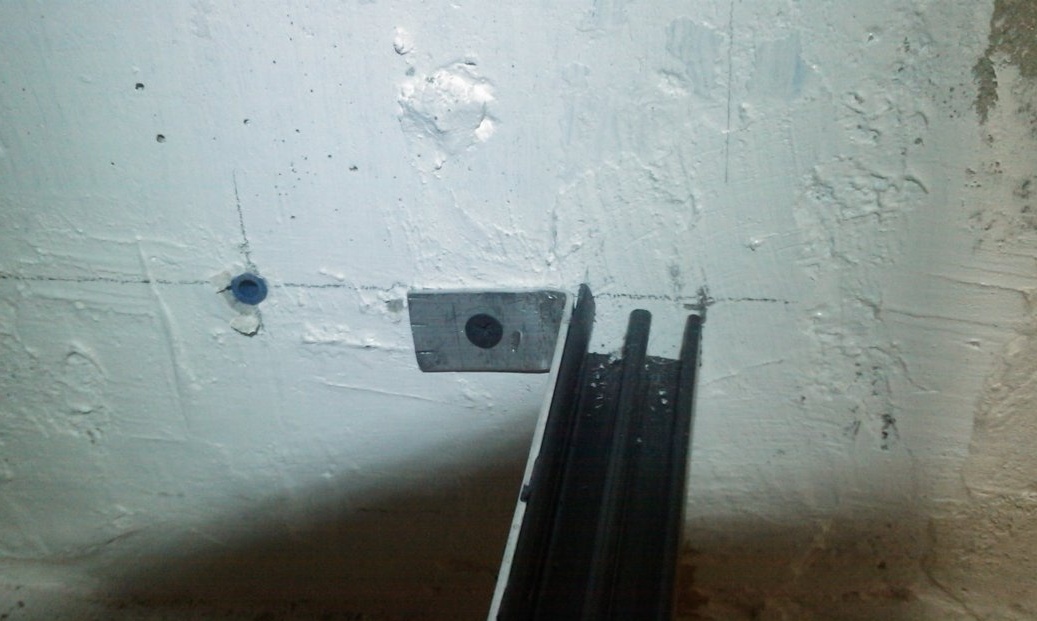
The upper guide in the supporting corner, set it again on liquid nails, but it is possible on self-tapping screws with a head in the pot. After installation, by the plumb line we determine the position of the lower guide, taking into account the size of the upper surface Z - shaped brackets that will be installed on the channel.
Further, curved Z-shaped brackets for attaching the lower guide are mounted on the channel-supports.
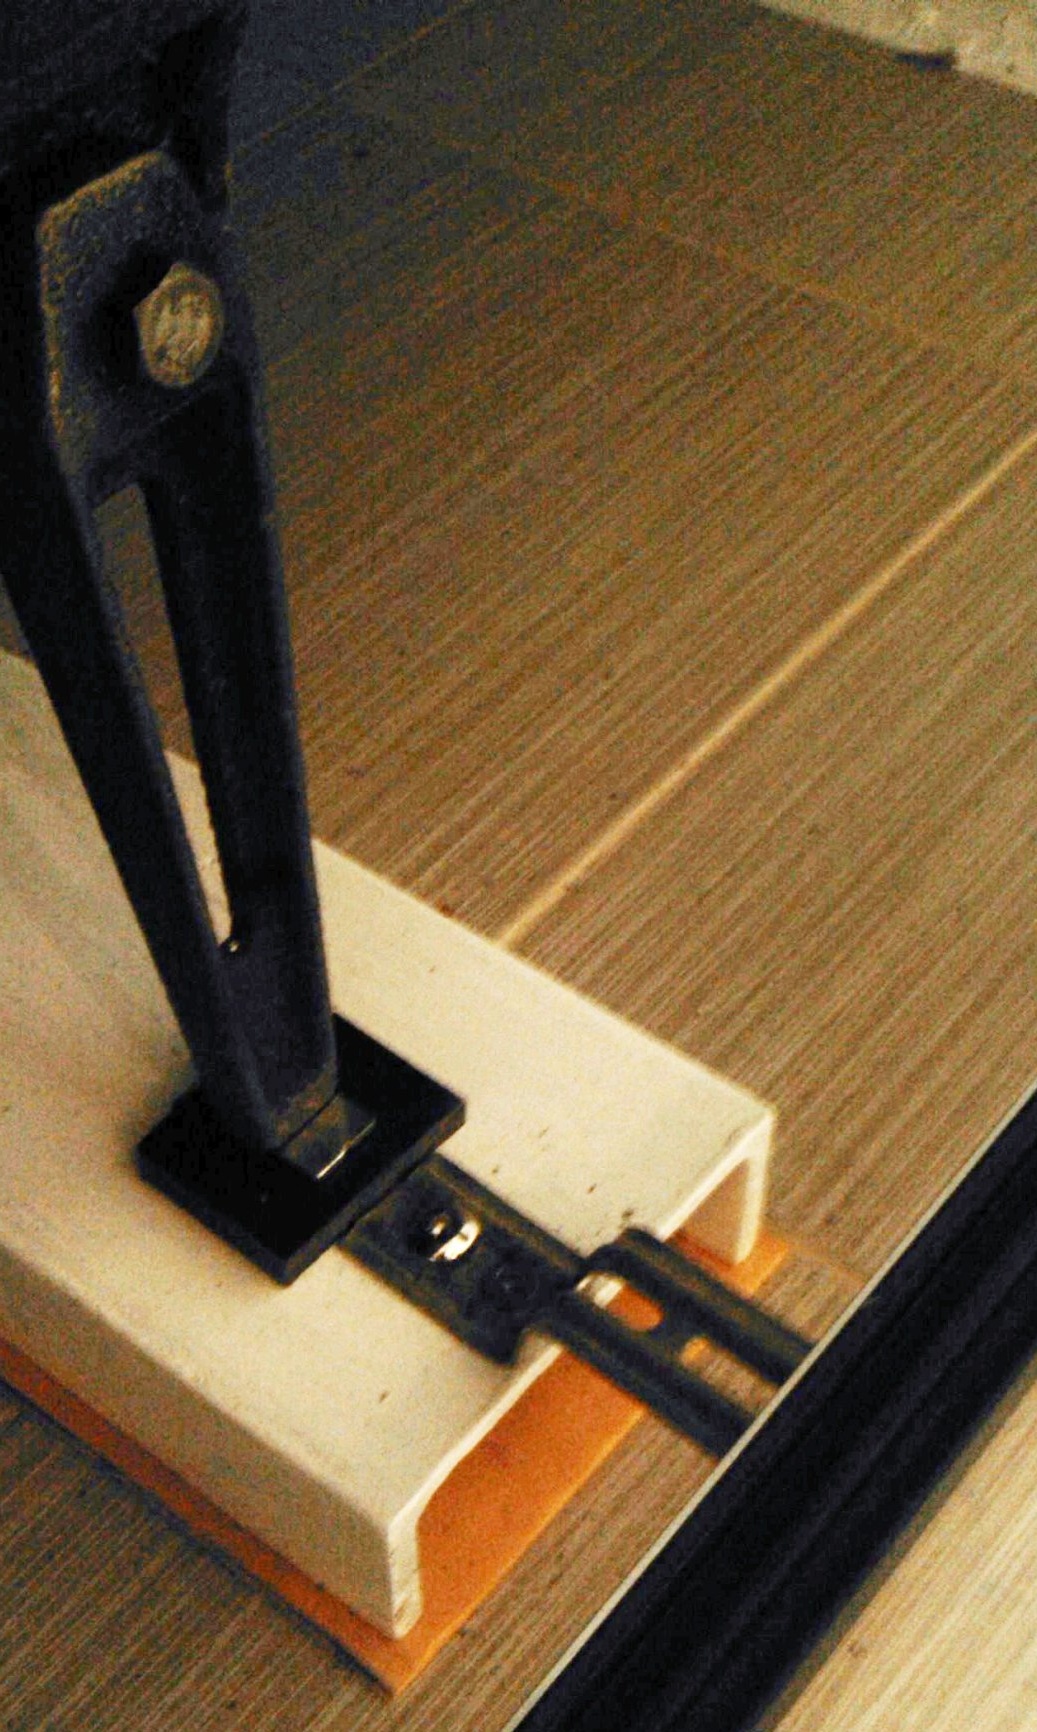
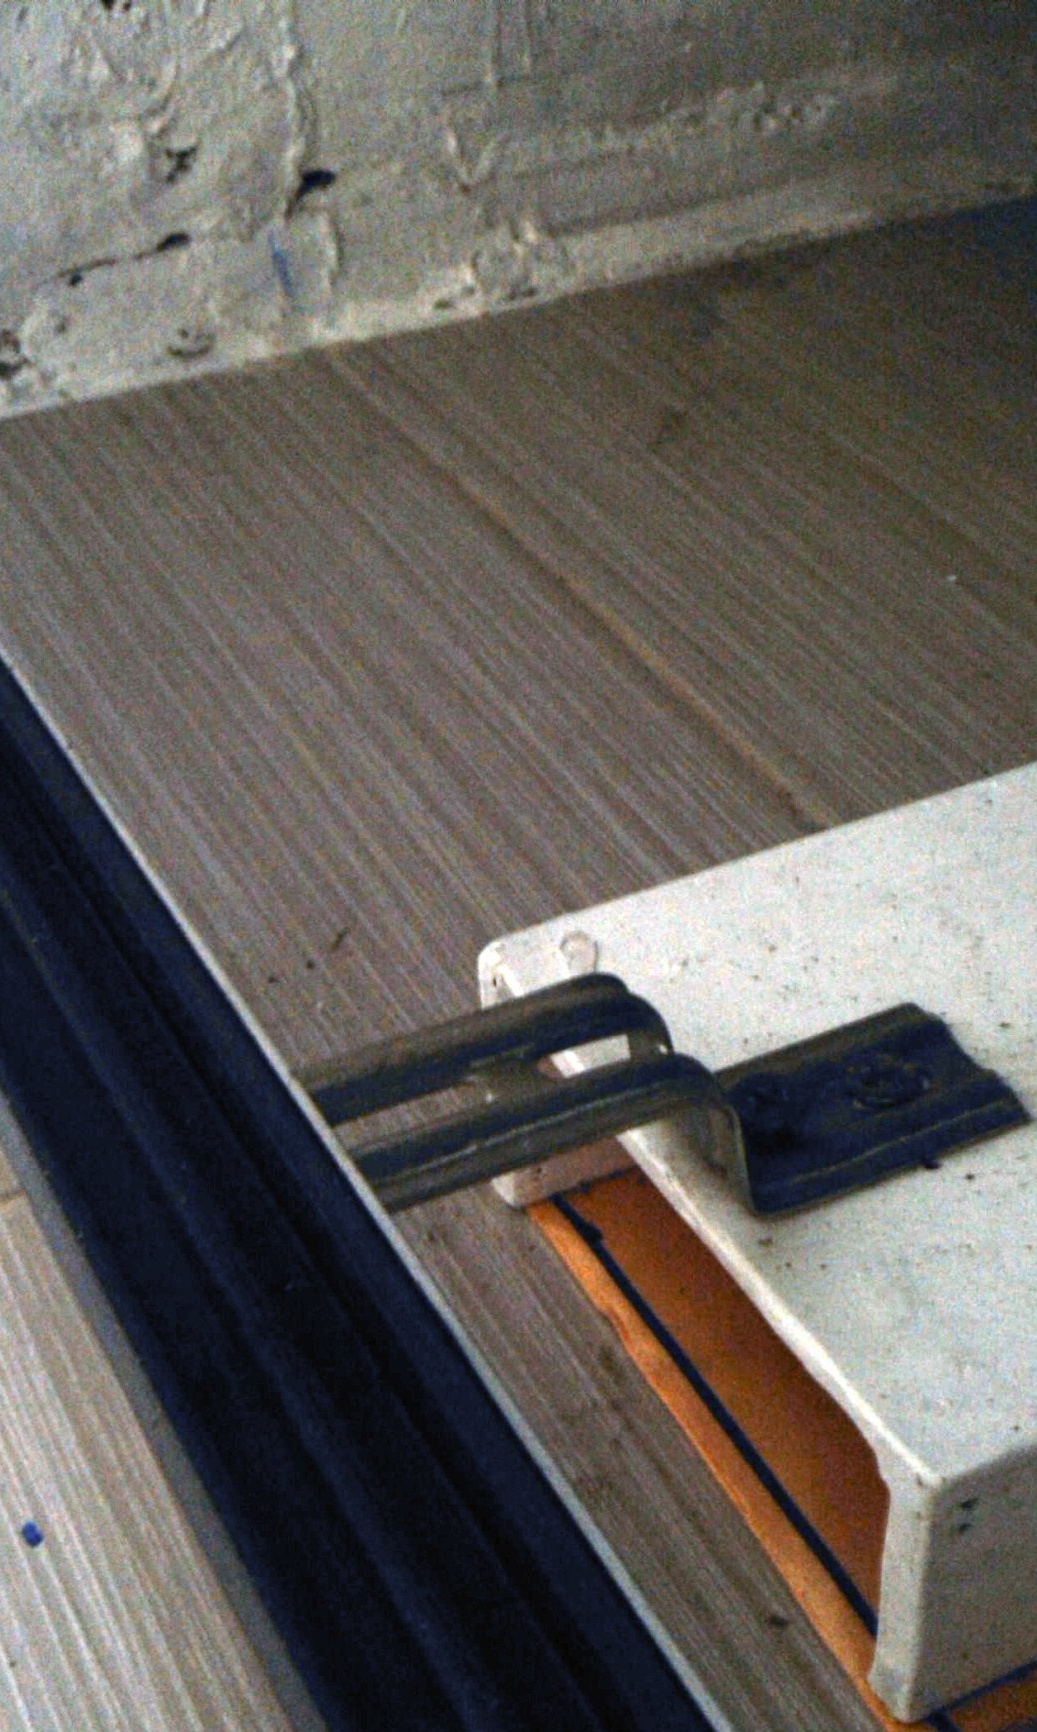
They mark the position of the supporting aluminum corner 20x20 mm. The corner is trimmed taking into account a bend of 30 mm, for fastening to the wall. For this, a lower horizontal shelf is cut out at the corner. The corner is attached to the wall from two sides, using dowels and screws. To the Z-shaped brackets, the corner is fastened with screws with a head in the pot.
And, the lower guide itself to the supporting corner is glued to liquid nails.
Next, we proceed to the manufacture of curtains. There will be four of them, each of two panels.
The length of these panels is calculated in such a way that there would be a place in the upper guide to raise the rod up and tilt in front before pulling out (dismantling). Like sliding bookcases in bookcases. Having a diagram, a section of a guide profile is not difficult to make this calculation.

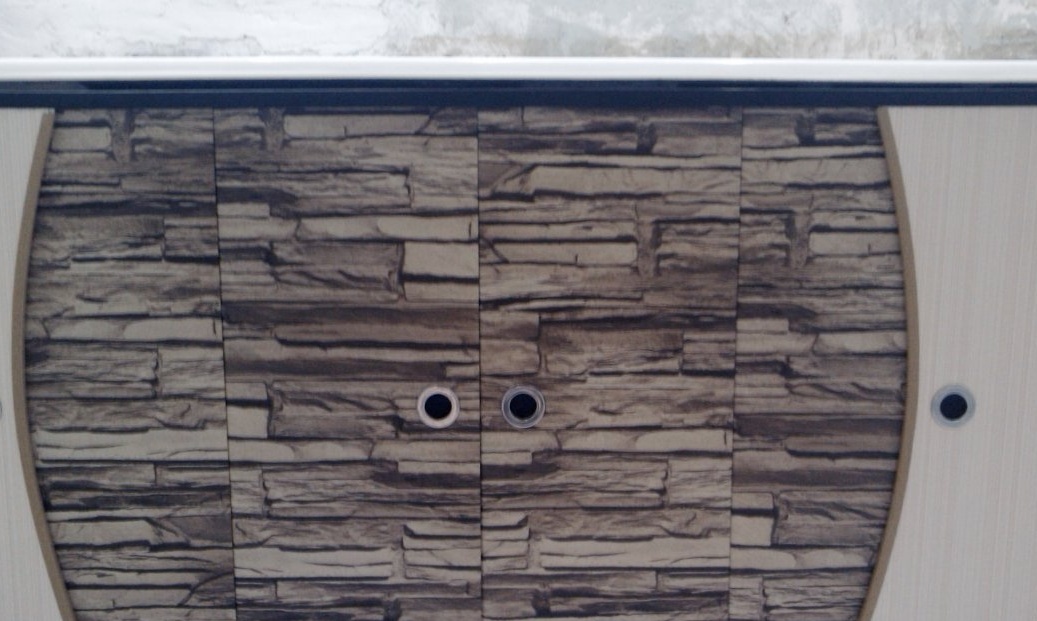
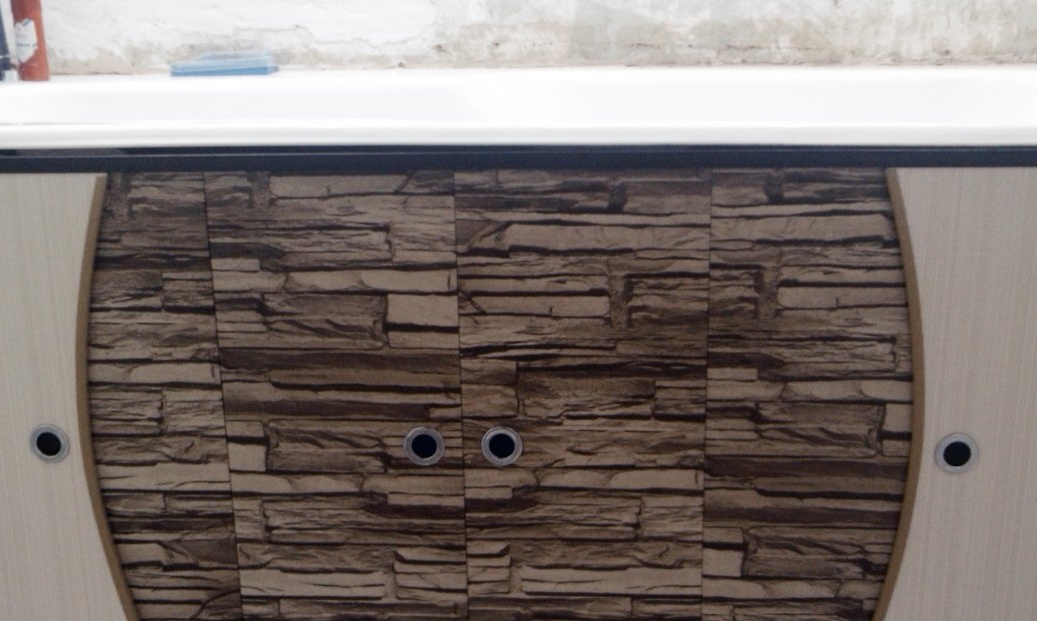
Having cut off the panels of the required length, we glue in pairs. I thought that combined curtains from different panels would look prettier. On external curtains, I even made a radius sampling. Having covered the end face of the sample with a stored profile, it is sold there along with the panels. Knobs set furniture for sliding furniture doors.
The result is such a design.
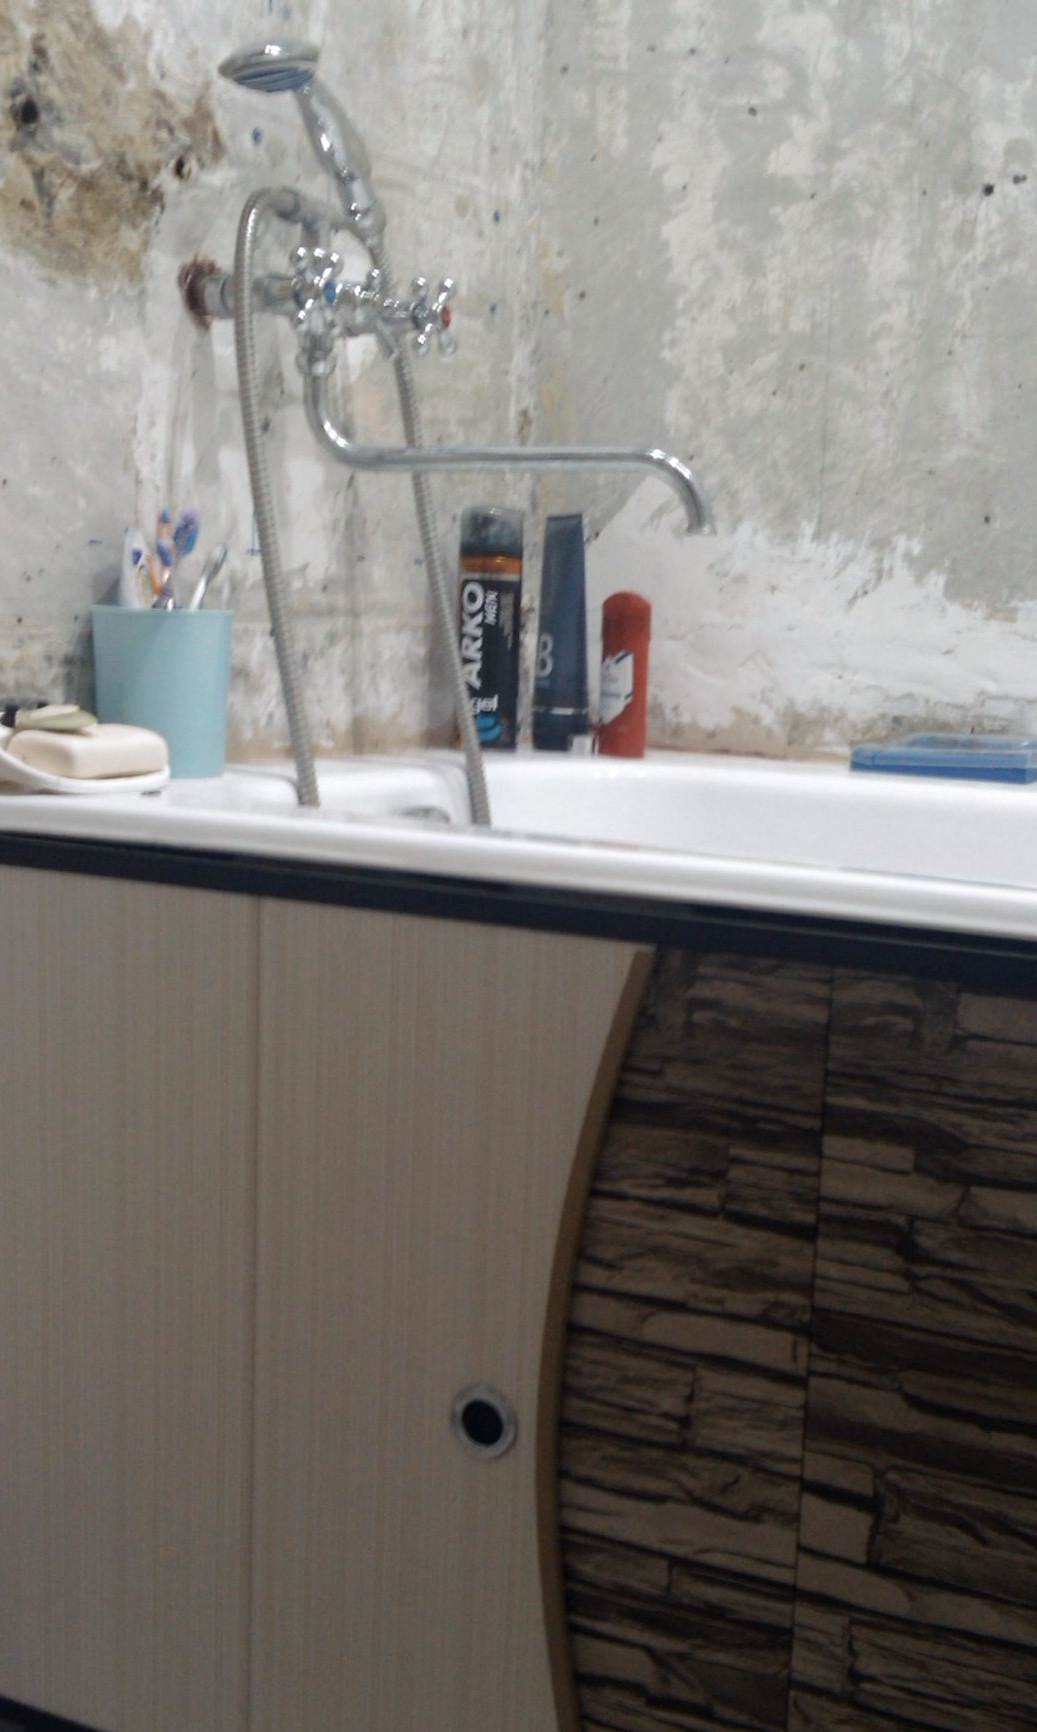
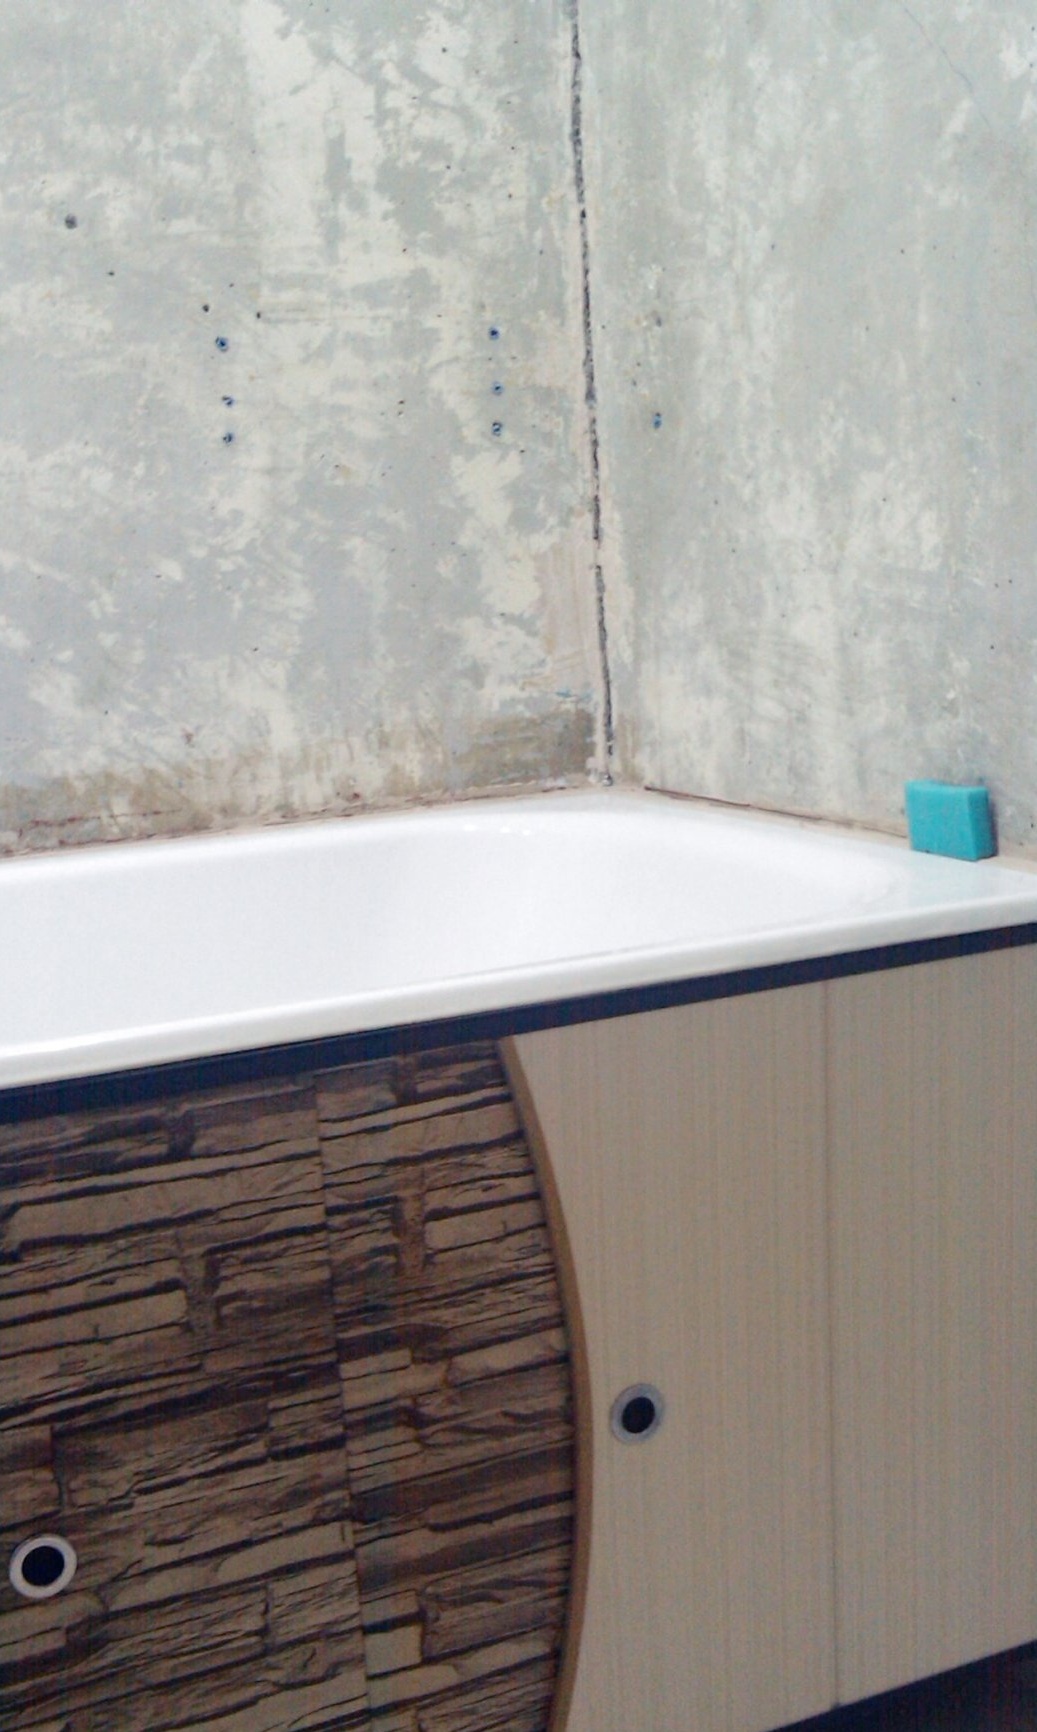
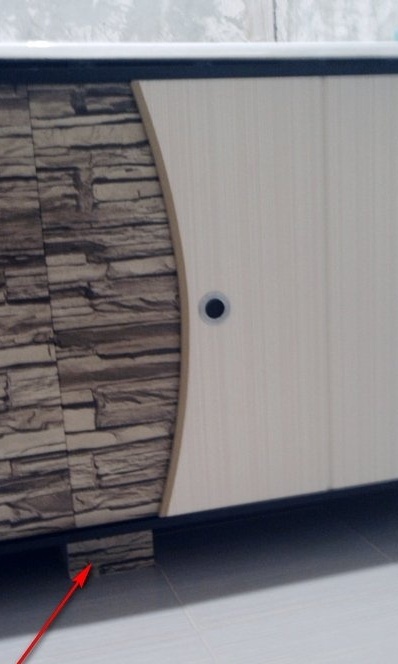
And the final touch. If you paid attention to the previous photo, the ends of the channel stands are visible from under the curtains. They spoil the overall look. I solved this question simply. I cut two pieces of panels of the right size and planted them on liquid nails. They have been standing for many years. The good thing is these liquid nails.
So I managed to solve the issue of using the space under the bathroom. Basins and buckets are mainly stored under it. Most importantly, the wife is happy.
Well, that’s all I wanted to talk about.
See, criticize, advise, ask.
Regards, Starp.