
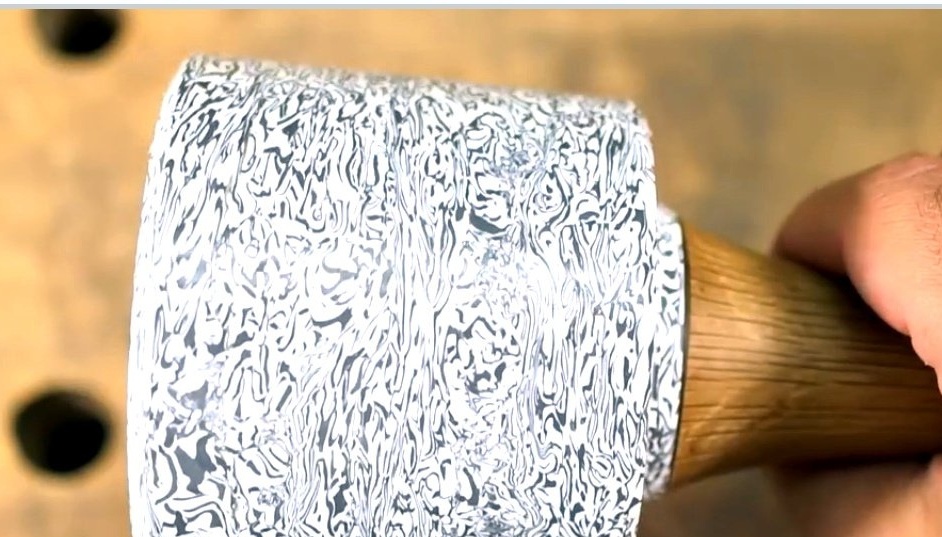
In this article, the author of the YouTube channel Woodworking Barcelona will tell you how to make a mallet with a plastic head with an interesting structure. It will also offer the simplest plastic molding technology.
Materials
- Wooden block or block
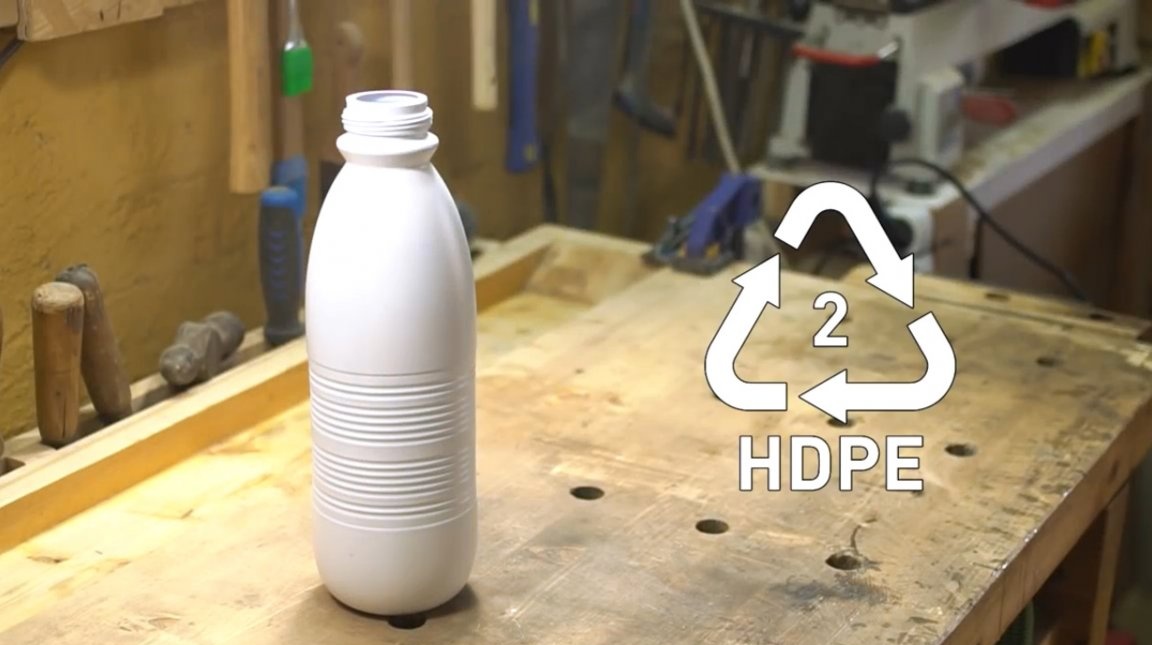
- Bottle made of HDPE plastic
- Two-component epoxy resin
- Wax
- OSB trim
- Tin can
- Sandpaper.
Instruments, used by the author.
- Technical hair dryer
- Band-saw
- Forstner drills
- Drilling machine
- Lathe
- Belt sander
- glue gun
- clamps
- Metal scissors, pliers
- Knife, scissors
- Chisels.
Manufacturing process.
So, the author took several bottles of three-layer HDPE plastic. Usually milk is sold in such bottles.
HDPE is low density high density polyethylene. In the Russian classification - HDPE plastic. This is a very good plastic, which practically does not emit any harmful substances. The melting point is in the range from 125 to 138 degrees.
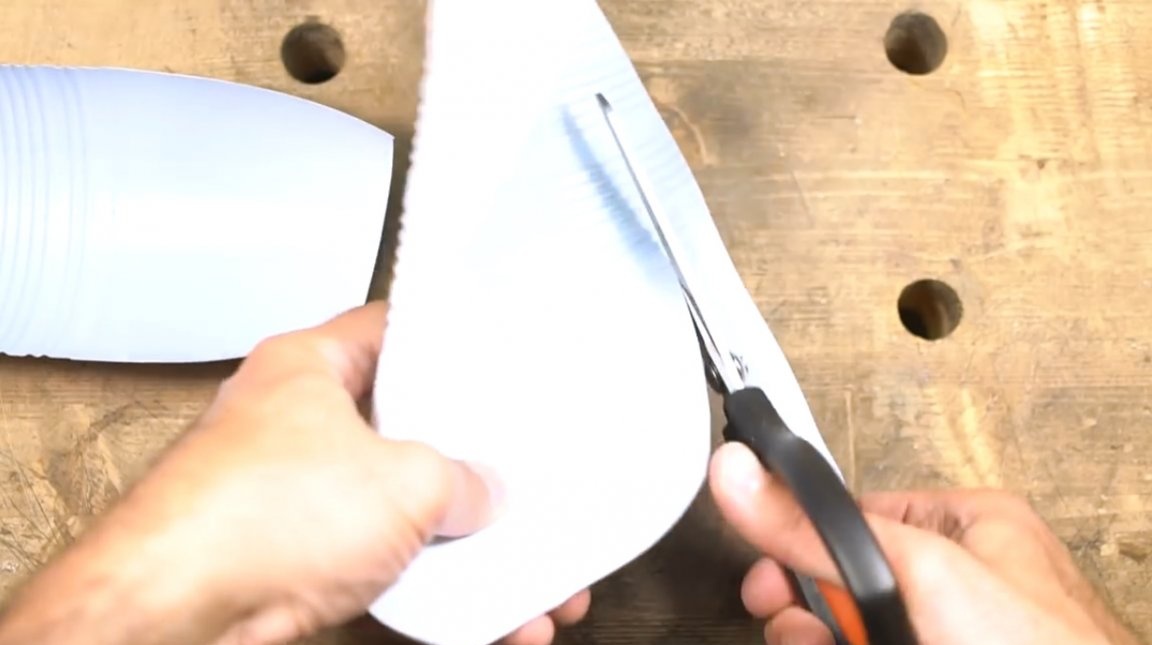
First of all, I washed plastic bottles. Then he removed the bottom and neck, leaving only the side walls, at this stage it is advisable to degrease them.
And already from them I cut strips about 20-30 mm wide.
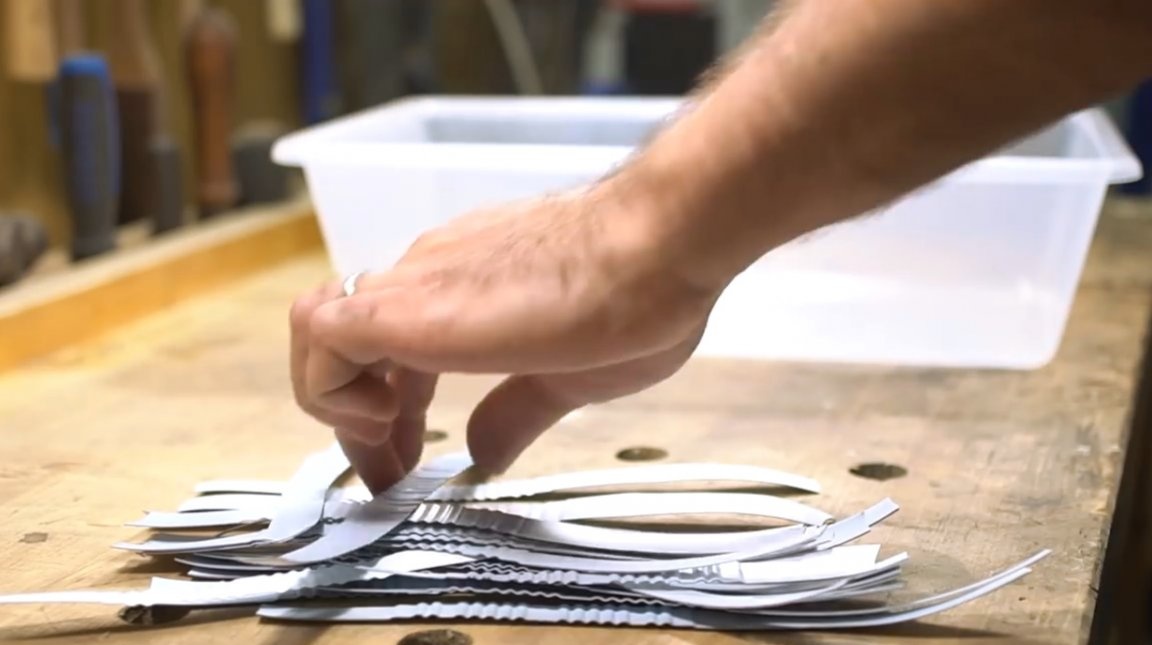
The resulting strips are cut into even smaller ones.

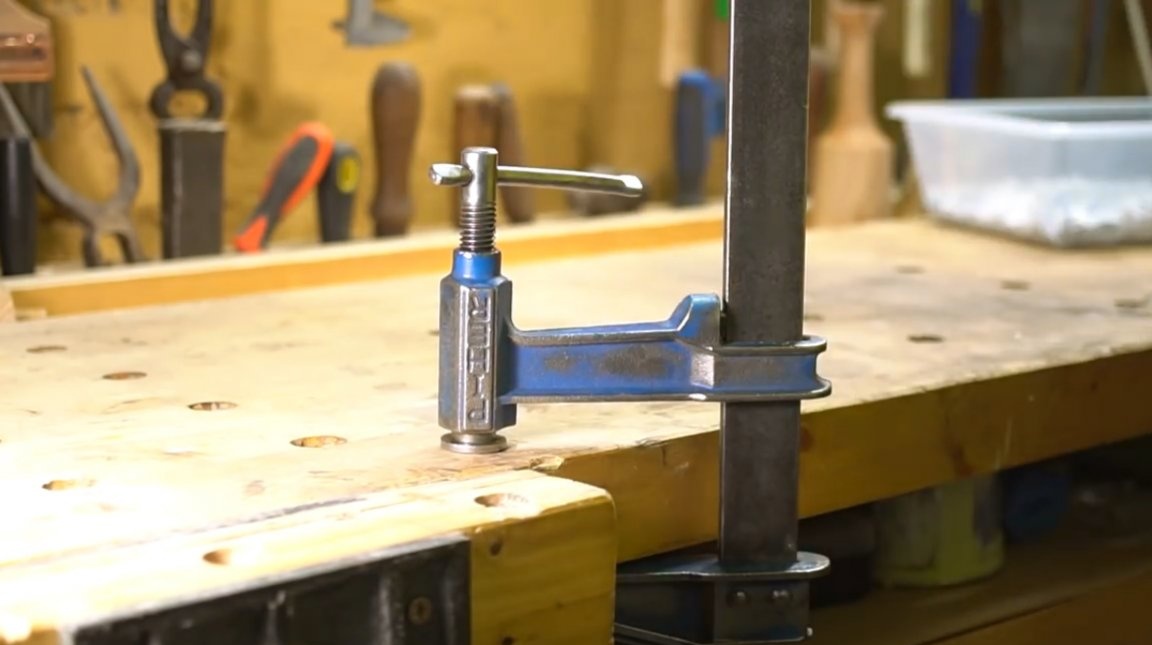
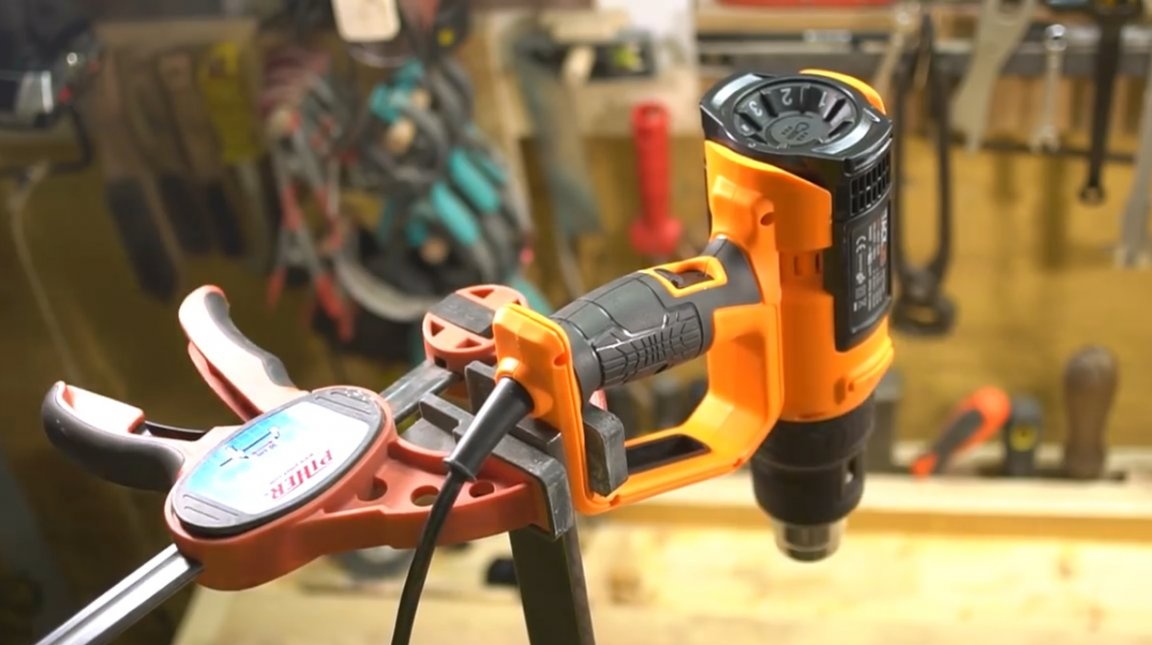
Then, using two clamps, he installs a technical hair dryer on a workbench.
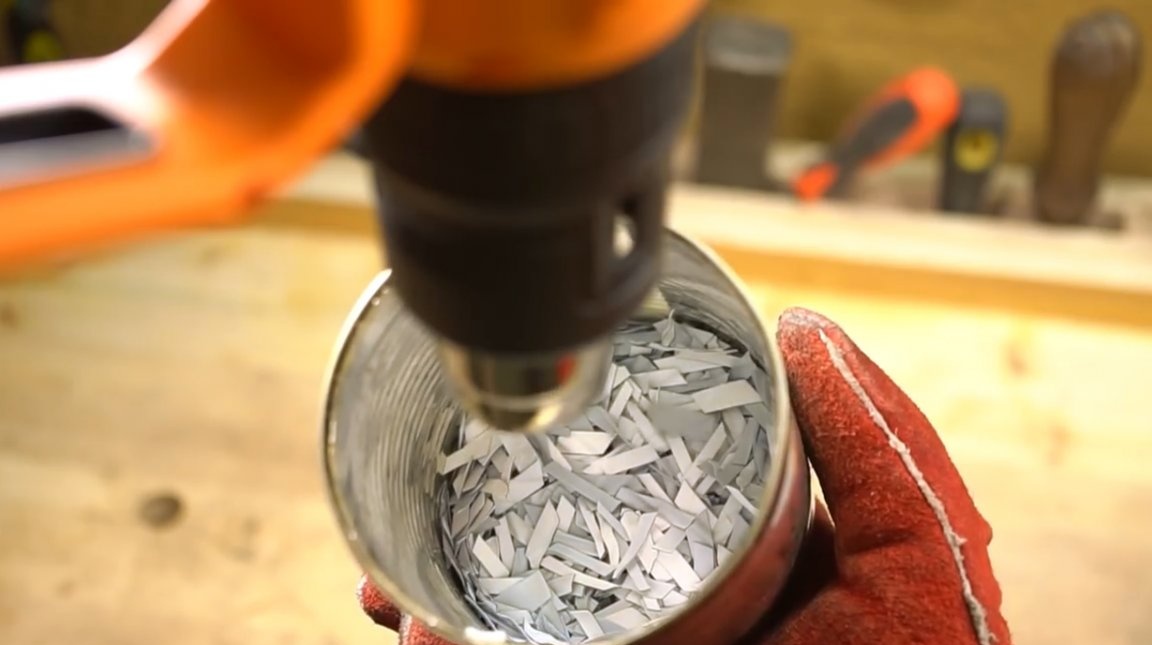
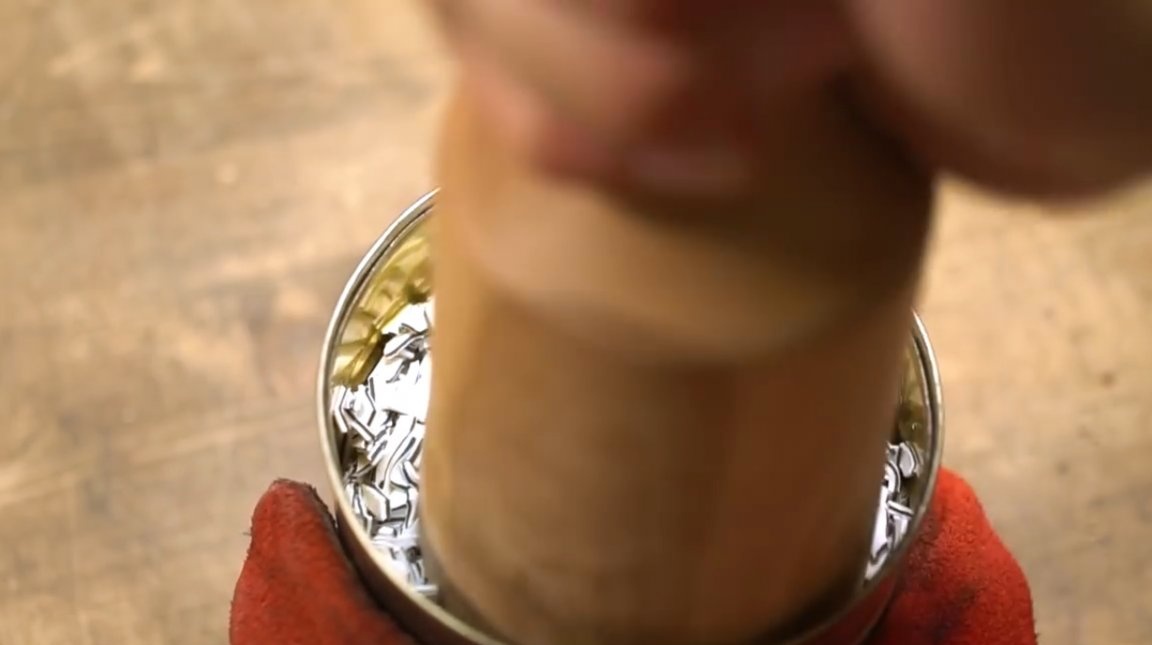
Now sets the hair dryer temperature to about 200 degrees. And begins to melt the chopped plastic in the can. Moreover, first the layer of “shavings” is poured about 1-1.5 cm. After the layer is melted, it is rammed with a mallet and the next layer is poured. So the master repeats until the jar is almost completely filled.
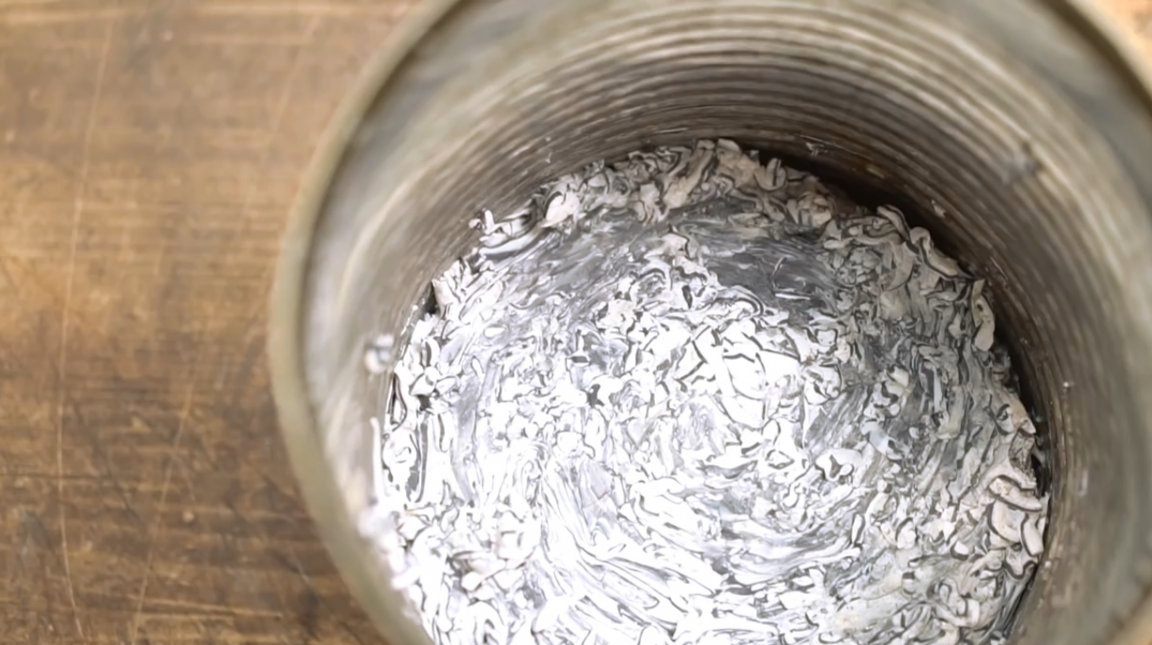
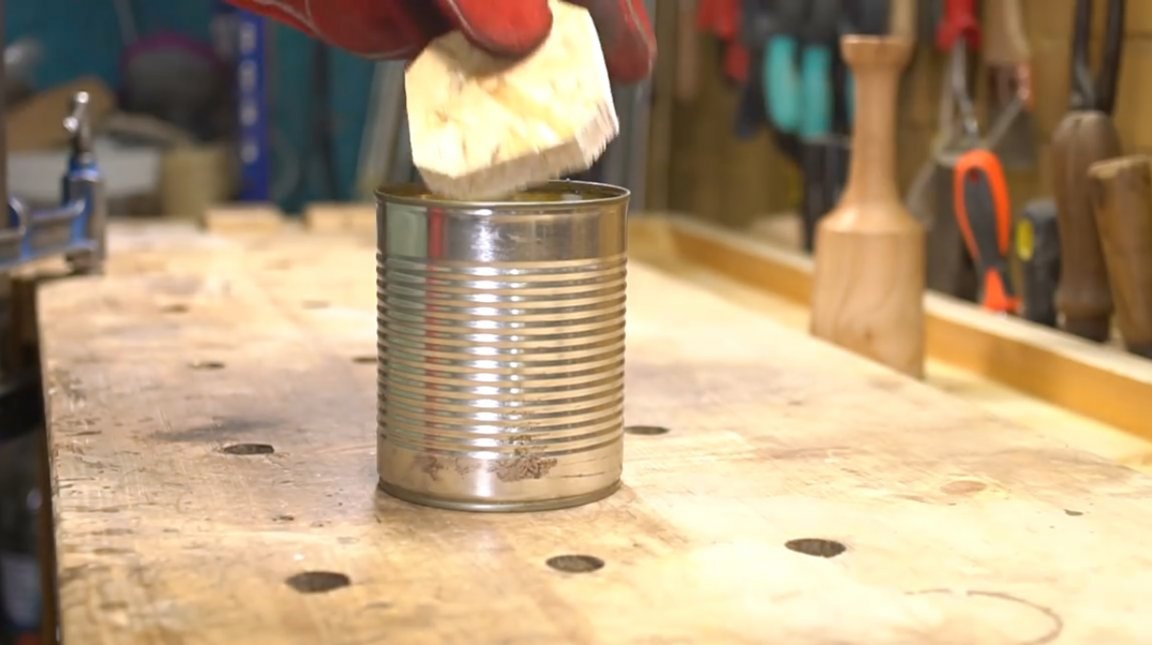
All plastic is heated and melted. The master puts on top such a scrap of OSB. He also puts a plank under the bottom of the can, and tightens the clamp so that the plastic protrudes through the slots.
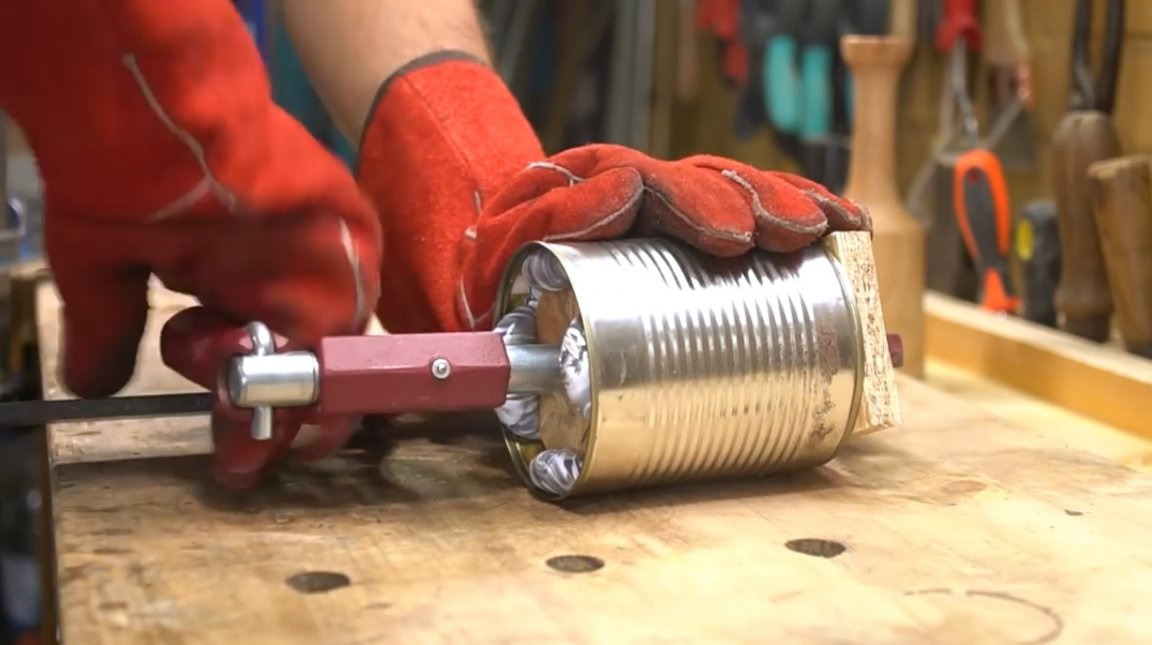
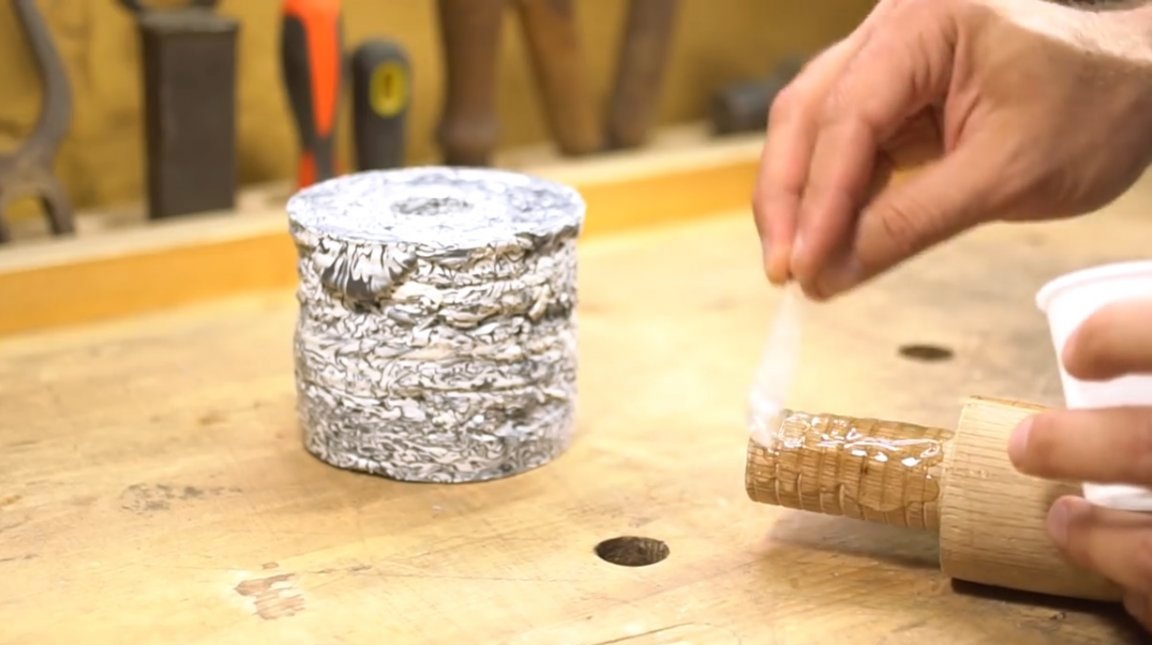
After the plastic cools down, the author just needs to remove the tin can, and get the workpiece.
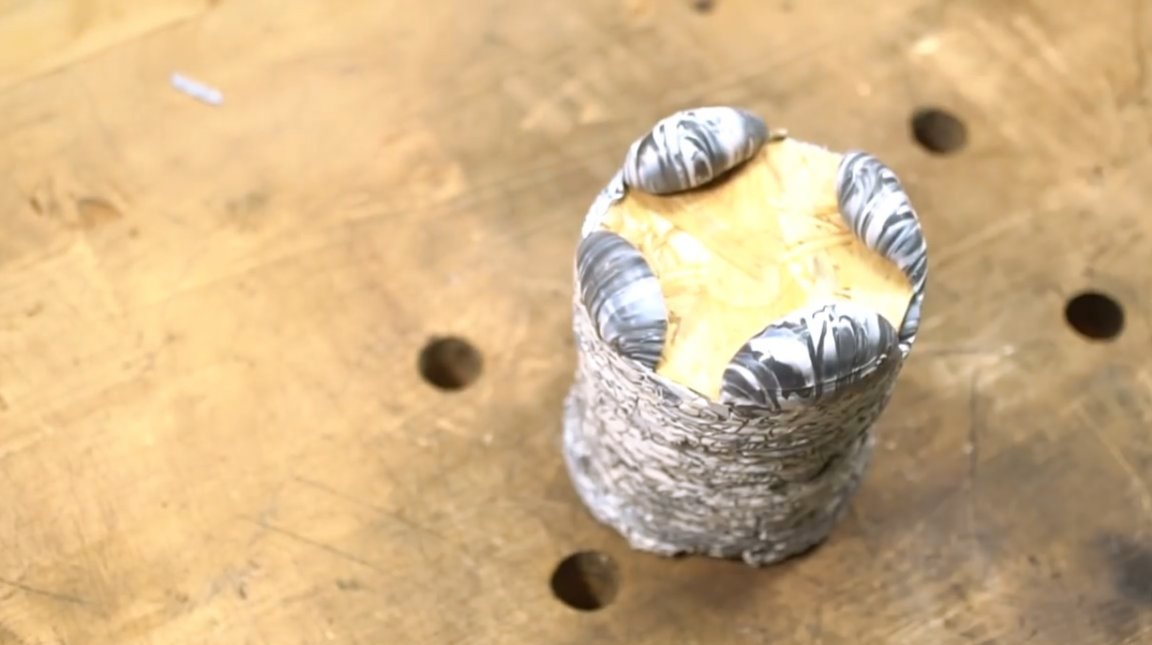
It cuts out the pieces of plastic that have come out, but saves them for subsequent homemade products.
It removes the clamp from the workpiece with a chisel, also cuts off excess plastic elements. The master needs only the cylindrical part.
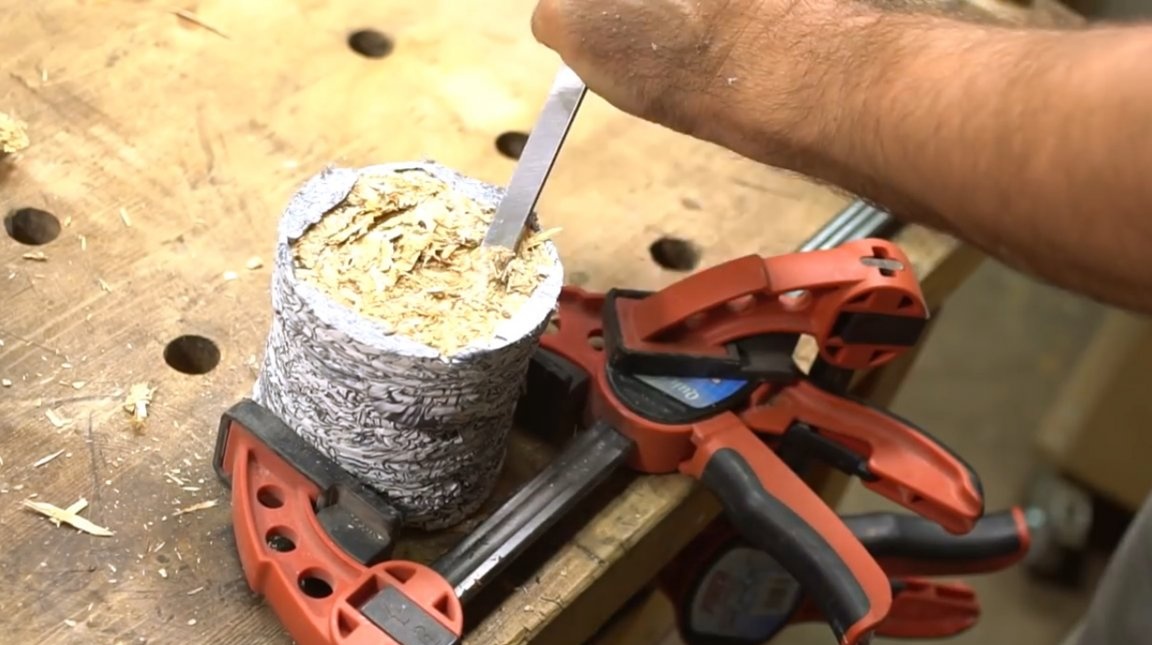
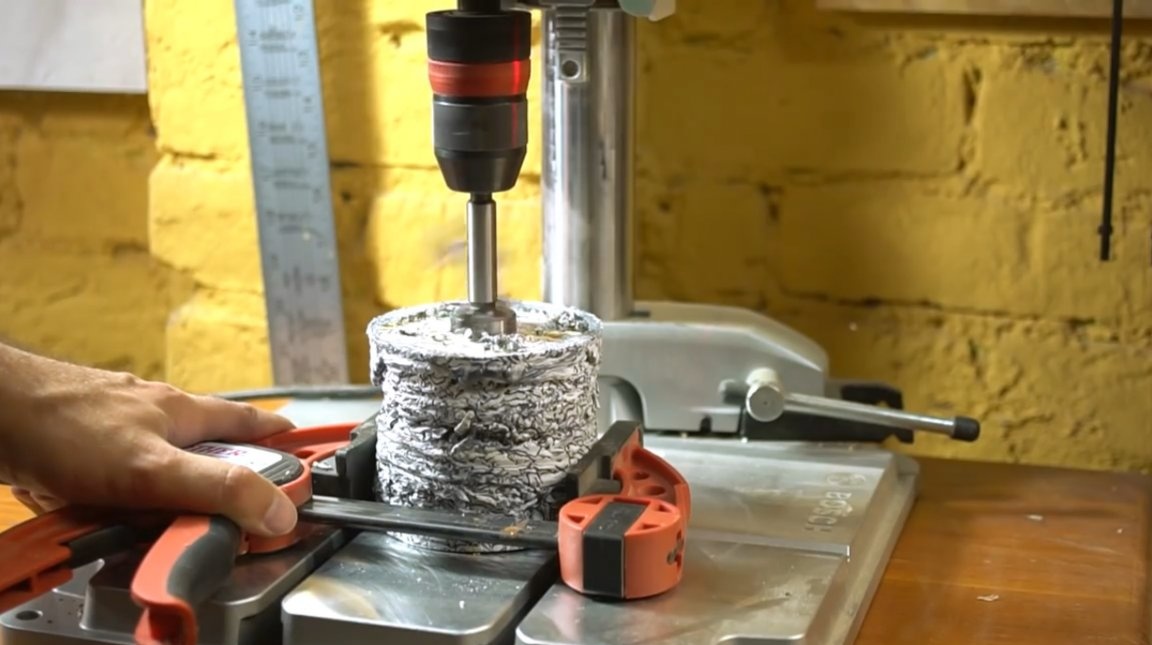
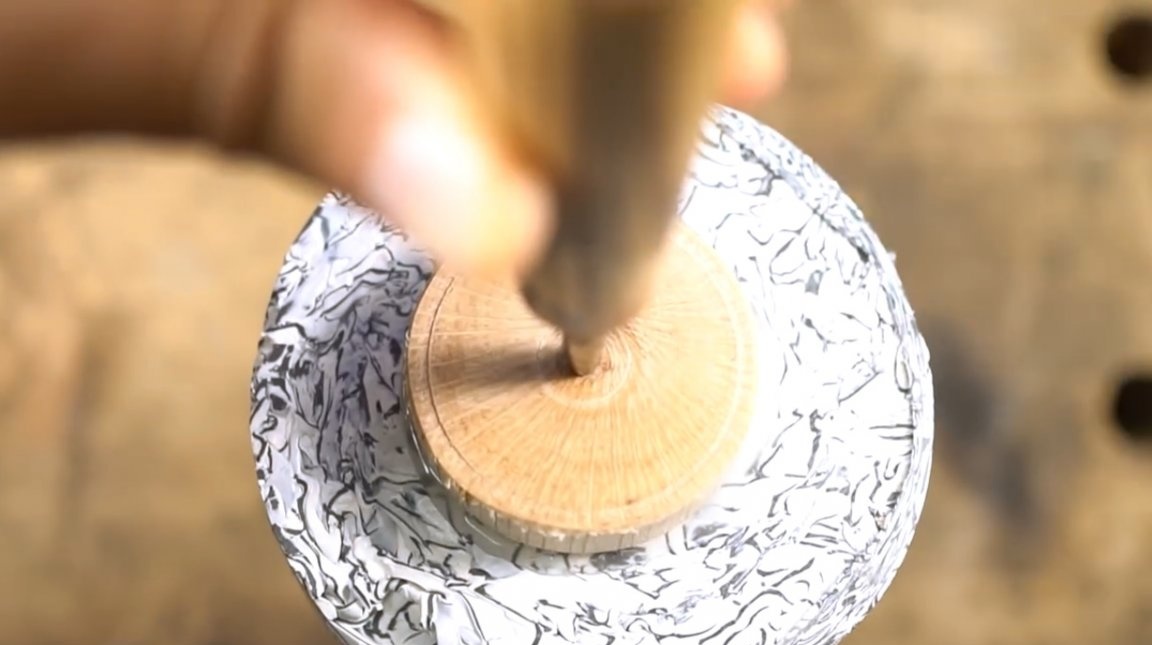
Using a Forstner drill, he drills a 28 mm diameter hole in the center of the head end.

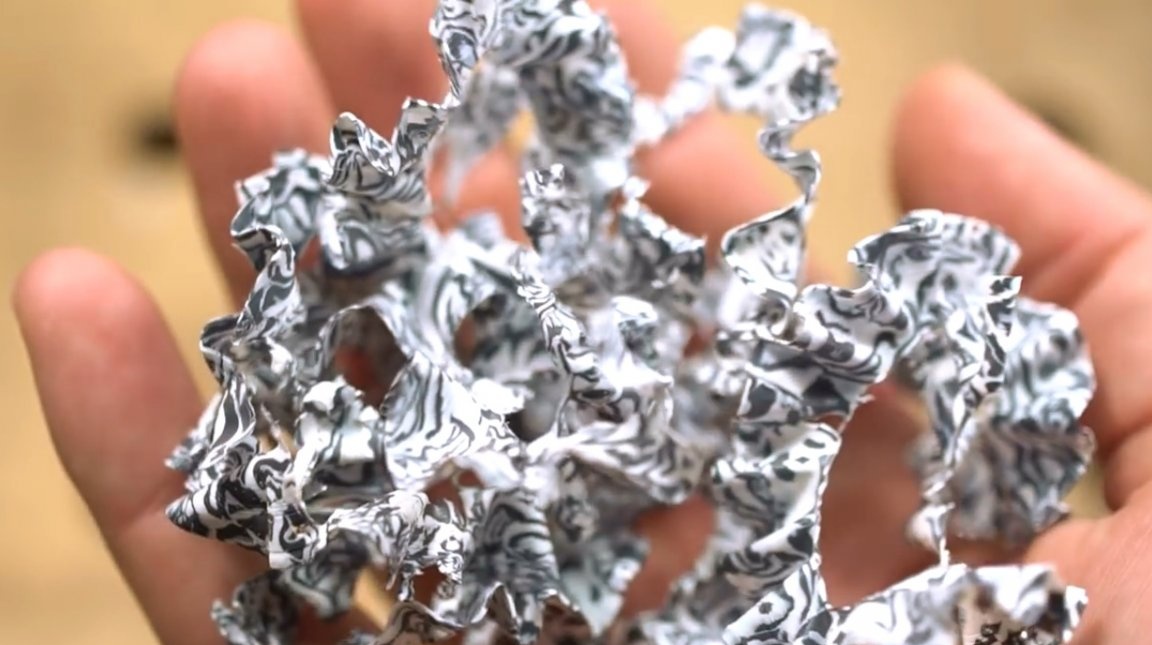
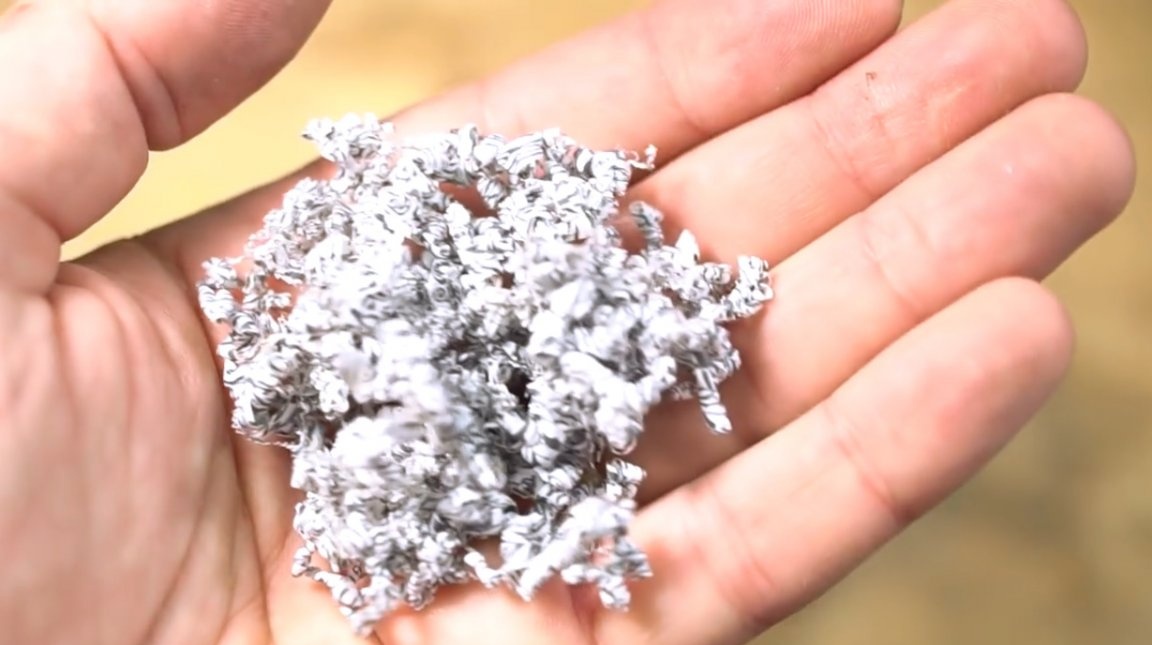
These are the sawdust obtained. The author also saves them.
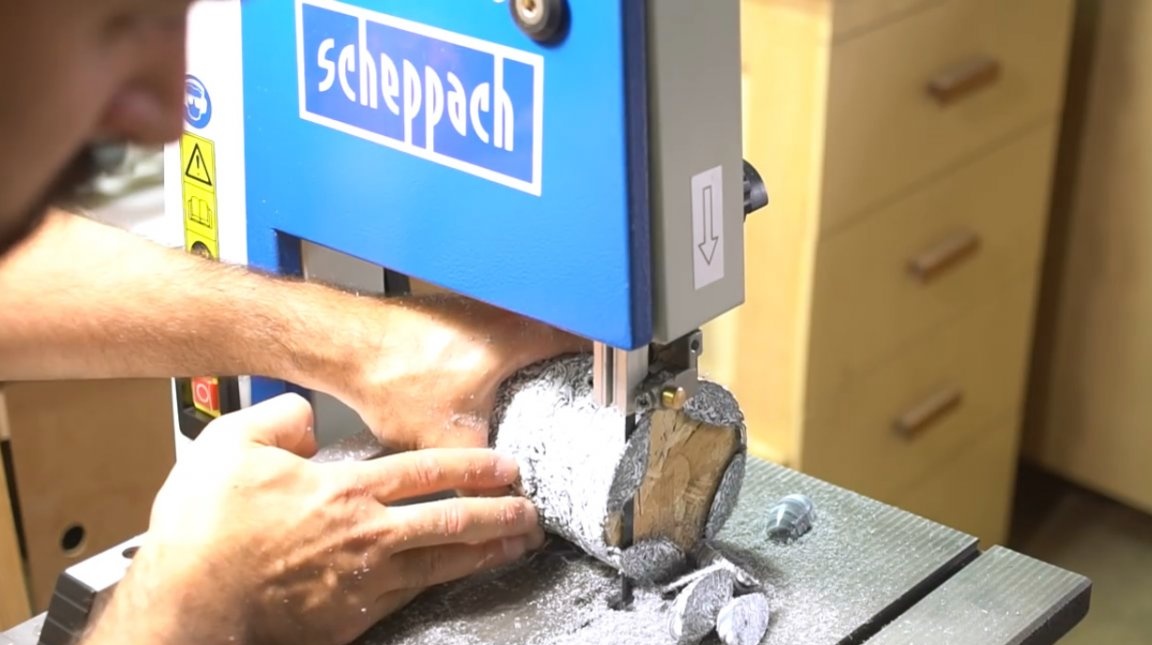
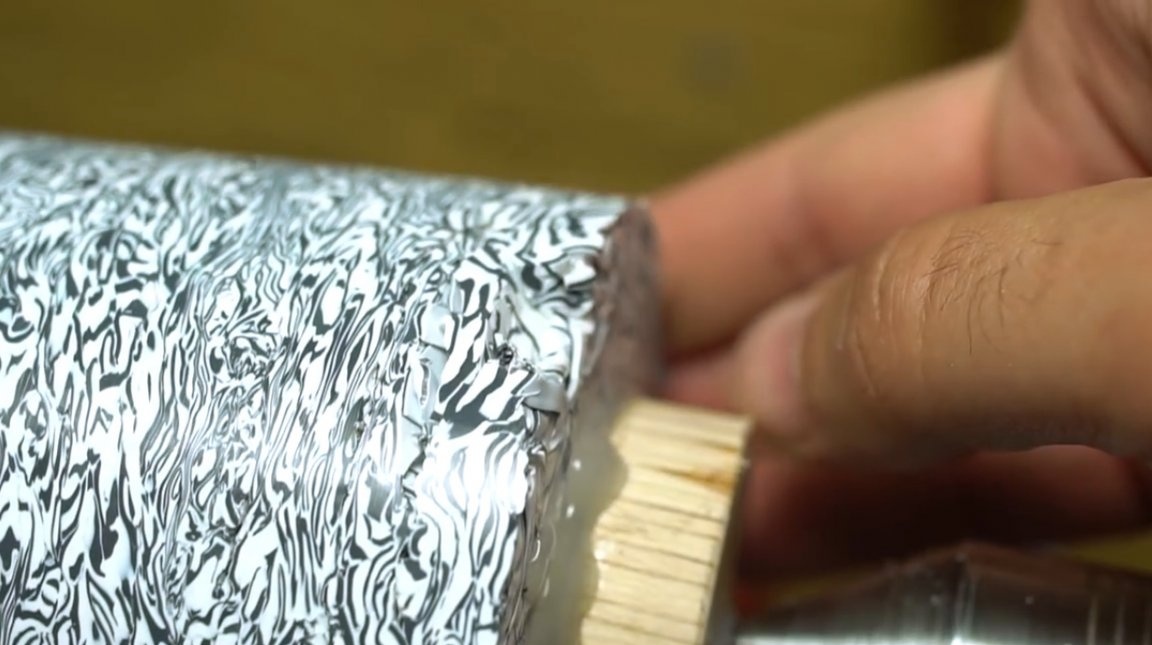
Then roughly grinds the workpiece, removing the external defective layer.
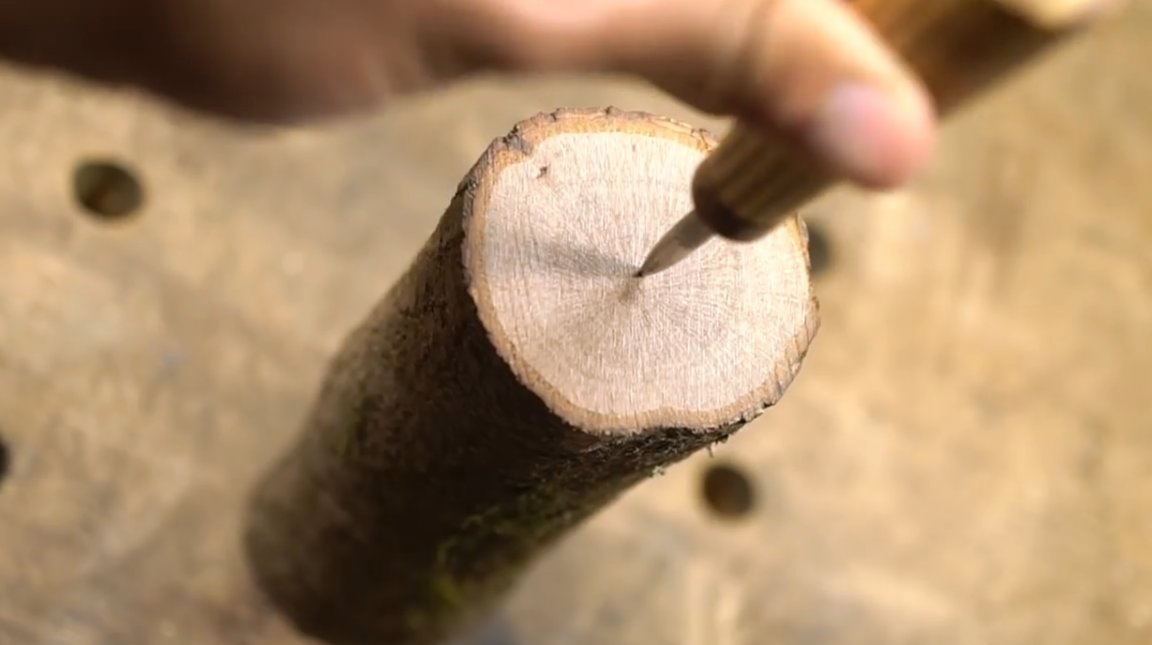
Now proceeds to manufacture the handle. Trims the edges of the block, and marks the centers.
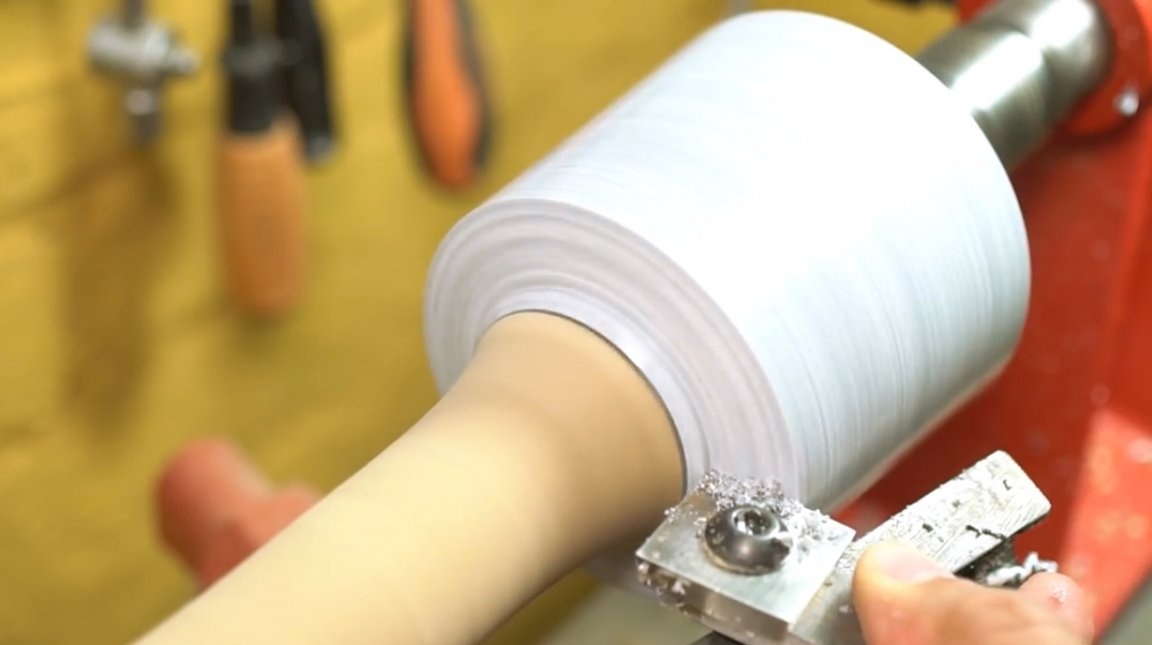
On a lathe, removes a layer of bark, and grinds the upper part of the handle along the diameter of the hole in the head (28 mm).
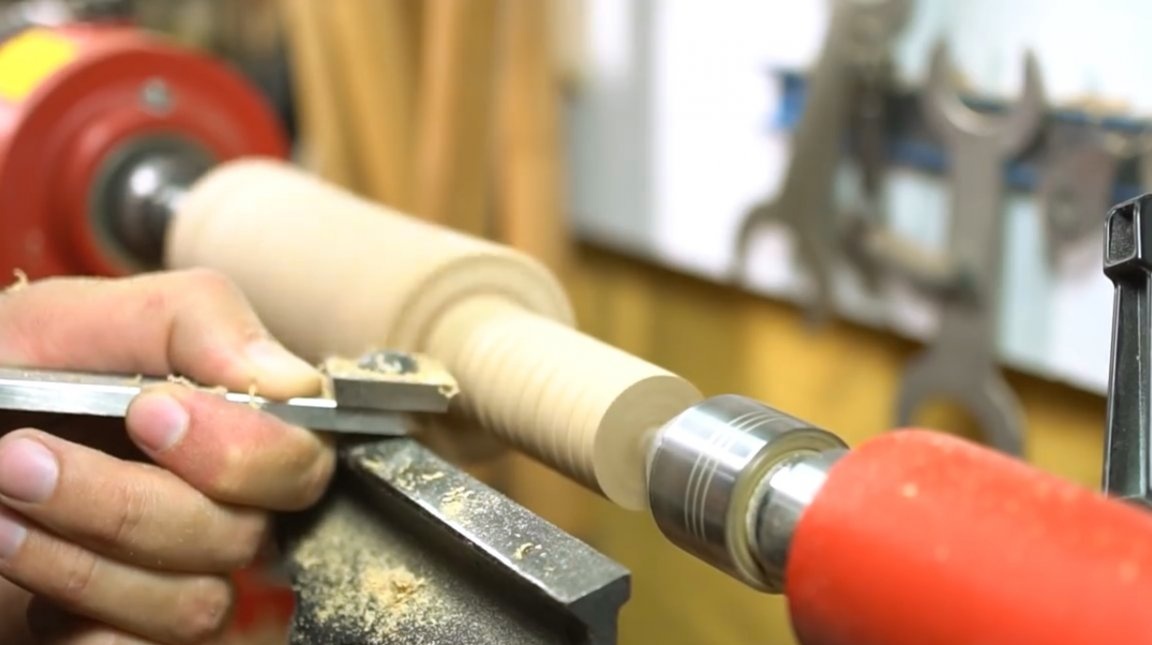
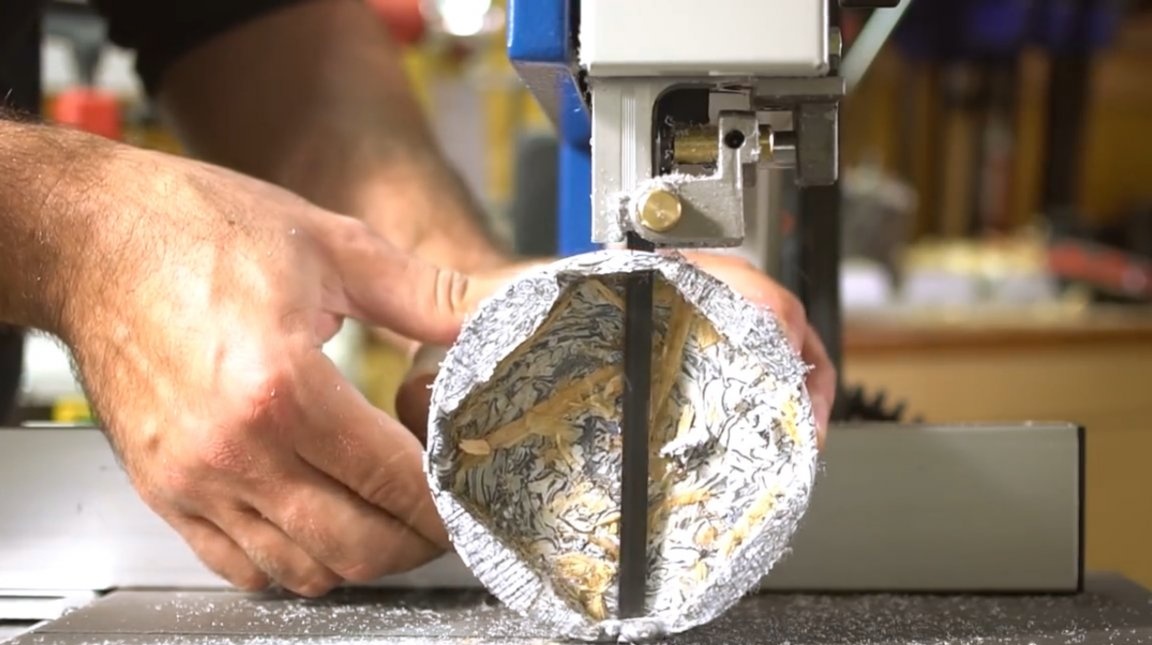
Mixes a two-component epoxy resin, lubricates the handle to it, installs it in the head. Fixes with a clamp until the resin solidifies.

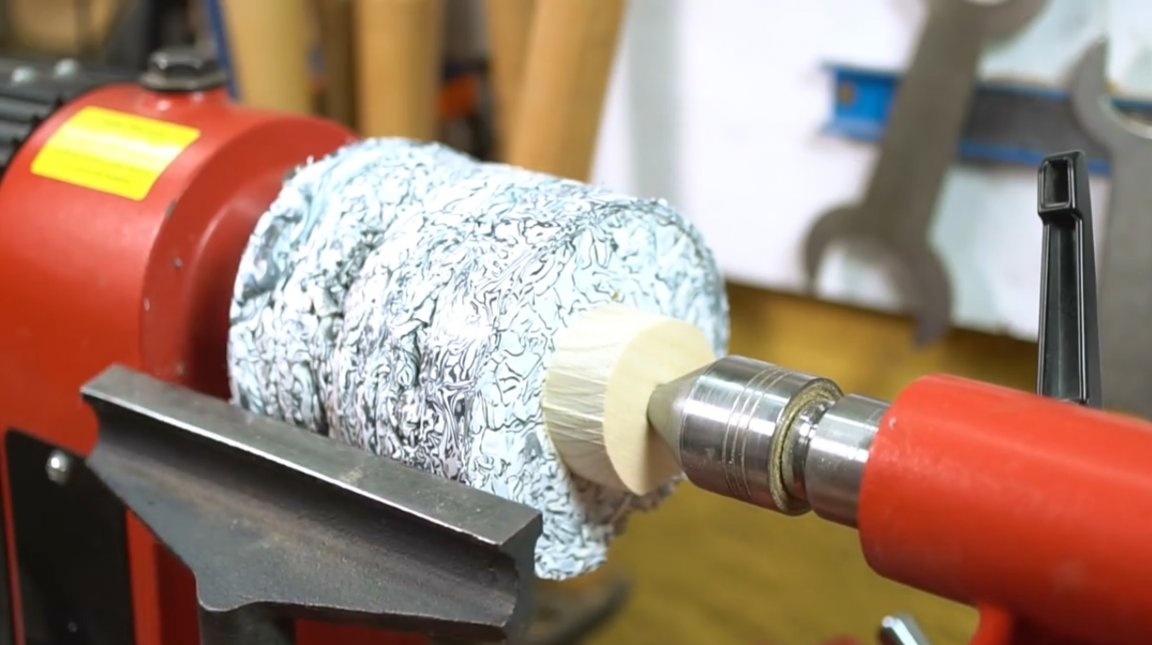
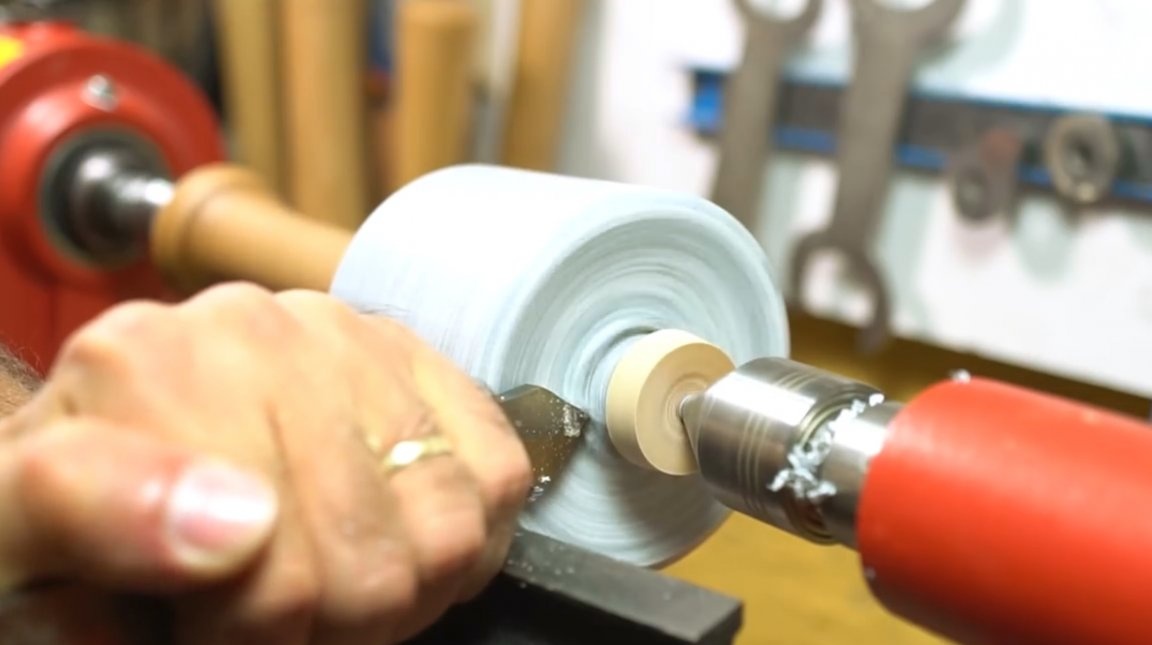
A round glue sticks to the hot glue to the top of the head. It marks the center on it, and the workpiece is ready for installation in a lathe.
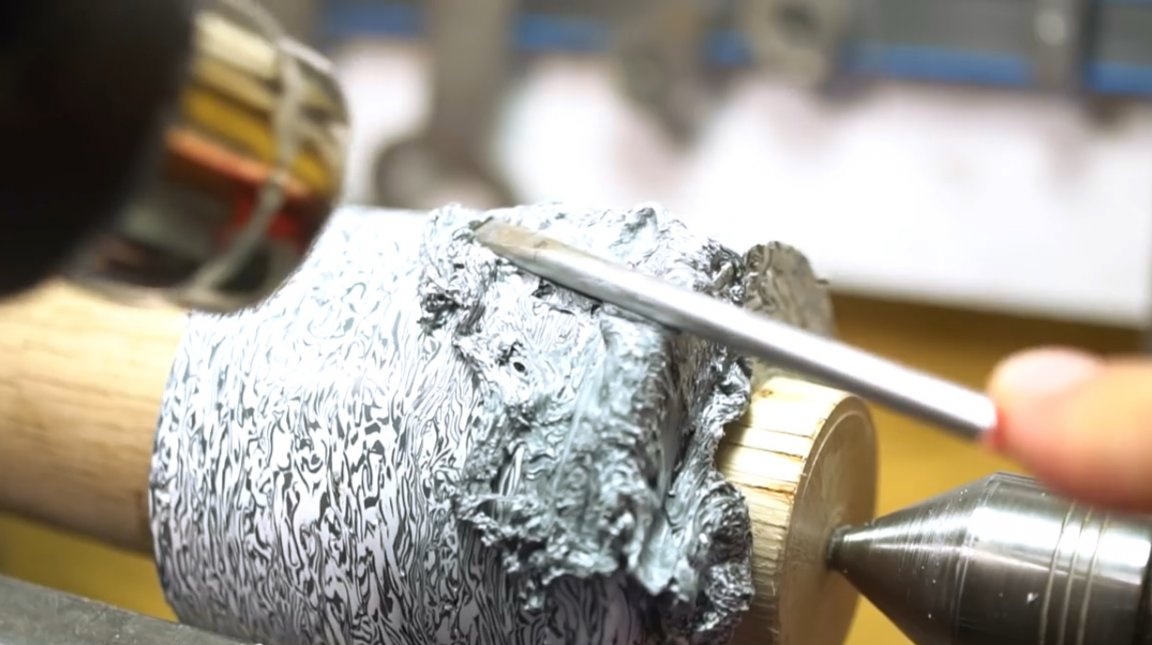
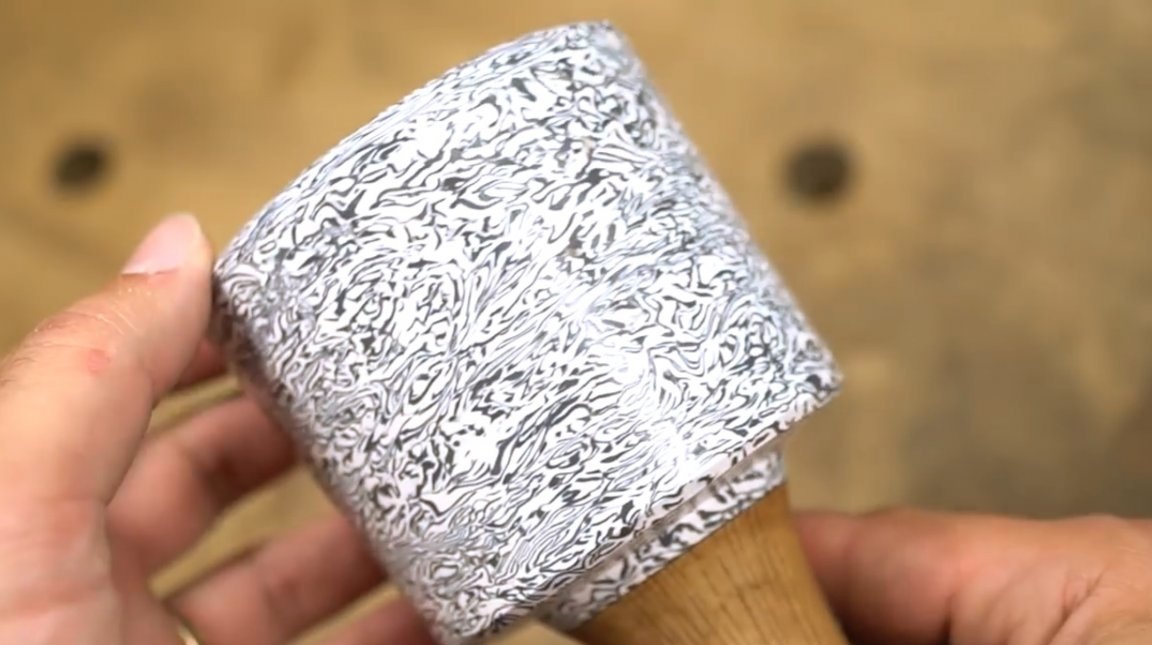
First of all, the author aligns the entire surface of the head.

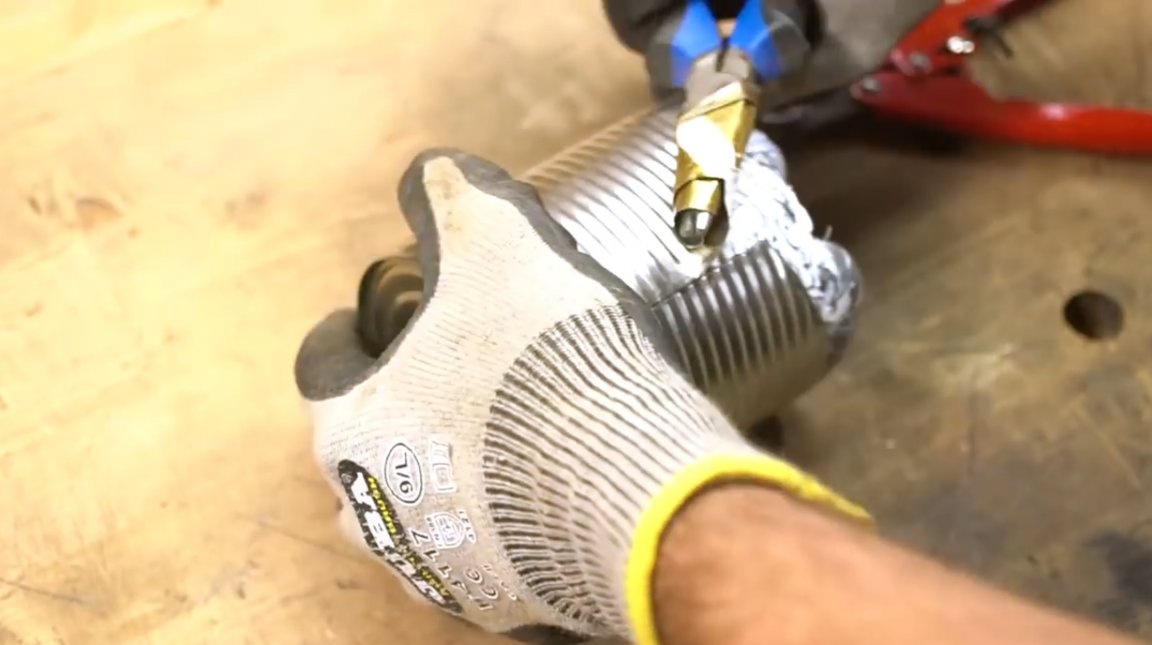
It revealed a small defect that arose at the melting stage. But it is easy to eliminate, chips are useful here. The author simply melts it again, and puts it in place of the defect, also preheating it.
Reprocessing on the machine, and the defect is gone.
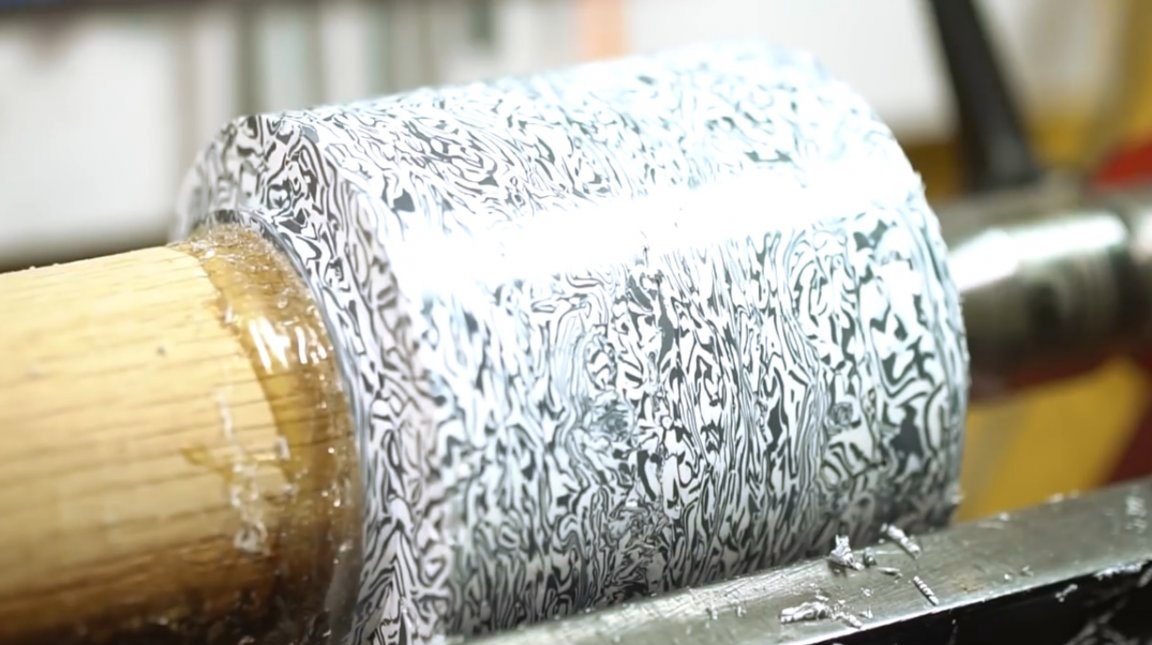
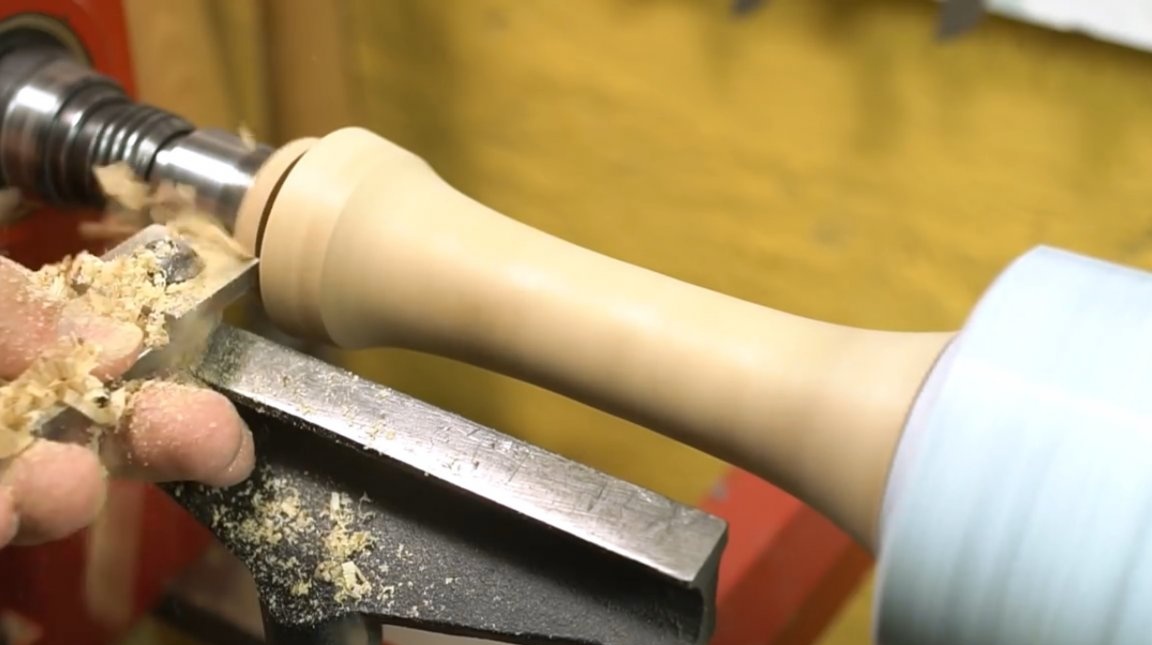
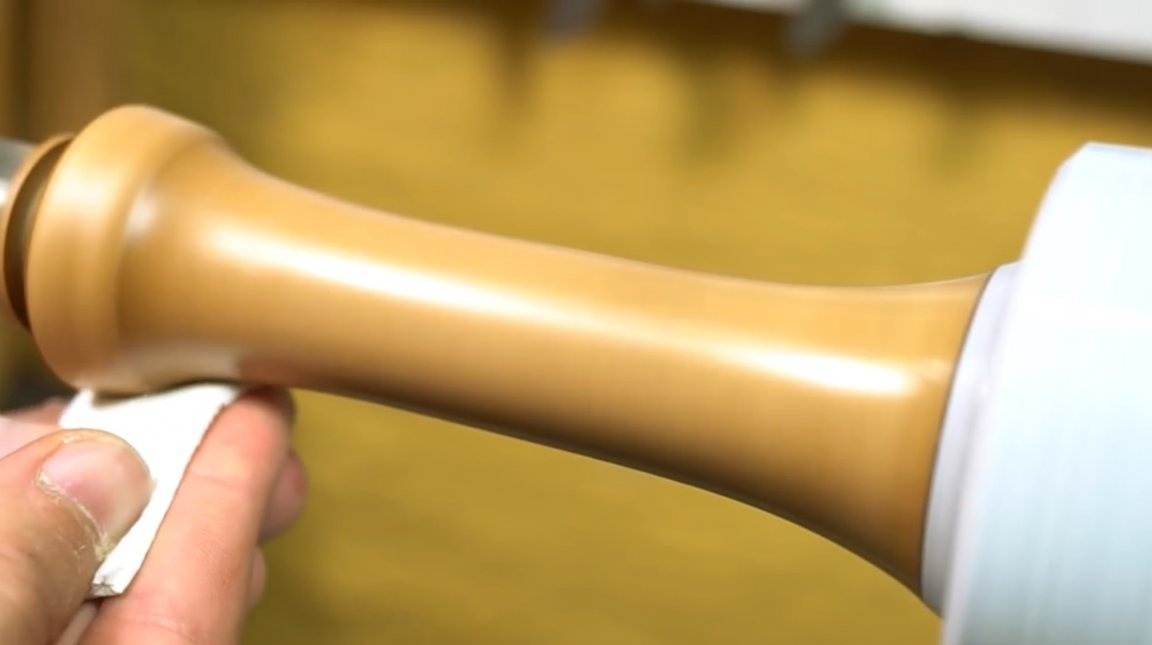
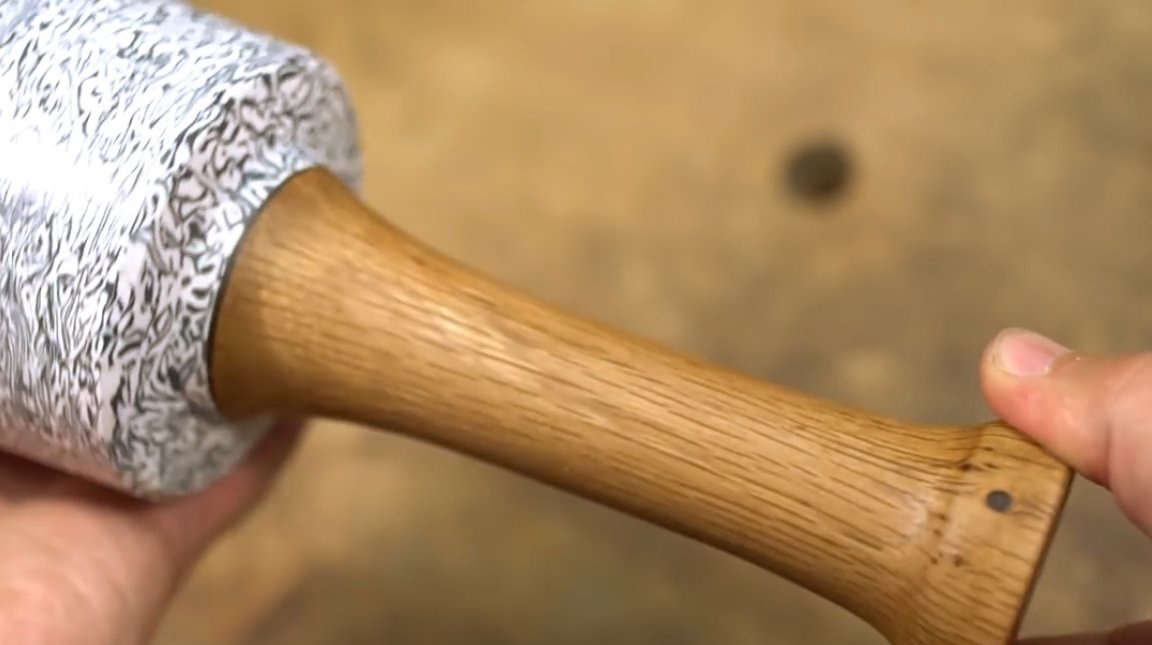
Now the author can grind the handle.
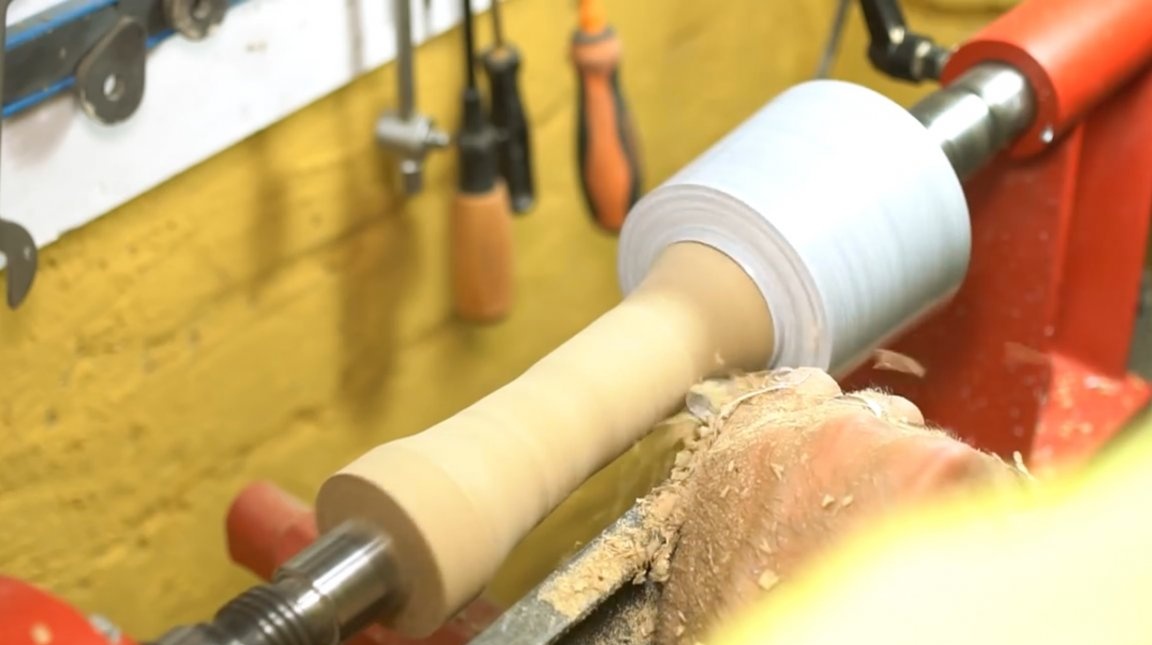
Also grinds the bottom of the head.
Trim the bottom of the handle.
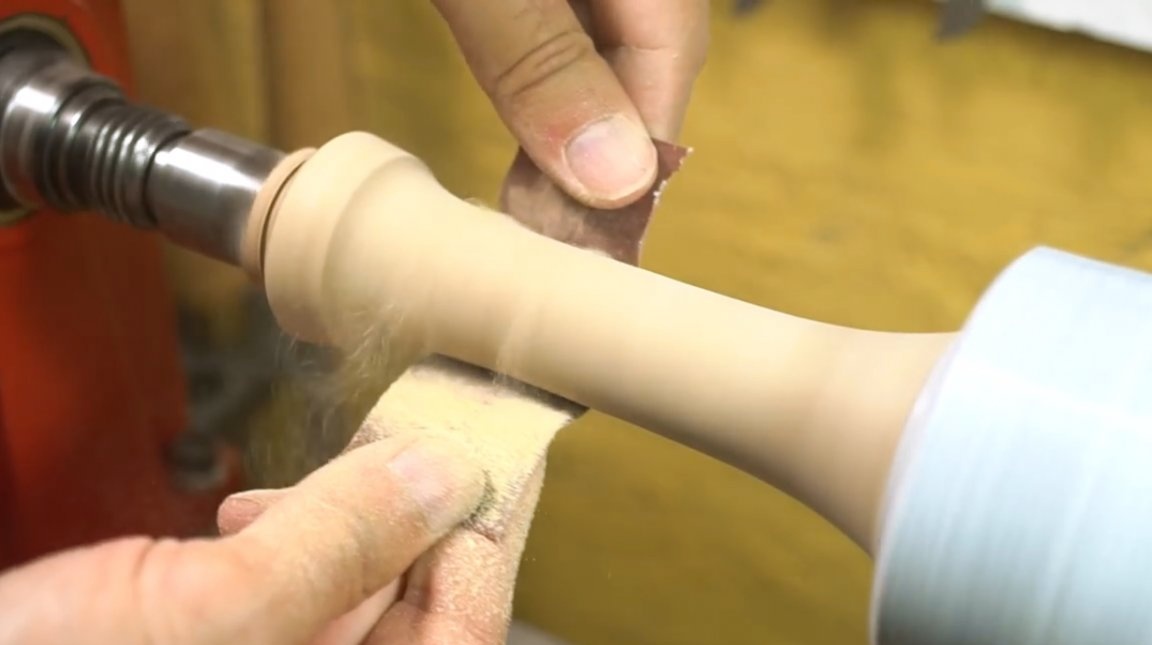
And polishes the entire surface of the handle with fine sandpaper.
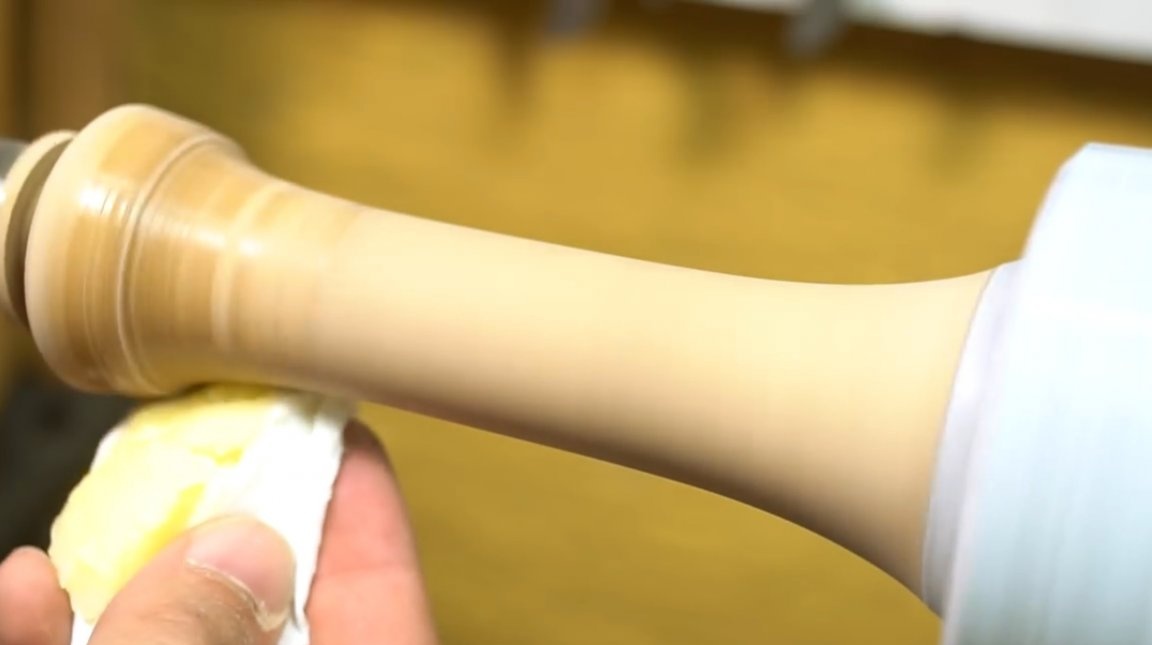
Then follows the usual wood impregnation with wax, and polishing the surface.
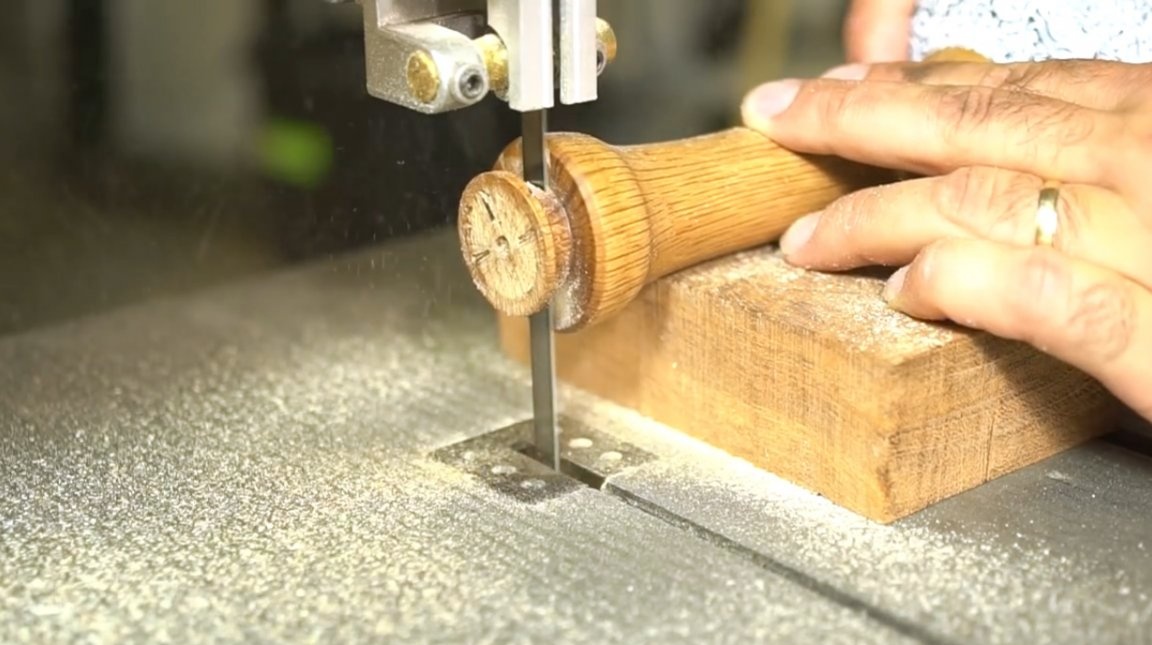
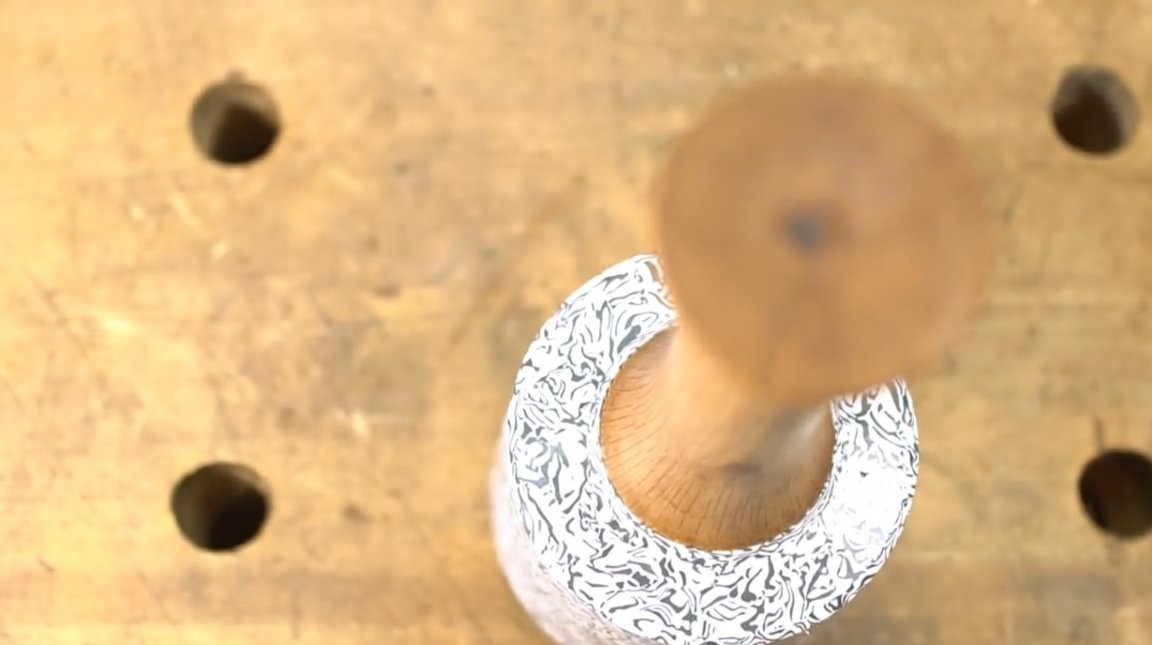
The author decided to make the upper part of the head lenticular, slightly concave. At the same time, and cuts off the holder.
Cut off the unfinished remainder of the handle, and grind.
There was a small ledge in the center, it is easy to remove it with a knife. Here's a "lens" turned out.

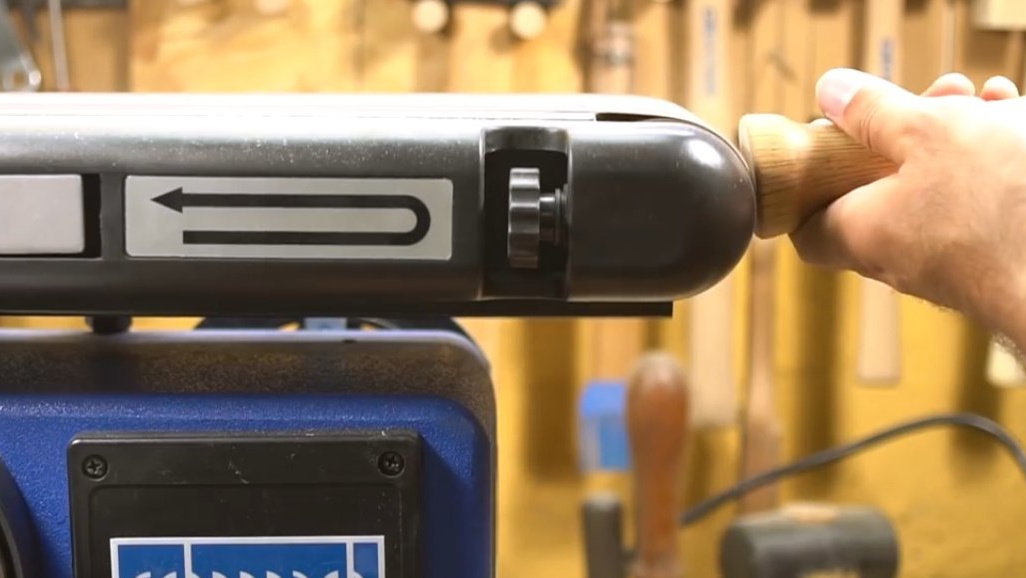
Everything is ready, you can work with the tool!
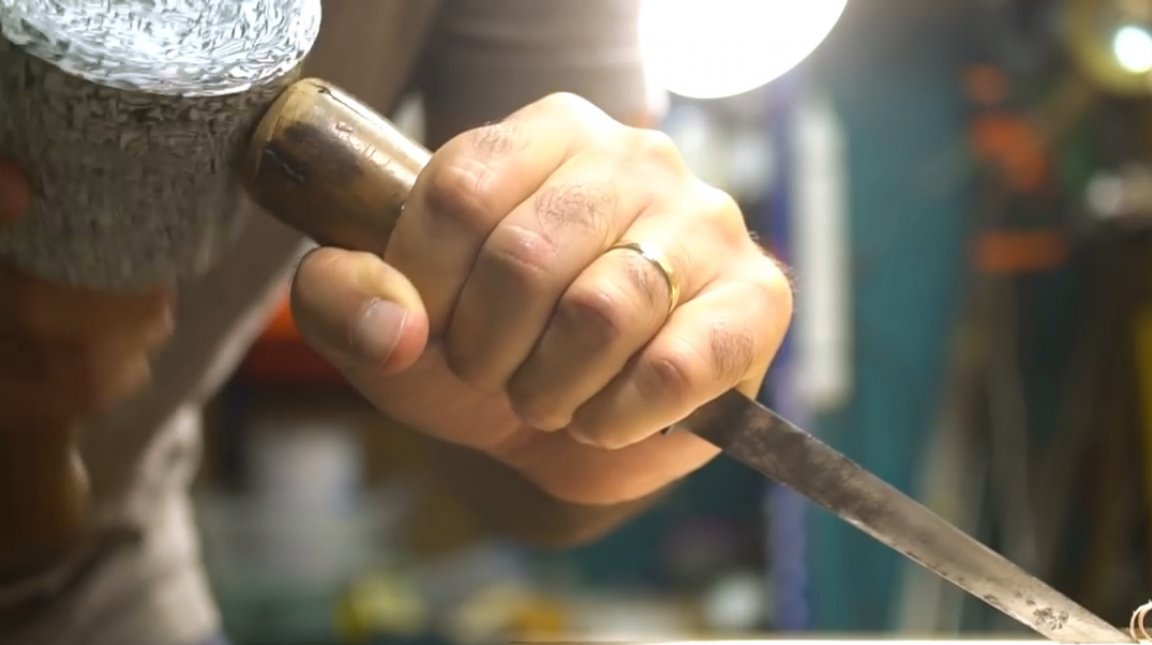
This is such a beautiful tool.

Thanks to the author for a simple but useful tool for the workshop!
All good mood, good luck, and interesting ideas!