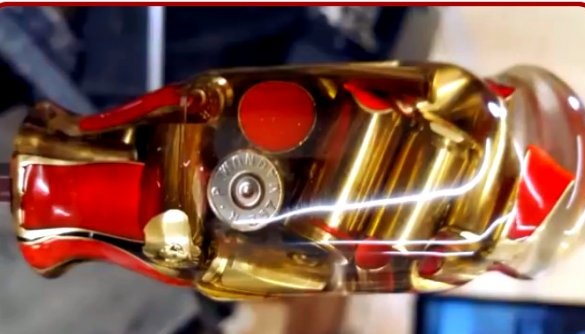
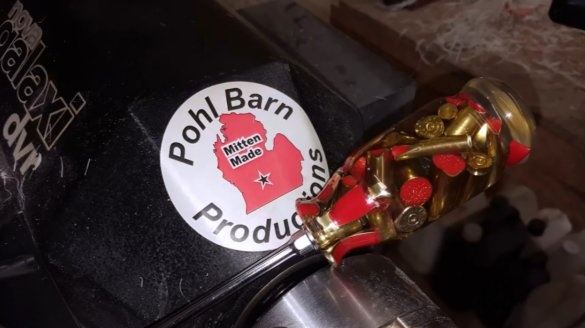
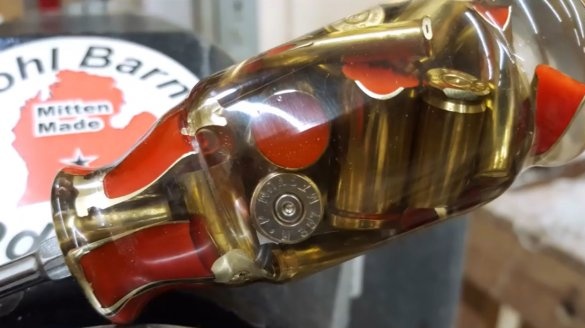
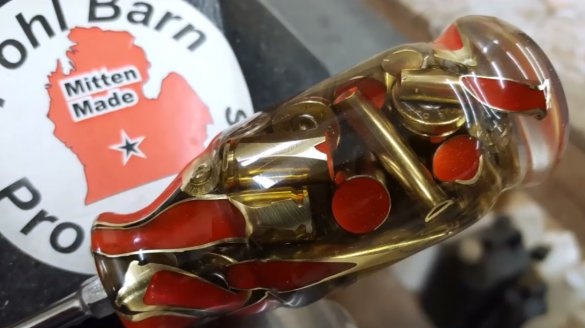
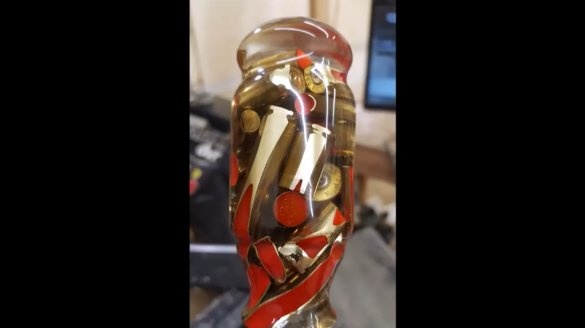
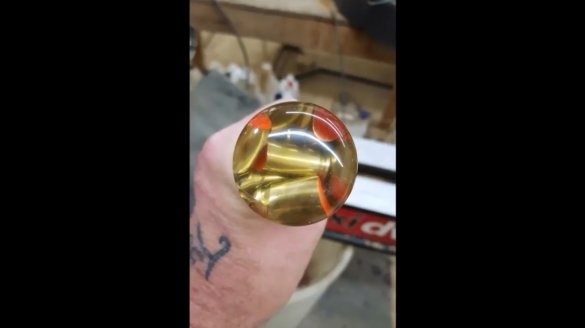
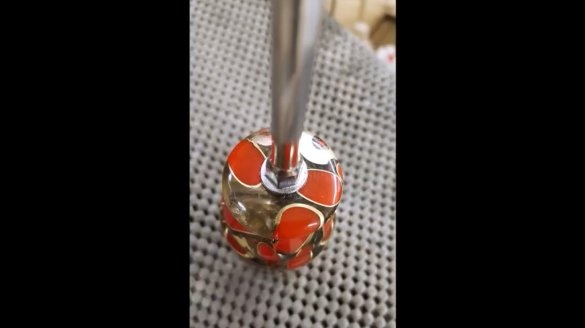
In this article, YouTube’s author of The Pohl Barn Productions tells you how he made the gear knob. A hunter, or a weapon lover, will like this gift very much.
Materials
- Shot shells
- Two-component epoxy for artwork
- dye
- Sandpaper
- .
Instruments, used by the author.
-
- Autoclave
-
-
-
- Cutters.
Manufacturing process.
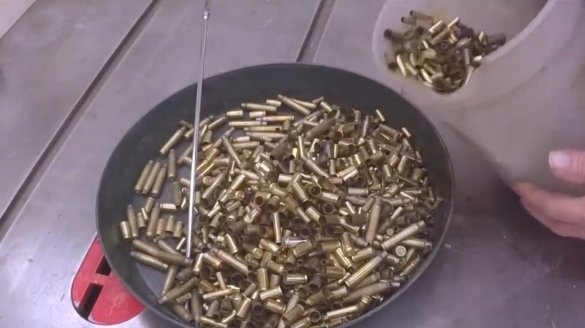
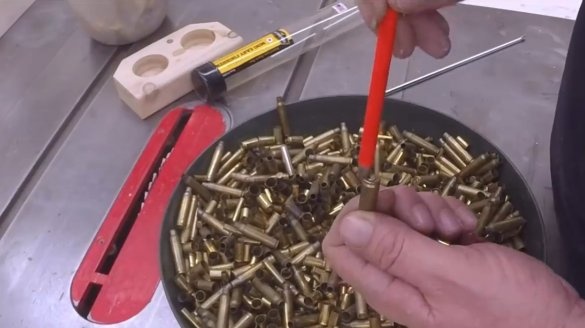
The author is an avid lover of weapons, so he found a considerable number of shells of various calibers. First of all, he selects sleeves that are not magnetized. This will facilitate handling. An important point is to make sure that the capsule is neutralized.
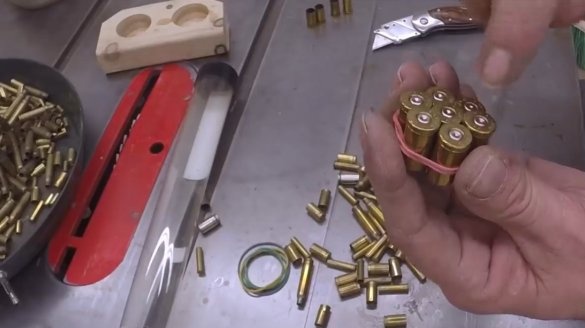
Having picked up cartridges on calibers, ties them with an office elastic band.
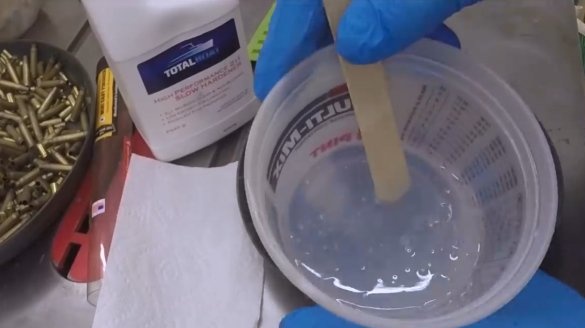
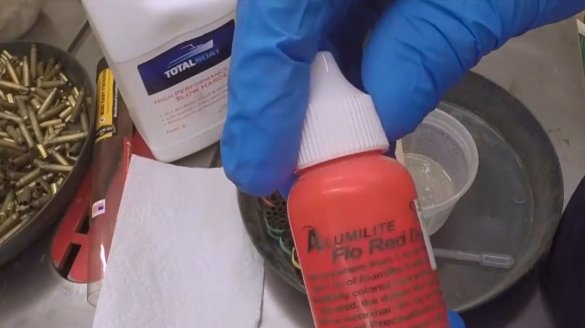
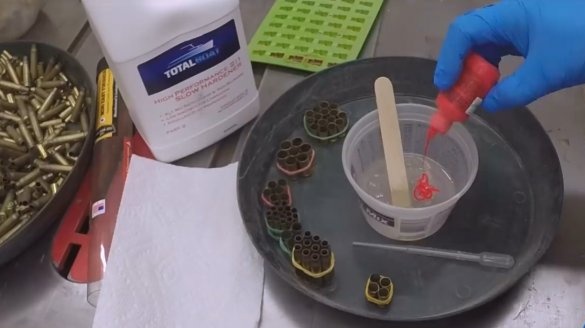
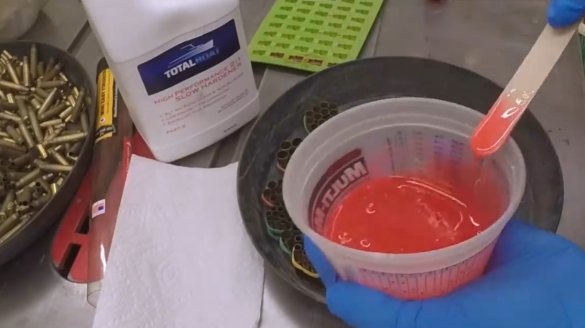
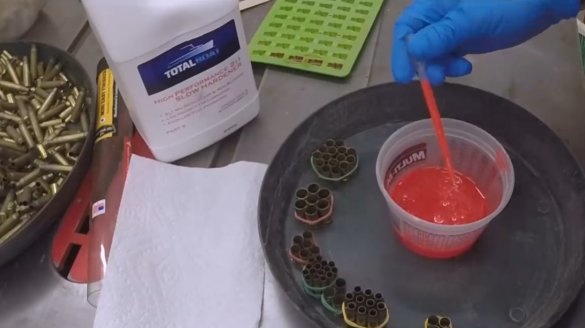
By accurately measuring the volume of the base and hardener, it thoroughly mixes them and adds dye.
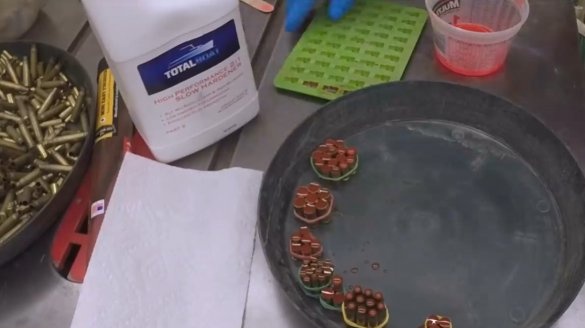
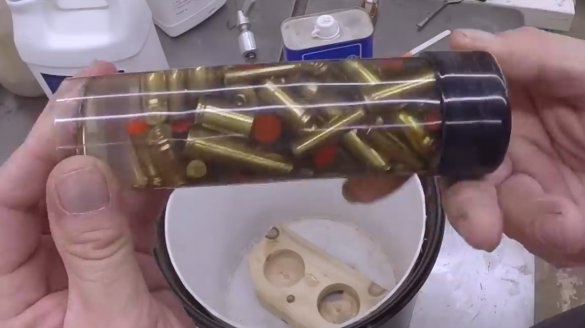
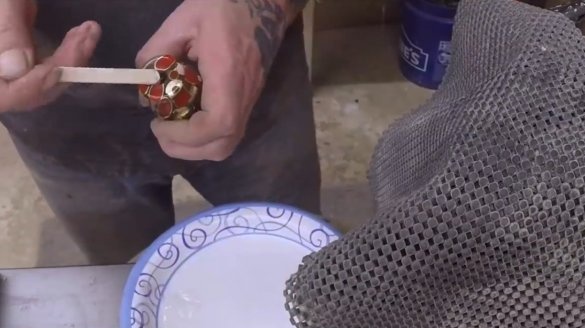
Having mixed once more, the author fills each sleeve using a plastic pipette. This will give a special charm to the future product. And leaves to polymerize.
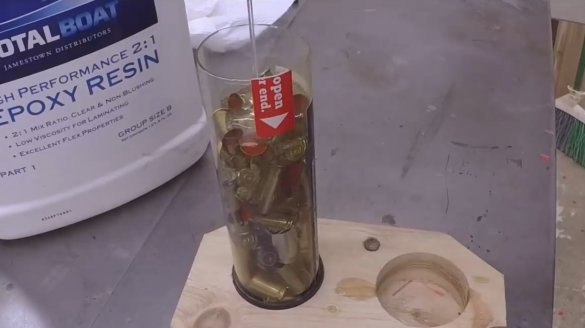
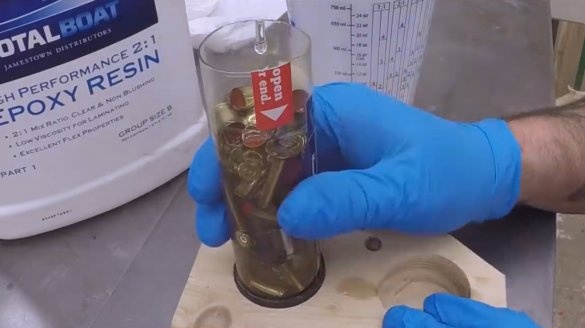
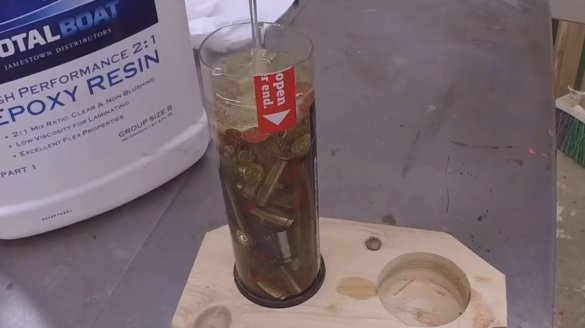
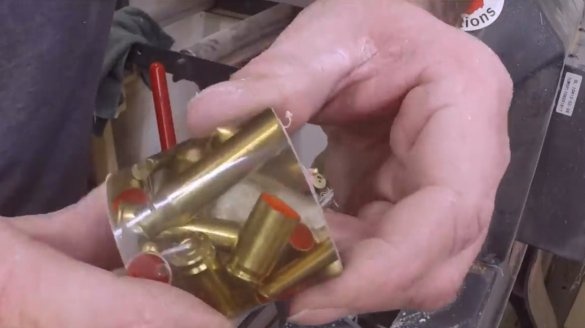
The master found a plastic packaging of suitable diameter. He fills it with sleeves, and then fills it with fresh resin, but already without dye. When pouring, it periodically compresses the mold, releasing air bubbles that get stuck between the sleeves. In the upper part leaves a small layer of resin without sleeves.
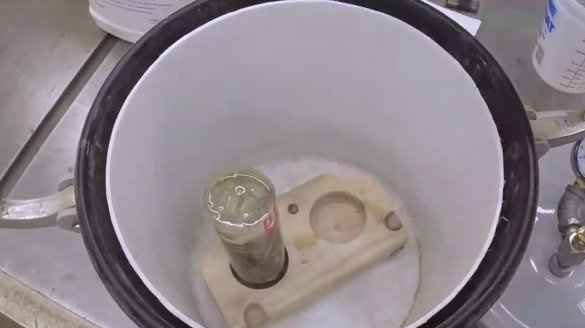
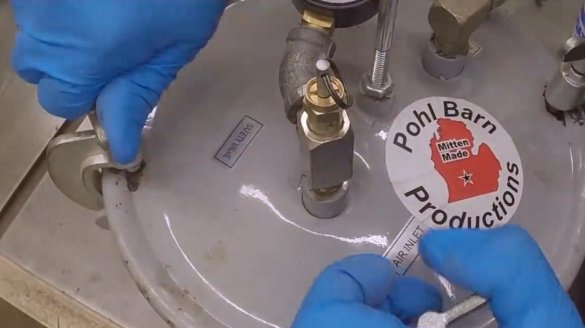
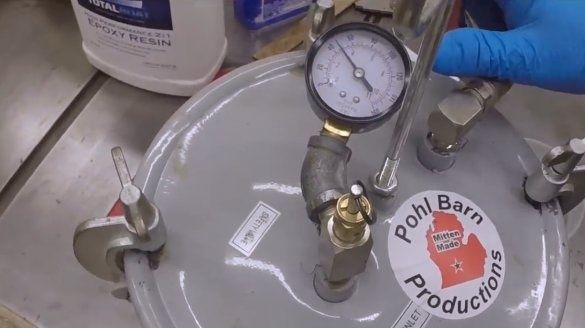
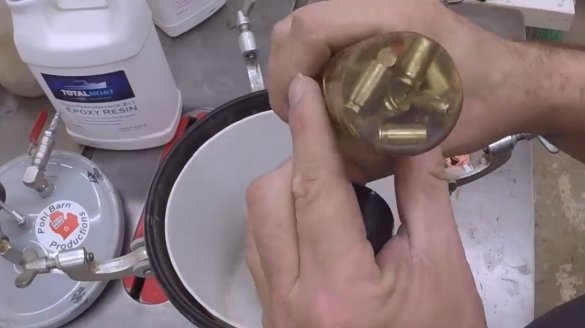
Now it places the workpiece in an autoclave, closes the lid, and applies pressure. This will eliminate all small bubbles.
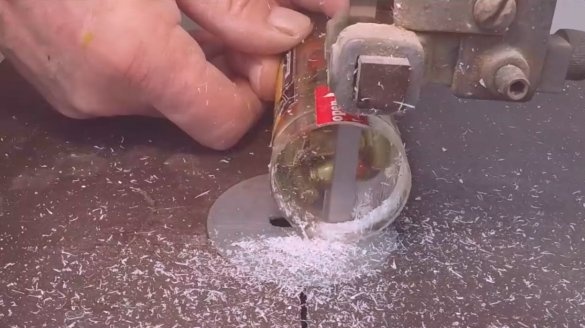
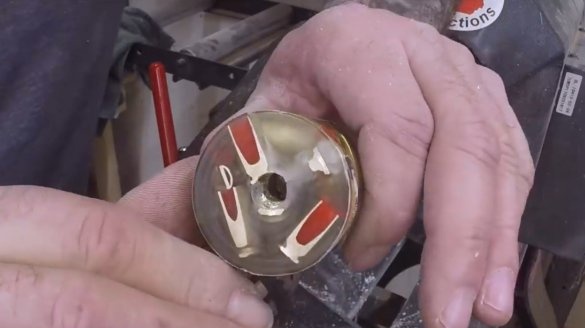
After 5-6 hours, when the resin has hardened, it relieves pressure in the autoclave and removes the workpiece. It cuts off the excess part of the plastic, and grinds the rest later on the machine.
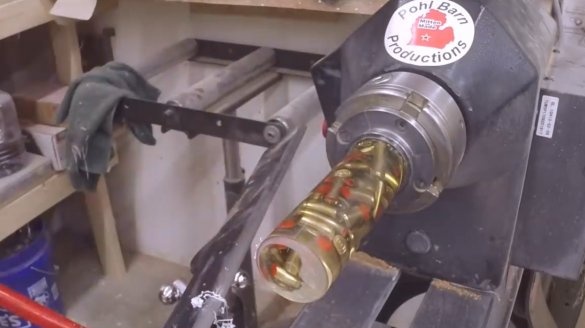
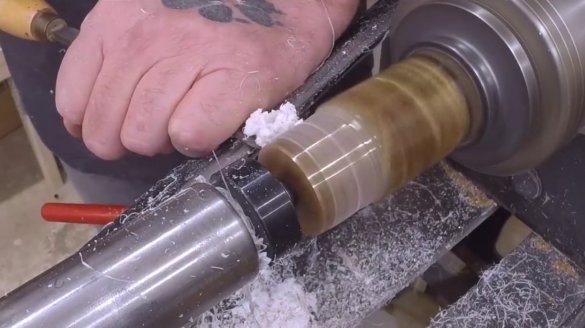
Installs the workpiece in a lathe, and cuts off part of it.
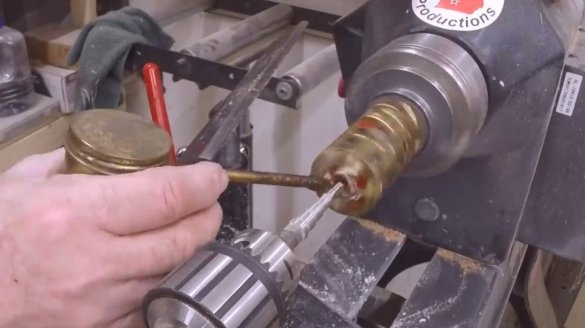
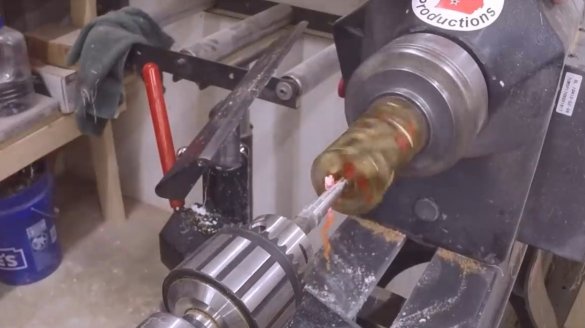
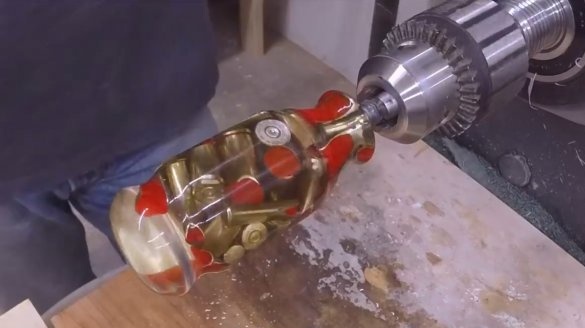
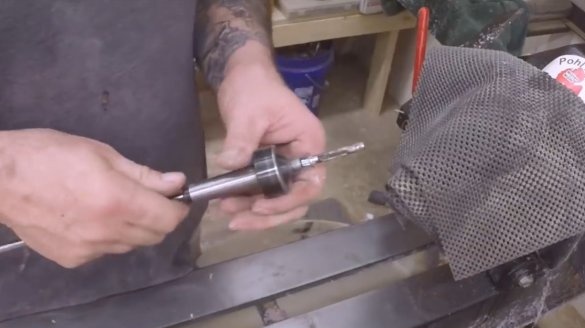
Starts drilling holes for the lever. Since in addition to epoxy resin there is metal in the workpiece, the master uses grease. For a start, drill with a step drill, and then with an ordinary one.
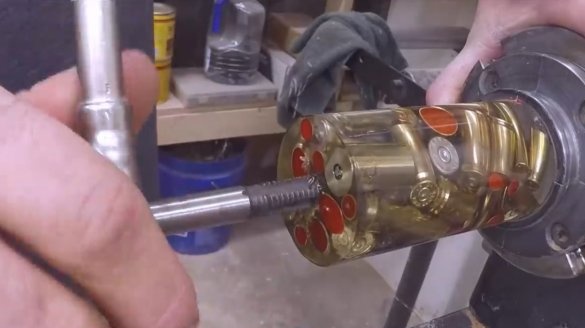
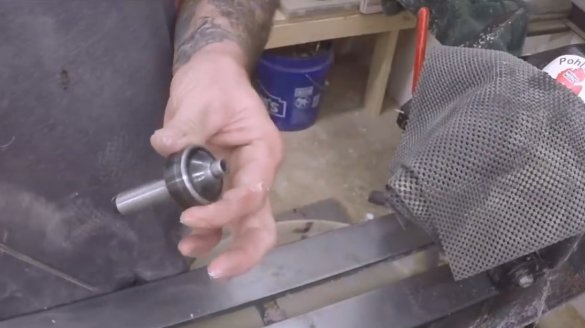
It remains to cut the thread for the stud. It will be required for processing.
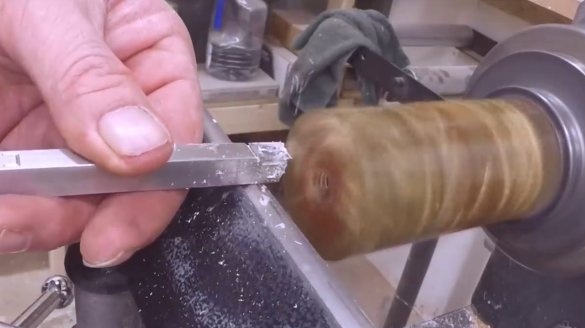
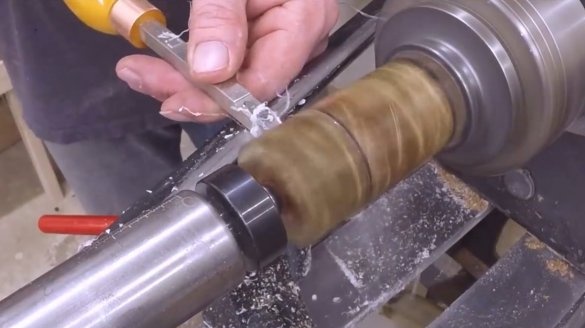
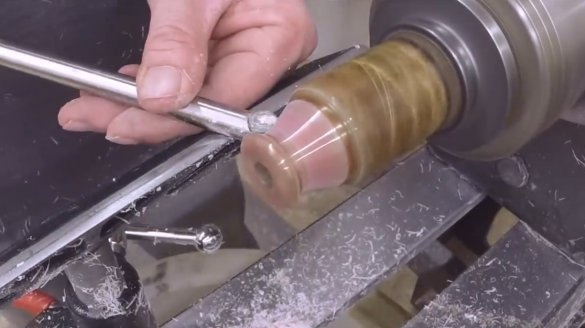
Then aligns the bottom of the handle.
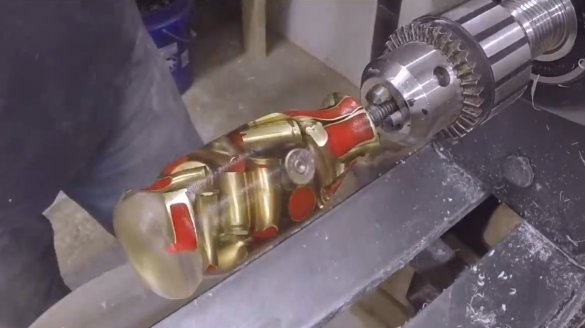
The master decided to repeat the shape of the handle of a screwdriver, and he turned the lower part in this way.
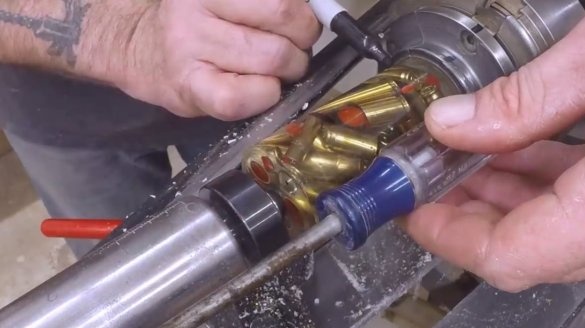
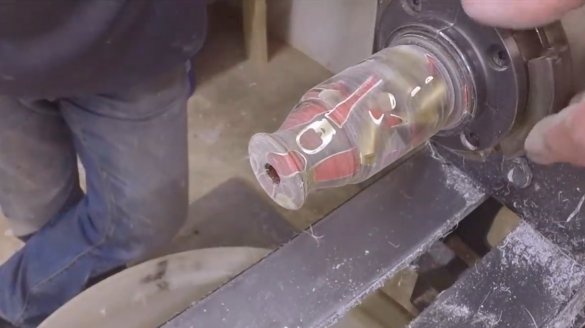
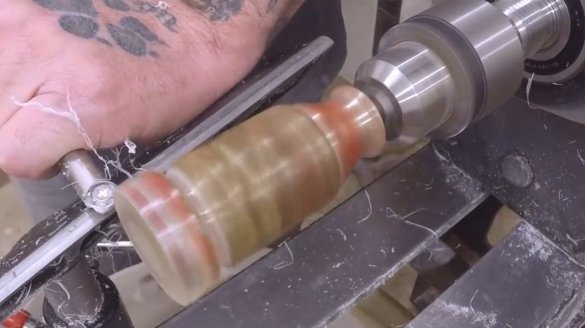
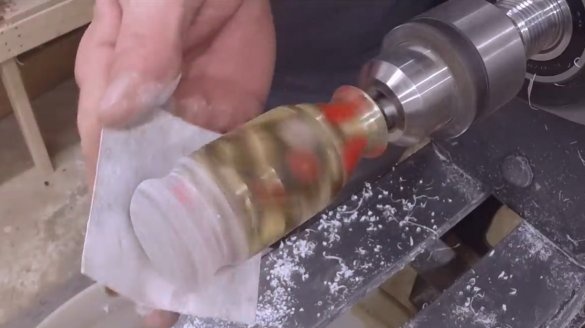
Now, having screwed the hairpin and unfolding the part, it proceeds to the processing of the upper part. Along the way, sanding the entire workpiece with sandpaper.
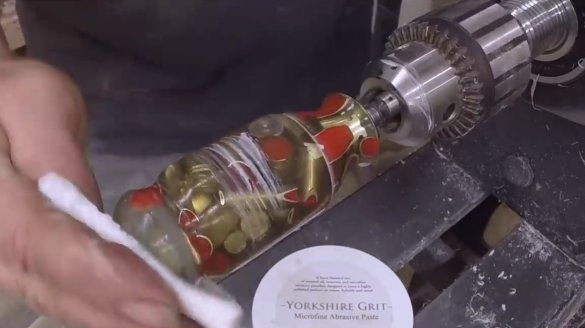
Then comes the polishing step with abrasive paste (for example GOI paste). But the first attempt showed the shortcomings of sanding.
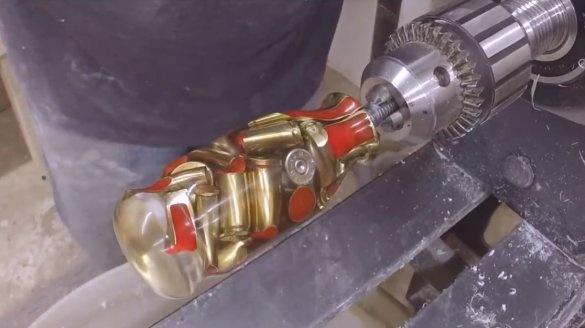
The master repeated sanding with sandpaper, but already using water. And re-polished.
To comply with the alignment of the handle relative to the lever, the master applies a guide.
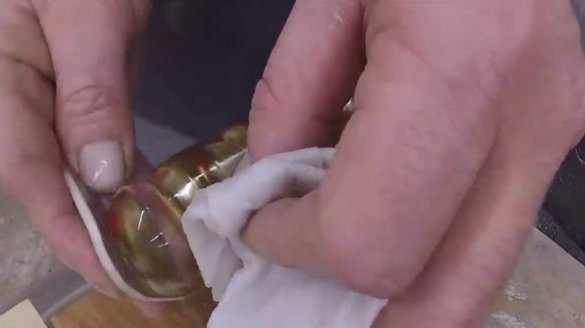
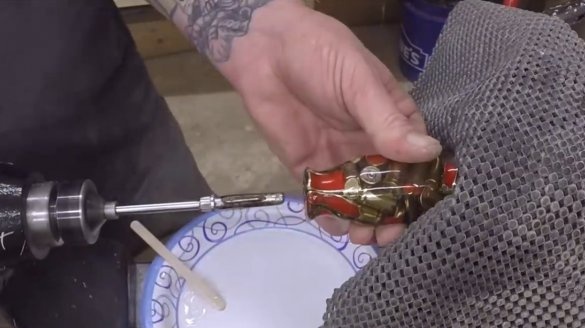
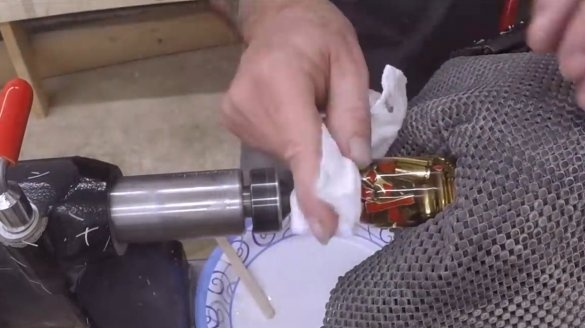
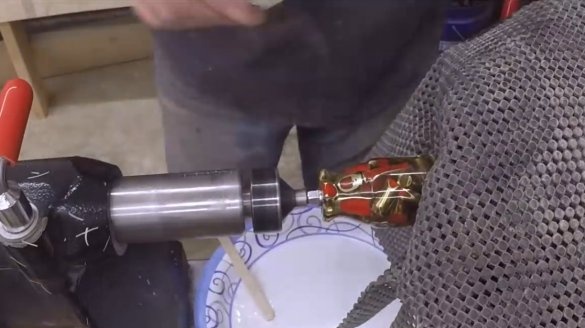
Fills the handle hole with epoxy, lubricates the lever, and presses it into the handle. Be sure to remove excess resin with a rag.
That's all, now it’s clear that the car owner loves to shoot.
Thanks to the author for a simple but unusual idea for a special car design!
The same method can be used for other design solutions.
All good mood, good luck, and interesting ideas!

