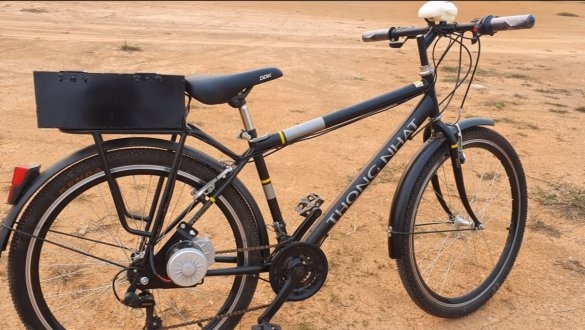
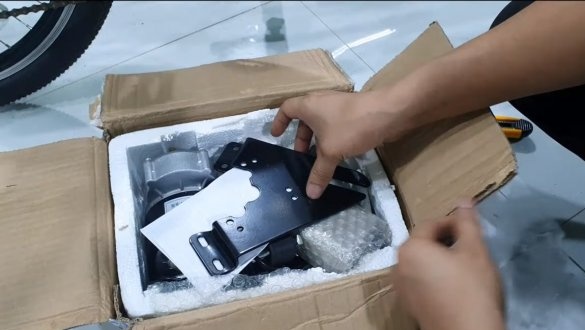
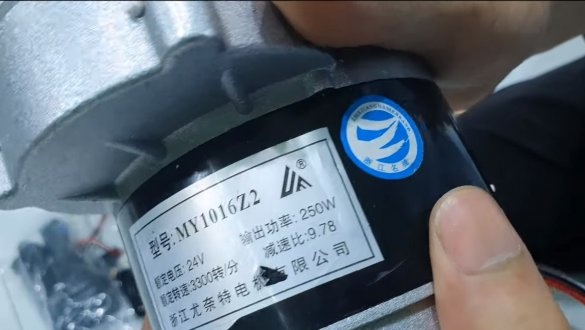
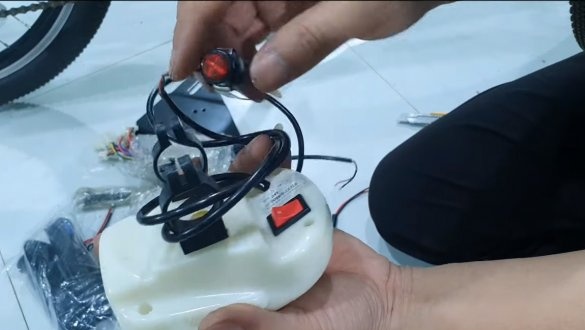
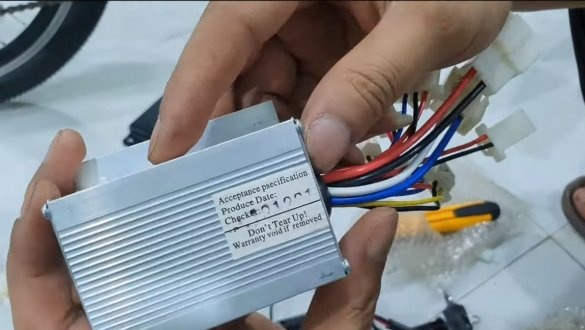
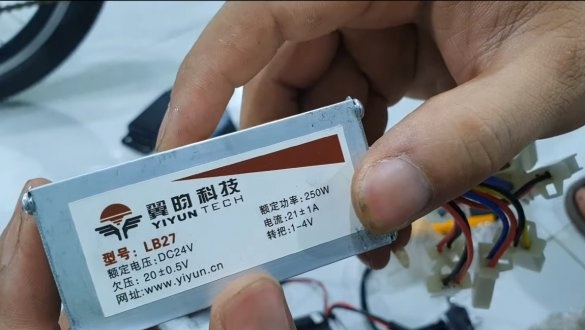
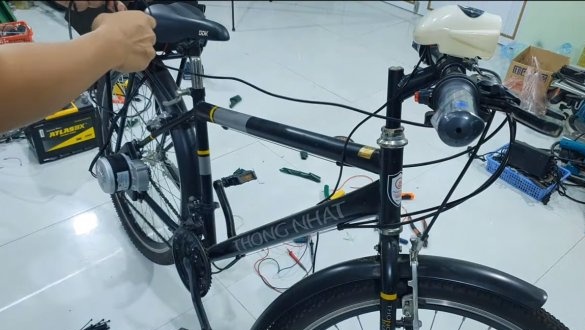
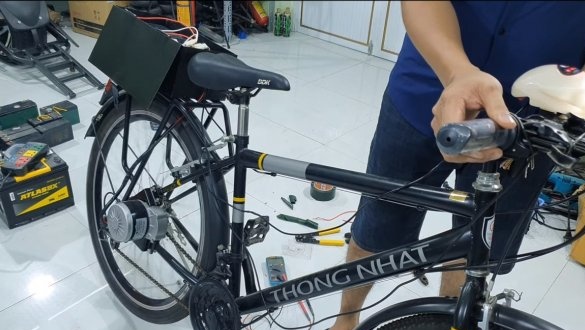
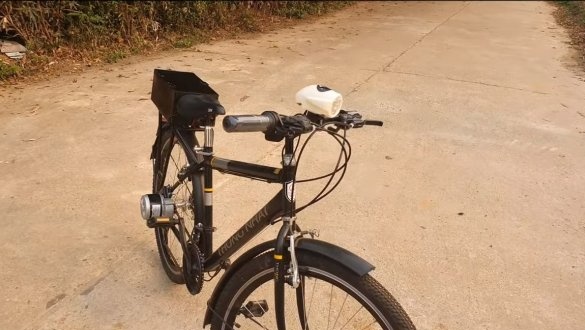
Hello to all fans of the craftsmen, in this instruction we will discuss how to make an electric bikeusing already. The kit includes a 250 W gear motor, it can be brush or brushless, the second option is more expensive, but also more durable. There is also a headlight, signal, speed controller, electronic throttle and other details. As for the battery, you will need to assemble it yourself, this also applies to the housing for the battery and other electronics. It is better to assemble the battery from lithium cells, as a result, you will get high capacity with low weight and size.
The design of the bike will not change, not counting the rear sprockets. When the battery is not discharged, you can ride your bike in the usual way. If homemade Interested in you, I propose to get acquainted with the project in more detail!
Materials and tools used by the author:
Material List:
- ;
- sheet metal;
- plastic ties;
- self-tapping screws;
- paint;
- double sided tape;
- door hinges;
- hinges for installing the lock and lock.
Tool List:
- welding machine;
- grinder;
- drill;
- rivet gun;
- spanners.
The process of manufacturing an electric bike:
Step one. Alteration of the wheel
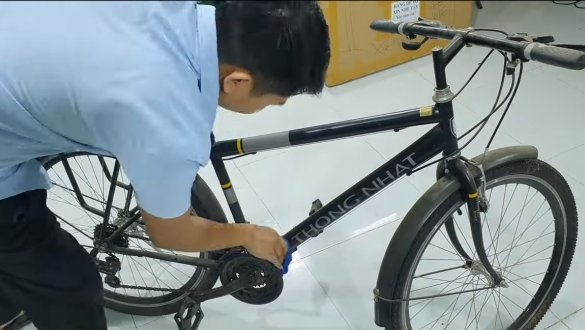
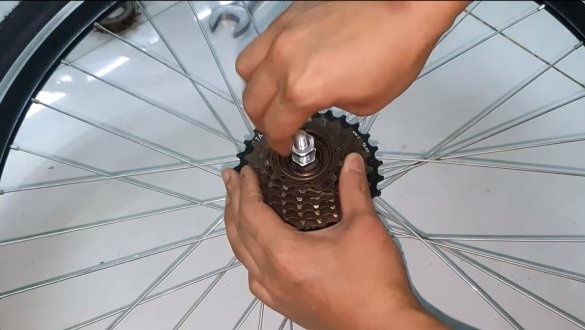
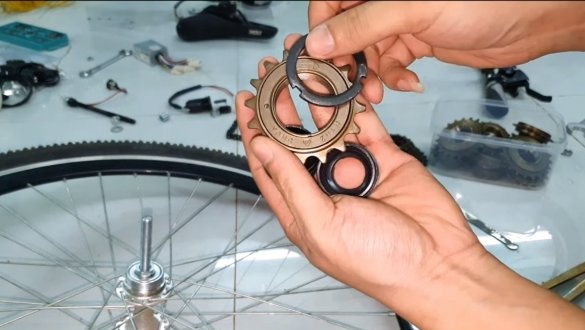
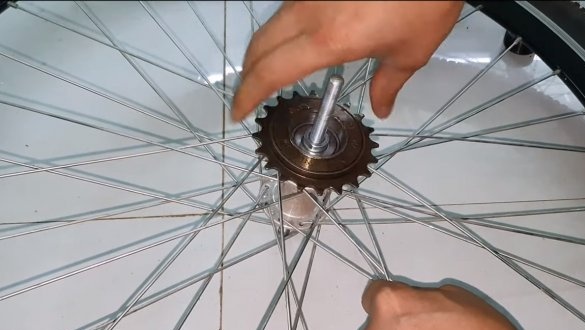
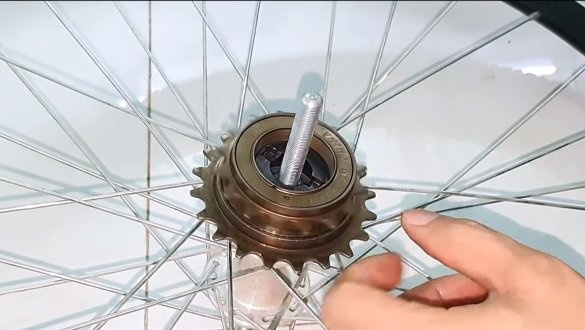
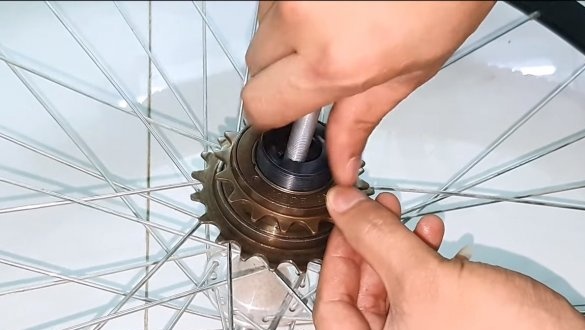
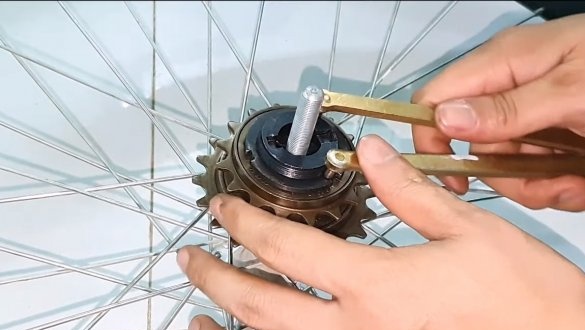
To start, we will remake the rear wheel of the bicycle, or rather, we will make some changes to the stars. The standard block of sprockets needs to be unscrewed, here we need a special key, since often the cassette sits on the thread very tightly.
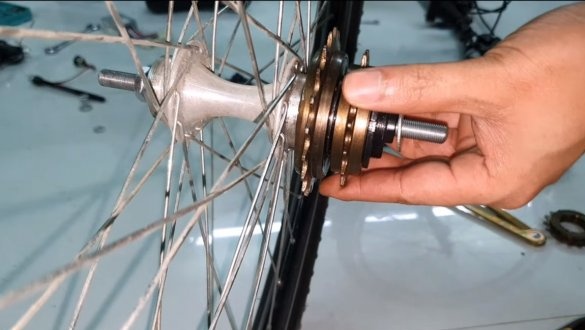
Further, the author uses two stars with a ratchet mechanism. Each asterisk is installed independently through a special adapter. As a result, when the engine is running, the connecting rods with pedals will not rotate, and during classical driving, efforts will not be expended on the rotation of the engine shaft. Also, this design will allow you to ride on an electric bike coasting, saving battery power.
Step Two Engine installation
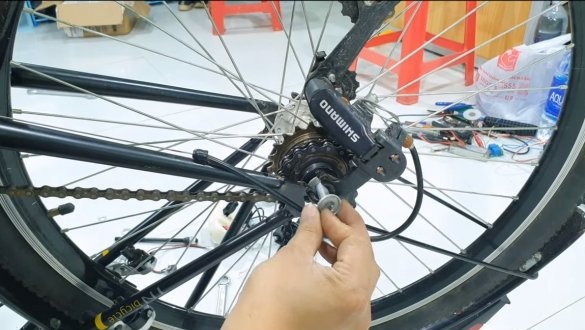
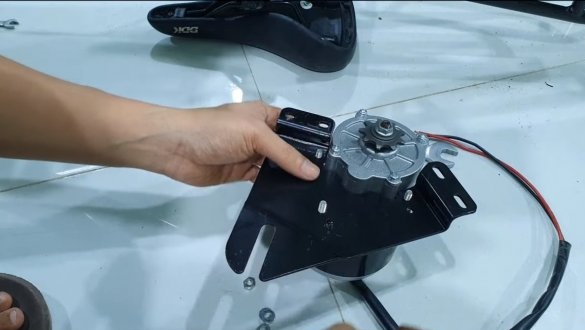
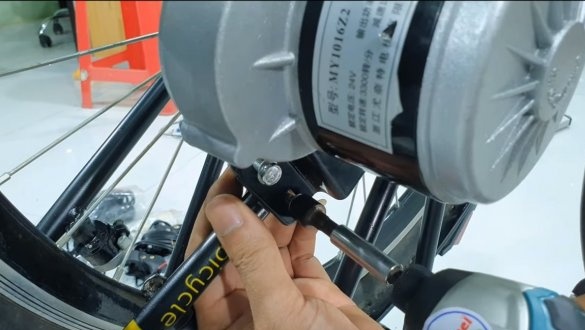
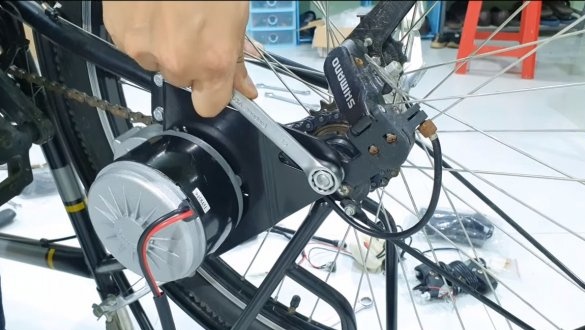
The kit has a special bracket for mounting the engine on a bicycle. We fasten the engine to it, and then install the engine with a bracket on the rear fork of the bicycle. Also, do not forget to install the chain, if it is too long, it can be shortened. After that, you can supply power to the engine and see how everything works.If the motor is brush, then power can be supplied to it directly from the battery, and for a brushless one we must use a controller.
Step Three Throttle grip and headlight
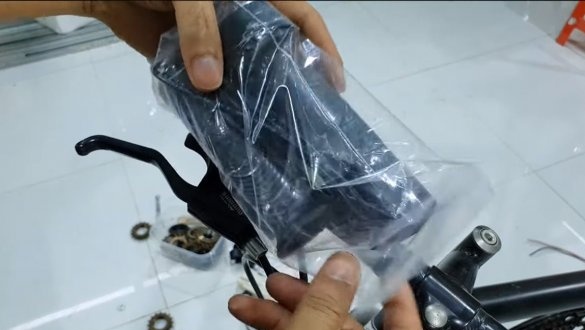
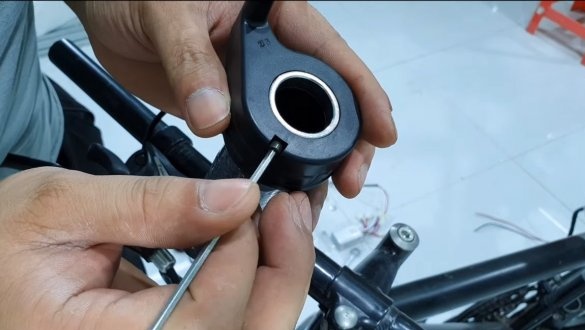
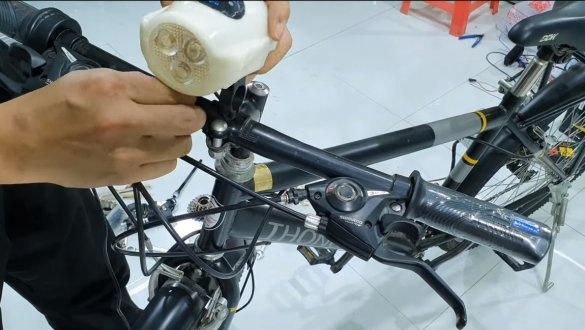
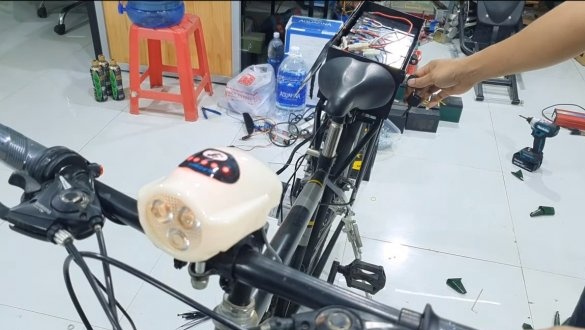
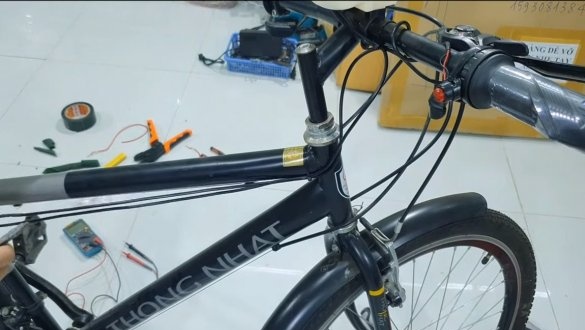
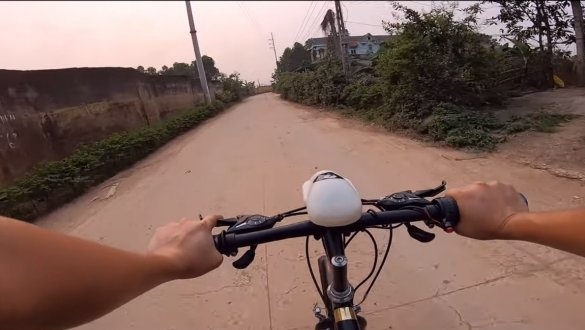
We remove the standard handle from the steering wheel and install the electronic throttle control, now it will be possible to control the engine speed and, as a consequence, the speed. We also install a headlight on the steering wheel, this device also has other functions. The headlight has an indication of the battery charge, and there is also a signal speaker. Set the signal button on the steering wheel.
Step Four Battery pack
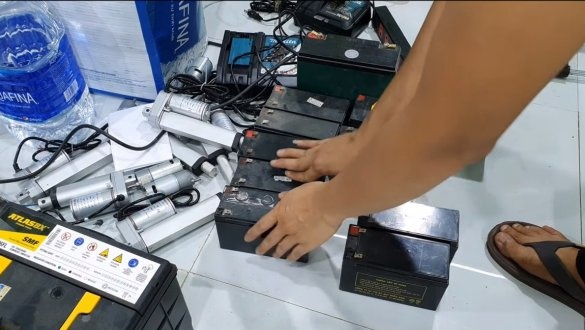
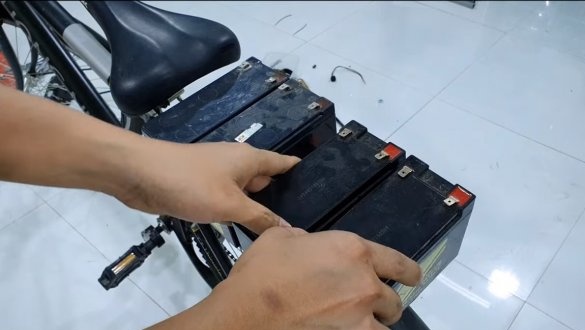
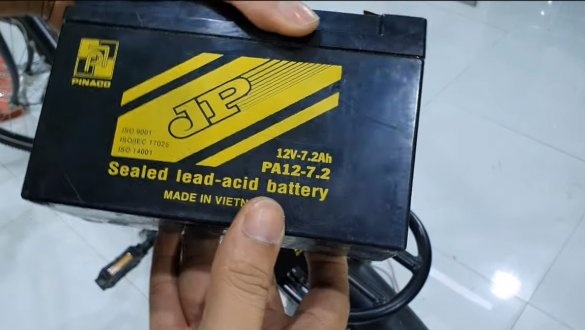
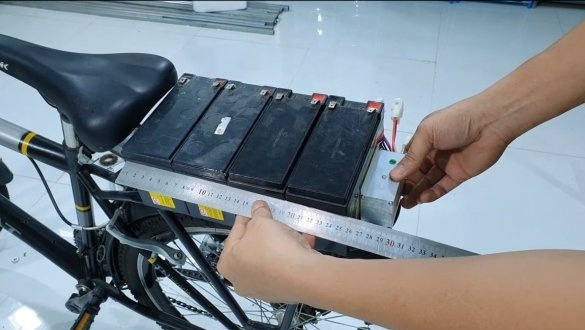
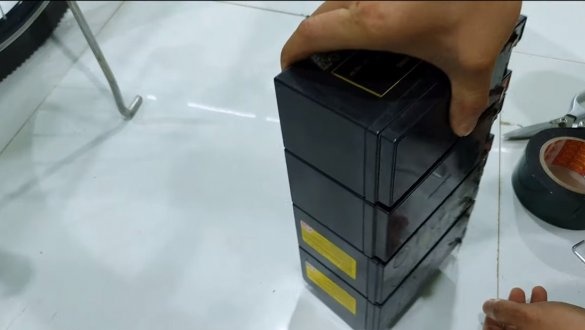
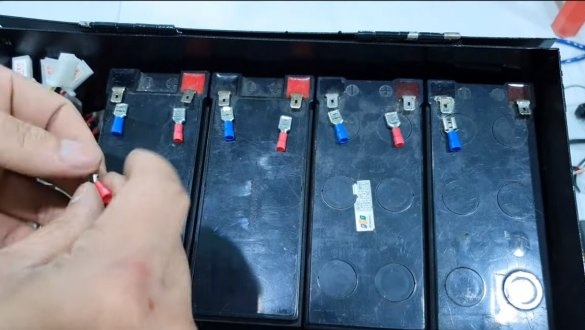
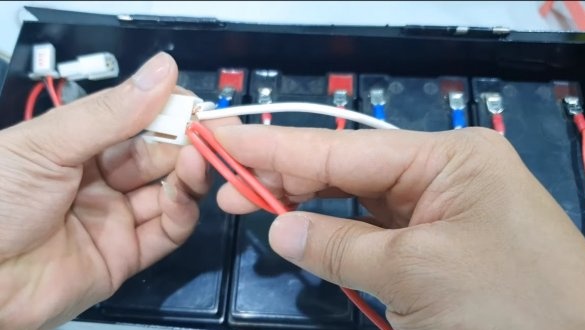
The engine is powered by a voltage of 24V, the author uses a 12V battery with a capacity of 7.2 Ah as a power source. In total, 4 pieces are used in the batteries, they are connected in pairs so that each pair gives out 24V, well, and the pairs are connected to each other in parallel to increase the current strength and combine the capacitance.
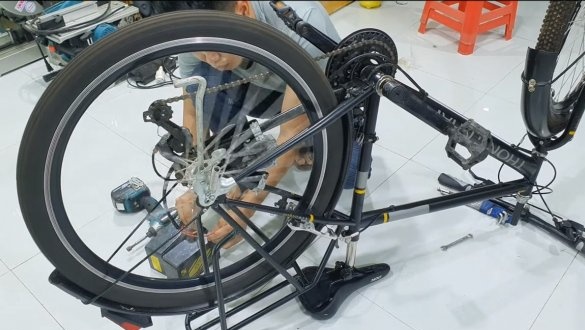
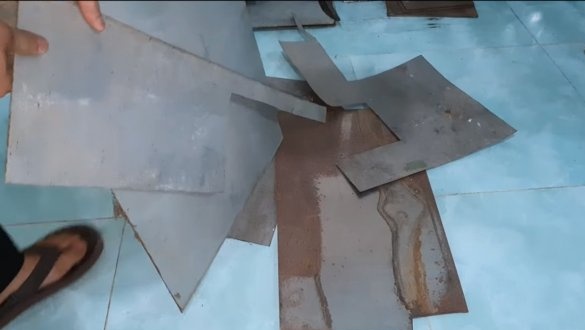
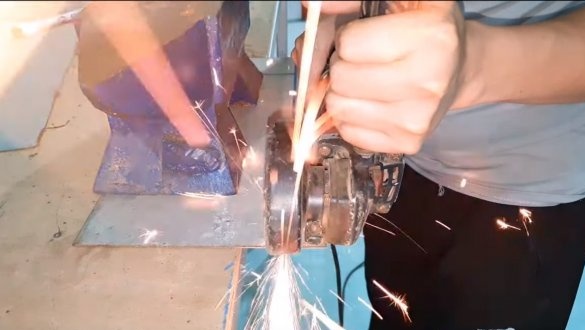
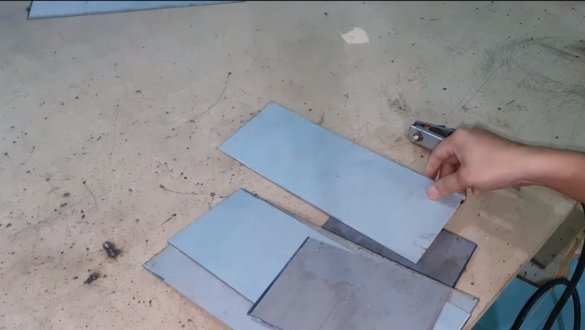
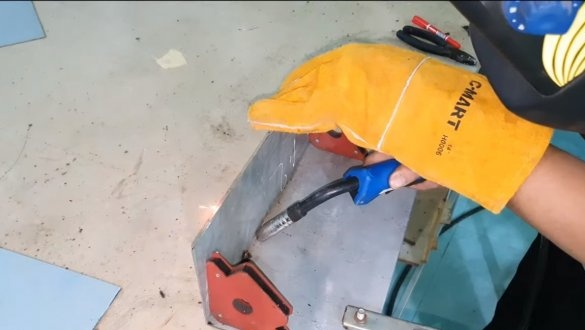
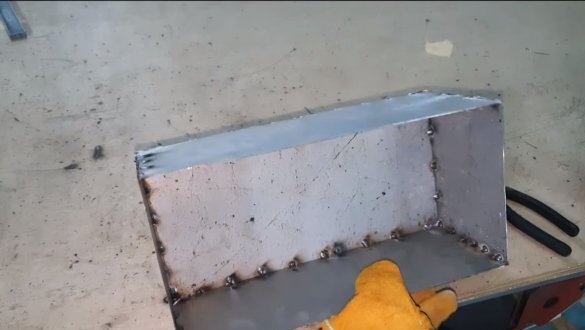
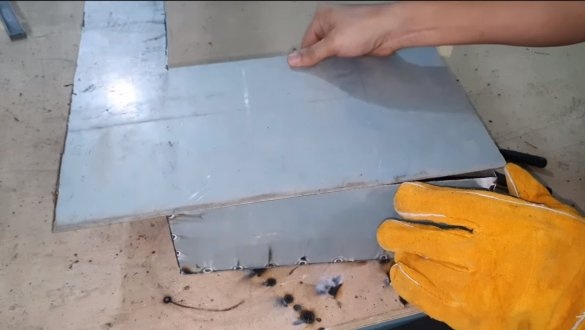
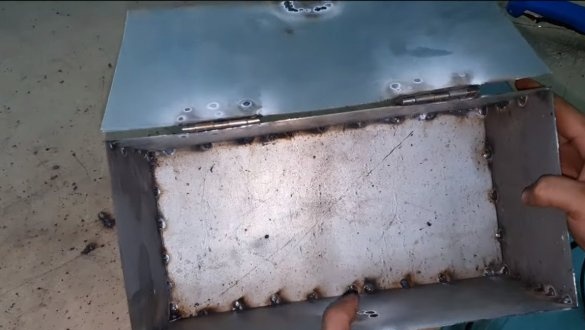
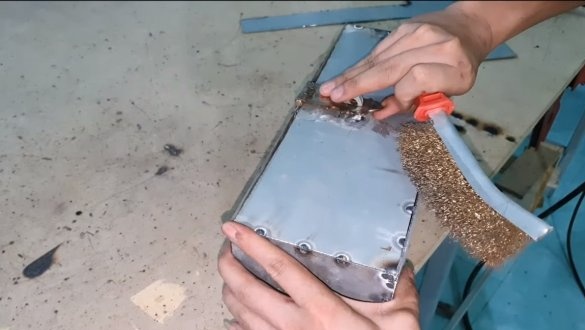
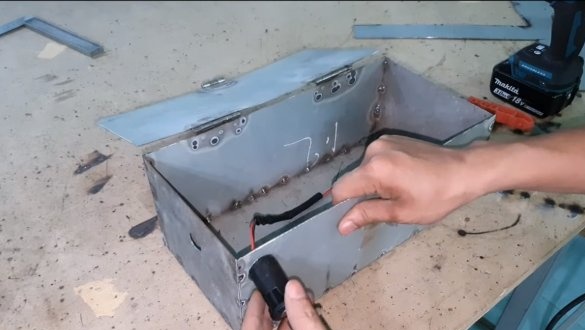
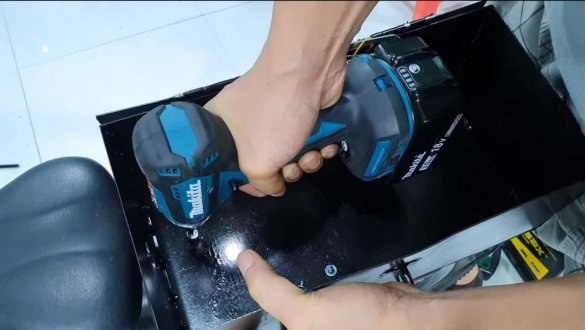
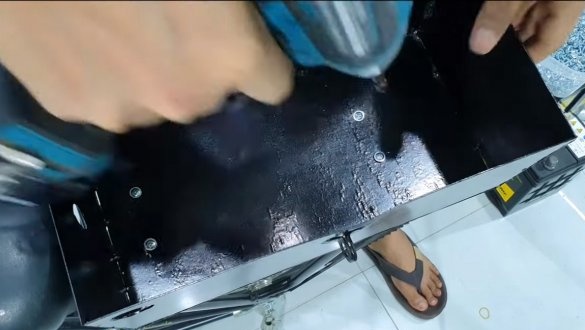
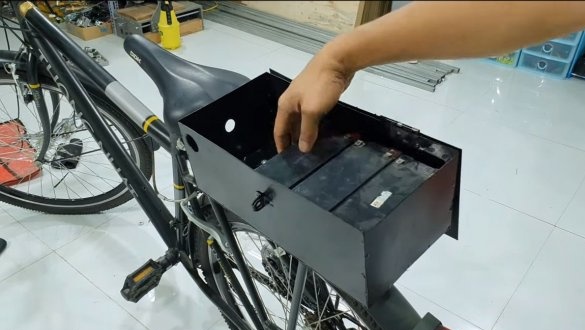
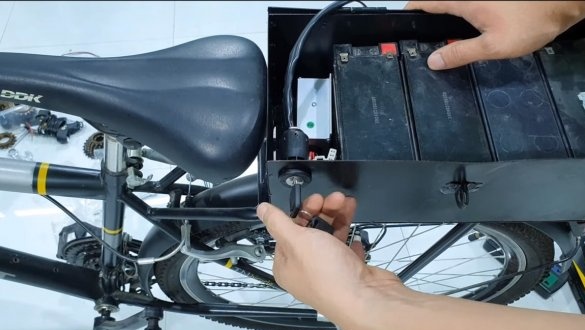
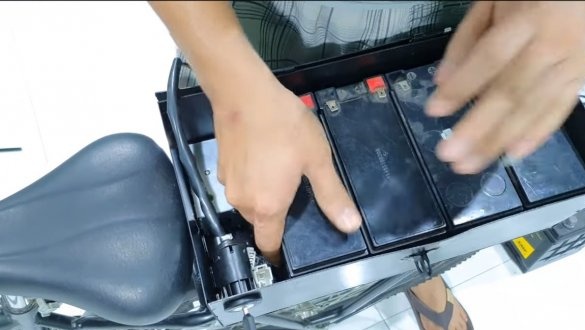
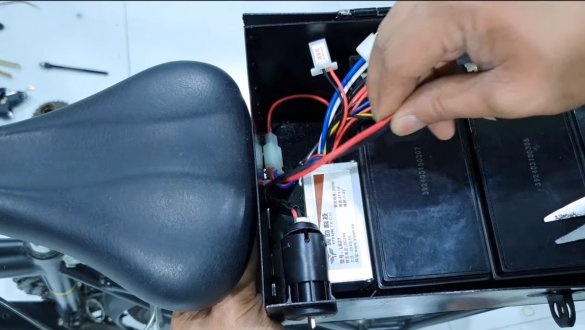
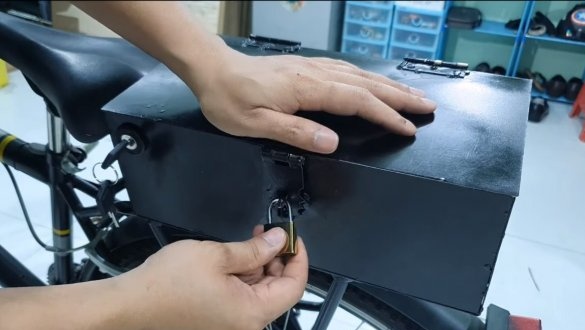
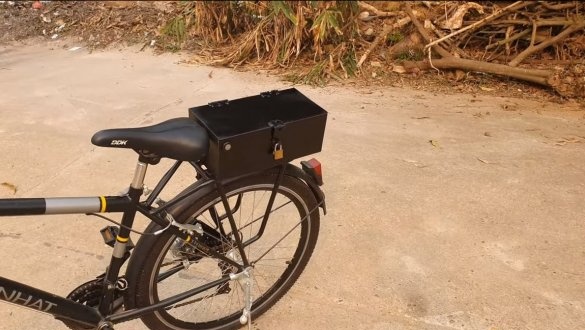
Under the batteries you need to make a reliable case, also it will contain a speed controller and an ignition switch. So that unwanted guests do not get inside, the author welds the case of the sheet metal box, and the case is attached to the trunk using self-tapping screws.
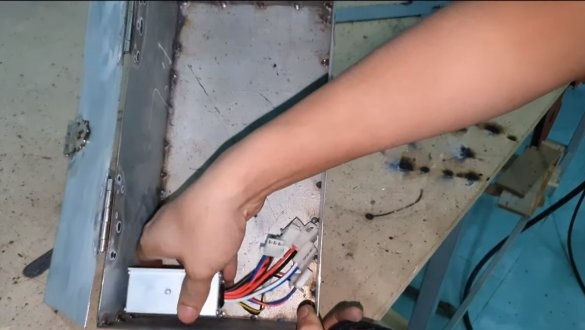
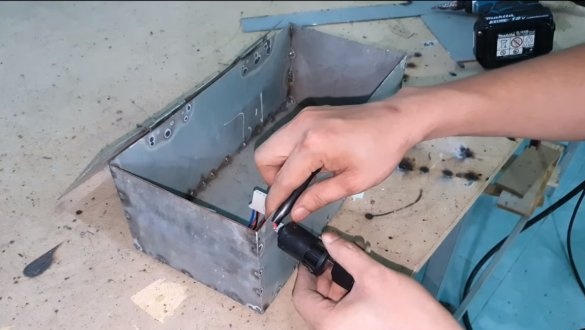
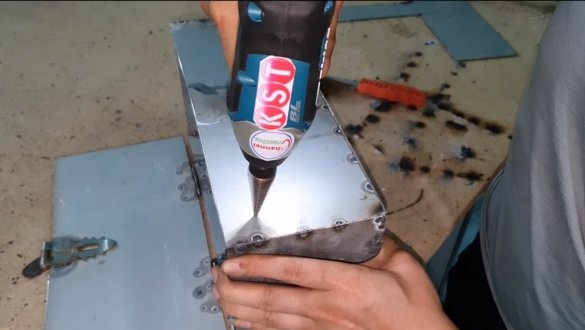
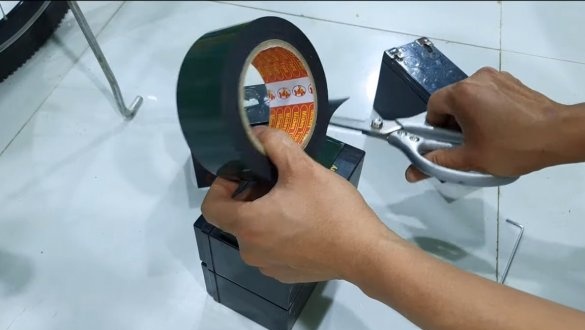
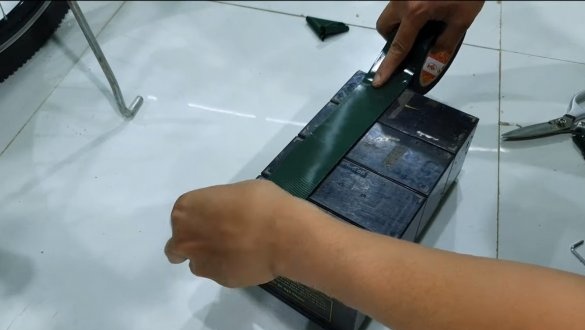
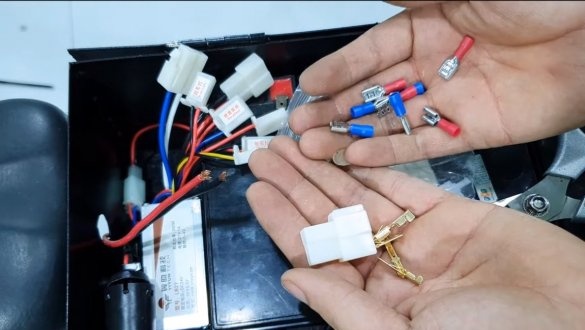
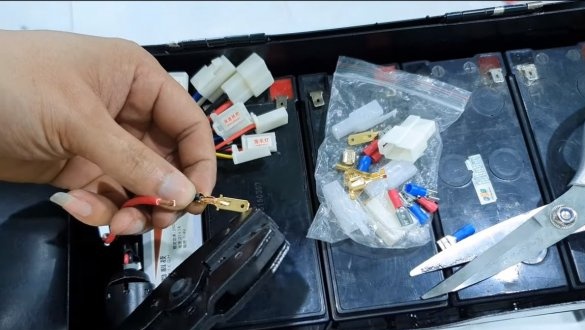
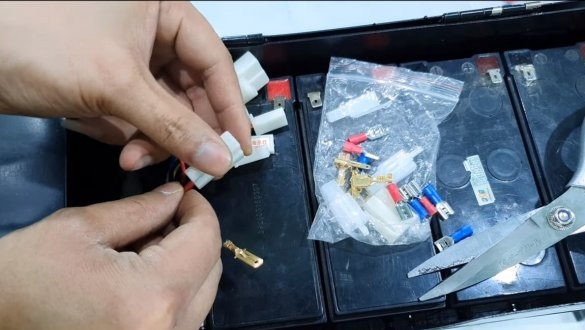
In the case we drill holes for the ignition switch, as well as for wires that go to the engine and to the electronics mounted on the steering wheel. You can start installing the batteries, glue them together in a single unit, using double-sided tape. We also glue the batteries to the base of the case so that they do not jump inside when driving. We connect the wiring to the battery, we also attach the controller and install the ignition switch.
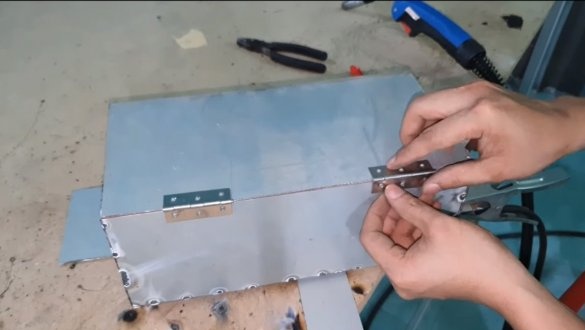
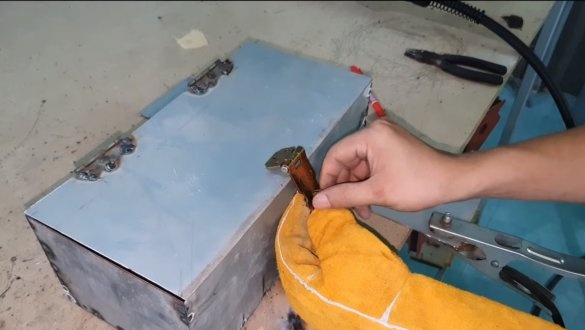
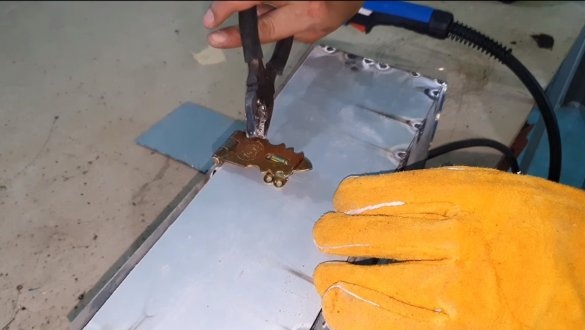
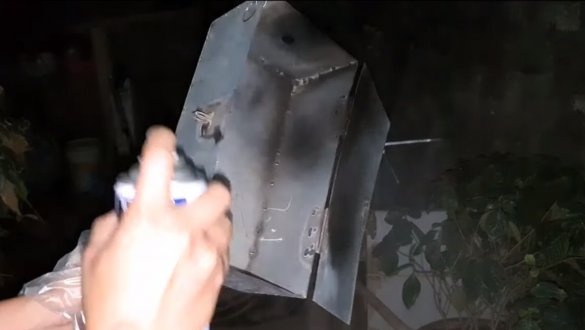
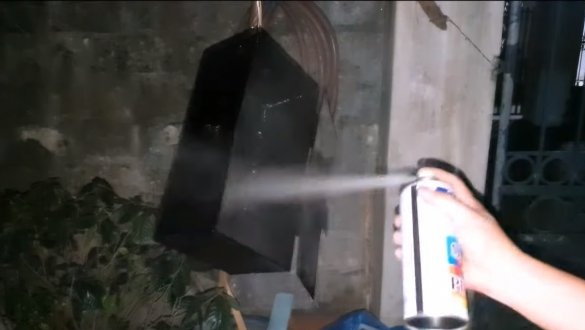
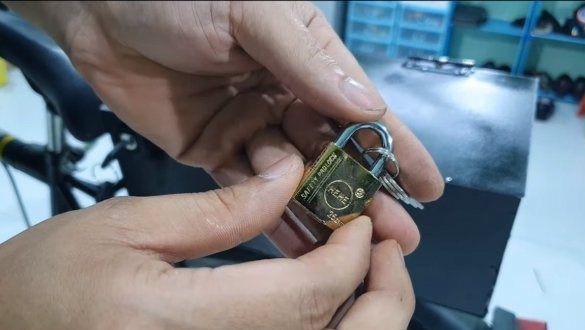
The author’s case with electronics is closed with a lid on the lock, for this we weld door hinges to the lid and drawer, and we also weld hinges for installing the lock. After painting the box, all that remains is to collect it.
Step Five Test
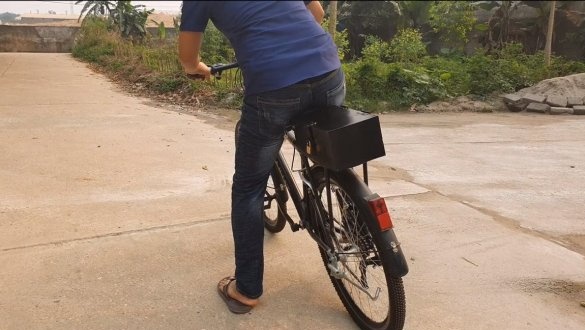
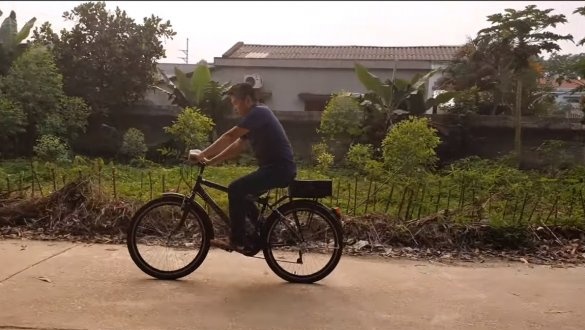
We carry out the wiring through the frame, carefully fixing it with plastic ties so that nothing hangs anywhere. After that, the bike is ready for testing, the author easily starts and rides quite quickly. Maximum speed was not indicated, but this is not the main thing, first of all, safety of movement and high torque, which such a powerful engine can provide. On this project can be considered successfully completed, I hope you liked it, and you found useful information for yourself. Do not forget to share your ideas and homemade things with us!

