Hello to fans of craftsmen, today we will consider how to make a strong and high-quality camping knife. The handle of such a knife is made of PCB, this material is strong and not afraid of water. High-quality steel was used for the blade, and the blade was hardened during the manufacturing process. The knife looks pretty nice, but for it you still need to make the sheath, as the author, but the process of their manufacture has not been shown. The tool for making the knife was used quite simple, the main work is carried out by a grinder. As for grinding, the author accelerated the process with a belt grinder, but here you can even work manually or use grinding nozzles for grinders. If homemade Interested in you, I propose to get acquainted with the project in more detail!
Materials and tools used by the author:
Material List:
- textolite or similar material for the pen;
- metal tubes or rods for pins;
- ;
- epoxy adhesive.
Tool List:
- belt sander;
- Bulgarian with cutting and grinding discs;
- drilling machine;
- files for metal;
- vise, clamps;
- marker;
- vernier caliper;
- paper, pencil, scissors (for making a template);
- drill;
- oven, oil, oven (for heat treatment);
- polishing nozzle for a drill;
- sandpaper.
The process of making a knife:
Step one. Cut the primary profile
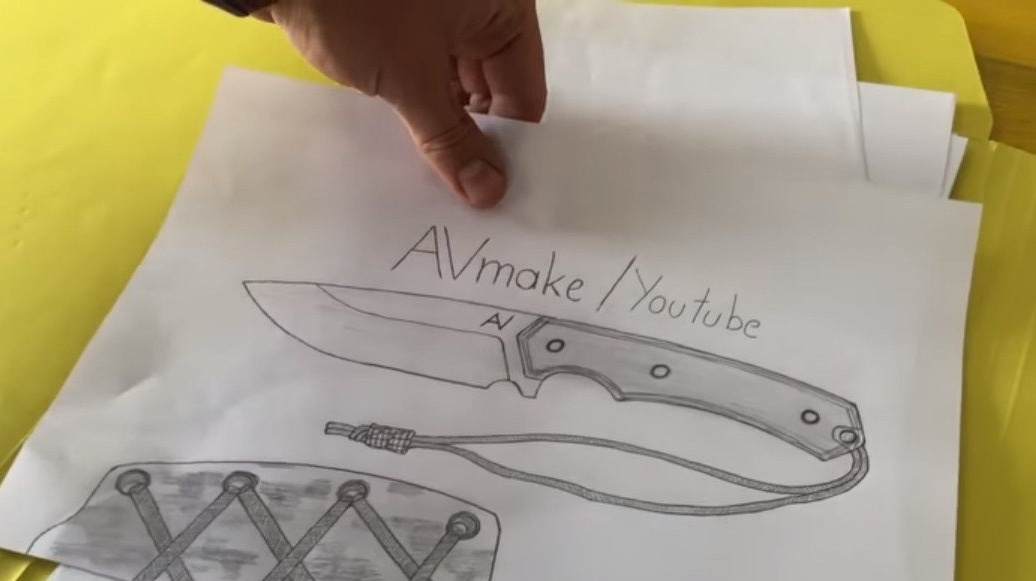
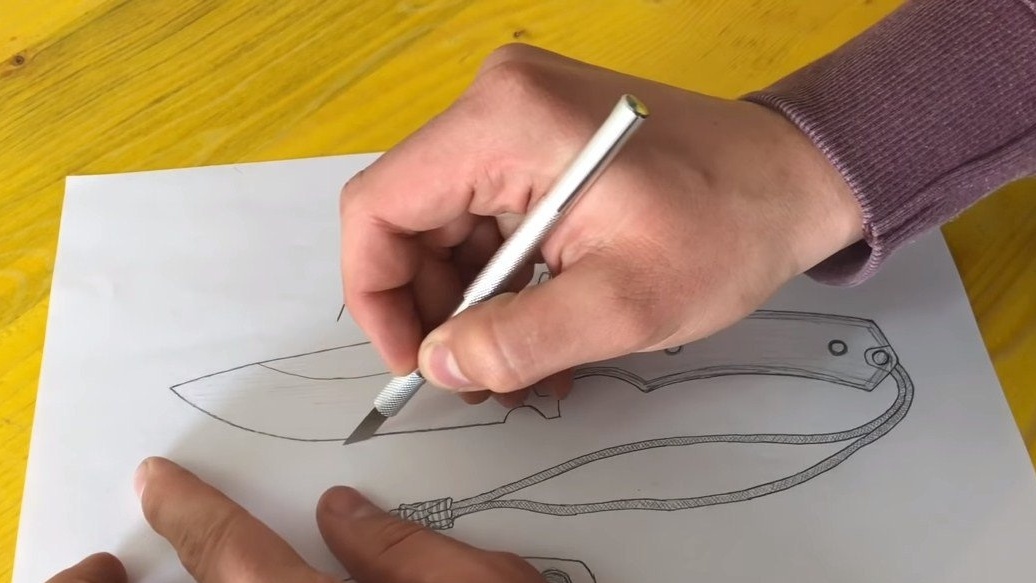
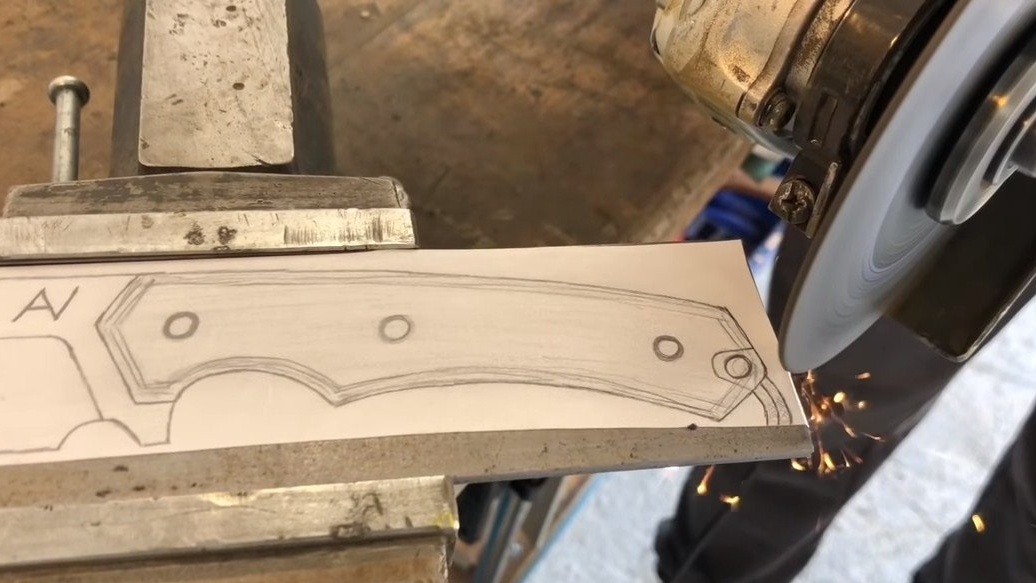
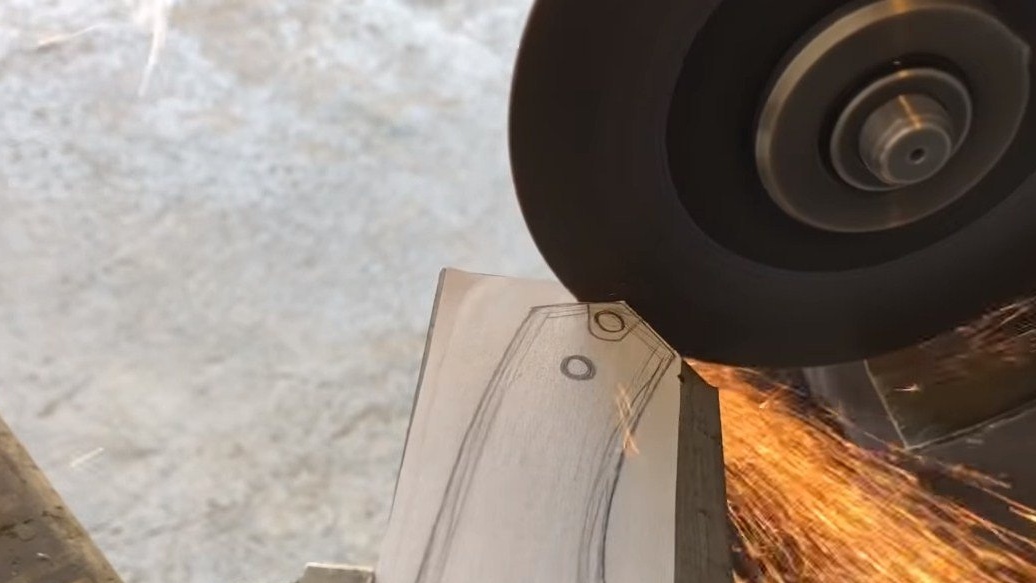
Let's start by cutting out the primary profile, but first we need to make a template. We draw it by hand or look for a suitable one on the Internet, the template can be printed on a printer. If there is no printer, you can try to attach a sheet of paper to the monitor and draw a pencil around the outline, resizing the image to the desired size.
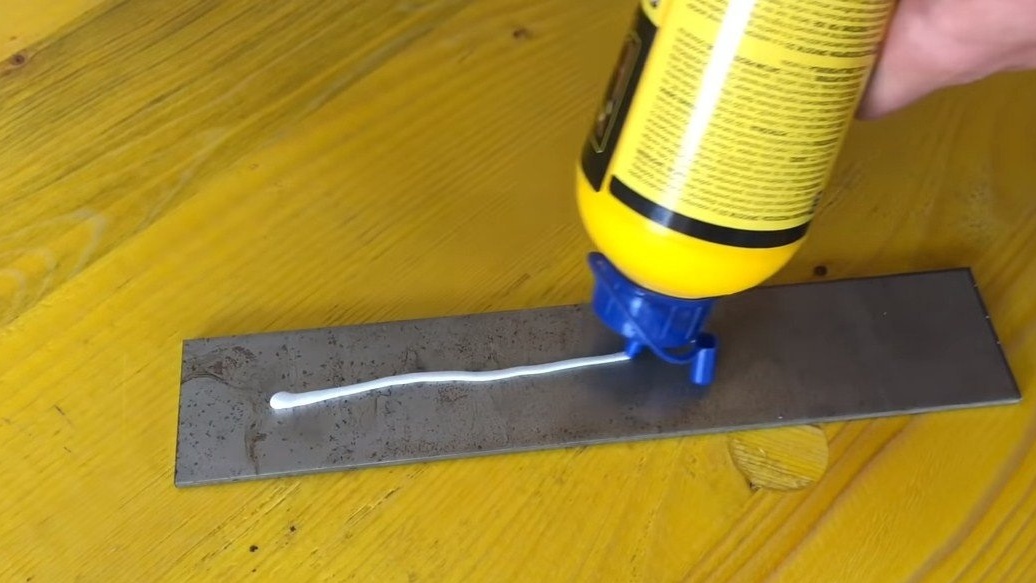
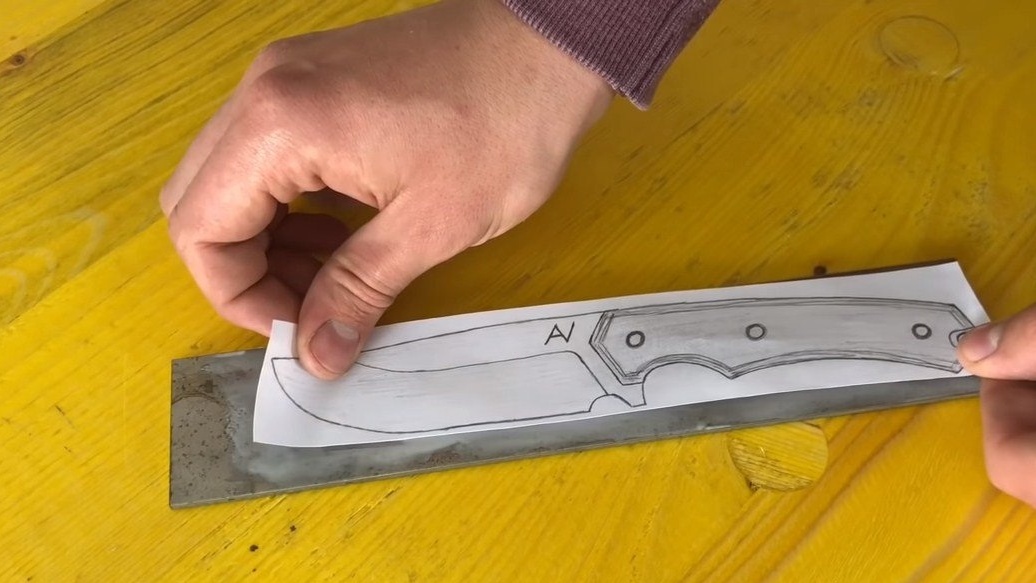
We cut out the template and glue it to steel, now you can start cutting. The main tool for cutting is the grinder, as for the recesses and other problem areas, we cut metal in these sections with pieces. At the end, we go around the contour with a thick grinding disc, remove the cutting defects. And if there is a drill, it will be convenient to refine some places with it.

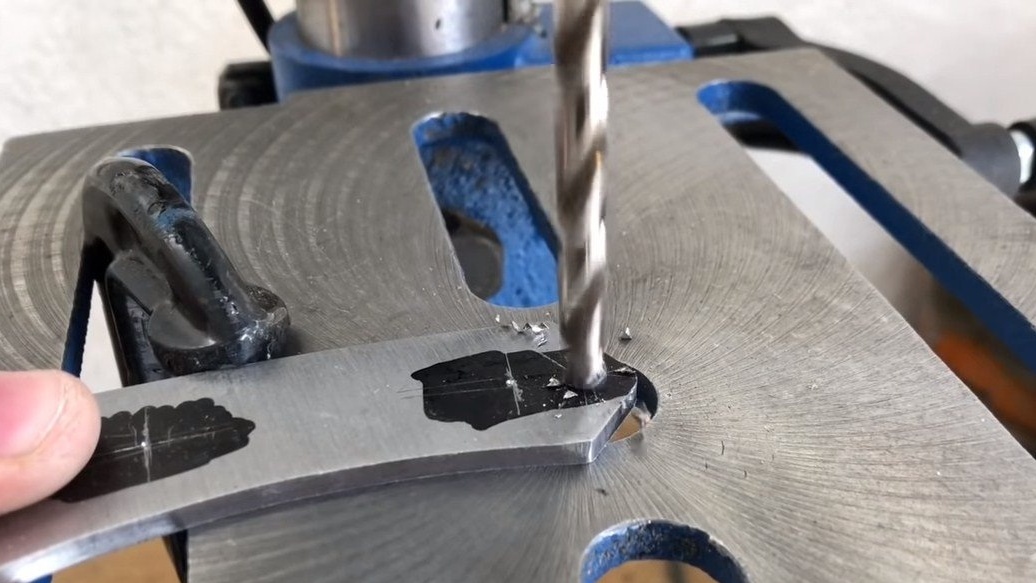
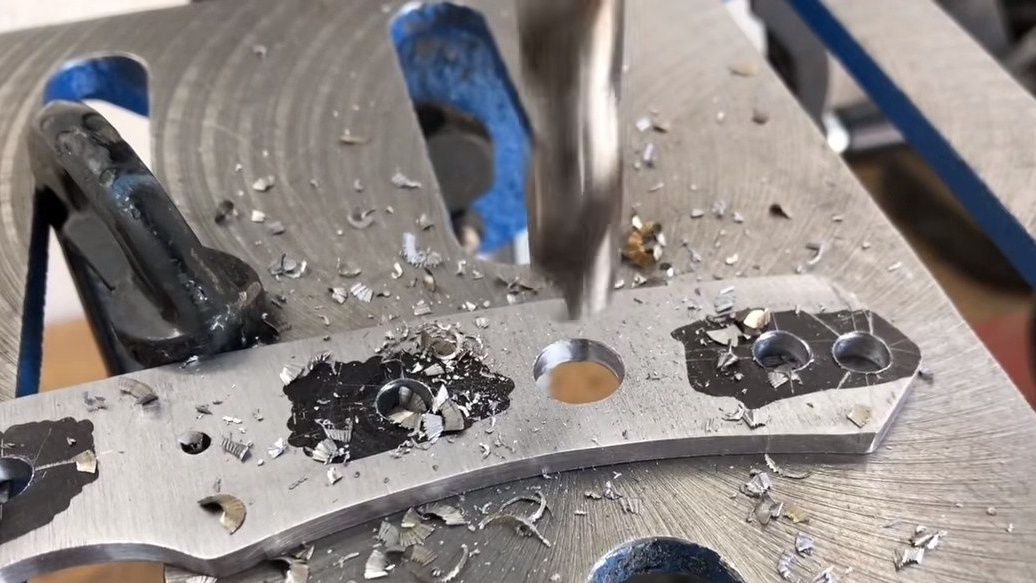
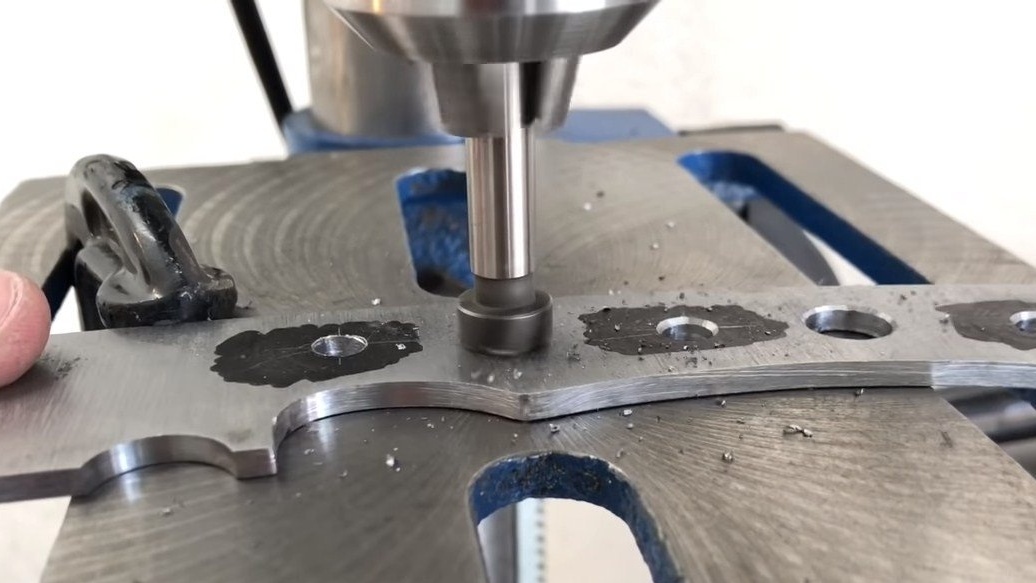
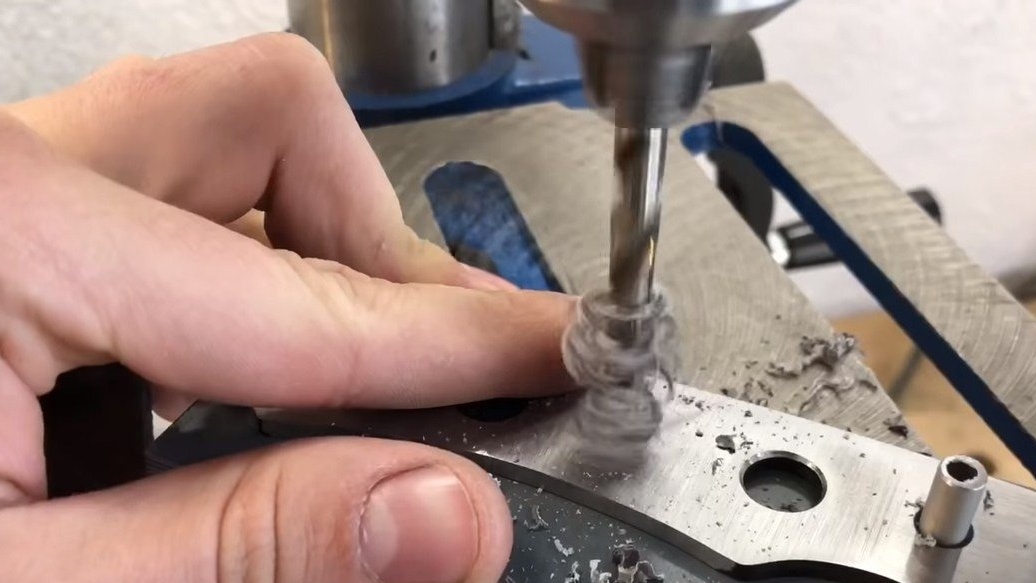
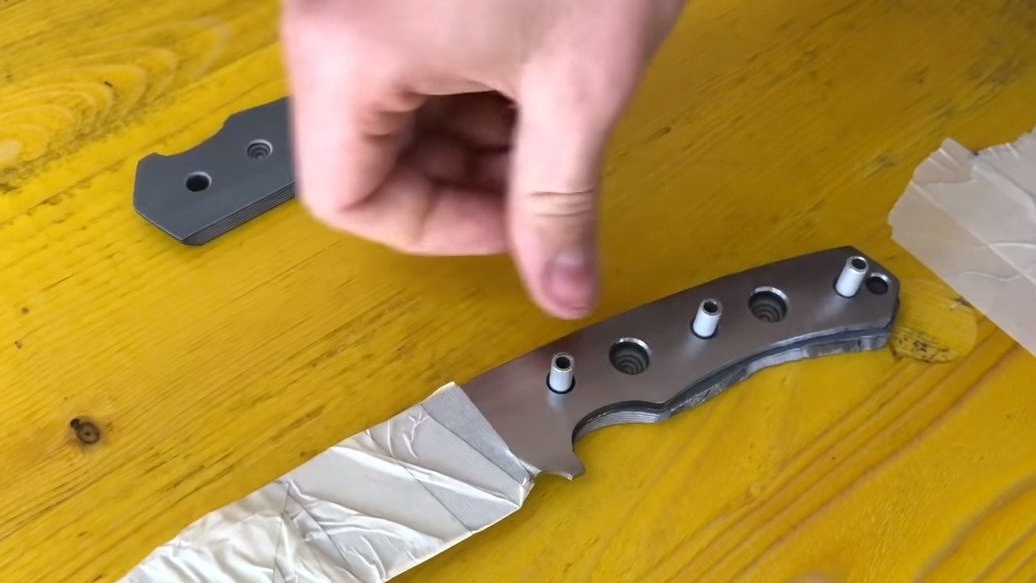
Step Two Handle revision
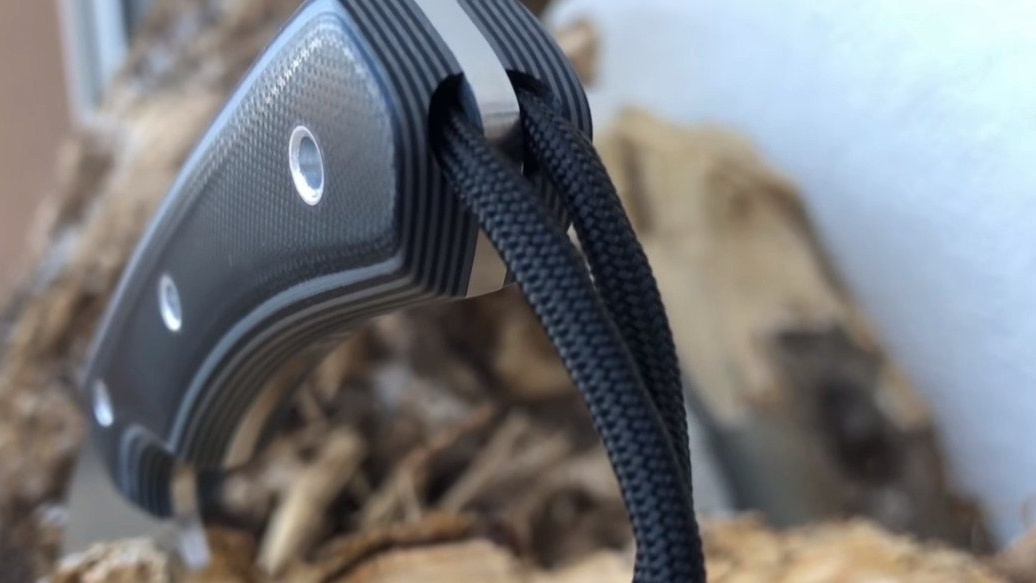
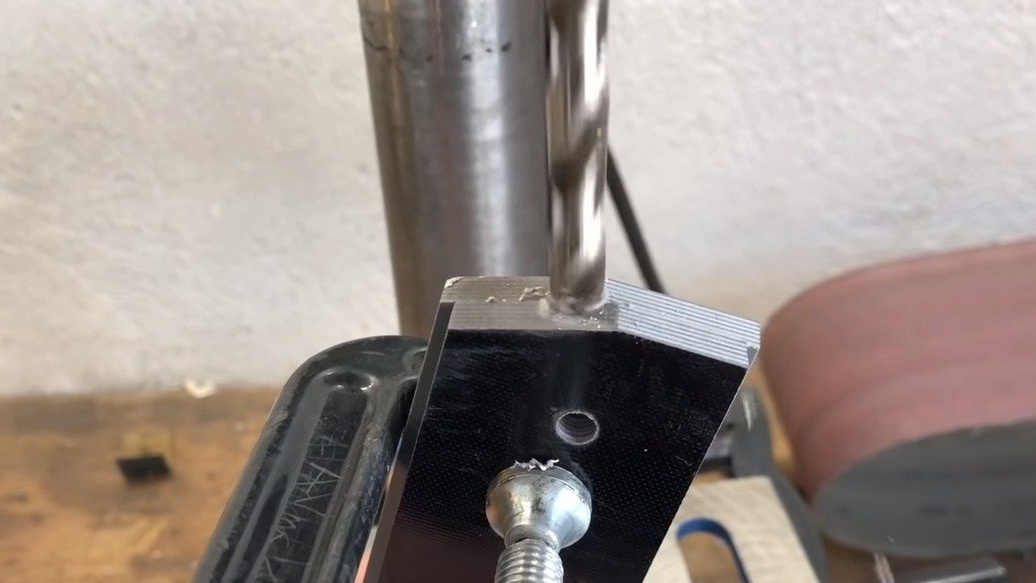
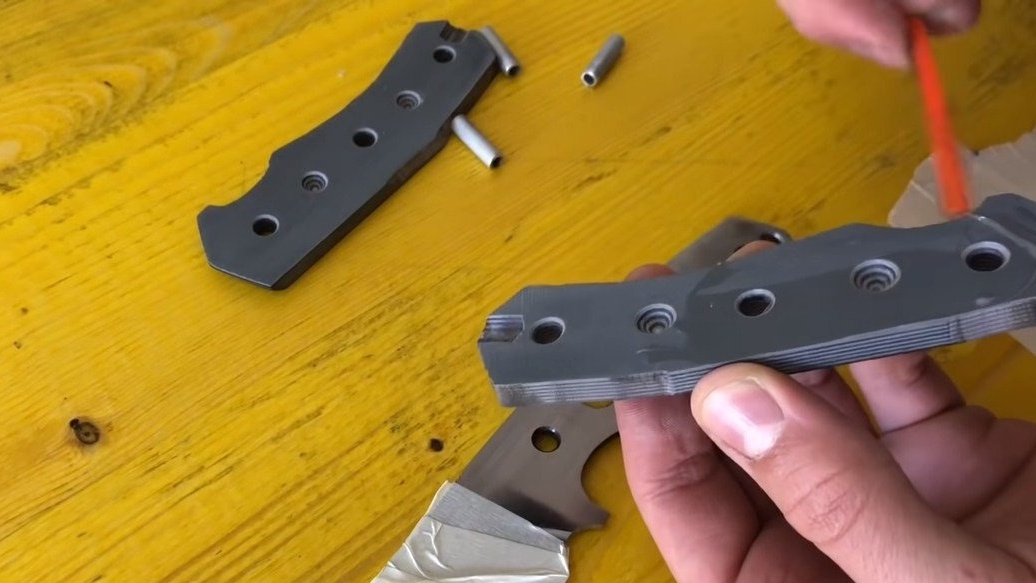
We will finalize the handle, namely, here we need to drill a series of holes. First of all, we need holes for the pins, the pins must go into them tightly. The author also drills additional holes, they are needed to make the handle easier.Thanks to a heavier blade relative to the handle, it will be convenient to chop with a knife and use it in general. In the back, do not forget to drill a hole for installing the rope.

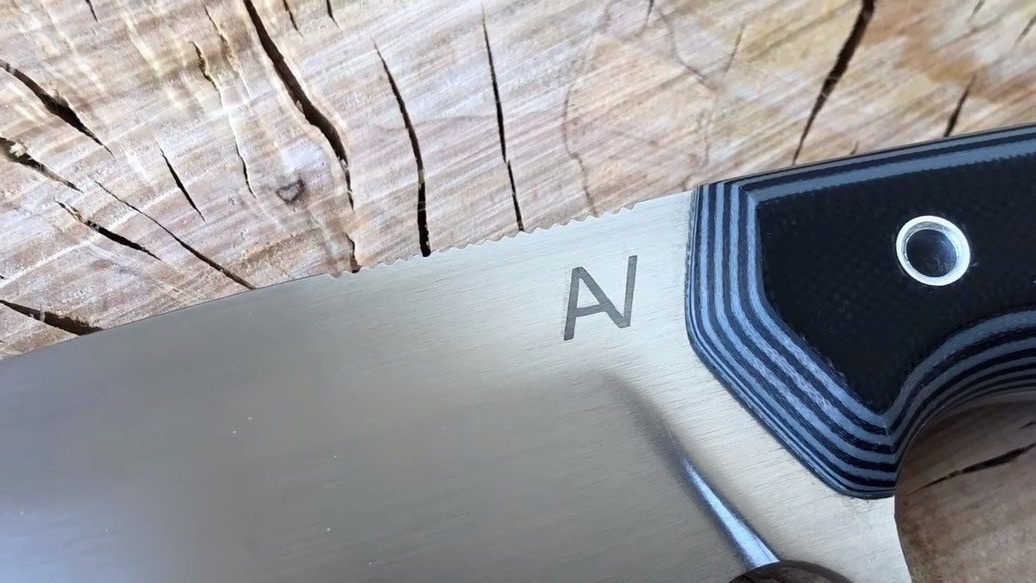
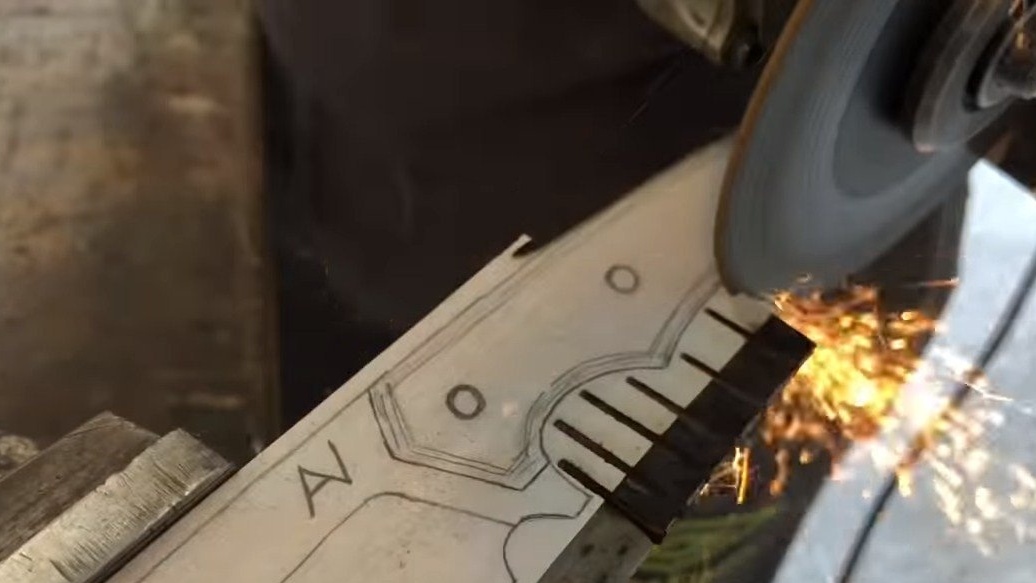
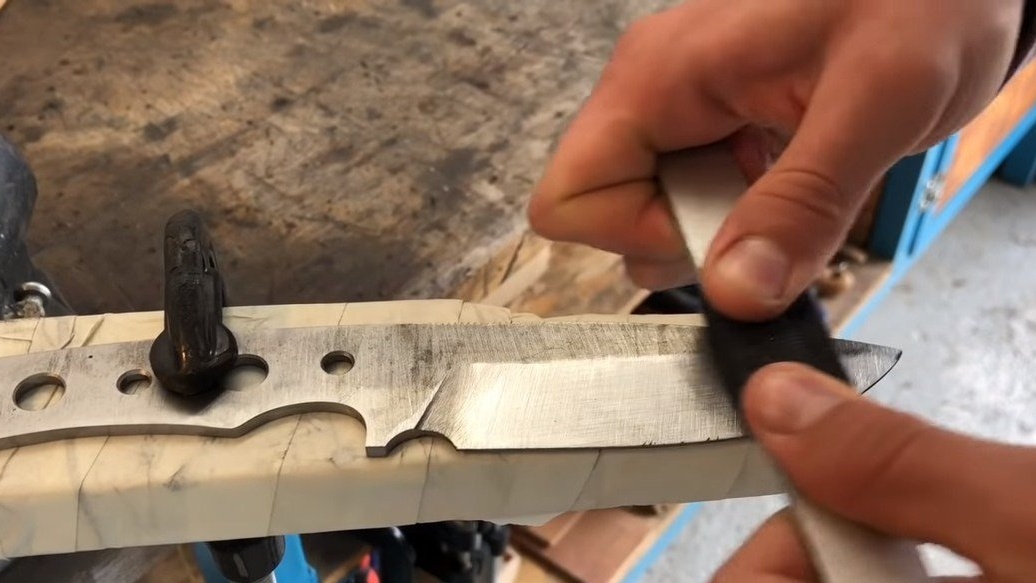
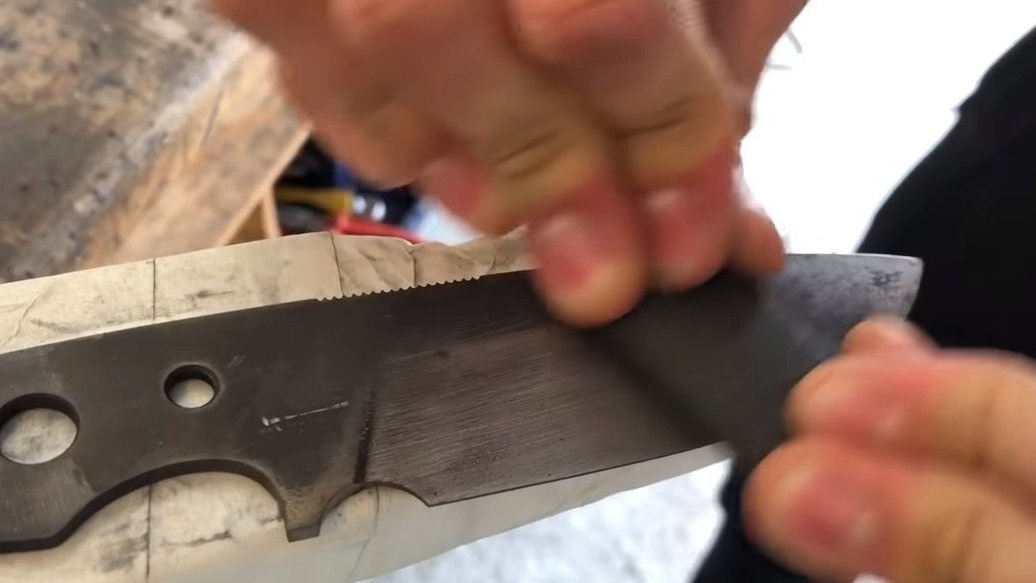
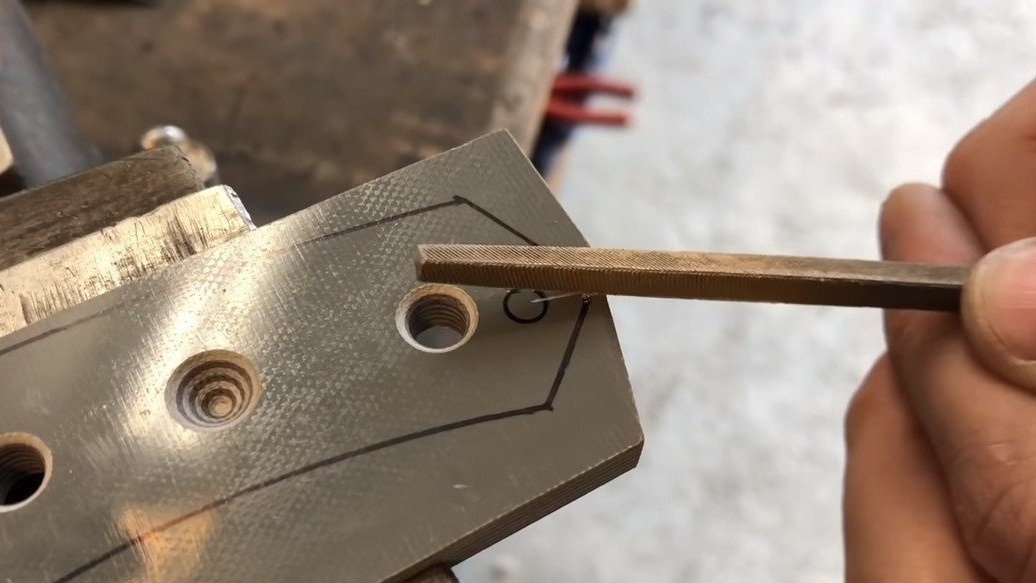
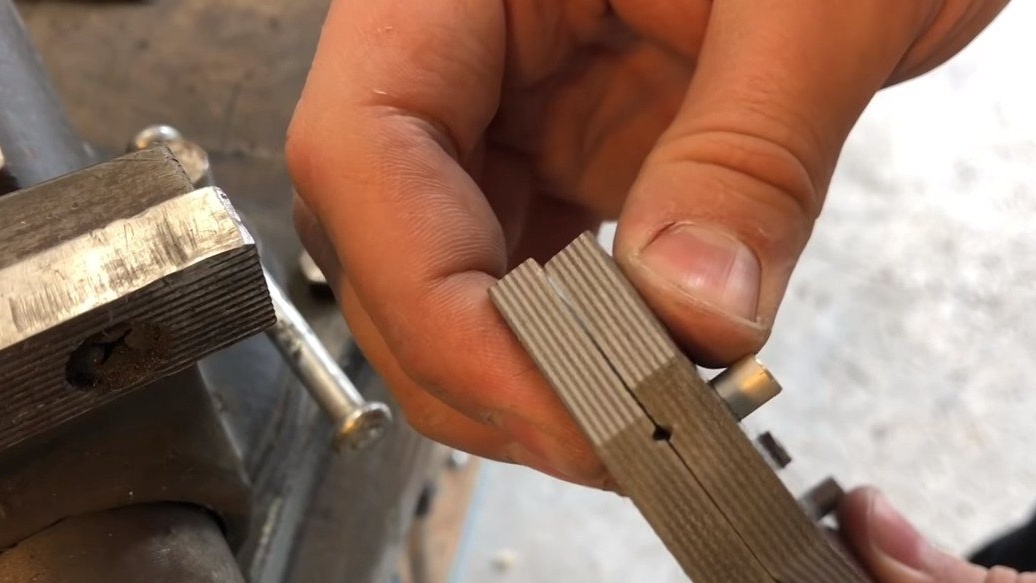
Step Three Cloves
If desired, cloves can be formed on the butt of the knife. They may be needed when you need to grind something and so on. For their formation we use a special file. Steel has not yet been hardened, so the file easily grinds metal.

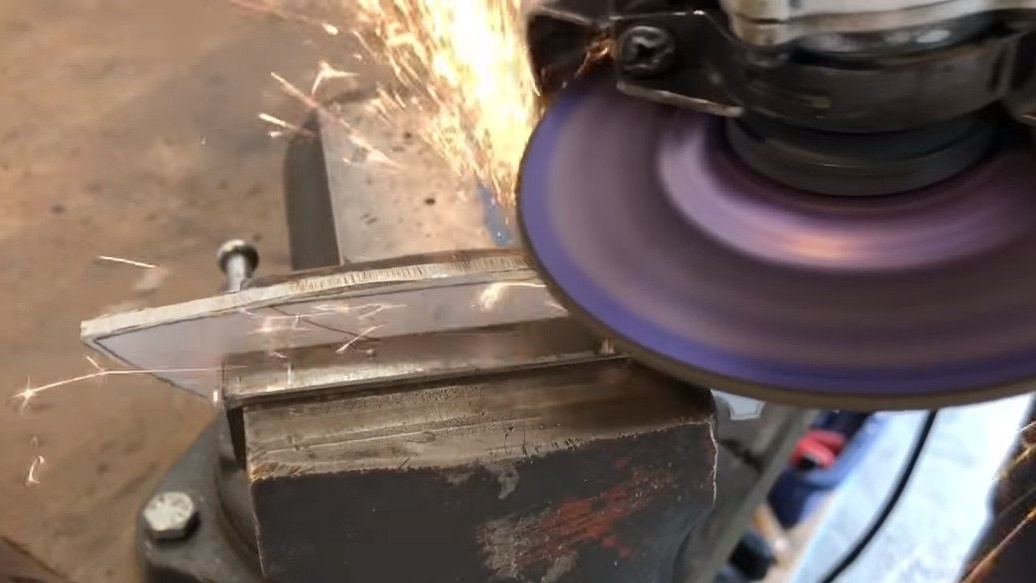
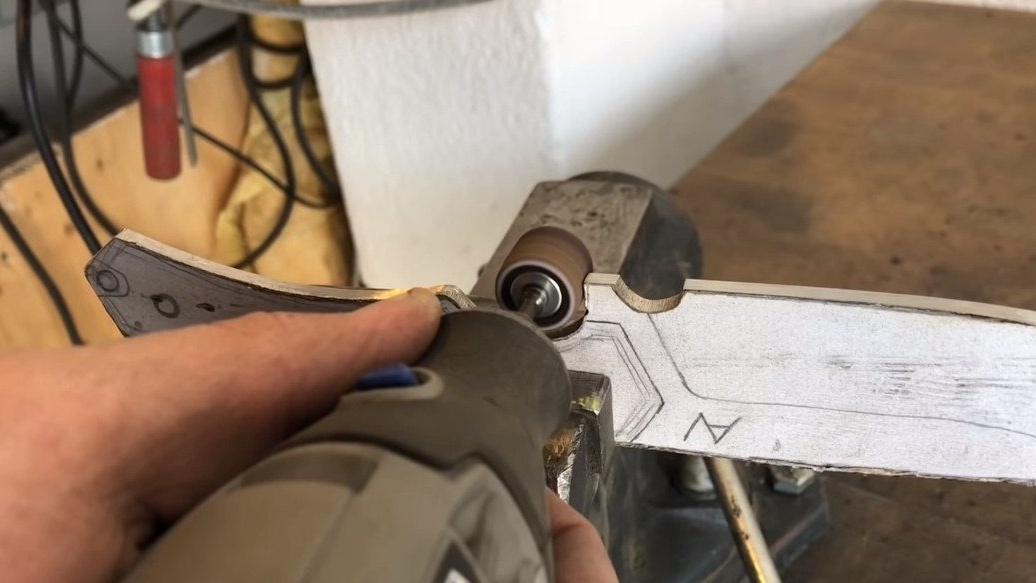
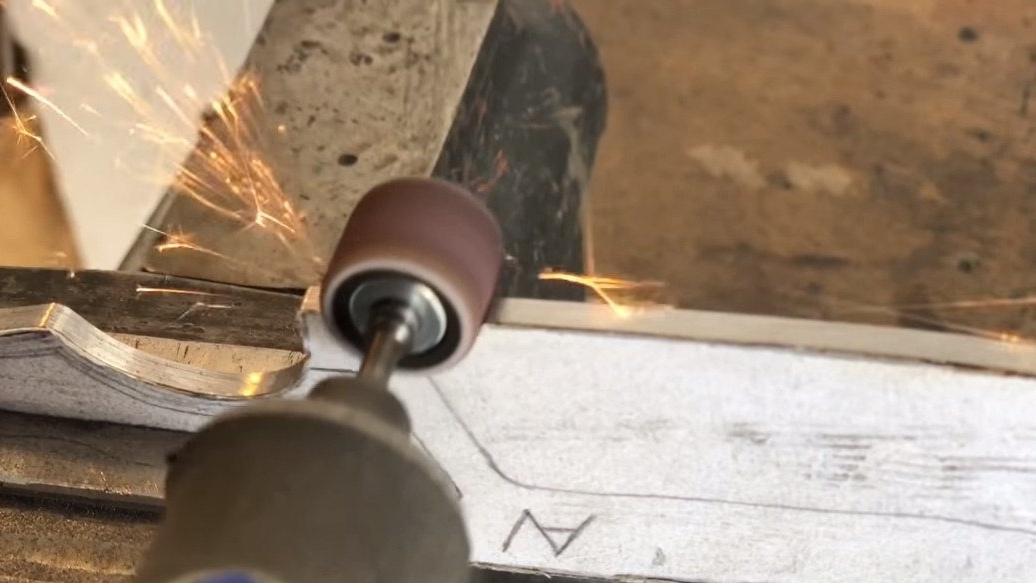
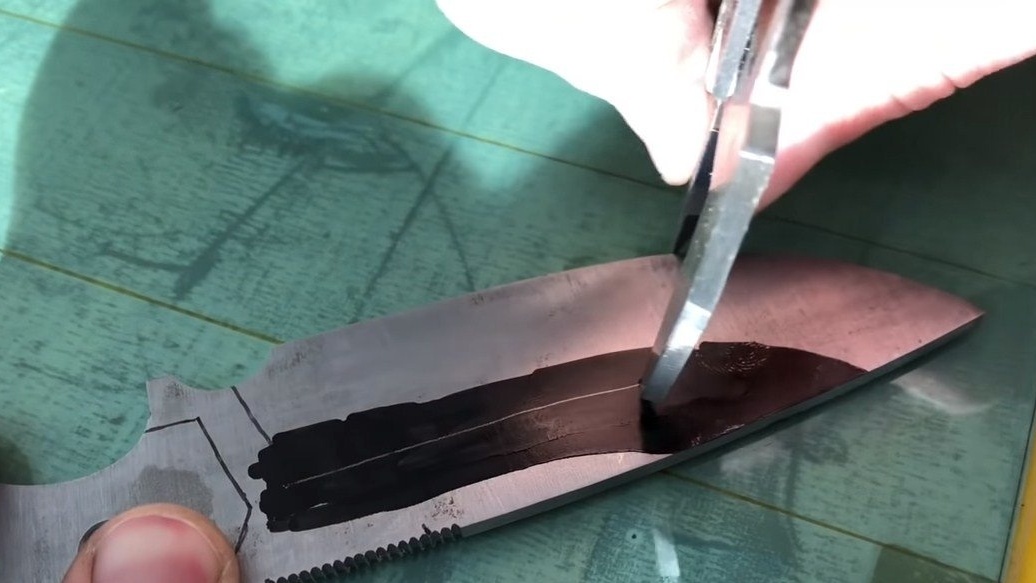
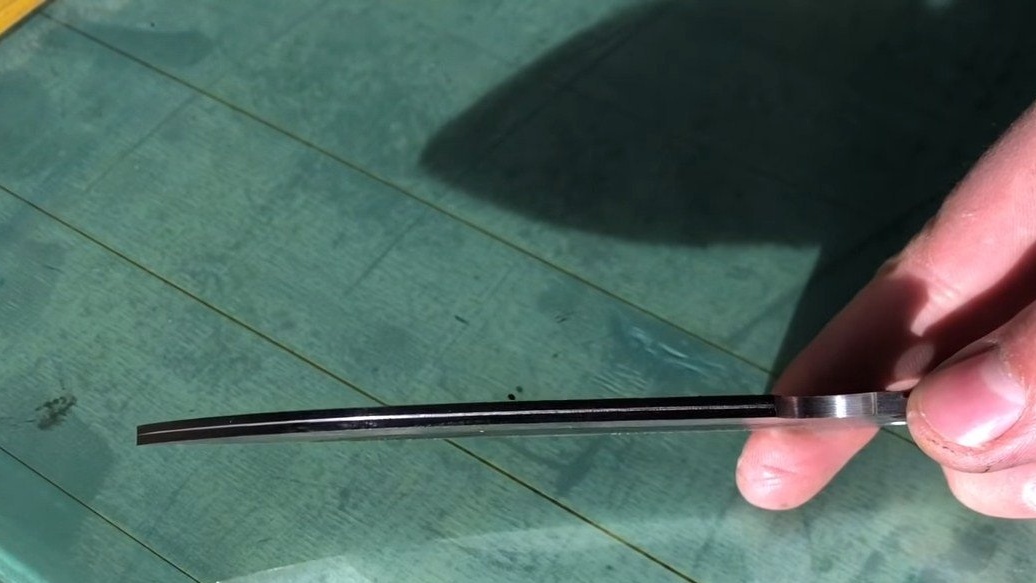
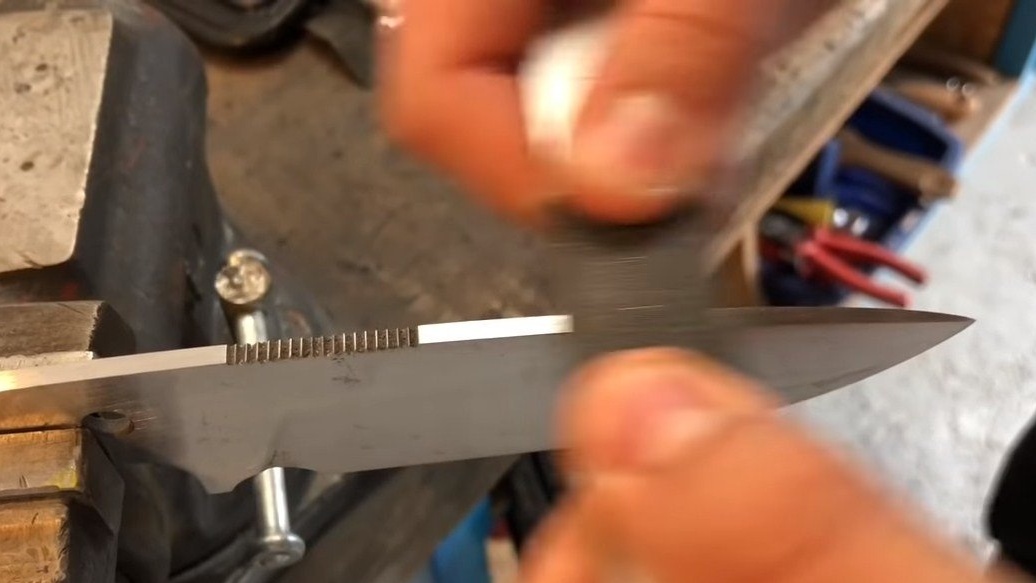
Step Four Bevels
We make bevels or slopes, as they are also called. The smoothness of the blade will depend on their width, when the bevels are wide, the blade is thin and sharp, which allows the knife to cut well. But do not forget that a thin blade can not withstand heavy loads.
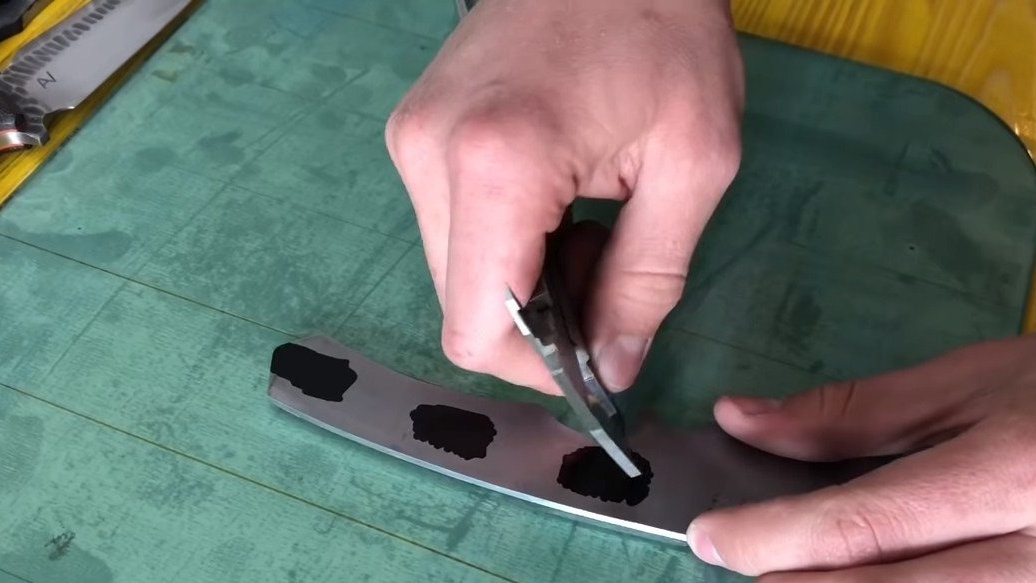
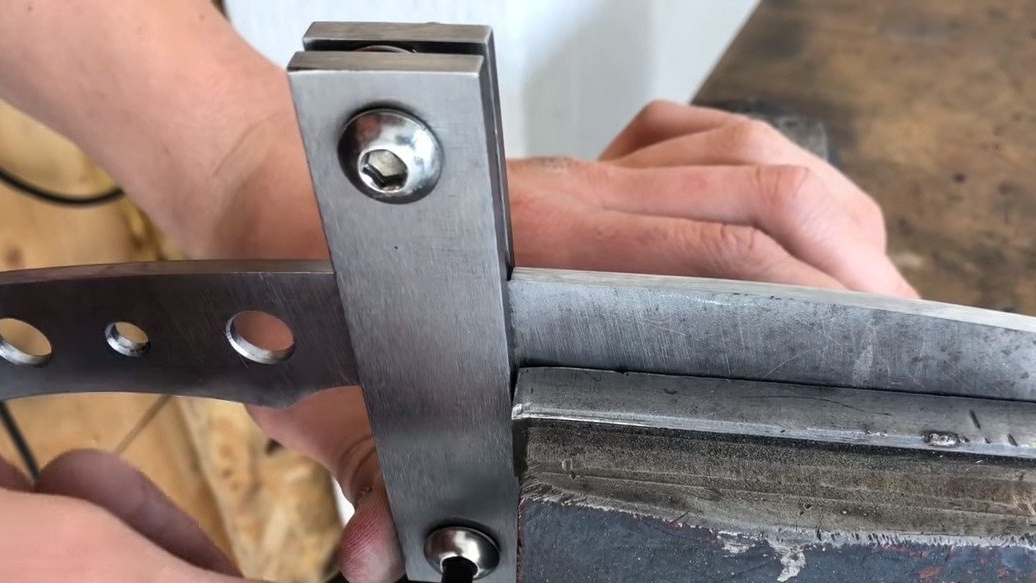
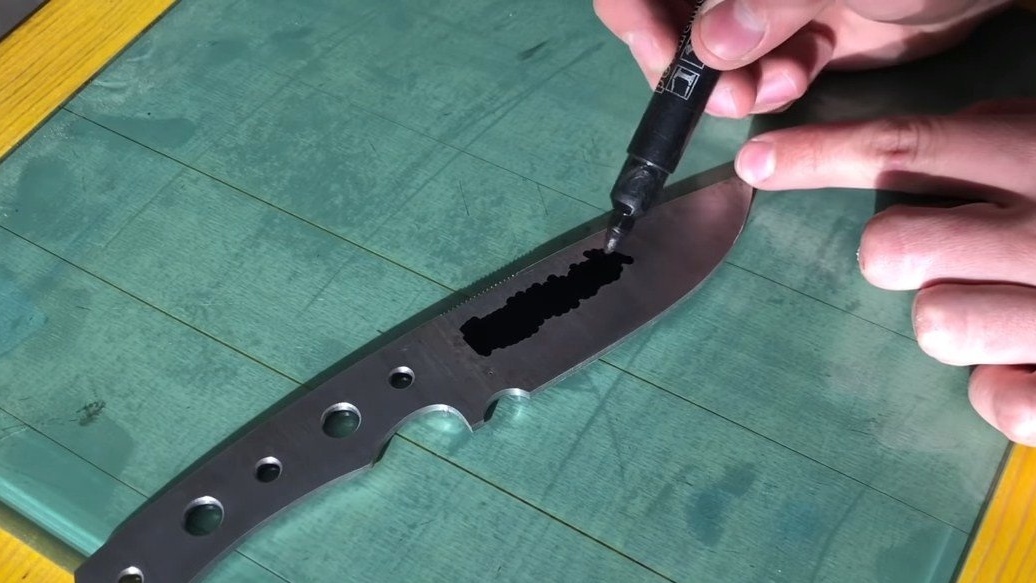
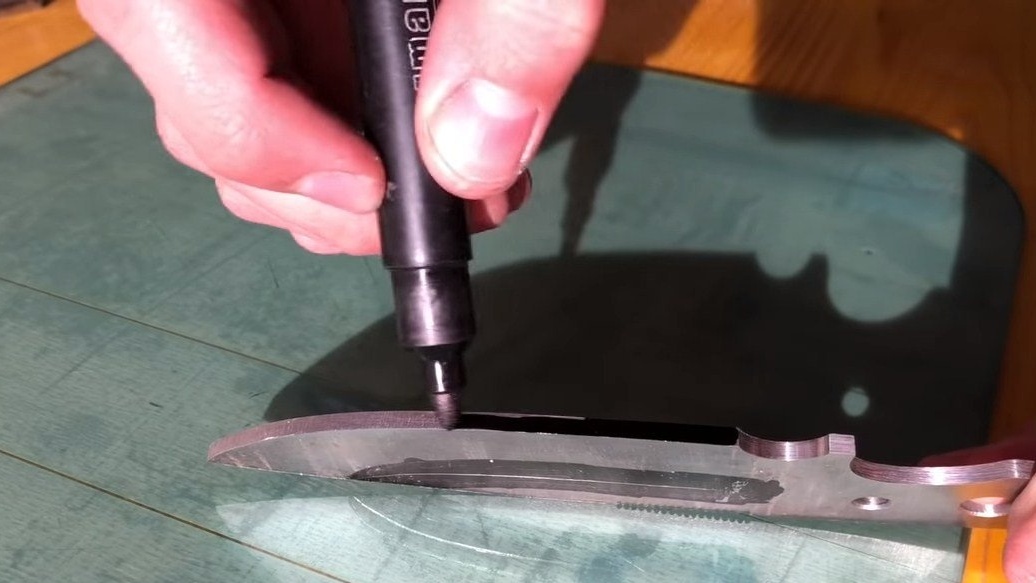
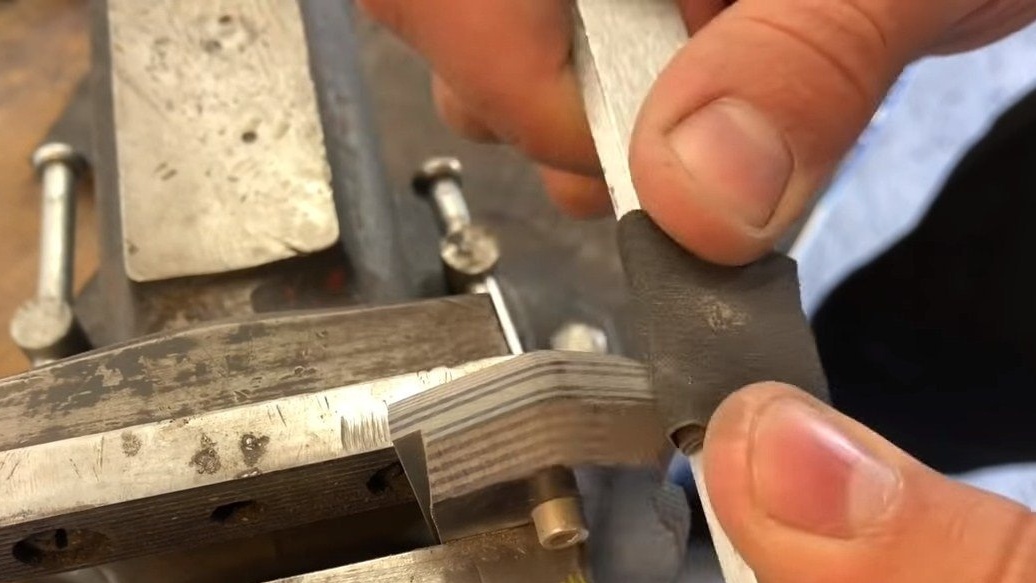
Before forming the bevels, you must first make markings on the knife. To make the line clearly visible, paint over the blade in the right places with a black marker.

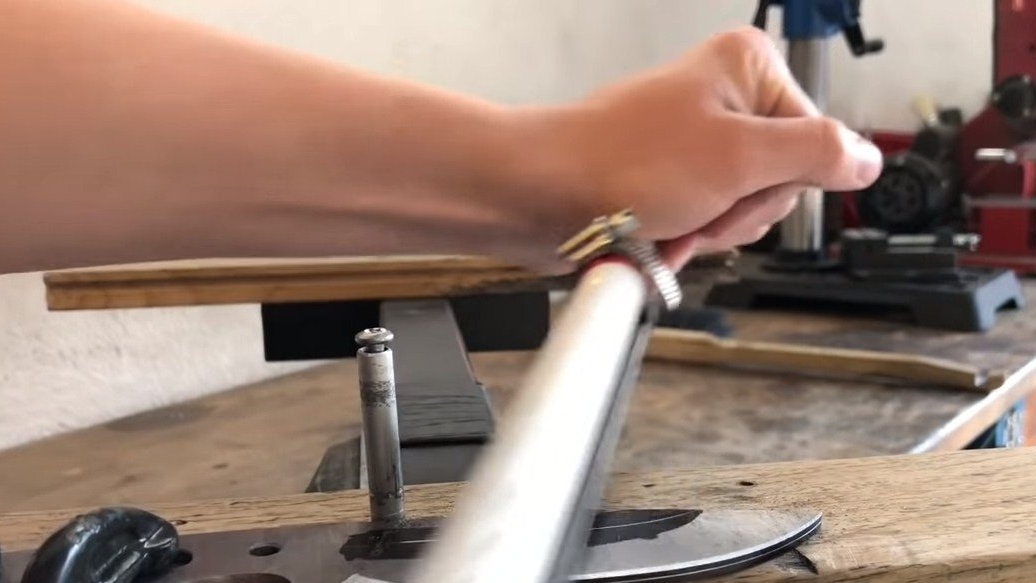
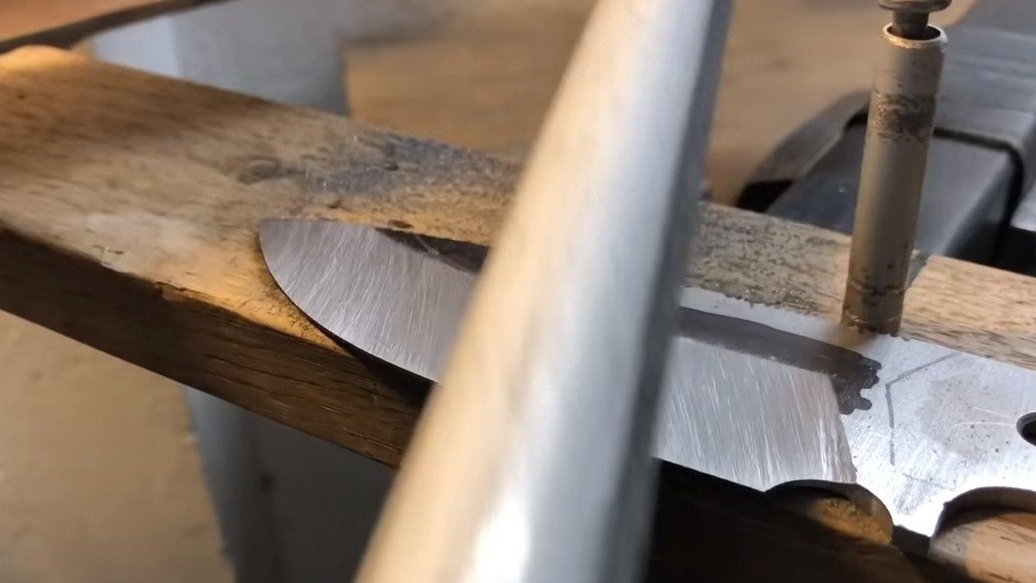
Next, we get to work, it is done using a file for metal, which the author attached with clamps to the sewer pipe. We press the blade to the table with clamps and get to work. A little time and effort, and now we have formed better bevels on the blade. After such rough work there will be deep scratches on the blade, we remove them by sanding with sandpaper.
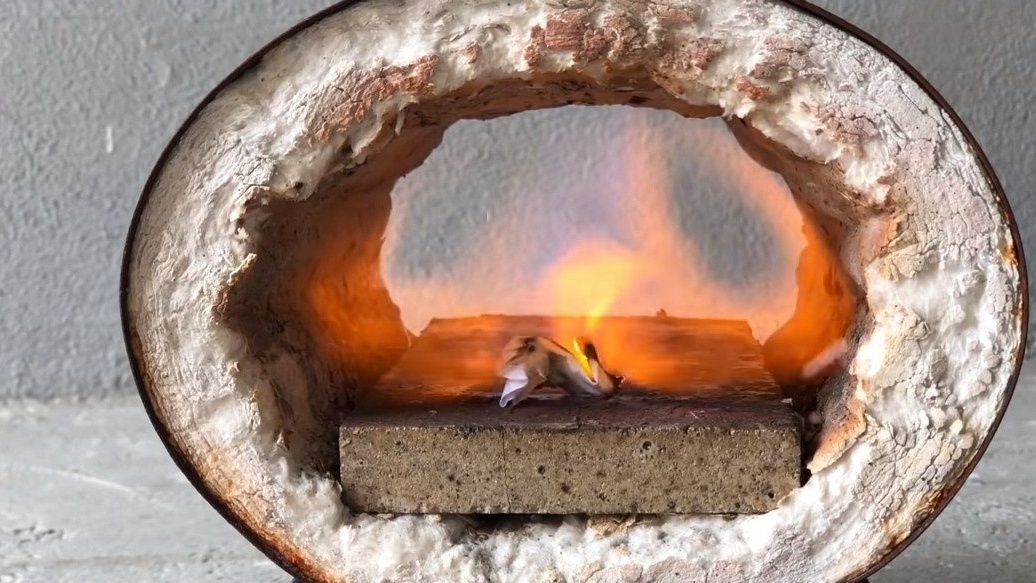
Step Five Heat treatment
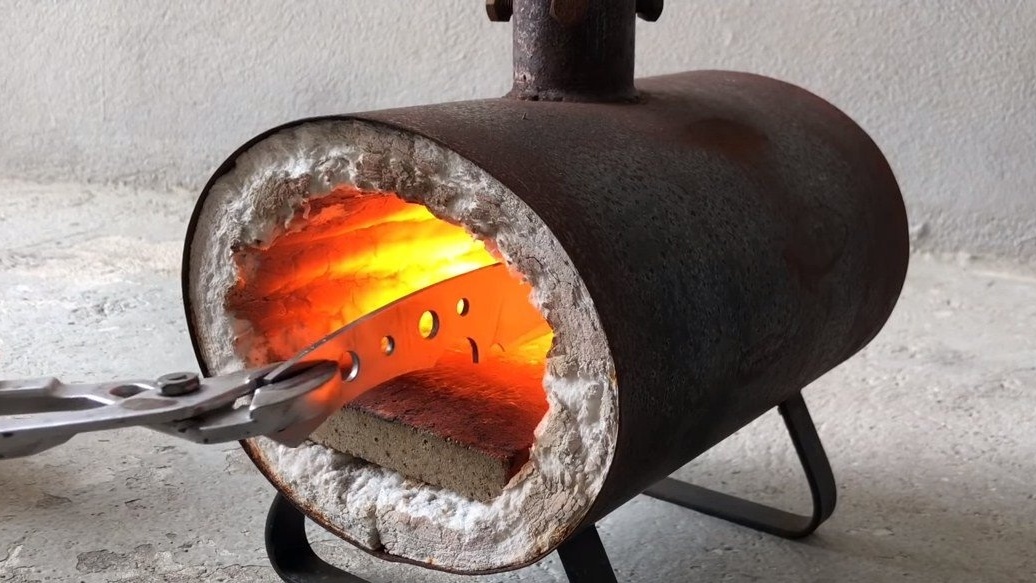
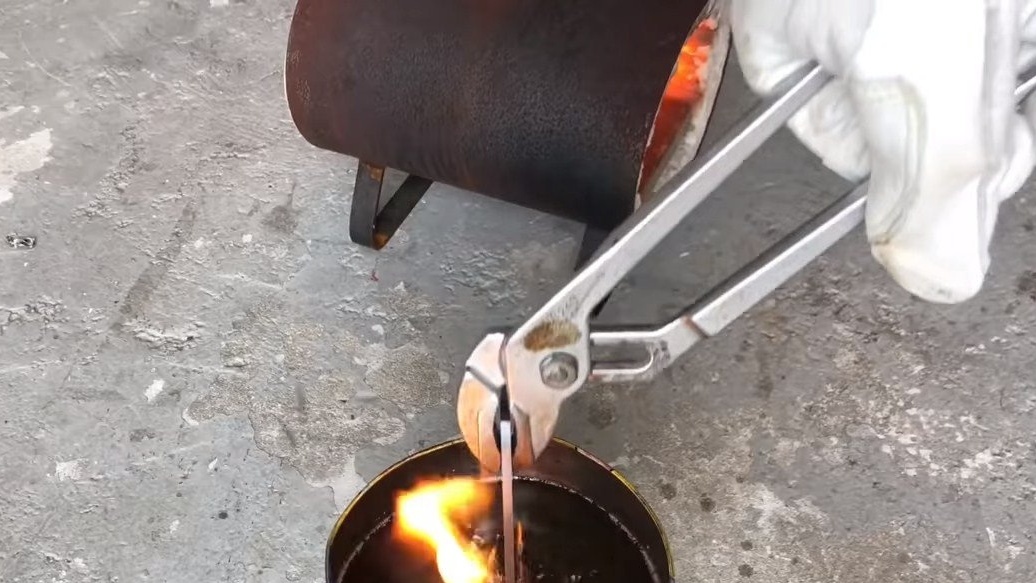
When the blade is ready, you can give the steel maximum hardness, for this we heat the steel to a uniform yellowish glow, and then lower the blade into oil. To ensure that everything goes guaranteed well, it is recommended to preheat the oil.
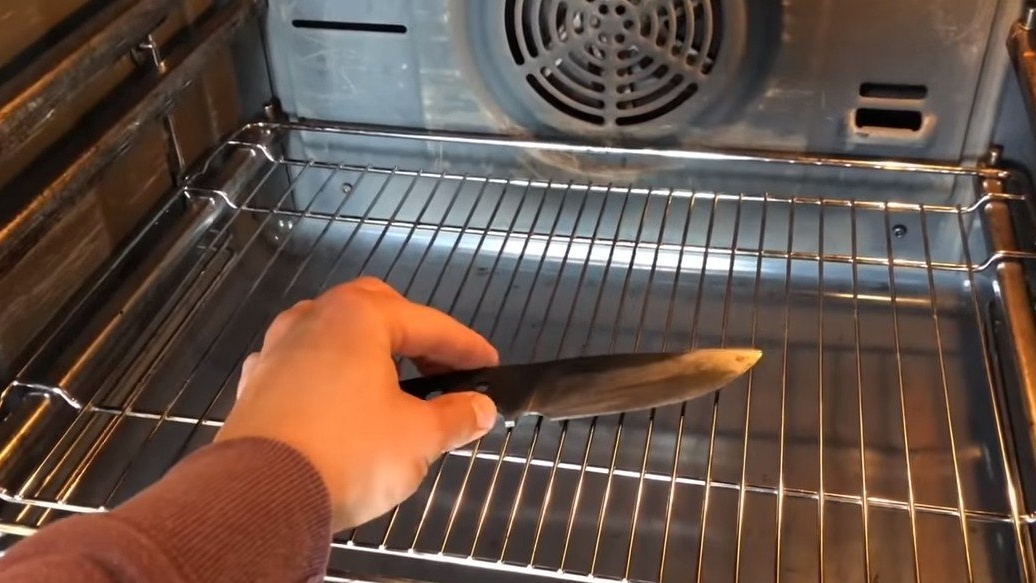
After hardening, the blade should no longer be taken with a file. Now we proceed to the vacation of steel, otherwise the knife will be very fragile, albeit durable. We send the blade to the oven for two hours and heat it at a temperature of 200 degrees Celsius. At the end of the procedure, the blade should turn a straw color. But in general, the hardening method and temperature depend on the steel grade; the conditions for each steel grade are individual.
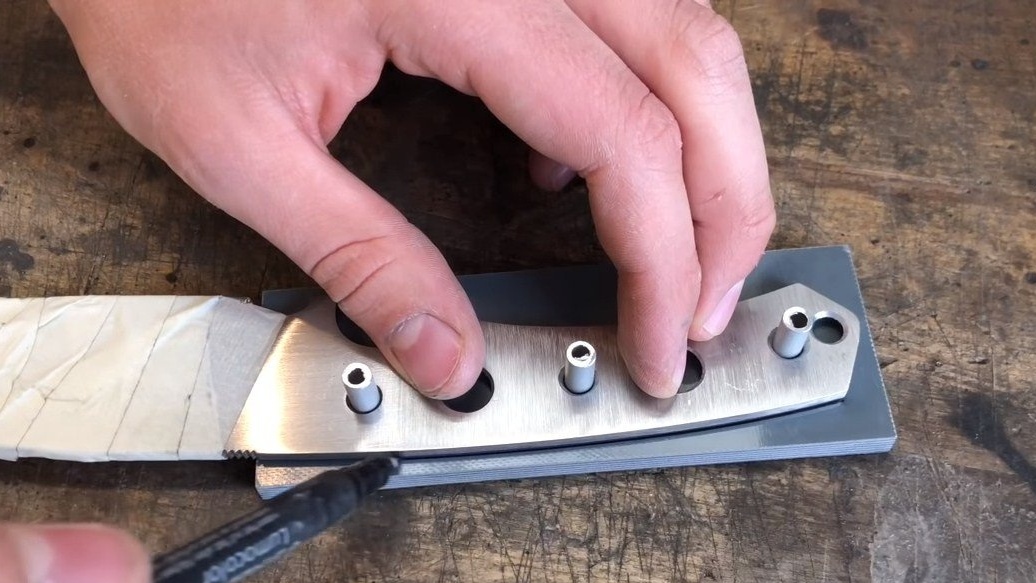
Step Six Lining and pen assembly
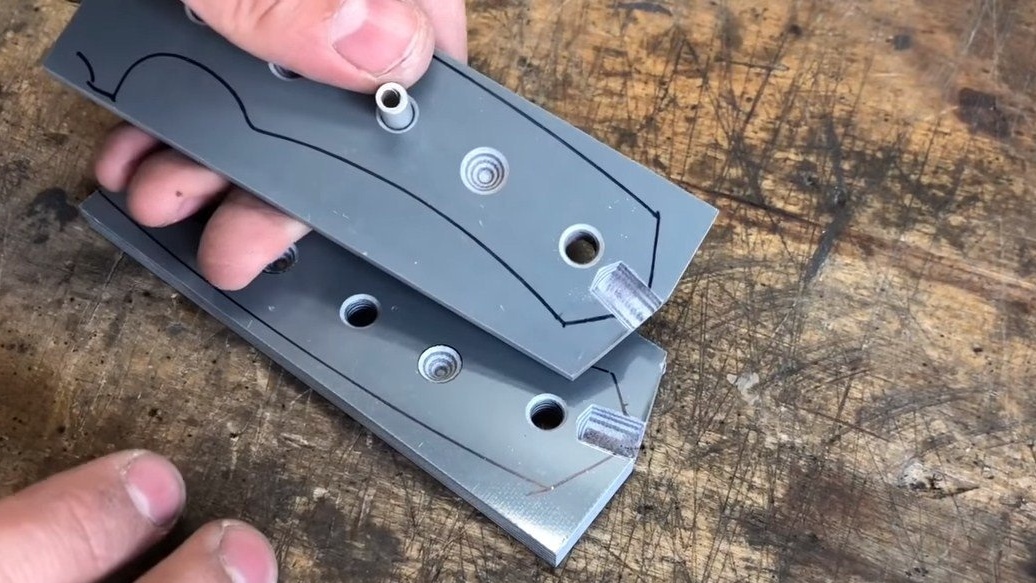
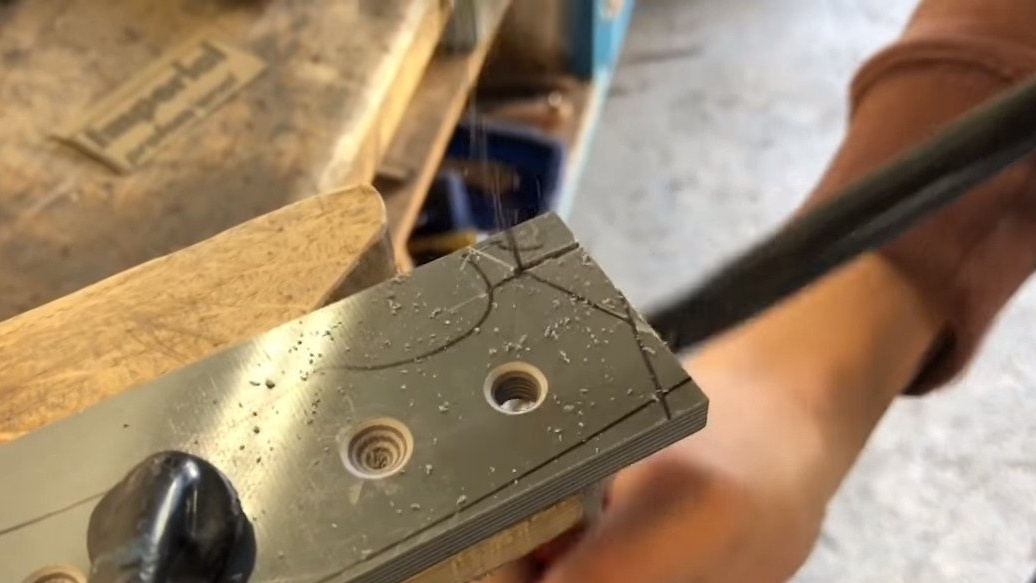
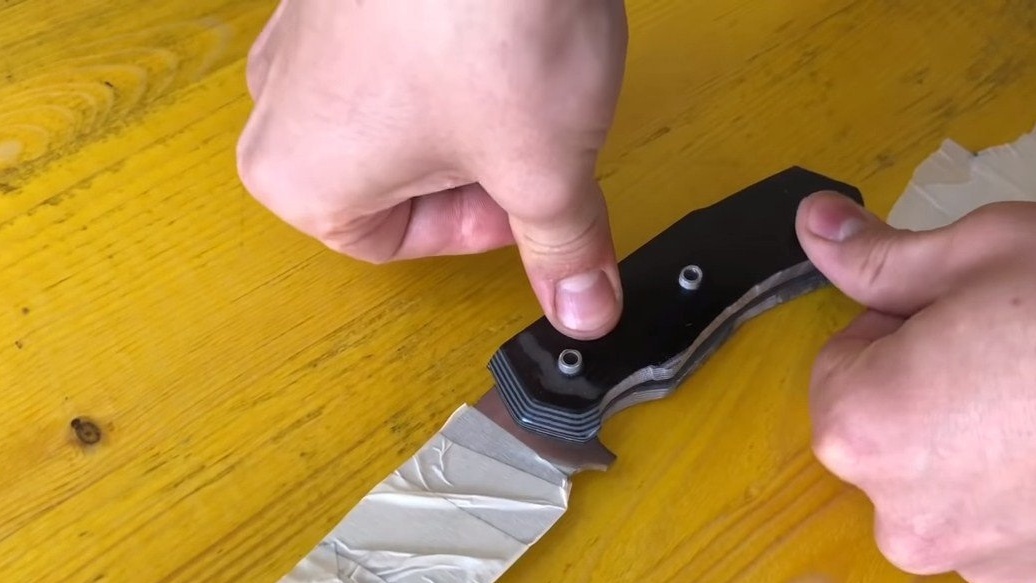
We make the pads on the handle, here we need textolite, since this material is strong, durable and not afraid of water. After hardening, we grind the blade with sandpaper to a shine, take a textolite and drill holes for the pins. Next, we cut out two pads from the PCB approximately in the shape of a handle. For cutting, the author uses a manual jigsaw.
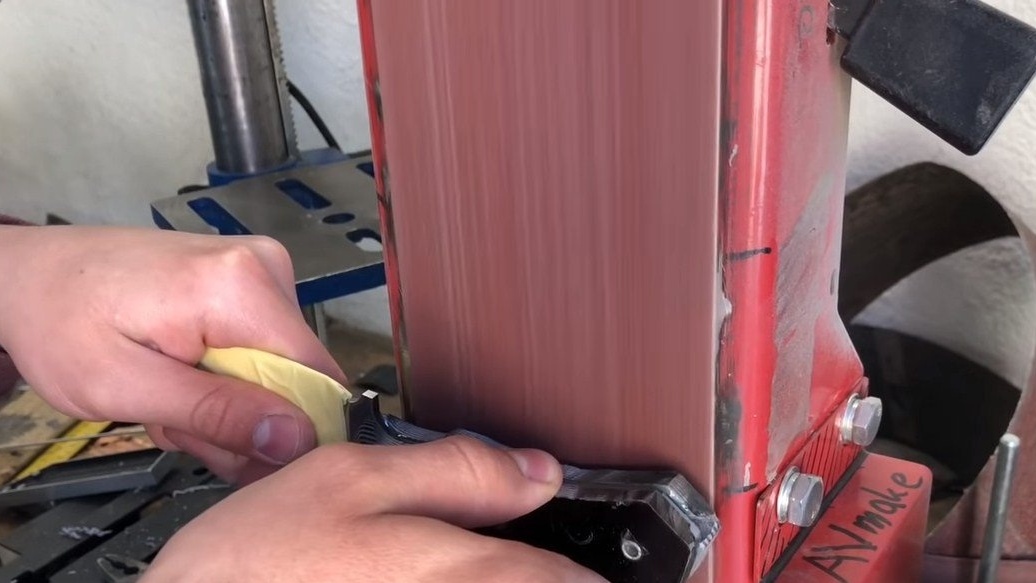
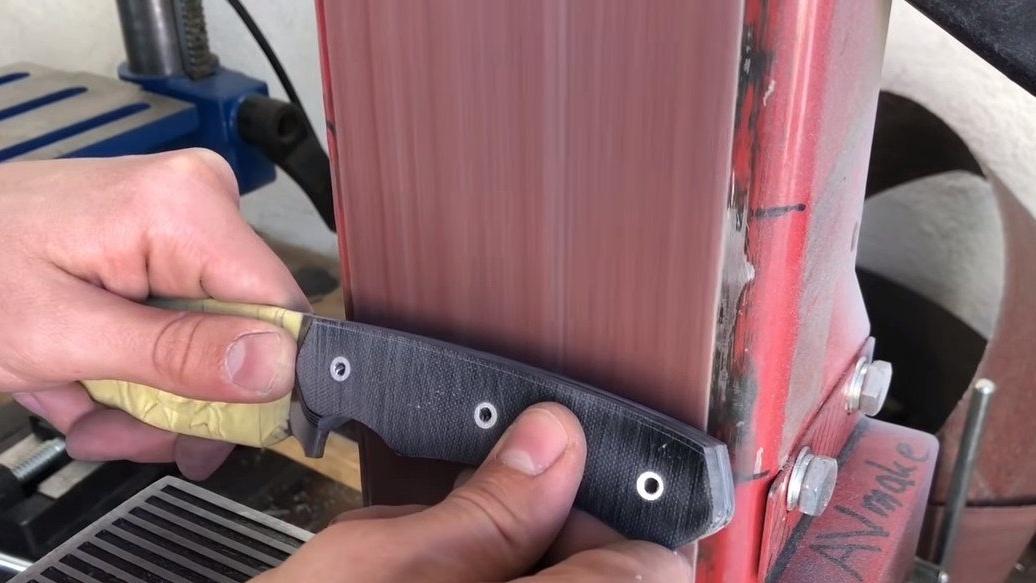
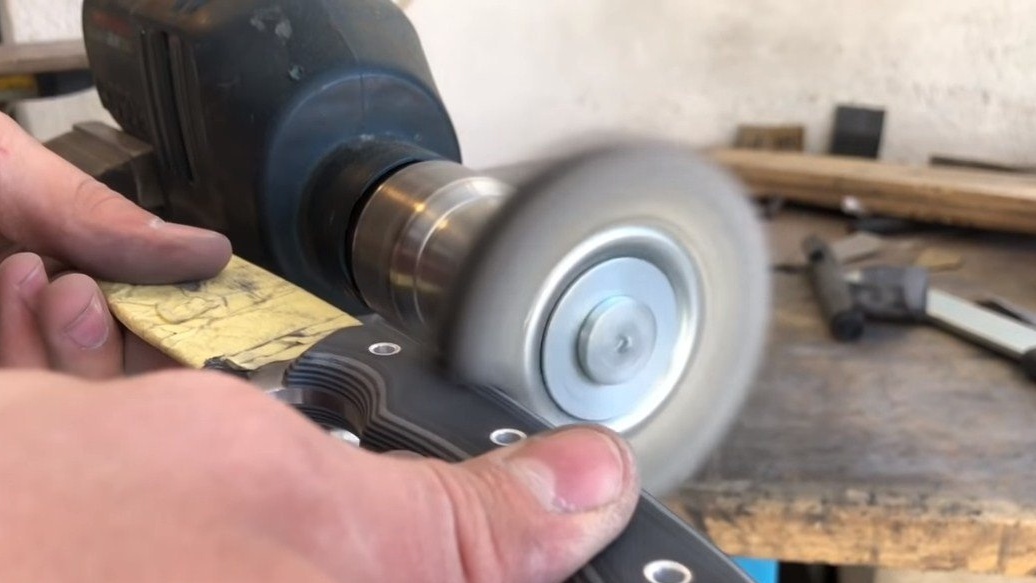
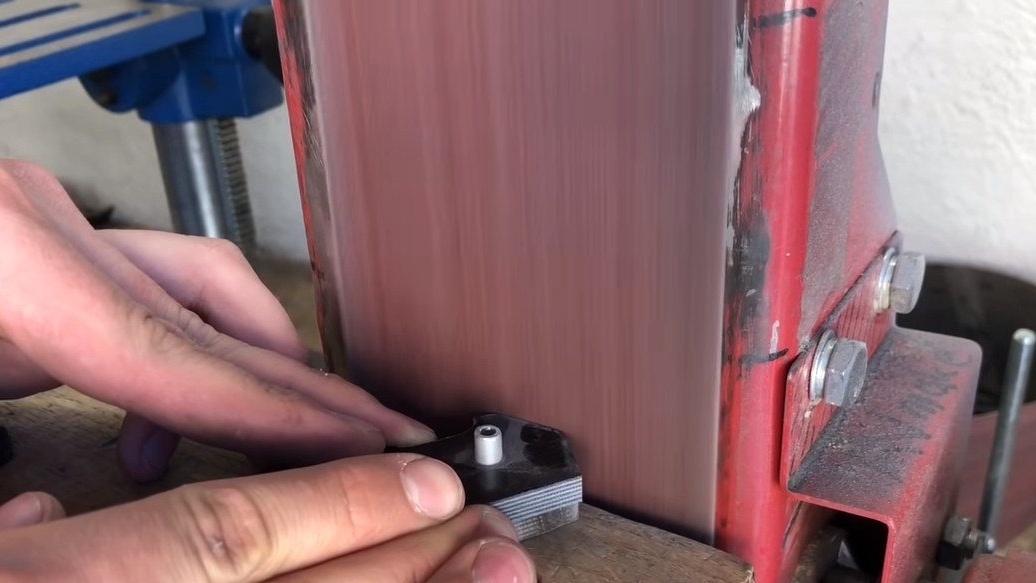
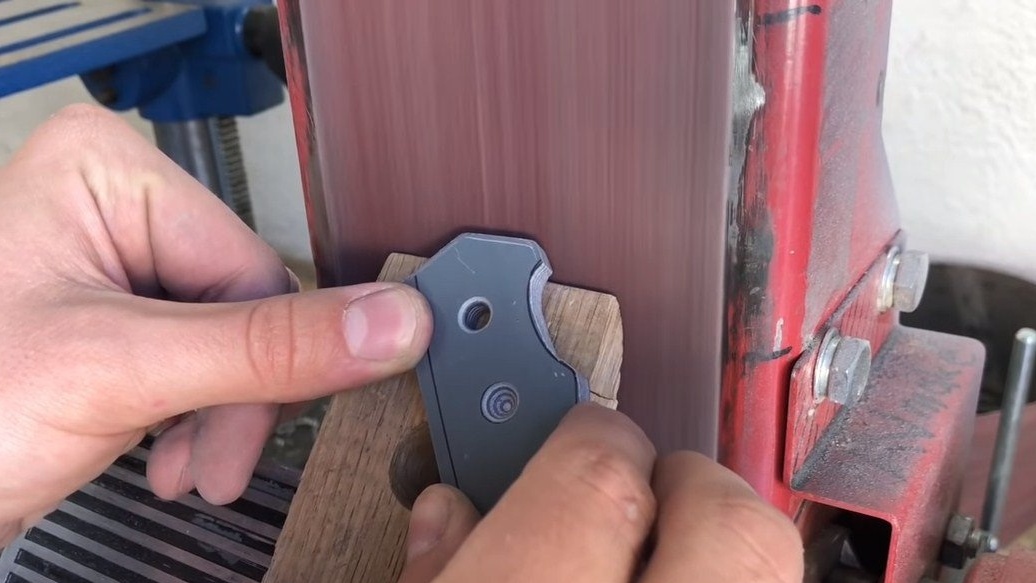
Then, the workpieces can already be mounted on the pins on the knife and grinding the handle on a belt grinder. Finer processing is carried out manually with sandpaper, and in order for the polished surfaces to find a saturated color, they need to be polished.


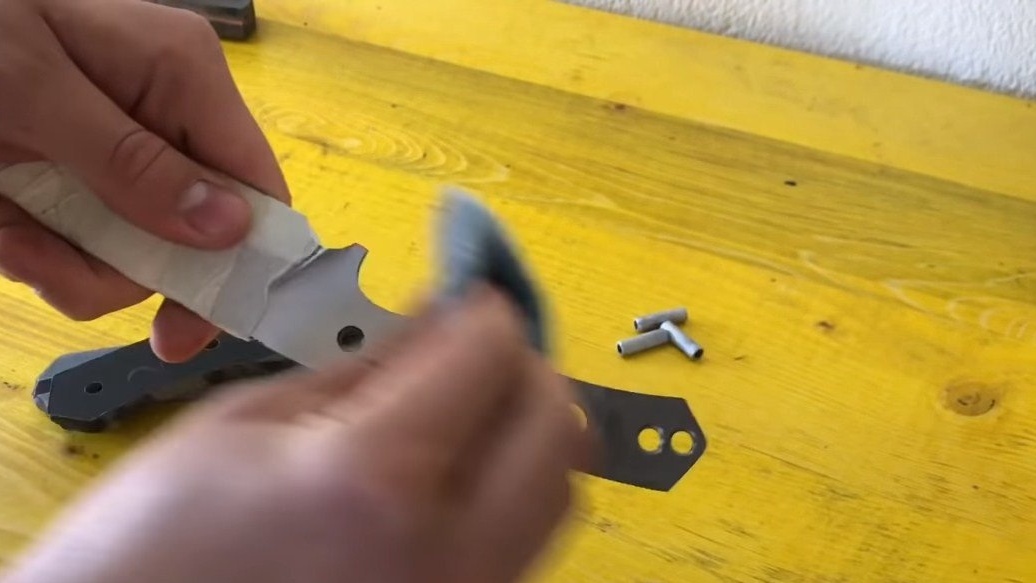

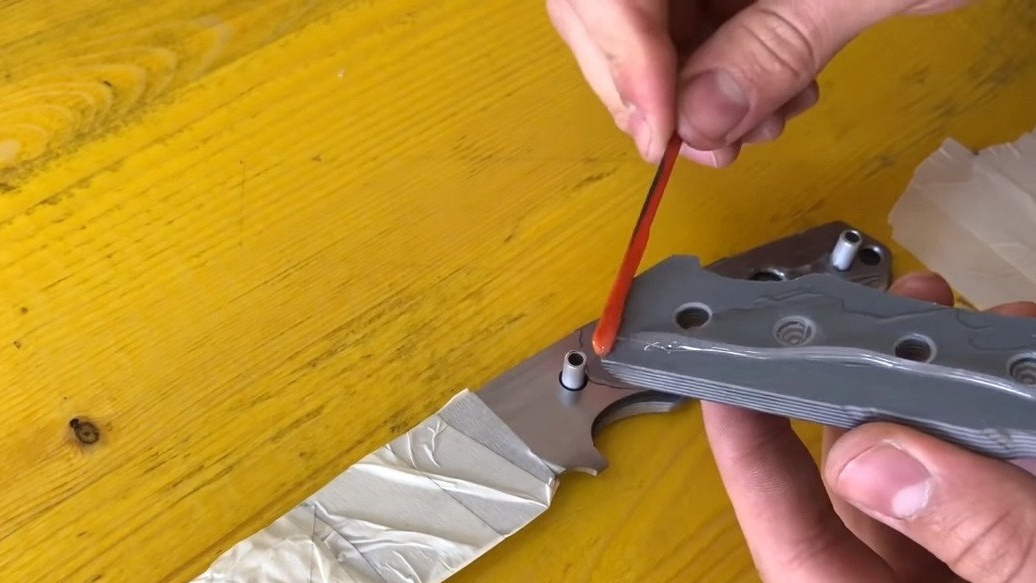
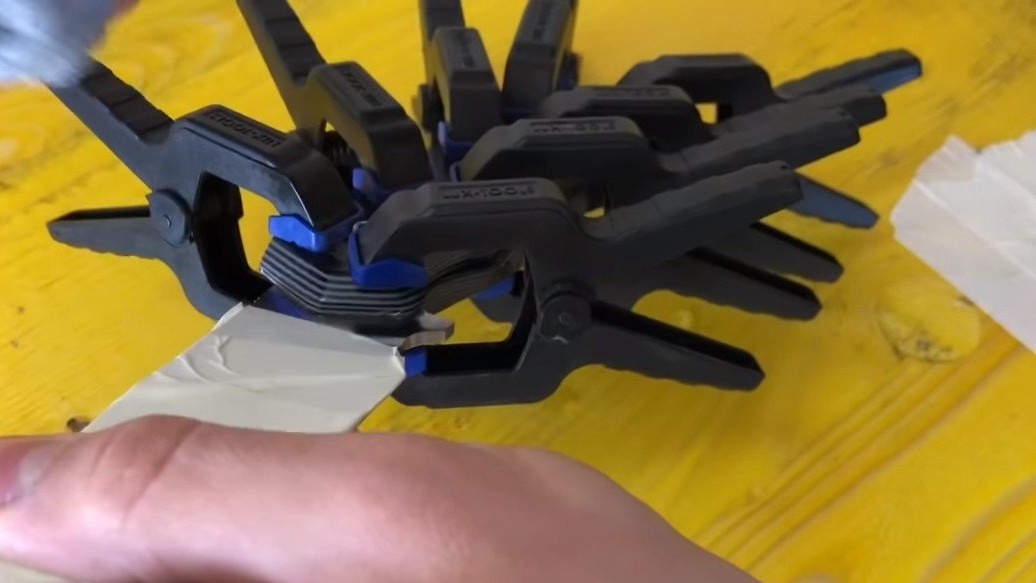
The pads are ready, they can be installed on the handle. For bonding we use epoxy glue, carefully coat them with pads, pins and a handle. Then the handle is well pulled together over the entire area with clamps and sent for drying.
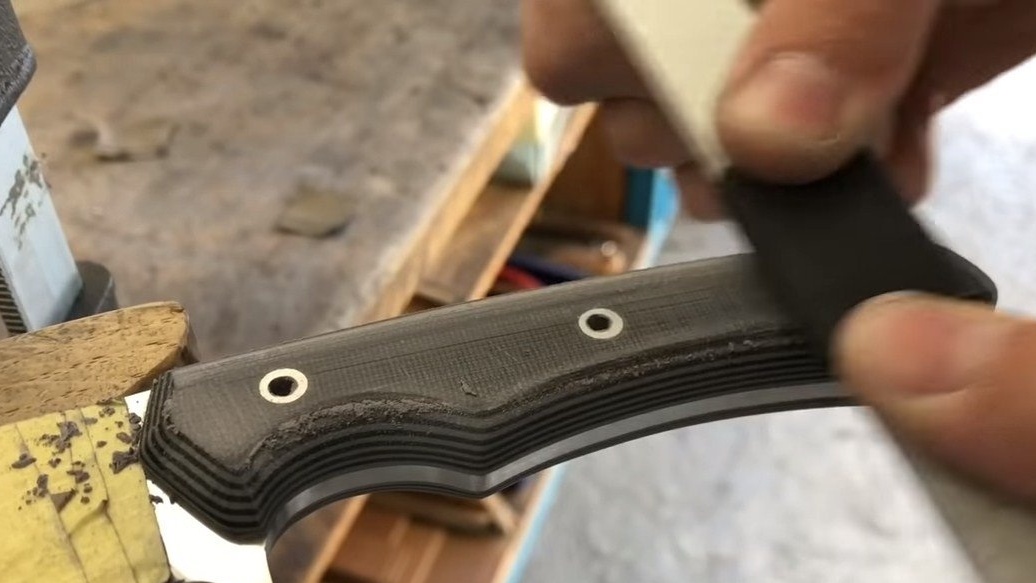
Seventh step. Final touches
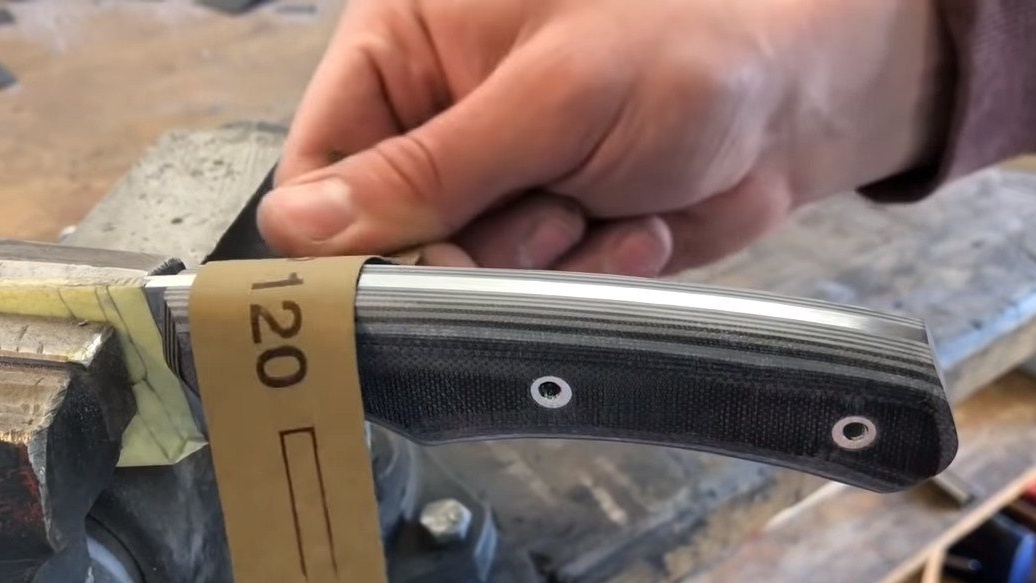
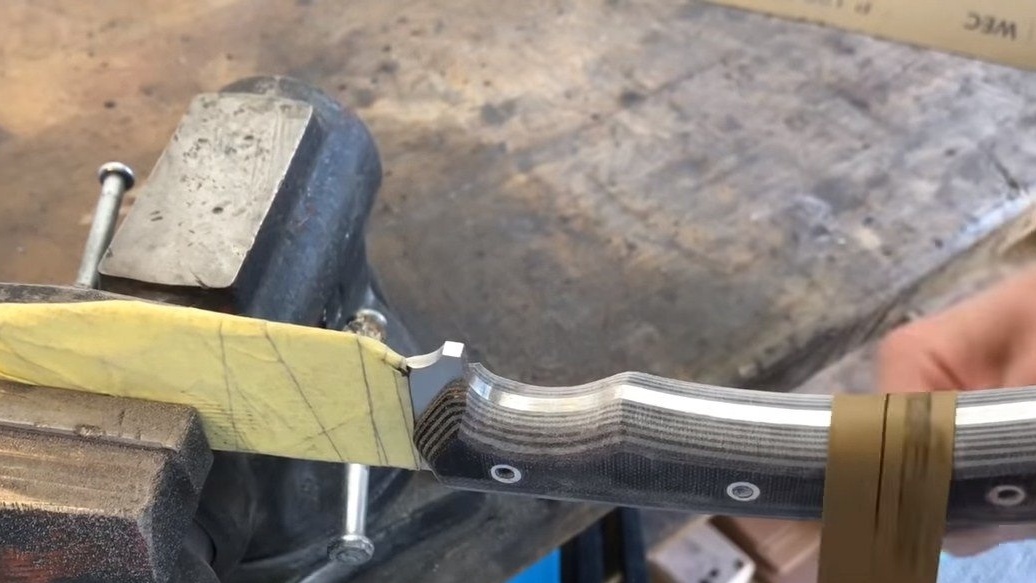
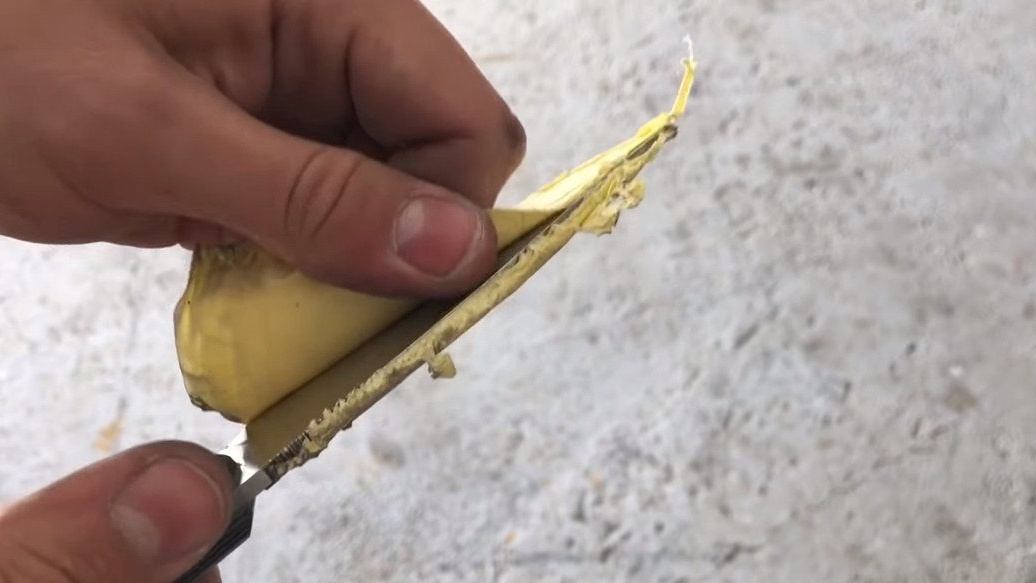
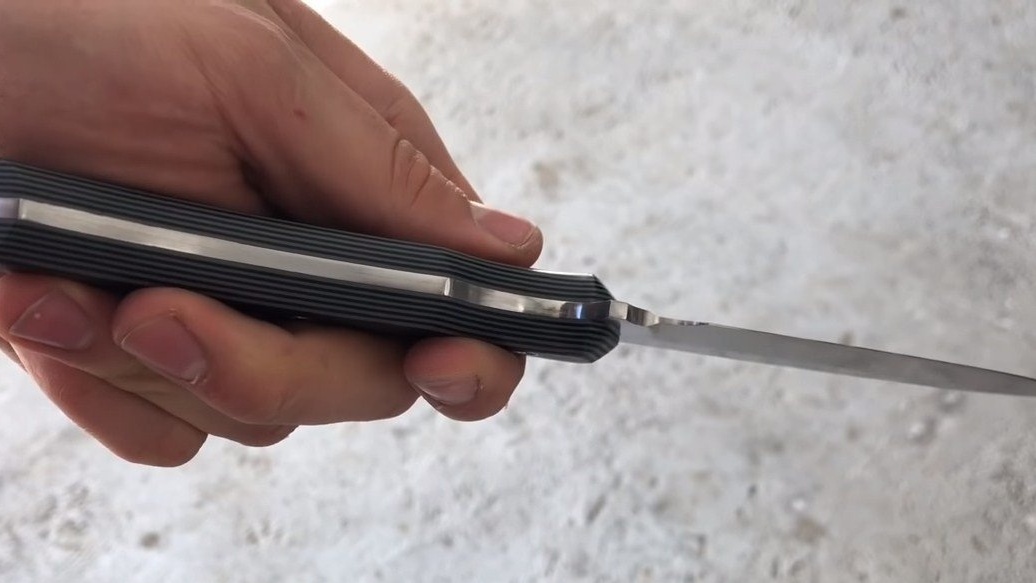
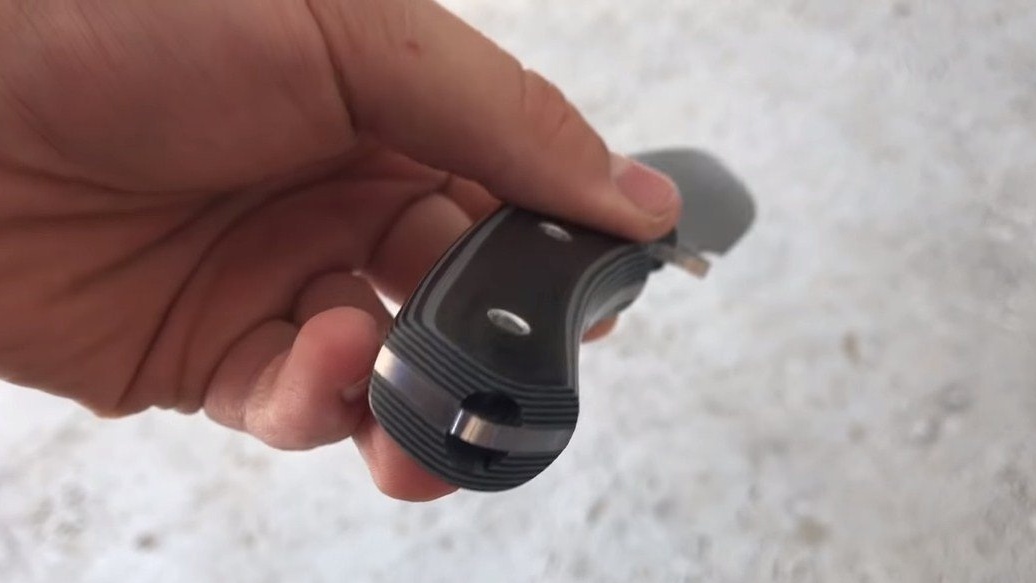
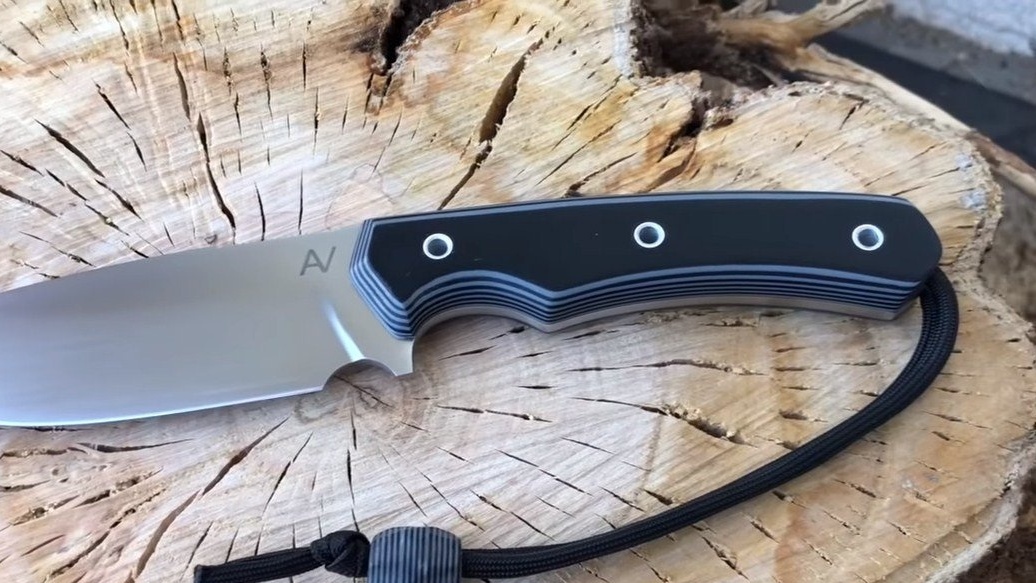
The knife is almost ready, you need to re-grind the handle, thereby we will remove the curvature, exposed glue and other defects. After grinding on a tape machine, the author polishes a pen from all angles manually with sandpaper. And the final processing is polishing the pen. After that, the knife is ready, it is not necessary to impregnate the handle or varnish, the material is not afraid of moisture.
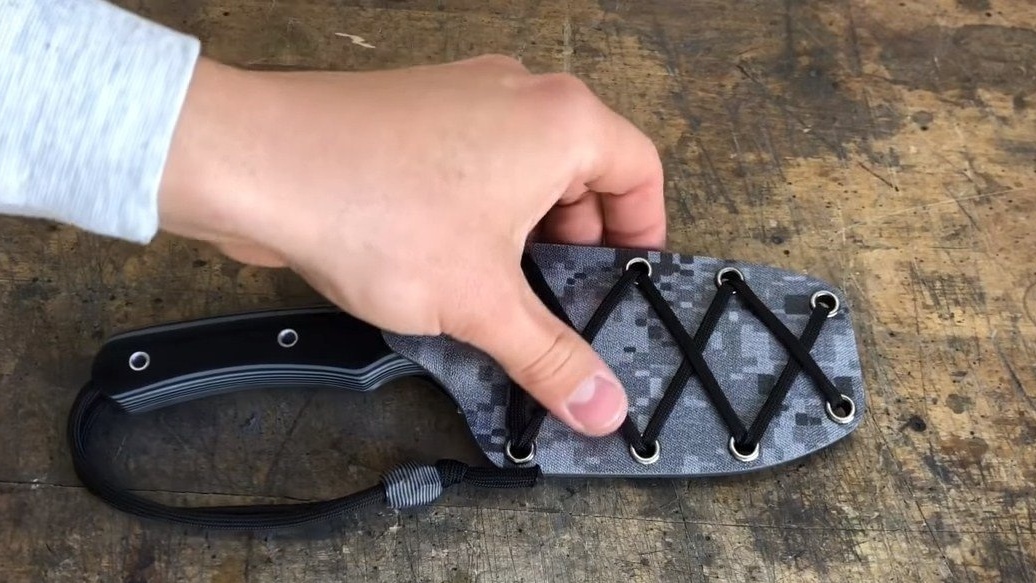
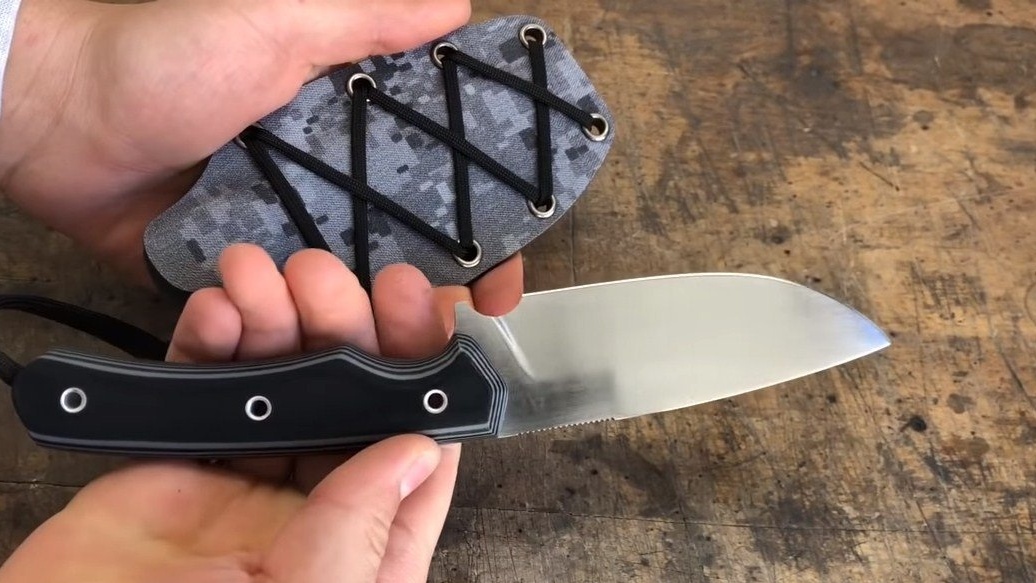
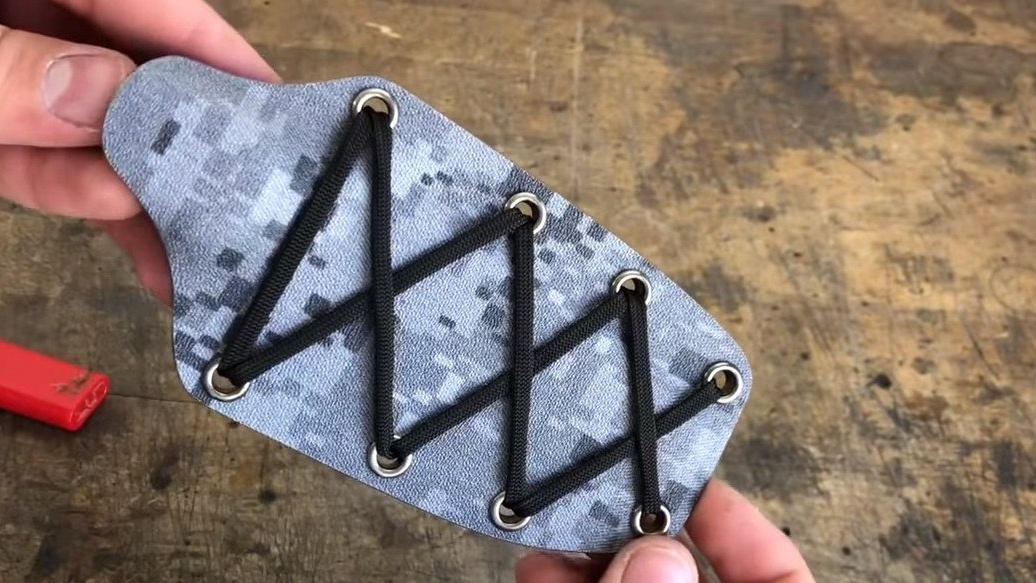
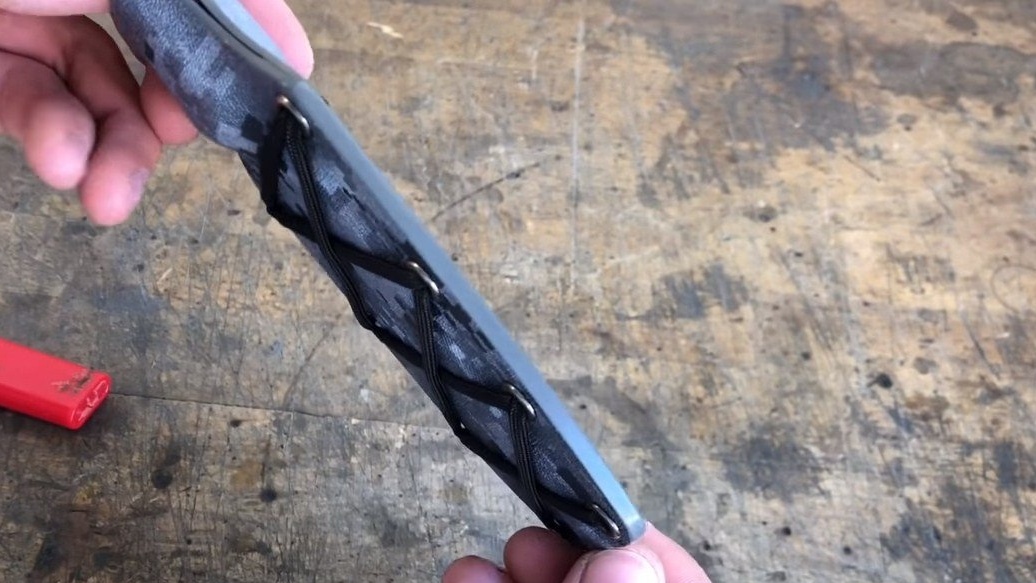
At the end we set the rope and make the sheath for the knife. The knife looks pretty nice and high quality, it also looks comfortable and compact. I hope that homemade work was useful to you, and you found useful thoughts for yourself. Good luck and creative inspiration, if you decide to repeat this. Do not forget to share your ideas and homemade things with us!